Use Arduino and RS232 Shield to Interface Integrated UHF RFID Reader LSID-0702
by pcduino in Circuits > Arduino
51473 Views, 20 Favorites, 0 Comments
Use Arduino and RS232 Shield to Interface Integrated UHF RFID Reader LSID-0702

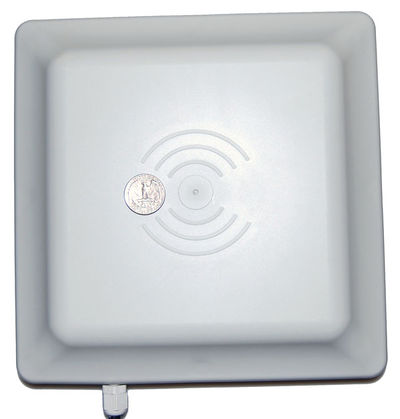
Long Range UHF RFID reader (1-6M) (ISO18000-6C EPC G2) integrates the reader with the antenna. After first powered on, the reader will buzz once to indicate that it starts to work. When there is tag approaching the reader, it will buzz to indicate that it’s sending the data. For the same tag, the read interval can be configured. After read, if the same tag is still in the read area, there will be no further indication, and no data will be sent. If the time lapse exceeds interval or different tags enter the reading zone, the reader will read the card and send out data.
In this tutorial, we show how to use the integrated UHF RFID reader with Arduino and RS232 Shield.
In this tutorial, we show how to use the integrated UHF RFID reader with Arduino and RS232 Shield.
Parts List
1.1 x Arduino UNO
2.1 x Integrated UHF reader LSID-0702
3.1 x serial DB9 cable
4.1 x Rs232 shield
5.1 x UHF RFID tag
2.1 x Integrated UHF reader LSID-0702
3.1 x serial DB9 cable
4.1 x Rs232 shield
5.1 x UHF RFID tag
Wire Diagram

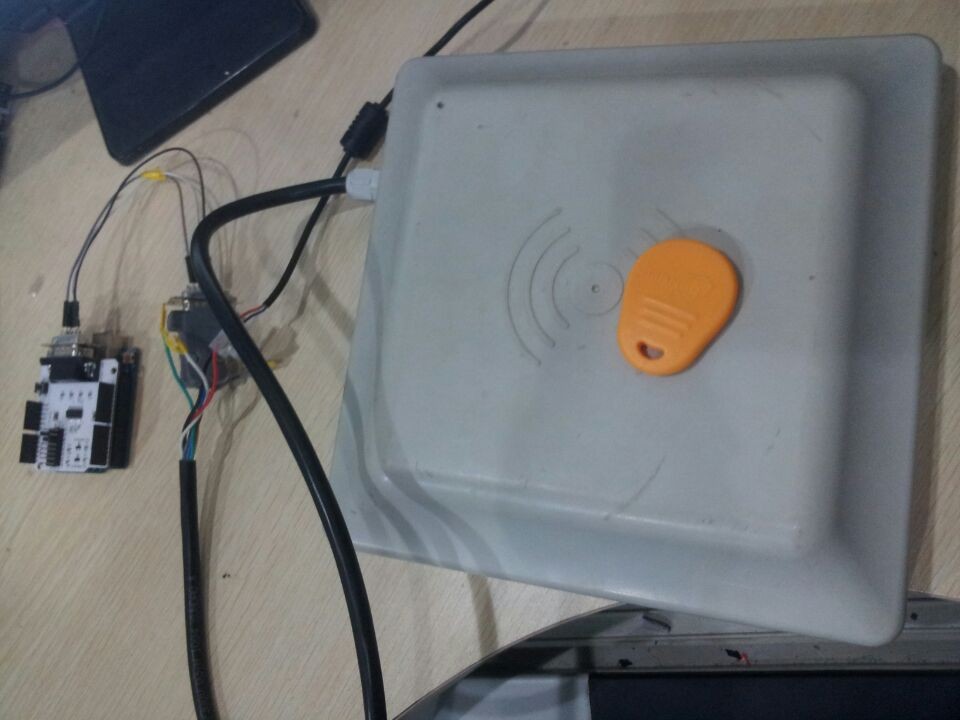
Install RS232 Shield v2 on Arduino, and connect the DB9 of RS232 shield to the DB9 connector of the RFID reader, and supply power to the integrated RFID reader.
Arduino Sample Code
#include "Arduino.h"
//#define DEBUG
SoftwareSerial mySerial (5,6);
unsigned char incomingByte;
void sendIdentifyCmd ()
{
mySerial.write (0x7c);
mySerial.write (0xff);
mySerial.write (0xff);
mySerial.write (0x01);
mySerial.write (0x08);
mySerial.write (0x7d);
#ifdef DEBUG
Serial.print (0x7c);
Serial.print (0xff);
Serial.print (0xff);
Serial.print (0x01);
Serial.print (0x08);
Serial.print (0x7d);
Serial.println ();
#endif
}
void setup ()
{
Serial.begin (9600);
mySerial.begin (9600);
Serial.println ("begin initial Serial!\n");
}
void loop ()
{
sendIdentifyCmd ();
delay (2);
while(mySerial.available () > 0)
{
incomingByte=mySerial.read ();
Serial.print (incomingByte,HEX);
Serial.print (' ');
}
Serial.println ();
delay (1000);
}
Results

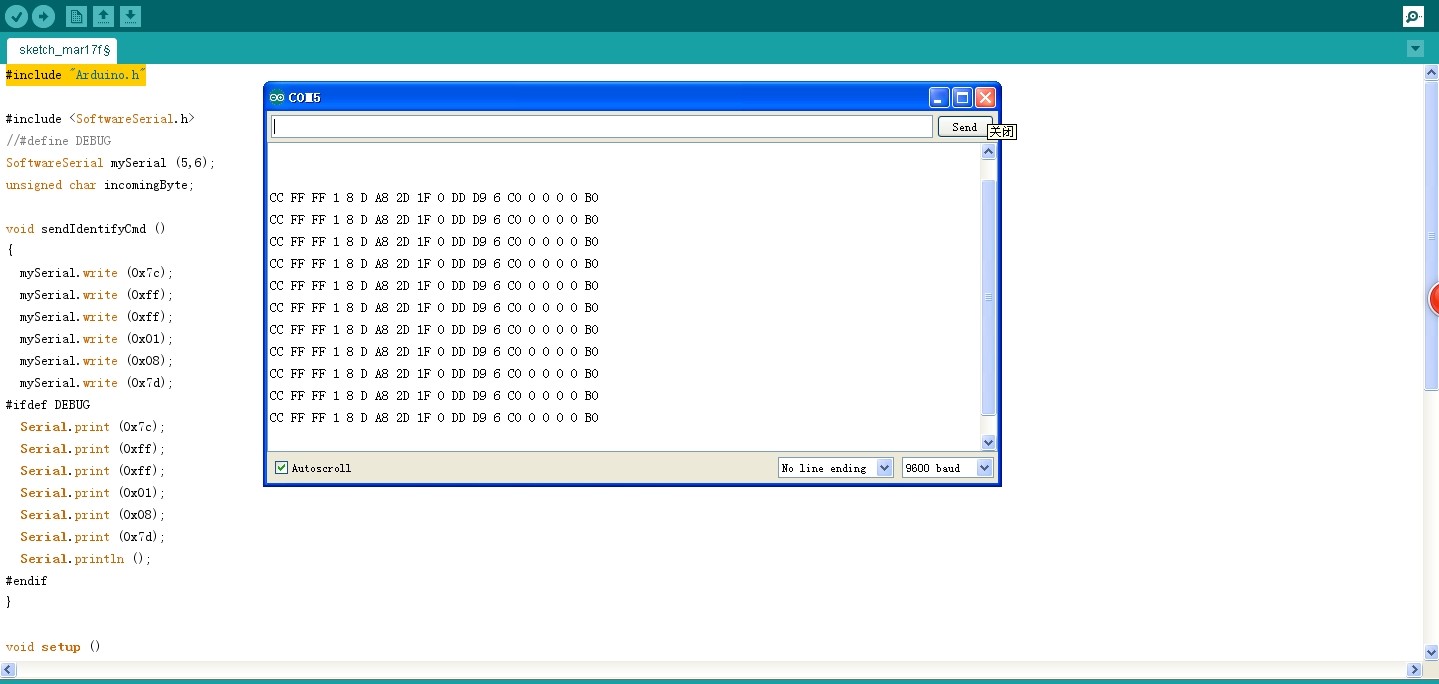
After we download the above code into Arduino, we we place the RFID tag to the reader’s antenna, the reader will buzz, and Arduino will print the ID on the serial port.
If we don’t know the command, we can refer to: http://linksprite.com/wiki/index.php5?title=Long_Range_UHF_RFID_reader_%281-6_meters%29_%28ISO18000-6C_EPC_G2%29_RS232
If we don’t know the command, we can refer to: http://linksprite.com/wiki/index.php5?title=Long_Range_UHF_RFID_reader_%281-6_meters%29_%28ISO18000-6C_EPC_G2%29_RS232