Use Arduino MKR Shields With Raspberry Pi
by Zihatec in Circuits > Raspberry Pi
1449 Views, 0 Favorites, 0 Comments
Use Arduino MKR Shields With Raspberry Pi
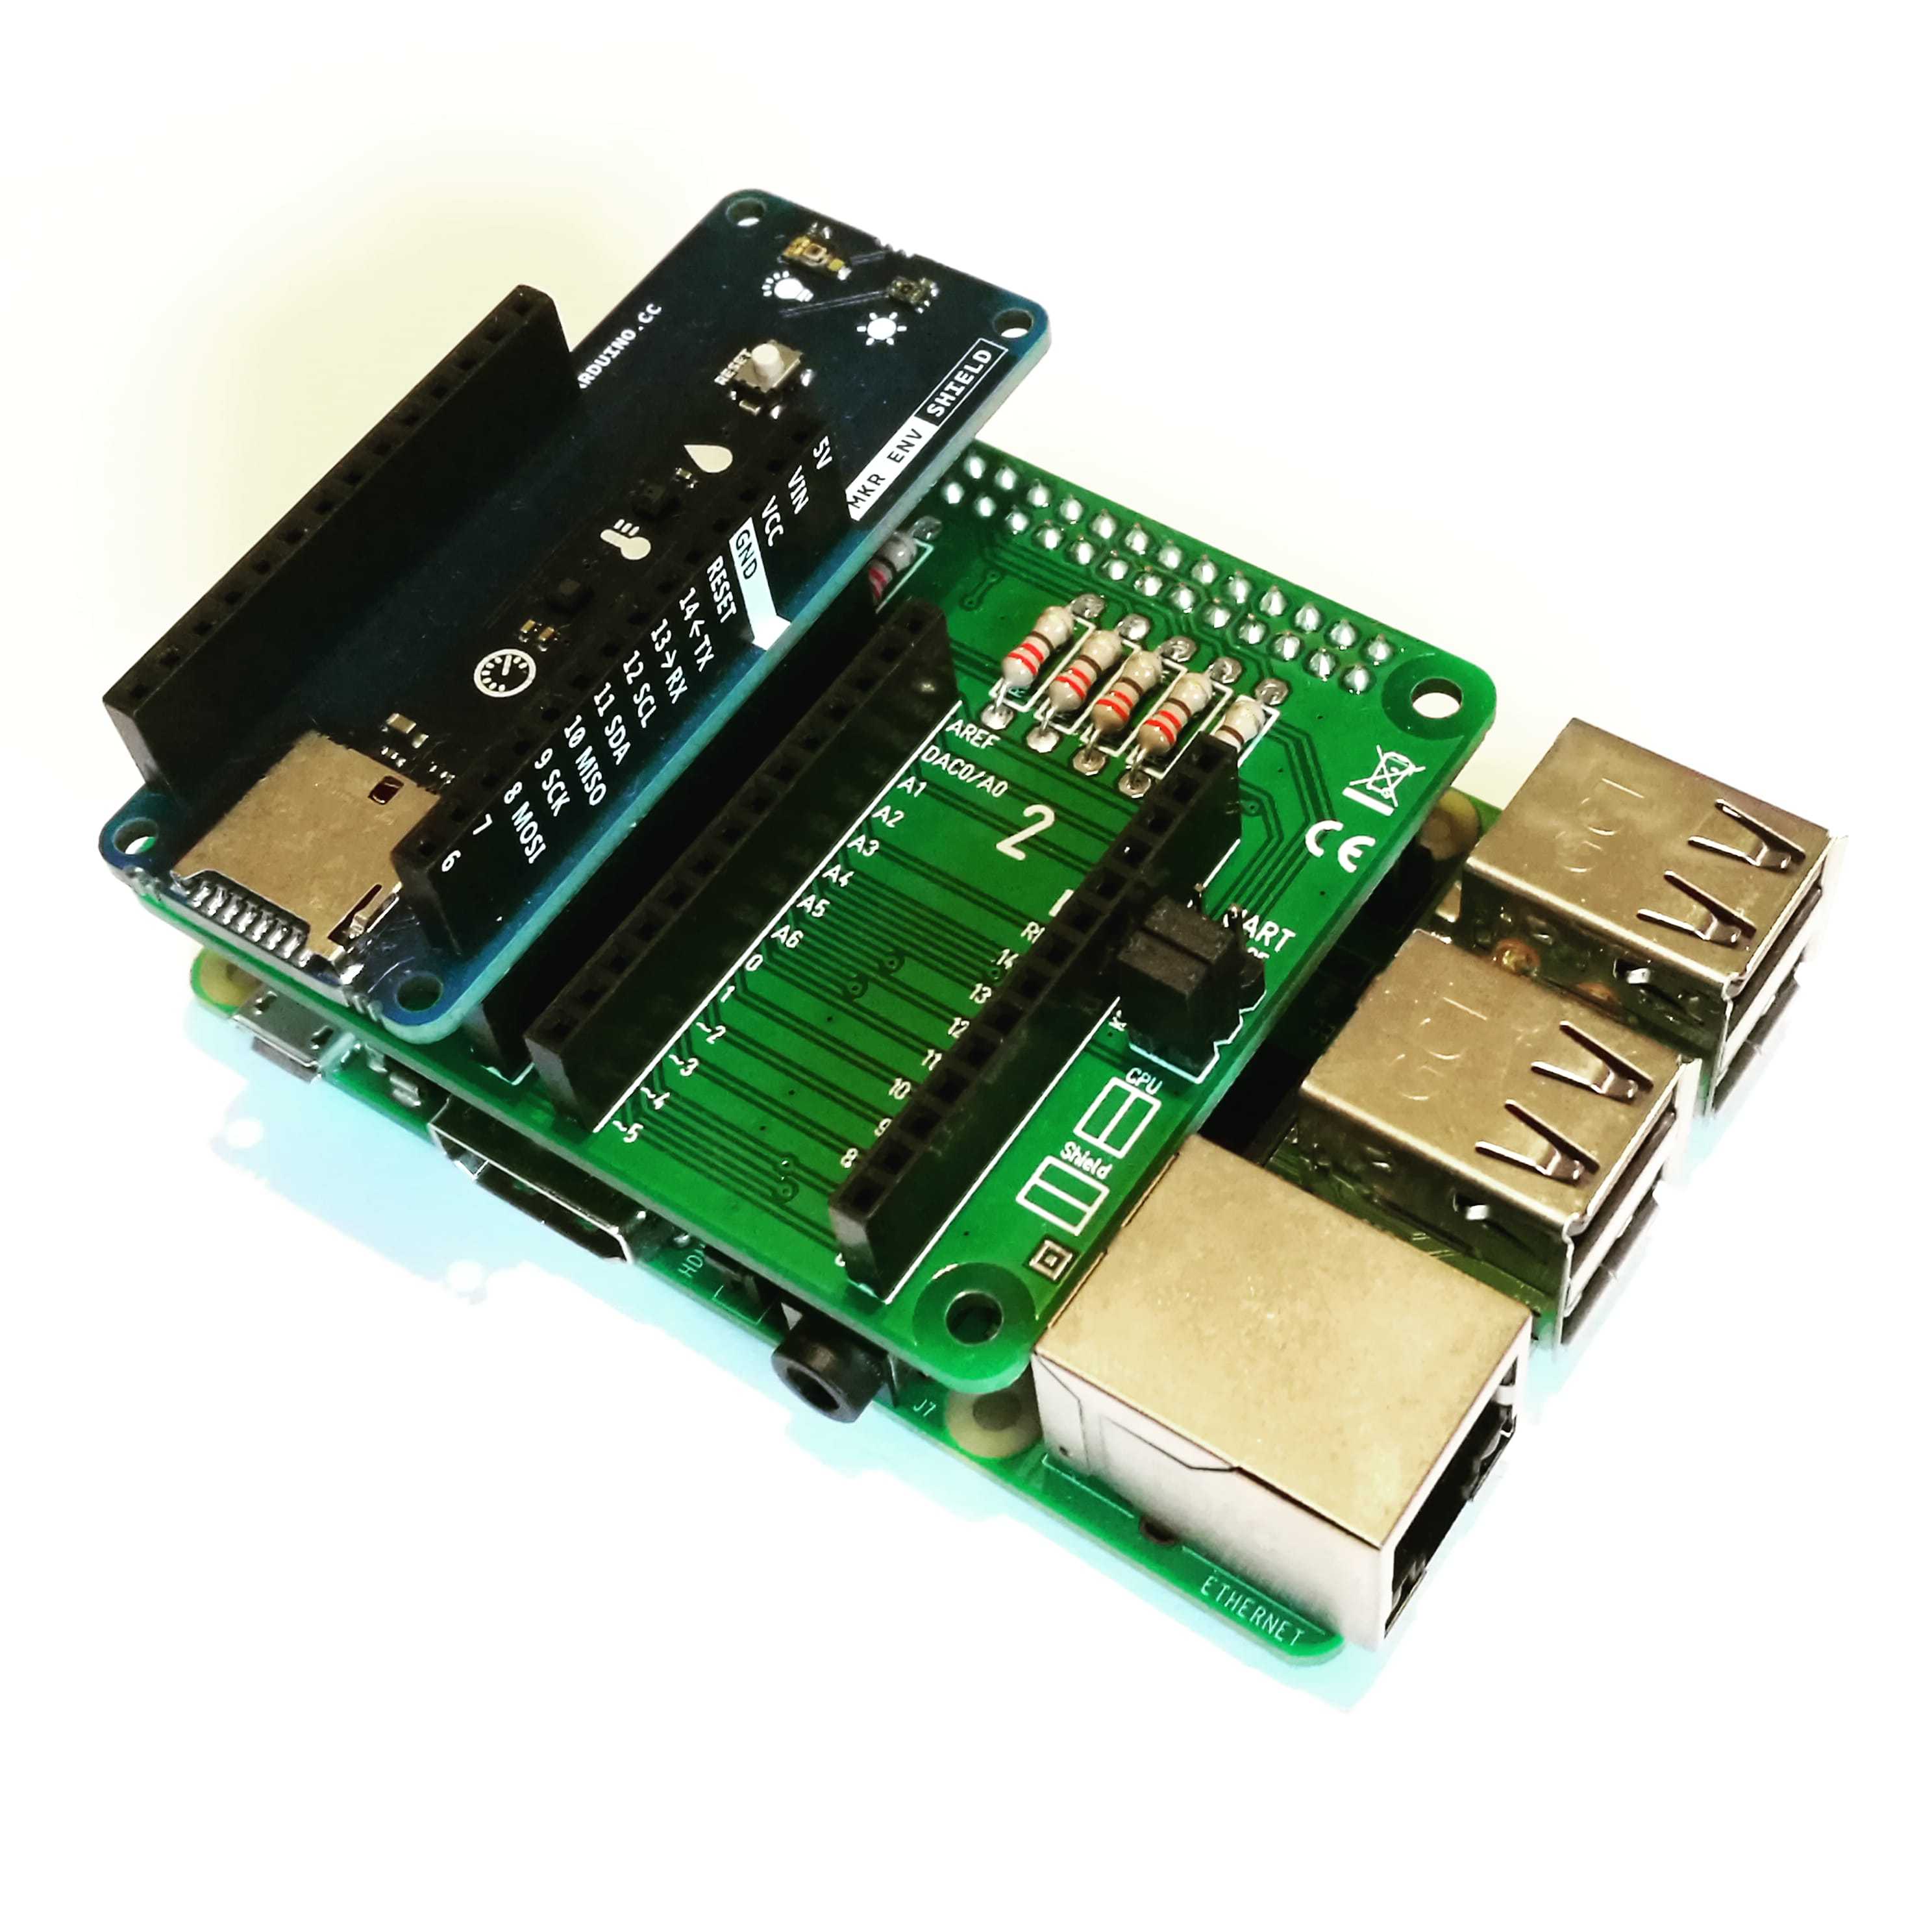
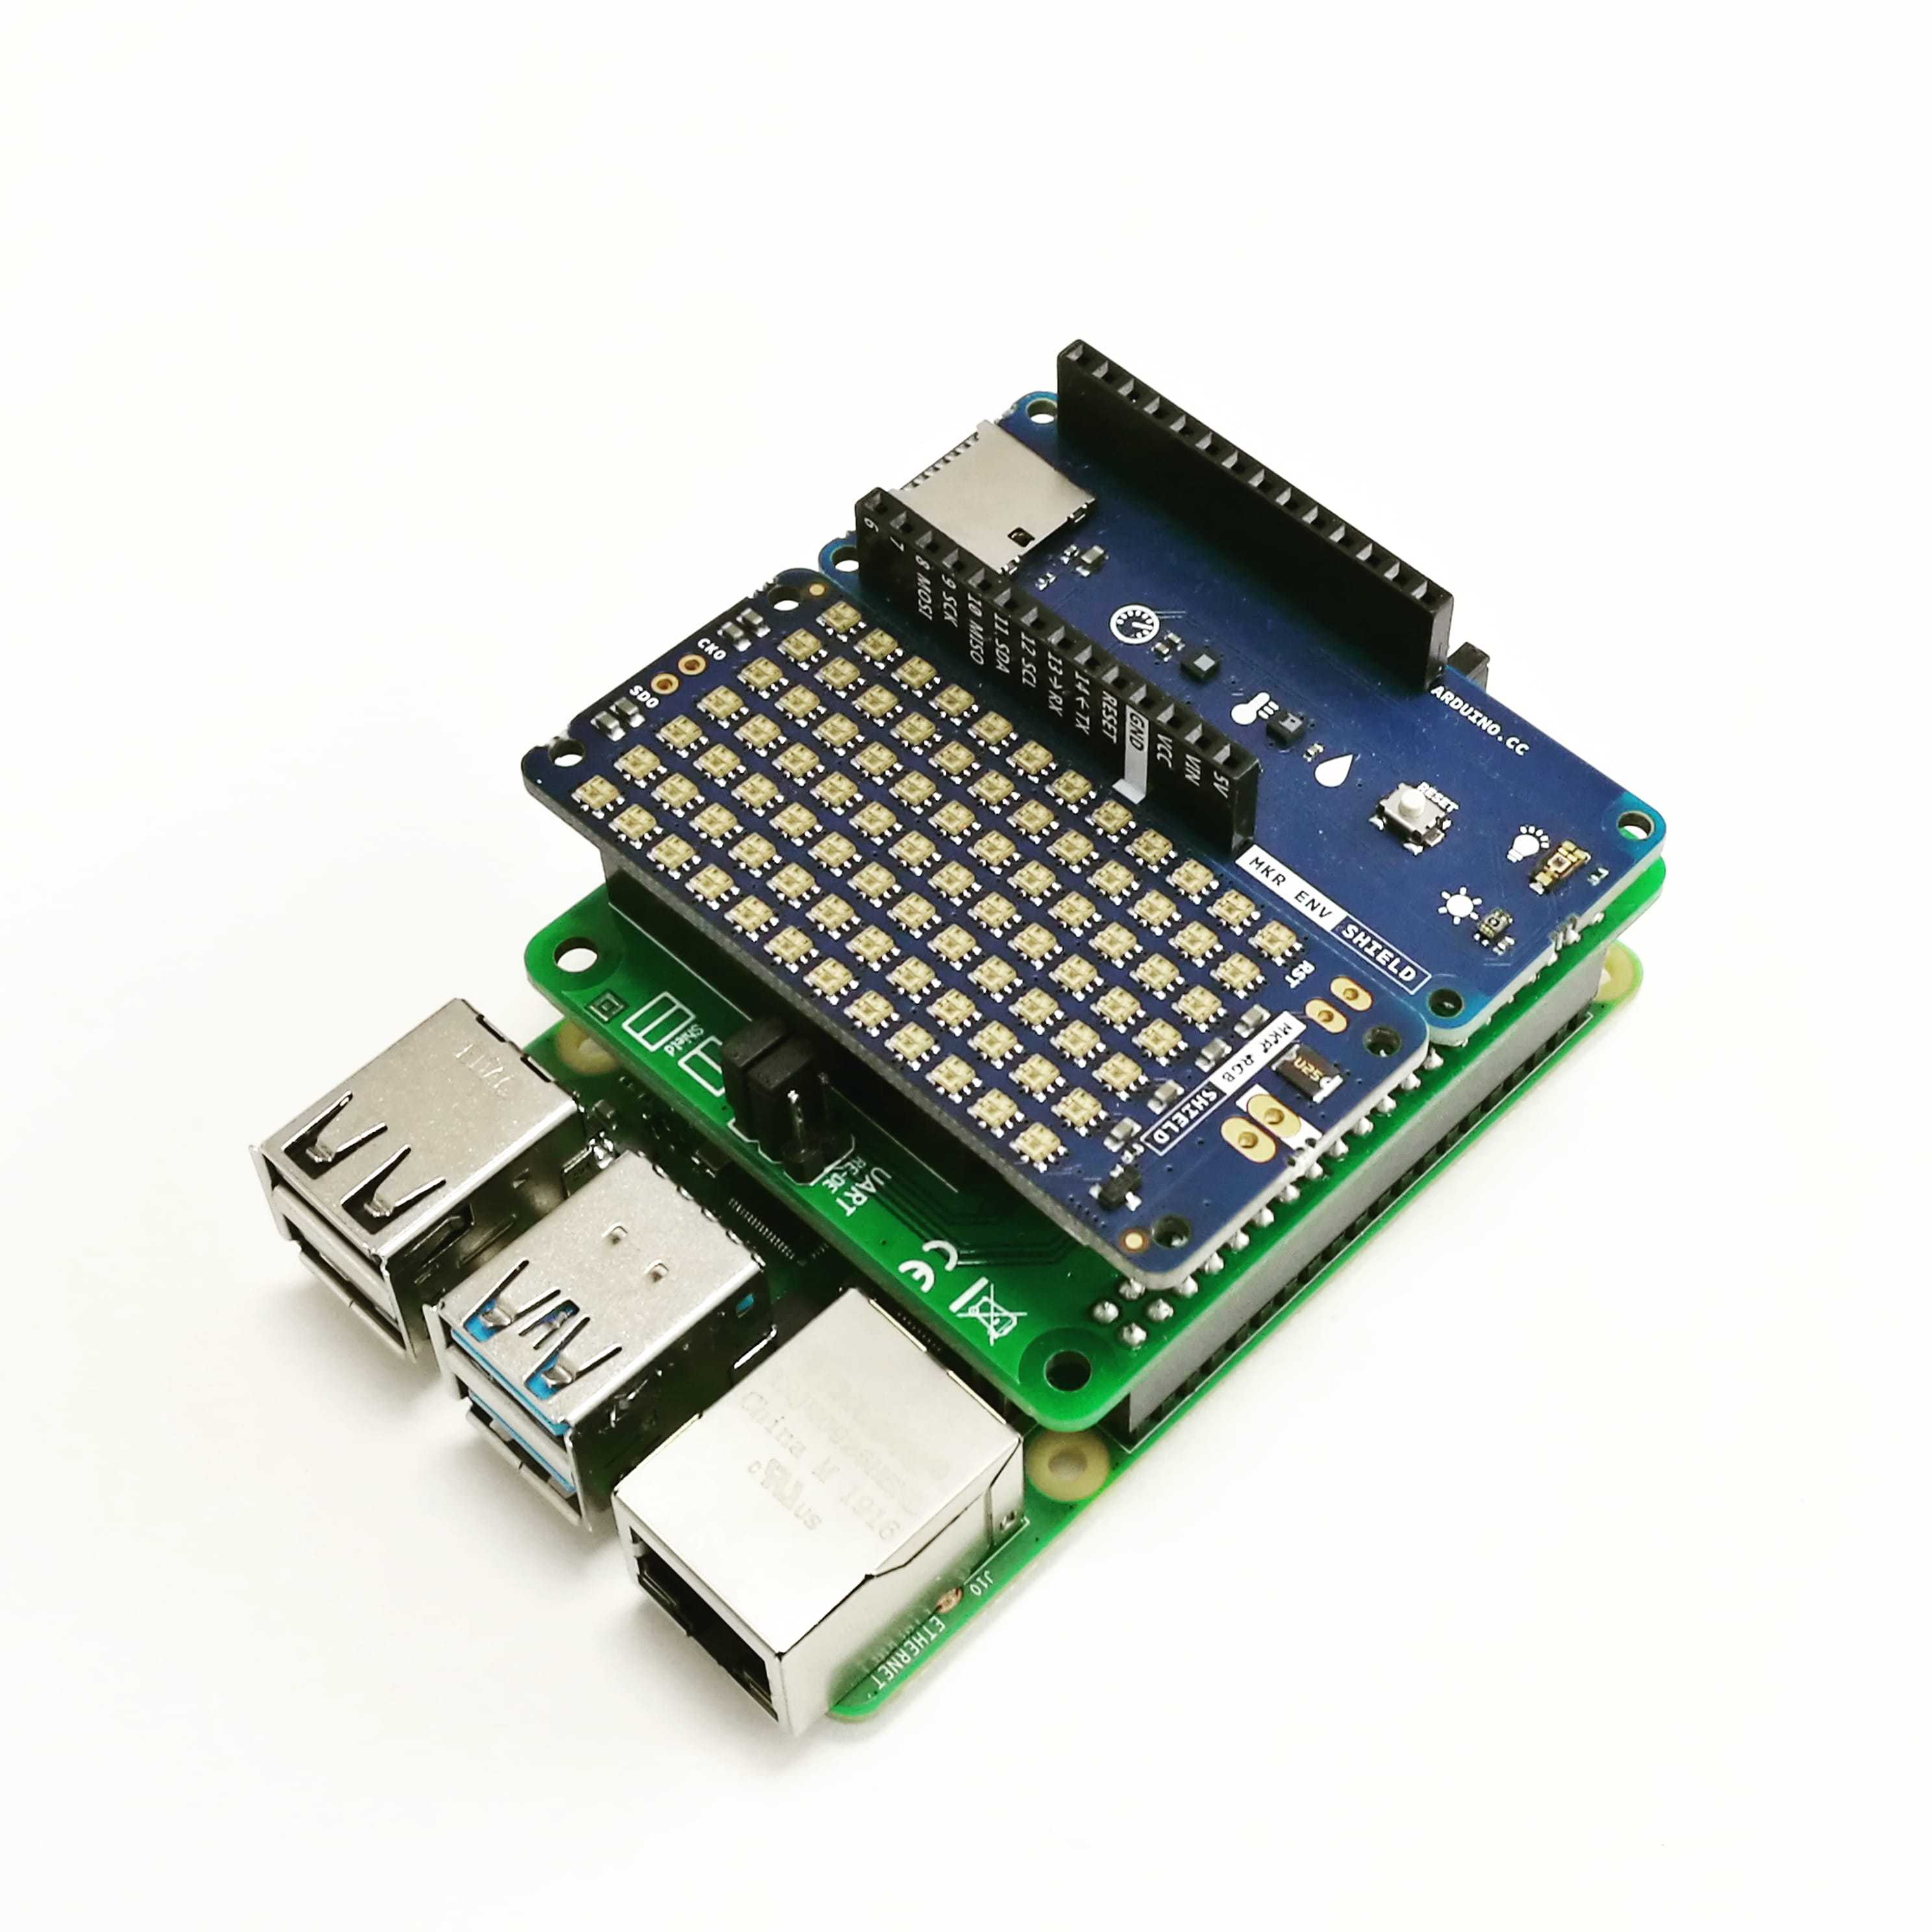
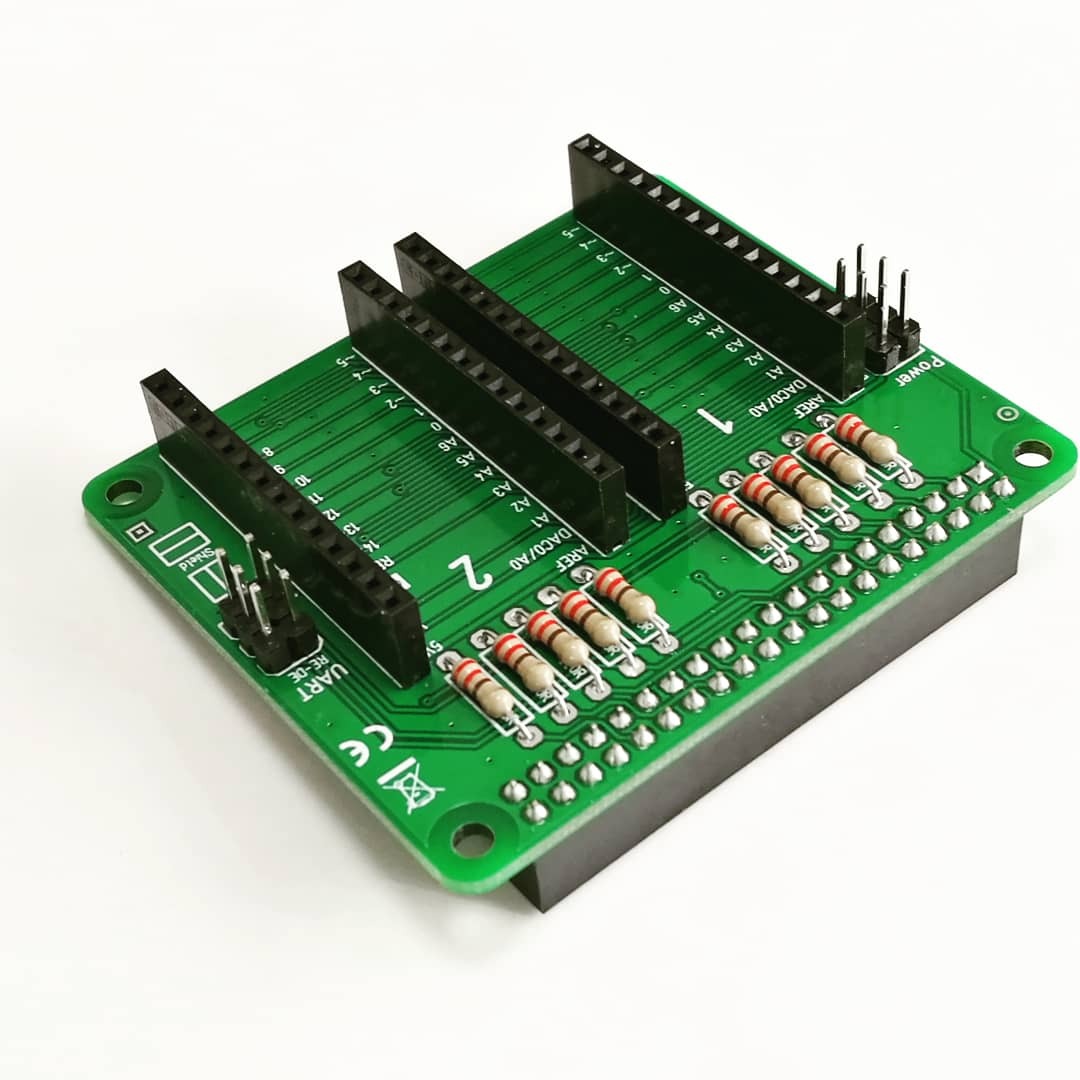
Our PiMKRHAT is an adaptor HAT to use Arduino MKR boards and shields together with the Raspberry Pi. Different Arduino MKR Shields can be used via our HAT as extension for the Raspberry Pi. I want to show in this small project how to use the Arduino MKR ENV shield with a Raspberry Pi under Python.
Tools and Materials
Materials:
- Raspberry Pi
- SD card
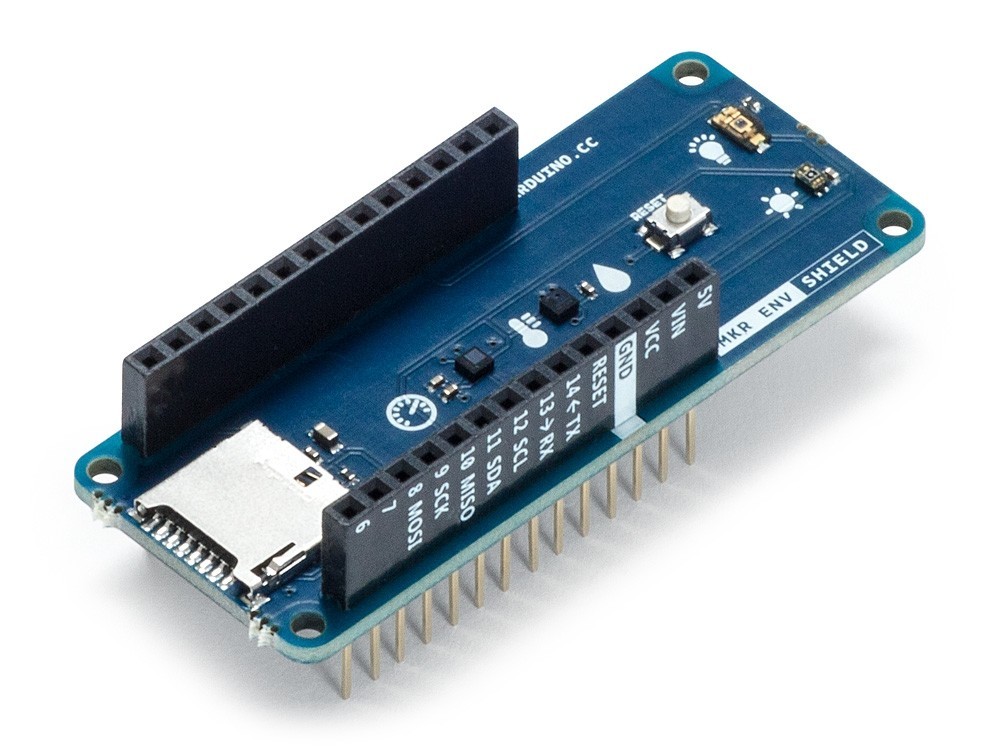
- Arduino MKR ENV shield
- PiMKRHAT
Tools:
- Soldering iron
- solder wire
- side cutter
- bending tool
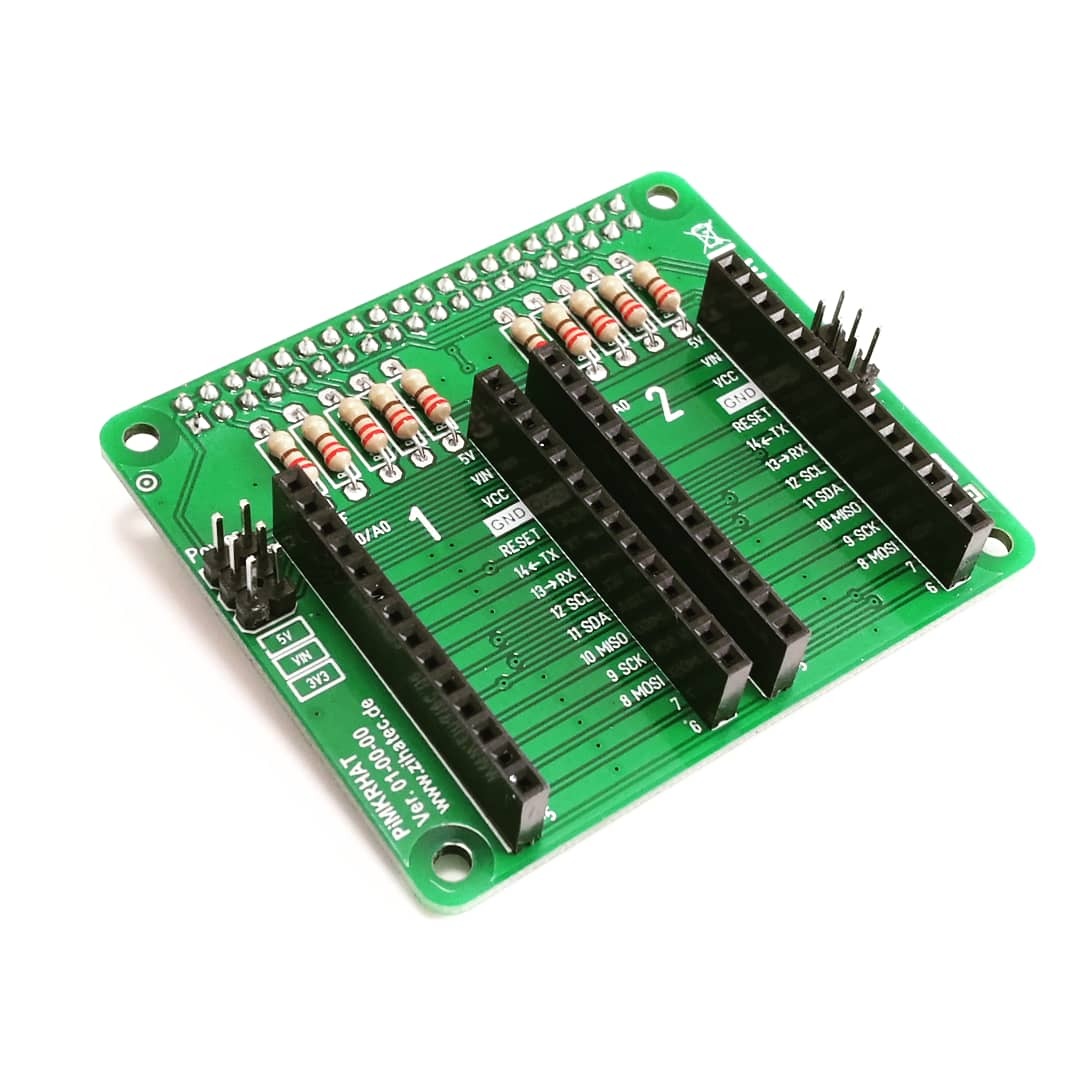
Assembly
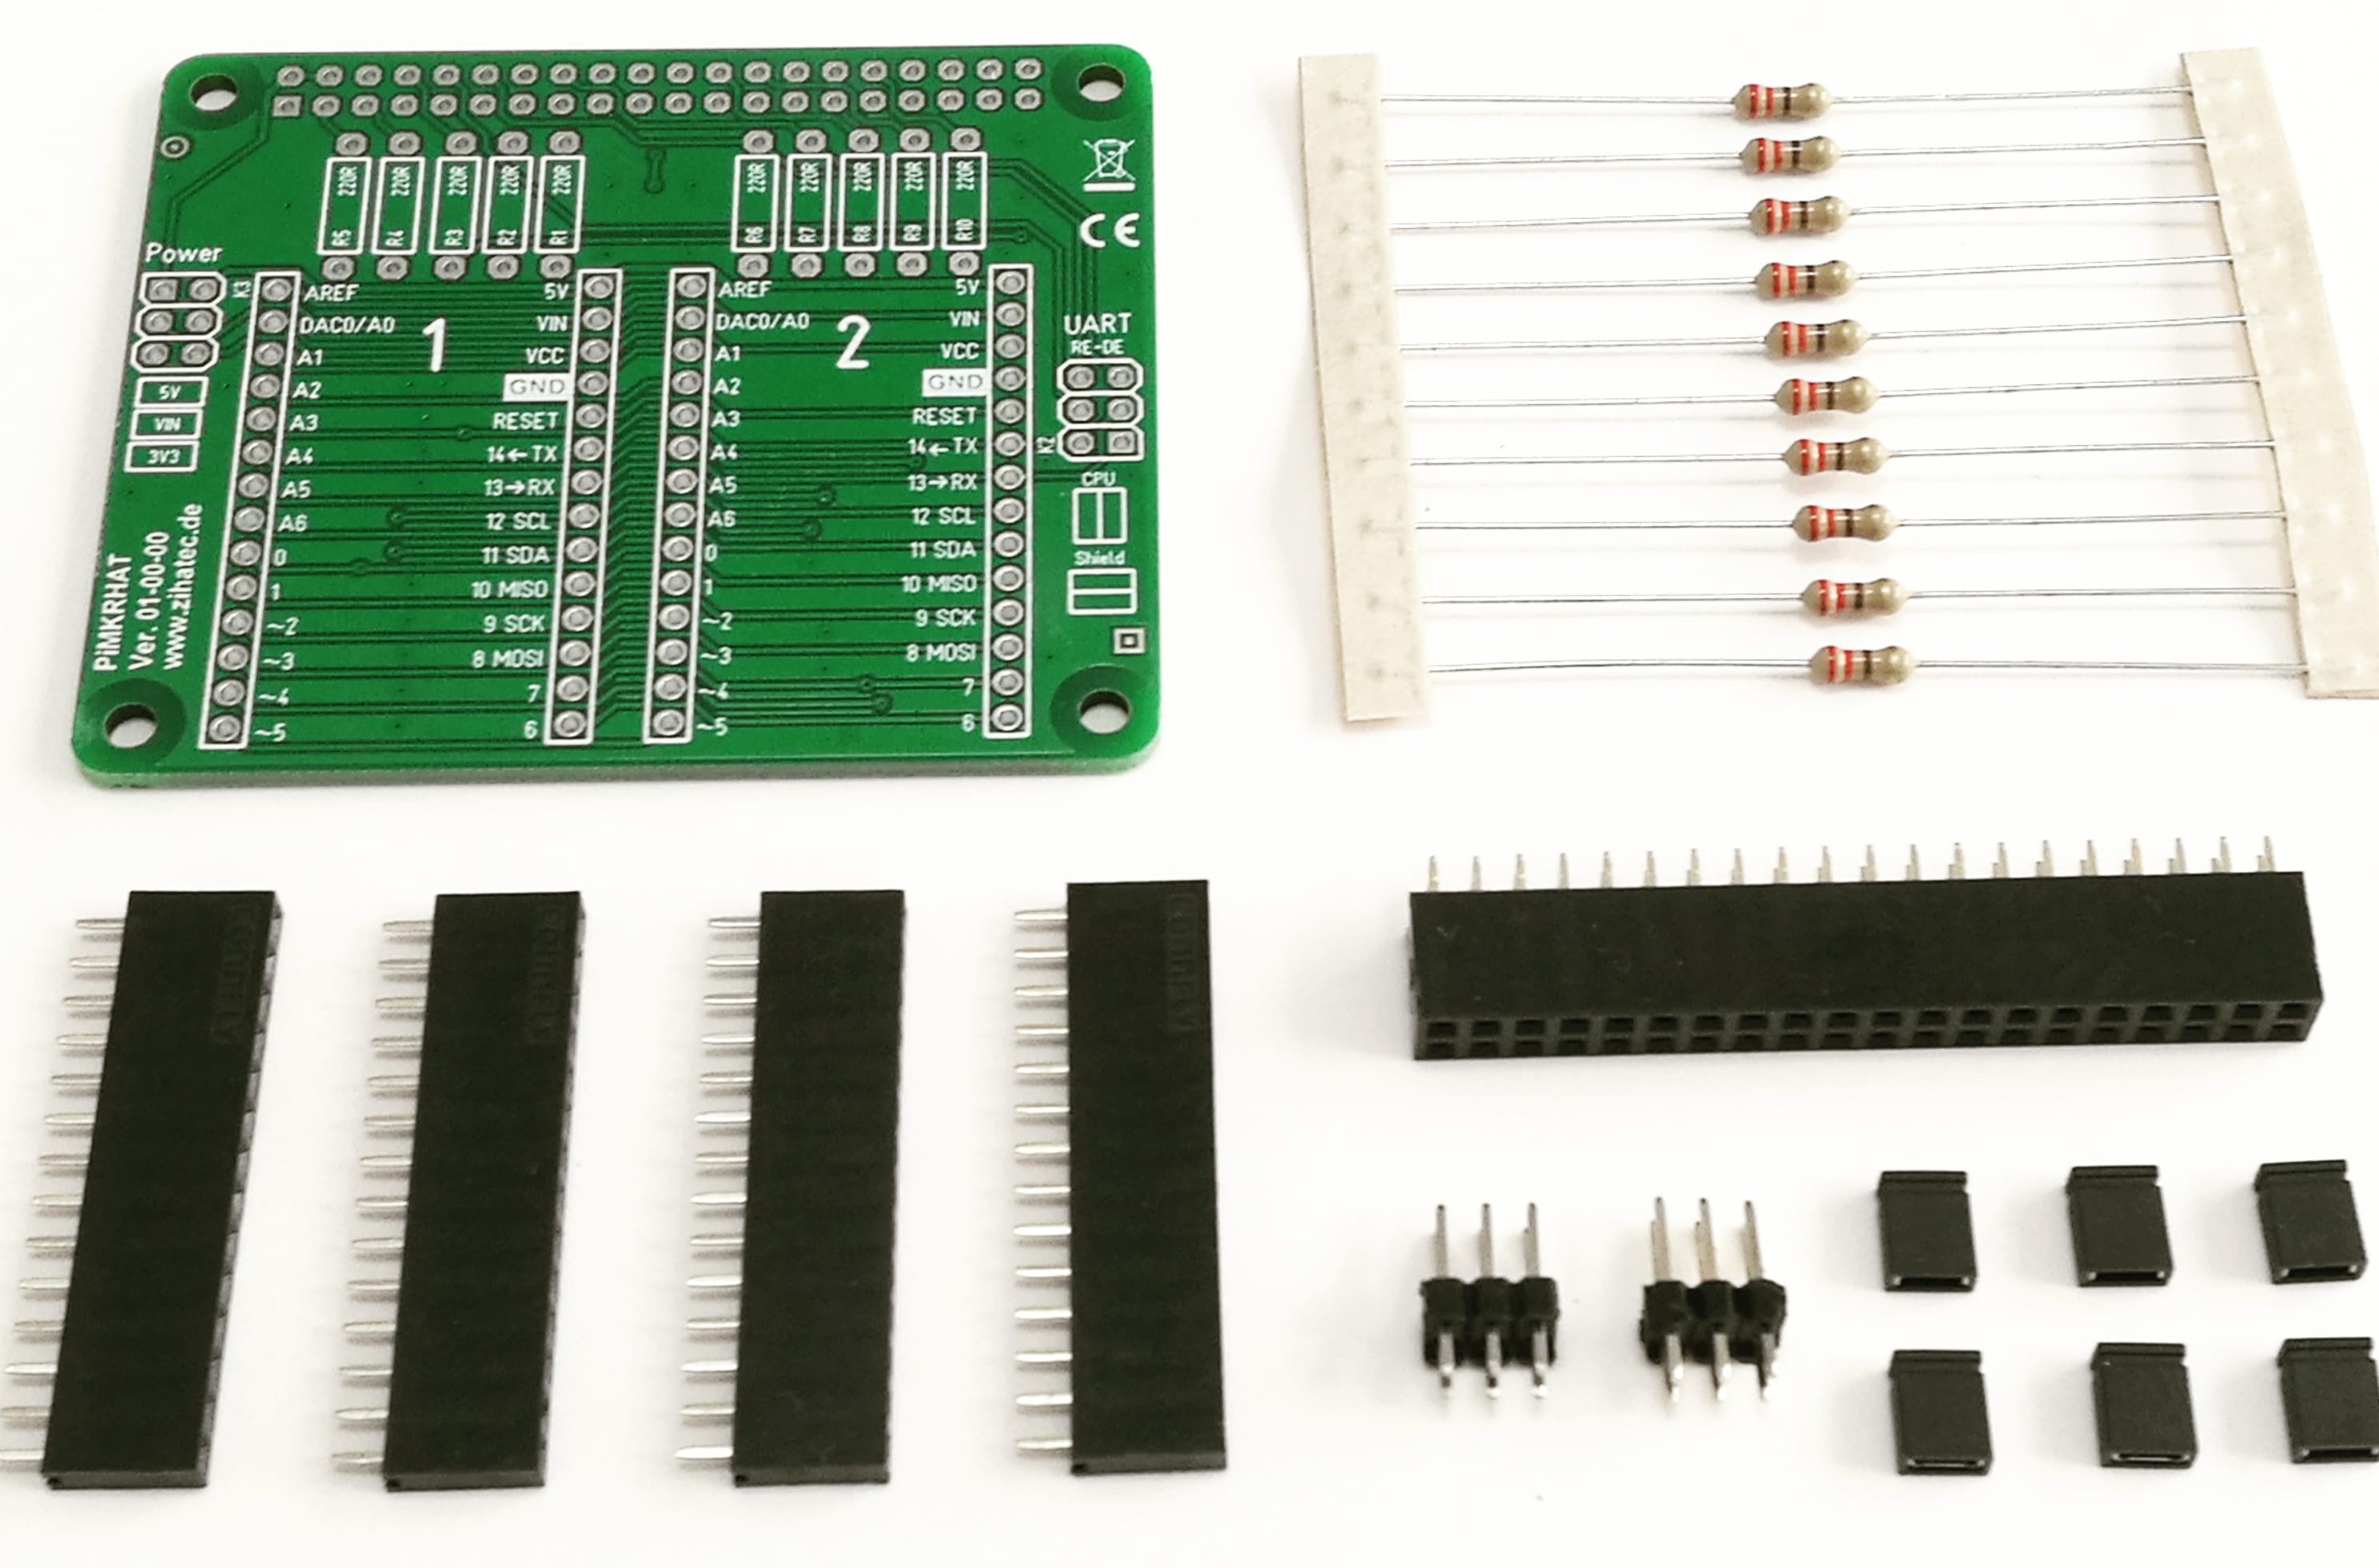
The PiMKRHAT comes as kit. You have to assemble it first. Please follow the attached assembly instruction
Downloads
Jumper Setting
Please set for the Arduino MKR ENV shield only the 5V and 3, 3V Jumper on the Power jumper bank. Leave all other jumpers open.
Raspbian
Please download the latest Raspbian OS for the Raspberry Pi and copy it to an SD card via Pi imager or Win32diskimager.
Configuring I2C
The sensors on the MKR ENV shield are using I2C communication. You have to install some libraries first via the bash:
sudo apt-get install -y python-smbus
sudo apt-get install -y i2c-tools
Now you have to enable the I2C interface:
sudo raspi-config
--> 5 Interfacing Options
--> P5 I2C--> YES
sudo reboot
Testing I2C Interface
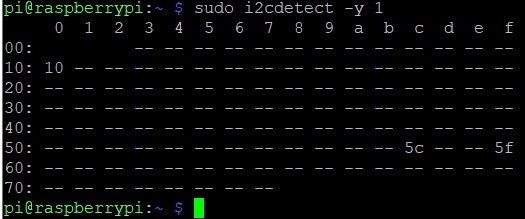
Now it's time to test the I2C interface:
sudo i2cdetect -y 1
This shows that three I2C addresses are in use – 0x10, 0x5c and 0x5f
Install Additional Libraries
sudo apt install python-pip
sudo pip install veml6075
Test Your Work
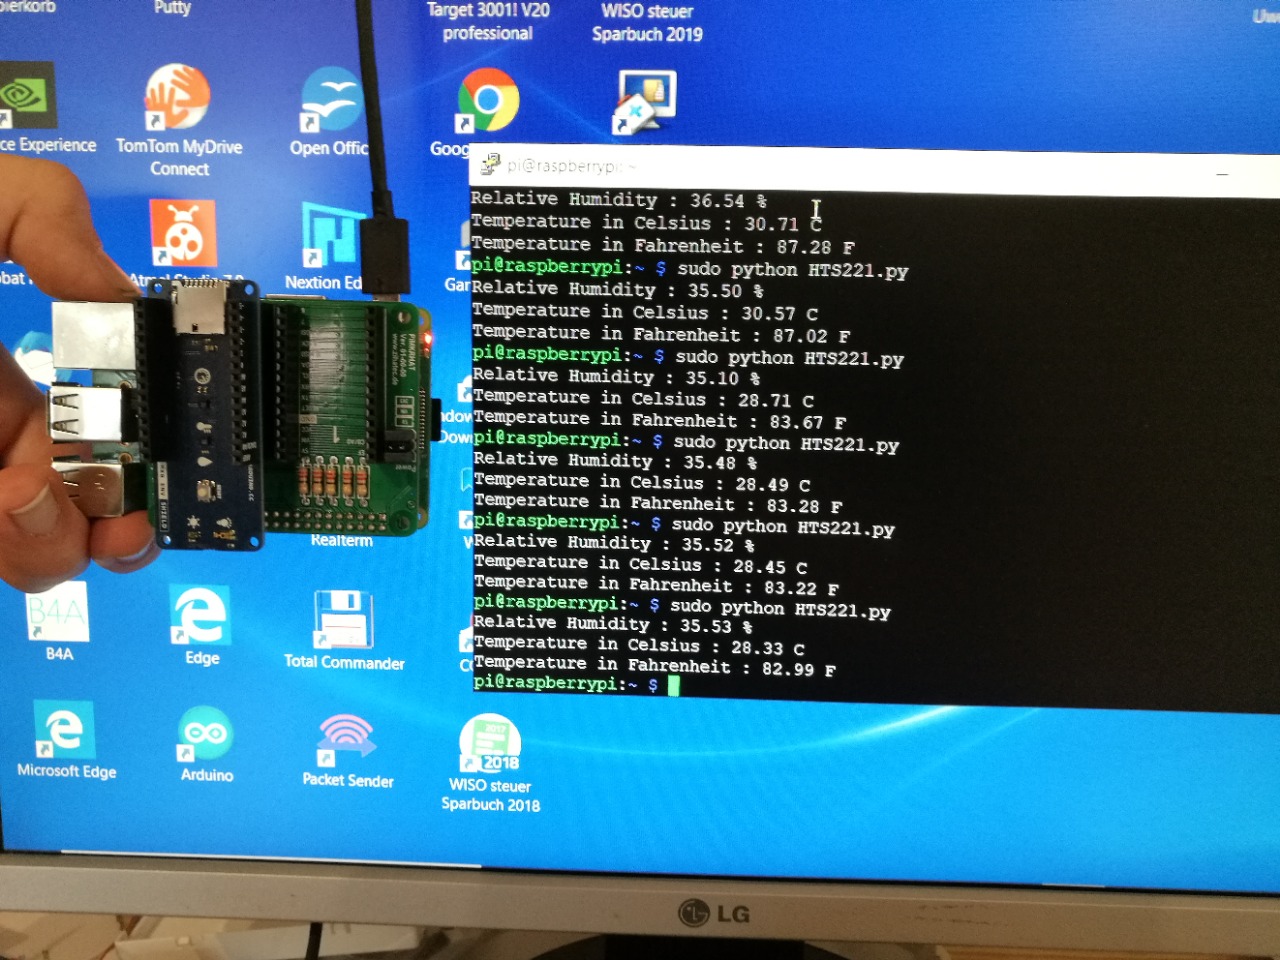
3 little Python programs are available on Github to test the UV radiation, temperature & humidity and pressure sensor of the MKR ENV shield:
- HTS221.py -temperature and humidity
- LPS22HB.py - pressure
- VEML6075.py - UV radiation
The analogue light sensor requires an analogue input and can not be used with the Raspberry Pi.