Use Adafruit NeoPixels With Home Assistant
by leon-anavi in Circuits > Arduino
4348 Views, 7 Favorites, 0 Comments
Use Adafruit NeoPixels With Home Assistant
Adafruit NeoPixels are rings, strips and other printed circuit boards with addressable RGB LED strips. They are chainable to each other. Adafruit NeoPixels are super popular in the maker community and widely used in various do-it-yourself (DIY) projects.
Home Assistant is free and open source home automation platform written in Python 3. It allows you to manage various devices in your smart home. Home Assistant runs perfectly fine on Raspberry Pi 3 or 4 and can be installed as Hass.io image.
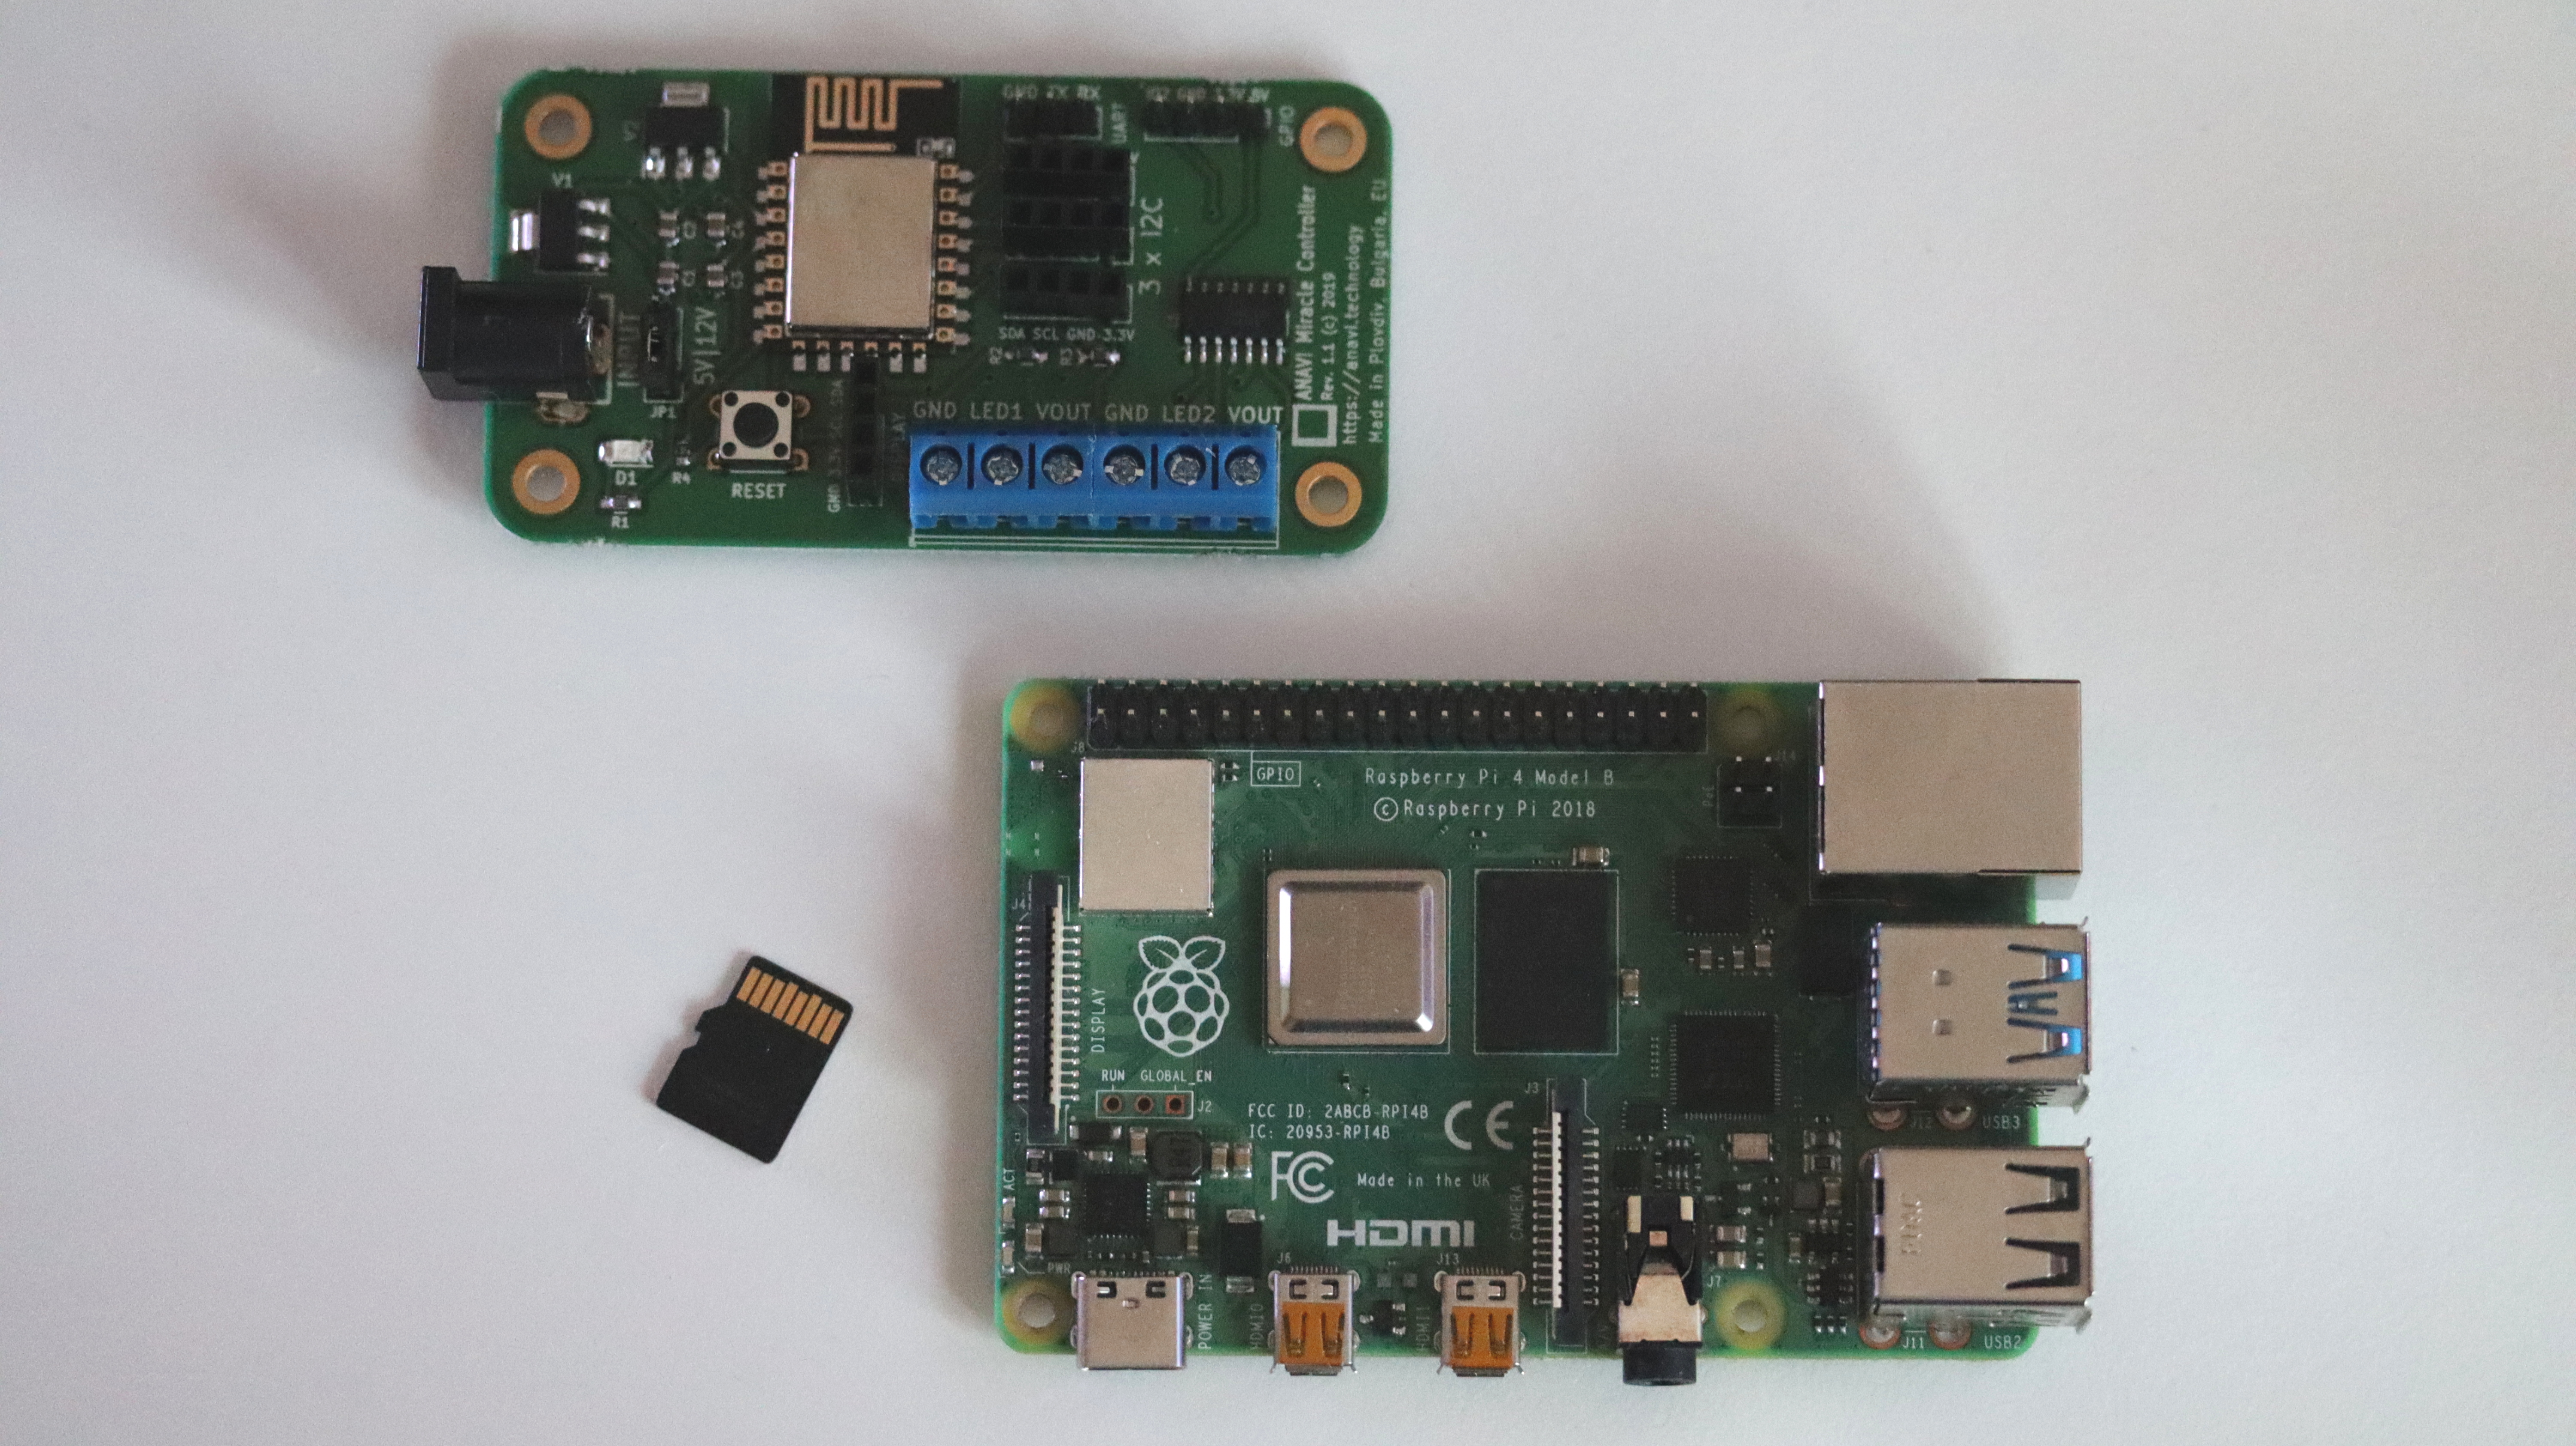
In this tutorial you will learn how to use Adafruit NeoPixels with Home Assistant without any programming! In few steps we will install and configure everything without any coding. We will connect Adafruit NeoPixels to the open source WiFi development board ANAVI Miracle Controller.
- Adafruit NeoPixel Ring
- Adafruit NeoPixel Stick
- 6 male to male jumper wires
- 5V DC power supply
- ANAVI Miracle Controller
- Raspberry Pi 3 or 4
Install Home Assistant
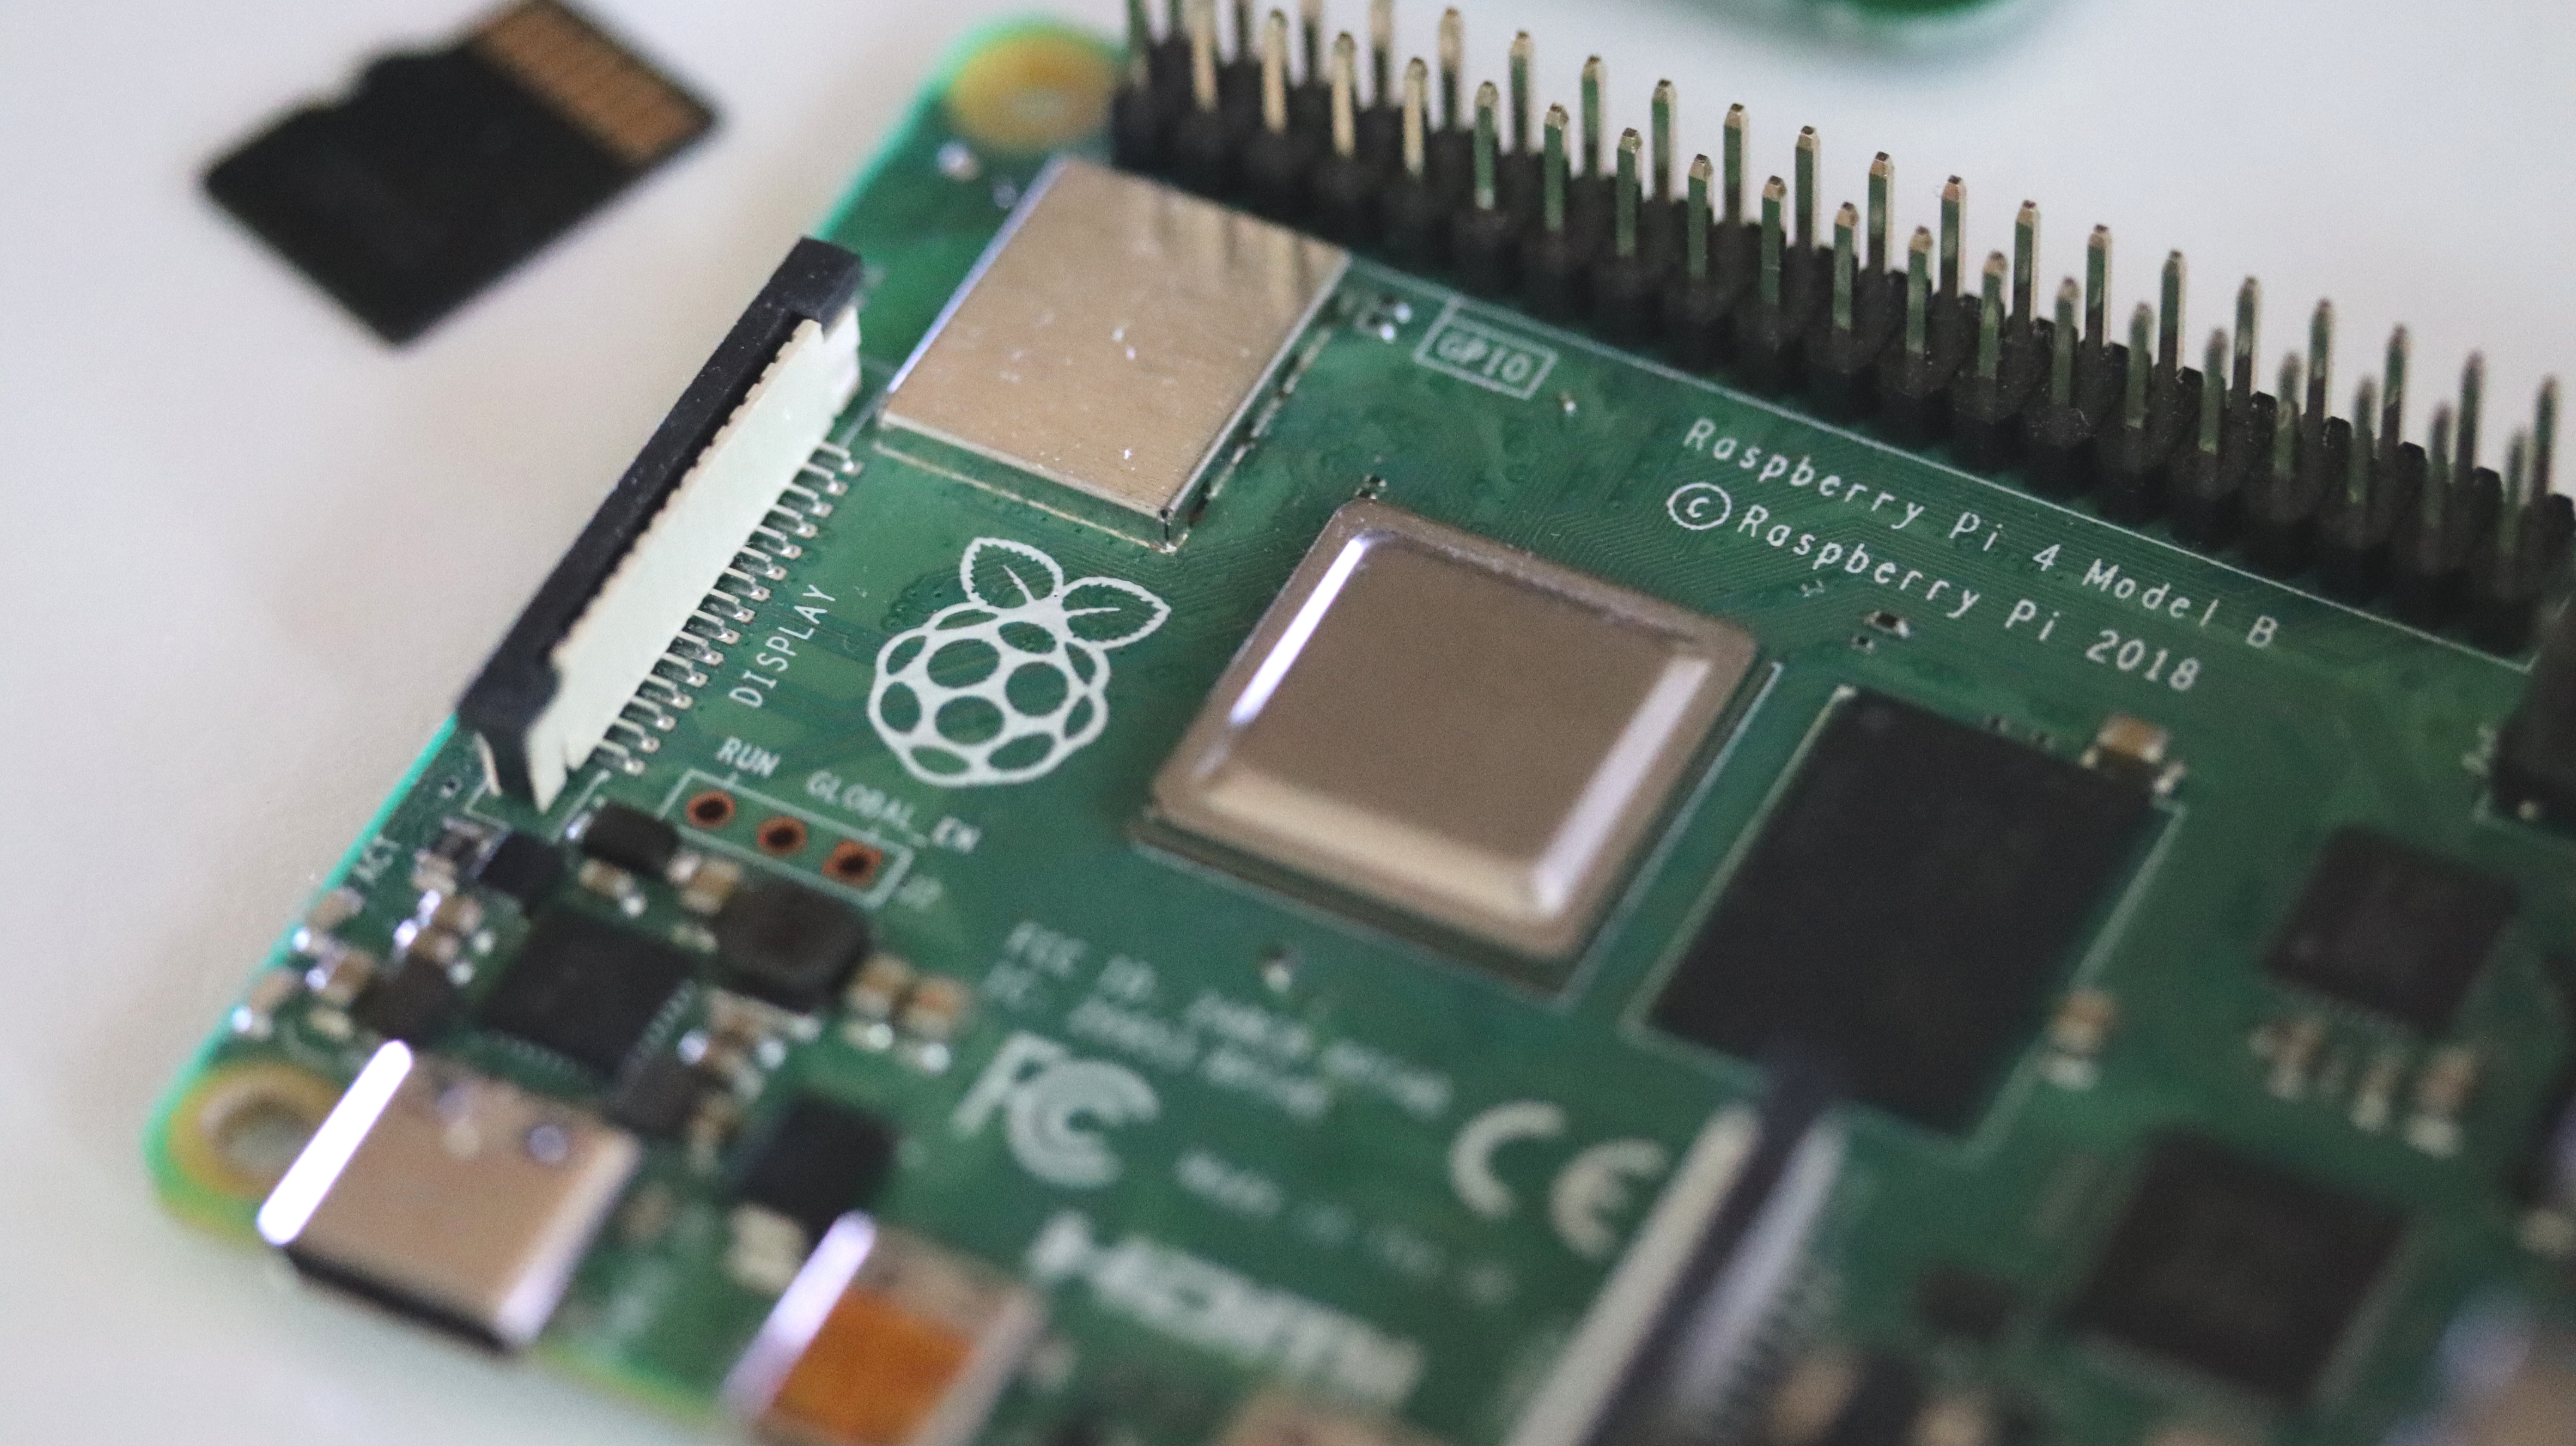
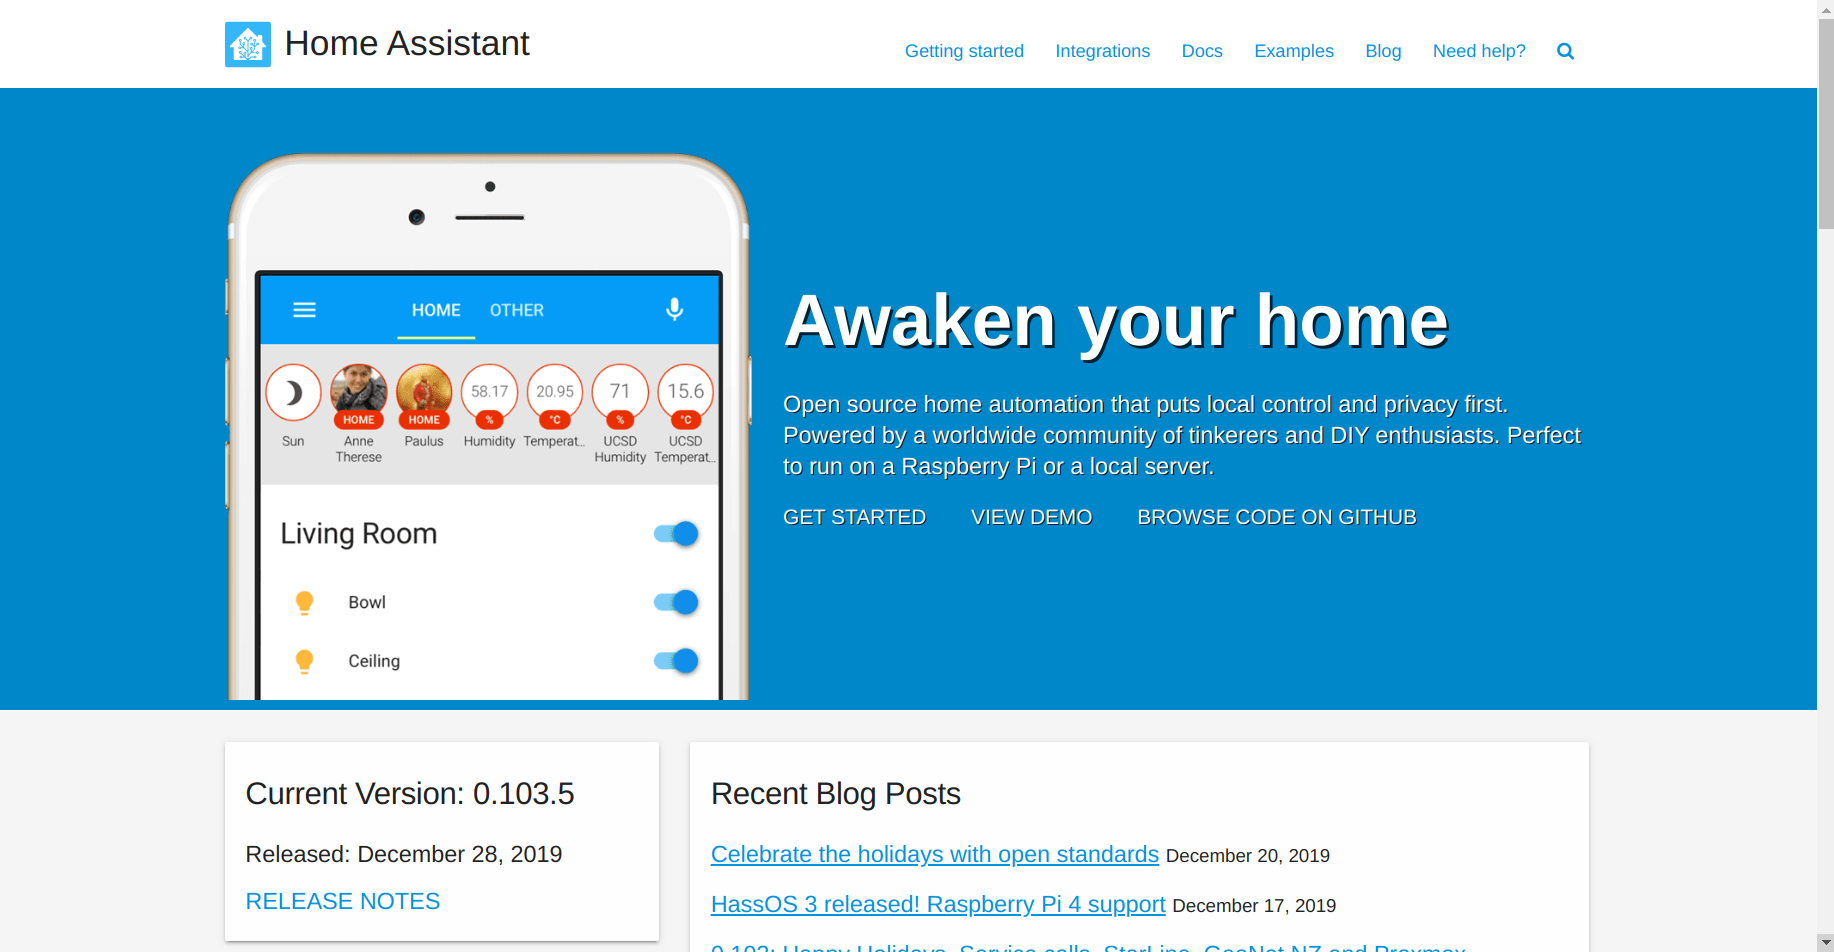
Download Hass.io, flash it on microSD card, plug the microSD card in Raspberry Pi and turn it on. On first boot, it downloads the latest version of Home Assistant which takes around 20-30 minutes depending on your Internet connection. If your router supports mDNS, You will be able to reach your installation at http://hassio.local:8123.
Install Mosquitto
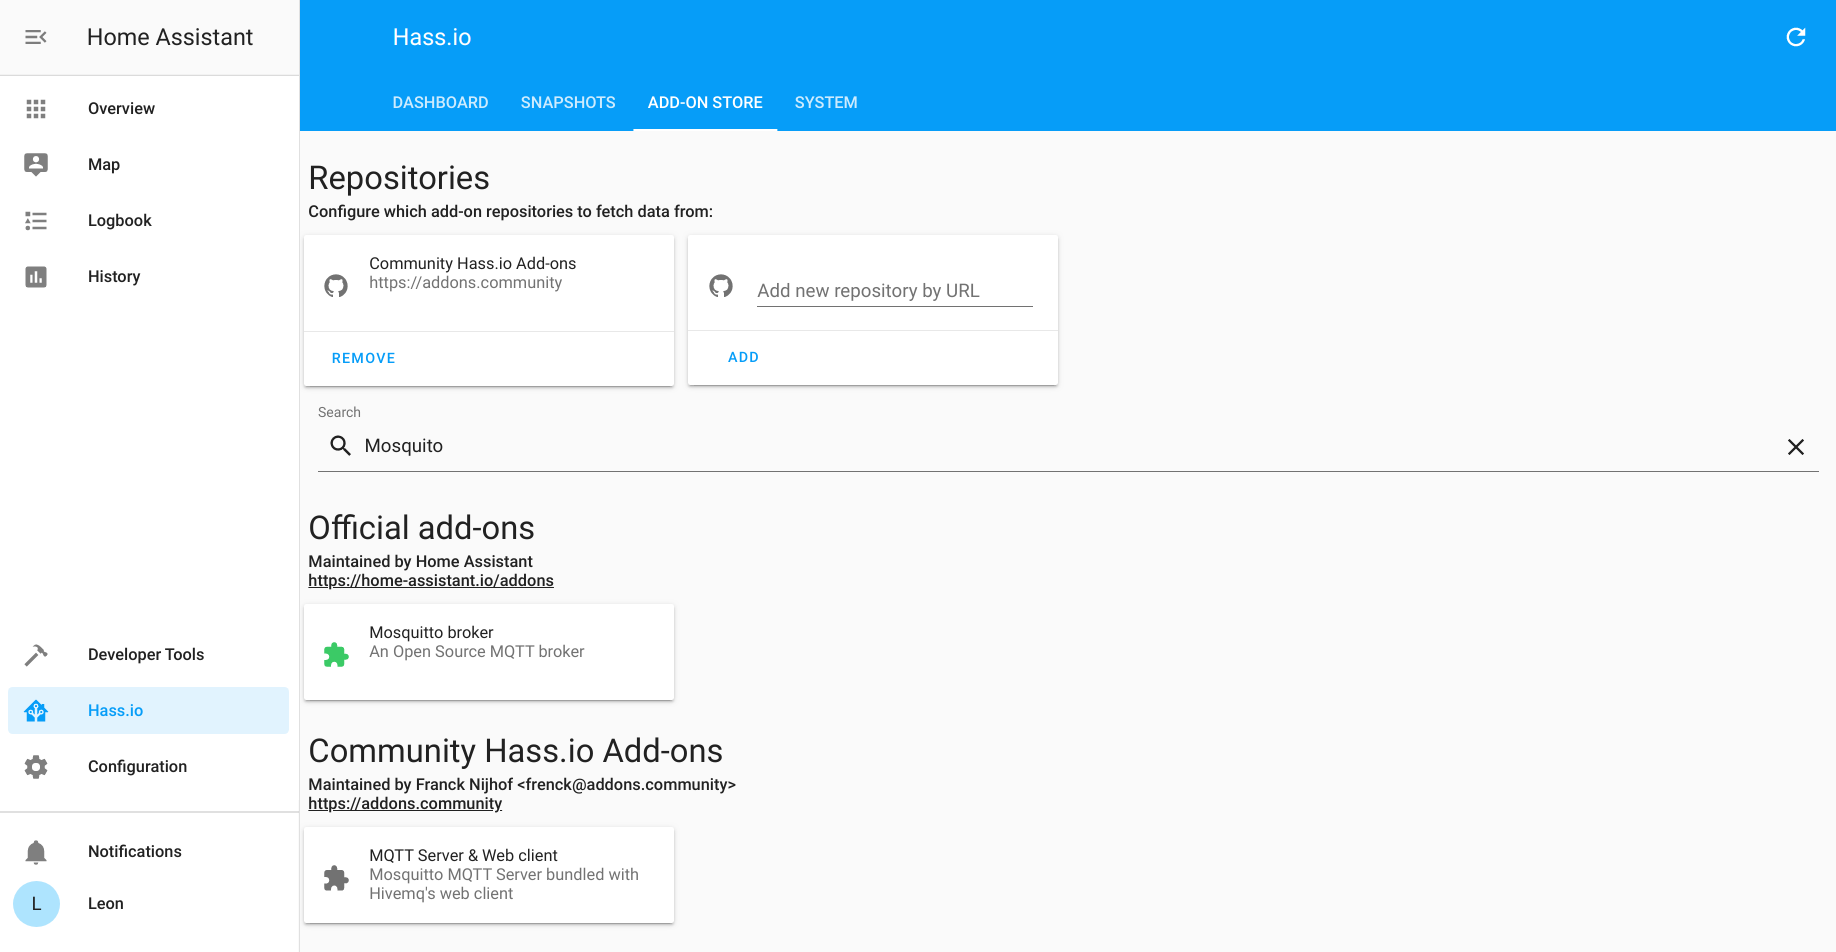
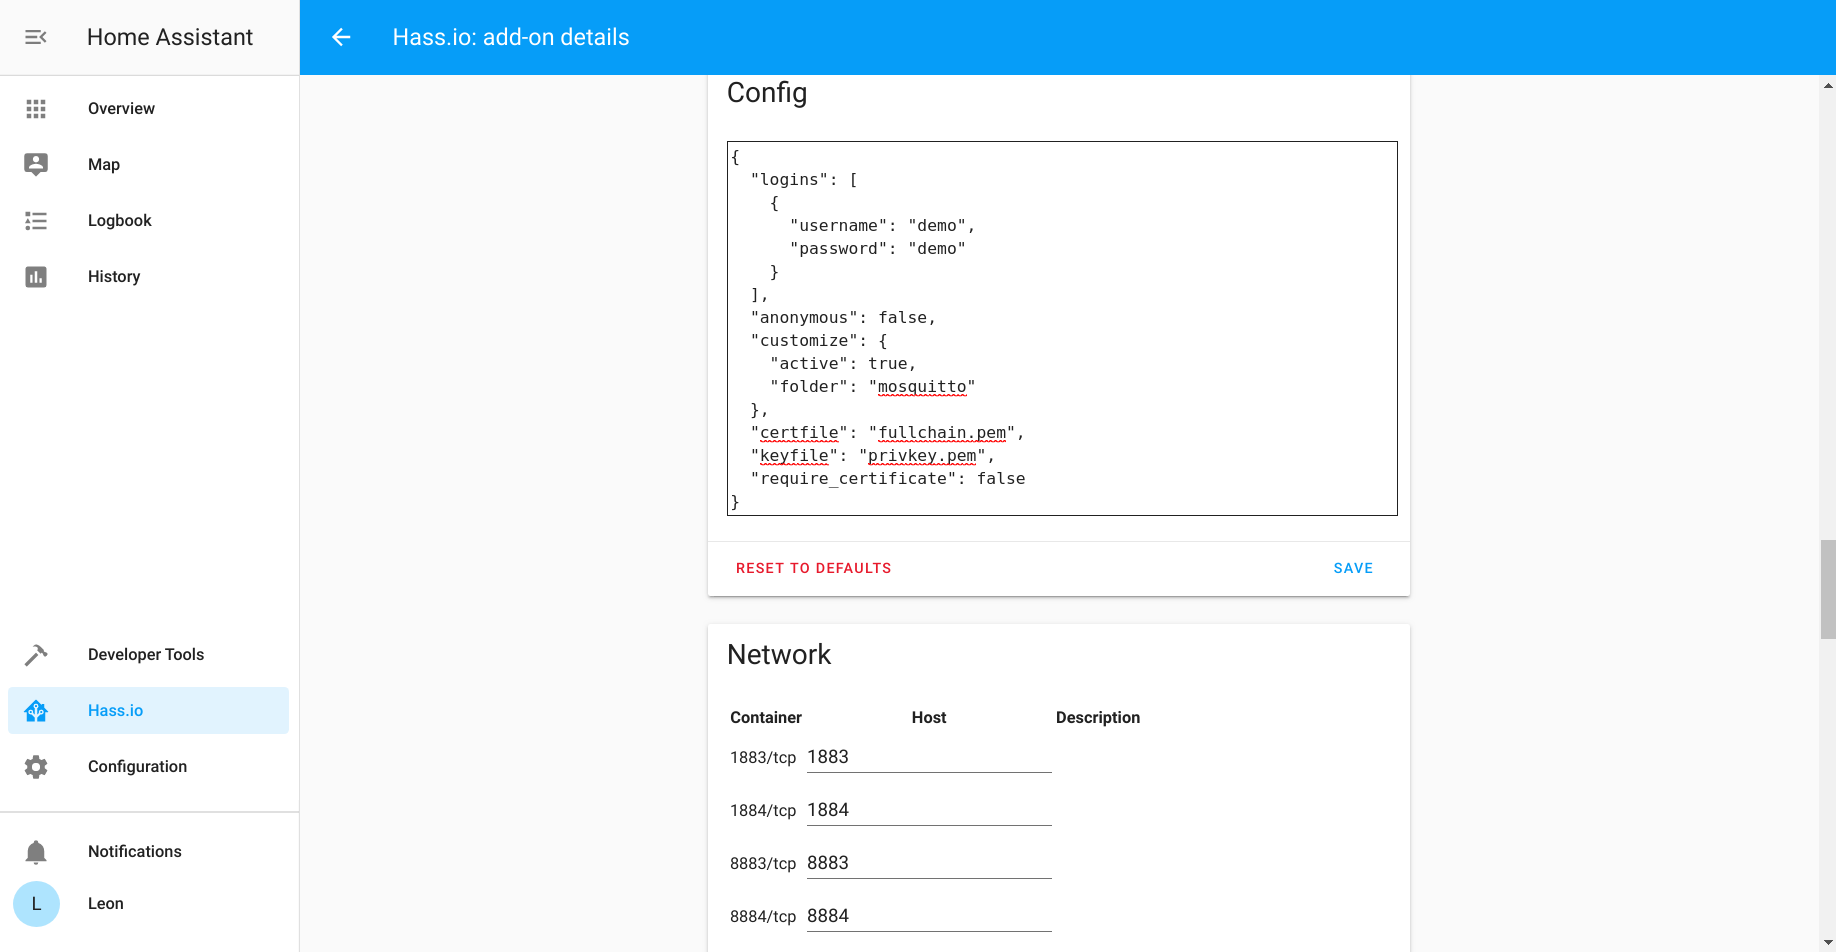
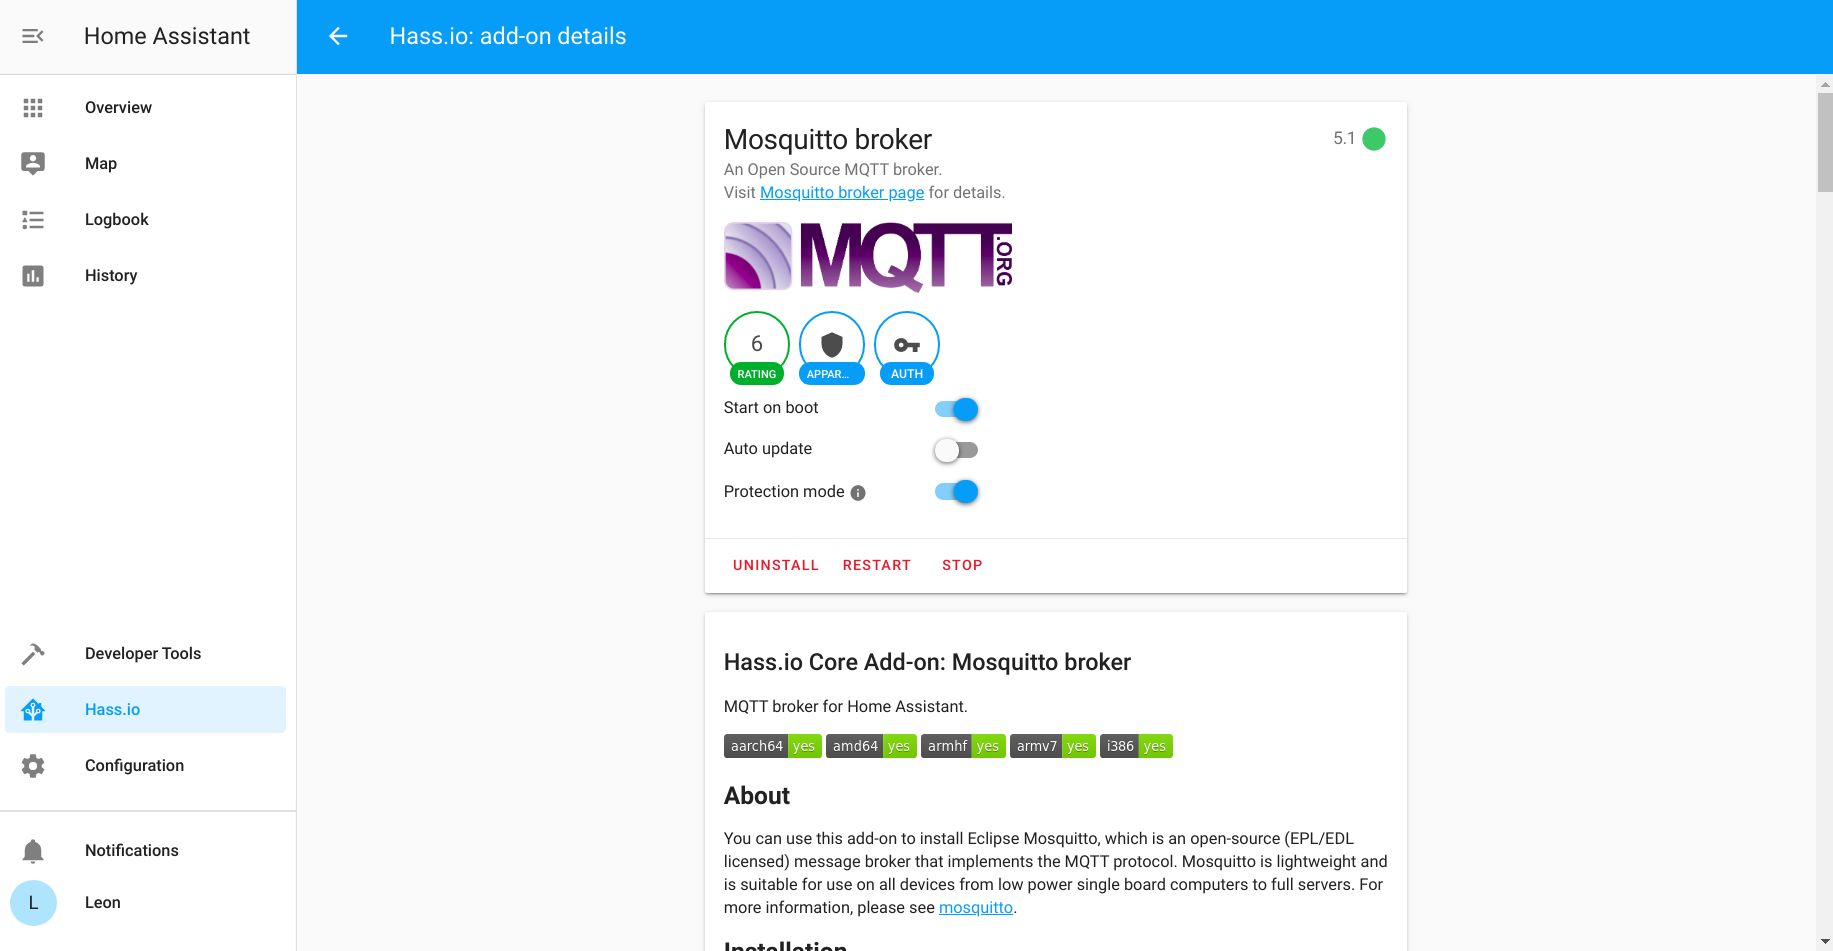
Install Mosquitto MQTT broker from Hass.io add-on store, configure username and password as well as Access Control Lists (ACL), finally launch Mosquitto.
Add MQTT Integration for Home Assistant
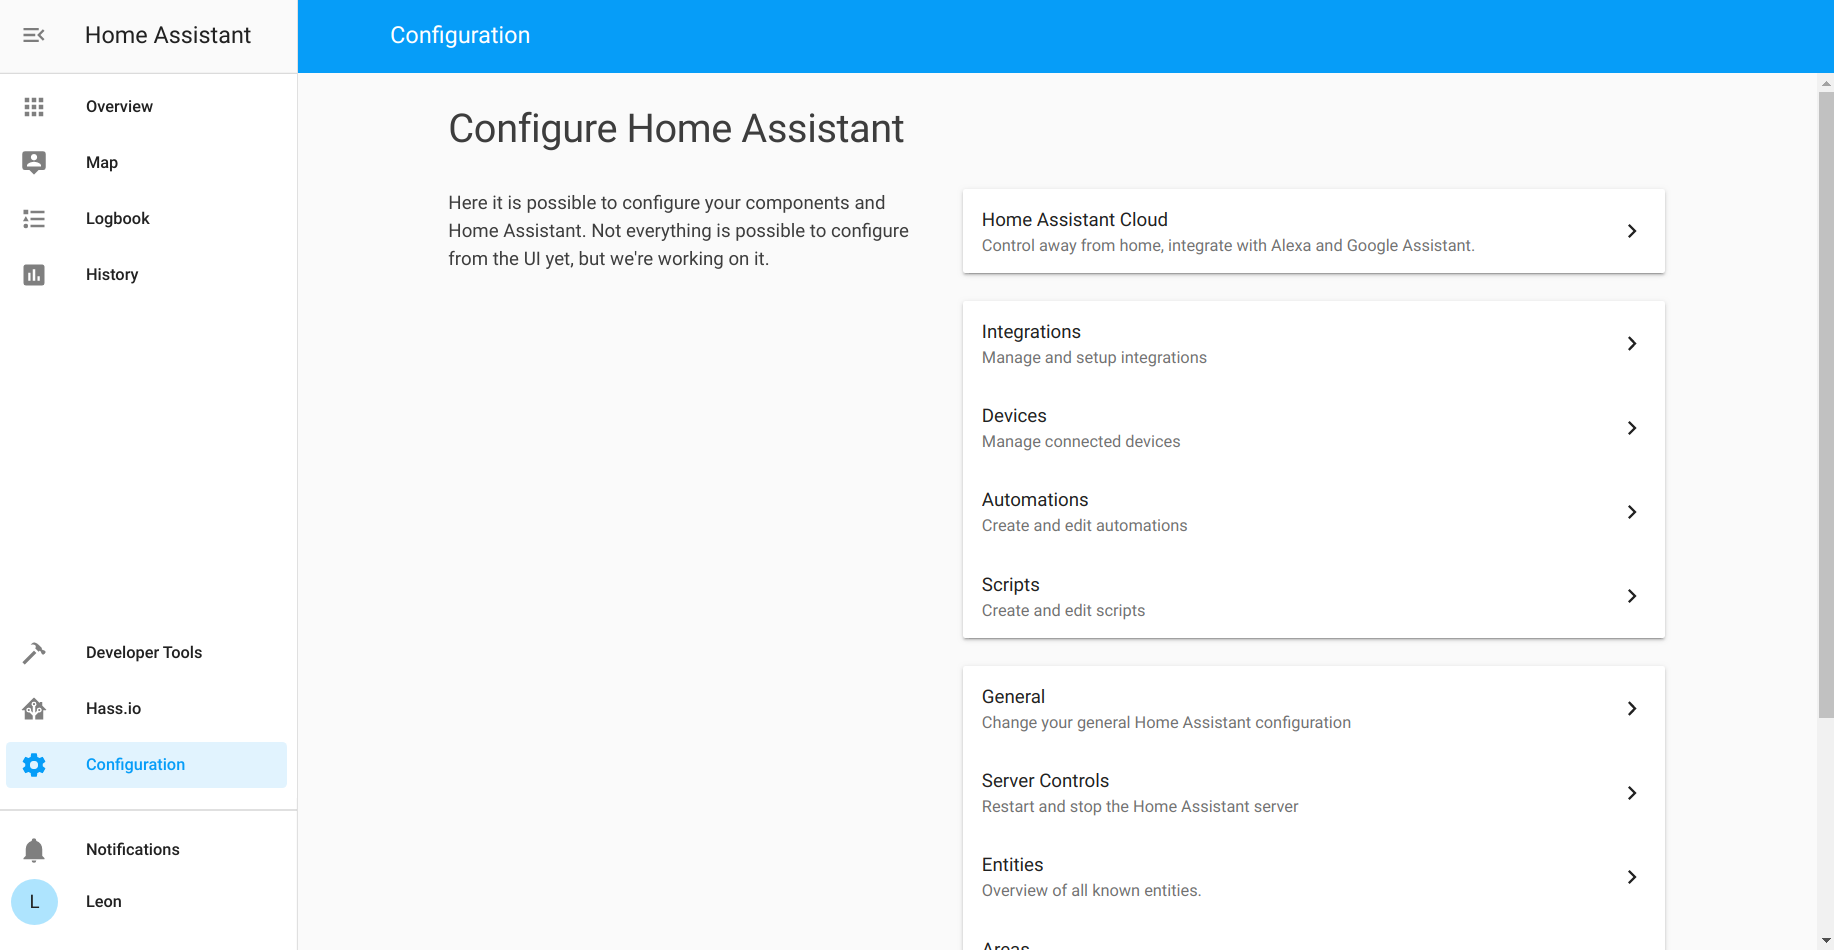
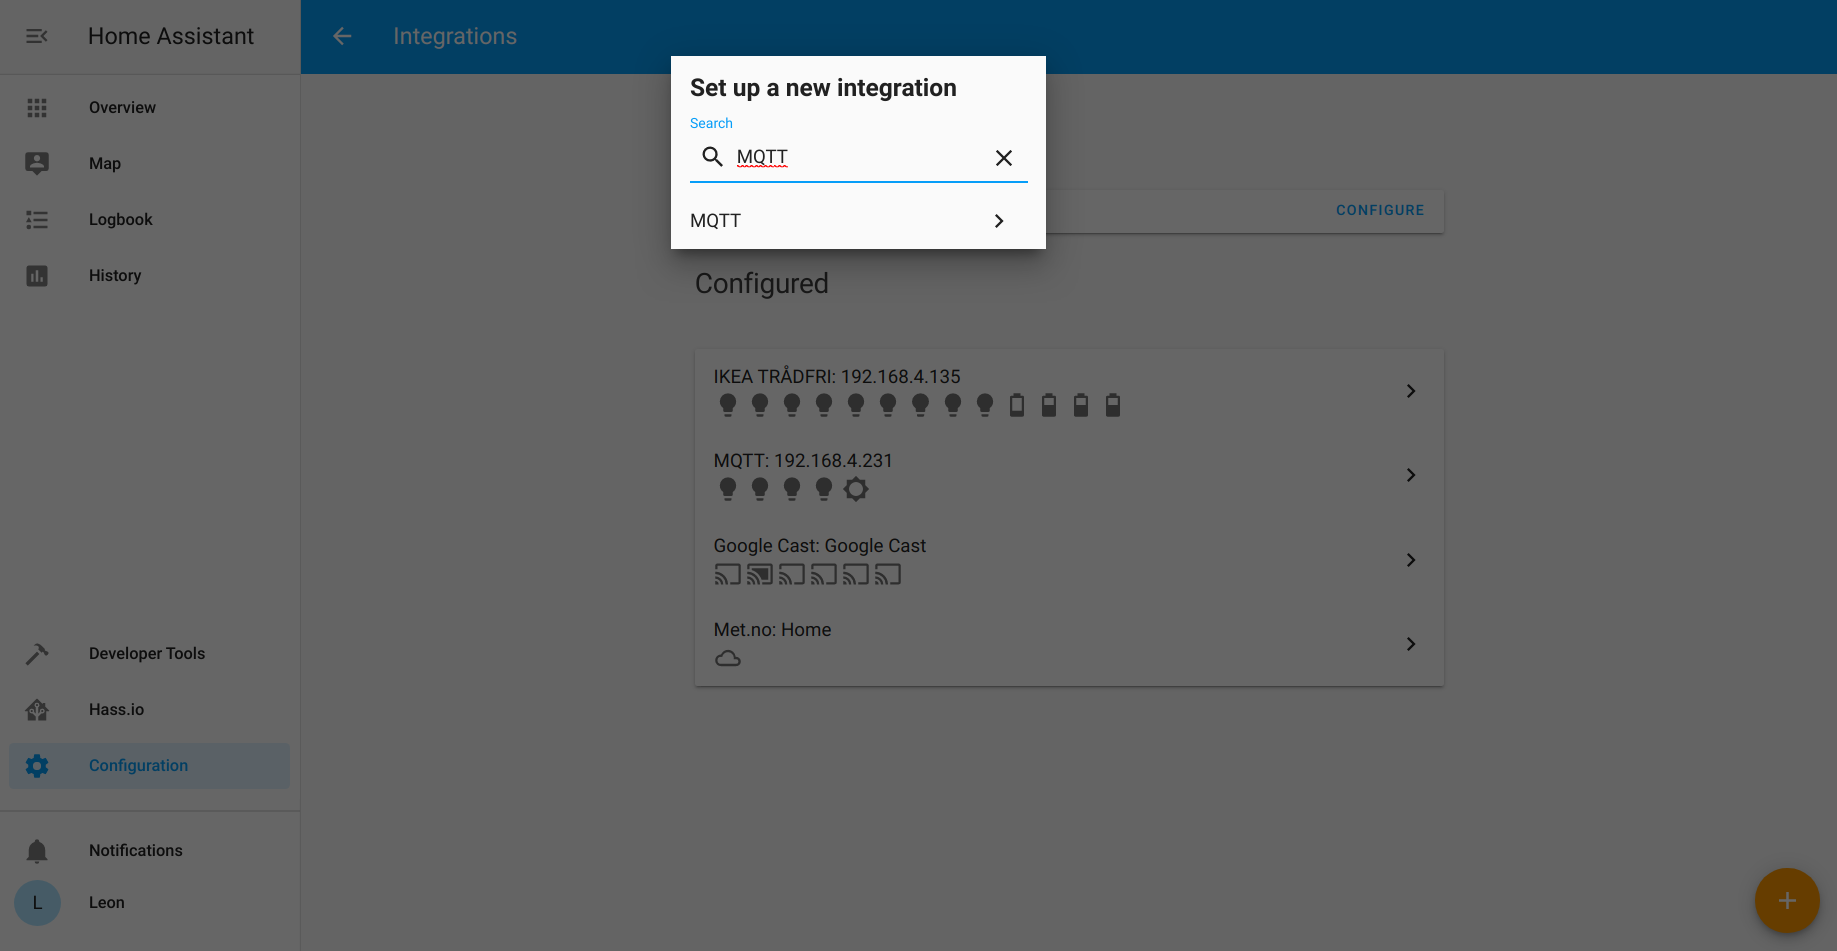
From Configure > Integrations add new MQTT integration. Enter IP address, username, password and click Enable discovery. It is mandatory and very important to enable discovery.
Solder Male to Male Jumper Wires to Adafruit NeoPixel Ring and NeoPixel Stick
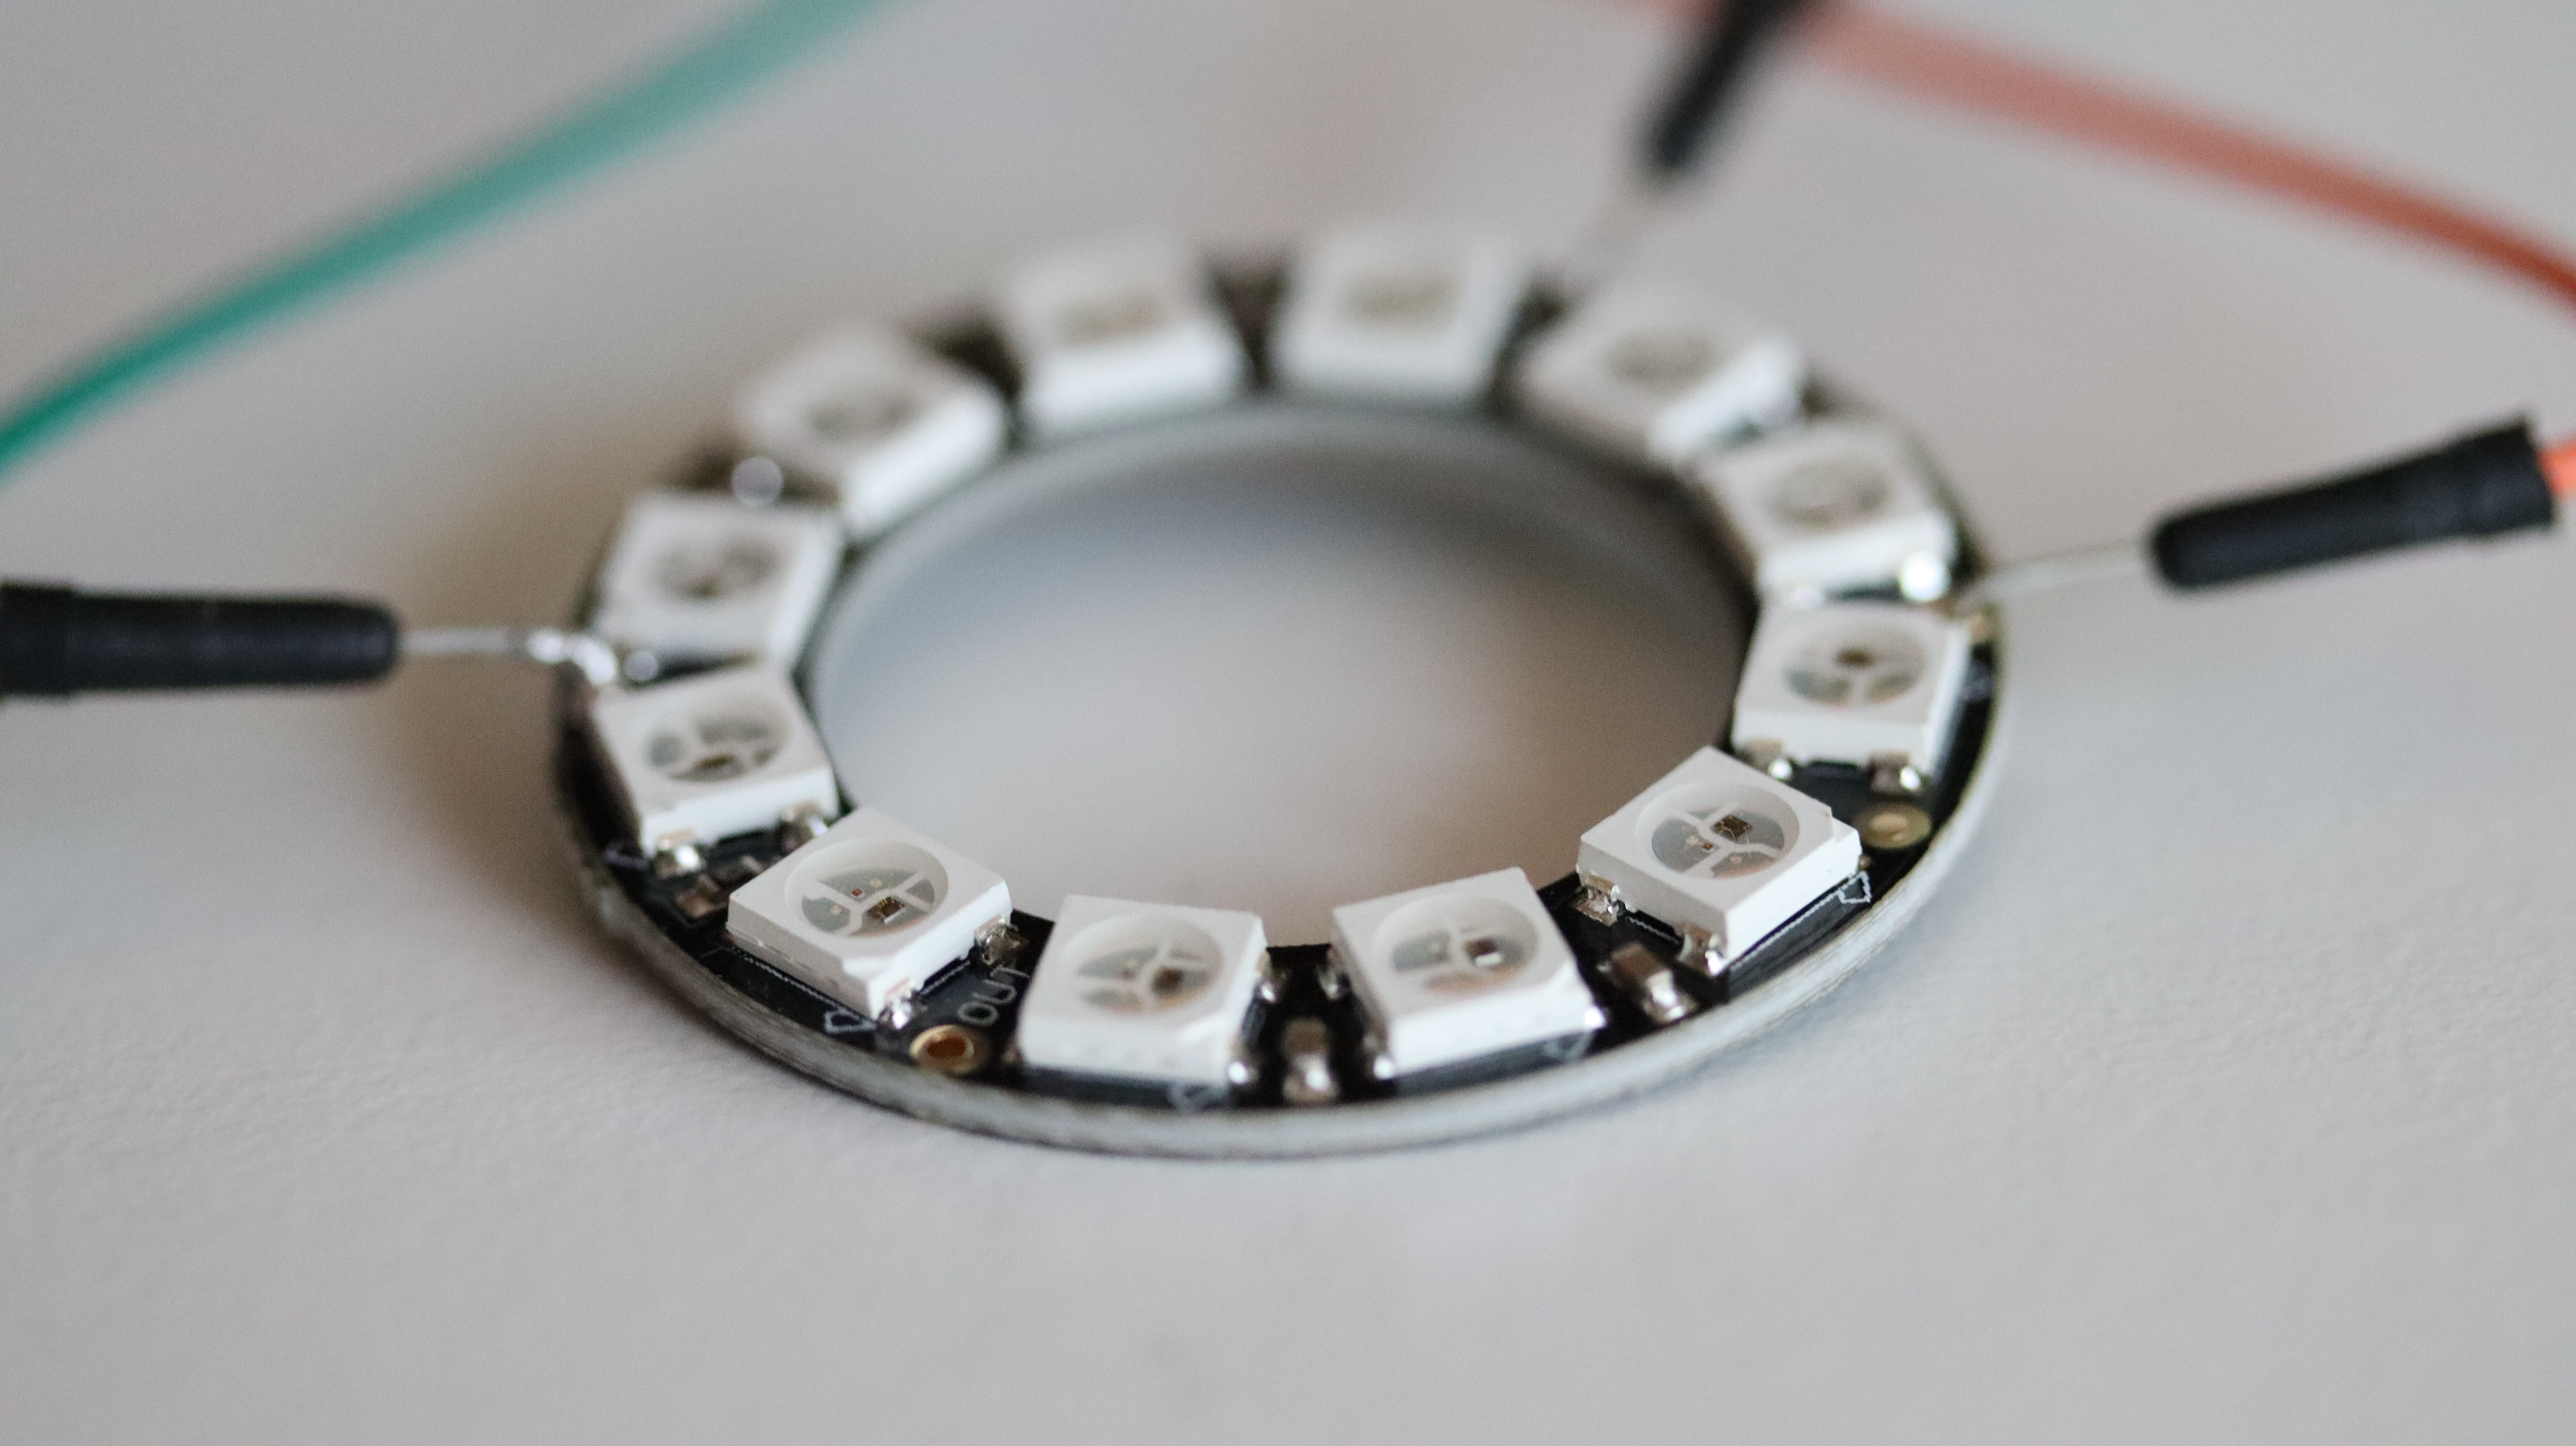
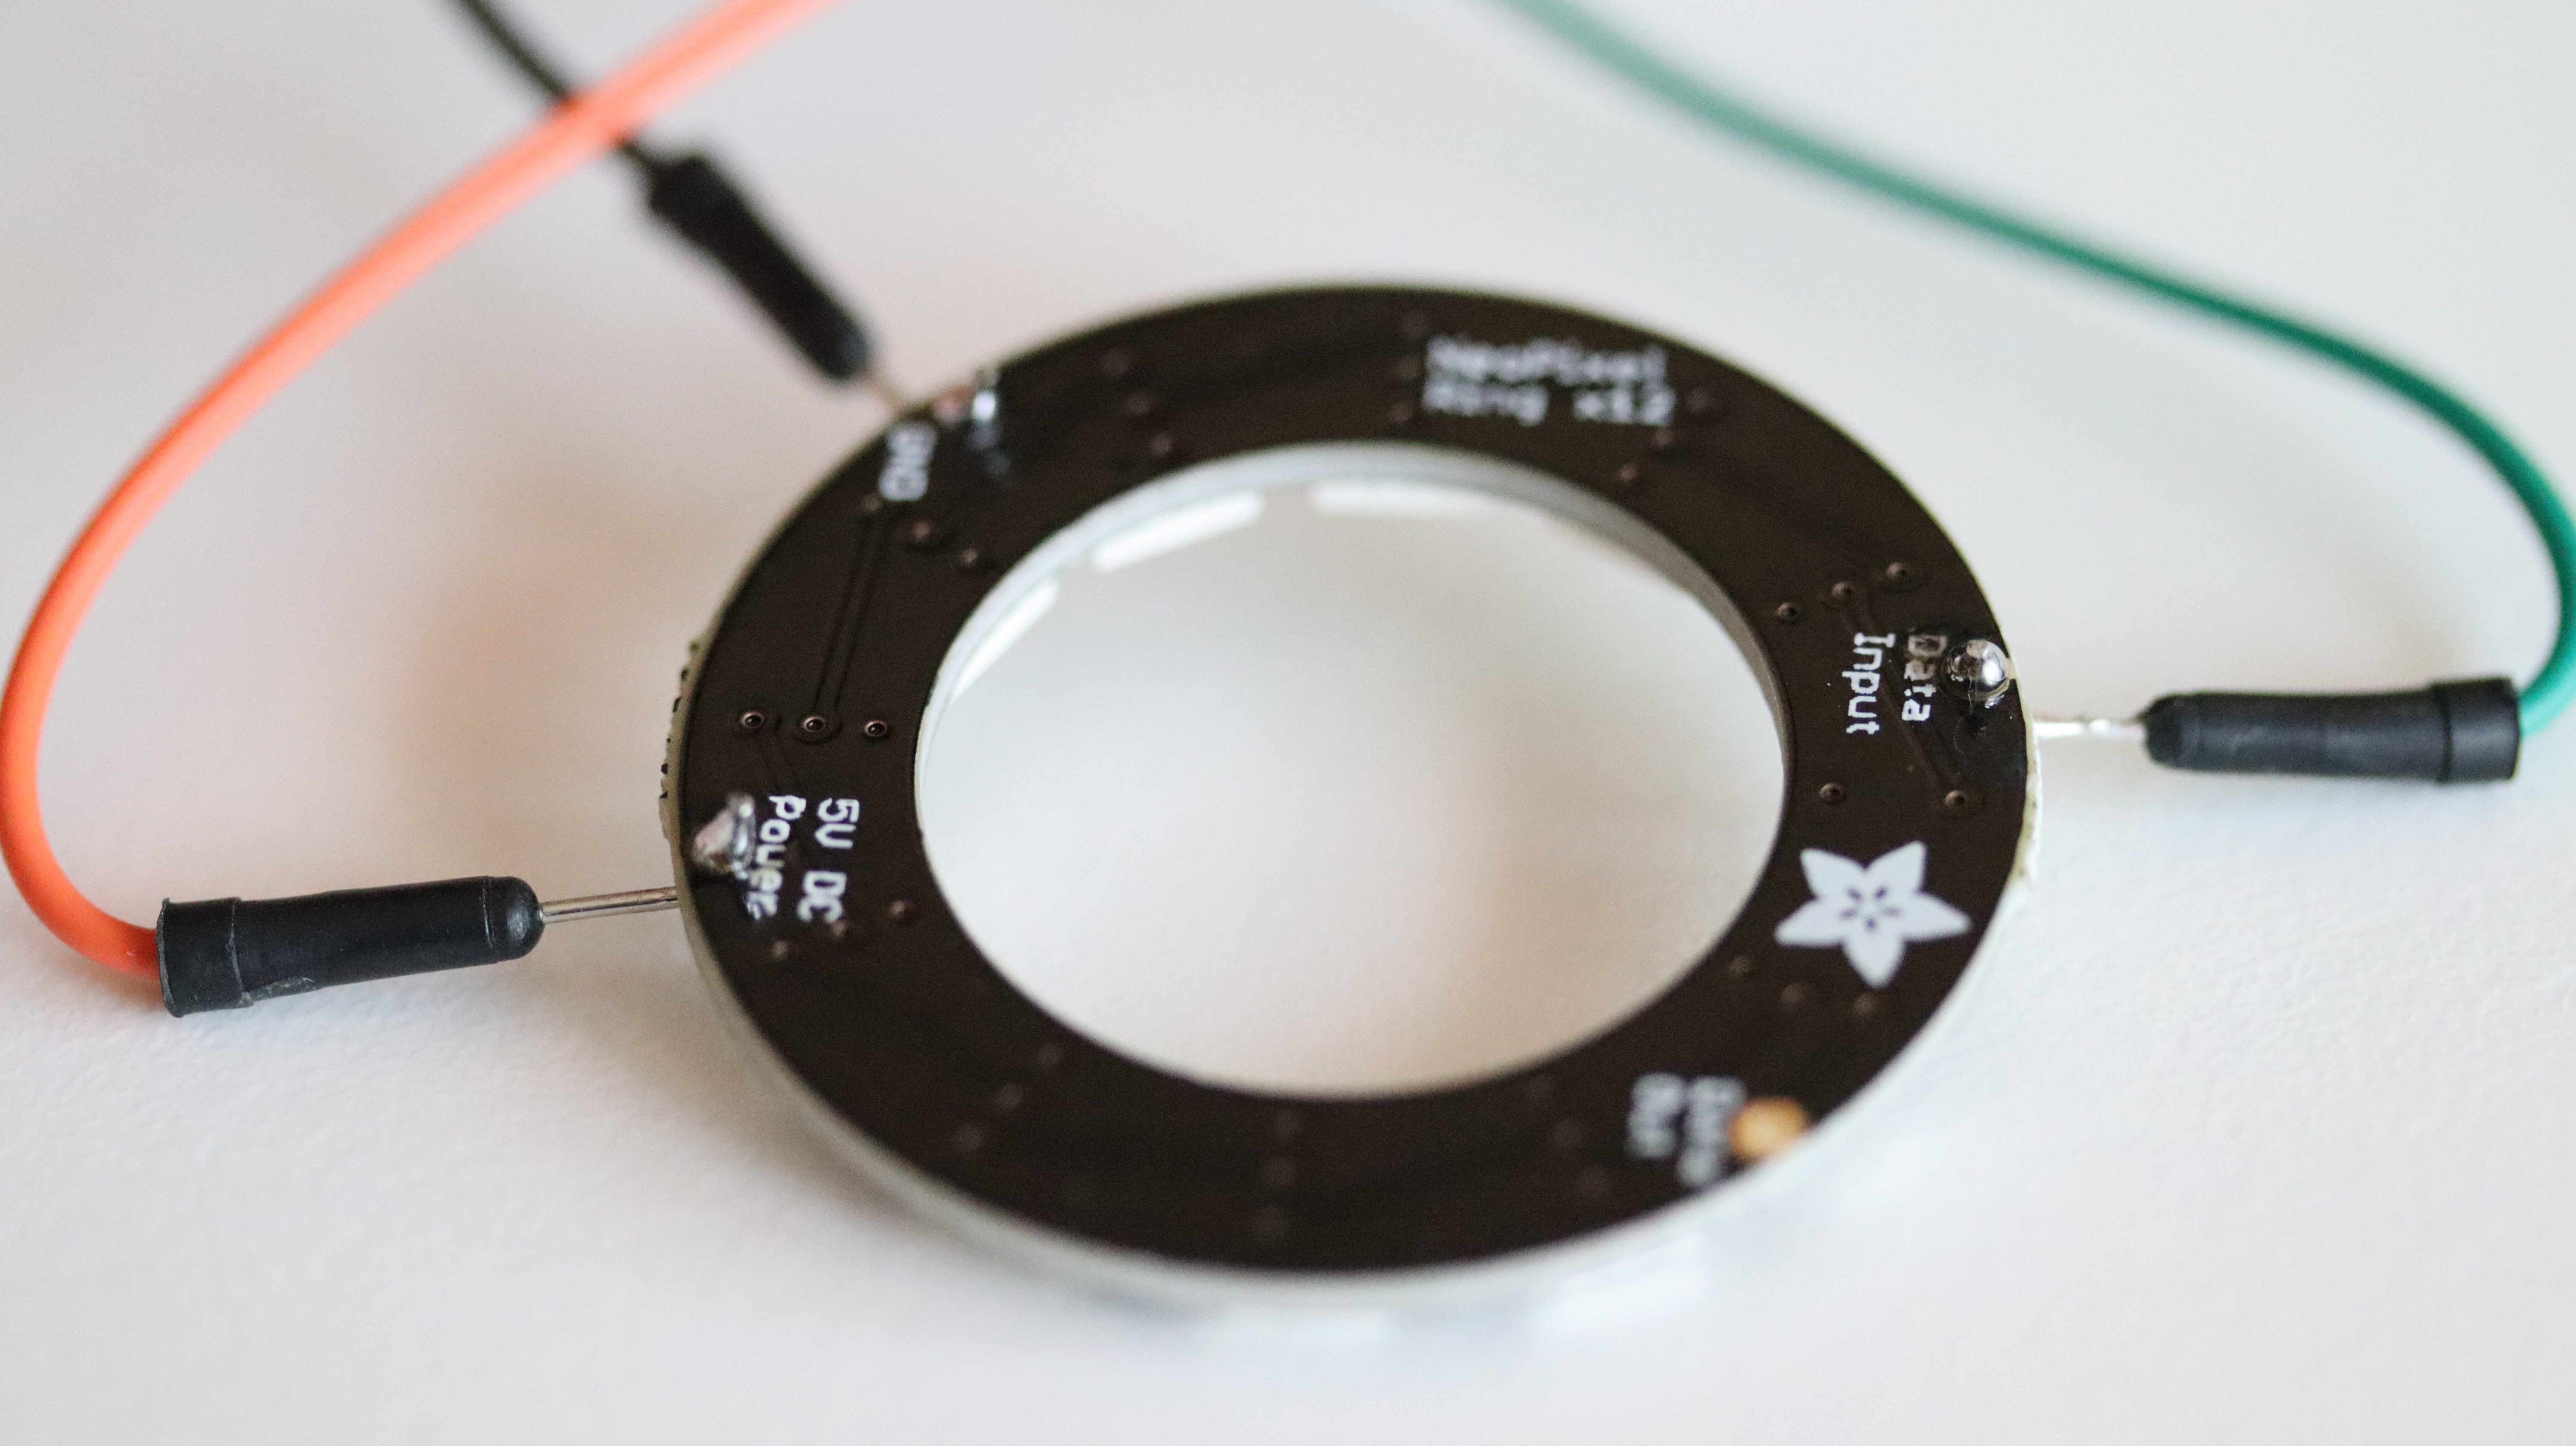
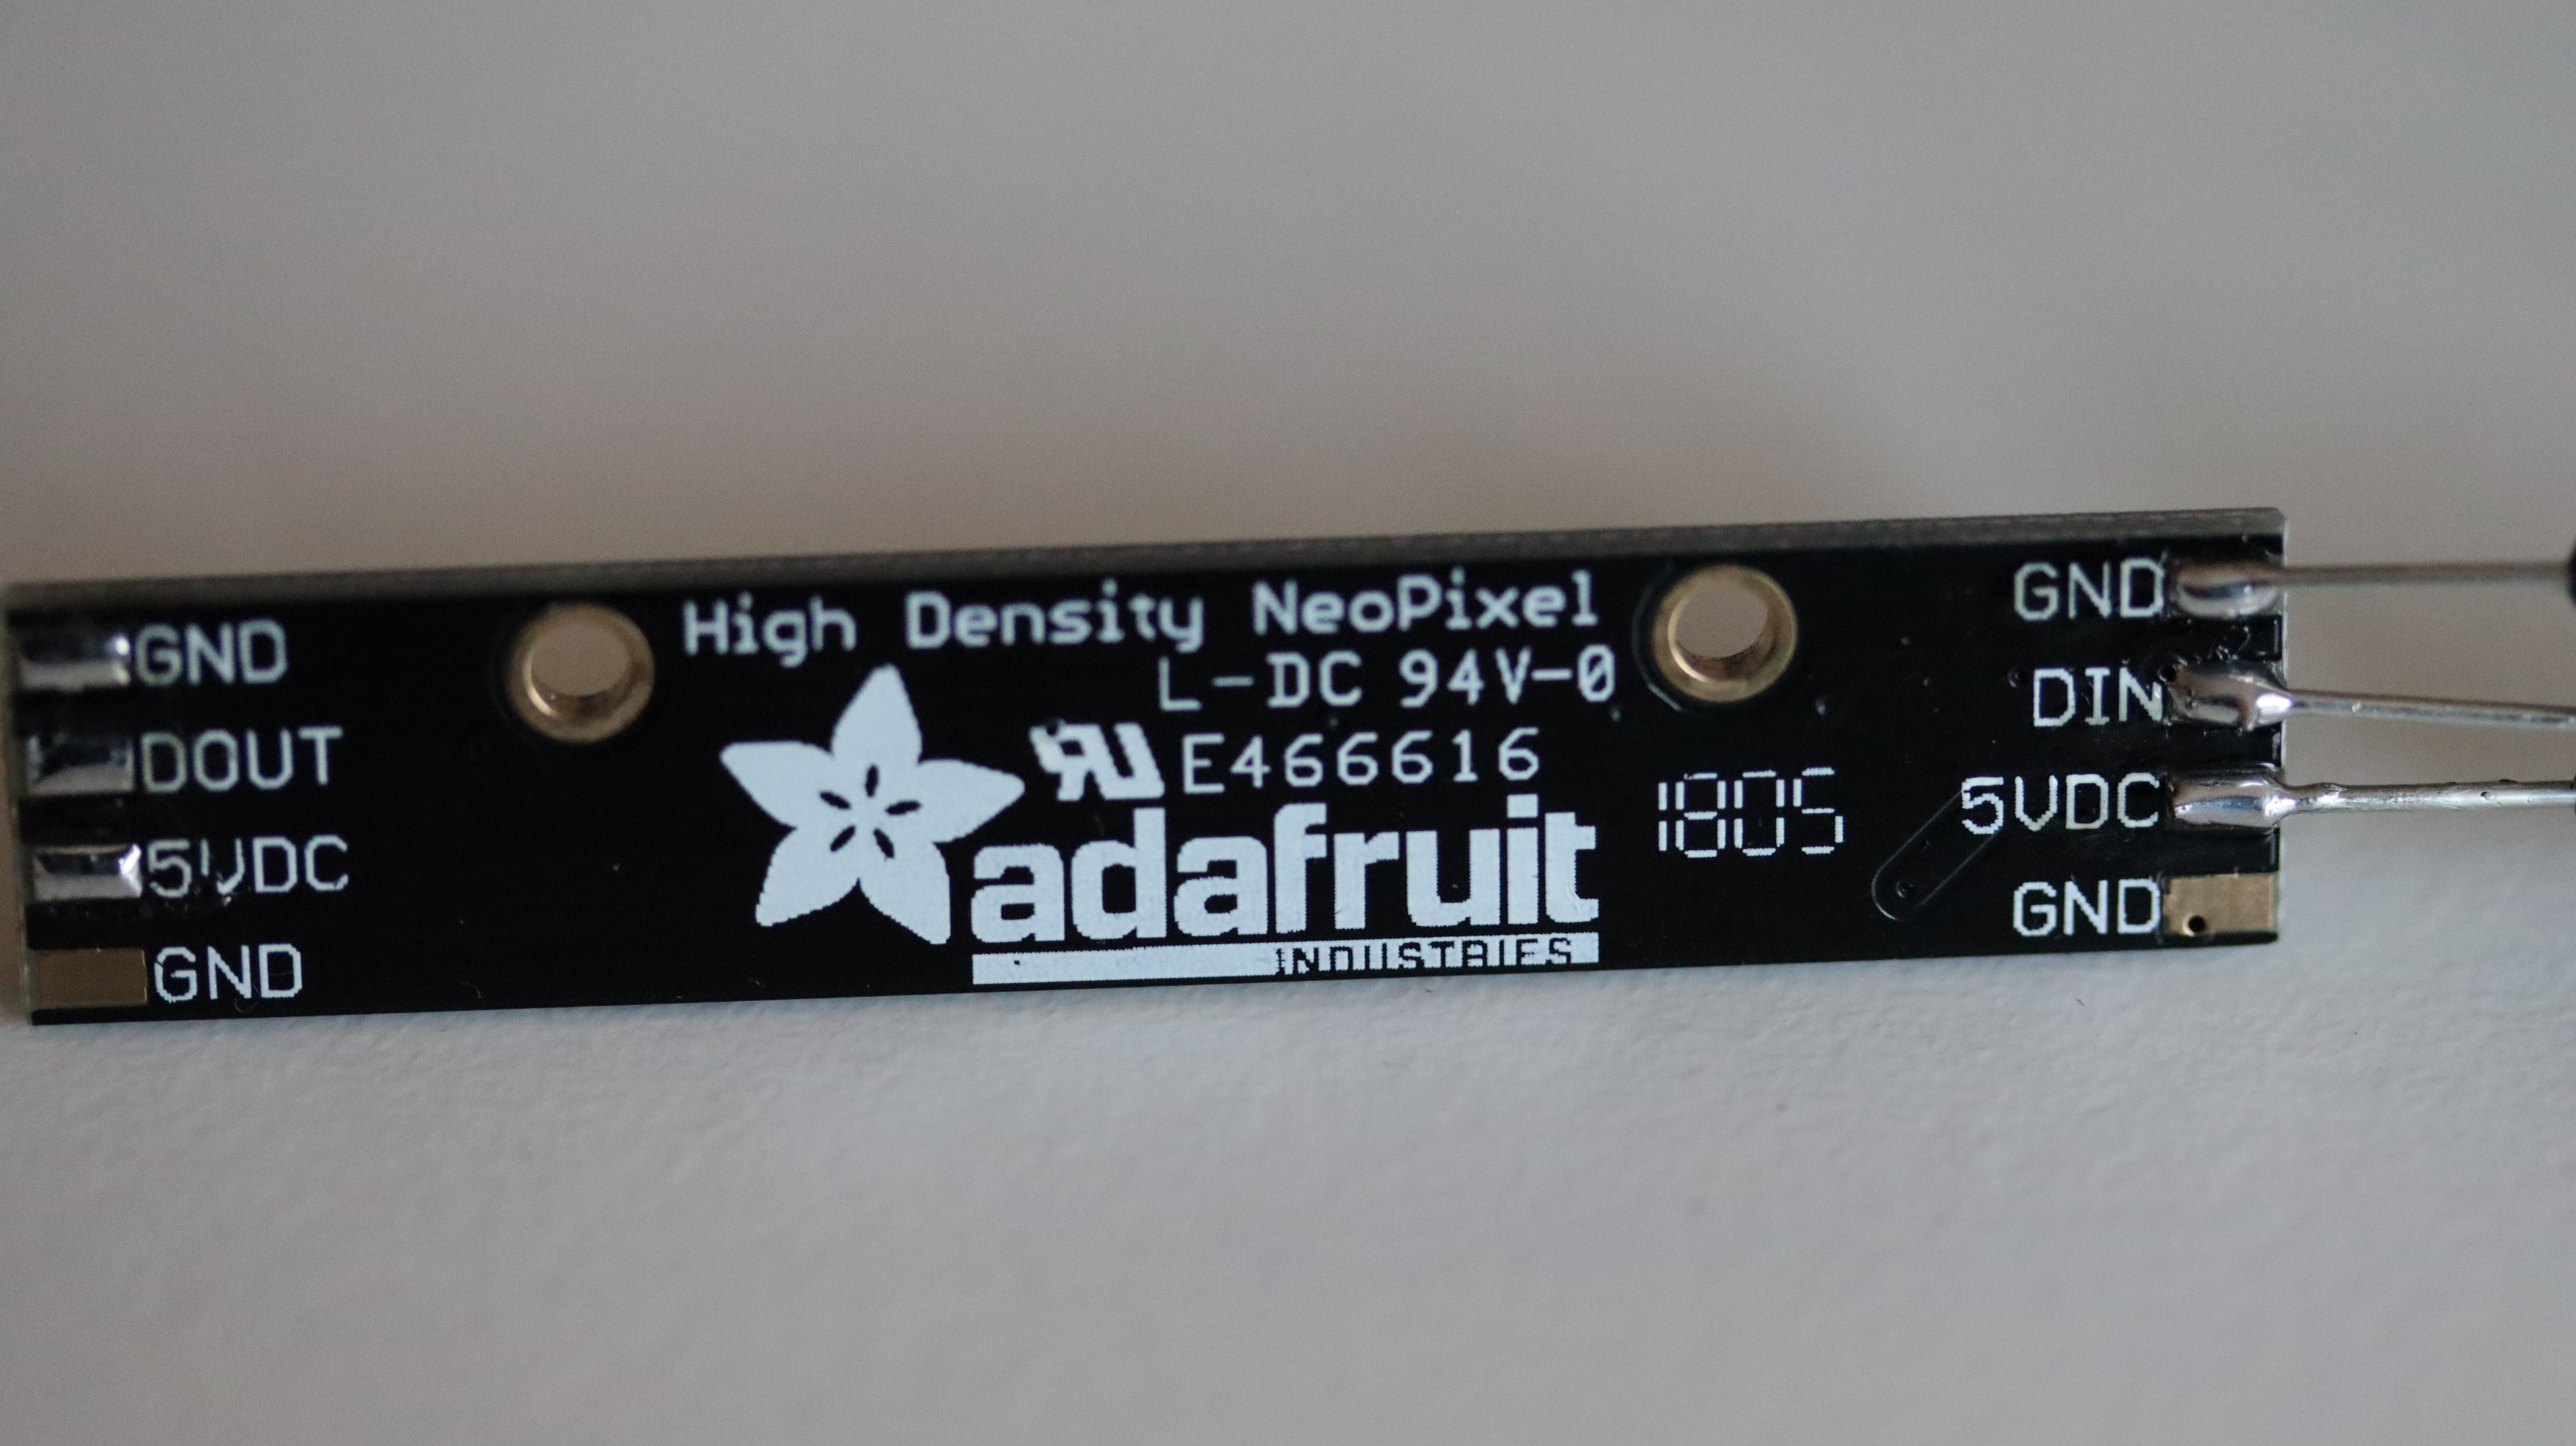
Out of the box Adafruit NeoPixel Rings and Sticks don't have leads. Solder male to male jumper wires to Adafruit NeoPixel Ring and NeoPixel Stick. Three wires are needed for each NeoPixel device. One jumper wire is for GND, another for 5V DC and the third is for DIN (Data input).
Connect to ANAVI Miracle Controller
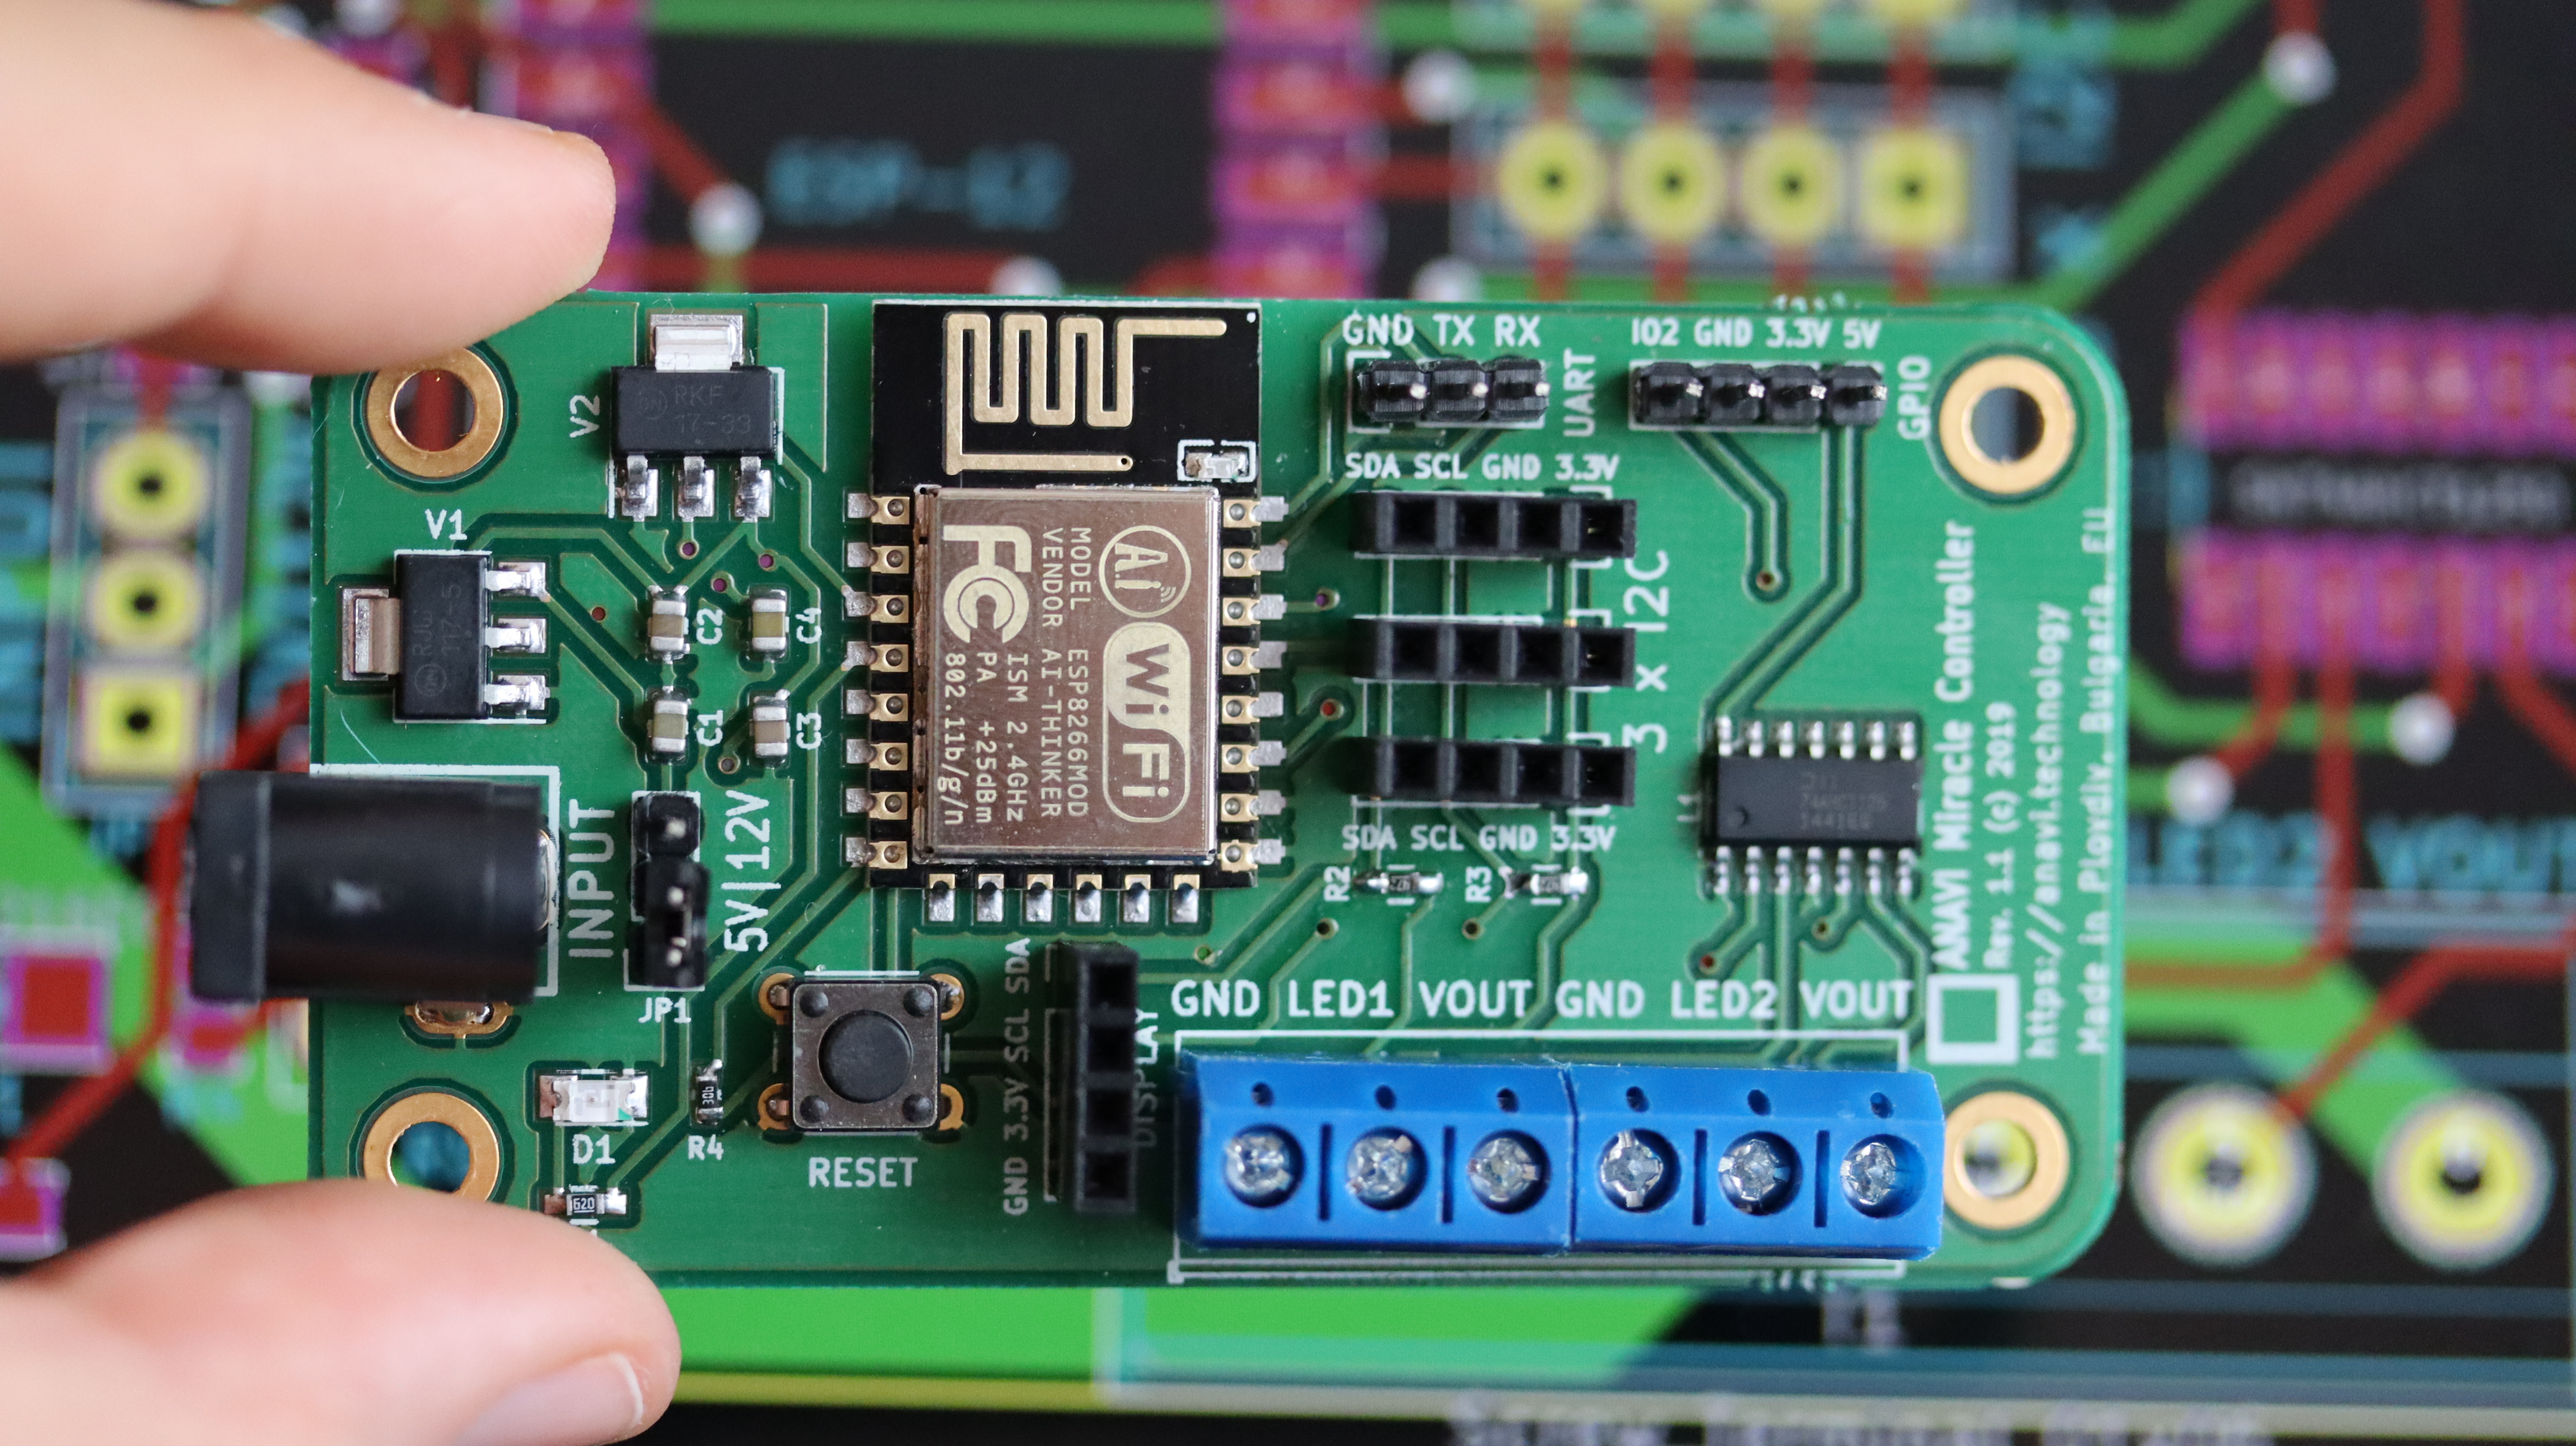

- Connect NeoPixel Stick DIN to LED1, GND to GND and 5VDC to VOUT on ANAVI Miracle Controller.
- Connect NeoPixel Ring Data Input to LED2, GND to GND and 5V DC Power to VOUT on ANAVI Miracle Controller.
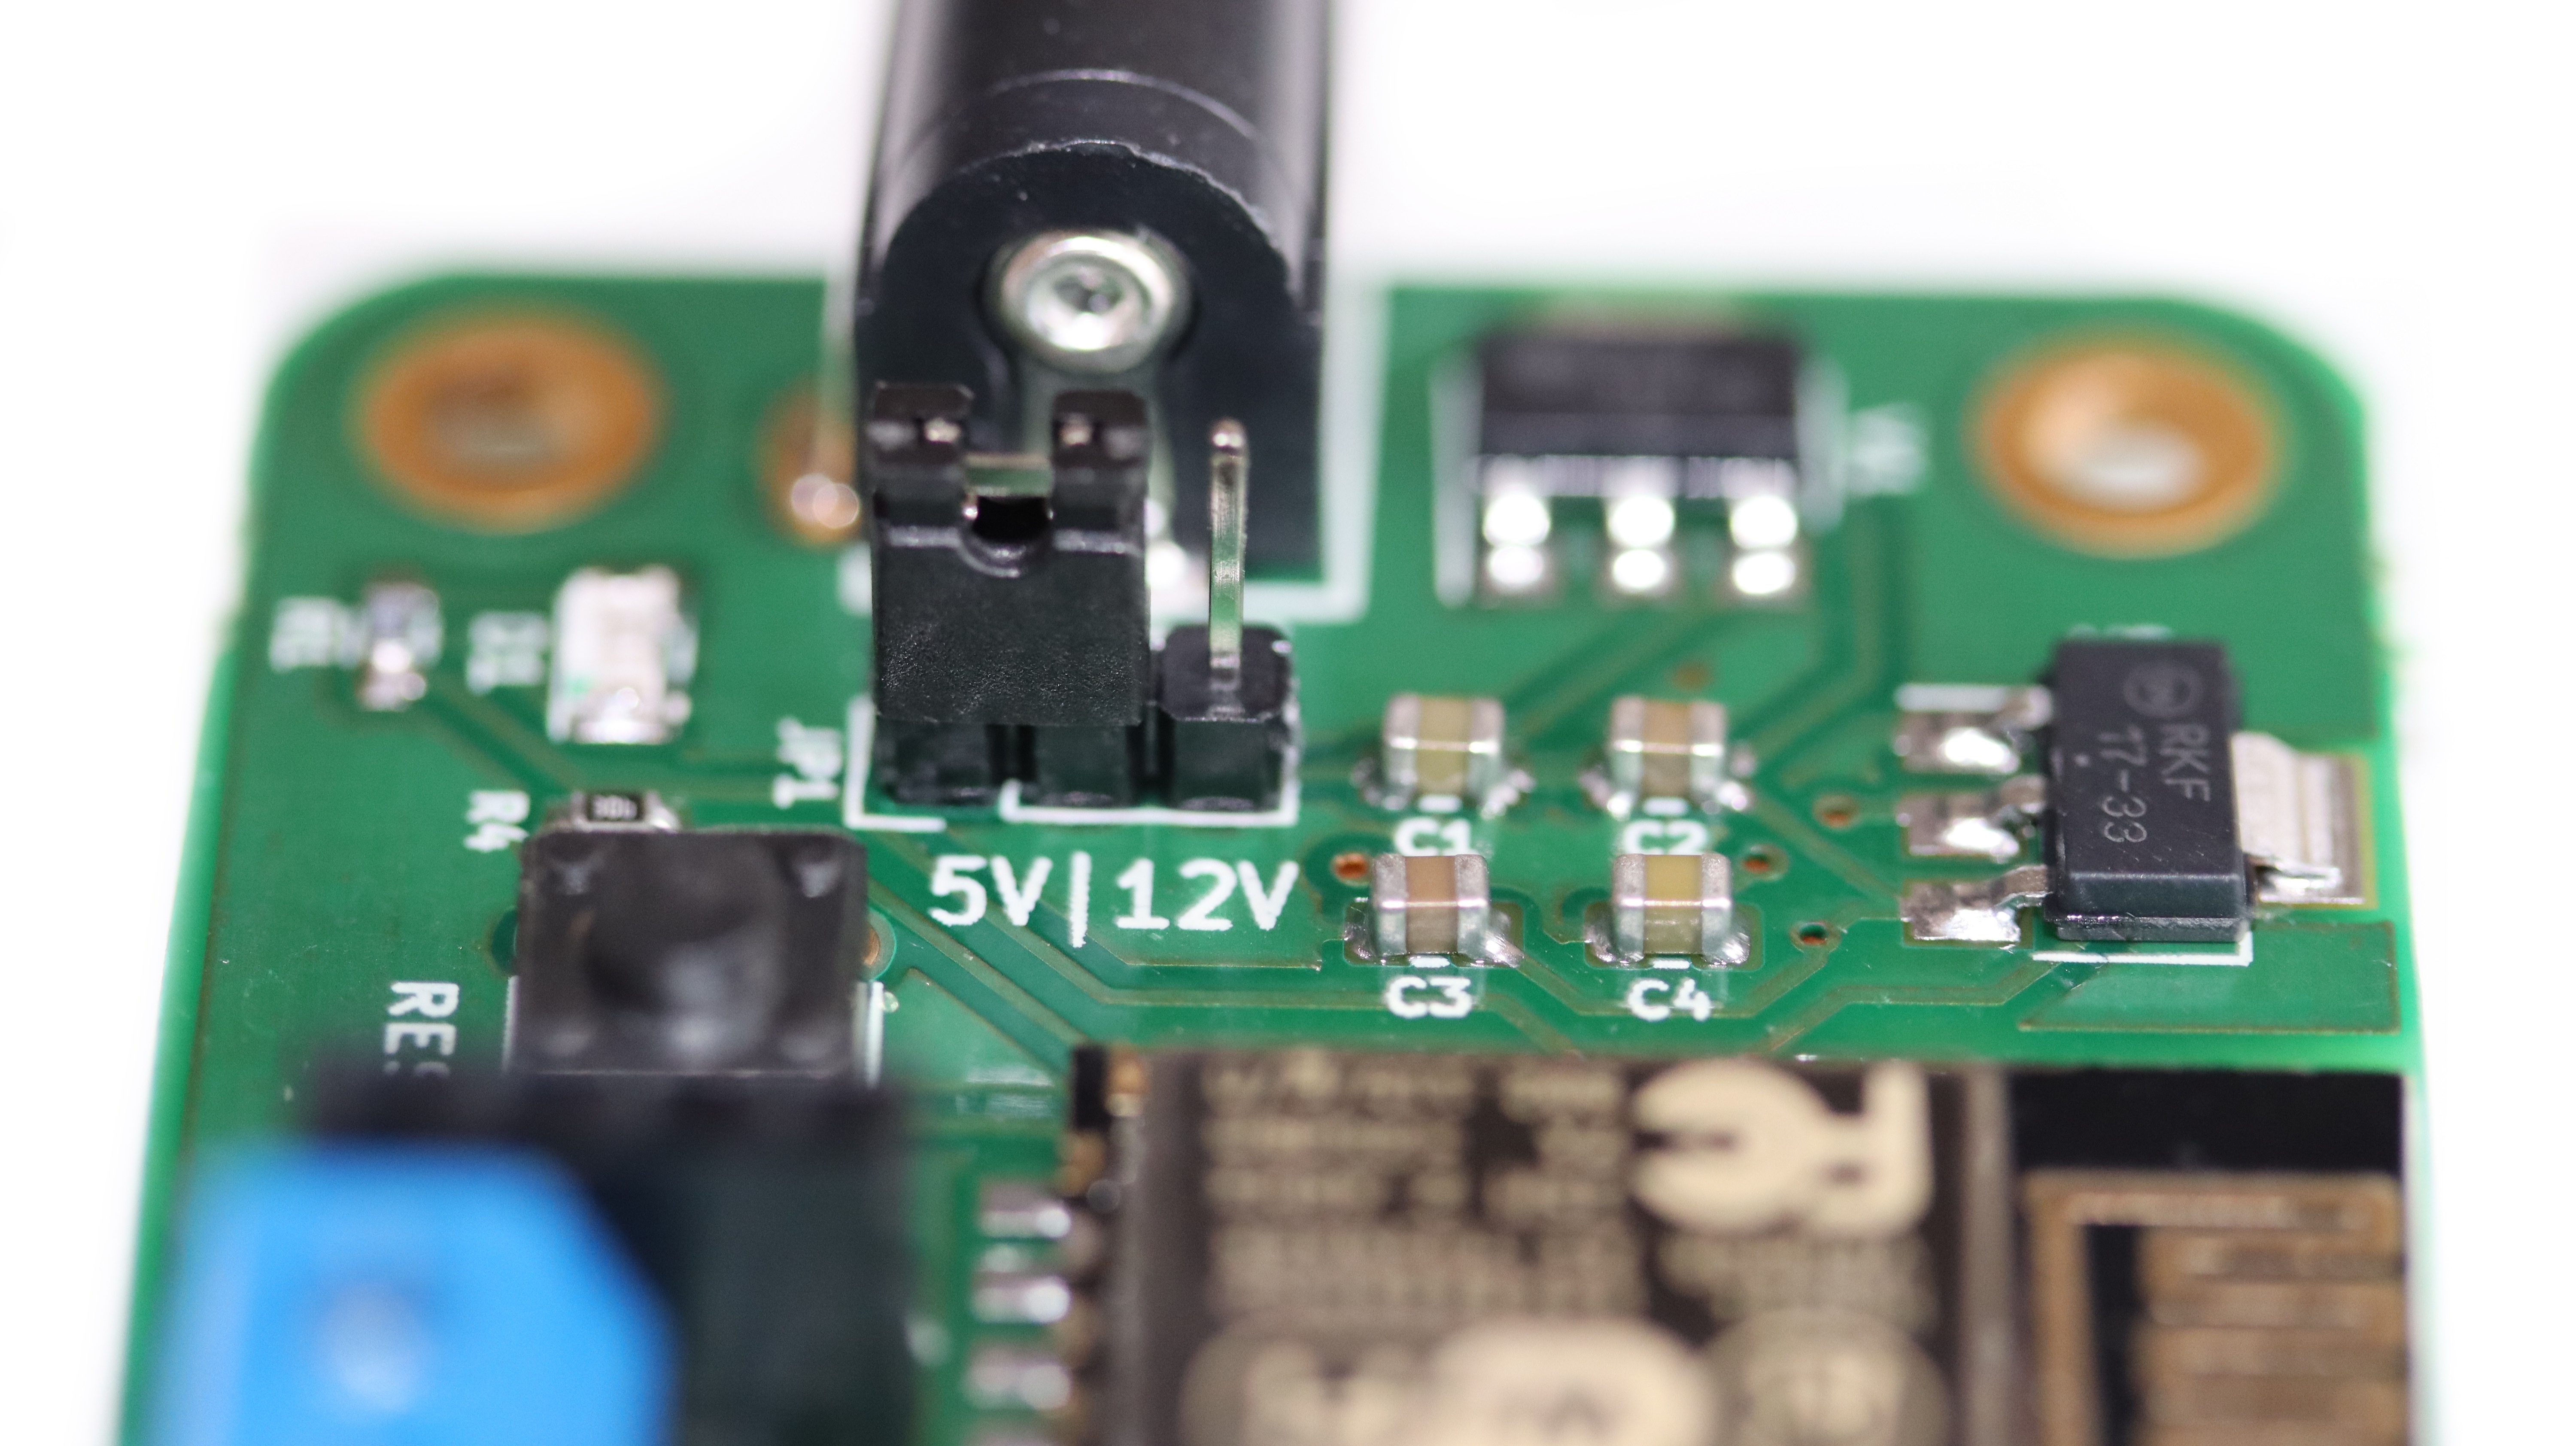
- Set the jumper on ANAVI Miracle Controller to 5V.
- Plug appropriate 5V DC center positive power supply to the barrel jack (5.5x2.1mm) on ANAVI Miracle Controller.
Configure ANAVI Miracle Controller
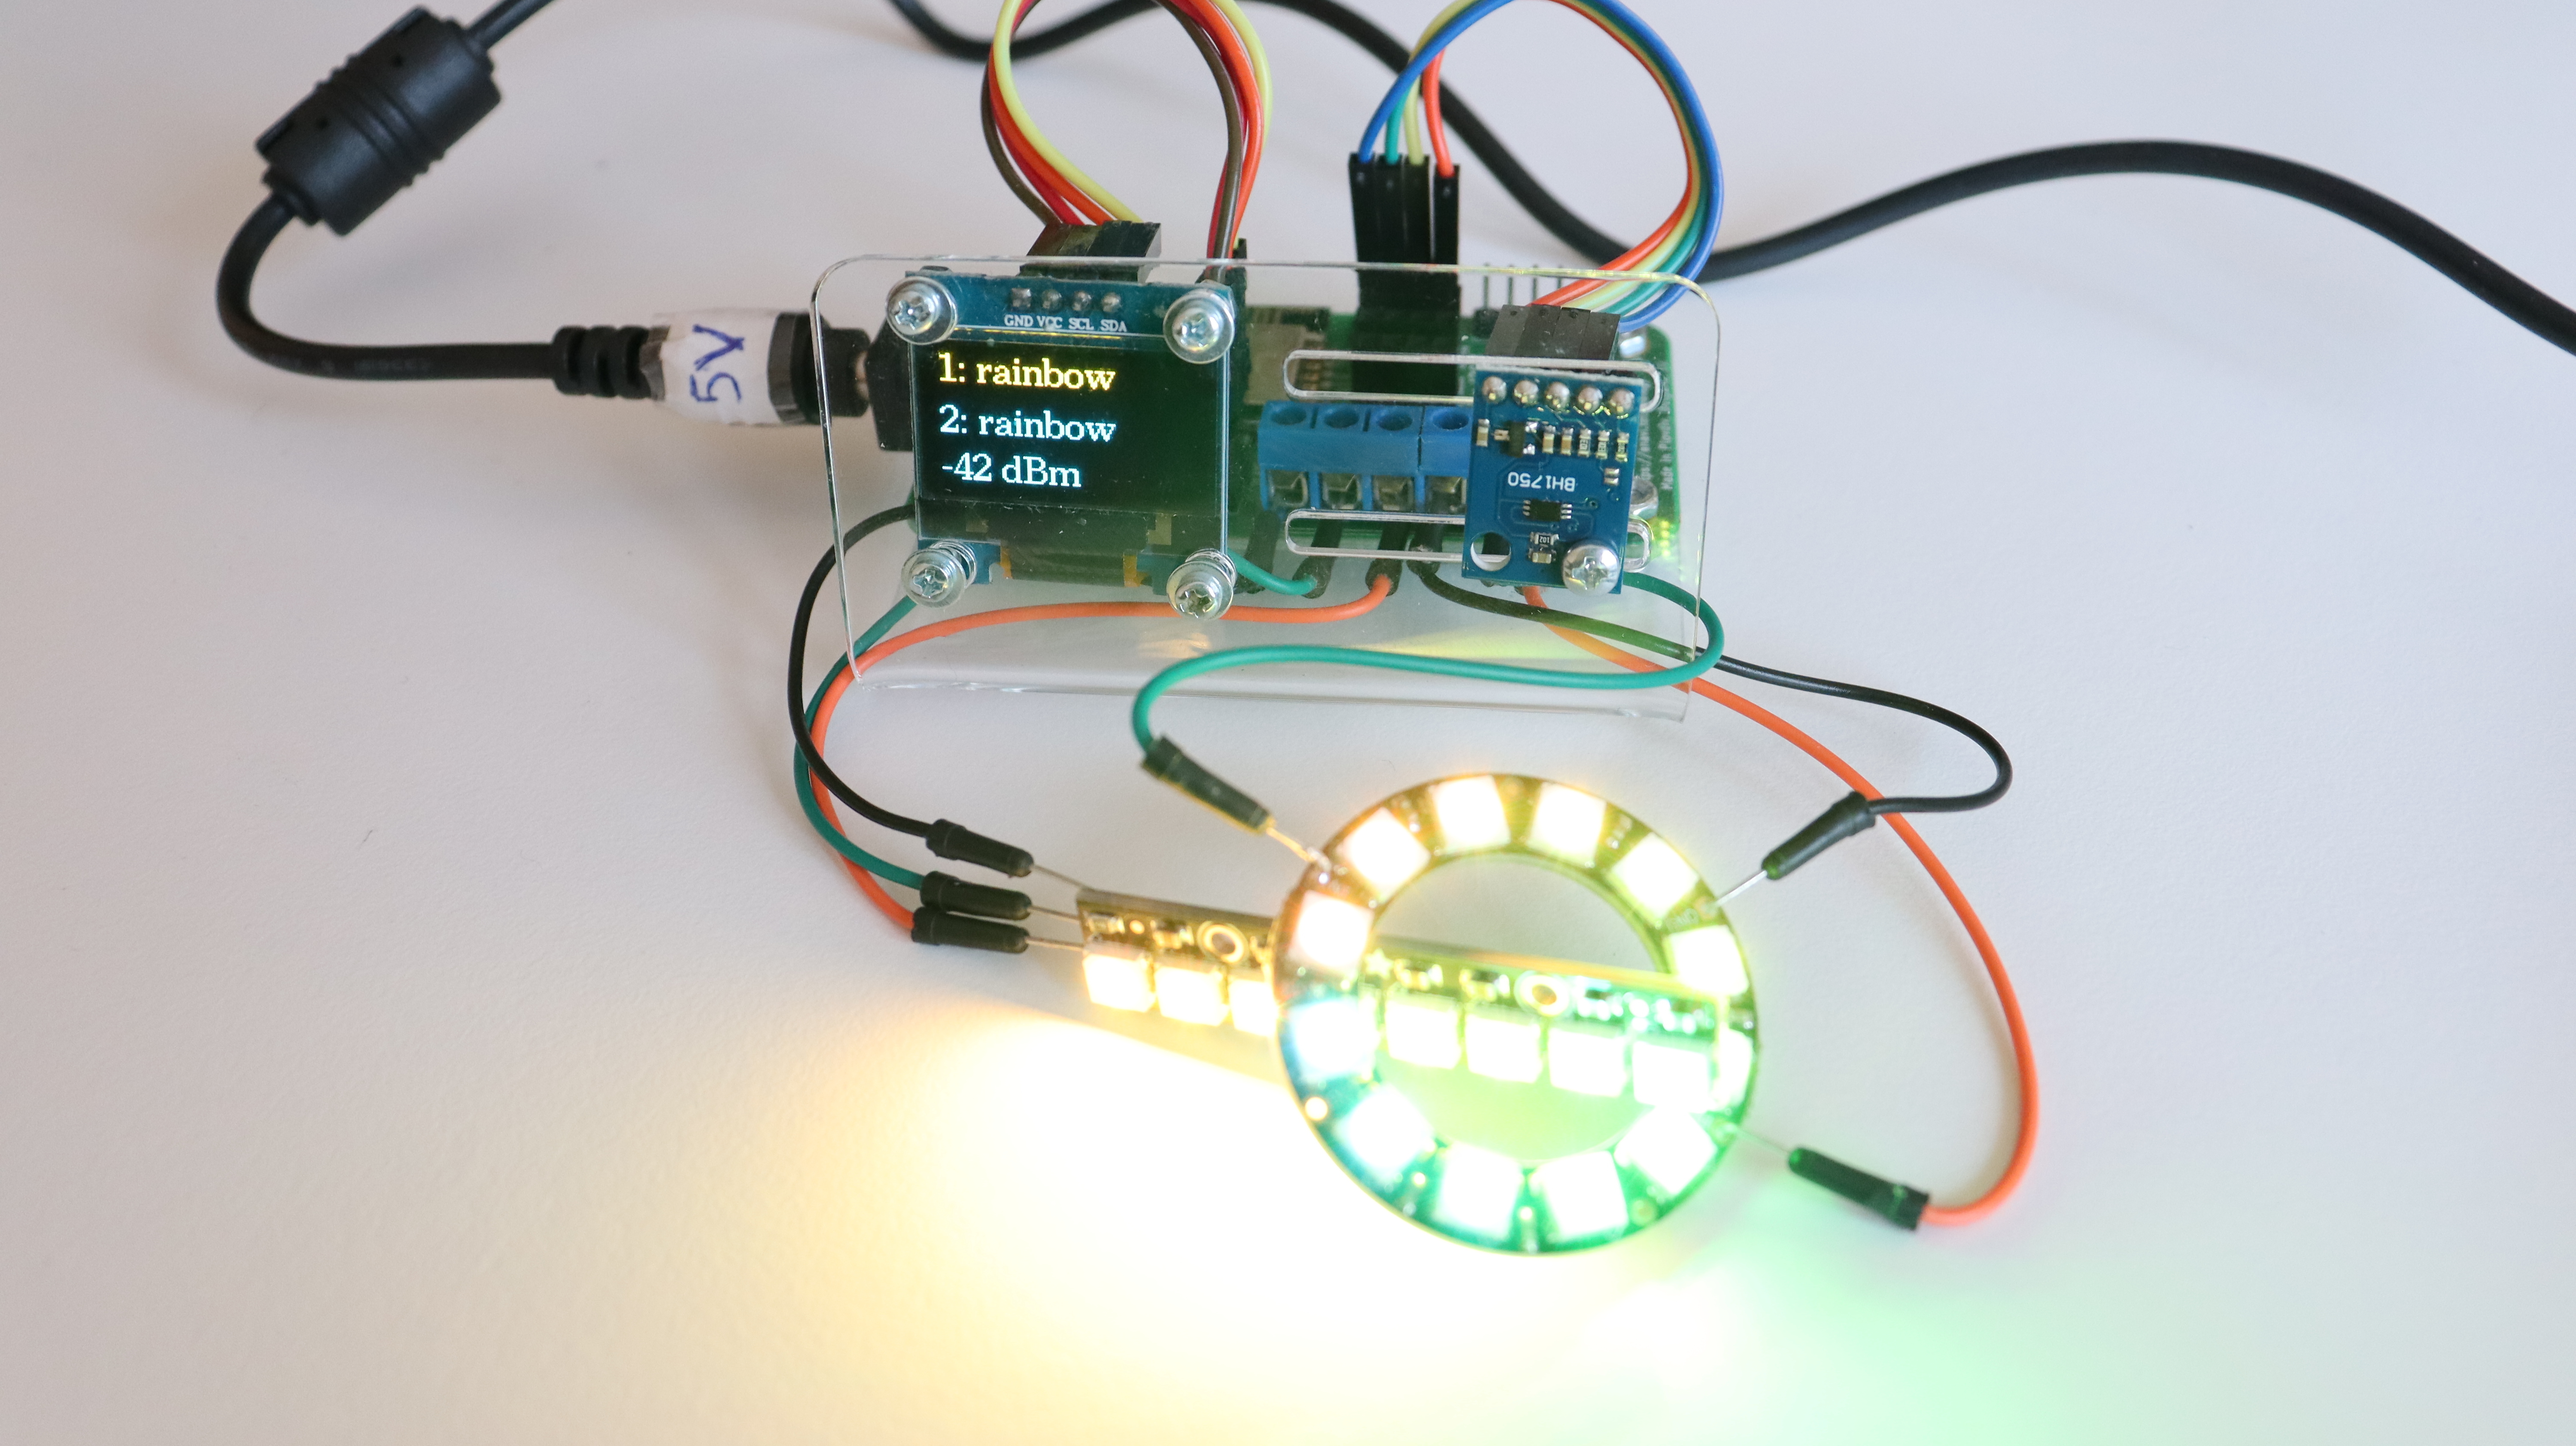
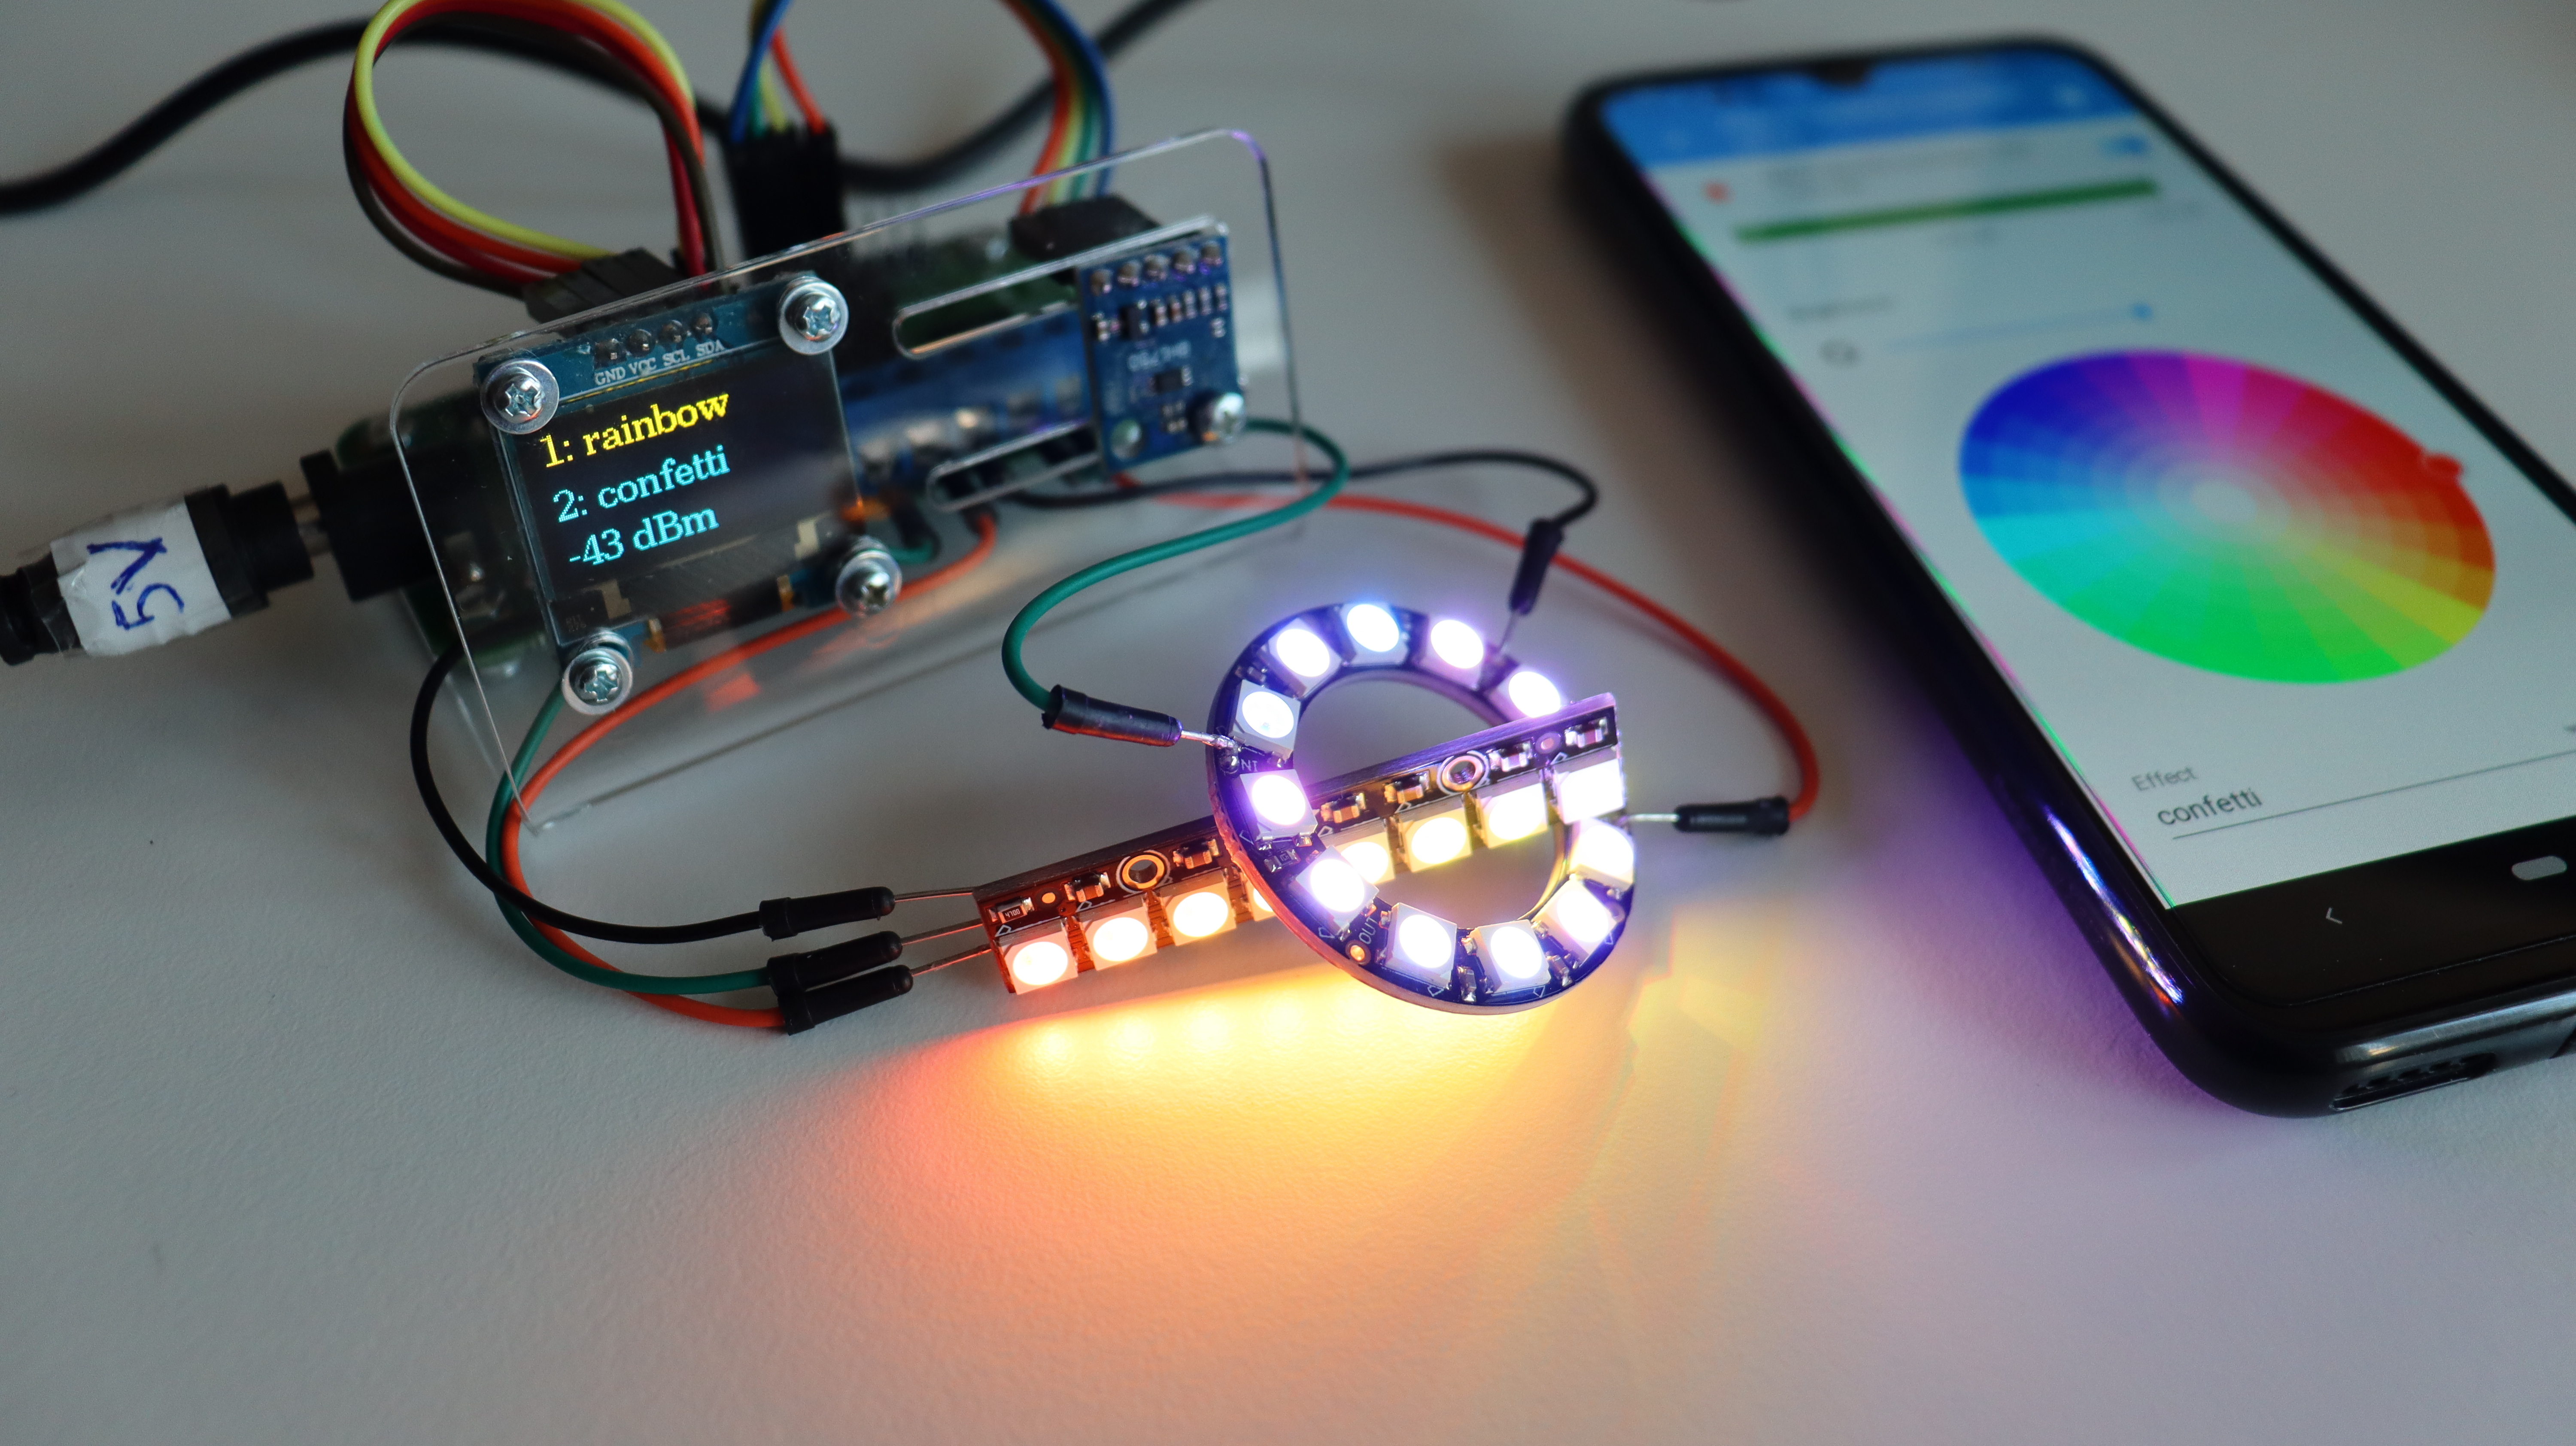
On first boot ANAVI Miracle Controller creates a WiFi access point. From your smartphone, tablet or computer connect to ANAVI Miracle Controller. Follow the instructions on the captive portal to complete the configuration of ANAVI Miracle Controller. Connect it to your WiFi network, set MQTT broker address, username and password, set LED type to NEOPIXEL, number of LEDs for LED1 to 8 for Adafruit NeoPixel Stick and number of LEDs for LED2 to 12 for Adafruit NeoPixel Ring.
Control NeoPixels From Home Assistant
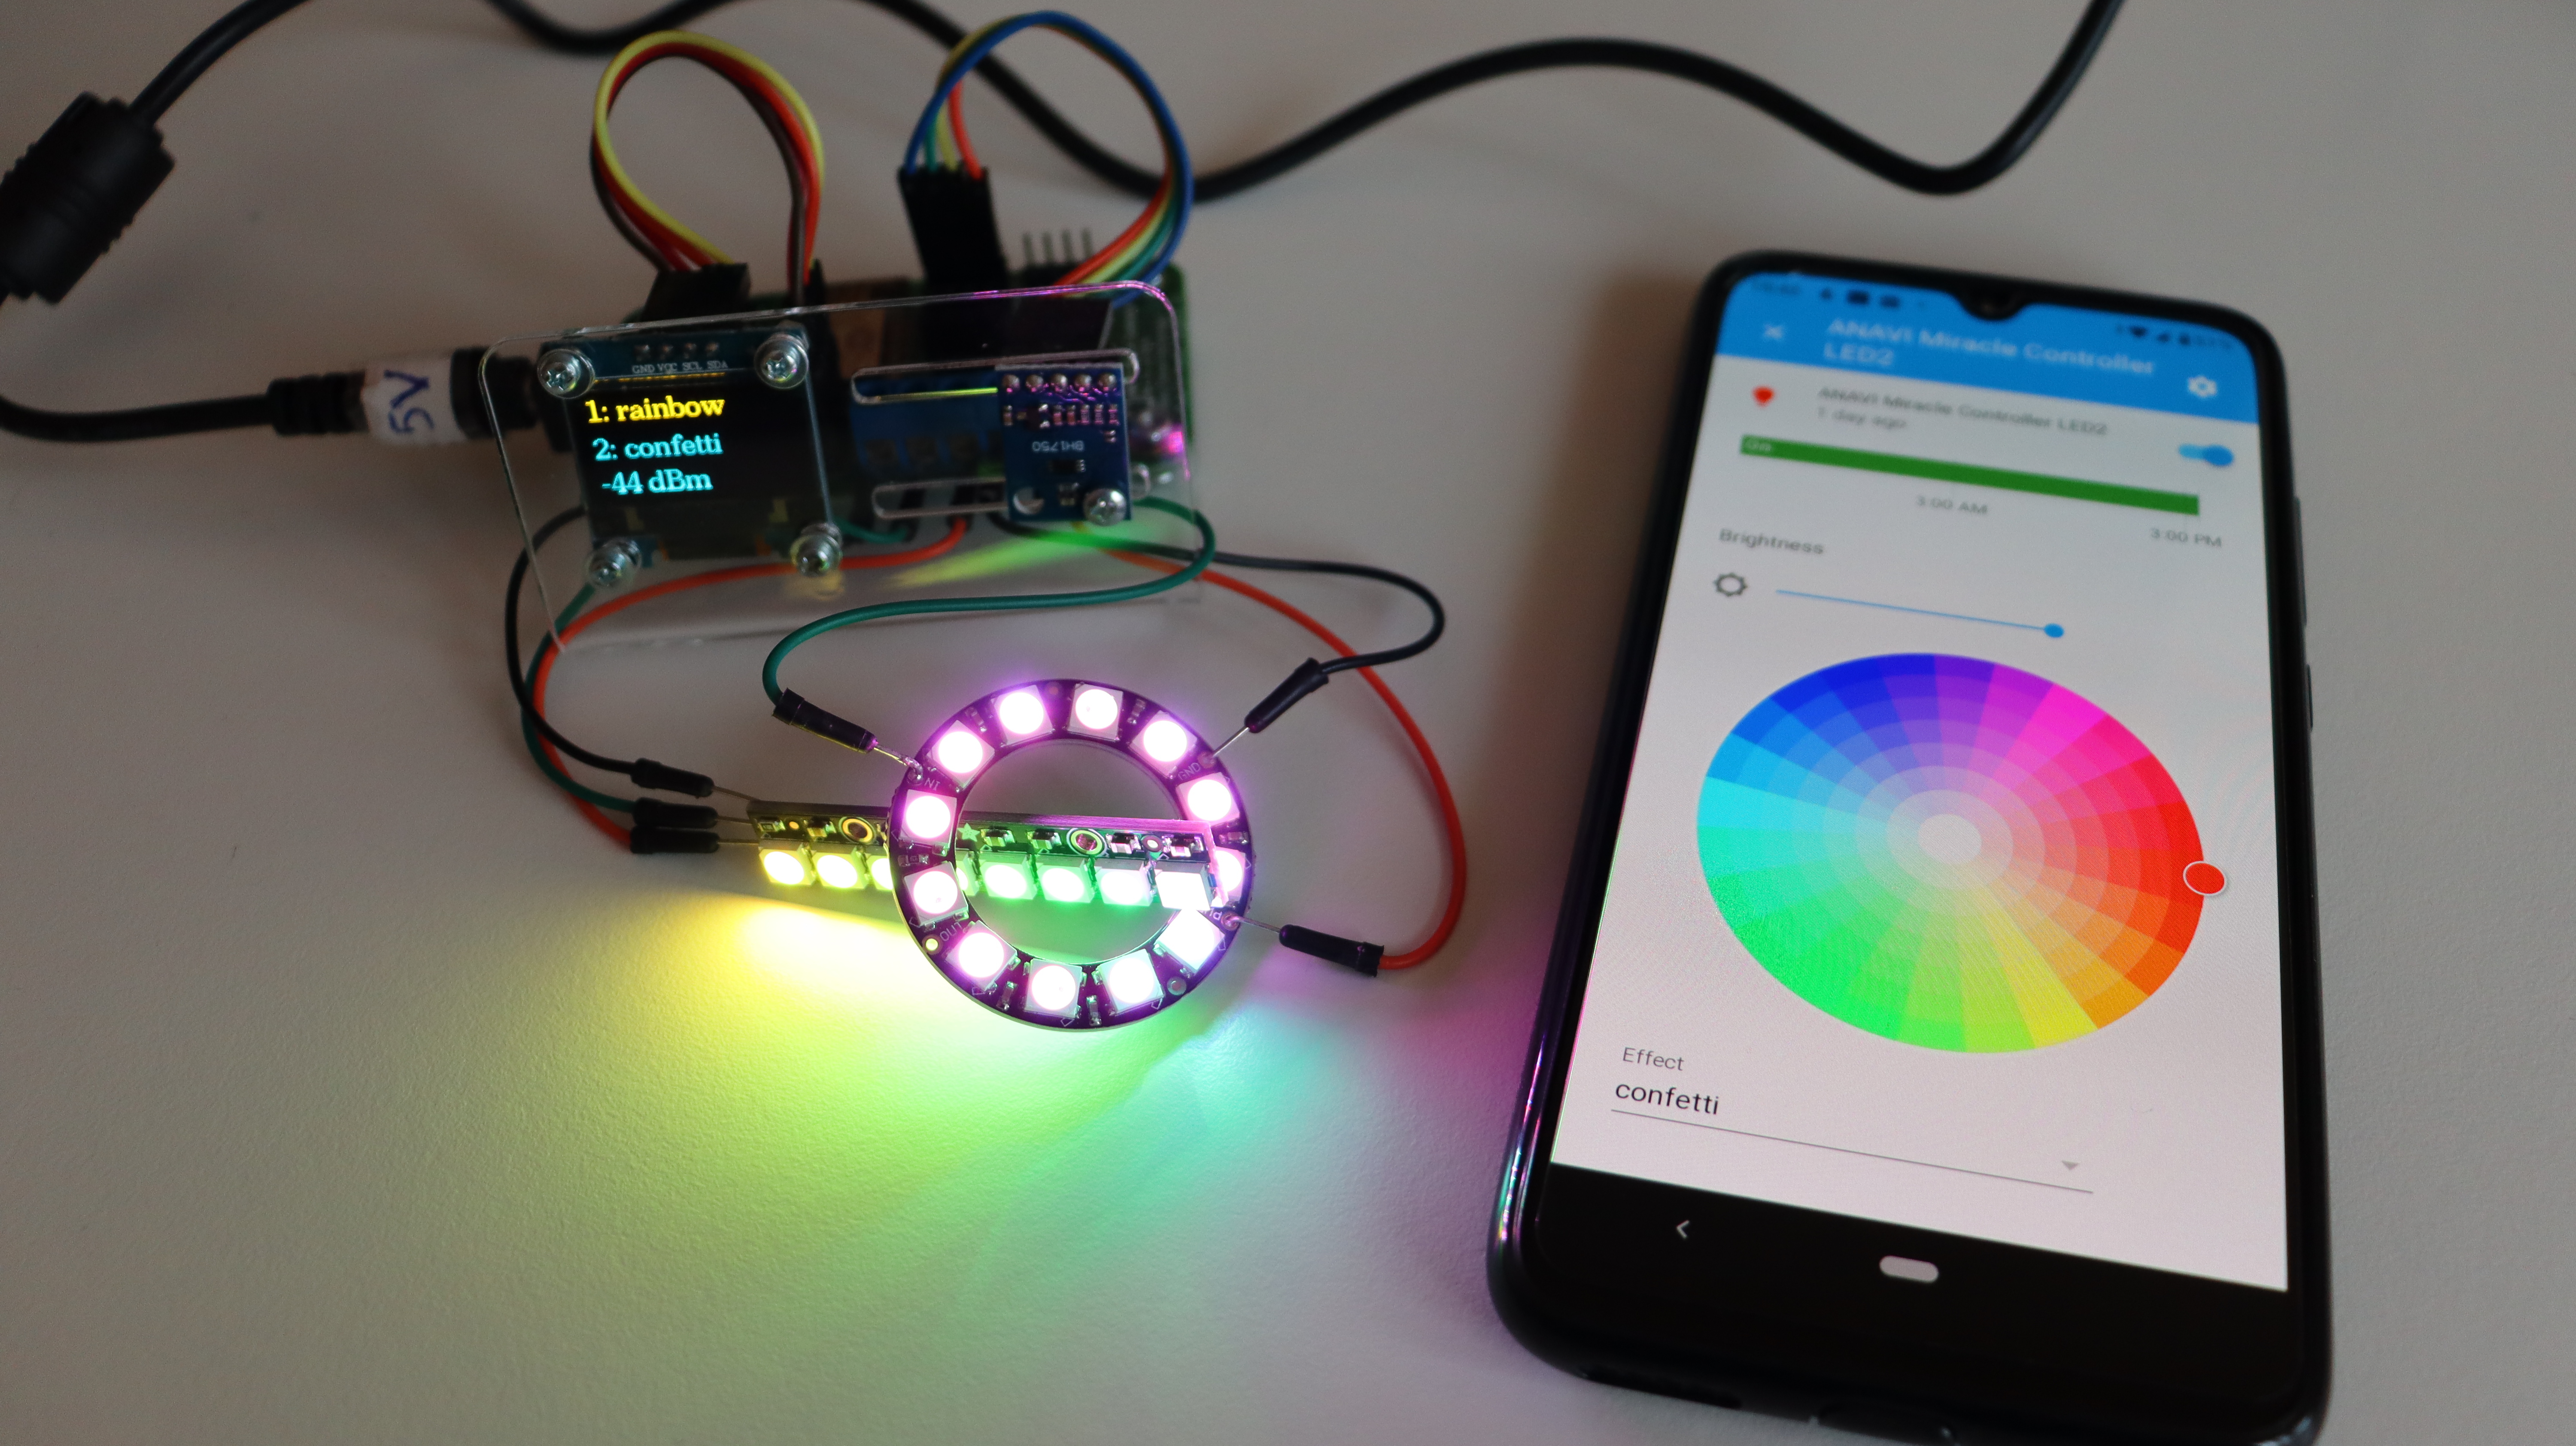
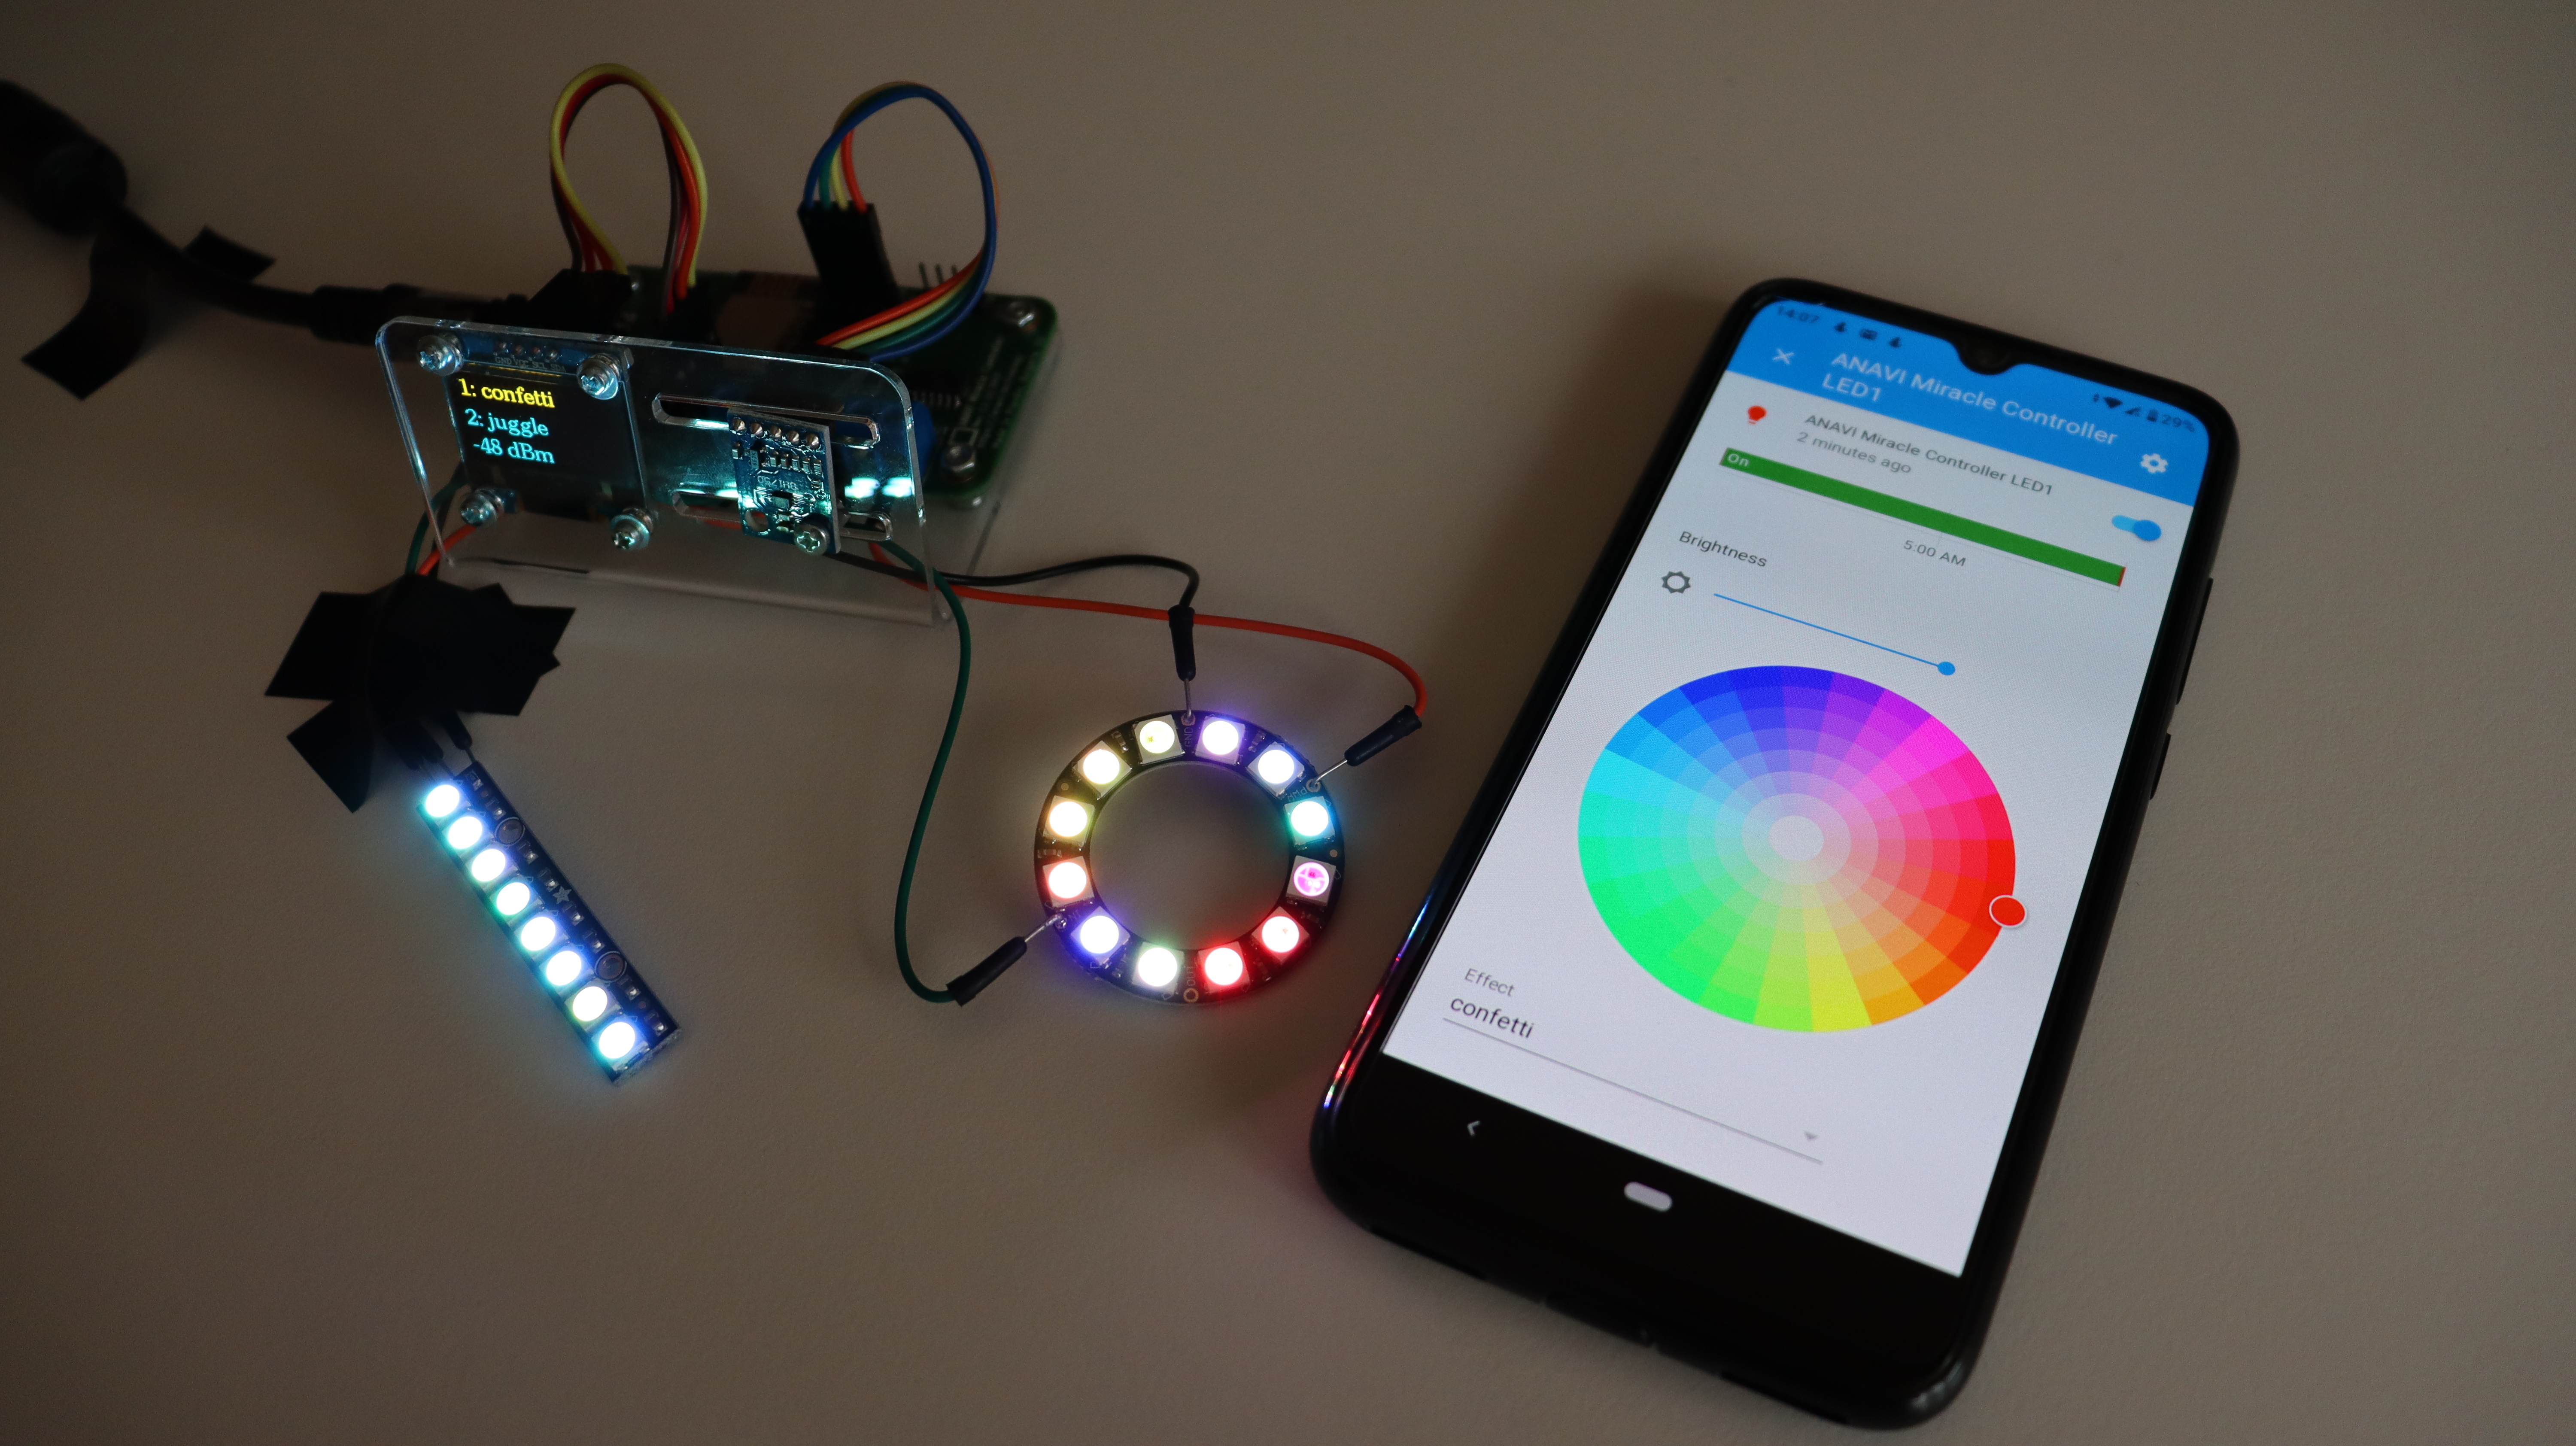
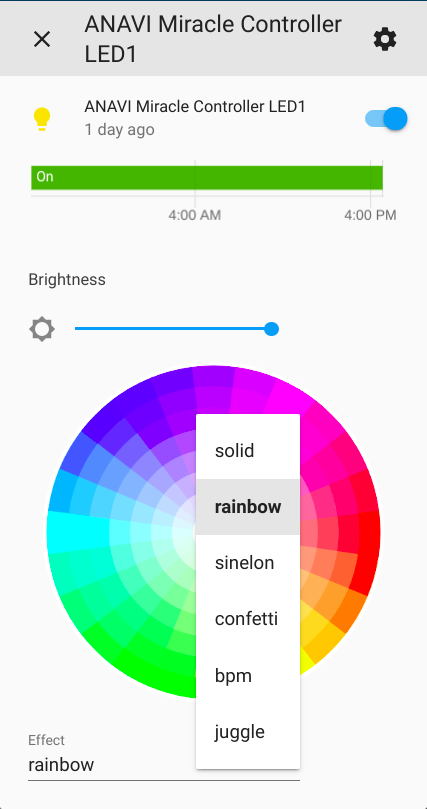
After successful configuration, ANAVI Miracle Controller will connect to your WiFi network and the provided MQTT broker. After that Home Assistant will automatically discover ANAVI Miracle Controller. Open Home Assistant GUI, turn on ANAVI Miracle Controller LED1 and ANAVI Miracle Controller LED2. Set different effects and colors for each of the two Adafruit NeoPixels.