Uploading Data to M2X Cloud With HC-05 Bluetooth Module
by CyberSchreiber in Circuits > Wireless
5674 Views, 17 Favorites, 0 Comments
Uploading Data to M2X Cloud With HC-05 Bluetooth Module
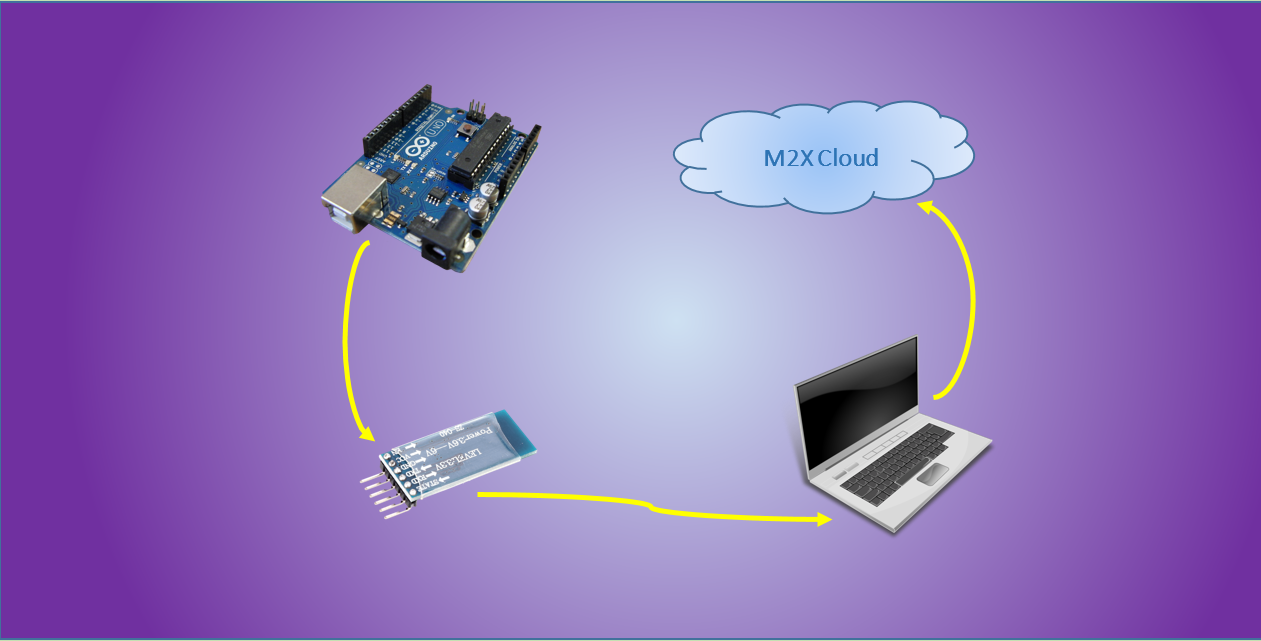
Saving data values is important to look for trends over time, for record keeping, or for other reasons. This tutorial will show you how to send data values from an Arduino board to the M2X Cloud over Bluetooth. The Arduino board will send the data to an HC-05 Bluetooth module over serial communication. The HC-05 will then send the data over Bluetooth to a computer, which will then upload the data to the M2X cloud.
Materials
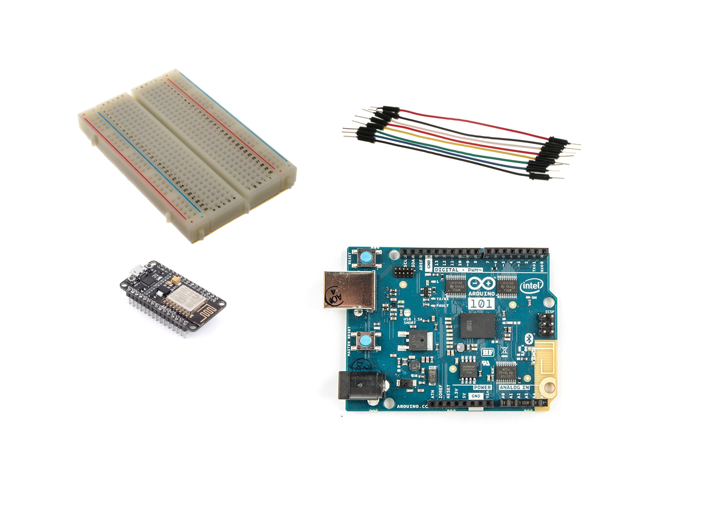
- NodeMCU ESP8266 Bluetooth Module
- Jumper Wires
- Breadboard
- Arduino board
Downloads
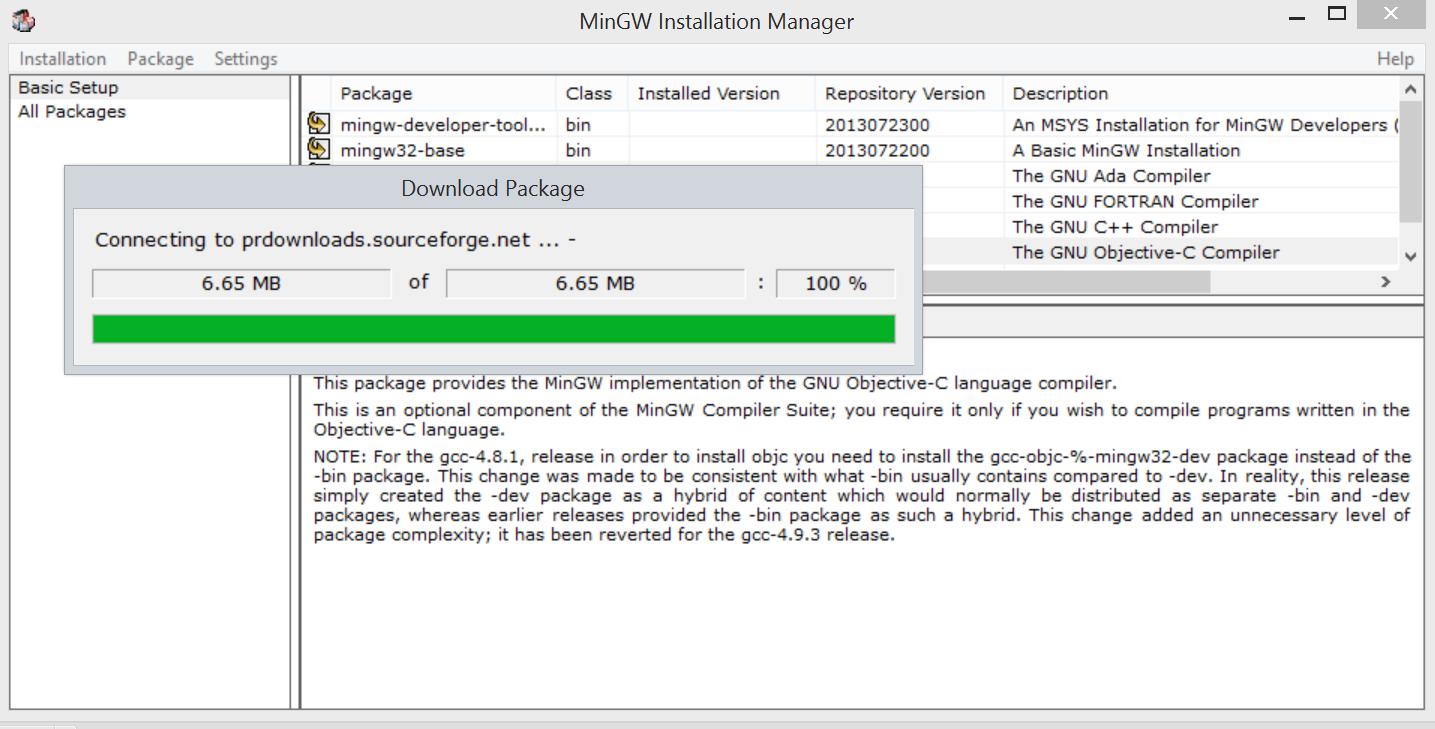
Go to http://www.mingw.org/wiki/Getting_Started, and download the mingw-get-setup.exe. Follow the installation instructions. When you get to the Package Selection and Installation, make sure to install msys-base, mingw32-base, and mingw-developer-toolkit.
Next, go to https://git-scm.com/download/win to download Git Bash for Windows. Download the .exe file, and follow the setup instructions on it.
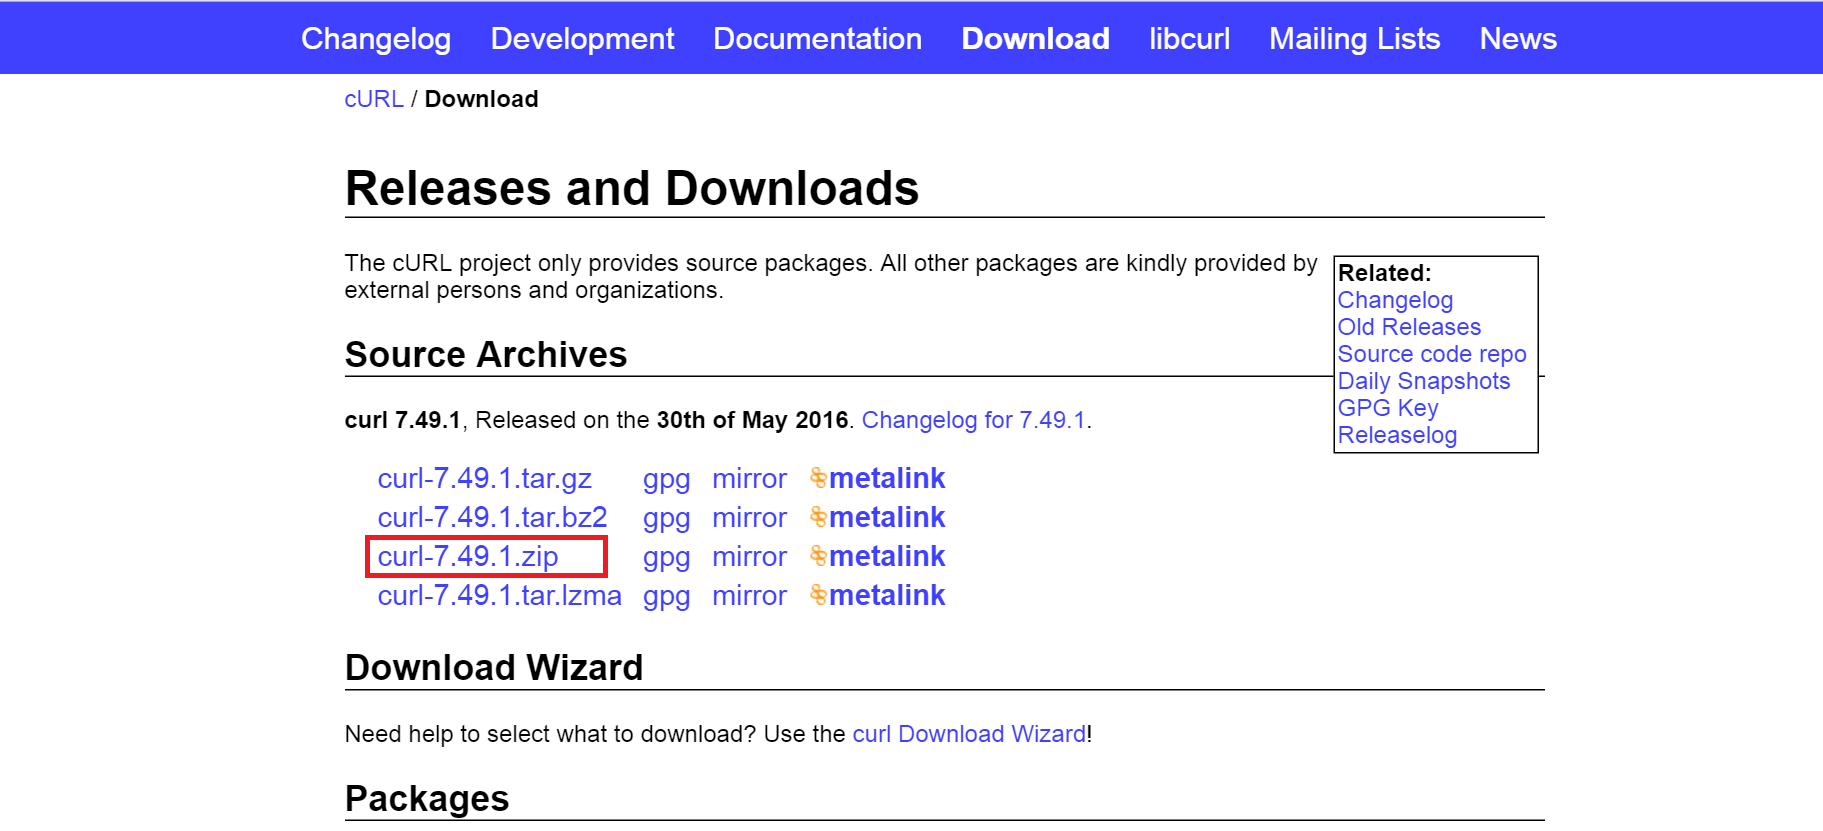
Go to https://curl.haxx.se/download.html and download curl-7.49.1.zip to your computer. Extract the .zip folder, and you're ready to go!
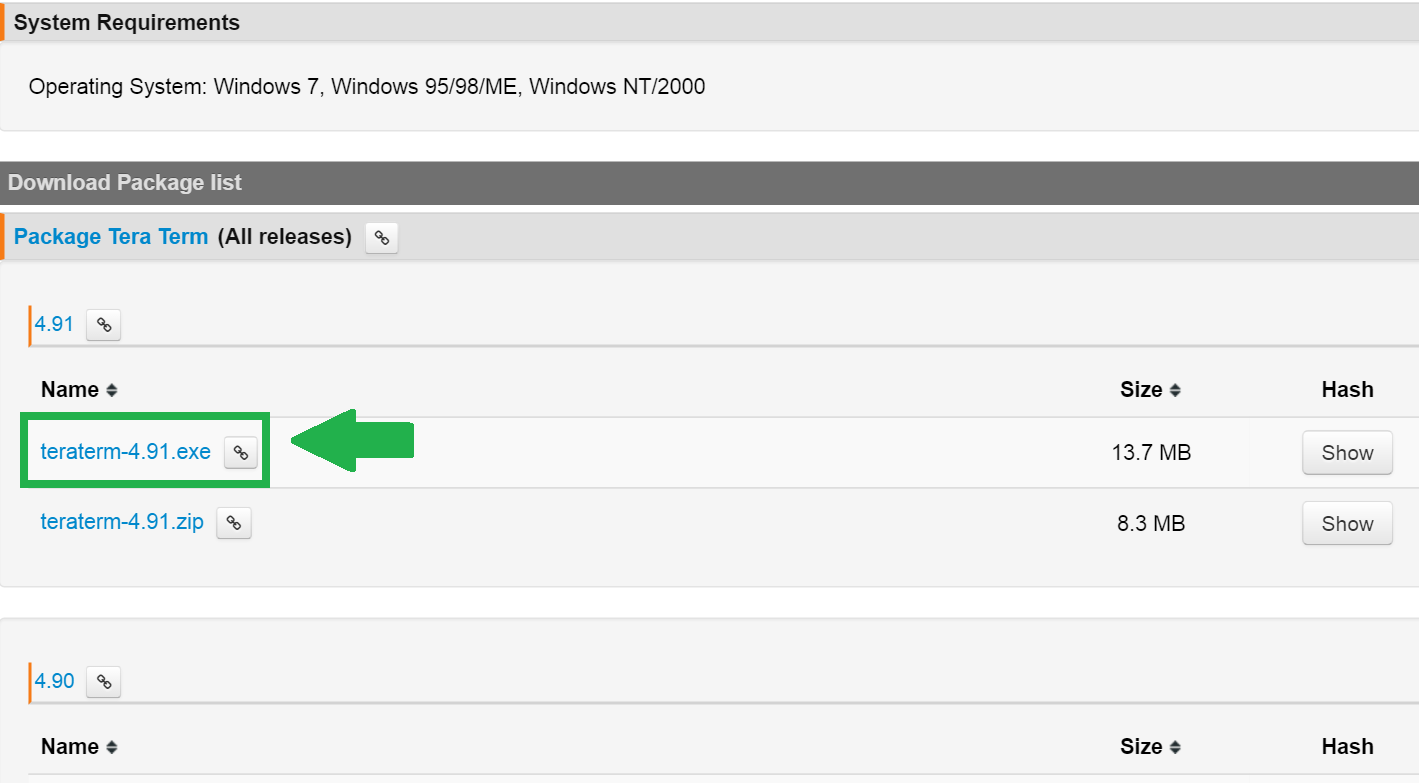
Finally, download Tera Term from https://en.osdn.jp/projects/ttssh2/releases/ and follow the installation instructions for that.
Getting Started With M2X
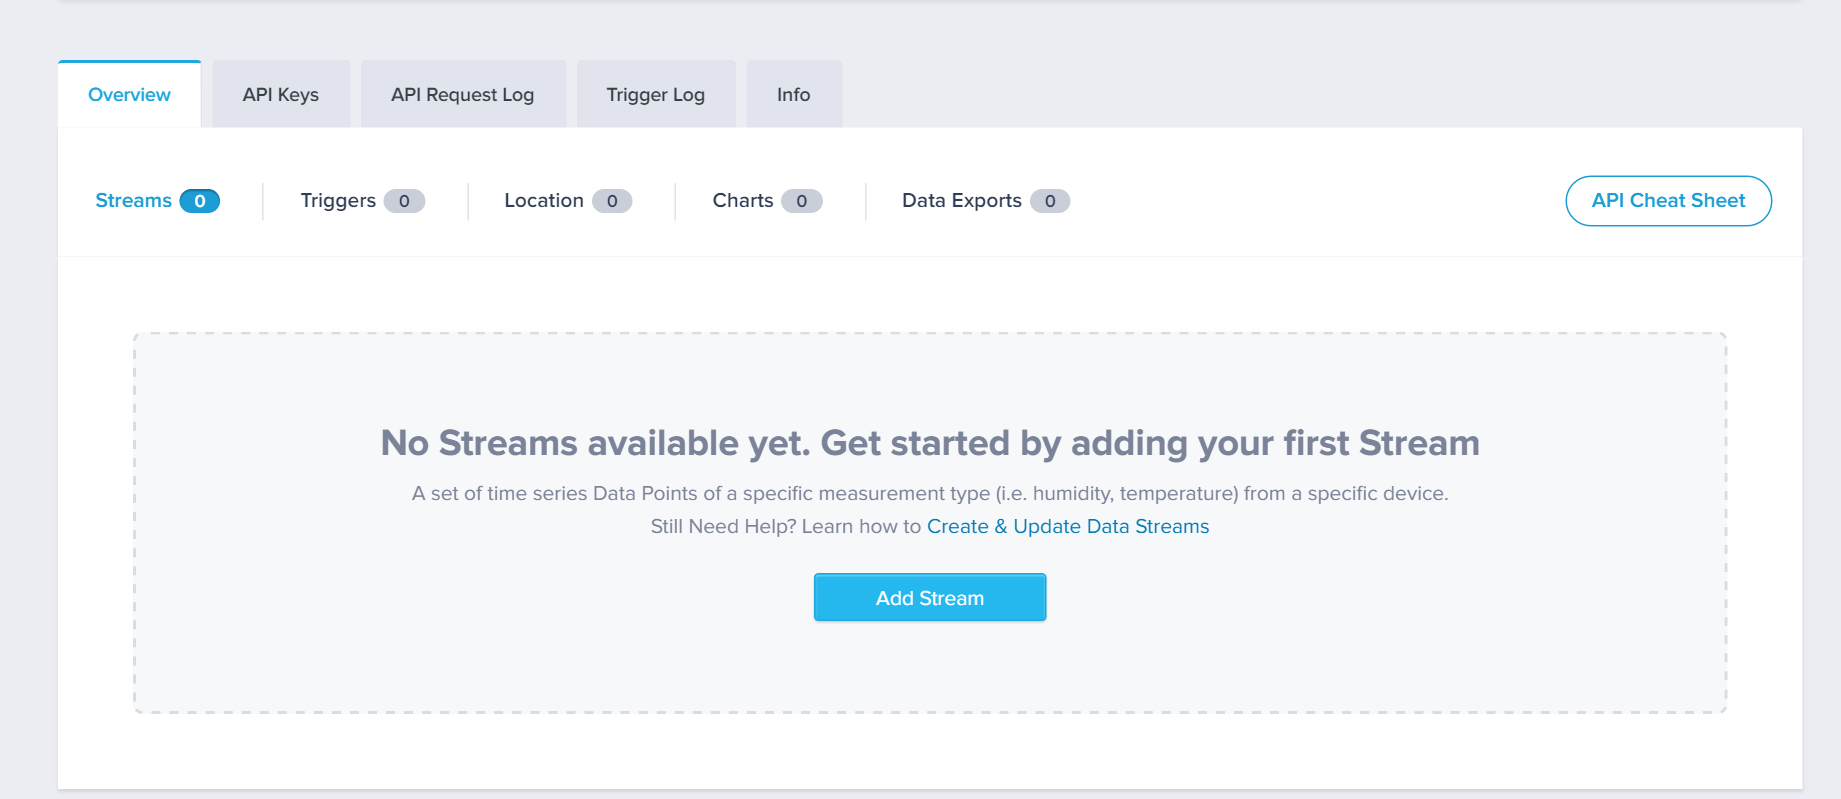
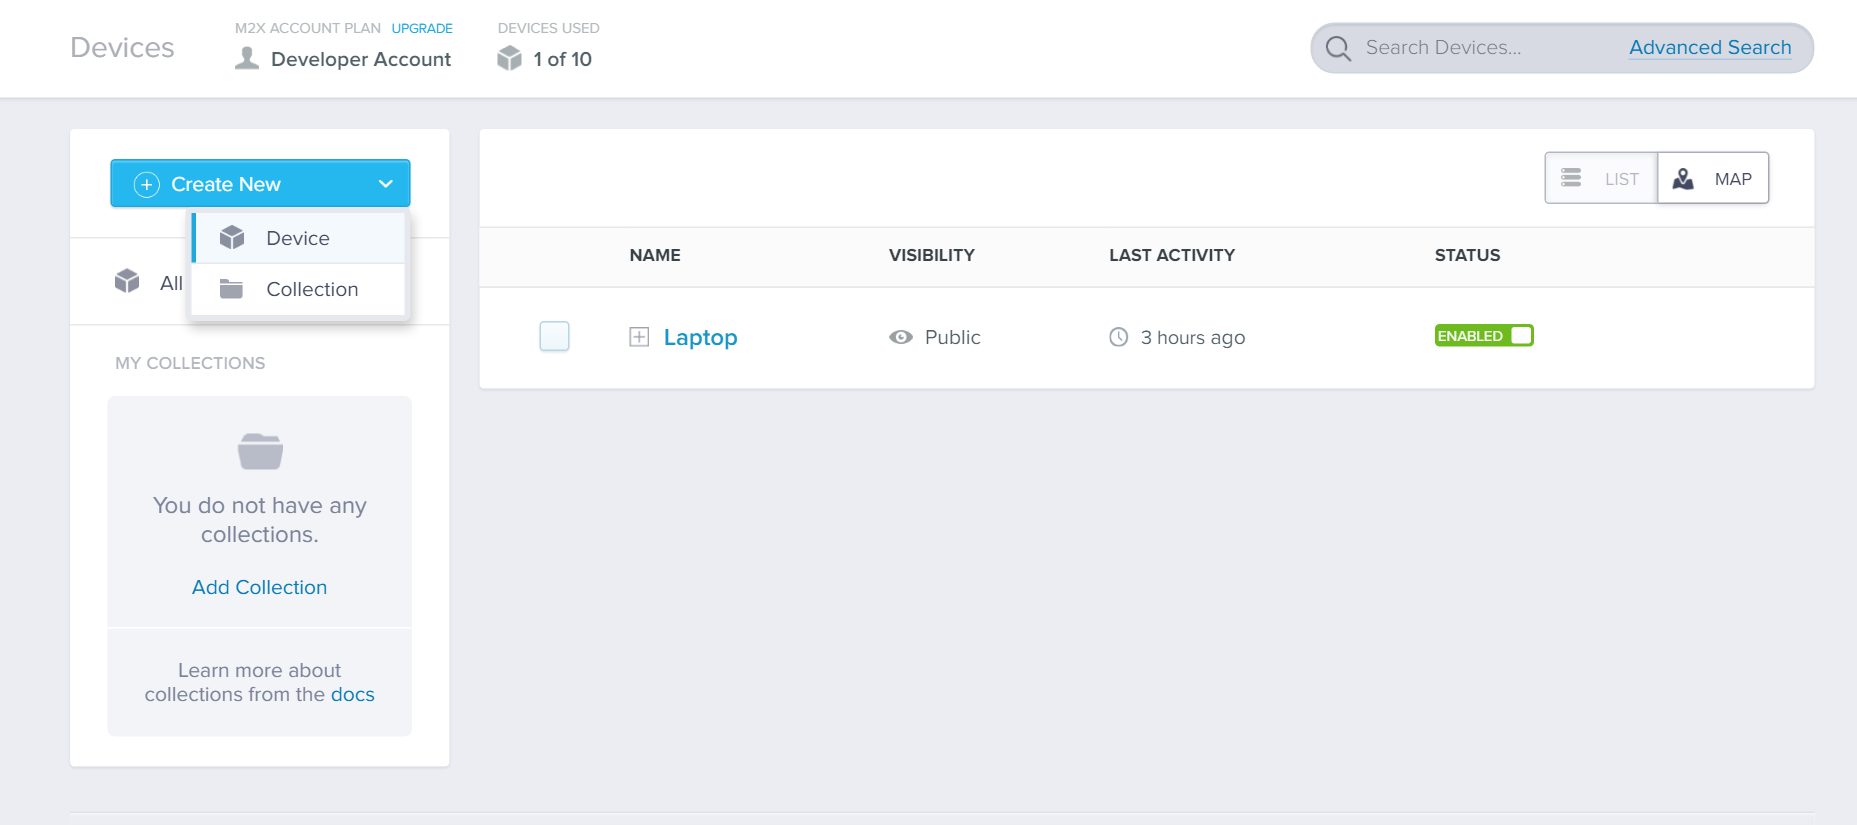
Go to https://m2x.att.com/ and create an account.
Under the devices tab, click on the "Create New" button on the left panel, and choose to create a new device.
After creating the device, add a new stream. After creating it, you can now log and save values to it.
Creating the Script
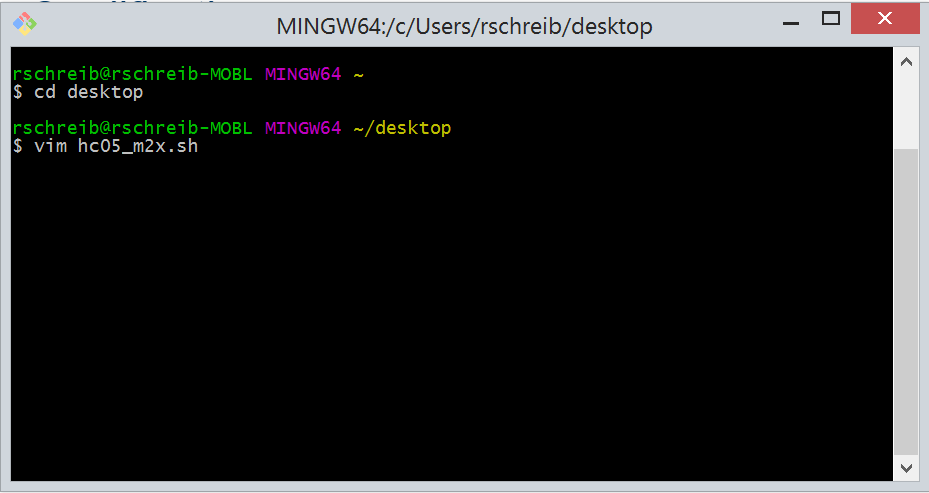
Open up Git Bash on your computer, and navigate to the folder where you want to keep your script. Git Bash uses commands like Linux (cd, vim, mkdir, etc.). To go to a folder, use "cd" without the quotes. For example, I wanted to keep the files on my desktop, so in git bash, I typed "cd desktop".
Type "vim script_name.sh" to create a new script file (and replace with your script name). Copy and paste the script into your file.
Here's how the script runs:
- The script will continually run until it reaches the end of the file, and each time it reads in a line, the script saves whatever it read into a variable called 'line'
- Next we get the date in ISO8601 format (YYYY-MM-DDTHH:MM:SS.nnnZ) because we need to do that to send data to the M2X cloud using curl
- Now send the value you read (line), to your device and stream using curl. Make sure to replace "device-id", "stream-name", and "device-API-key" from the curl command with your own device information.
- Save the response from the curl request into a variable called 'send'
- Get the status from the send variable. If it is accepted, then continue with the file. Otherwise, exit the program.
Downloads
Arduino Code

We will be using the SoftwareSerial library from the Arduino IDE, so that the Arudino can send data to the HC-05 Bluetooth module, which will then send the data to the computer via Bluetooth.
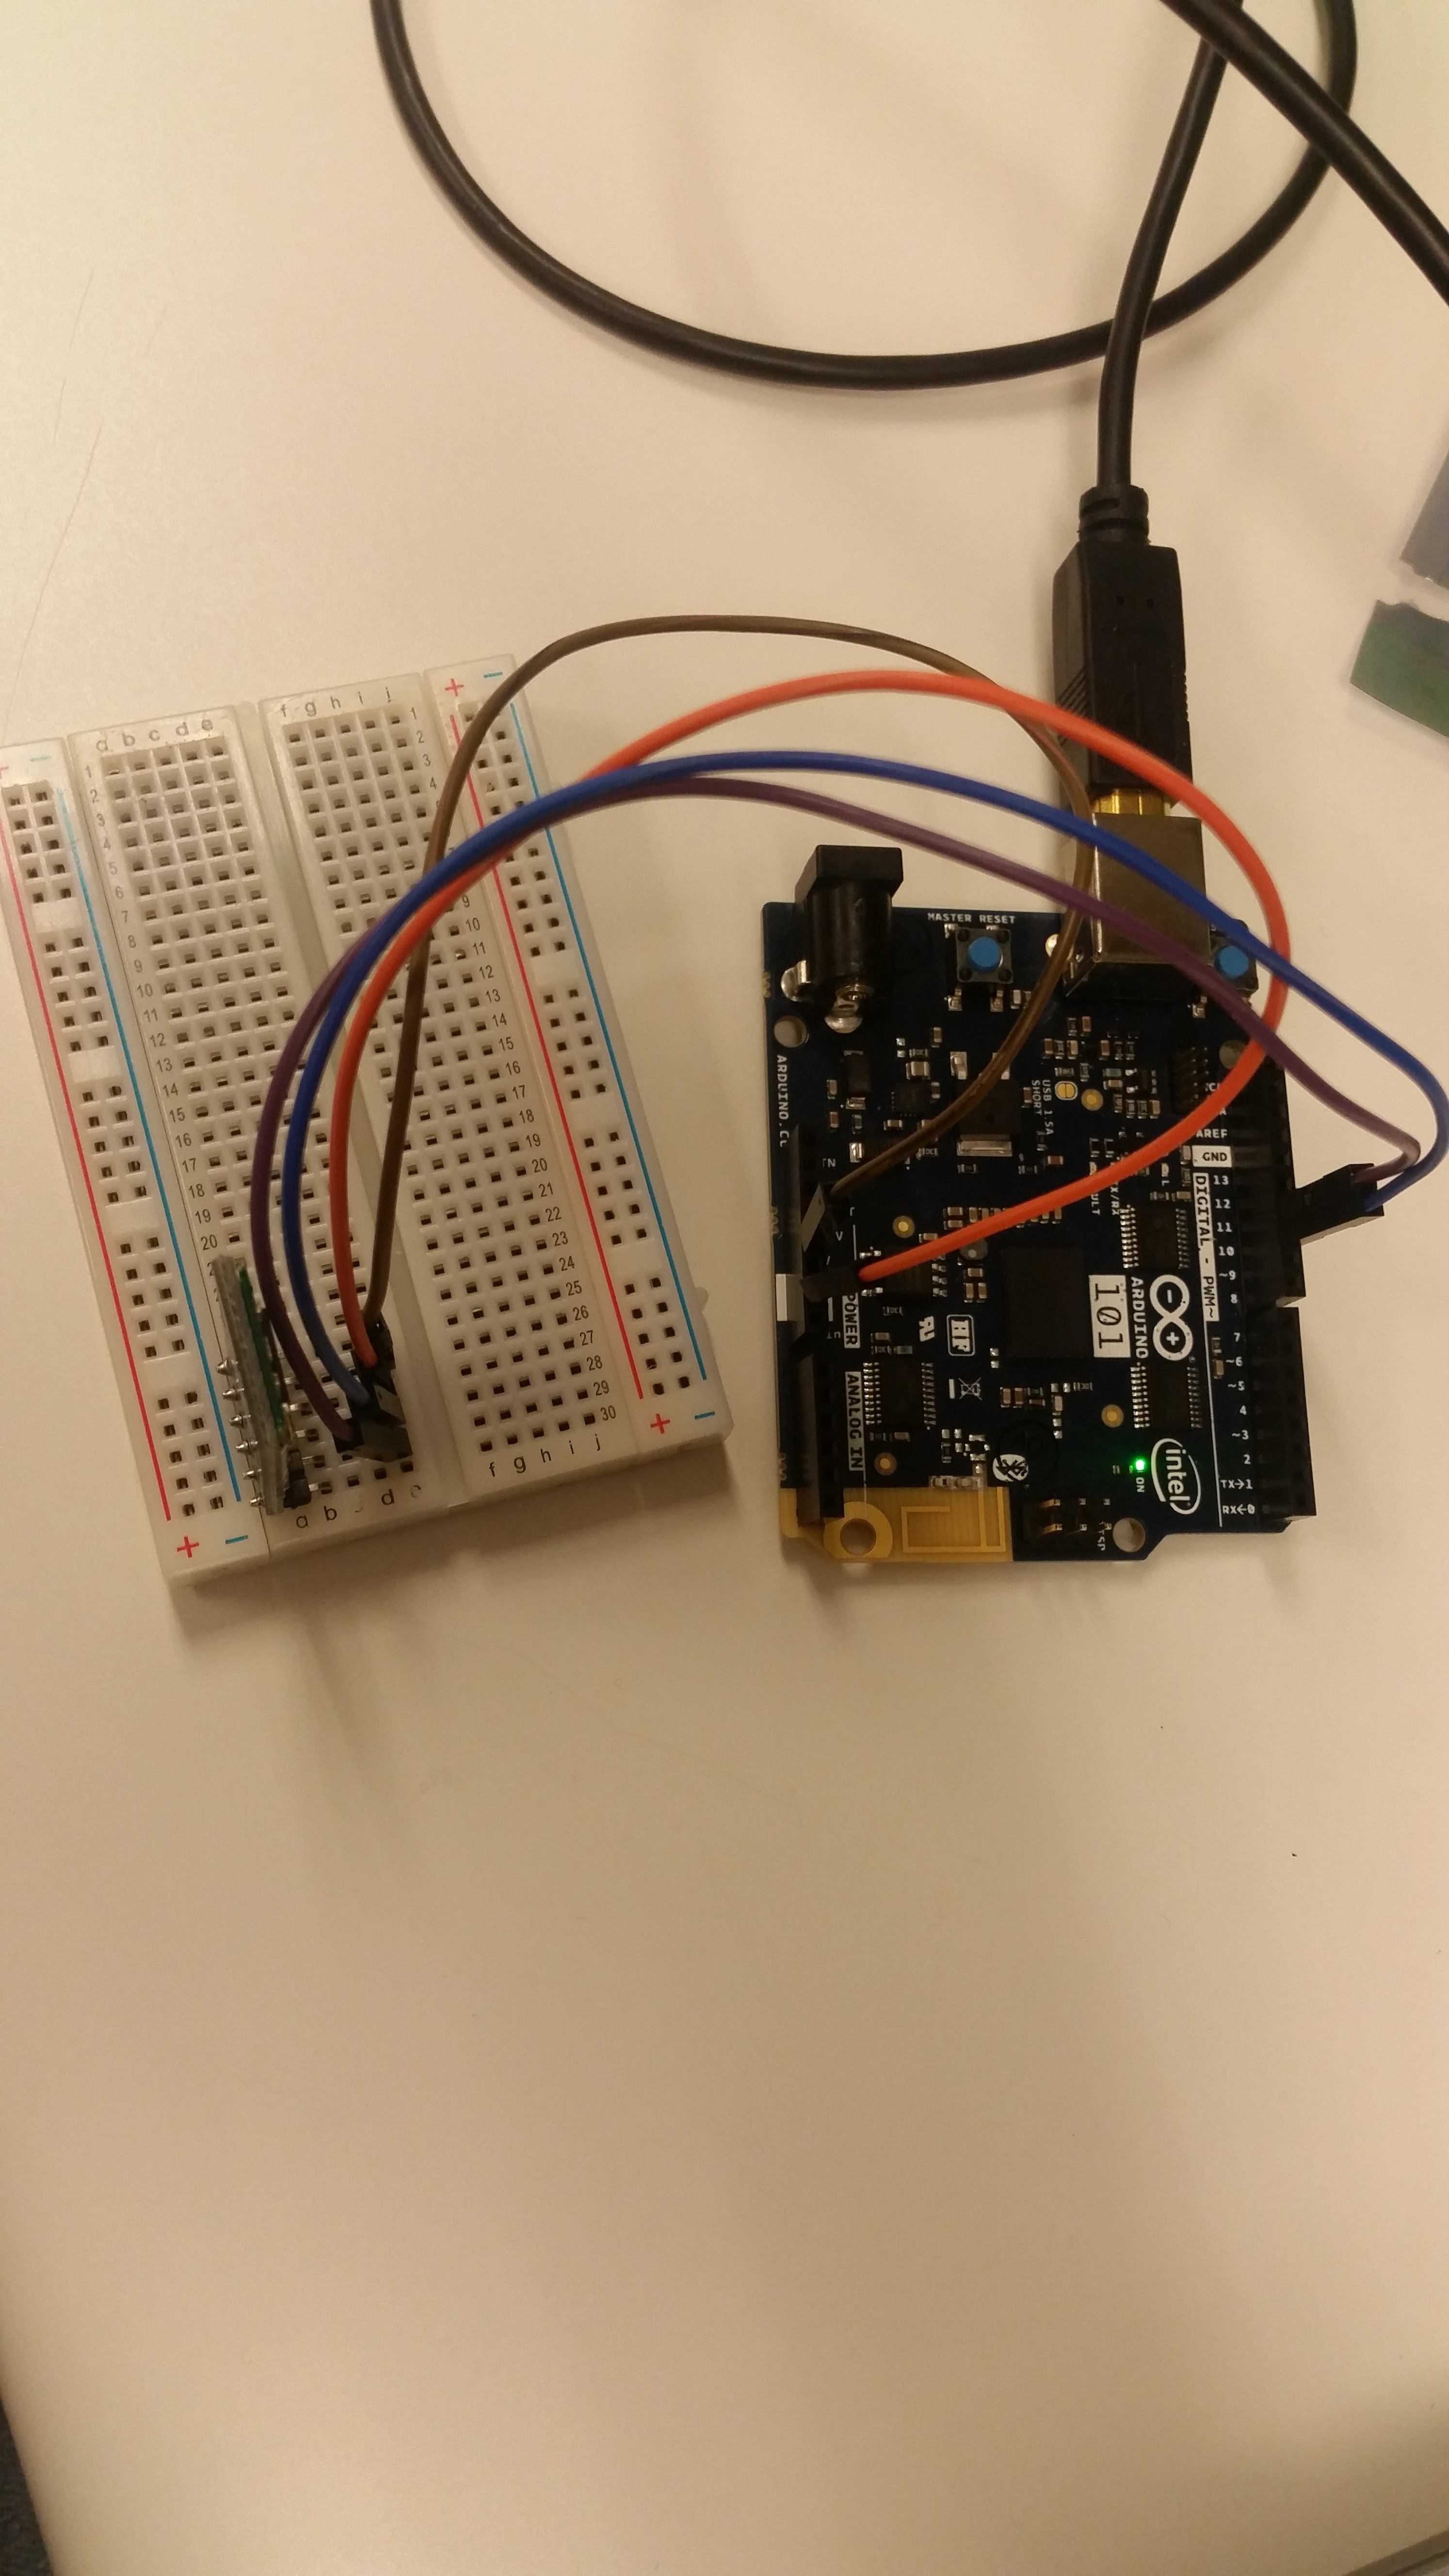
- Connect TX of the HC-05 to digital pin 10 of the Arduino.
- Connect RX of the HC-05 to digital pin 11 of the Arduino.
- Connect GND of the HC-05 to GND on the Arduino.
- Connect VCC of the HC-05 to 5V on the Arduino.
If you want to change the time interval for sending data, make sure it is the same interval in the script and in the Arduino code.
Note: I'm just sending random numbers up to the cloud, but you can always get a sensor, and modify the Arduino code to read the sensor input, and then send that data to the HC-05 module, rather than just sending random numbers to it.
Downloads
Getting Everything Ready
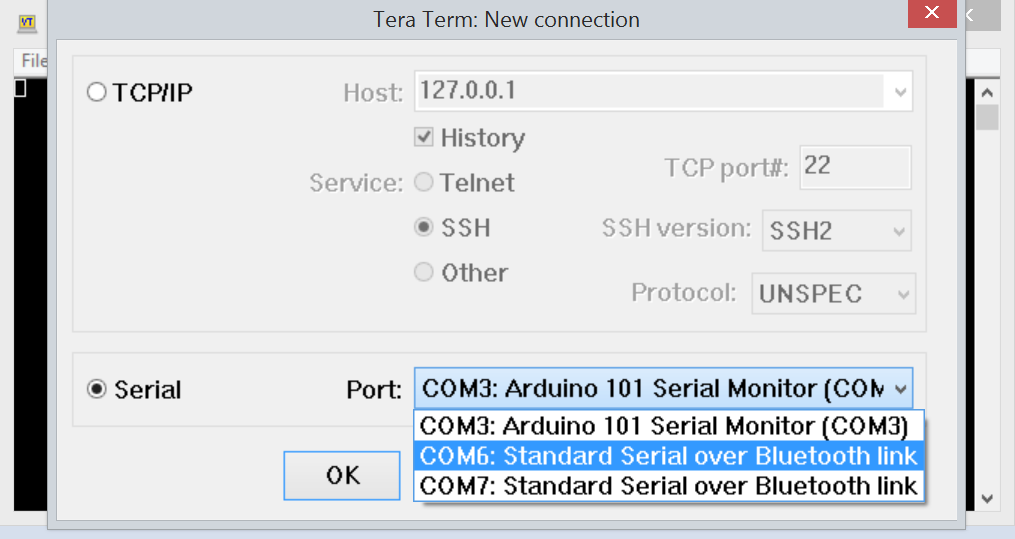
Now it's time to pair your computer with the HC-05 module! Go to Settings -> Change PC Settings -> PC and Devices -> Bluetooth. Make sure the Bluetooth on your computer is turned on, and make sure the HC-05 module is turned on (the red LED on it will be blinking very fast). Select the HC-05 from the list of Bluetooth devices, and enter the pairing code. If your HC-05 has it's default settings, the pairing code should be 1234.
Open up Tera Term and connect to the HC-05. After you've paired with it, two COM ports for it should appear. Choose the lower numbered one. If you successfully connect with the HC-05, the red LED on it should have two quick blinks about every one or two seconds.
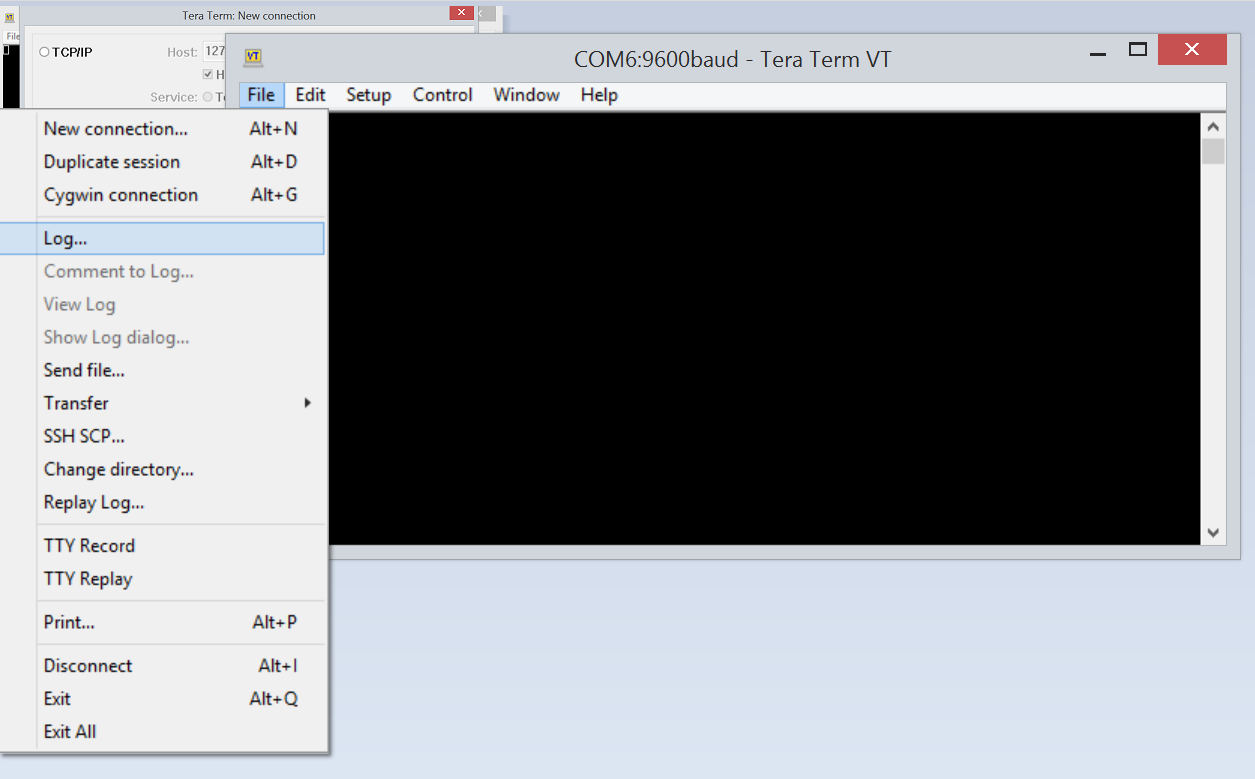
We now need to make a log of all data the the HC-05 sends. Go to File -> Log..., and choose where to save the log.
Running the Programs
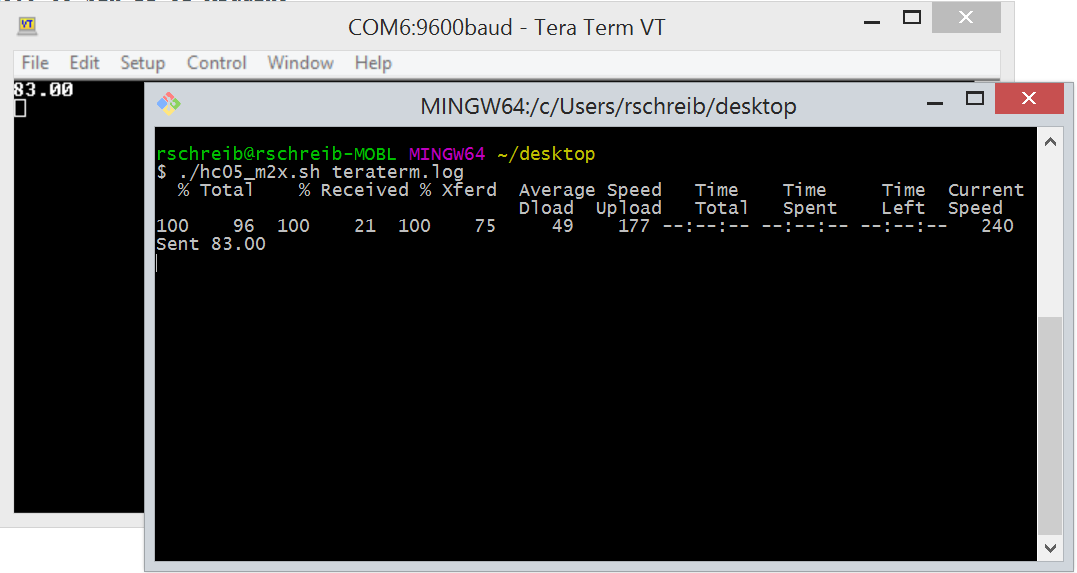
Now that you have a log for the Tera Term to save all the incoming data in a file, you can upload the Arduino program to the Arduino. Once it is uploaded, your data values should start appearing in the Tera Term window at regular time intervals. This data will be saved in a file because we chose to log the session.
Run the script by opening up Git Bash, and going to the location of your script. To run the script, type "./script_name.sh file_name", with your script name and the Tera Term log as the file name.
Now you can log in to M2X and see the data values appear in your device stream!
AT&T Flow
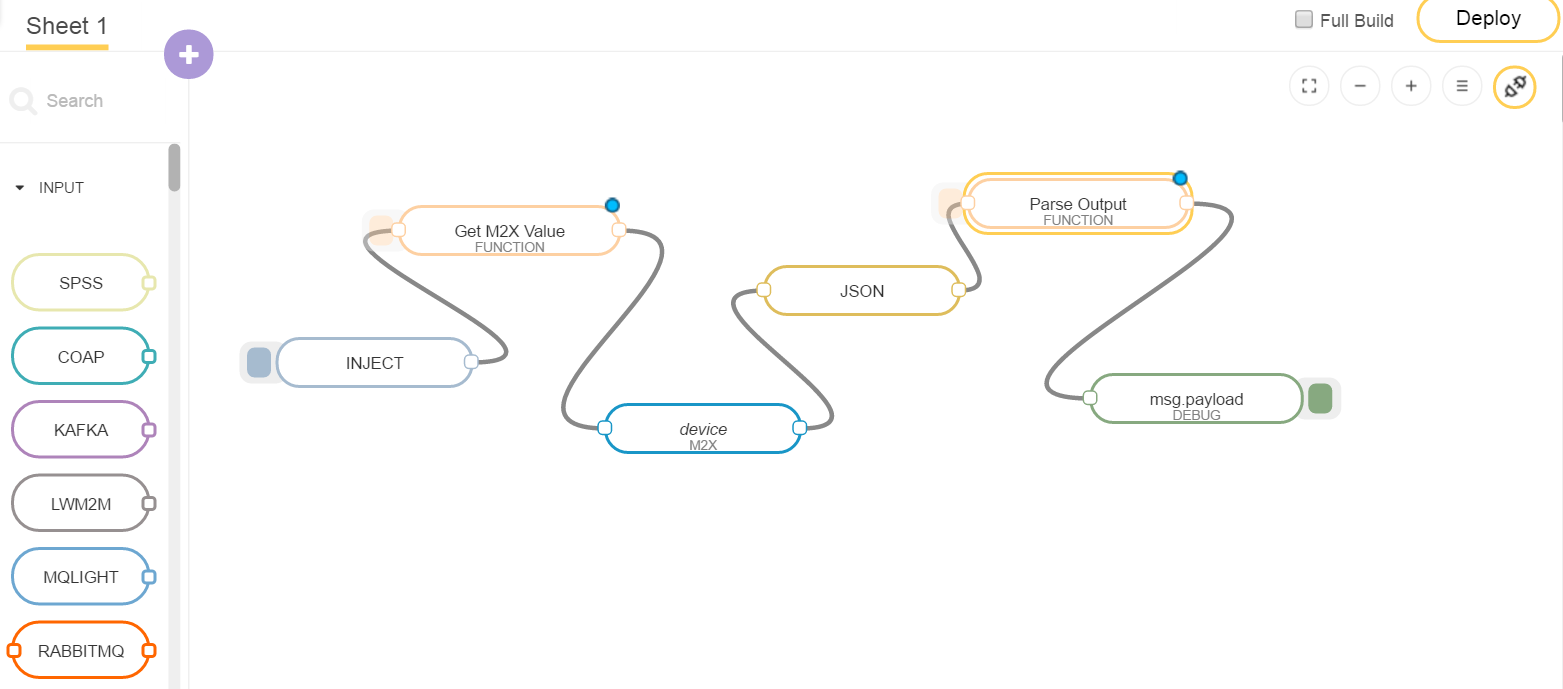
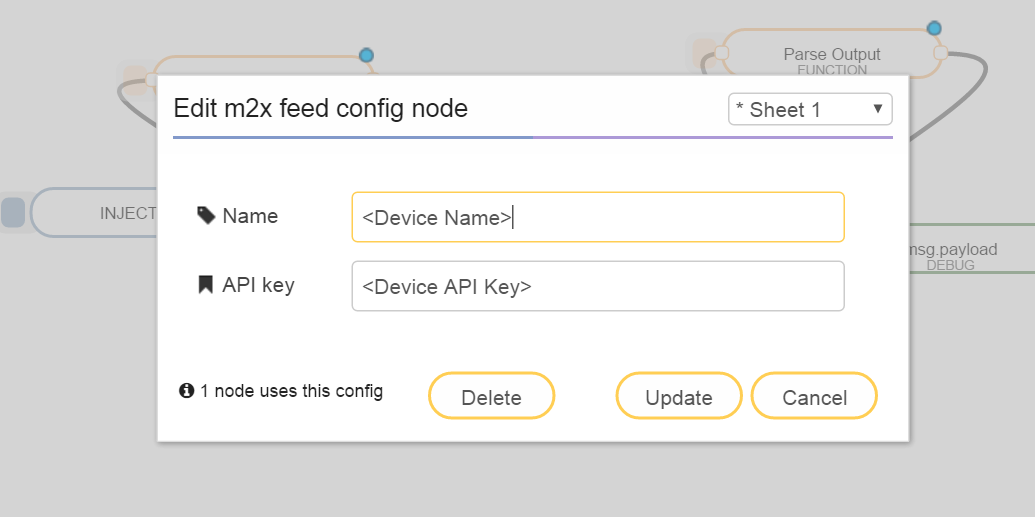
With M2X, we can see a list or graph of values that have been posted. This step will show you how to retrieve those values in AT&T Flow, so that you can do something with the data (send email or text notifications, etc.).
- Create an account at flow.att.com. Then click on the (+) icon near the bottom left corner to create a new flow.
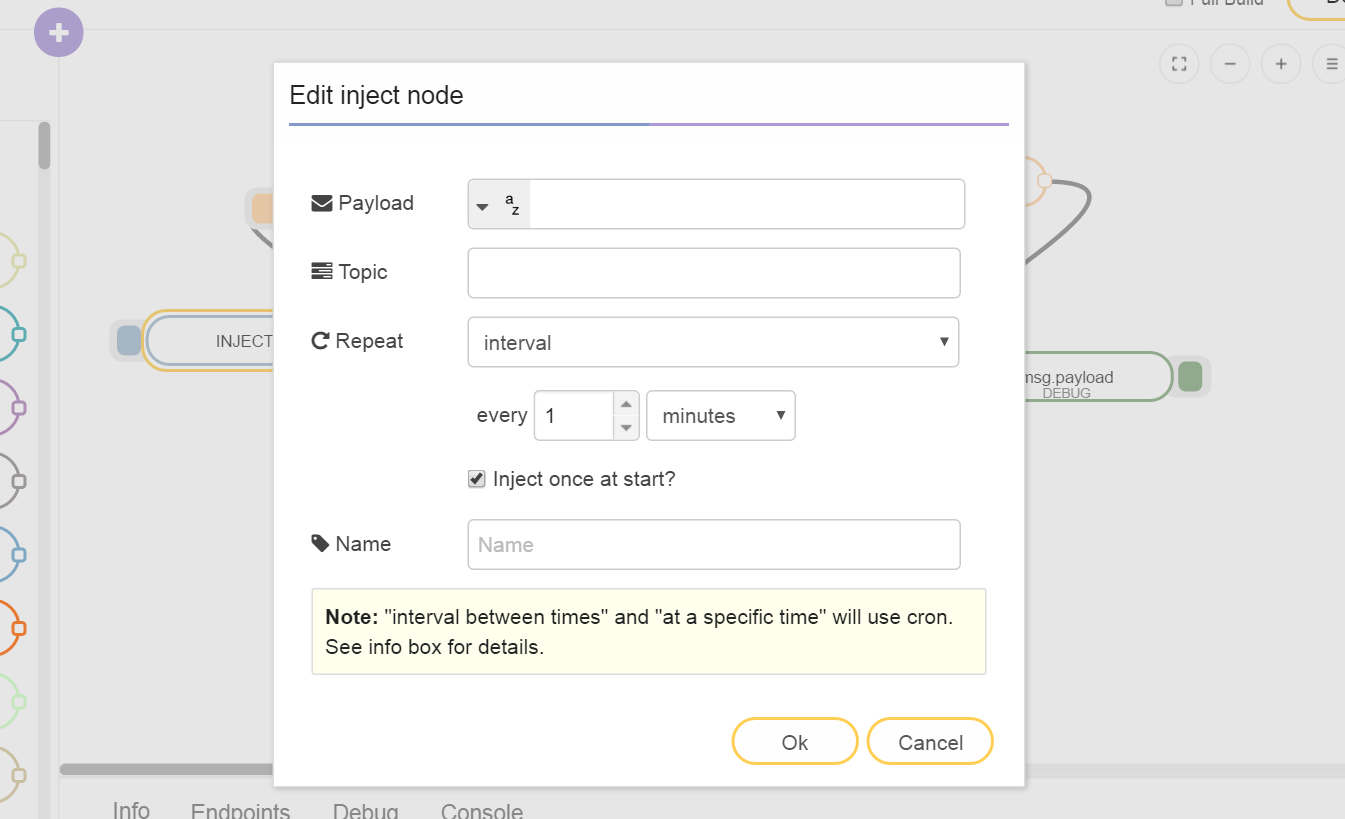
- Start with an Inject node. Set it to inject at start, and set the interval to be the same time interval that the Arduino code and the script are set to.
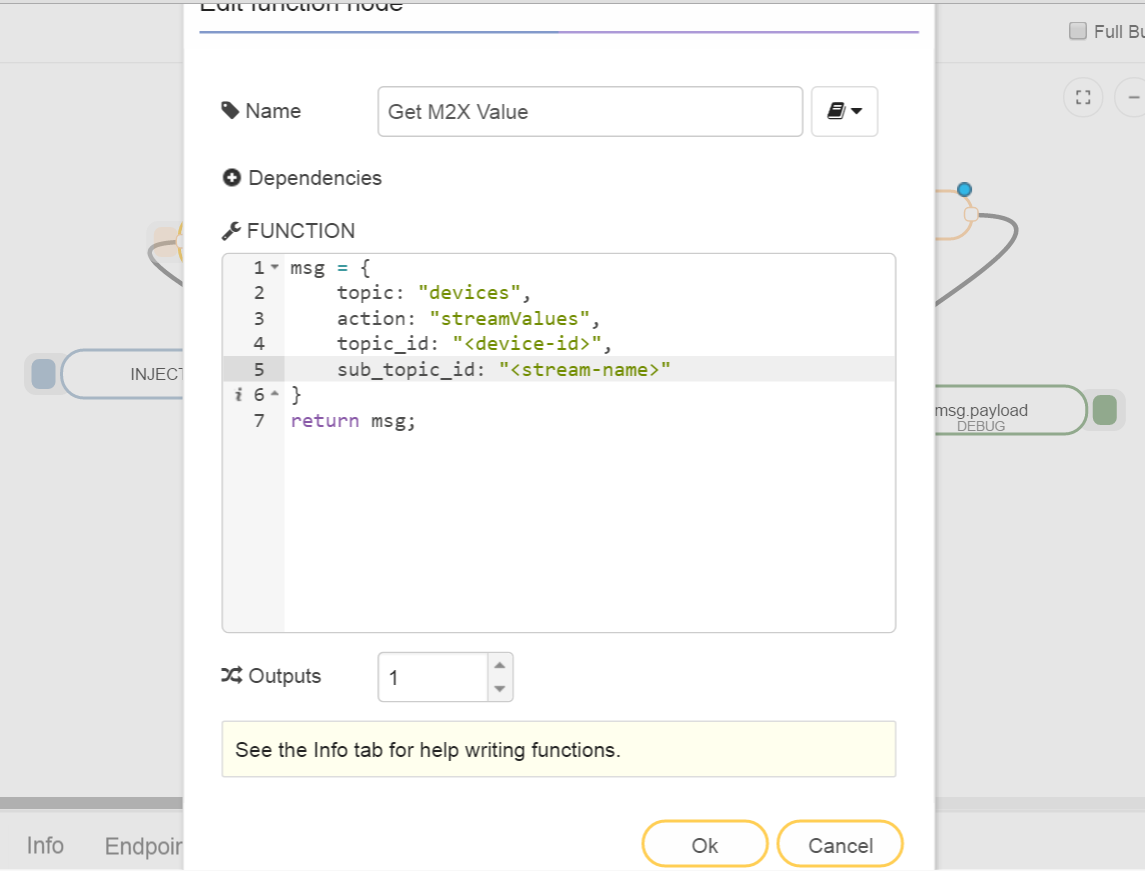
- Add a Function node (I called mine Get M2X Value) to get the data value from M2X, and connect the output of the Inject node to the input of the Function node. The code for the function node is in the above picture.
- Add an M2X node, and connect it to the function node.
- Connect the output of the M2X node to a JSON node, so that the M2X data will be converted to a javascript object.
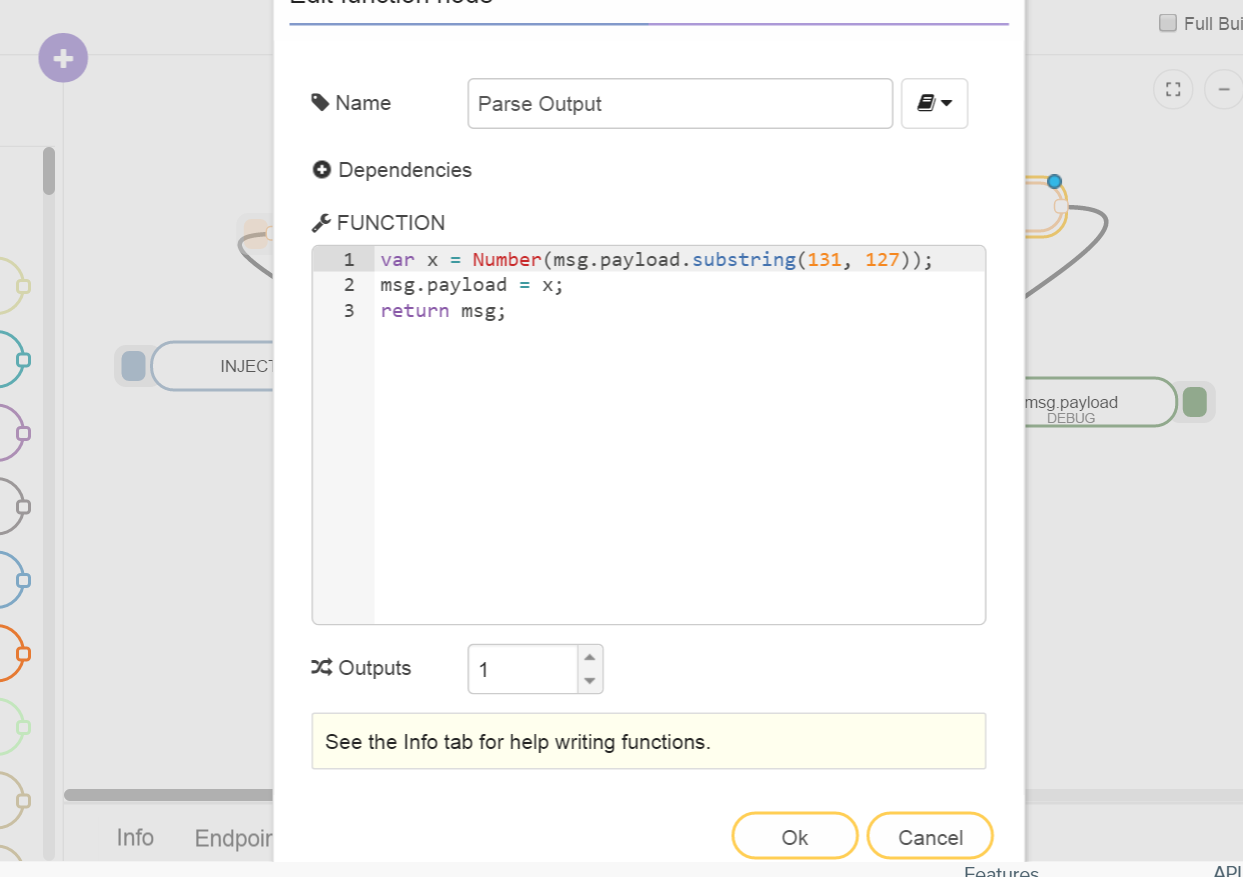
- Connect the output of the JSON node to another function node (I called mine Parse Output). The code for the second function is in the picture above. This function finds and takes the value from the msg.payload, and converts it to a number. If your stream sends non-numerical data, you will need to change the function to not convert the value to a number. Also, you might need to change the indices that the value is being taken from, depending on the size of each value.