Uploading Code With MPIDE
by joshwoldstad in Circuits > Microcontrollers
1733 Views, 12 Favorites, 0 Comments
Uploading Code With MPIDE

This Instructable will go over how to upload code to a board using MPIDE!
MPIDE is compatible with a huge range of boards, and is a pretty light-weight and constantly being updated with libraries.
We're going to be using the WF32 for this Instructable today.
Installing MPIDE
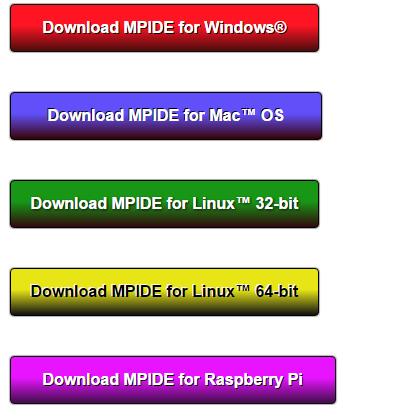
To download MPIDE go to this link and pick your OS.
Moving MPIDE
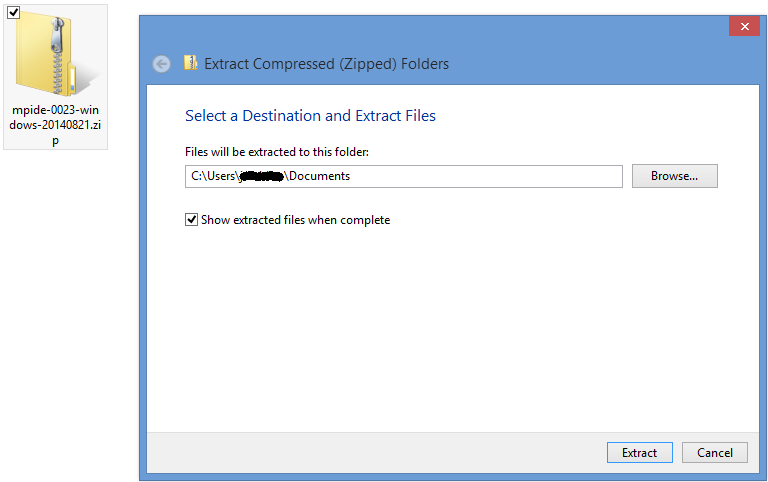
Now that MPIDE has been installed, you can extract the ZIP file to your location of choice (I recommend Documents). Everything being extracted is a little more than a GB of memory, so don't worry if it takes a few minutes.
Opening MPIDE
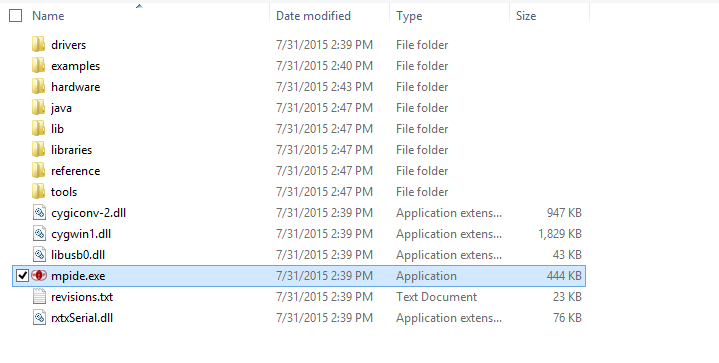
After MPIDE has extracted you can get into the MPIDE folder. To open MPIDE, just double click on the MPIDE.exe file. You can also right-click and create a shortcut for ease of use later.
Choosing Your Board
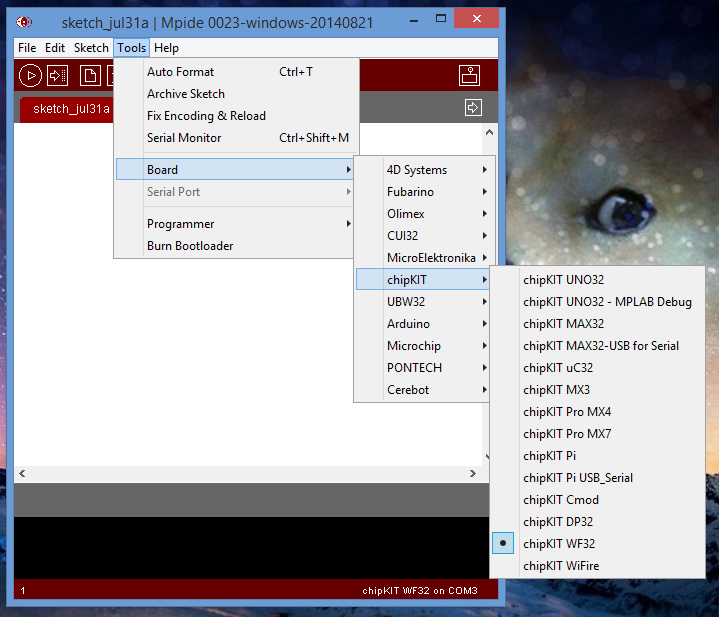
Once MPIDE is opened you can select what board by using the top-bar menu.
- Select Tools
- Select Board
- At this point you can select what brand your using (in our case select chipKIT).
- Now you can select the board (chipKIT WF32)
Plugging in Your Board

Use your USB port to plug your board into the computer. In order for everything to work, the board must be powered and ON, so react accordinagly.
Selecting Serial Port
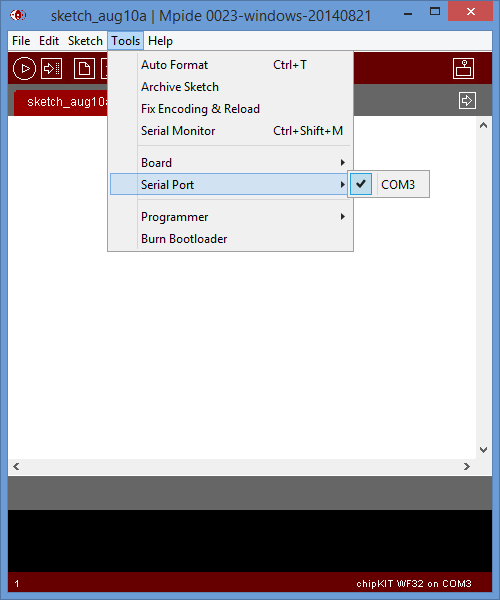
Note: You'll probably be able to skip this step
You may have to change the serial port while using MPIDE.
- Go to Tools.
- Select Serial Port.
- Select the port your board is plugged into.
Uploading Your Code
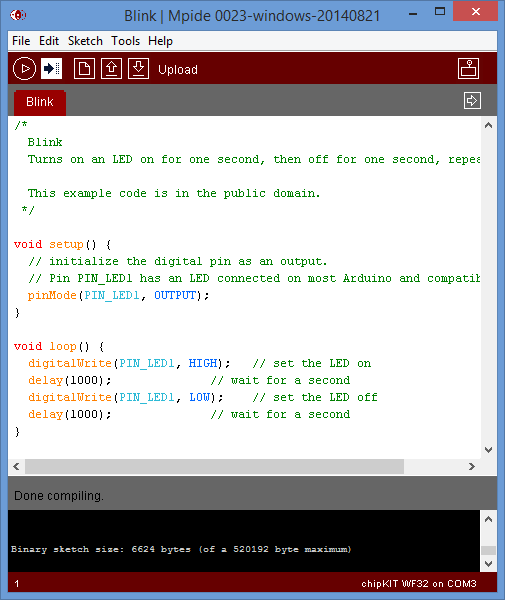
Now that the board is plugged in and the serial port is set, you're all ready to upload your code!
In the top left corner of the screen, there will be a square with an arrow inside it, click on this to upload your code your board, and with that you're all set!