Upgrading the Plug It Design to Fusion 360
by Thomas Huyghebaert in Design > Software
1168 Views, 6 Favorites, 0 Comments
Upgrading the Plug It Design to Fusion 360
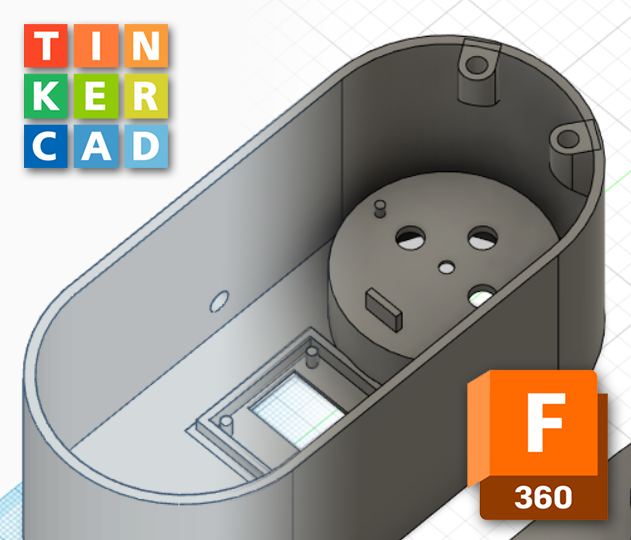
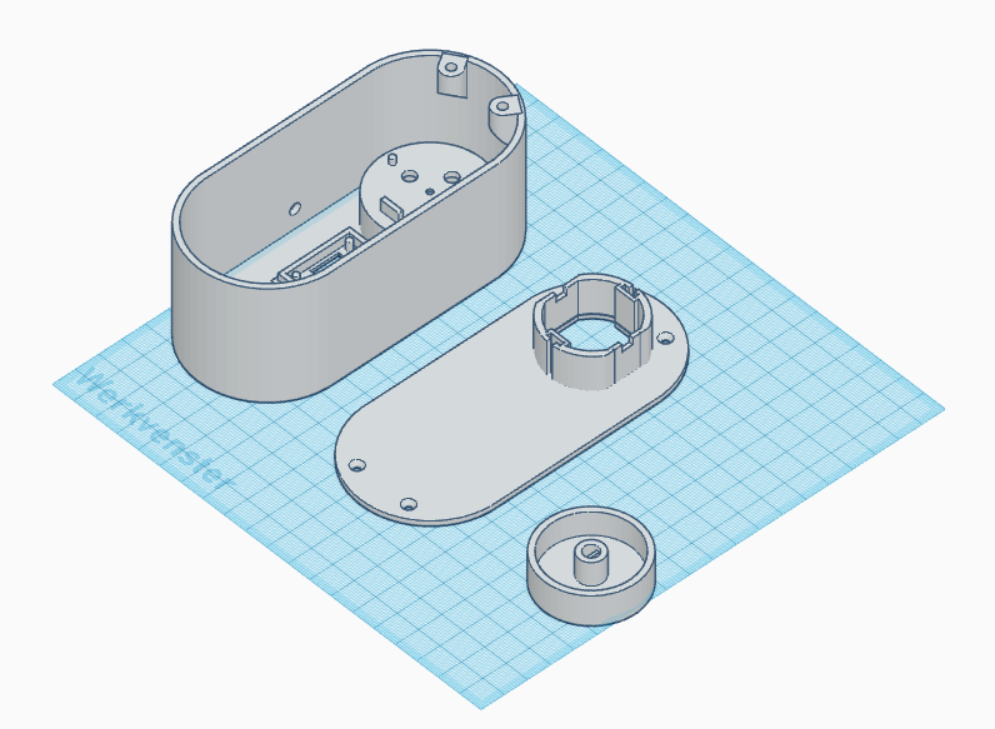
I made a smart plug for a school project called Plug It. I made an instructable for it and I got a lot of great feedback. I designed the entire smart plug in Tinkercad, which was quite a challenge actually. Thats why I want to upgrade to Fusion 360.
In this instructable I will explain some of the basic functionalities of Fusion 360 I used to design 3 bodies. I will also show how easy it is to render a textured image of the finished design.
Link to Tinkercad design: https://www.tinkercad.com/things/k71Y9kP6k4I
Downloads
Creating a Sketch
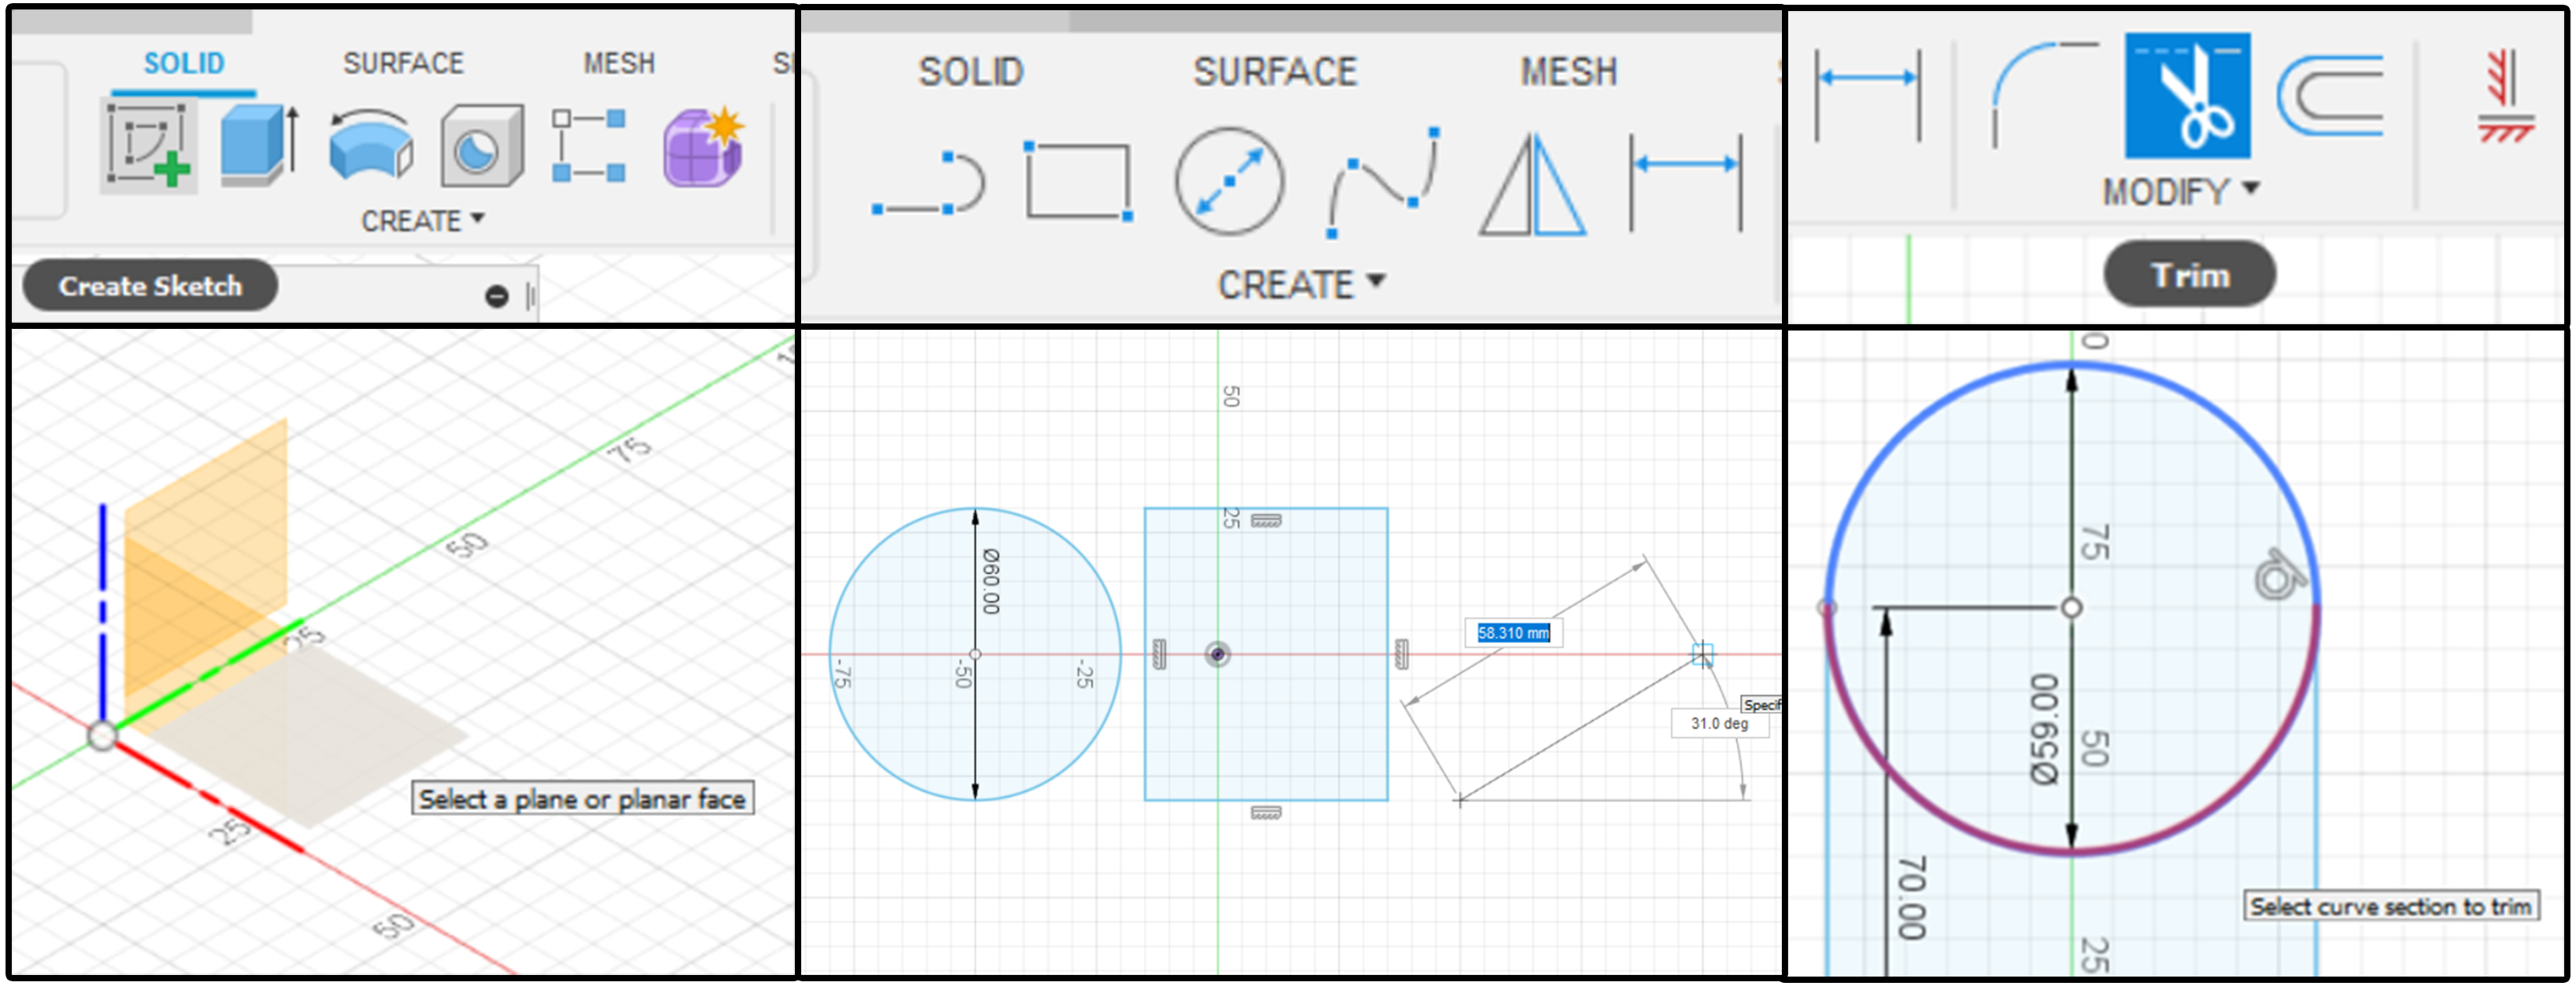
To create a shape we first have to create a sketch. This is basically a projection on a flat plane of the shape you want to create. Click the sketch button in the "SOLID"-menu and select the plane you want to draw your projection onto.
Fusion 360 has a lot of tools to create complex shapes, for simple shapes the basic tools in the top menu will suffice. To remove parts of a sketch you can simply select the trim-tool and click the lines you want to delete. When you're done with your sketch, click the "Finish sketch"-button.
Using just these tools I could design the entire body. The ability to draw sketches is in my opinion the major advantage over Tinkercad since it makes designing complex and even simple bodies way faster.
Extrude the Sketch to the 3rd Dimension
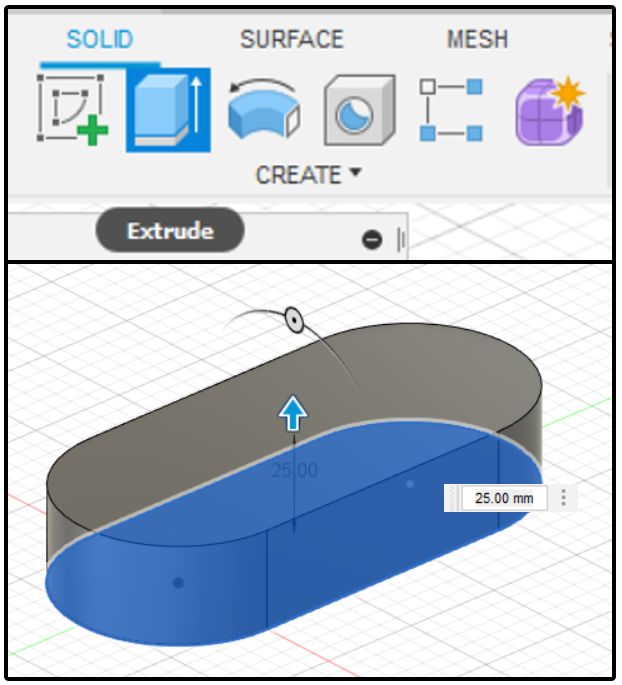
Now that you've drawn a 2D sketch, you can add a height to it by dragging it into the third dimension!
Simply click the "Extrude"-button, select your sketch and drag it up. You can also manually enter a height ofcourse.Fusion 360 offers more extrude-options to configure in a popup menu.
When you are done press enter or click the OK button.
Edit the Body Further
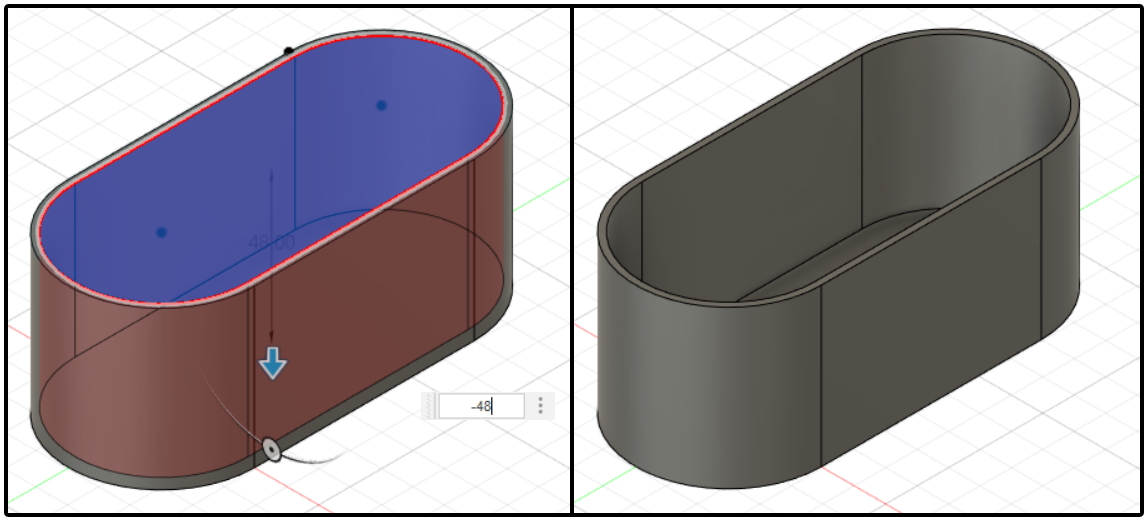
The basic body is now created, now it's time to edit it further. We could add more material to the shape or take material away from it. To do this we can simply repeat the previous 2 steps: select a side of the body and draw a sketch on it, then extrude inwards or outwards.
Add Textures to the Bodies
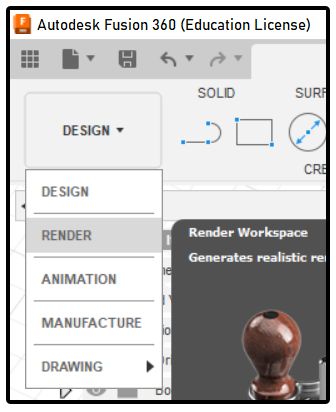
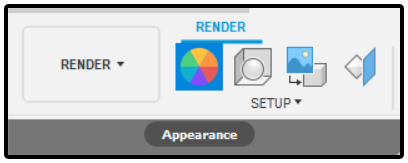
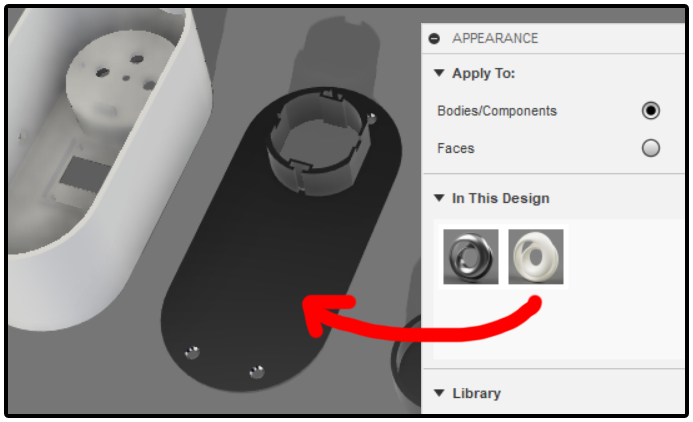
I want to render an image of my design. Luckily, Fusion 360 has a built-in render feature.
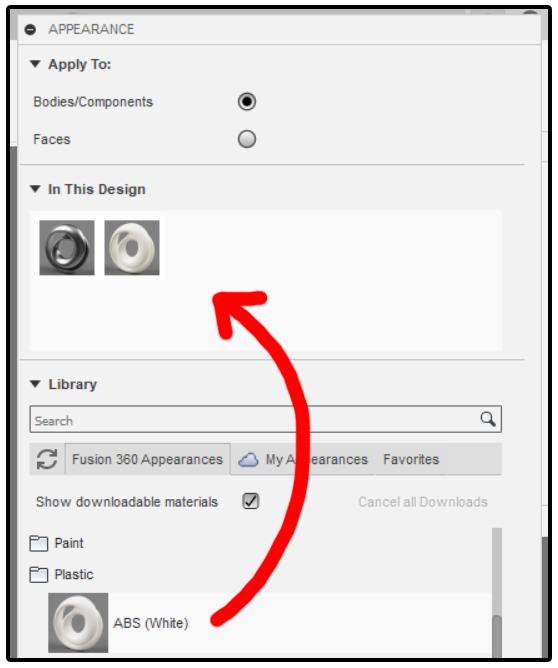
Navigate to the Render-page and select the appearance-tool. In the popup menu you can choose from a whole library of textures and add them to your ddesign by dragging and dropping them like shown in the picture. To actually apply the texture to your 3D-body, drag and drop the texture from the popup menu onto the 3D-body.
You can also add an environment to include in the rendered image. To do this select the scene-tool and drag and drop the environment from the library, just like you did with the textures.
Render the Final Result
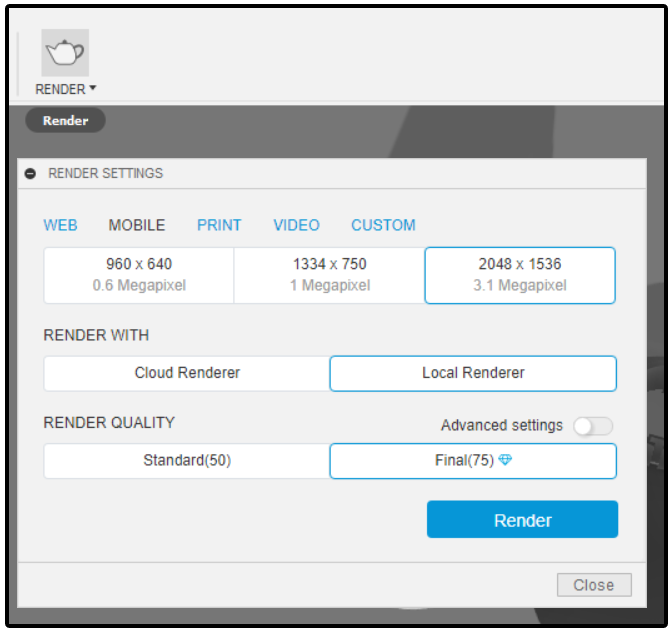
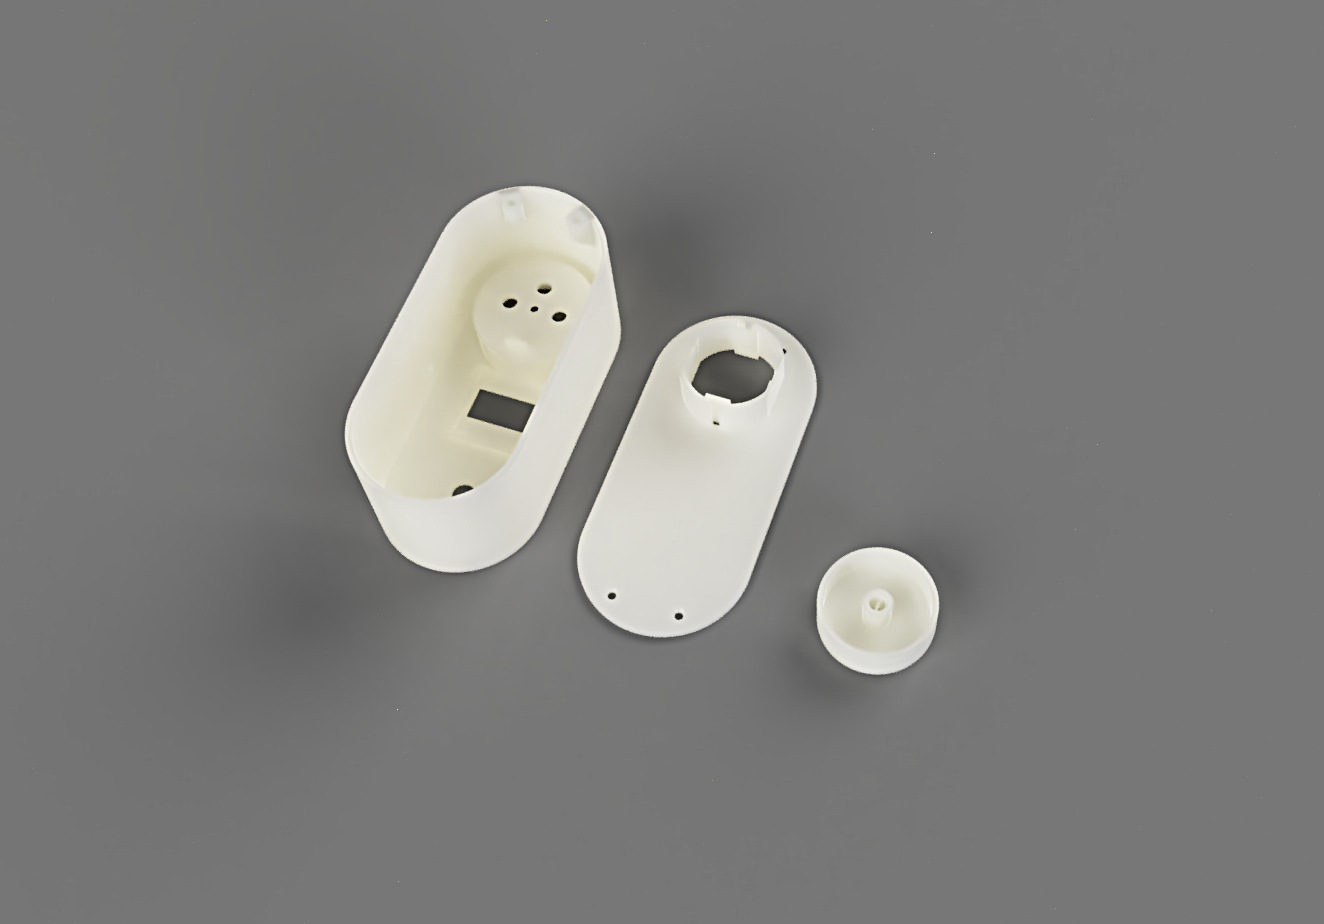
Click the render button in the top menu and a popup menu will appear. Here you can enter your desired resolution and file-format etc.
After clicking the blue render button you will have to wait for a few minutes. When it's done the final result will appear on the bottom of your screen. Click on it to preview the result and click the download icon to save it to your local computer.