Upgrade Firmware on Microchip LoRa Mote With Microchip Pickit 3
by iVladislav in Circuits > Wireless
7312 Views, 9 Favorites, 0 Comments
Upgrade Firmware on Microchip LoRa Mote With Microchip Pickit 3
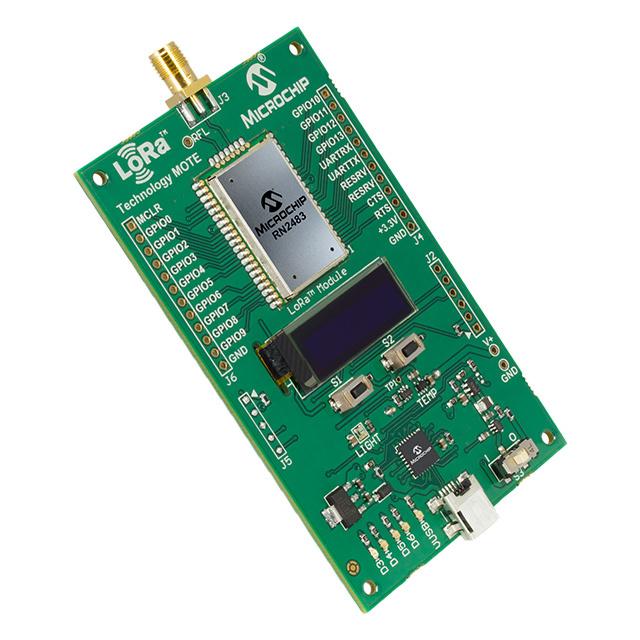
This popular LoRa module have very buggy Java-based GUI for upgrading firmware (you can download it from http://www.microchip.com/Developmenttools/ProductDetails.aspx?PartNO=dv164140-1 called LoRa Development Suite).
In many cases you will end with broken bootloader and won't be able to upgrade with this app.
If this is our case you may use this instructable to restore bootloader and upgrade firmware.
You will need:
- Microchip LoRa Mote
- Microchip Pickit 3 (can be found on Aliexpress for about 11$)
- PICkit3 Programmer Application Setup (http://ww1.microchip.com/downloads/en/DeviceDoc/PICkit3%20Programmer%20Application%20v3.10.zip)
- Firmware you want to install. Latest version 1.0.1 can be downloaded from here: http://www.internet-of-things.nu/assets/rn2483-v10...
File RN2483-v101.for.ICSP.hex is for use with PICkit3/ICD3 or other compatible PIC programmer (chip is PIC18LF46K22, 3.3V device). RN2483-v101.for.bootloader.hex should be usable with Java app.
Install Pickit 3 Programmer Application
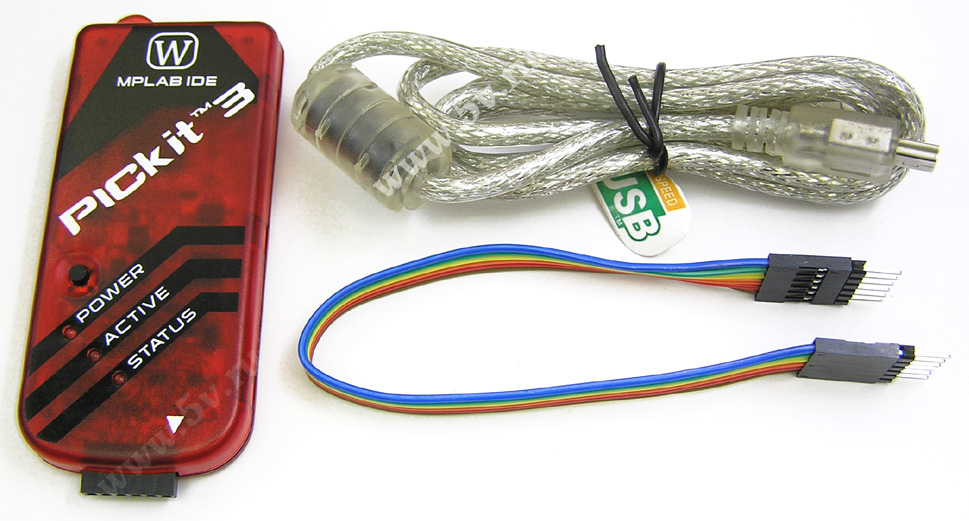
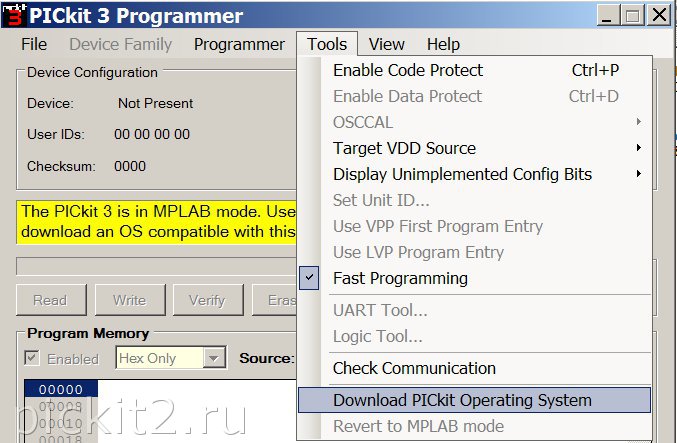
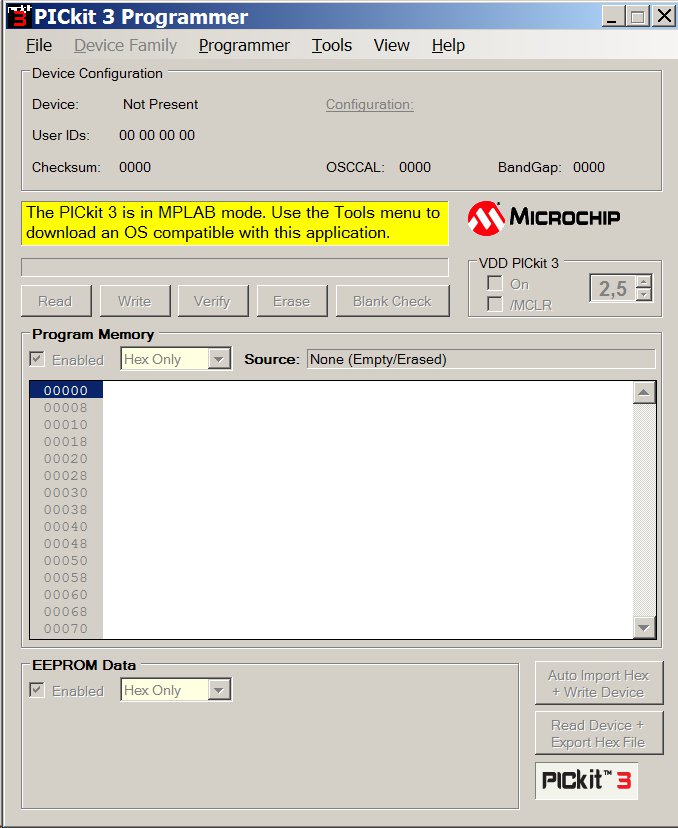
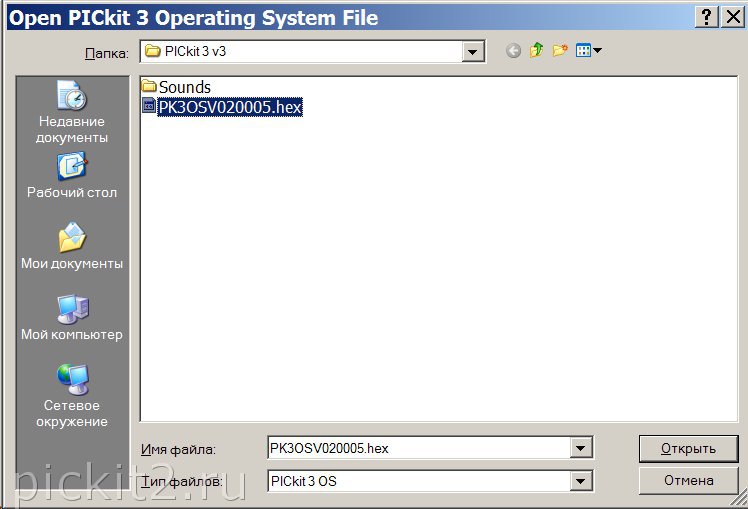
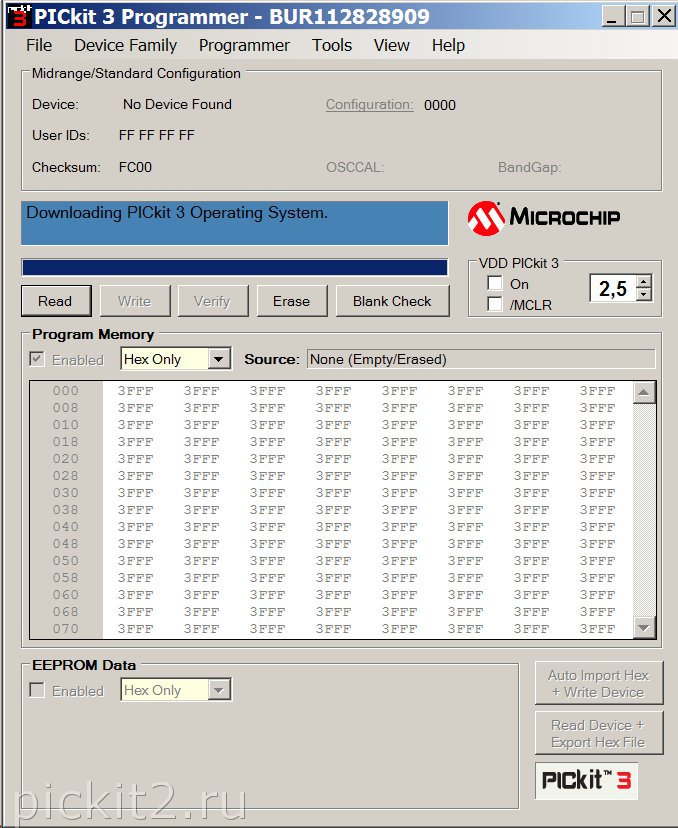
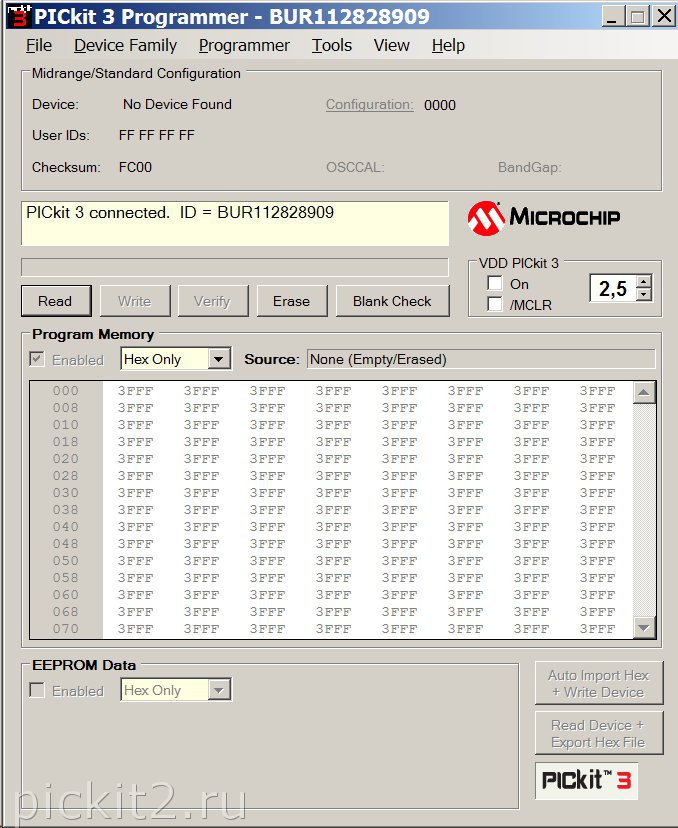
Install Microchip Pickit 3 programmer application.
When you start it you'll see the following screen saying about MPLAB mode.
Press 'Tools' -> 'Download Pickit 3 Operating System' and select .hex file which will be available 'PKSOS.....hex'
After a while you will see 'Pickit 3 connected' message.
Select Microcontroller to Flash
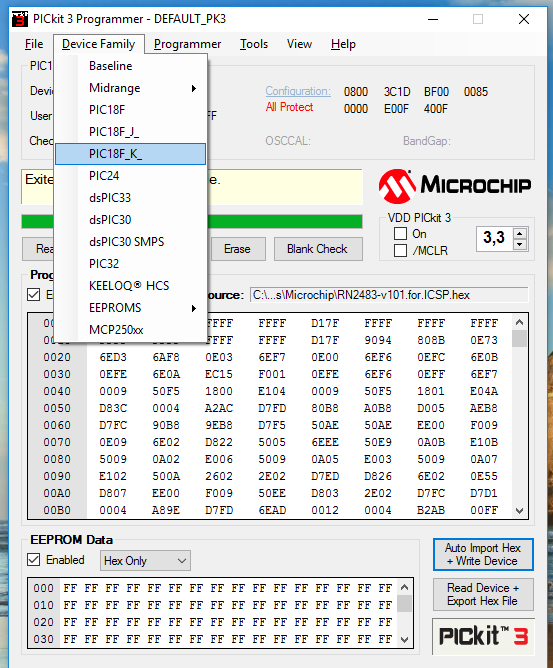.png)
Select from Pickit 3 menu option 'Device Family' -> 'PIC18F_K_'
Solder and Flash
.png)
.png)
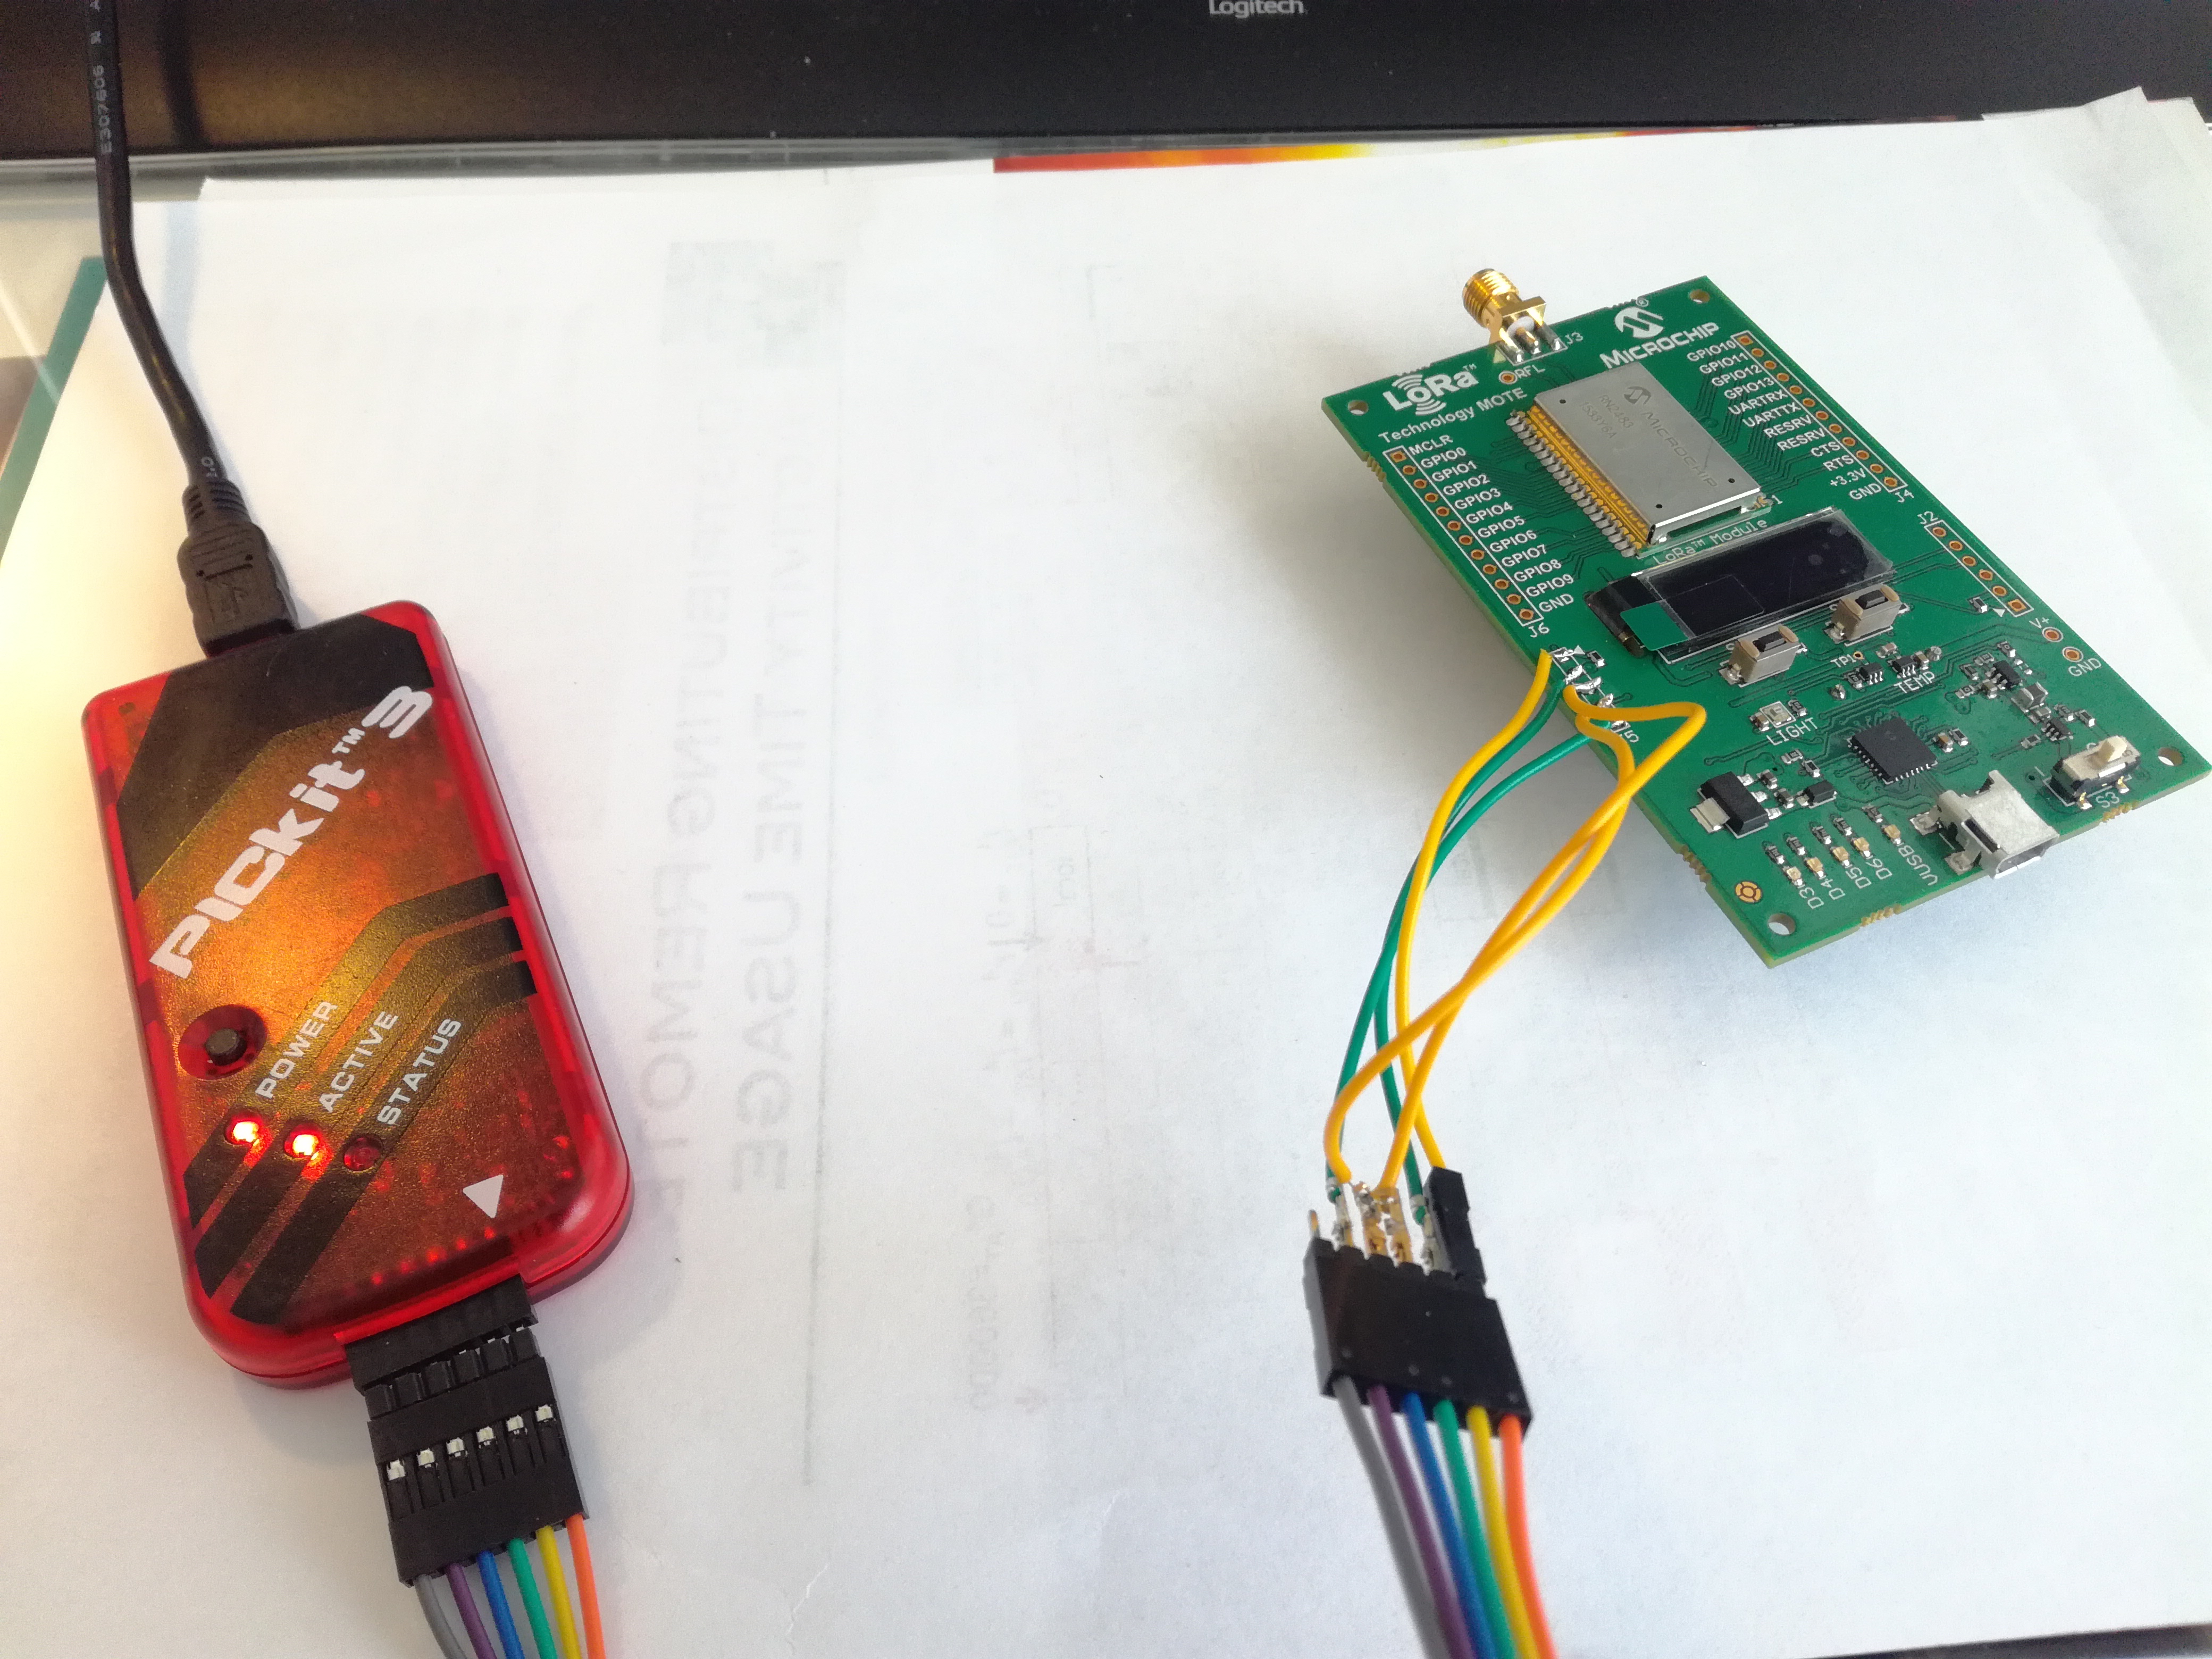
Now you will need to solder short wires to 'J5' pins on Microchip LoRa mote.
When it's done you need to attach all 5 wires to Pickit3 in the same order starting from white triangle. Pickit3 has 6 pins, but the last one is not needed.
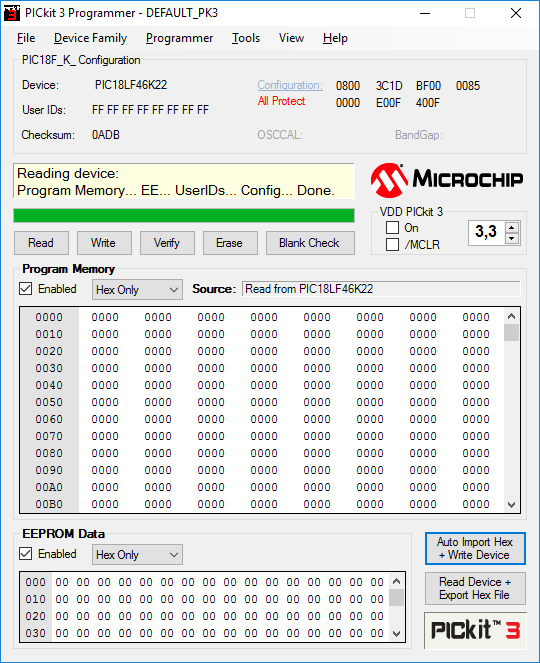
Connect you Pickit 3 to computer and press 'Programmer' -> 'Read device'.
If you did everything right you'll see Device name and other parameters in program.
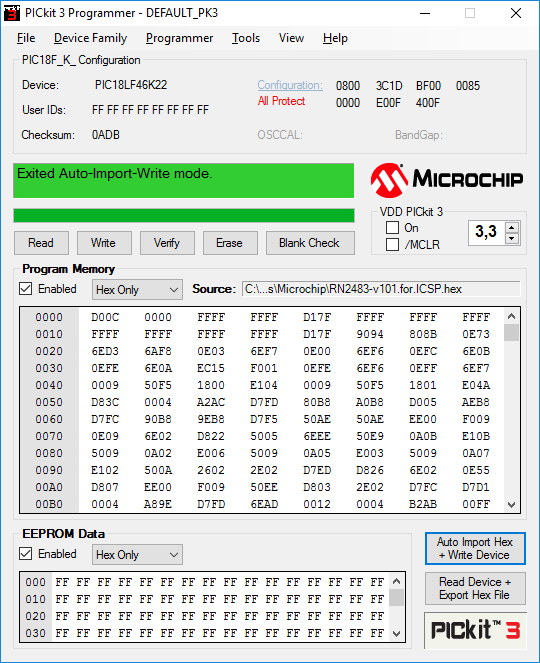
If everything was fine press 'Auto Import Hex + Write Device' button.
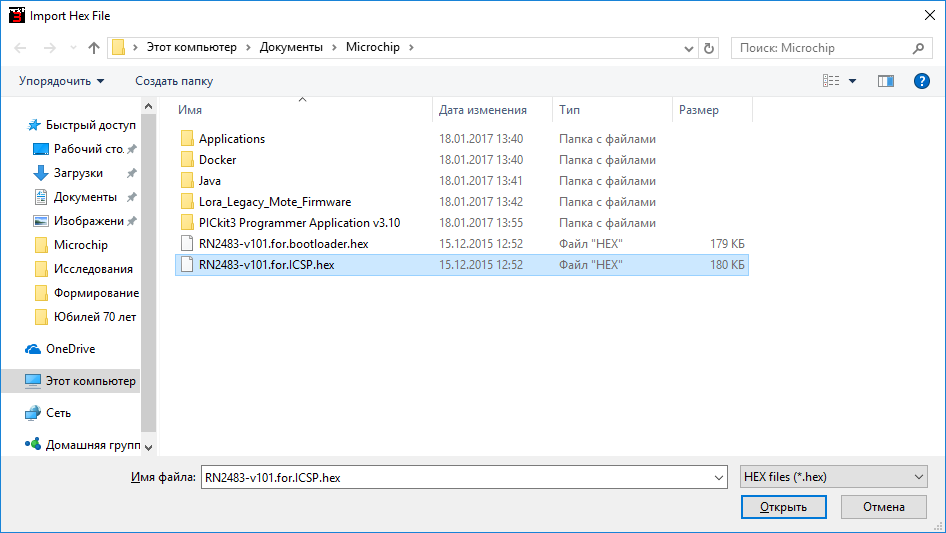
You will be asked to file to flash - select 'RN2483-v101.for.ICSP.hex'.
Wait for a few moments and the flashing will be done.
Now you may unsoder wires and use device as you wish.
Setting Up New RN2483
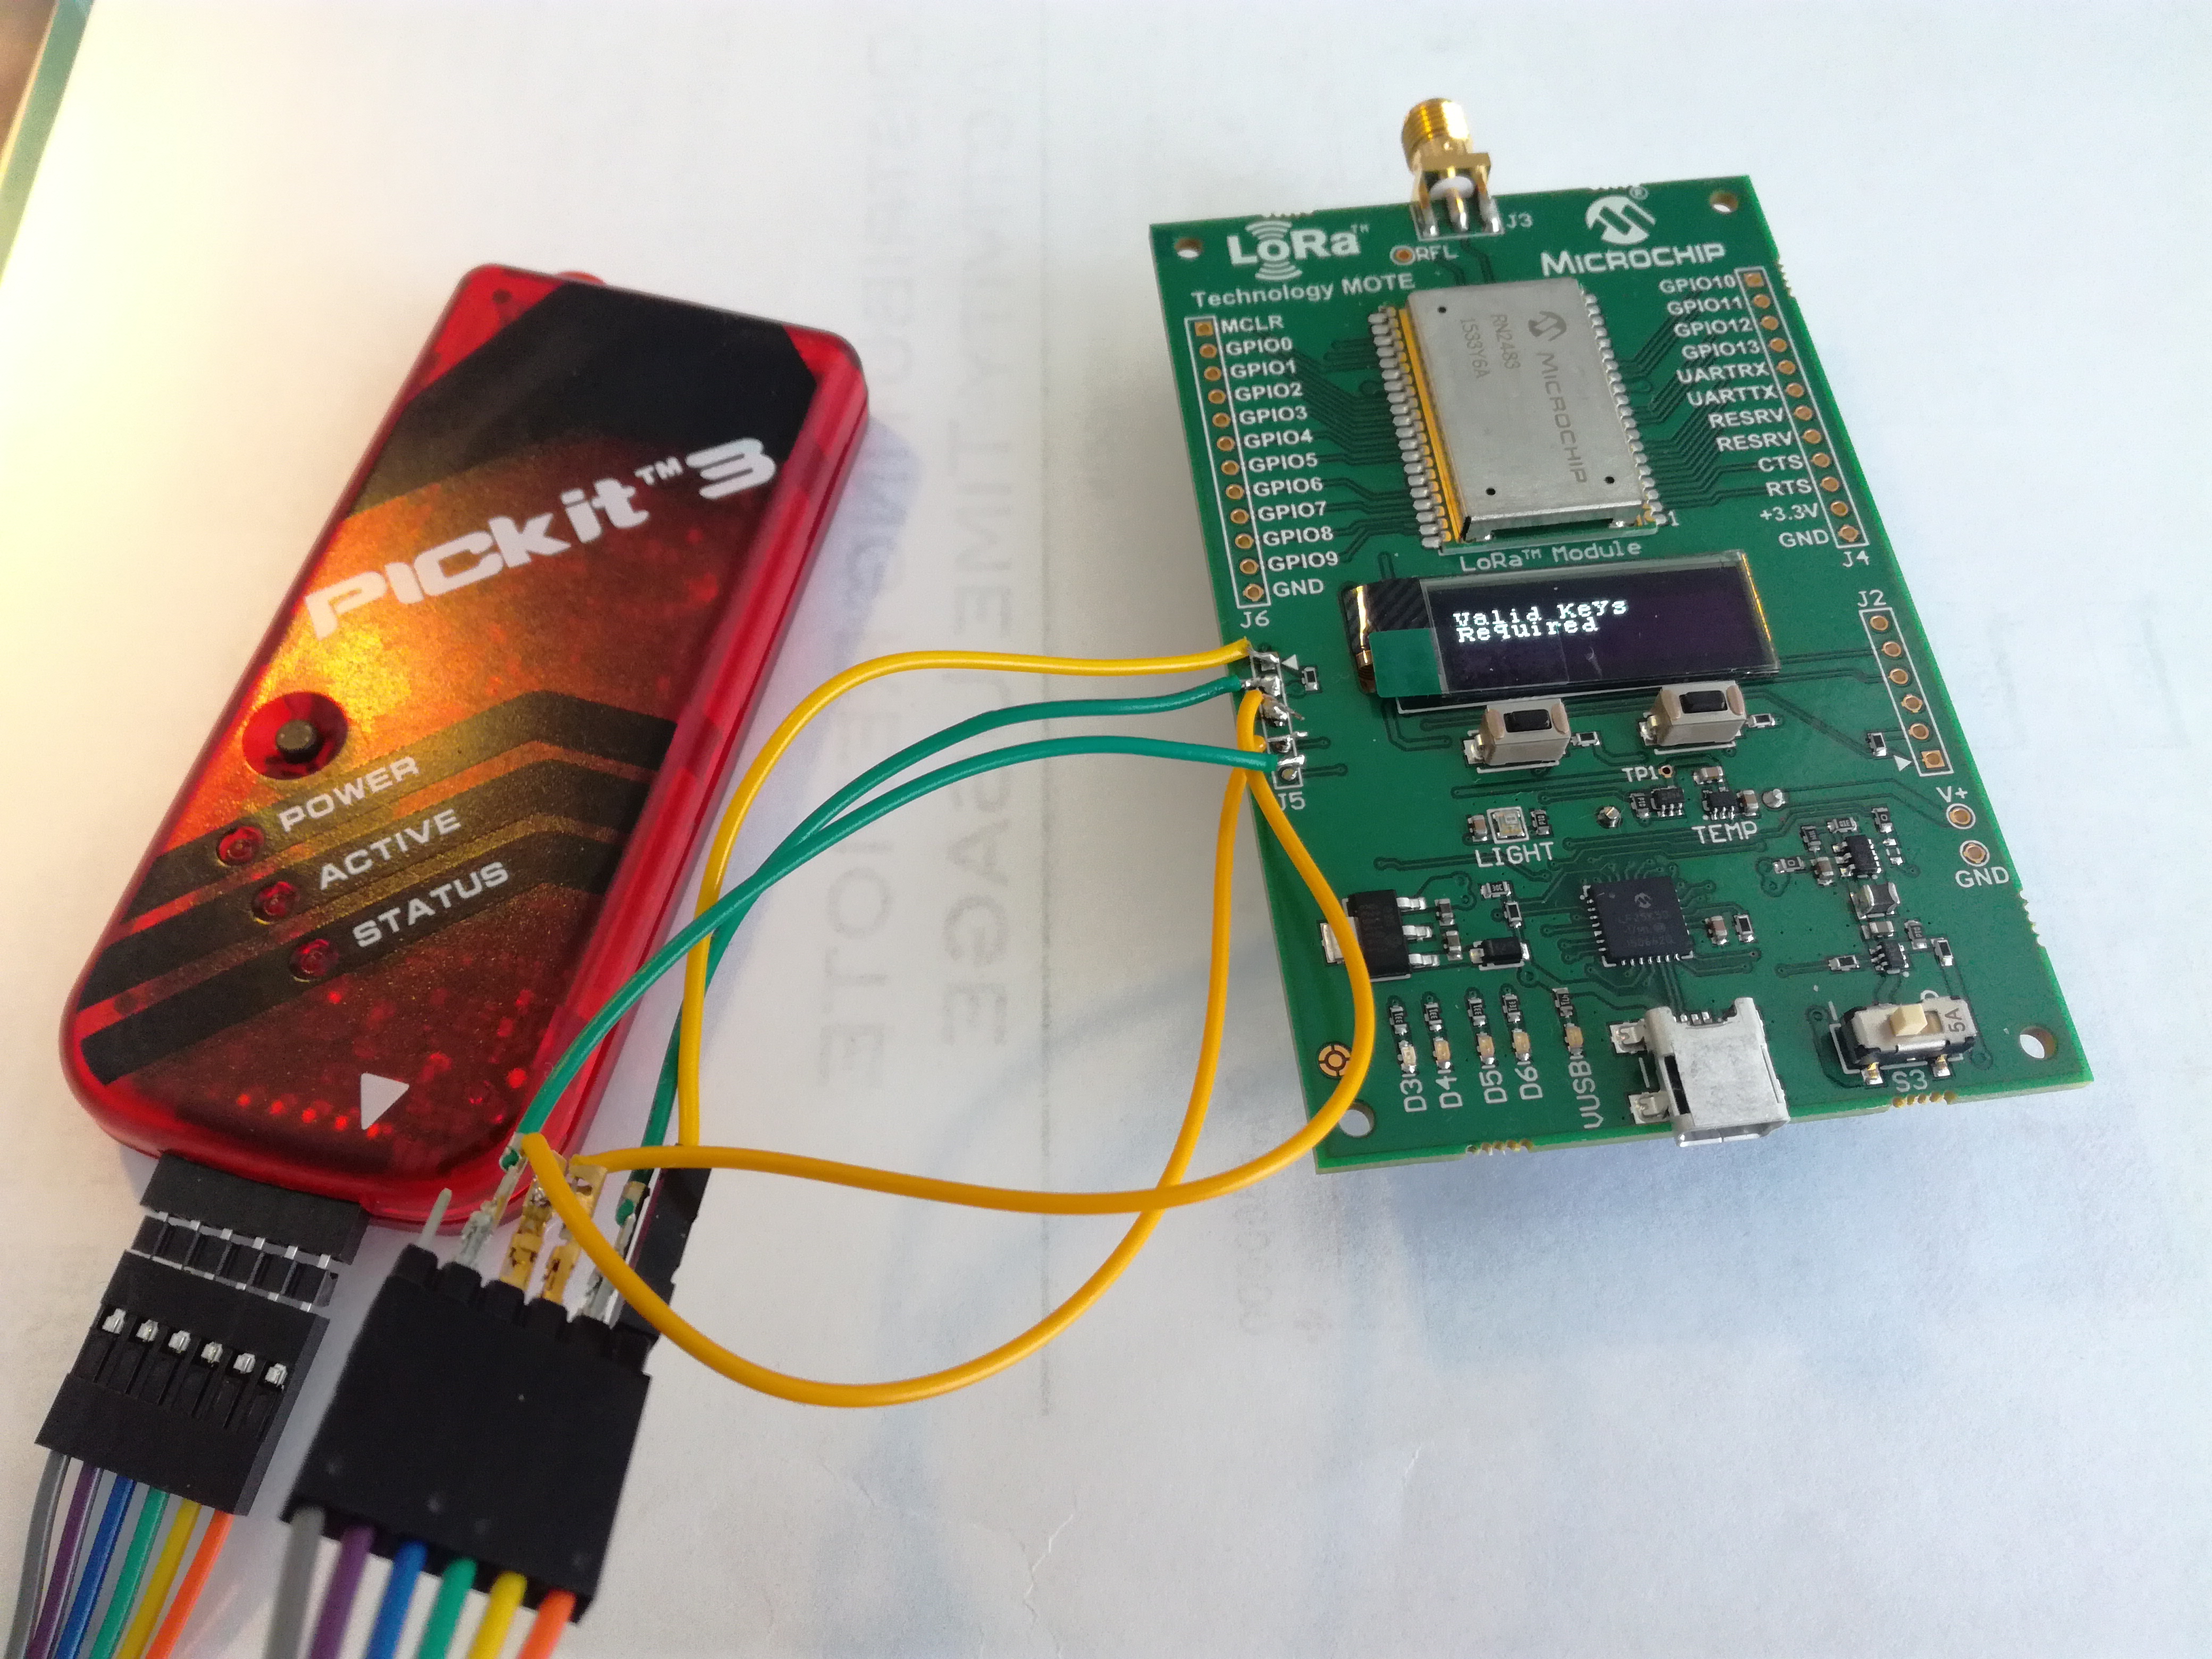
After upgrading to new firmware you'll need to set up device. If you power it first you'll see 'Valid keys required' message.
I use ABP connection so here's my next steps:
connect LoRa Mote to PC via miniUSB, open RealTerm (or other terminal you prefer).
Select COM port number, Baud rate = 57600, EOL +CR and +LF
and send ASCII comands in the following order:
sys get ver
RN2483 1.0.1 Dec 15 2015 09:38:09
mac set devaddr ....... <your devaddr>
ok
mac set nwkskey ....... <your nwkskey>
ok
mac set appskey ....... <your appskey>
ok
mac join abp
accepted
mac save
ok