Upcycle Camera Box

Eva Foam


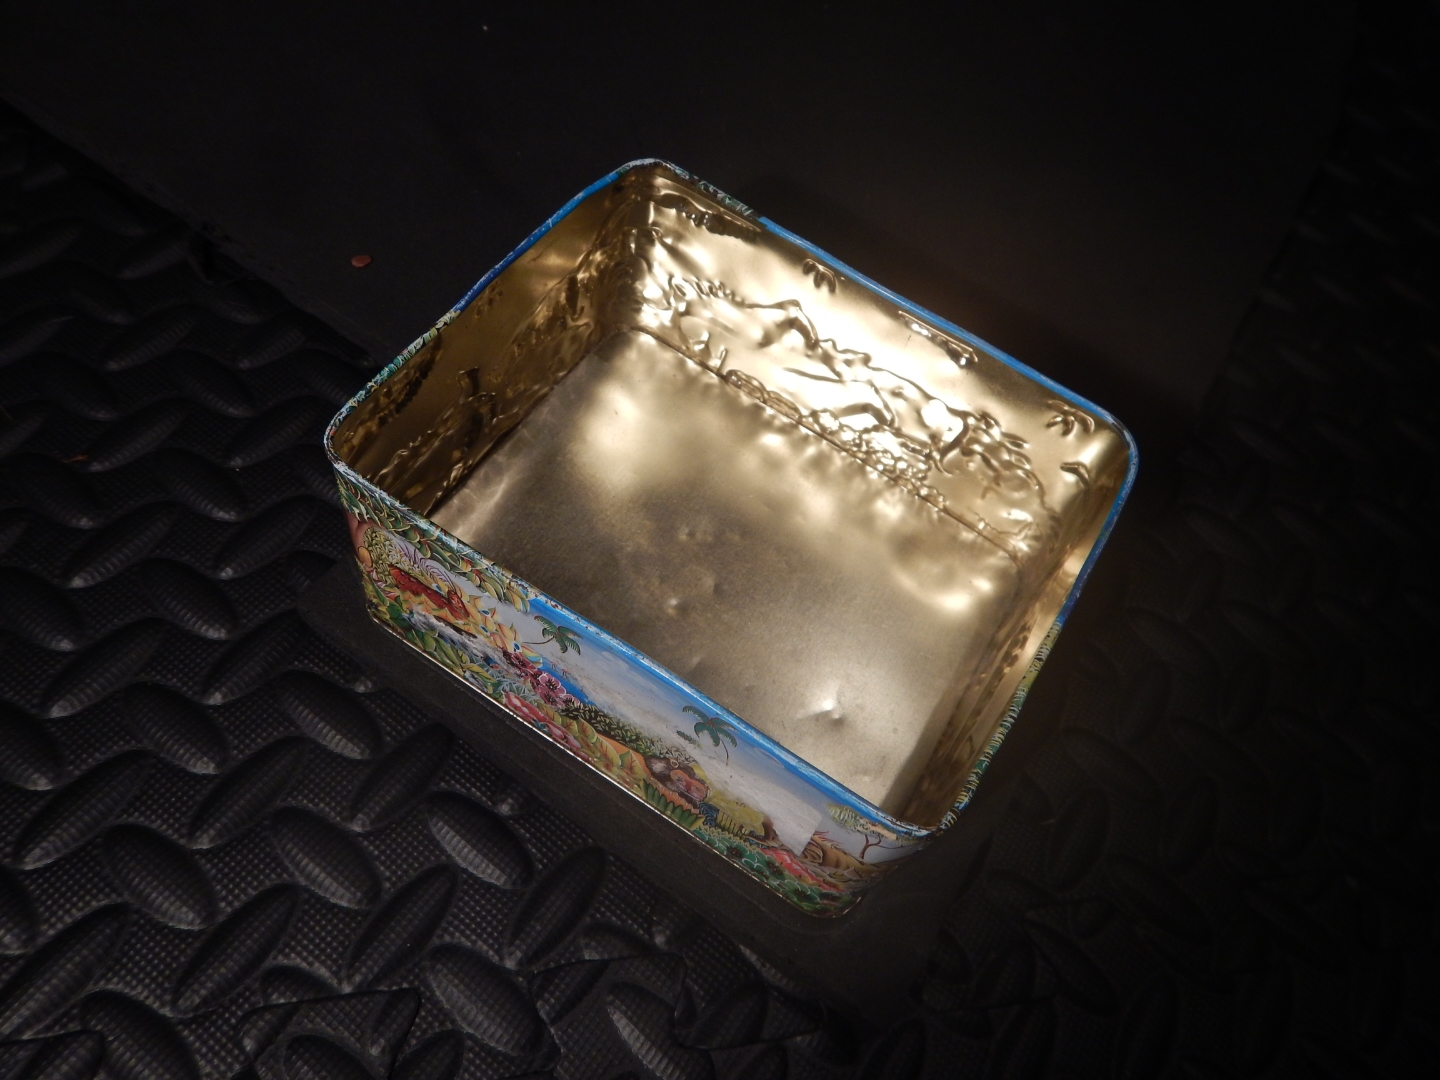


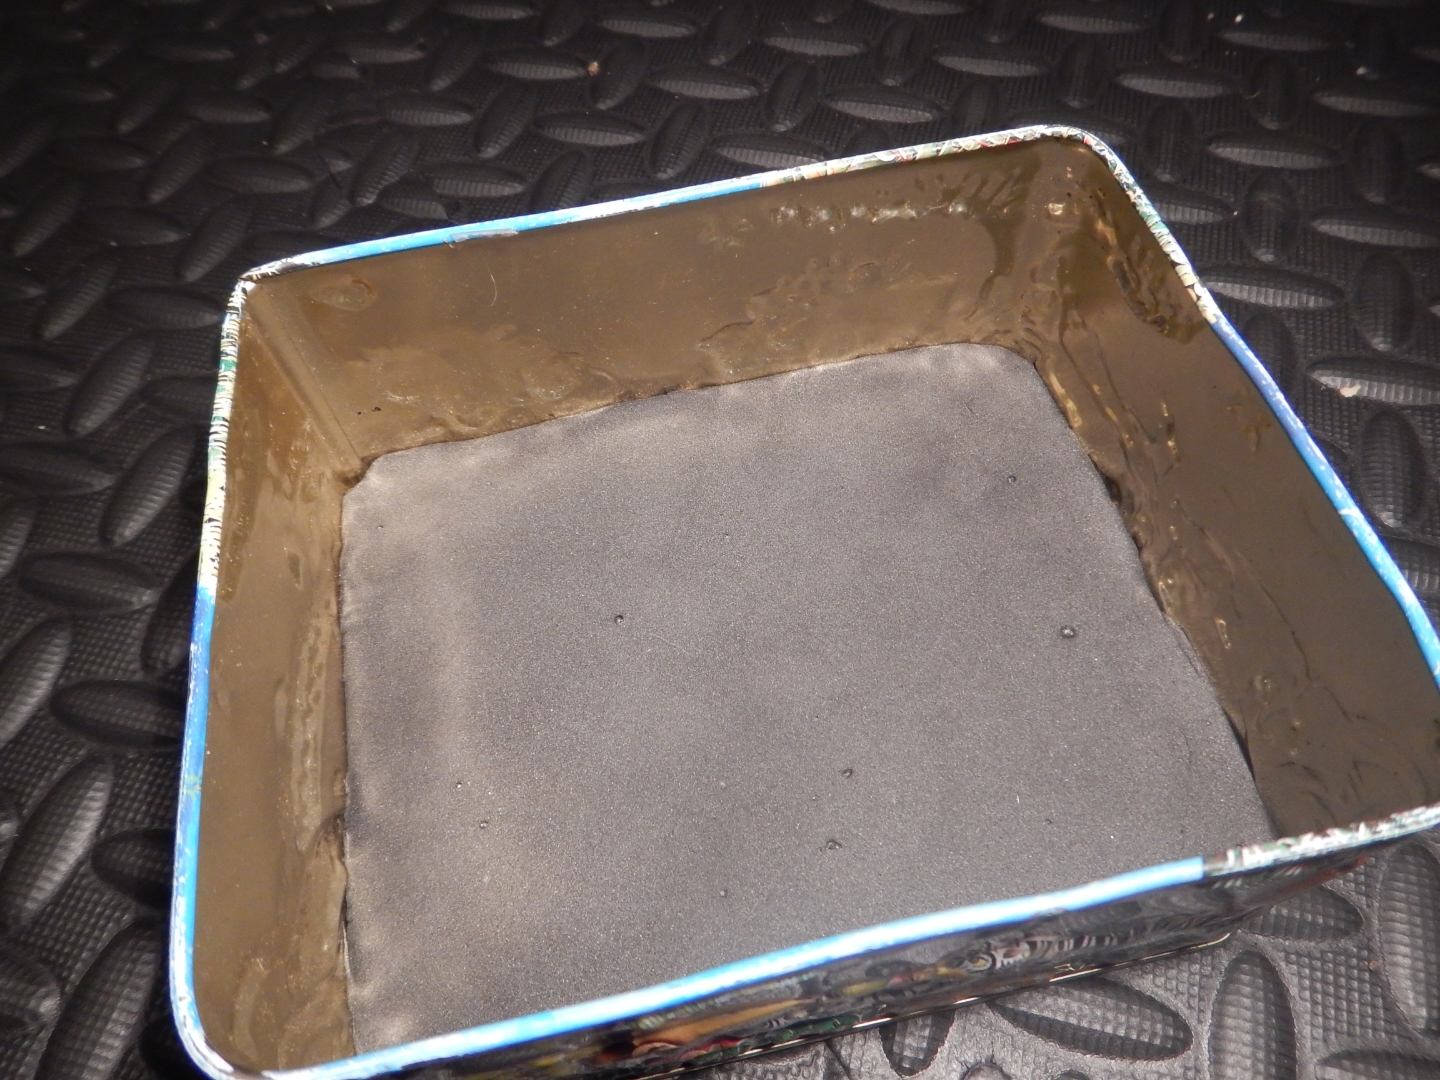


I used very thick EVA foam and made 3 layers to fit the camera in. First you should draw round the bottom of the tin. The first piece will be for the bottom. Cut it with some scissors then make sure it fits snug. Then cut out two more pieces the exact same size. Draw round the camera on these pieces using a sharp pencil. After that I used a craft knife to cut out the center where the camera will sit.
Cleaning

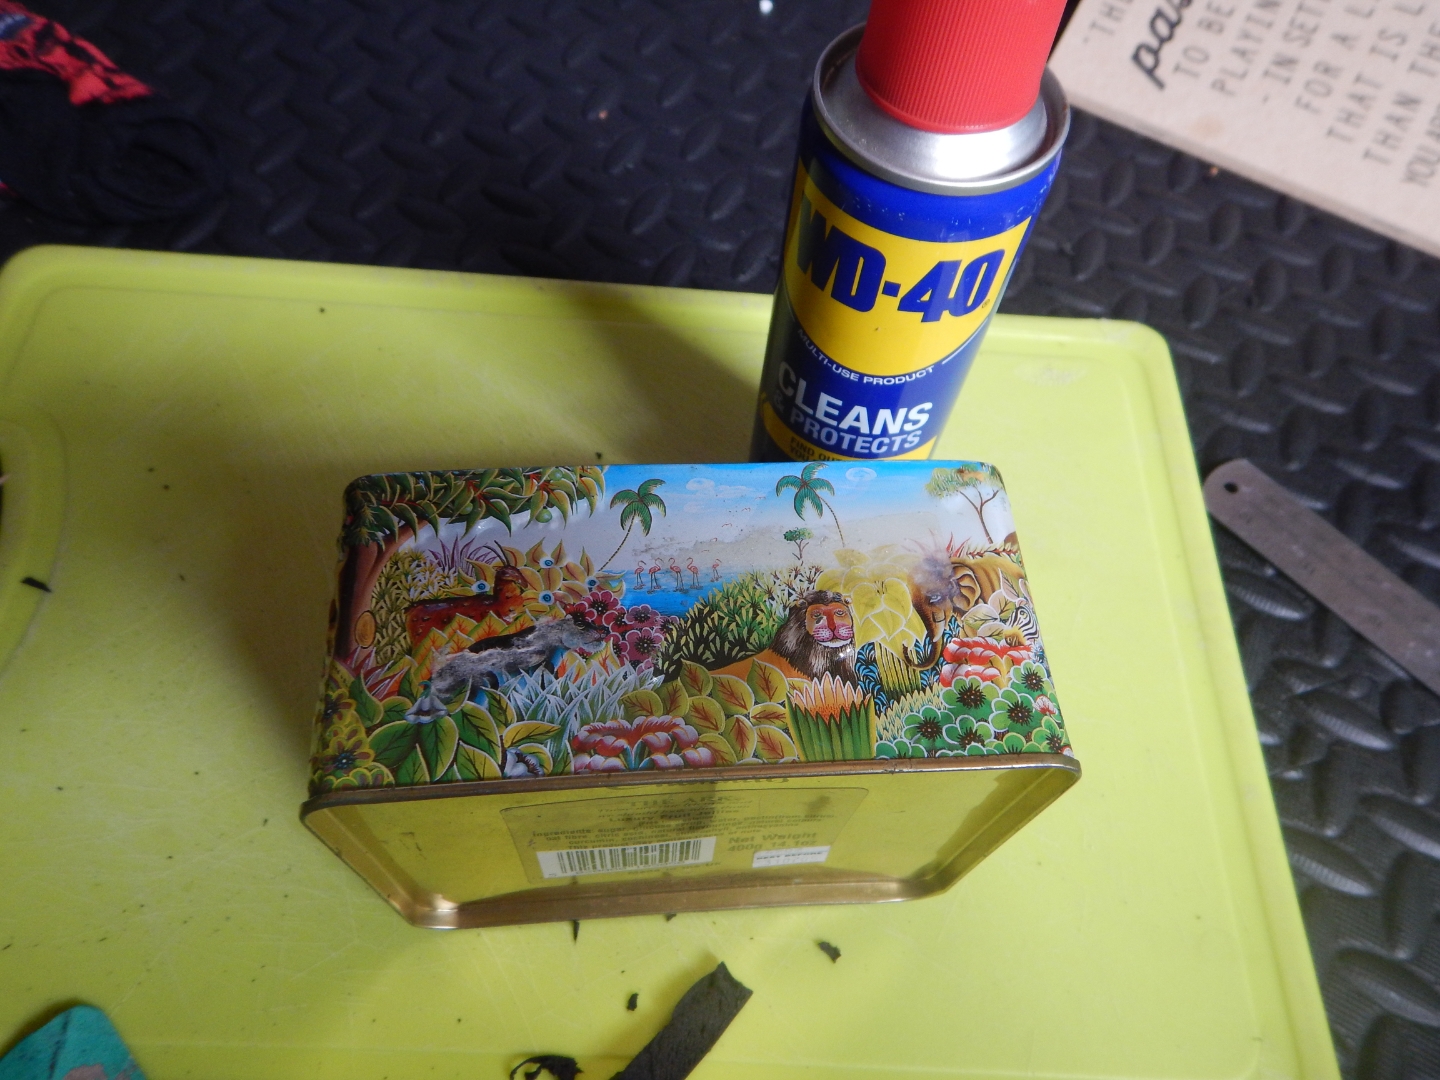
I should have definitely cleaned the tin first but I did not realize it was that dirty. You should clean it first with some soap and water. Then use some WD40 to get the glue and sticky bits off the tin.
Sanding

Give the EVA foam a quick sand to make sure that all the large chunks of foam are smooth.
Heat Gun


Using a heat gun seals up the outer layer of foam. This makes it look more aesthetically pleasing as it is smoother. You should run the heat gun quickly over the foam not keeping it in the same place for too long. I wore thick gloves when doing this as the heat gun gets very hot.
Glueing

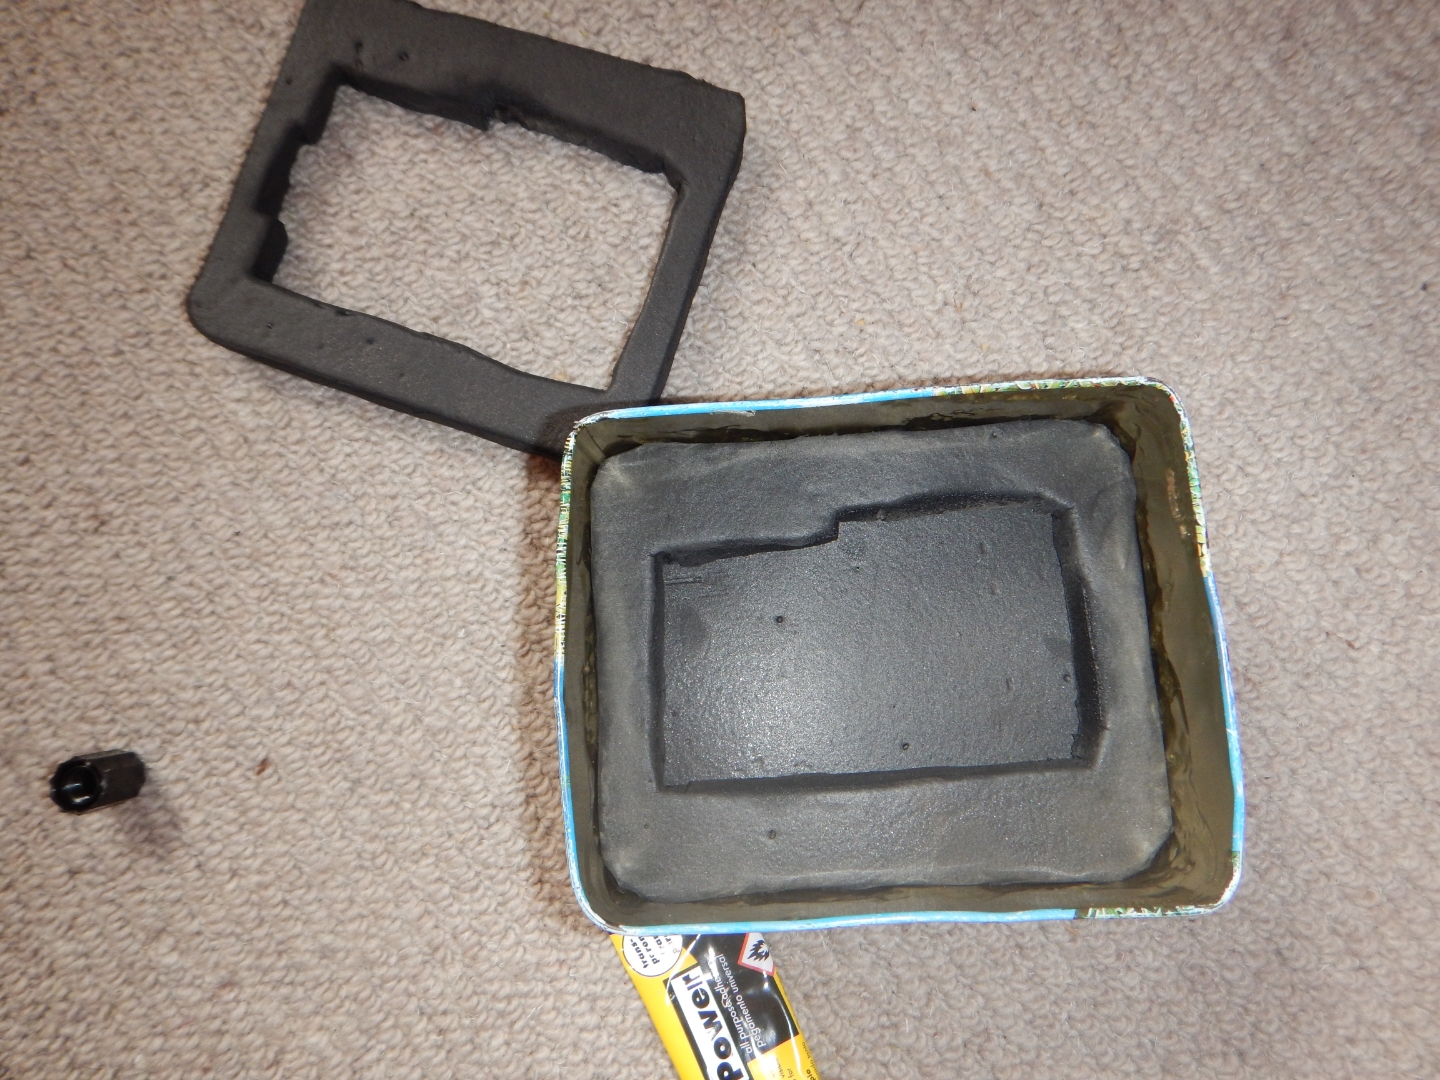
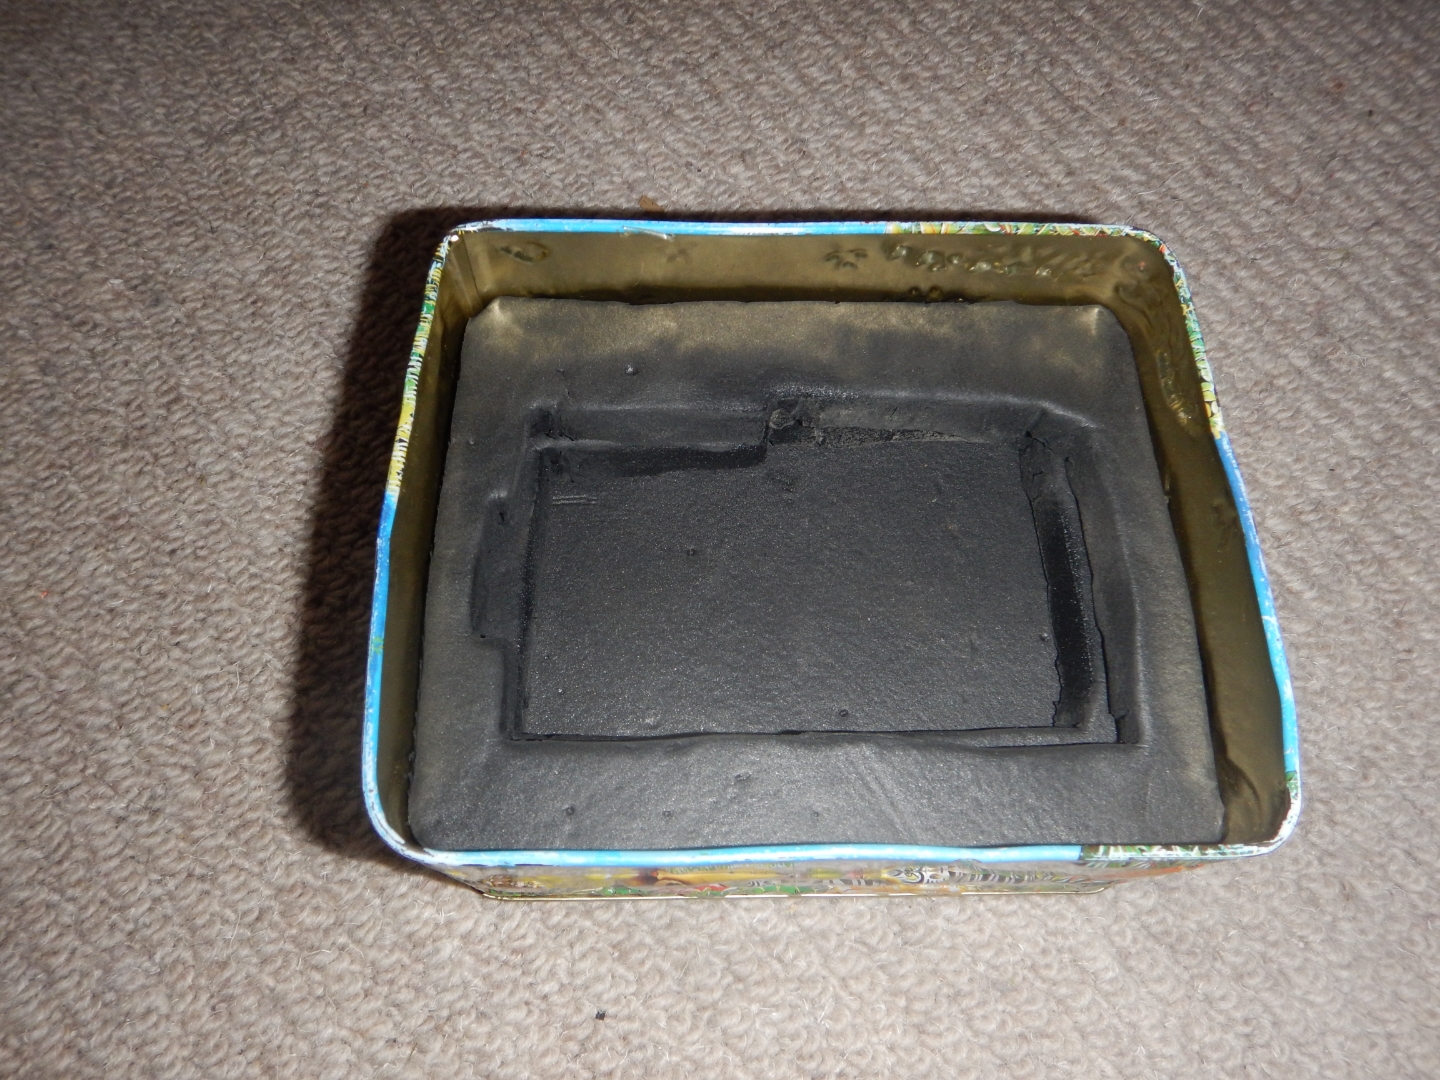
You don't really need glue because the foam clings to the side anyway but I thought that putting extra glue wouldn't cause any harm. I added UHU glue to the bottom of each piece and then pressed it together before letting it dry for a few minuets.
Photo Finish!
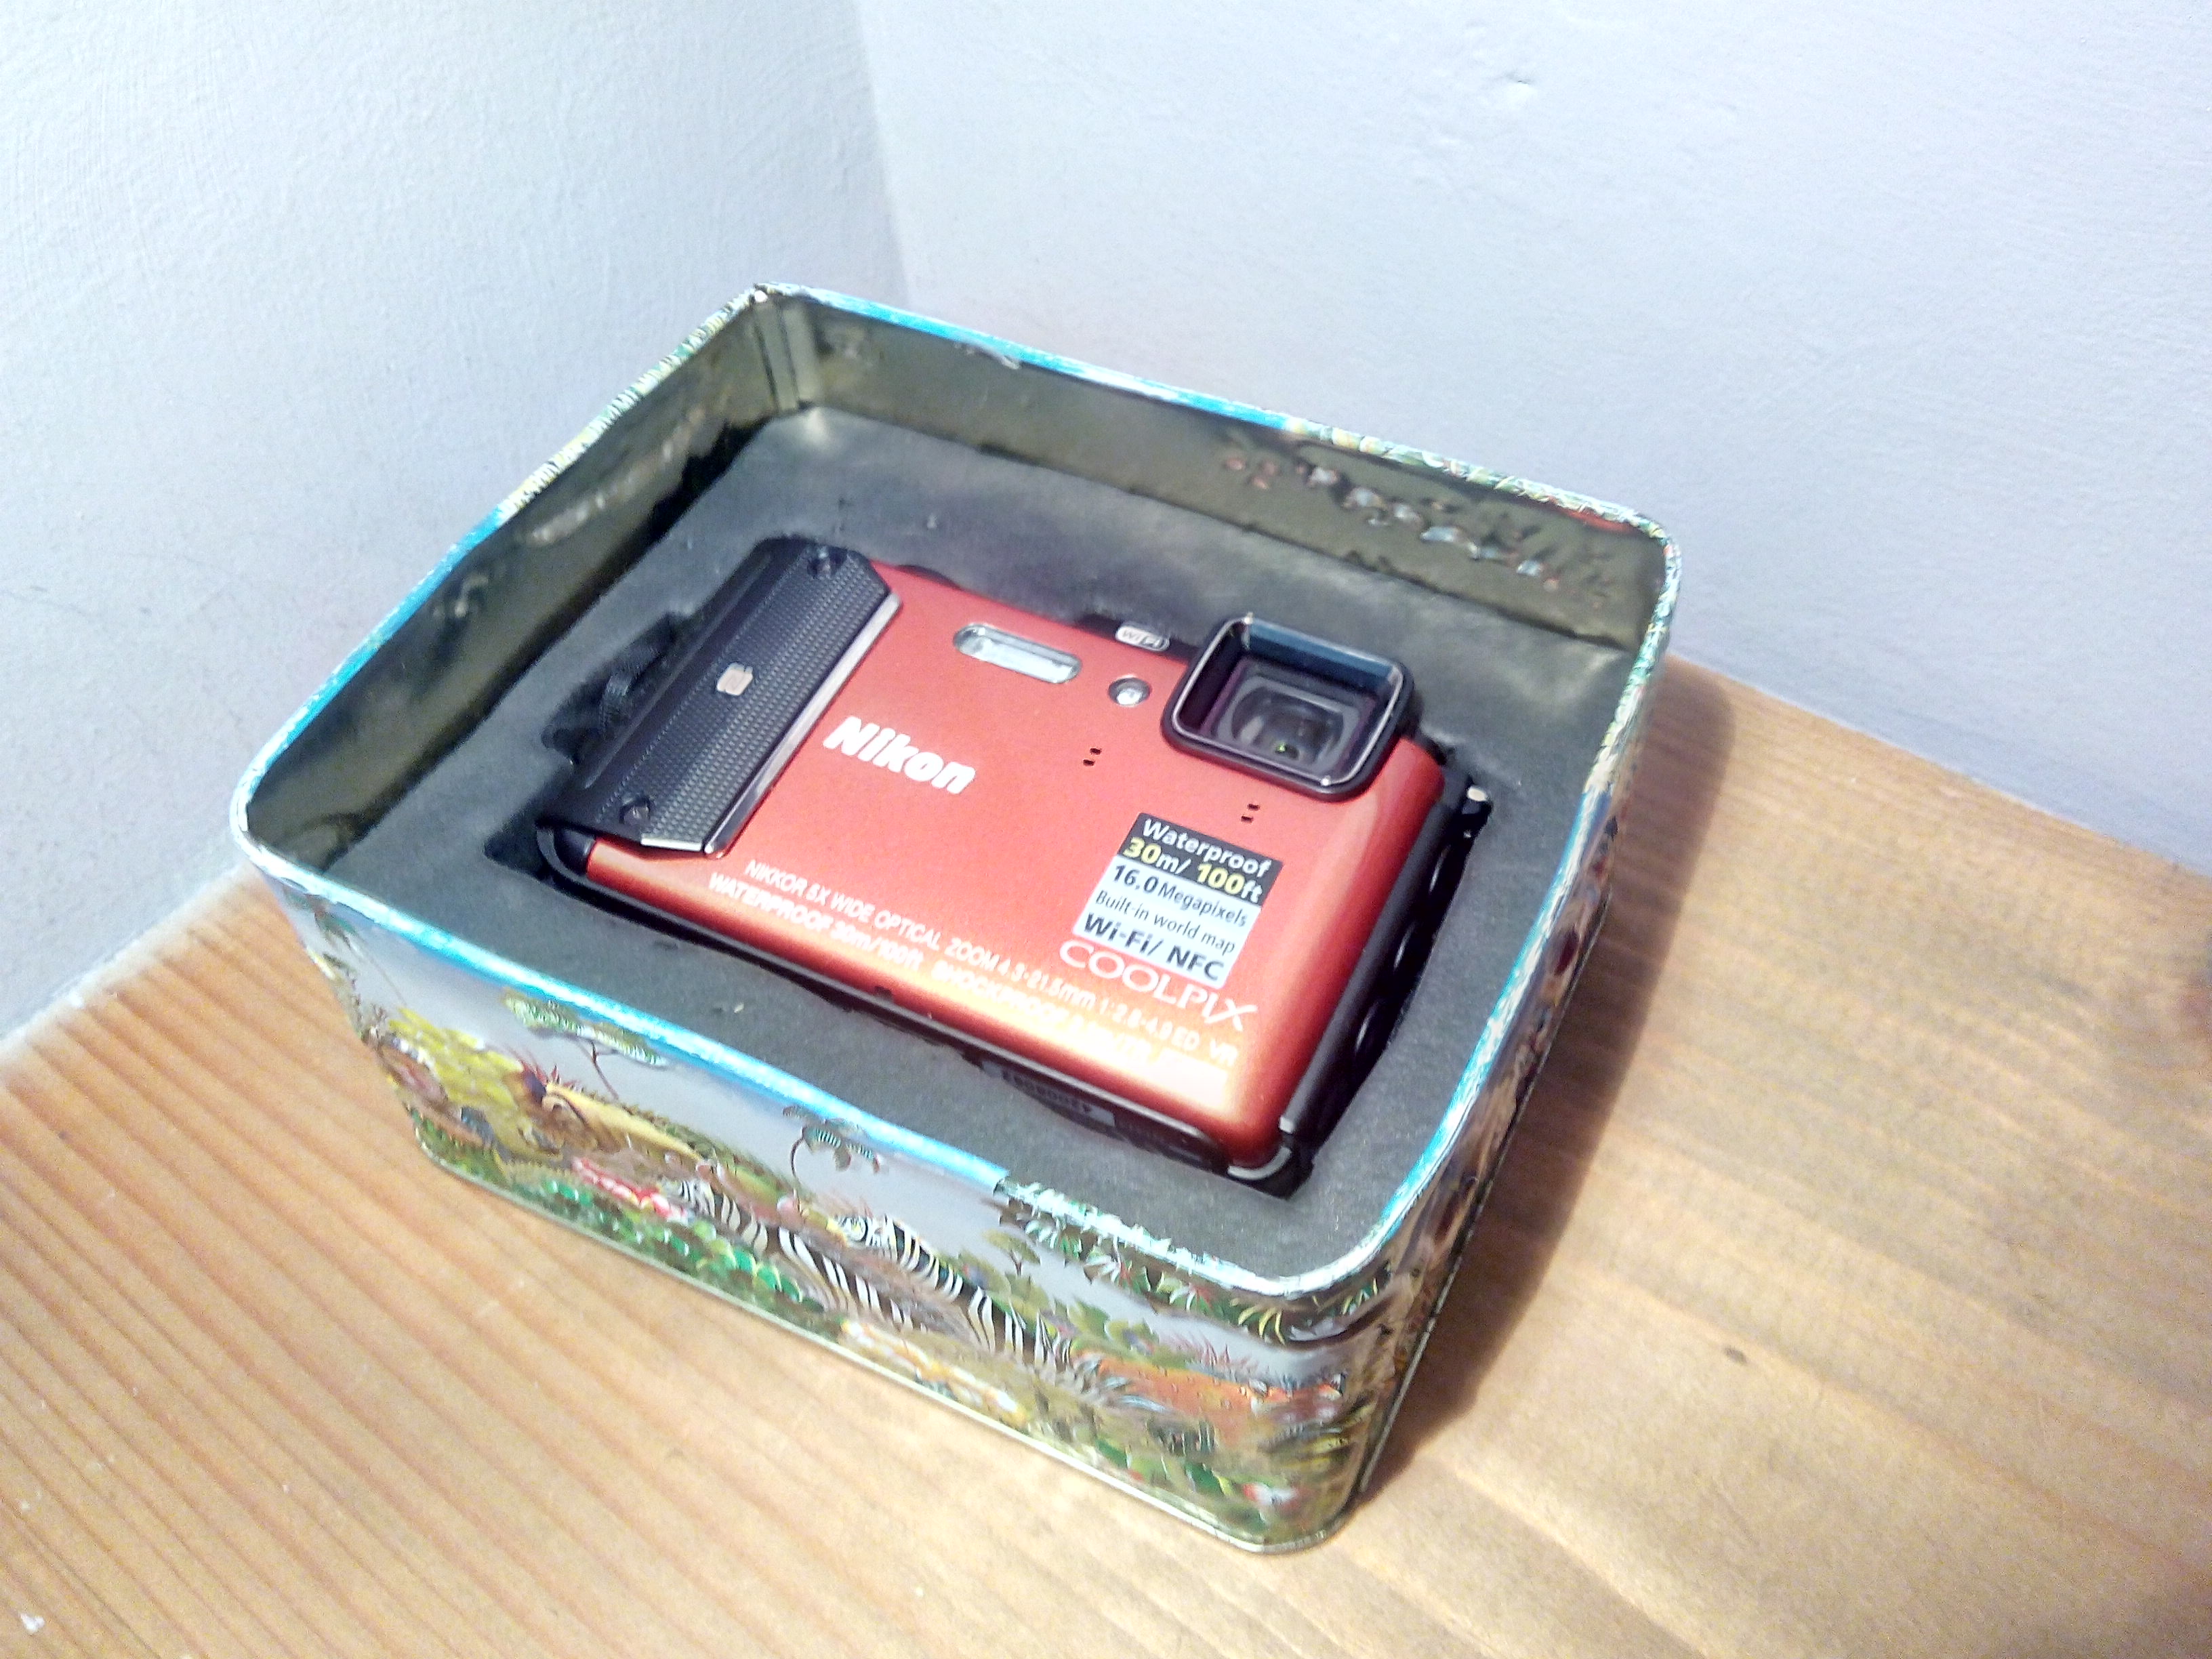

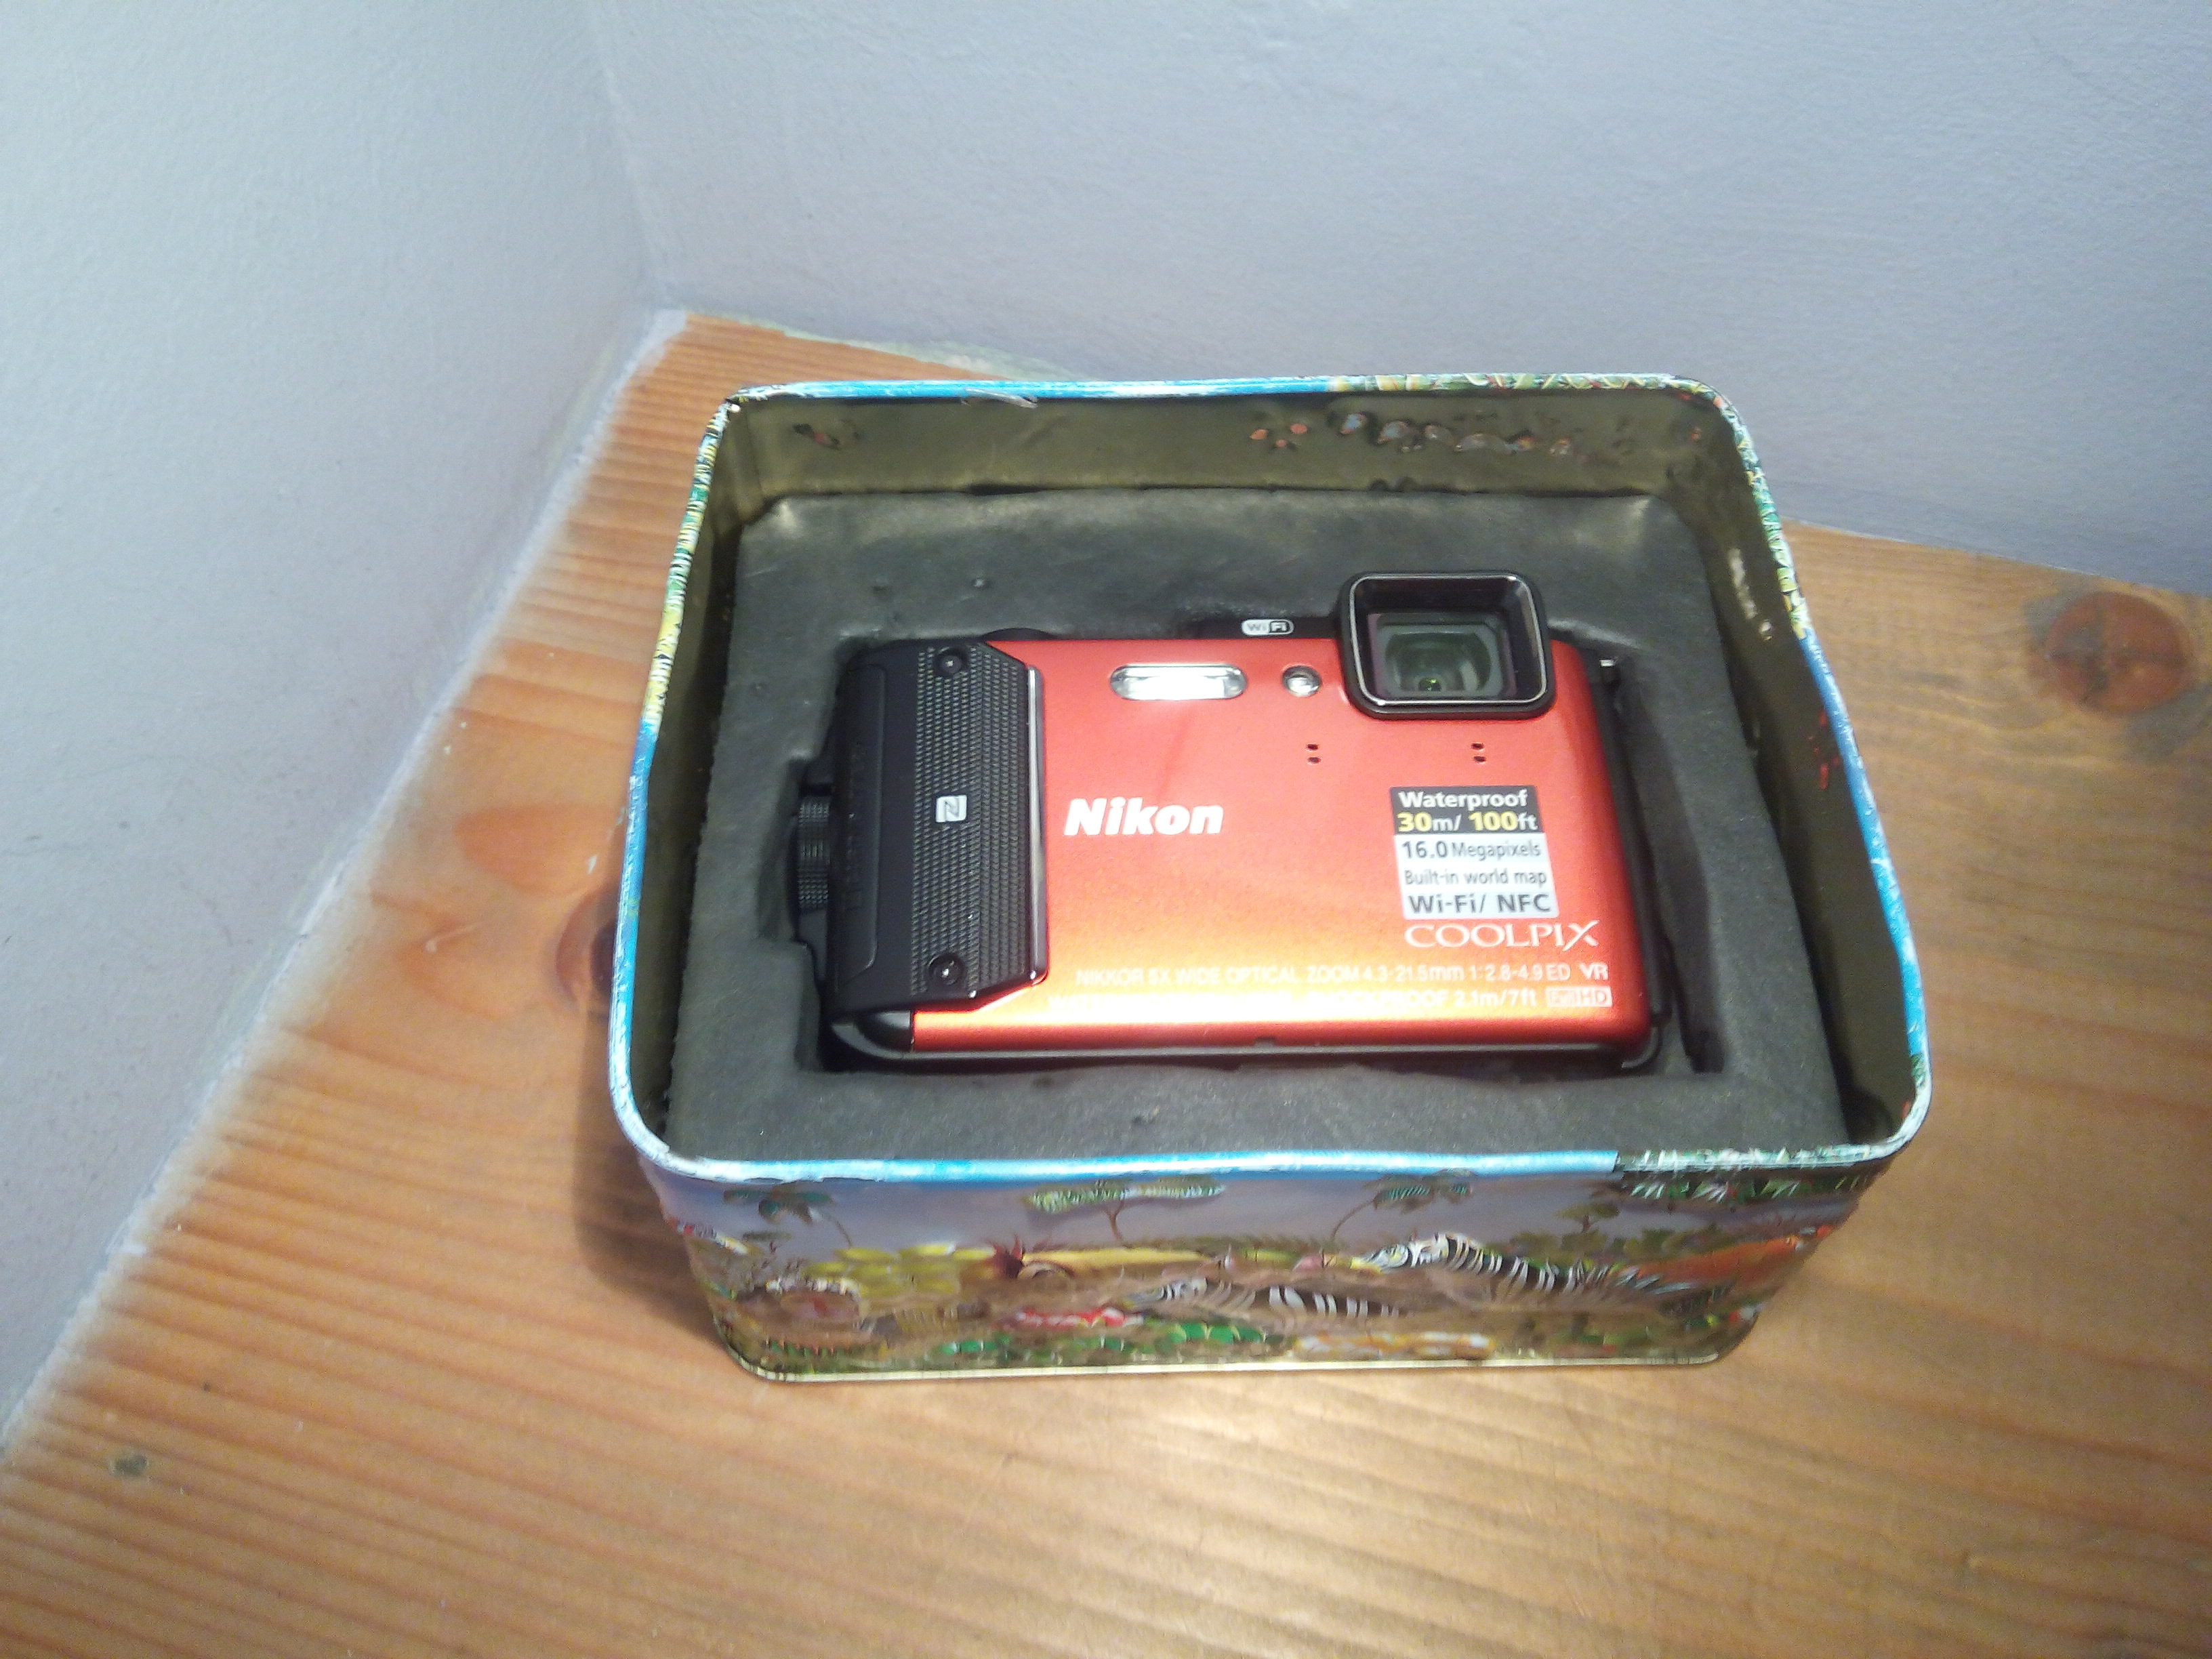
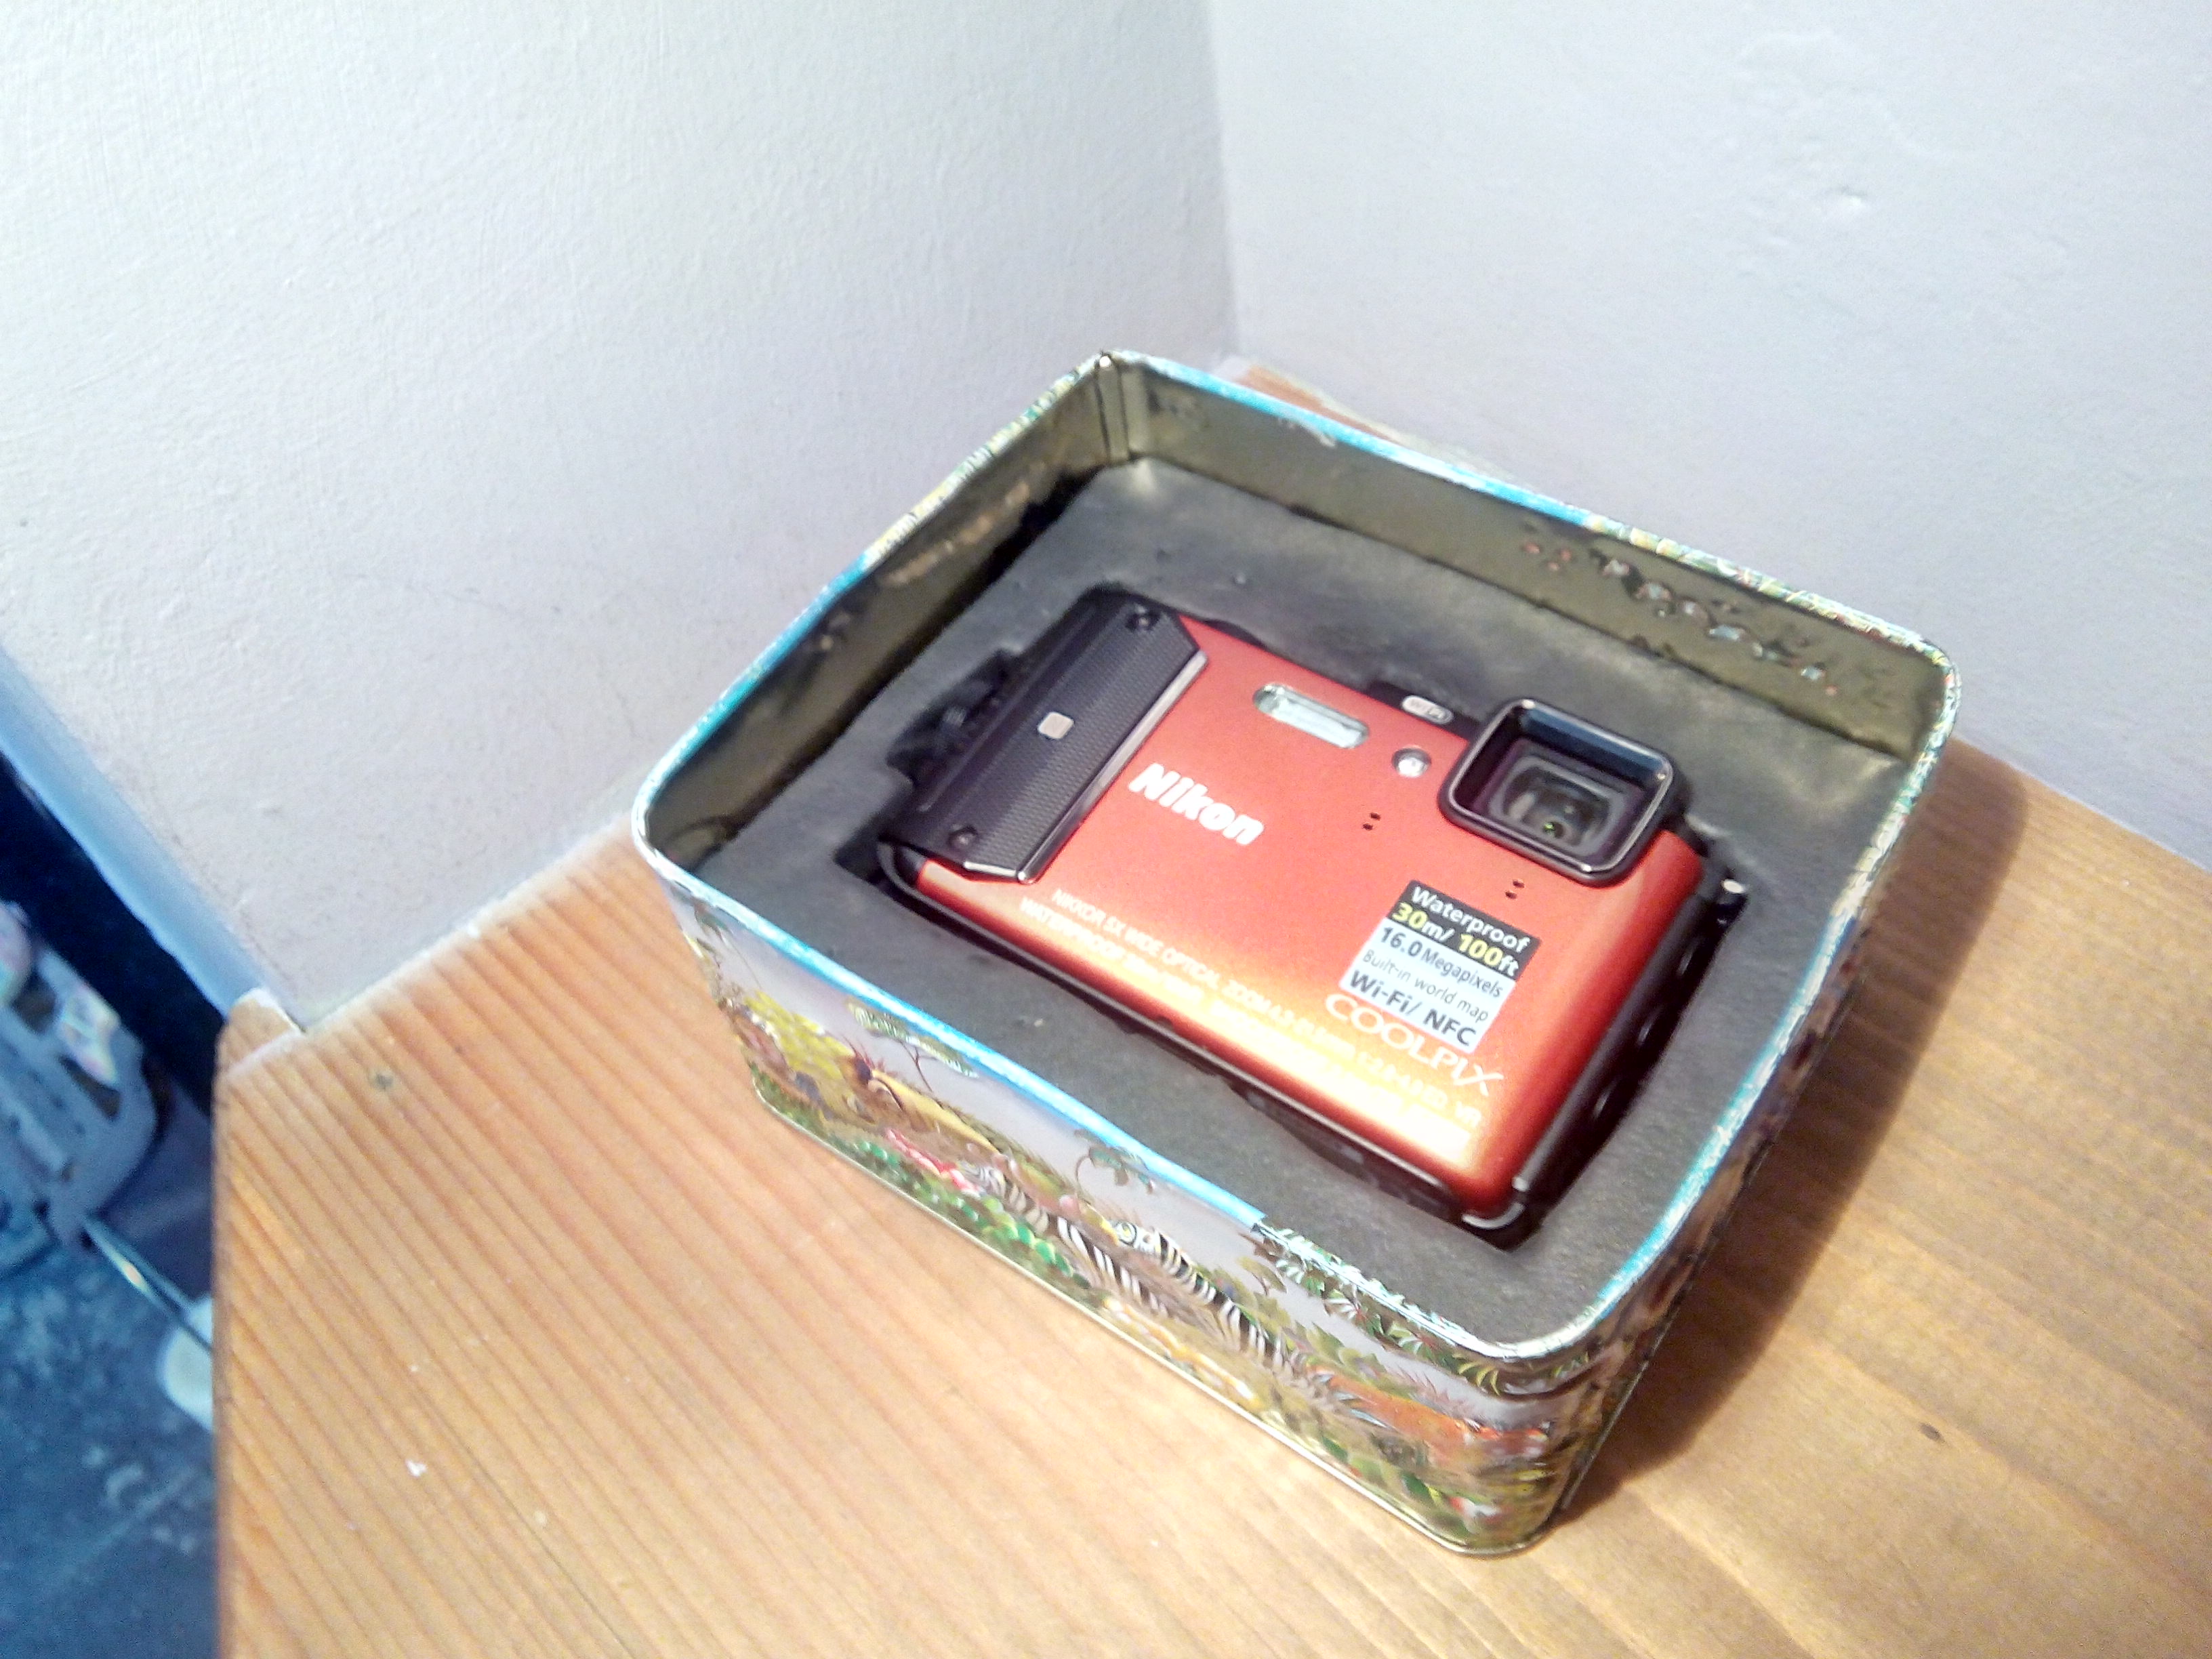


That is it! This was a very quick and easy way of upcycling an old tin. I think it looks awesome! Unfortunately the box has no lid but it would look great if you wanted to add one. Hope you enjoyed reading :)