Upcoming Event Countdown Timer
by e024576 in Circuits > Raspberry Pi
4223 Views, 3 Favorites, 0 Comments
Upcoming Event Countdown Timer


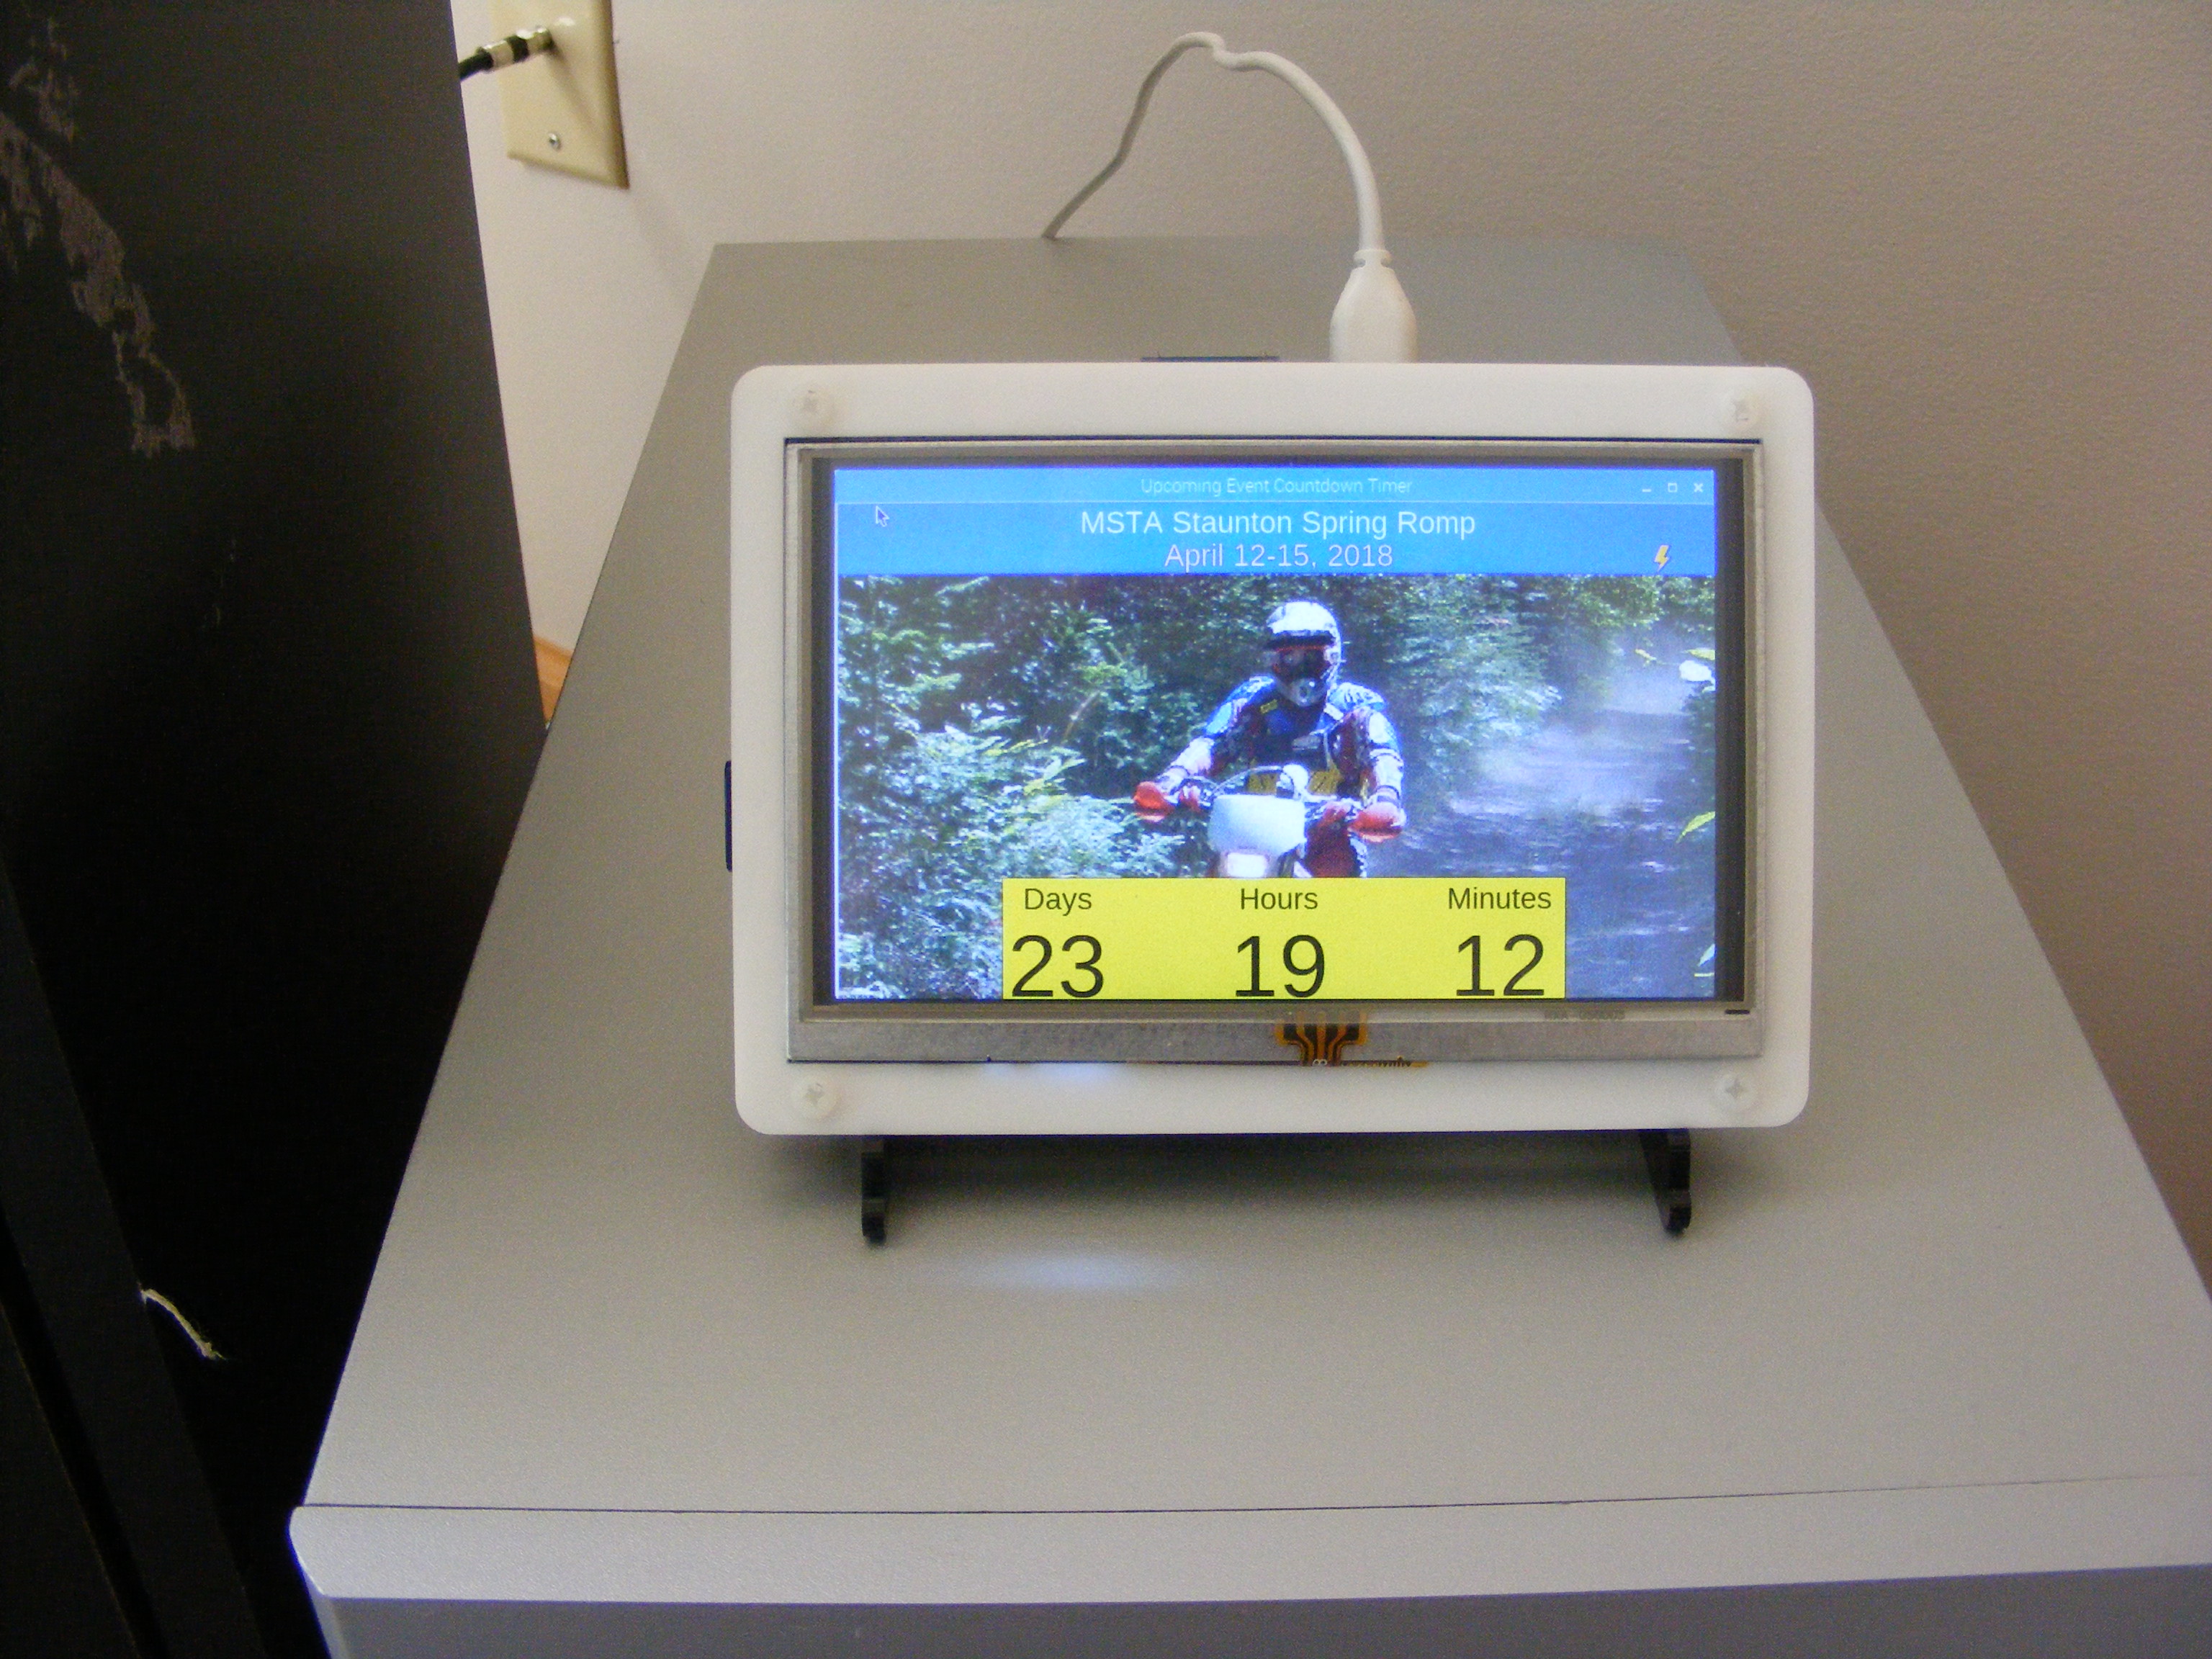
Overview: Event Countdown clock is similar to commercial products, with a few twists:
a) Readable from across the room display.
b) Customizable event image.
c) As the event target time counts down, the days remaining changes color - green -> yellow -> pink -> red.
d) New events can be added over WiFi
Major components: Raspberry Pi and TFT 5 inch LCD Display
Skill Level: Familiar with setting up Raspberry Pi, Linux basic commands and python programs, and a little bit of hardware assembly.
Parts and Tools


Parts:
Raspberry Pi 2 B or PI 3 B
Elecrow RPA05010R HDMI 5-Inch 800x480 TFT LCD Display with Touch Screen Monitor for Raspberry Pi B+/2B/3B
High Quality Acrylic Bicolor Stand for Waveshare Raspberry pi 5inch HDMI LCD
Wifi USB Adapter not required for PI3
Tools:
Power supply - at 2A
Keyboard and mouse
HDMI monitor (to made editing and testing code easier)
Raspberry Pi Setup, Load, Test and Customize Python Code

For these steps,attach Pi to full size HDMI monitor.
Step 1: Download and Burn the Raspbian IMAGE https://www.raspberrypi.org/downloads/raspbian/ and complete initial setup.
- enable SSH, VNC
- auto login boot to desktop
- set correct local timezone, and setup Wifi
Step 2: From the desktop GUI open a terminal window and install Tkinter with-
sudo apt-get update
sudo apt-get install python-tk
Step 3: Install git with this command
sudo apt-get install git
Step 4: Download and test the initial python code
git clone "https://github.com/e024576/UpcomingEvent.git"
cd UpcomingEvent
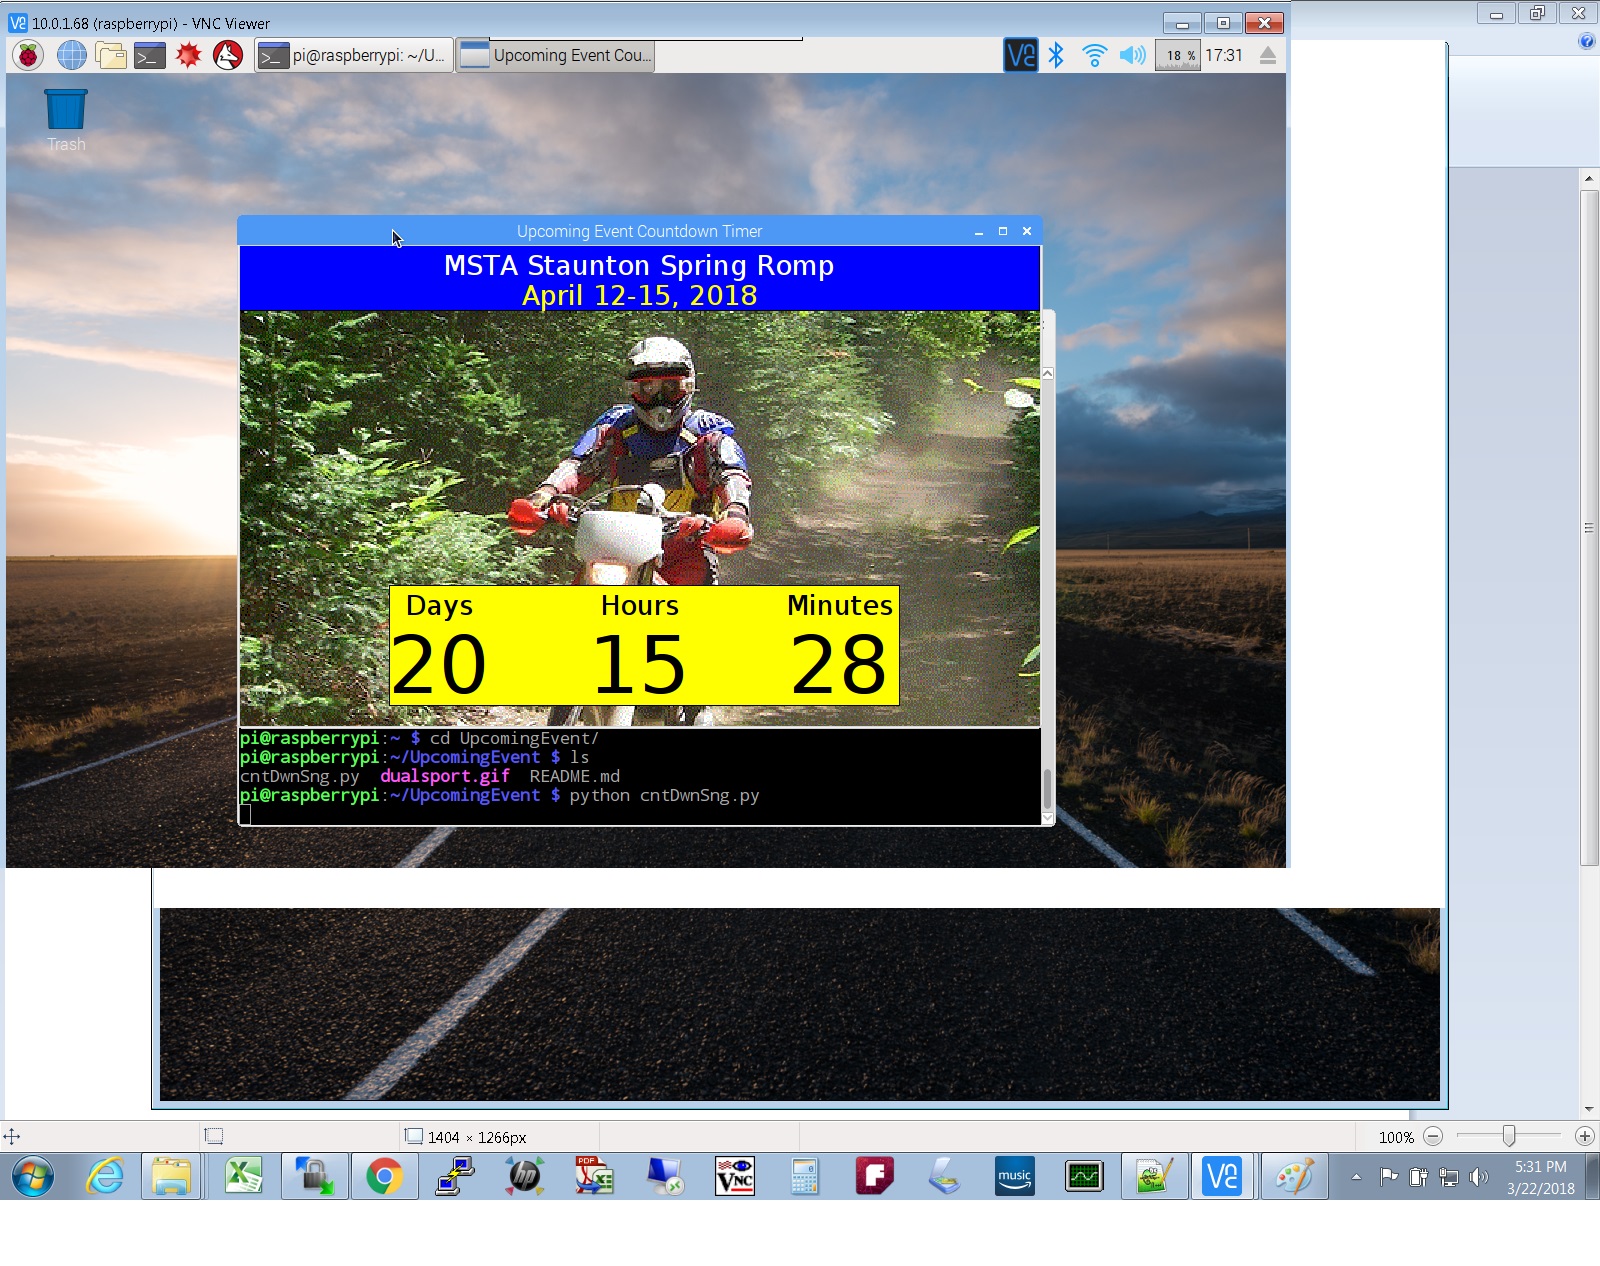
python cntDwnSng.py
The result should look something like the screenshot shown...
Step 5: Customizing python code for your event. First open the python code with nano and then scroll top to bottom to get familiar with it.
nano cntDwnSng.py
a) modify the Event title and date by editing this lines of code
#enter Event info here ...

canvas.create_text(400,20,anchor='center',text='MSTA Staunton Spring Romp',font=('Helvetica','20'),fill='white')
canvas.create_text(400, 50, anchor='center',text='April 12-15, 2018', font=('Helvetica','20'),fill='yellow')
b) enter the actual time and date you want to count down to
# enter Event target time and date here

day= 12
month= 04
year= 2018
hour= 9
minutes= 00
sec= 0
c) enter the image you wish to display. Tkinter only "likes" .gif image file format, so I used MS Paint to convert my original .jpg to .gif using the save as command. The .gif file should be in the same directory as the python file.
photo = Tkinter.PhotoImage(file = './dualsport.gif')
d) rescale the image. Dualsport.gif original dimensions (in pixels) are width 548 & height 450 vs display size of width 800 & height 480. So to better fit the image I rescaled using
# resize image

photo = photo.zoom(3)

photo = photo.subsample(2)
Which produced new image of 548 x 3/2= 822 width and 450 x 3/2= 675. Which is too big, but I was ok with the truncation. Note that photo.zoom() & photo.subsample() ONLY allow integer value parameters.
With these edits you can rerun the python code to check the output meets your needs.
Note - this is my first every usage of tkinter, so my code is likely Not a good example of best practice!
Autostart Countdown App at Boot Up

Once you're sure your python code is working correctly, you can then set it up to start when the PI boots up. Because the program needs the graphical environment, here's what needs to be done:
a) Copy cntDwnSng.py and your .gif image file to /home/pi
b) Start the nano editor with
sudo nano /etc/xdg/lxsession/LXDE-pi/autostart
c) Add the follow line to the bottom of the file
@sudo /usr/bin/python /home/pi/cntDwnSng.py
d) Exit nano with Ctrl-X, then Y, then press Enter
e) Change permissions with:
sudo chmod +x cntDwnSng.py
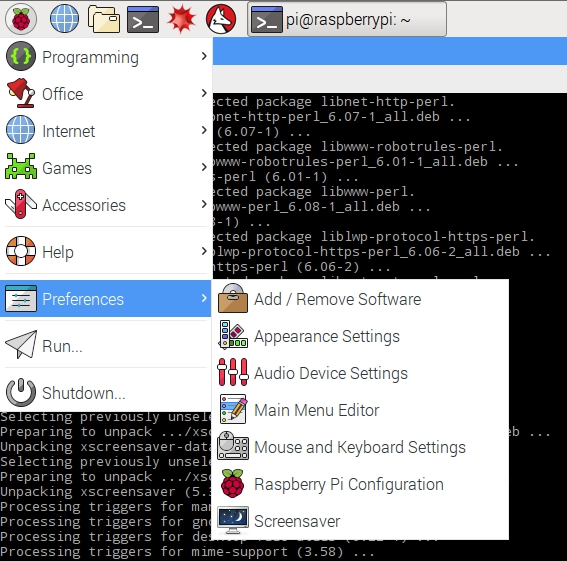
f) Disable screen save by installing the screen saver desktop preference with -
sudo apt-get install xscreensaver
Once this has been installed, you can find the screensaver application under the Preferences option on the main GUI desktop menu. For this project you need to disable the screensaver.
g) Test that it works:
sudo reboot
Install Display Driver Software
Step 1: Open terminal and Download the driver LCD driver:
sudo rm -rf LCD-show
git clone https://github.com/goodtft/LCD-show.git
Step 2: Install driver:
chmod -R 755 LCD-show
cd LCD-show/
sudo ./LCD5-show
Assemble Hardware & Adding Future Events

Build the LCD stand per these instructions.
Attach LCD to Raspberry Pi per the LCD display's included user guide.
Adding Future Events
Use either ssh or VNC to connect with PI over Wifi, then modify the python code and add a new .gif file in the /home/pi/ directory
THAT'S IT - ENJOY !
.