Unreal Tournament Trophy Papercraft + 3d Print
by Metalfist in Craft > Costumes & Cosplay
6840 Views, 15 Favorites, 0 Comments
Unreal Tournament Trophy Papercraft + 3d Print


"For those willing to build a mountain of bones and climb to the top. In environments that stun against AI that kills. For those willing to stake their lives in the pursuit of victory. We salute you."
Award yourself or someone else a silver, gold or bronze UT thropy just like the one the developers at Epic Games have! You can also make these for a (LAN) UT contest and award the winners one!
Download:
> > Download UT Trophy templates here < <
PDO files can be opened with Pepakura Viewer/Designer
Files included:
- Gold, Silver and Bronze Trophy .pdo (30 cm high)
- Readme
Tips
- You can change the texture by going to Settings->Texture Settings and replace the texture with a different one.
- You can resize the papermodel (Pepakura Designer only) by going to the 2D Menu->Change Scale->Scale Factor.
Downloads
Reference & Modeling


I modeled this trophy from scratch and added the UT characters and the eightball guns from UT99. I looked at these photo's I found on the UT forum and looked at my Unreal Tournament box art. After that I created a UV layout and created a texture based on the photos. I made three color variations on it, because the real statue is from metal (= silver) and on the box art there was a gold version. With silver and gold in place I figured that only a bronze version was missing so I also added that one.
You can also see the real trophy in this video below at 10:27
Materials


Material list:
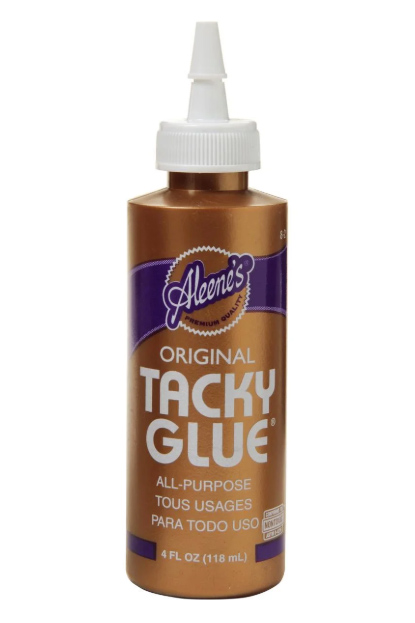
- Aleene's Tacky Glue
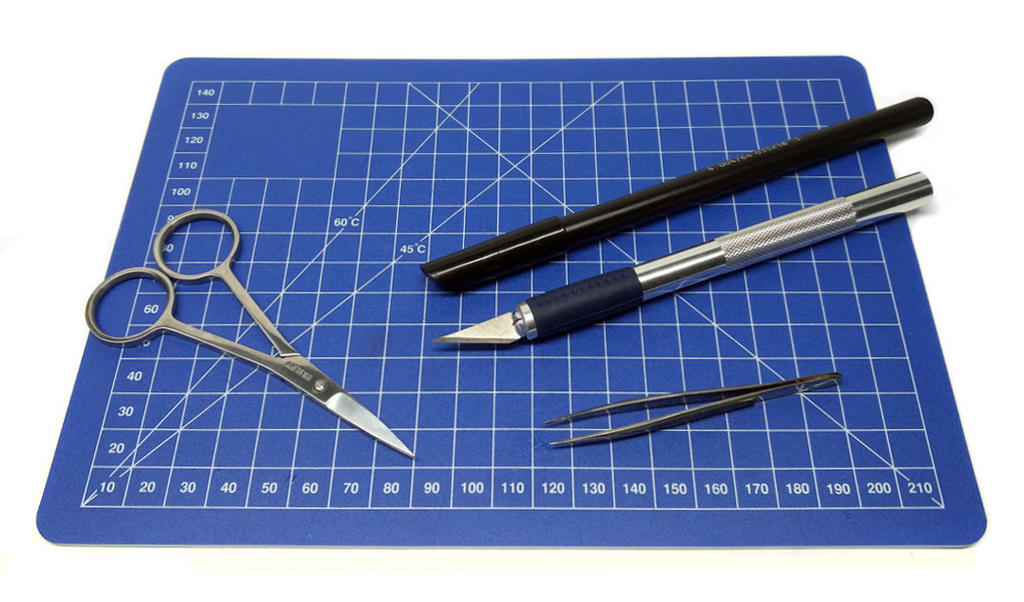
- Cutting knife/scissors
- Cutting mat
- Black marker (no gloss!, to hide paper edges)
- Tweezers (optionally)
- Paper (I used regular paper 80 g/m2, but I would recommend going for some heavier paper like 120 g/m2)
- Printer
Print & Cut

- Print out the templates
- Cut all the pieces with your scissors or cutting knife
Next up is the gluing part!
Gluing


This is pretty straightforward. Just start at the bottom and glue your way up till it's finished.
Then you can make the character(s). In my build I made my character bigger and have it stand solo on the trophy. Of course you can do this as well if you prefer to have your own character of choice in the center of attention. The models are from UT99 so you can edit/add those textures to these models.
The character(s) are hard to make, because they are extremely tiny. A tip is that if you are having trouble with connecting parts together, don't be shy to cheat a little: for example if the foot and the leg don't want to get glued together just fill the foot with glue and the part that needs to connect to it and press it together. Then wait till the glue has dried.
Update: 3D Model for 3D Printing


I have made the model higher poly and more detailed for the 3D print. On myminifactory you can see and download the 3D model: https://www.myminifactory.com/object/3d-print-ut-d...