Unicycle Clock
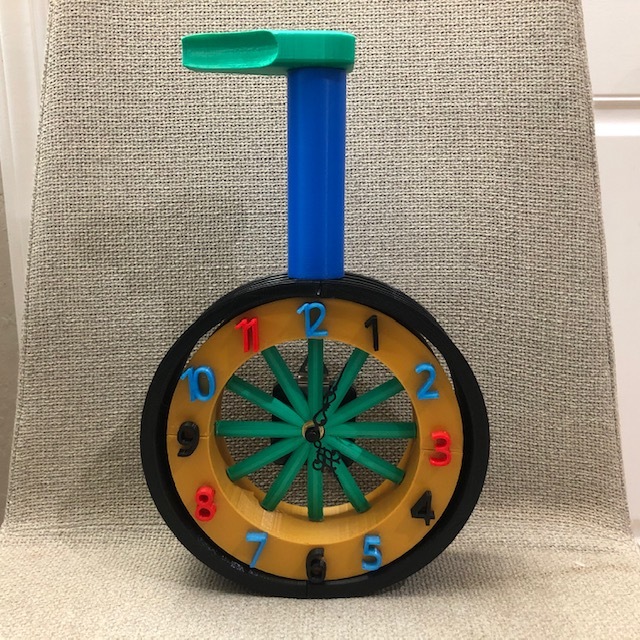
Does your clock's design bore you? Is the sound of "Tick, Tock, Tick, Tock…" noisy? Here I present an Instructable just for you for making a unique unicycle clock.
For download, click Thingiverse or Cults3d.
Supplies
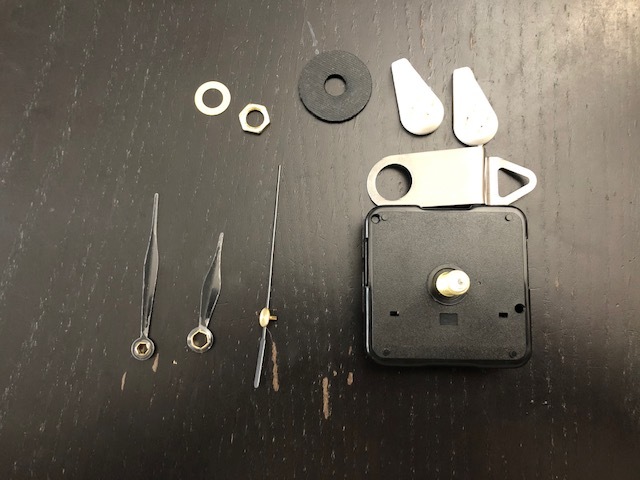
1x Clock Mechanism, include Silent Quartz, Metal Hook,
Rubber, Nut, Hour Hand, Minute Hand, Second Hand, and Washer.
1x Dremel 3D Printer 3D40
1x Hot Glue
PLA Filament
Pliers
Tinkercad
Dremel Digilab Slicer
Spoke Pt. 1
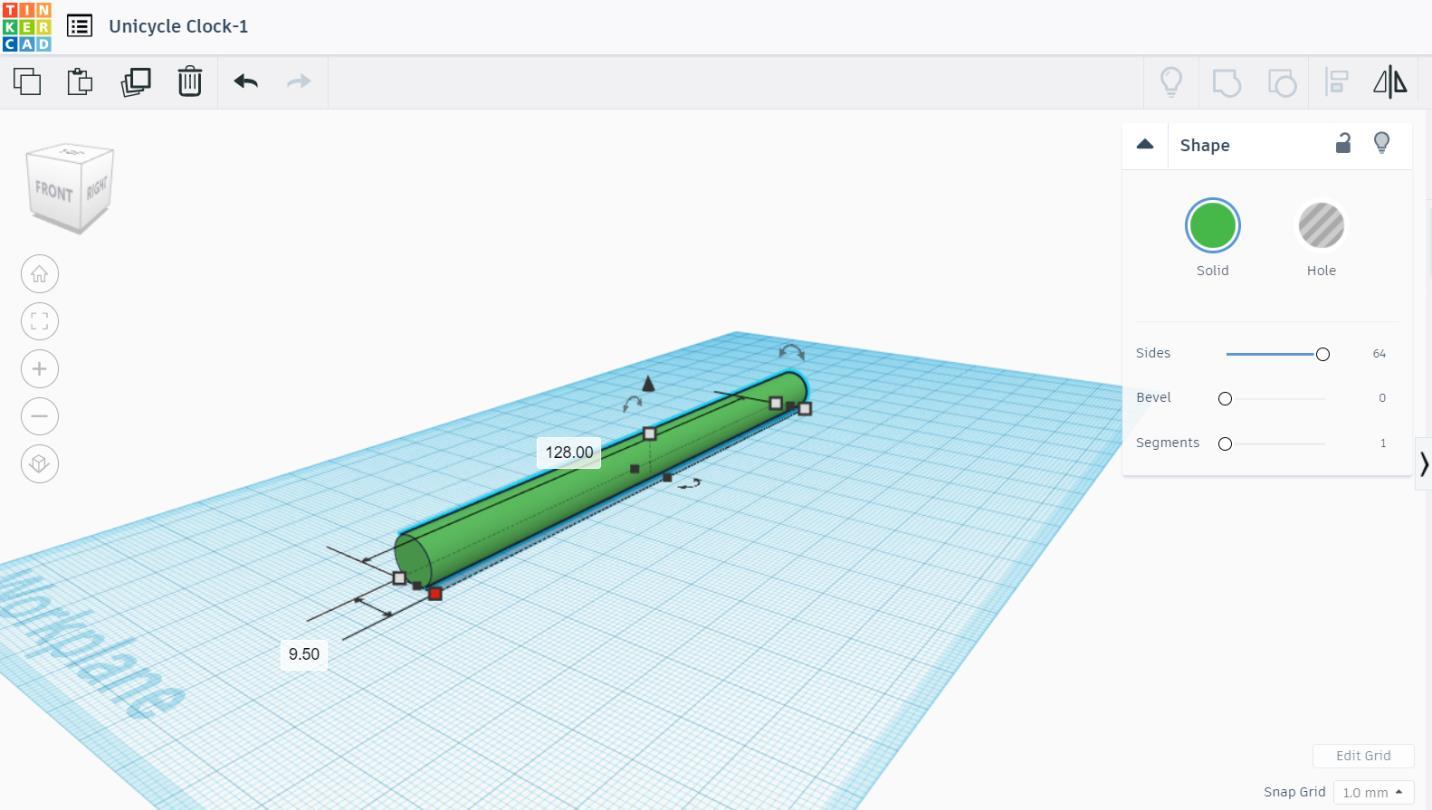
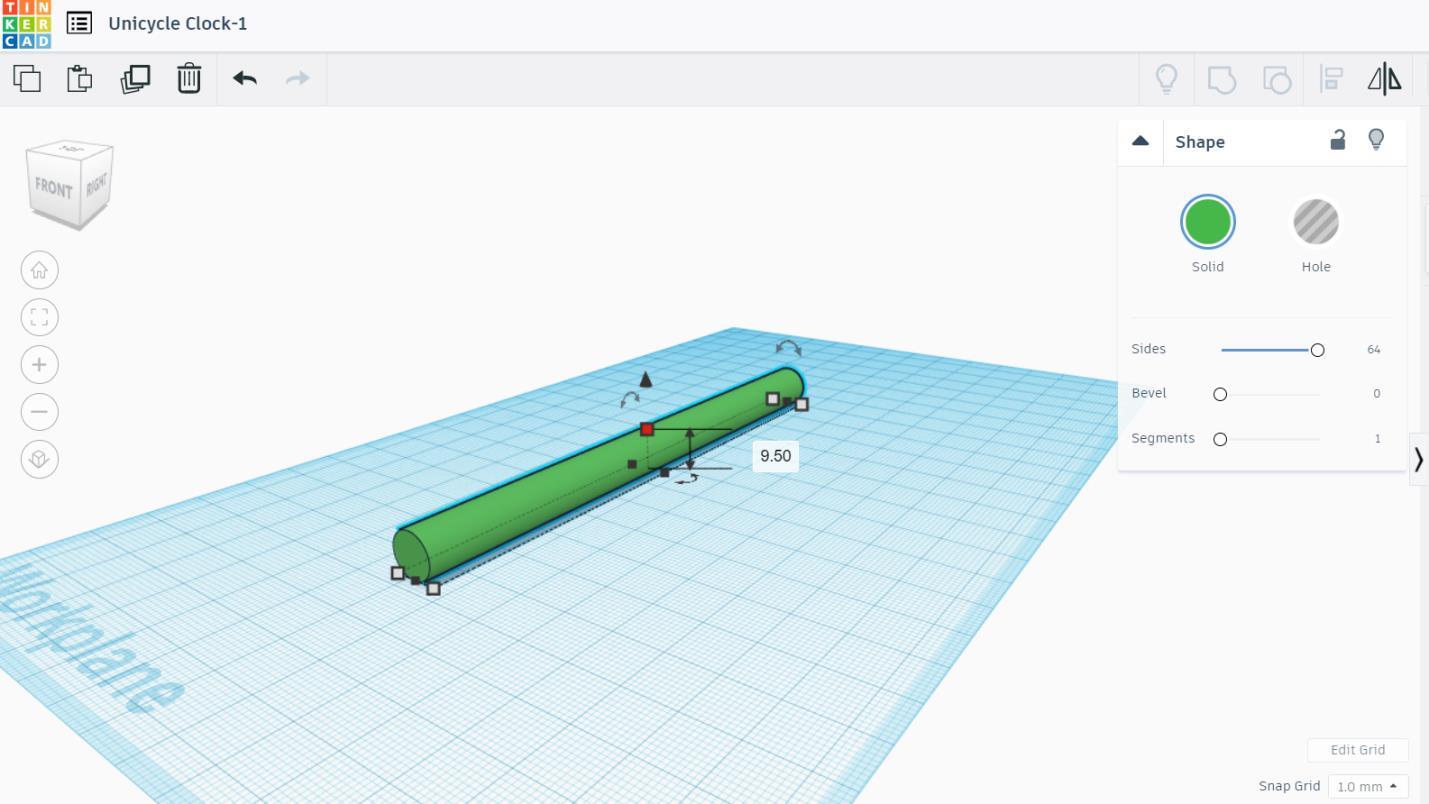
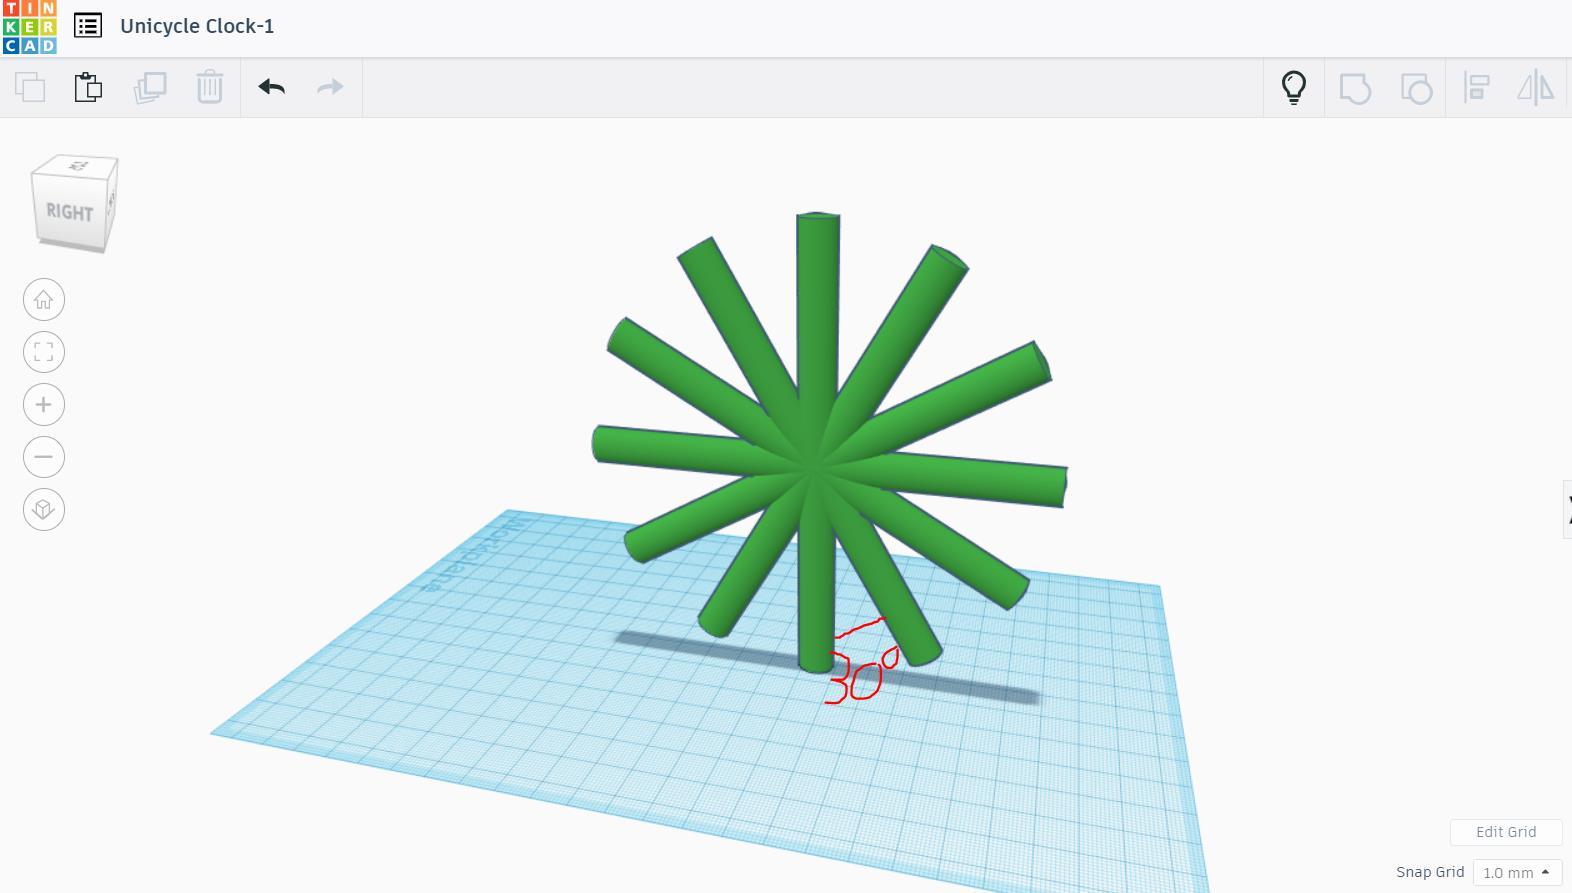
To begin making the spoke for the clock, drag 1 cylinder to the workplane. Make the diameter of 9.5 mm and the length of 128 mm. Duplicate and turn it 30 degrees. Make a smart copy, so that when copying the shape, it will place in the right angle. Copy it again until you get 12 spokes in all. Group them together.
Spoke Pt. 2
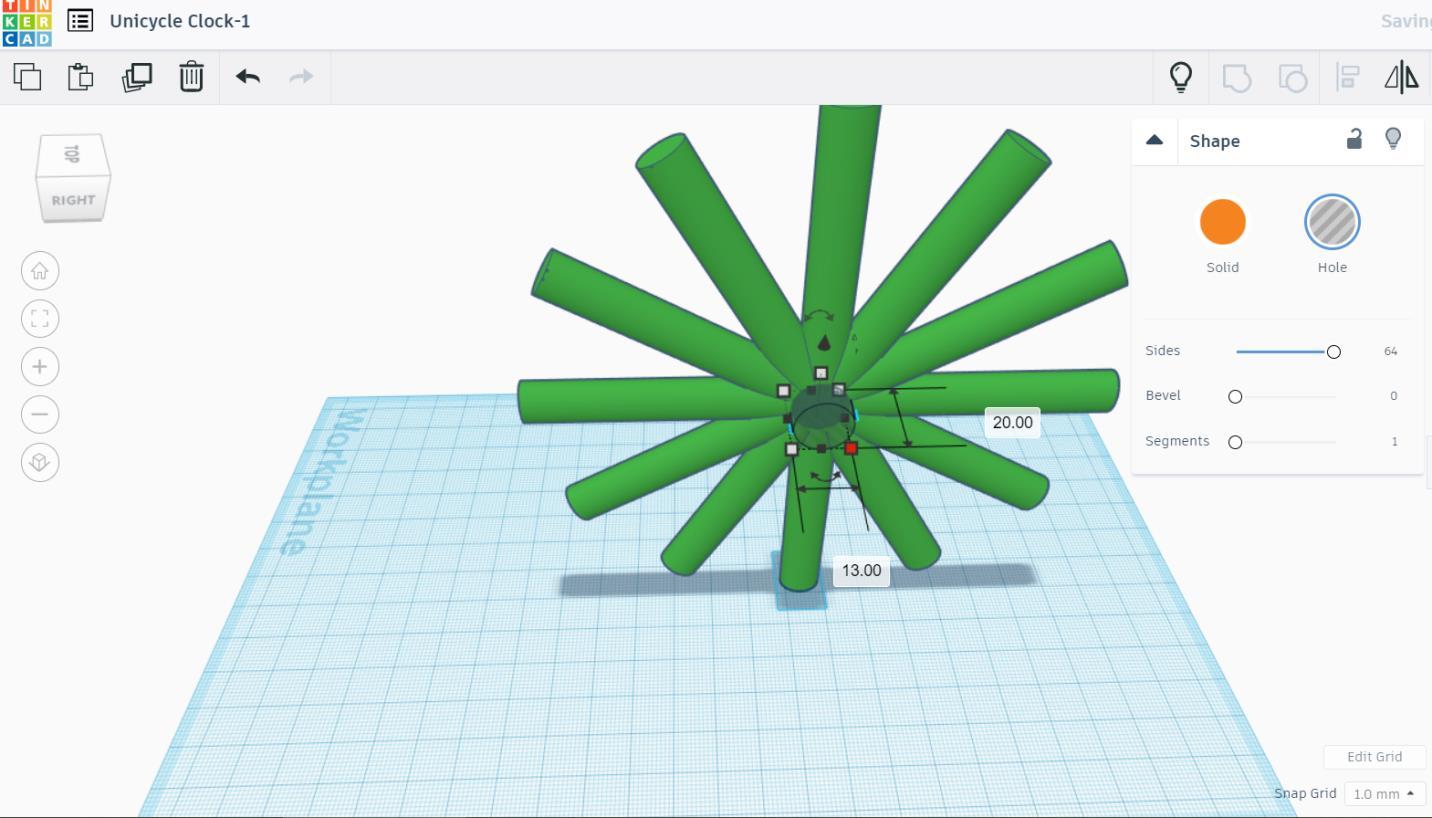
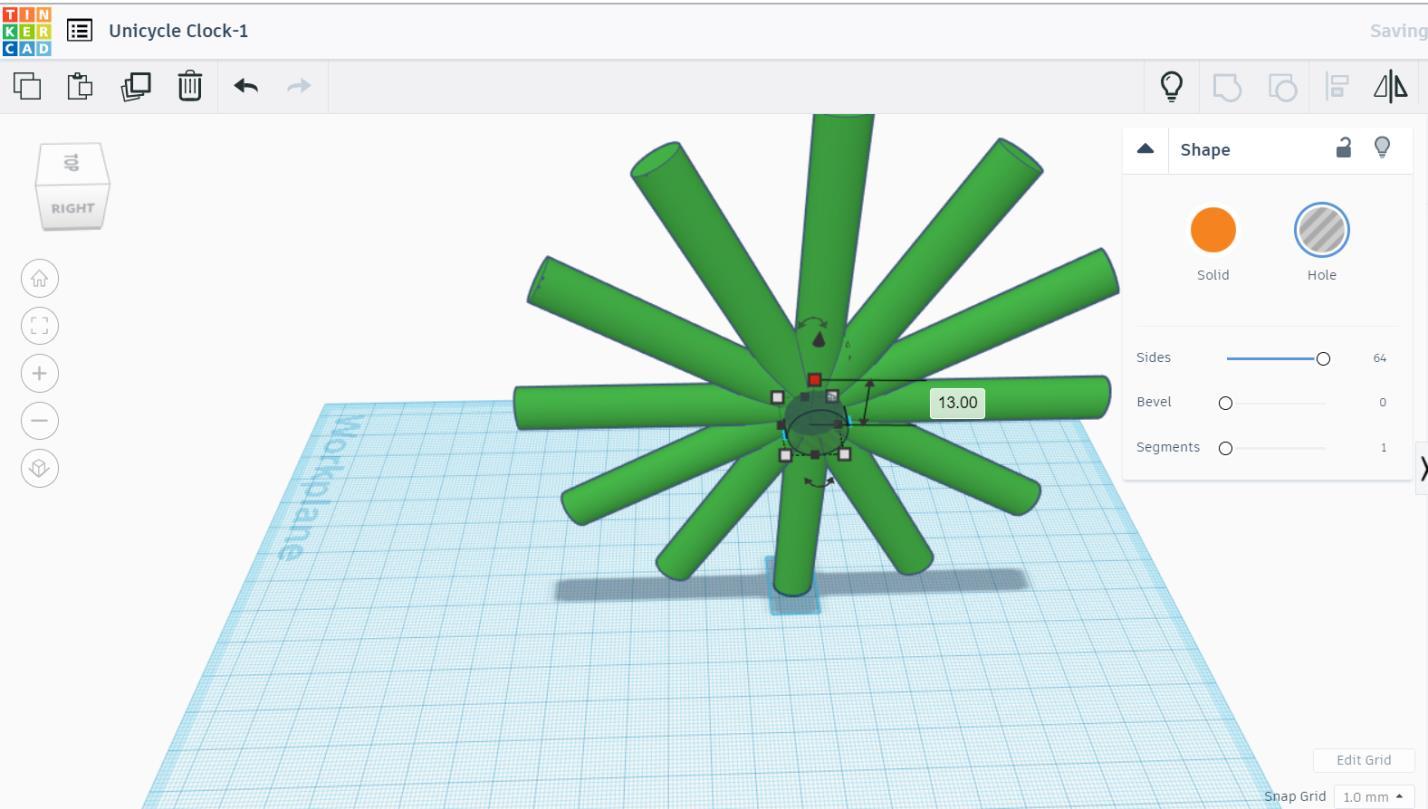
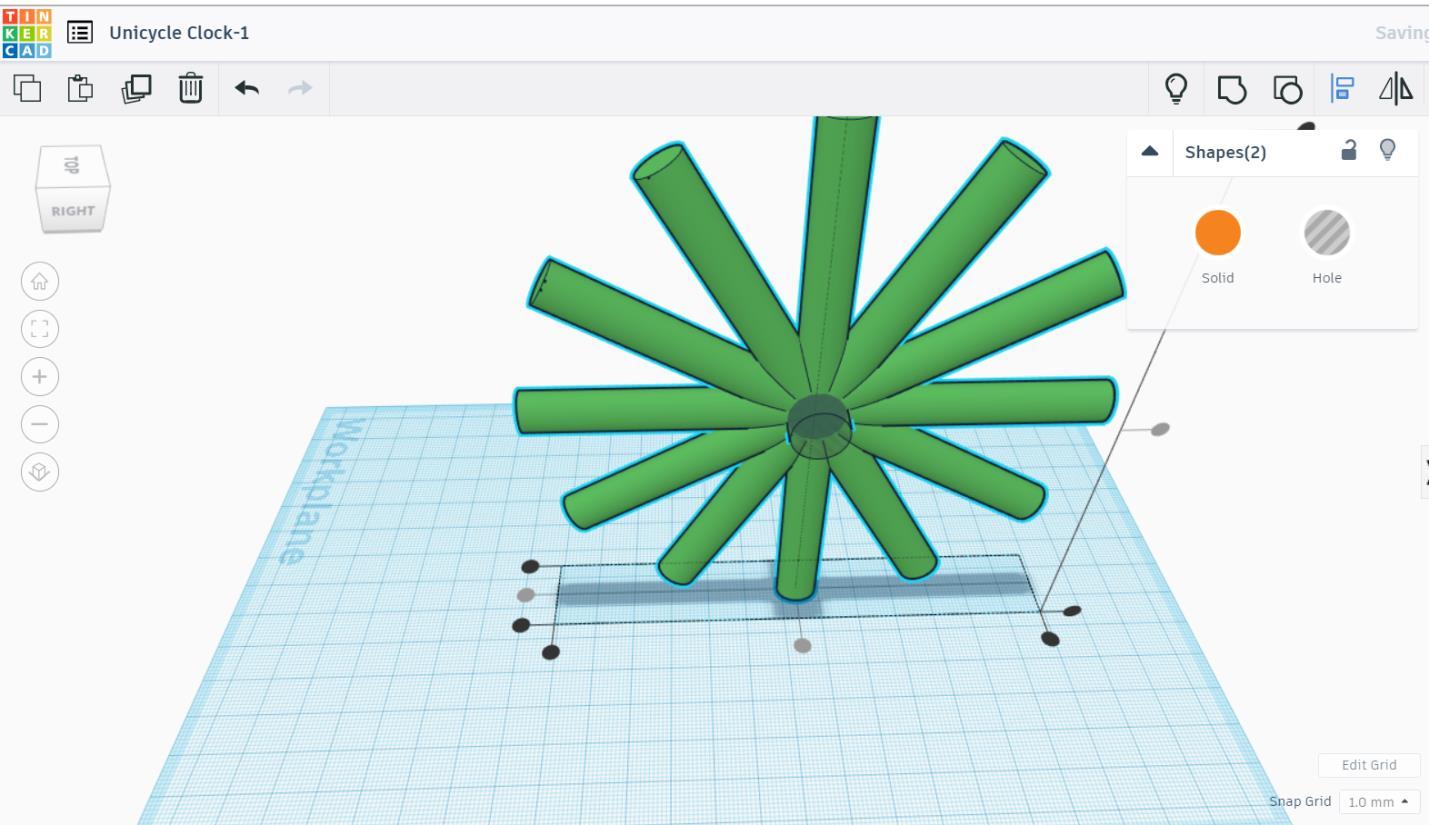
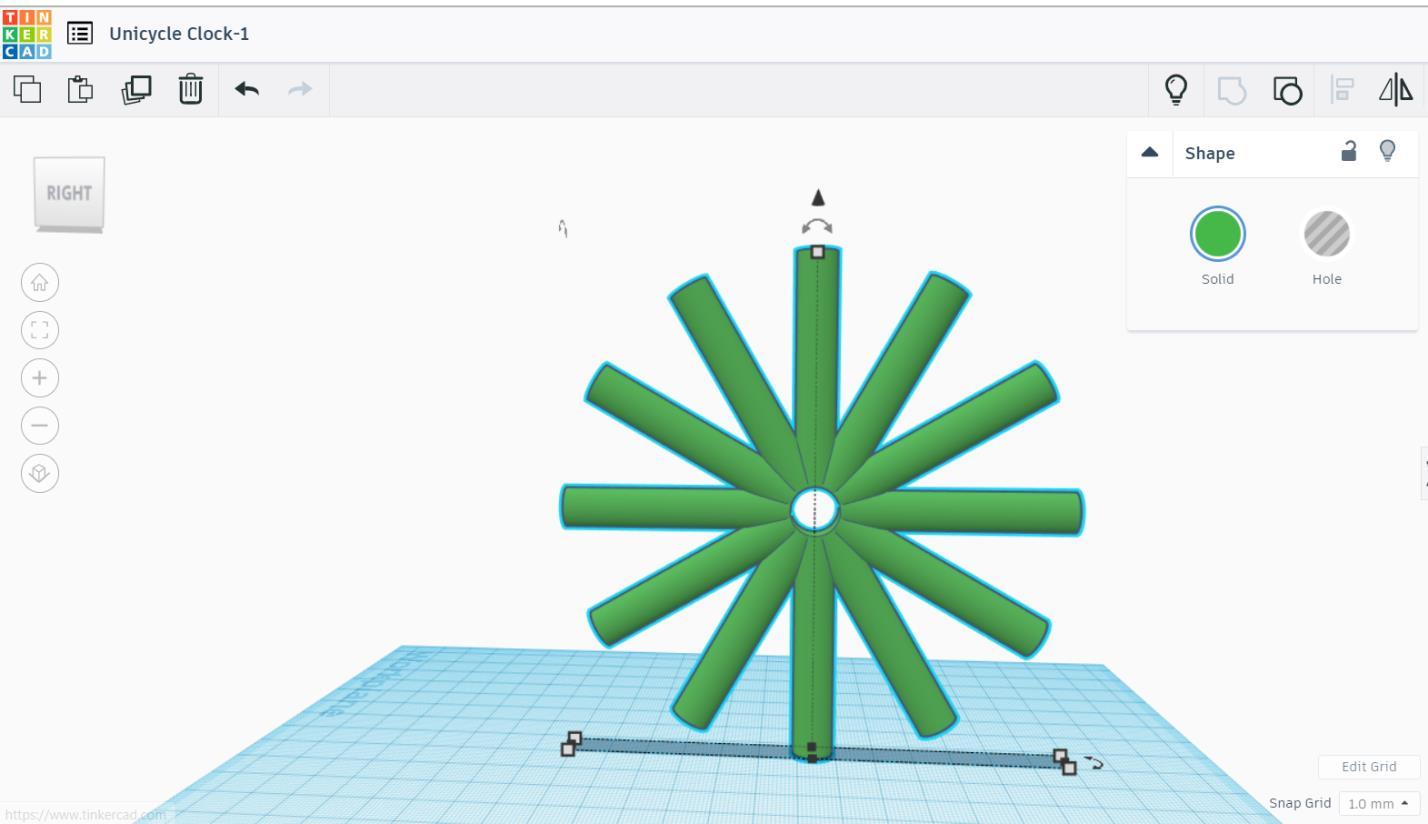
Next, make a hole for the clock mechanism in the center of the spoke. Drag another cylinder to the workplane. Scale it into the diameter of 13 mm and the length of 20 mm. Align them. Group them together.
Print the Spoke
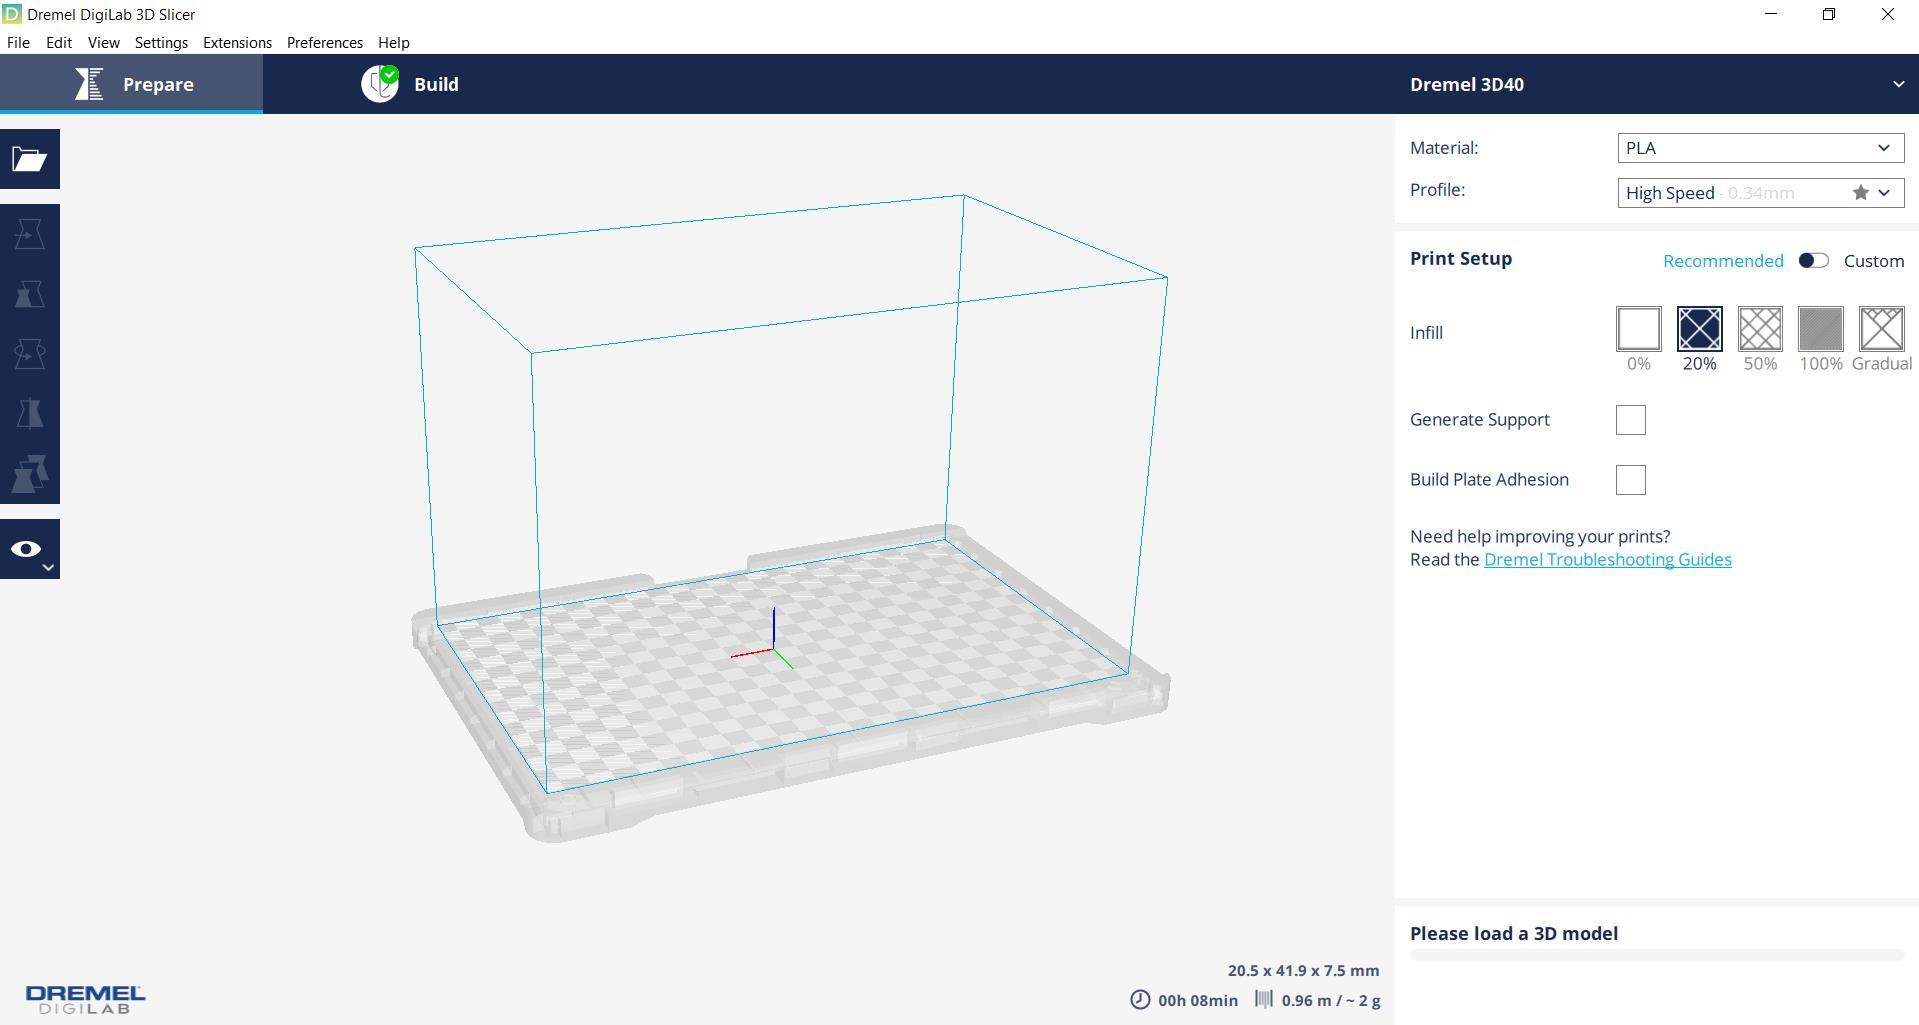
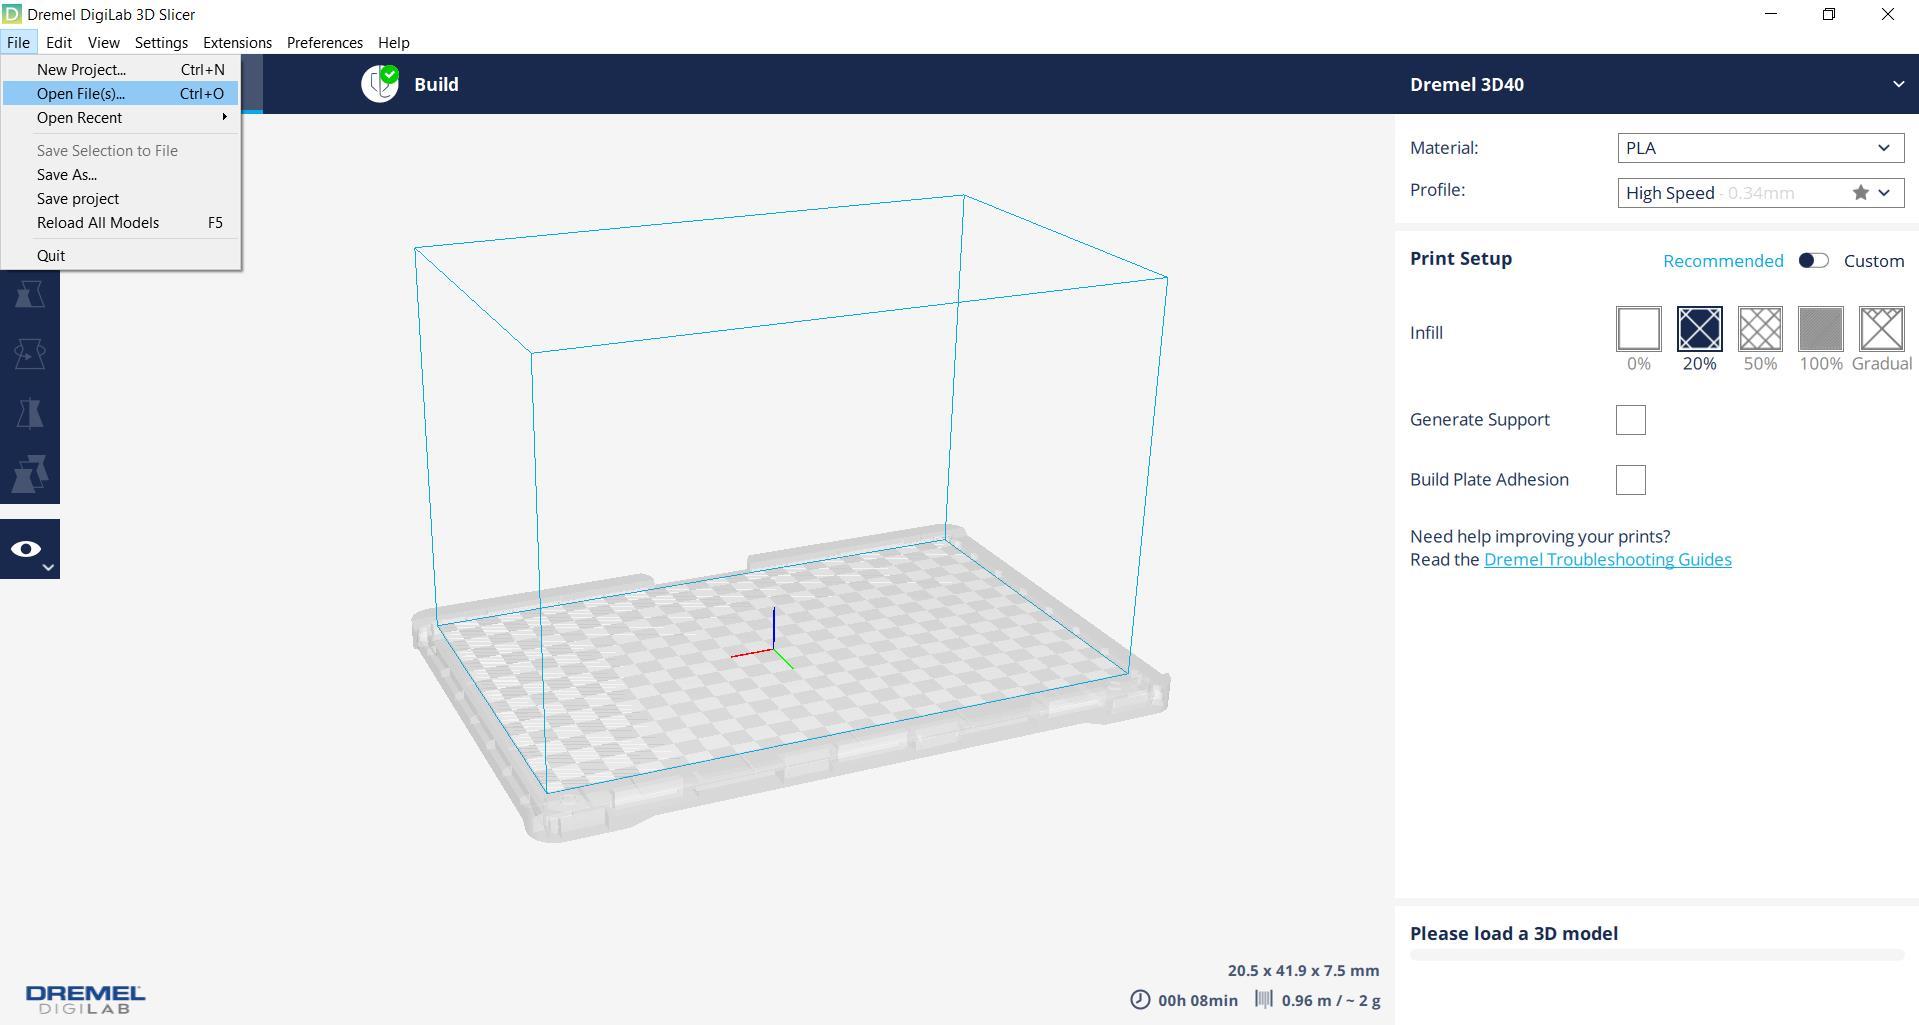
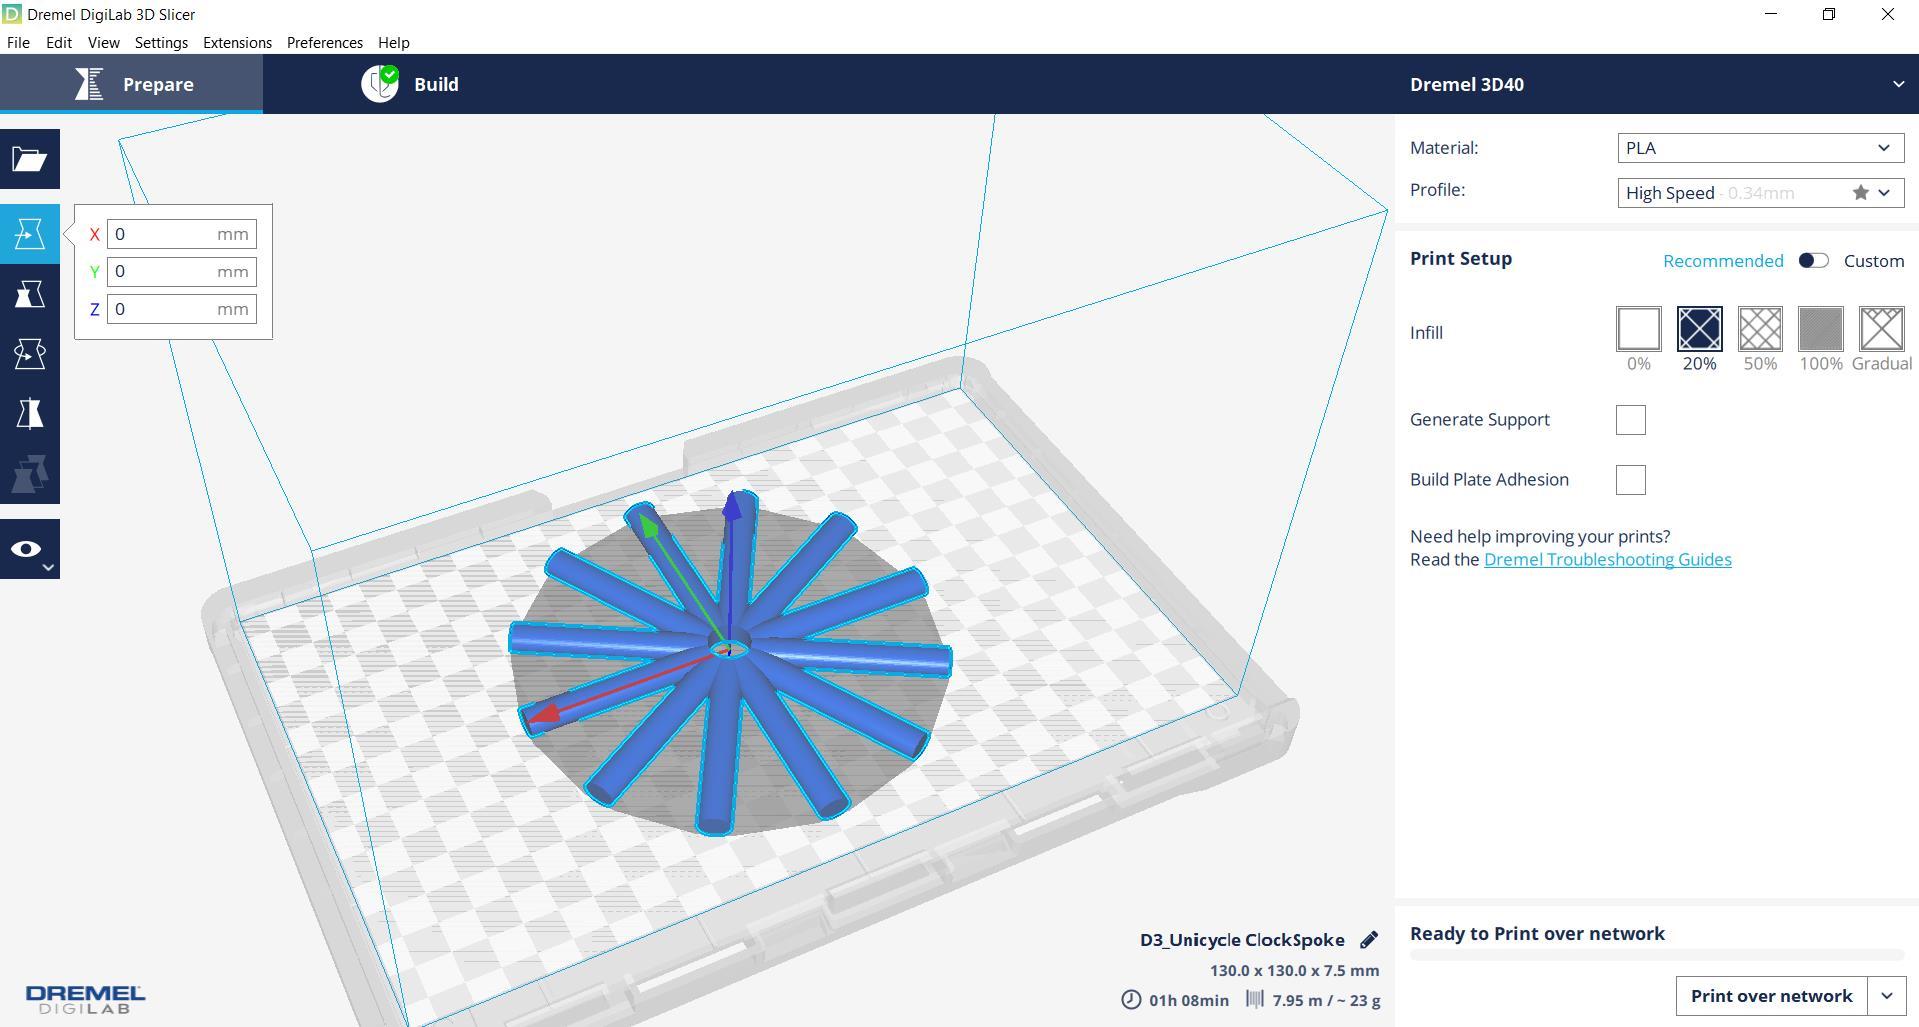
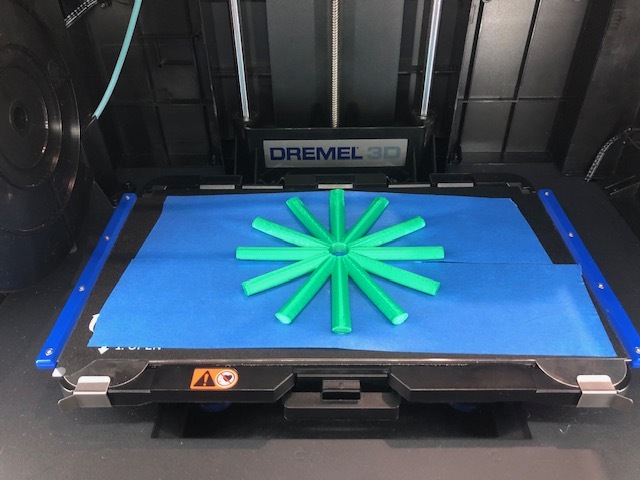
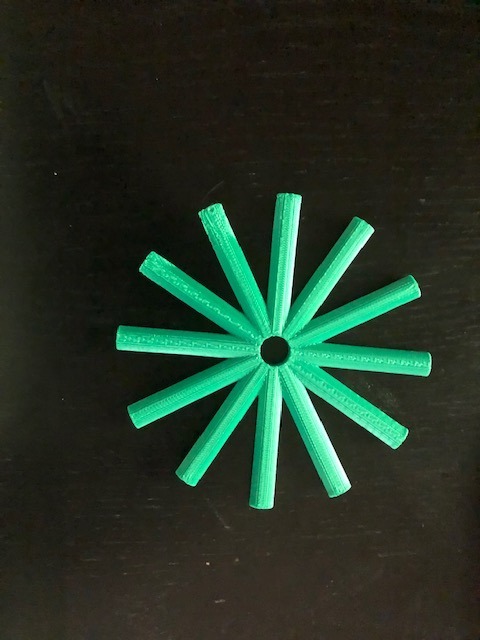
After finish making the spoke, you can print it. My printer is Dremel 3D40, so I use Dremel Digilab 3D Slicer. To download, click here.
Before printing, make sure you export your spoke design into .stl file. First, open the Dremel Digilab 3D Slicer. Open the .stl file. I choose high speed and gradual density. High speed is already great, but it is up to you. Plus, high speed is the fastest time. We do not need to generate support. Lastly, print the design. See the picture. To know more about the option of printing, click here.
Numbers
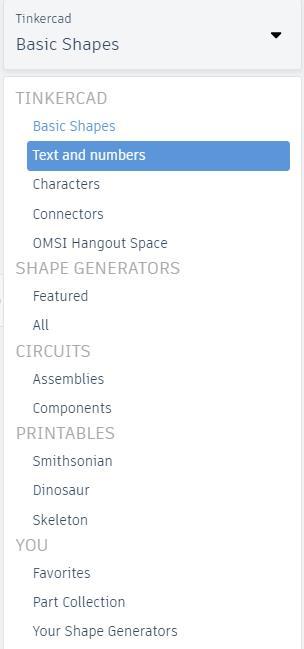
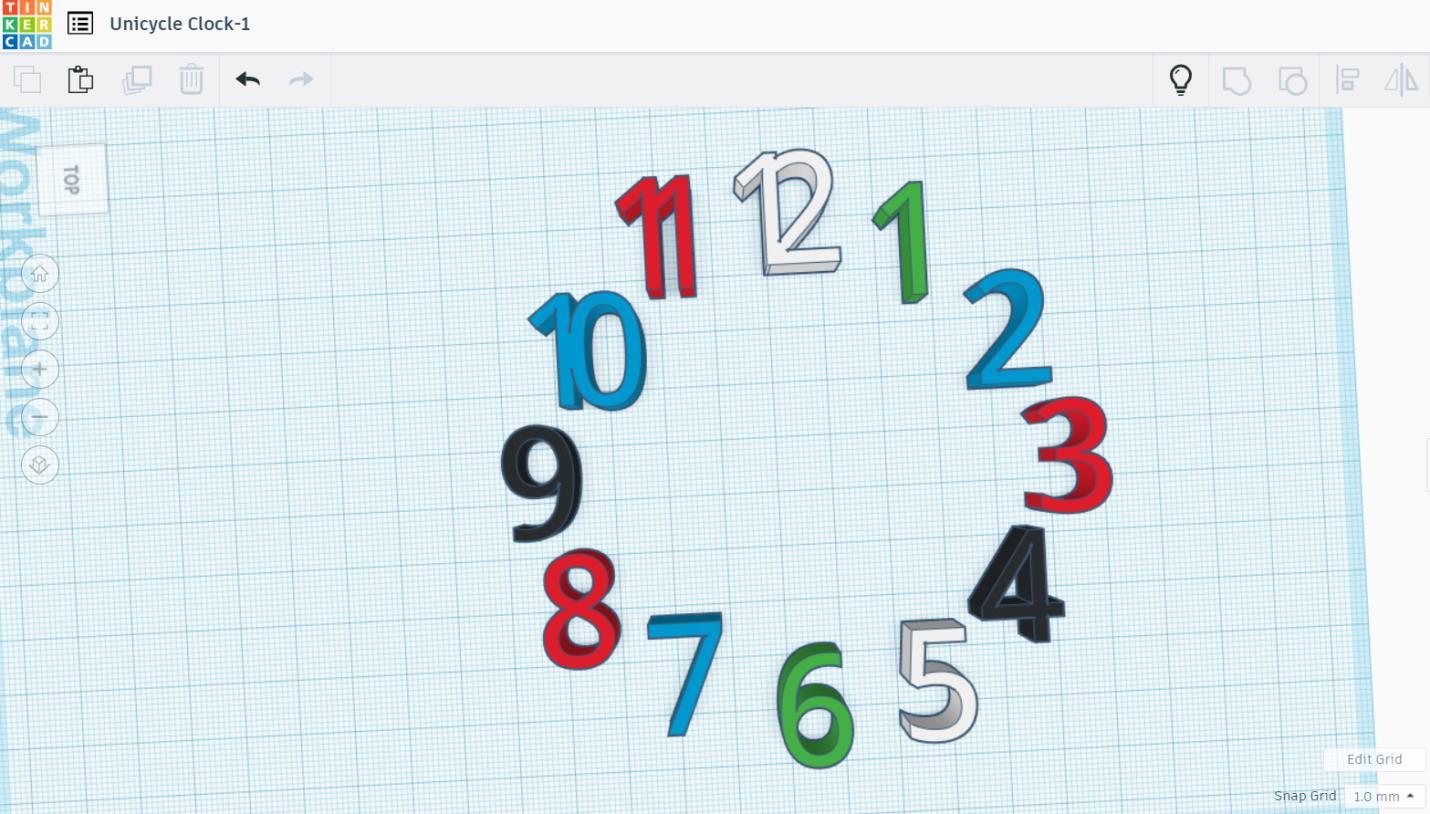
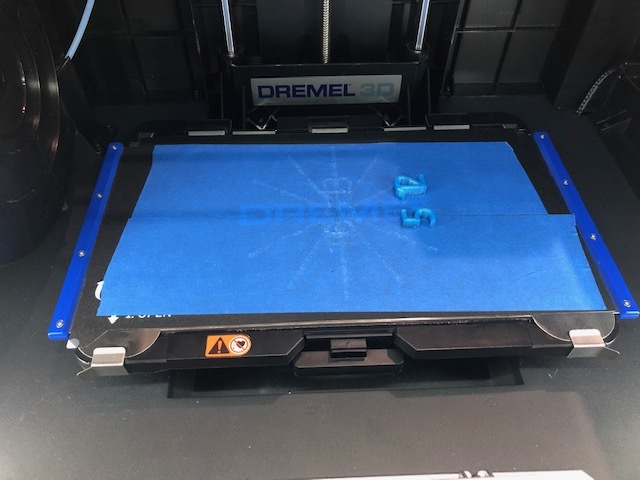
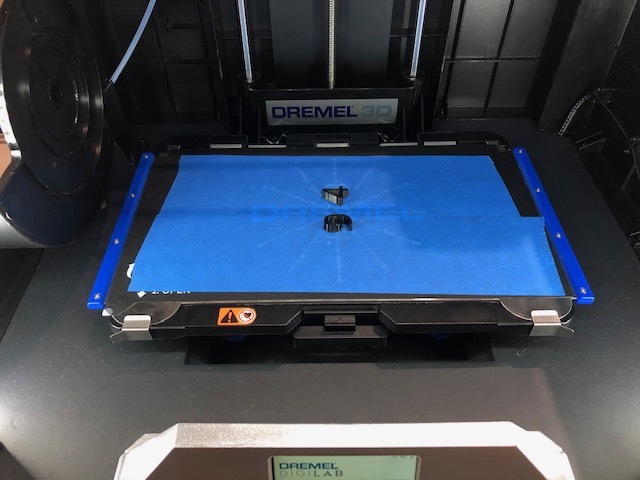
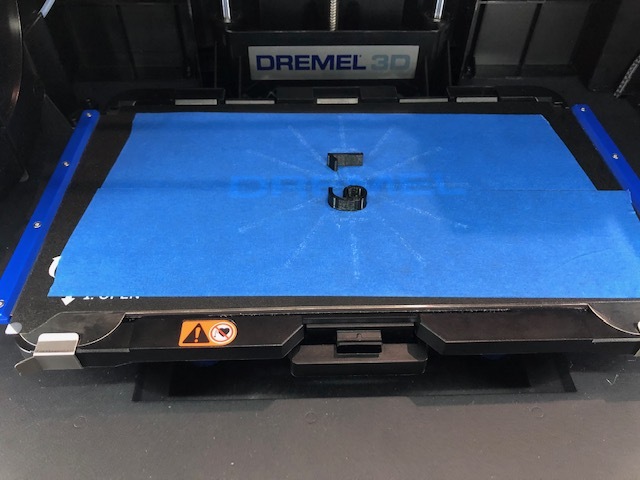
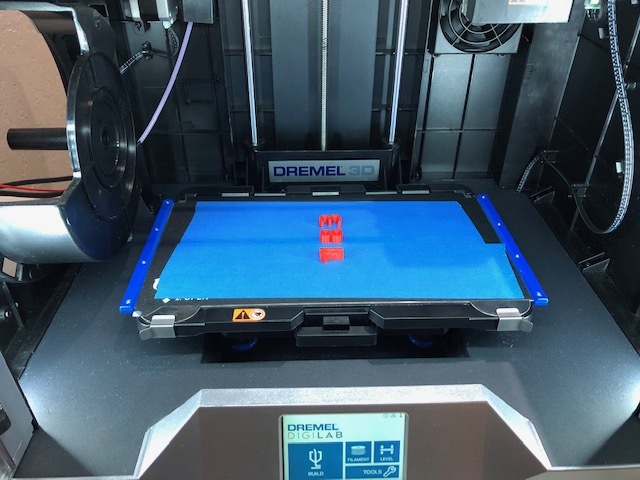
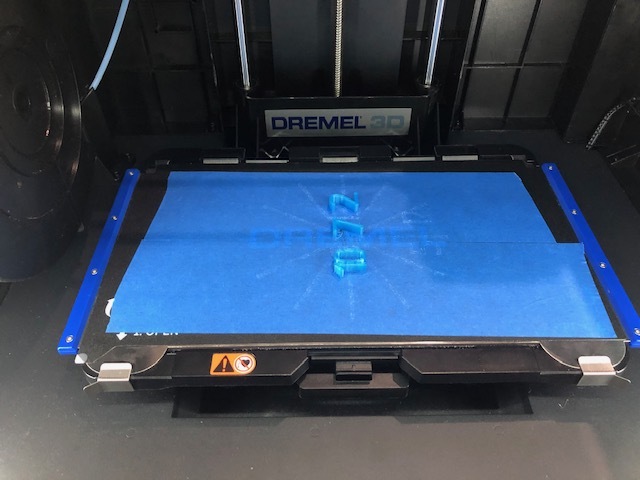
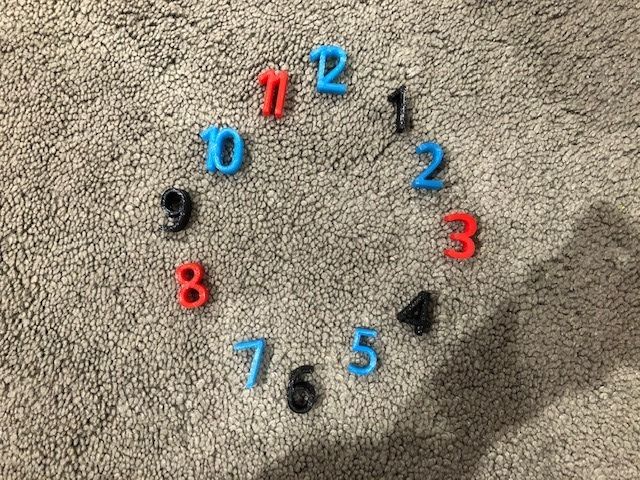
To make numbers, click text and numbers. Drag number 1 to 12 one by one to the workplane. Make the length of all the number of 20 mm, width of 10 mm, and height of 10 mm. You can choose what colors you like. Export to .stl file and print them.
Rim Pt. 1
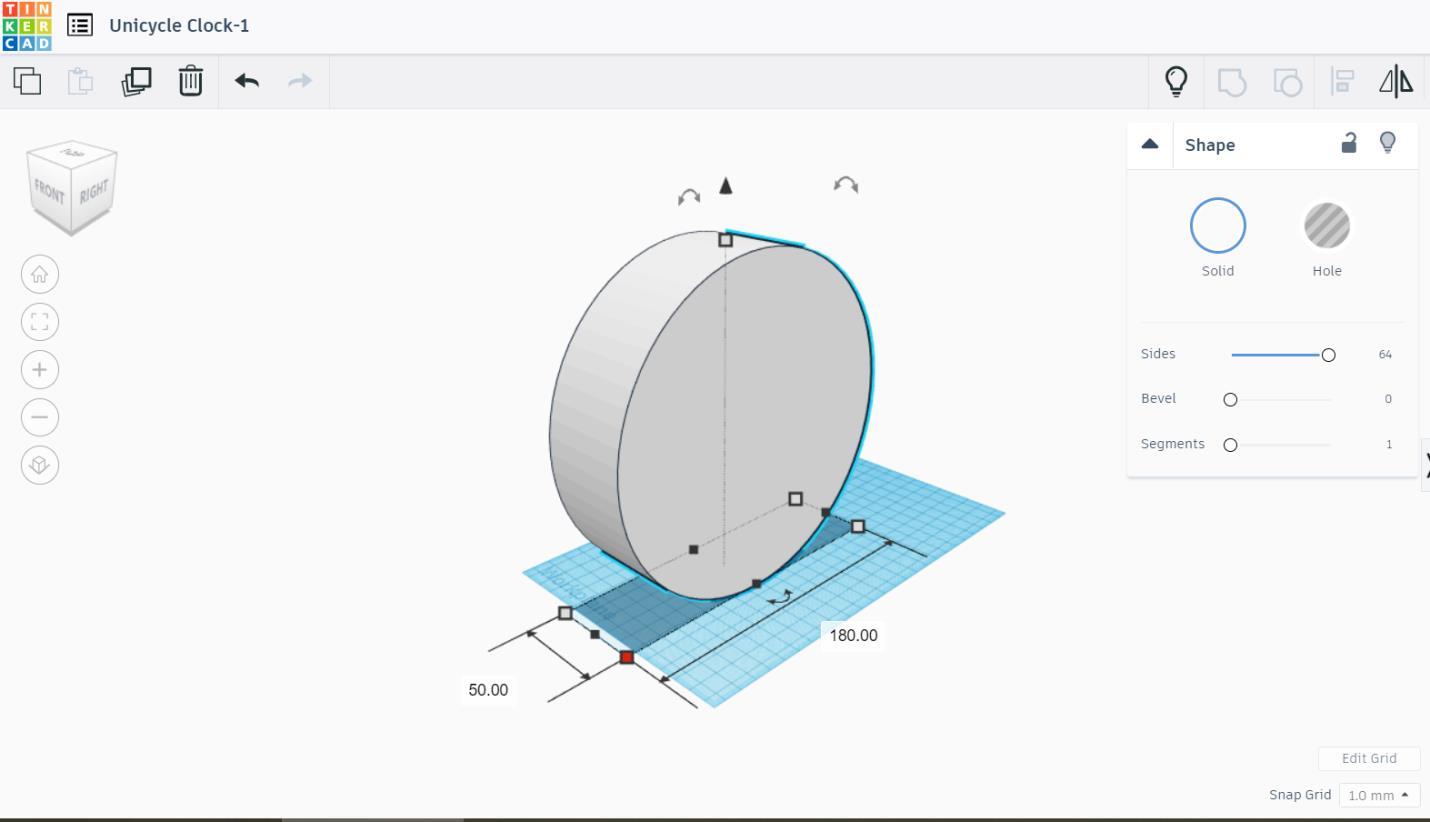
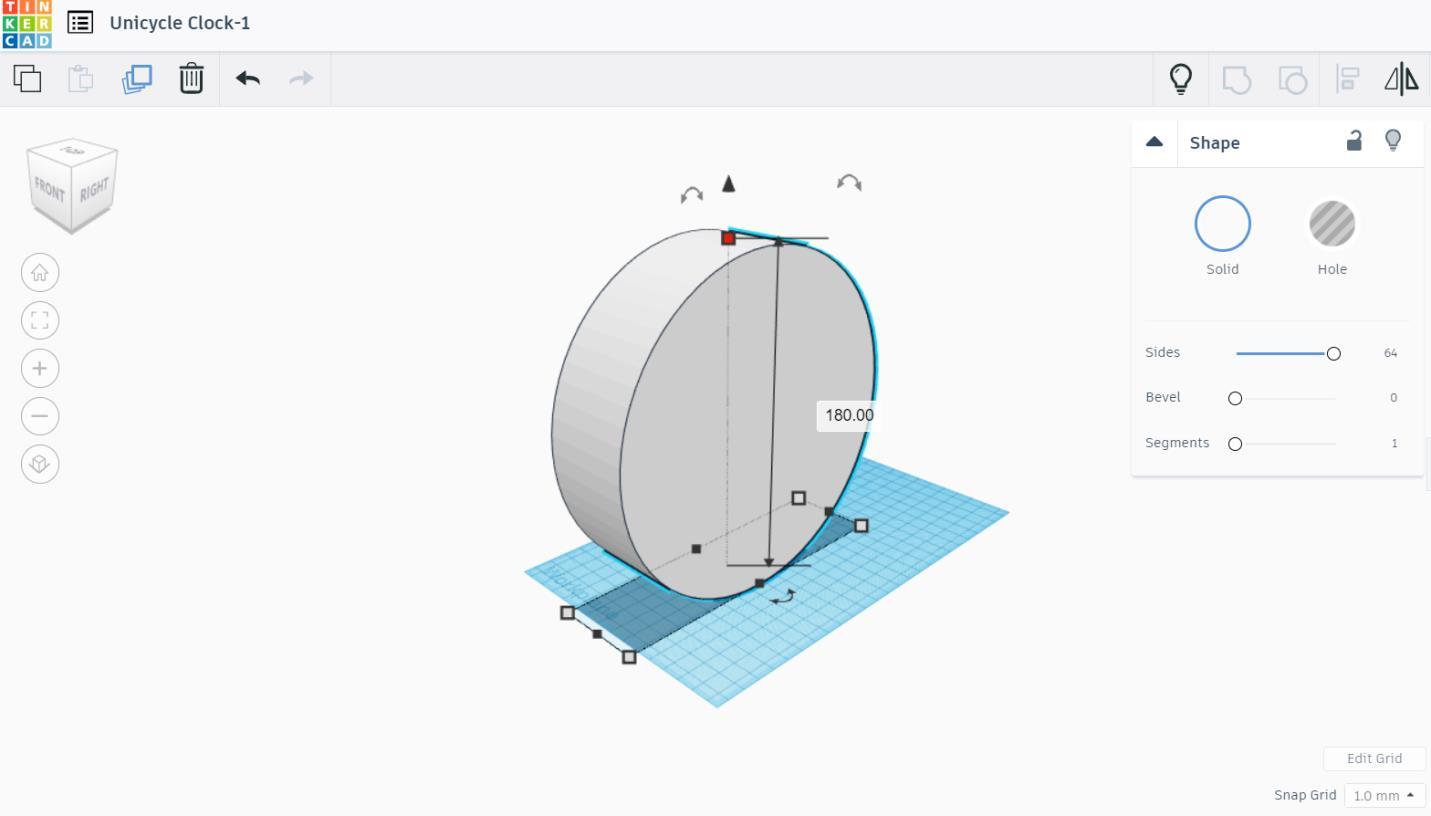
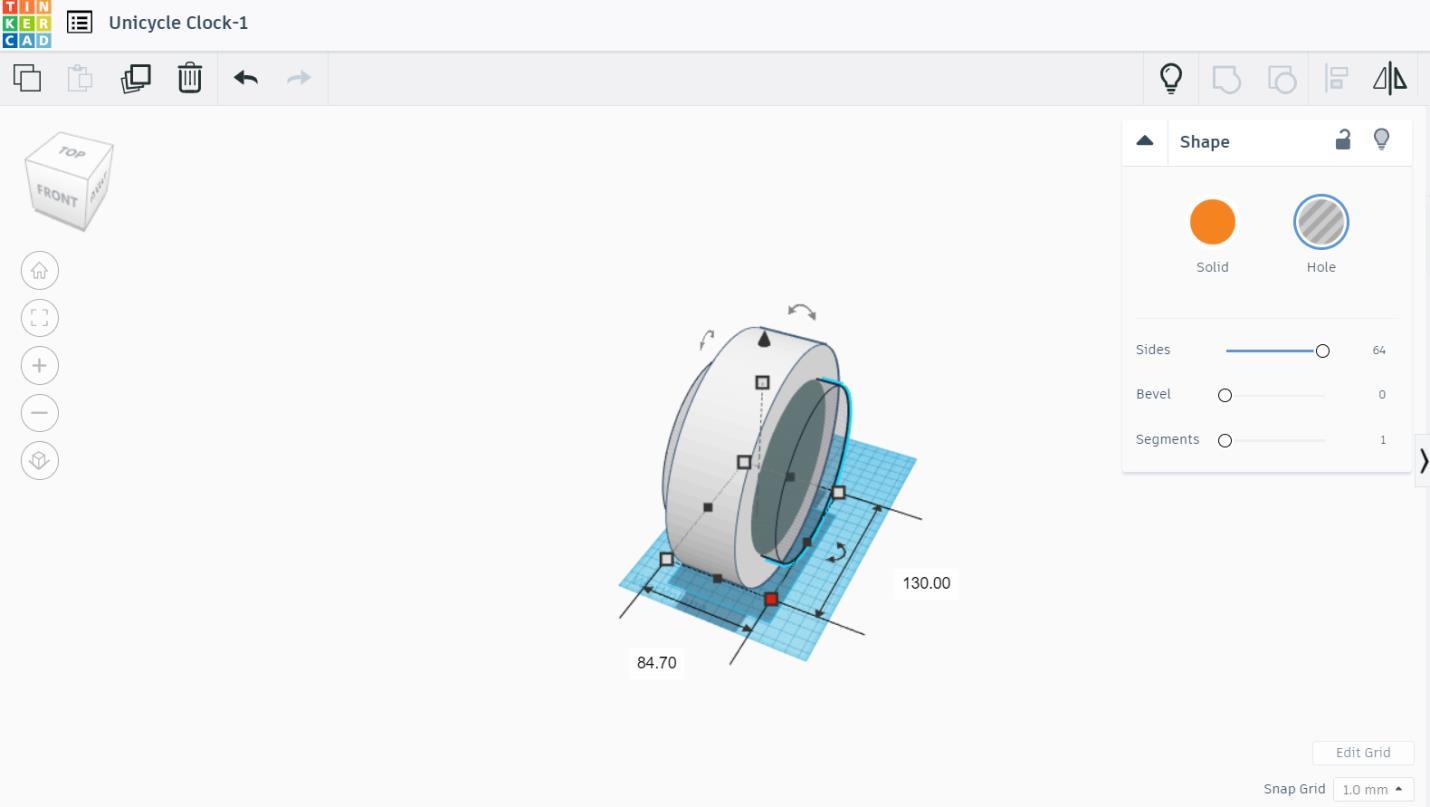
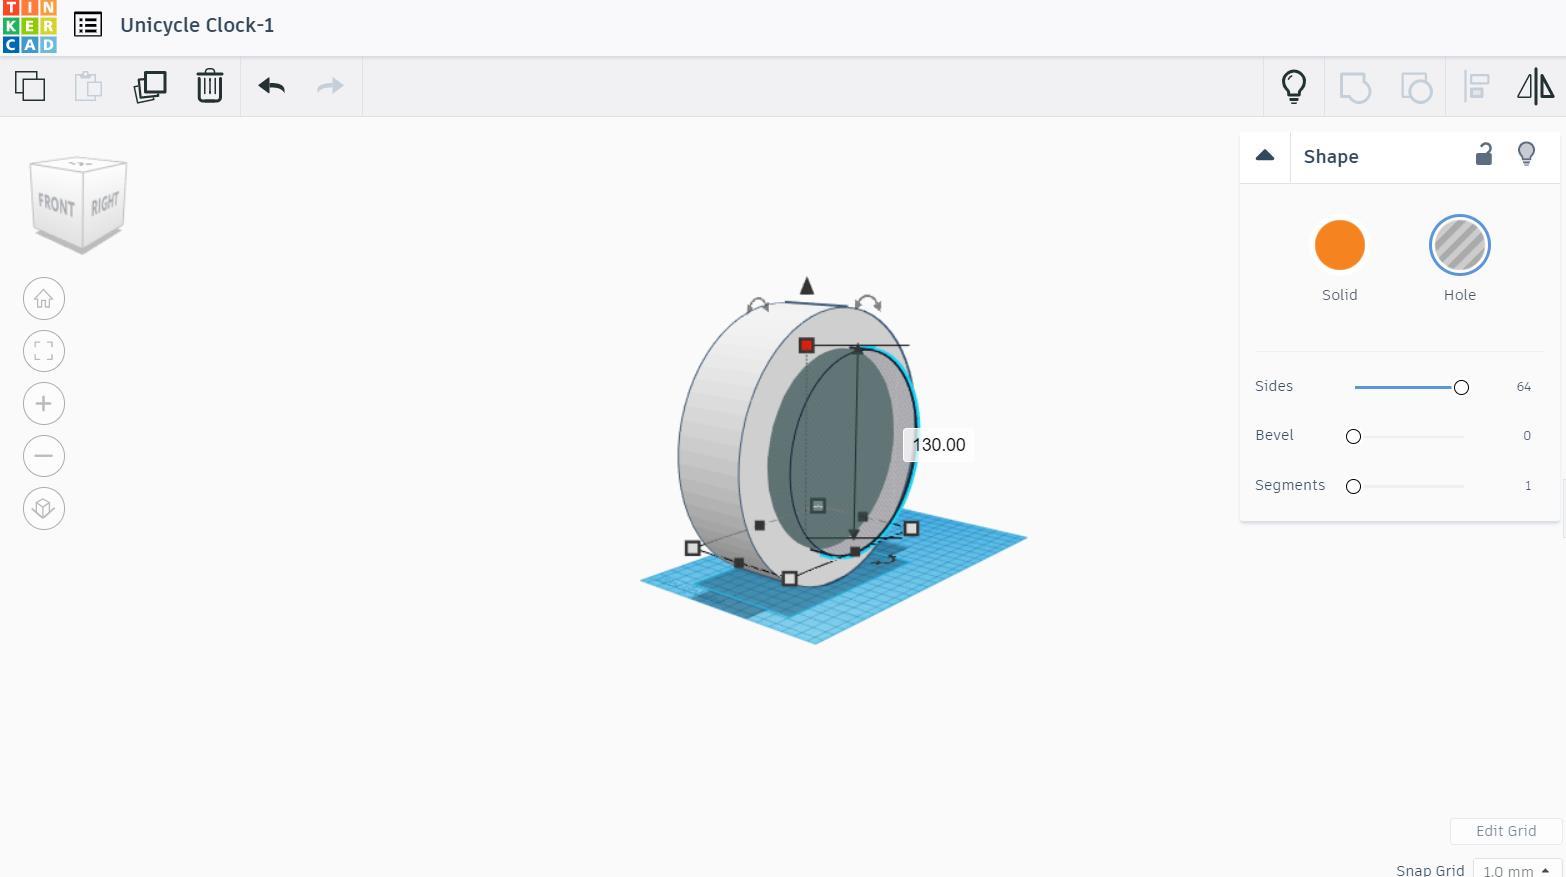
Grab a cylinder and scale into the diameter of 180 mm and width of 50 mm. Grab another cylinder to make a hole. Scale it into the diameter of 130 mm and width of 84.70 mm.
Rim Pt. 2
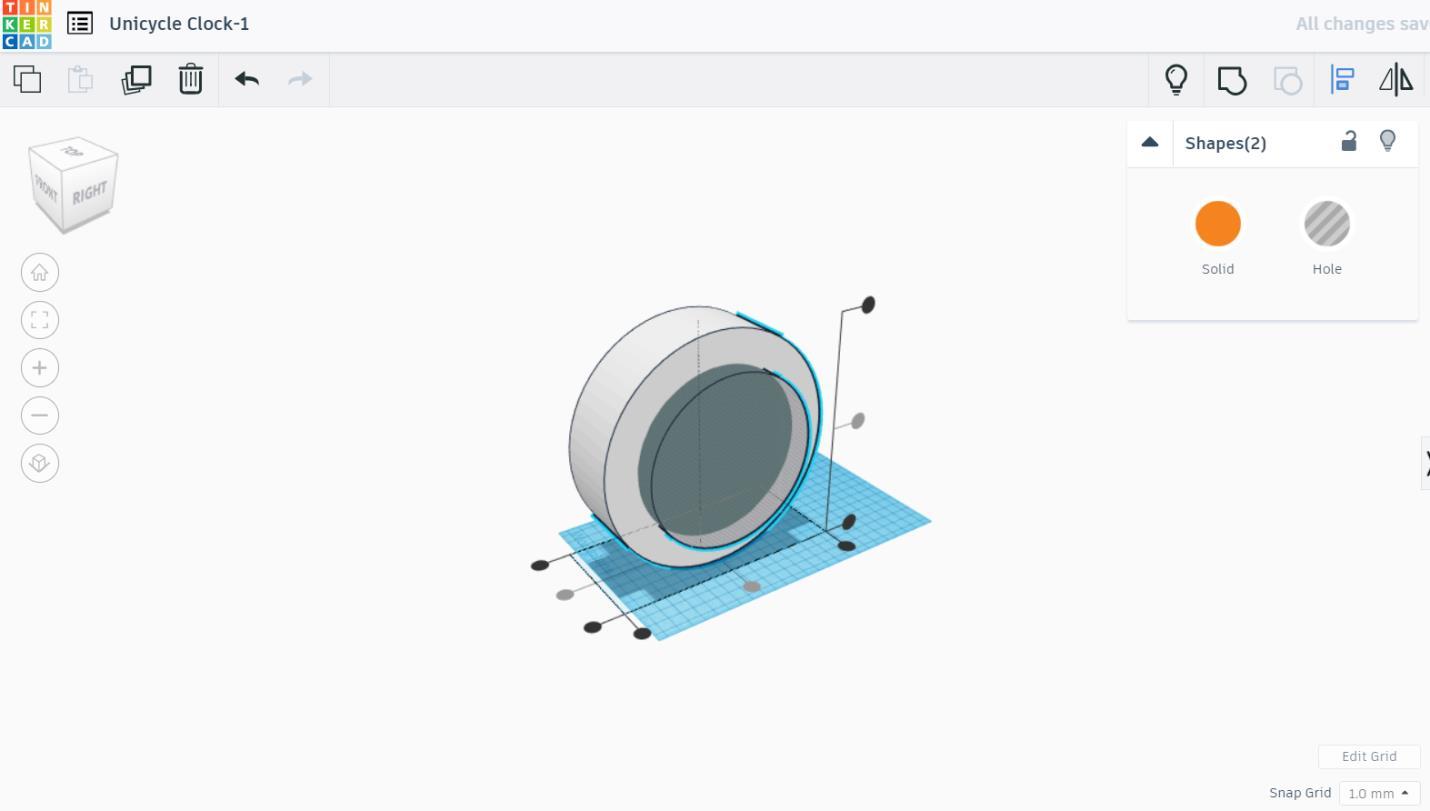
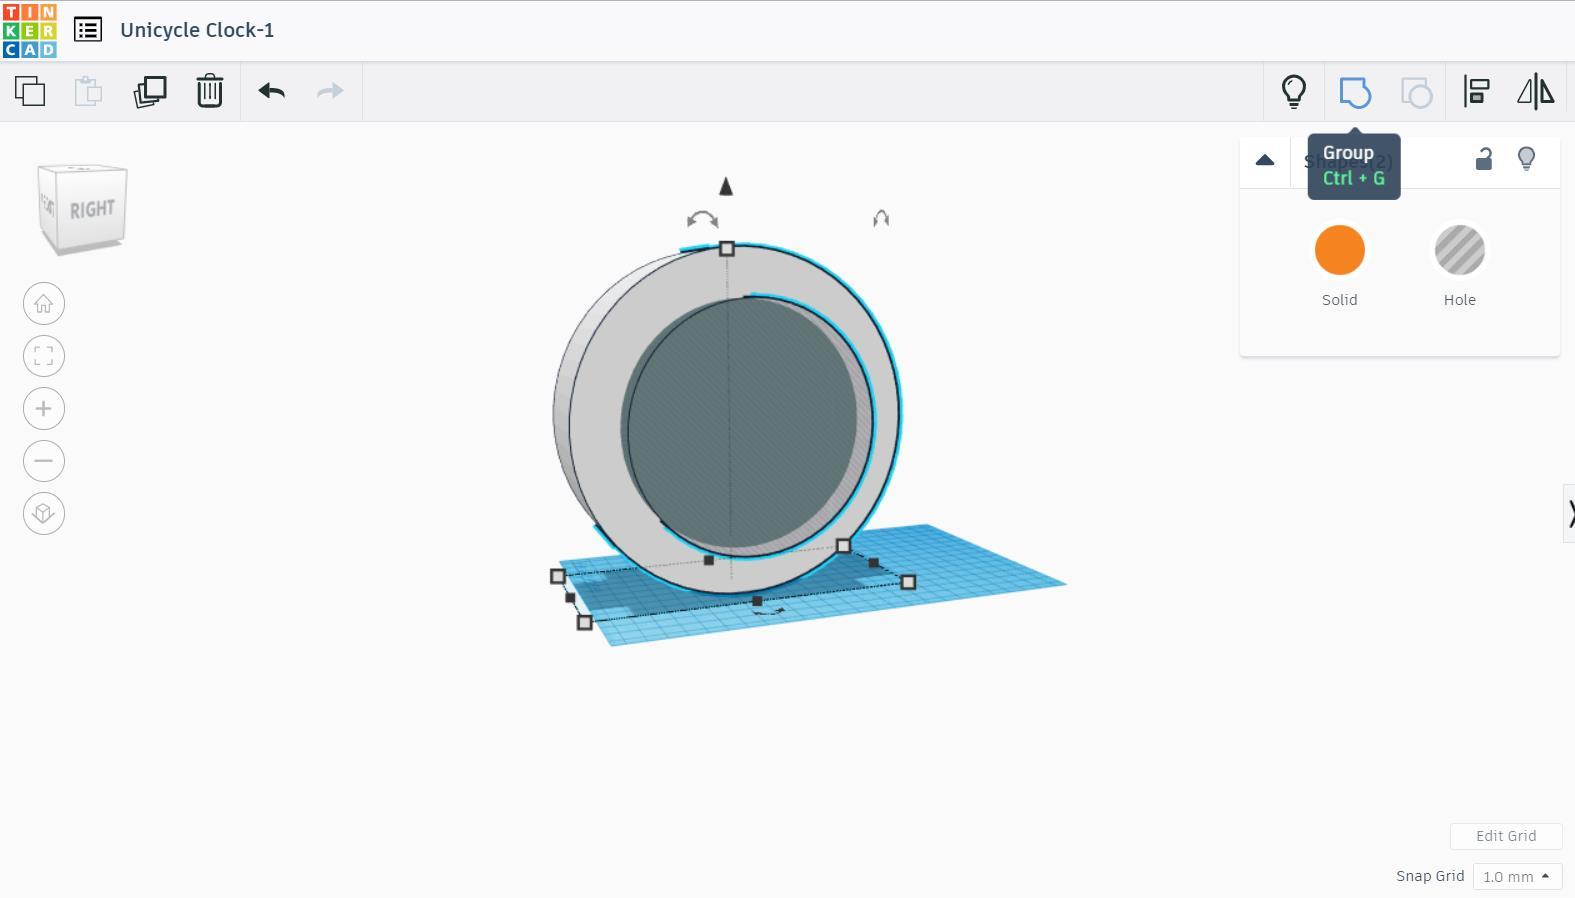
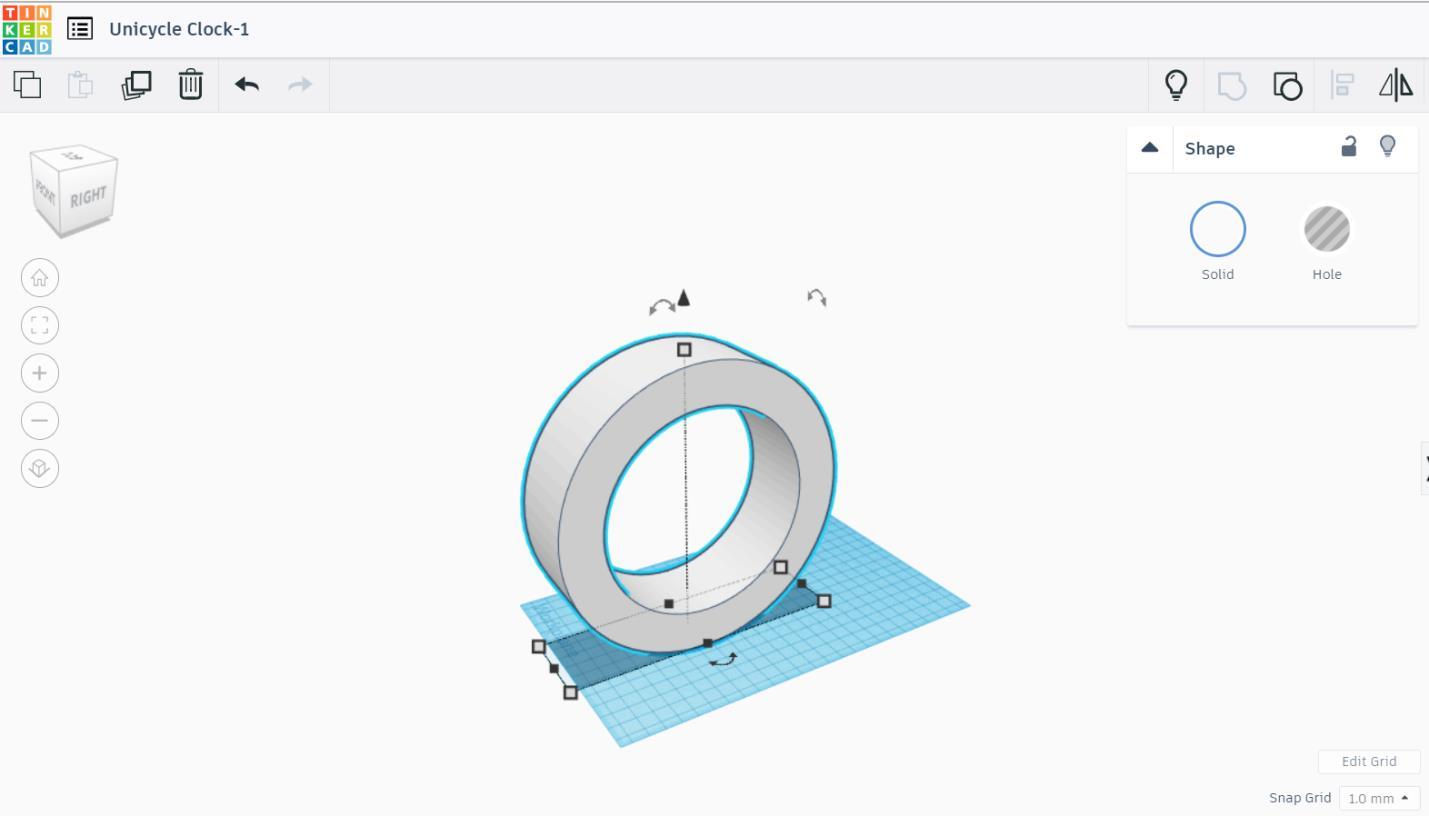
Align and group them together.
Rim Pt. 3
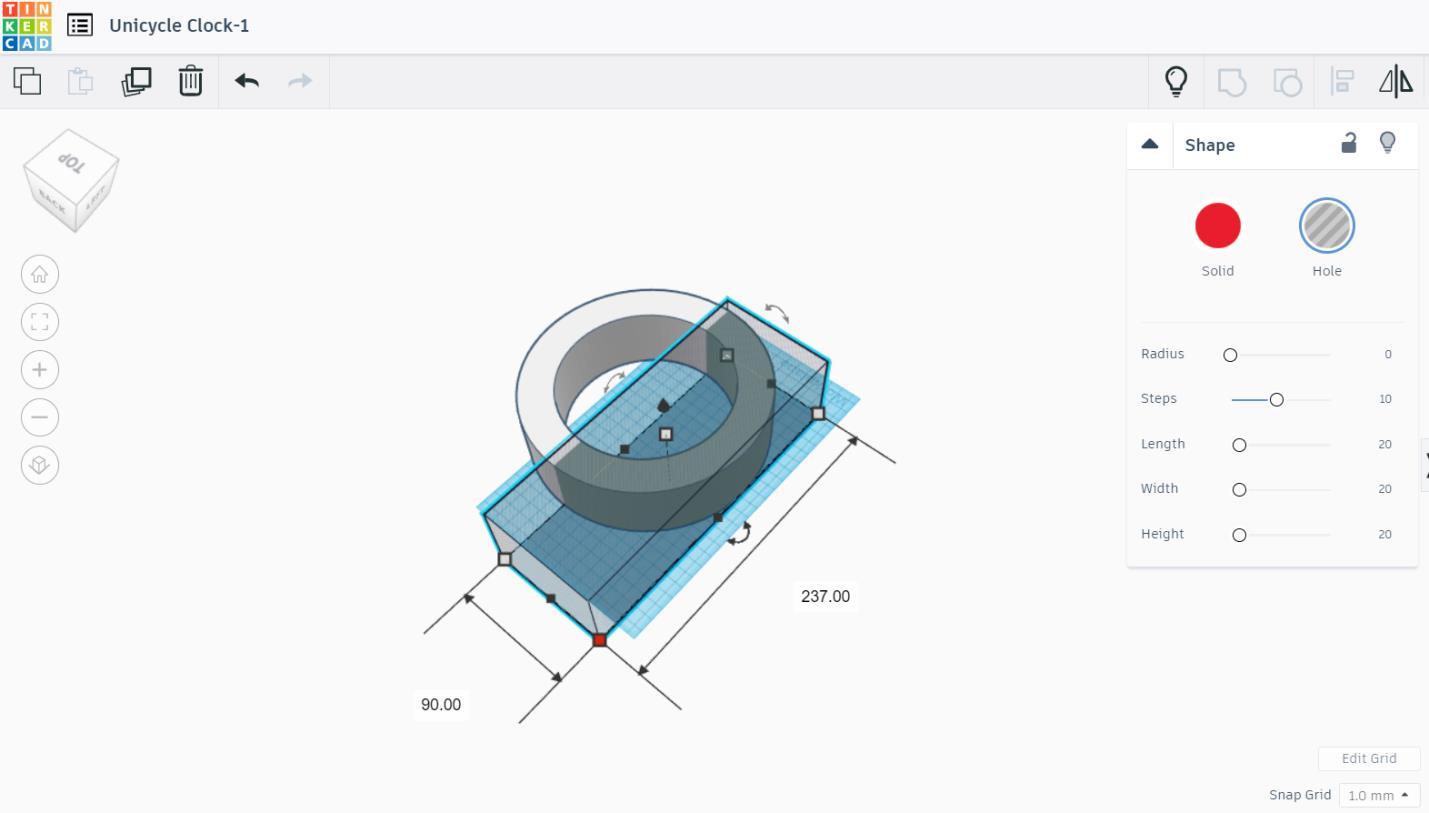
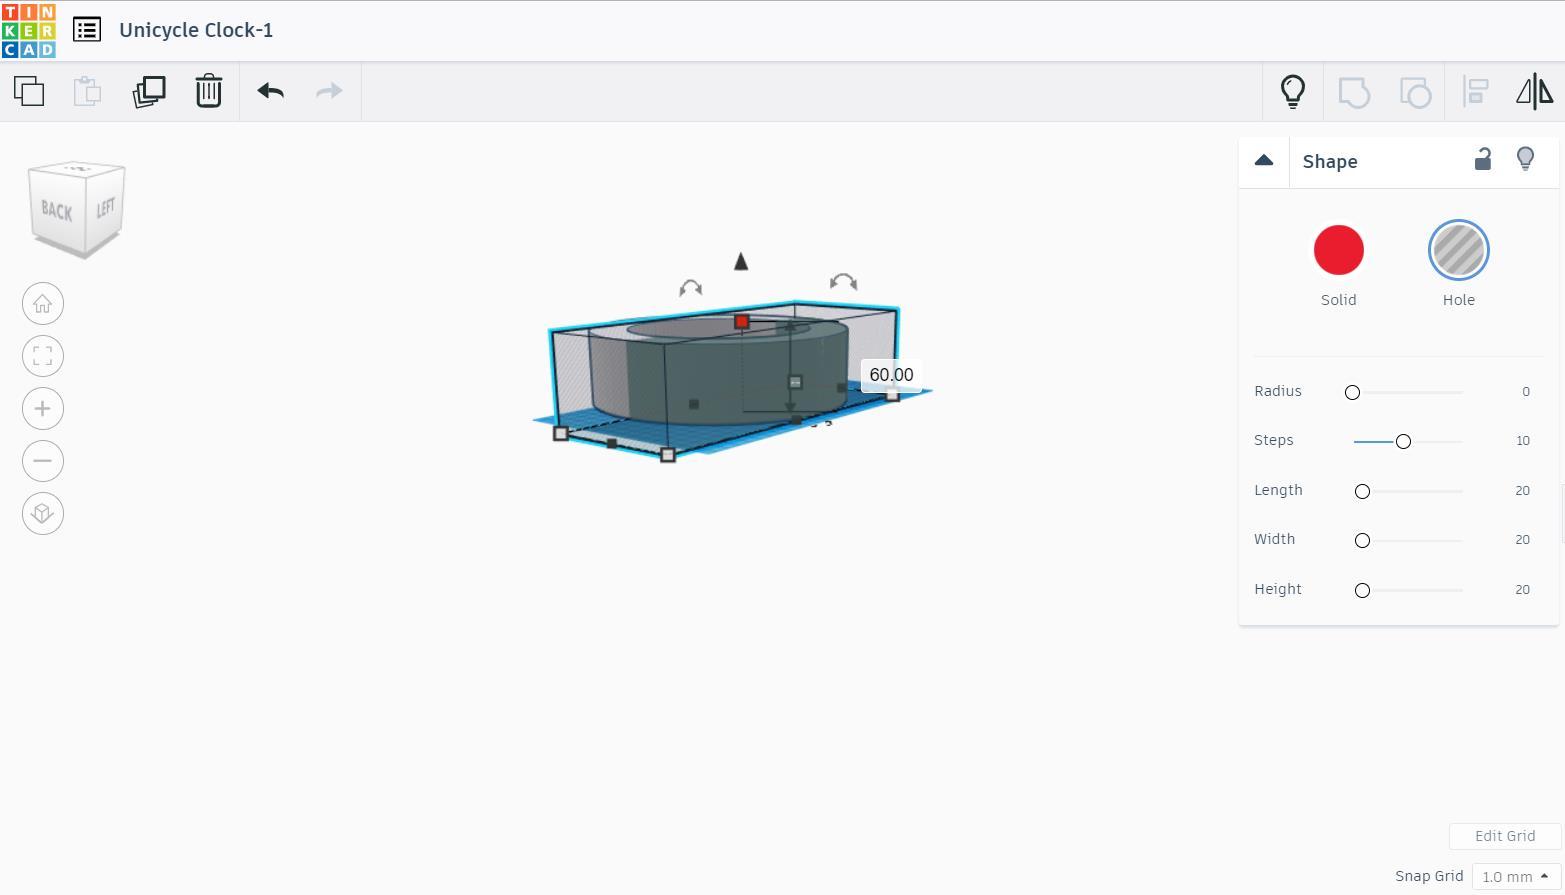
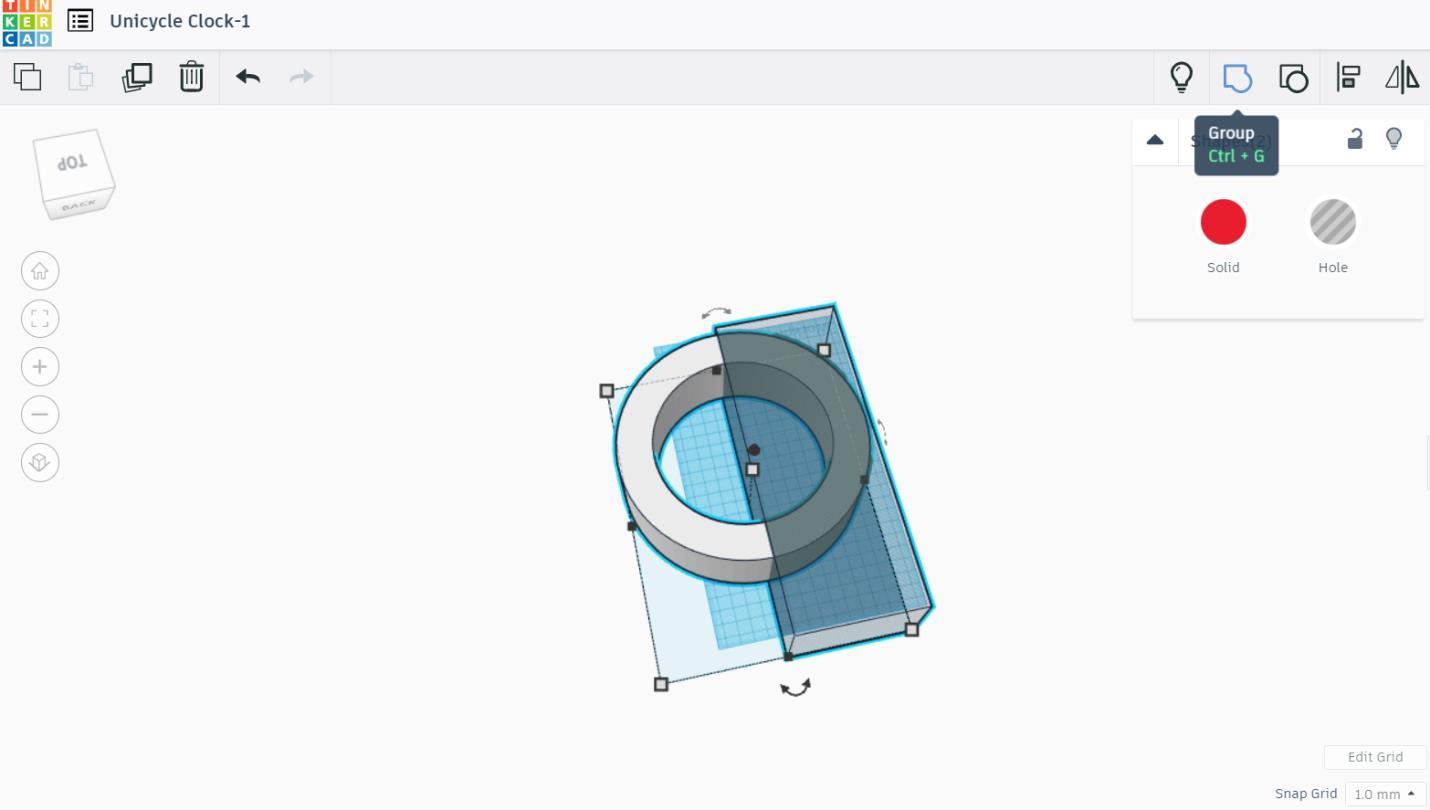
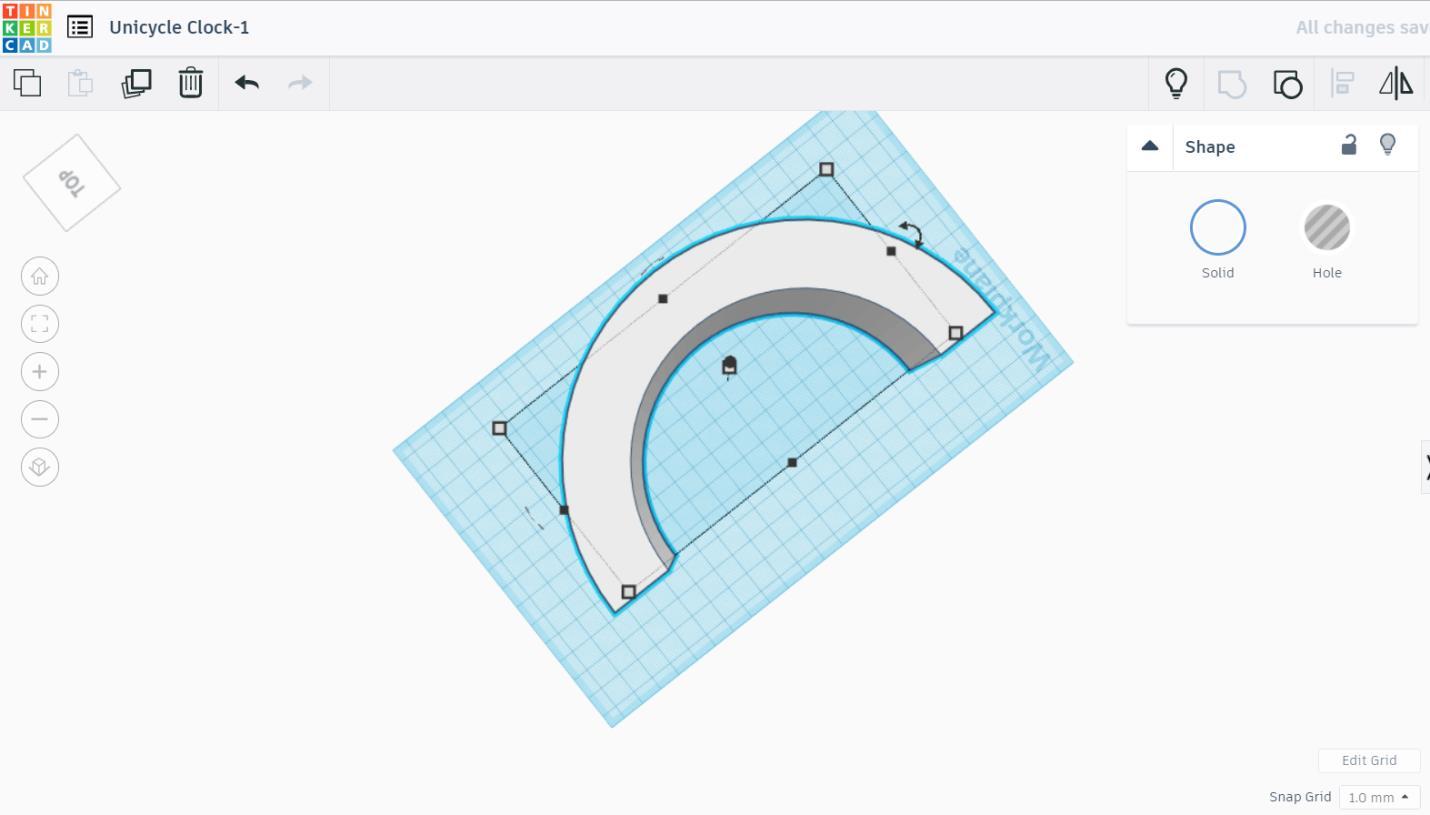
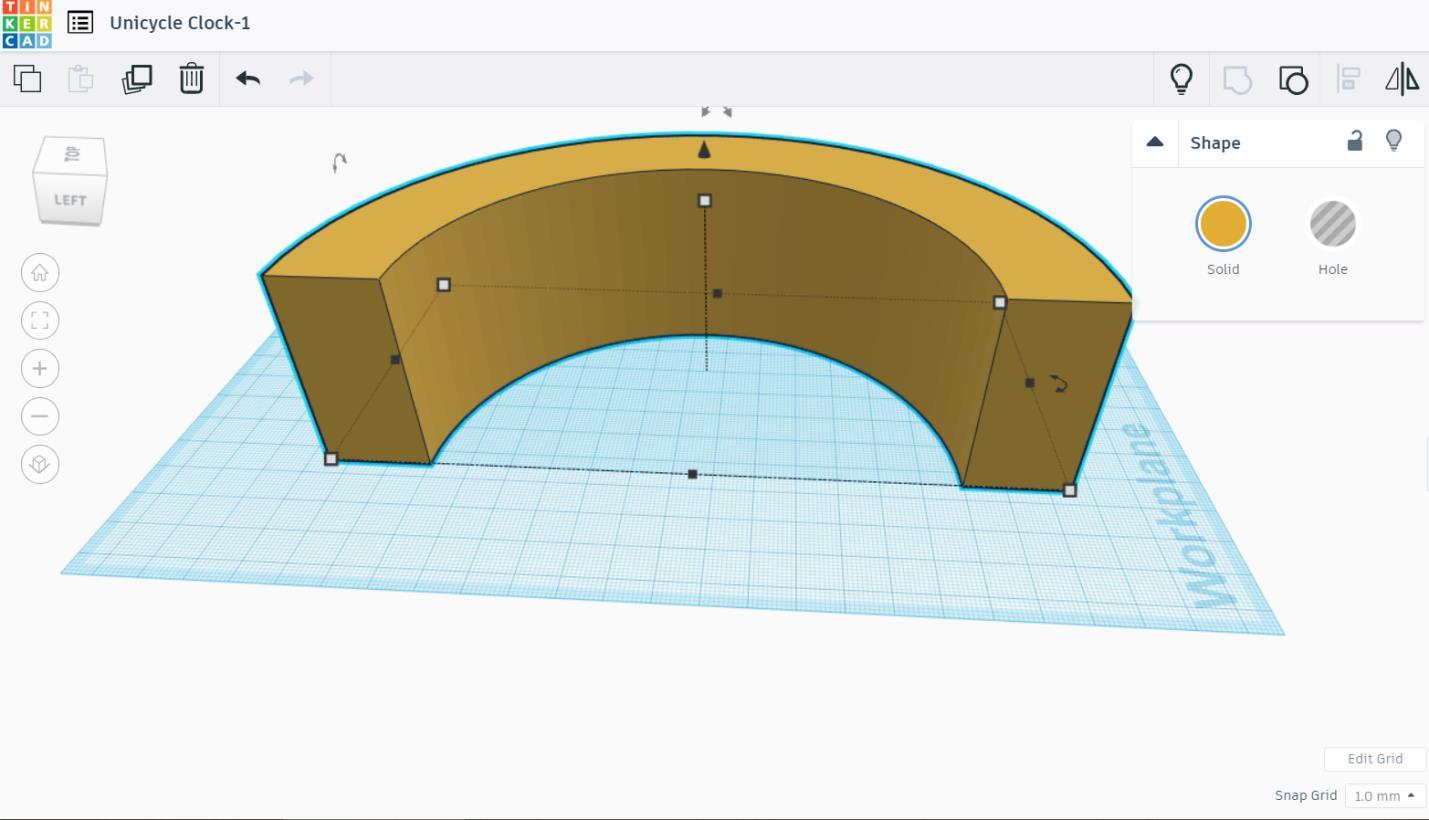
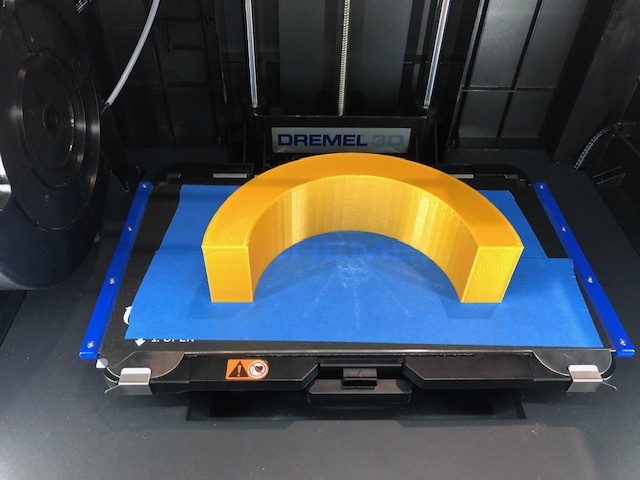
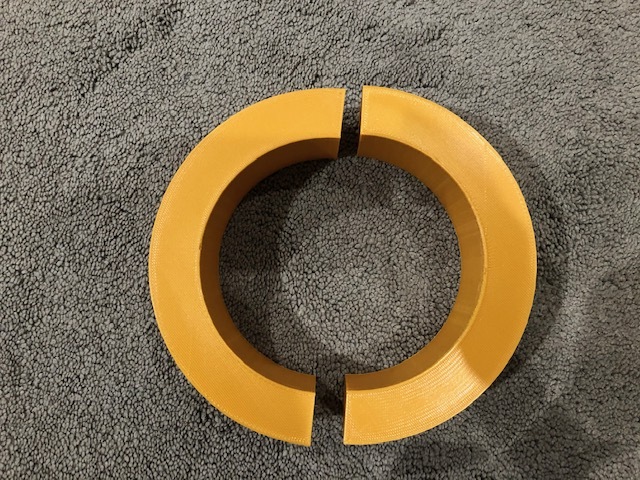
Since the rim is too big to be printed on the printer, split it into two by using a box. Make a hole. Scale it into the length of 237 mm, the width of 90 mm, and the height of 60 mm. Group them. Pick any color you like. I use gold color for the rim. Export to .stl file and print it twice.
Tire
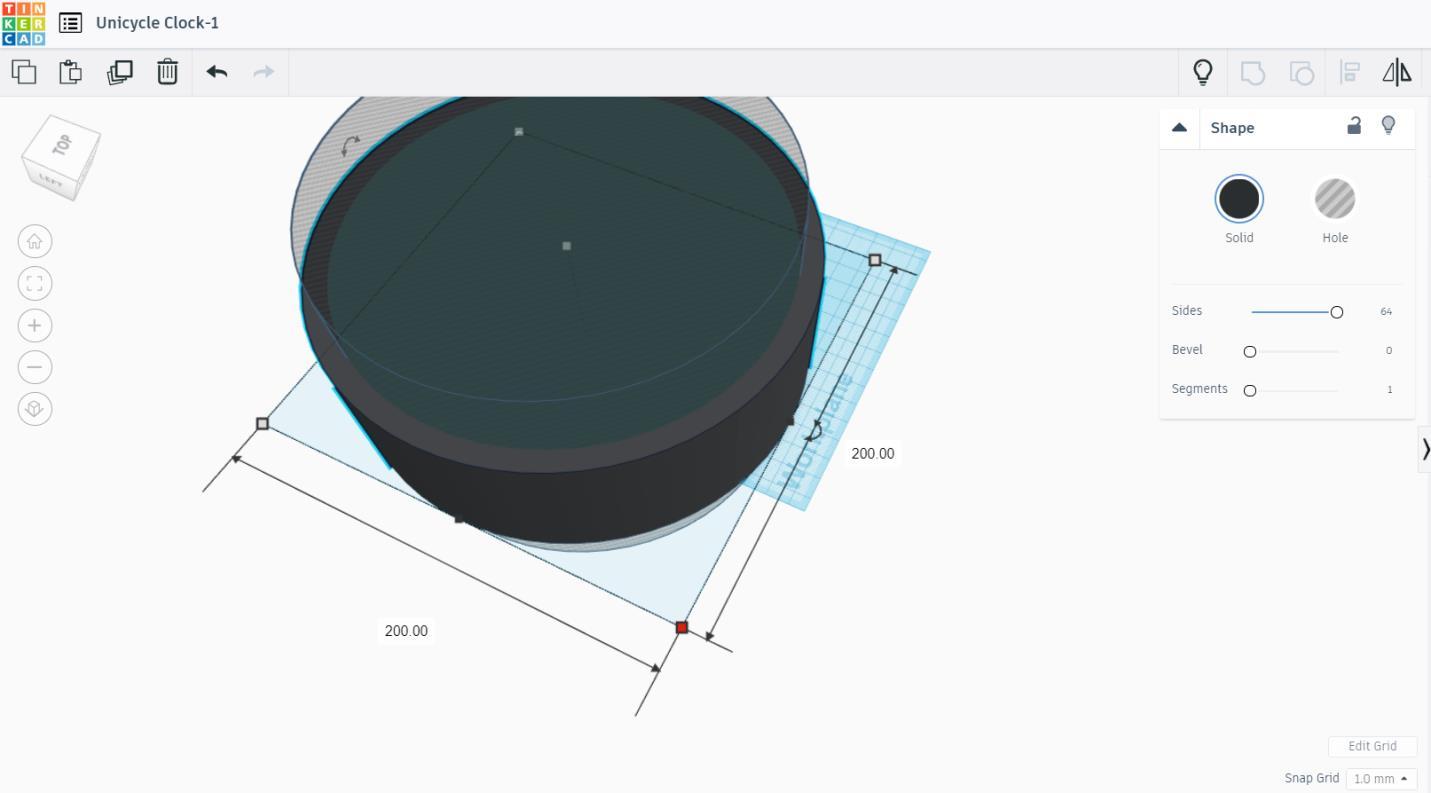
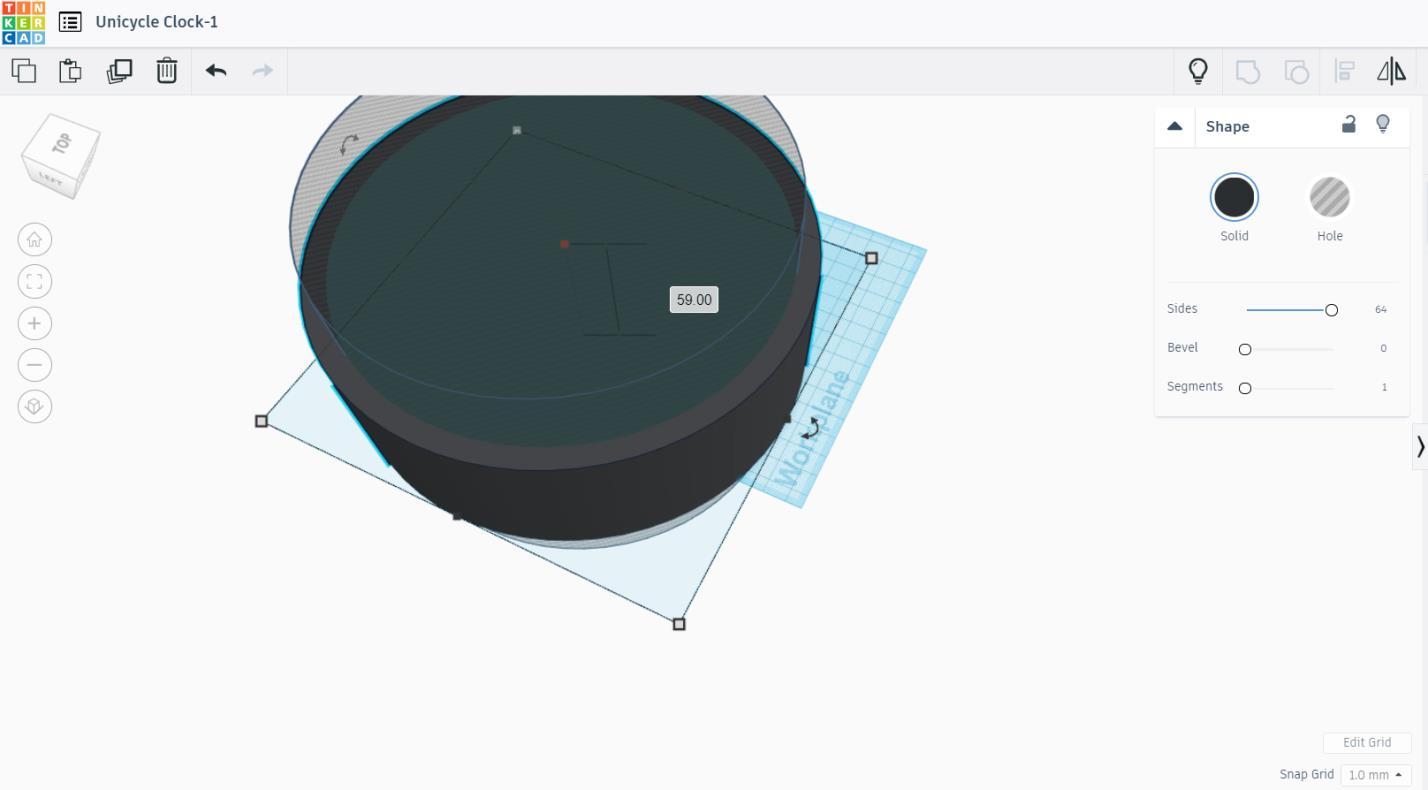
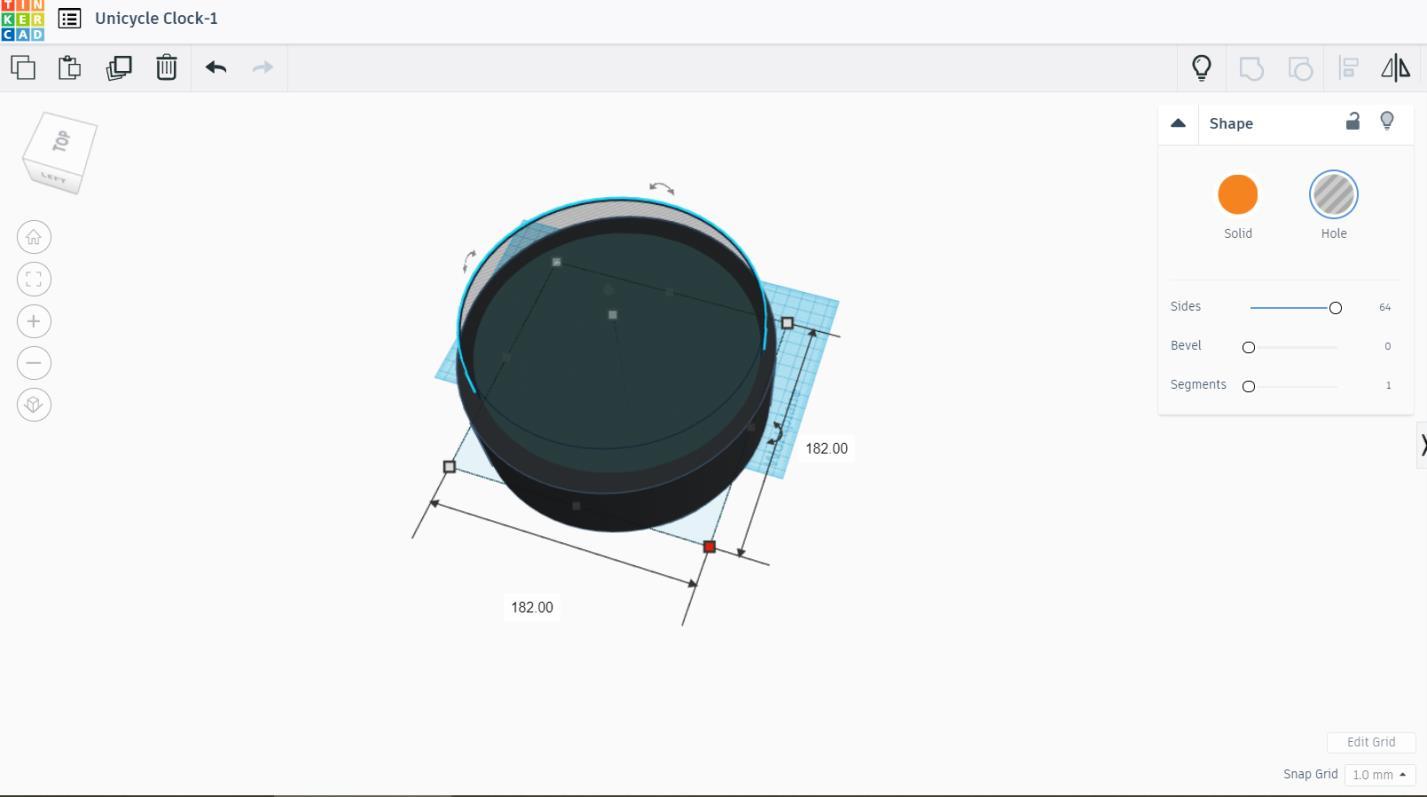
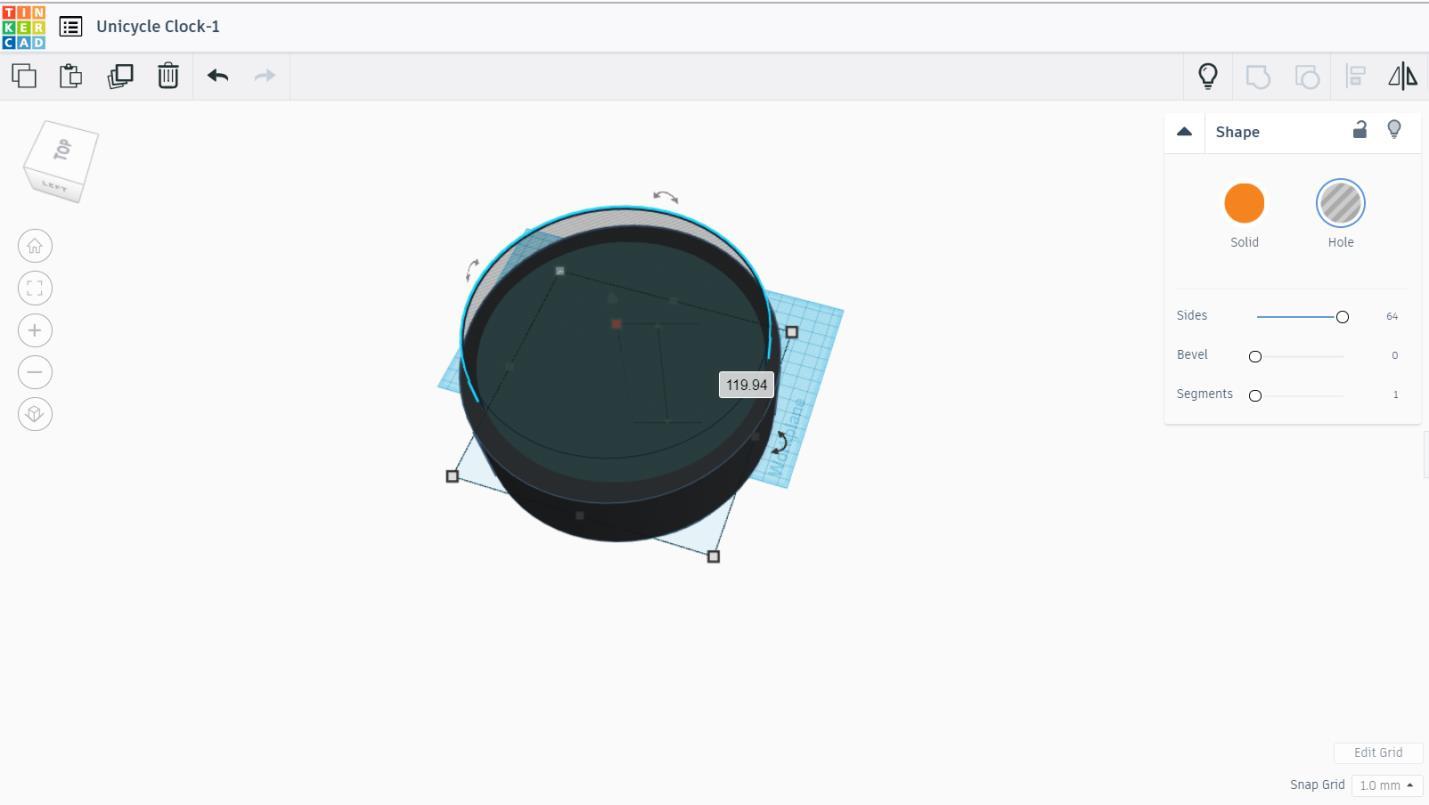
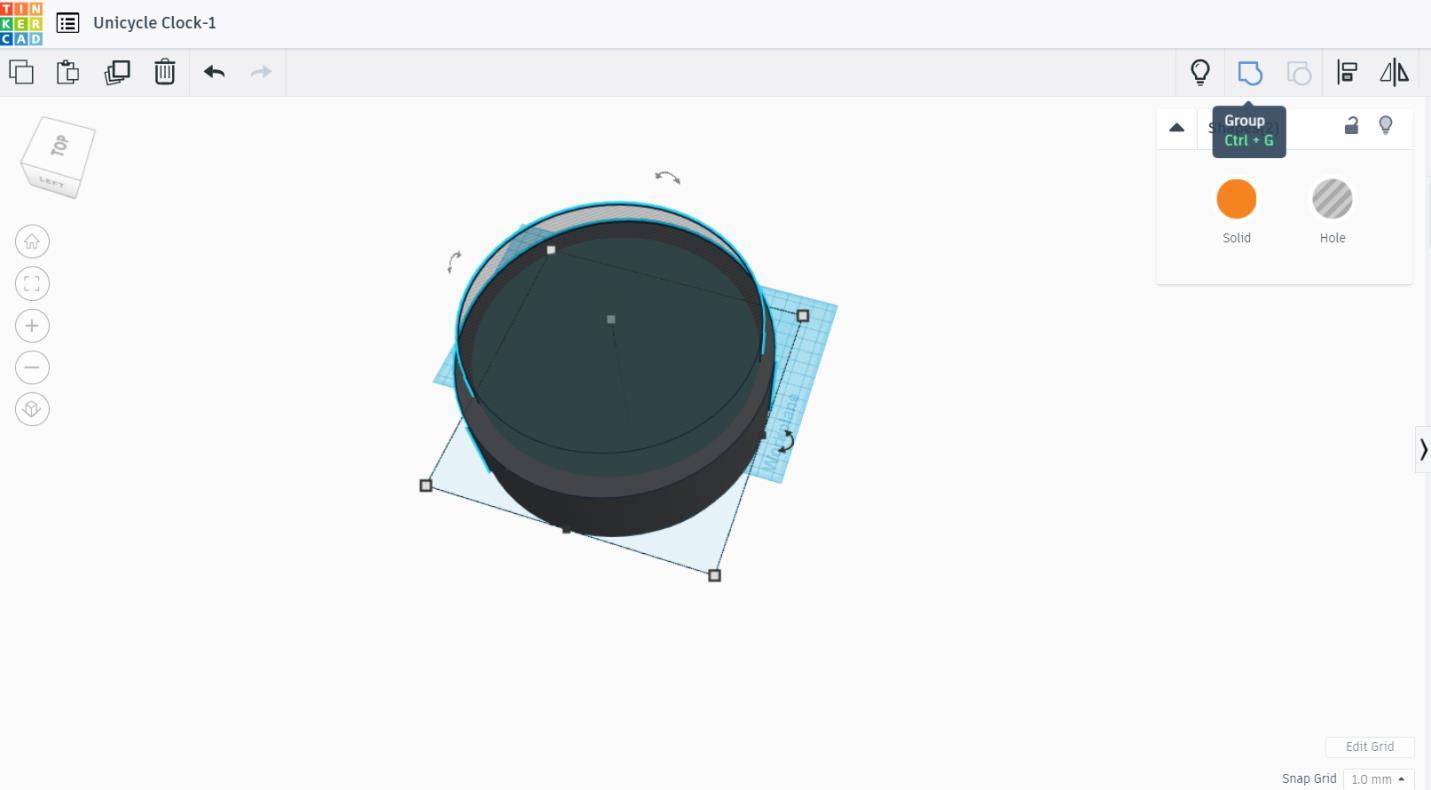
Grab a cylinder. Scale it to the diameter of 200 mm and the height of 59 mm. Drag another cylinder for making a hole. The size of the cylinder has the diameter of 182 mm and the height of 119.94 mm. Group them together.
Tire Threads
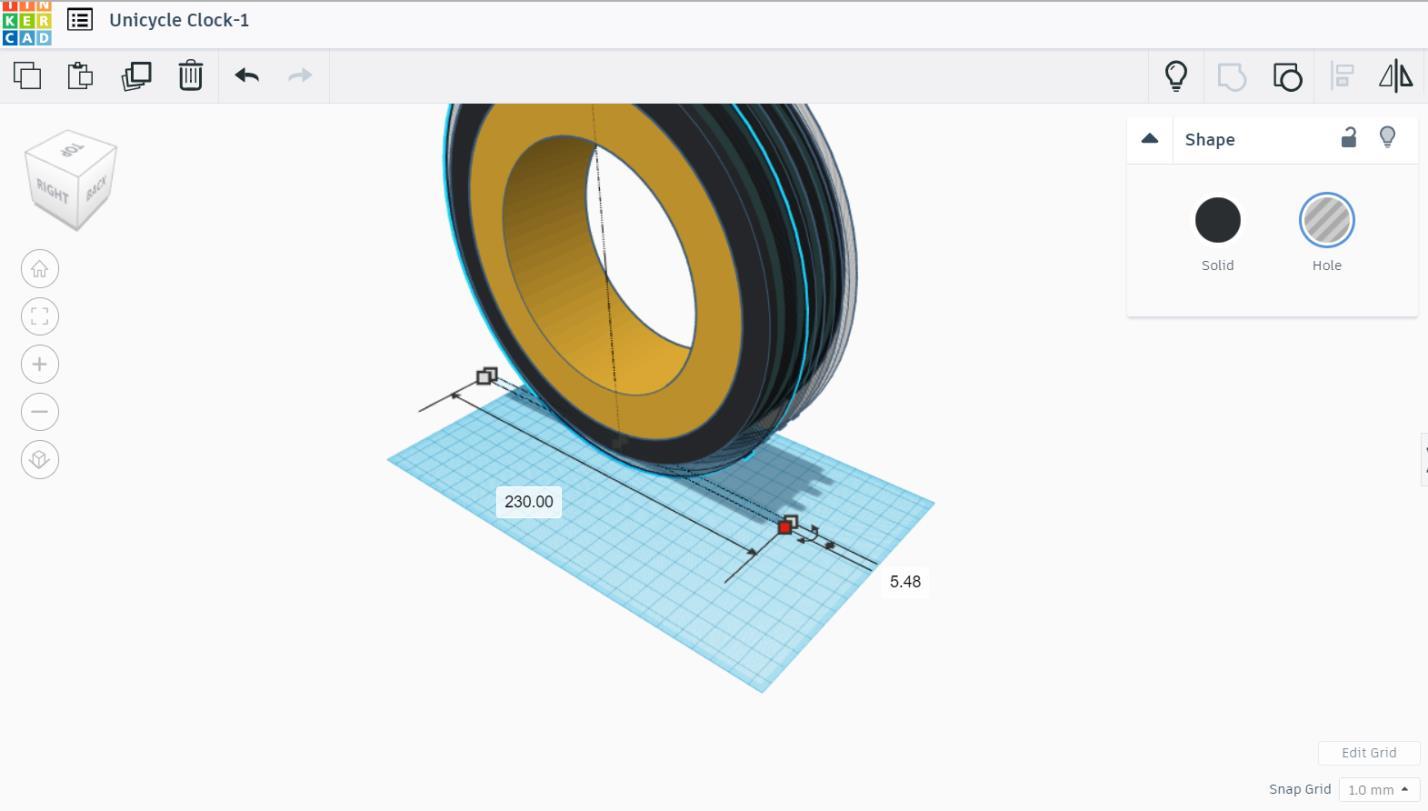
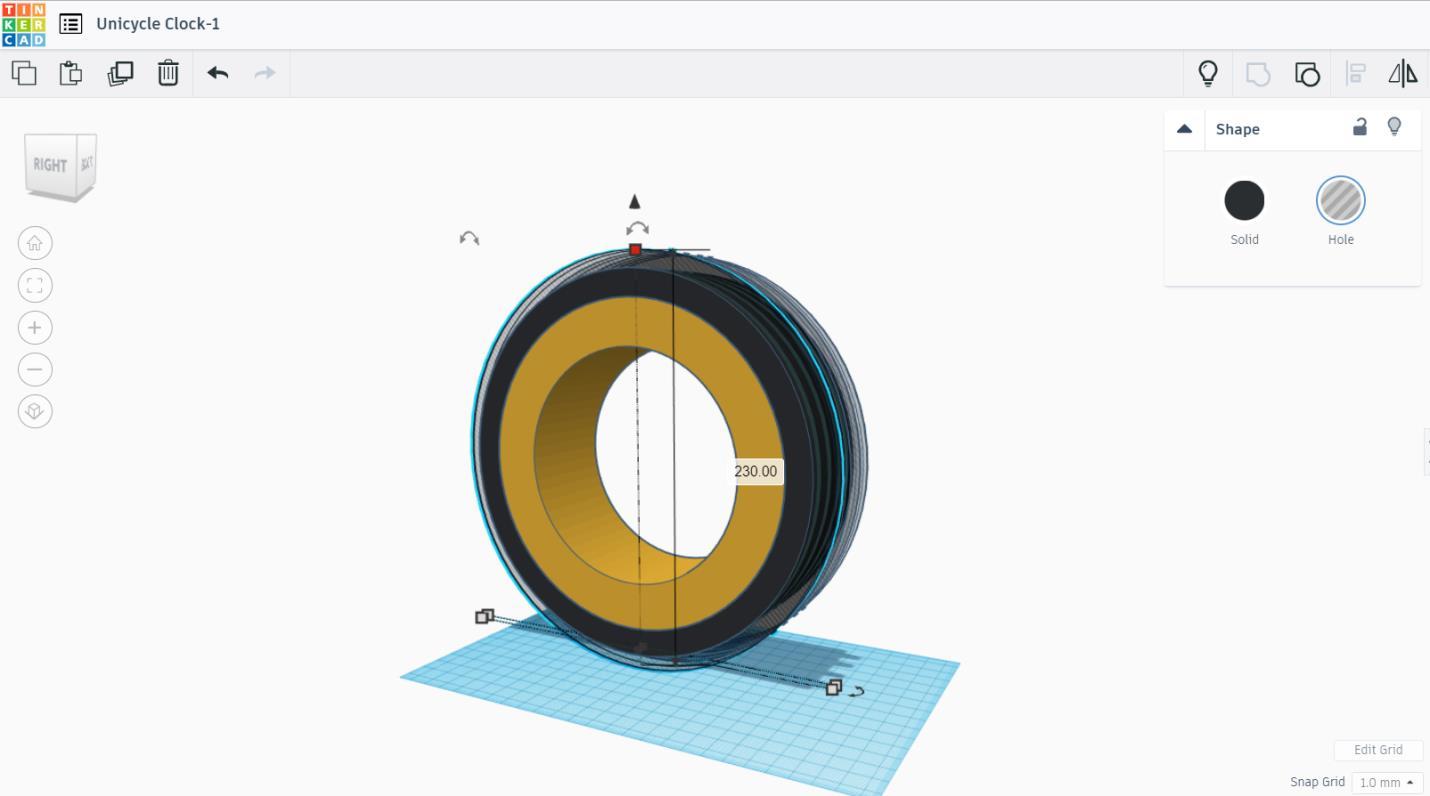
For tire thread, drag a cylinder into the workplane and make a hole from it. The cylinder has a diameter of 230 mm and the width of 5.48 mm. Duplicate and move it for about 10 mm away. Use the smart copy until there are 4 tire threads. Group them together.
Tire Pt. 2
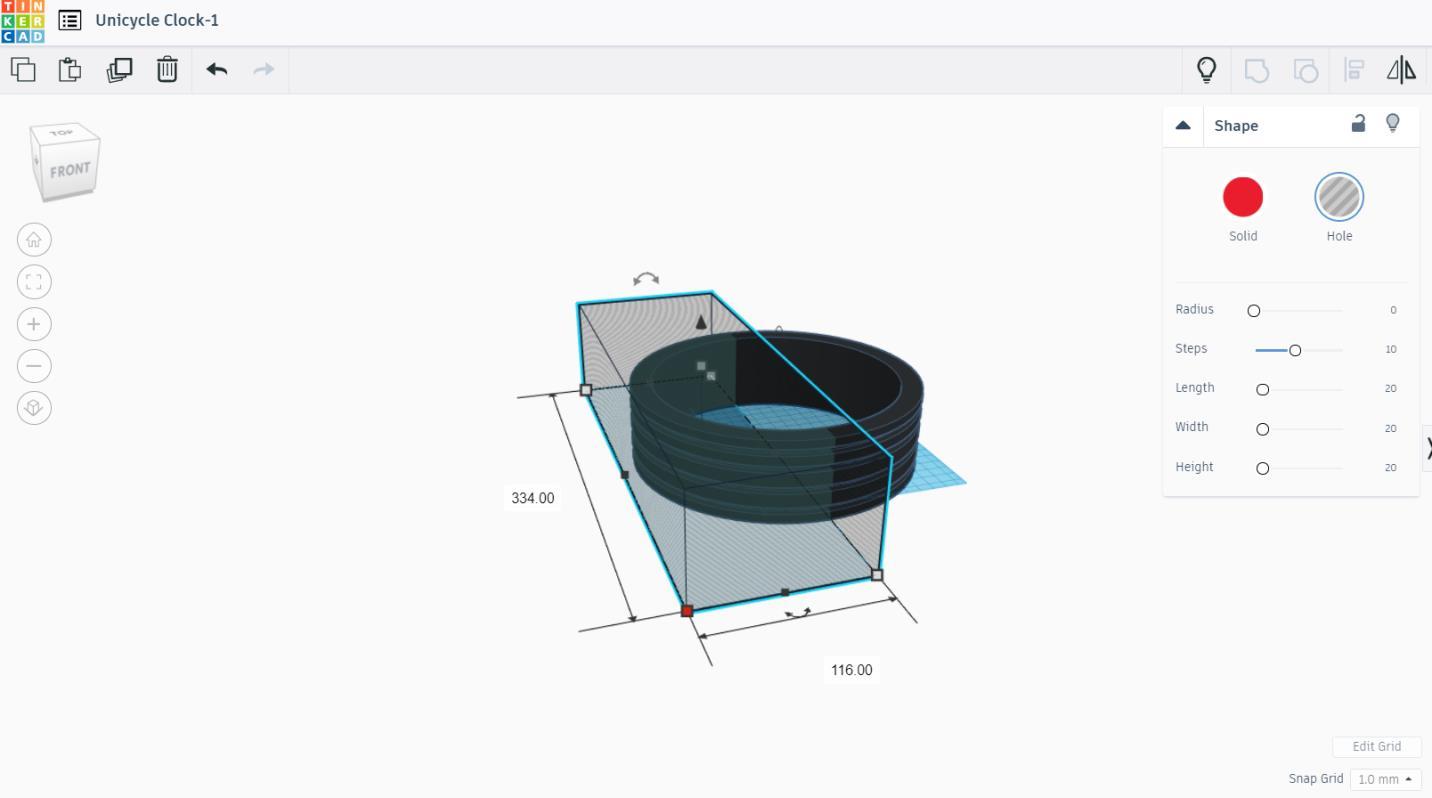
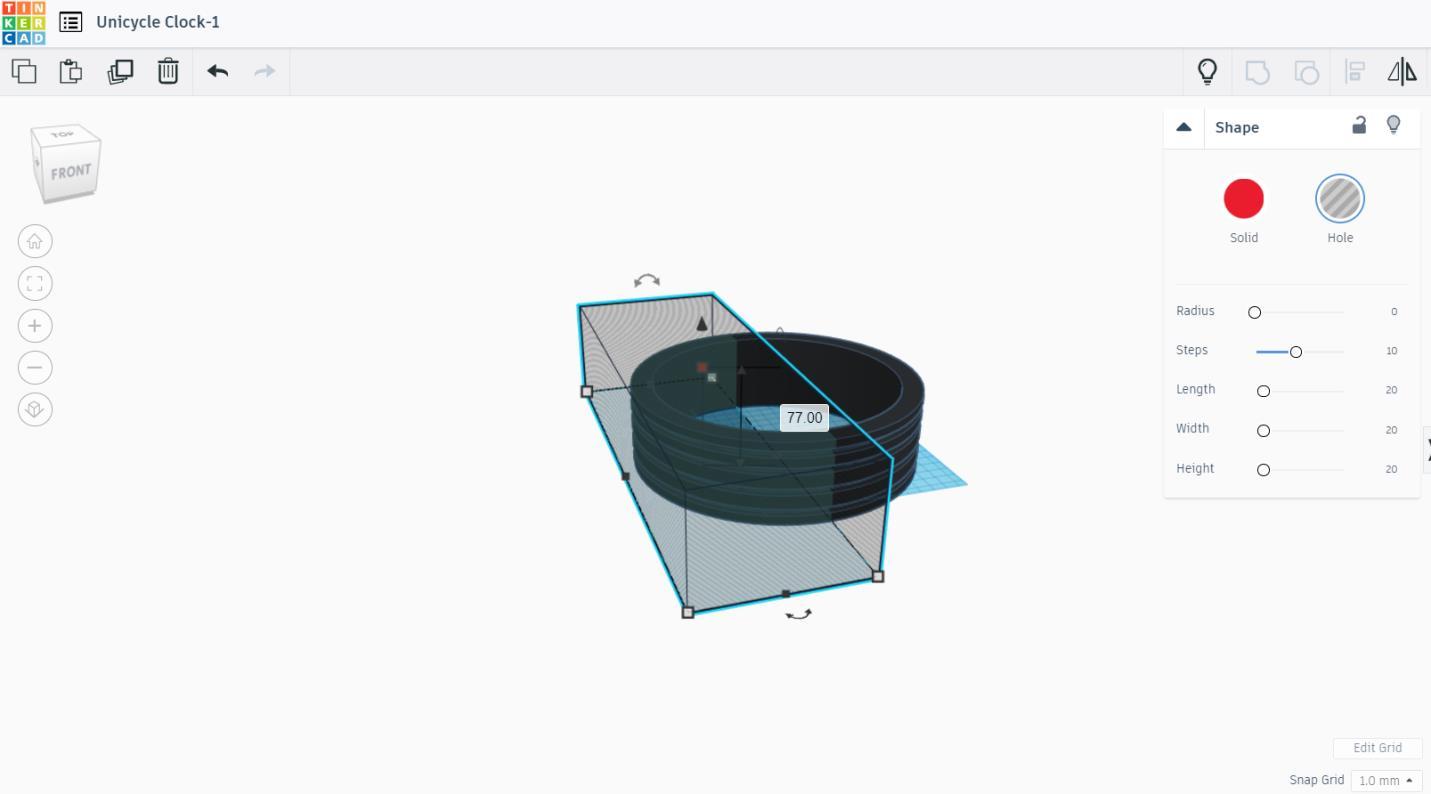
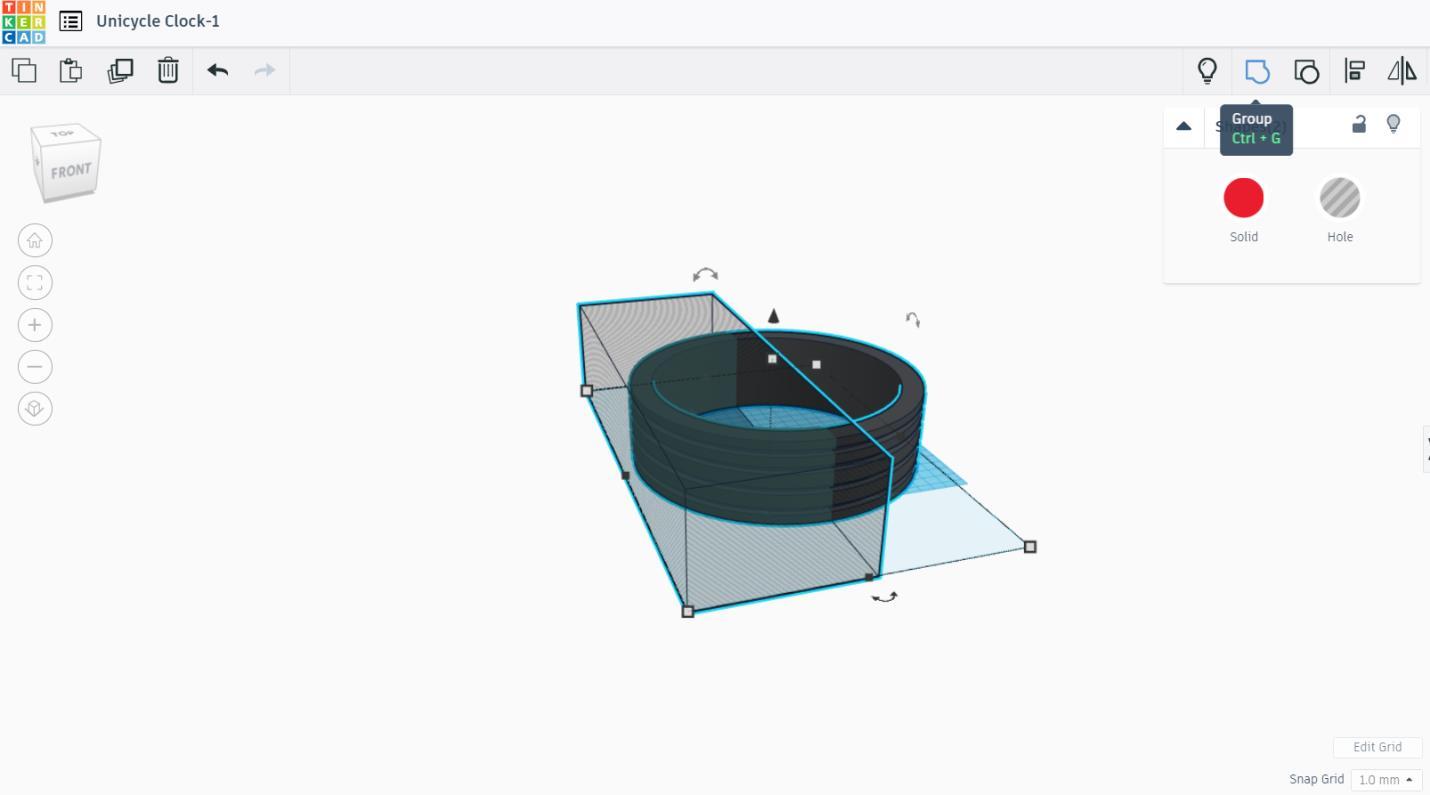
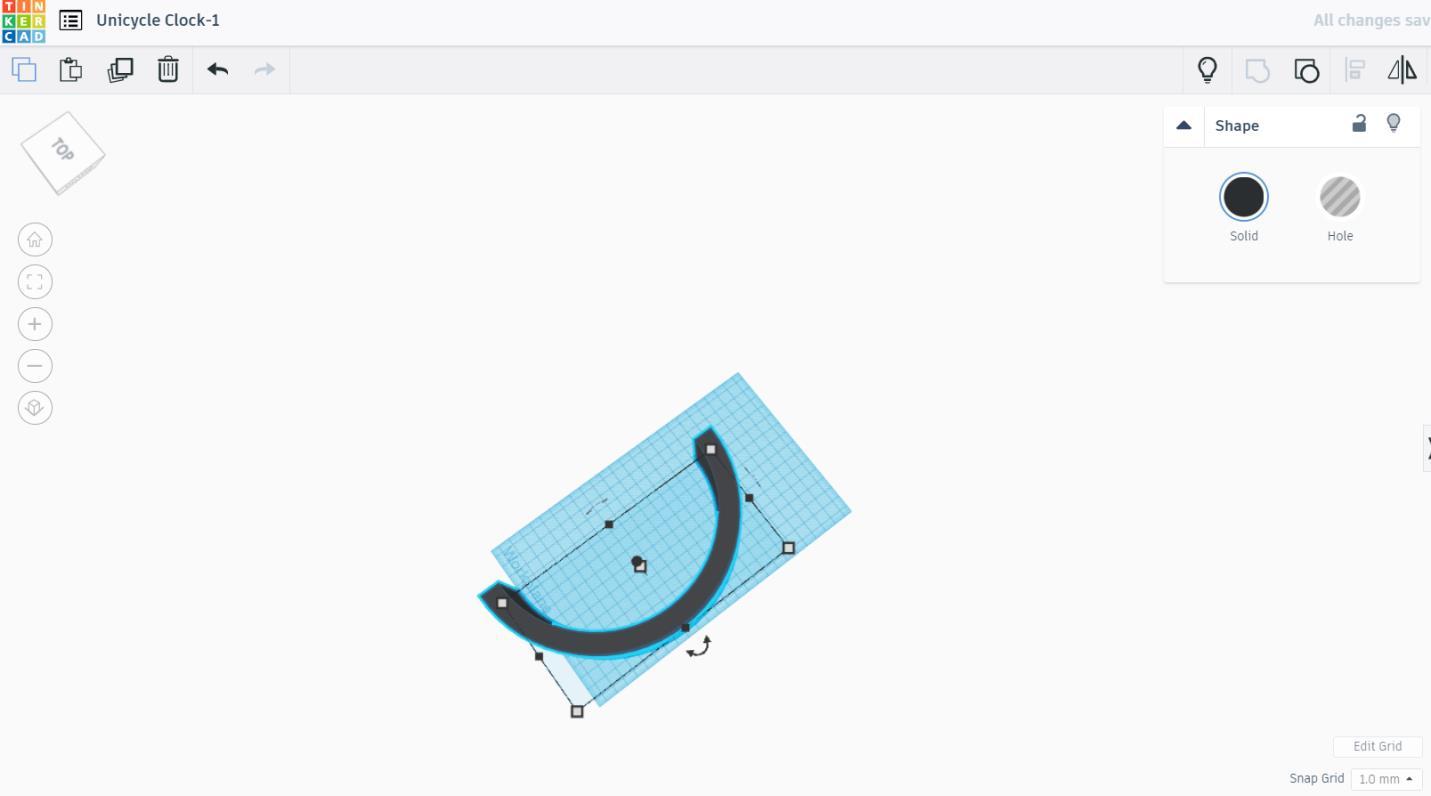
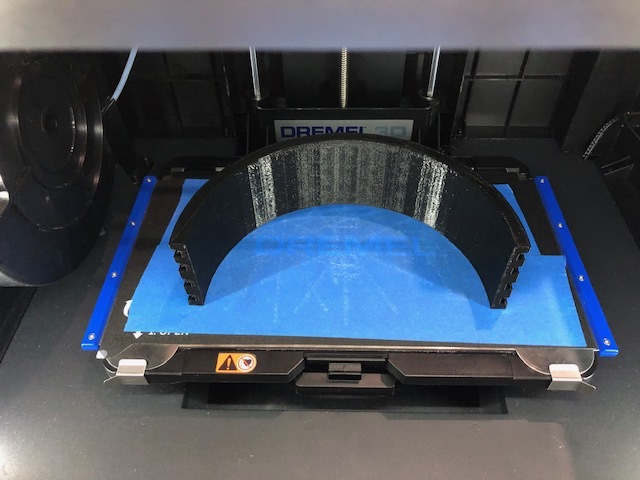
Since the tire is way too big to be printed, divide it into 2. Drag a box with the length of 334 mm, the width of 116 mm, and the height of 77mm and make a hole of it. Group them together. See the picture. Export to .stl file. Print it twice.
Seat Post
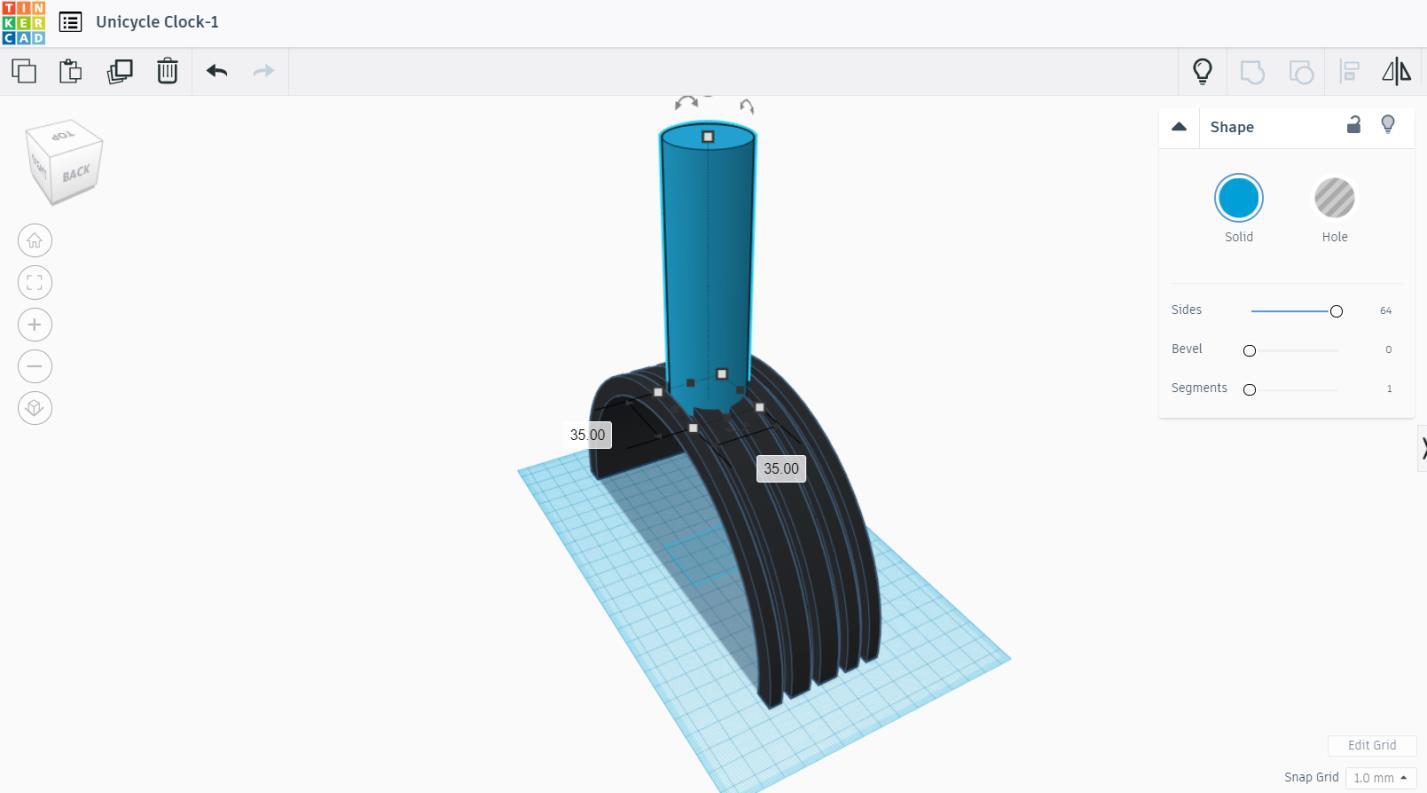
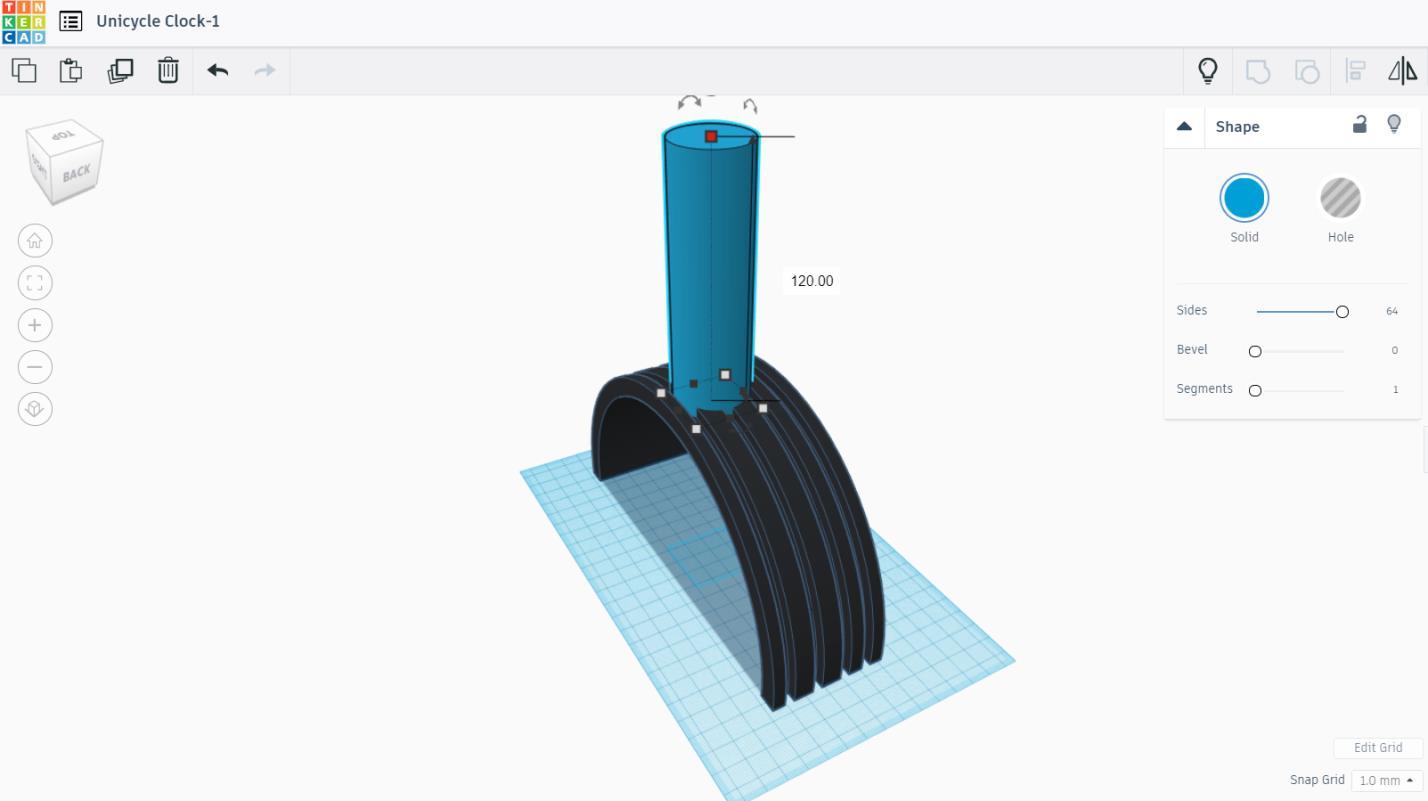
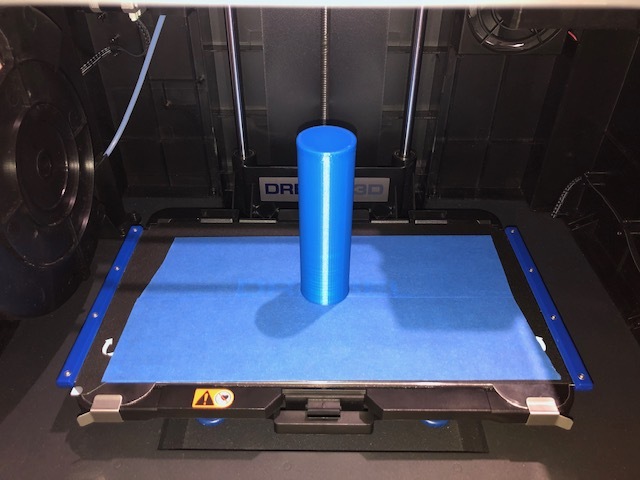
Drag a cylinder into the workplane. Scale it into the diameter of 35 mm and the height of 120 mm. Export to .stl file. Print it.
Seat
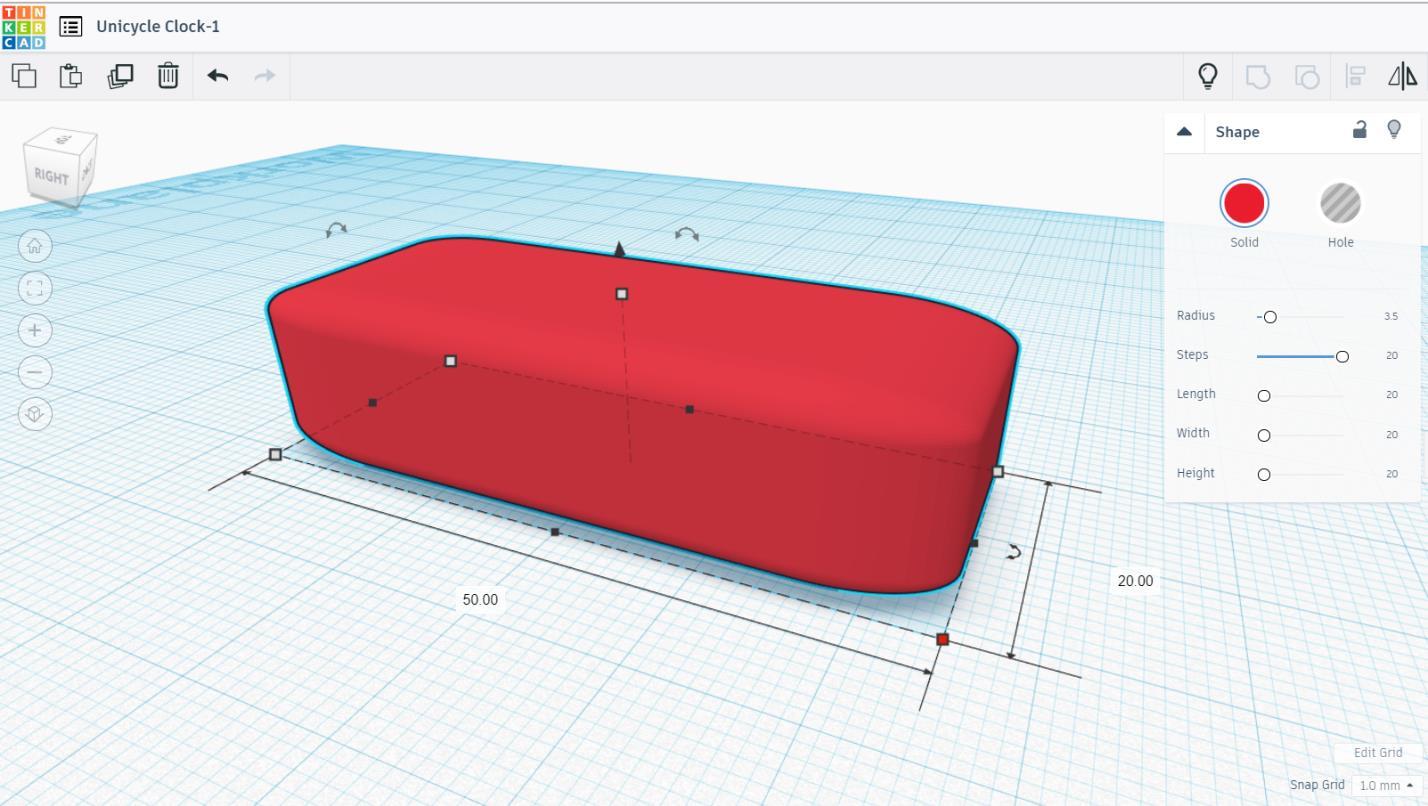
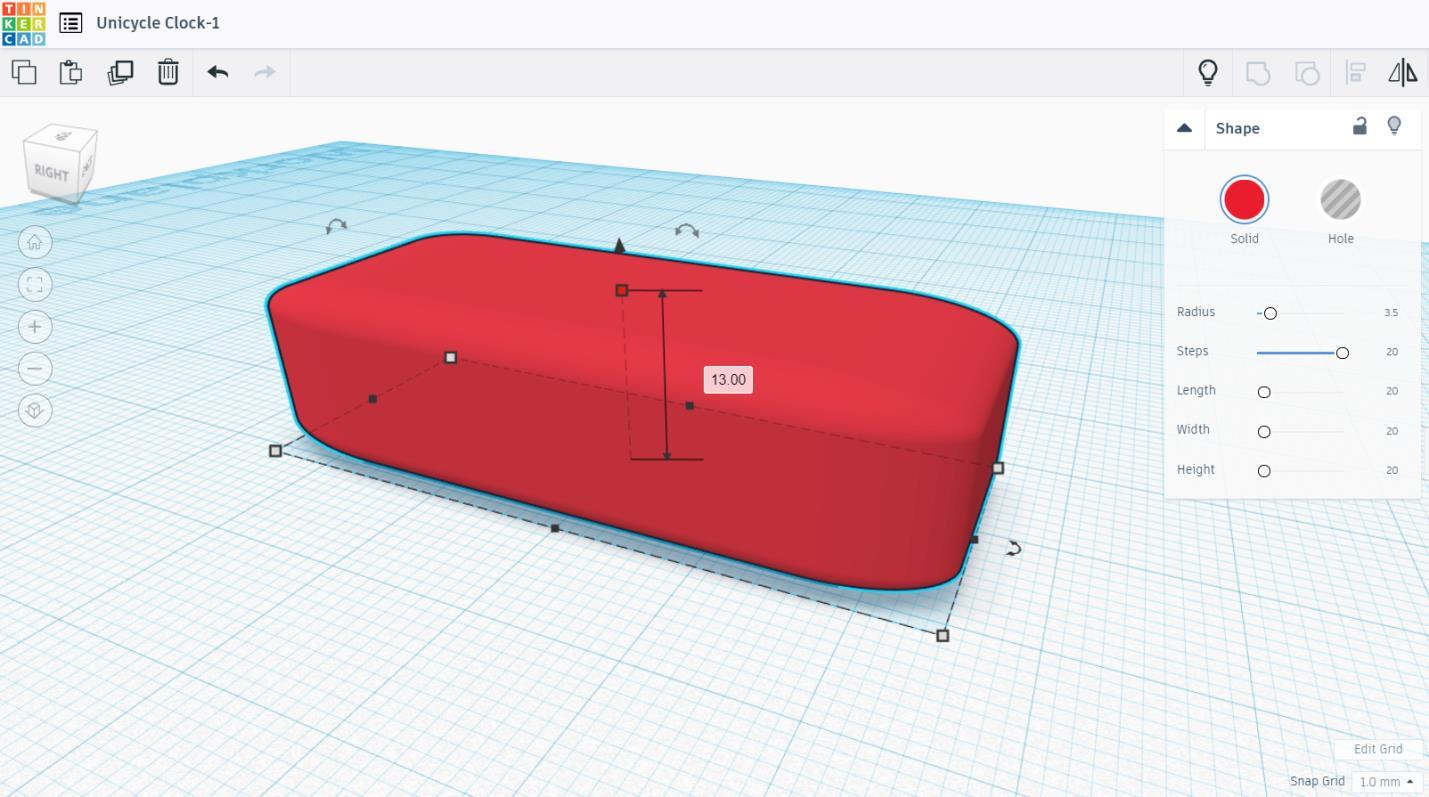
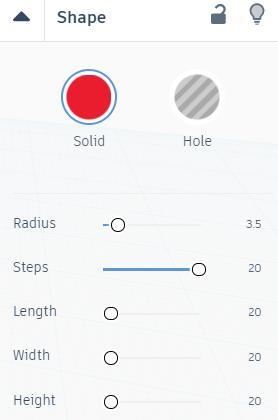
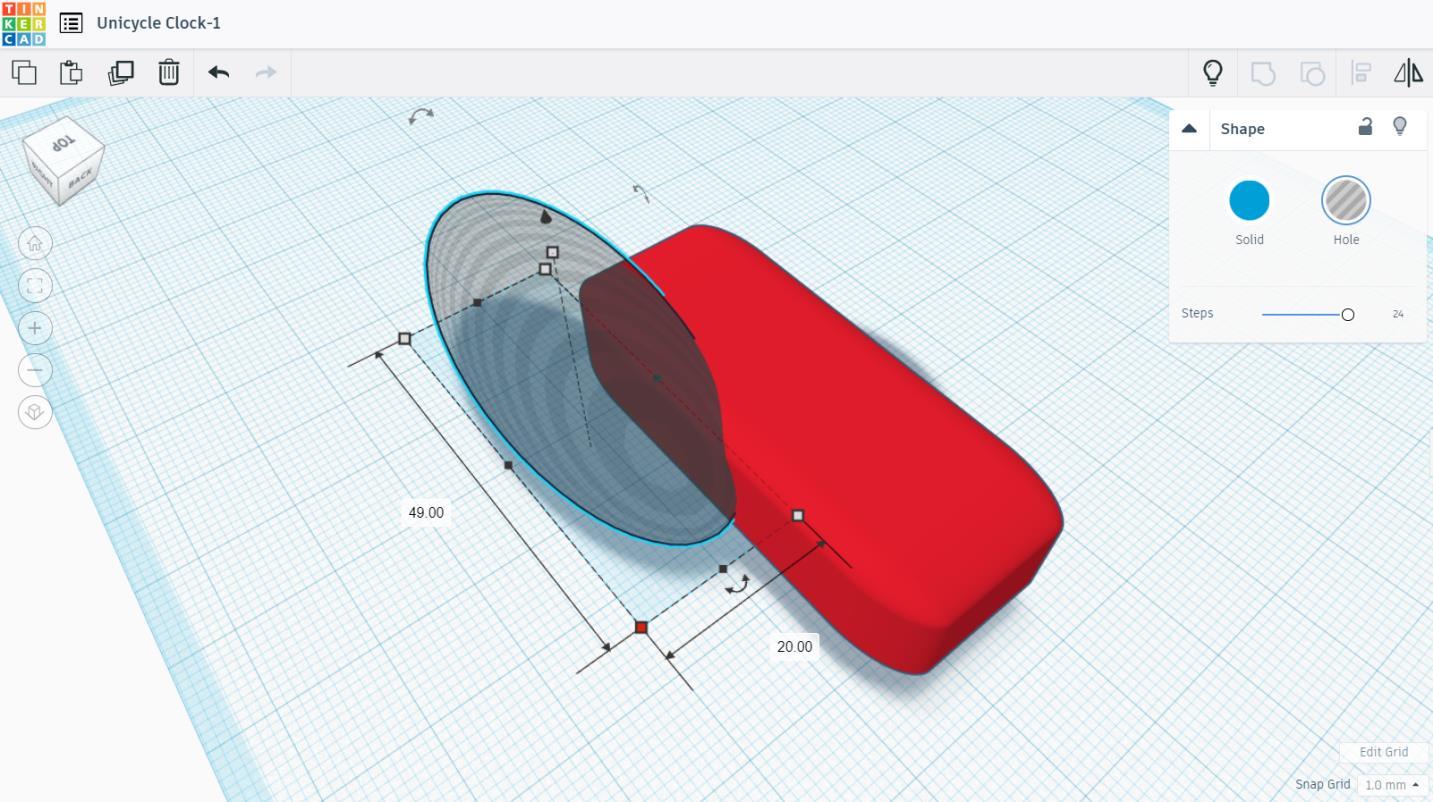
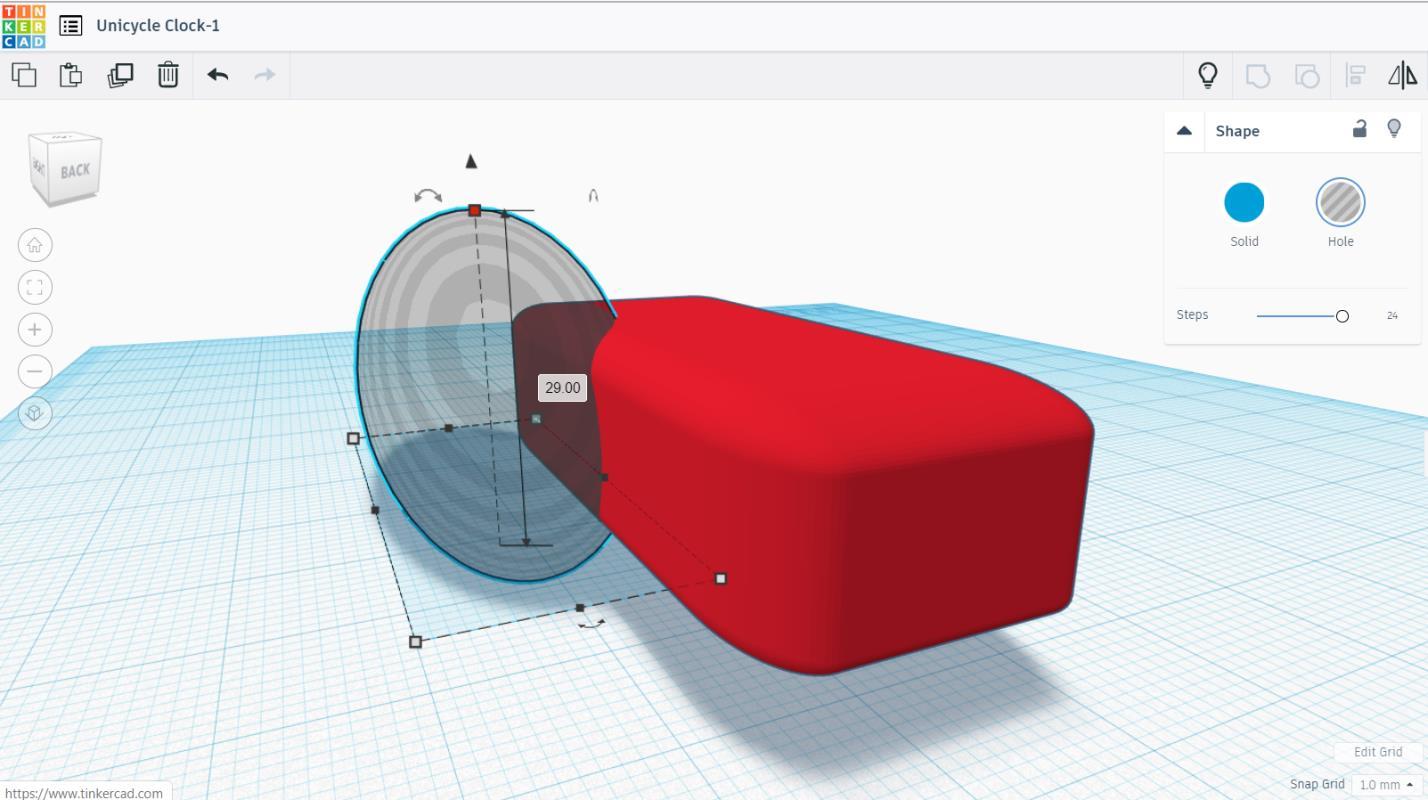
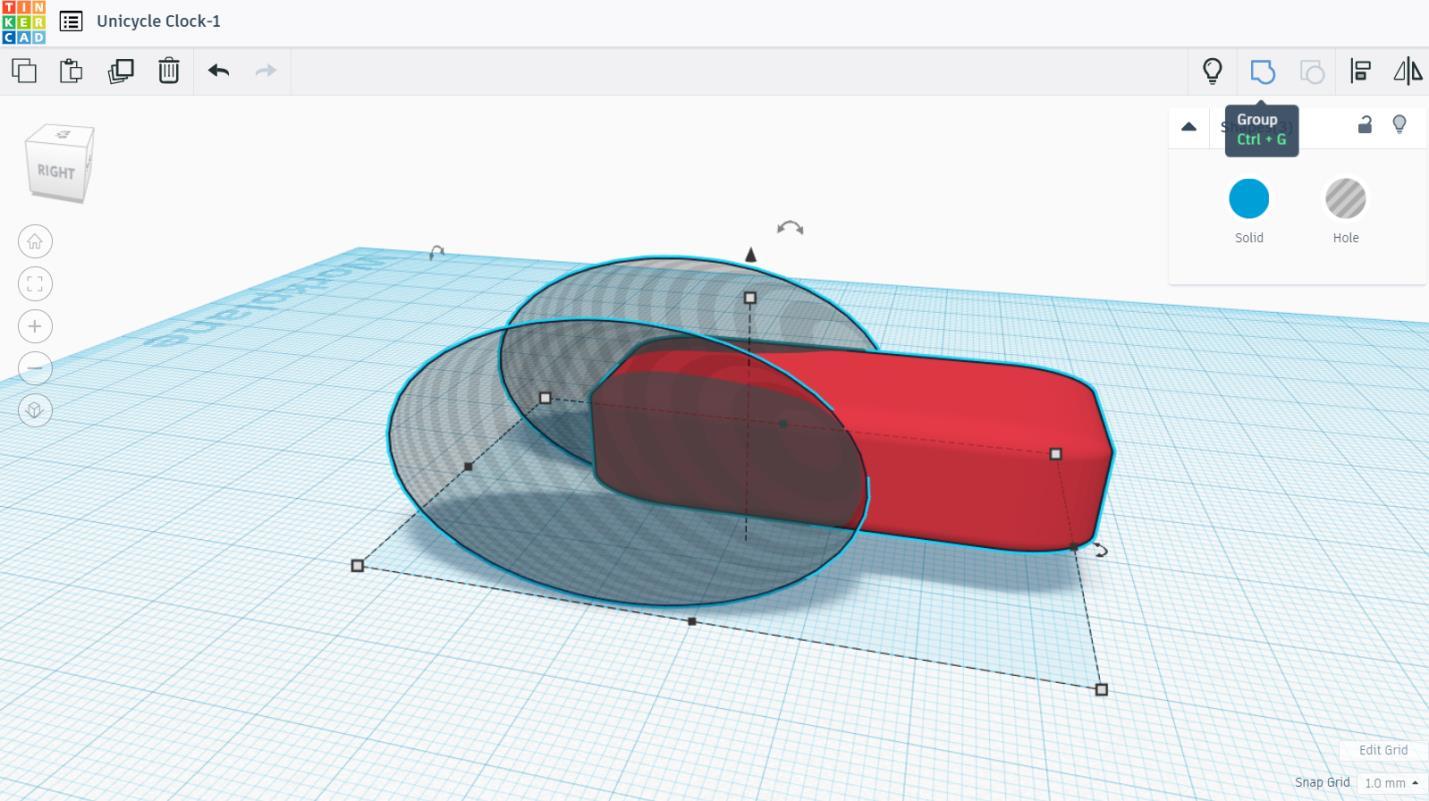
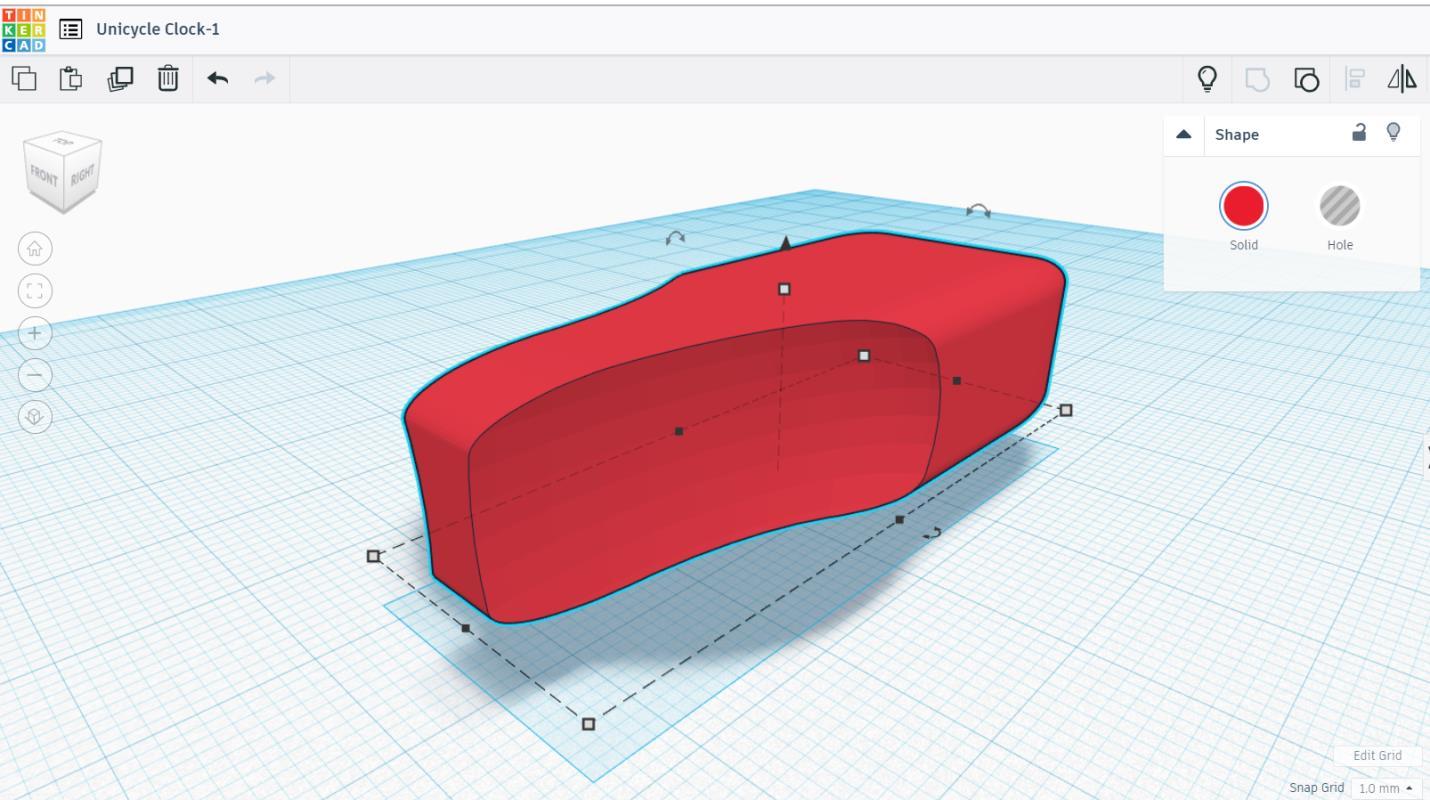
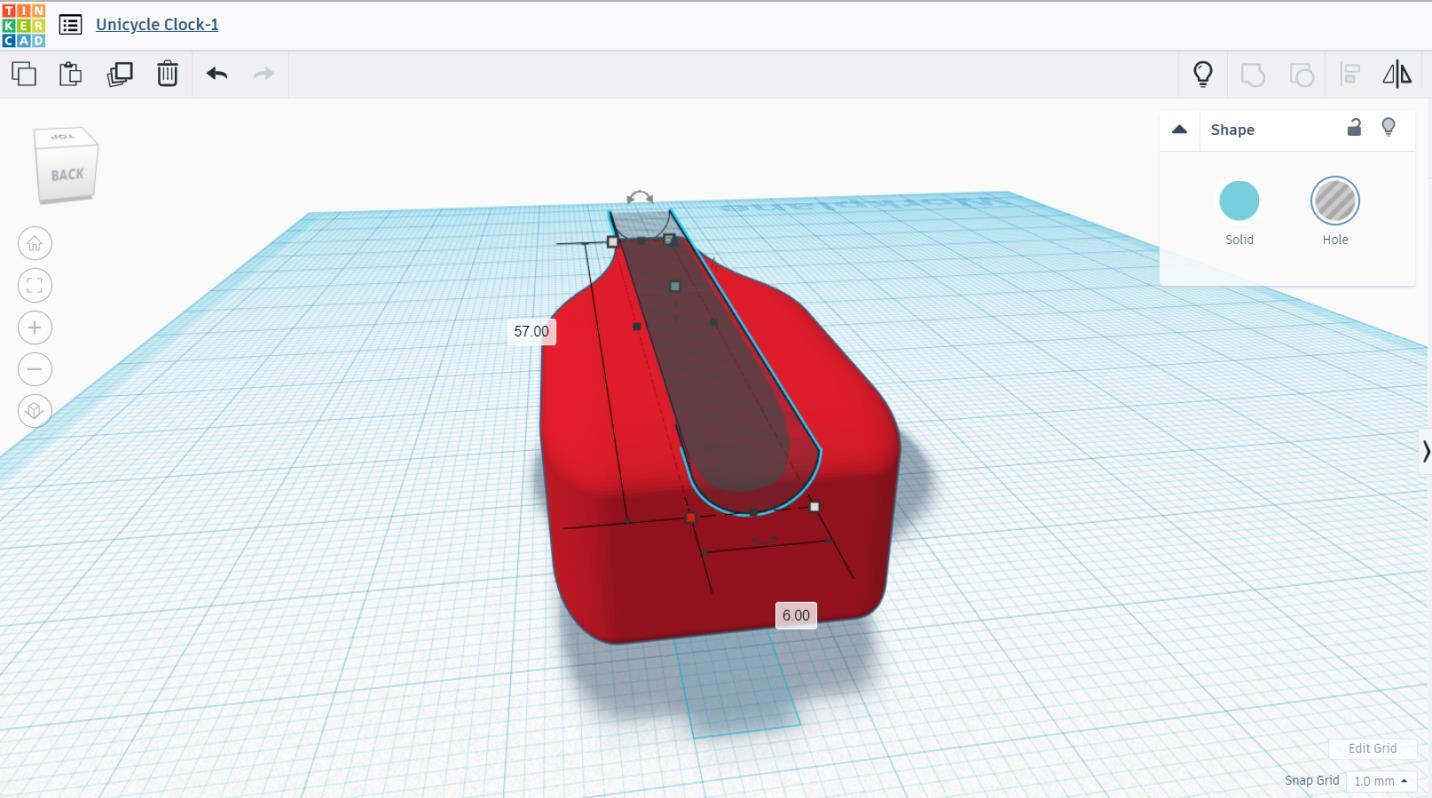
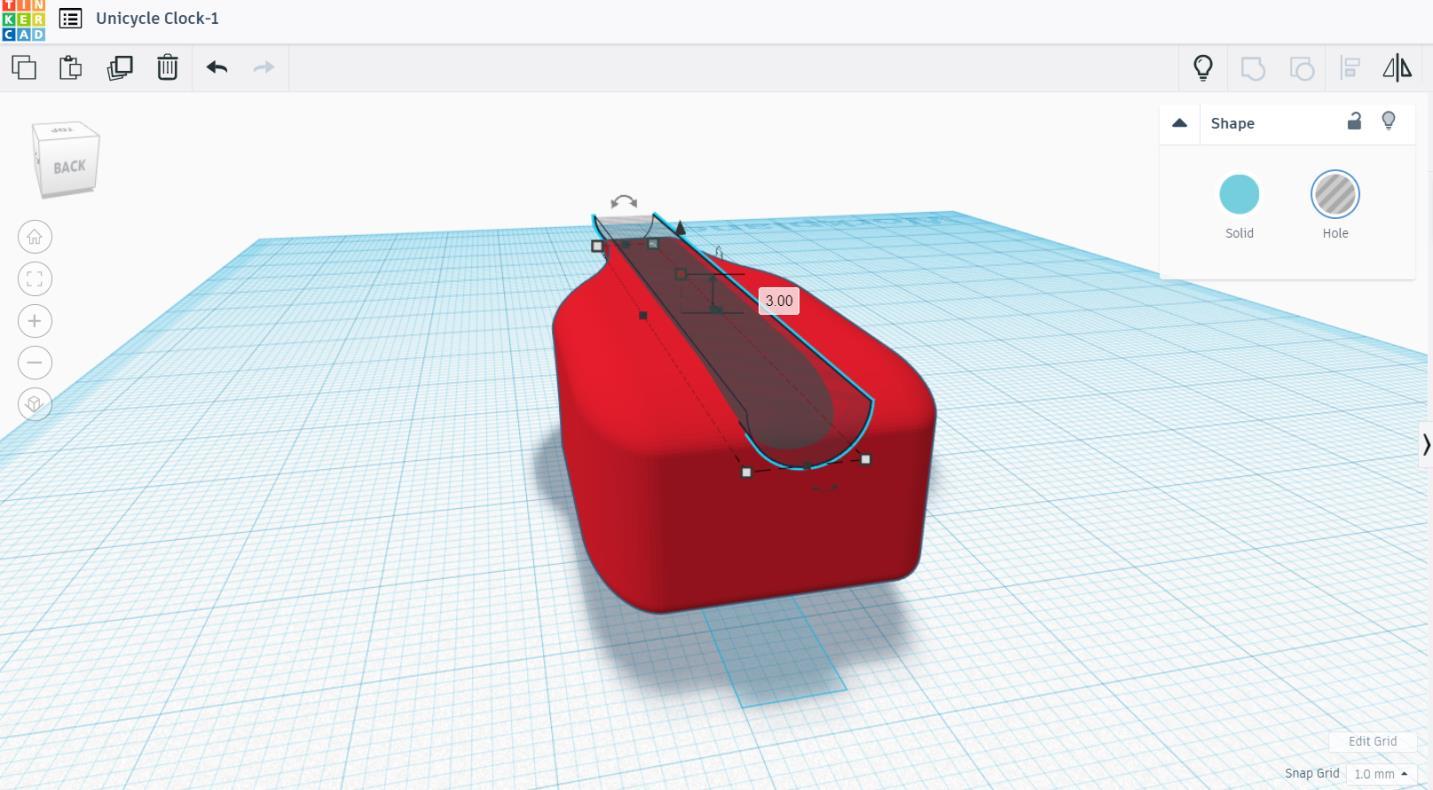
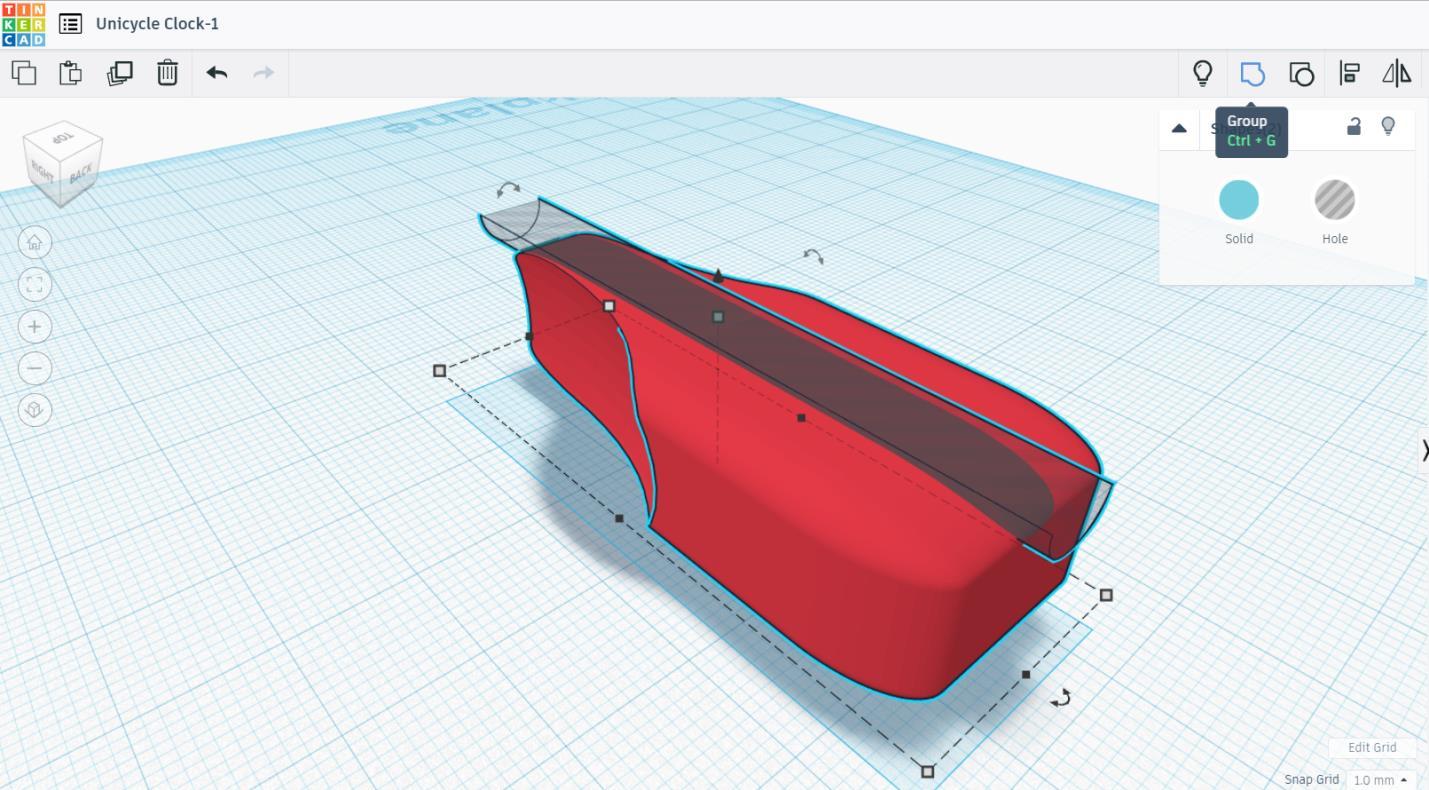
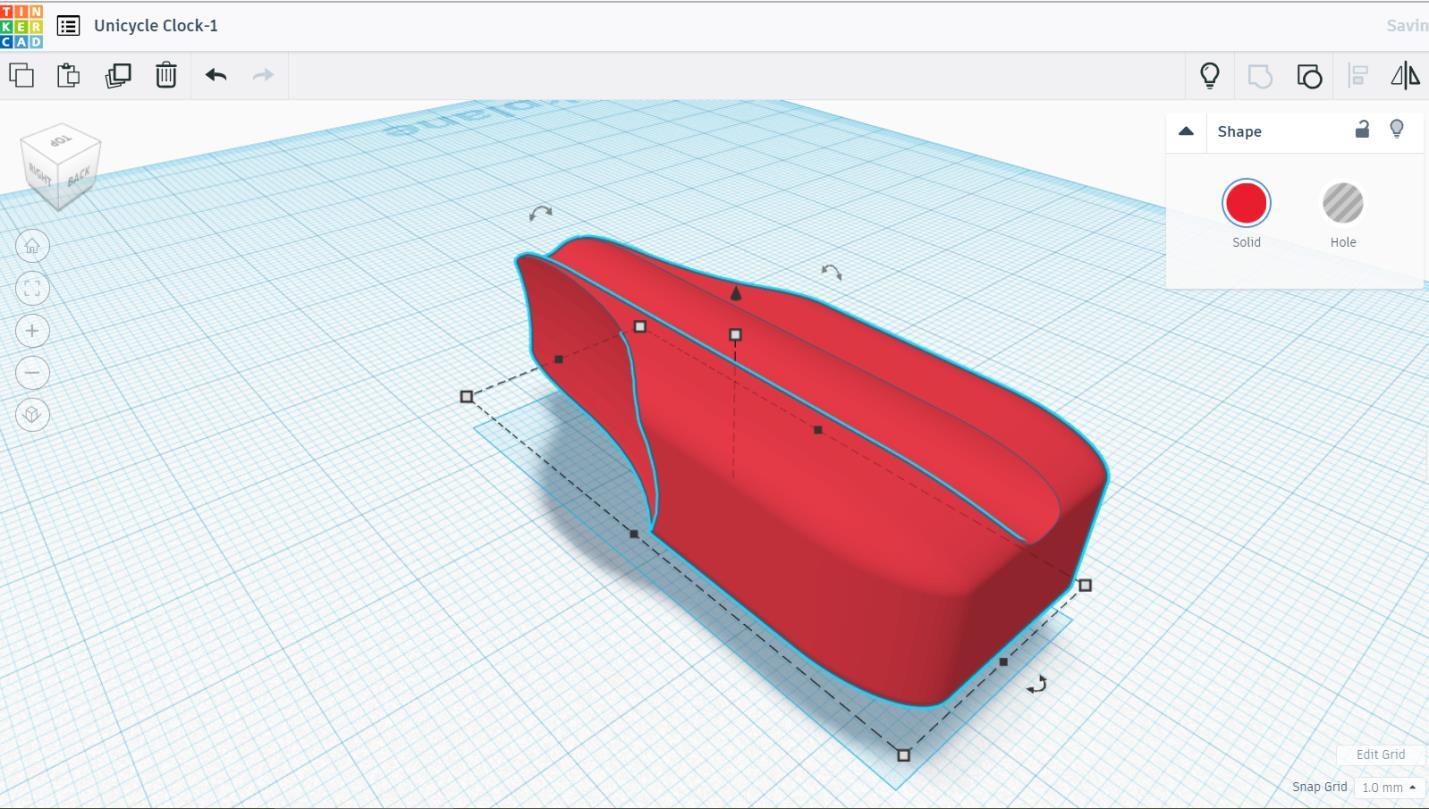
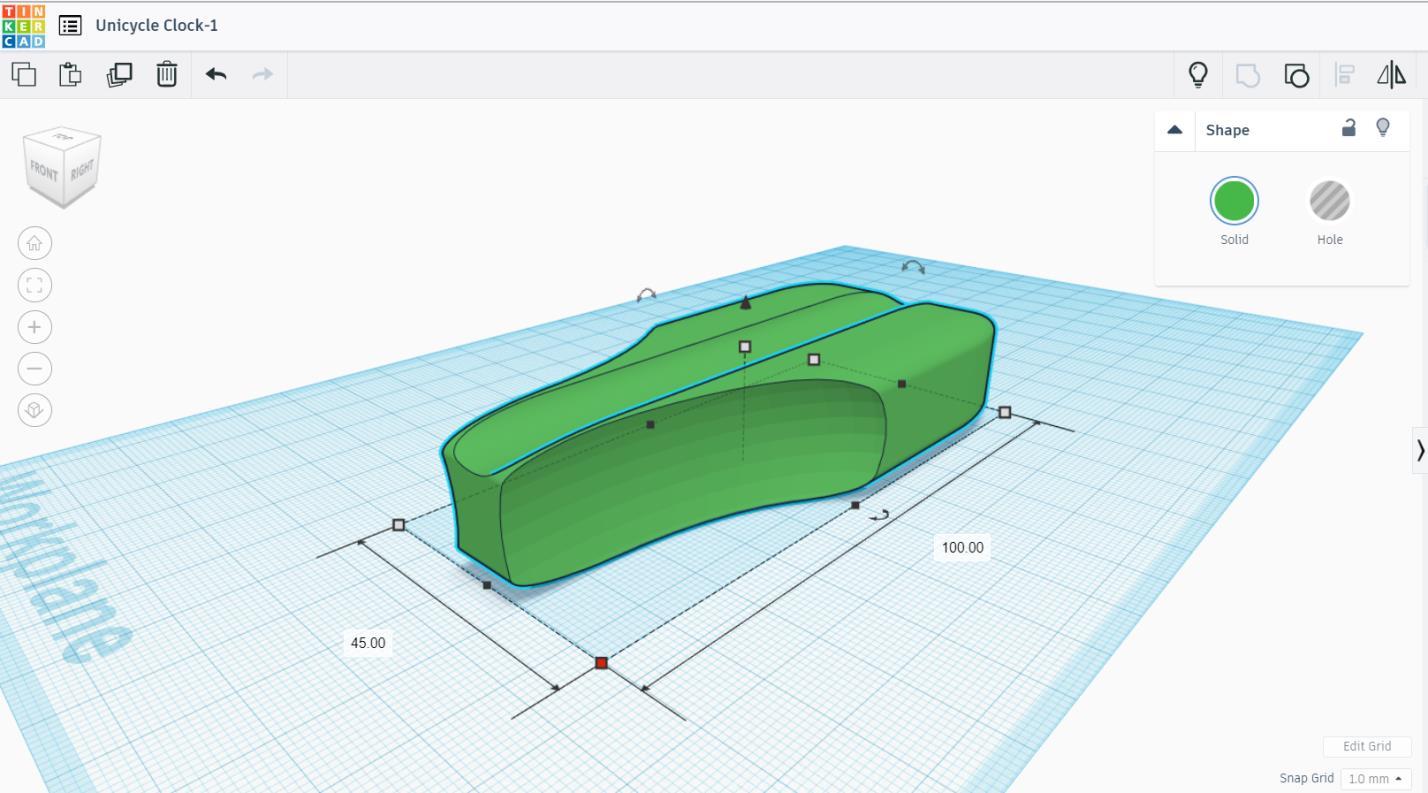
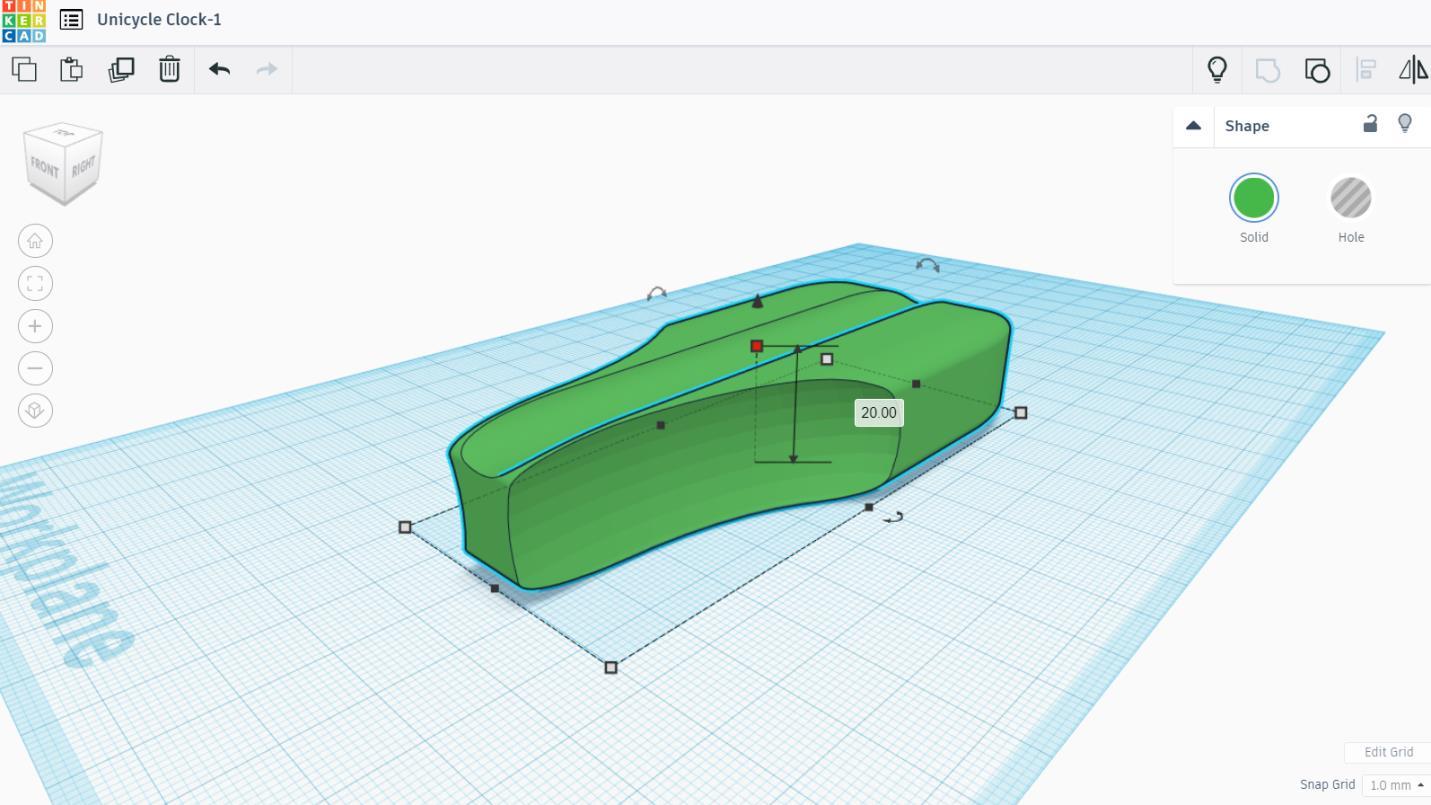
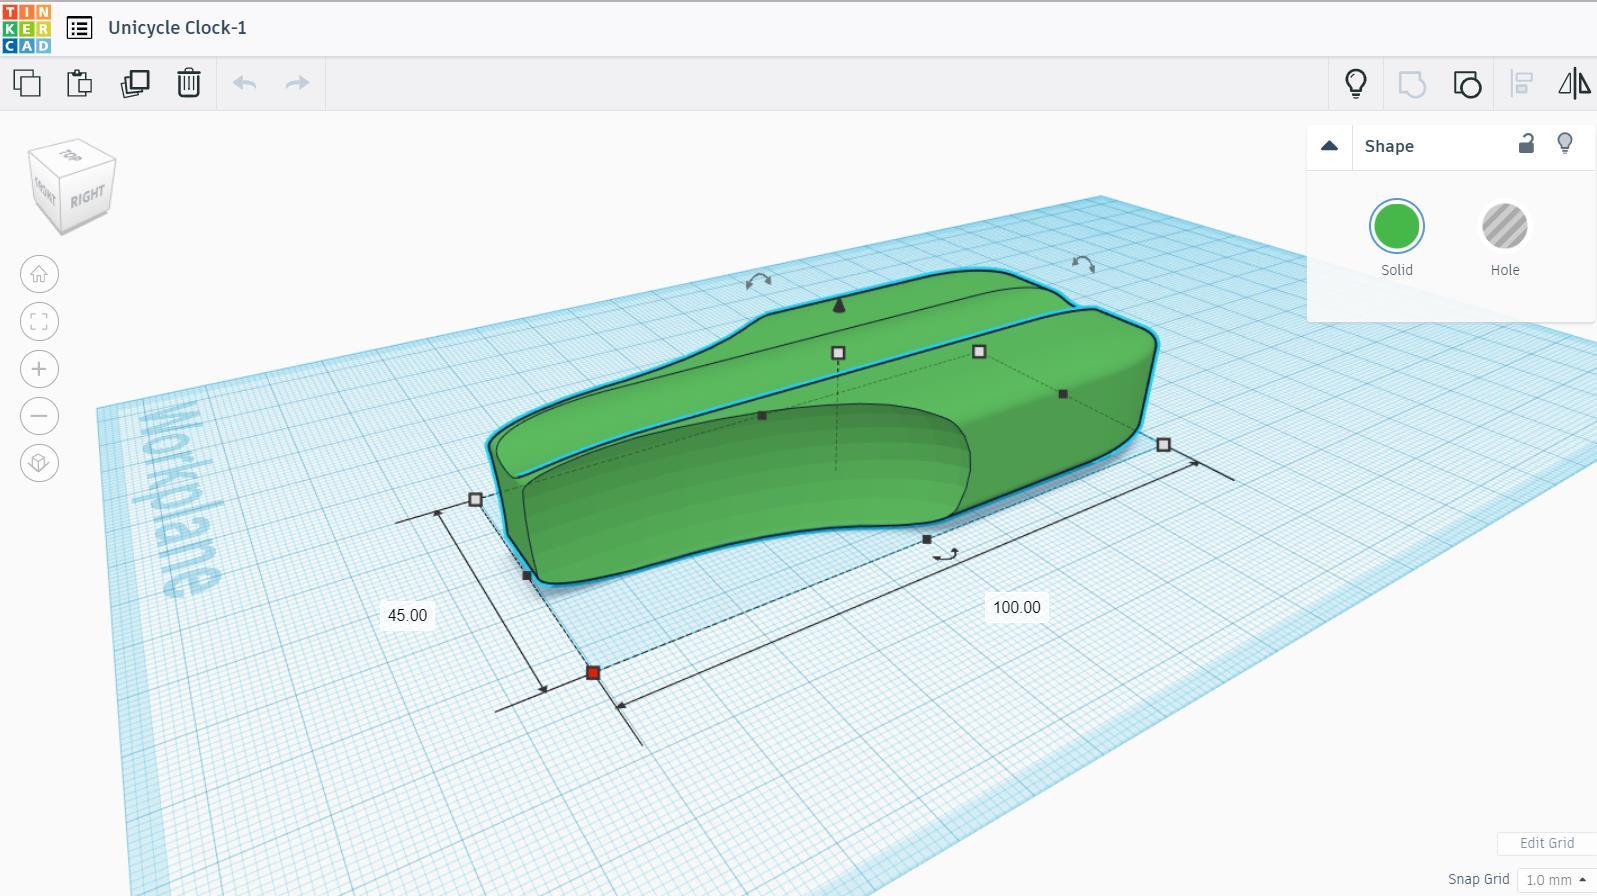
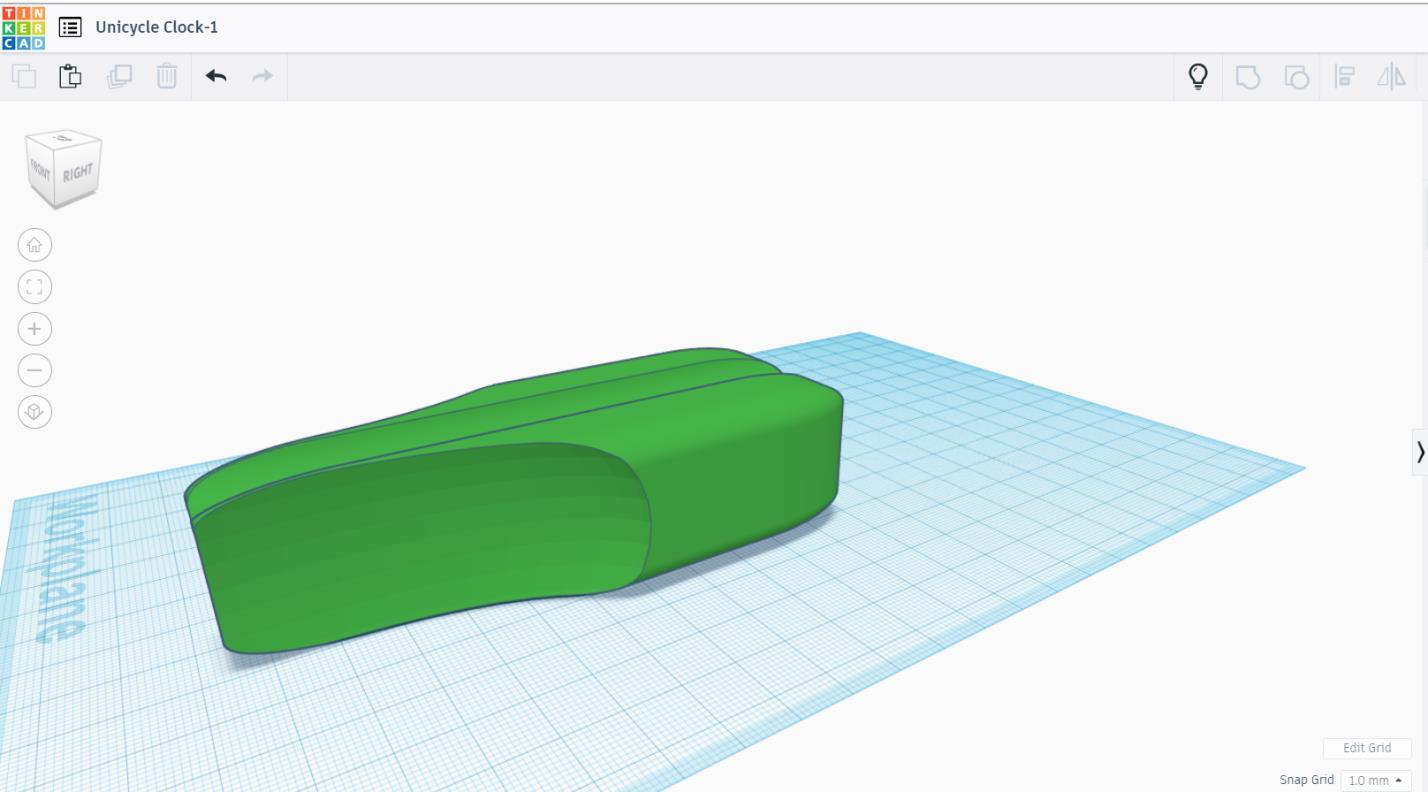
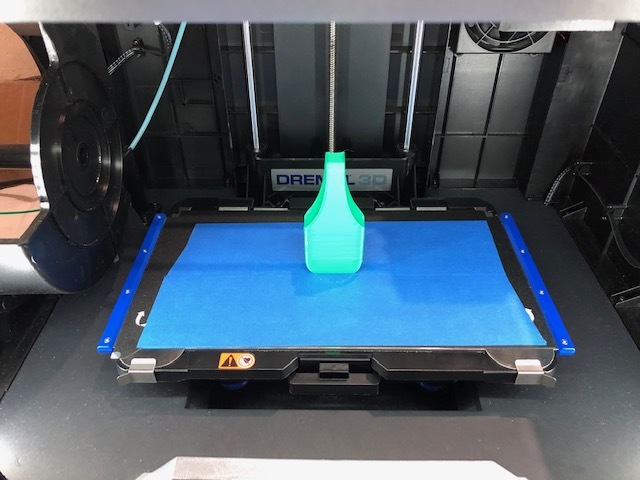
Make the seat by dragging a box. Make the radius of the box 3.5 in the shape generator. Scale it into the length of 50 mm, the width of 20 mm, and the height of 13 mm. Drag a sphere and scale it into the length of 49 mm, the width of 20 mm, and the height of 29 mm. Duplicate it into 2 spheres. Group them together. Drag a round roof and scale it into the length of 57 mm, the width of 6 mm, and the height of 3 mm. Group them together. See the picture for clarification. Choose any color you like. Scale the seat to 20 mm in height, the length of 100 mm, and the width of 45 mm. The default color of box in Tinkercad is red. At last, I change the color of the seat to green. Export to .stl file. Print it.
Assemble Pt. 1
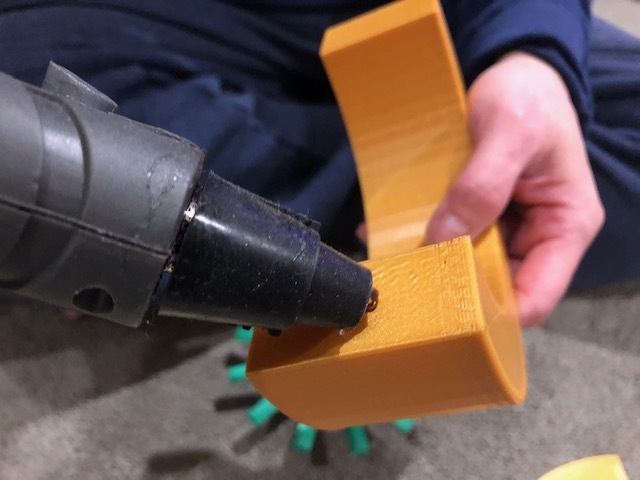
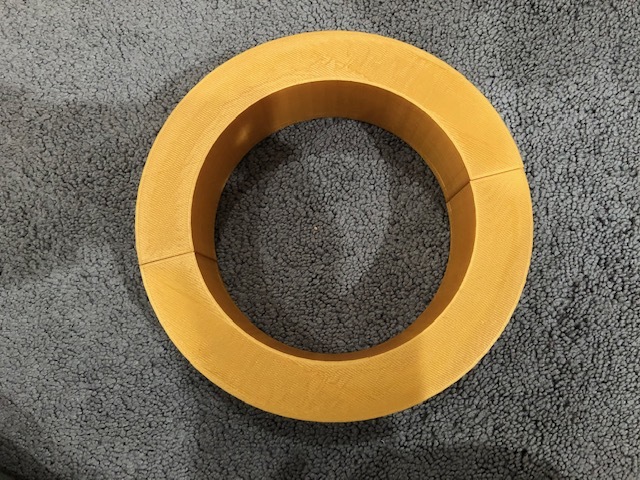
Assemble all parts of 3D printed object that you had printed previously. First, glue the rim together.
Assemble Pt. 2
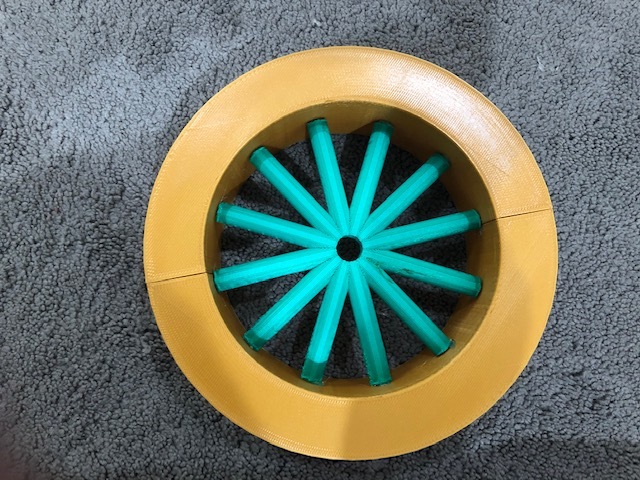
Glue the spoke to the rim.
Assemble Pt. 3
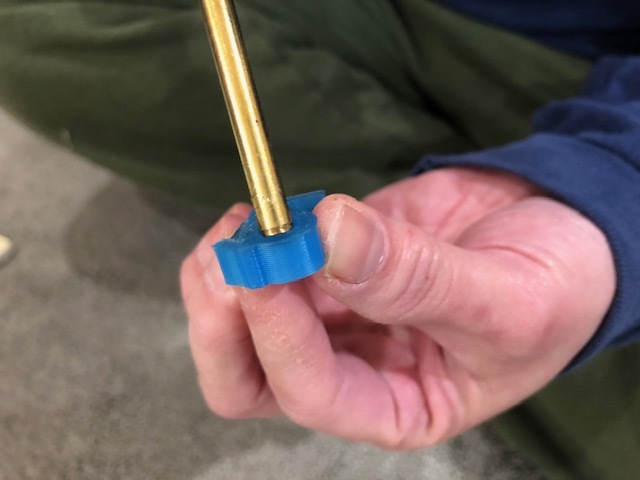
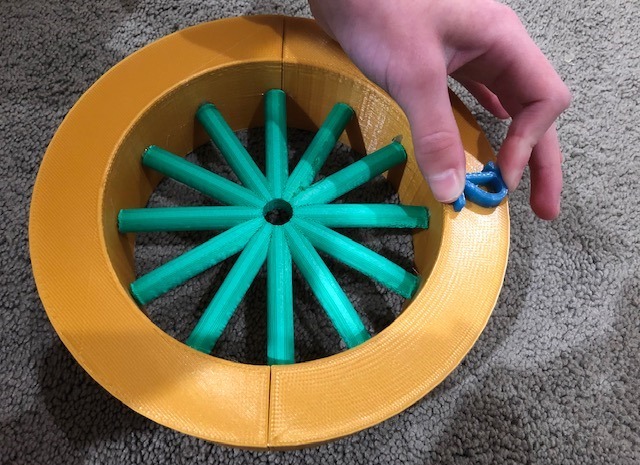
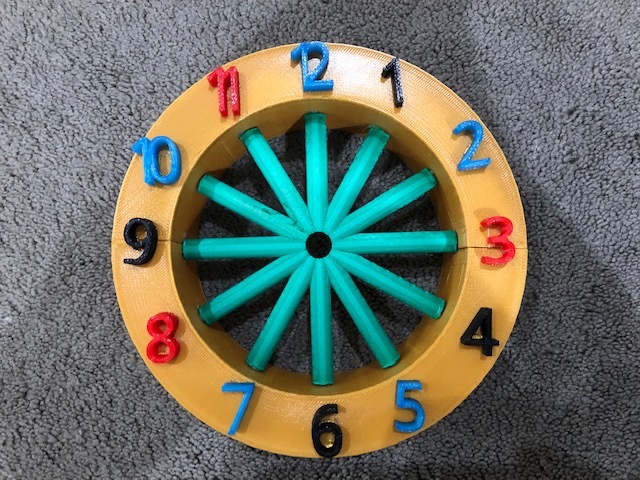
Glue all the numbers (1-12) one by one to the rim until the display of the numbers should be like in a clock. The numbers must in the position of the spoke. Also, assemble the tire together and glue the tire to the rim.
Clock Mechanism
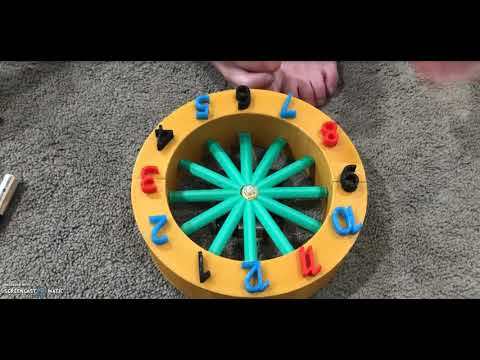
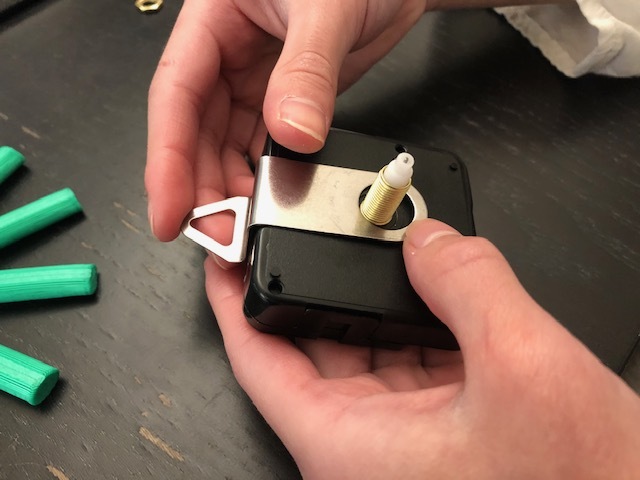
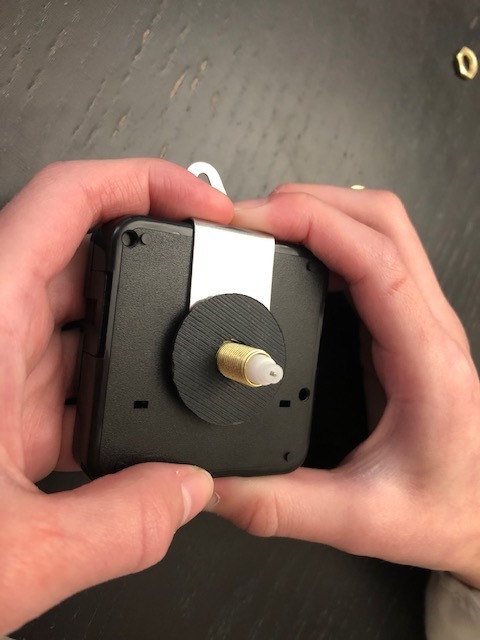
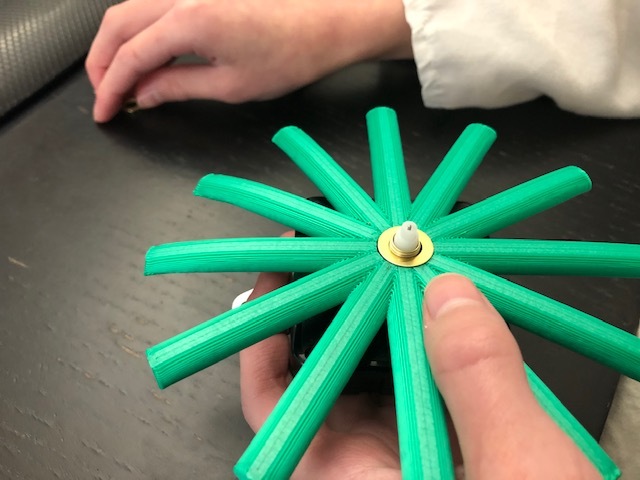
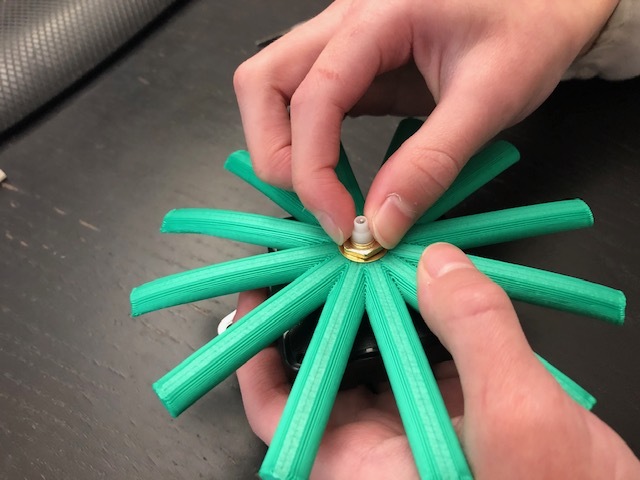
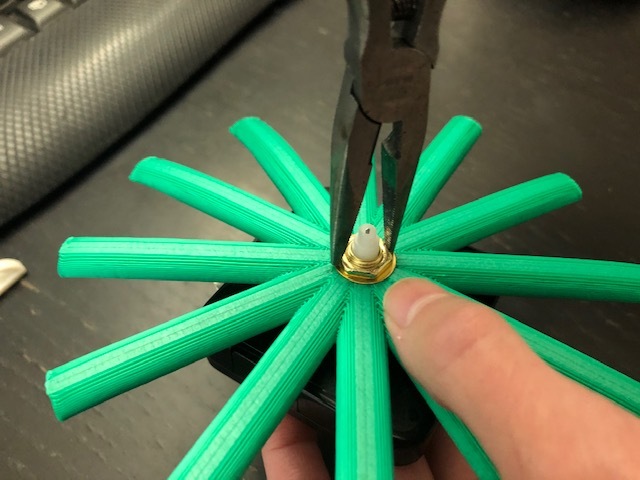
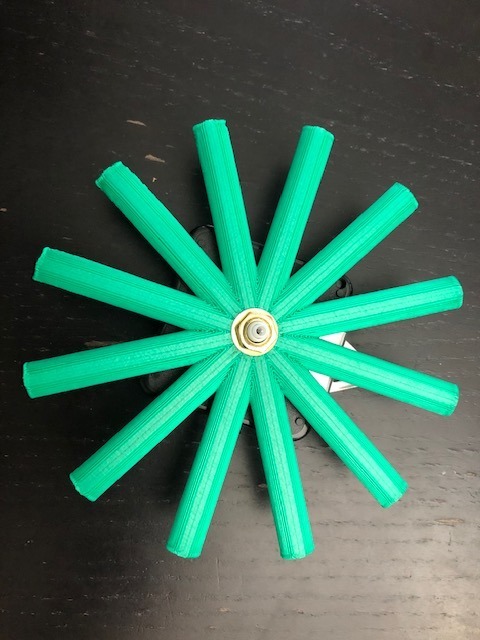
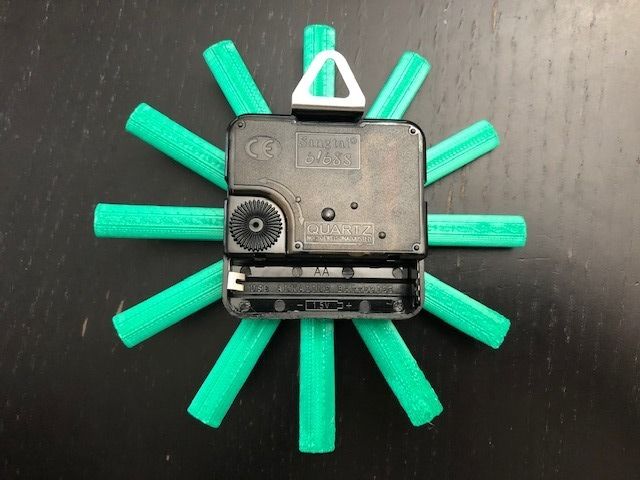
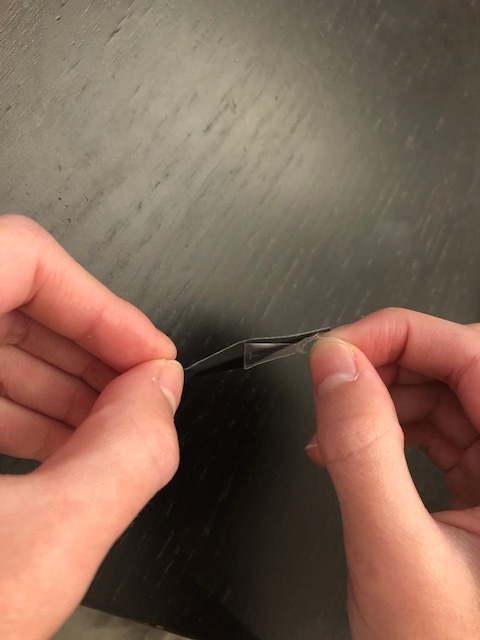
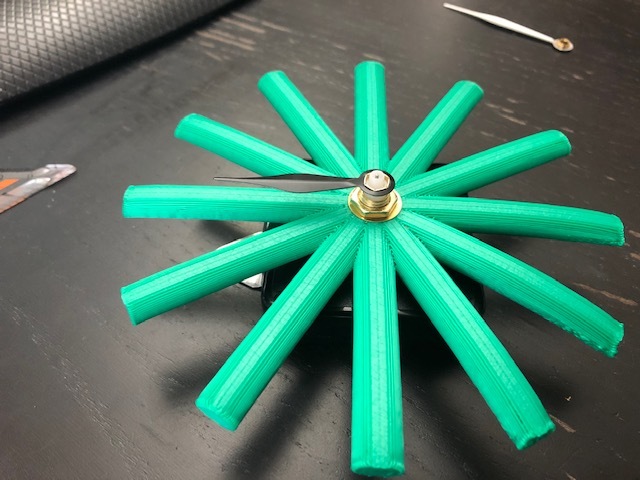
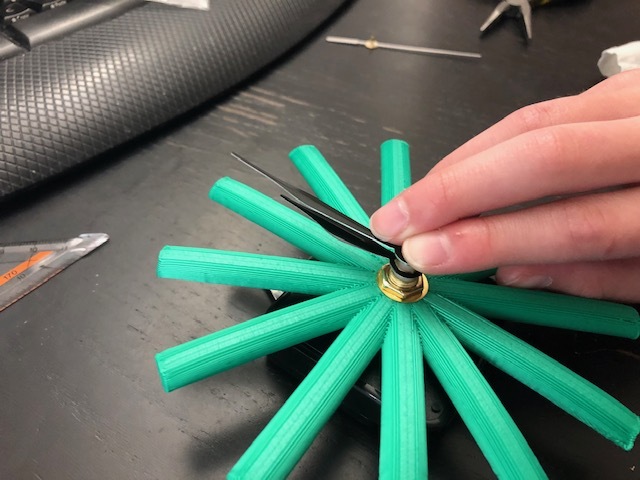
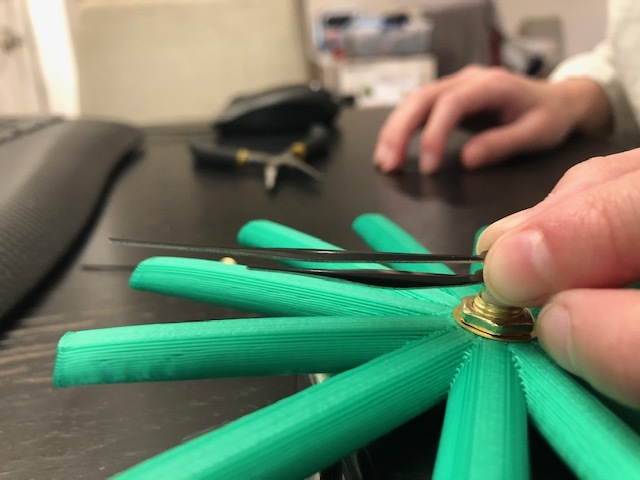
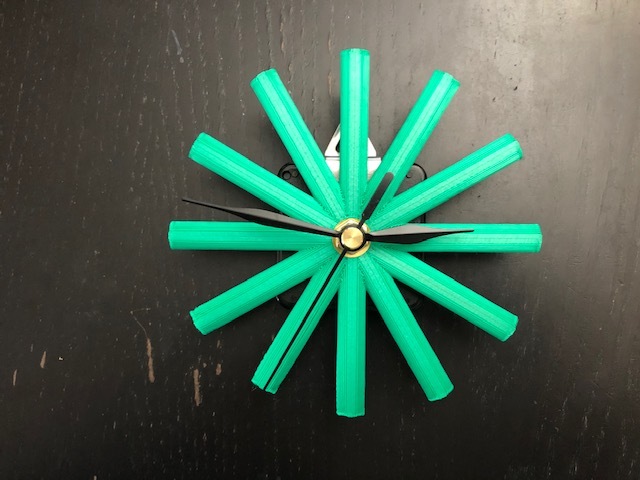
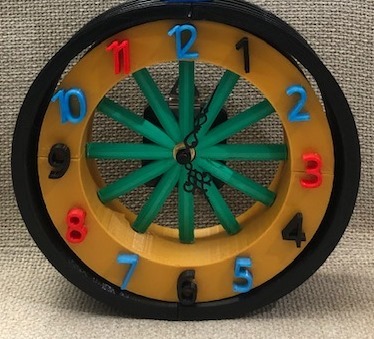
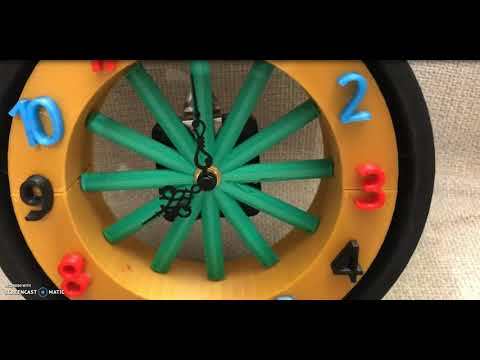
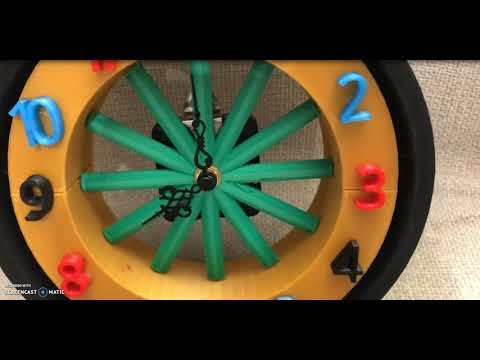
Install the clock mechanism to the spoke. First, insert the metal hook to the quartz. Then, put the quartz from the back of the spoke. Insert the washer to the quartz. Fasten the nut by using a plier. Install the hour hand, the minute hand, and second hand if any respectively. Note that the hands are all fragile, so make sure that you be careful not the break or bend them. Make sure that the hands are all parallel. If your clock is not parallel, it can collide into each other and cause the clock mechanism not work properly. (See video.)
I made another variation with other clock hands without second hand. Both work really well.
Assemble Pt. 4
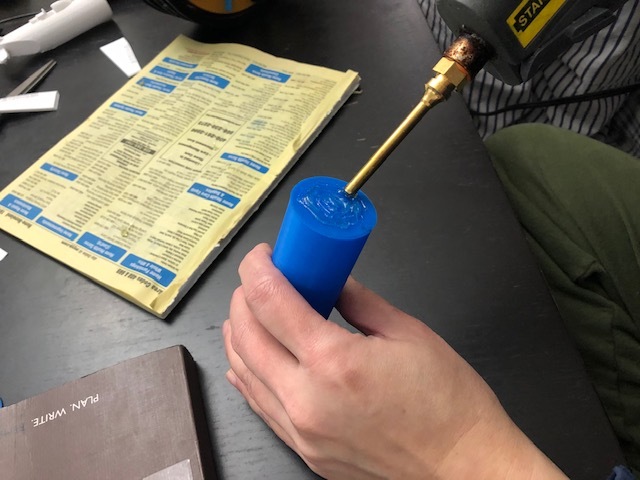
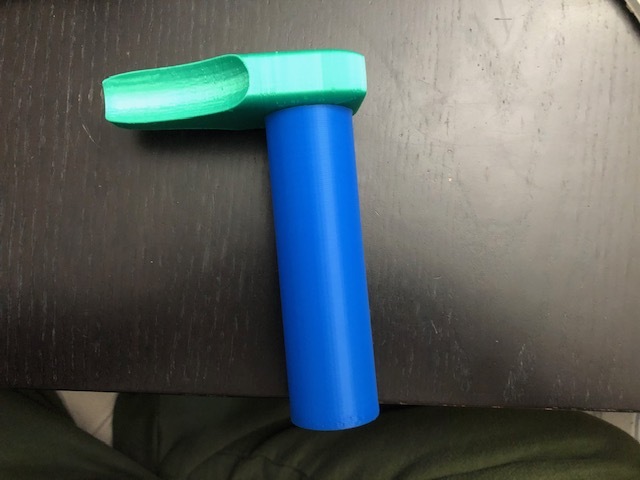
Glue the seat post and the seat together.
Assemble Pt. 5
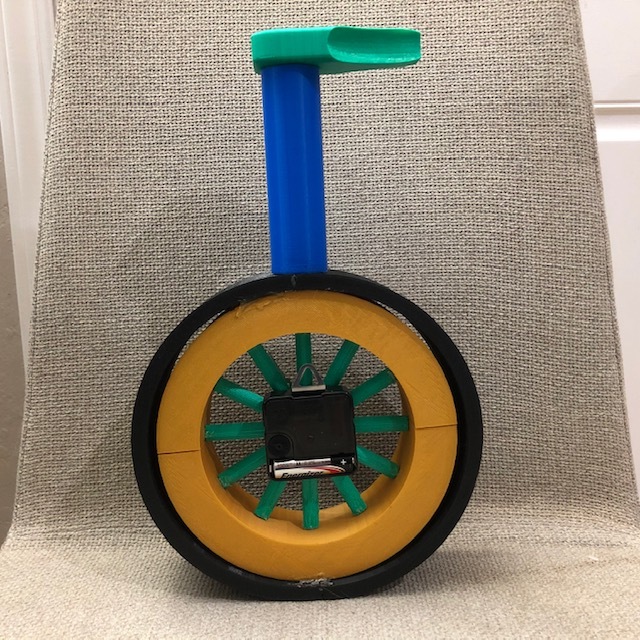
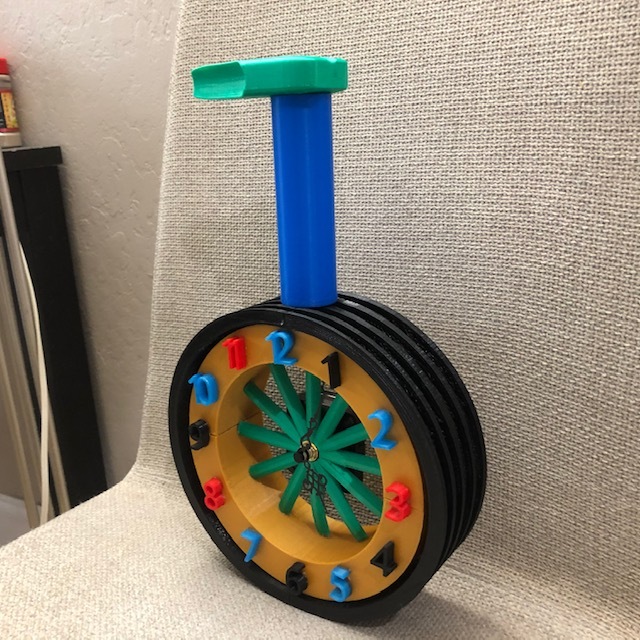
Glue the seat post and the seat to the tire.
Finished!
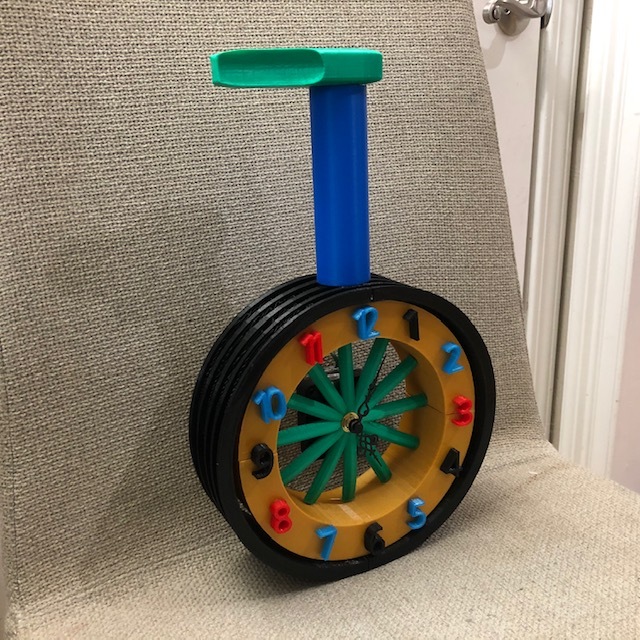
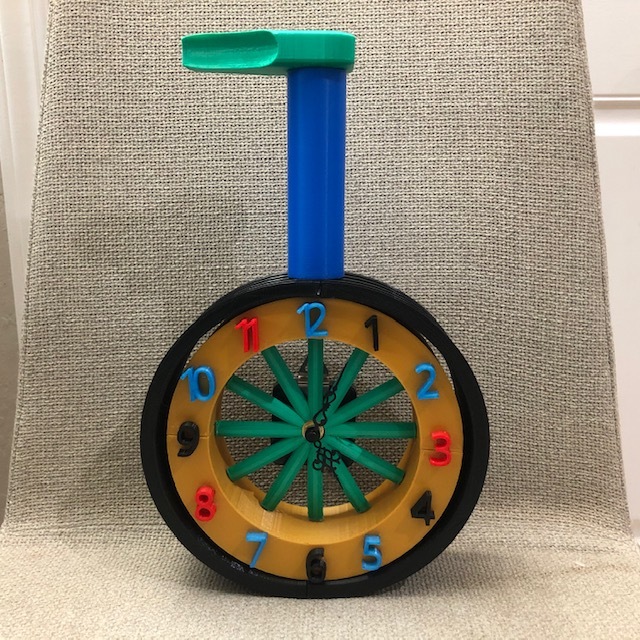
It is finished! Now enjoy the clock as time pass by!
Thank you so much for making this!
See you with other inspiration!
For more project ideas, click: 3dPrintingCenter