Underwater Tiny Home!
by owen_the_greenbean in Design > 3D Design
536 Views, 4 Favorites, 0 Comments
Underwater Tiny Home!

I have created an underwater home that uses recycled oil tanks as the structure and it has three rooms. There is a bedroom with a queen sized bed a small kitchen and a bathroom. The structure use much of the space and has a unique living concept. I created a fly through animation to show the interior along with renders to simulate what it might look like under water.
Supplies
For this project I used Fusion 360! In Fusion 360 I used the Designing, Rendering, and Animation features.
Inspiration

First before starting the project I was inspired by homes that are built out of retired shipping containers but wanted to try something similar to this approach. I choose the unique shape and dimensions of an oil tanker. When imagining where the shape could be it reminded me of a submarine and how submarines must make use of the small spaces. From here I wanted to make an underwater home!
Modeling the Frame

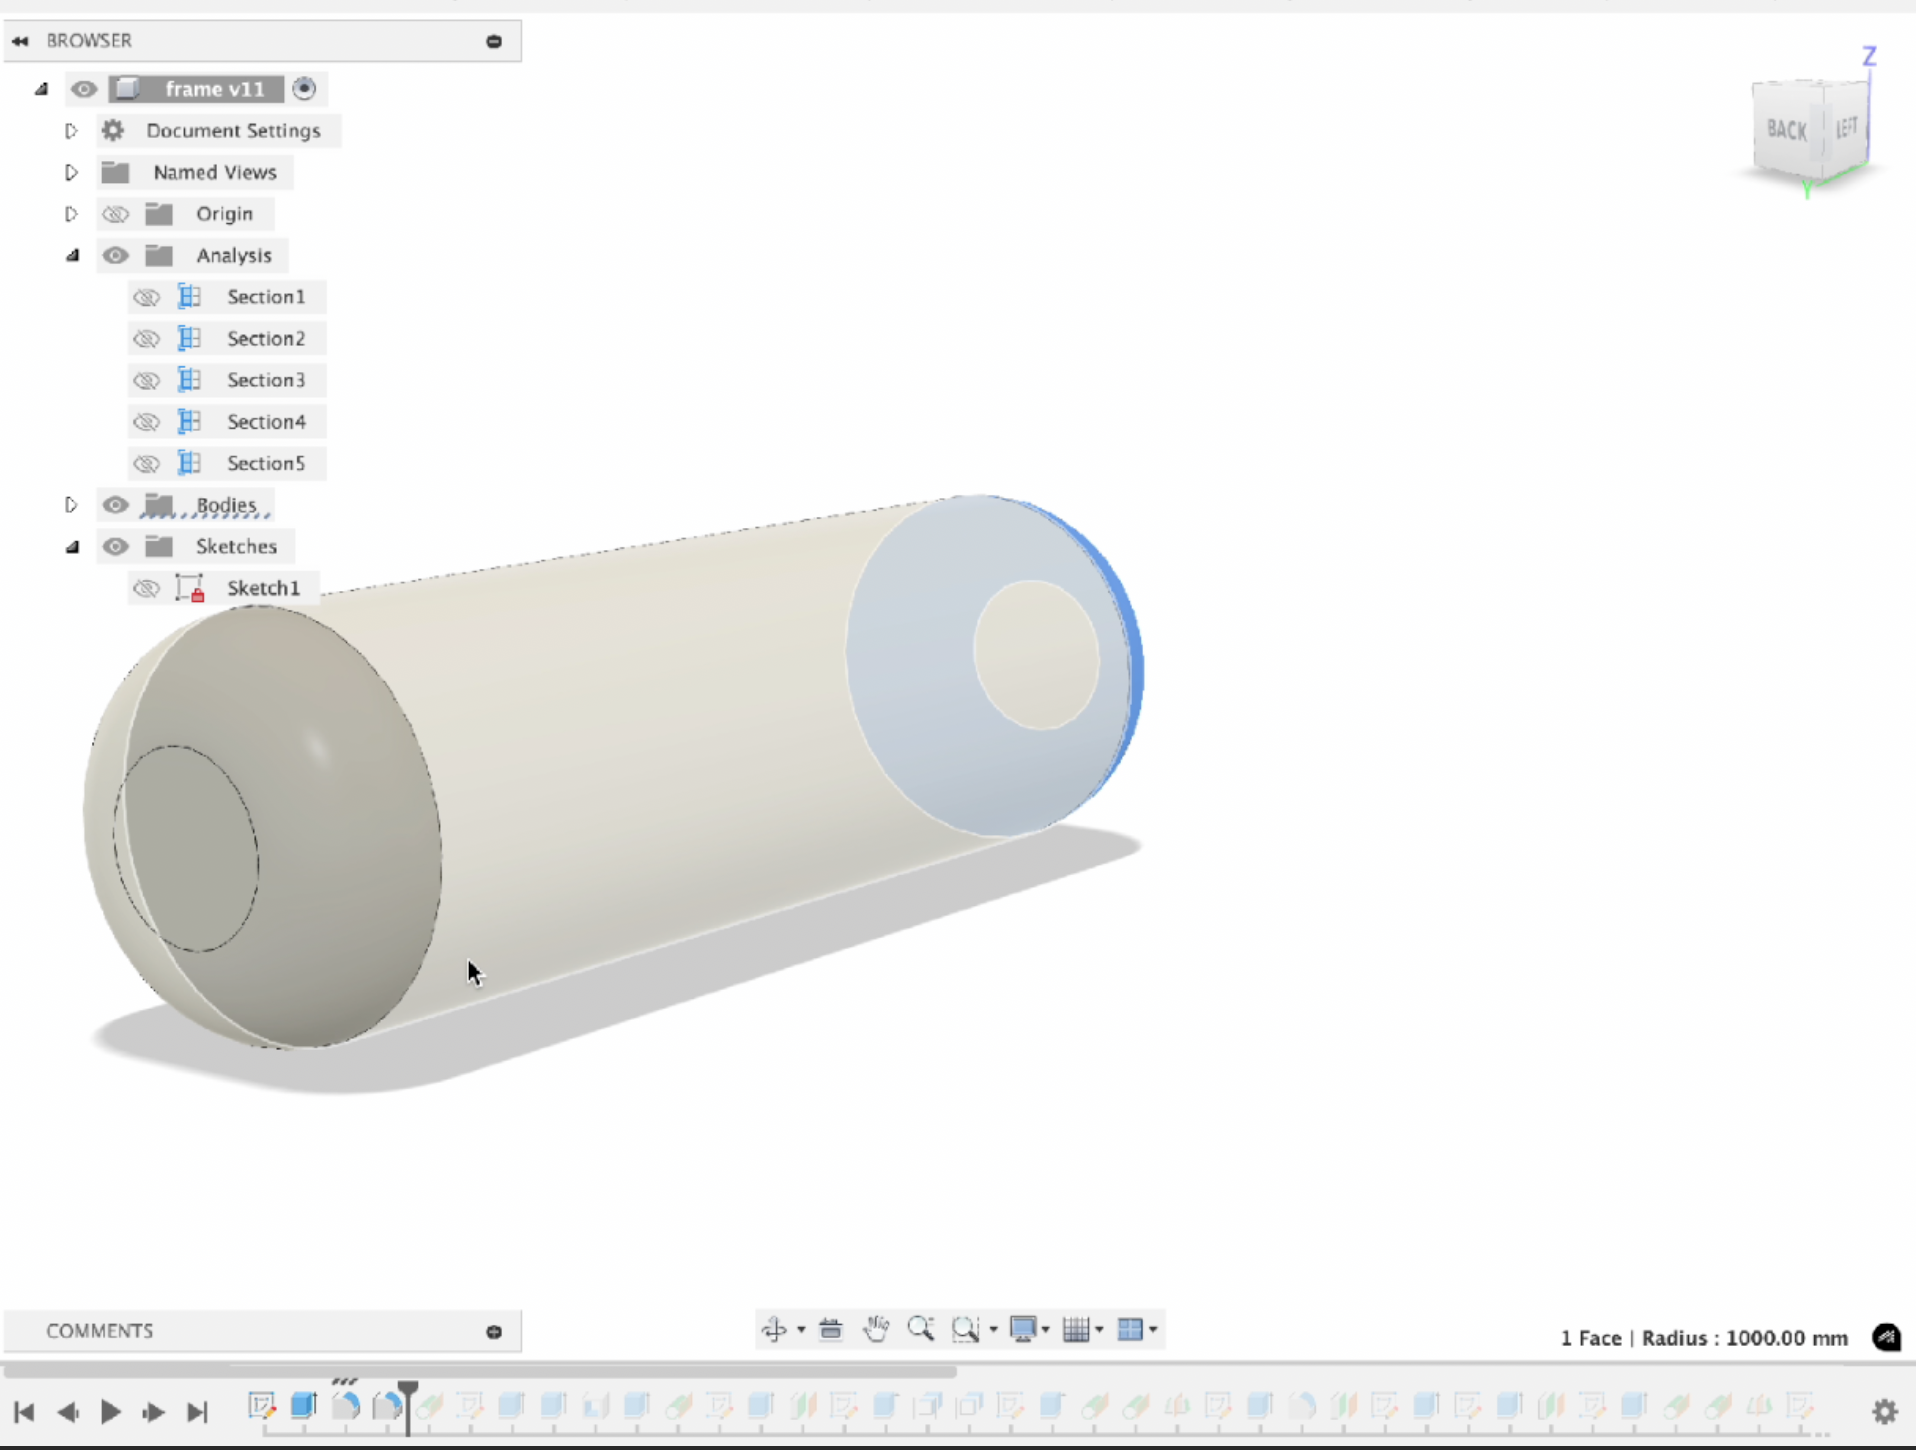
For the habitual part of the underwater home I used the dimensions of a typical oil tanker which is 40 ft long and has a circumference of 12 feet. This is the typical US oil truck dimensions but can get as large as 50 ft long and 16 ft in circumference.
Design
- Extruded a circle with circumference of 12 ft to 40 ft long
- Fillet the edges of the cylinder to get the round look
Stairwell

I choose to use stairs to be more accessible than a ladder and also for it to be located on the slope of a underwater shore. When creating the stairs I learned that comfortable stair angle is not 45 degrees! but instead 30 - 37 degrees
Design
- I used a tangent plane along the main cylinder at 37 degrees
- I then created a sketch with the dimensions of the circle and extruded
Stairs


These stairs are very unique! At least to me I have never had to made stairs inside a tube so I had to take a new approach!
- Place tangent planes on either side of the tube and create a center plane for the stairs
- Utilize the section analysis feature to create the sketch
- Extrude each step
- Leave space on the side for lighting
Bedroom


I wanted the bedroom to have at least one view of the ocean. I used a port hole on the tip of tank along with a grand window aligned with the bed. When creating the bed and dresser I used the frame from previous steps as a projection to create the pieces.
Design
- Import the frame
- Use section analysis
- Create sketches for the base of the furniture
- Shell out wardrobe shelfs
Kitchen


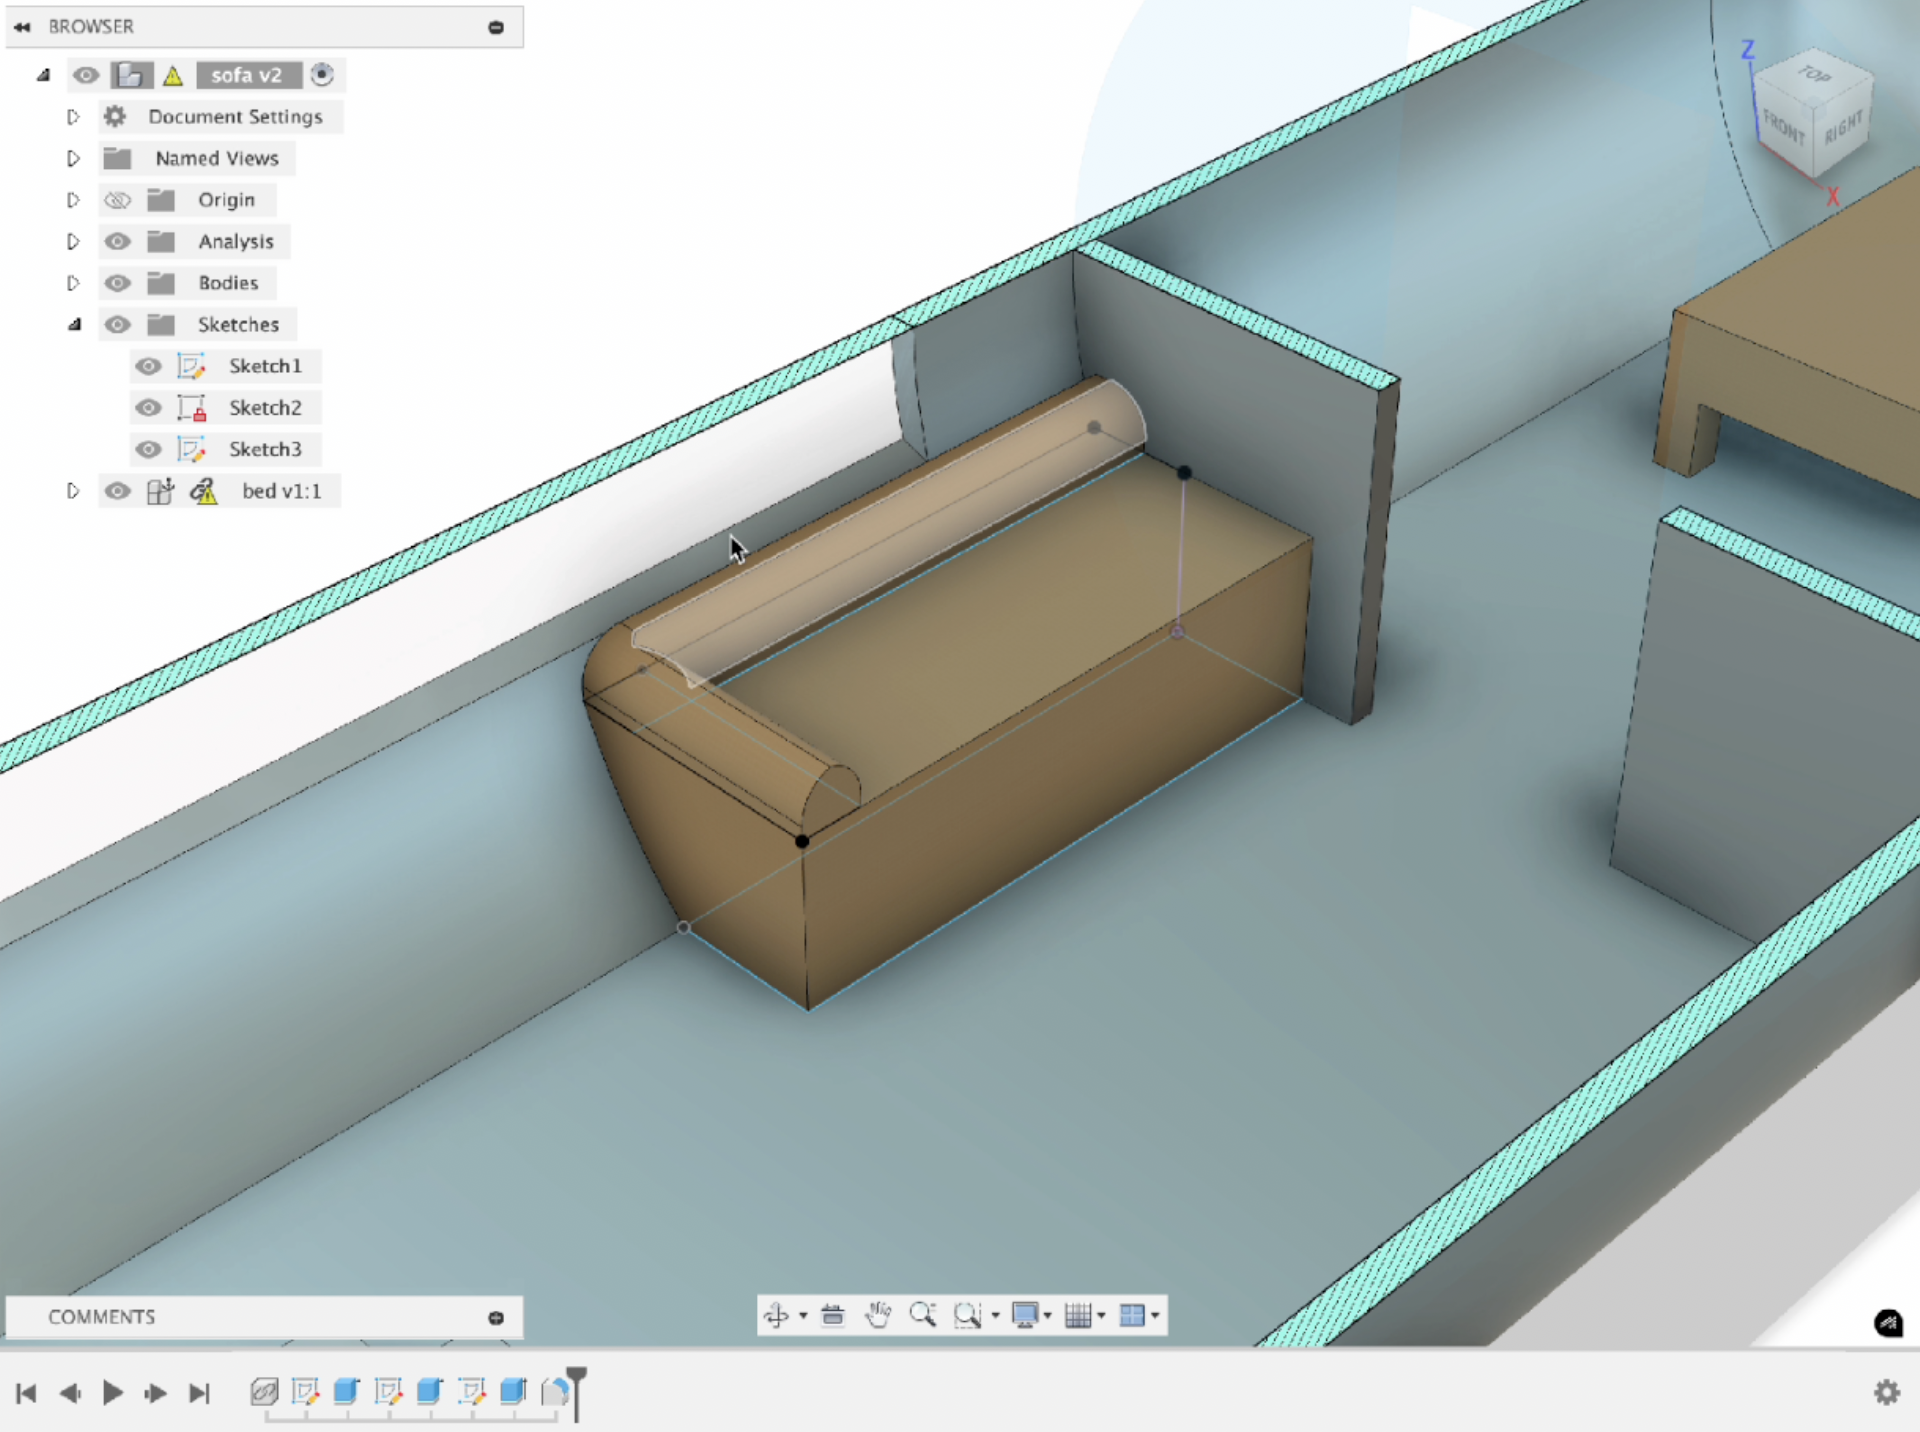
The kitchen just has the essentials. It has a sink a stove a microwave and a fridge. Across from the kitchen is a sofa in front of the large glass window where someone can sit and eat.
Design
- Import the frame for reference
- Draw sketches for the kitchen counter and the sofa
- Extrude and select apperances
Bathroom

The bathroom has a simple toilet and a shower and is located next to the stairs and has no windows in it for privacy. I guess the only thing you would need privacy from are the fishes but thats okay.
Design
- Import the frame for reference
- Create toilet and shower
- Select appearances
Combine Components

Each piece of furniture should be in its own file. When ready to import all of the furniture you can simply make a new model and import each one including the frame. This will place then in the place they where drawn so no need to move them around
Rendering

I set up an underwater scene that is no a large mesh rock and a shark model I got from online to add a little pizzaz. Renders will come out different based on the lighting selections. You can also select custom underwater environments to add to the effect.
Fly Through

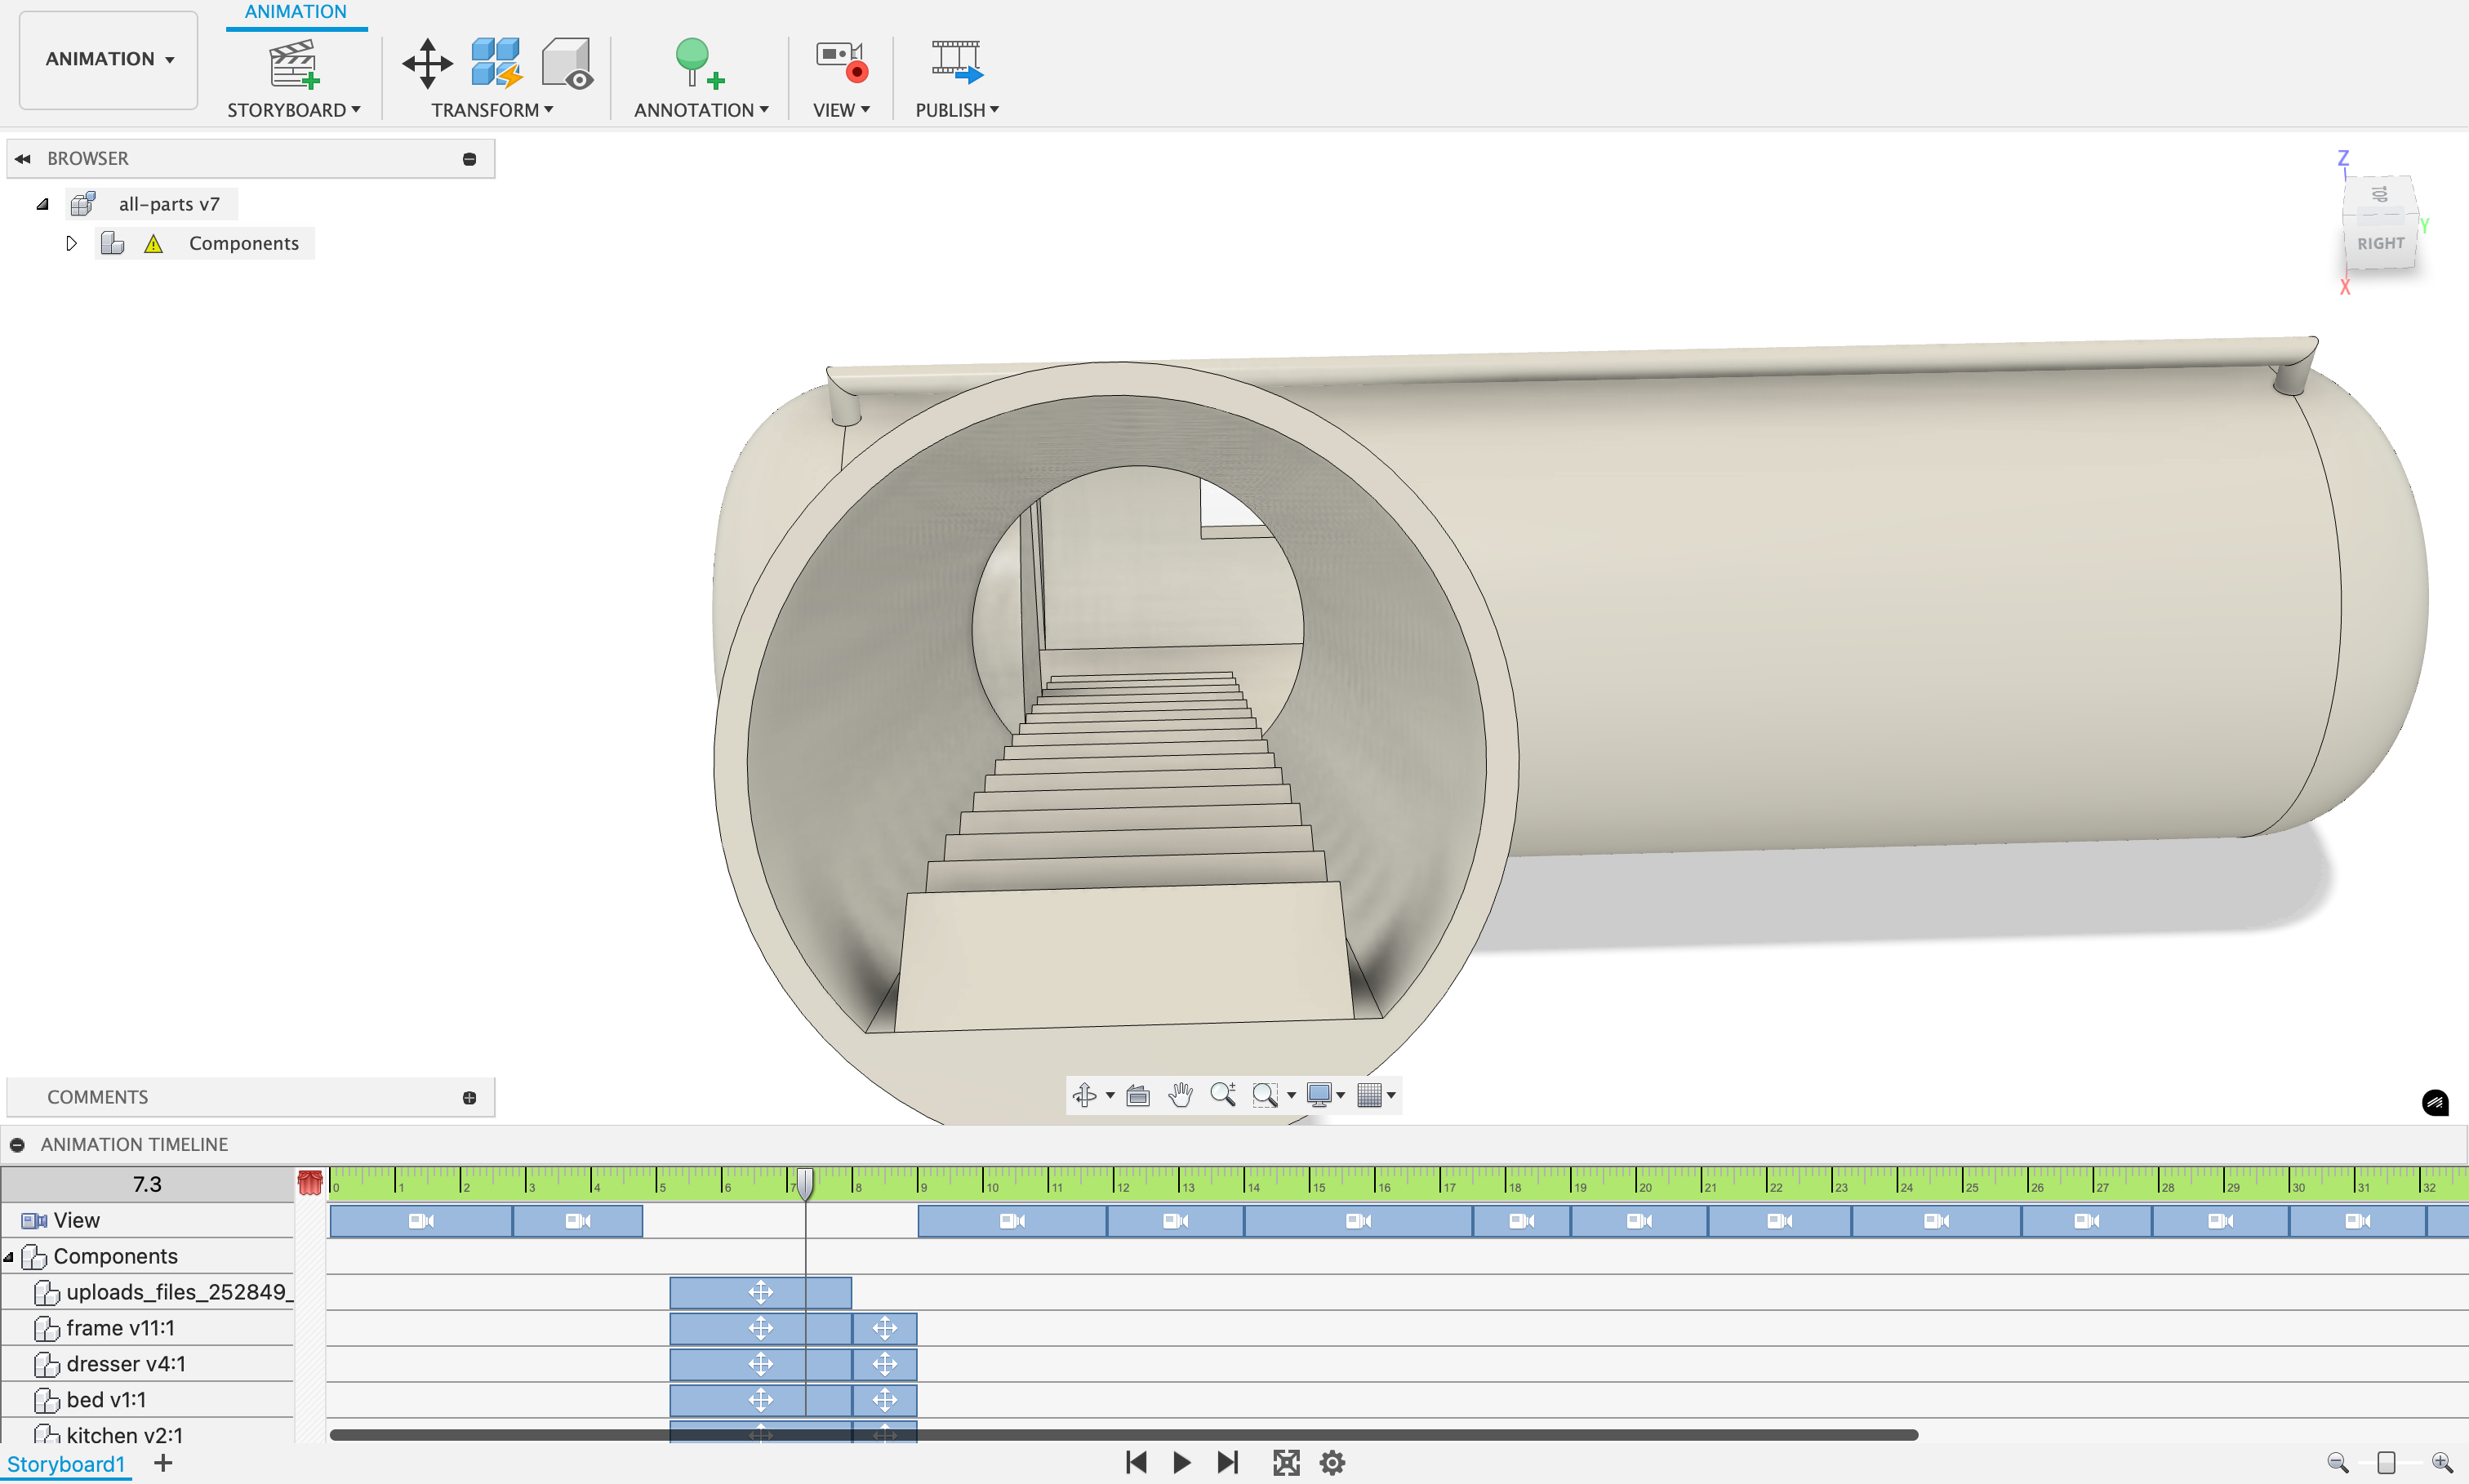
To create a first person view I used the animation tab in Fusion 360 to used the camera movements to move through the structure. When entering the stairwell I moved the entire structure to the camera to get the affect that you are going in when you are really just staying still and the object is moving towards you. I did this because I was having trouble getting the camera to correctly enter the stairwell.