Ultrasonic Sensor Automatic LED Welcome Animation Lights and LCD Information Screen
by josephraychen120 in Circuits > Arduino
295 Views, 1 Favorites, 0 Comments
Ultrasonic Sensor Automatic LED Welcome Animation Lights and LCD Information Screen
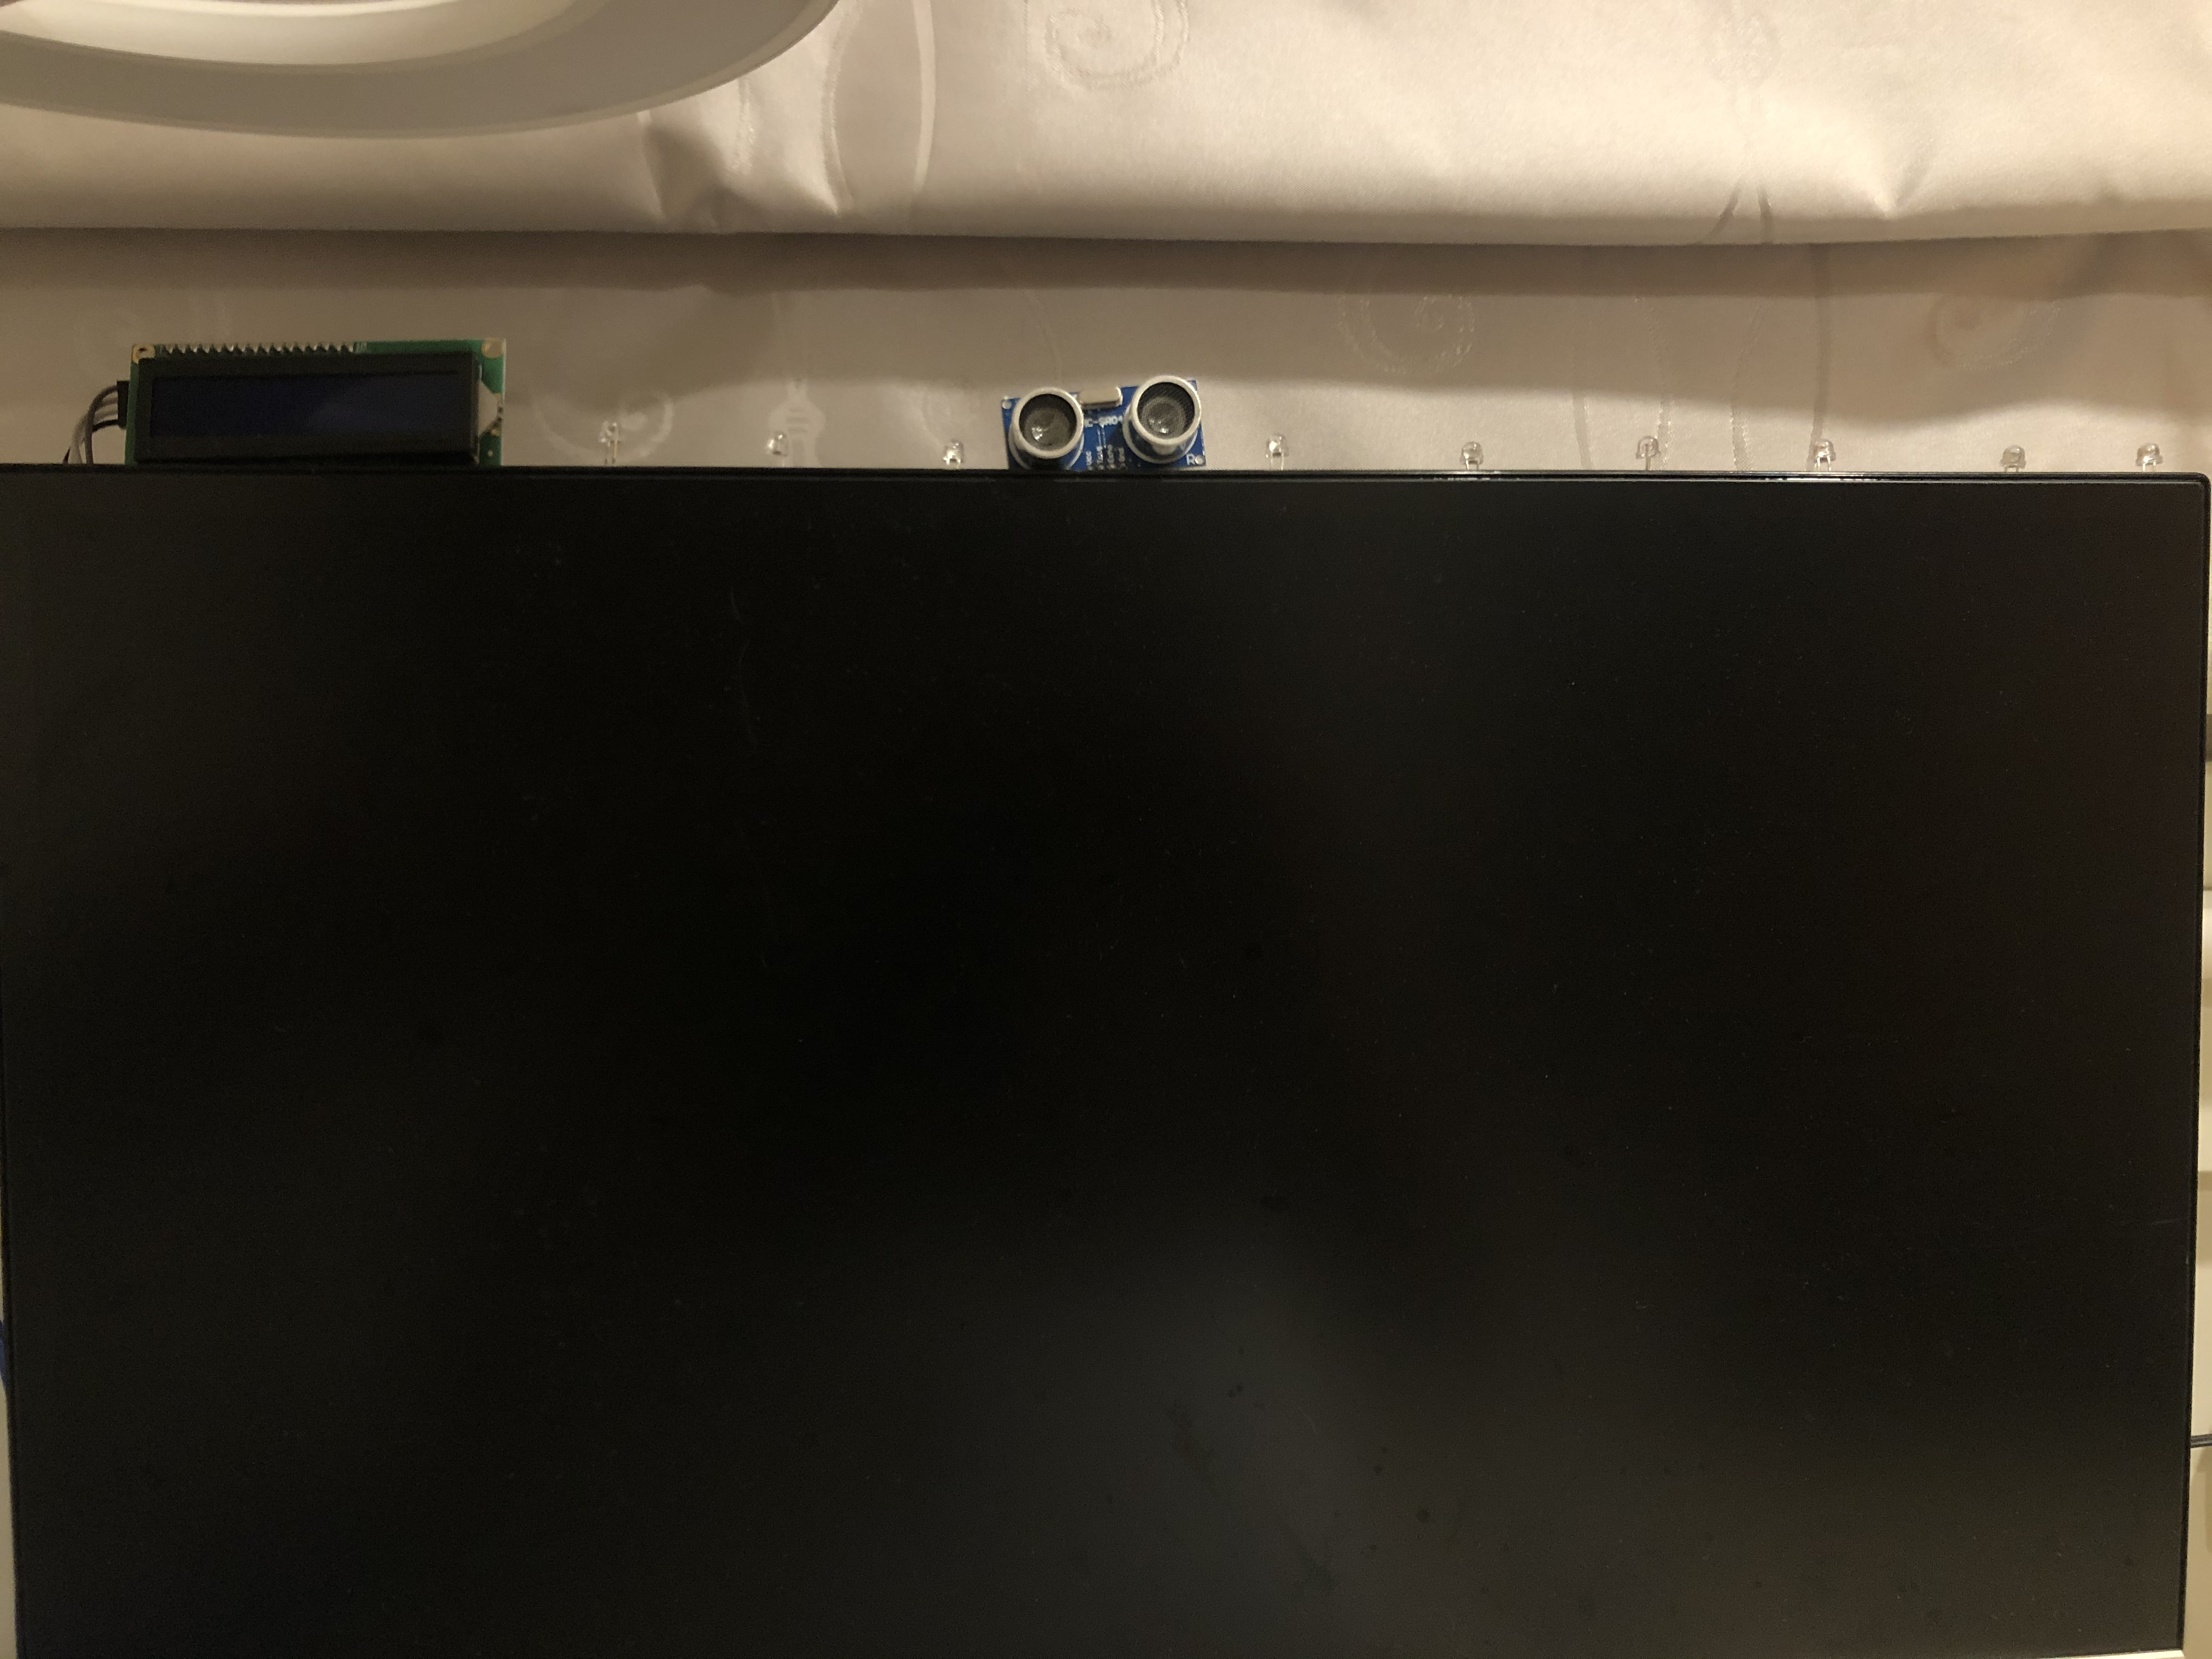

When you come back home tiring and trying to sit down and relax, it must be very boring to see the same thing around you over and over again every day. Why don't you add something fun and interesting that changes your mood? Build a super-easy Arduino project that welcomes you with soft relaxing yellowish lights running in a fun animation coming with an LCD screen that can project your own name and what you want to say to yourself.
(THIS IDEA OF THE PROJECT IS ORIGINATED BY ME)
This Arduino project is activated by an ultrasonic sensor that comes up with soft relaxing yellowish lights running in a fun animation and comes up with an LCD screen that projects any information you want.
Supplies
- A suitable place where you can set up this device
- 9 LED light bulbs (Any color)
- 1 I2C LCD screen
- 1 Ultrasonic Sensor
- Arduino Jump Wires
- Arduino Uno/ Leonardo
- 9 10kΩ Resistors
- Scissors
- Double-sided tape
- Paper tape
Constructing the Board

Please follow the picture while constructing the board
On Breadboard:
Connect 5V (on arduino board)->(+) (On breadboard)
Connect GND (on arduino board)->(-) (On breadboard)
For Ultrasonic sensor:
Connect VCC->(+) (On breadboard)
Connect TRIG->Dpin3
Connect ECHO->Dpin2
Connect GND->(-) (On breadboard)
For LED Lights:
Connect Dpin->LED (Longer Leg)
Connect LED (Shorter leg)->10kΩ Resistor->(-) (On breadboard)
For I2C LCD screen:
Connect GND->(-) (On breadboard)
Connect VCC->(+) (On breadboard)
Connect SDA->SDA (on arduino board)
Connect SCL->SCL (on arduino board)
Setting Up Your LCD Screen


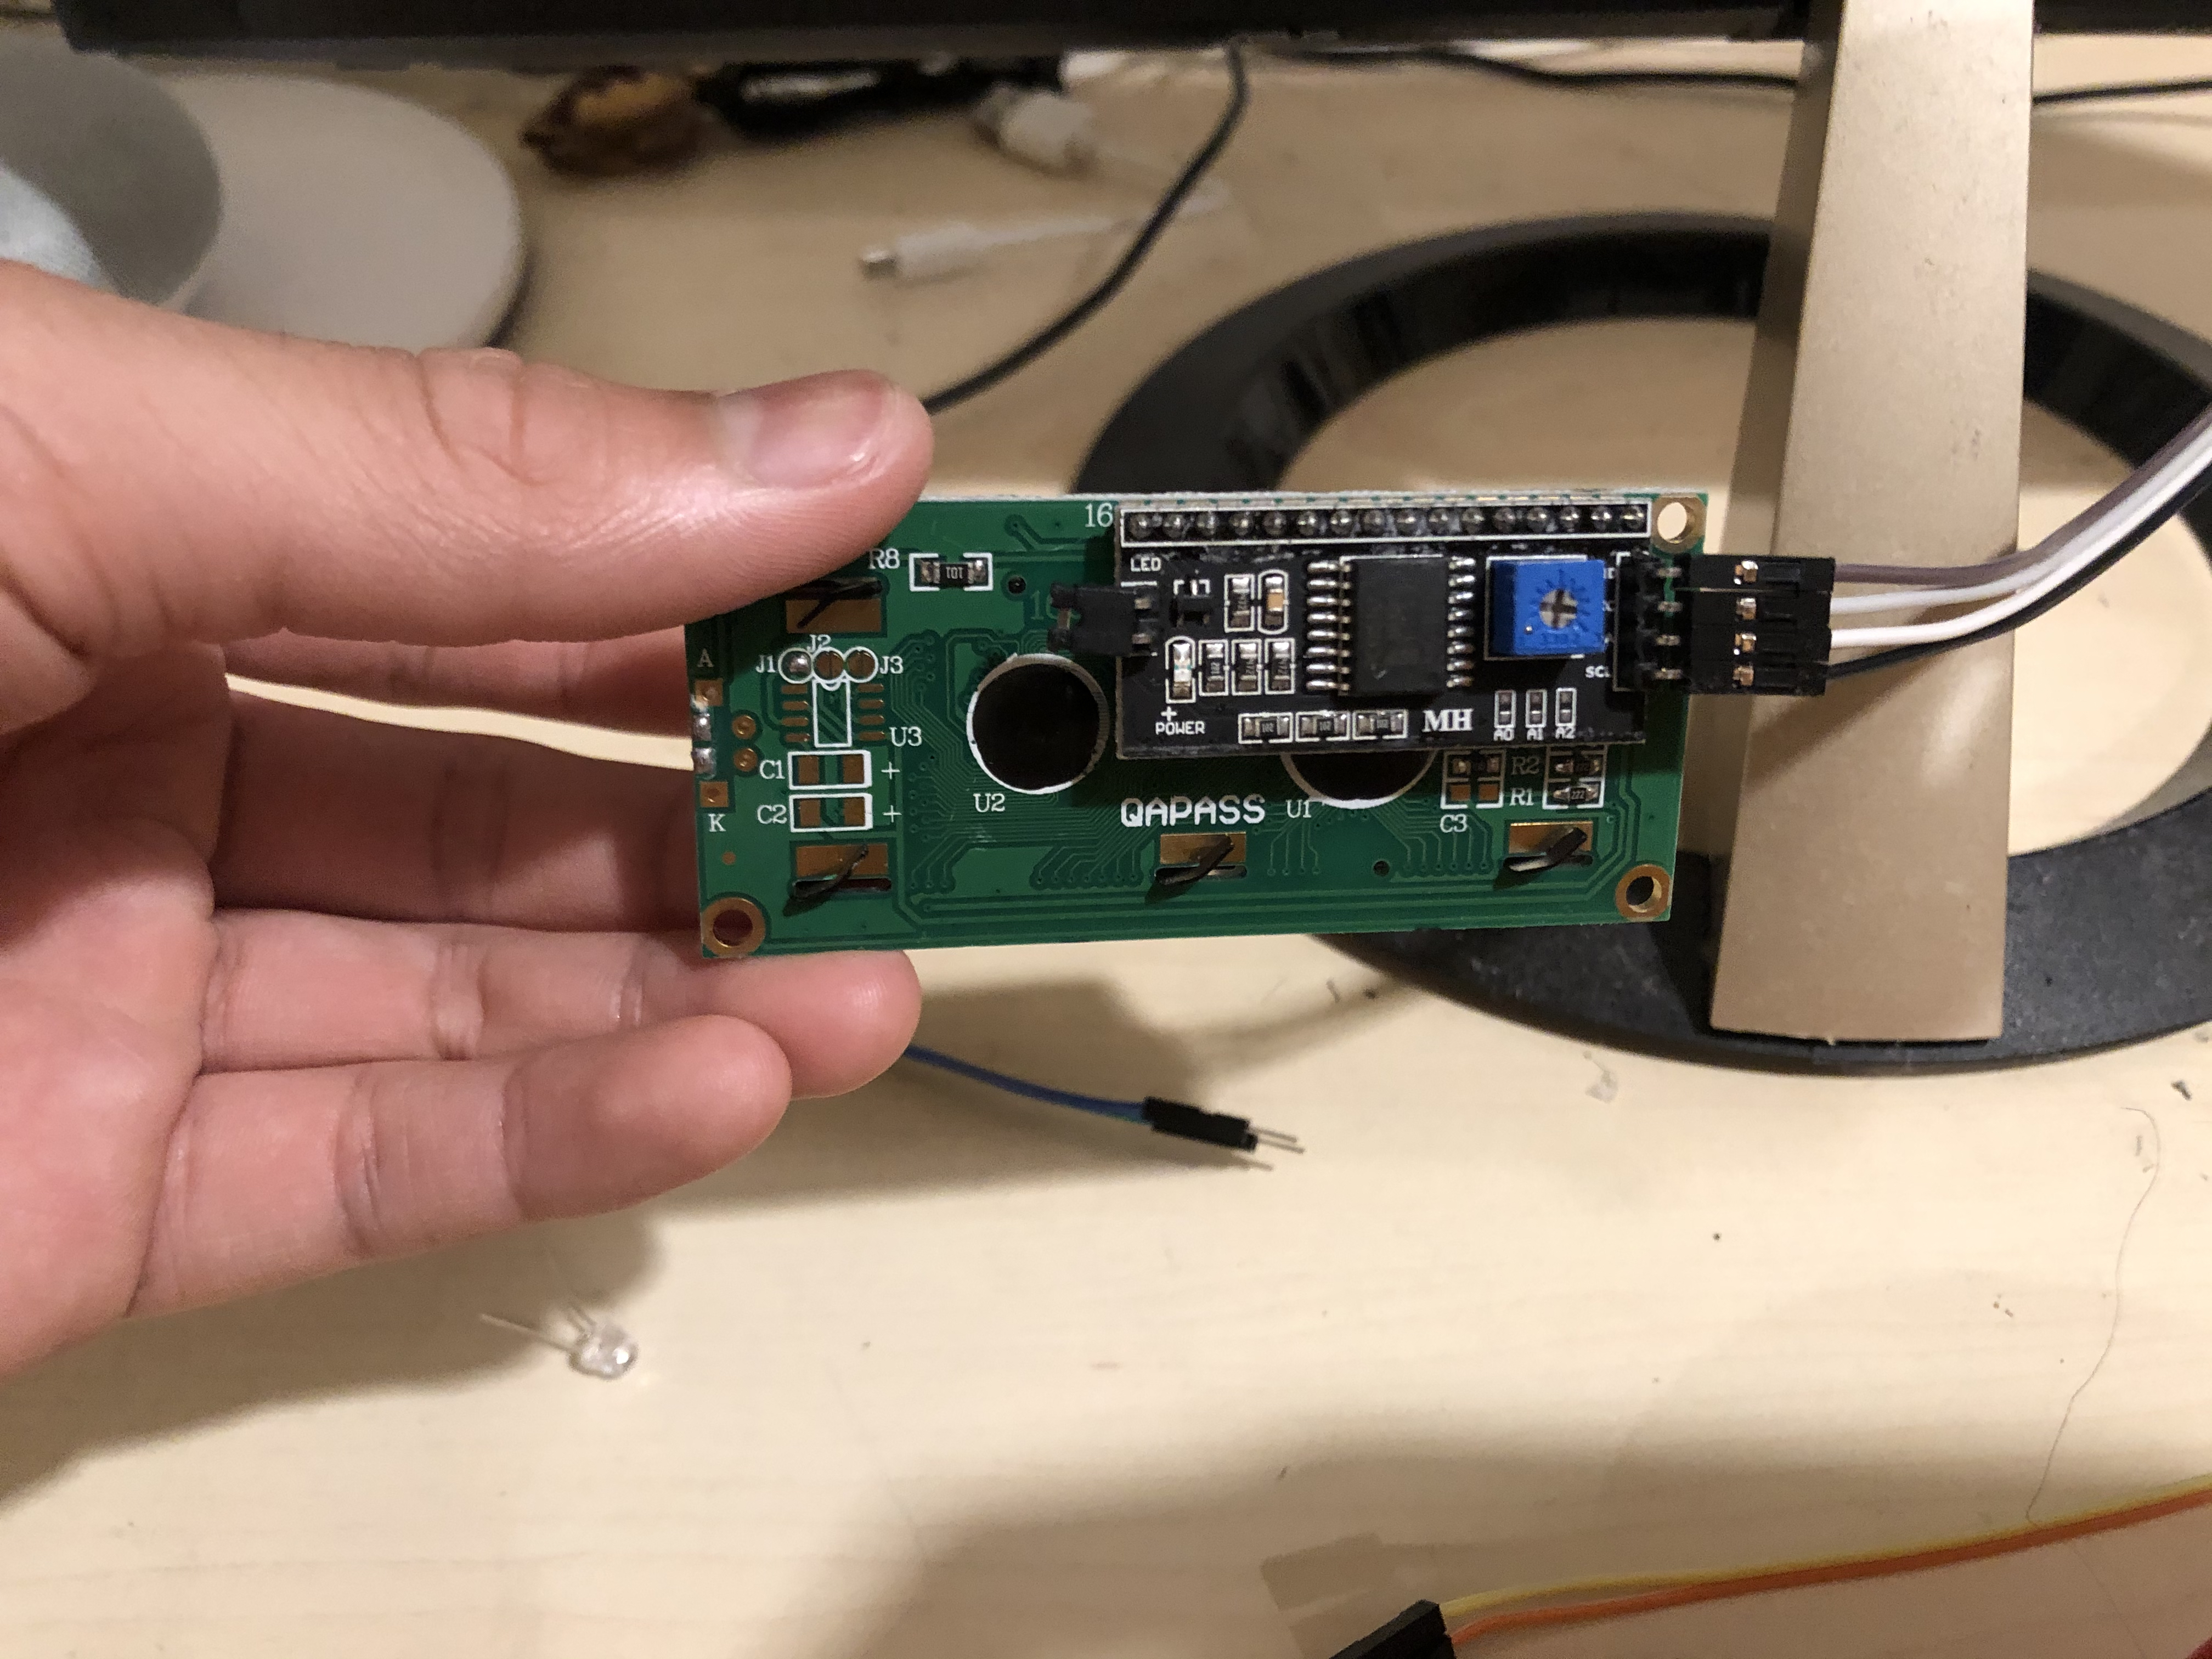
SETTING UP YOUR LCD SCREEN
- Light up your LCD screen and Get a screwdriver
- Turn the screw behind the I2C screen and see the changes on the screen
- turn the screw to make the LCD screen easy and clear to see
SETTING UP YOUR CODE
- You need a ZIP file in order to run your code. Click HERE to download
- The ZIP file should be called "LiquidCrystal_I2C
- Please DO NOT open the ZIP file
- Go In Arduino->Include Libary->Add .ZIP Libary...->ADD YOUR ZIP FOLDER
- Now you're OK and can move on to the next step
Write the Code

After your board is constructed, you can start writing the code.
Click here for the code
Annotations are given for changes and if have any questions please comment down below
Set It Up
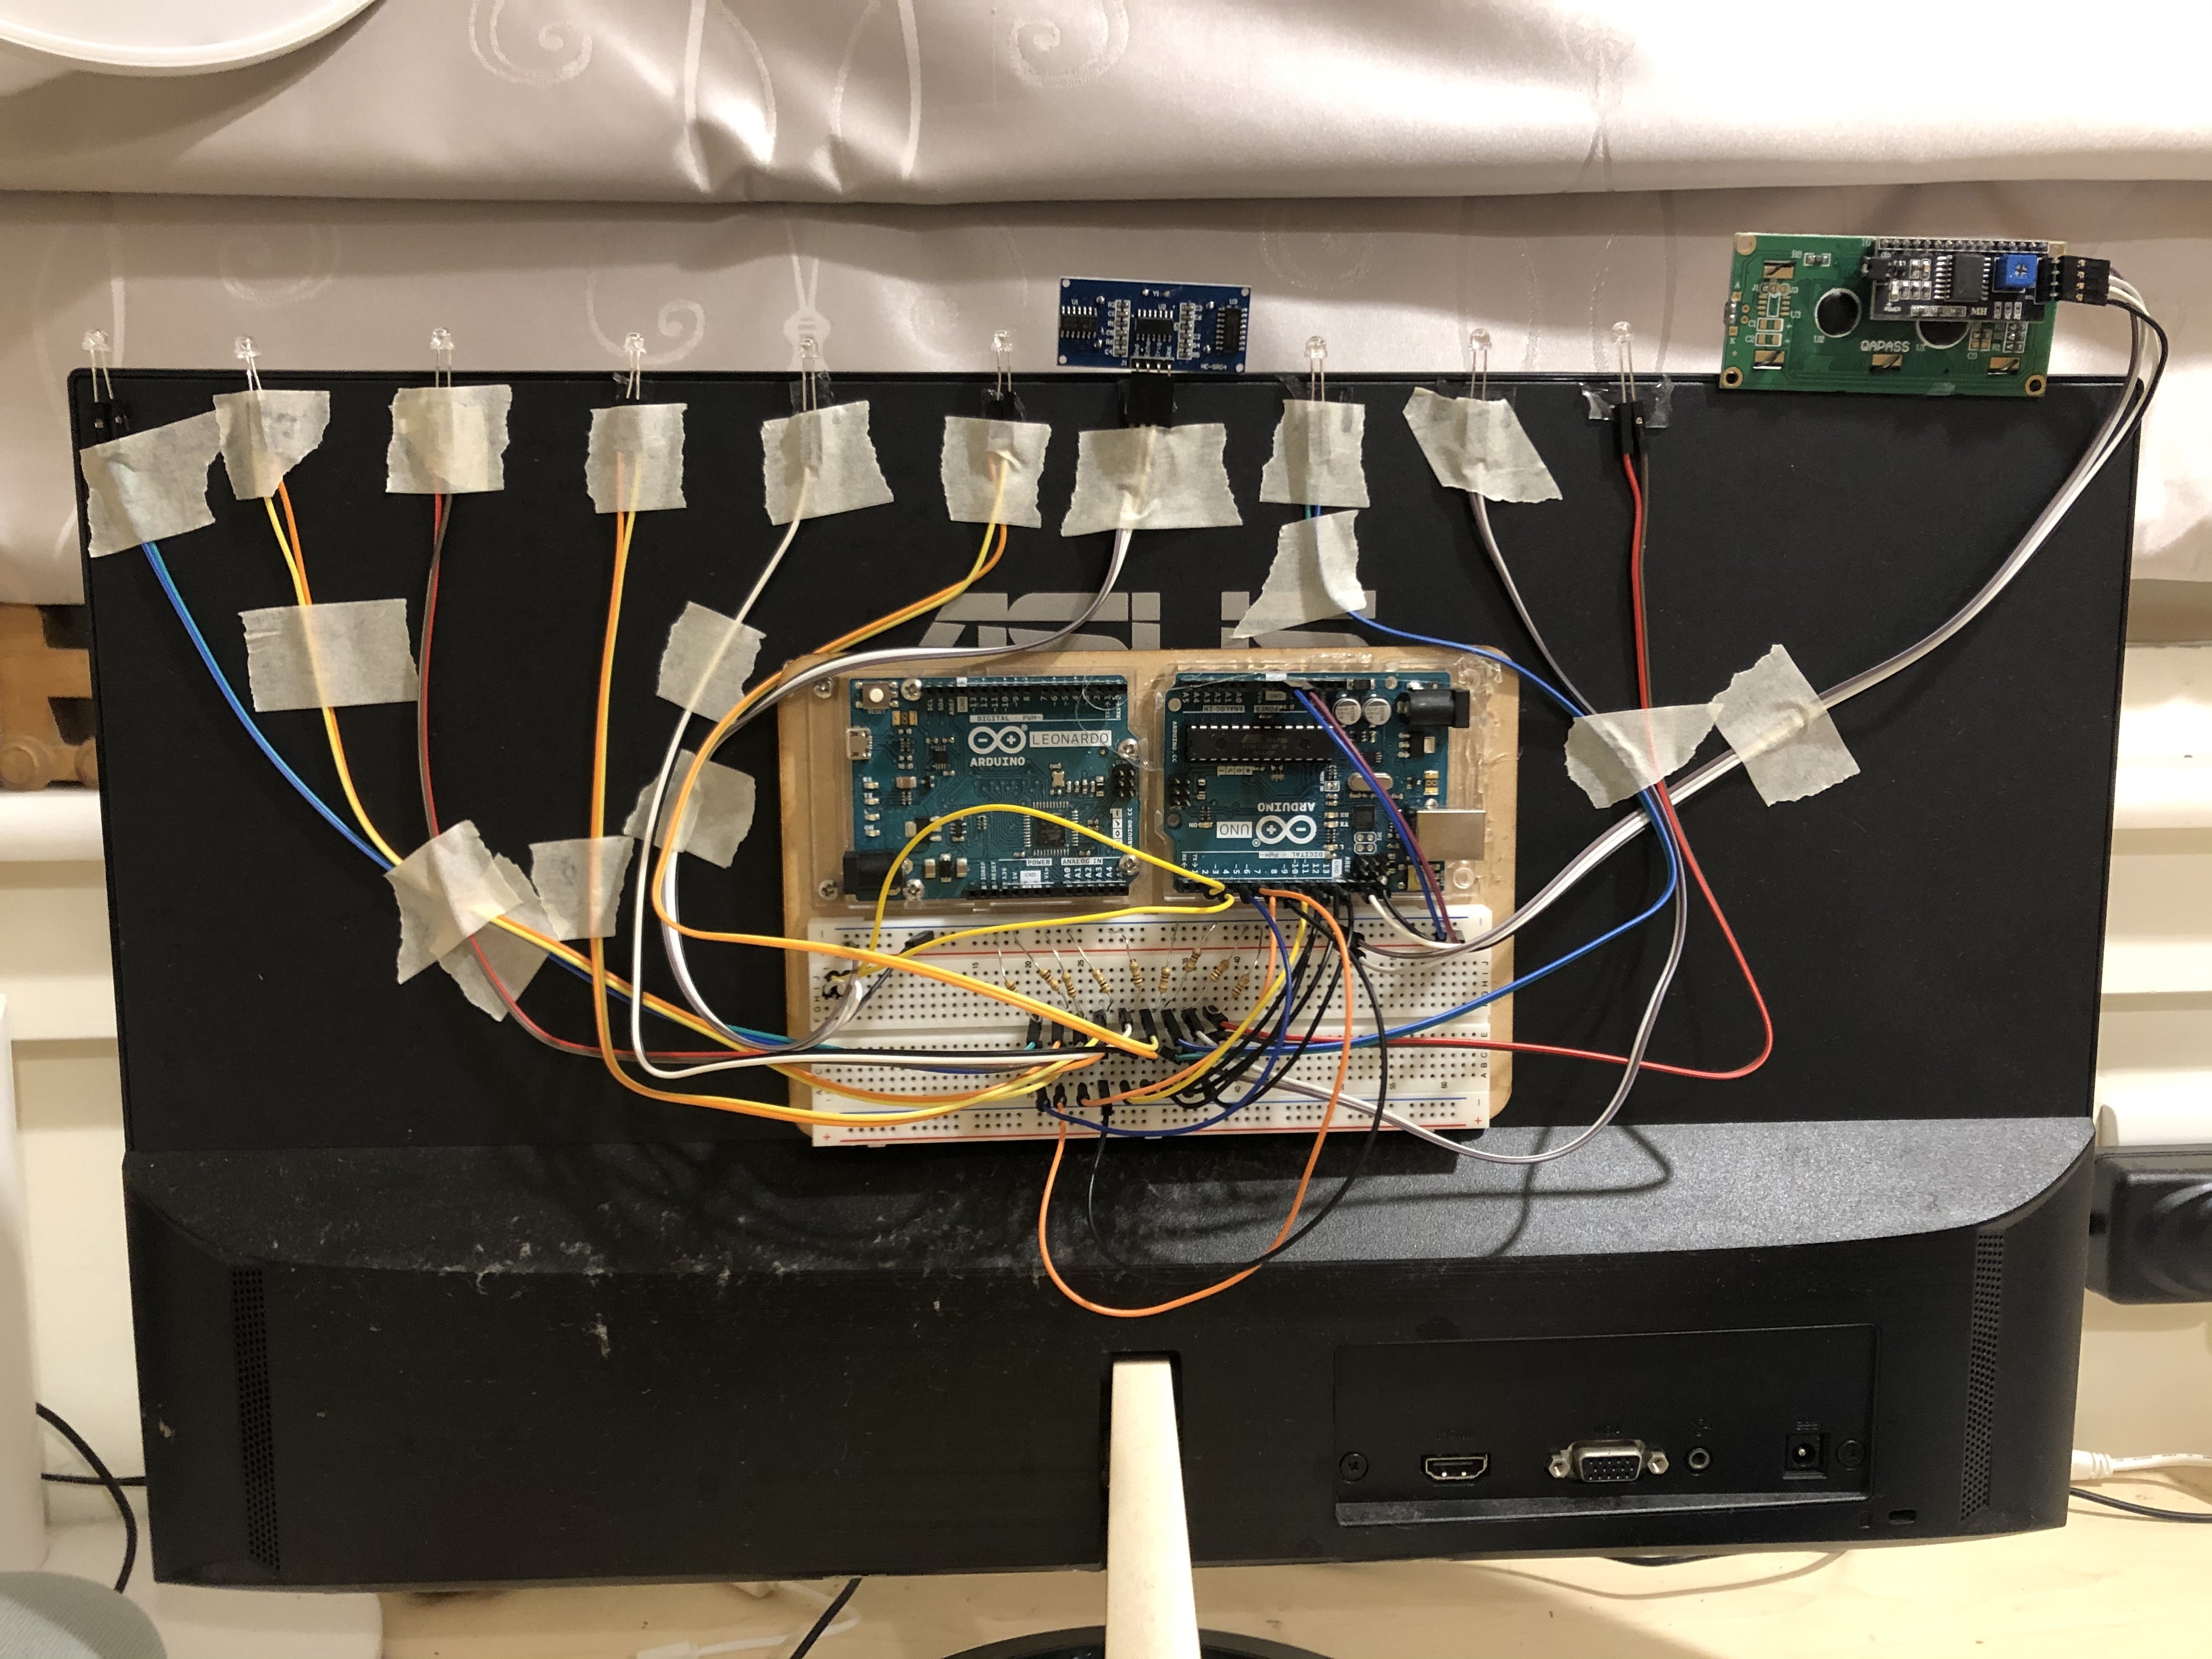
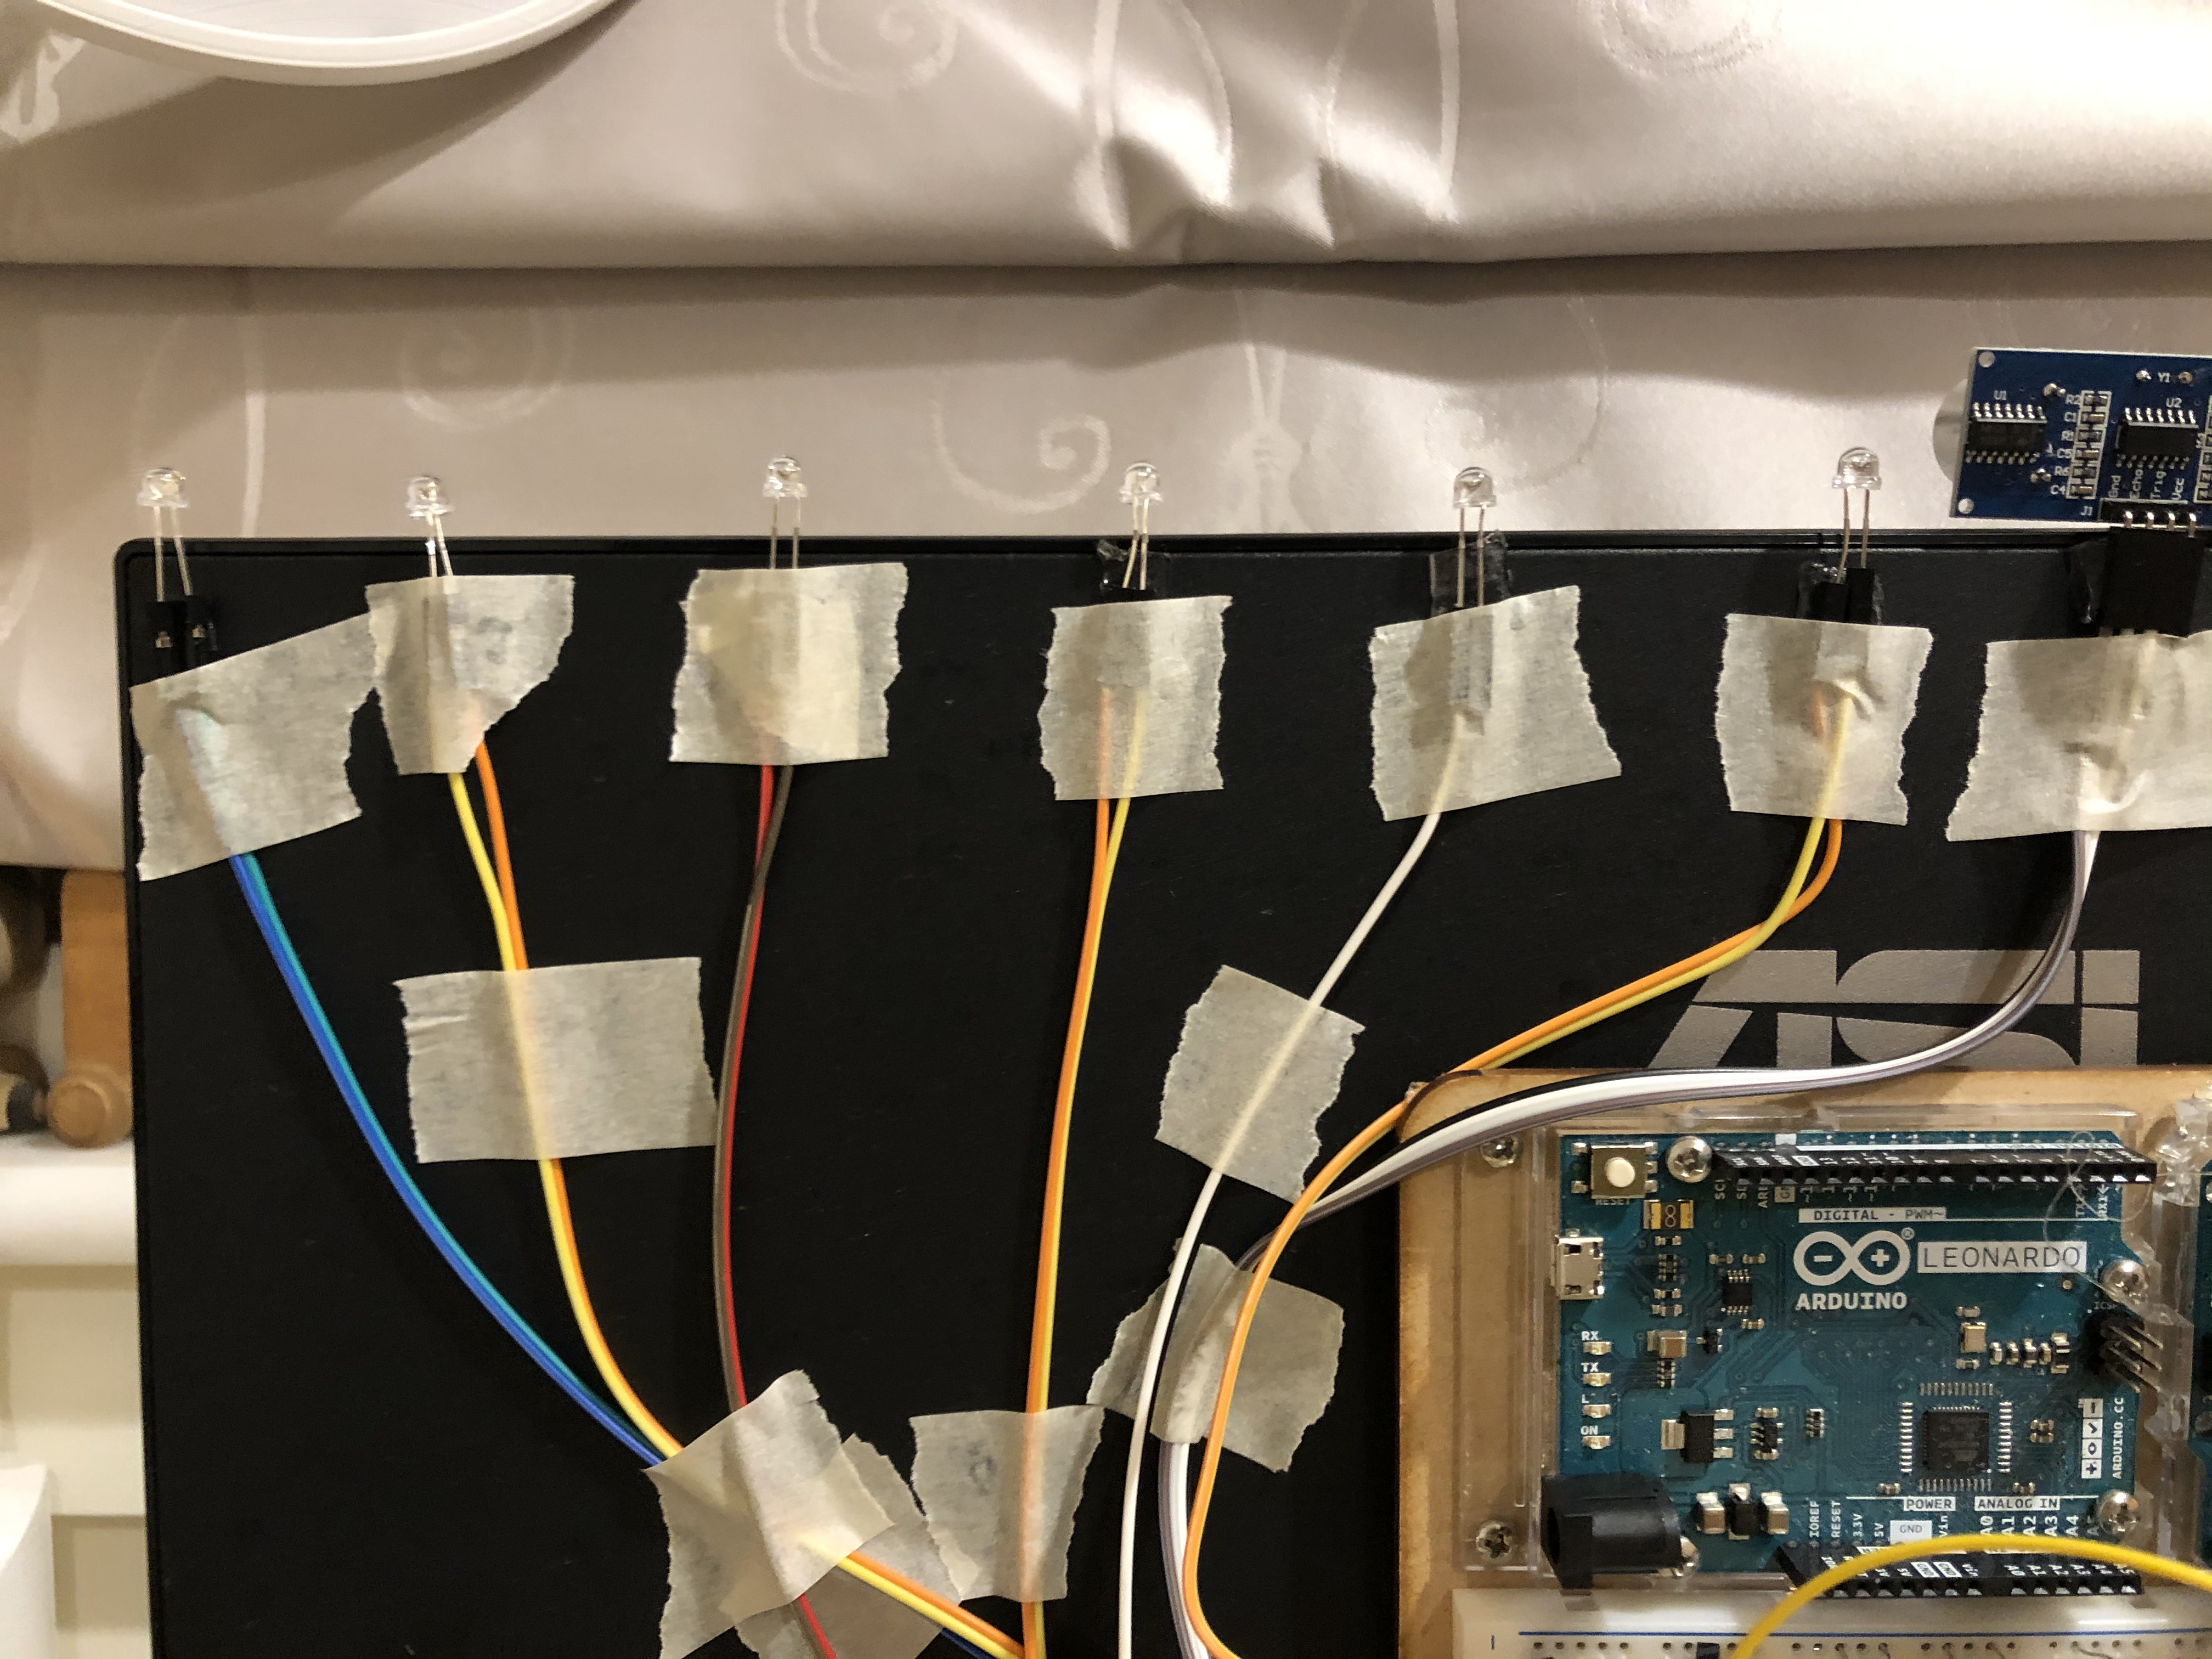
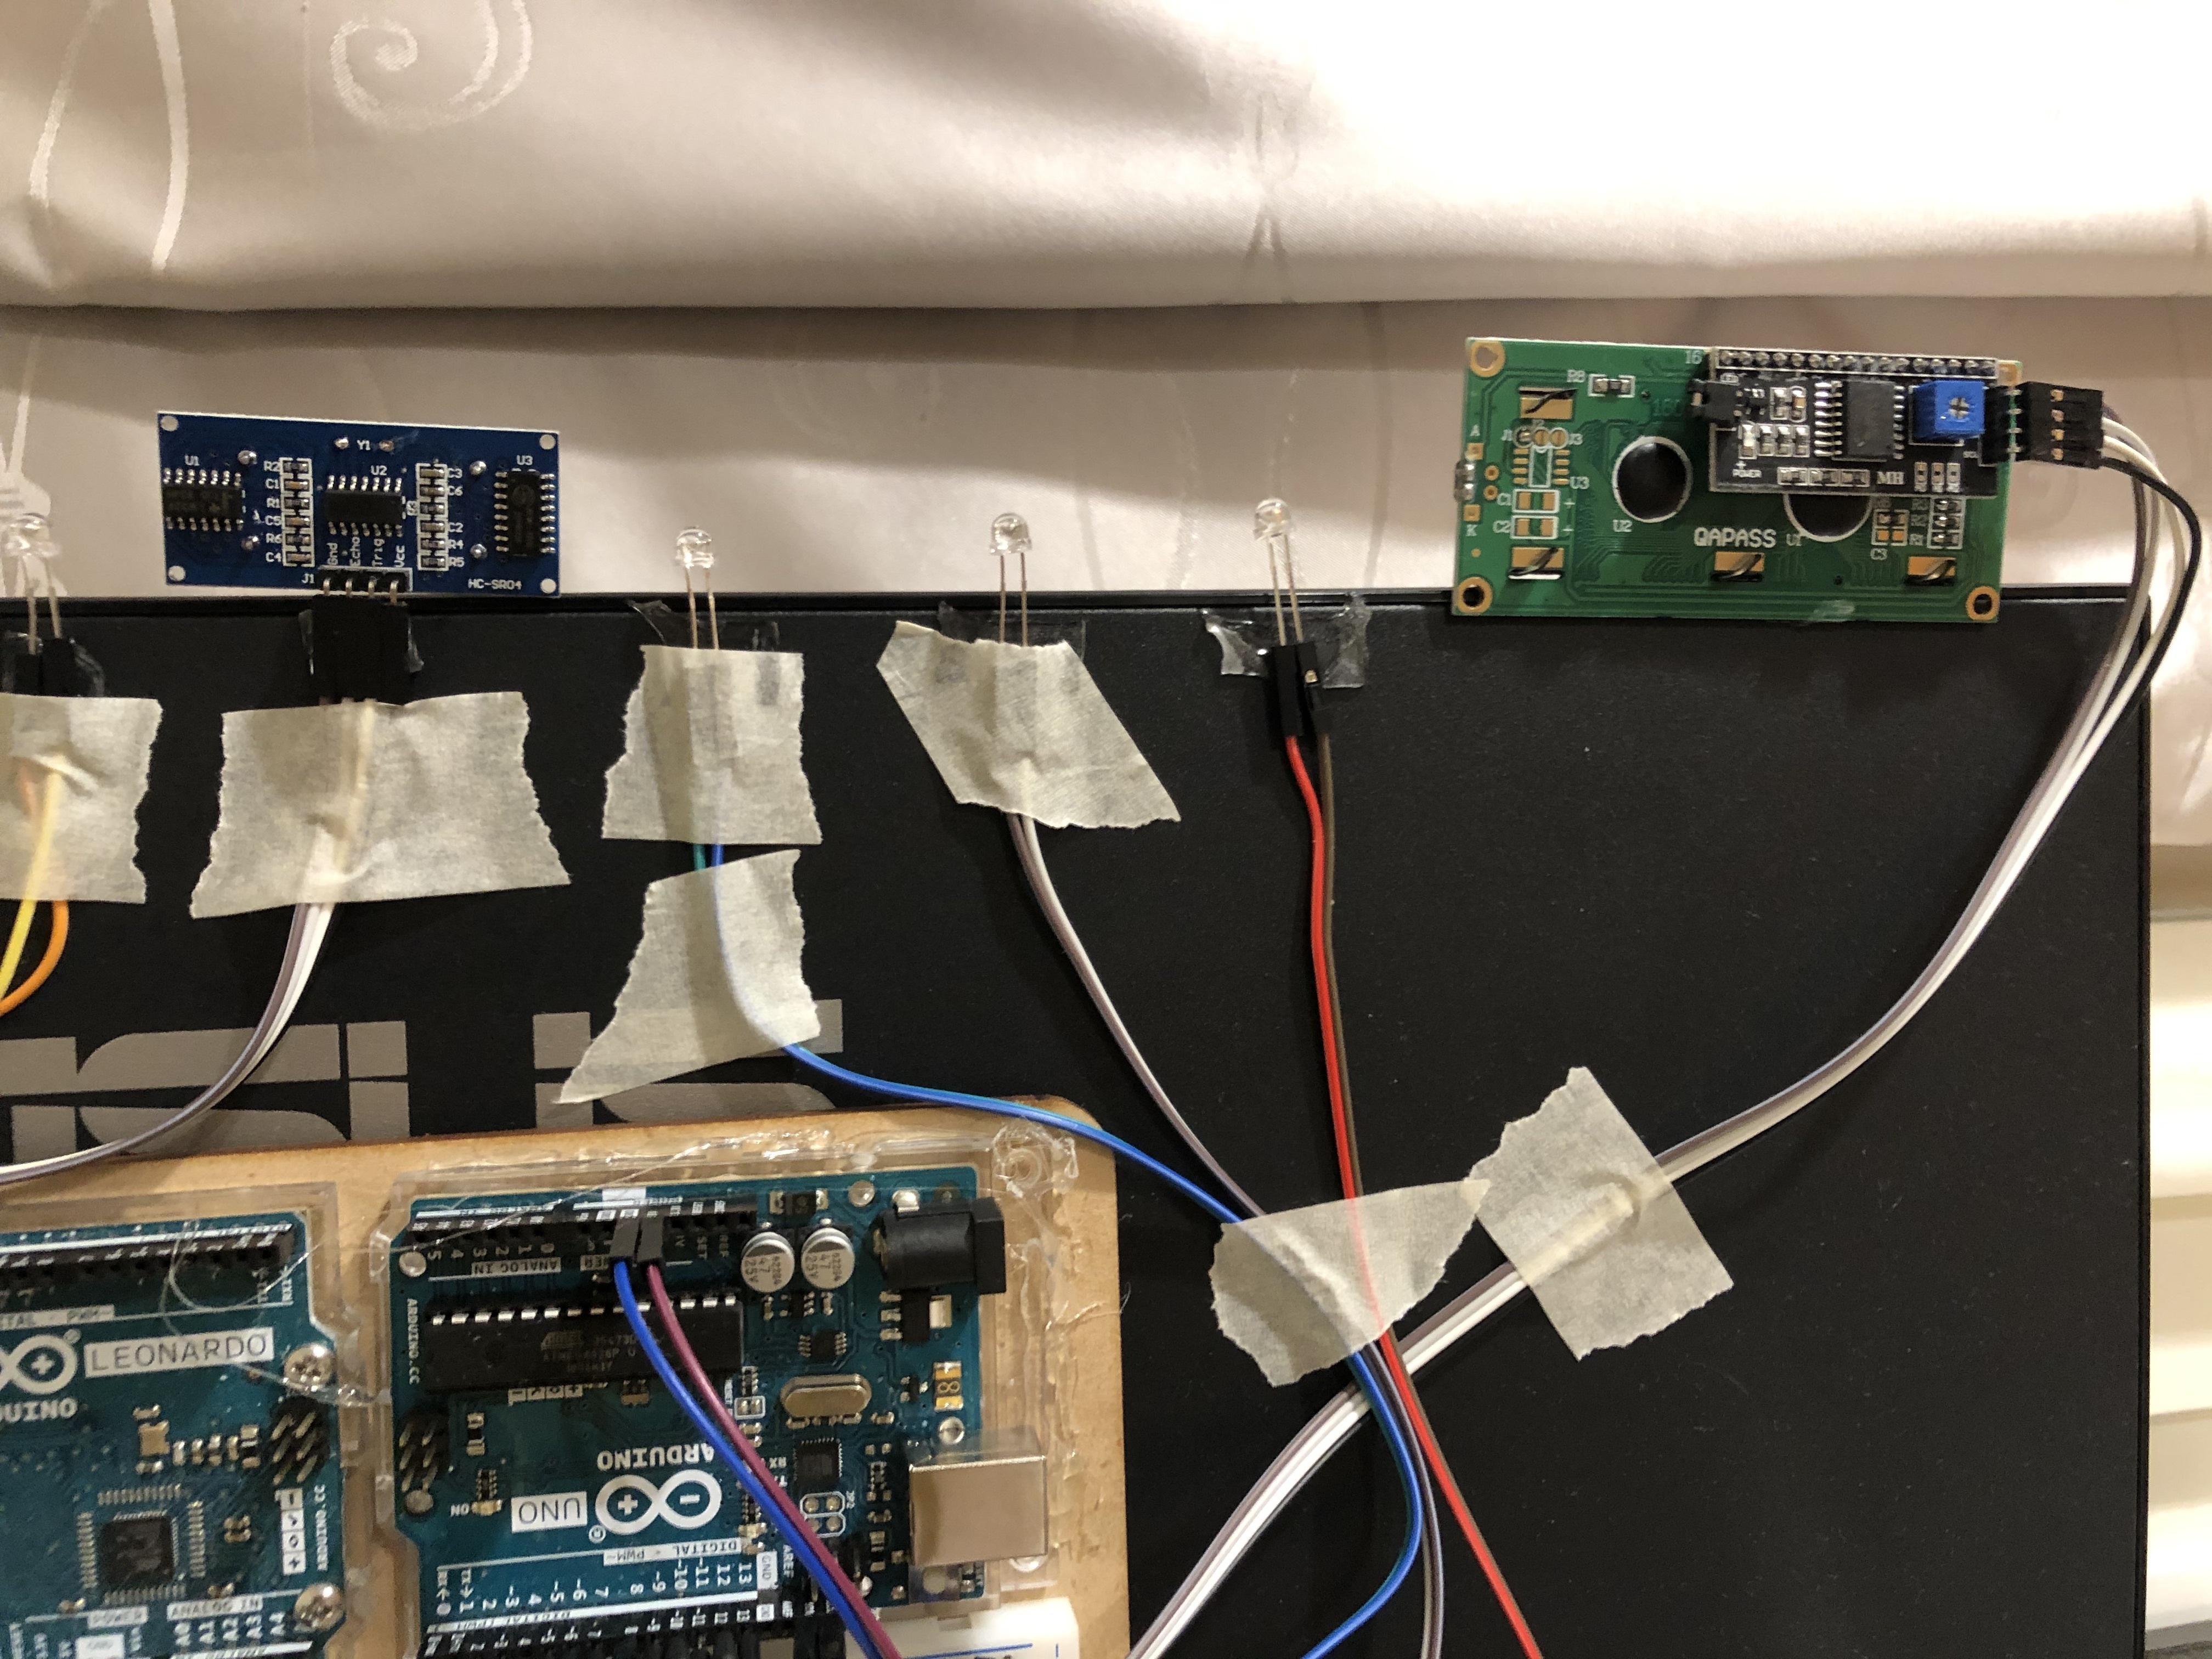
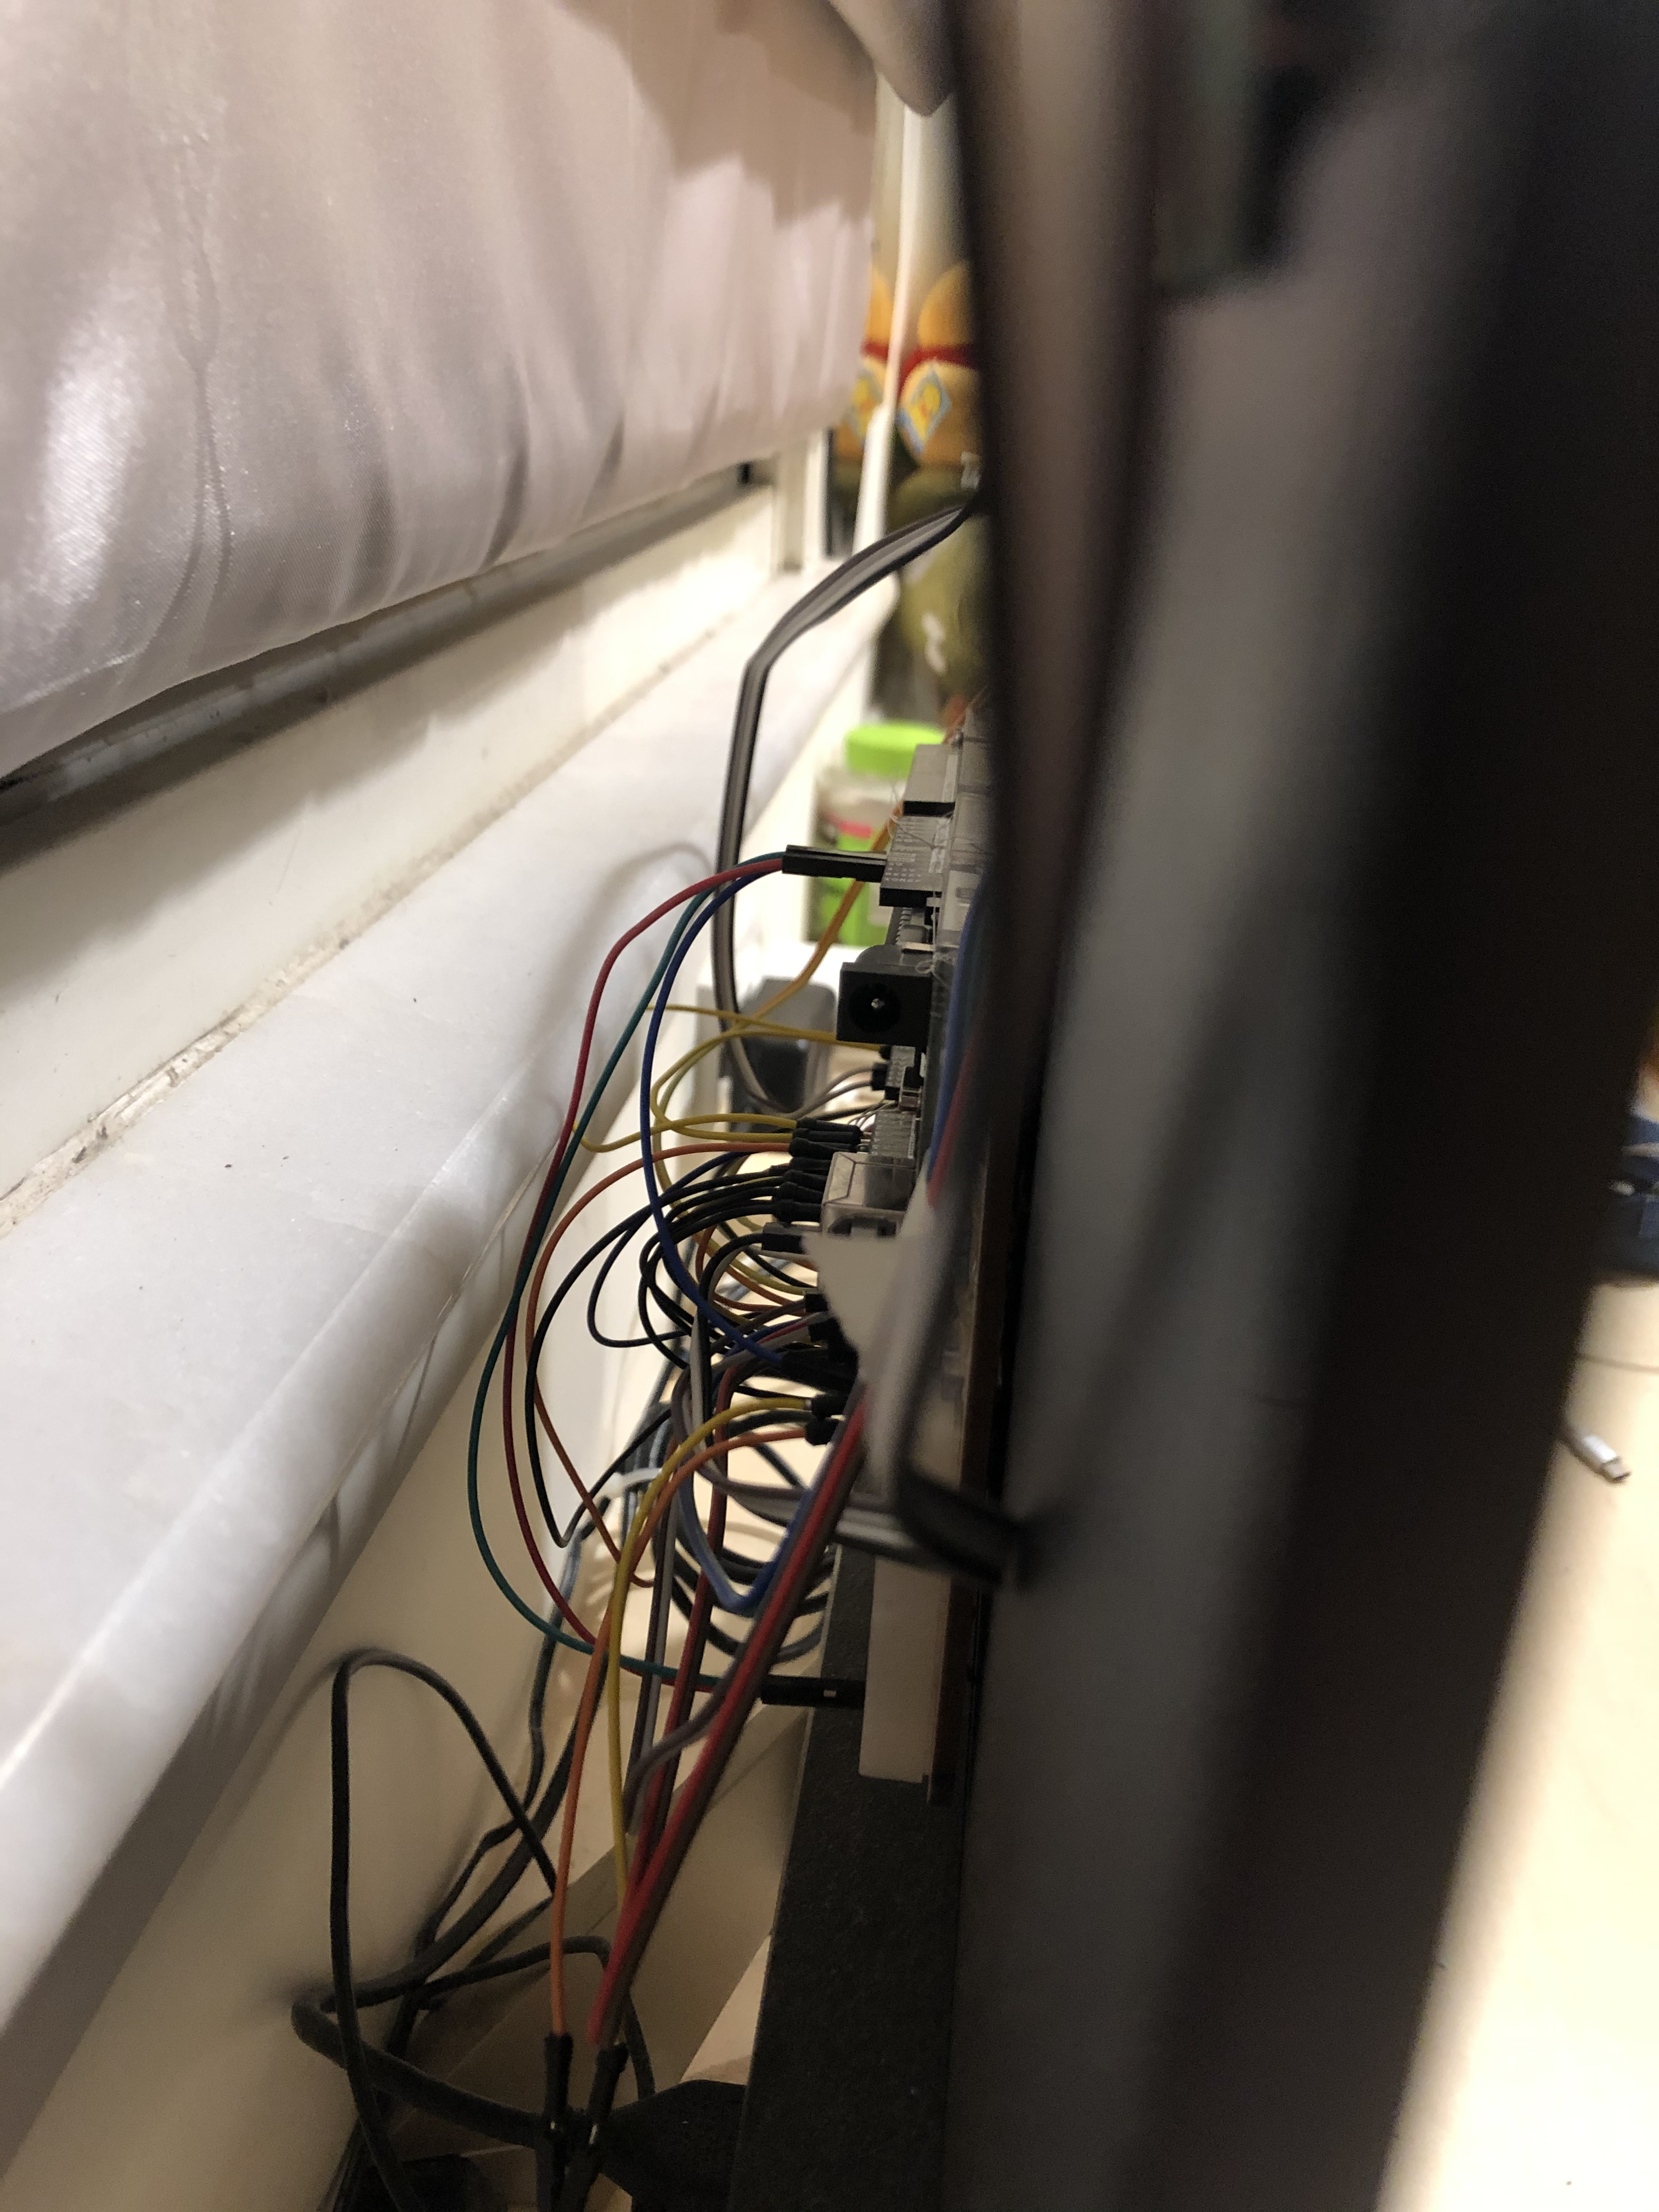
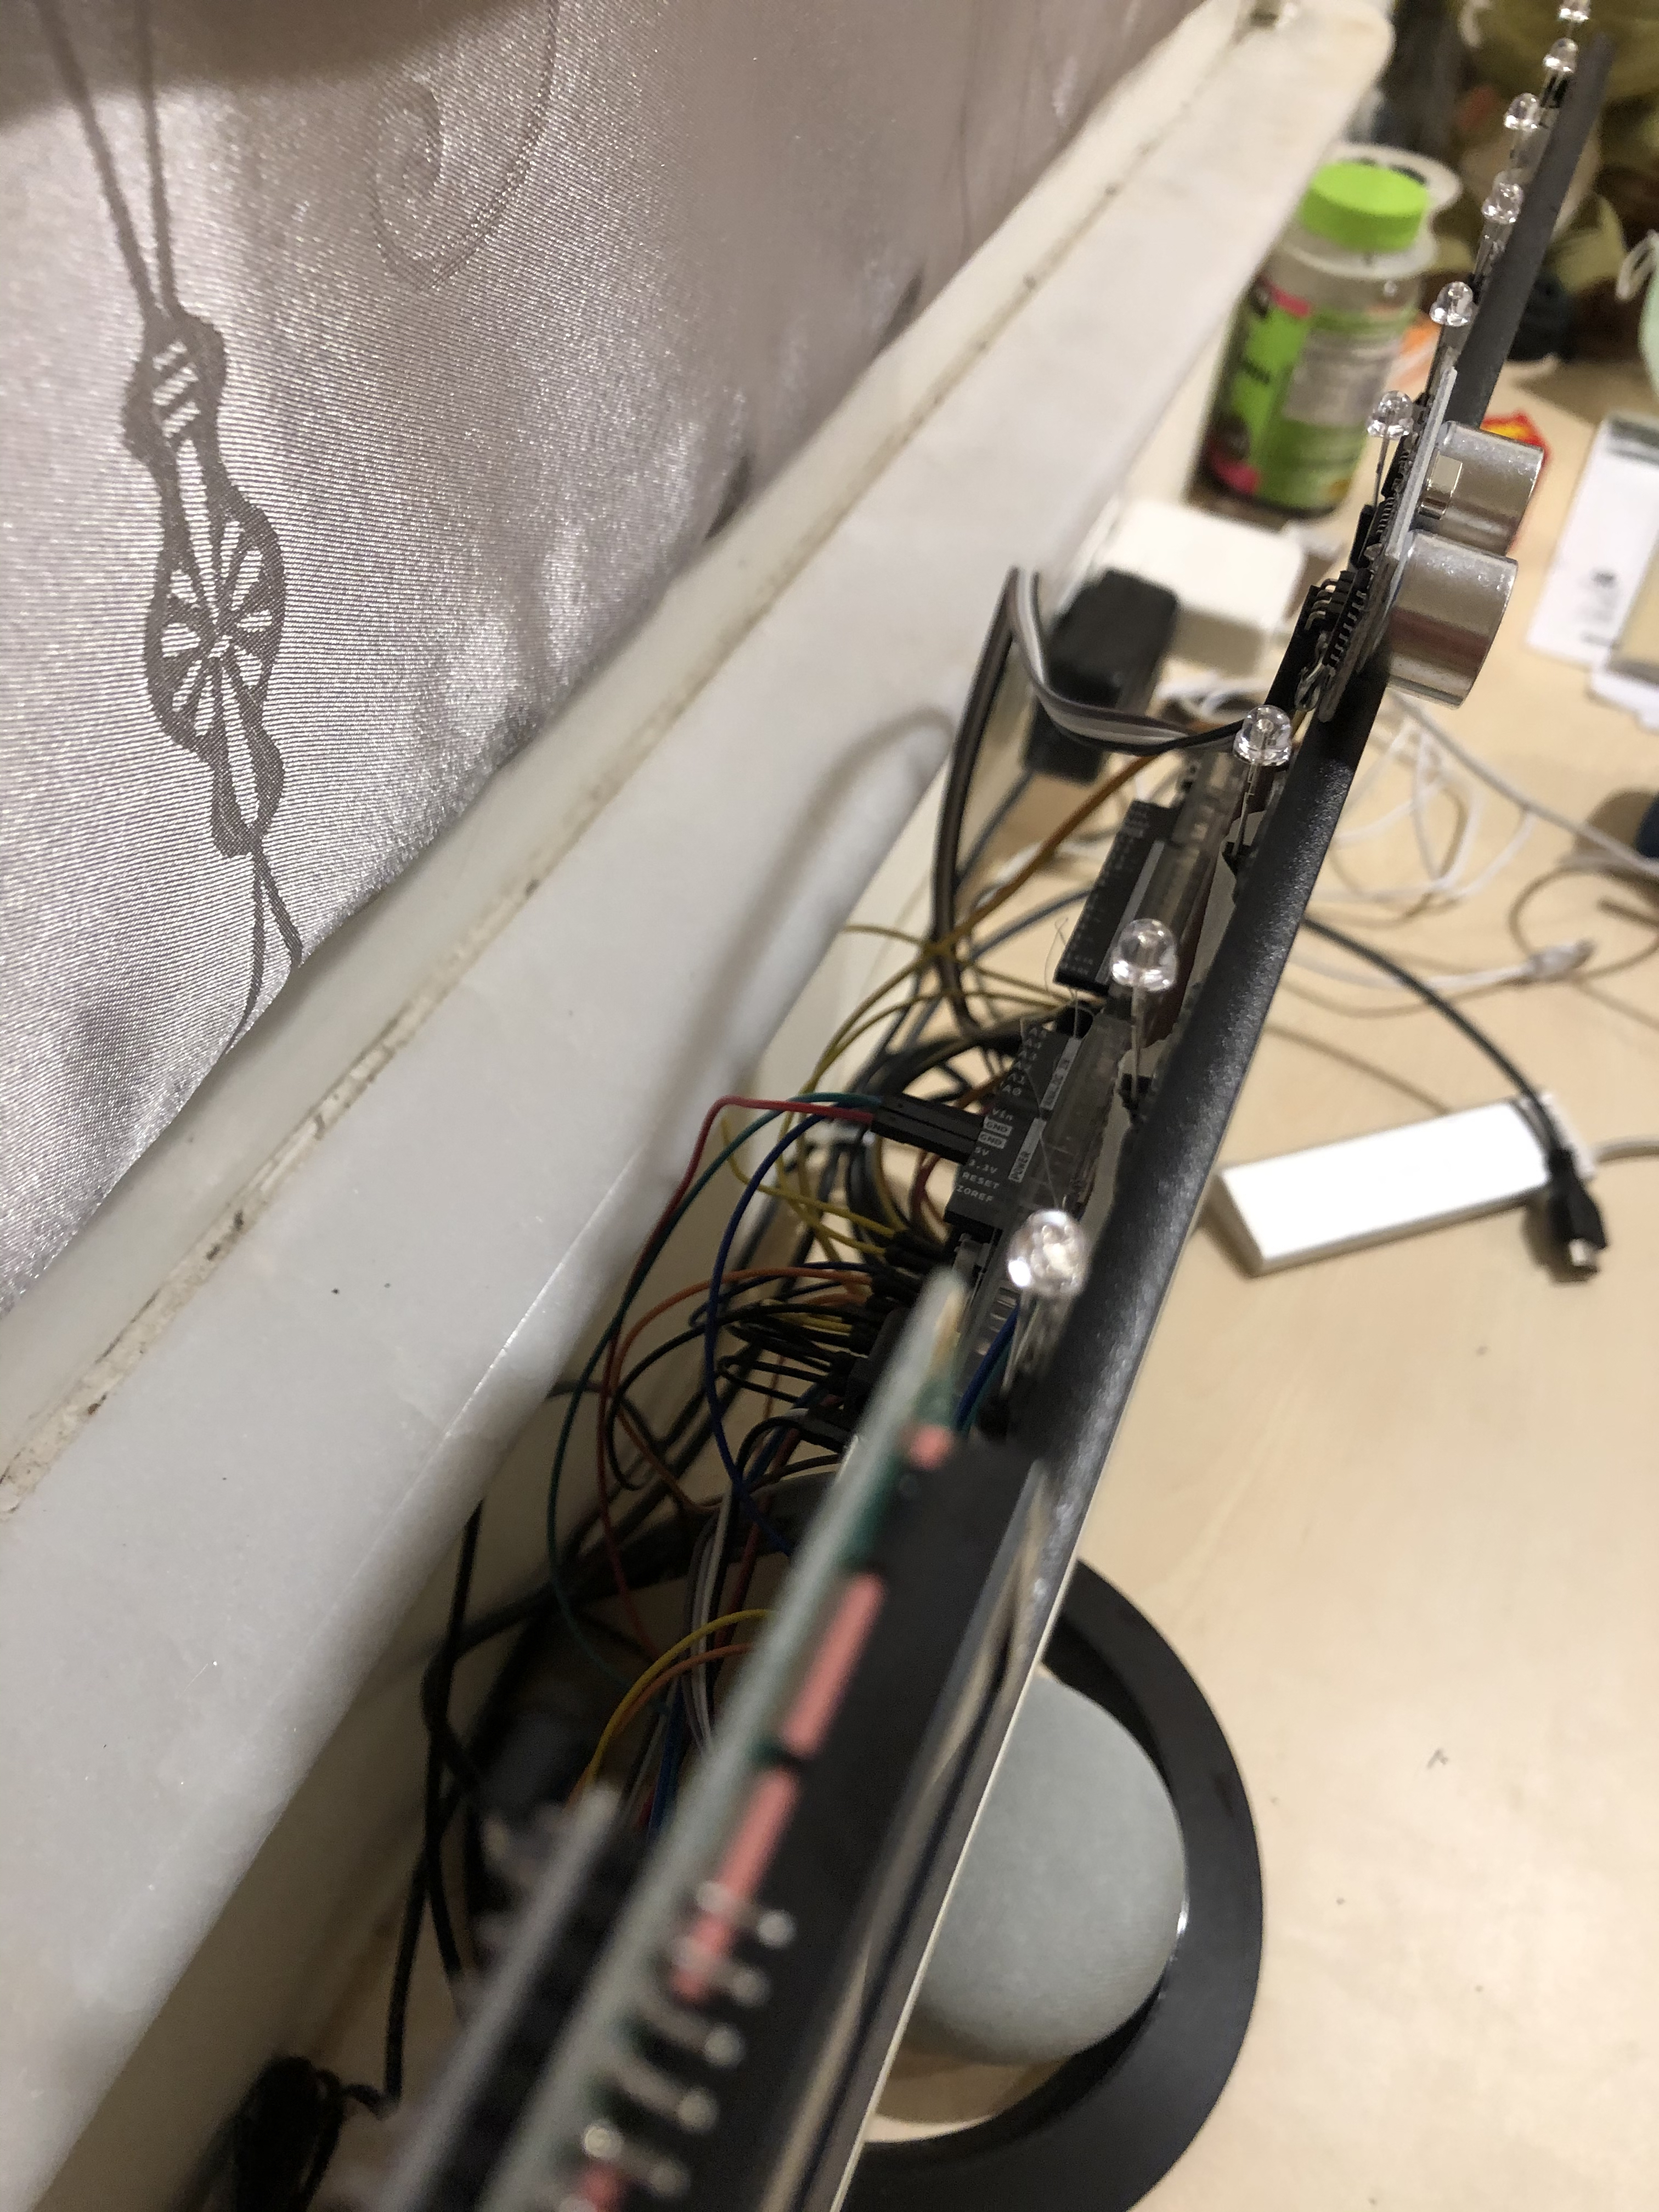
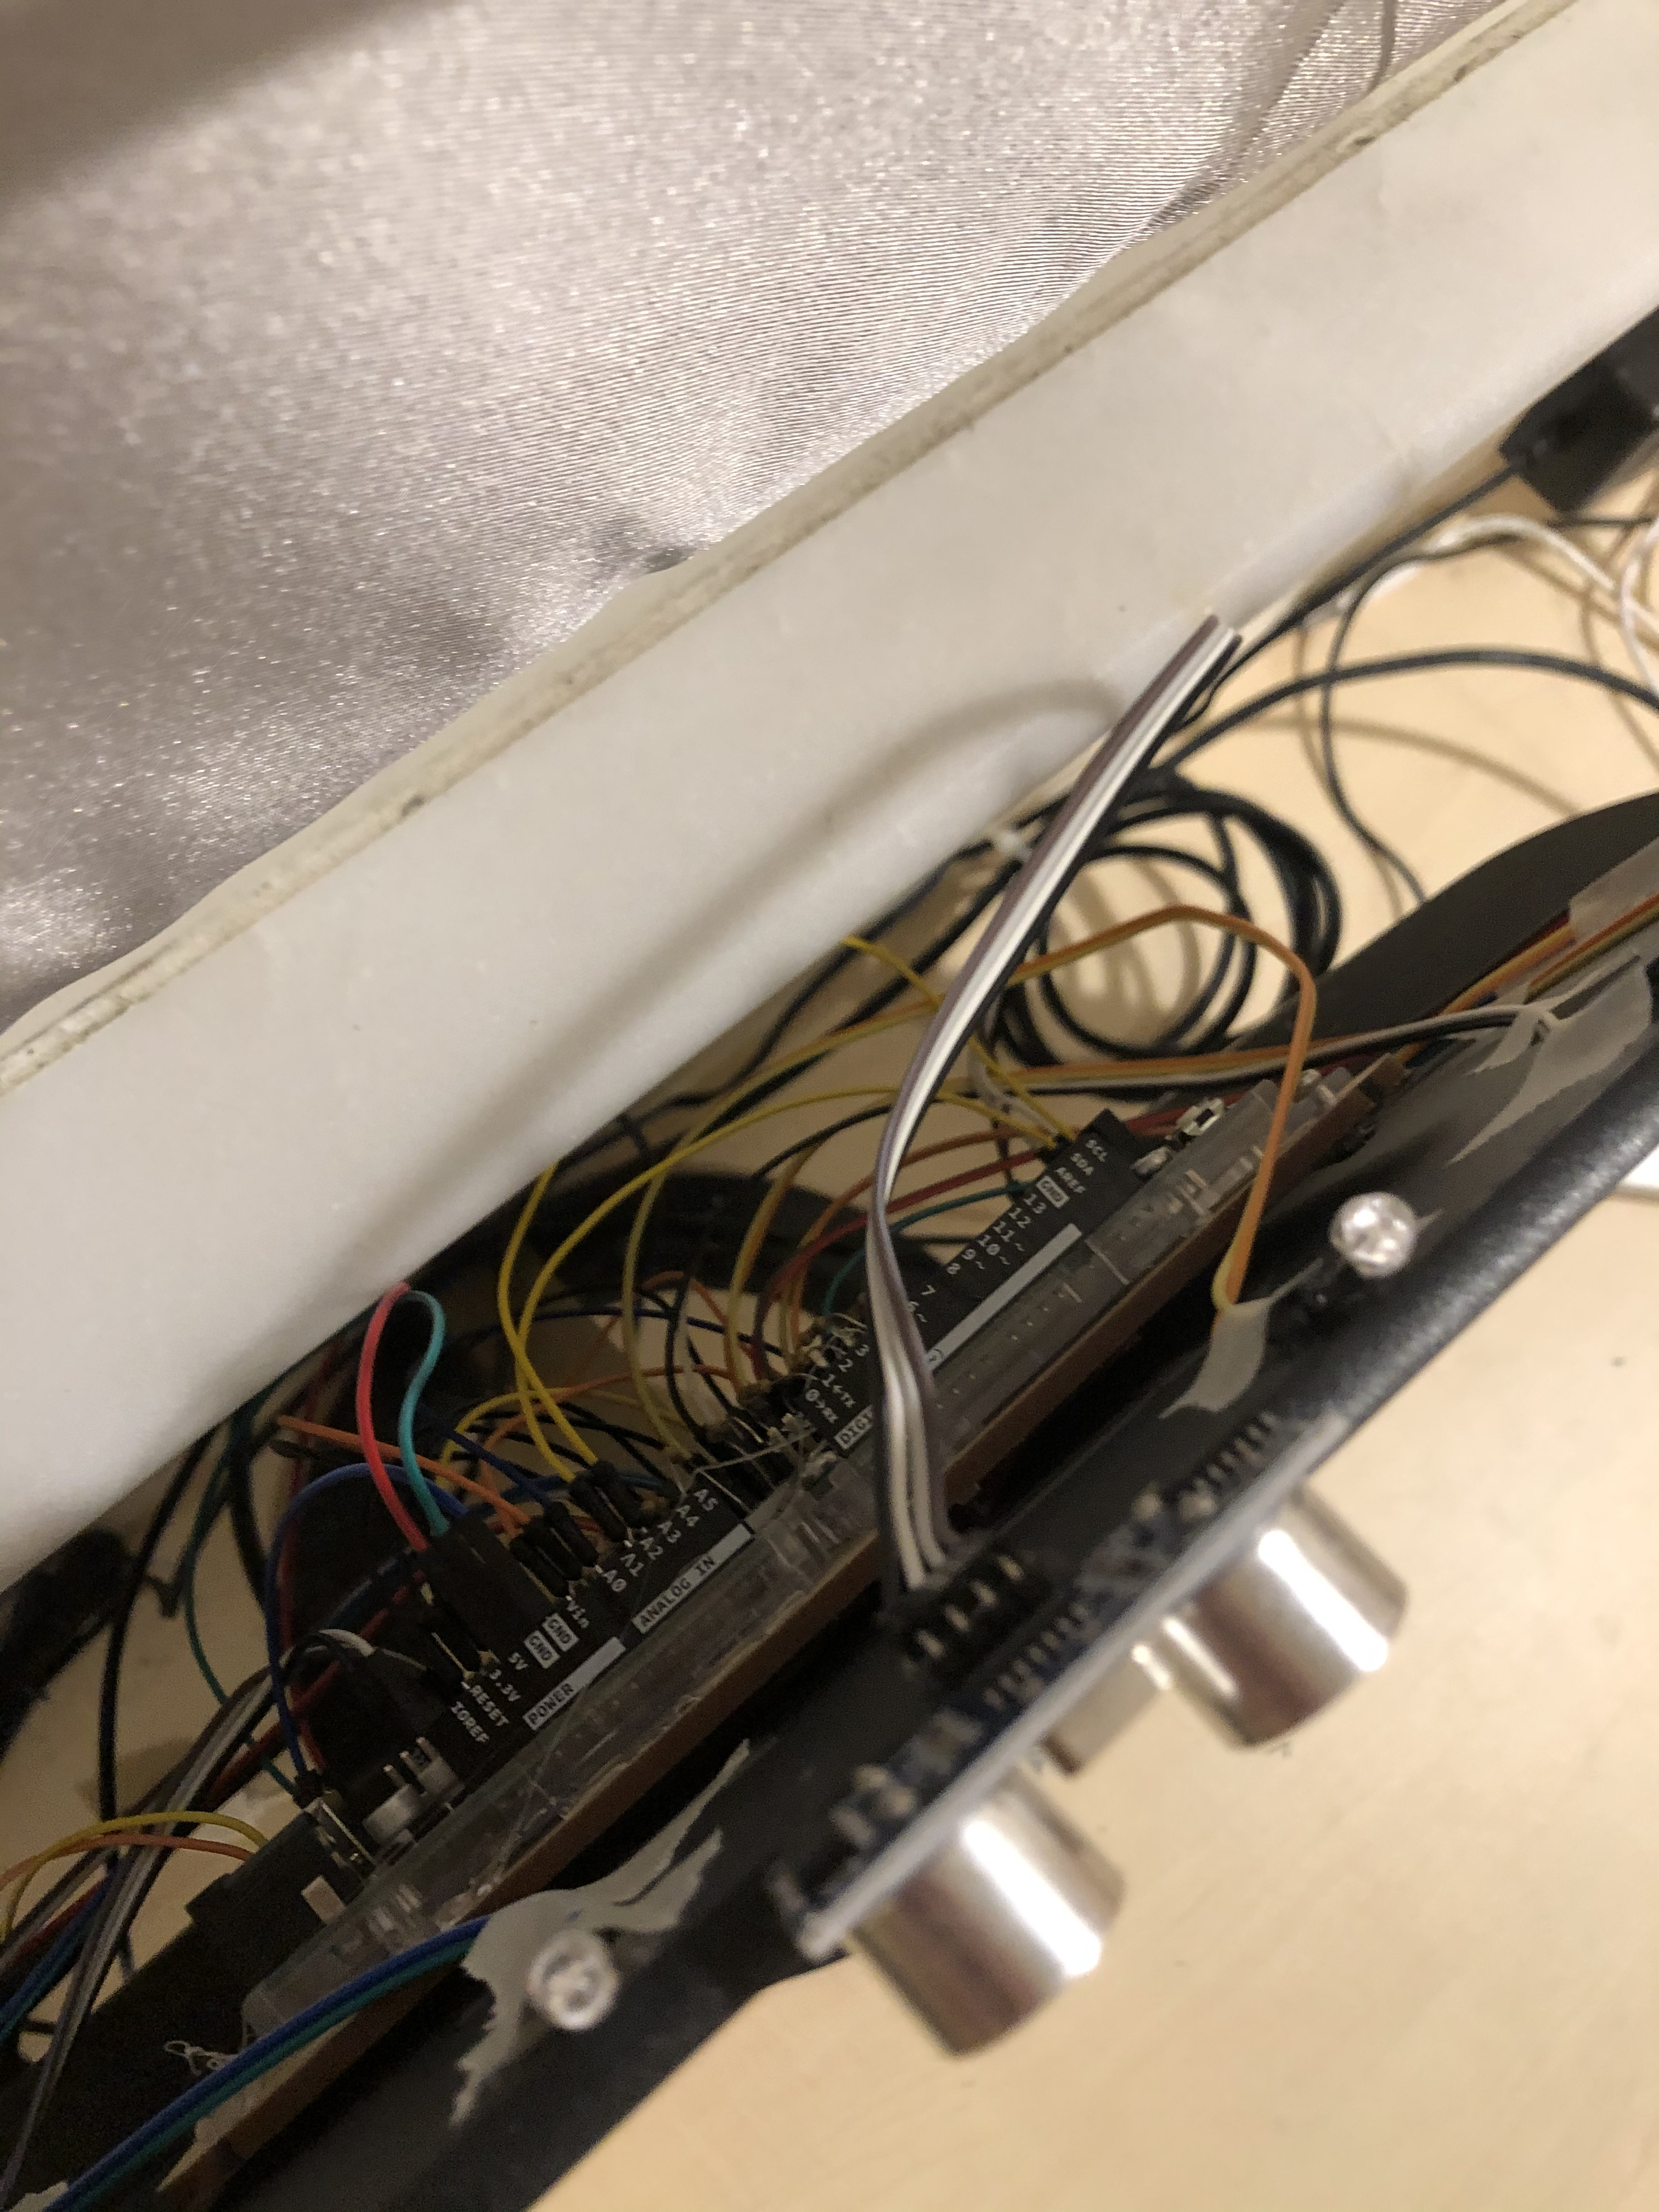
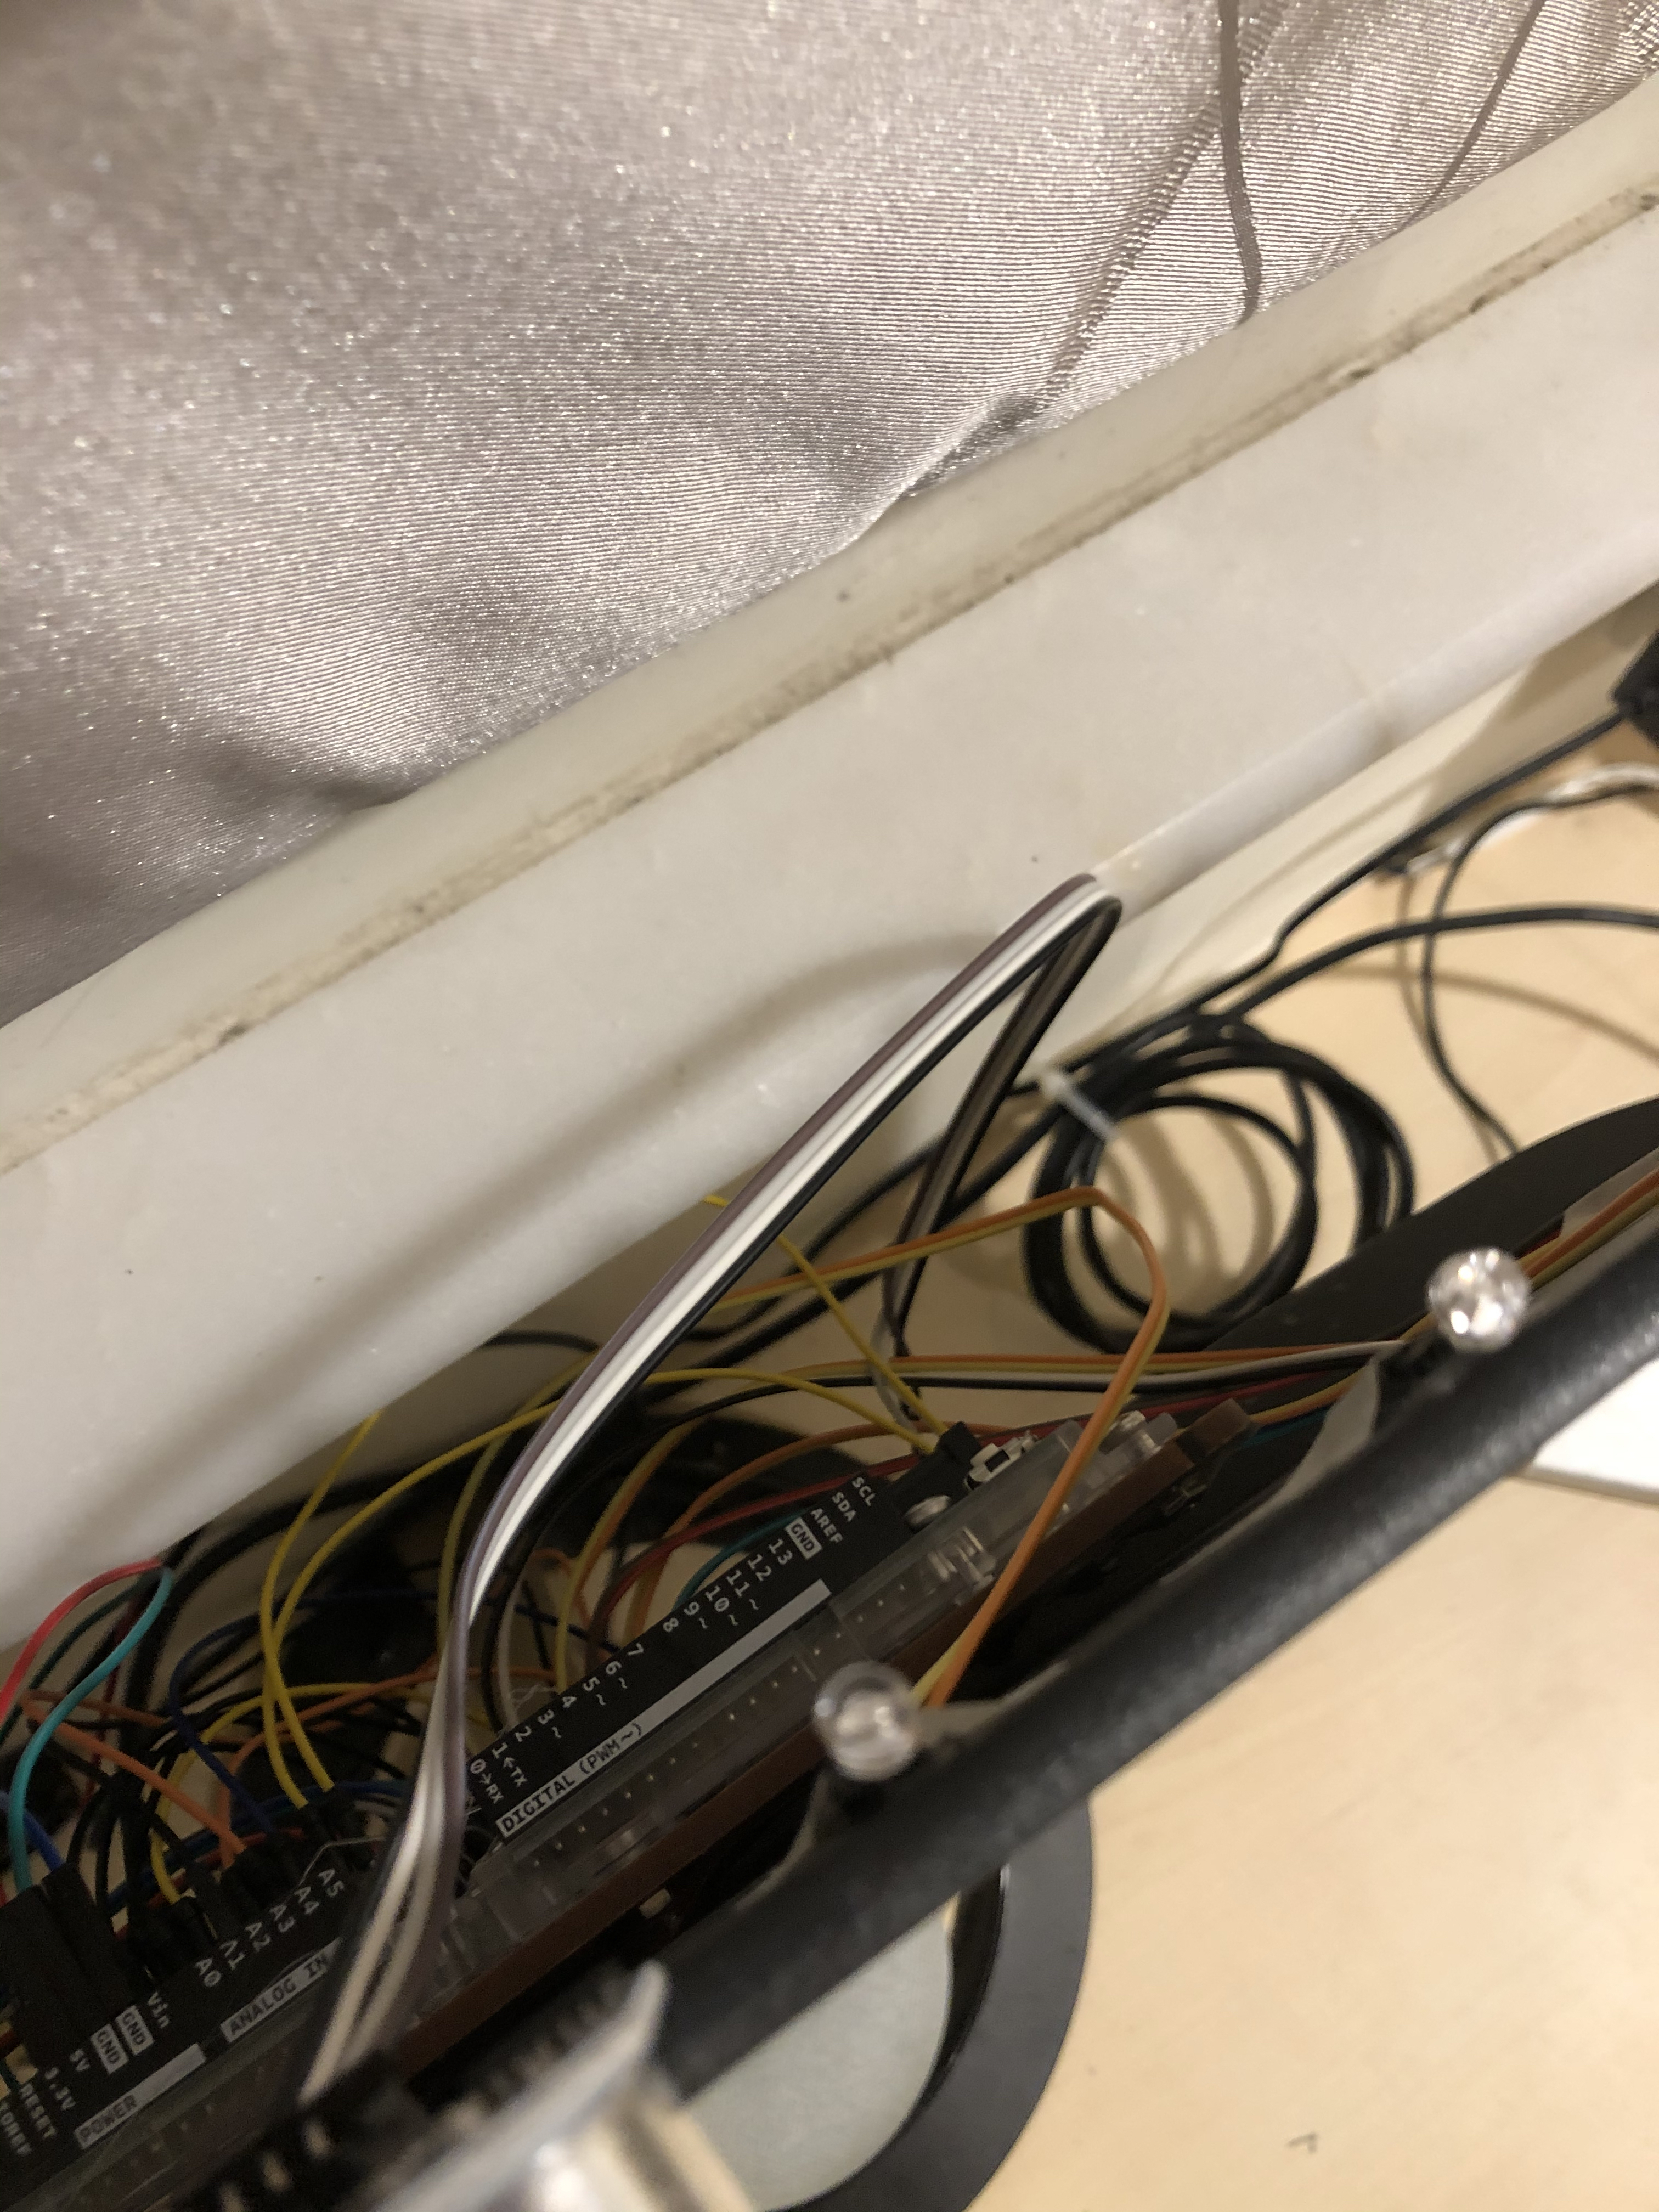
Find a suitable place to set the device up. For me, I set it up behind my computer screen with the ultrasonic sensor and the LCD screen facing towards me.
RULES FOR SETTING UP:
- Find a place suitable
- The ultrasonic sensor must face towards the user
- The nearest object that the ultrasonic sensor can detect shouldn't be less than 100 cm. (You can but you need to change the code written)
- The LED should be set up where can be visualized
- The LCD screen should face towards the user
- Don't set up the device near extreme temperature and humidity
- Calculate the space needed for the device, don't bend or crush your cables or device
You're Done!
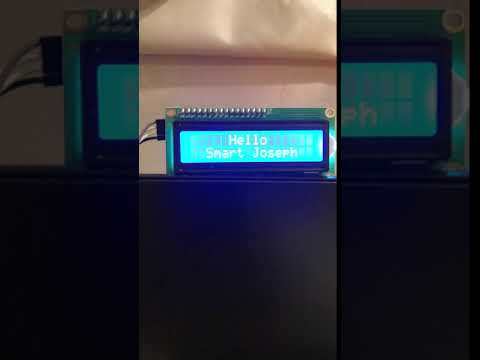
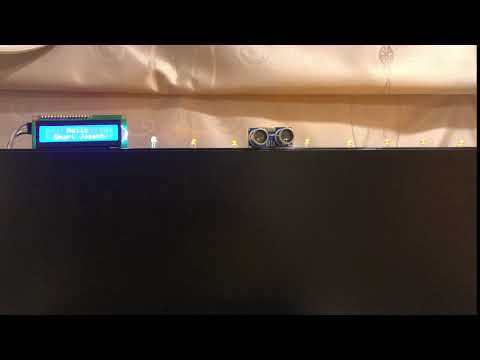
Congratulations, you're done with your Arduino project!
FRIENDLY REMINDER:
- Before starting the device, make sure you have connected all cables properly and correctly. When it's not connected all cables properly and correctly, it might cause serious damage to your Arduino board and computer, which might cause them to overheat and might cause fire.
- The arrangements of the pins can be changed by yourself, just change the pin number in my Arduino code to fit your scenario.
- You can add add-ons by yourself, just add and change my Arduino code to fit your scenario.
- You can change my Arduino code, just make sure it fits your scenario.
RECOMMENDED CHANGES:
- Change the LED welcome light animation via code
- Change the LED welcome light color
- Change the ultrasonic sensor detection distance via code
- Change the words/information on the LCD screen
- Use add-ons (eg. add temperature to LCD, add a clock to LCD......)
How to Use?
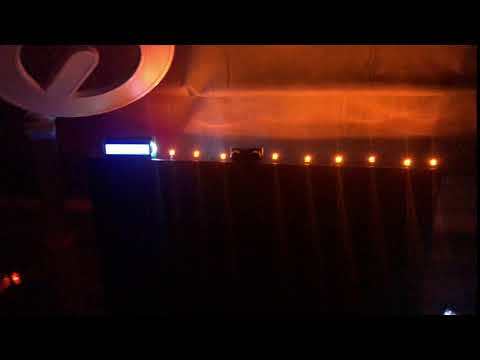
How to use it?
Just walk in the area the sensor can detect. When the sensor detects you, the device will be activated and will light up all LED lights and the LCD screen.
This device is built precisely and can work/fit in many scenarios.
Scenarios:
- You walk in the detected area->the sensor detects you->LED and LCD activated->You still stay in the area->All LED and LCD won't be activated again
- You don't walk in the detected area->the sensor won't detect you->All LED and LCD won't be activated
- You walk in the detected area->the sensor detects you->LED and LCD activated->You leave the area->All LED and LCD won't be activated
- You walk in the area->the sensor detects you->LED and LCD activated->You leave the area->All LED and LCD won't be activated->You walk in the detected area again->the sensor detects you->LED and LCD activated