Ultra-Tiny Solution of Daily Activities Recognition
by AlexMiller11 in Circuits > Arduino
443 Views, 1 Favorites, 0 Comments
Ultra-Tiny Solution of Daily Activities Recognition

Things used in this project:
Hardware components
Software apps and online services
Intro
Despite the incredible variety of wearable devices today, most of the AI features come down to merely defining very simple actions. They determine whether one is running or sleeping, they count the steps, and they determine if one falls.
It seems to me that we are ready for much more complex analytics from our devices. What if they could recognize more specific, similar, and complex activities? It would open up the never-before-seen possibility of creating a great many new interesting applications and devices.
However, recognition of more complex activities requires large and complex neural networks which require a great amount of computation. This would obviously quickly drain the battery of the IoT device where this neural network would be embedded. The majority of wearable devices should operate in the always-on mode, which places serious demands on the energy efficiency of such solutions.
How can we solve this challenge? In my project, I want to show an example of how you can significantly increase the complexity of intelligence functionality, and determine what a wearable device can recognize with a very small and accurate neural network.
In my project, you will find a detailed guide on how to implement Multiple Daily Activities recognition using the Nicla Sense ME.
If you have Nicla Sense ME, you can try my pre-trained model in your experiment/project/classes.
You also can participate in my practical webinar on April 11 at 5 pm CET. Where you can watch how to create this solution from leaders from Neuton.AI, Arduino and Bosch. Don't miss this opportunity to learn from experts directly.
Our test results show that the model perfectly recognizes the movements of 30 participants whose data was not used for training the model.
Following this tutorial, you also can easily make your own experiment and train your neural network on your data to recognize the same or different movements.
We believe that the ability to recognize an extremely complex and similar action using small neural networks opens up a new era for always-on devices.
Below, you will find a full tutorial on how to reproduce this experiment, including data collection, model training, model embedding and inference. In addition, we have created a public repository with a pre-trained model that has demonstrated good generalization on new users. It is a precompiled model archive that you may just download and embed into your Nicla Sense ME with a few clicks of a mouse and start testing.
Data Collection With Nicla Sense ME

For this case, I’ve selected 5 types of activities (for your experiment, you may choose other activities):
- Washing hands
- Brushing teeth
- Clapping
- Brushing hair
- Random activity (negative class)
For each activity type, I collected sensor data with Nicla Sense ME for 10 minutes non-stop. Data was collected from 7 different people from 7 different locations. It was quite a challenging, yet fun process because, for proper data collection, it was undesirable to interrupt. Here’s some advice for those who plan to re-conduct my experiment: before collecting data for another activity, get some rest! However, if 10 minutes of constant hair brushing is too much, you can do two 5-minute data collection streams and then concatenate the two files.
For the negative class, we collected 60 minutes of data. There’s no need to do anything special this time; just get on with your everyday activities. Type on the keyboard, operate a mouse, answer calls, drink tea, or do whatever you want. Just be sure you don’t sit completely idle with your hands still during negative class data collection. The negative class is a subset of everything else excluding the 4 classes outlined above.
Steps:
Now let me provide you with detailed guidelines on how to tune Arduino’s board, Nicla Sense ME to collect data.
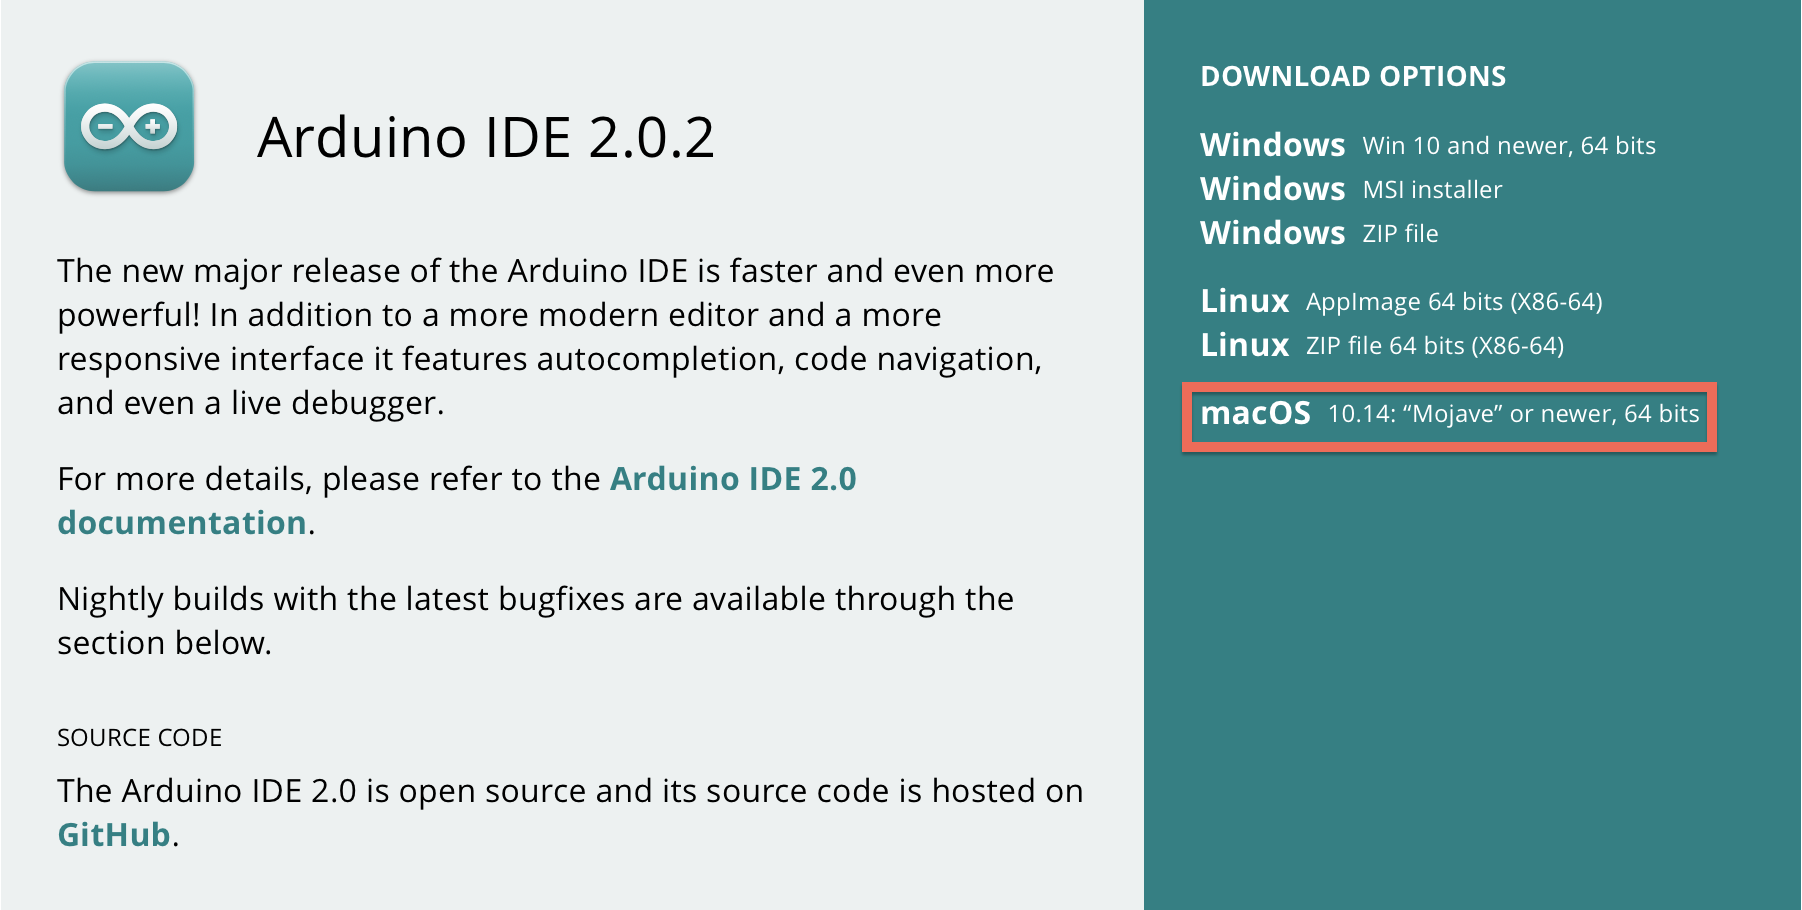
1. Visit https://www.arduino.cc/en/software, download Arduino IDE 2.x.x for your OS, and install a package.
2. Open Arduino IDE, click on the Boards Manager icon, type “nicla sense me” and install the Arduino Mbed OS Nicla Boards package.

Click on the Library Manager icon, type “nicla sense me” in the search box and install two libraries: Arduino_BHY2 and ArduinoBLE.

Type “printf” in the search box and install LibPrintf.

3. In the main menu, select File->Examples->Arduino_BHY2>BHYFirmwareUpdate.

4. Connect your Nicla Sense ME board to the USB and select the port in the dropdown menu.

5. Click on the Upload button…

… and wait until the uploading process is finished.

6. Click on the Serial Monitor icon and select 115200 baud, then click the RESET button on your Nicla board.

7. After 5-10 seconds you’ll see that the BHY firmware is uploaded.

8. Download the Arduino precompiled library for sensor data collection using a Nicla Sense ME from the Neuton repository.
model -> Arduino_Neuton.zip (do not uncompress the archive)
9. Install the ‘Arduino_Neuton.zip’ model into the Arduino IDE:
Sketch -> Include Library -> Add .ZIP Library… (point to the downloaded ‘Arduino_Neuton.zip’ archive)

10. Quit & restart the Arduino IDE (it will take up to a minute for the Arduino IDE to index all of it’s examples, including the freshly installed ‘Arduino_Neuton’)
11. Open the installed example: File -> Examples -> Arduino_Neuton -> Inertial_Sensor_Data_Collection (a new Arduino IDE window will pop up, close the previous Arduino IDE window)

12. Connect your Nicla Sense ME to your computer’s USB port.
13. In the IDE select your MCU and upload the firmware.

14. After the firmware is uploaded (1-2 minutes), open the Serial Monitor - you should see the sensors readings (In case you will see the connection error – restart the Arduino IDE and open the Serial Monitor once again)

Now you can unplug the board from the USB port.
15. Attach the board firmly to the watch or bracelet. The Micro-USB port should be in the bottom-right corner.

16. Put a watch or a bracelet with a circuit board on your right hand, and connect the cable to it. Make sure that the cable near the connector is not taut so as not to damage the board.

17. Depending on your OS, open the serial port and try to log data. A serial port can be seen in the hint.

Use this command in the terminal if you’re on macOS:
stty -f /dev/cu.usbmodem85EB3A0F2 115200 | cat /dev/cu.usbmodem85EB3A0F2 | tee 4_brushing_hair.csv
This will set the port speed to 115200 baud. Print out data from the serial port as text and save it to a CSV file.

Press Control-C to stop recording. There will be a CSV file with data from sensors (accelerometer, linear accelerometer, and gyroscope) and timestamp.

18. Start recording the movement. Press the Reset button on the Nicla board and restart logging to the file.
For example, clap for 10 minutes (use the stopwatch application in your smartphone). During this process, change the position of your hands to make the data more diverse. Do not stop moving while the recording is in progress.
The recording will start in ~7 seconds after pushing the Reset button.
Once 10 minutes are finished, continue the movement for 10-20 seconds and stop recording.
19. Repeat step 18 for each activity type (use different file names):

Reset the board before recording each movement.
20. Repeat step 18 for the negative class and start recording for 1 hour.
Here’s the video on how the data should be collected (make sure to do the actual activity: i.e. brushing hair should be done with an actual hairbrush on your head, not in the air).
Model Training

After you have collected data on all activities and combined them into one dataset, proceed to the Neuton.ai platform to train your model.
1. Create a new solution
2. Select the data type and upload the data


3. In the left field remove variables lacc_X, lacc_Y, lacc_Z (linear accelerometer is not needed for this model); in the right field select the target variable and click next.

4. Select the task type.

5. Select input data type as INT16.

6. Enable Digital Signal Preprocessing, select Window size 200 and Sliding shift 5.

7. For each of the features (acc_X, acc_Y, acc_Z, gyro_X, gyro_Y, gyro_Z) repeat the following steps:
a. Click ‘Edit’

b. Select ‘Remove all’

c. Select ‘Statistical’ features and check the following features: Mean, Root mean square, Mean Absolute Deviation, Standard Deviation, Mean-crossing Rate, Zero-crossing Rate

8. Select the microcontroller bit depth: 8 bit and start training.

After the model is trained, proceed to the Prediction tab, check out model quality metrics and download the archive with the model for embedding.


The downloaded model source code will look like this:

The archive contains everything required for embedding the model into any MCU. Use the archive contents to compile an Arduino Sketch, flush your Nicla Sense ME with this sketch and start inference.
In case you would like to inference our pretrained model, just download the precompiled sketch for Arduino Nicla Sense ME in our repository: https://github.com/NeutonTinyML/hand-activity-recognition.