Ultimate Ice Cream!
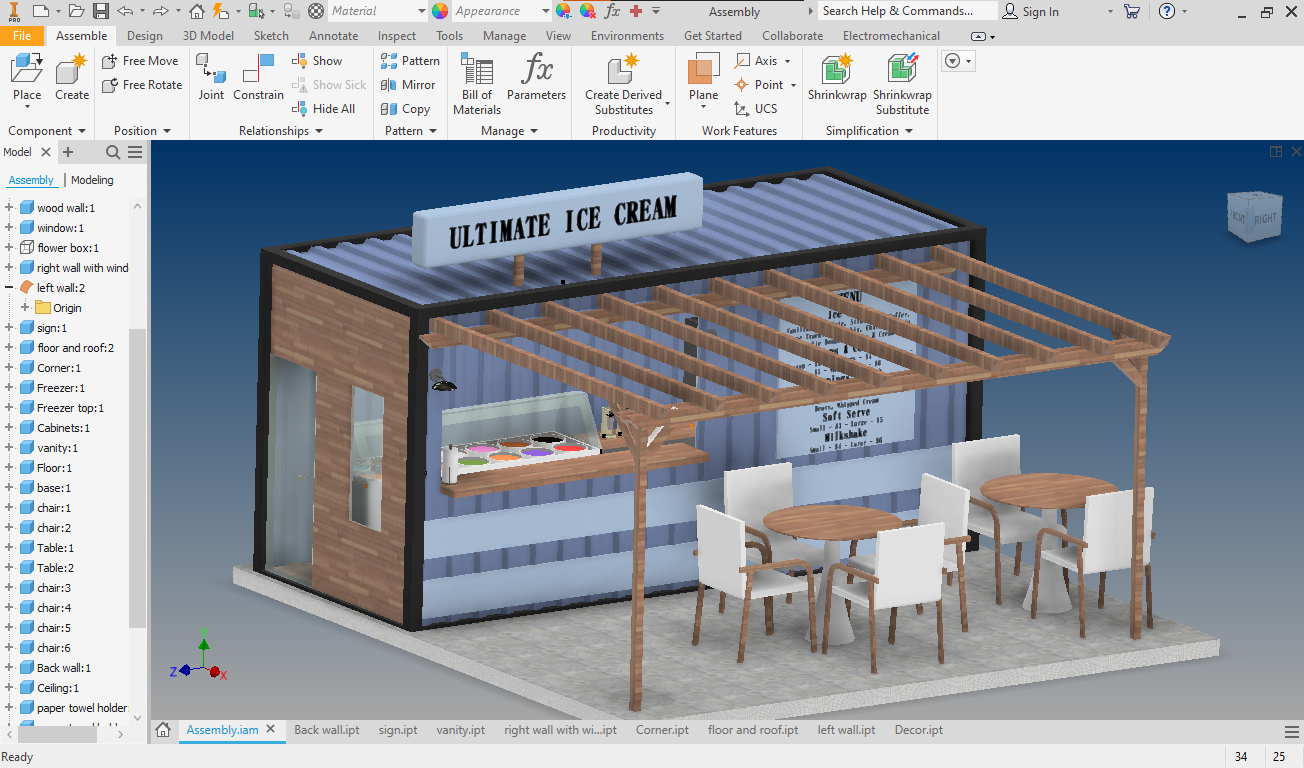
Hi! My name is Joseph, i'm a sophomore in high school. I decide to make an environmentally friendly ice cream shop out of an old shipping container. The only supplies I needed were a Dell laptop and inventor 2020.
Walls
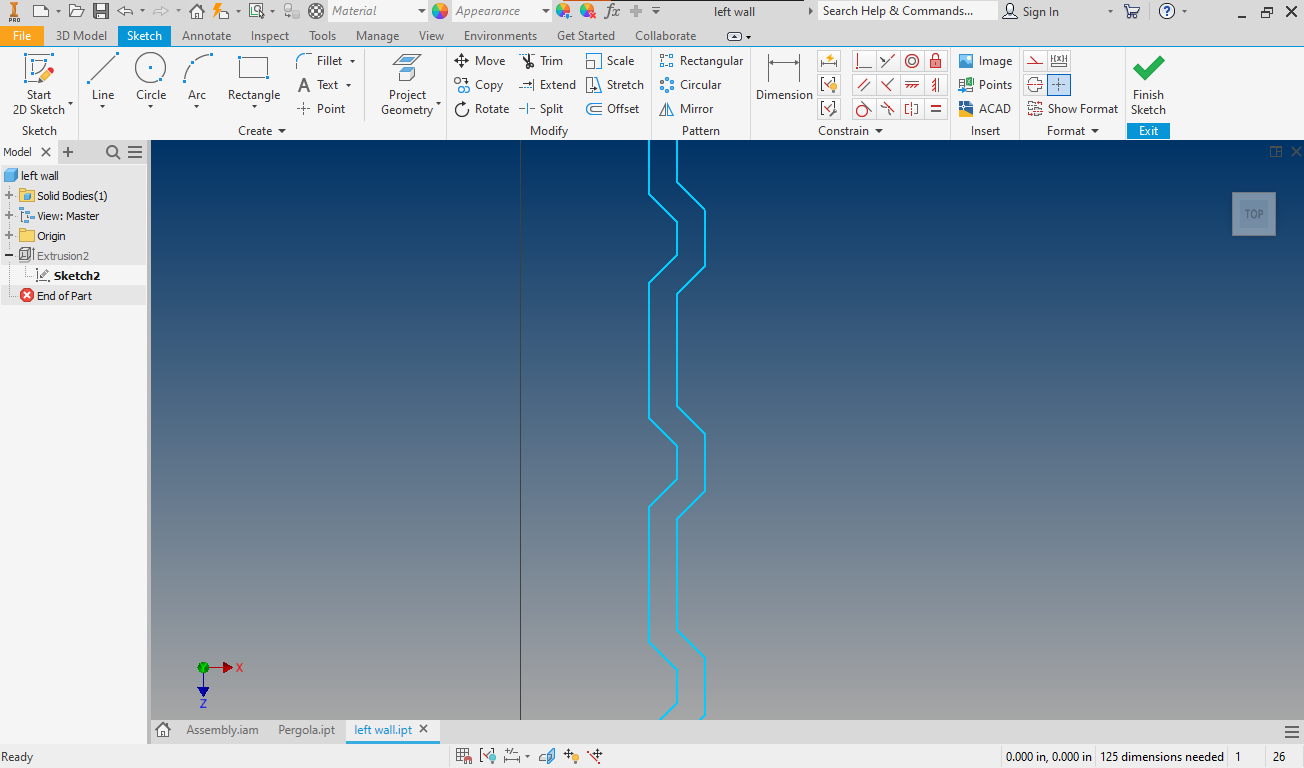
In the sketch, the walls are 2" thick. However you want the exact design of the wall is completely up to you.
Walls
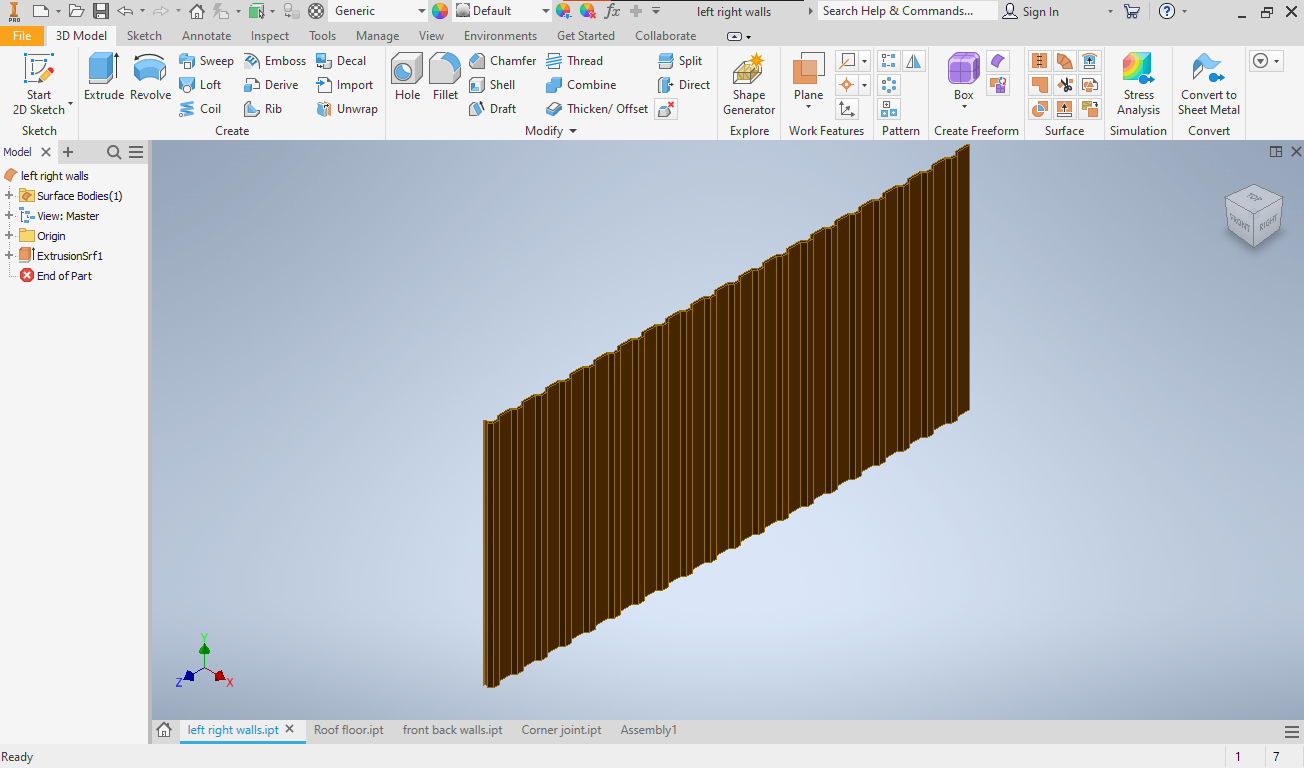
Extrude the sketch 114".
Walls
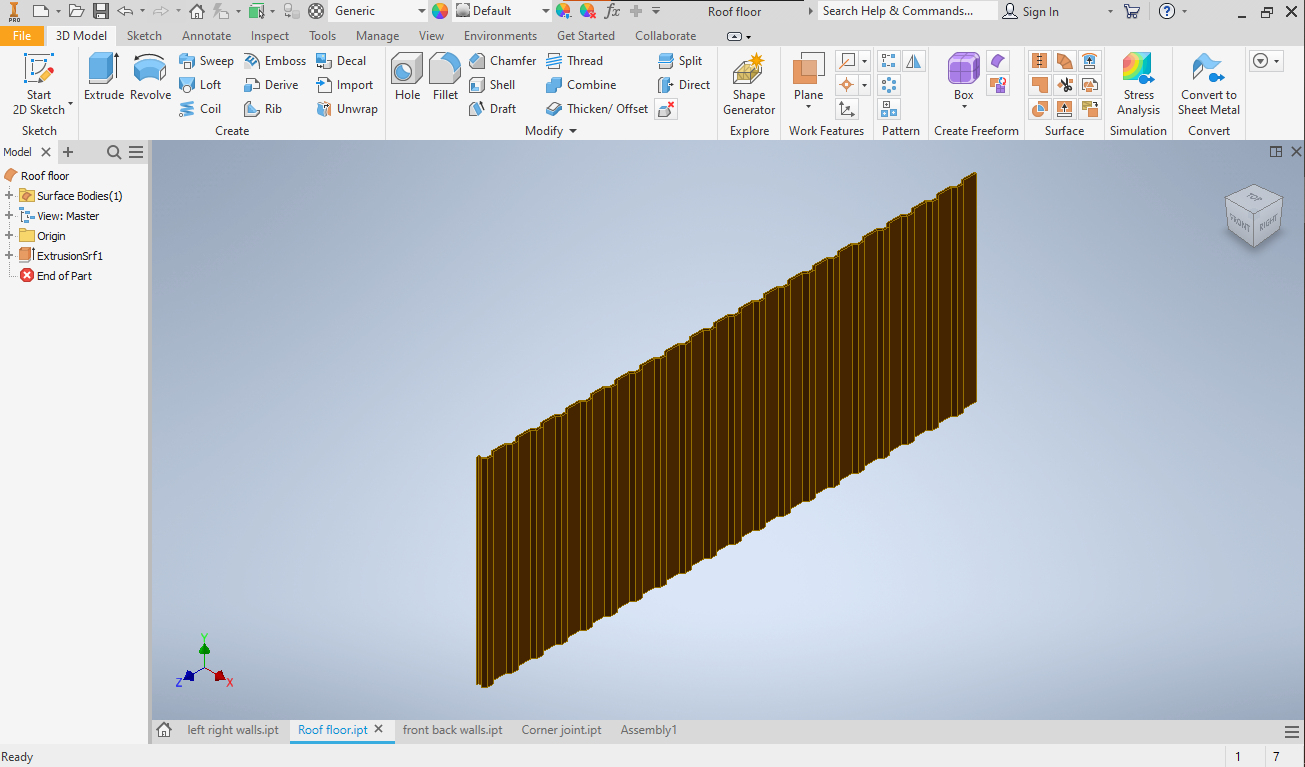
Extrude the same copied sketch 91".
Walls
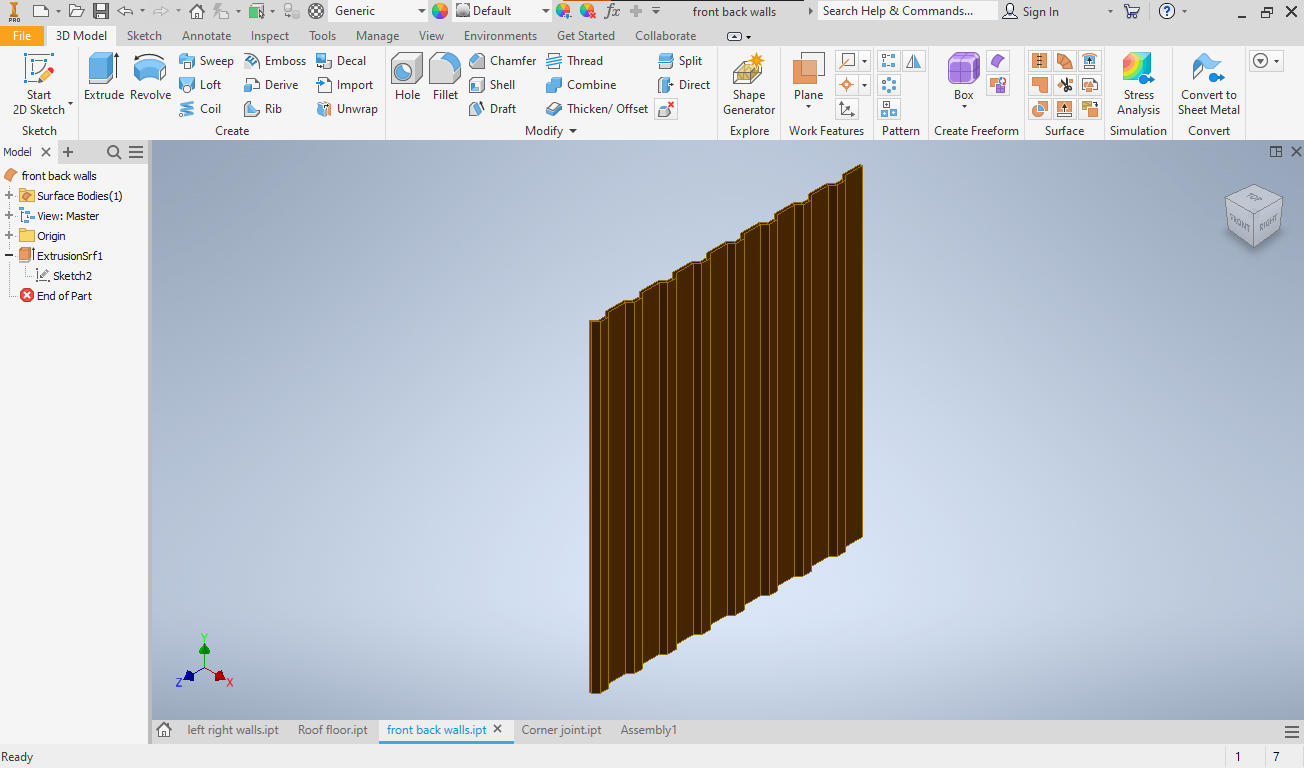
Copy, paste, and adjust your original sketch 114".
Assembly
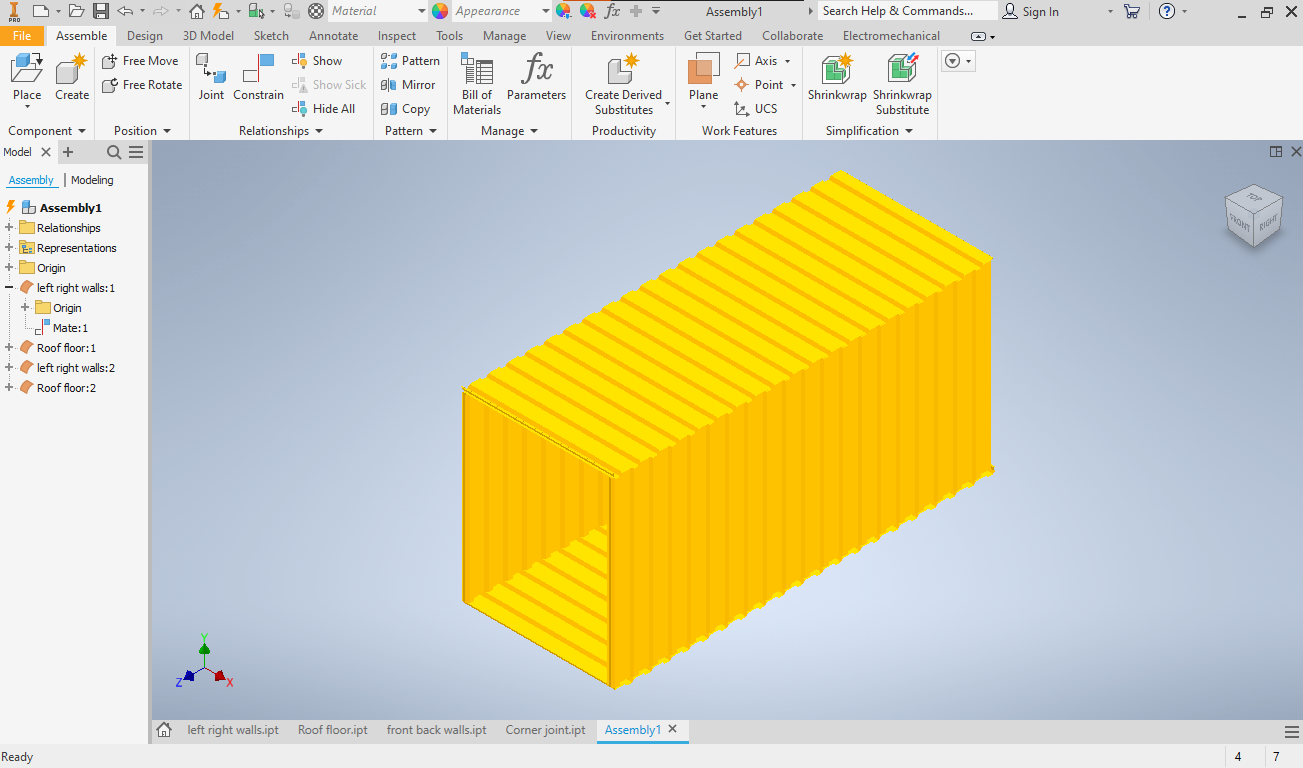
Test the assembly feature on Inventor 2020 to put all of the pieces we just made together.
Corners
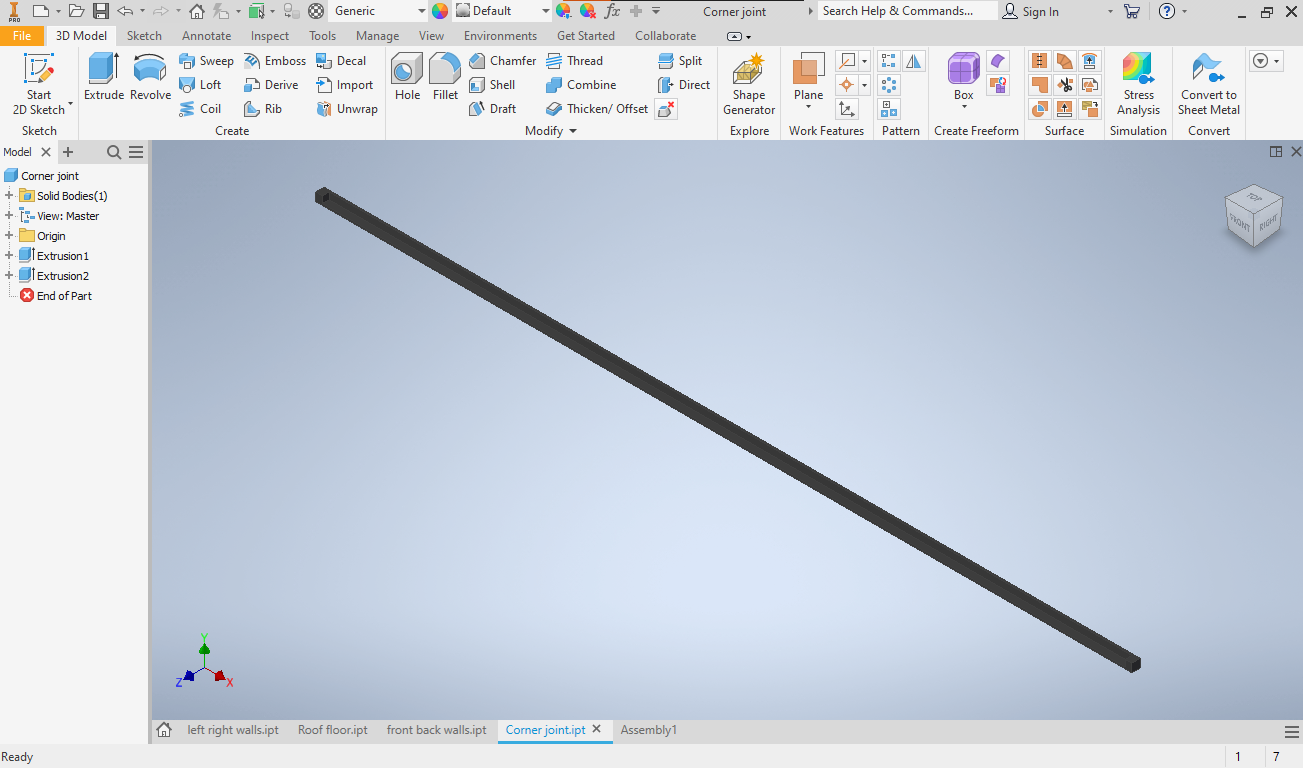
Do not do this
Corners
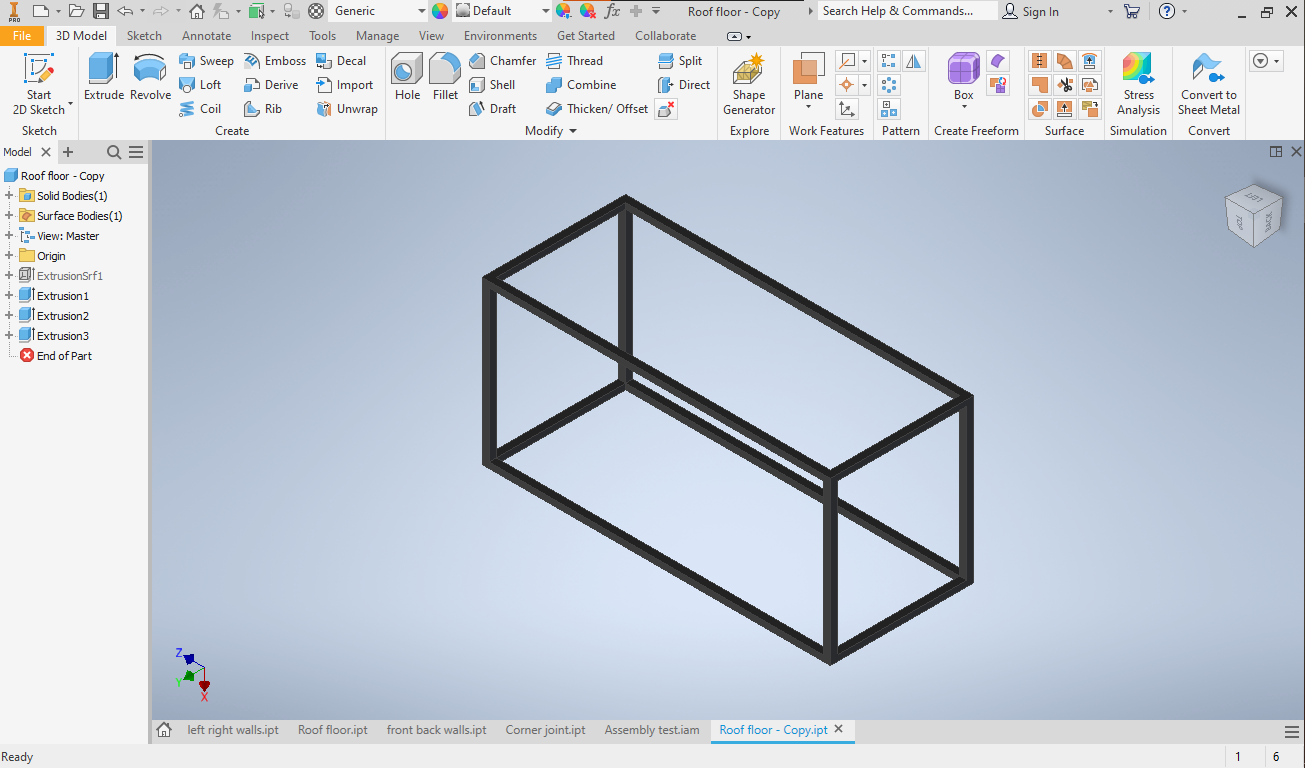
Create the bottom rectangle first, create legs up from the corners of it, and one more rectangle on top of those legs.
Assembly
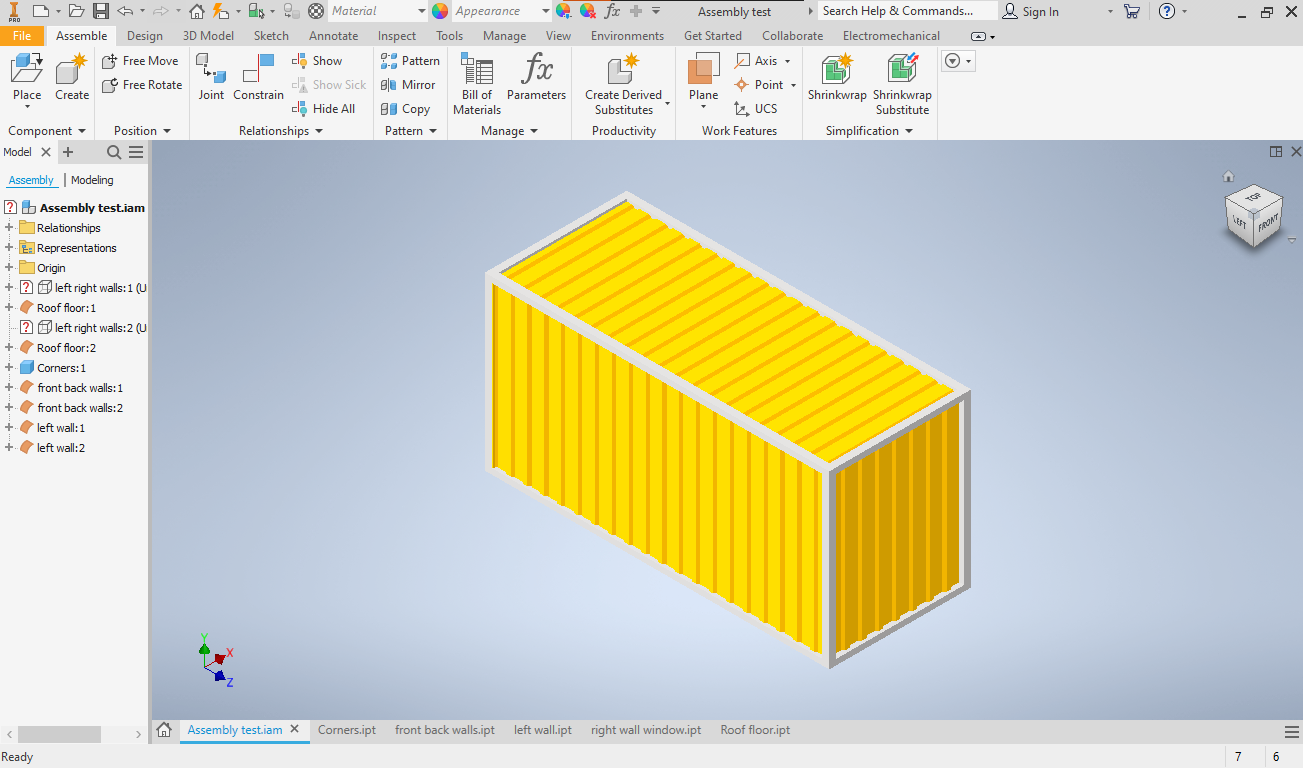
Assemble everything
Assembly
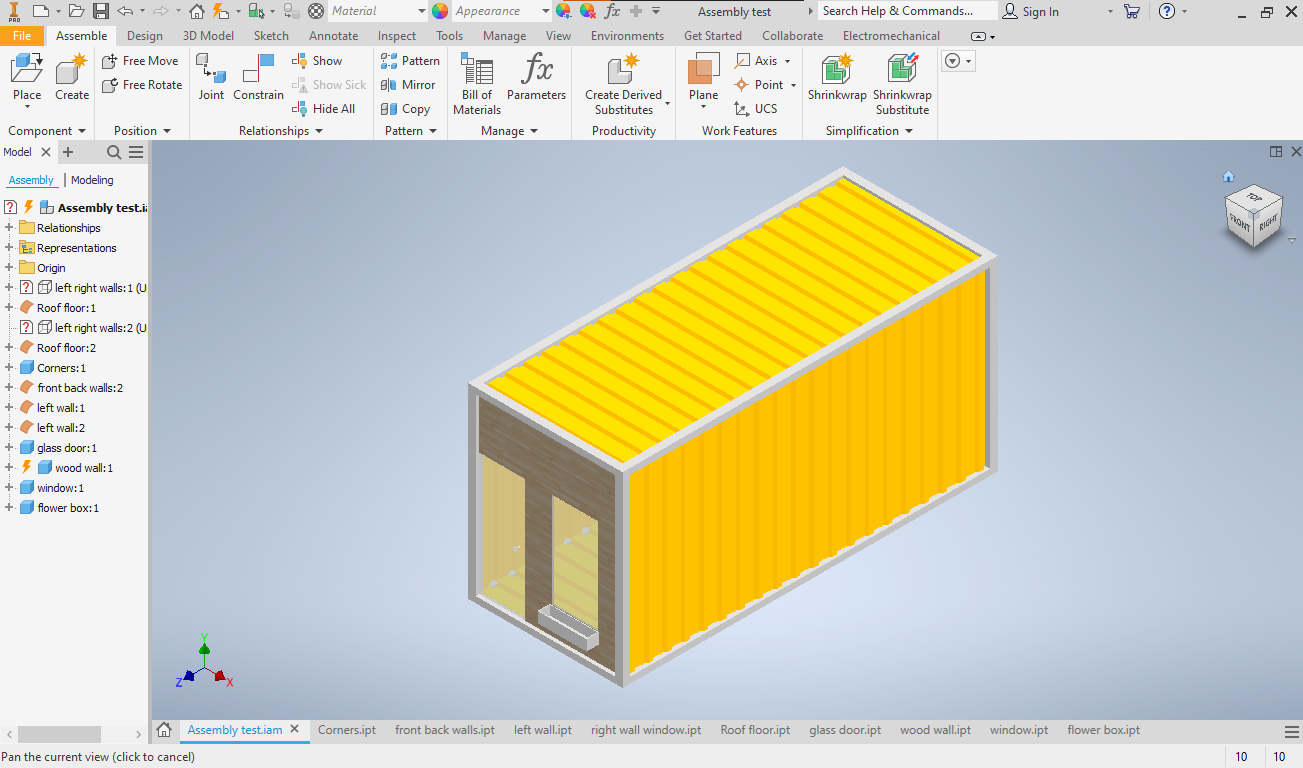
Make a wall with a door at the least. Design it exactly how you want it.
Menu
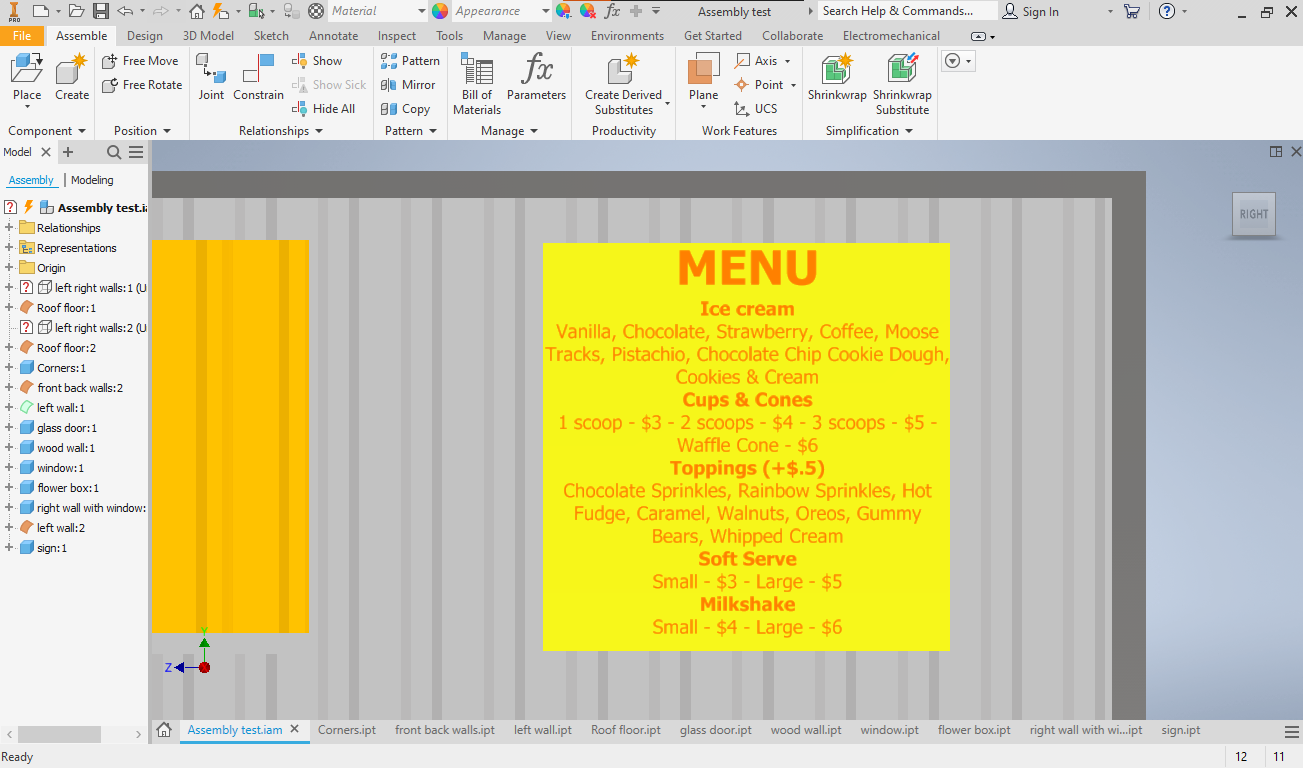
Create this however is best for you.
Assembly
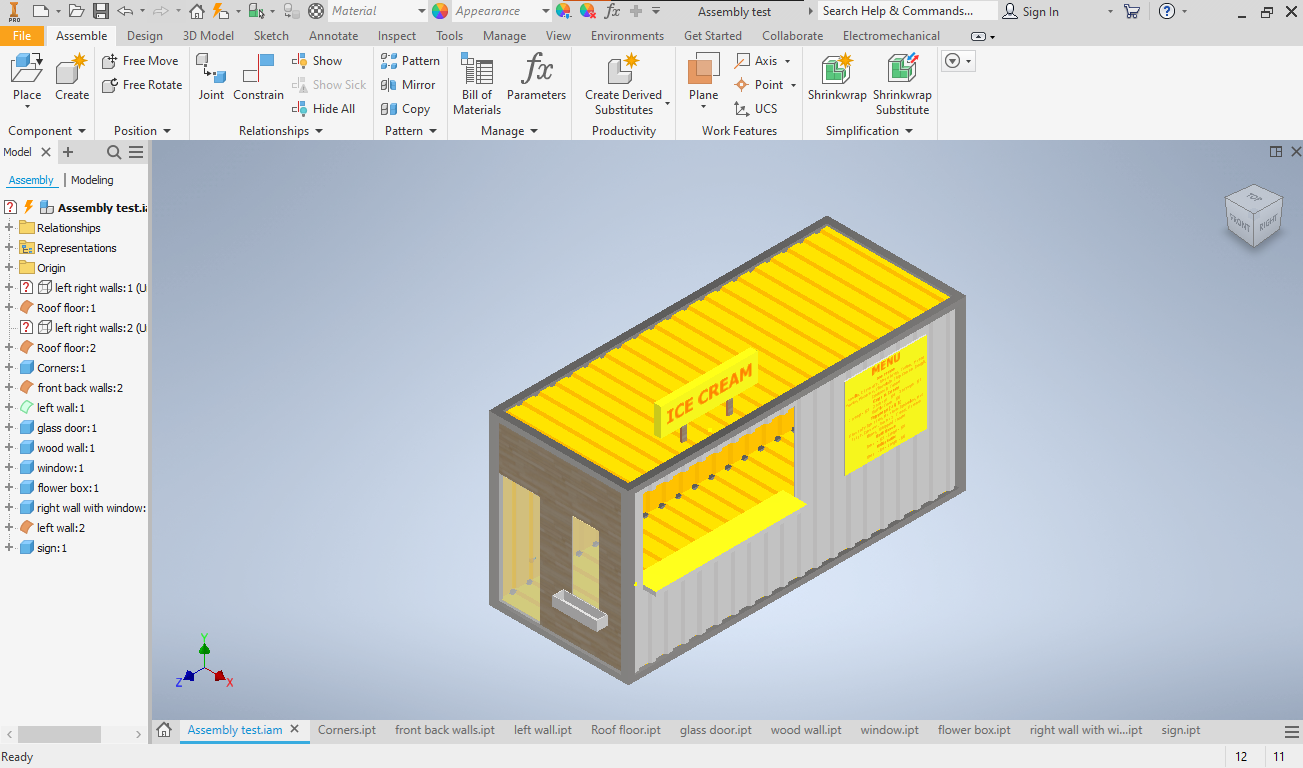
Assemble all of your components. I created the sign by making a 36" x 12" rectangle and extruding it 10". This create the main box of the sign. I created a new sketch on the bottom side of the rectangle and created two legs in which I extruded 10". I finished by adding my text and smoothing all of the corners using the fillet feature.
Assembly
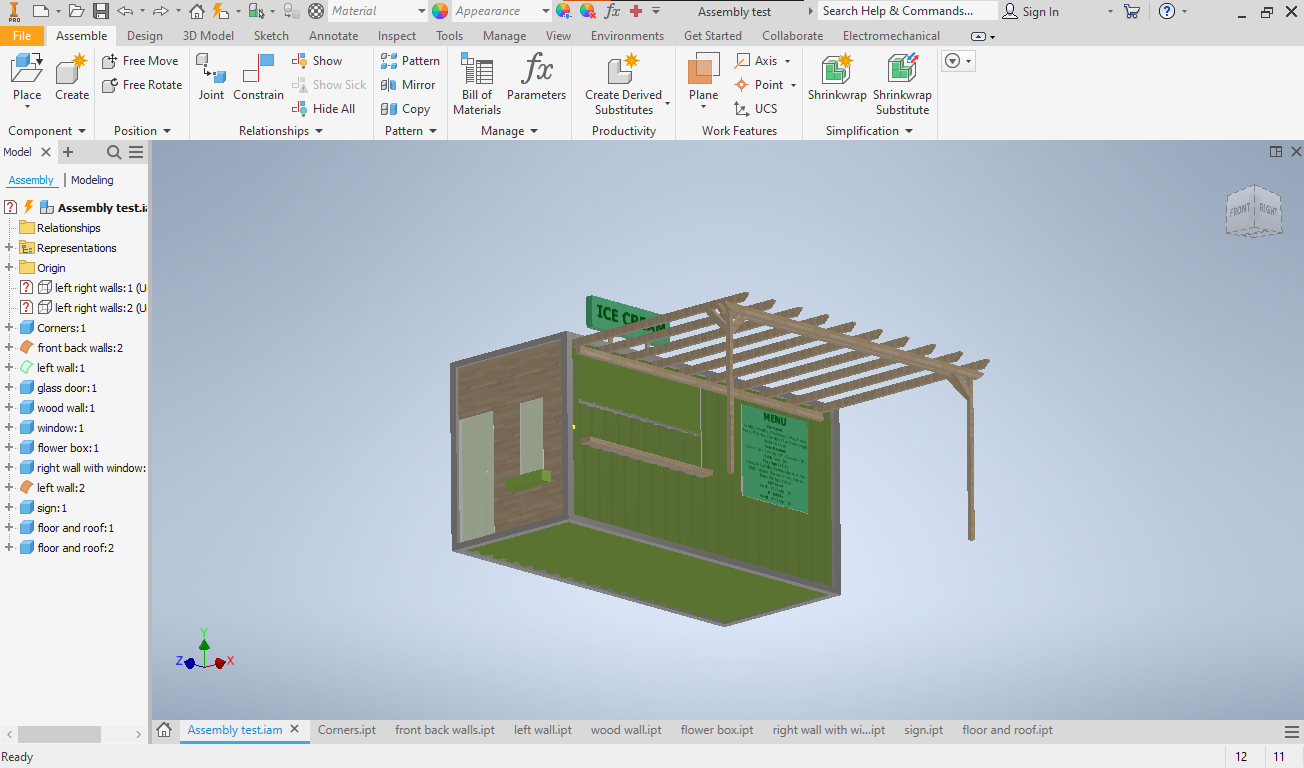
Create your pergola (optional of course) and assemble everything together.
Ice Cream
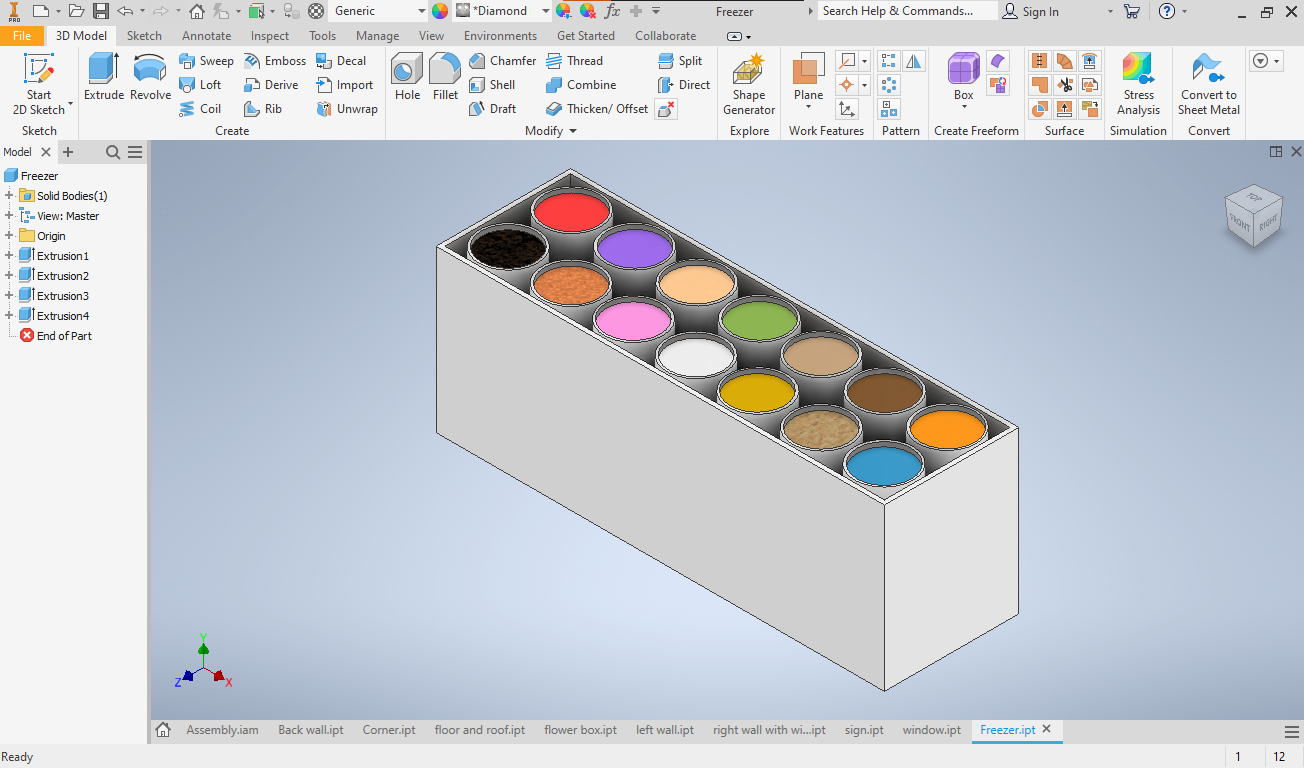
Follow steps. You can change the design of the freezer to fit your space better or make it look what you think looks best.
Assembly
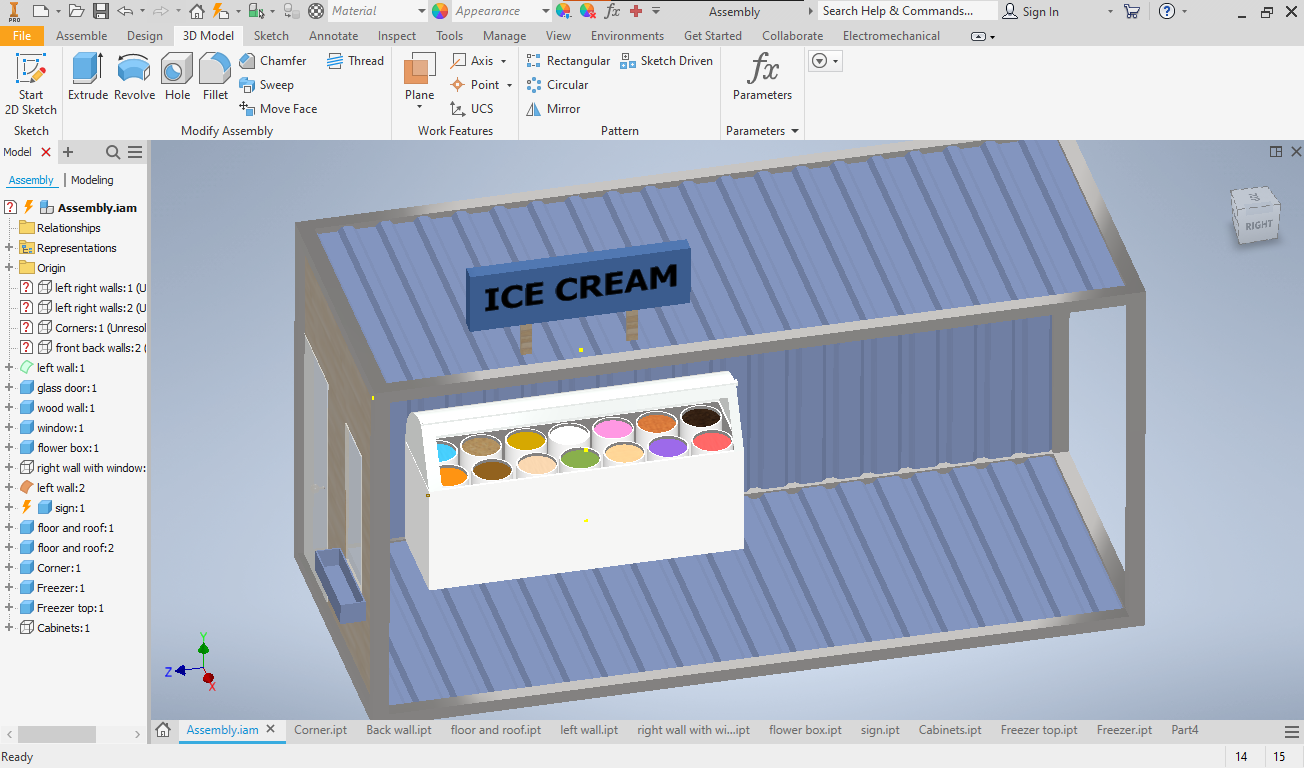
Add your freezer to your assembly.
Cabinets
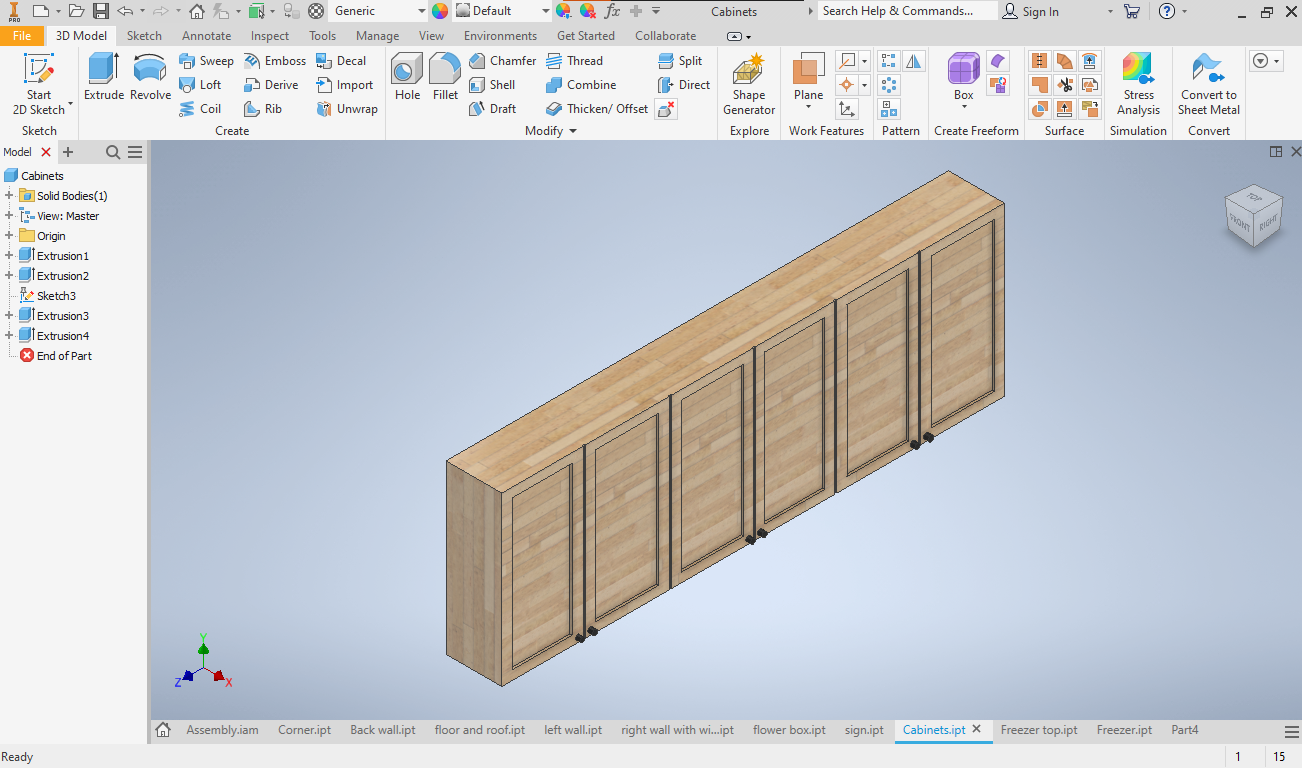
Follow the steps and change the design to fit your liking.
Vanity
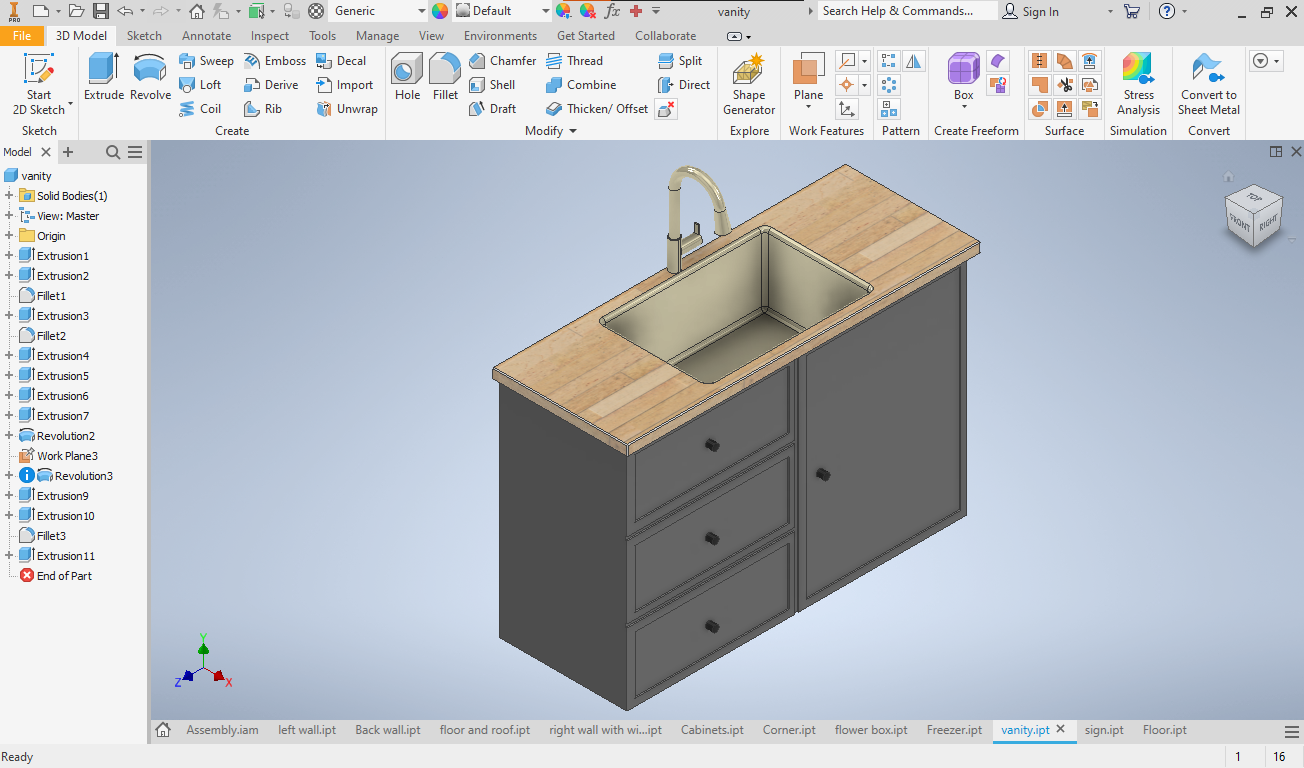
Follow the steps and change the design to fit your liking.
Assembly
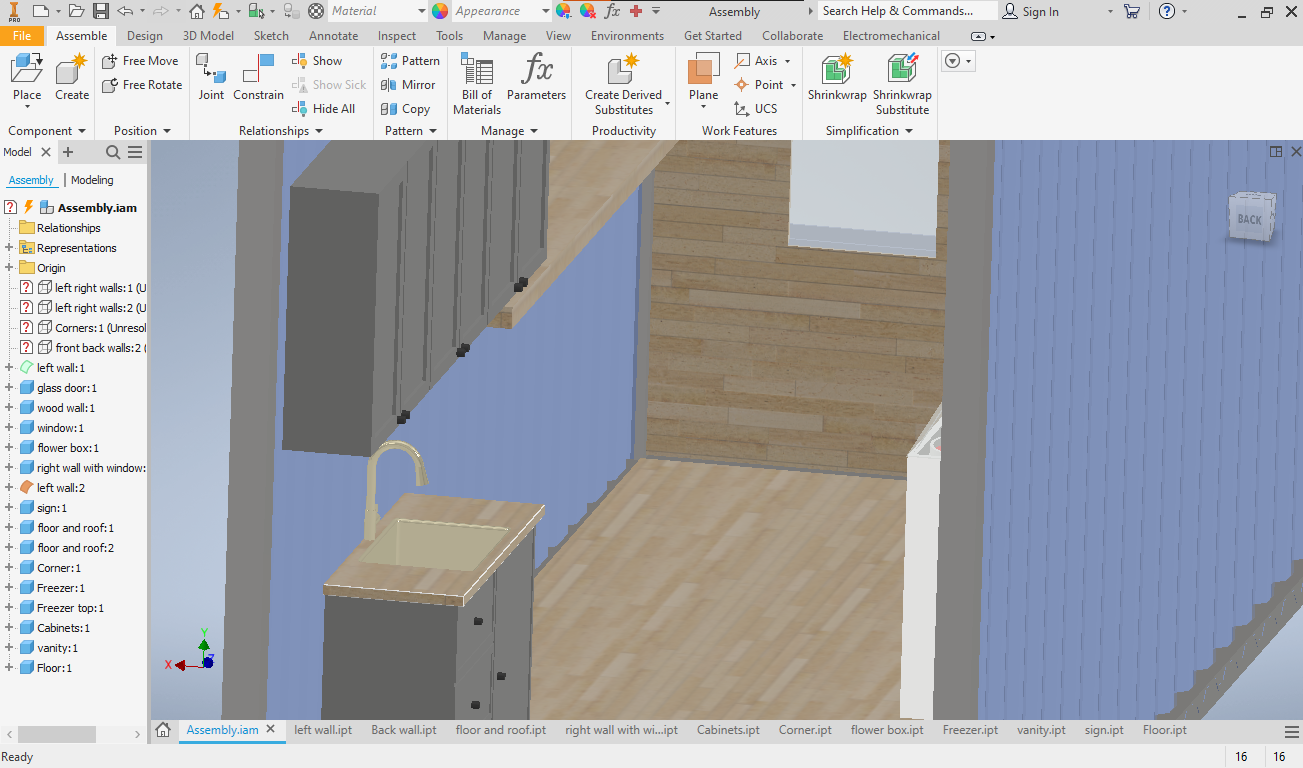
Assemble your vanity and cabinets into your assembly.
Assembly
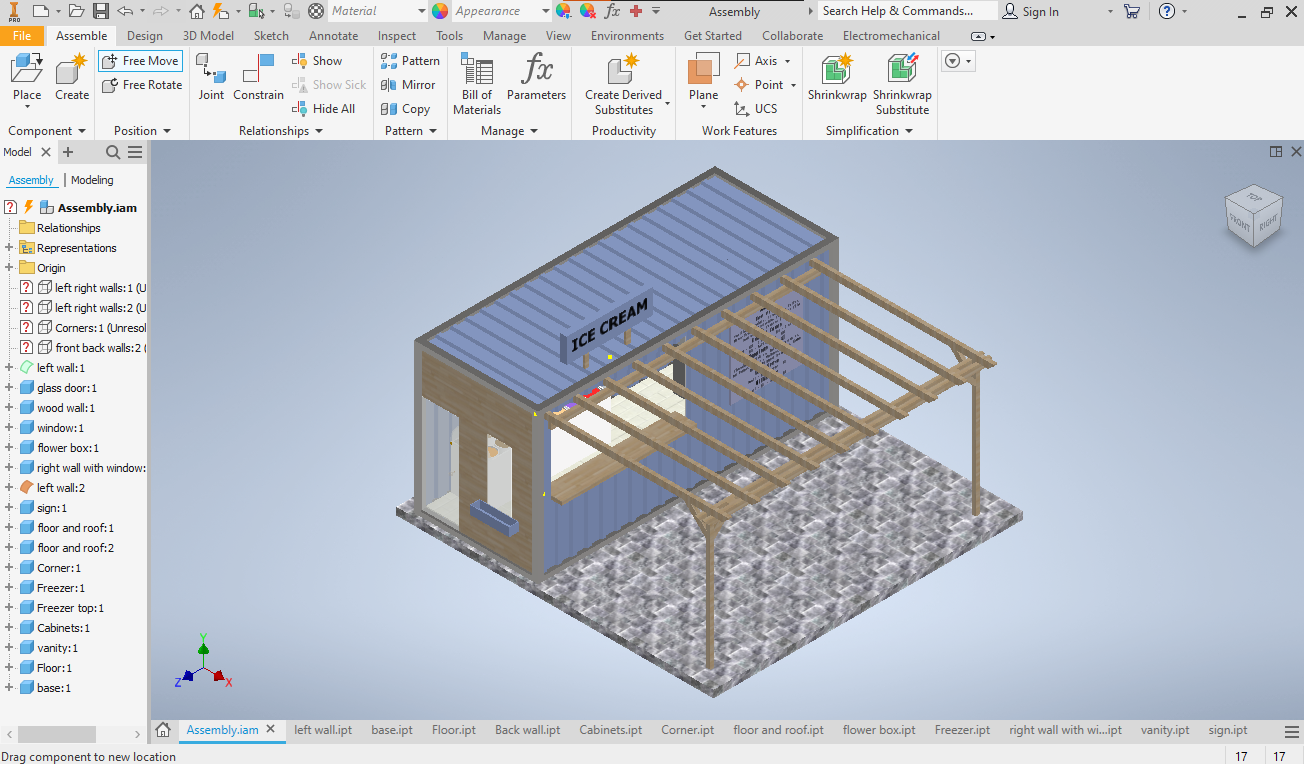
Add the base to your assembly and change the material to fit your liking.
Chairs/tables
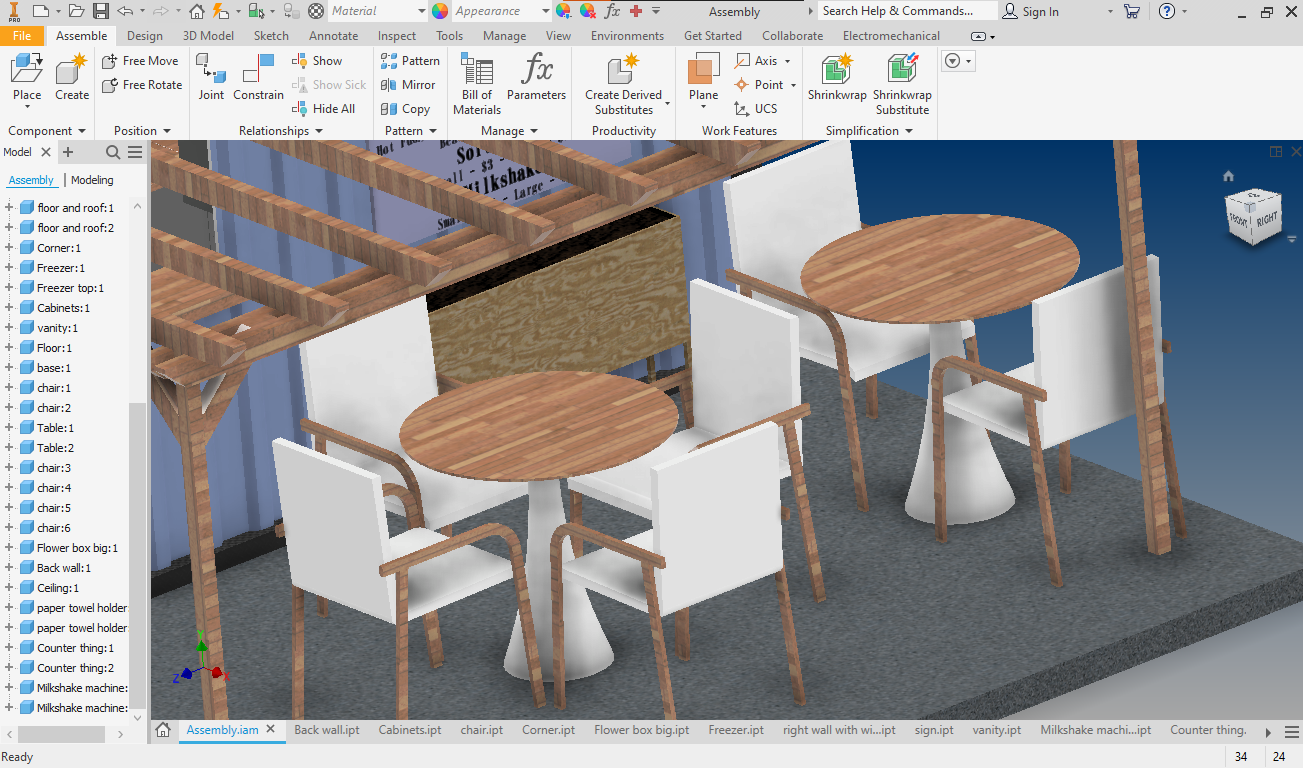
Follow the steps and change the design to fit your liking.
Miscellaneous
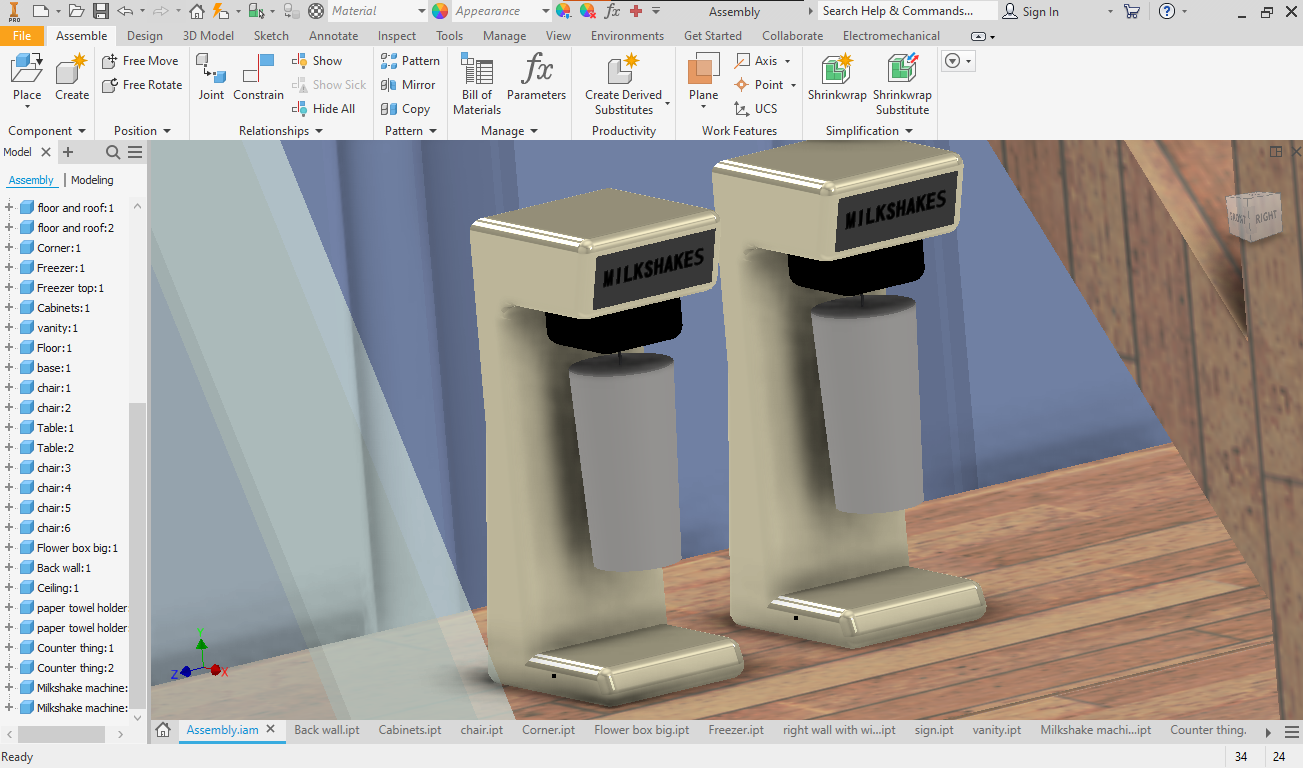
Follow the steps and change the design to fit your liking.
Miscellaneous
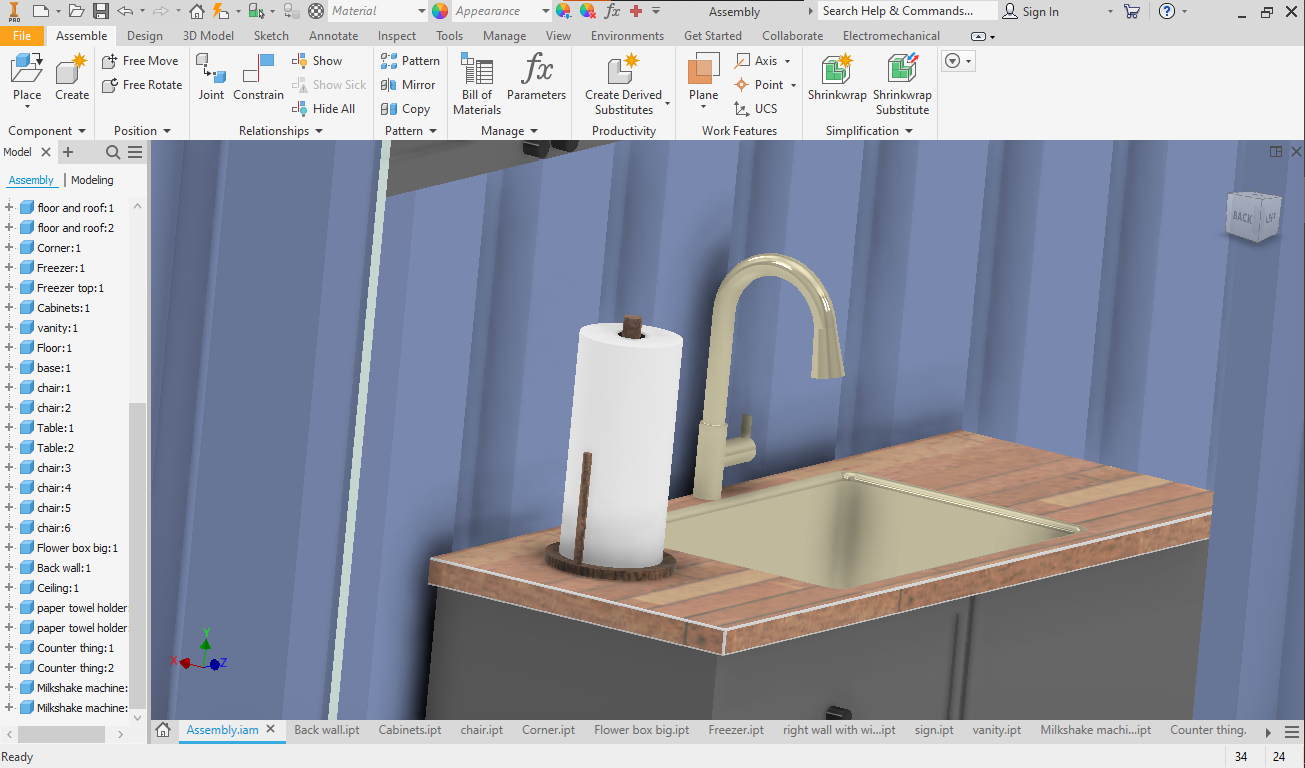
Follow the steps and change the design to fit your liking.
Final
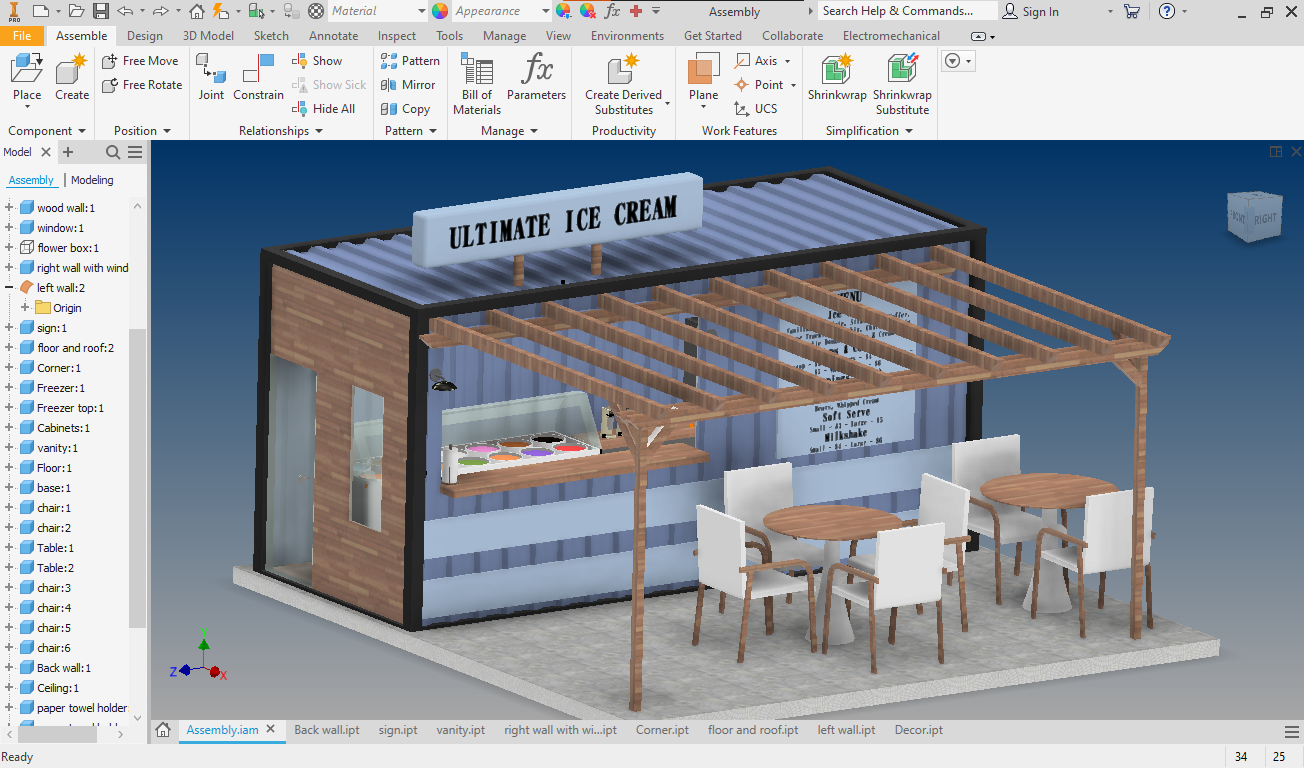
Here's what it looks like in the end. I added a couple miscellaneous items to make it all look more realistic an changed some things around. In the end I really like how it looks!
Final
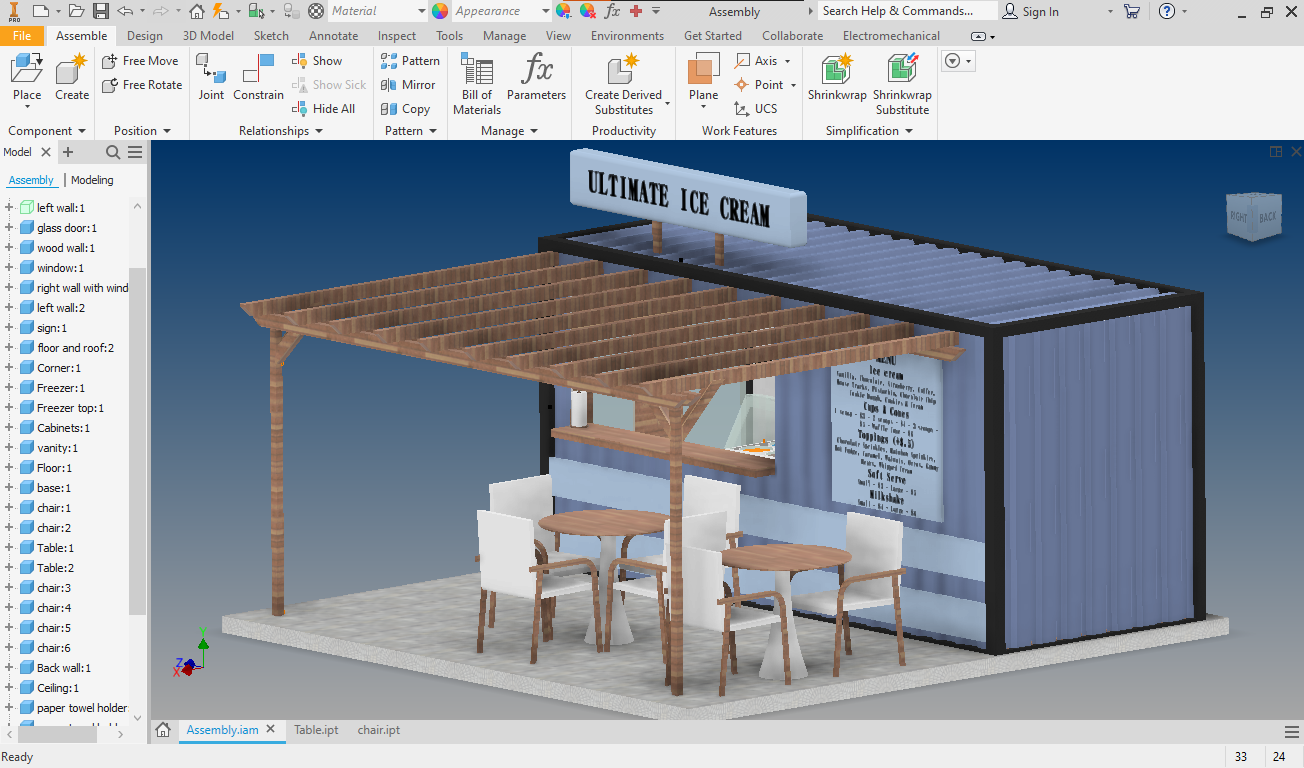
Another angle