Ultimate Amazing Bird Castle of Awesomeness
by sphsengineering in Workshop > Woodworking
10662 Views, 103 Favorites, 0 Comments
Ultimate Amazing Bird Castle of Awesomeness
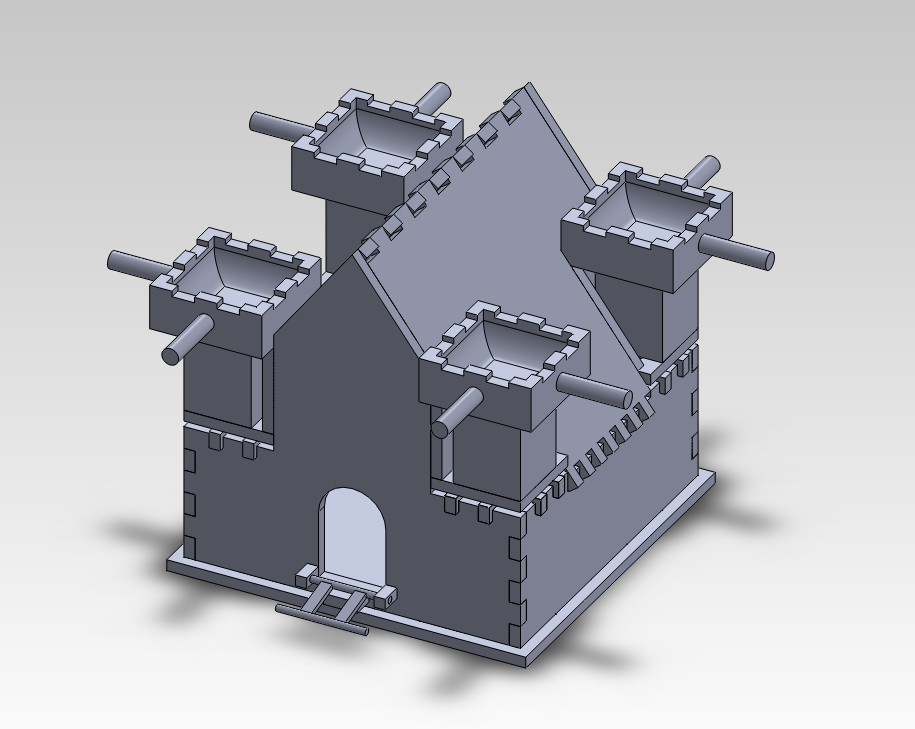
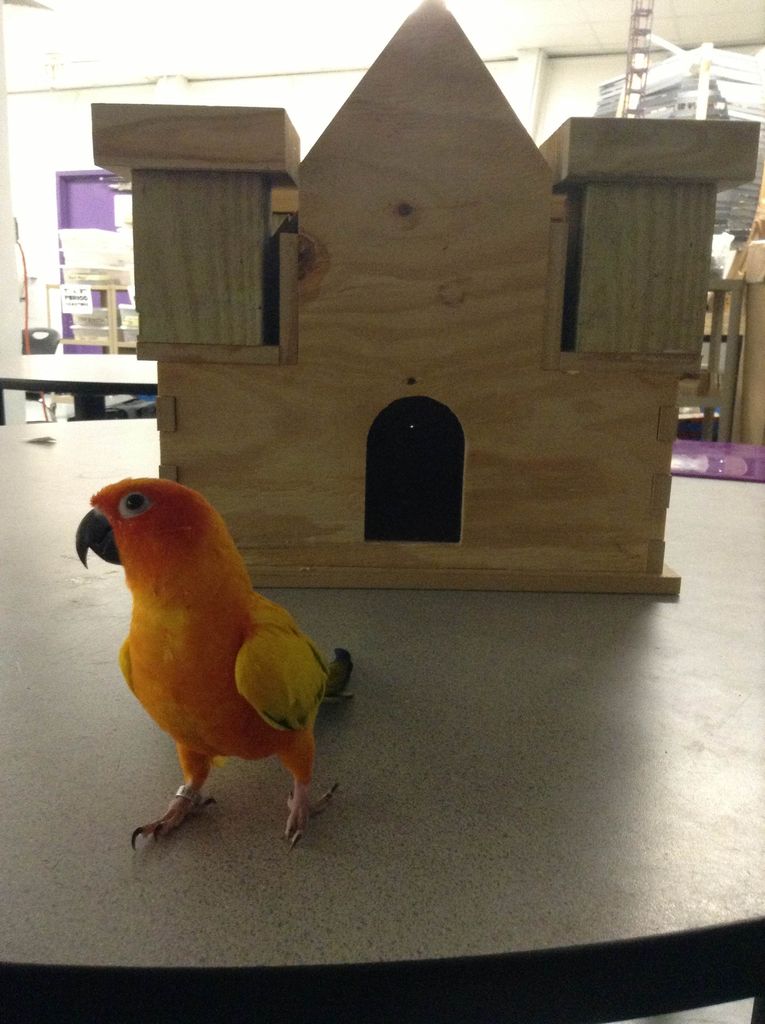
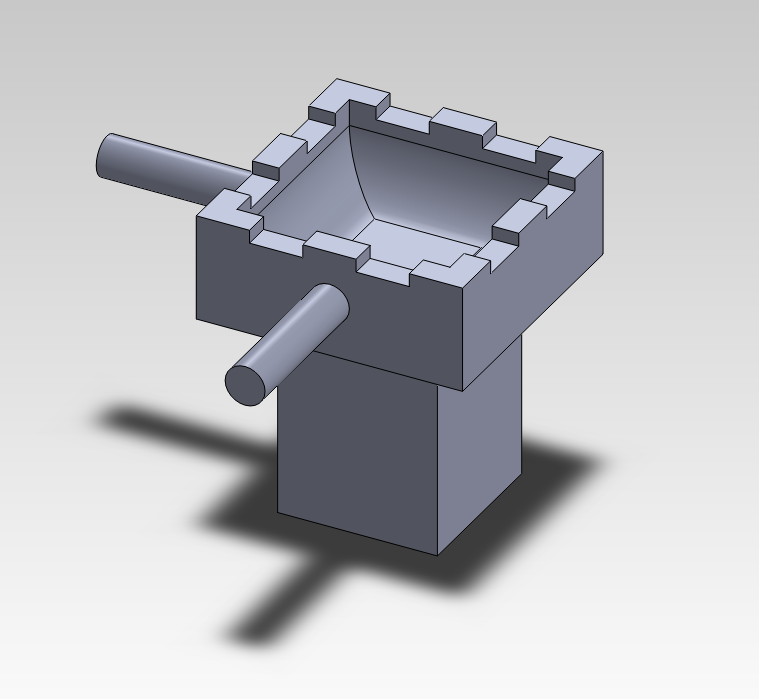
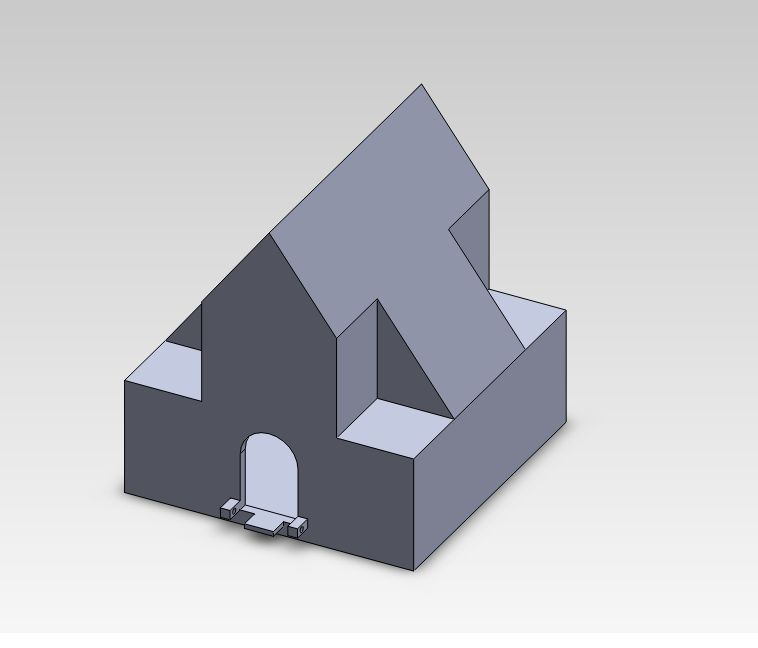
Birdhouses are overlooked every day and not given a second thought after they are put up in trees or mounted in gardens. They are often just hung up and left to rot once the builder forgets all about it. However, this bird castle will show people birdhouses can be more than just a house; they can be anything you want them to be, including a castle. This castle will make people stop and wonder "Where can I get one?" and "How was it made?"
We're here to tell you that you can make this amazing bird castle yourself, and we're going to show you how.
Supplies & Materials
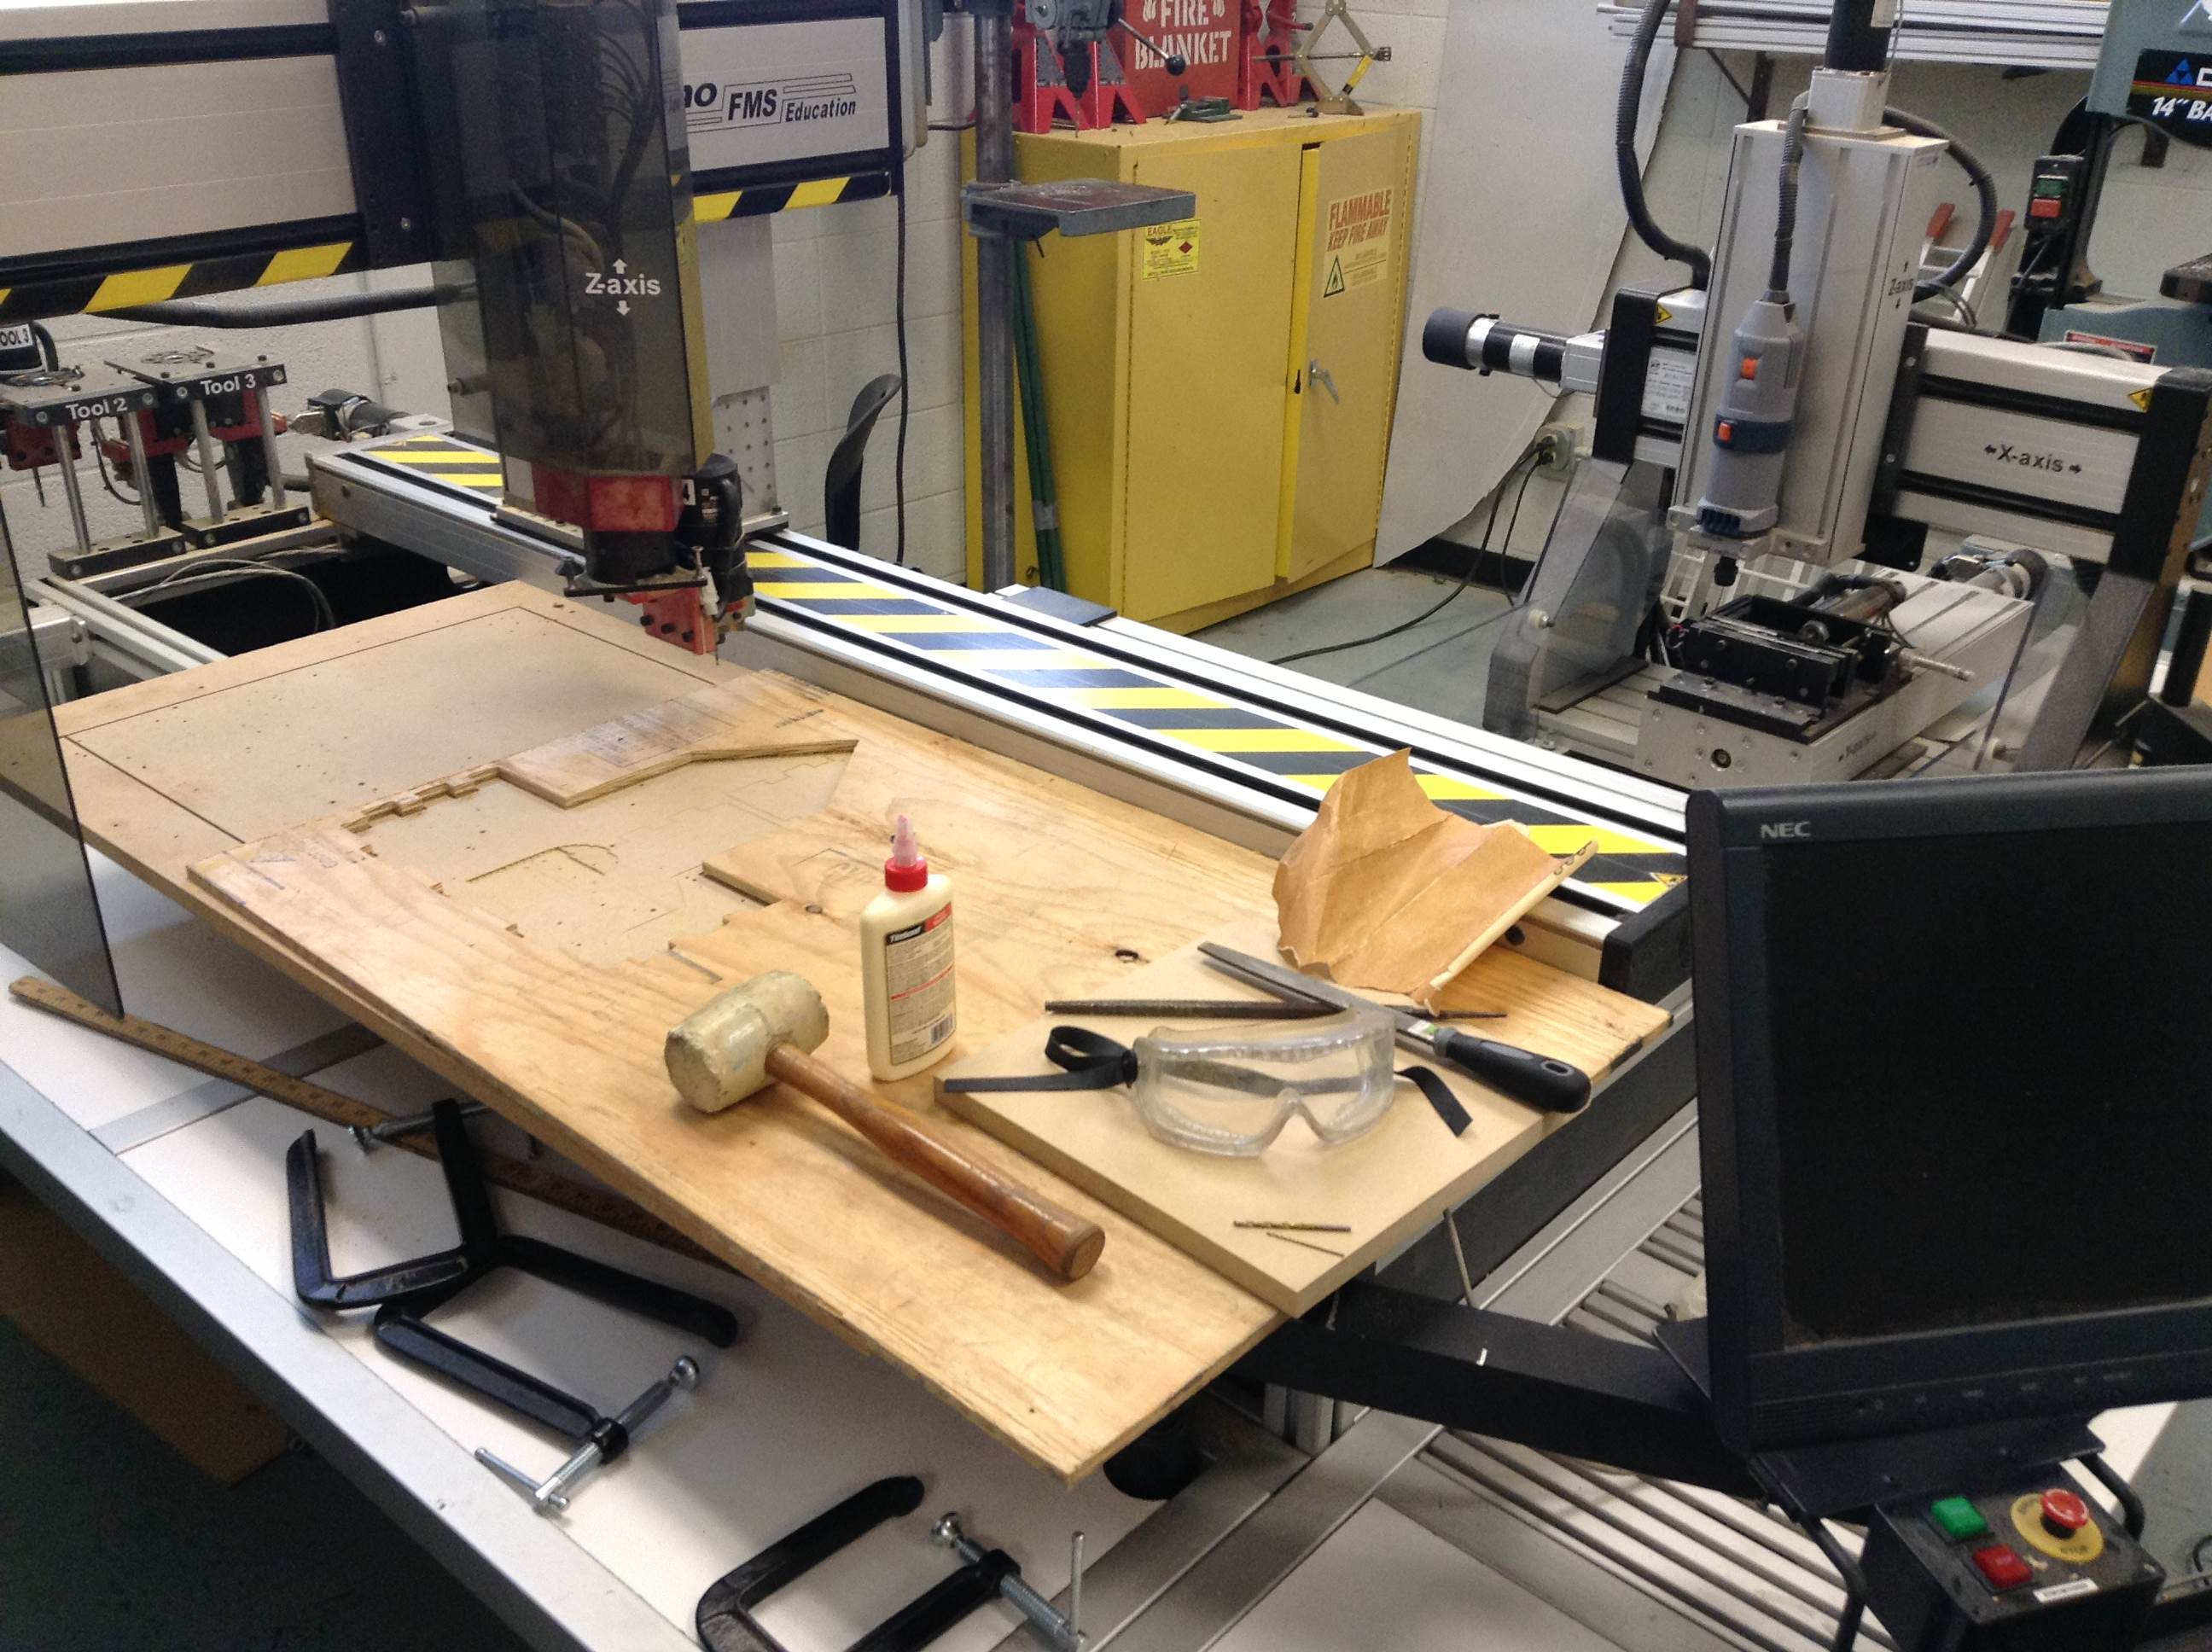
Here's the basics on what you need:
Supplies: Materials:
- Rubber Mallet - 2" x 4" Solid Wood Logs
- Flexible Manufacturing System (FMS) - 0.5" Plywood
- Safety Glasses - Gorilla Wood Glue
- Files
- Sandpaper
- Computer (SolidWorks & MasterCAM)
- Endmill (Sizes: 1/8 Ball Endmill, 1/8 Flat
Endmill, & 1/16 Flat Endmill)
Design in SolidWorks
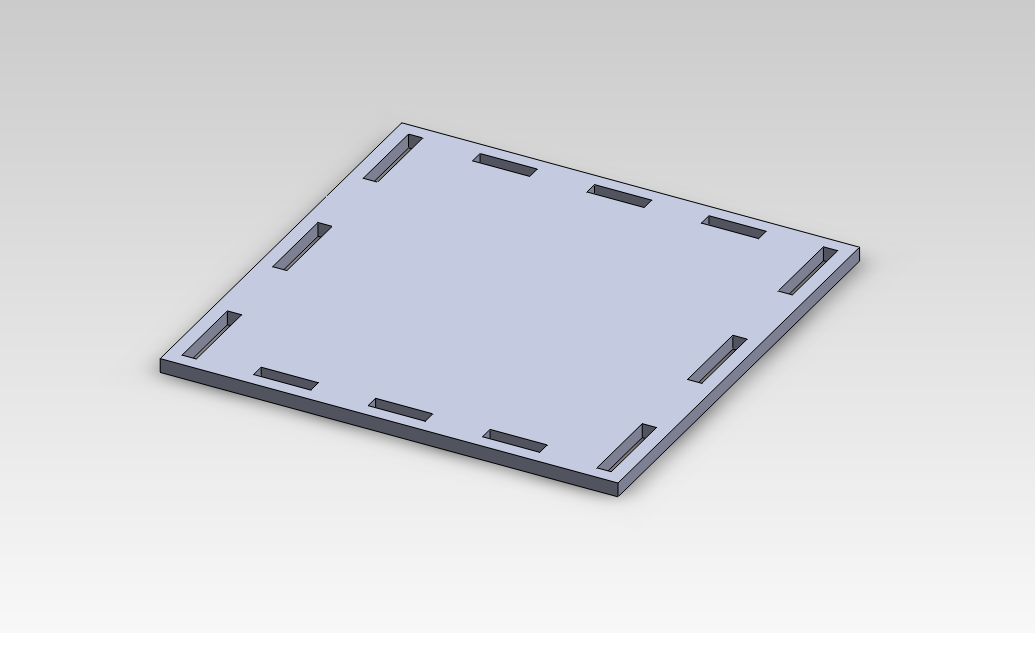
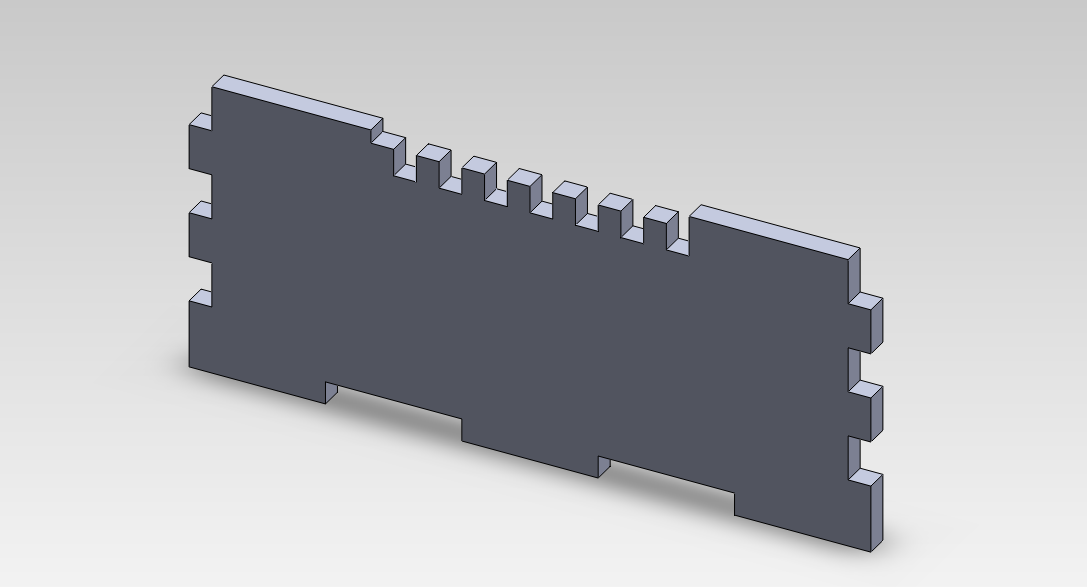
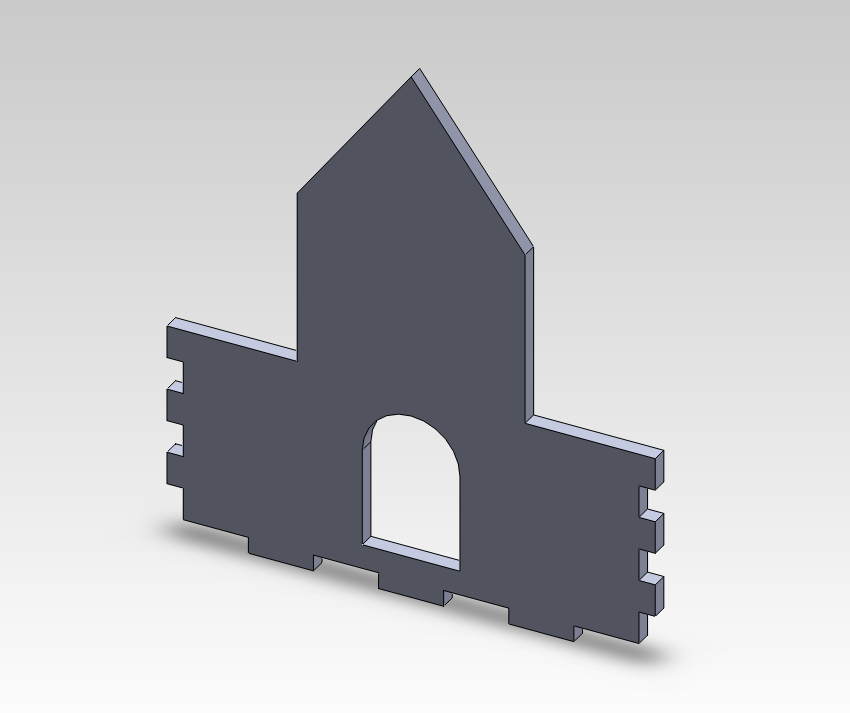
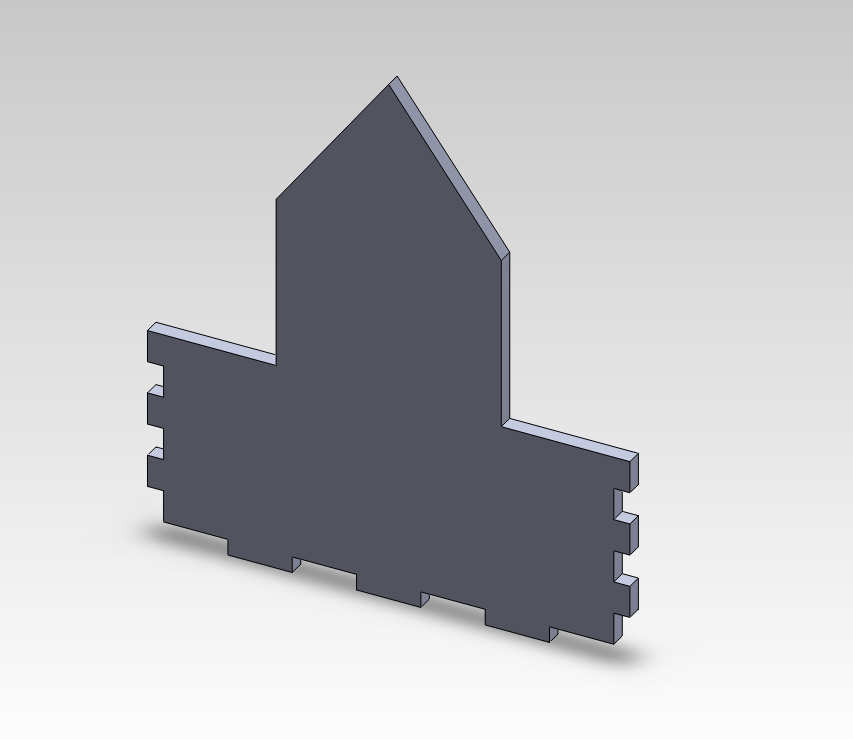
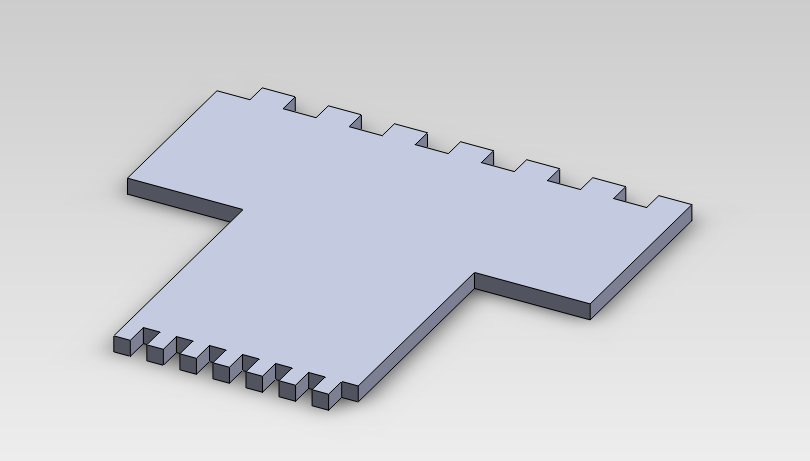
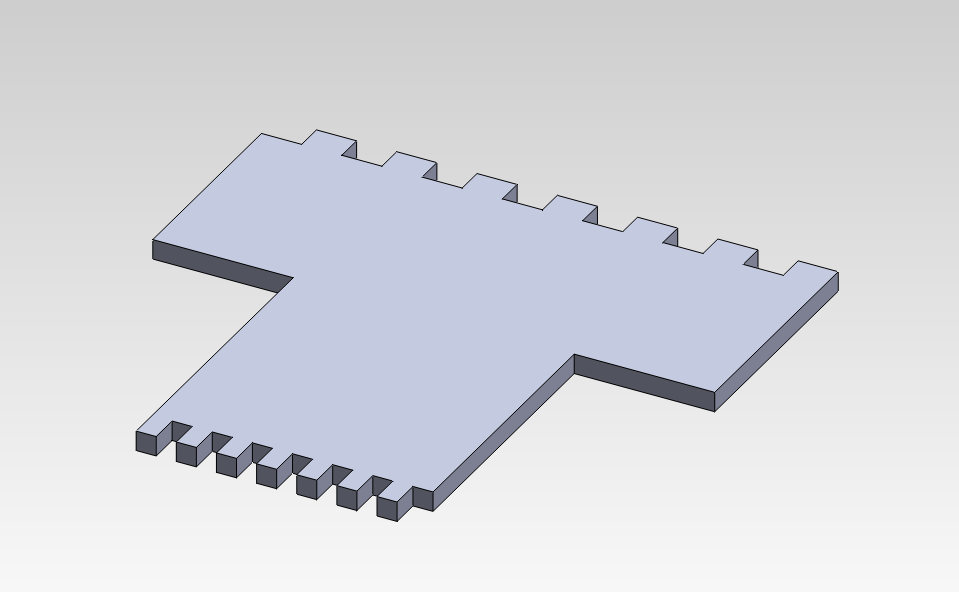
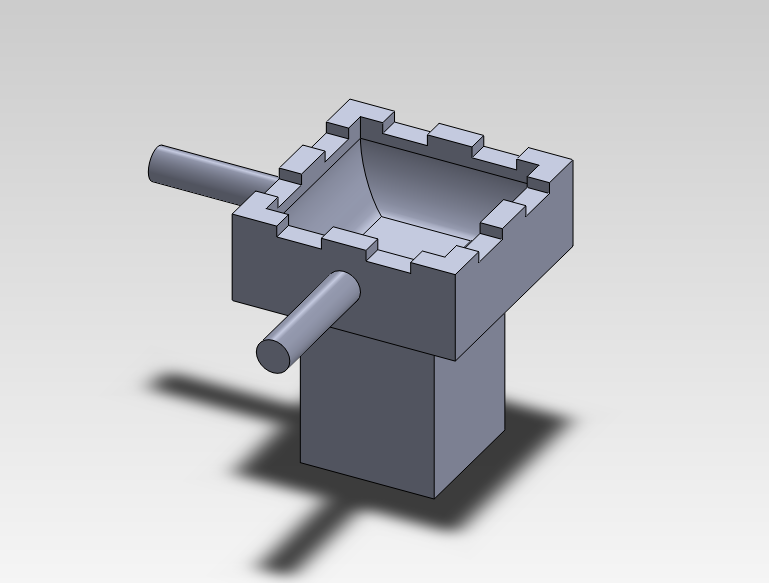
To start, you want to design the basic parts of the bird castle on SolidWorks (a 3D CAD program). The basic components are shown above, and each part is included in the SolidWorks ZIP file attached.
Downloads
Design in MasterCAM
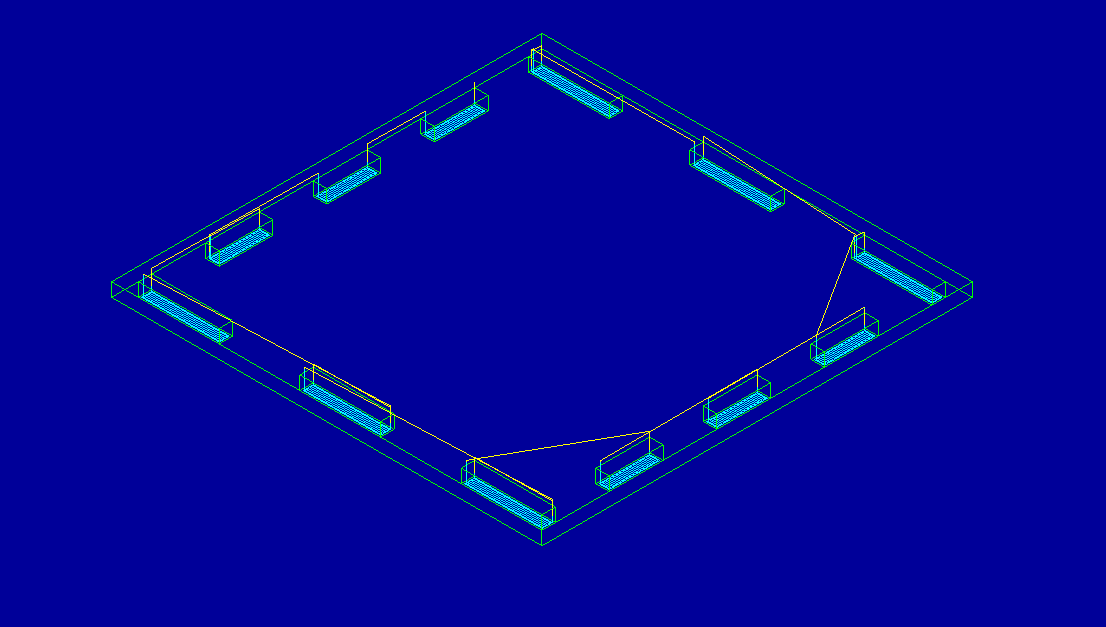
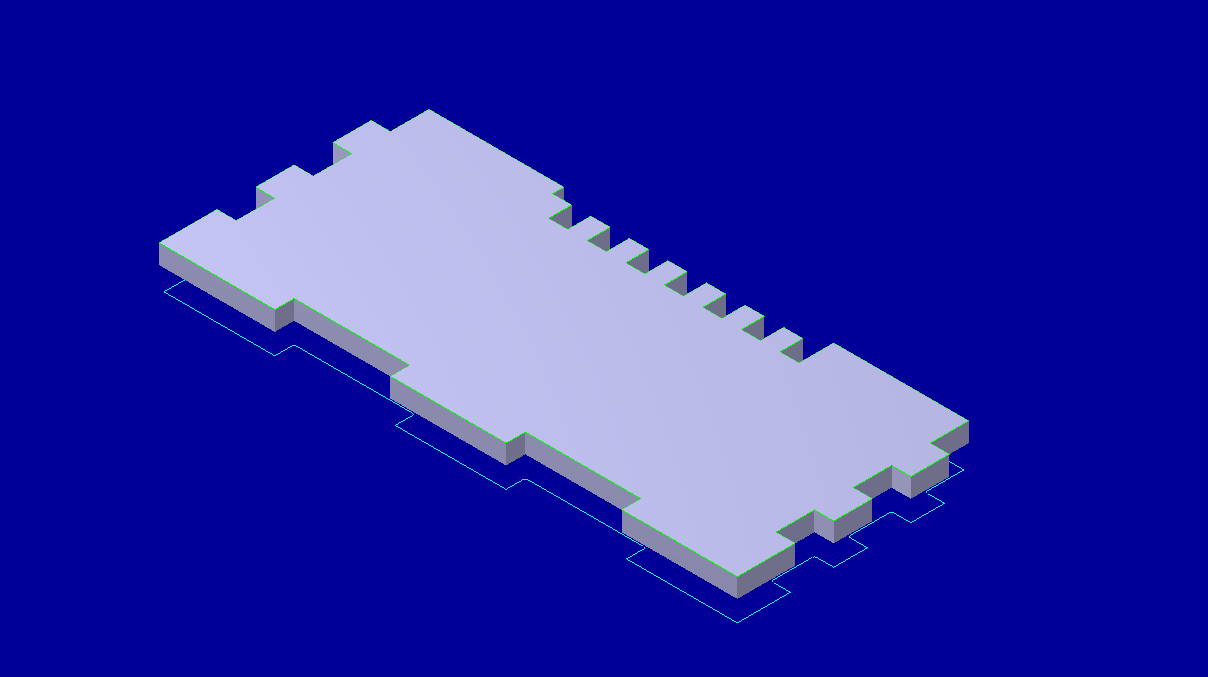
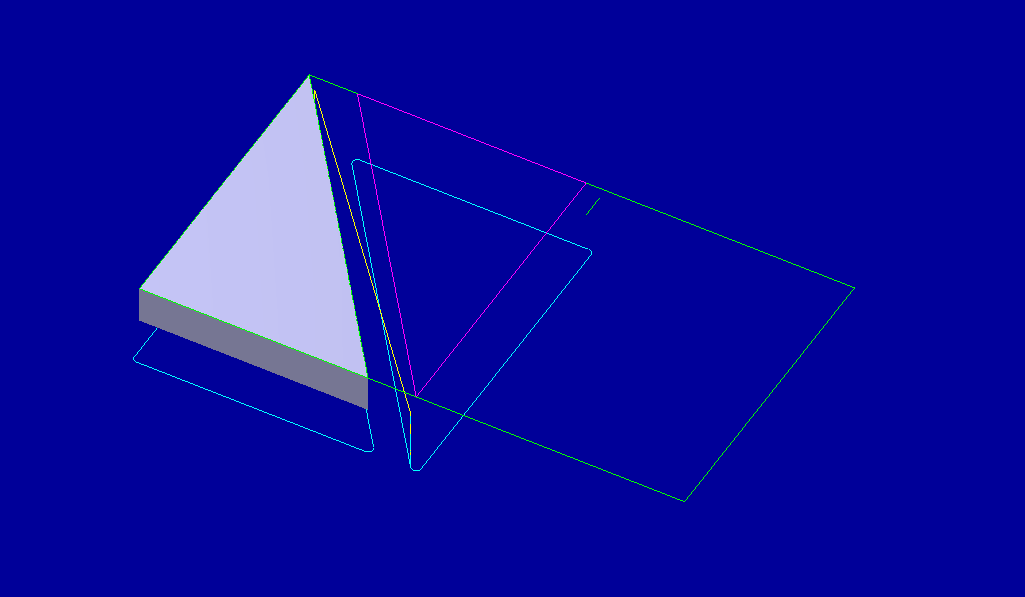
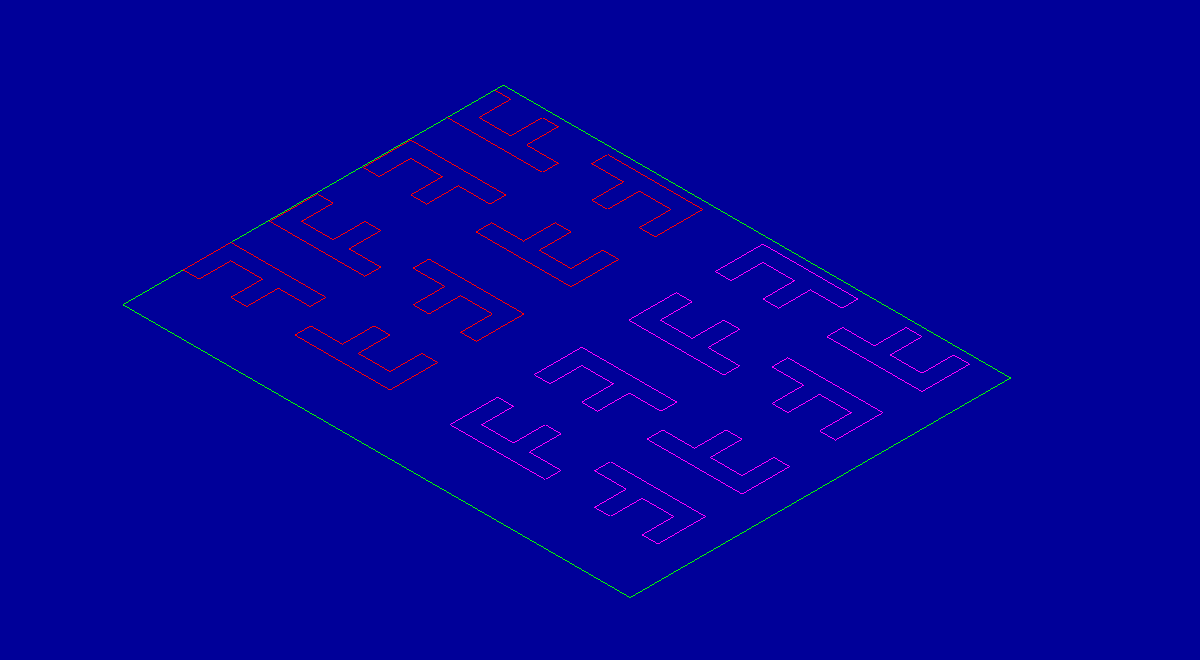
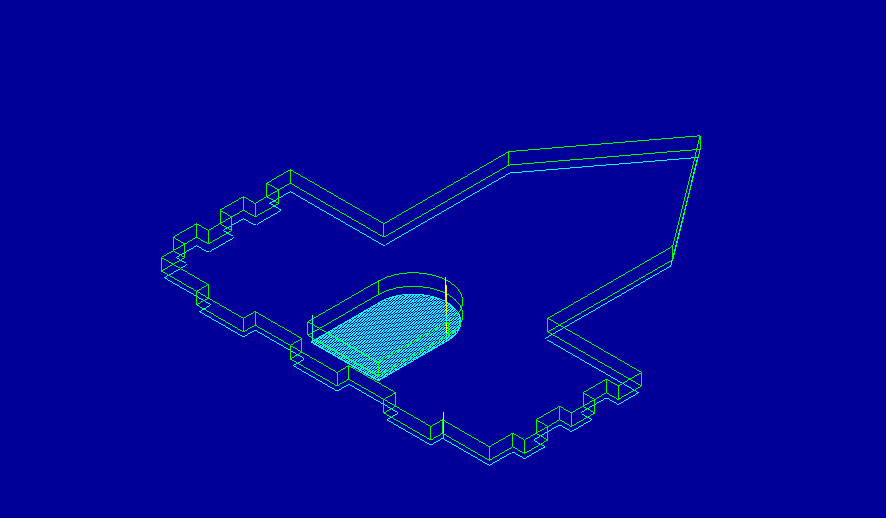
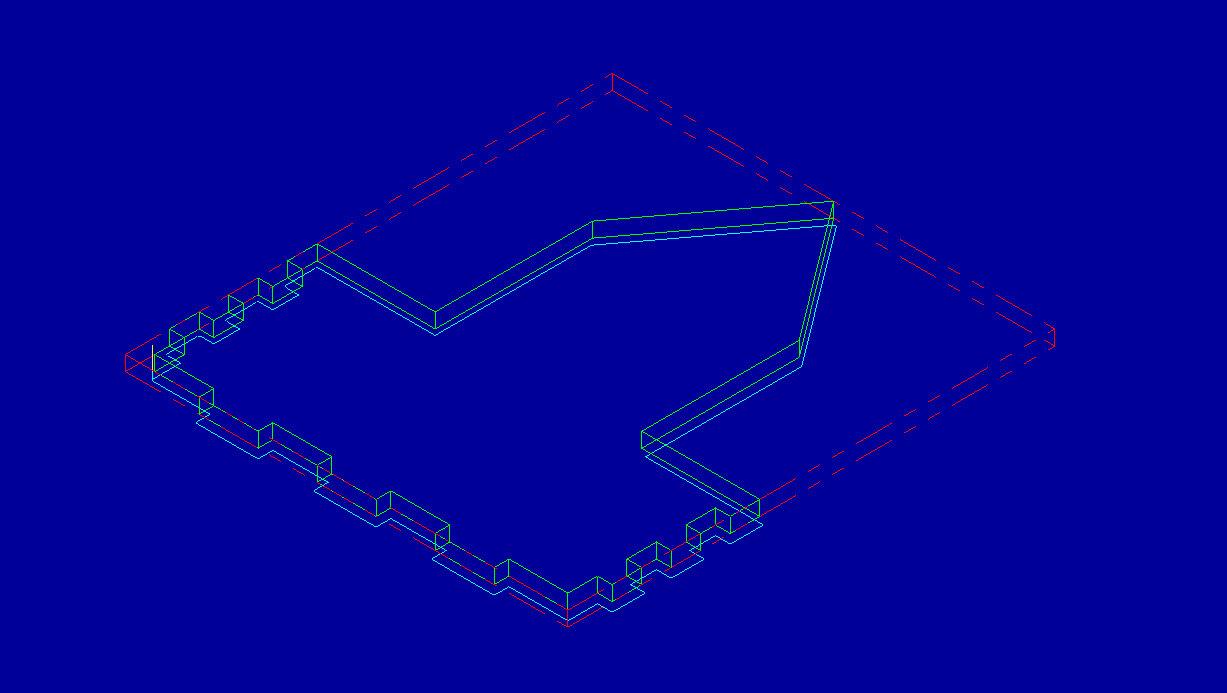
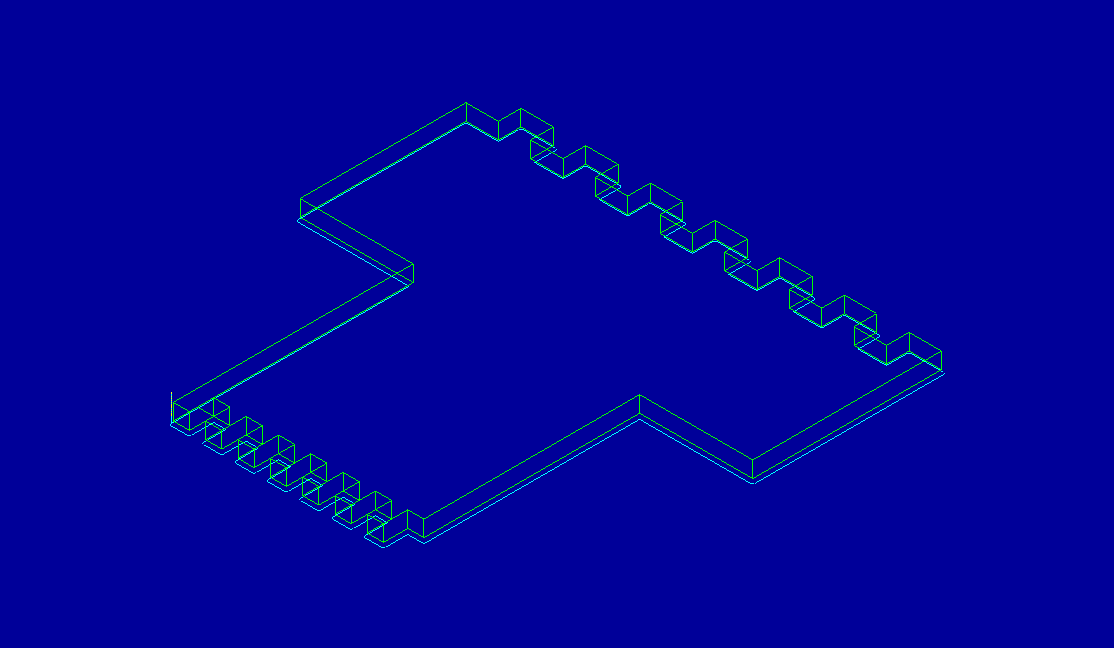
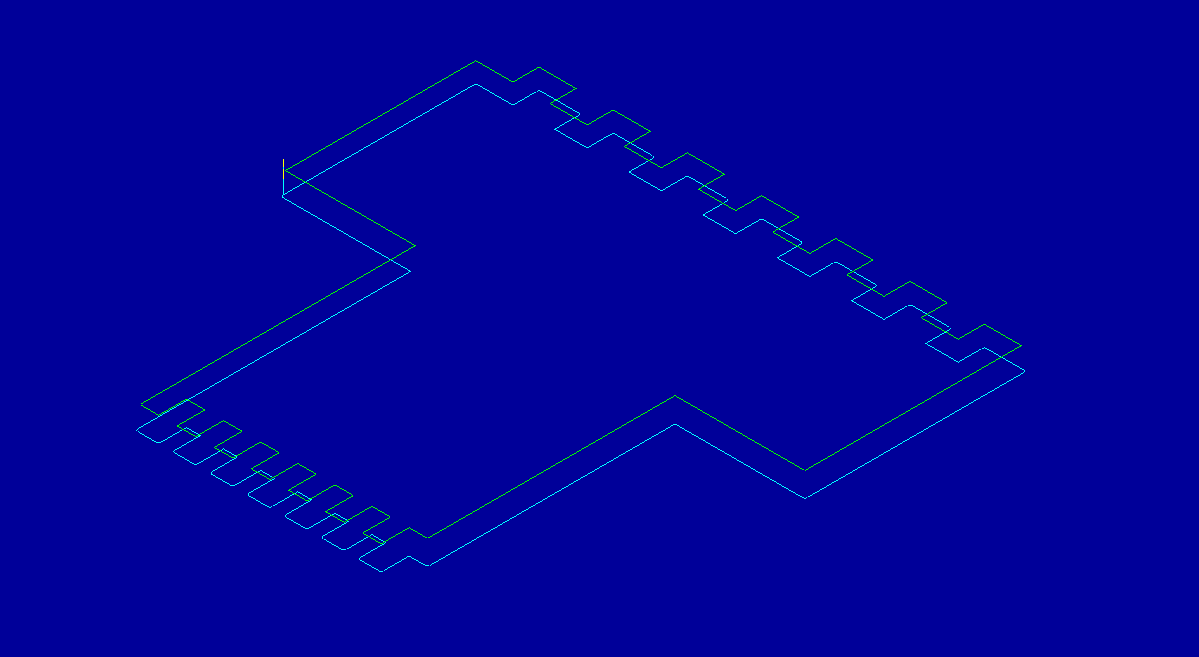
In order to cut out each component, you have to import each one into MasterCAM (a 3D CAD Milling program) then toolpath each one. The layout of each toolpath on each component is shown above and attached in the MasterCAM ZIP File attached.
Downloads
Making G1 Files
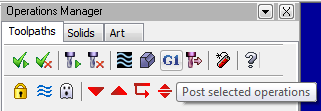
To make a G1 file, make sure all of your toolpaths are selected and click the little G1 button on the Operations Manager Toolbar (see picture above). Once you've clicked the G1 button, a dialog box will appear. Under NC Extension, make sure it says "NCD". Hit the Green Check button.
A new dialog box titled "Communications" will appear; click NO and save the file.
Do this for each of the components.
Attached is a ZIP File for all the G1 files for each component.
Downloads
Cutting Out
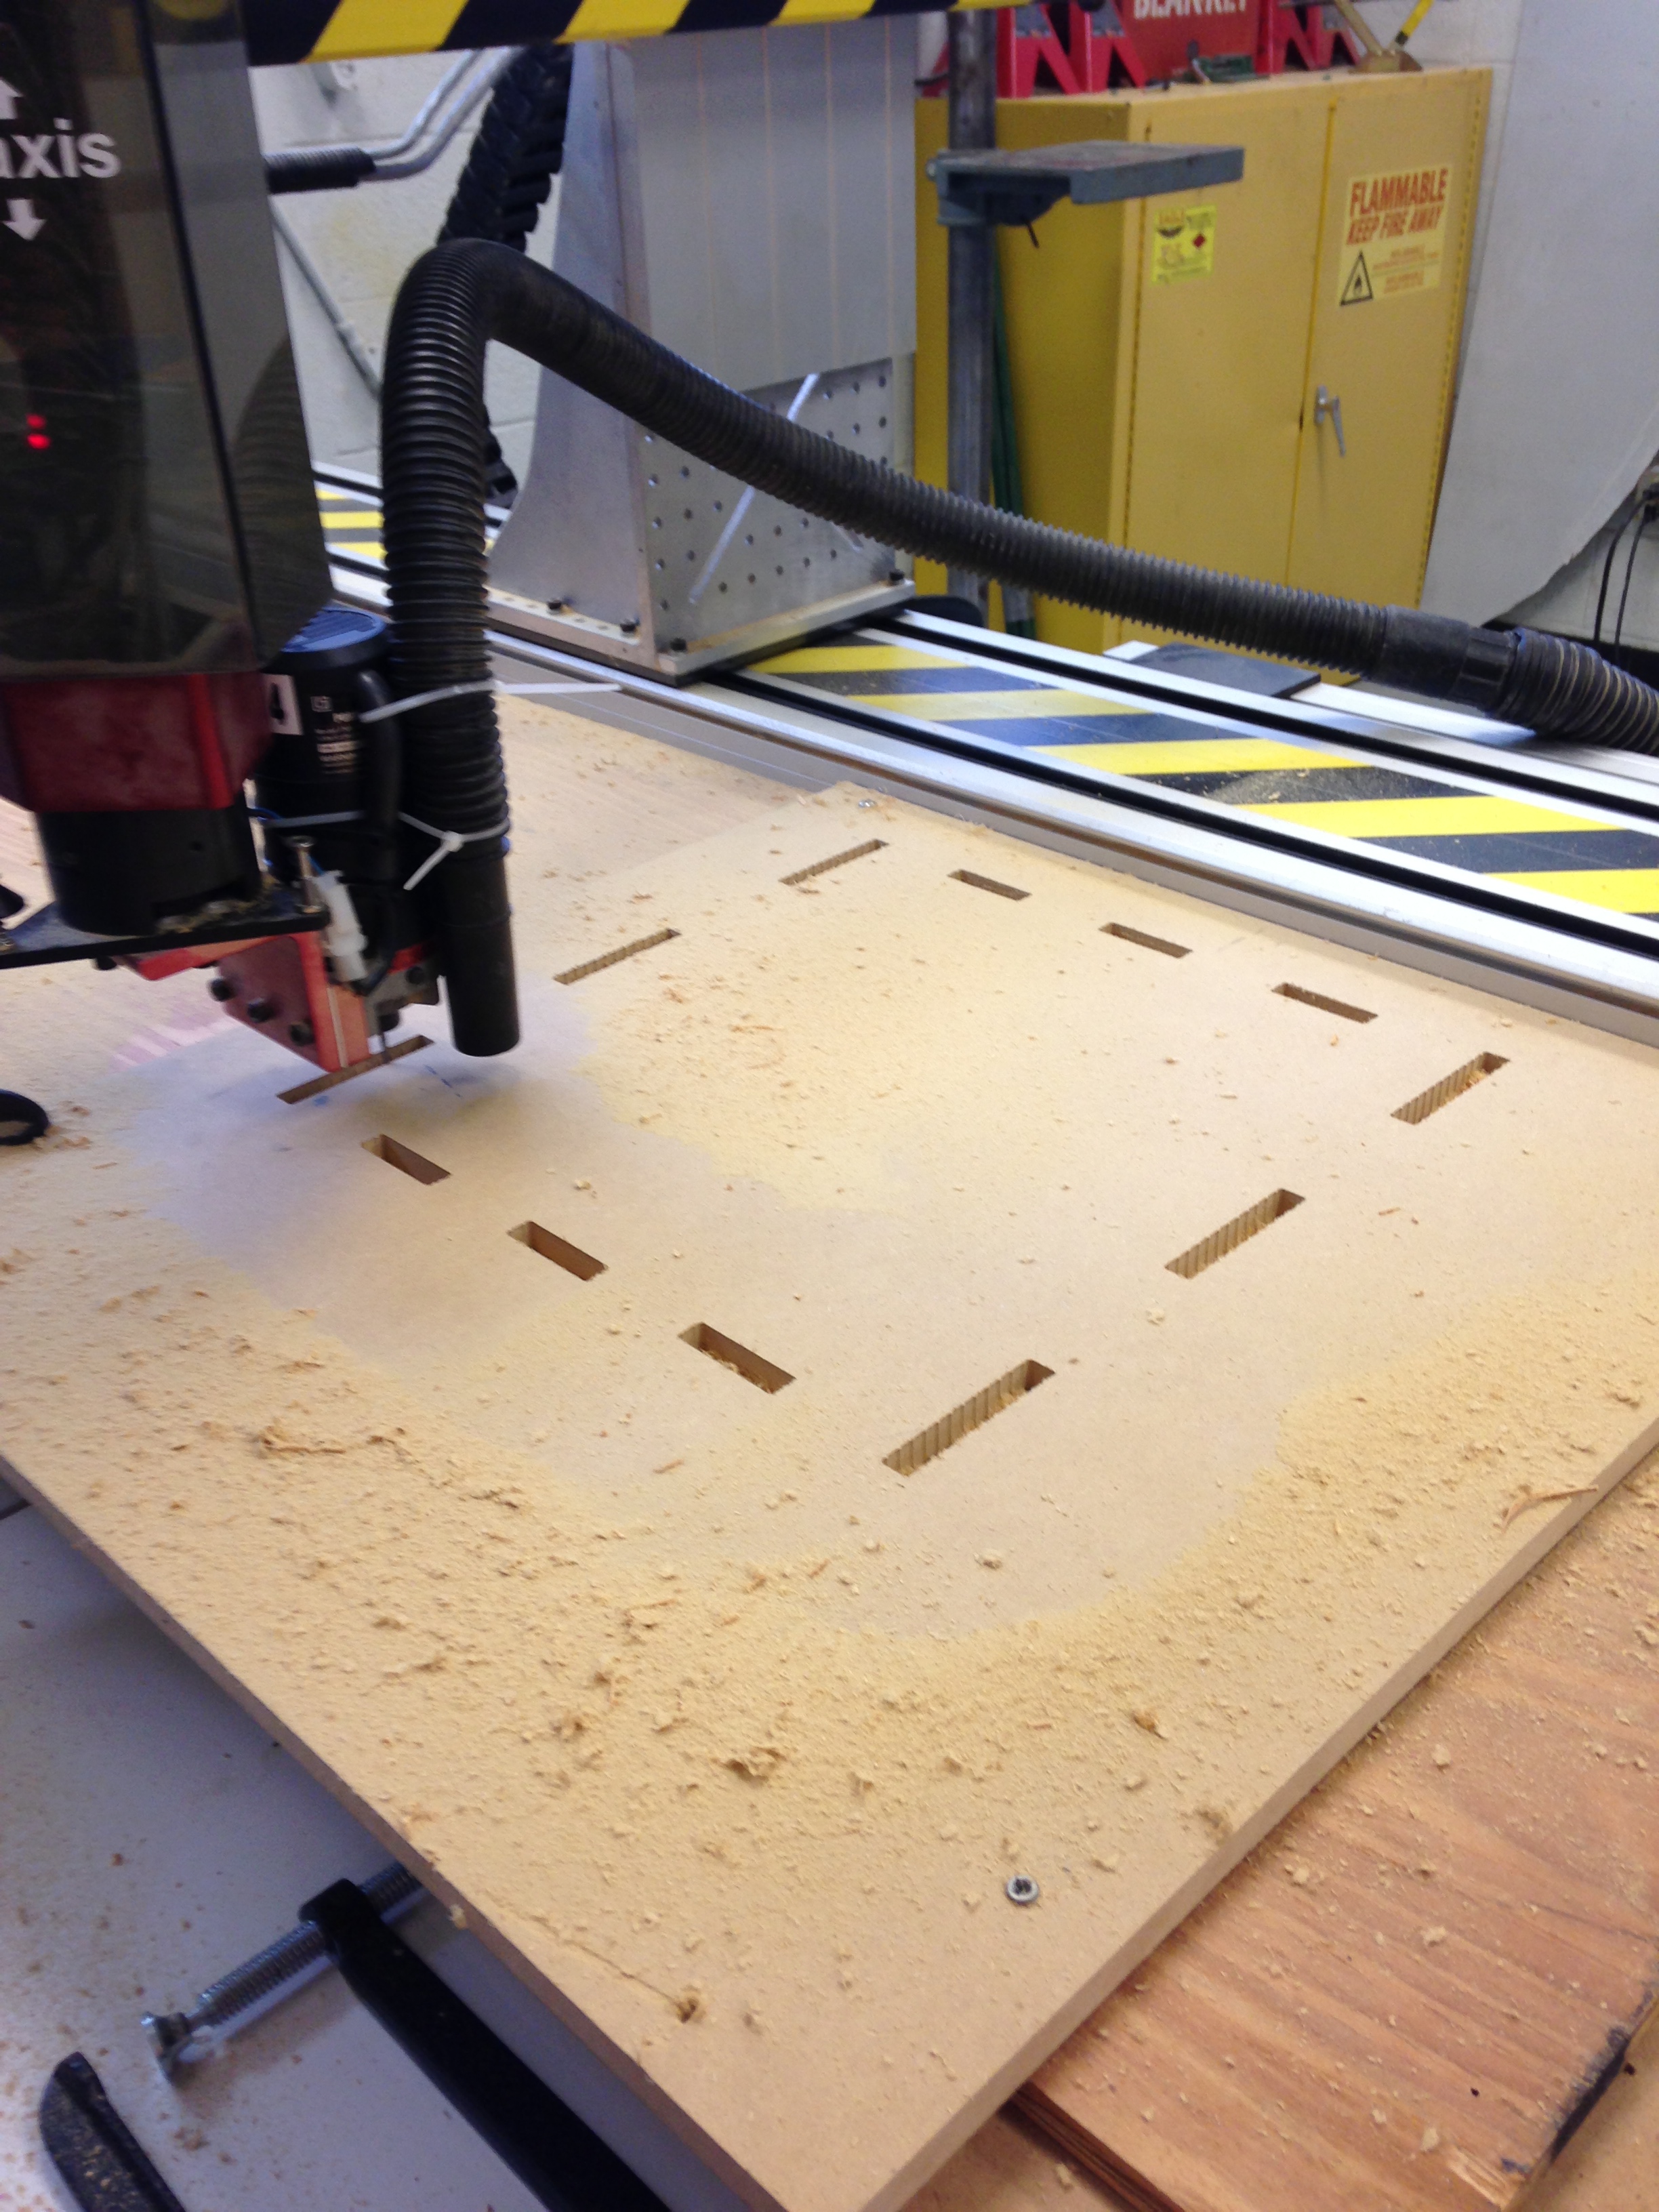
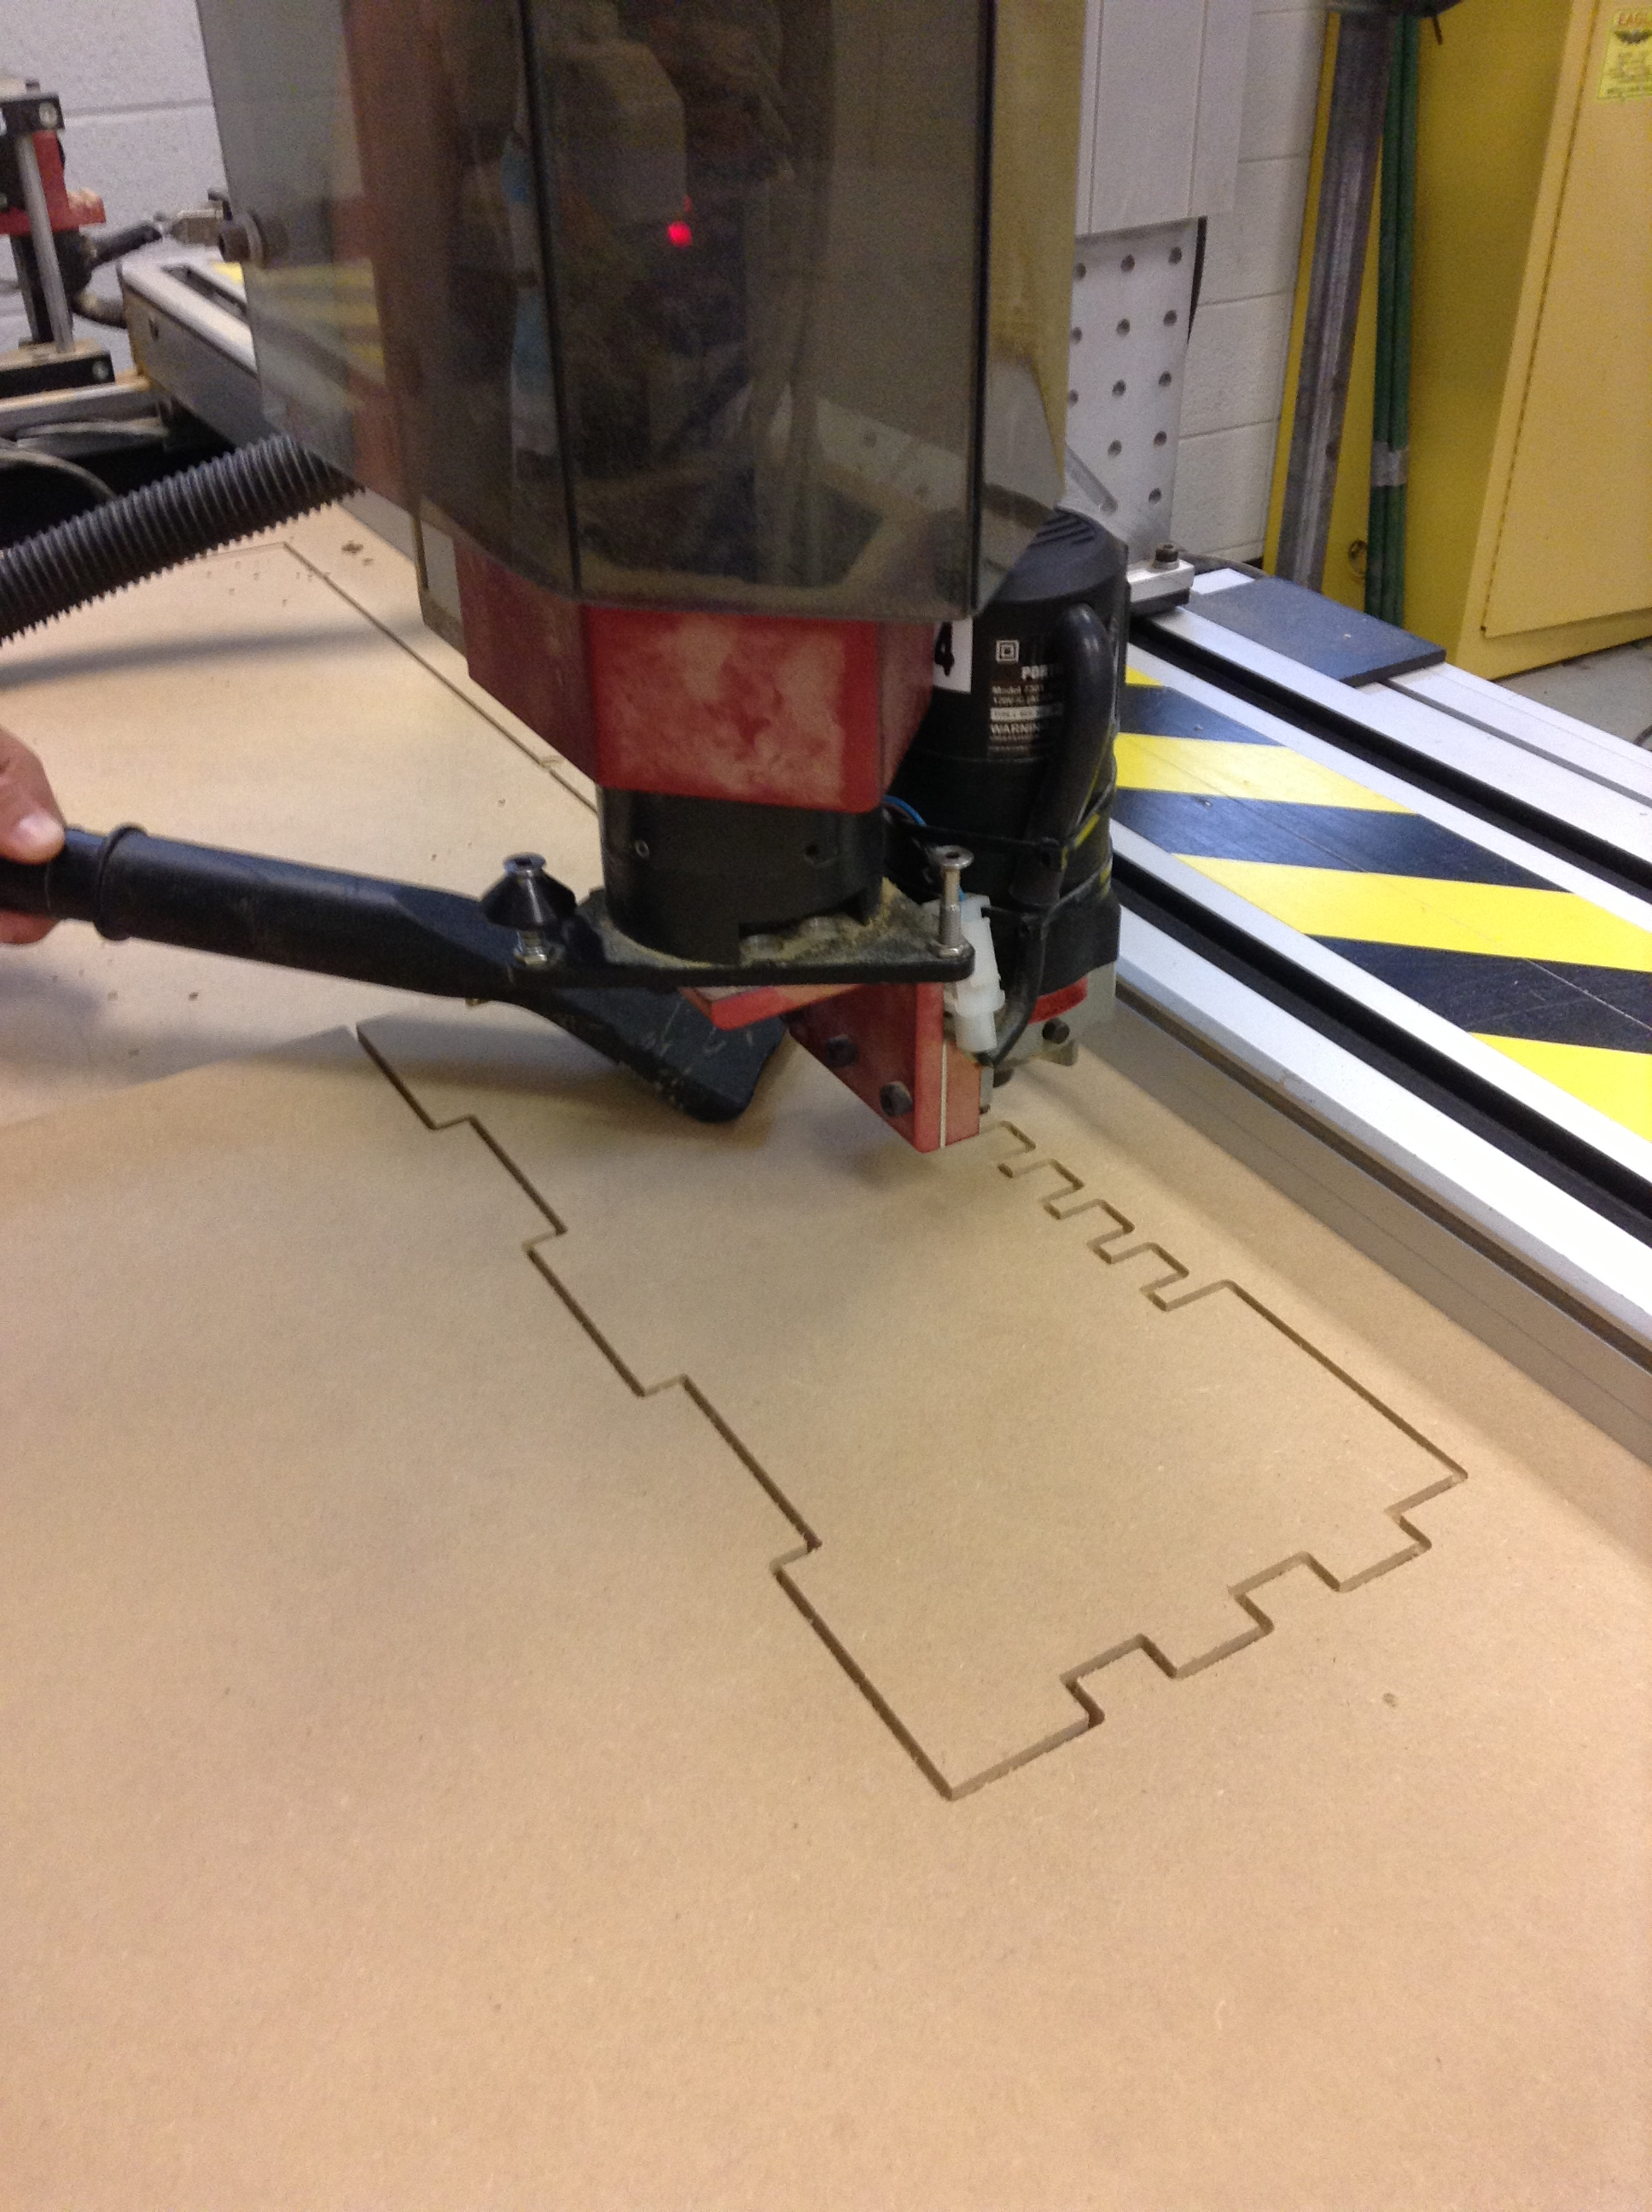
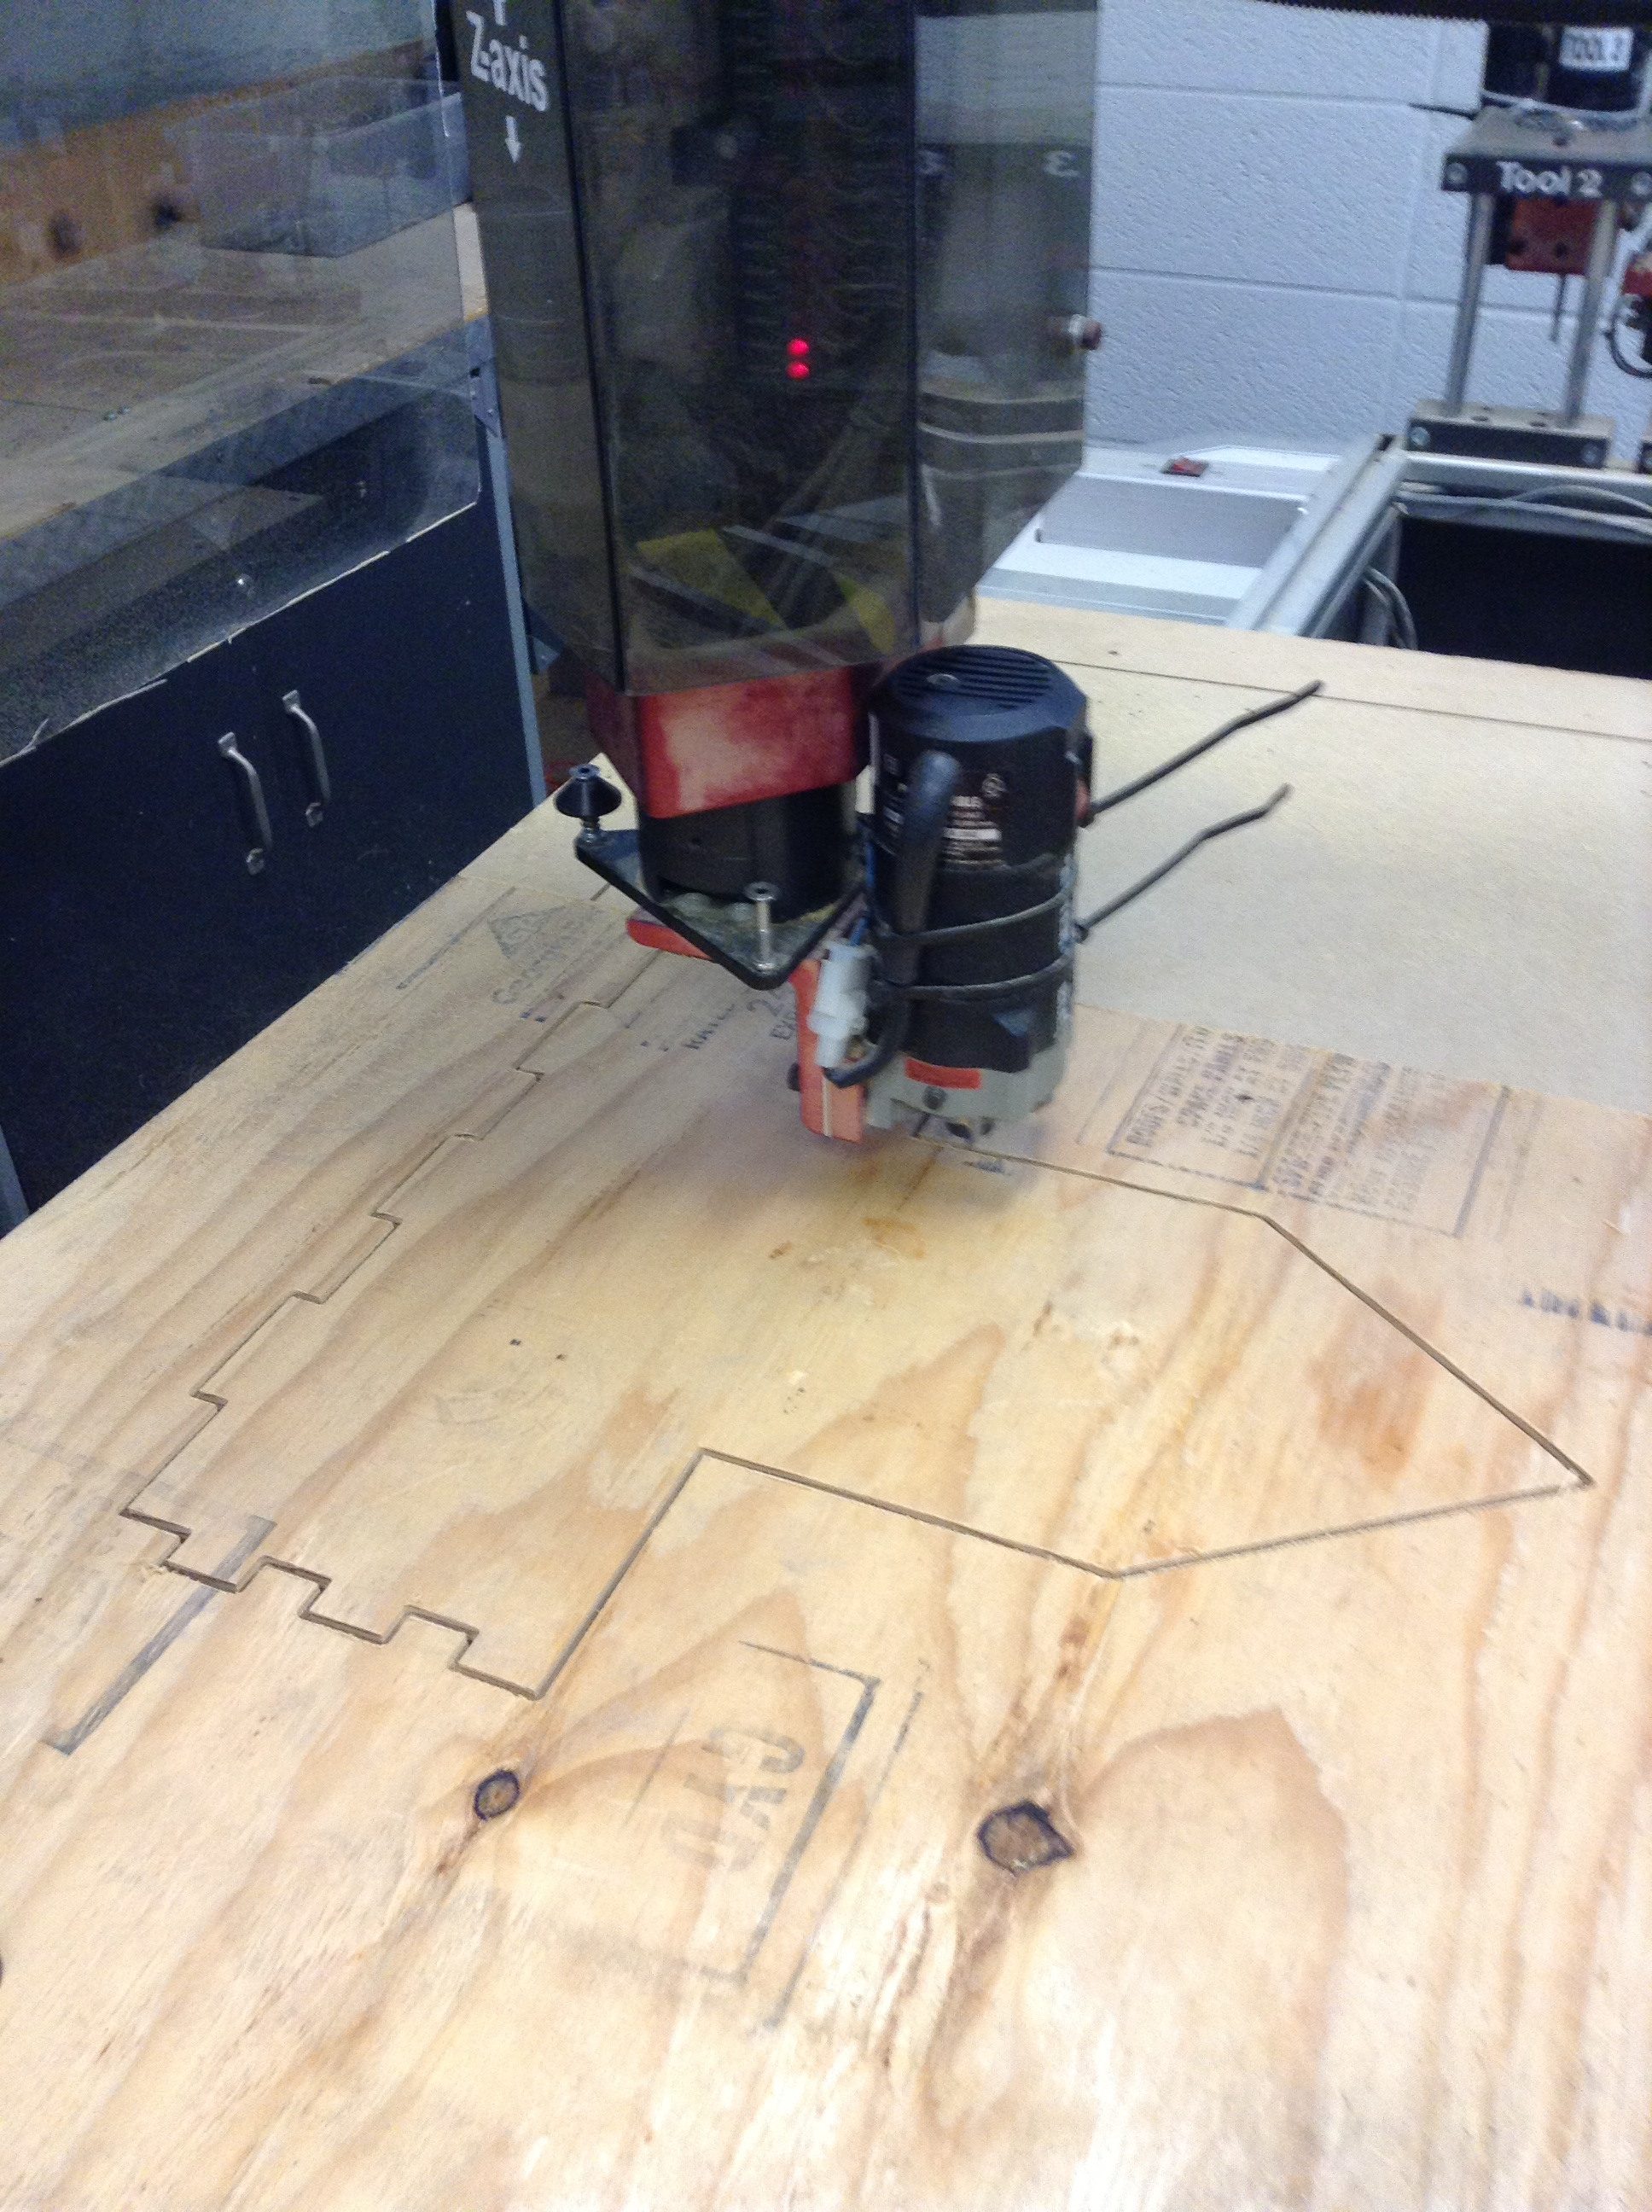
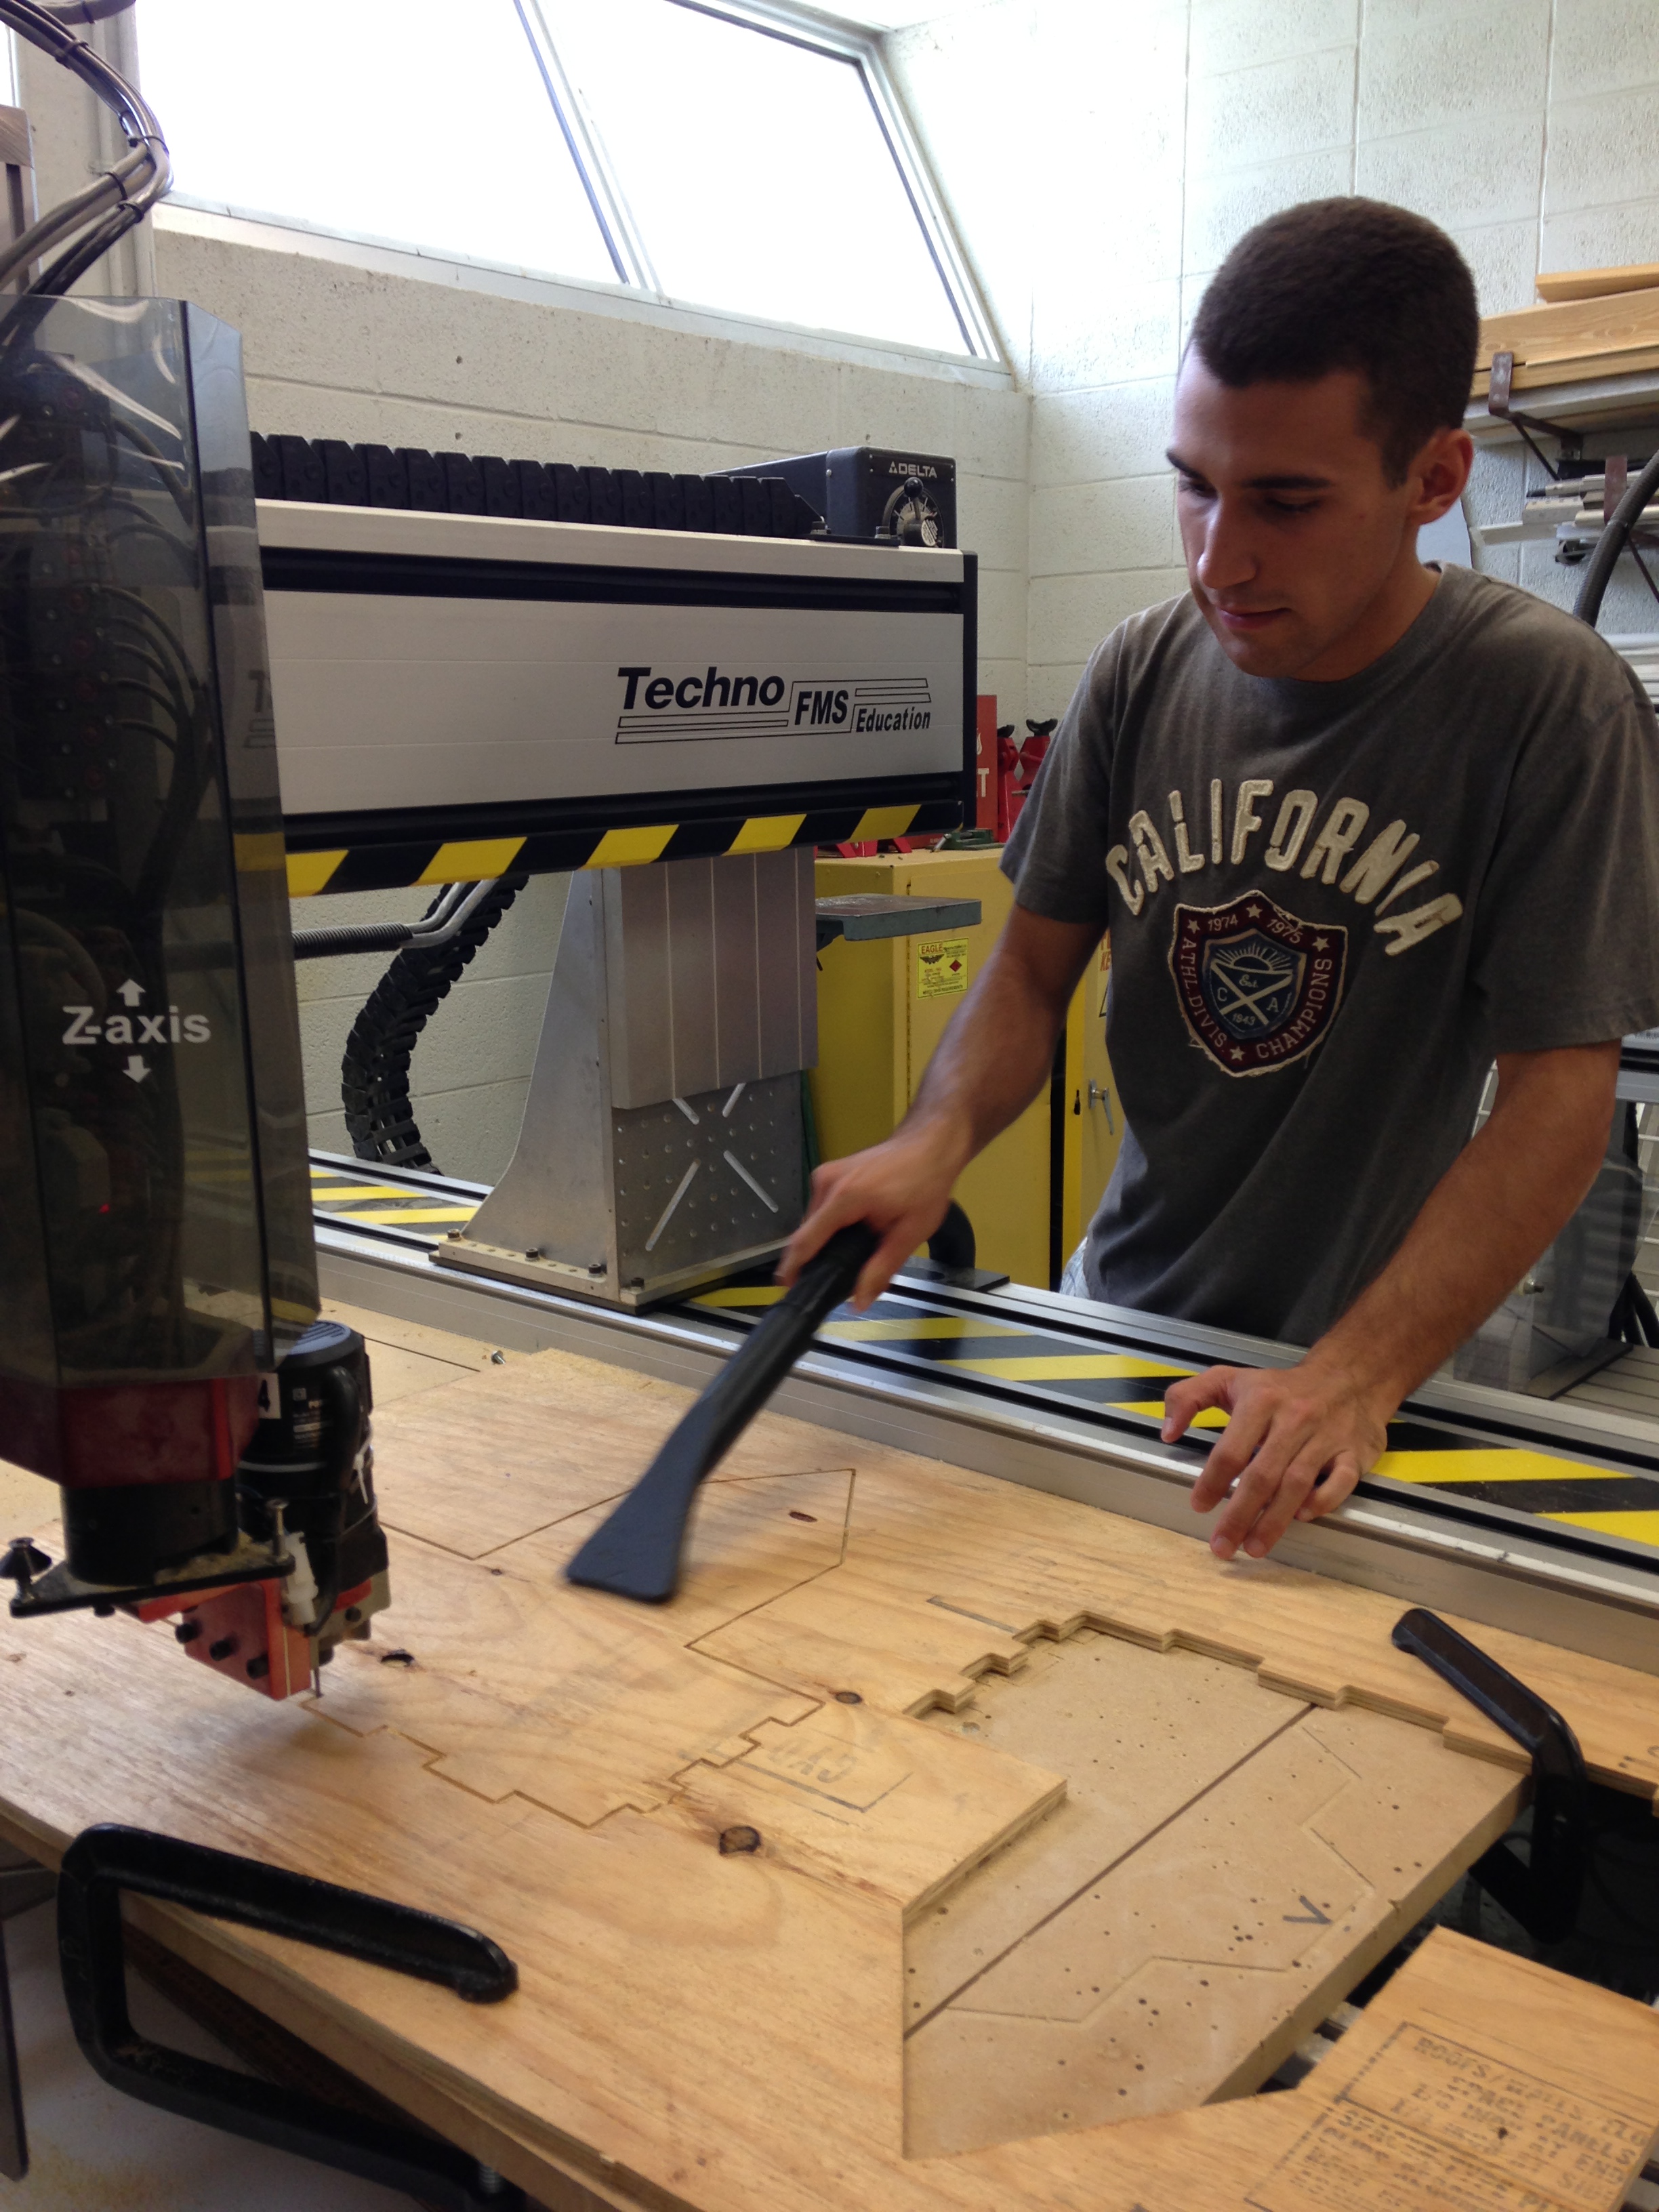
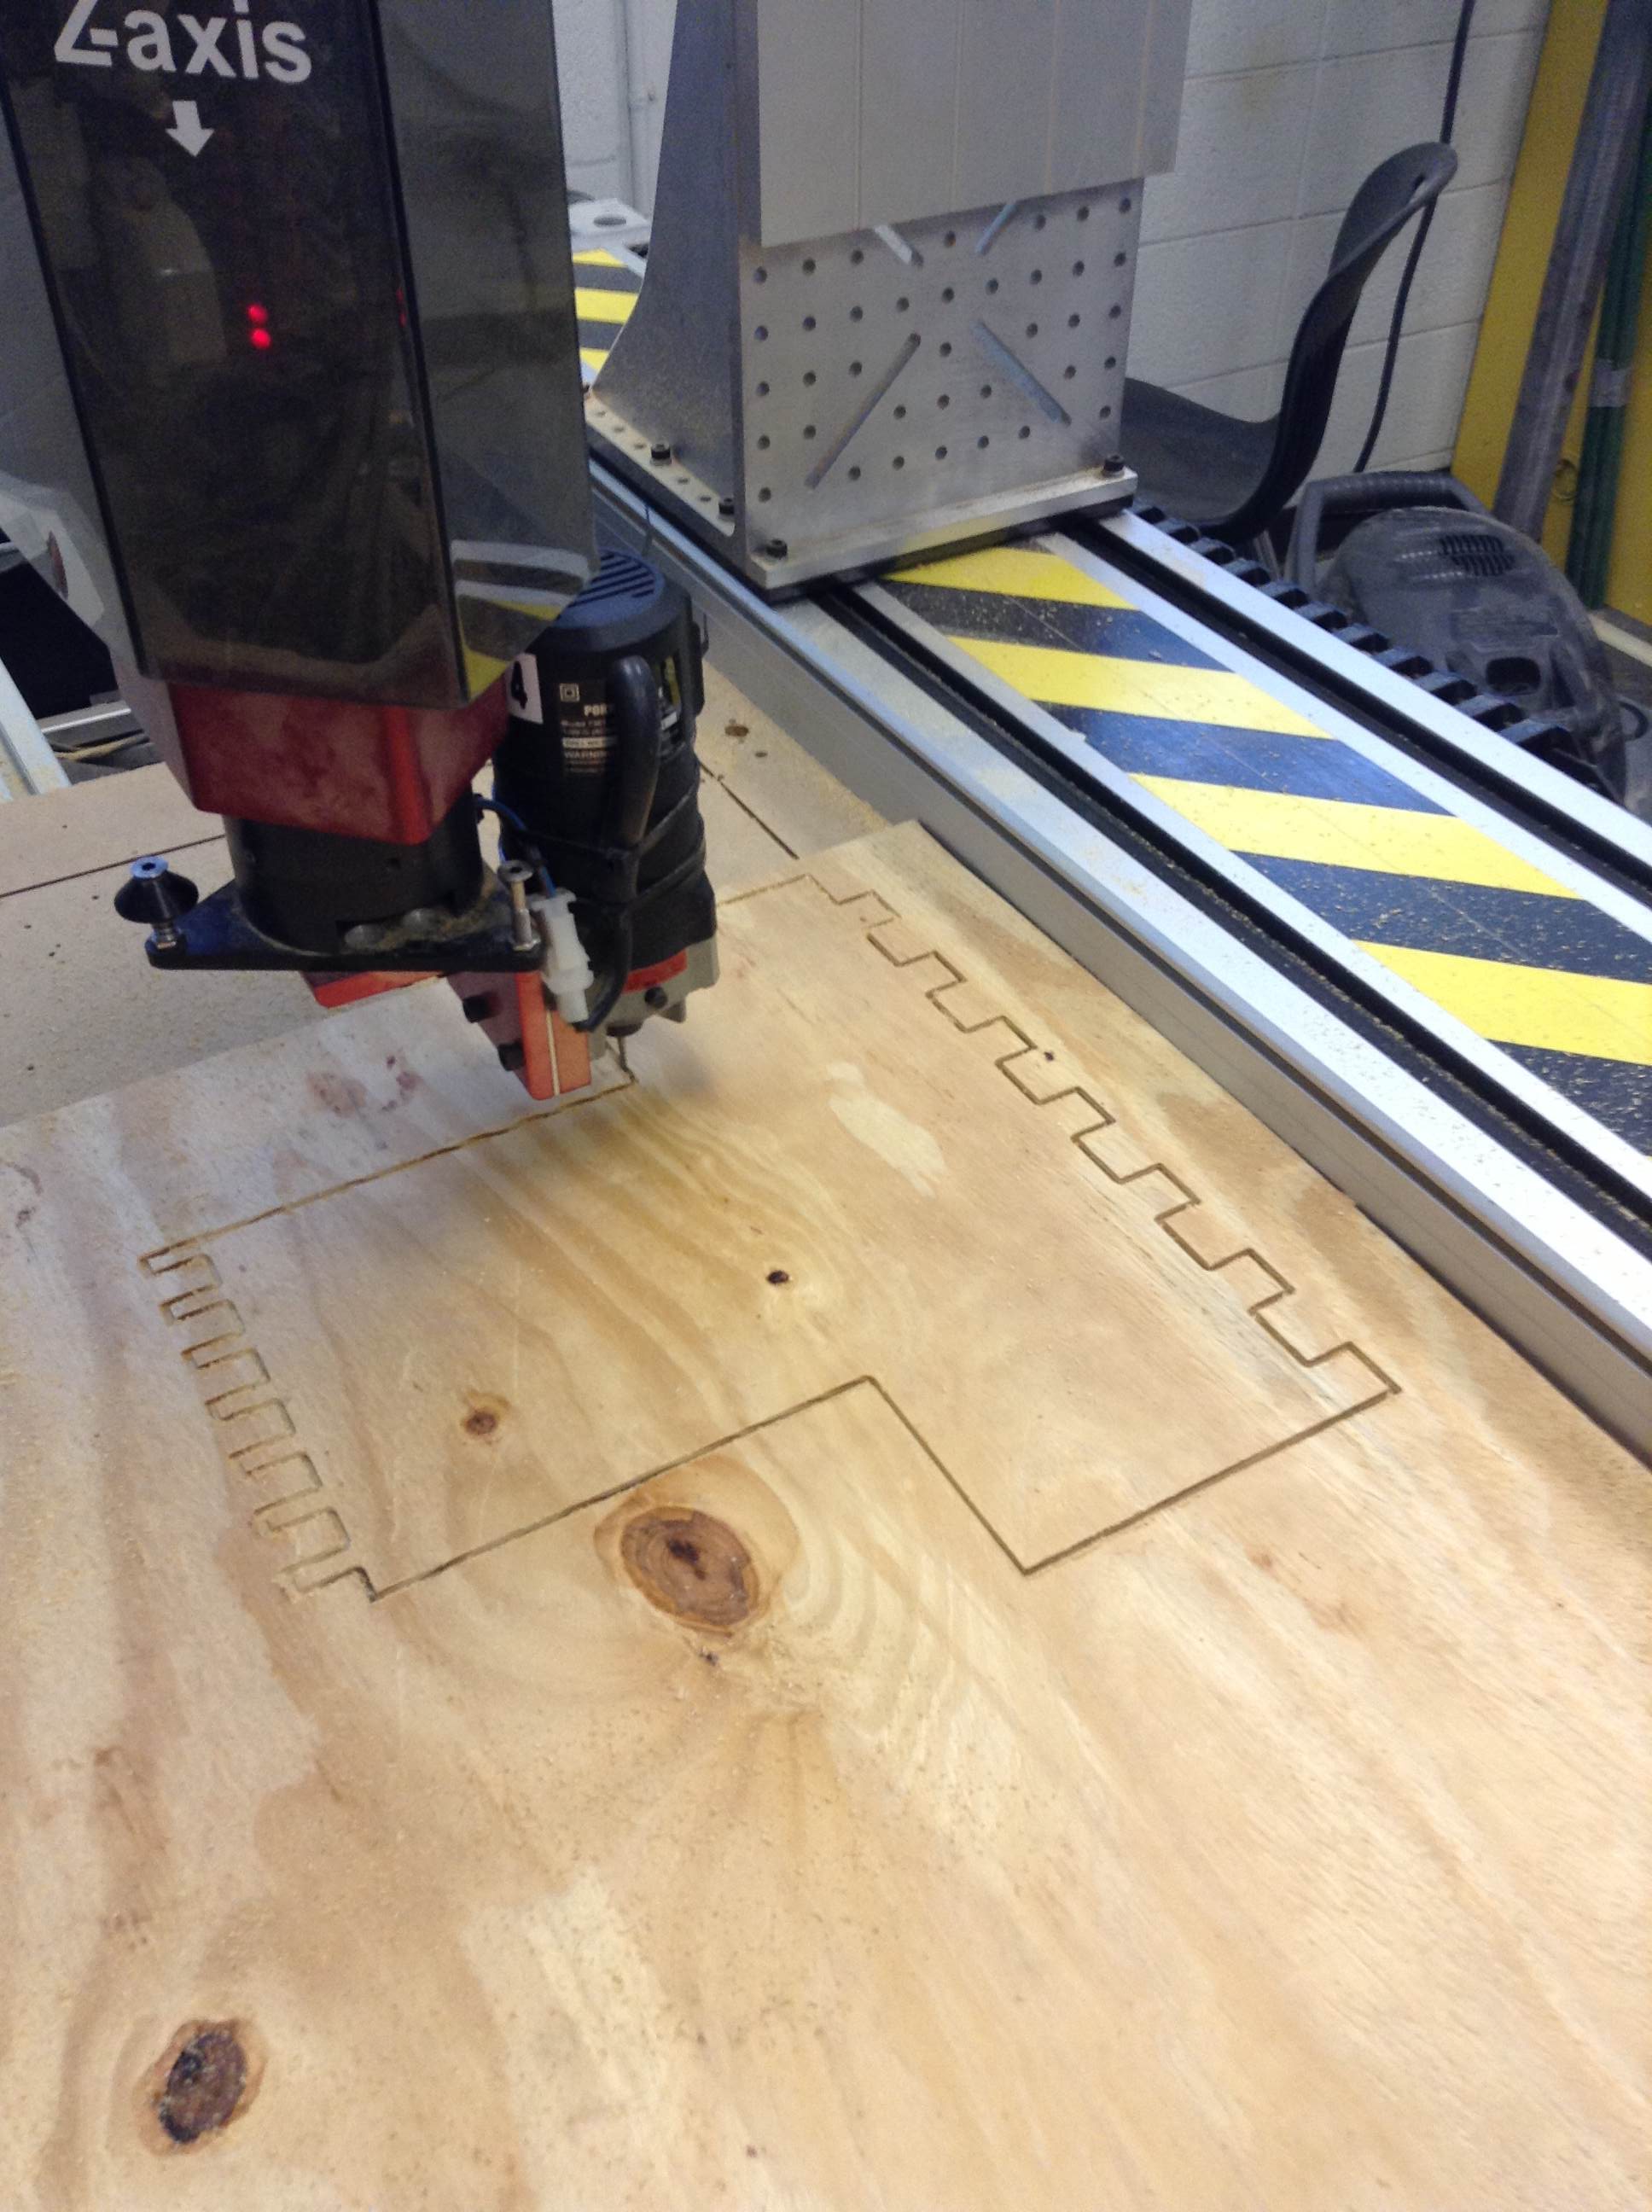
Please keep in mind the drill bit sizes needed to cut out each component.
For the BACK & FRONT, use a 1/8 Ball Endmill.
For the COVER, FLOOR & FRONT, use a 1/8 Flat Endmill.
For the PINS, use a 1/16 Flat Endmill.
Once you get the the FMS, you want to origin your drill bit based on the origin of each component in MasterCAM. Once the bit is at the origin, you can run each operation.
Assembly (Base & Walls)
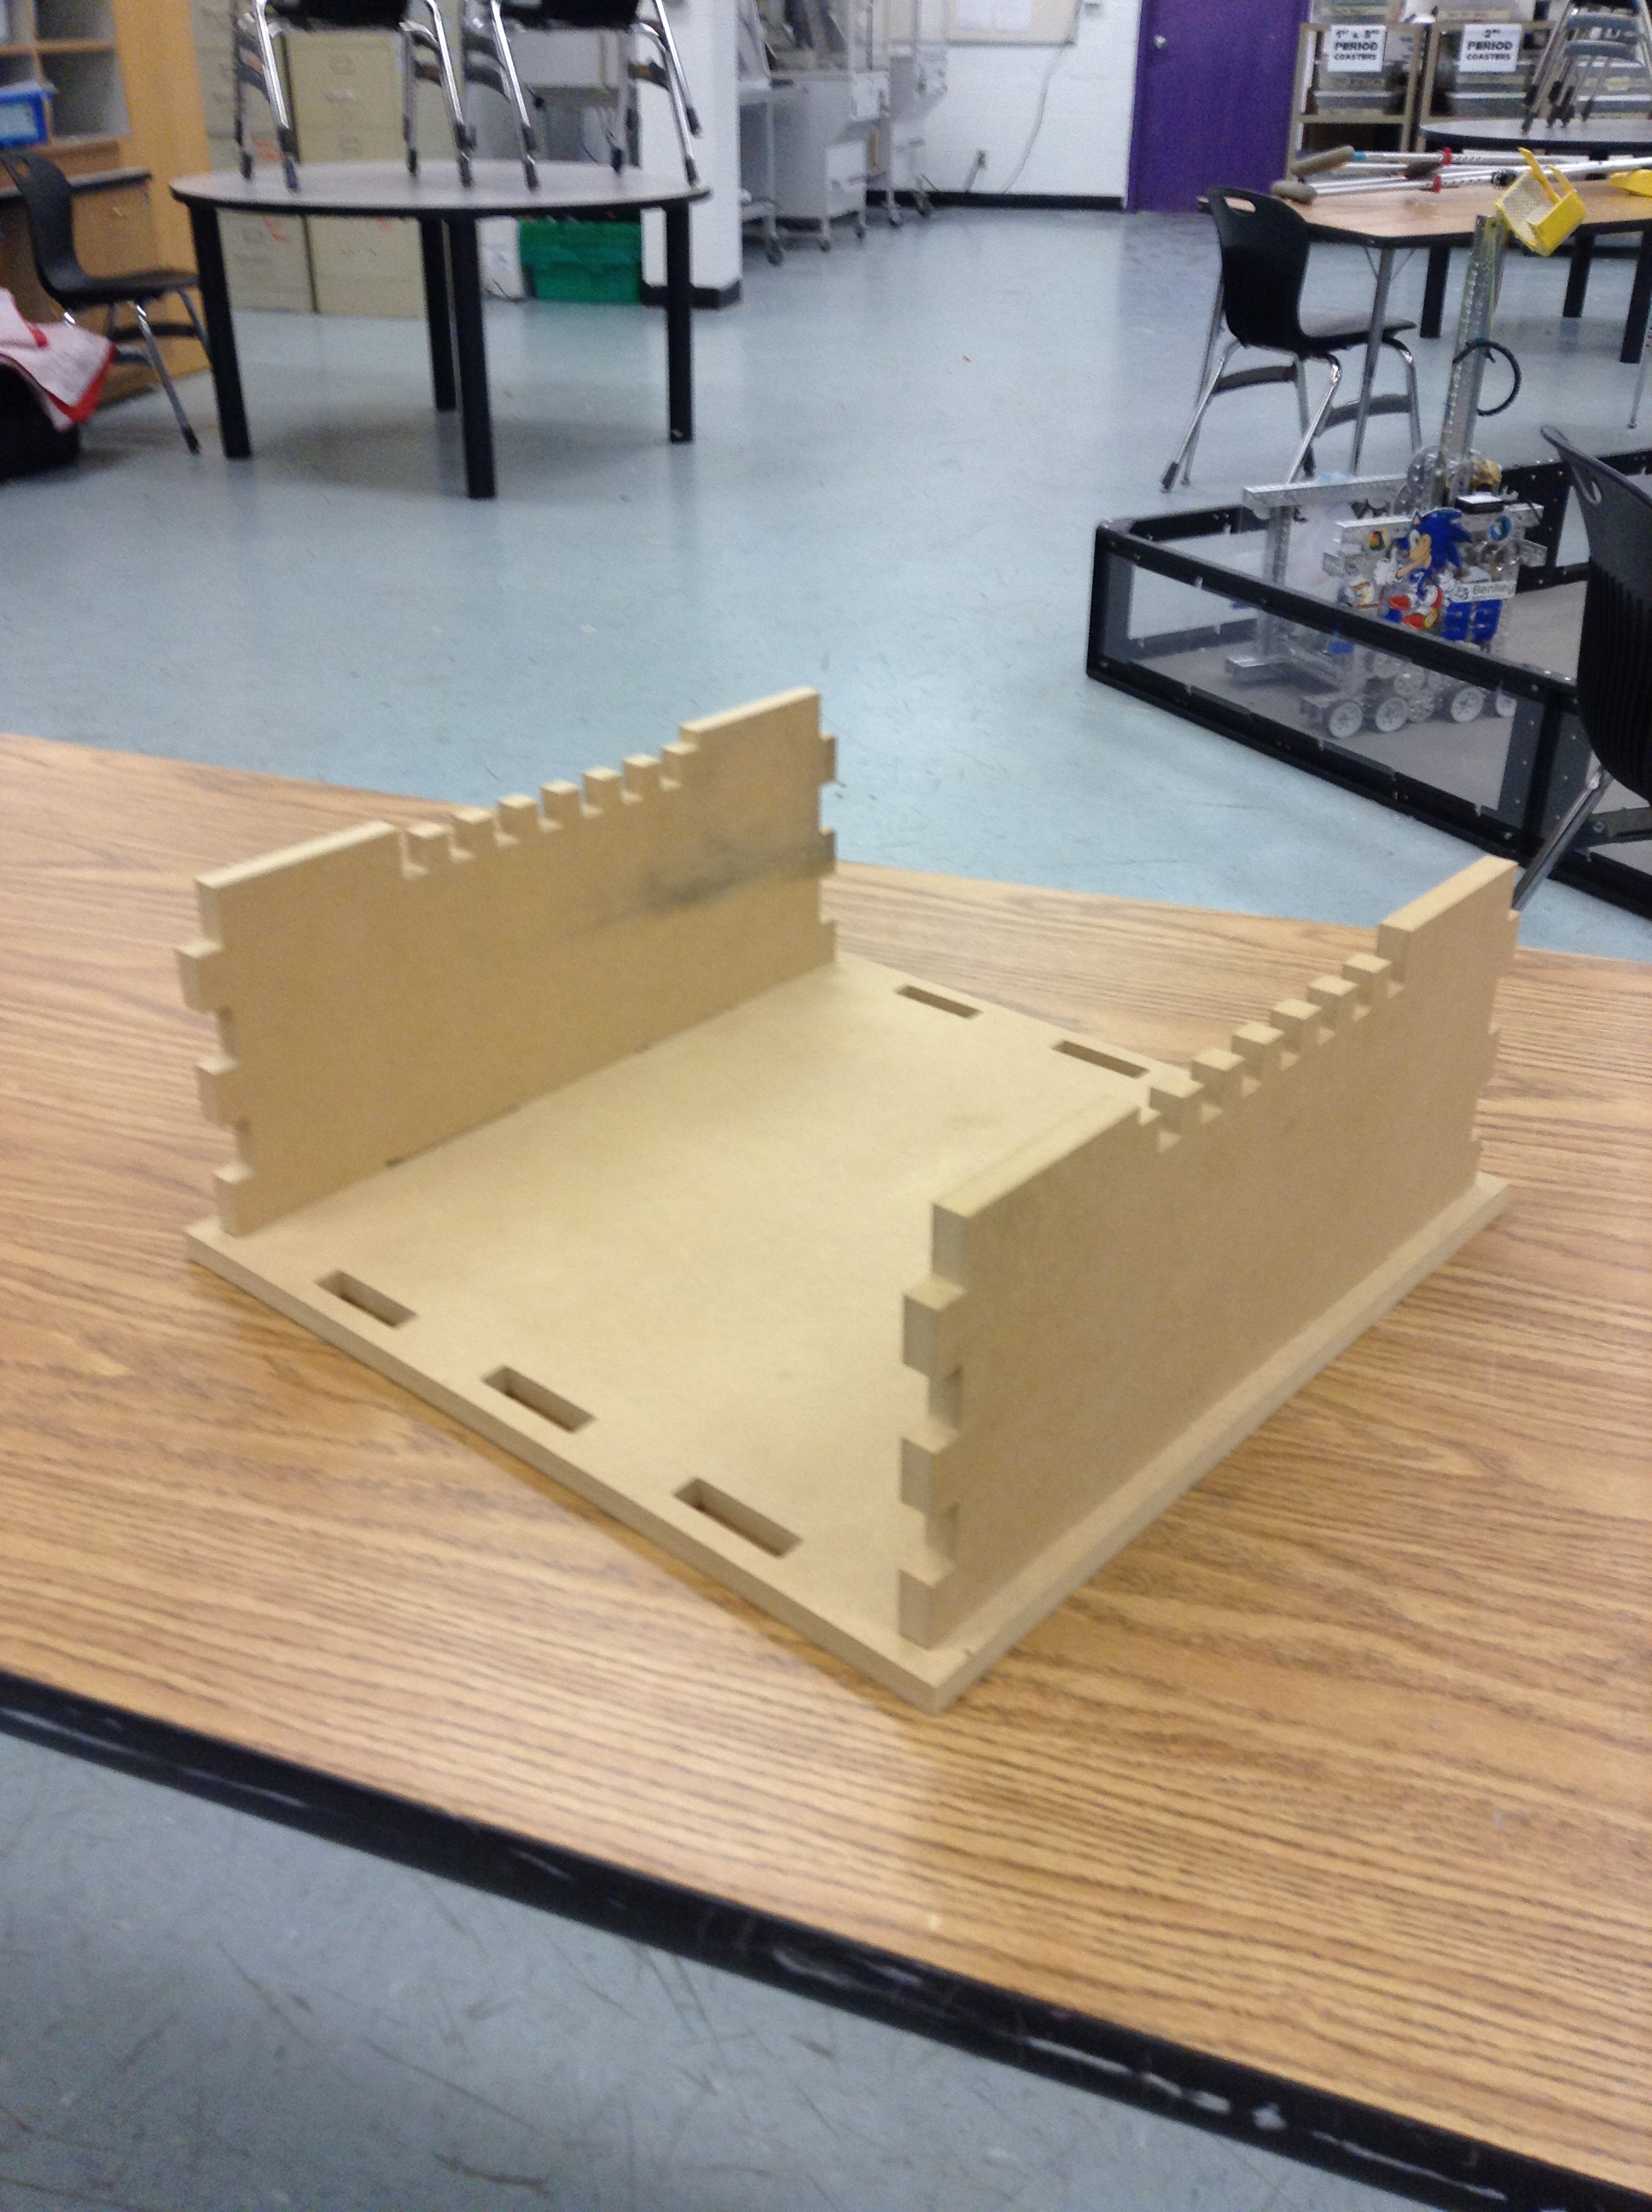
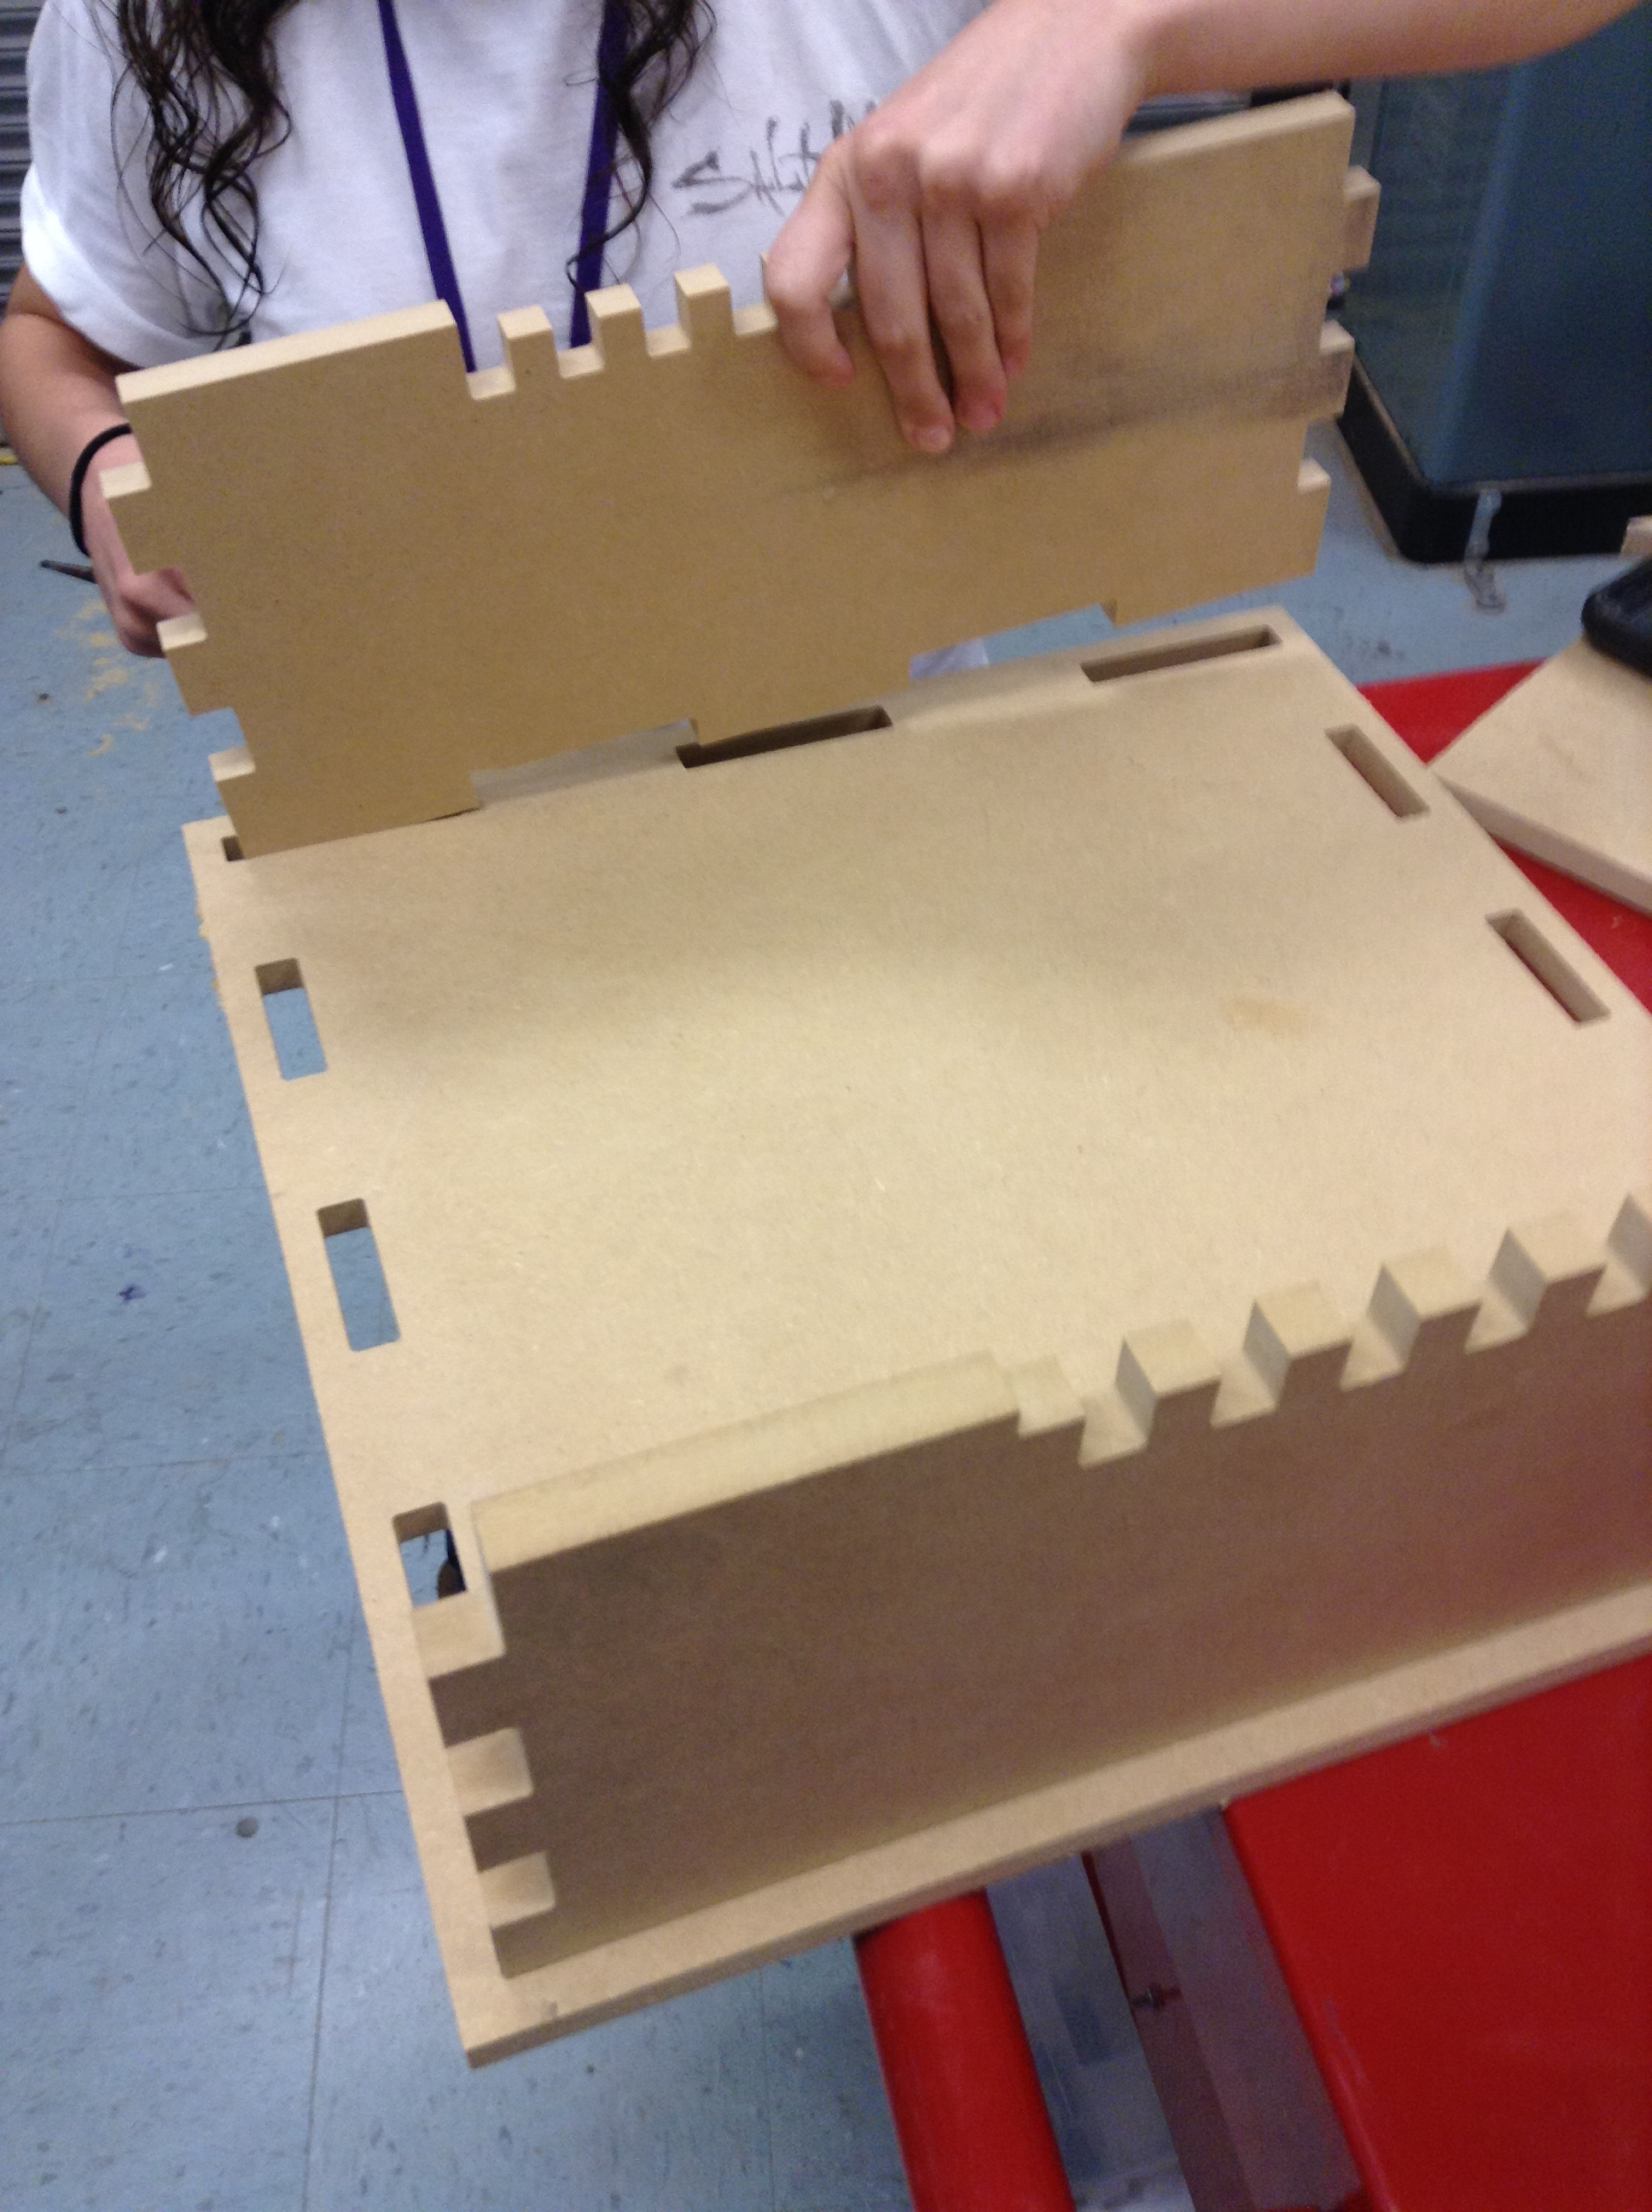
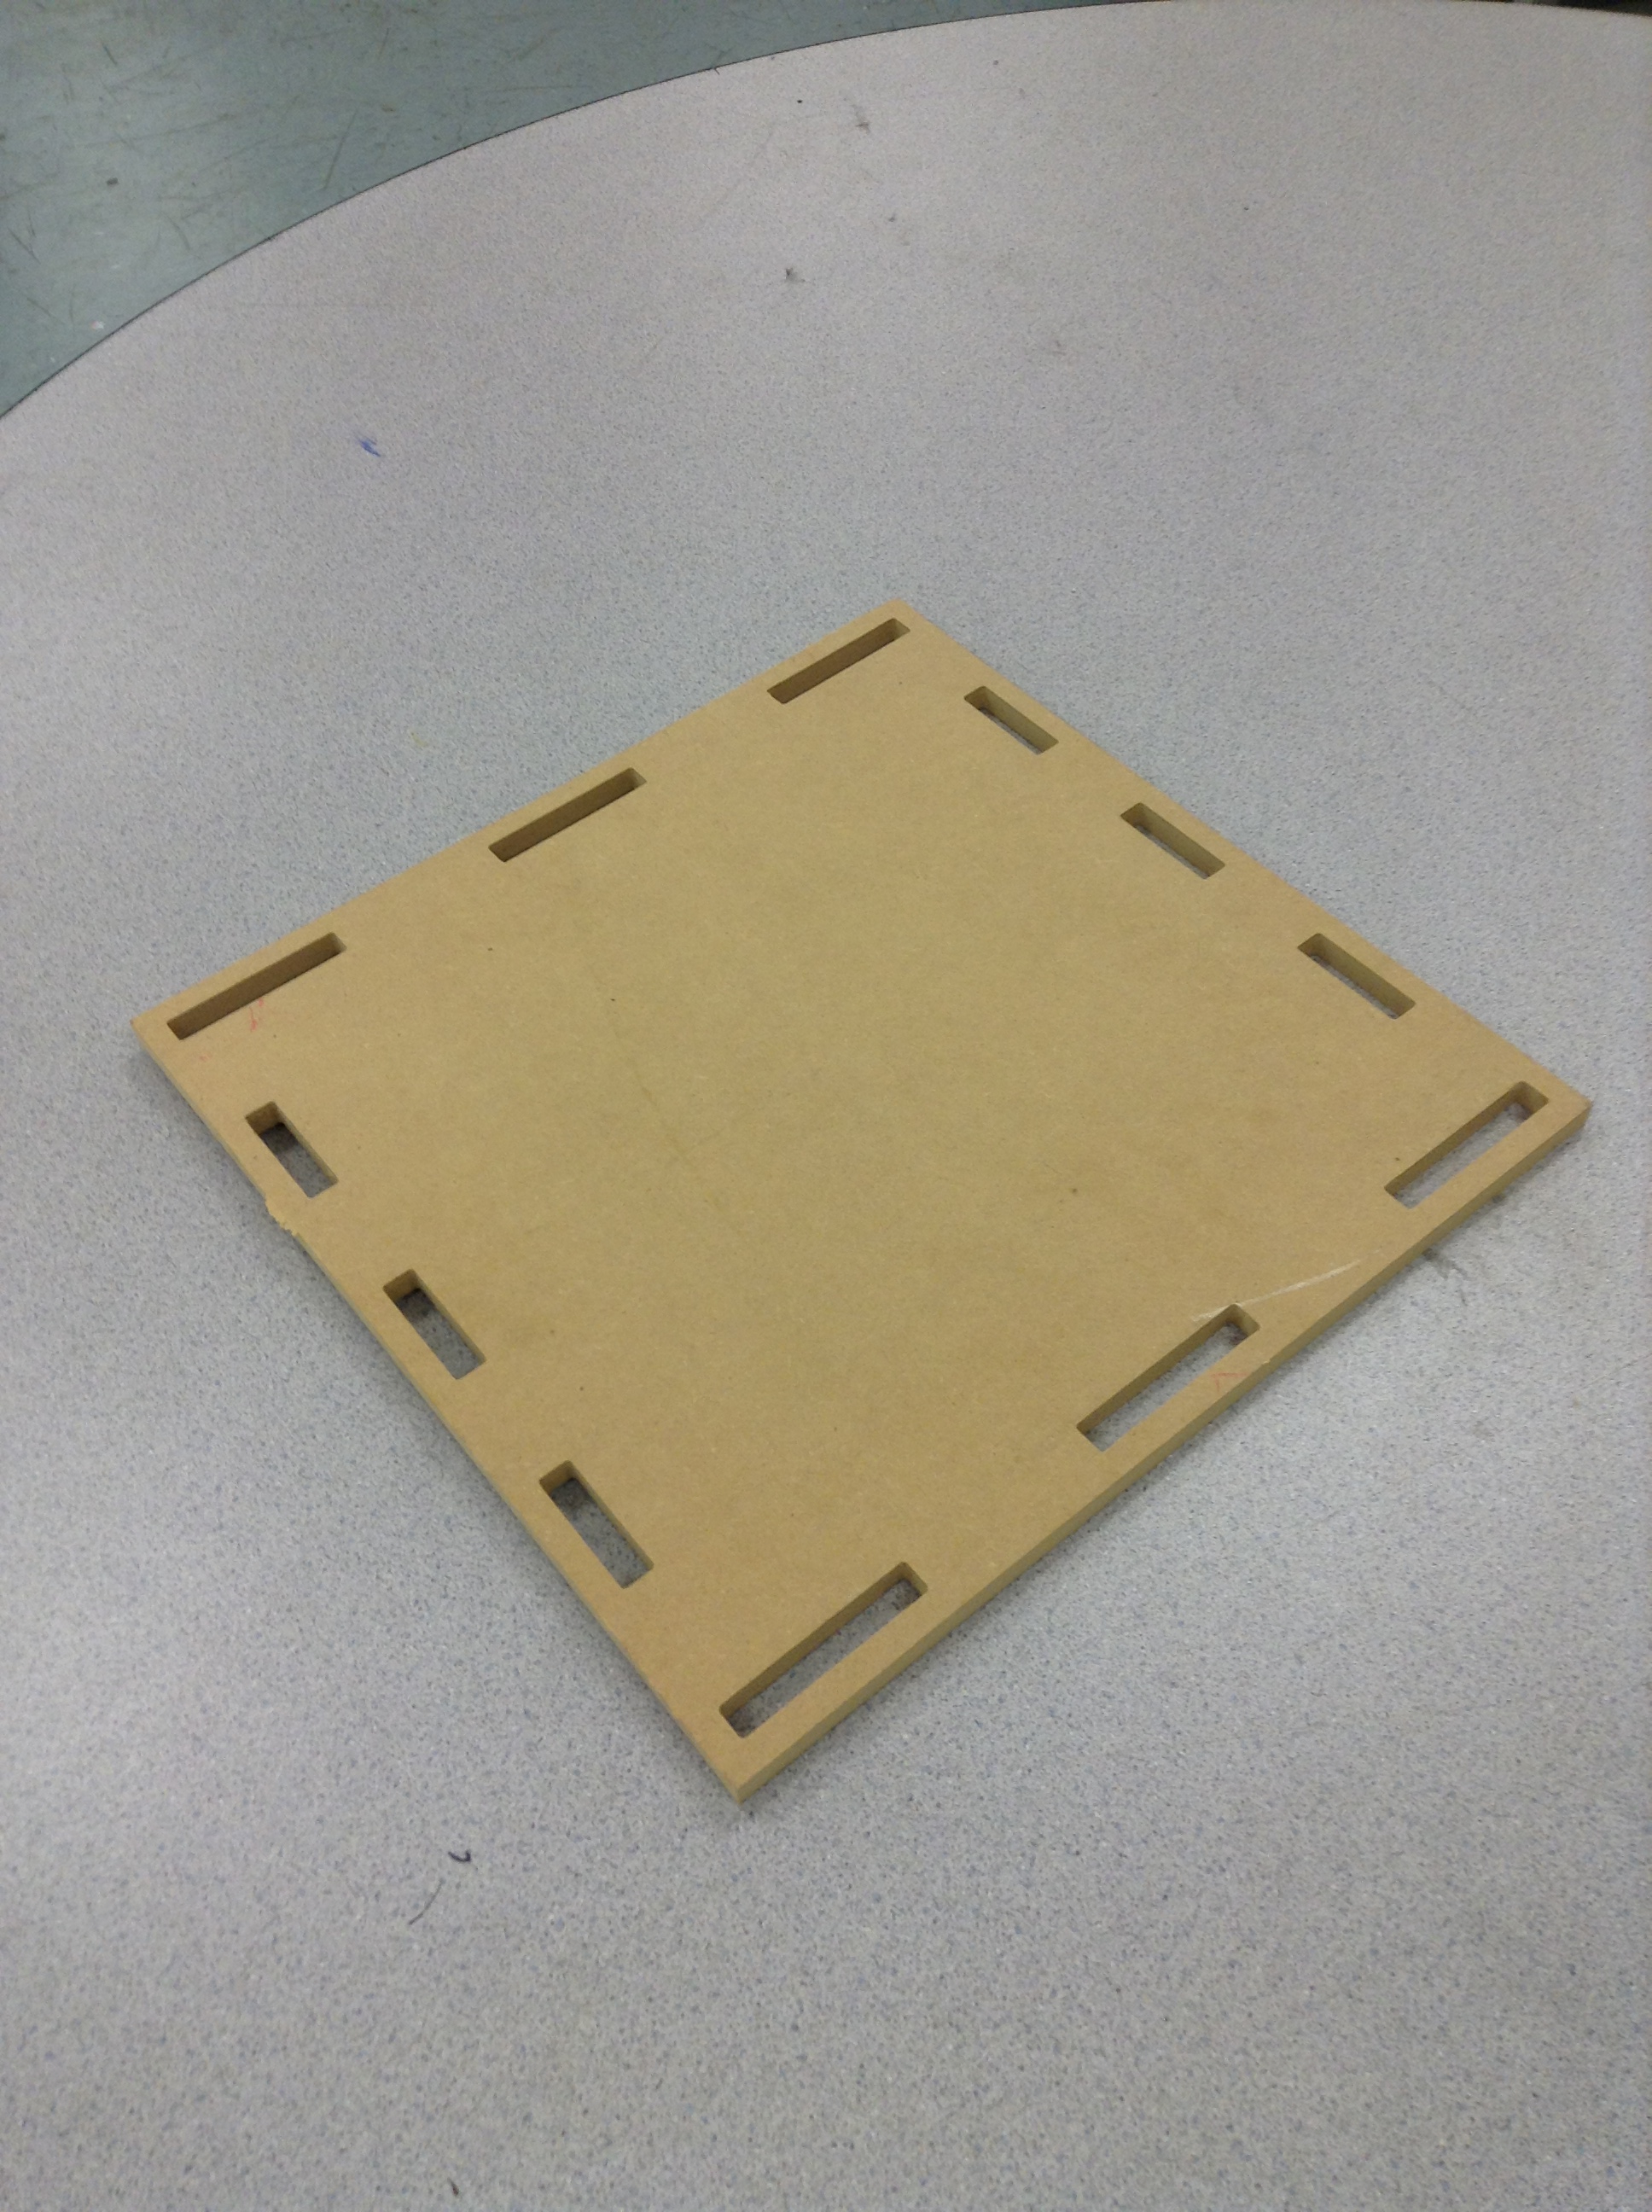
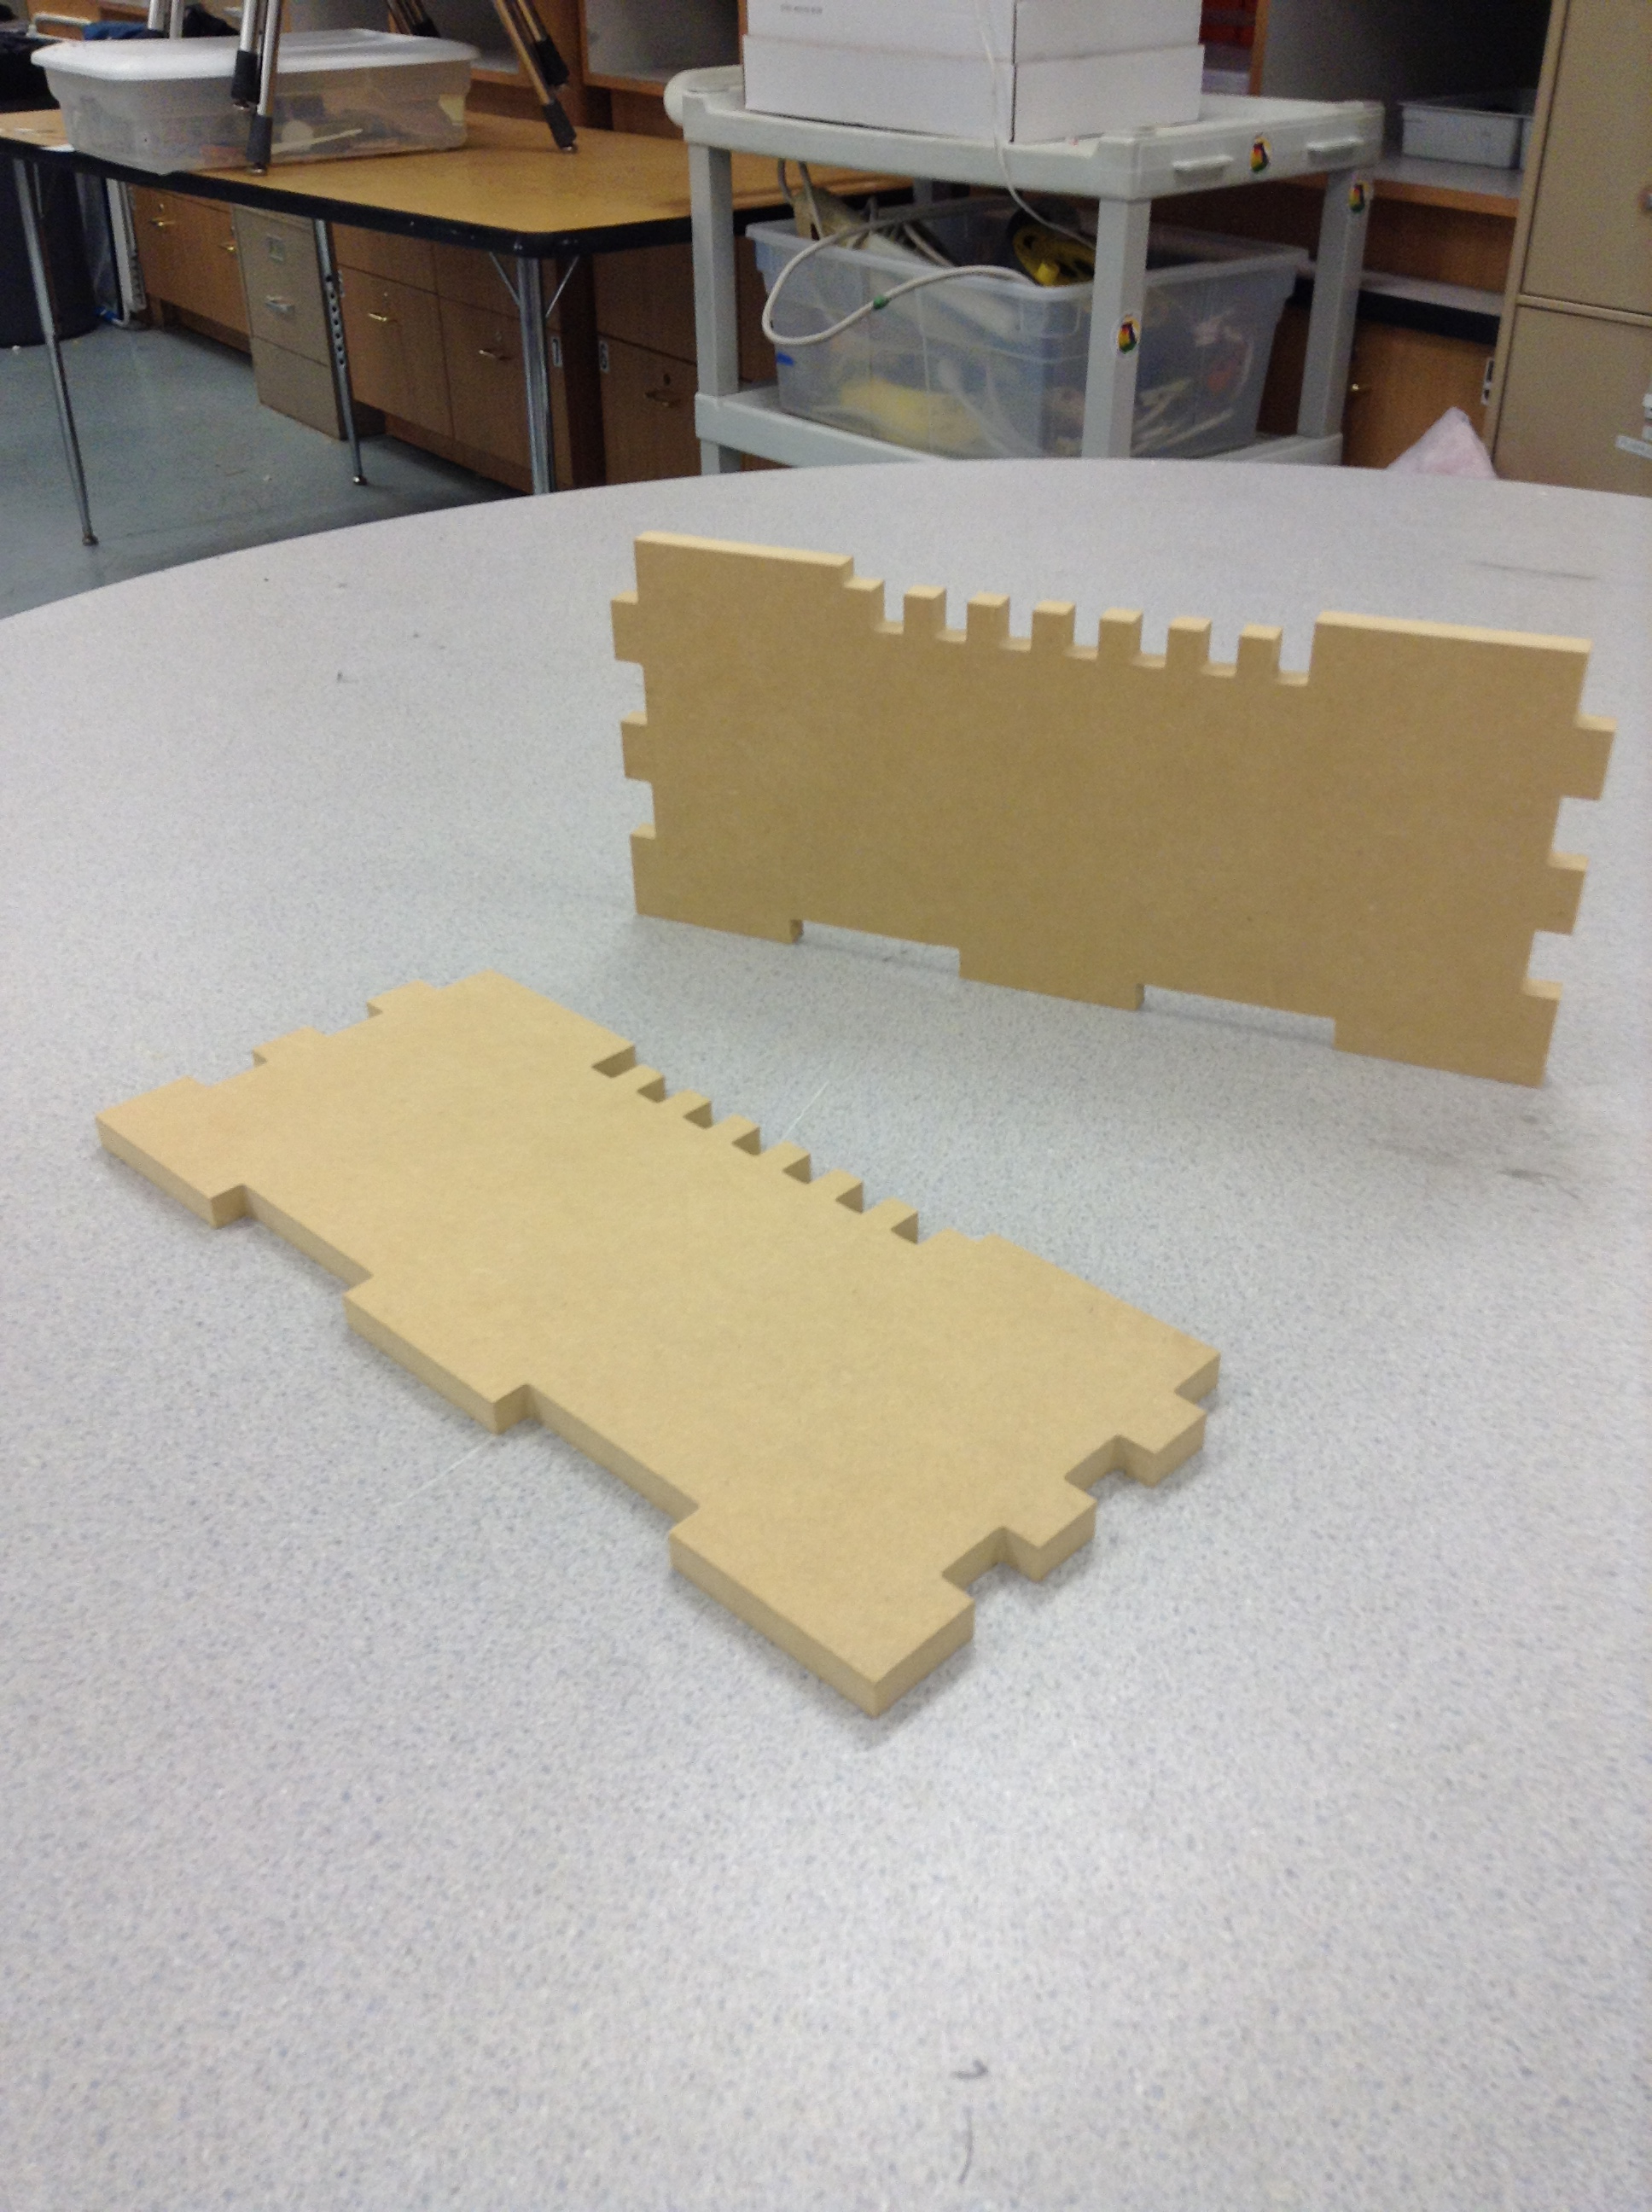
Once you have finished filing, you can push each component into the wall slots on the FLOOR component.
Use a rubber mallet to gently tap each component into the slots if the WALLS don't easily slide into the slots.
Assembly (Front & Back)
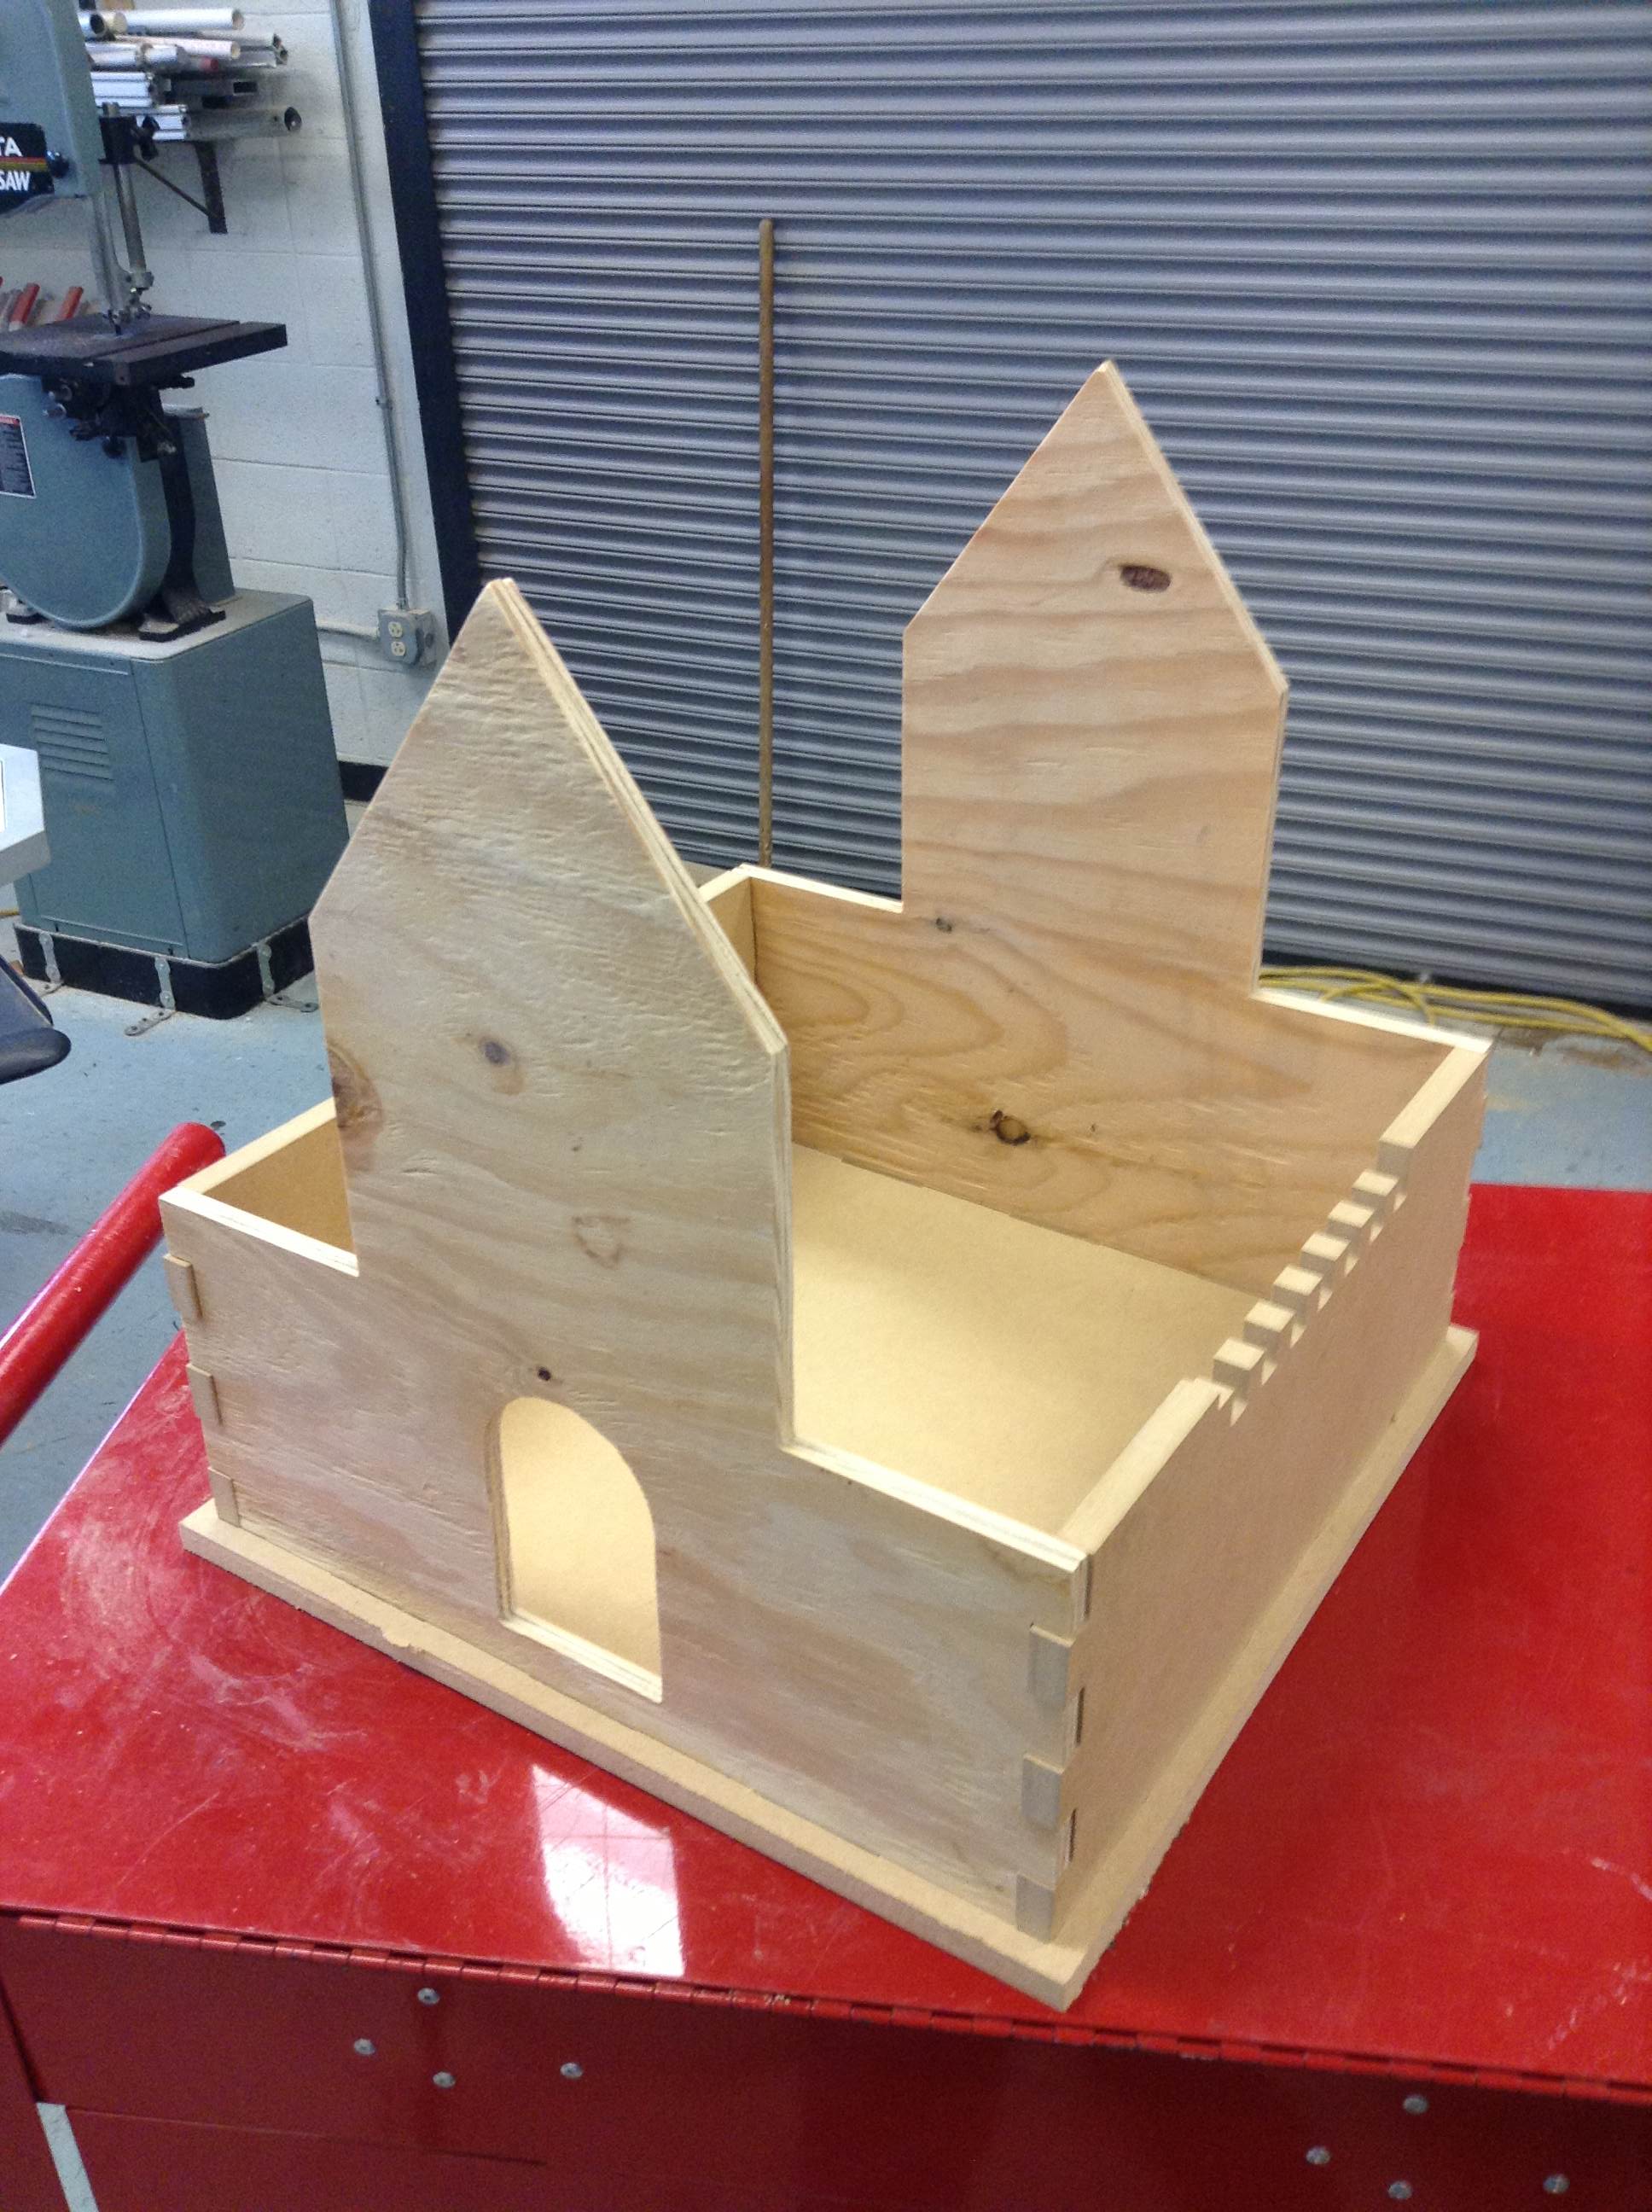
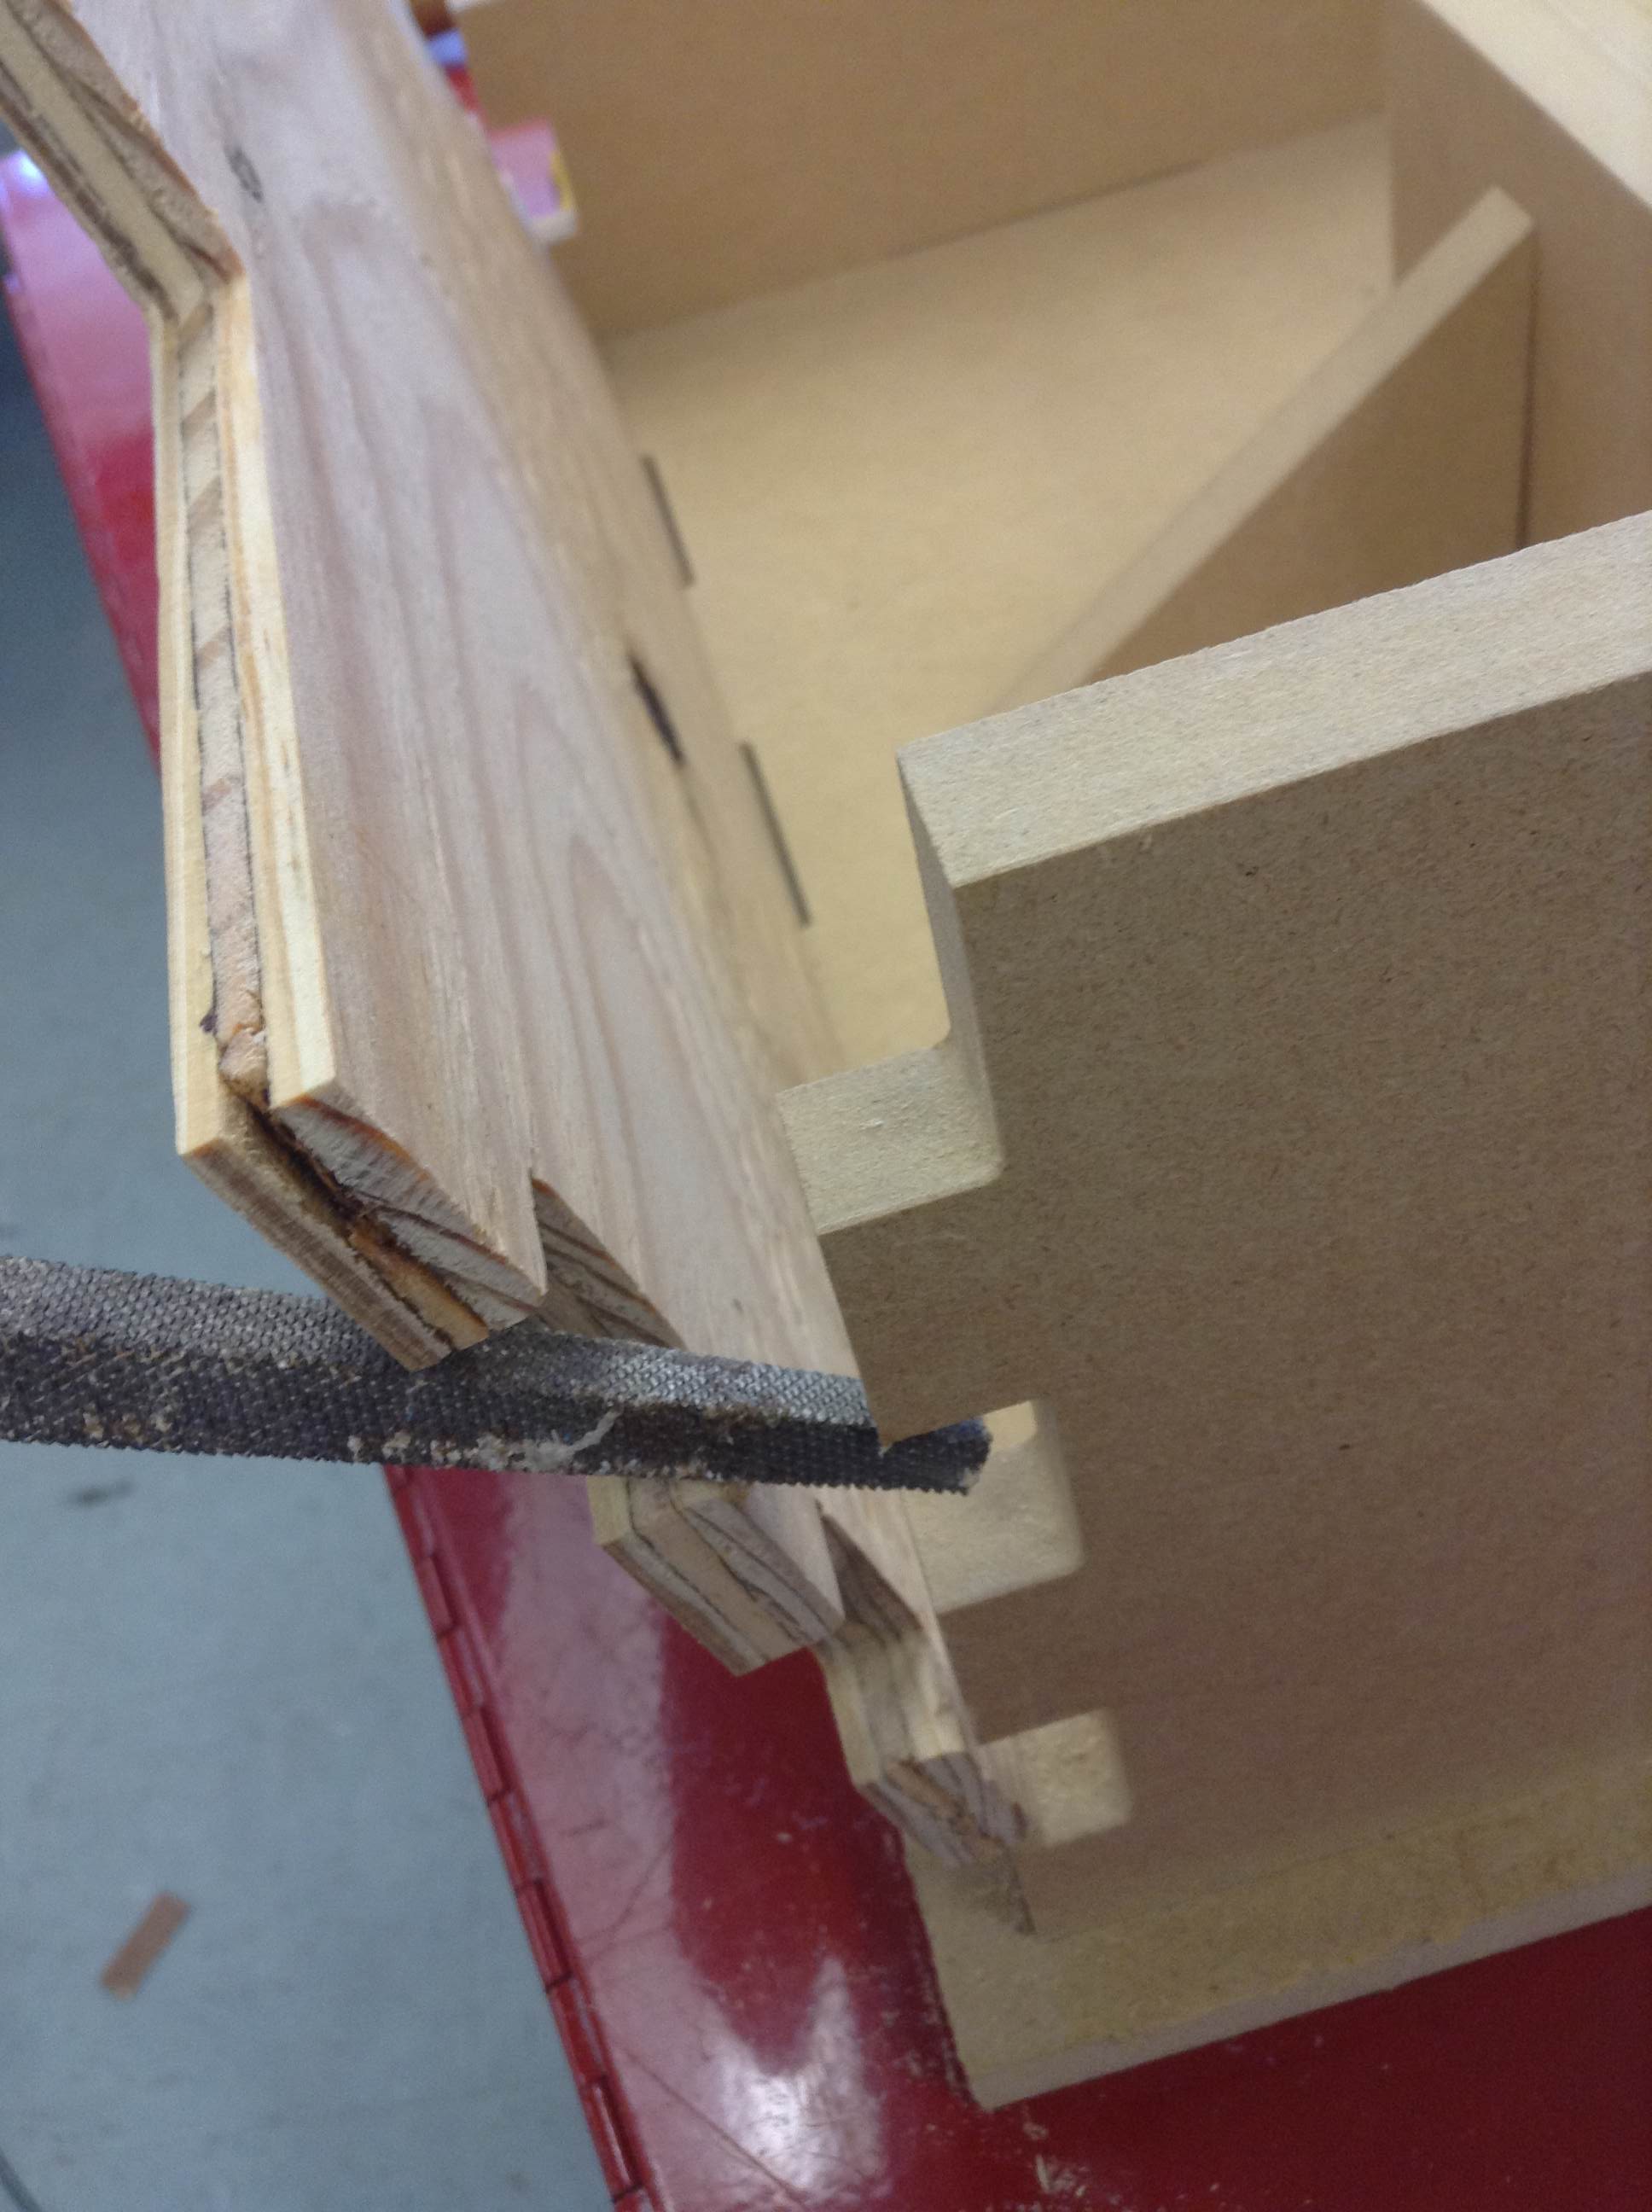
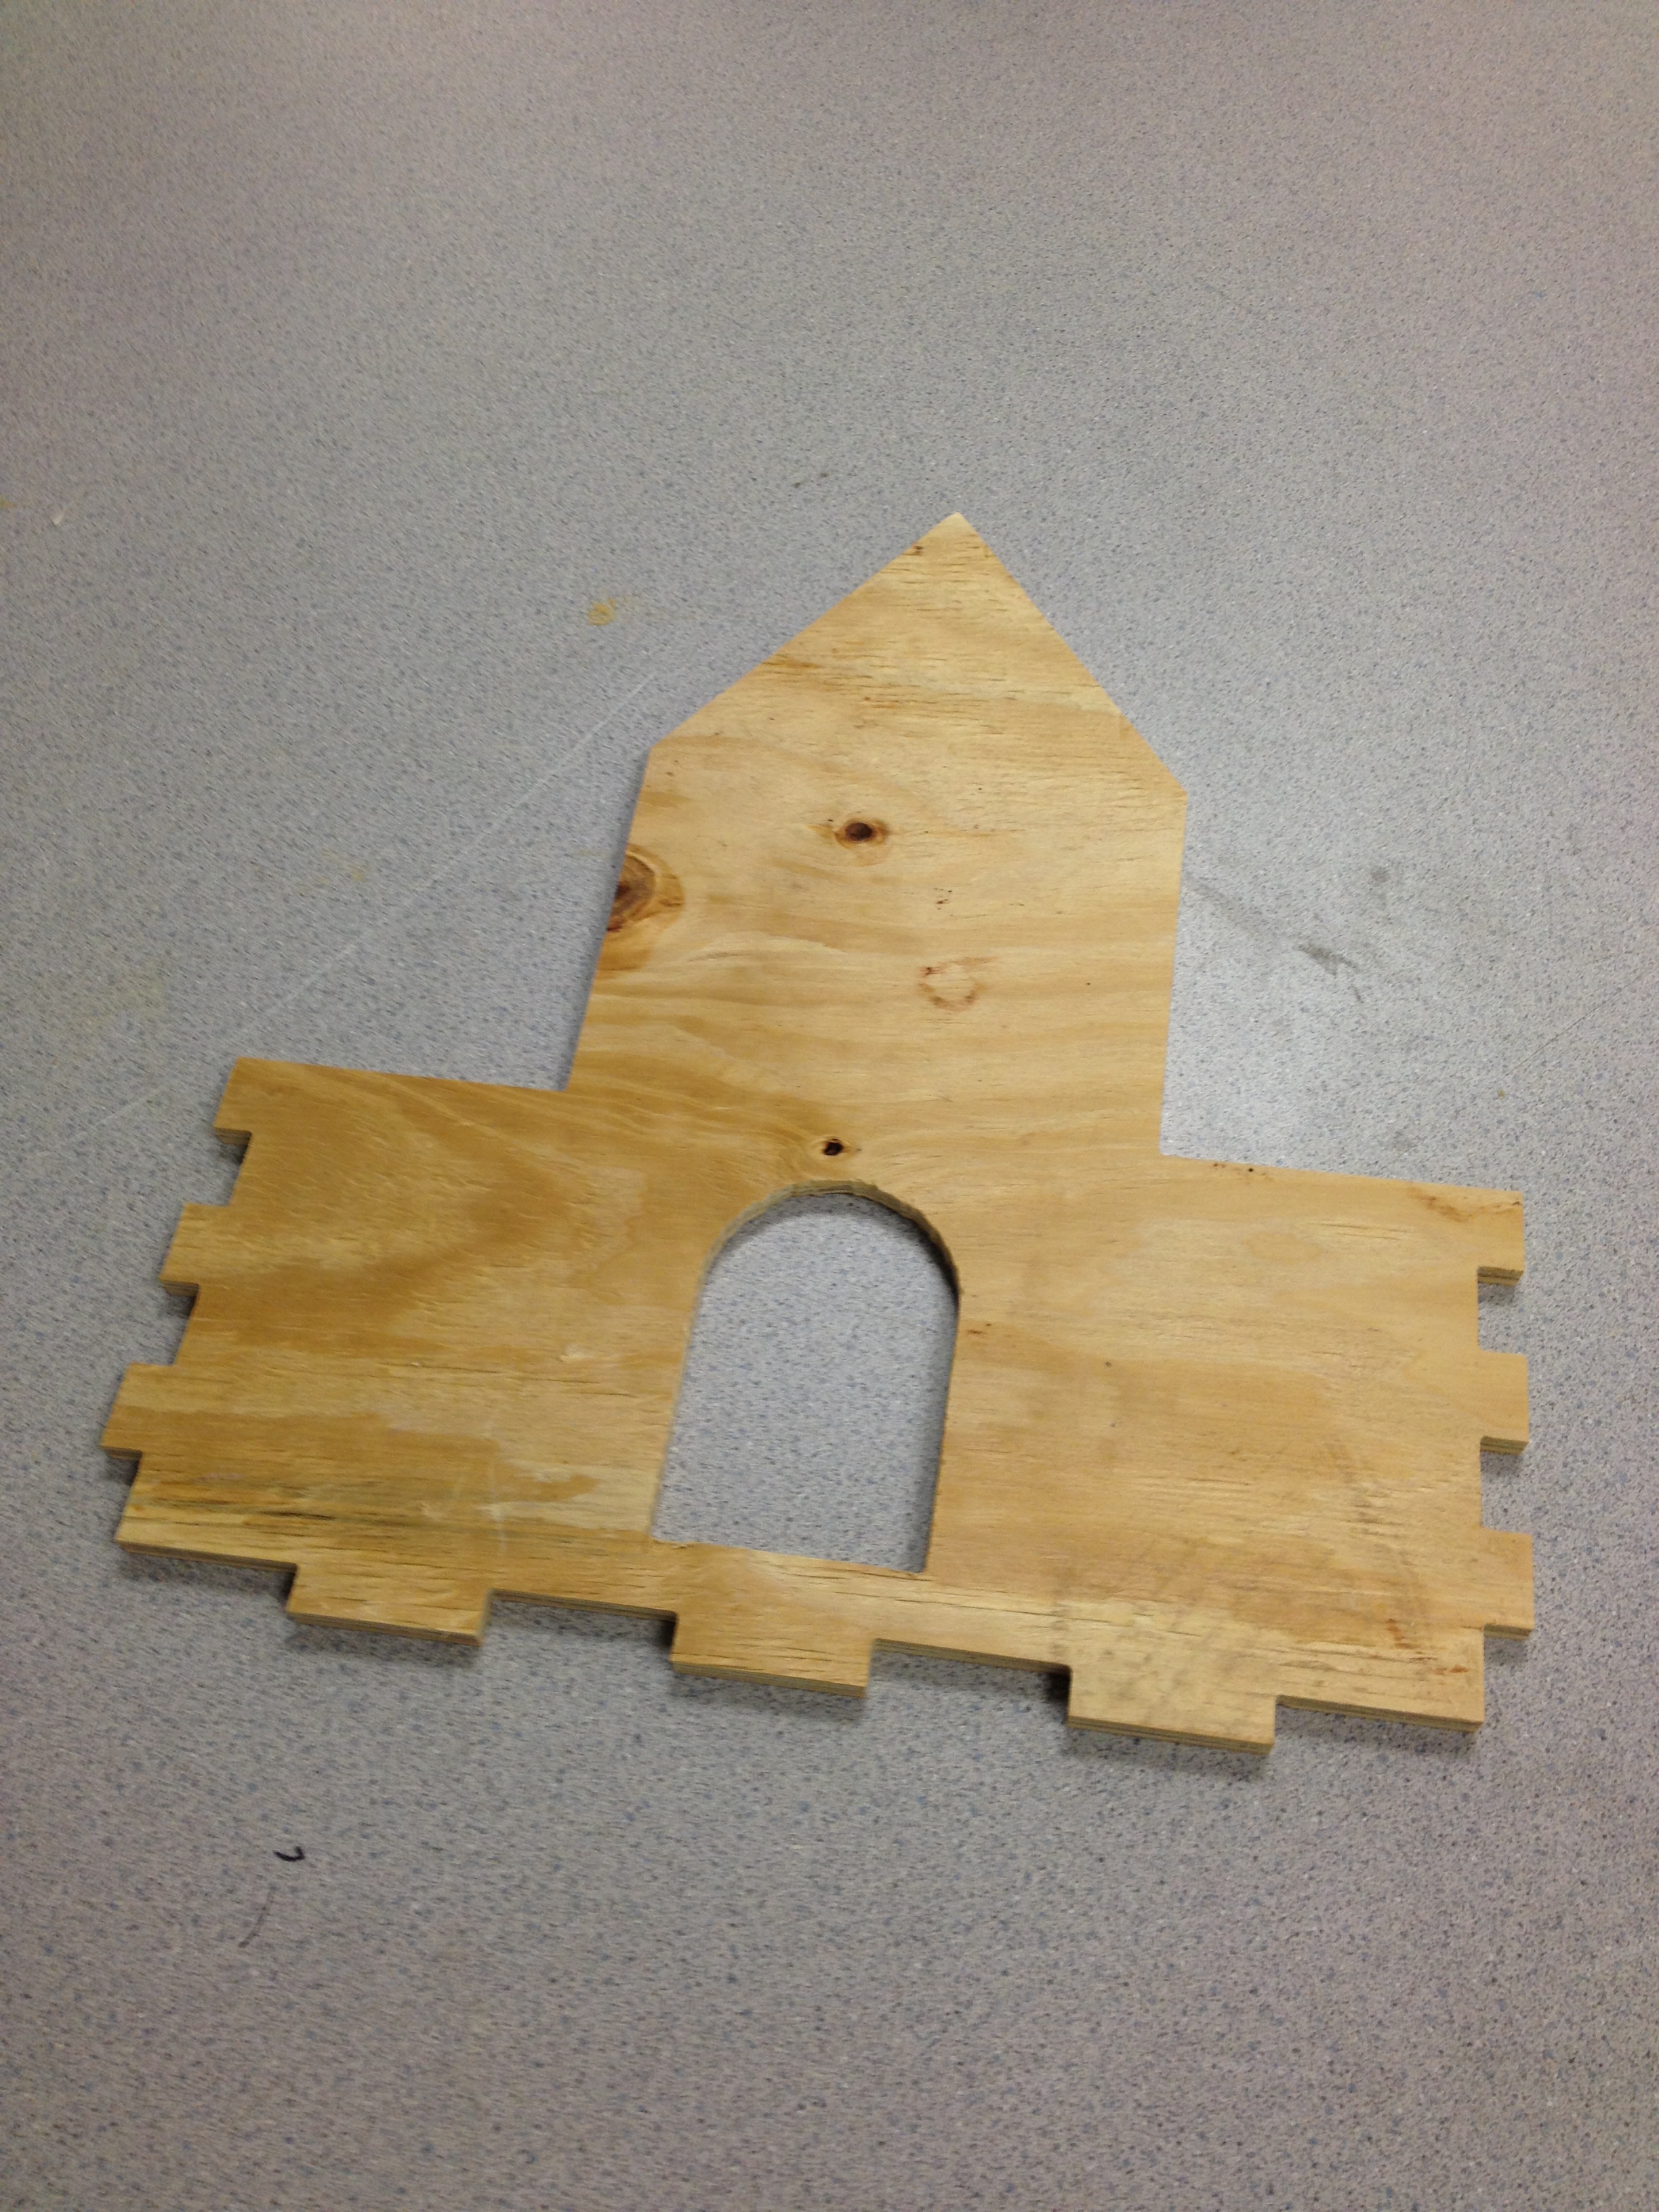
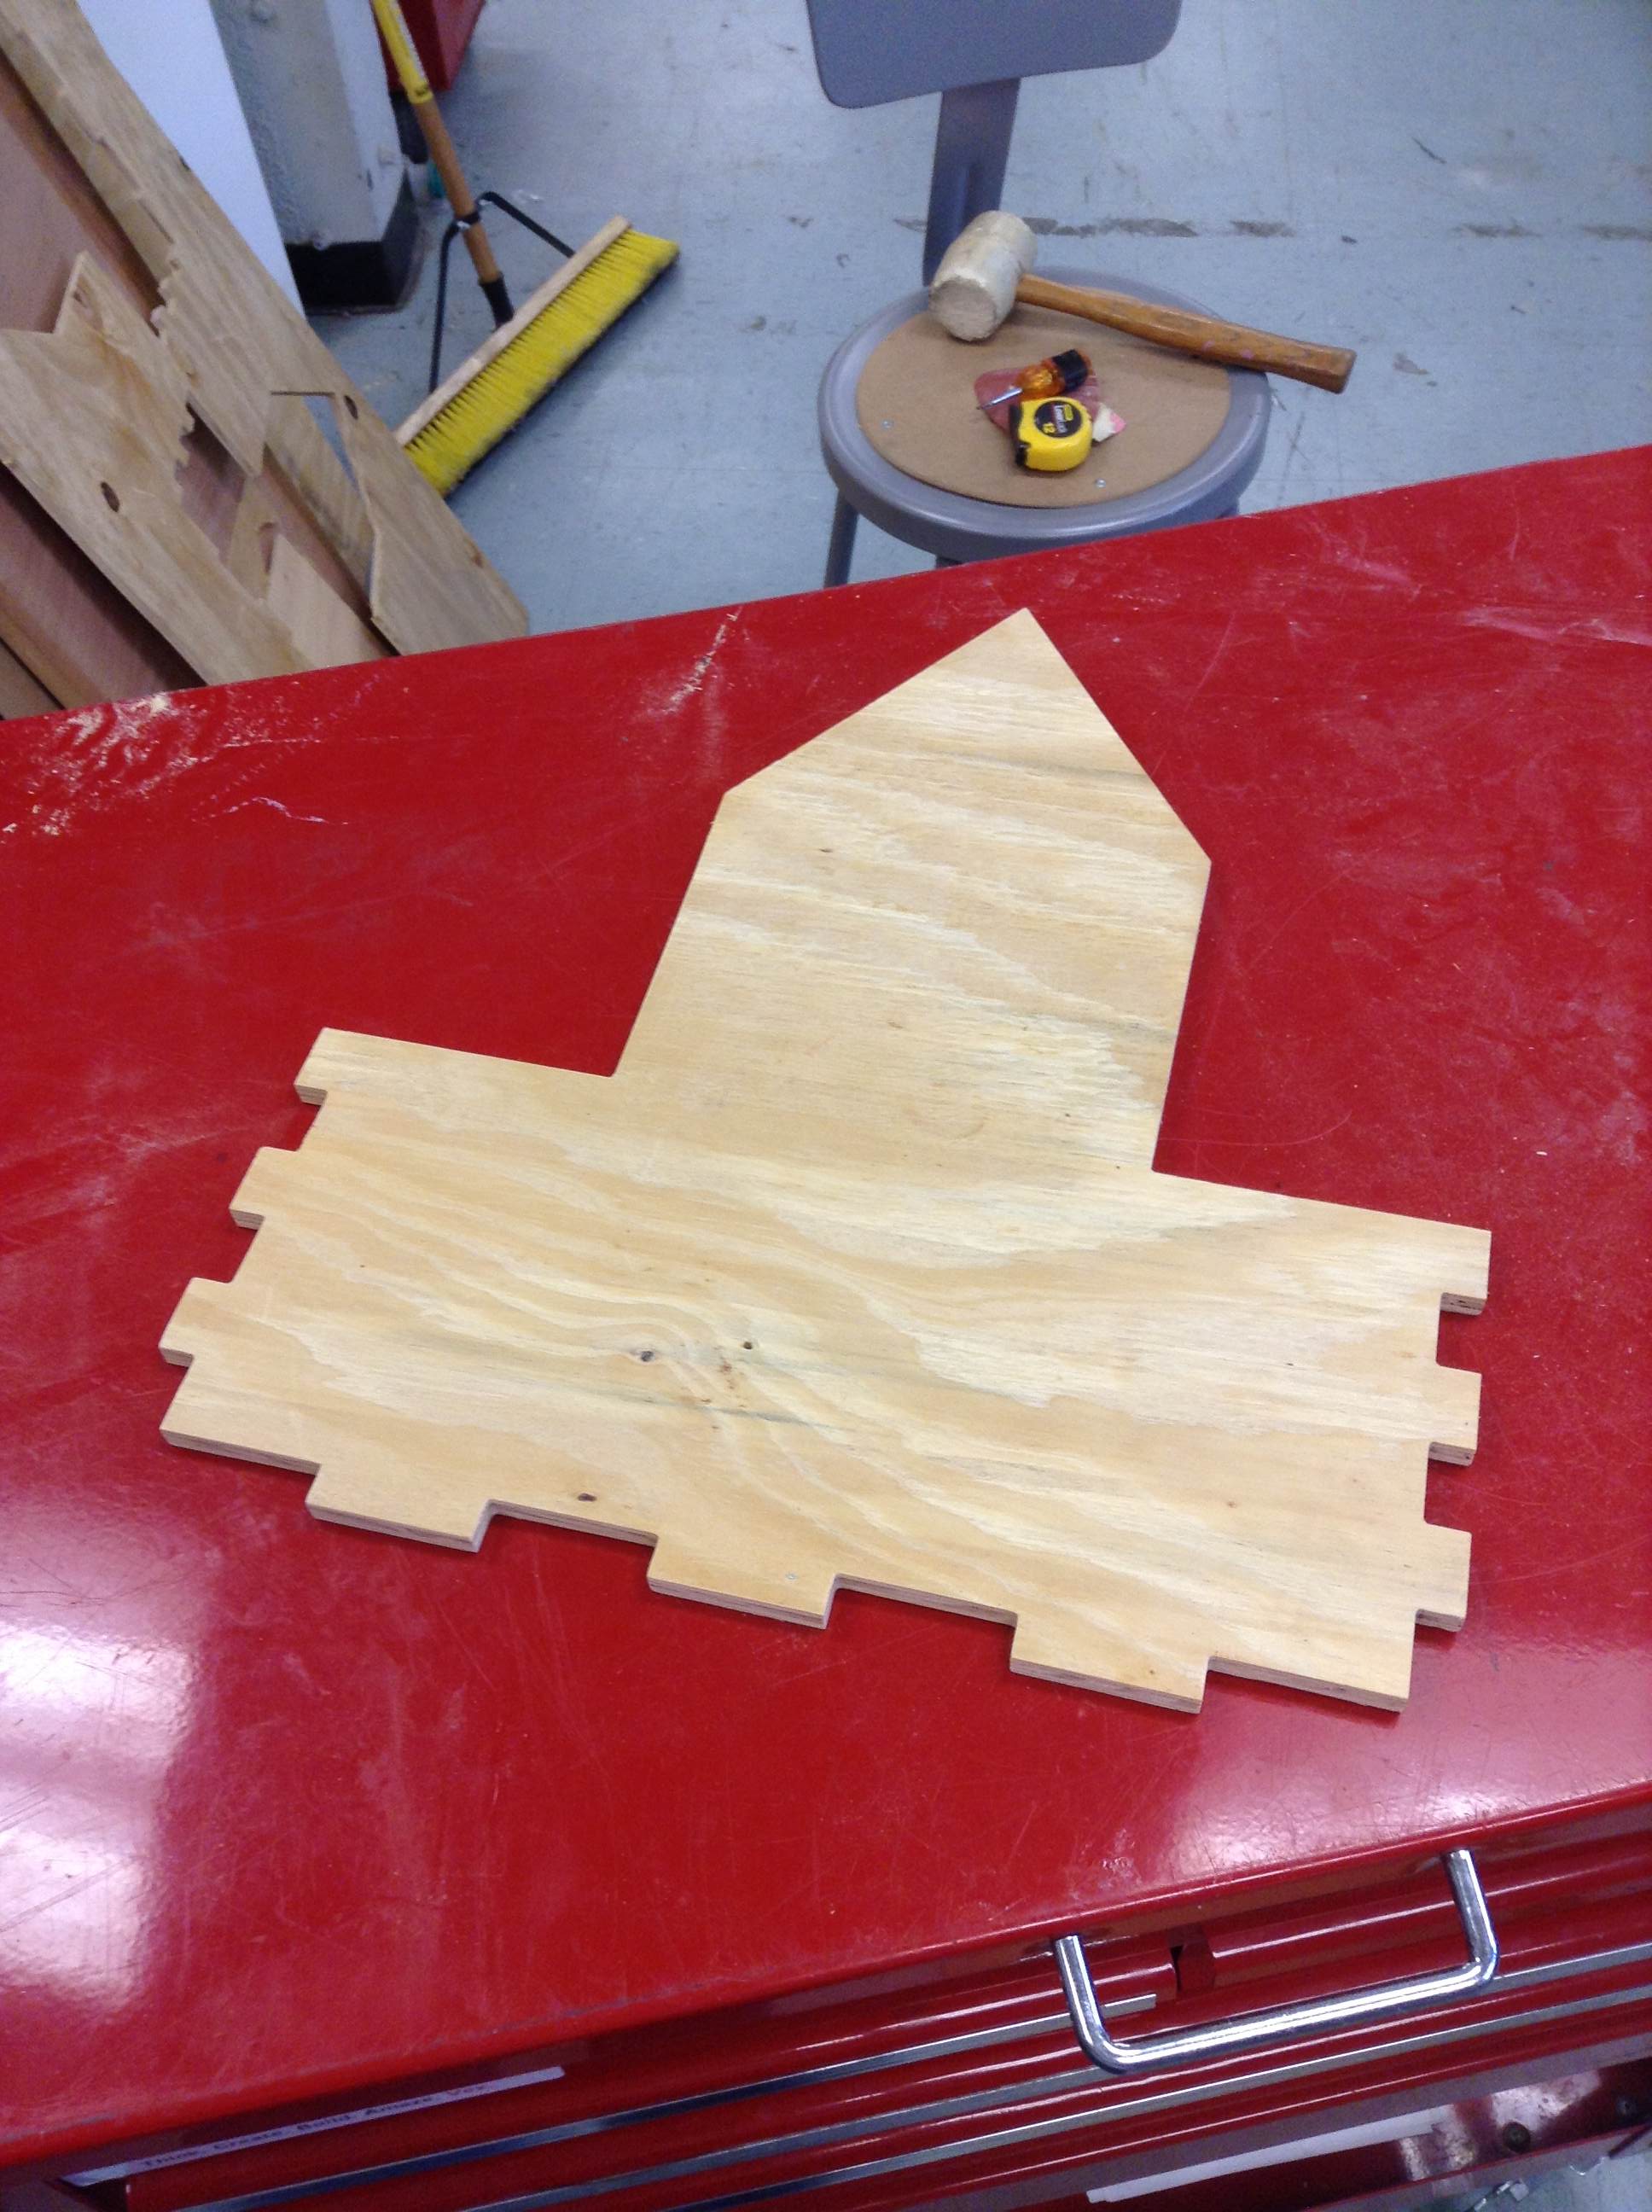
Once you have finished filing, you can push each component into the wall slots on the FLOOR component. At the same time you can slide the sides of the FRONT and BACK into the slots on the edges of the WALL pieces.
If the FRONT and BACK don't slide into the slots on the WALL pieces, you can use a file to curve the edges of the FRONT/BACK to fit, or you can use a rubber mallet to gently tap each component into the slots.
Assembly (Roof)
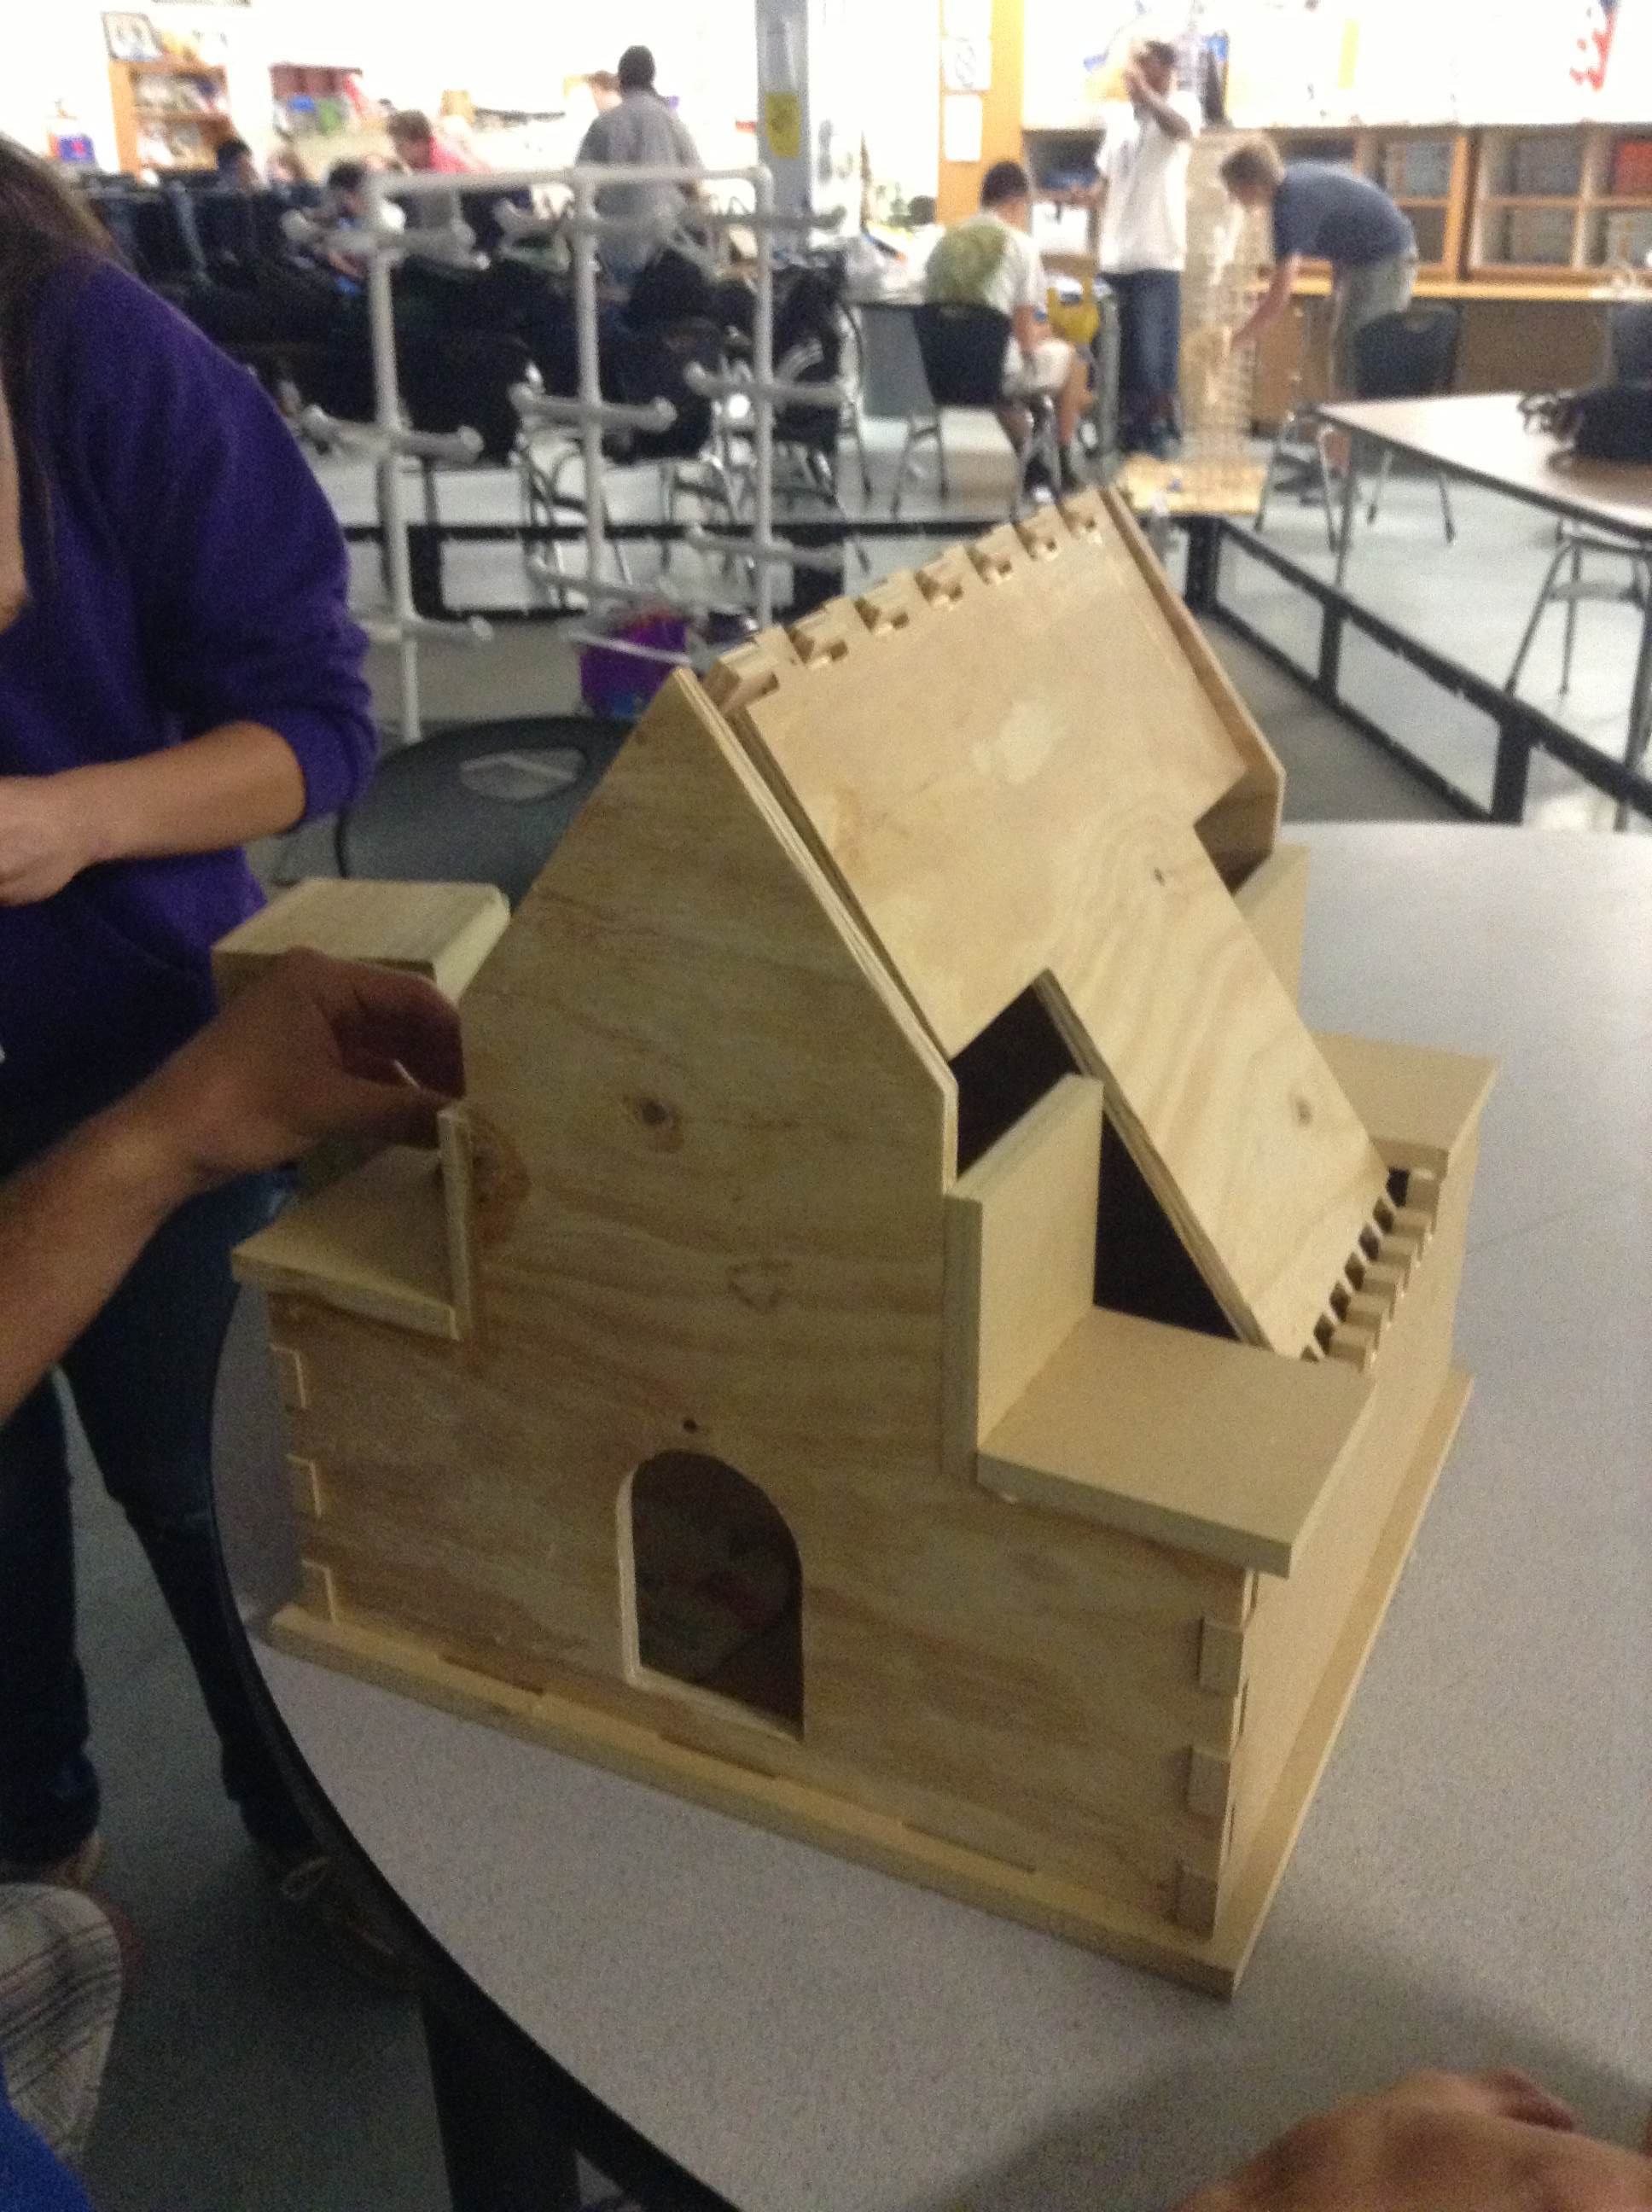
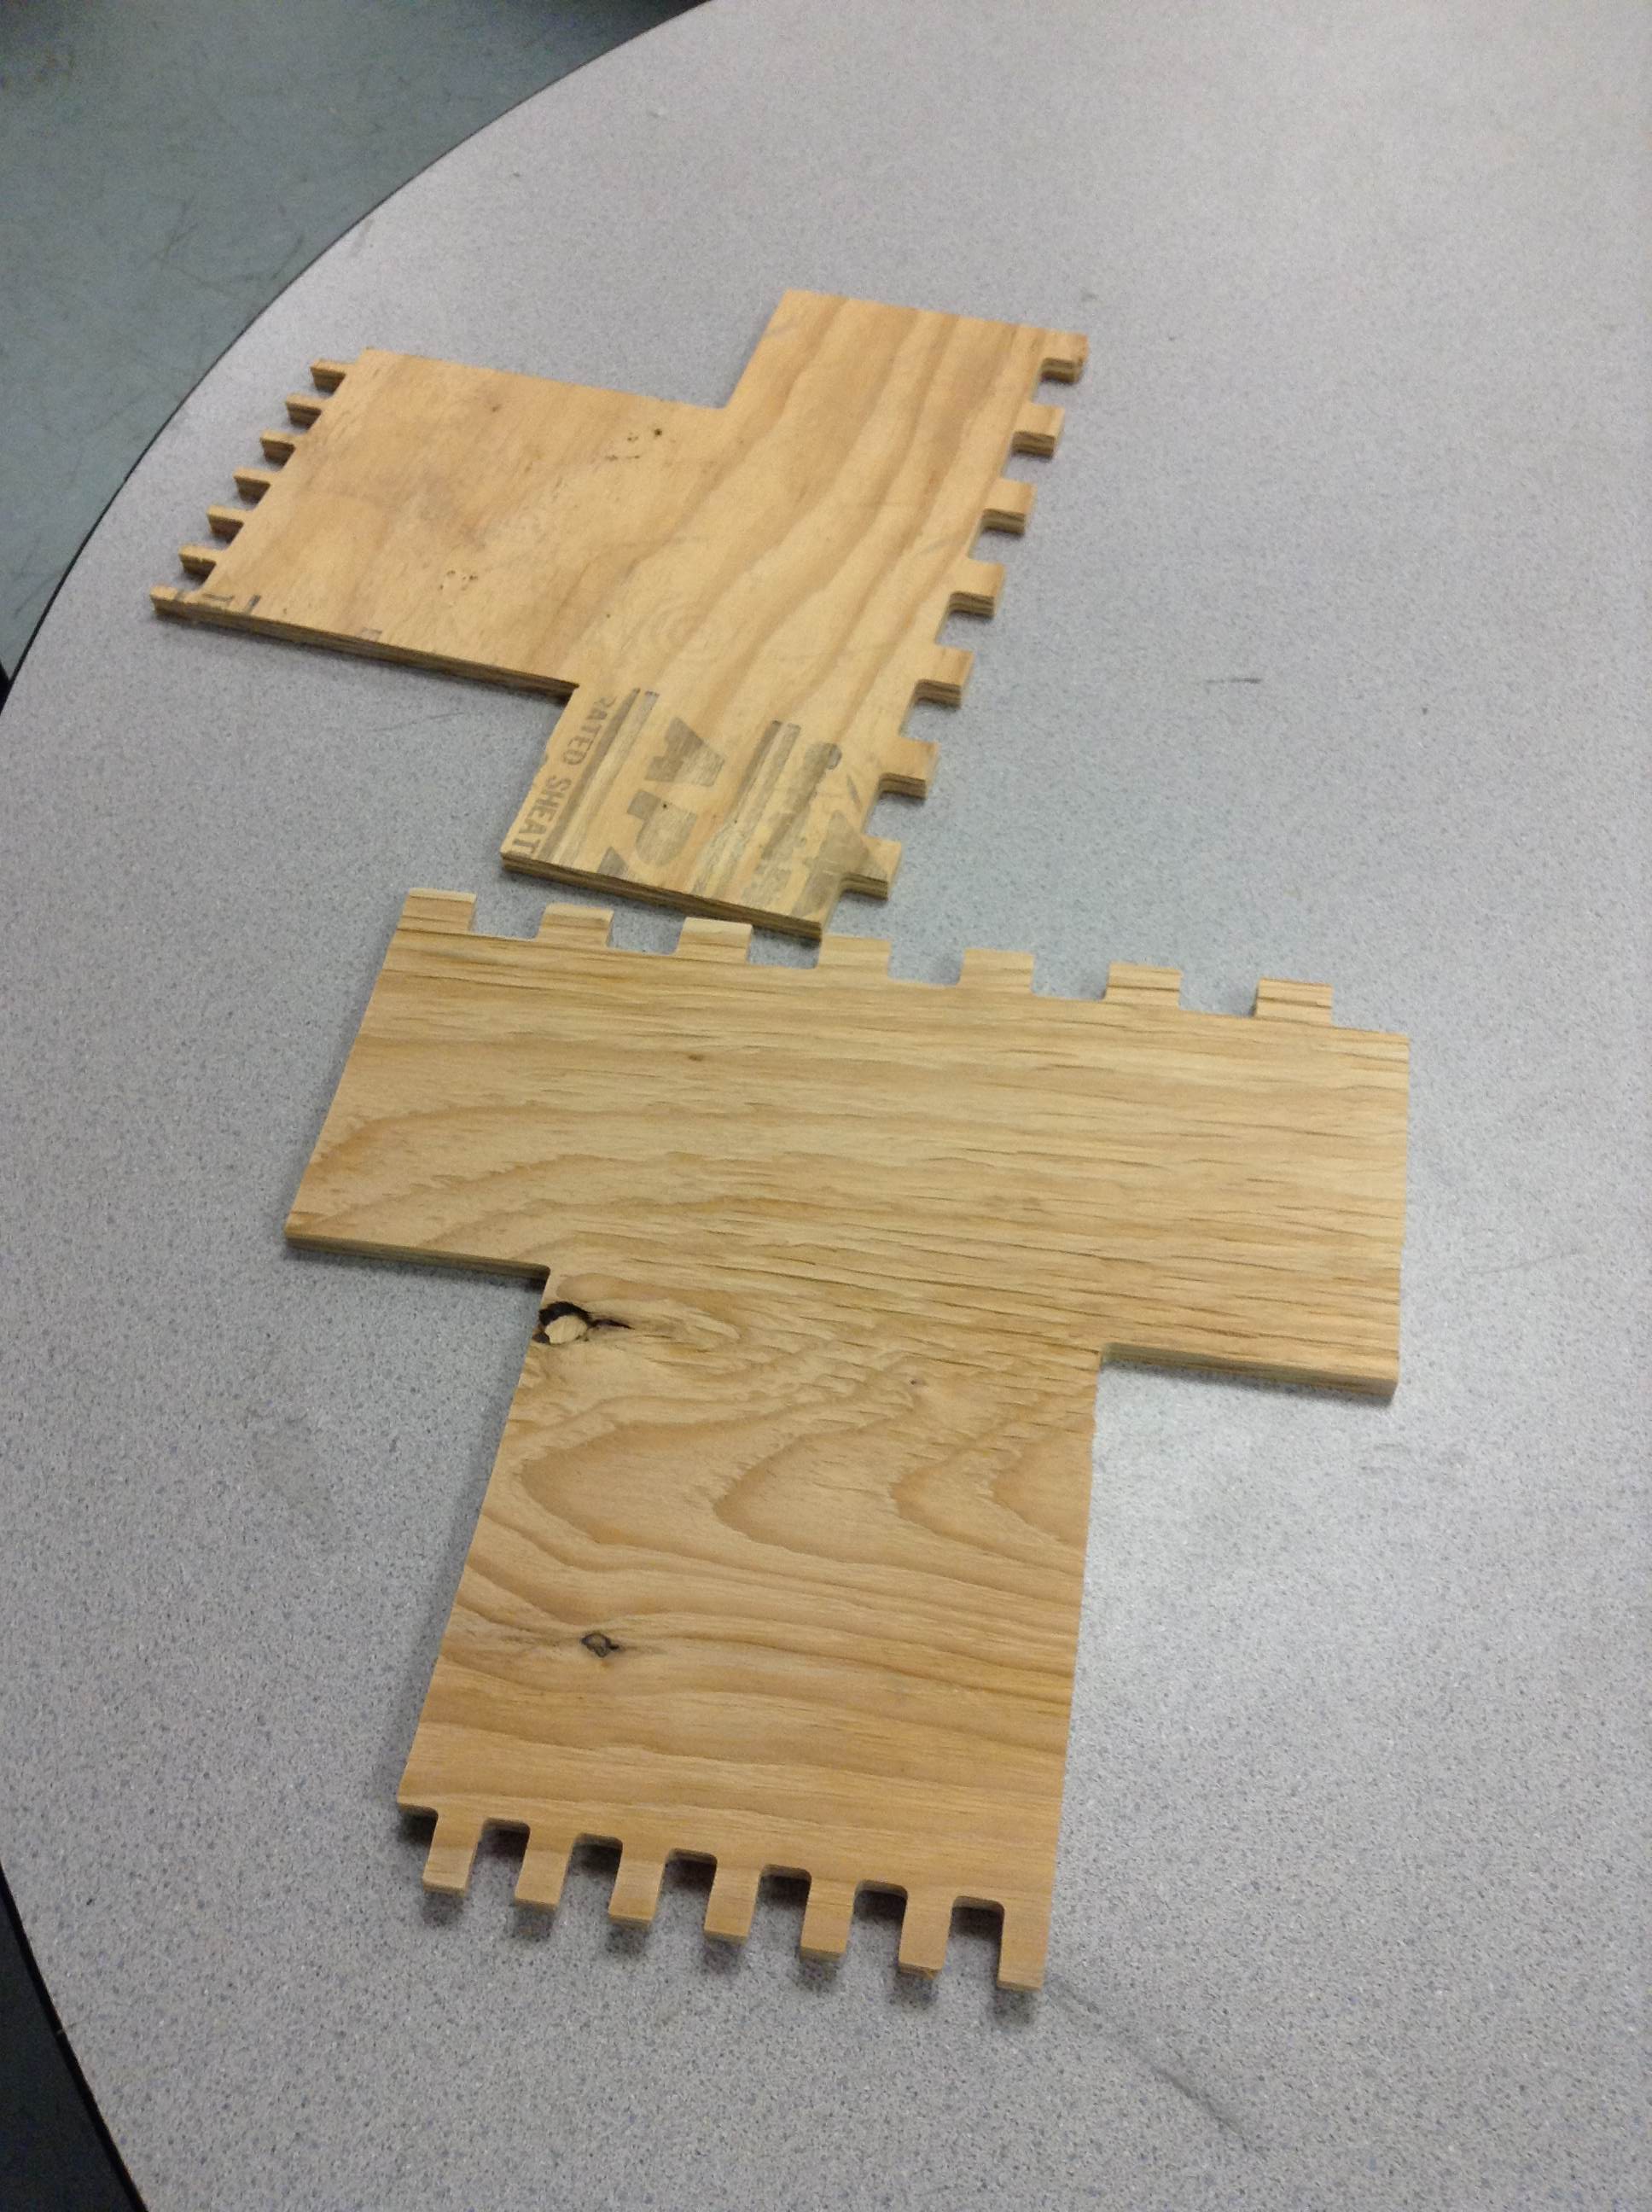
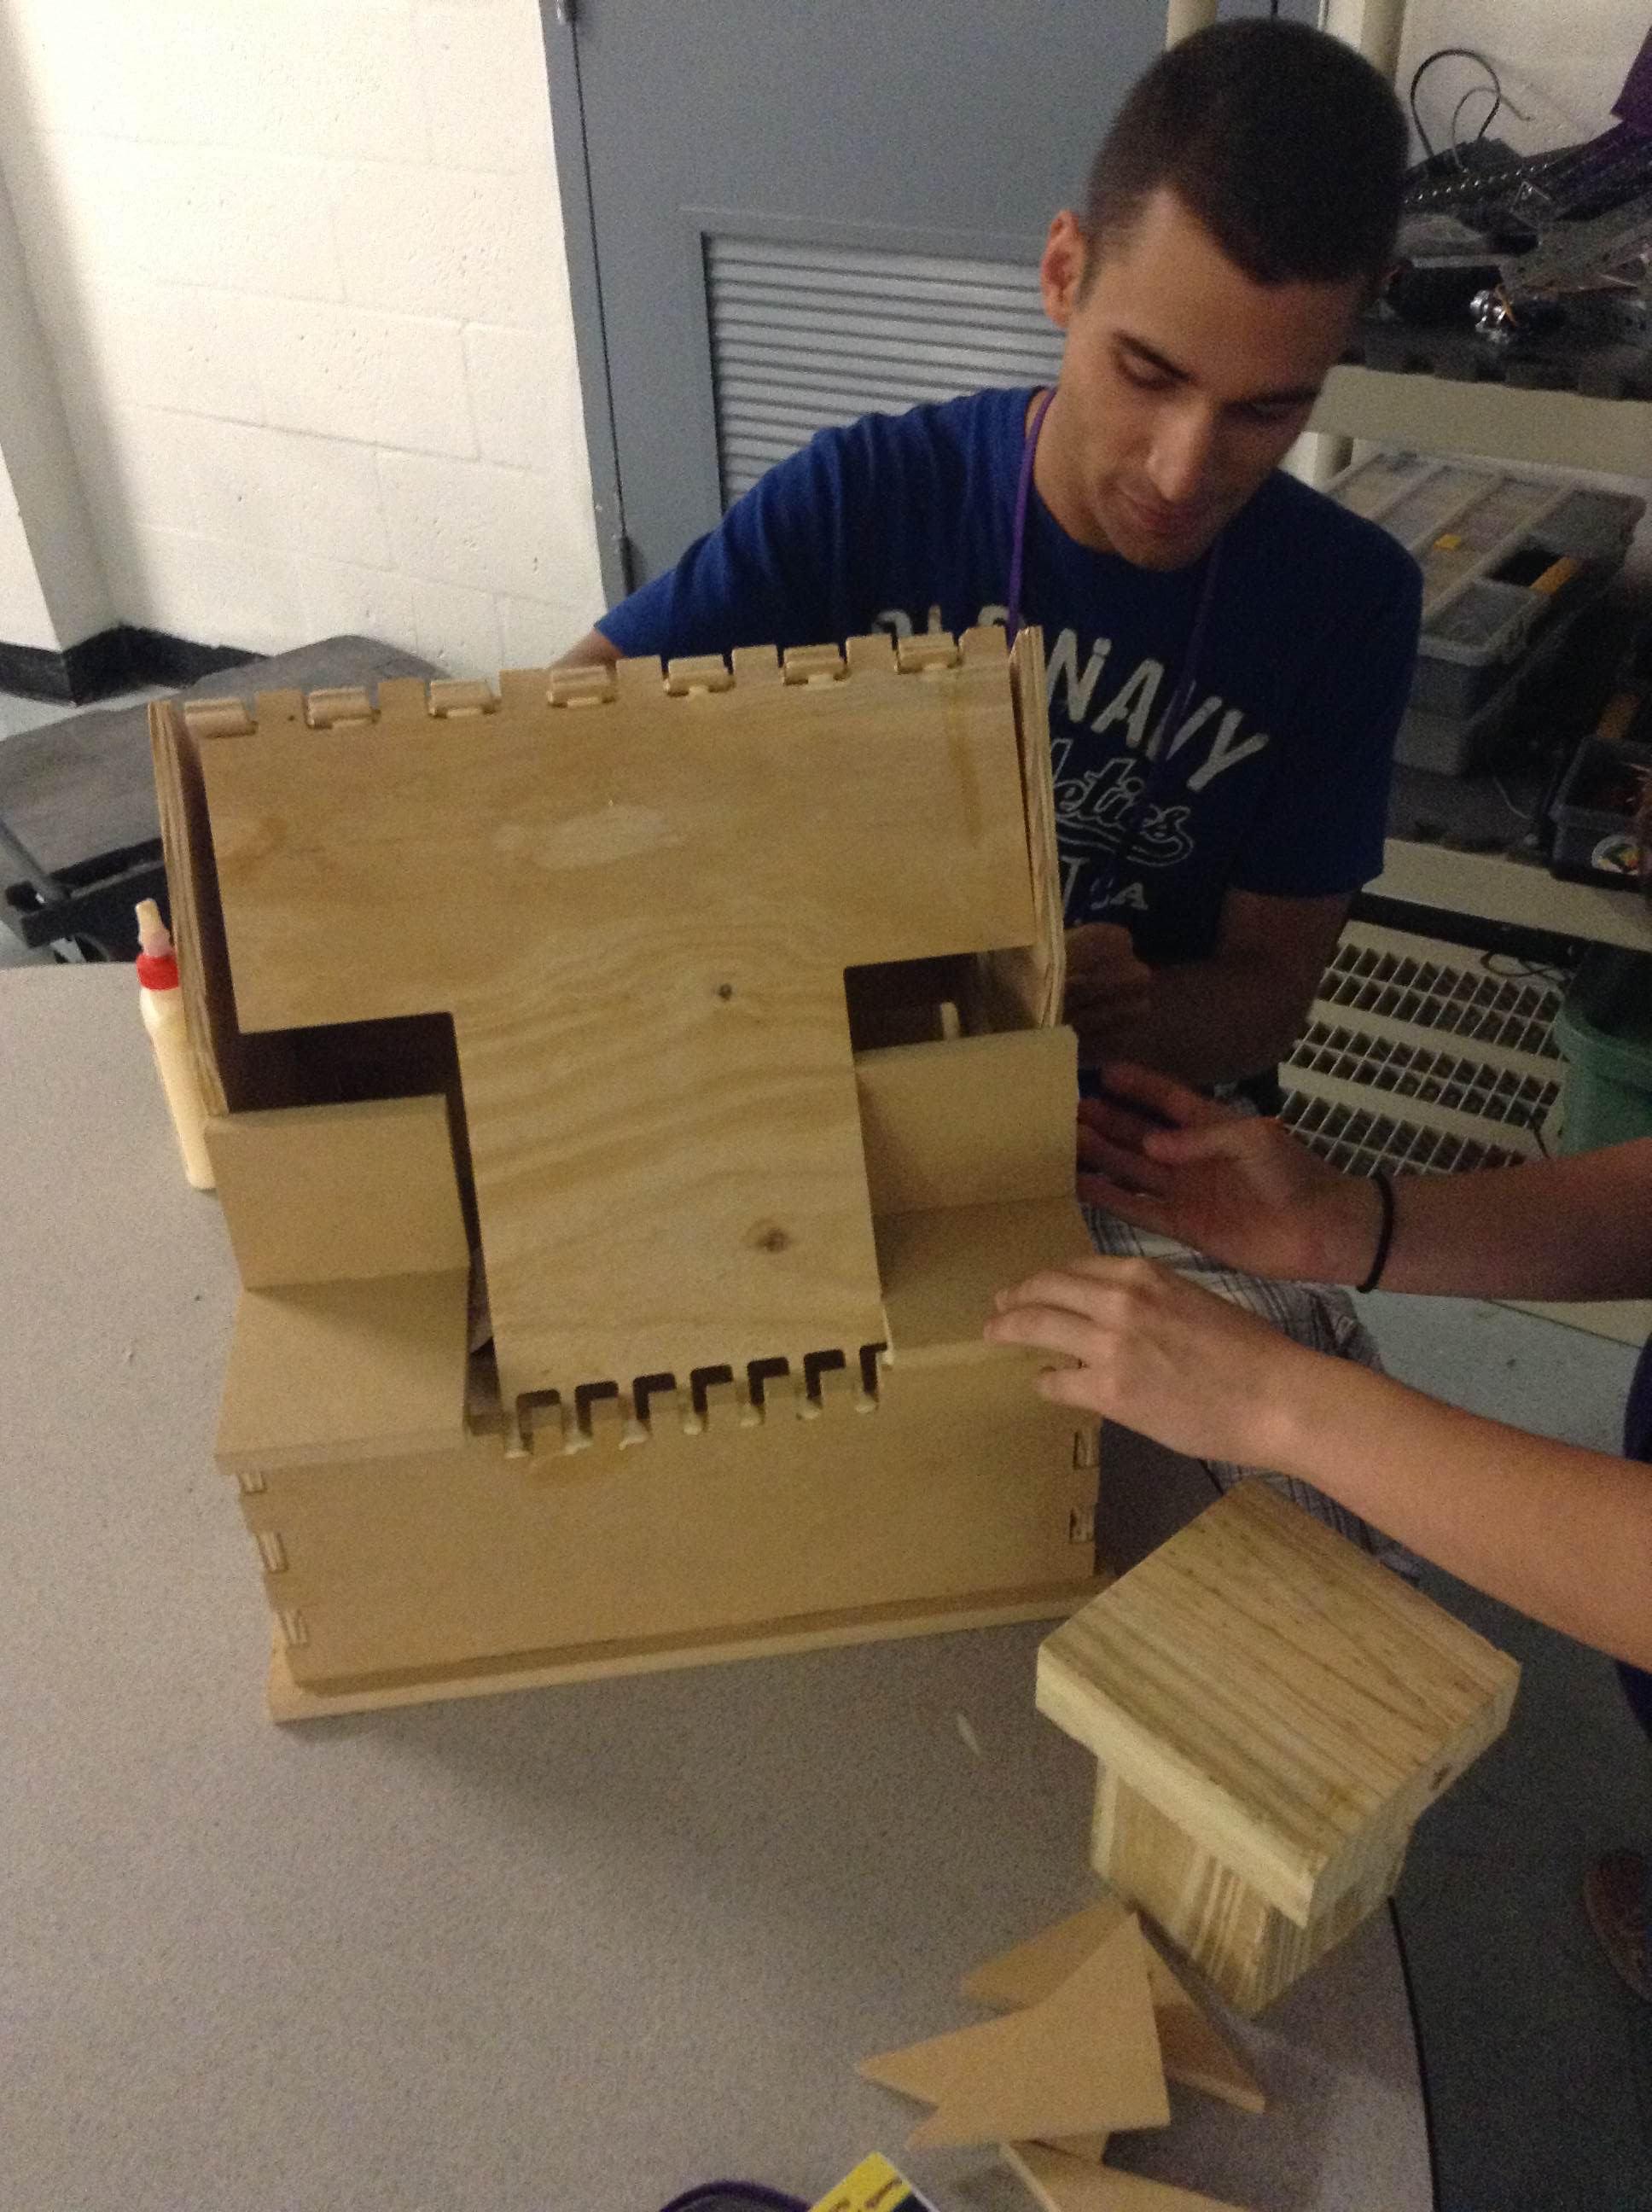
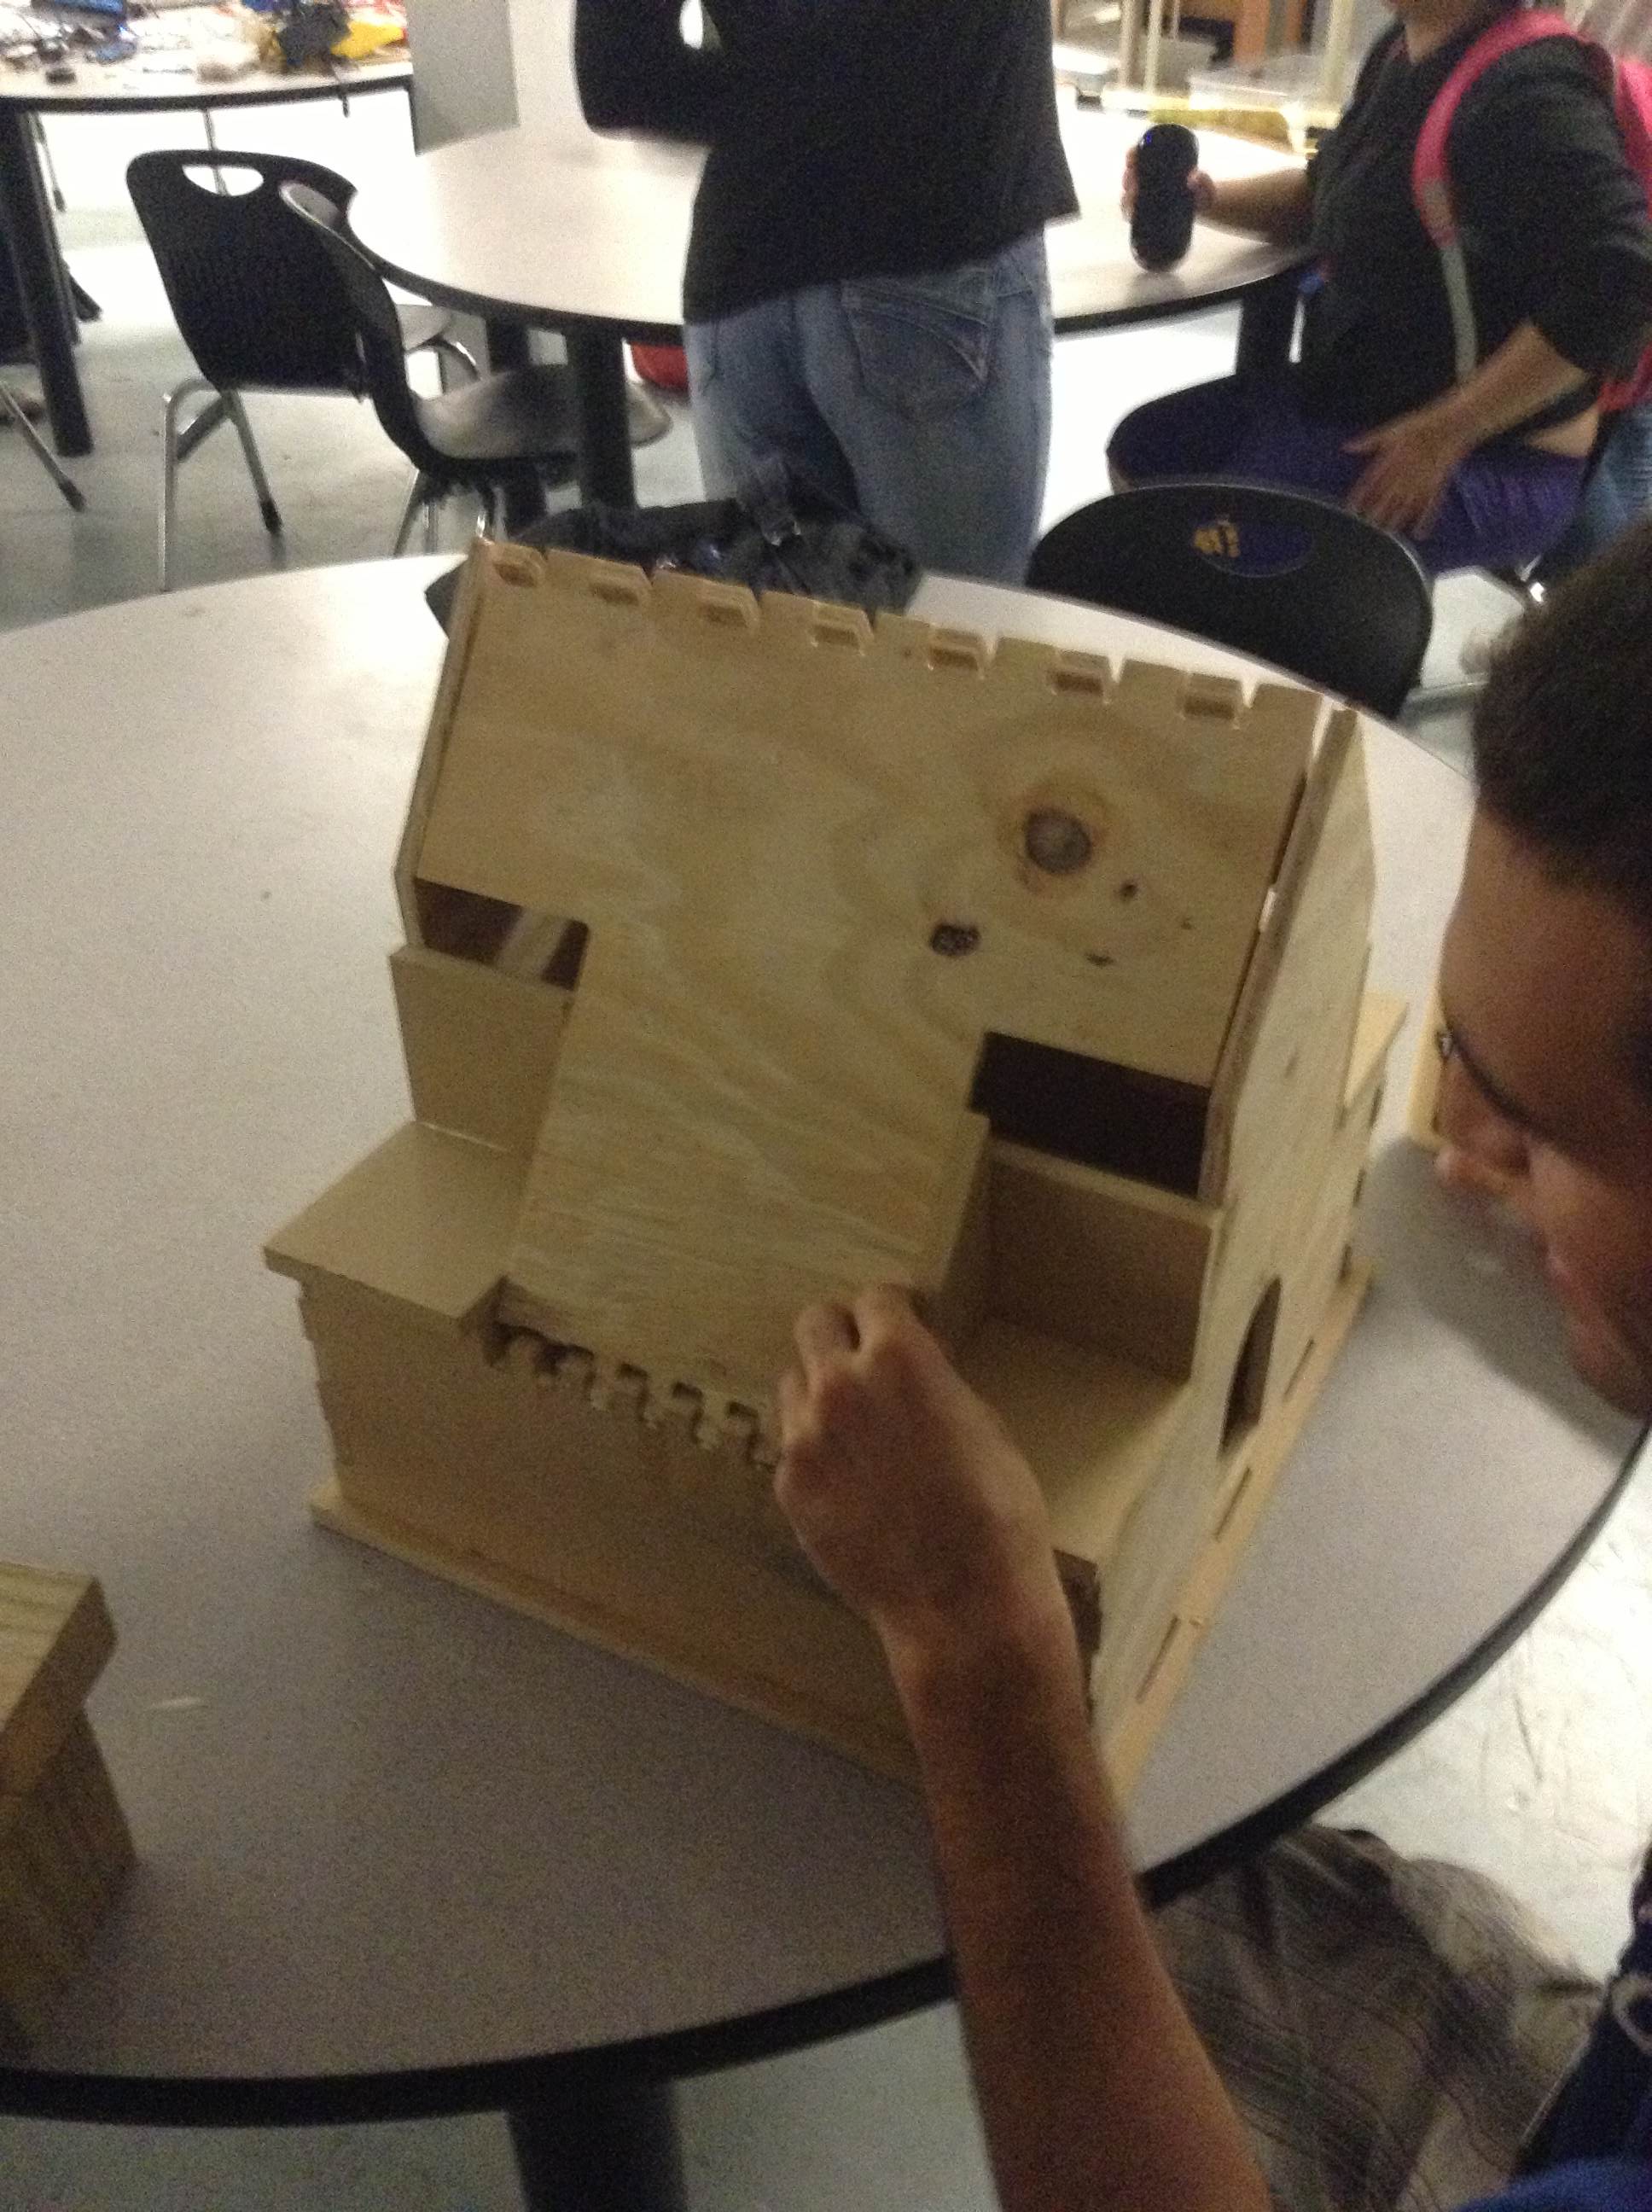
In order to keep the roof in place, apply wood glue to the slots in the ROOF pieces and the slots on the WALL pieces. Hold in place until the wood glue dries and the pieces remain stationary.
Assembly (Towers)
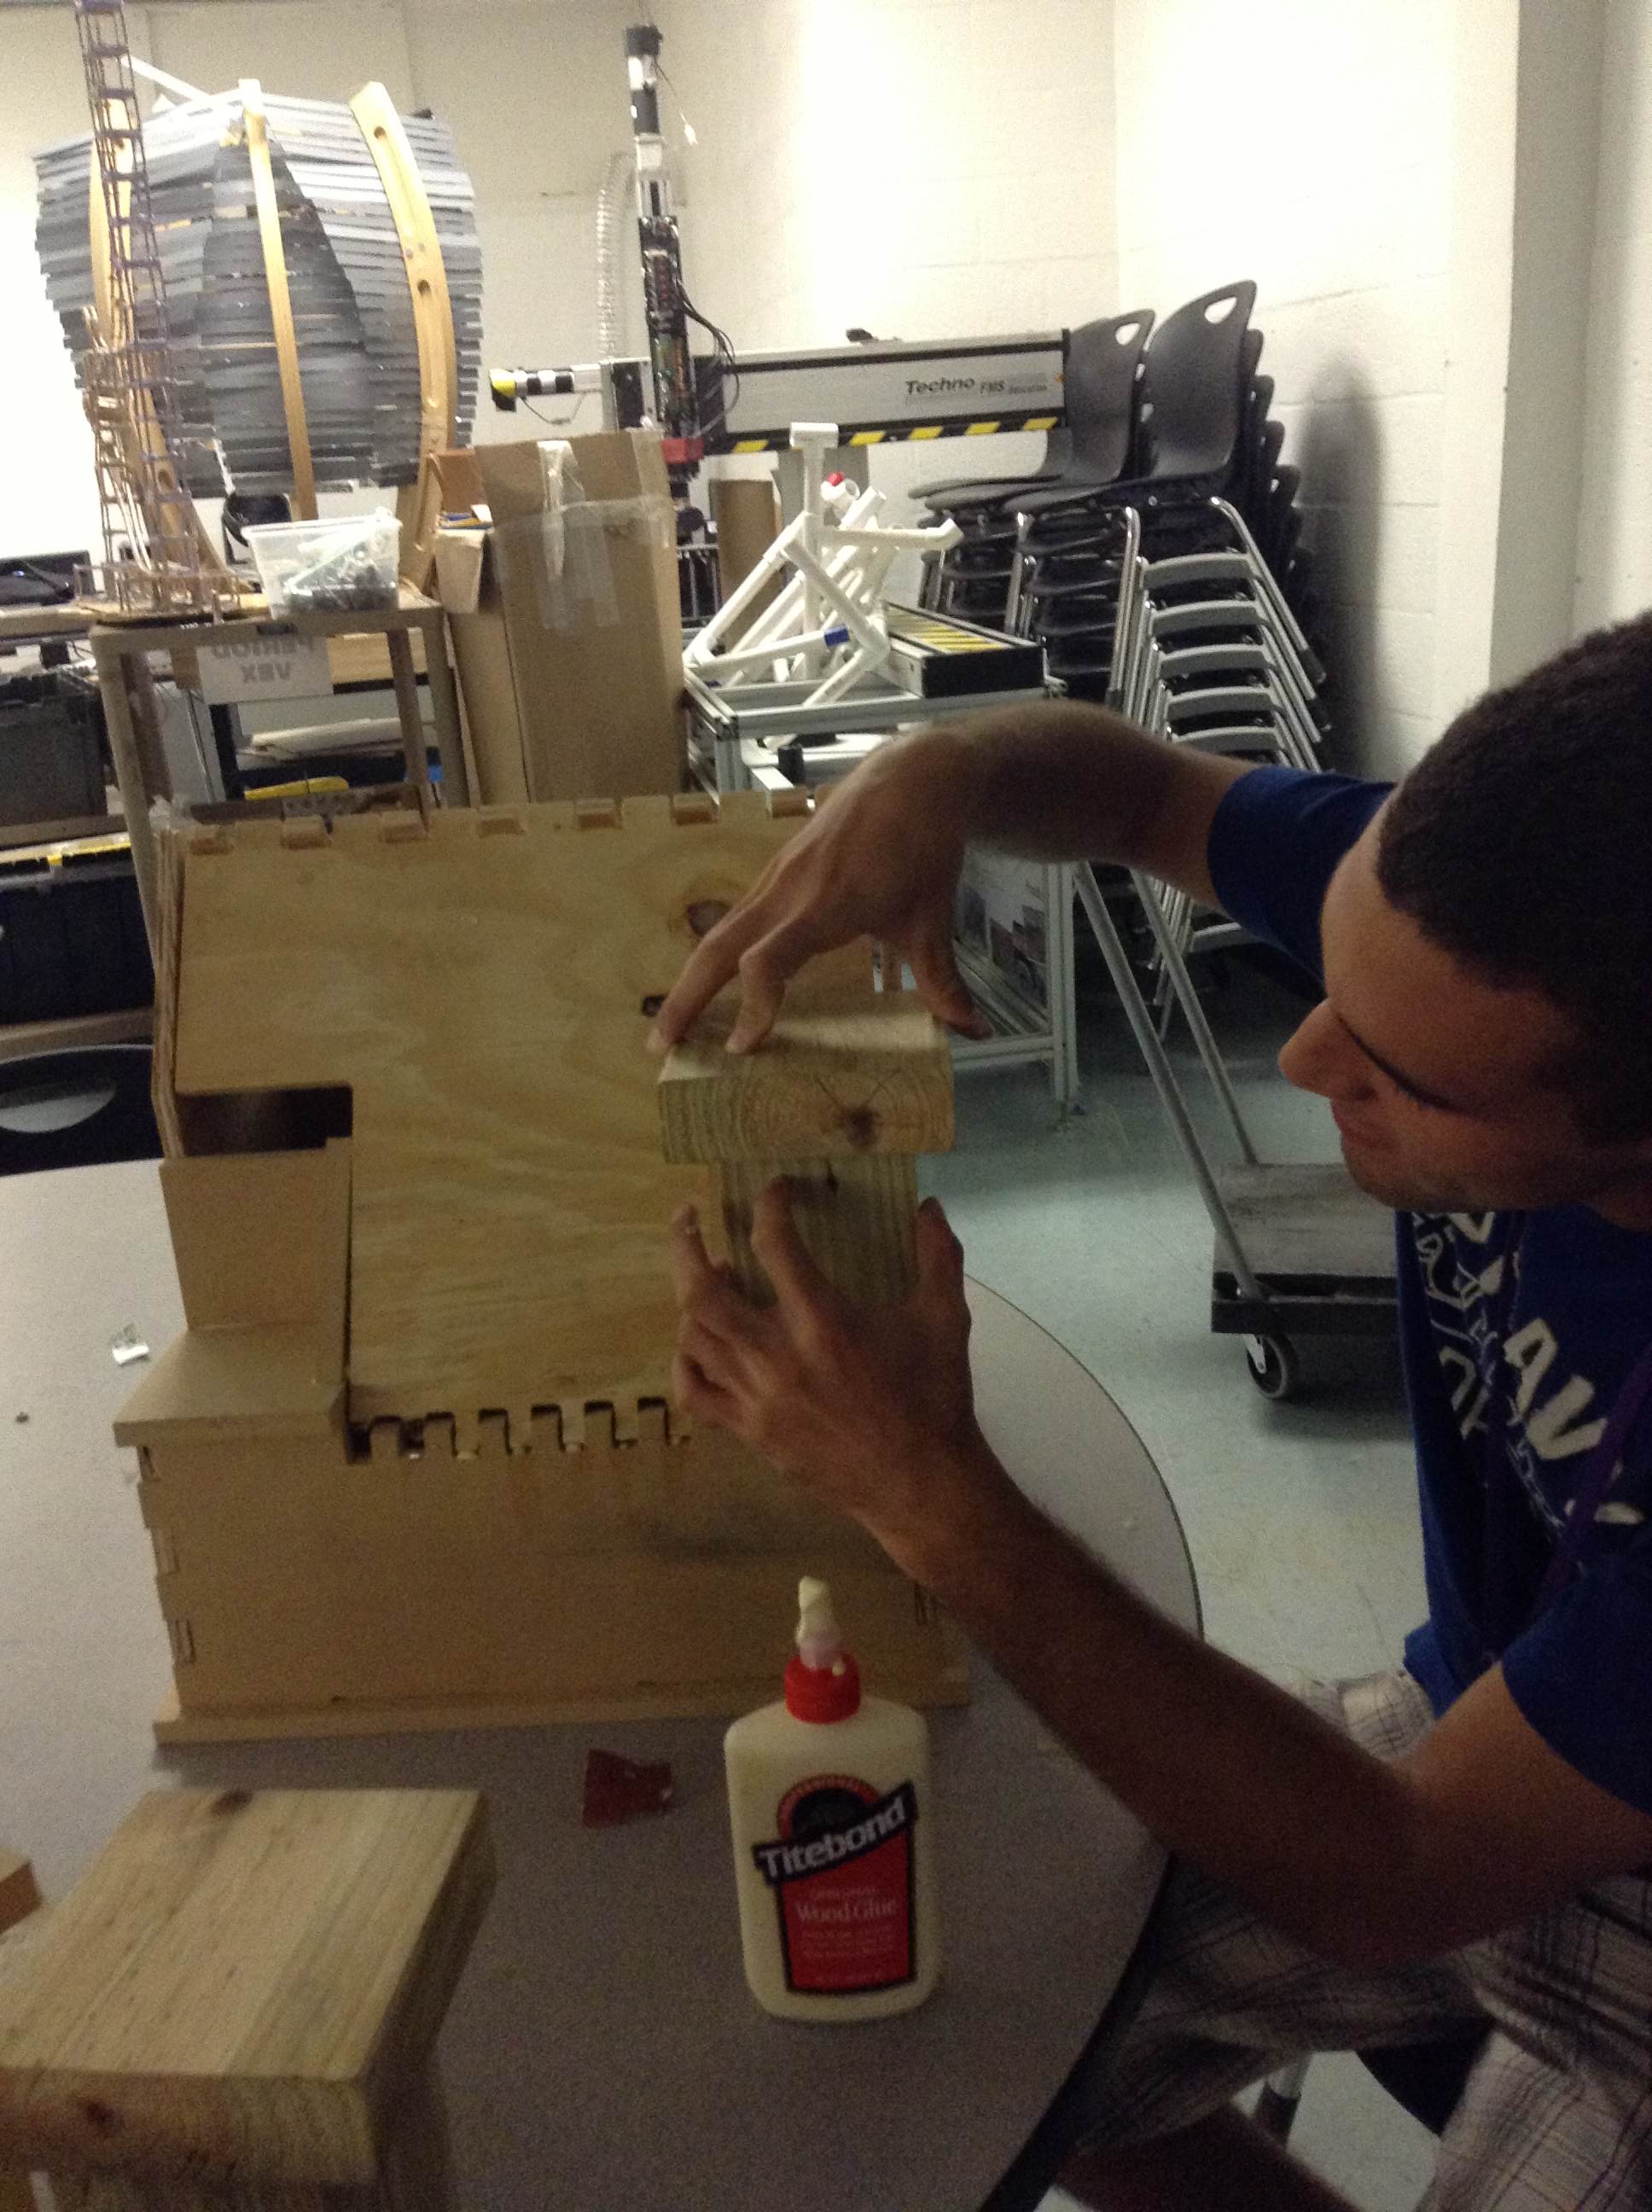
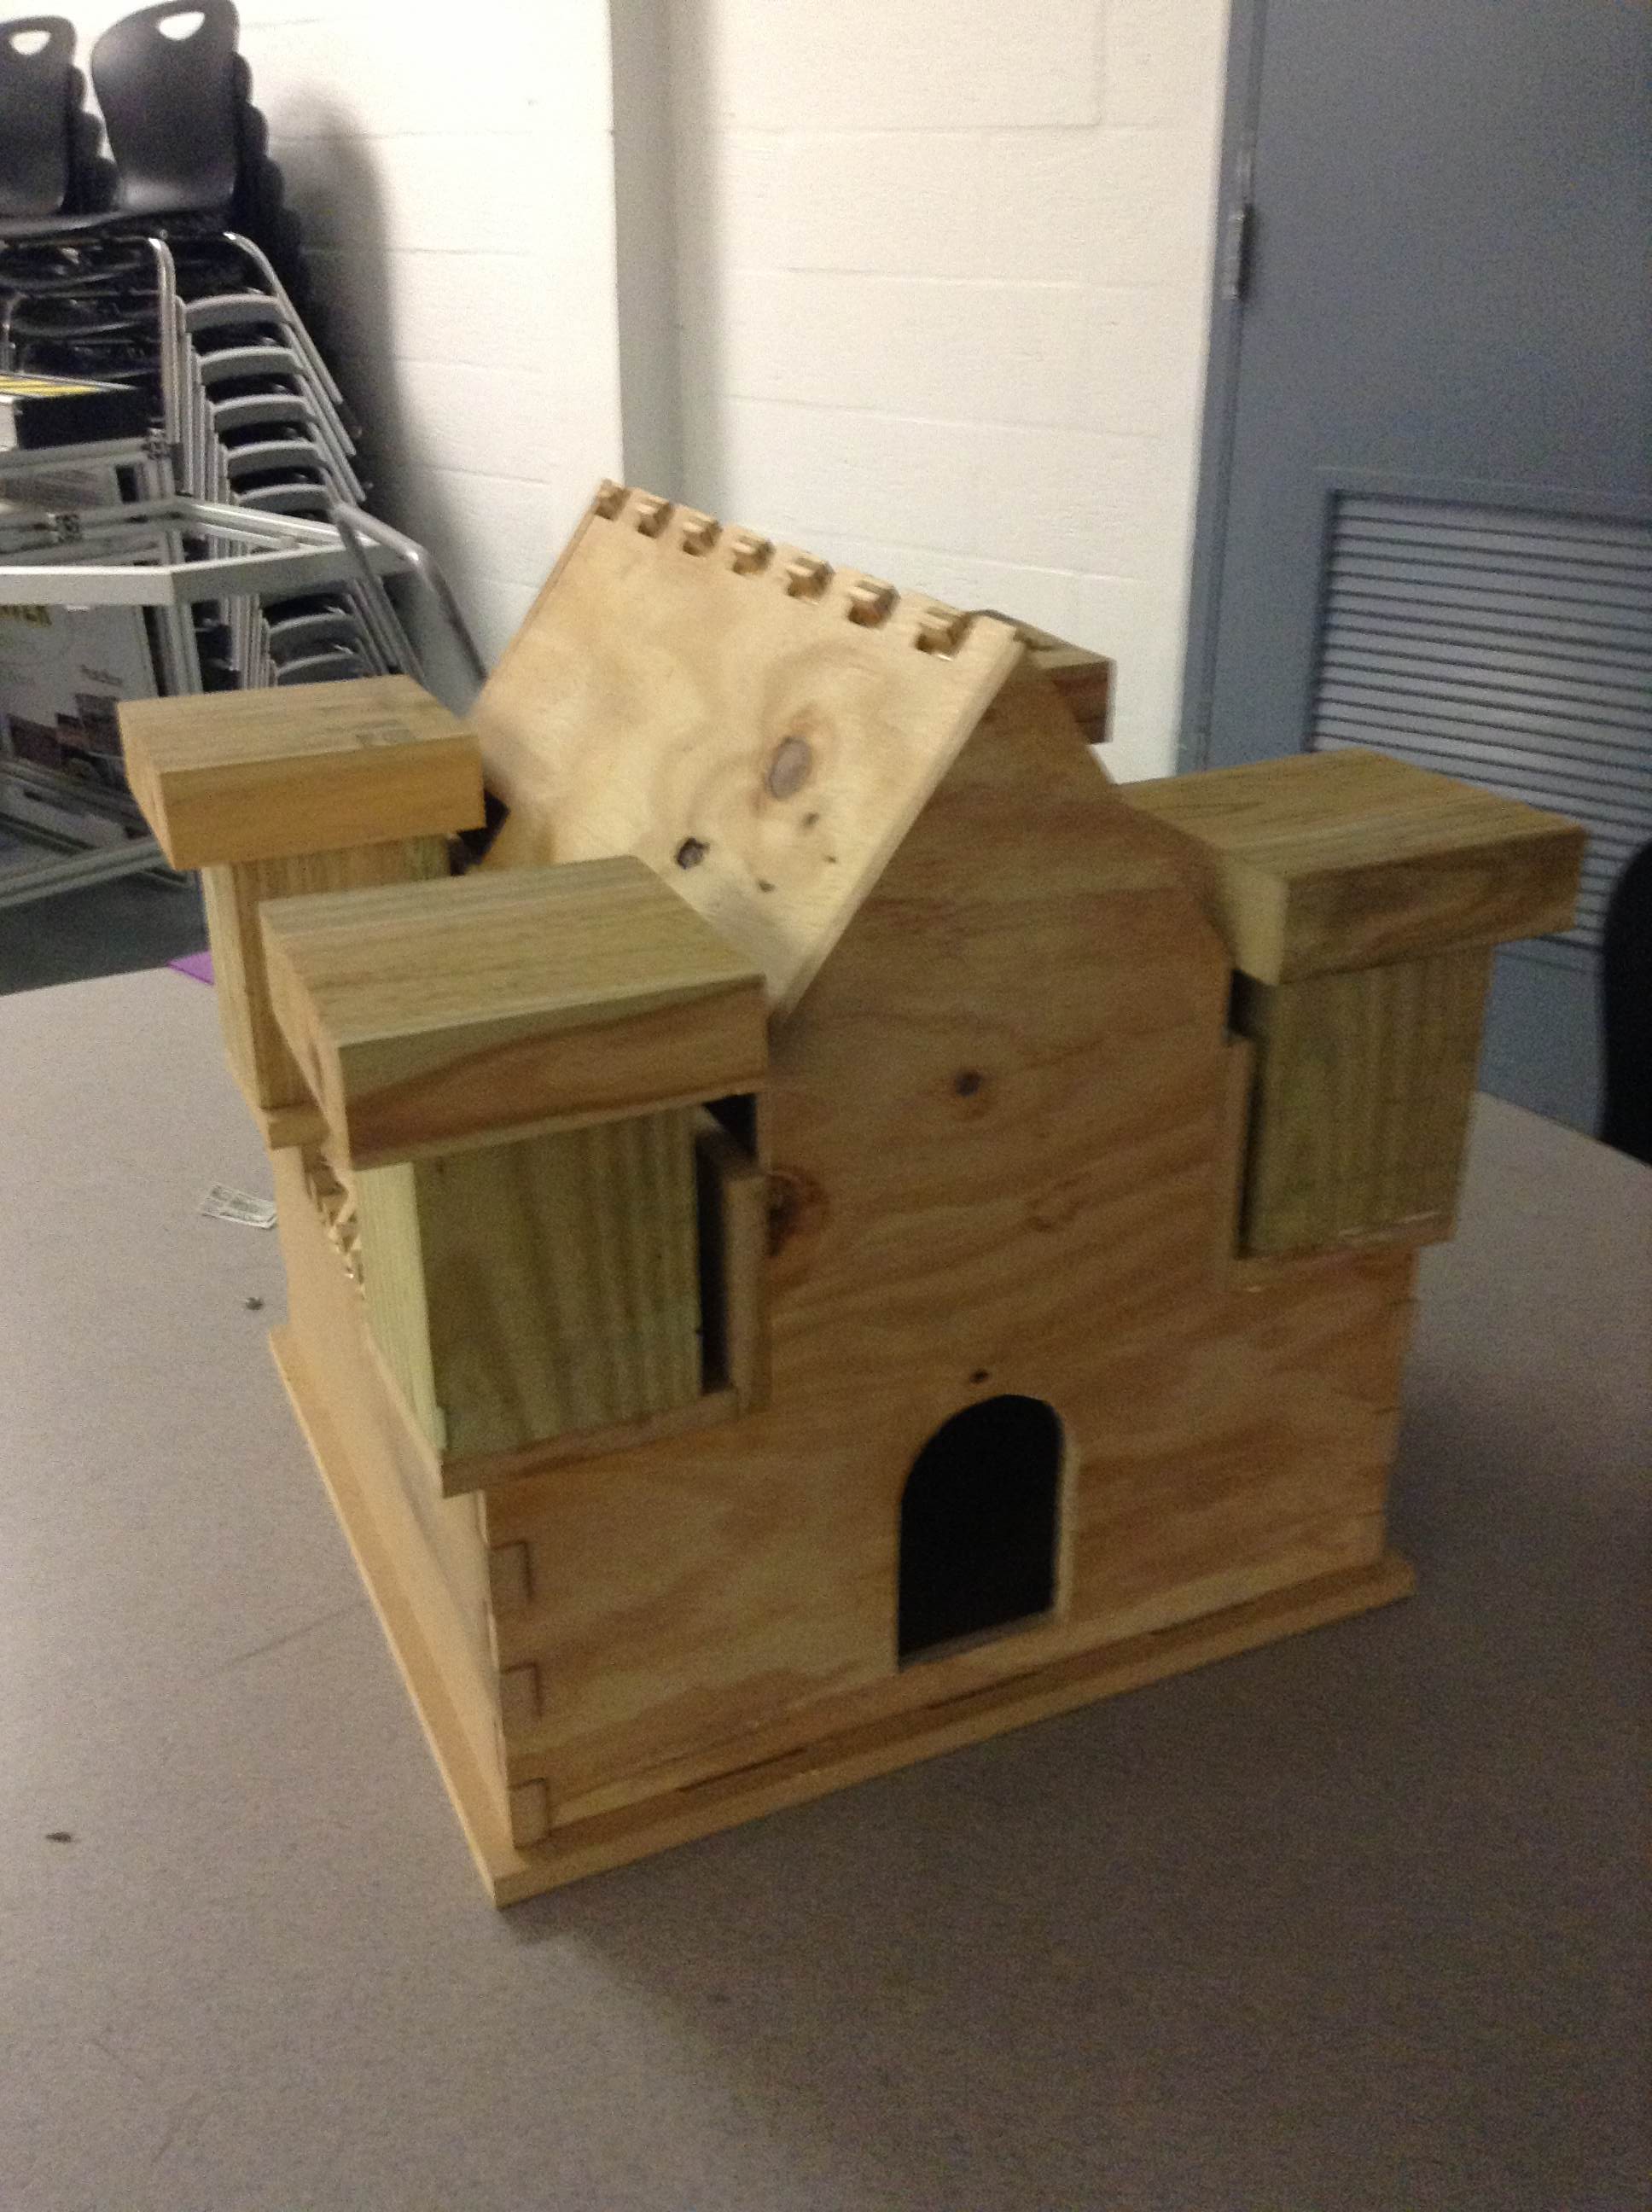
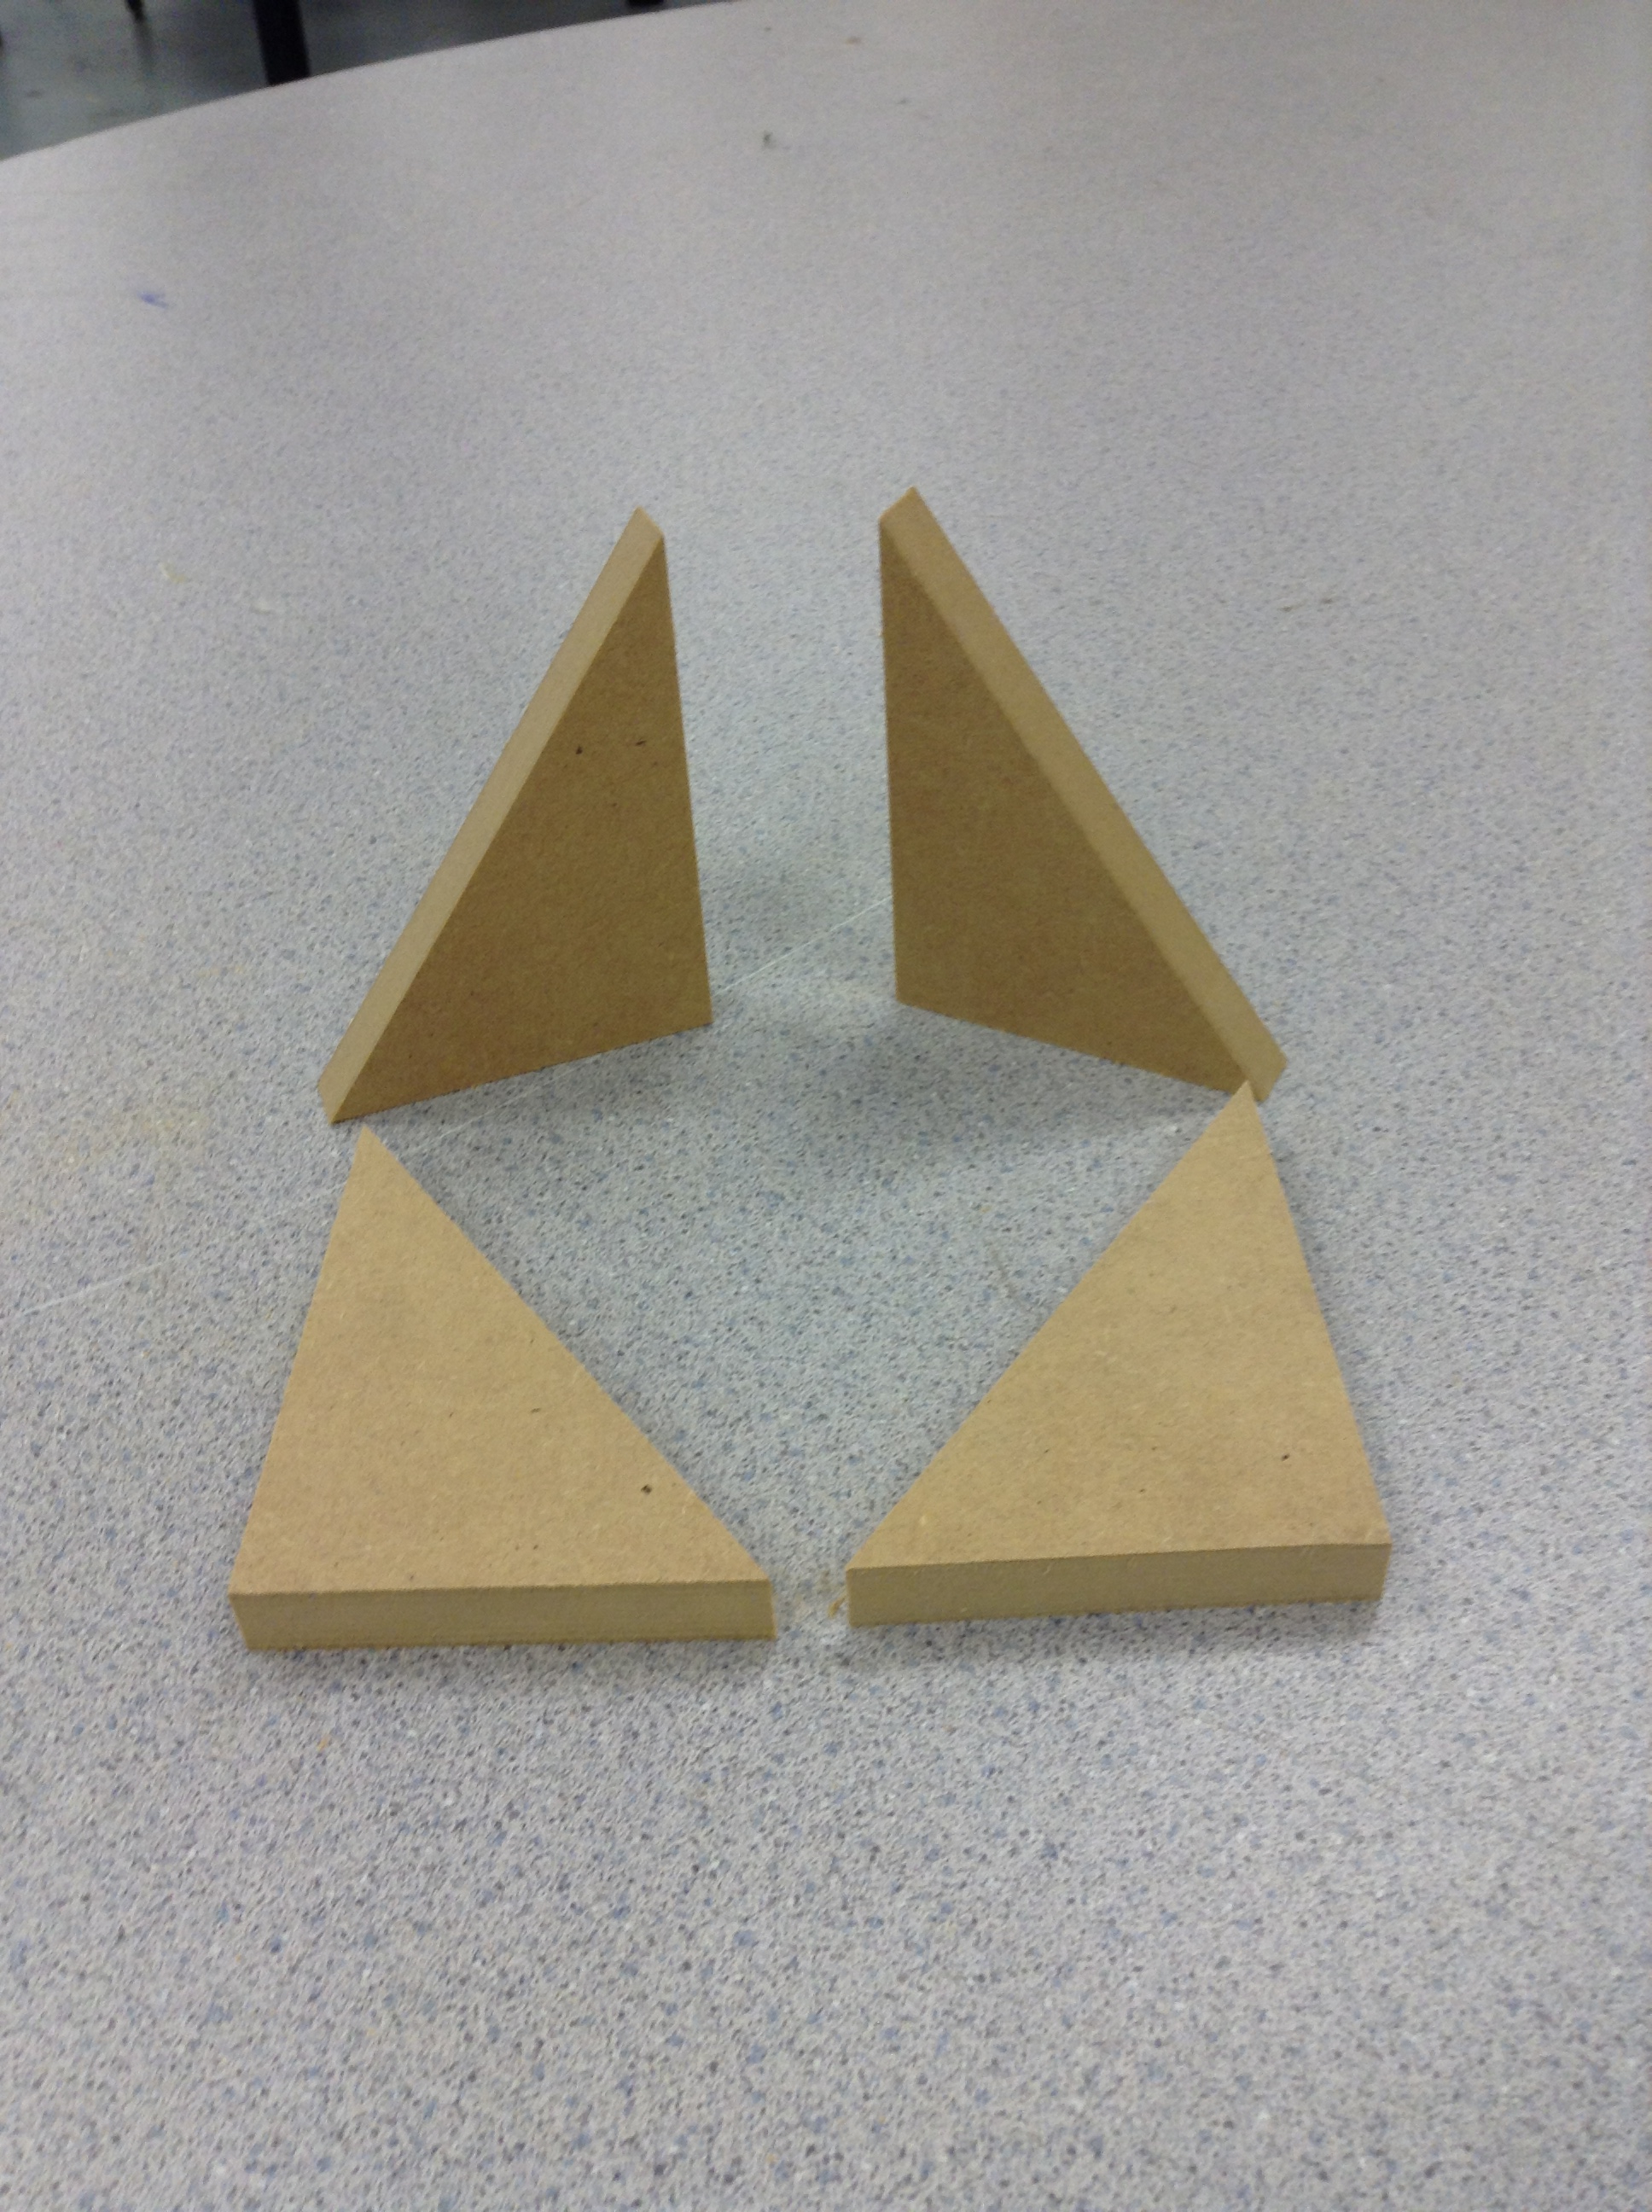
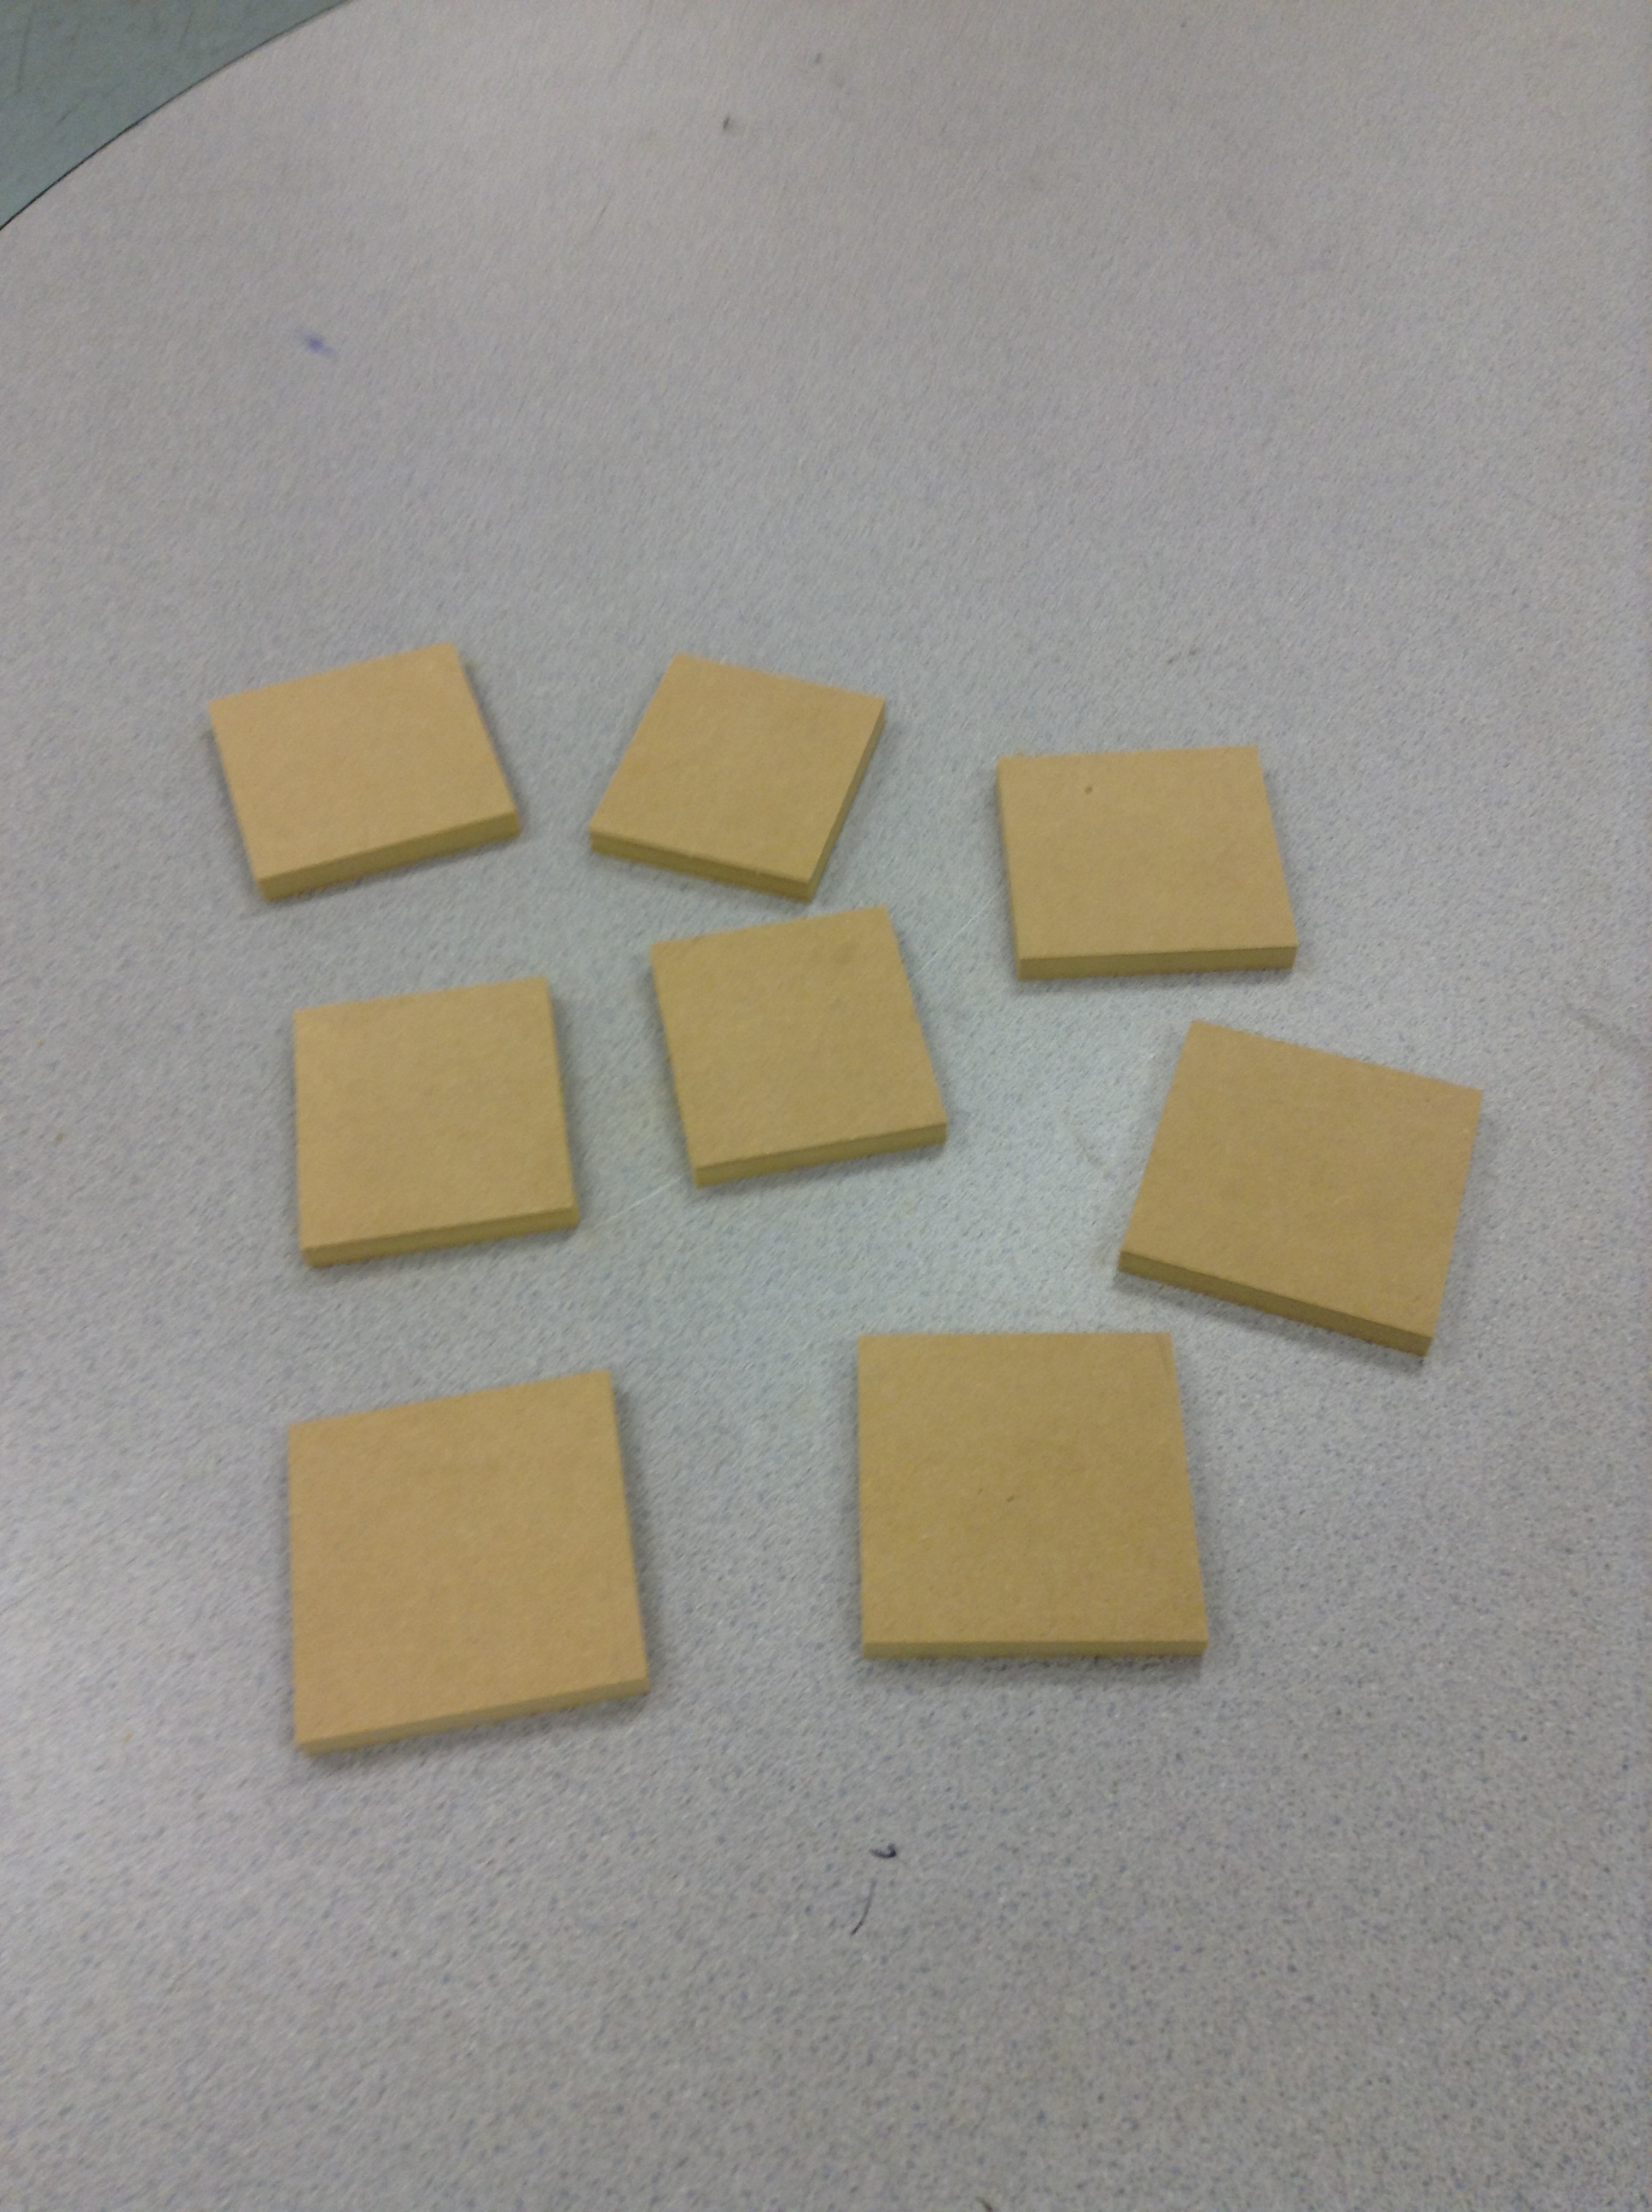
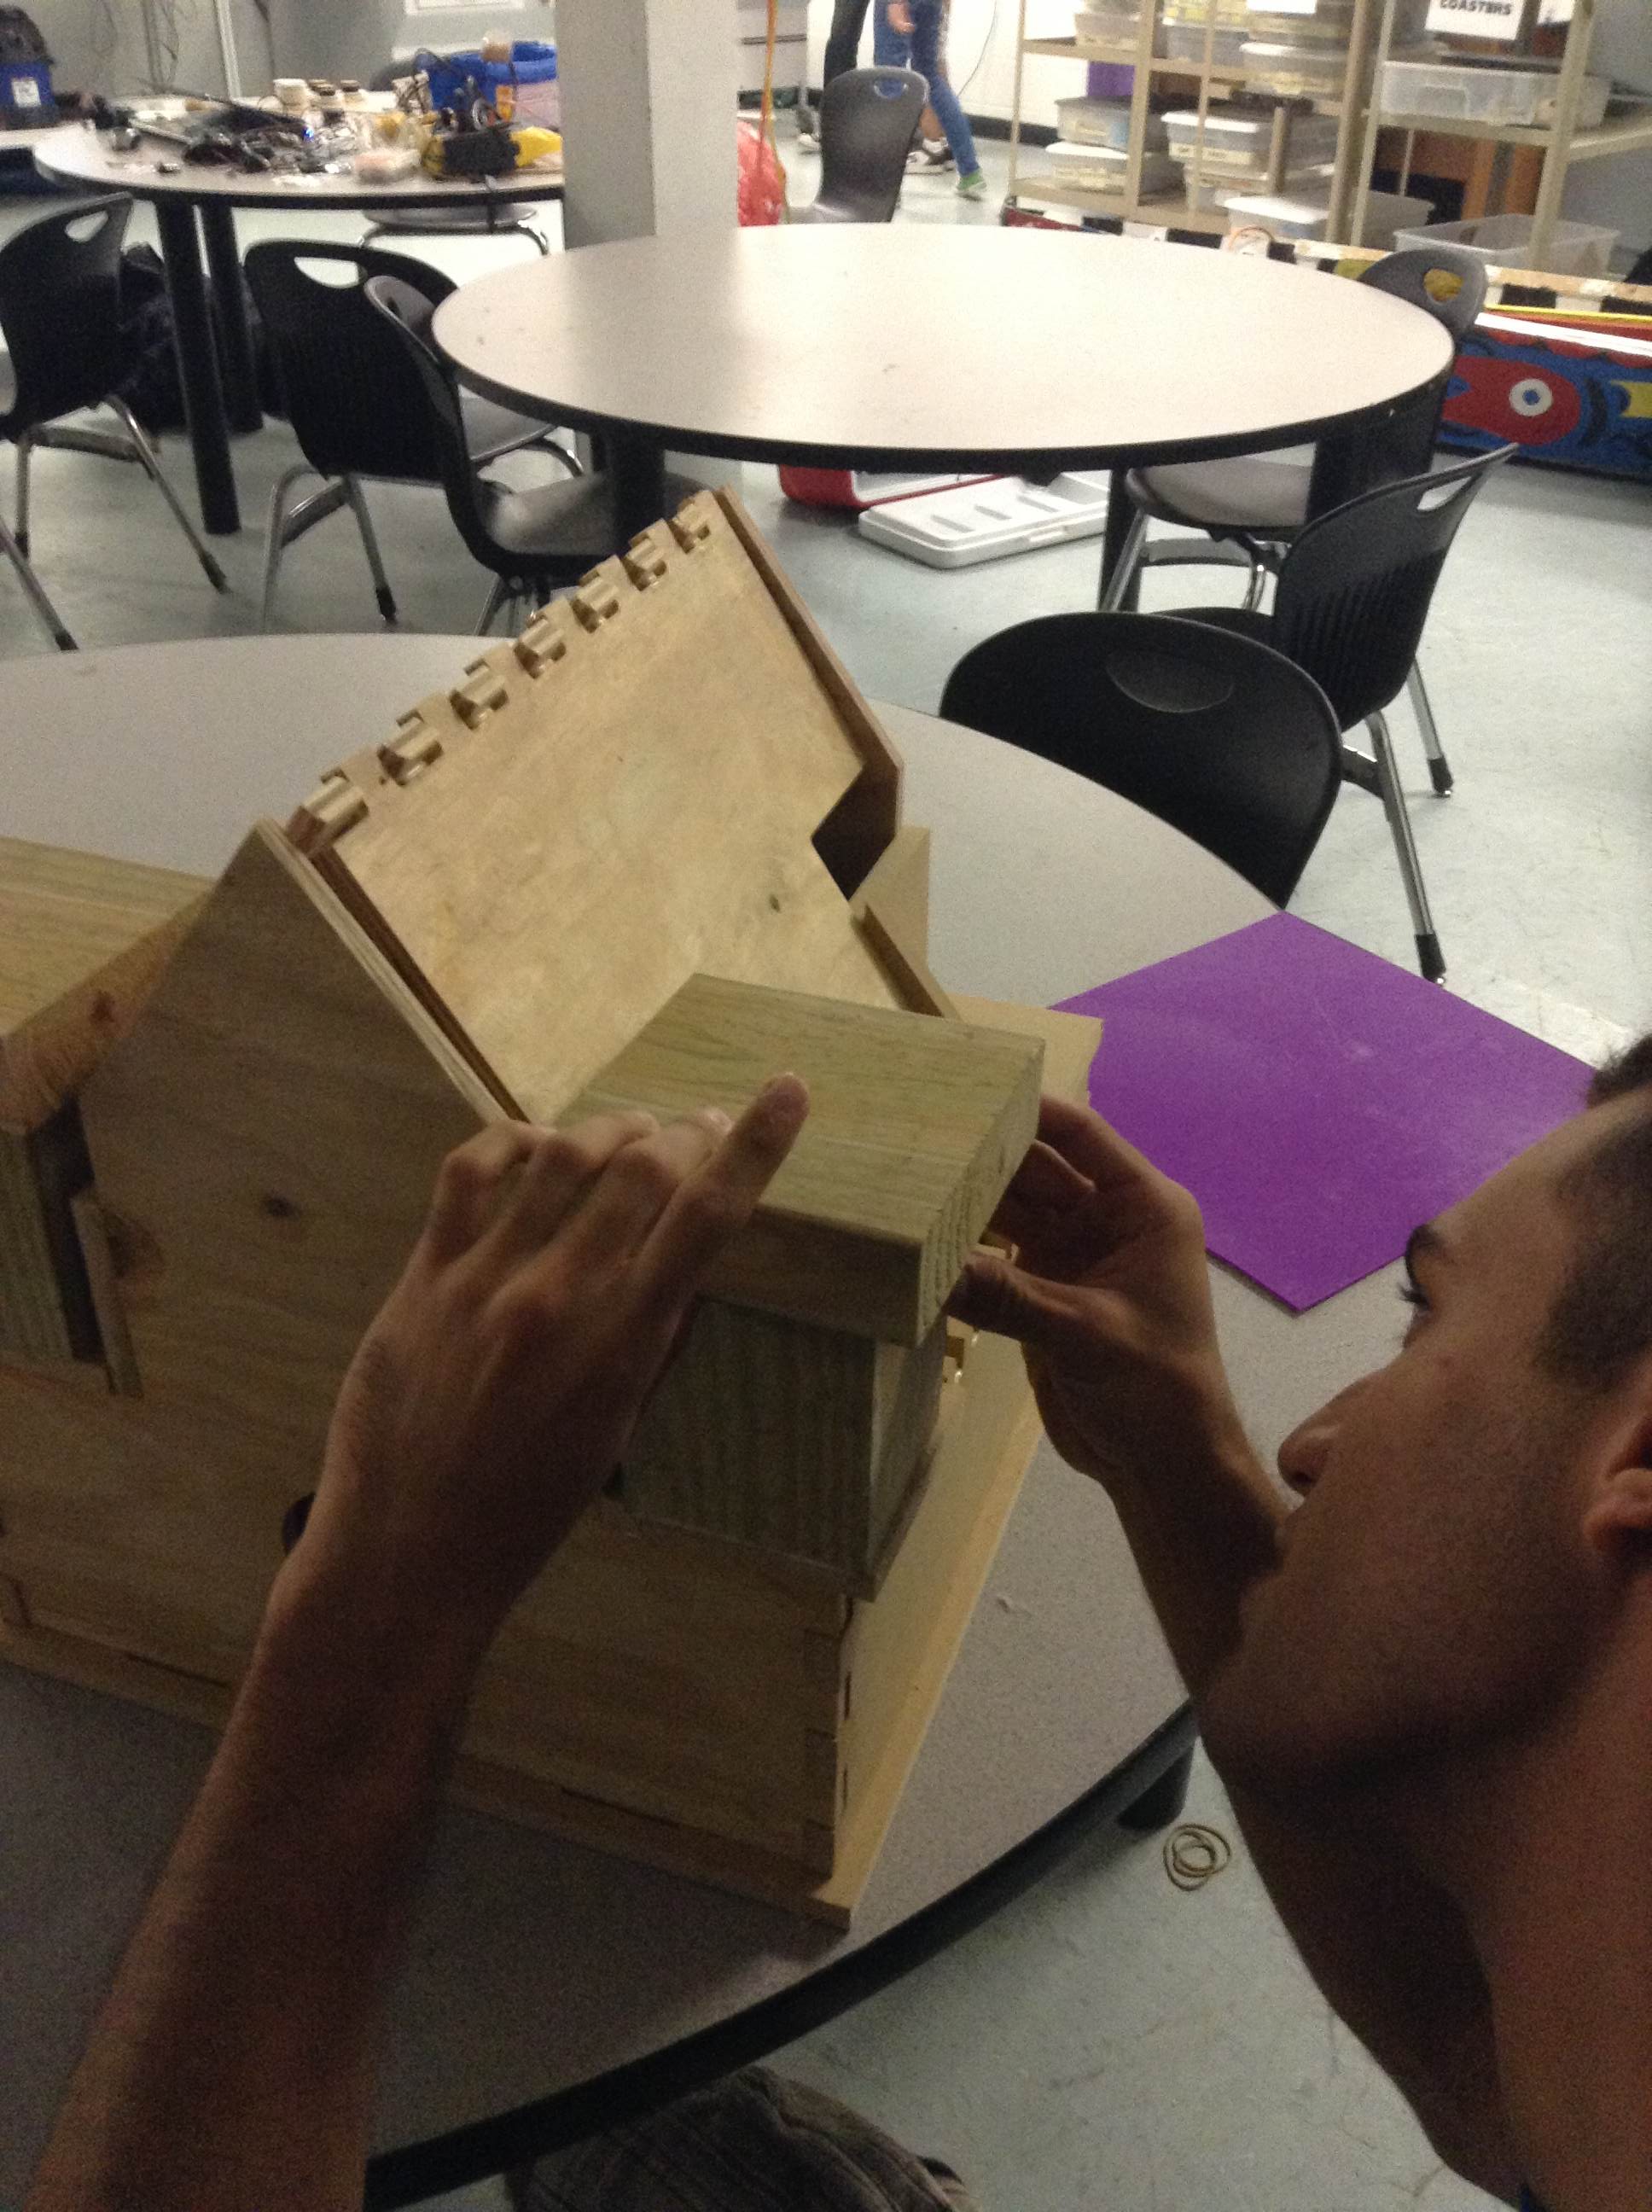
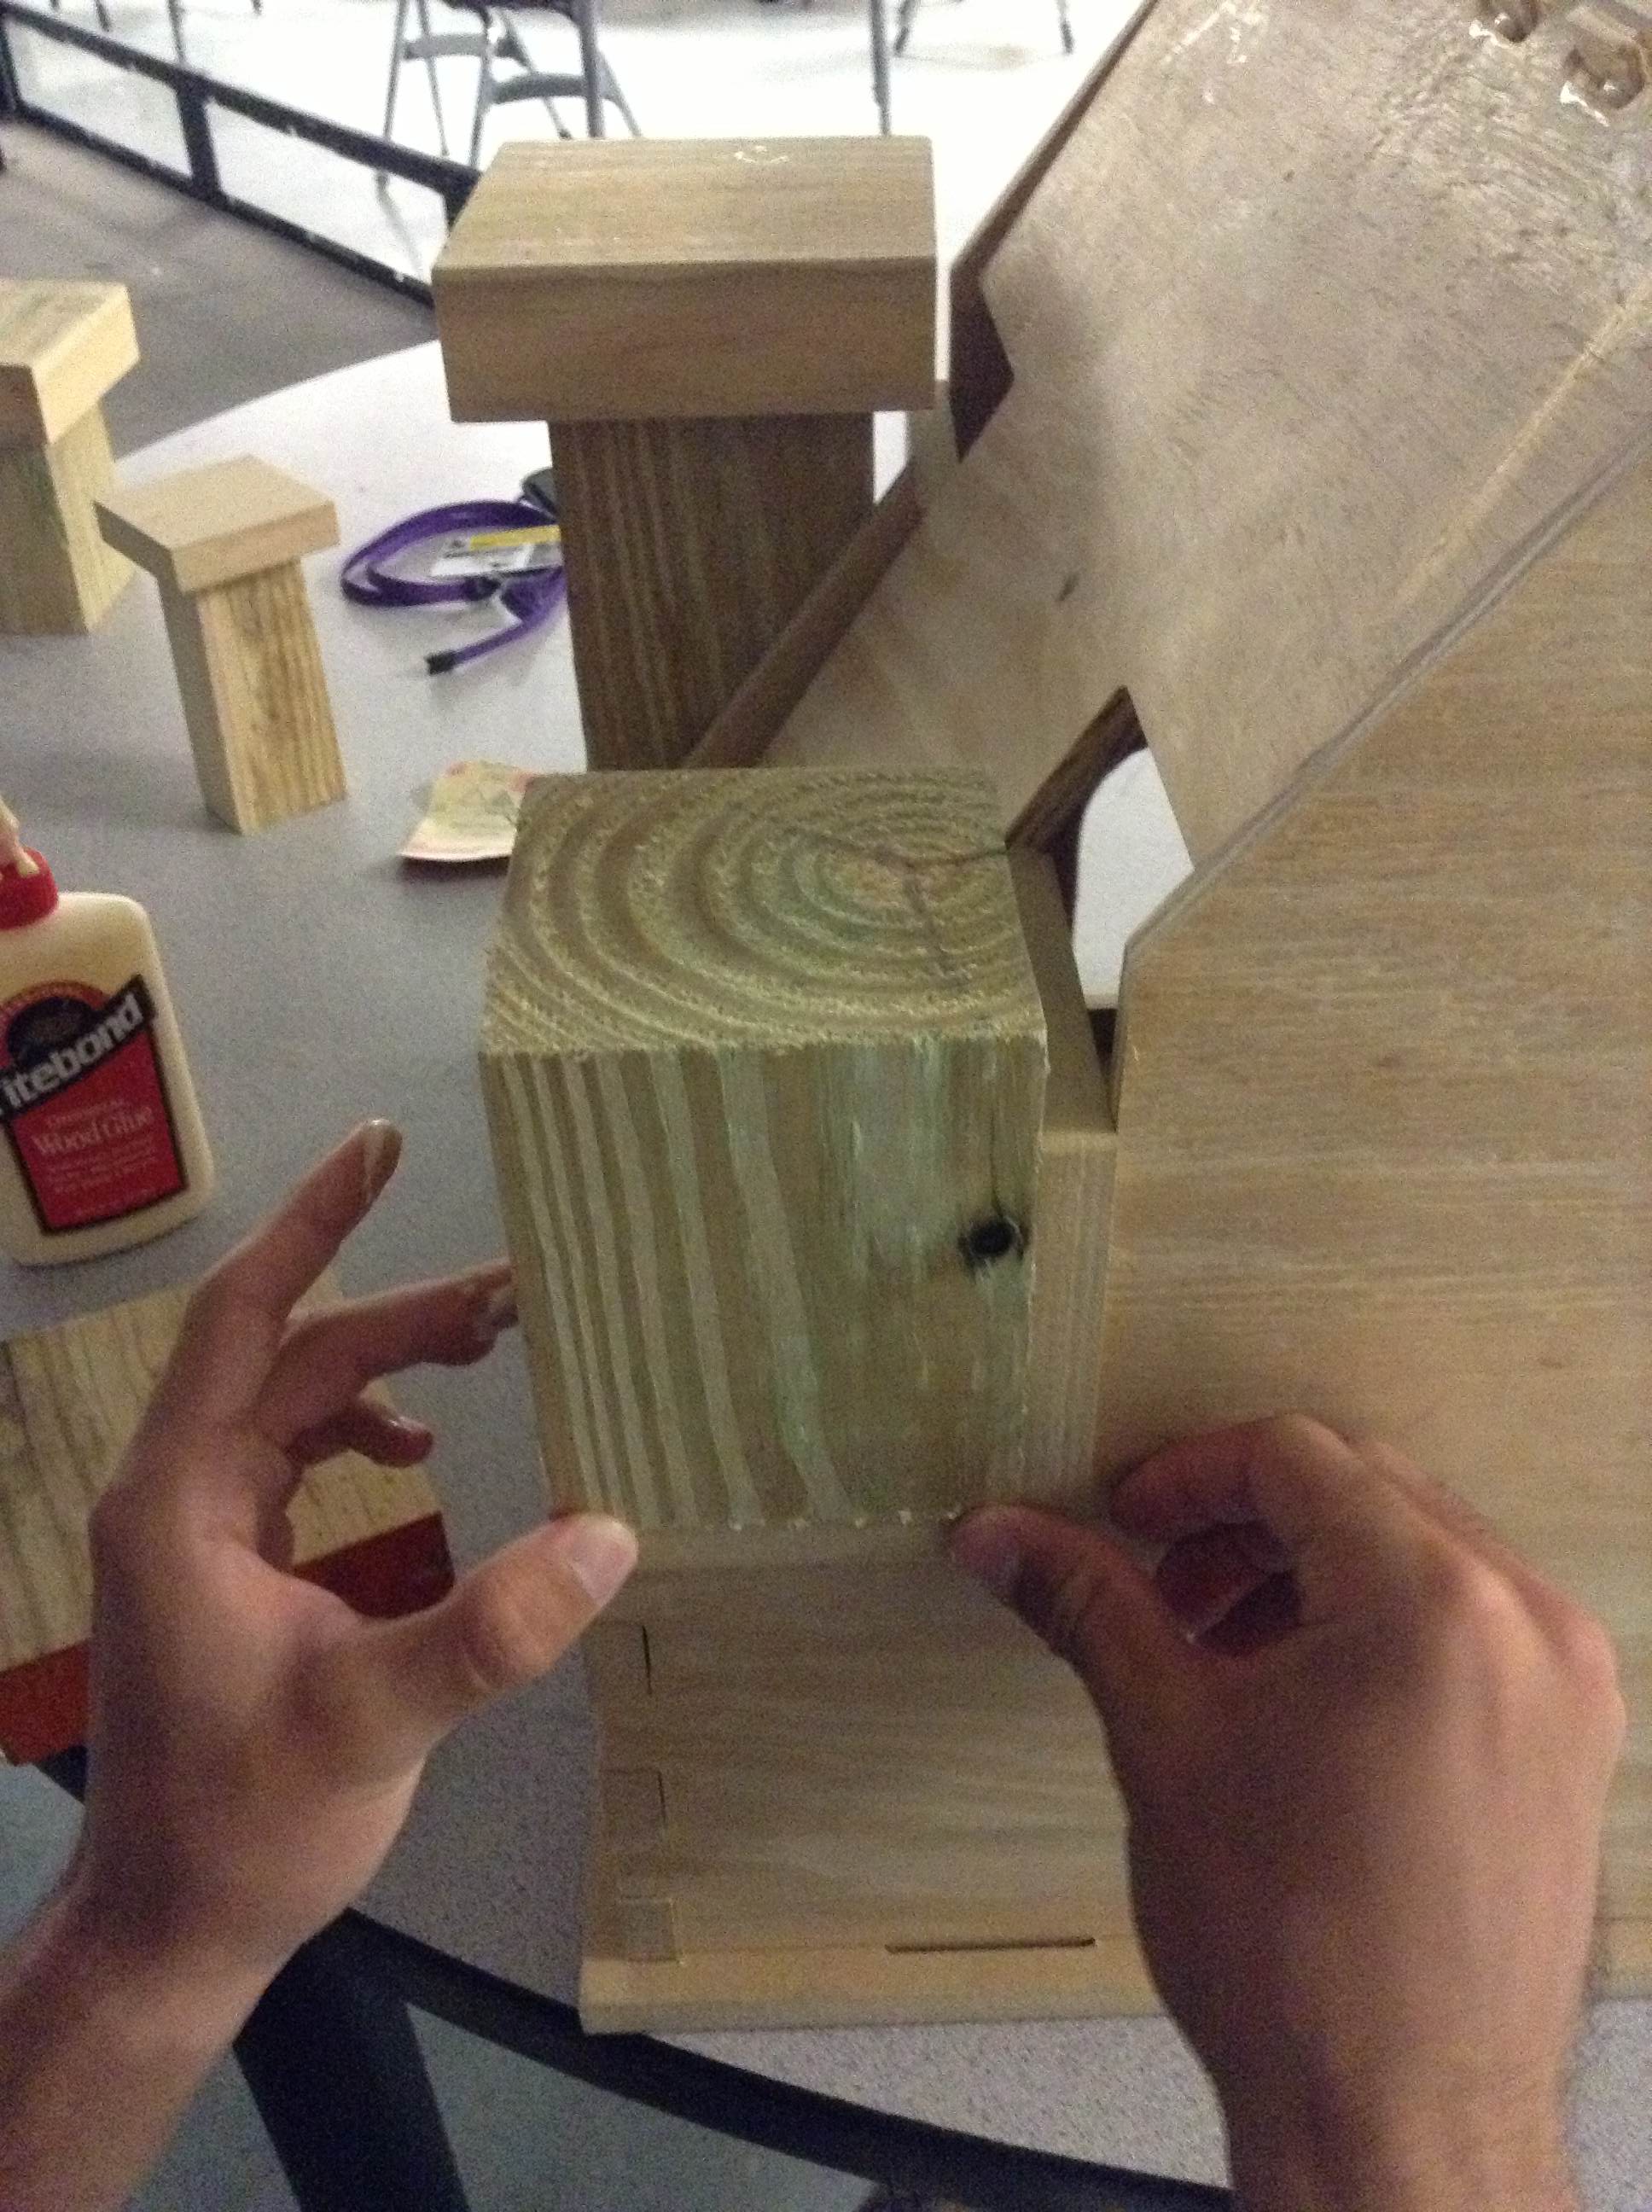
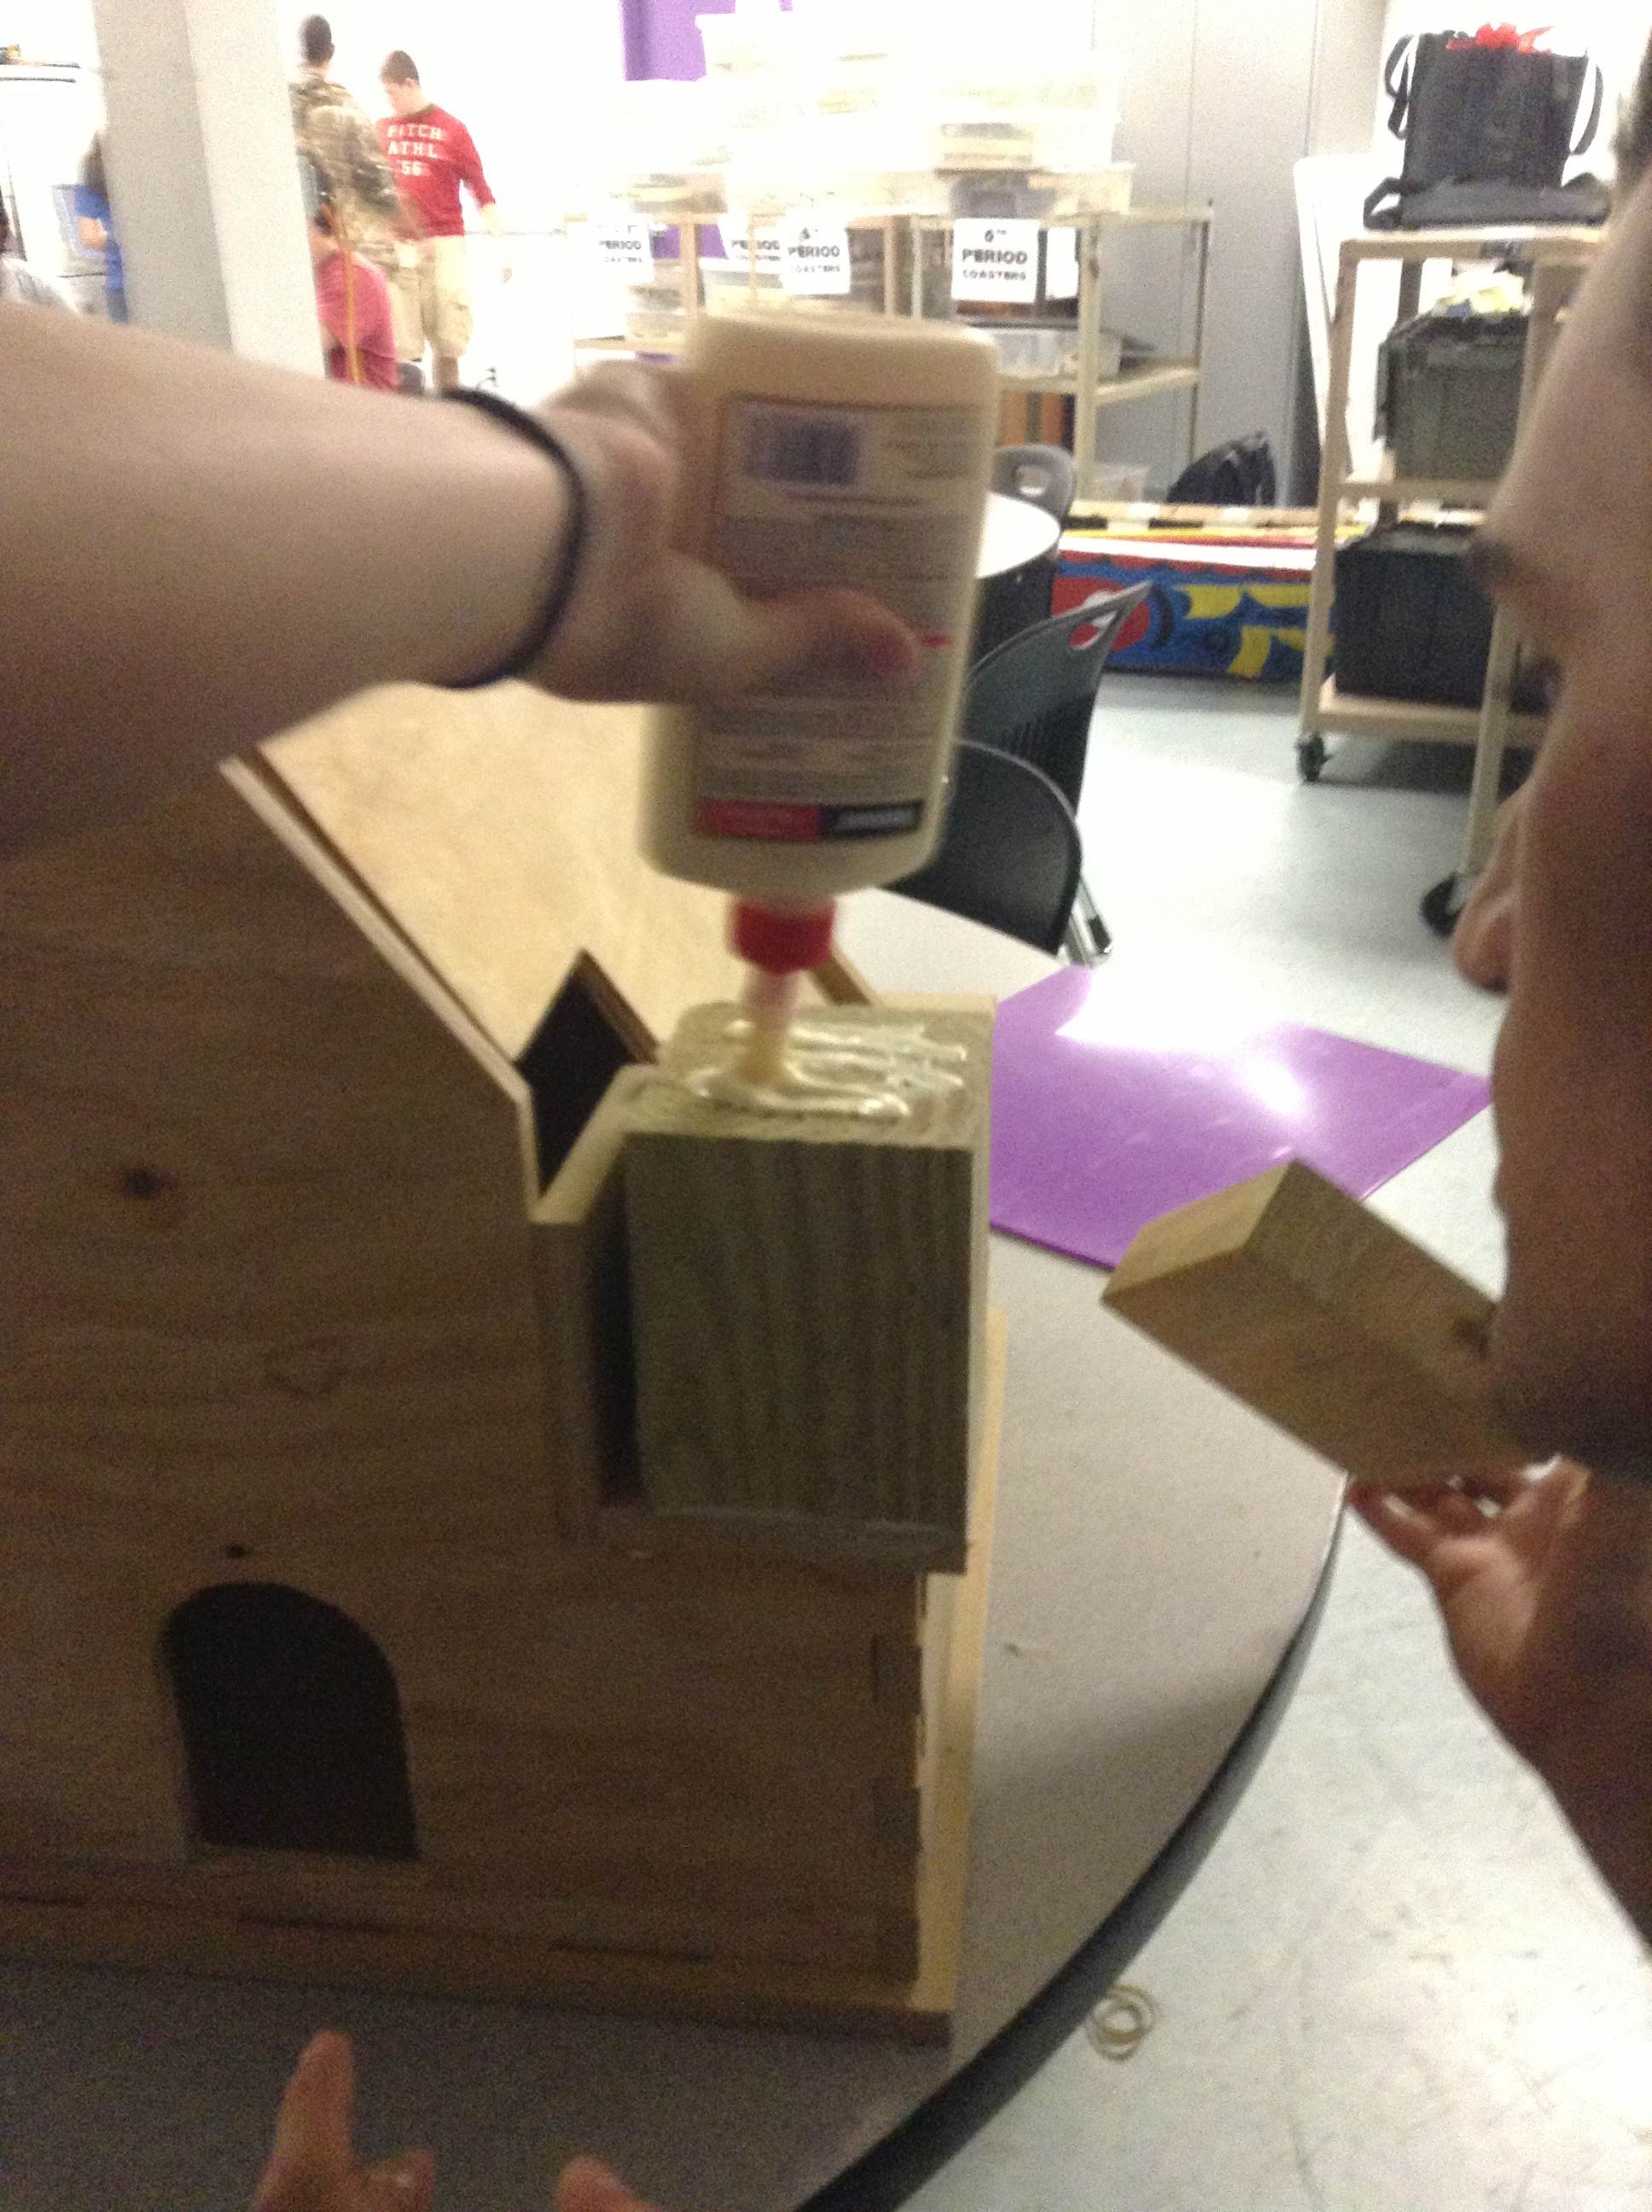
Use wood glue to place the base pieces on the corners, then use the glue again to place the triangles on the base directly next to the roof (see image above for reference).
Once the bases and triangles are in place, you can begin to place the towers! Glue the base of each tower onto the TOWER BASE pieces. Then place the PERCH pieces on the base of each tower. Let dry
Bird Castle!!!
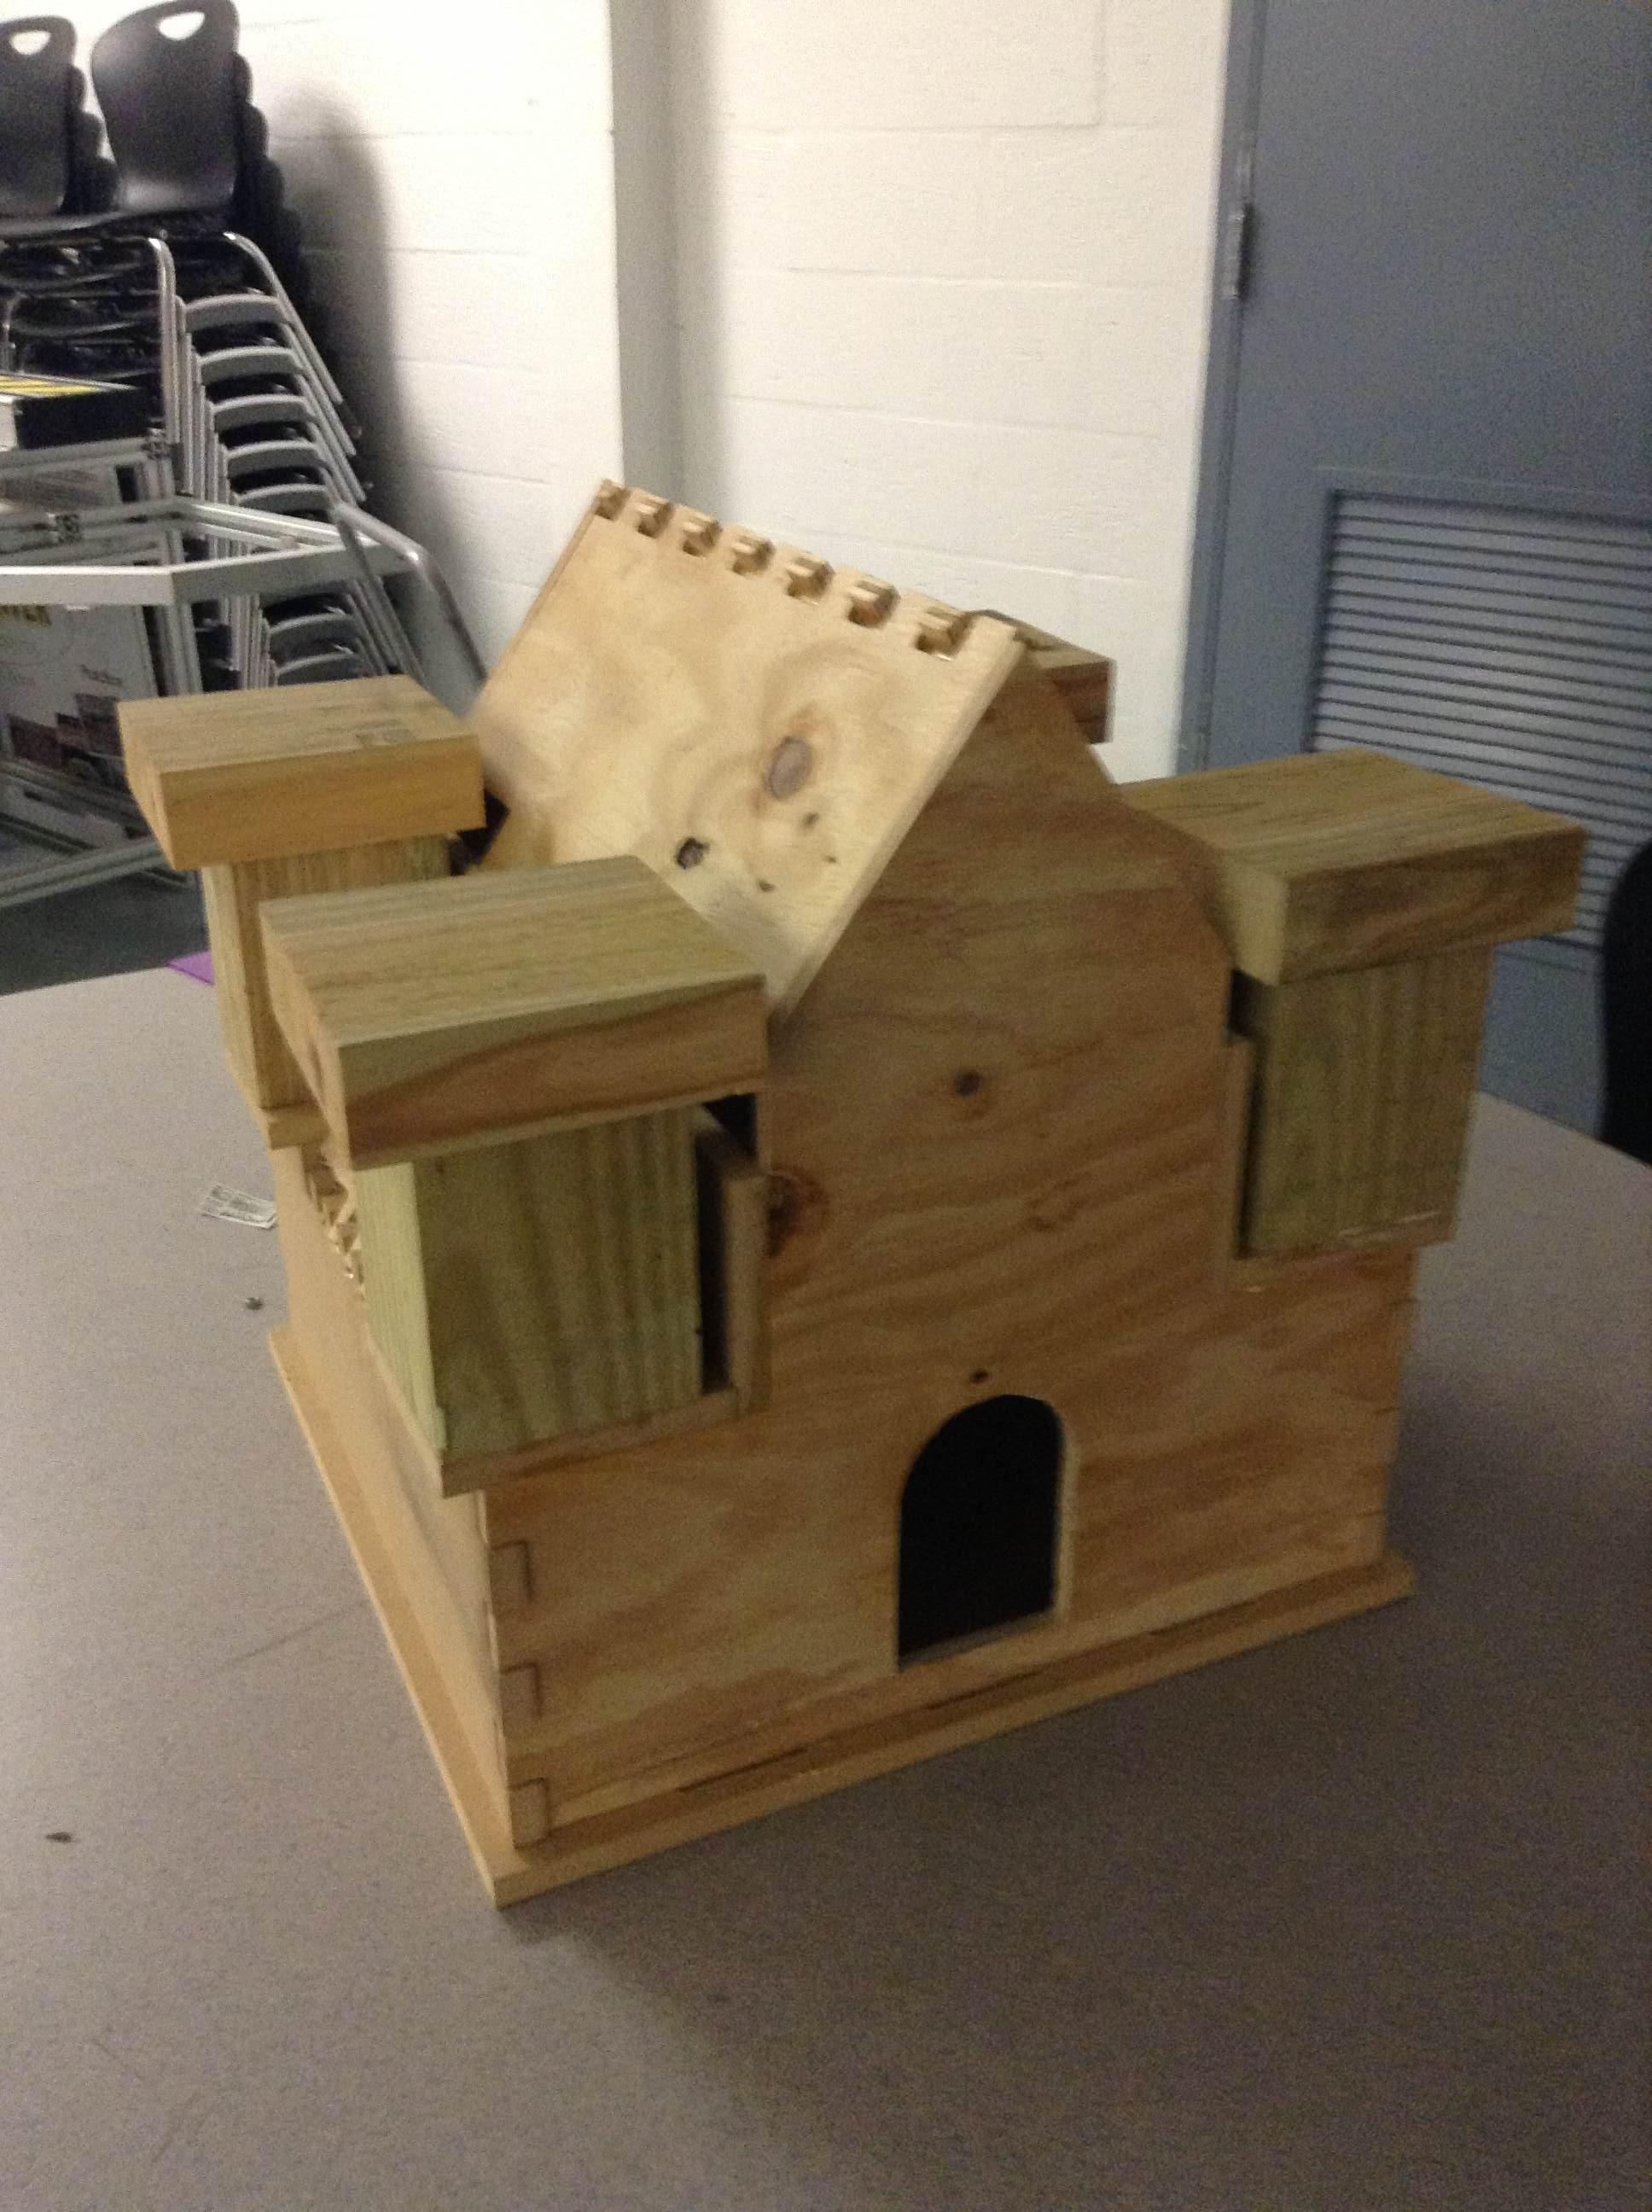
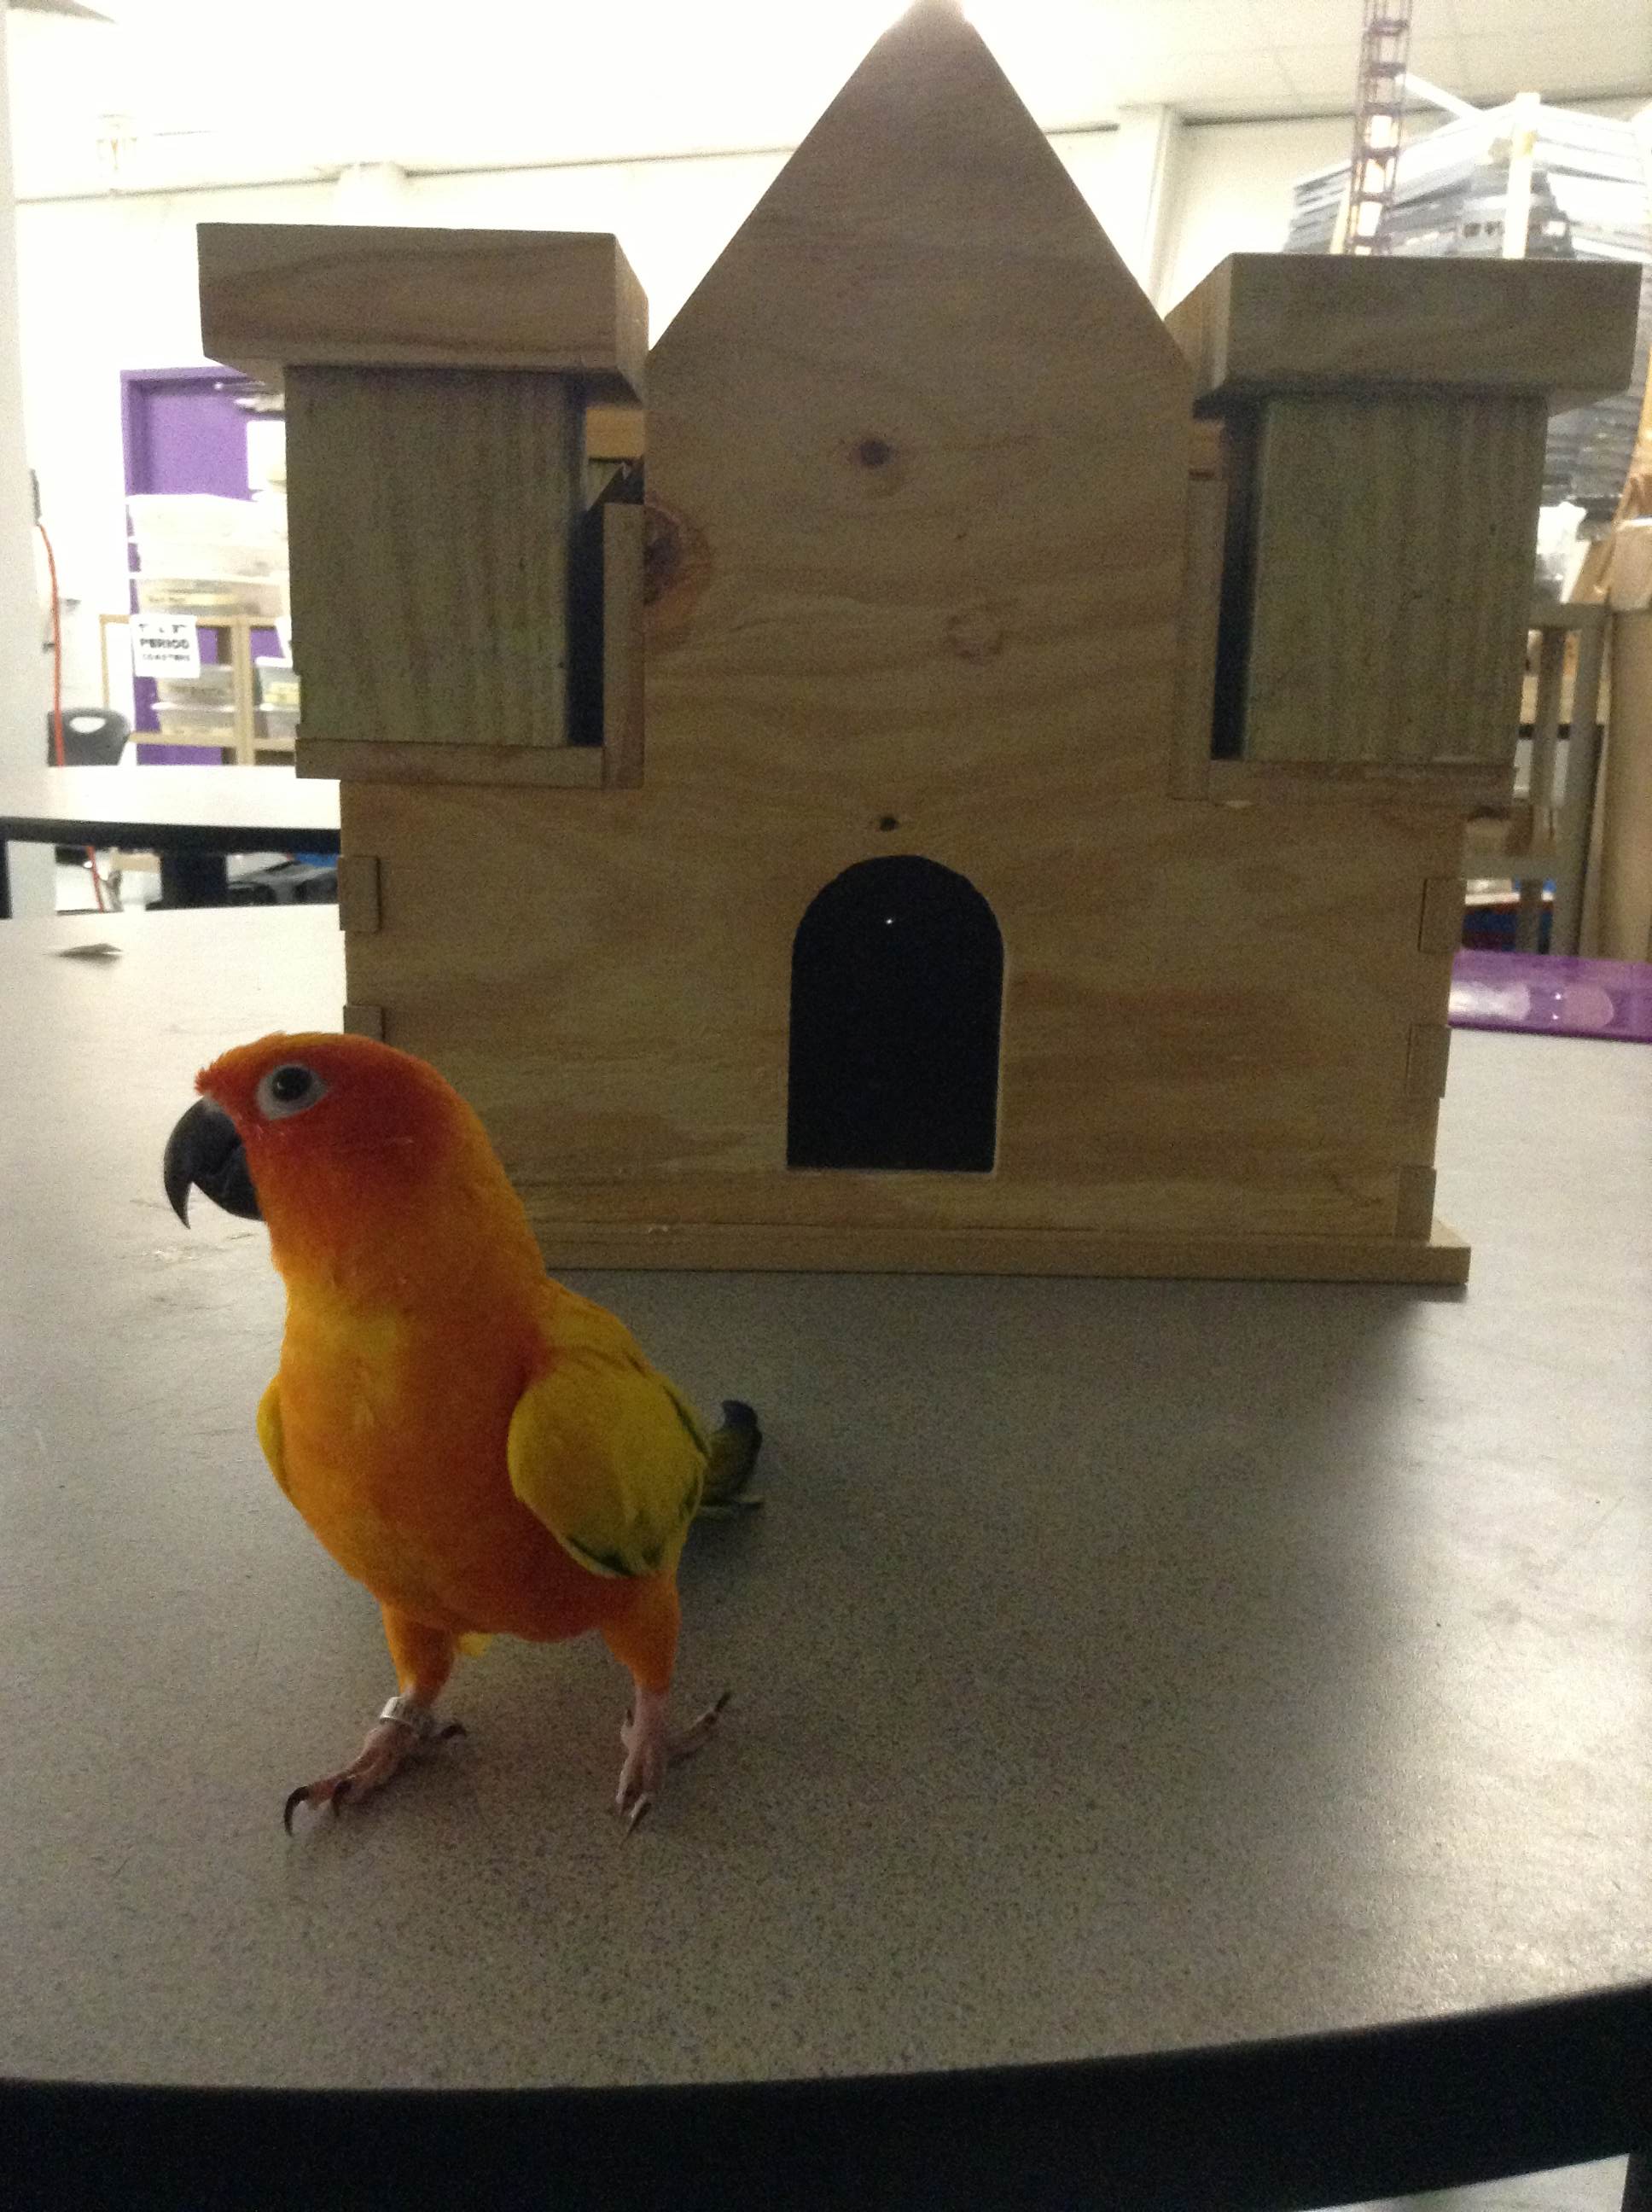
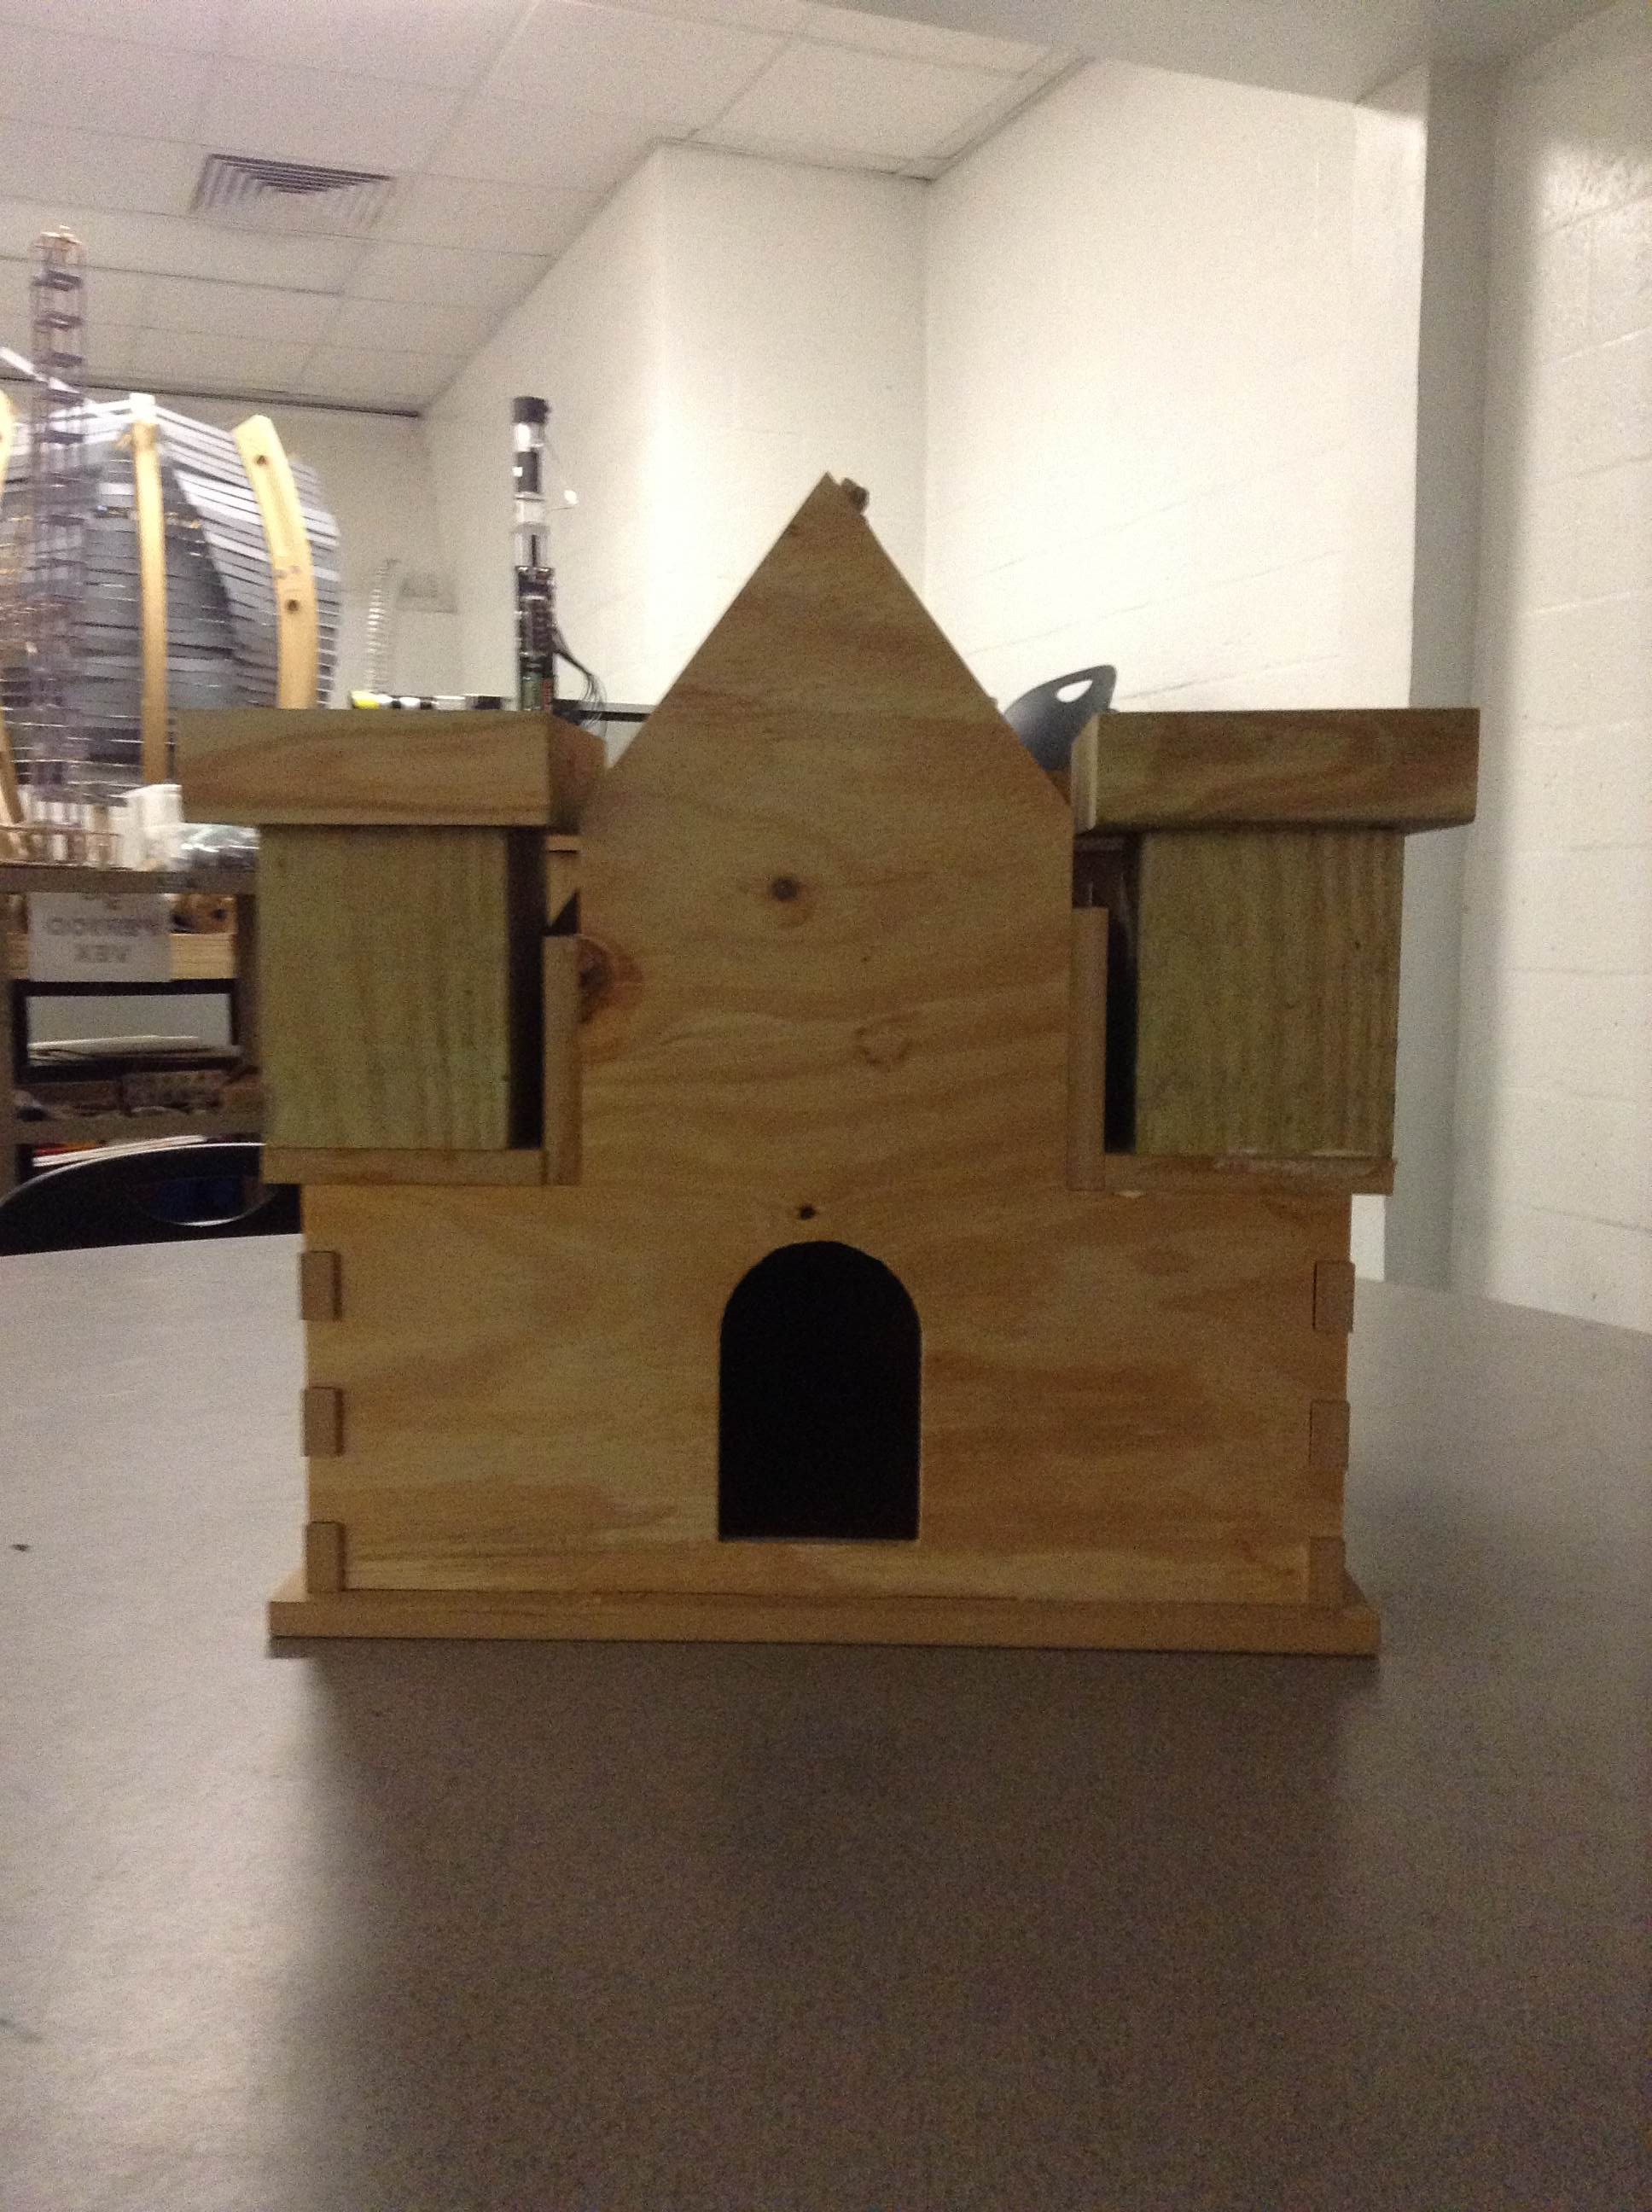
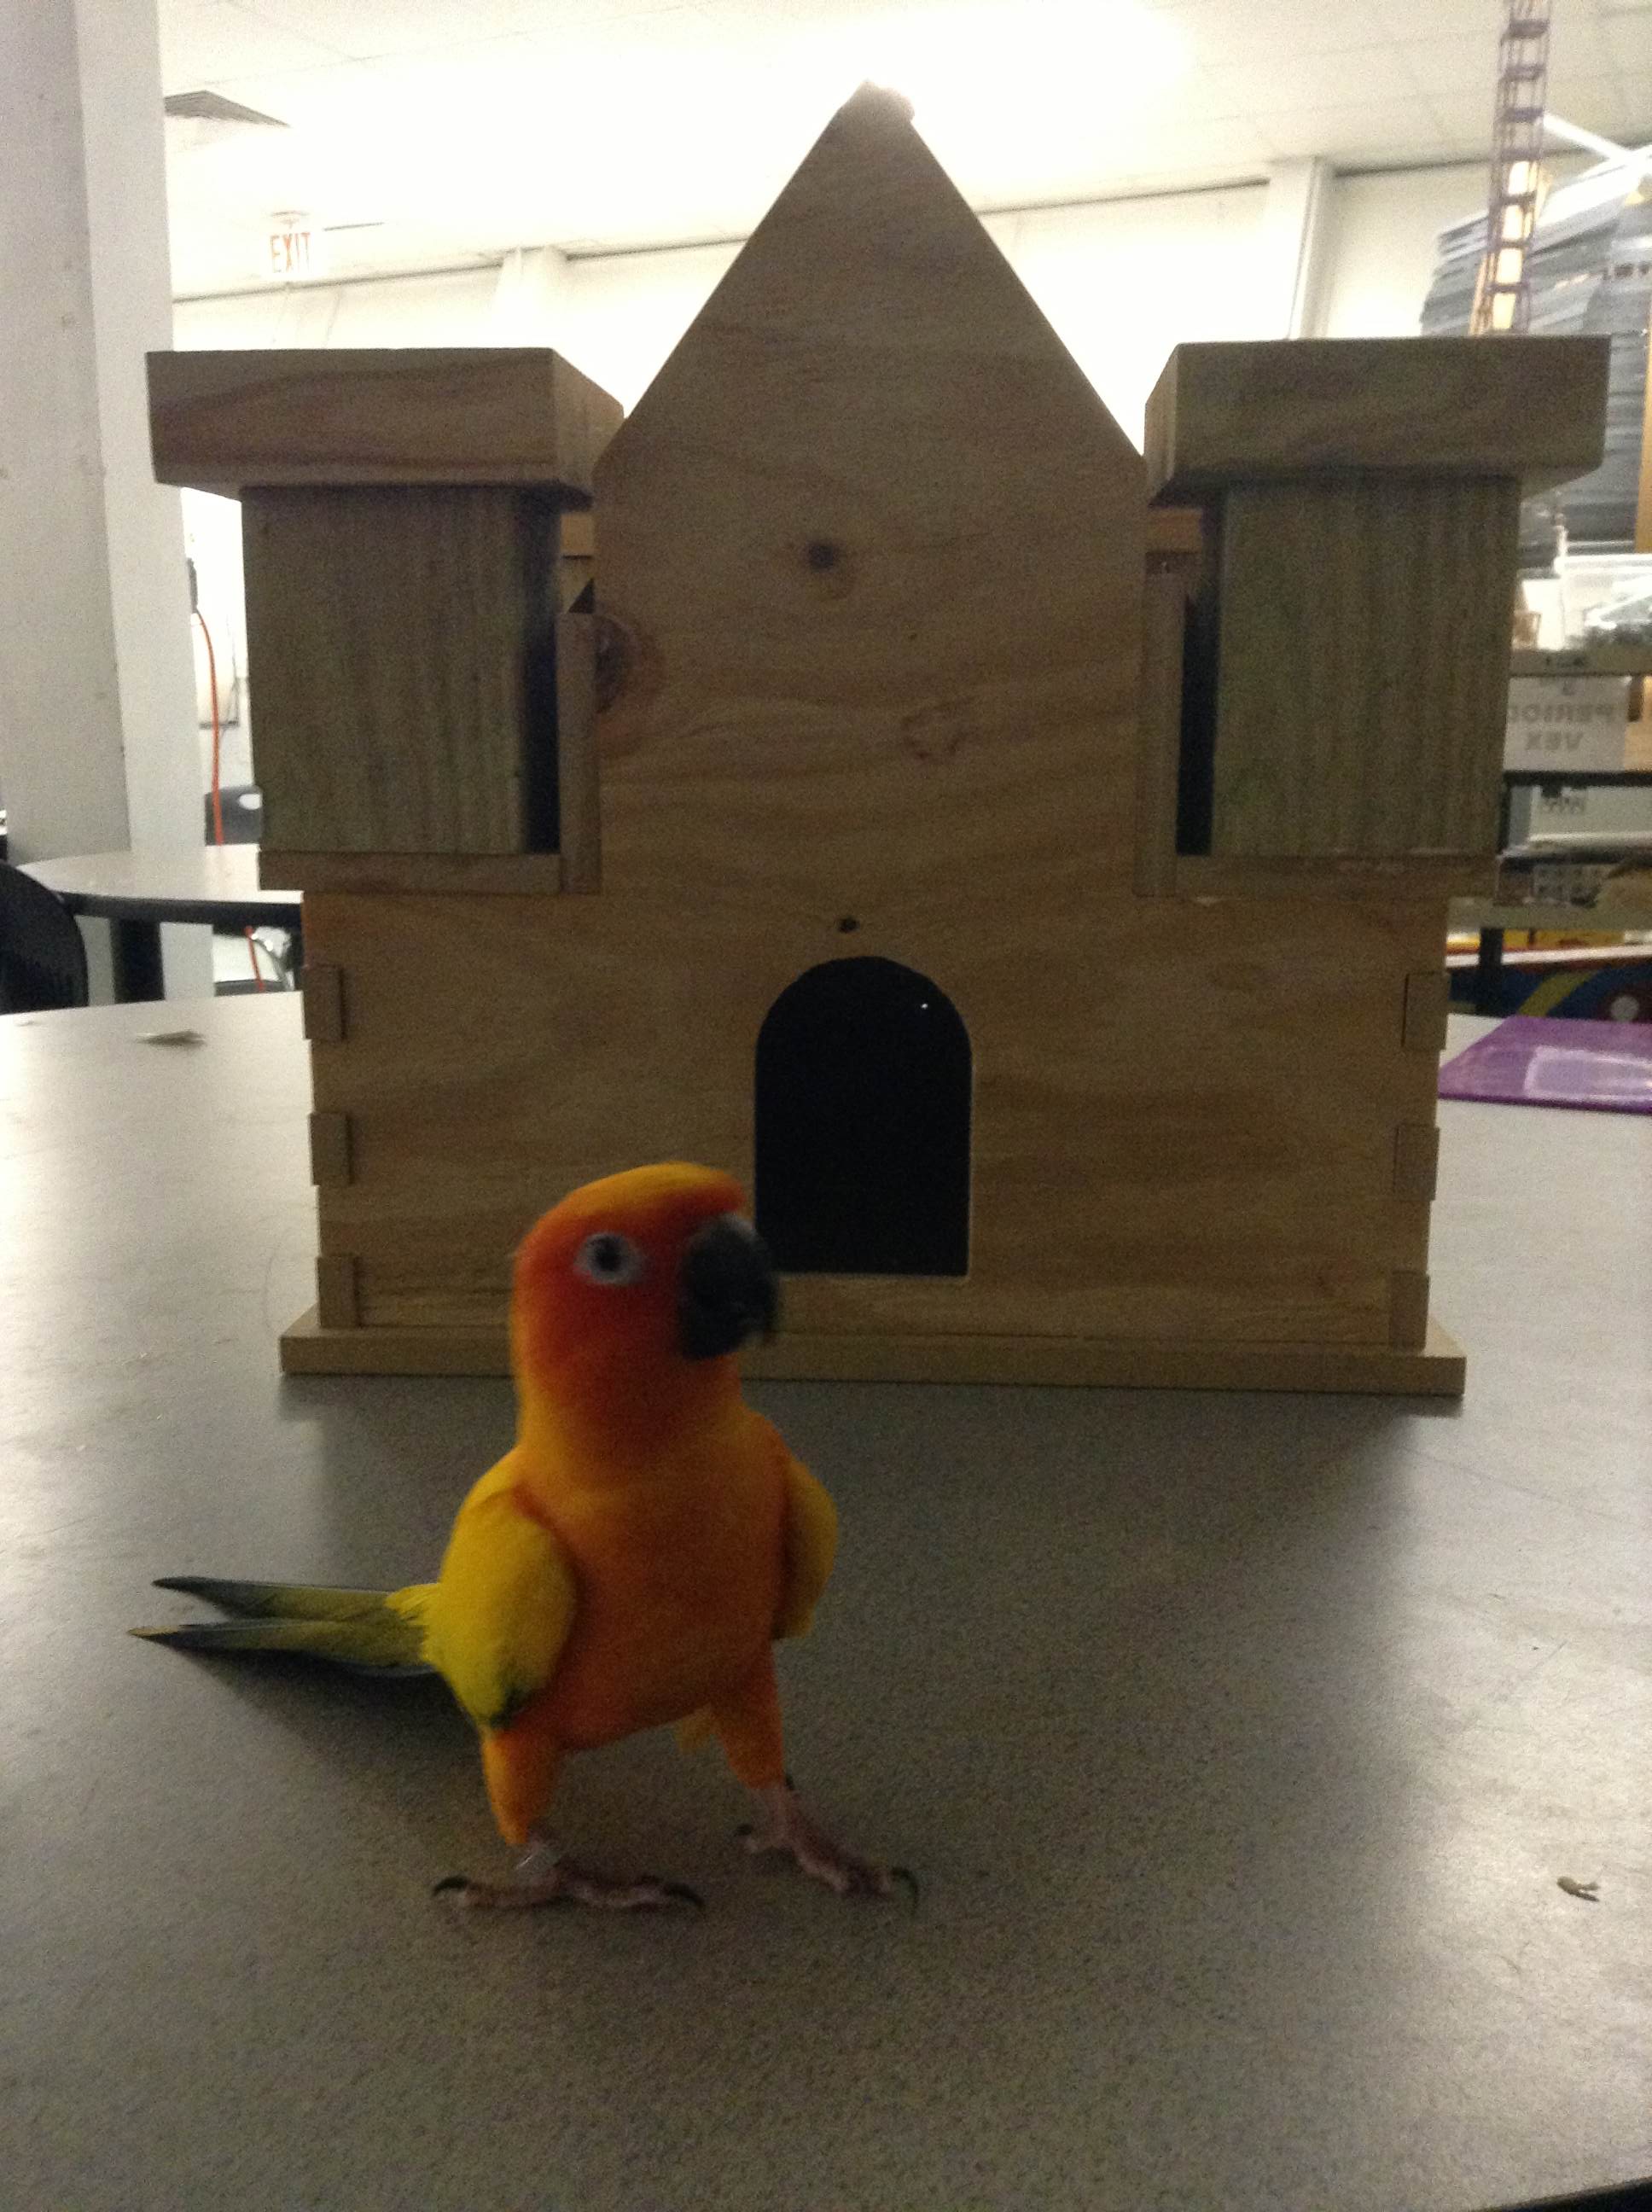
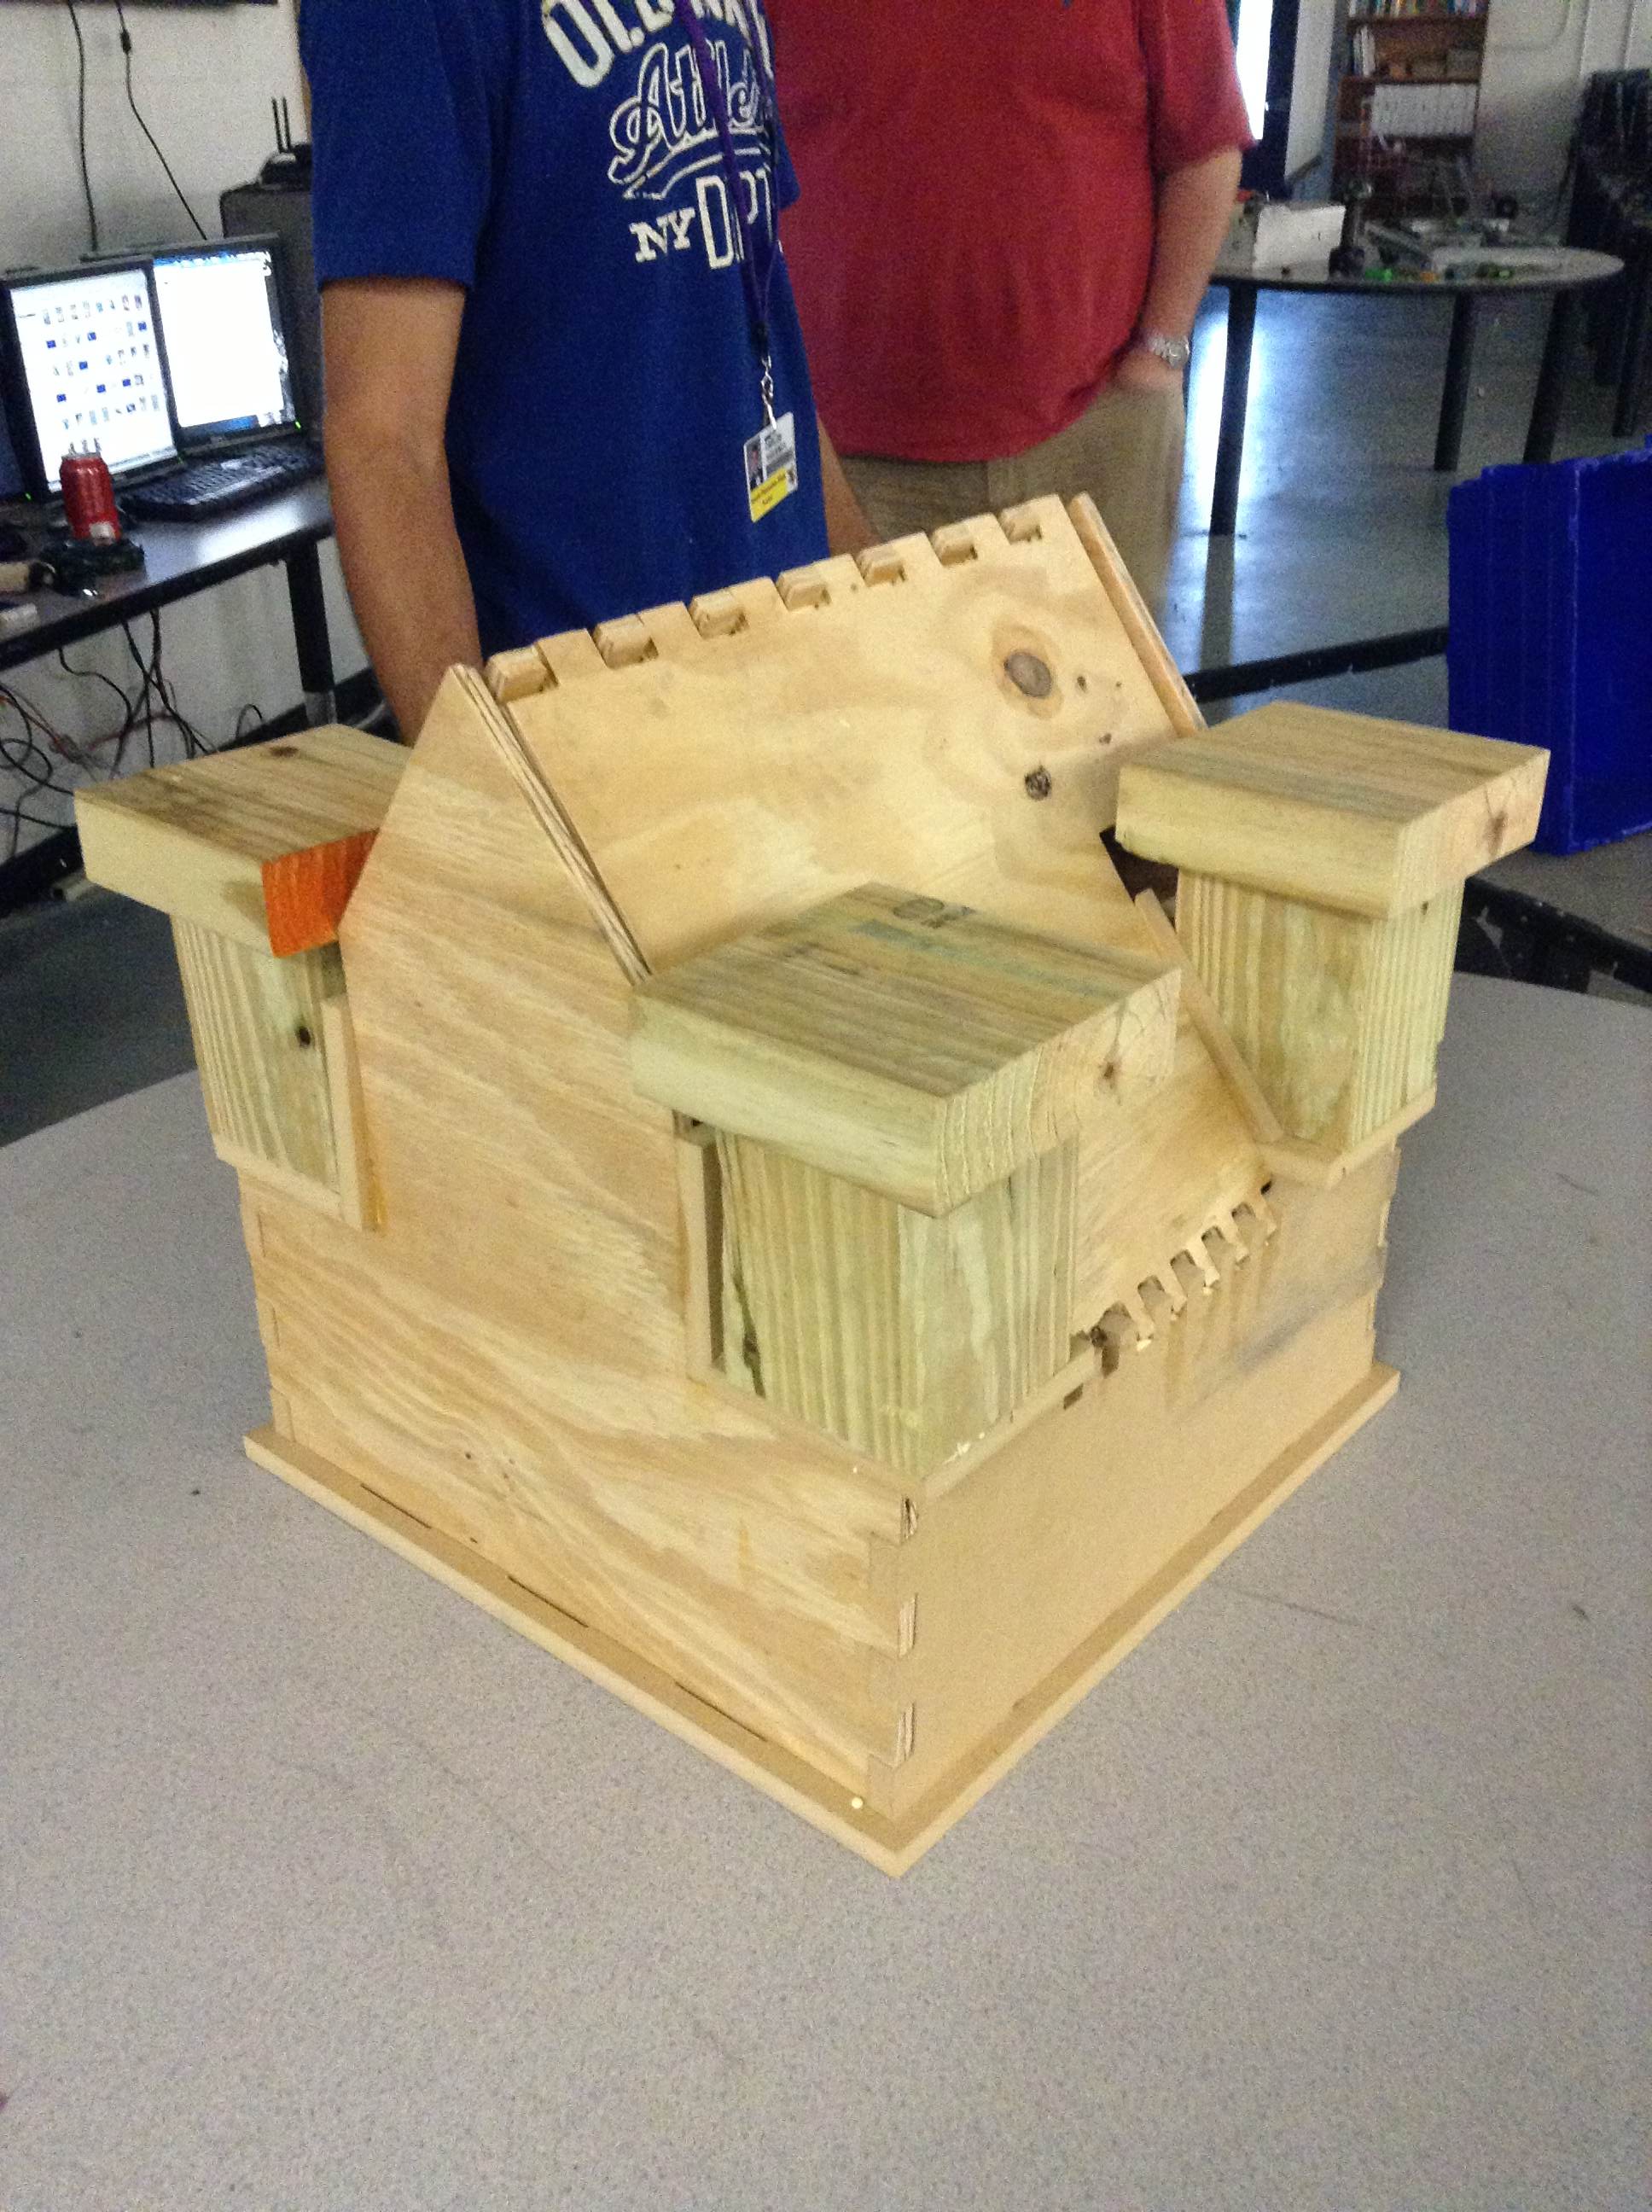
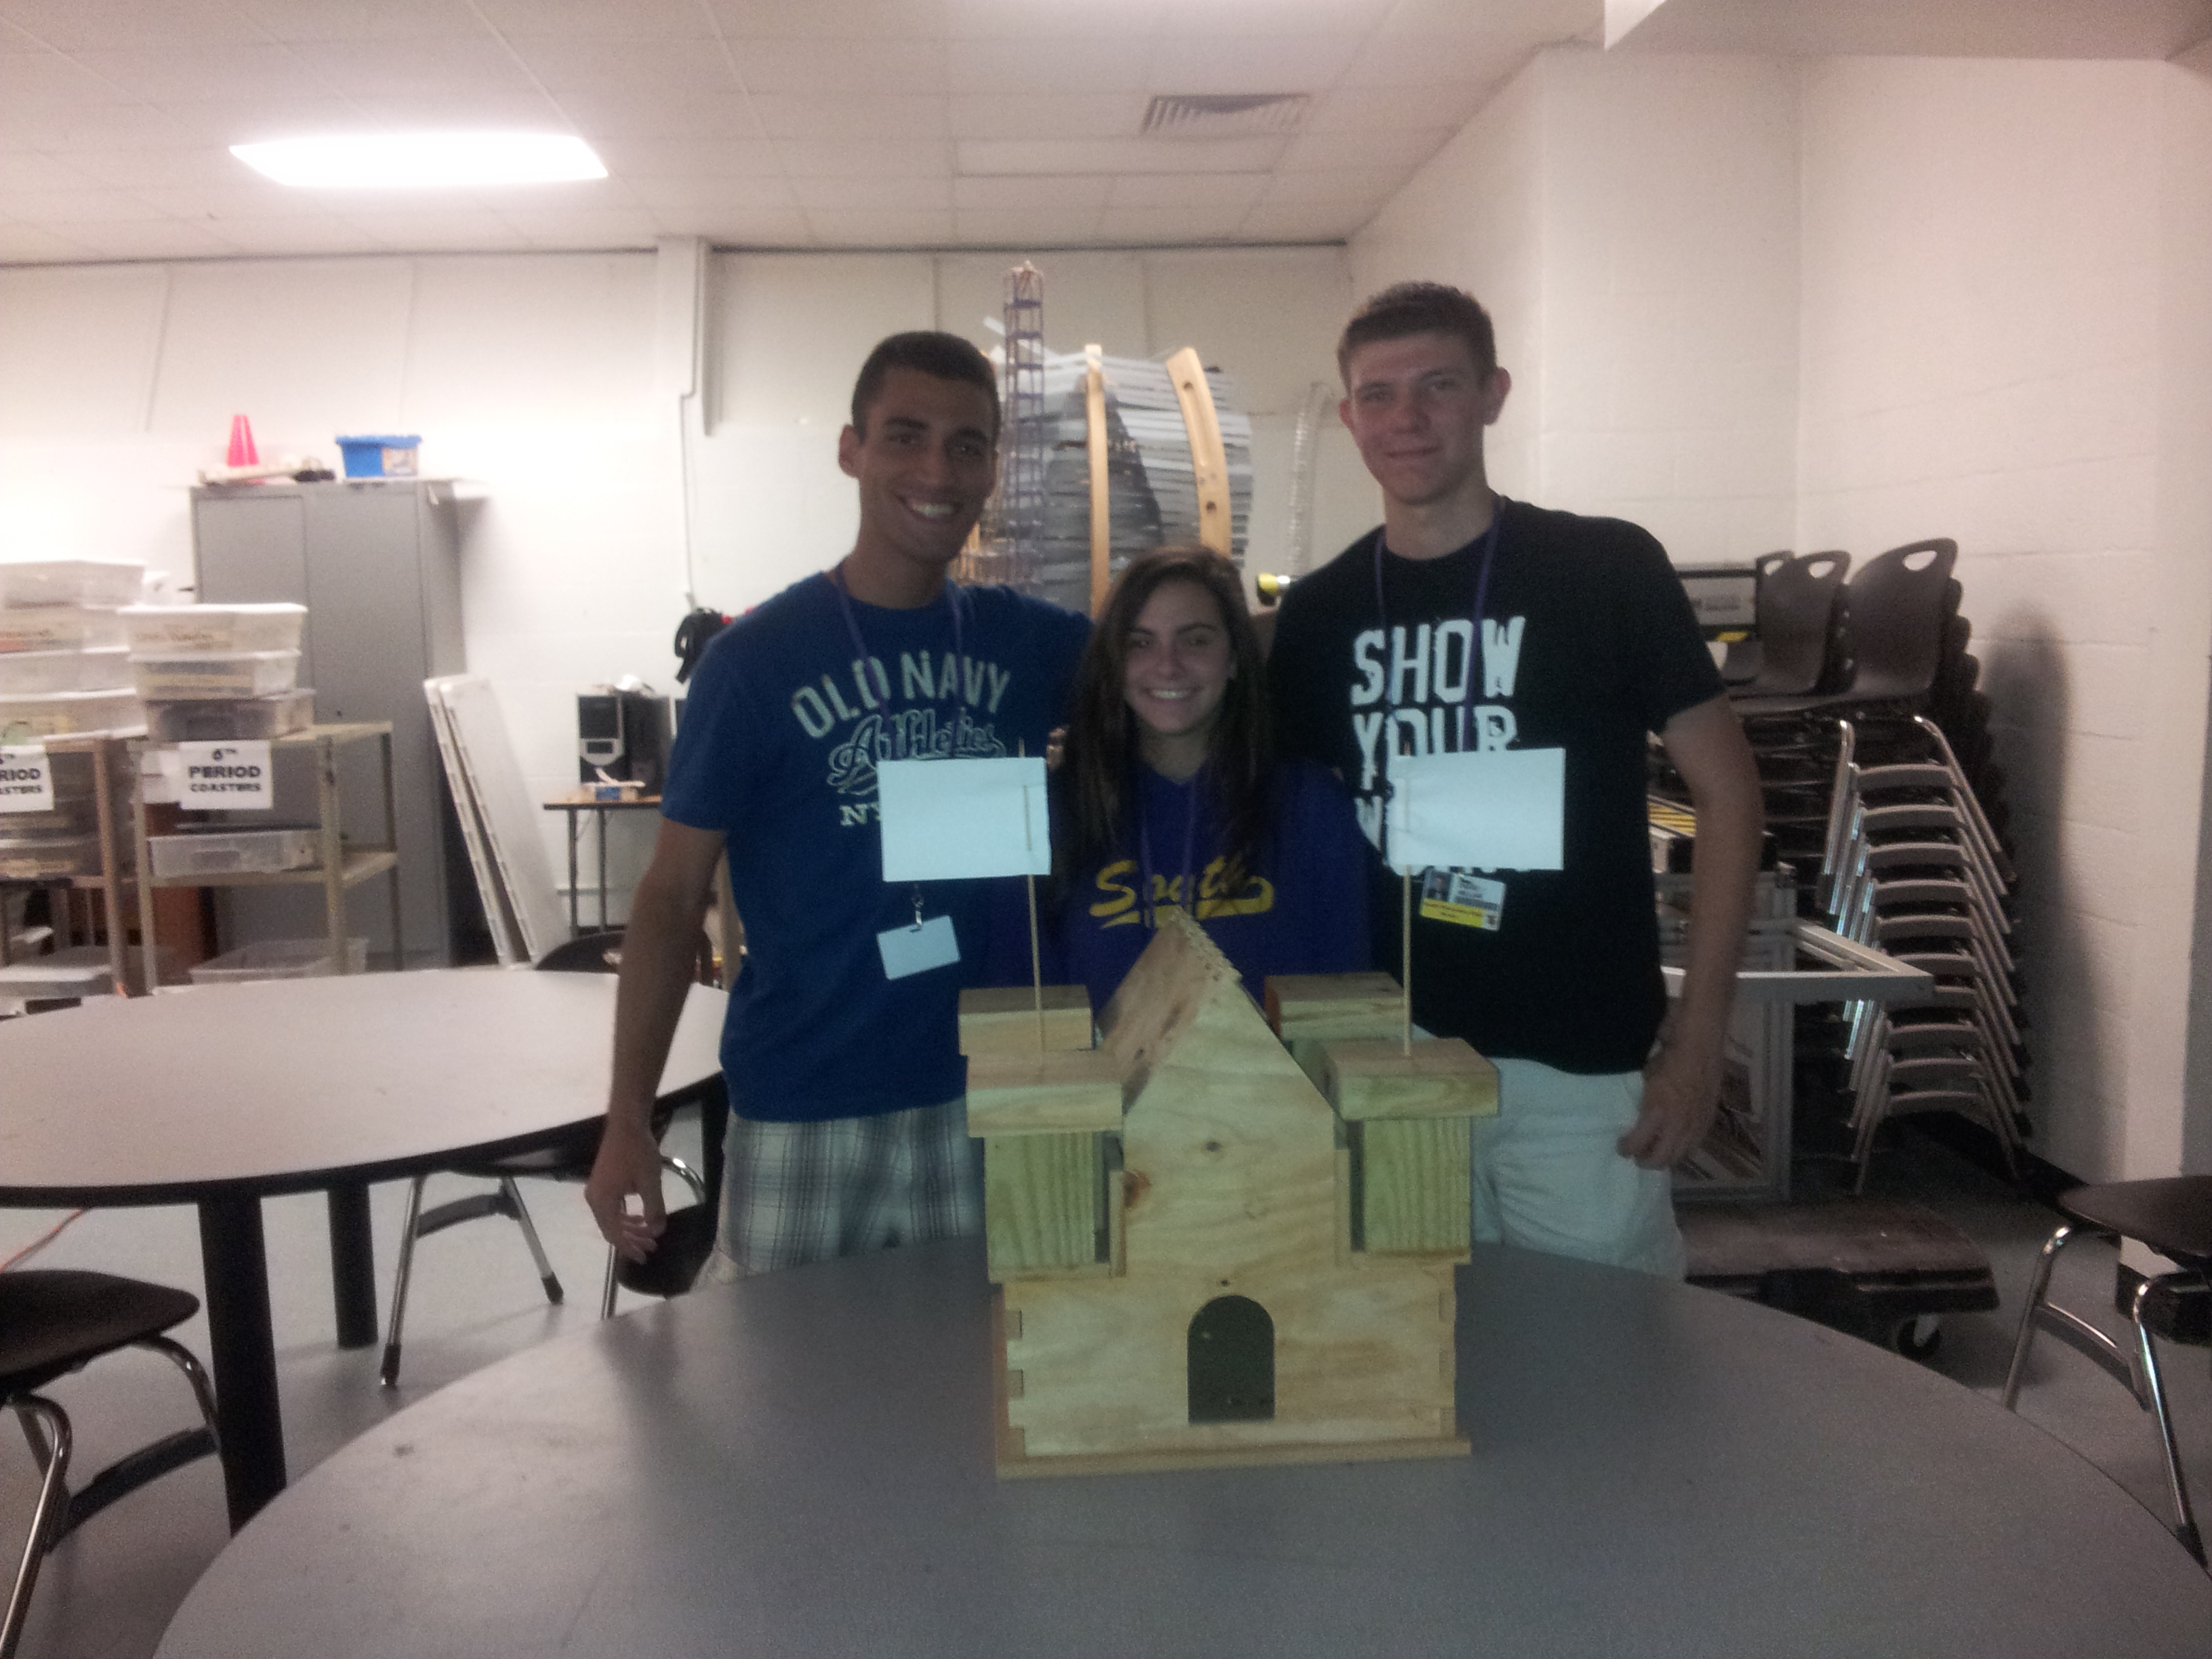
If you have an other ways that you made this castle unique, please take pictures of your final castle and share them in the comments below.
Happy building!!!