Ubilinux Installation on Intel Edison
by tstrenge in Circuits > Microcontrollers
12985 Views, 23 Favorites, 0 Comments
Ubilinux Installation on Intel Edison
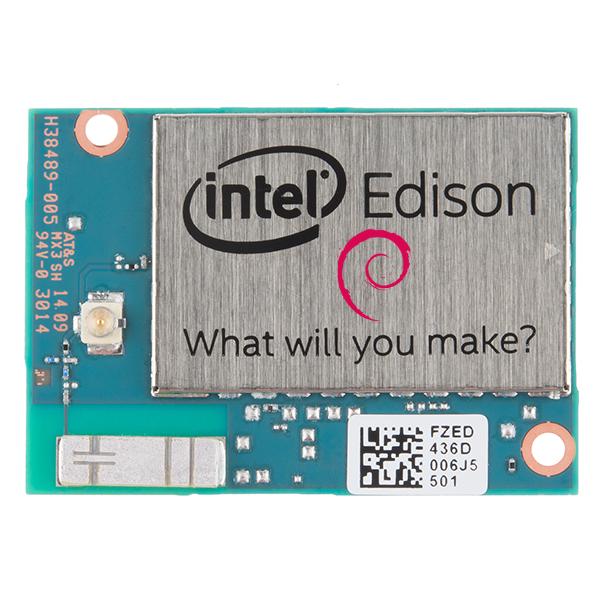
In this instructable, I will be demonstrating the windows method of installing Ubilinux on the Intel Edison. Ubilinux is based on the Debian flavor of Linux, which many Makers will find familiar and be very comfortable with. The Yocto Project is a well thought out platform, but it can be a little daunting to work with if your goal isn't a dedicated finished project. Ubilinux is a more feature filled package that doesn't require you to essentially rebuild Linux from scratch to obtain your end result.
I originally discovered this option through one of my many window shopping sessions at Sparkfun.com, and felt that I should share with a community that has shared so many things with me. For the purposes of simplicity and ease of visual recognition, I have used the same images found on the Sparkfun website(I'm not lazy, I simply feel that their images have a nice polish and clean crop).
For instructions on installing on another operating system, please refer to:
https://learn.sparkfun.com/tutorials/loading-debia...
To complete this installation you will need the following items:
Intel Edison and one of the following: Arduino breakout kit, mini breakout kit, or Sparkfun Base block
A computer with a Windows based OS
Micro USB cable
Before moving forward with this instructable, I would like to say a sincere thank you to Intel and the Instructables staff for selecting me to receive 1 of 250 Intel® IoT Developer Kits. I am very grateful and extremely excited for the fun things to come from such a generous opportunity.
The Downloads
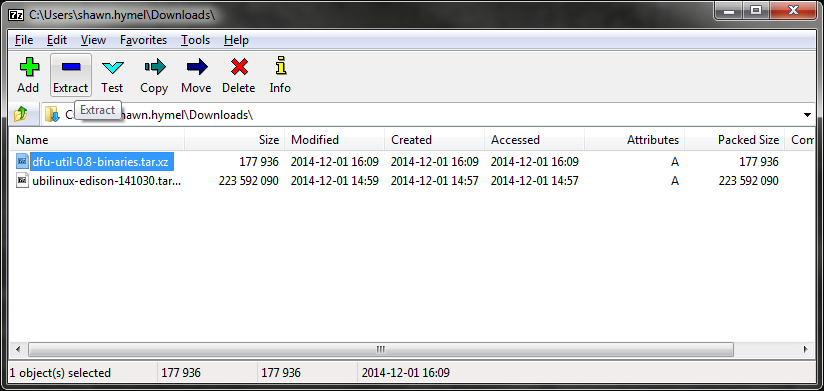
To get started, You will need to download the following bits of software/files
*It is very important that during this time you do not have the Edison connected to your computer(Don't ask what would happen, because I lack the bravery to find out for myself).
Download and install 7-zip from the 7-zip.org page. More than likely you will want the .msi version.
Download the Ubilinux image by navigating to http://www.emutexlabs.com/ubilinux You will want to click on "Ubilinux for Edison"
You will now want to open 7Zip, and select the 7Zip file manager. From here you will want to navigate to your downloads folder and select “dfu-util-0.8-binaries.tar.zx” then select "Extract" (Refer to the first Image for a visual reference)
Next we will click "Ok" when prompted on where to extract the files to accept defaults.
At this point “dfu-util-0.8.binaries.tar” will appear in the 7zip file manager, double click on it to enter the folder.
Now we will select "dfu-util-0.8-binaries.tar" and select "Extract" to finalize the dfu-utl extraction process.
Click "OK" when prompted, then press the "up one folder" icon to return to your download folder.
you will need to repeat these steps with the Ubilinux image as well
Time to Install Packages
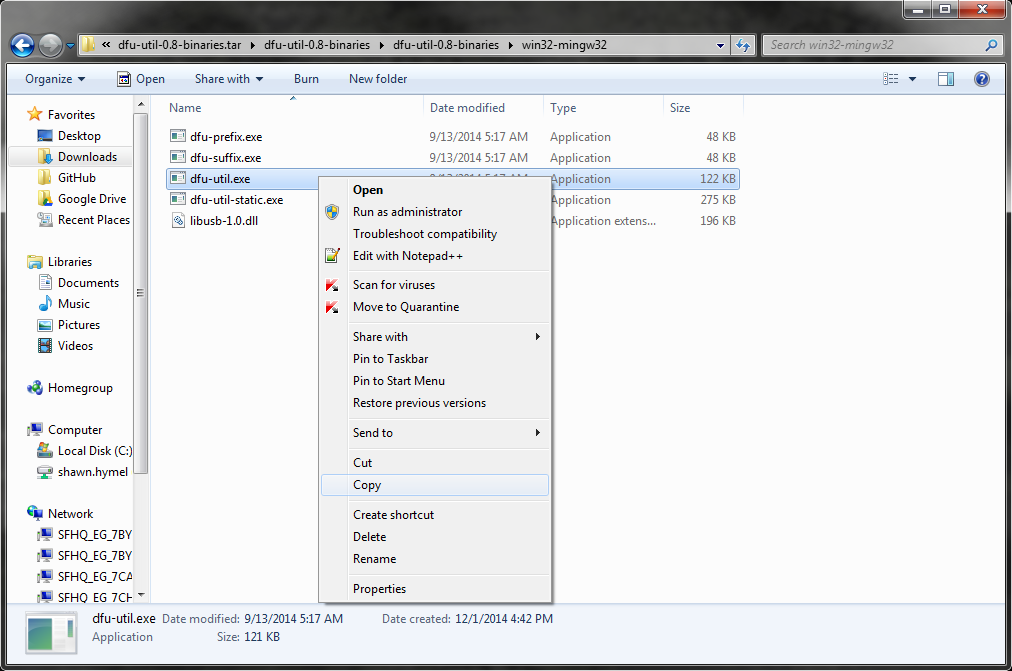


Open up a File Explorer window and navigate to \dfu-util-0.8-binaries.tar\dfu-util-0.8-binaries\dfu-util-0.8-binaries\win32-mingw32.
Right-click on dfu-util.exe and click “Copy.”(image 1)
Navigate to the toFlash folder, which is in the unzipped Ubilinux folder (\ubilinux-edison-141030.tar\ubilinux-edison-141030\toFlash). Right-click and select “Paste” to paste in the dfu-util.exe file.(image 2)
In the \toFlash folder, scroll down to find the file “flashall.bat.” Double-click it to start the install process.(image 3)
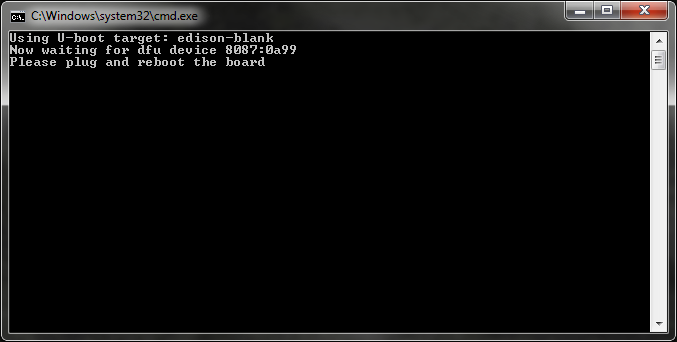
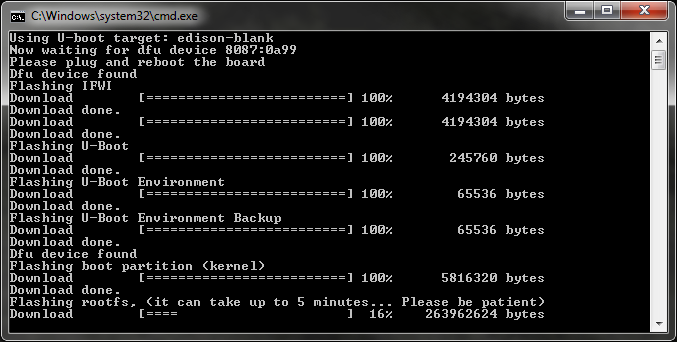
A command window will open up and ask you to plug in your Edison.(image 4)
Plug in your Edison (Use J16 for the Intel Arduino and Mini-Breakout boards. Use “OTG” for the SparkFun Edison Base Block), and the installation process will begin!
Caution:Once the command prompt window closes, you will need to wait at least 2 minutes for the installation to complete. The Edison should reset a couple of times to finalize its installation. Do not unplug the Edison! It’s probably a good idea to walk away for those 2 minutes.(image 5)
Congratulations! You are now are running Ubilinux on your Intel Edison. Next instructable will be setting up your WiFi connection, so please stay tuned and don't hesitate to offer constructive criticism. Now go make something