UV Printed and Laser Engraved Laptop
by Trotec Laser Canada in Craft > Printmaking
4369 Views, 15 Favorites, 0 Comments
UV Printed and Laser Engraved Laptop
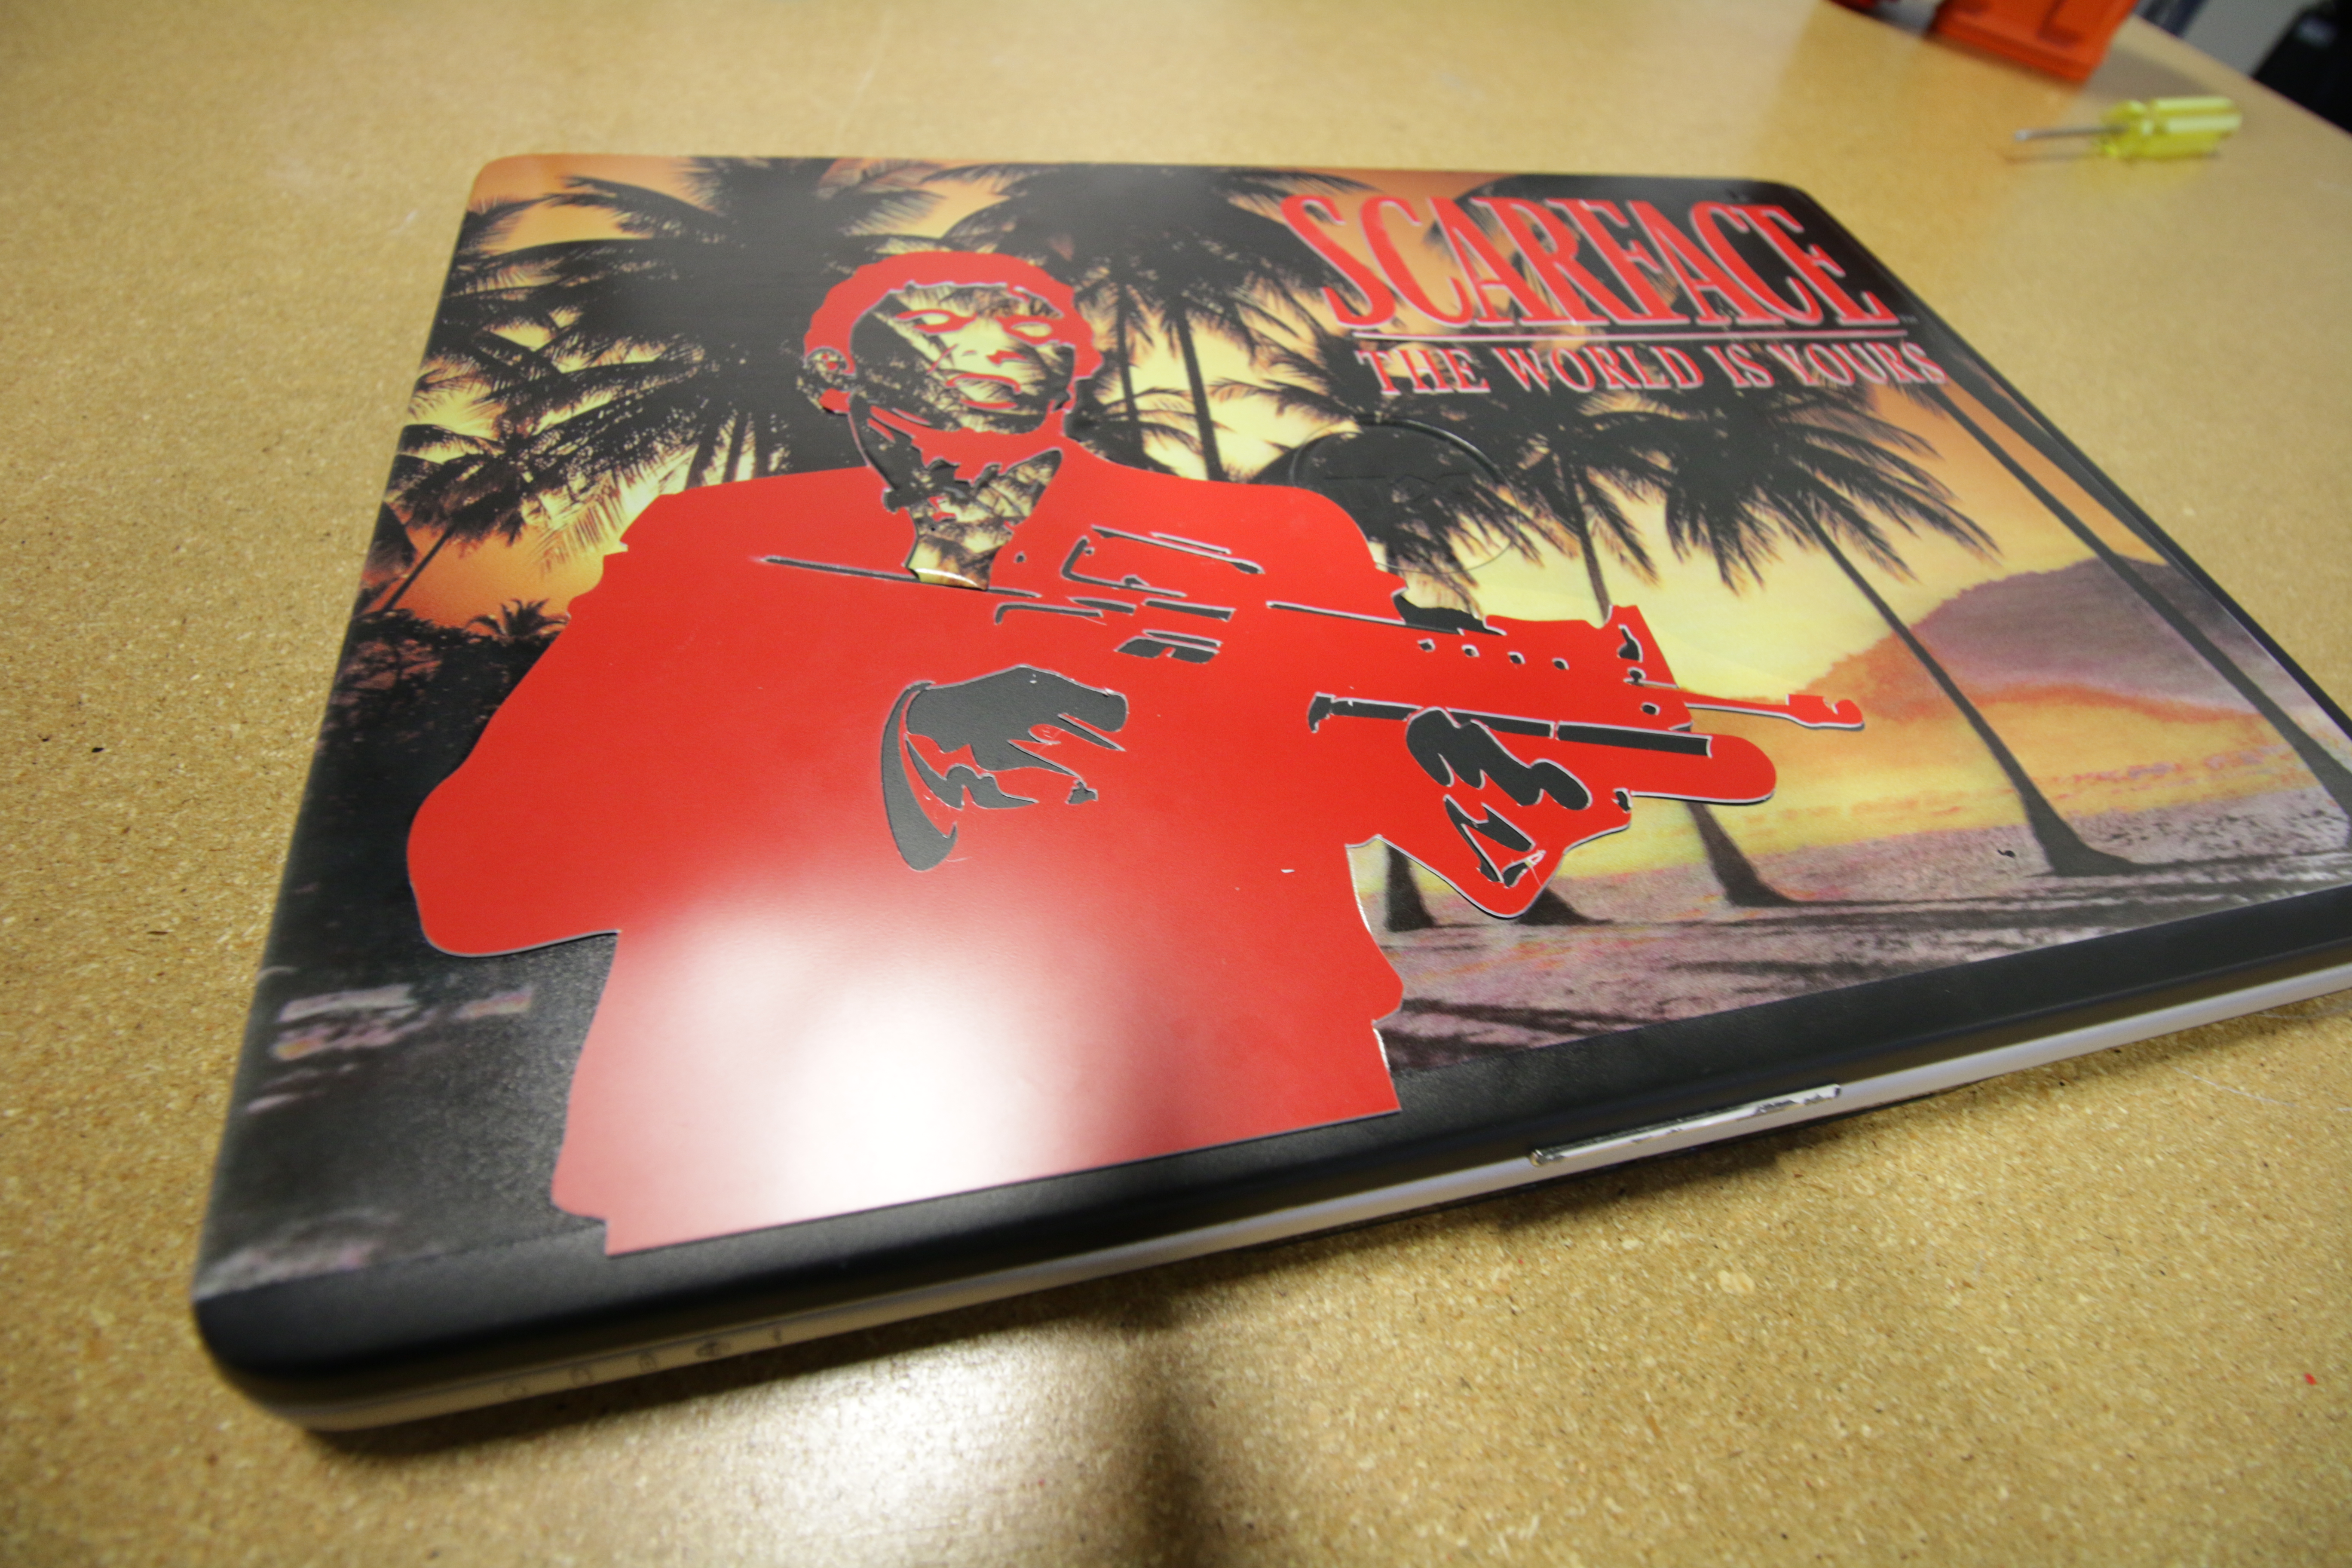
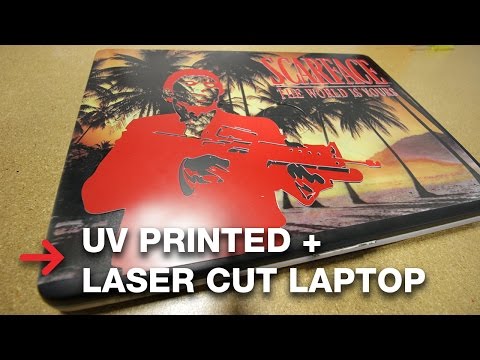
Look at the pelican fly! Today we're UV printing a laptop cover and laser cutting our TroLase engraving material to glue on top. We're using a Mutoh ValueJet 426 UV printer and a Trotec Speedy 100 laser engraving machine.
Prepare Artwork

You can use either the Adobe Illustrator or CorelDraw file attached. You can adjust the size of the artwork according to your laptop size.
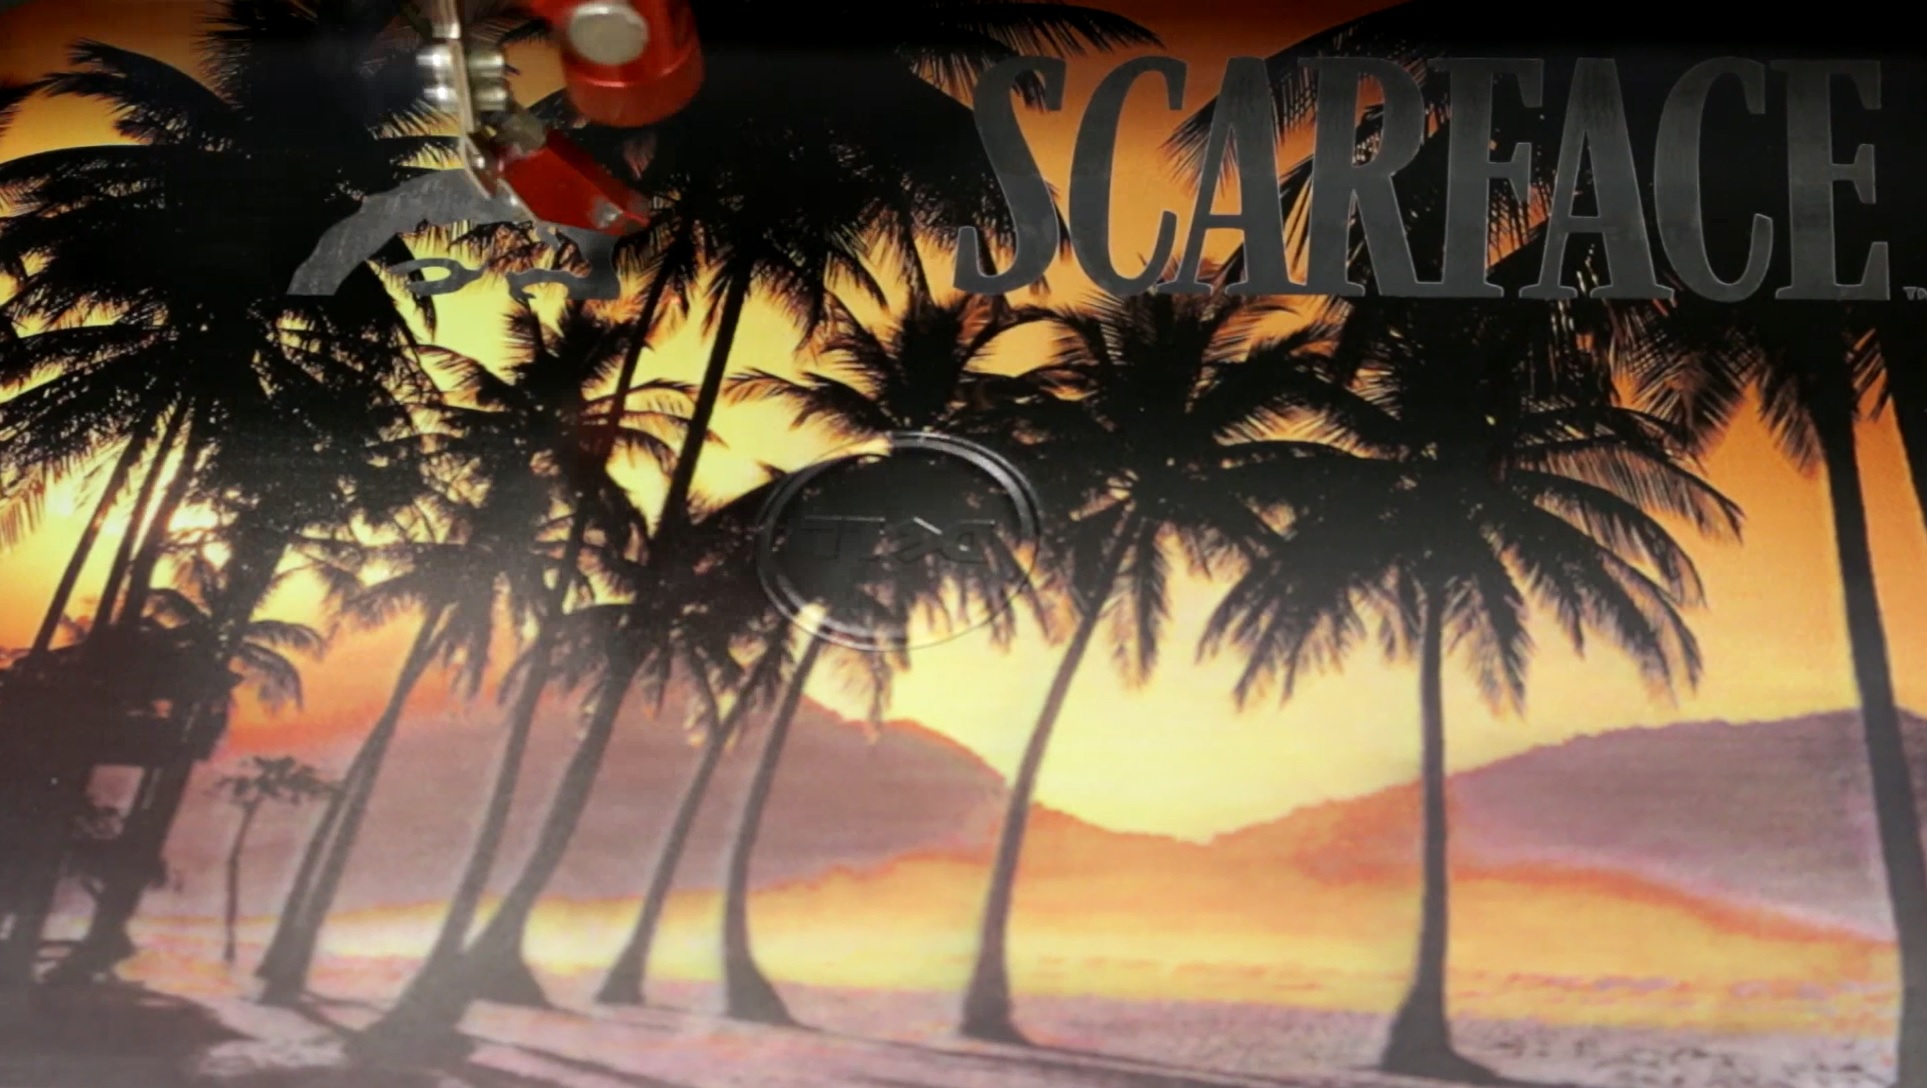
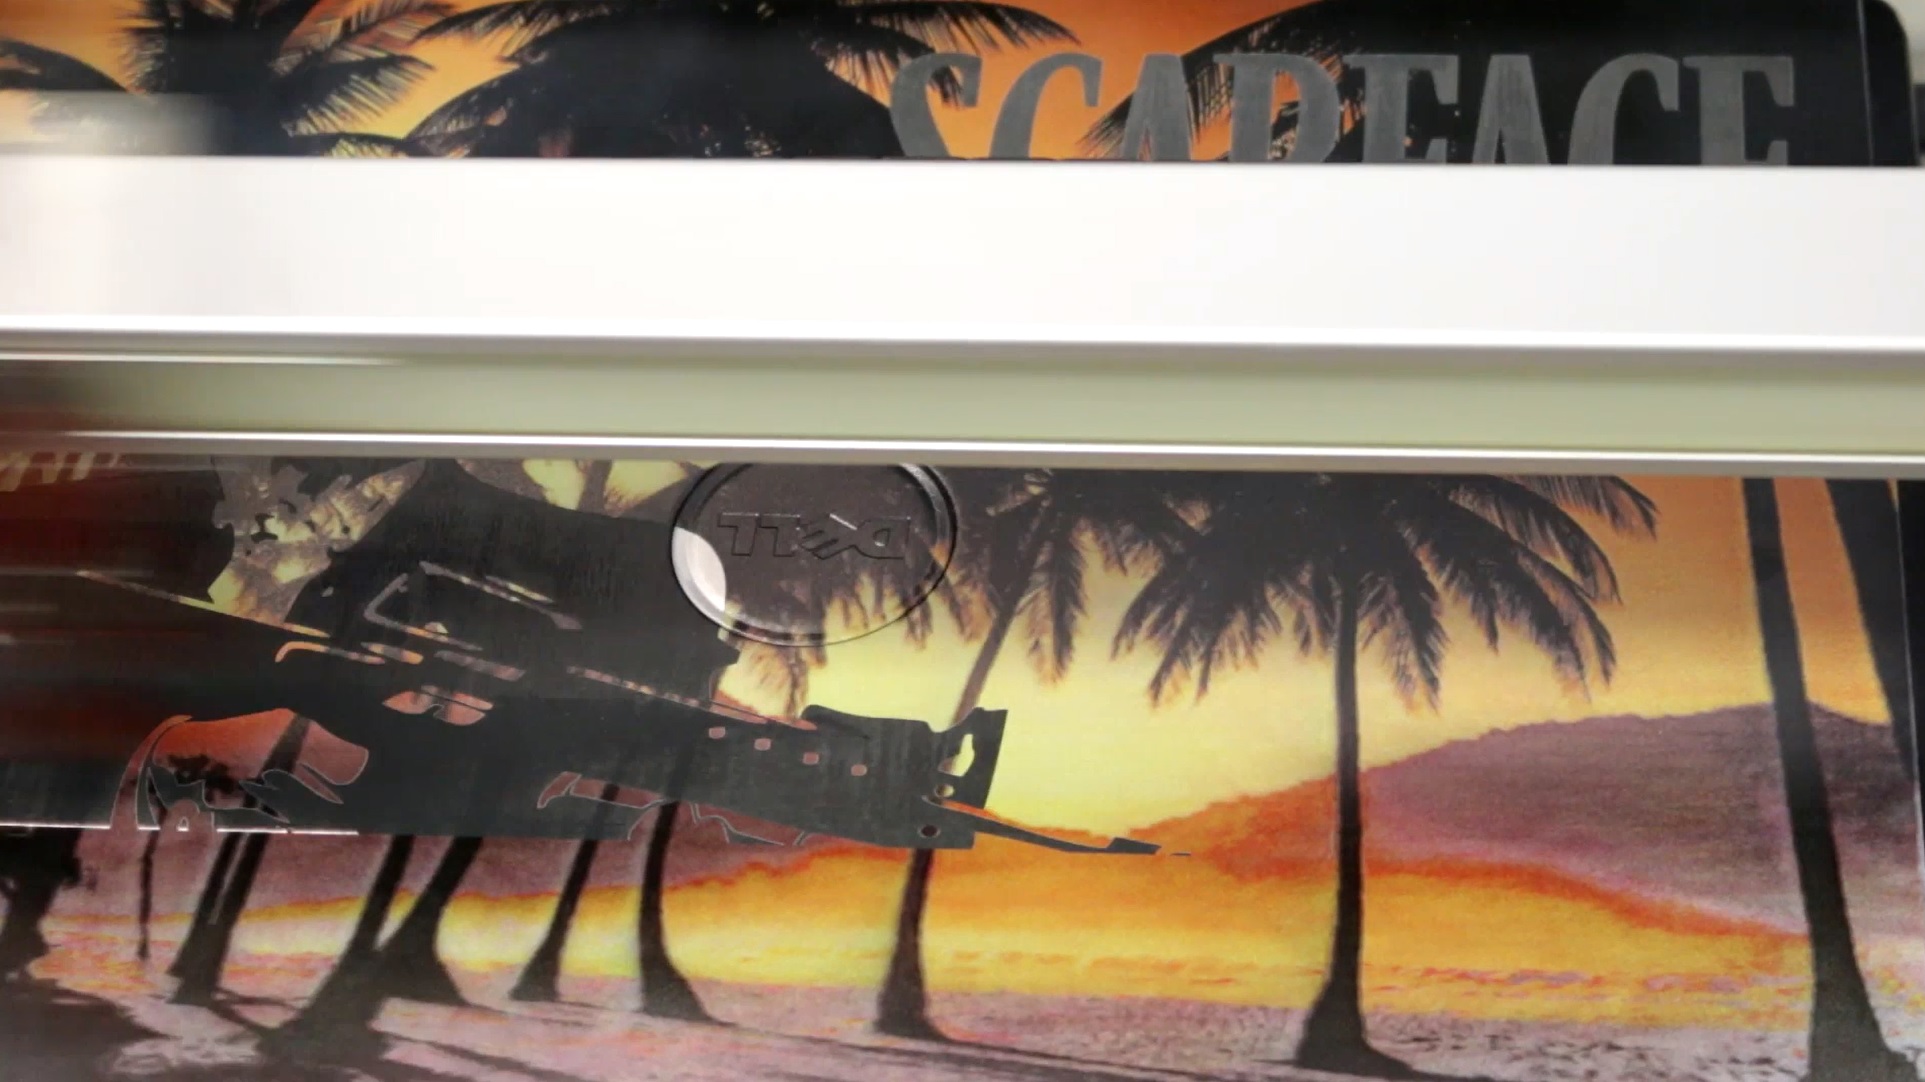
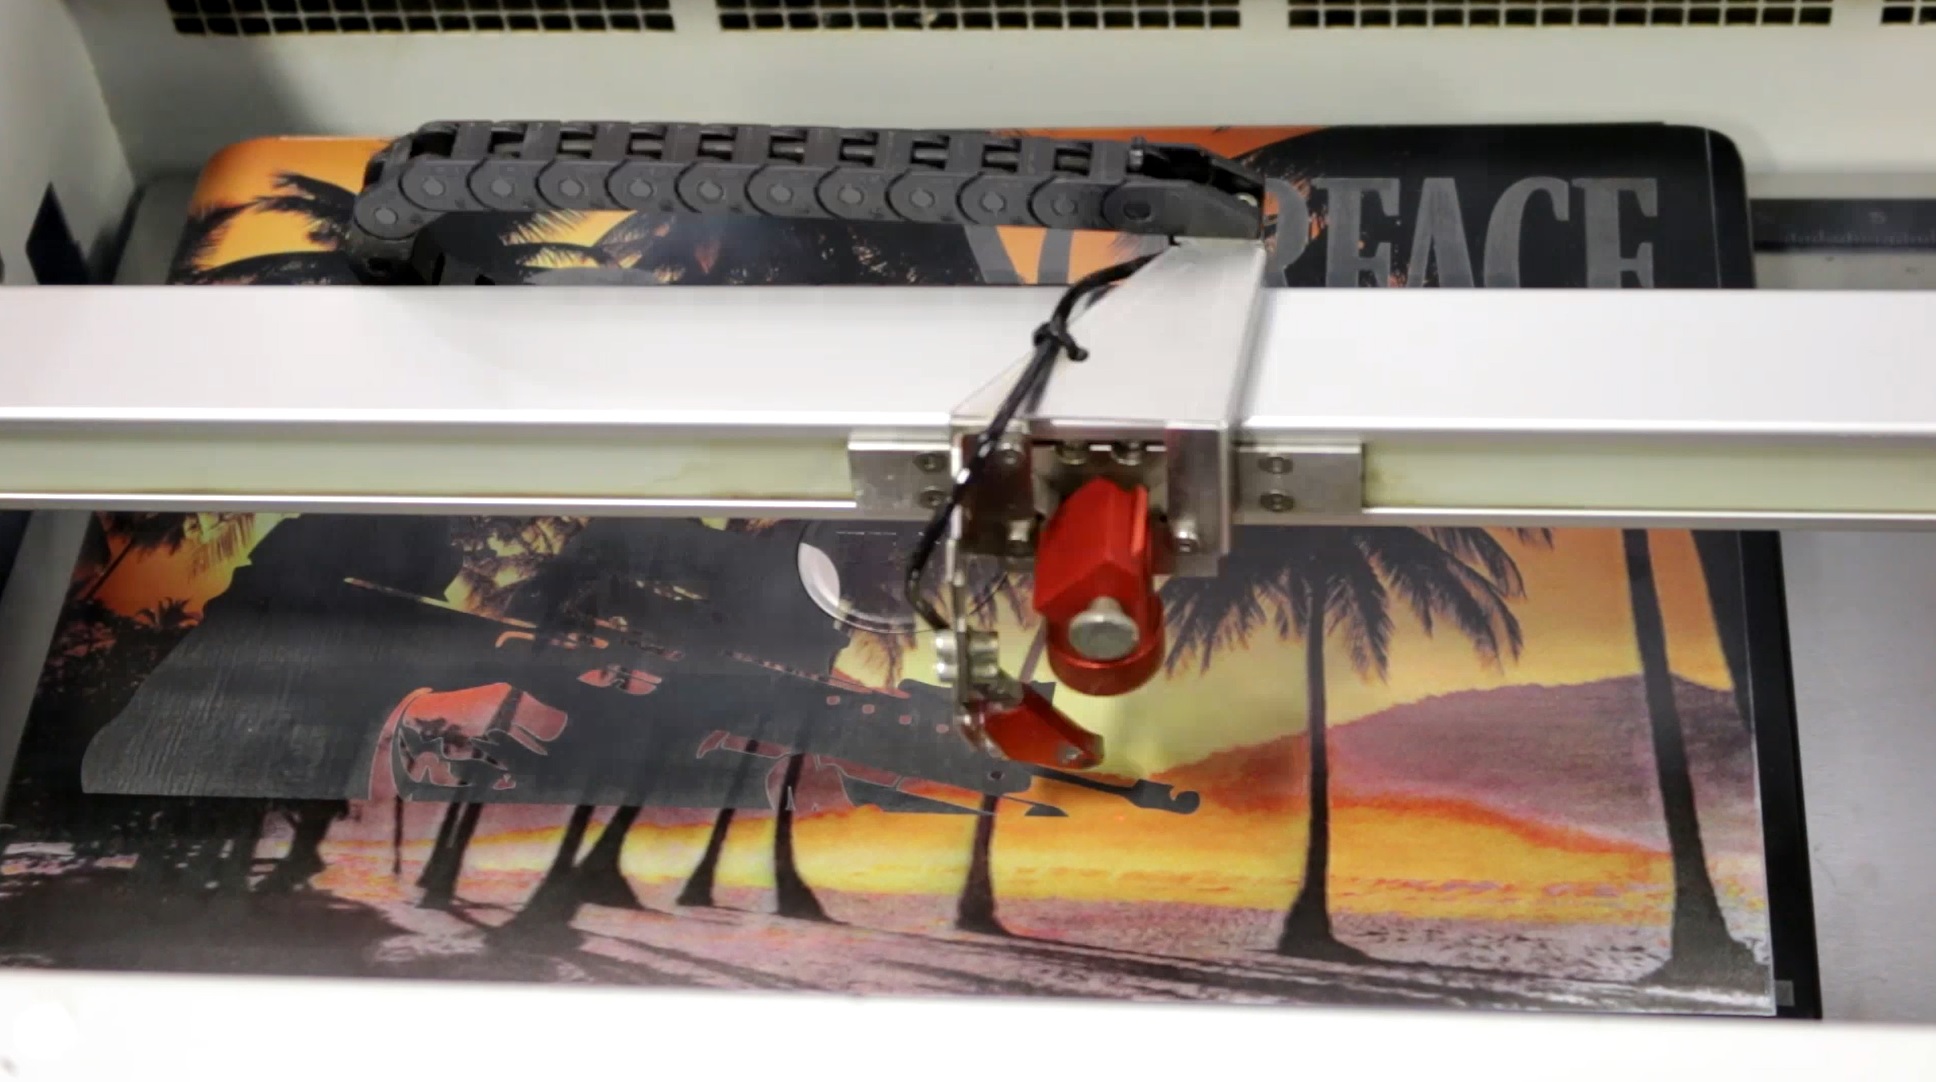
UV Printing the Laptop
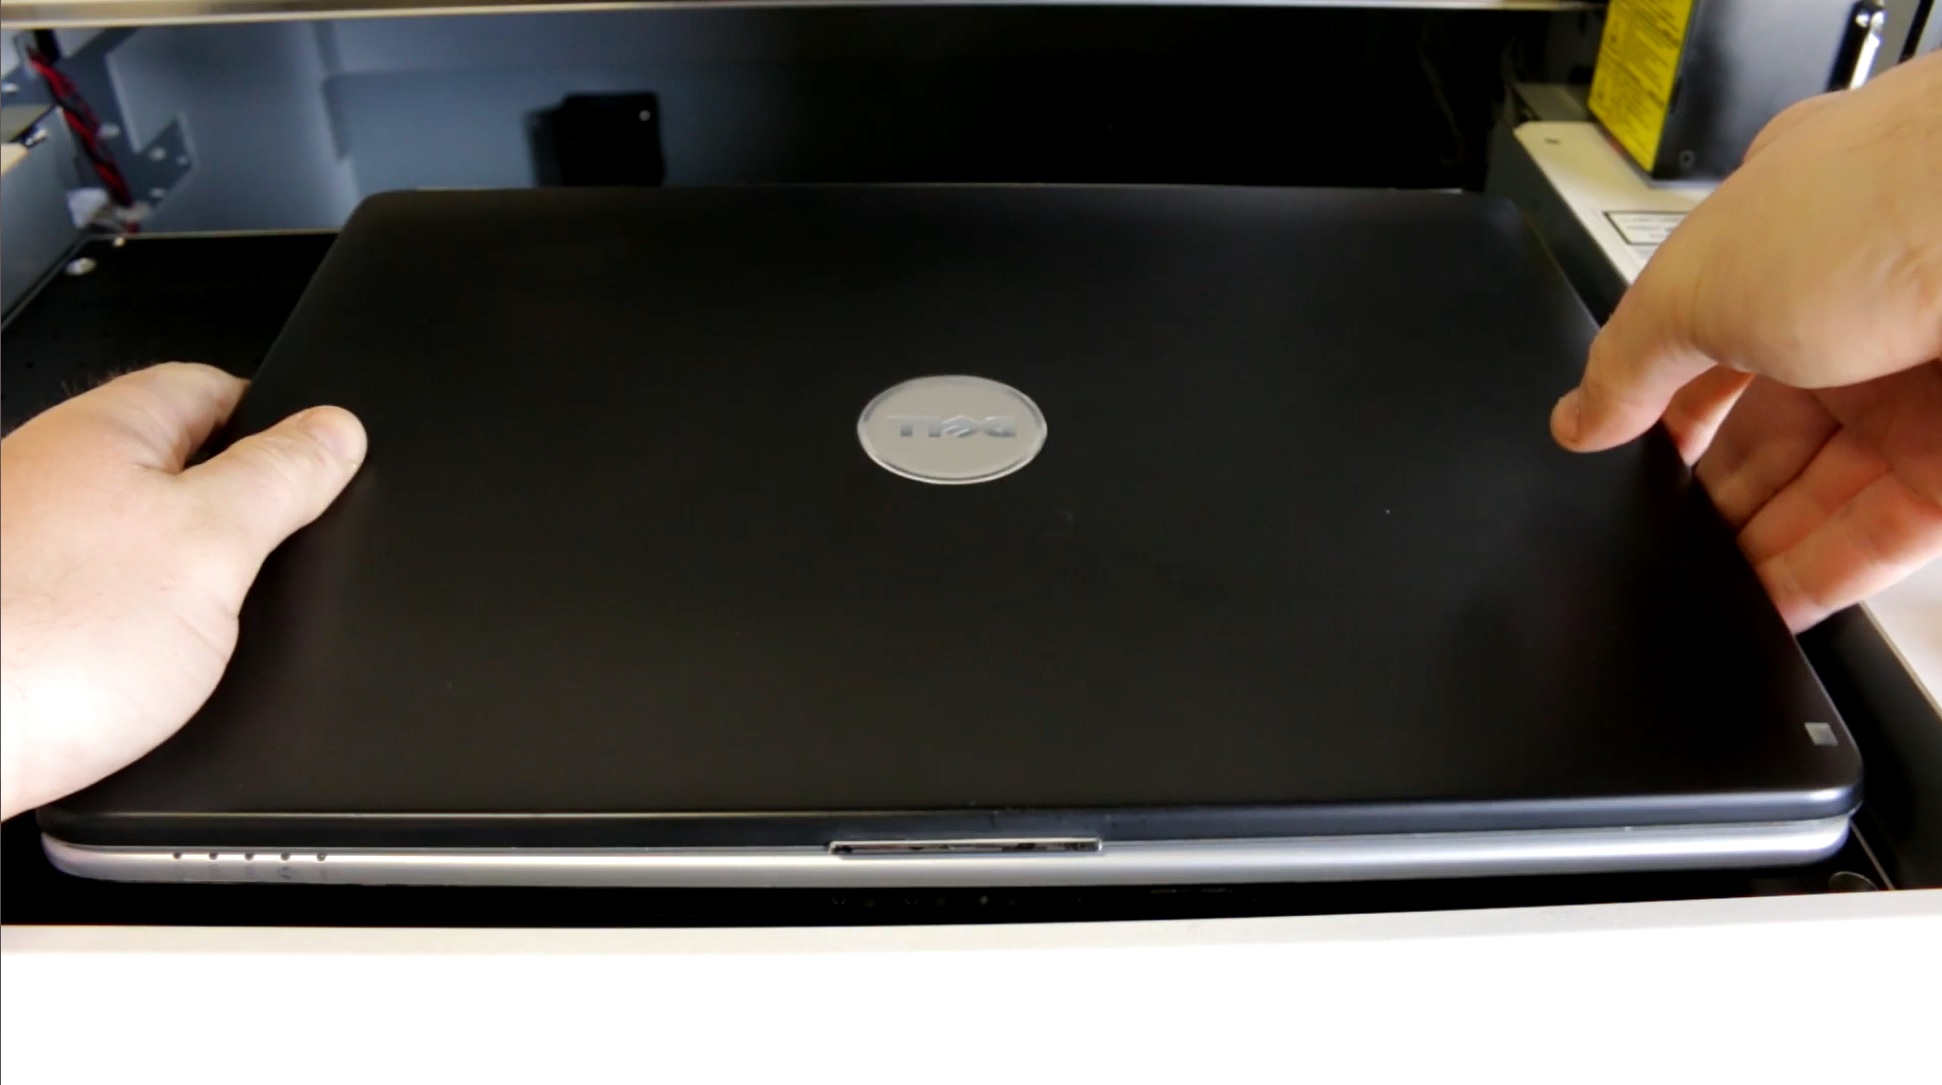
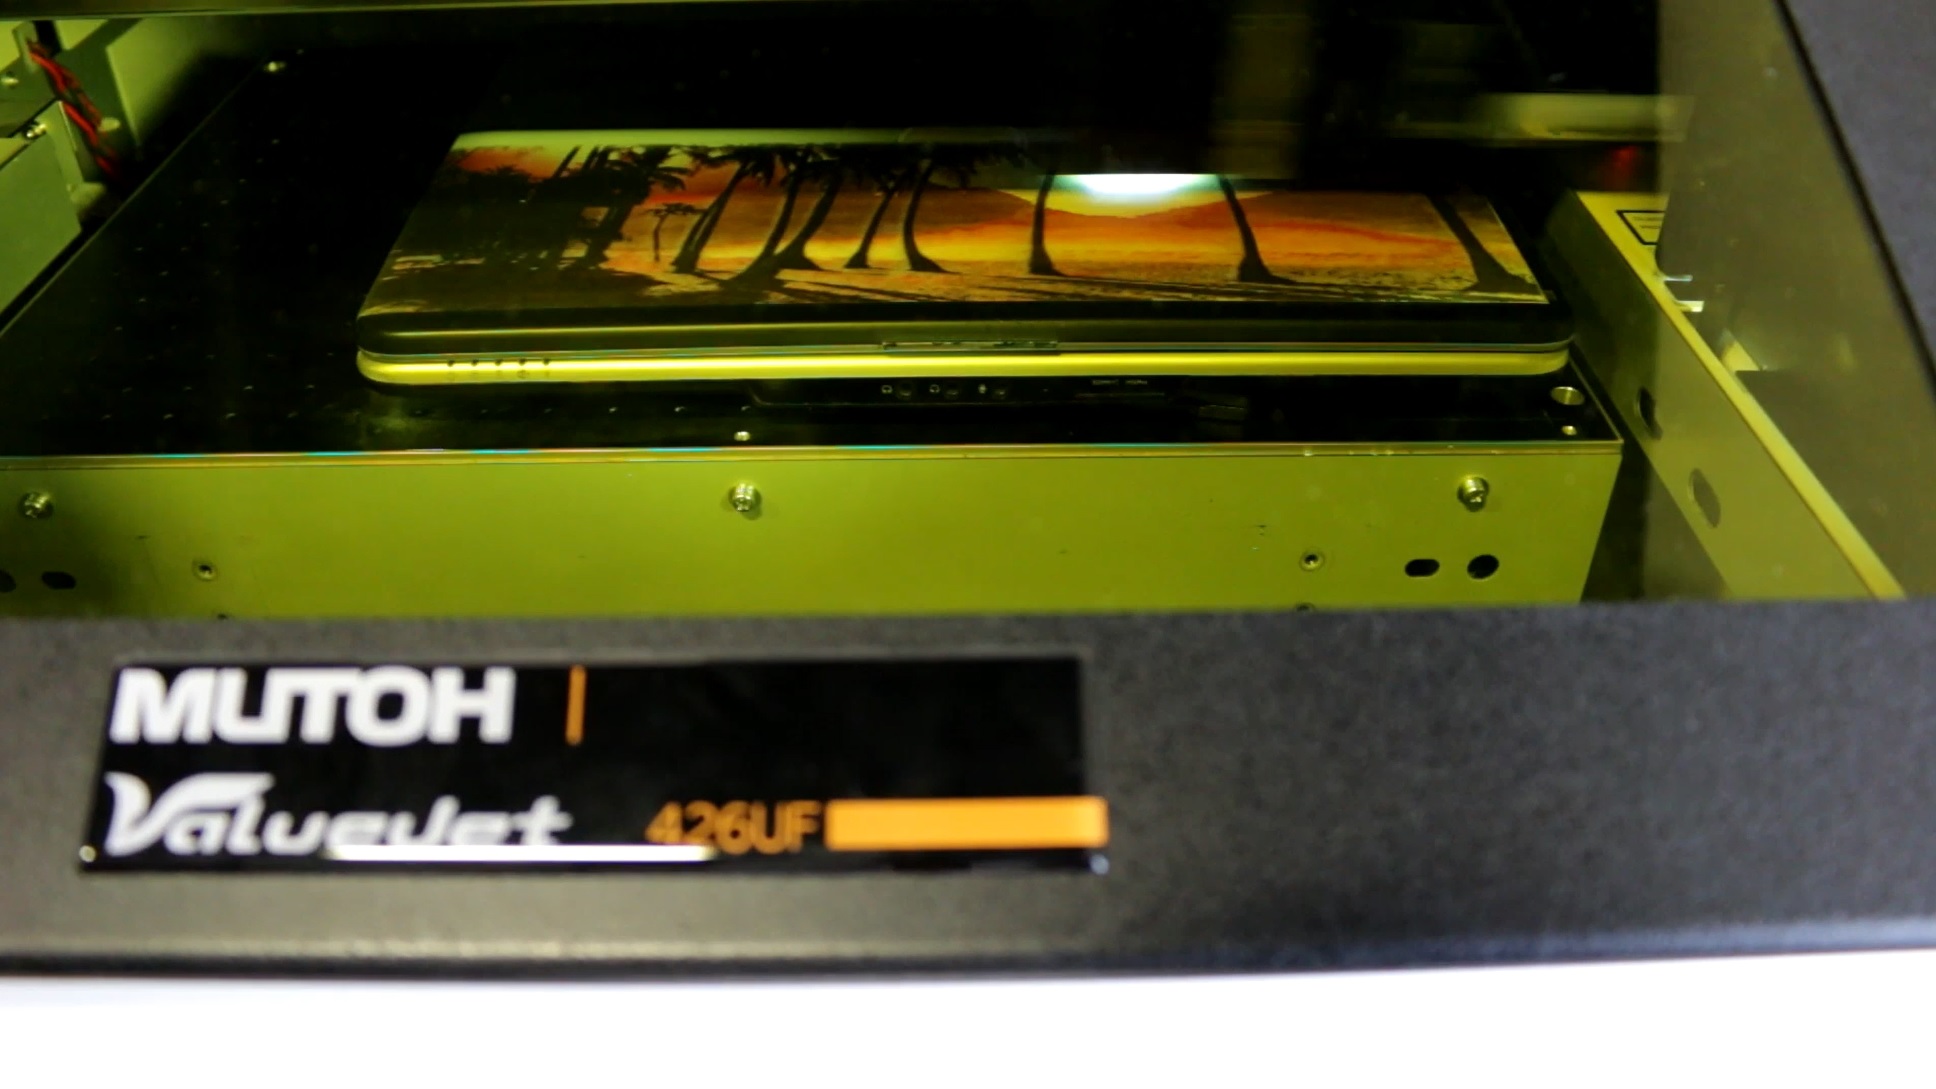
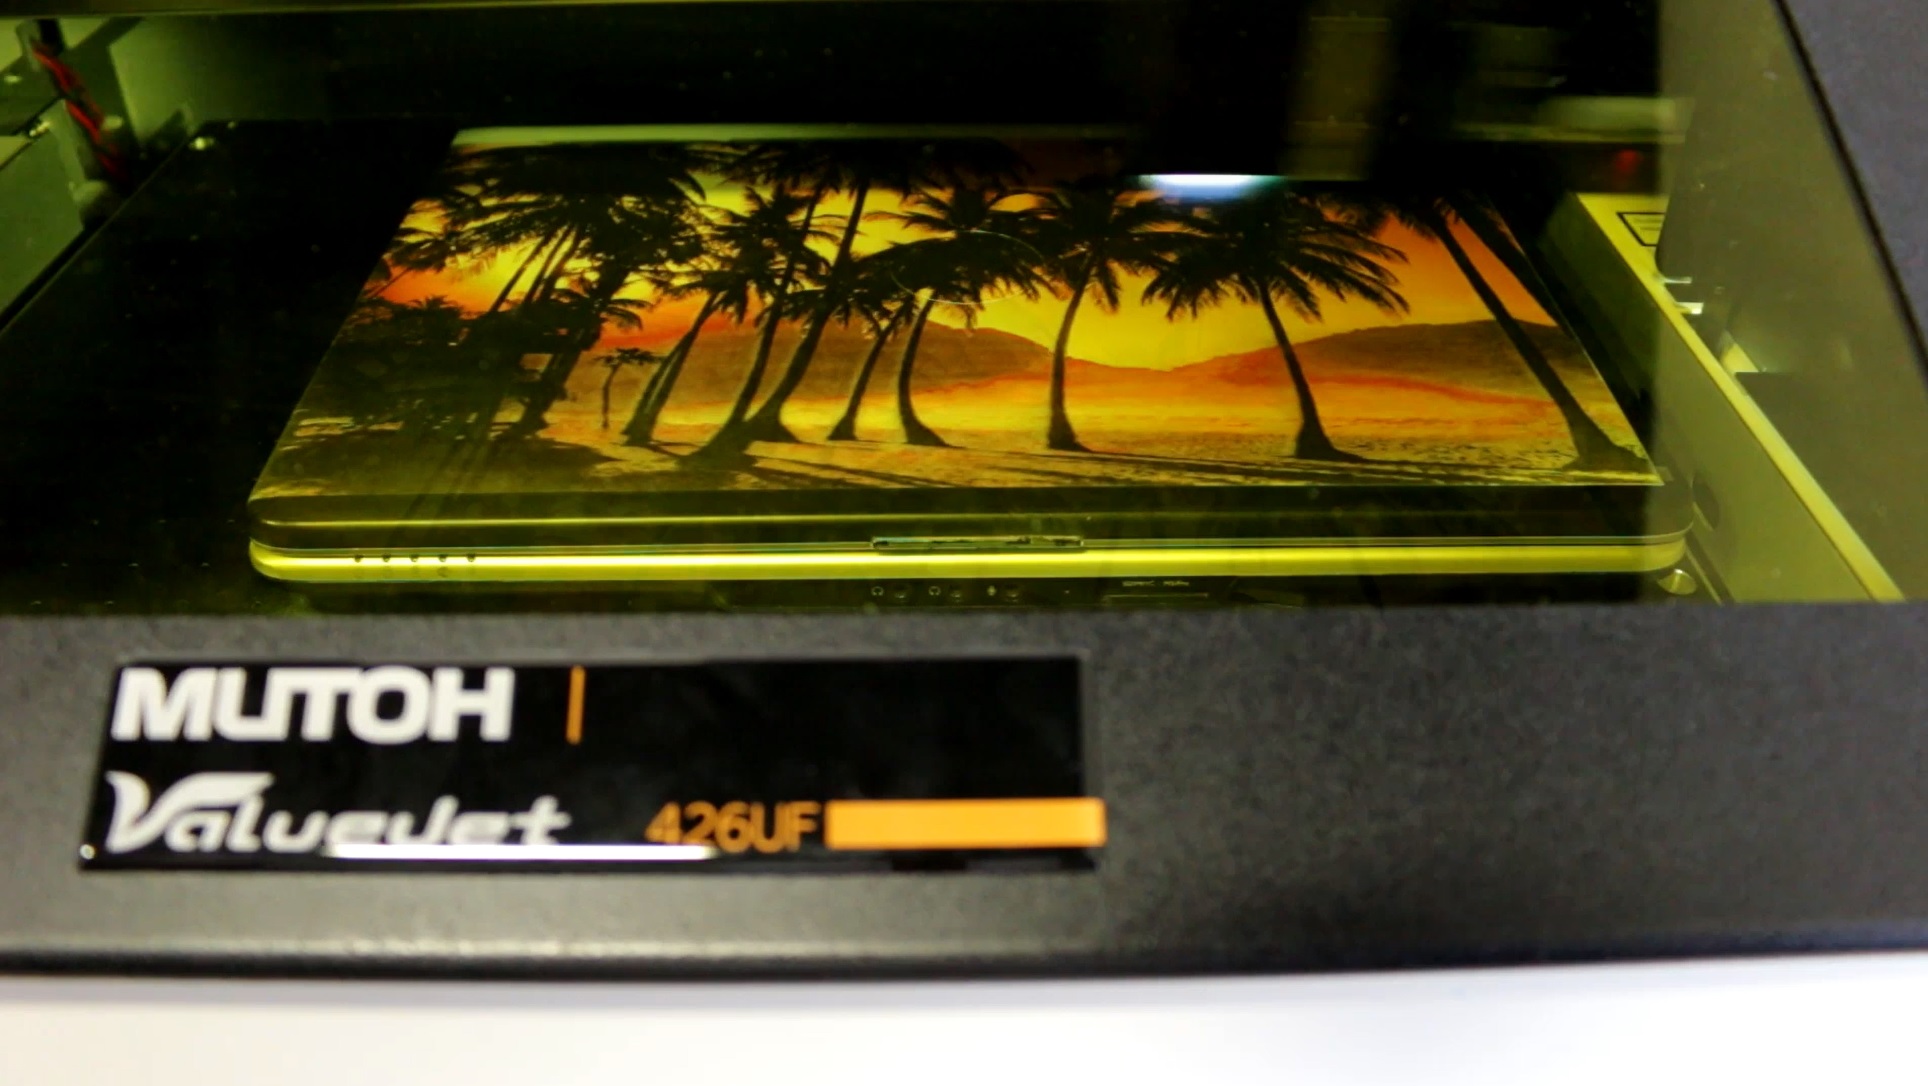
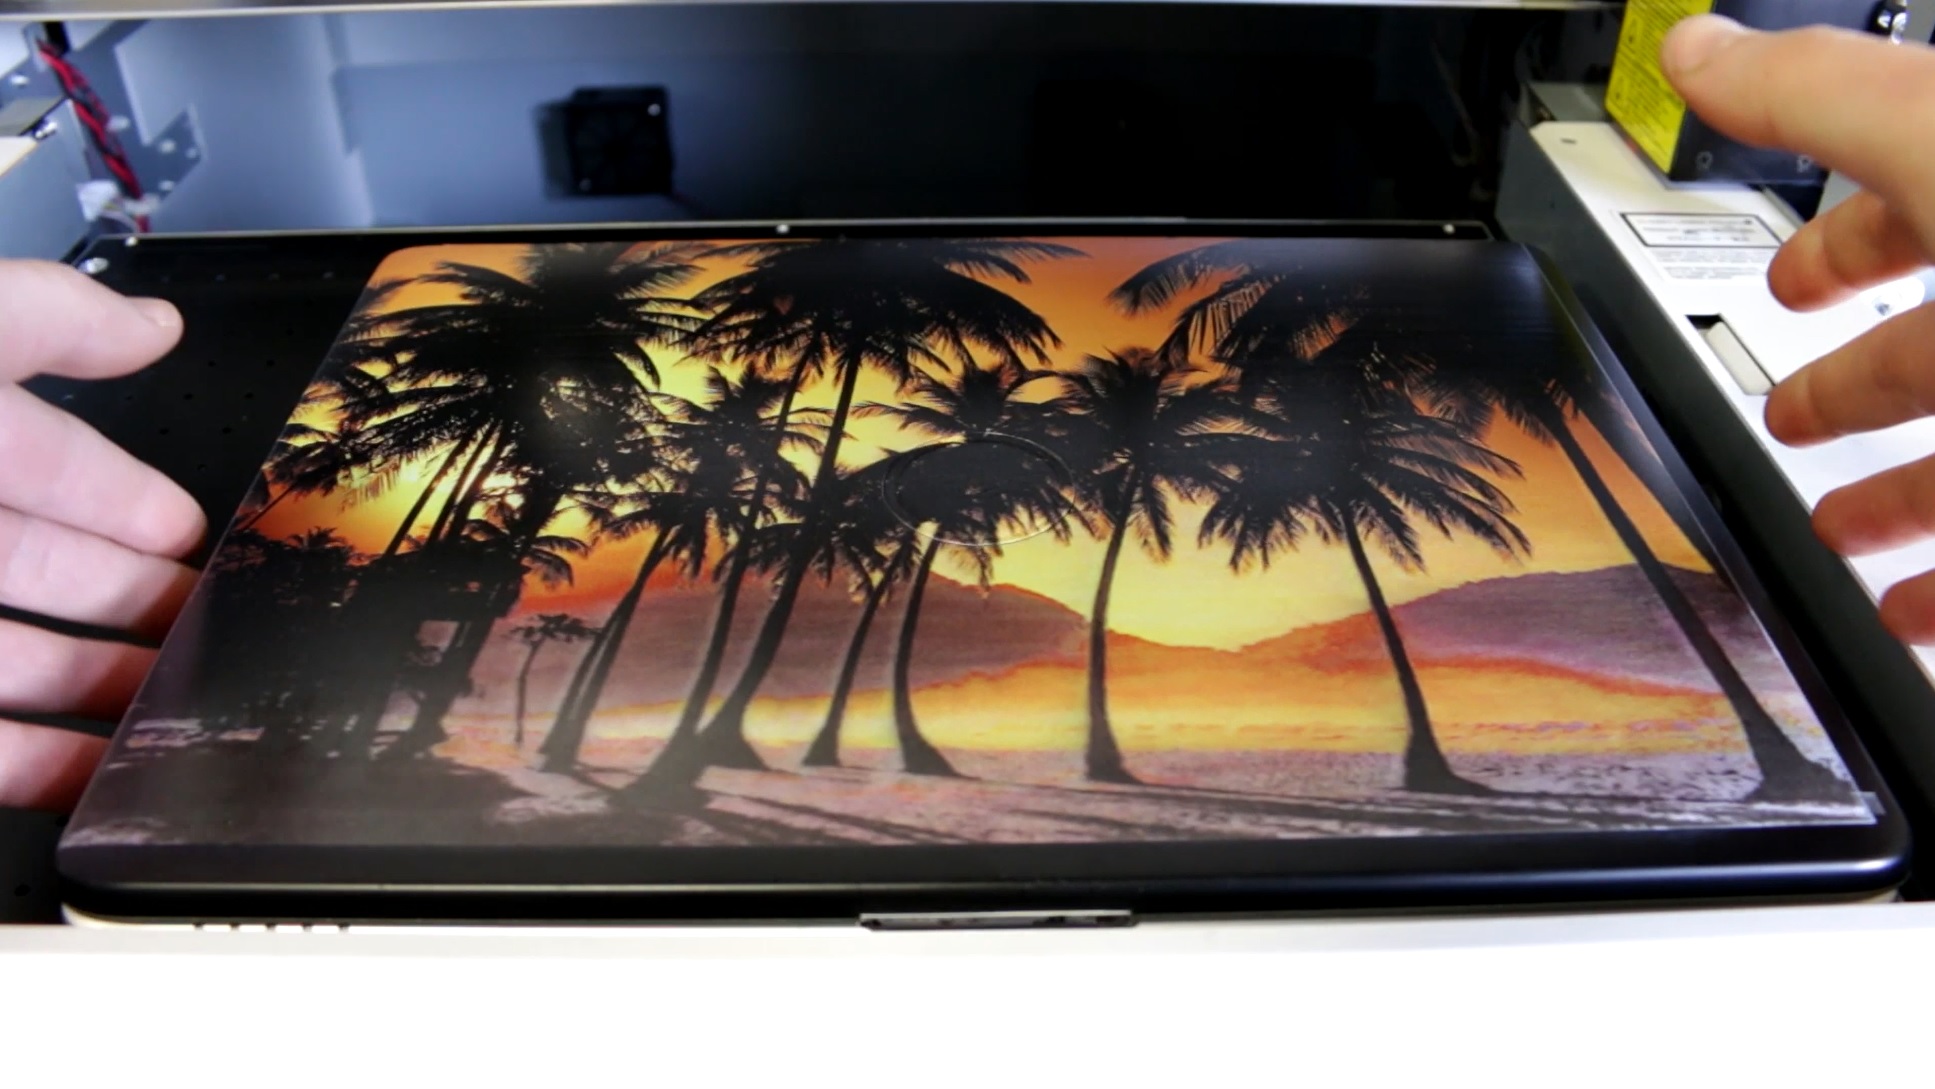
We first place the laptop at the bottom right corner of our UV printer. We make sure the laptop is flat, and focus it using the focus bar. We then set the inks to CMYKW (variable dot), the W is for the white. In the "White Options" we set the White to under-colour. This way the printer will automatically print a layer of white first and simultaneously place the colour layer with every pass. We want the white on to make to regular colours more vibrant.
Laser Engraving
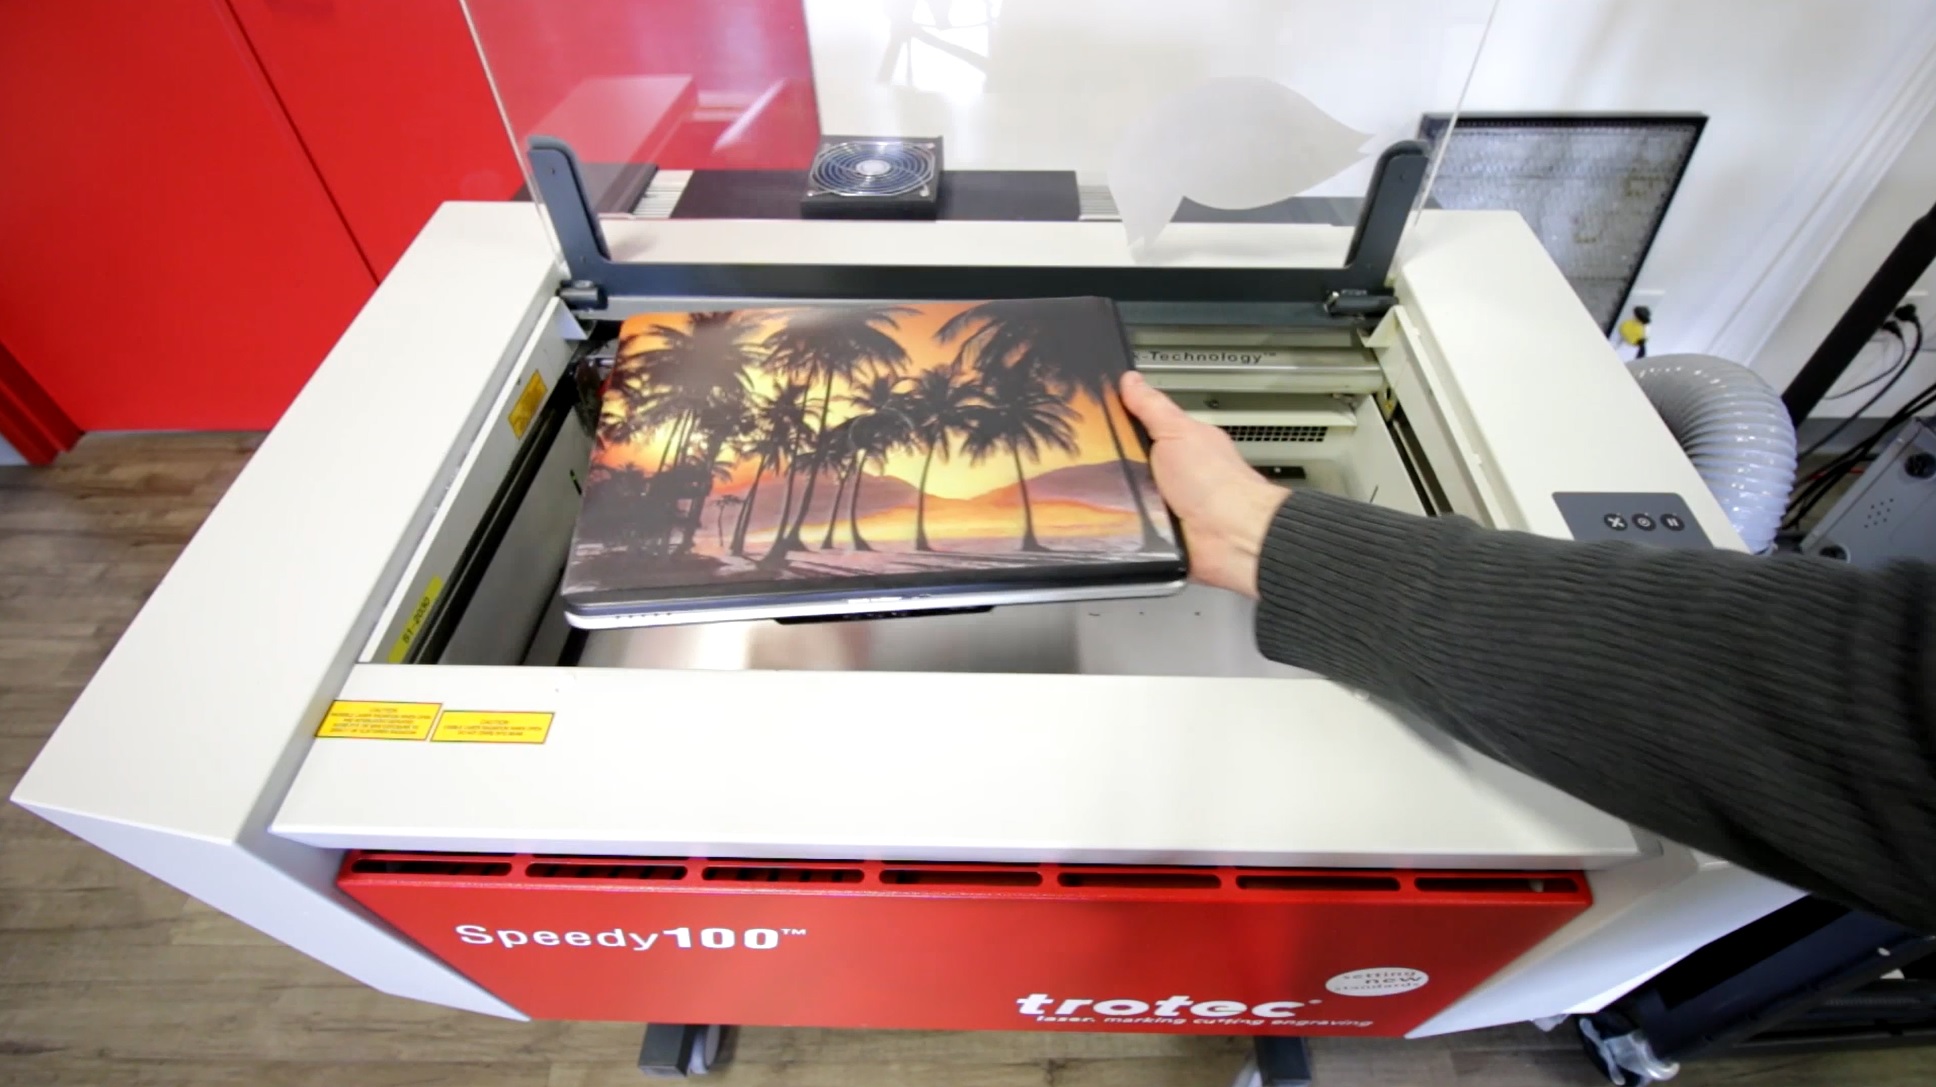
We then put our laptop into our Trotec Speedy 100 laser engraving machine and start engraving the fill colou,r from the artwork file, directly onto the laptop. If the laptop was a metallic/aluminum finish we can leave it as is and have the bright silver as our artwork. Because it's casing is black we will add a layer of red TroLase plastic with a 3M adhesive backing on top in the next step.
Laser Cutting the Top Plastic Layer
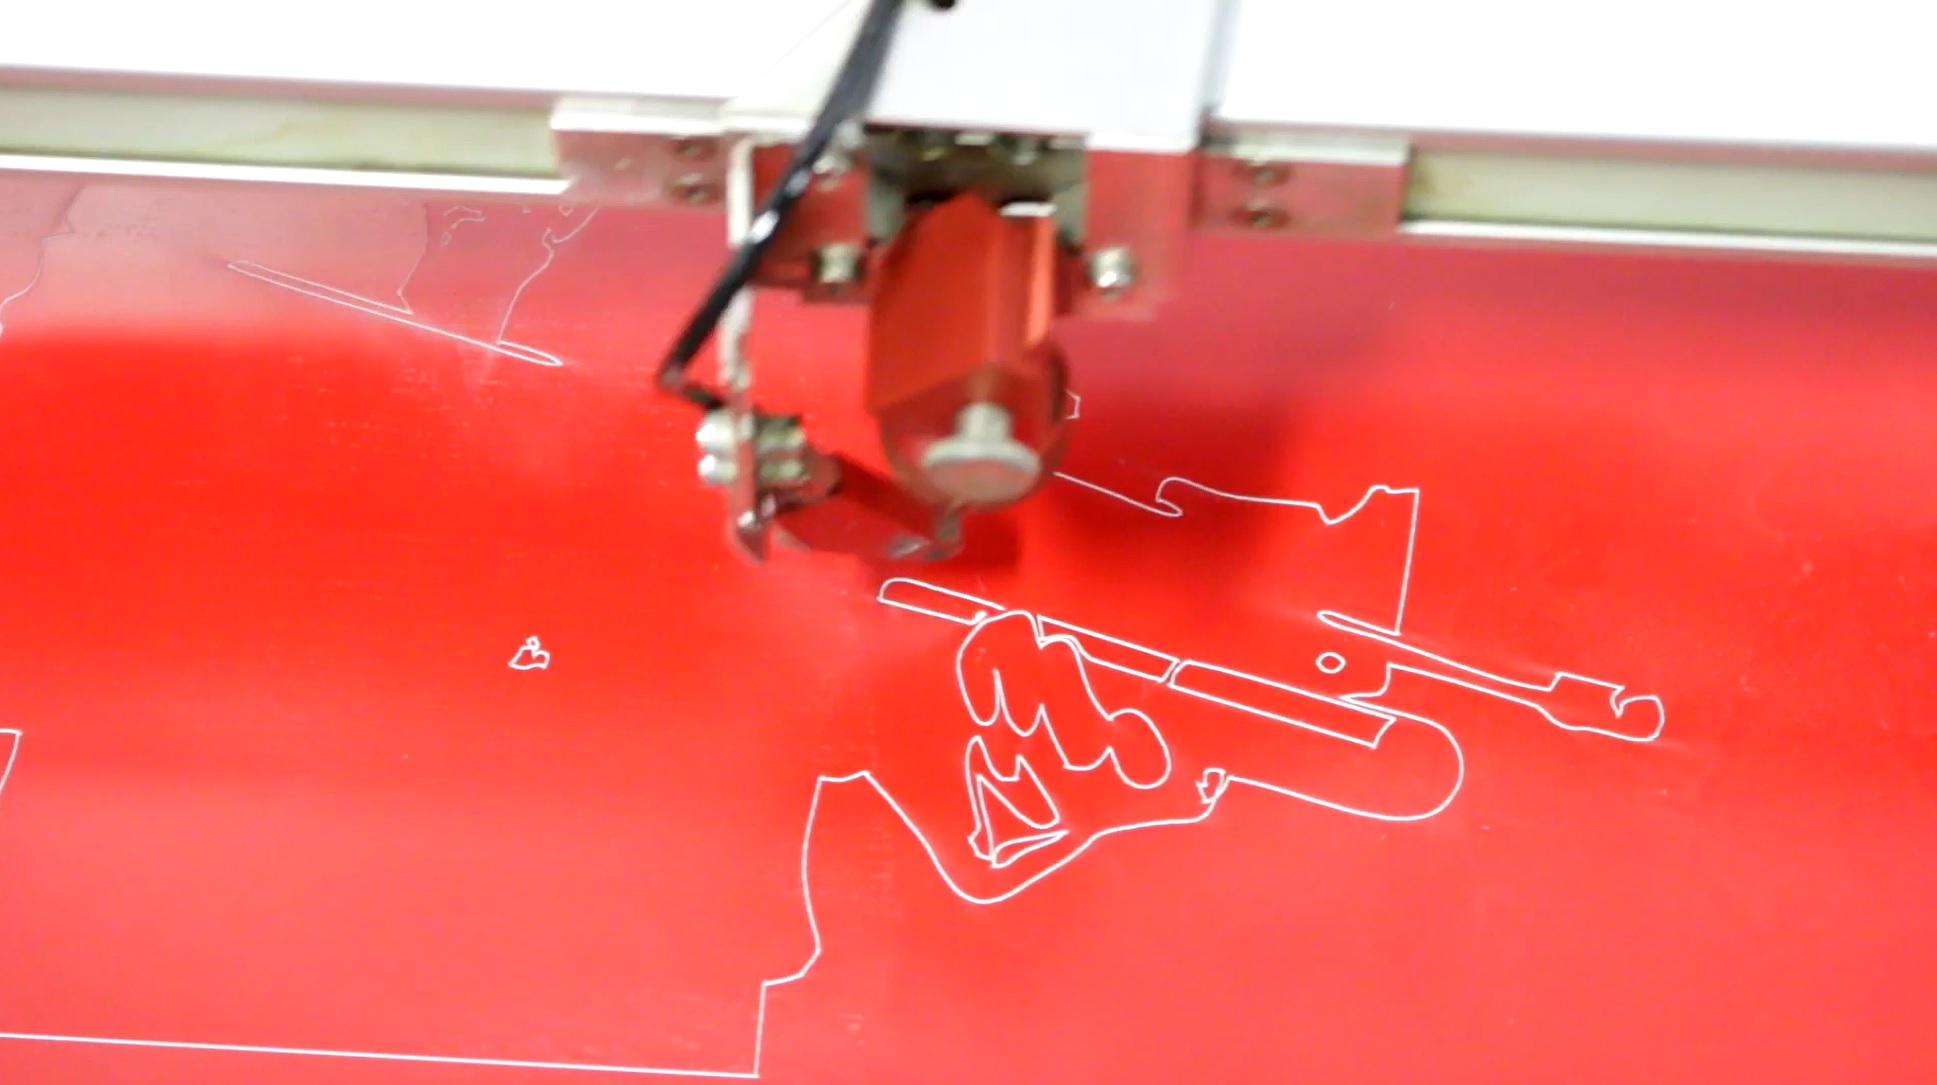
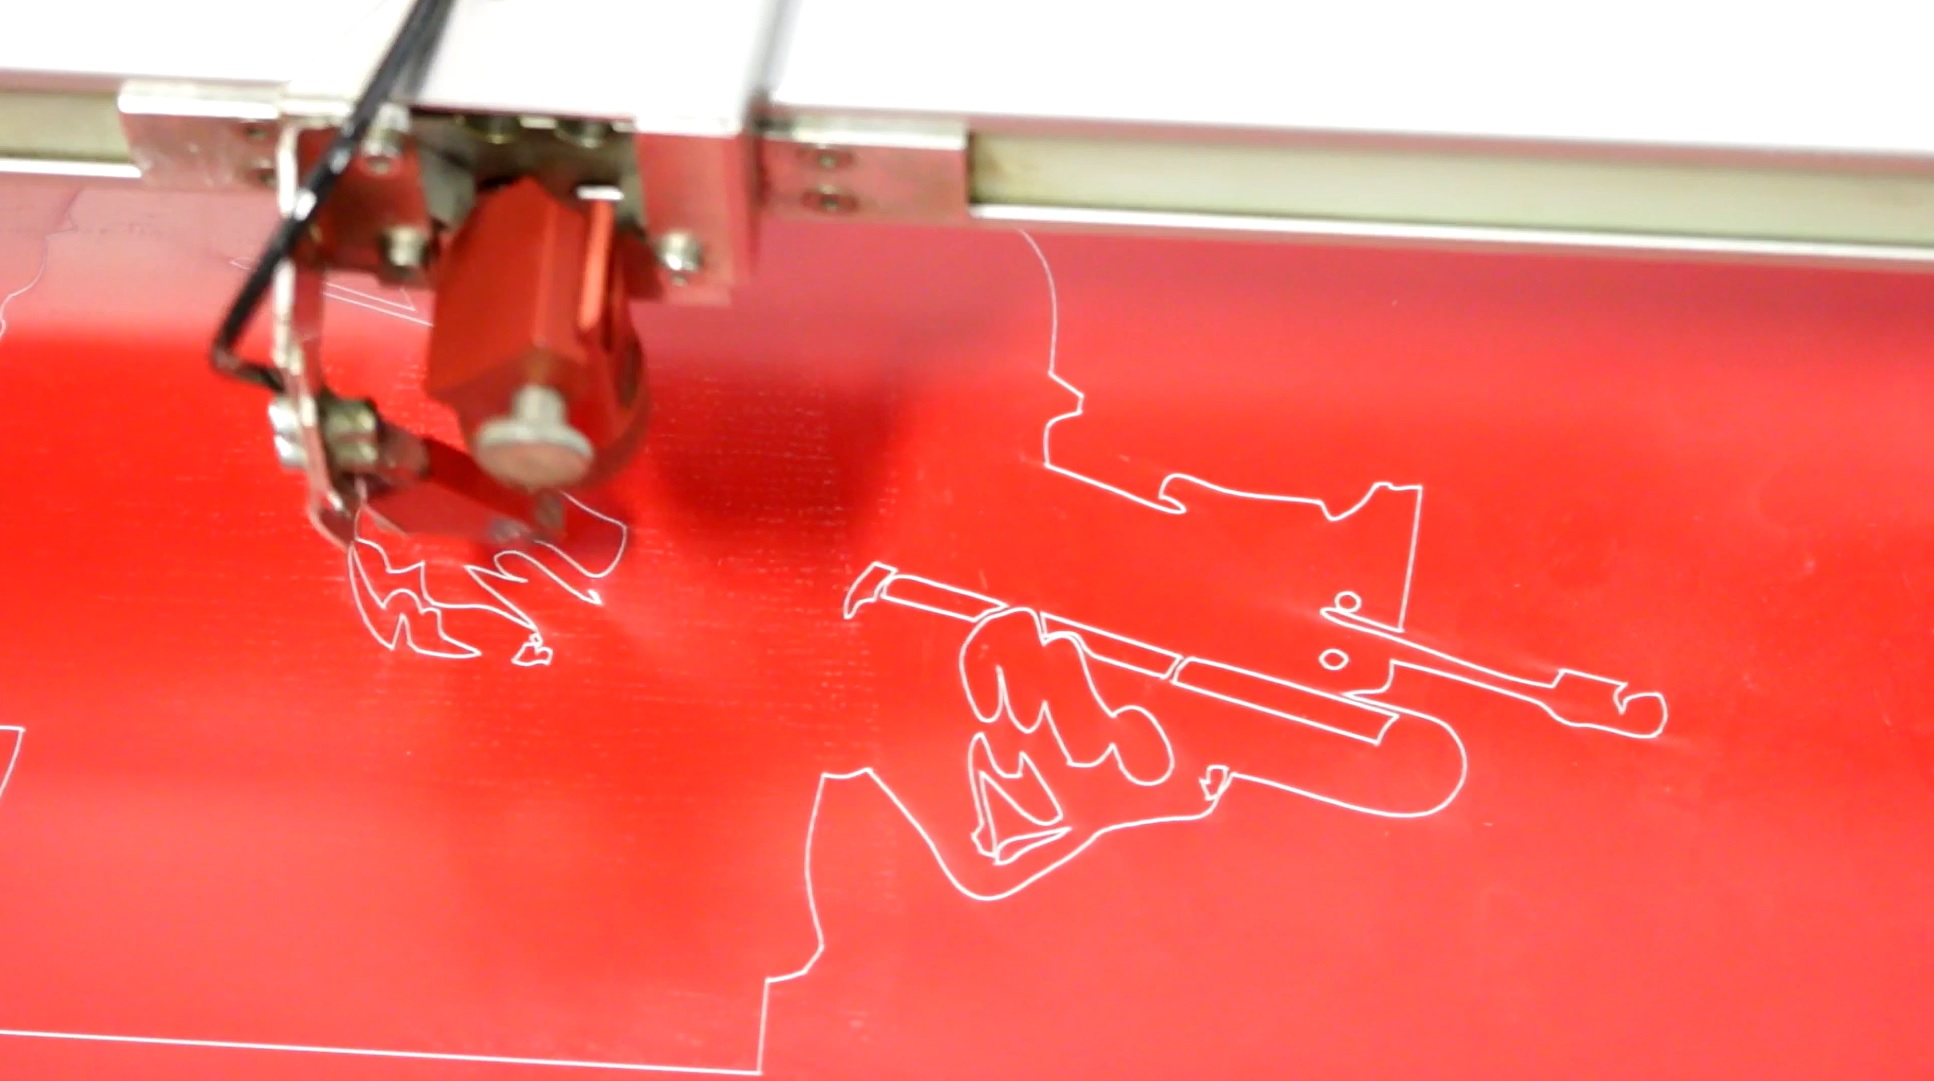
We then use our 1/32" TroLase Red/White plastic with 3M adhesive backing. In the artwork file, the top layer is outlined with a red hairline (thinnest line in Illustrator) for the cut line. We use that to make a kiss-cut on the plastic material.
Peeling and Glueing the Top Layer

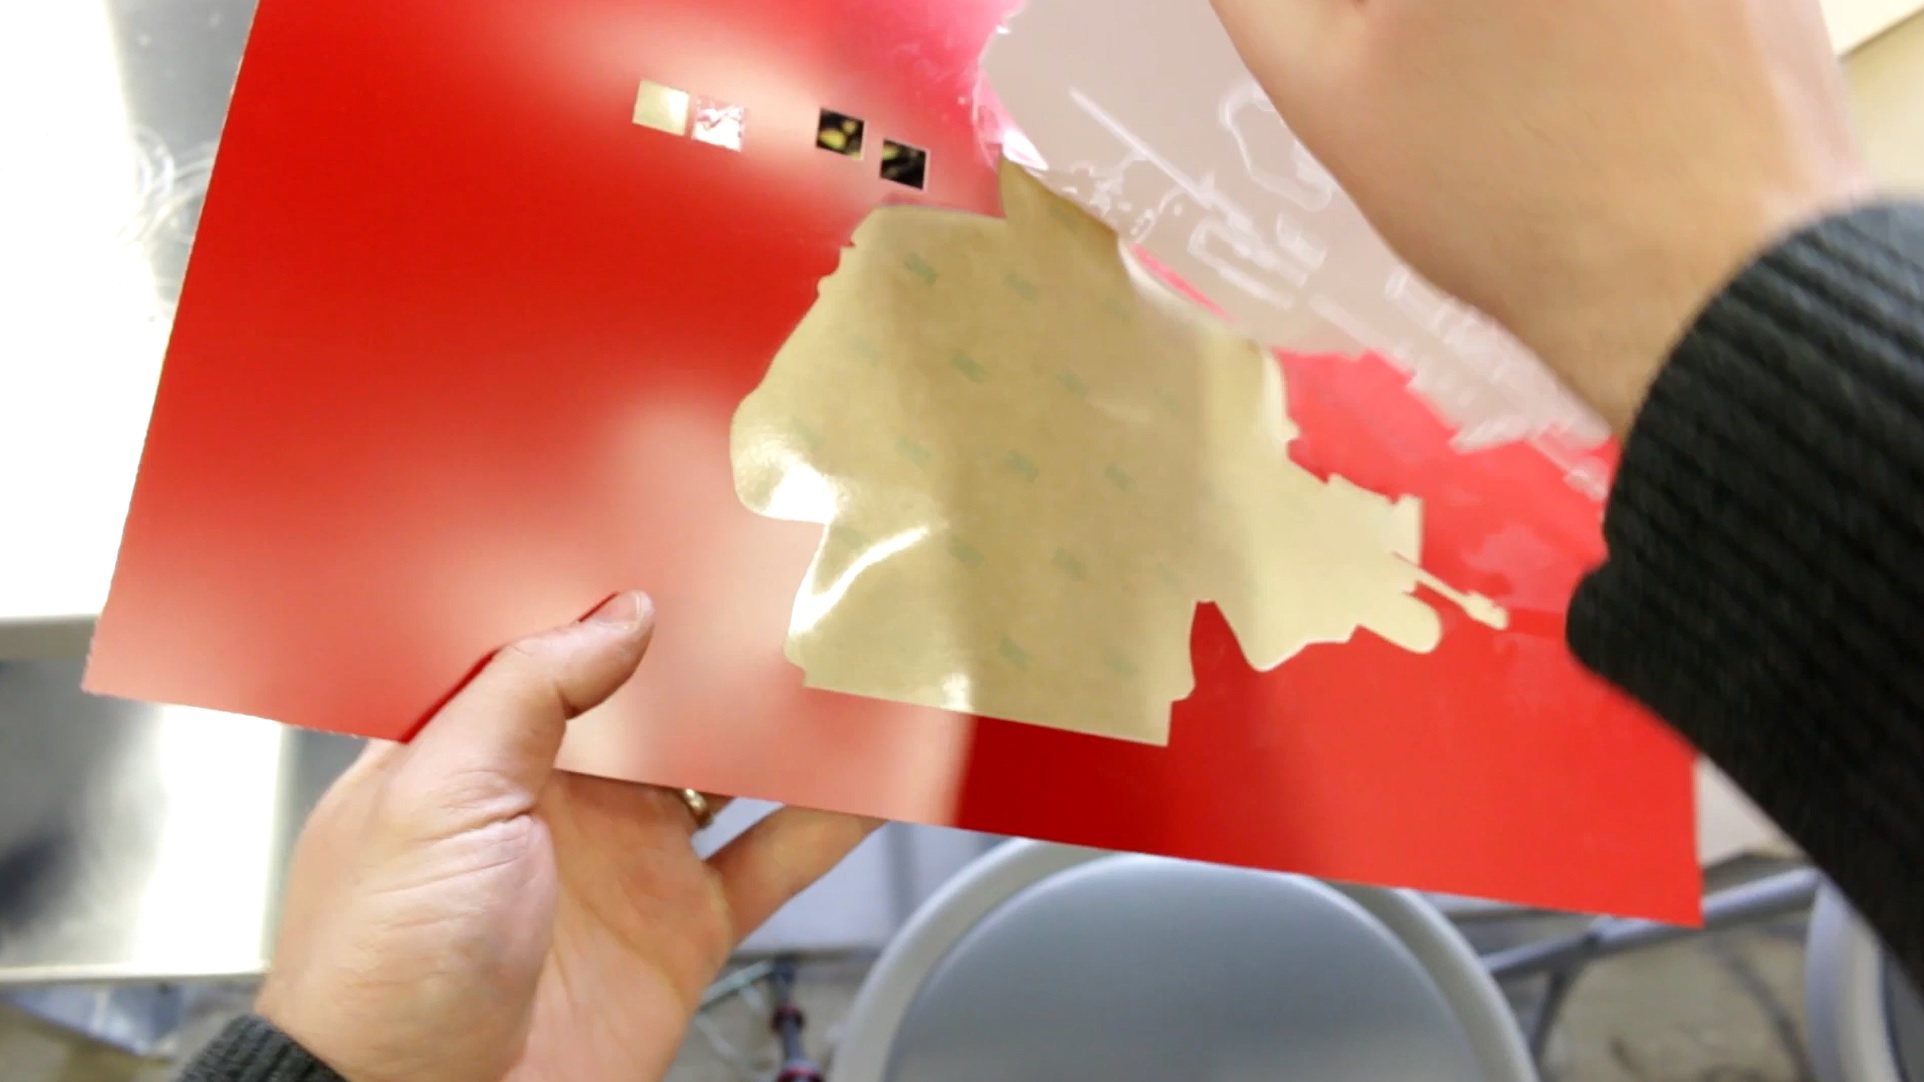
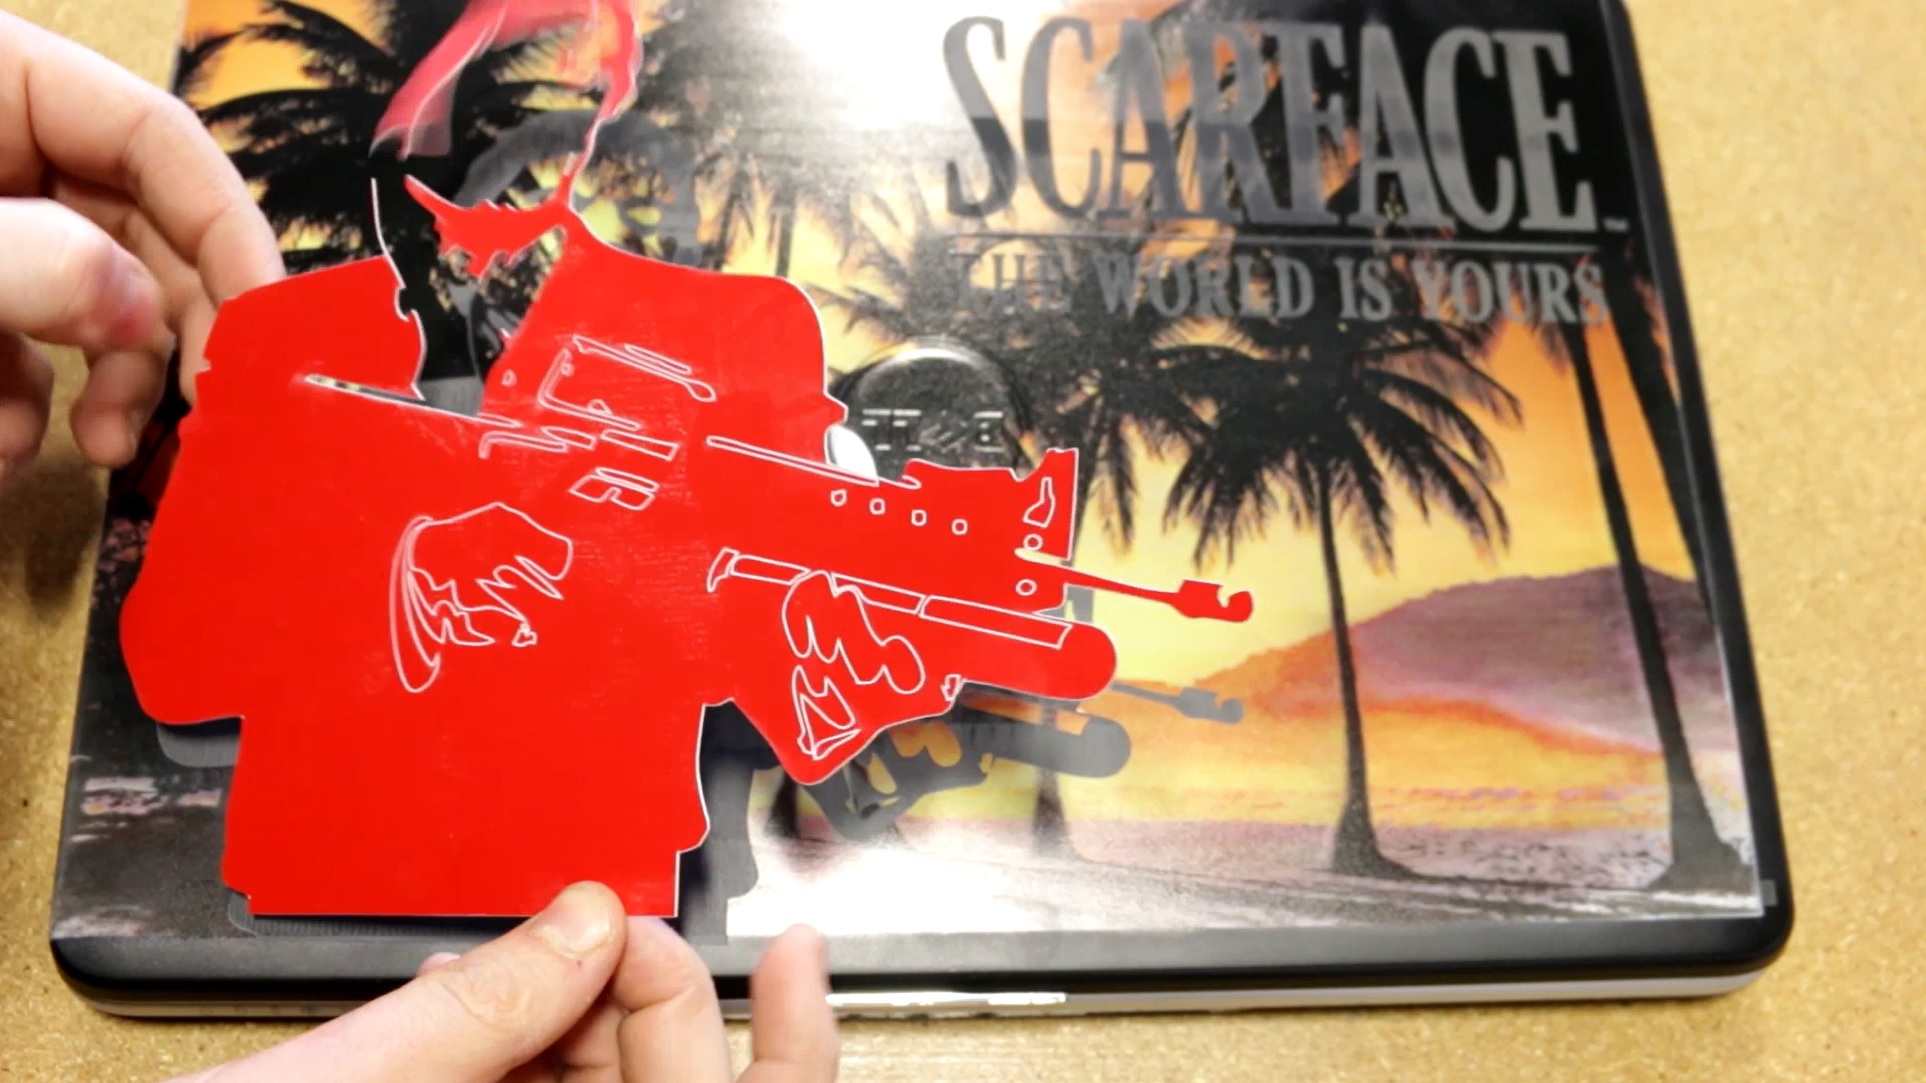
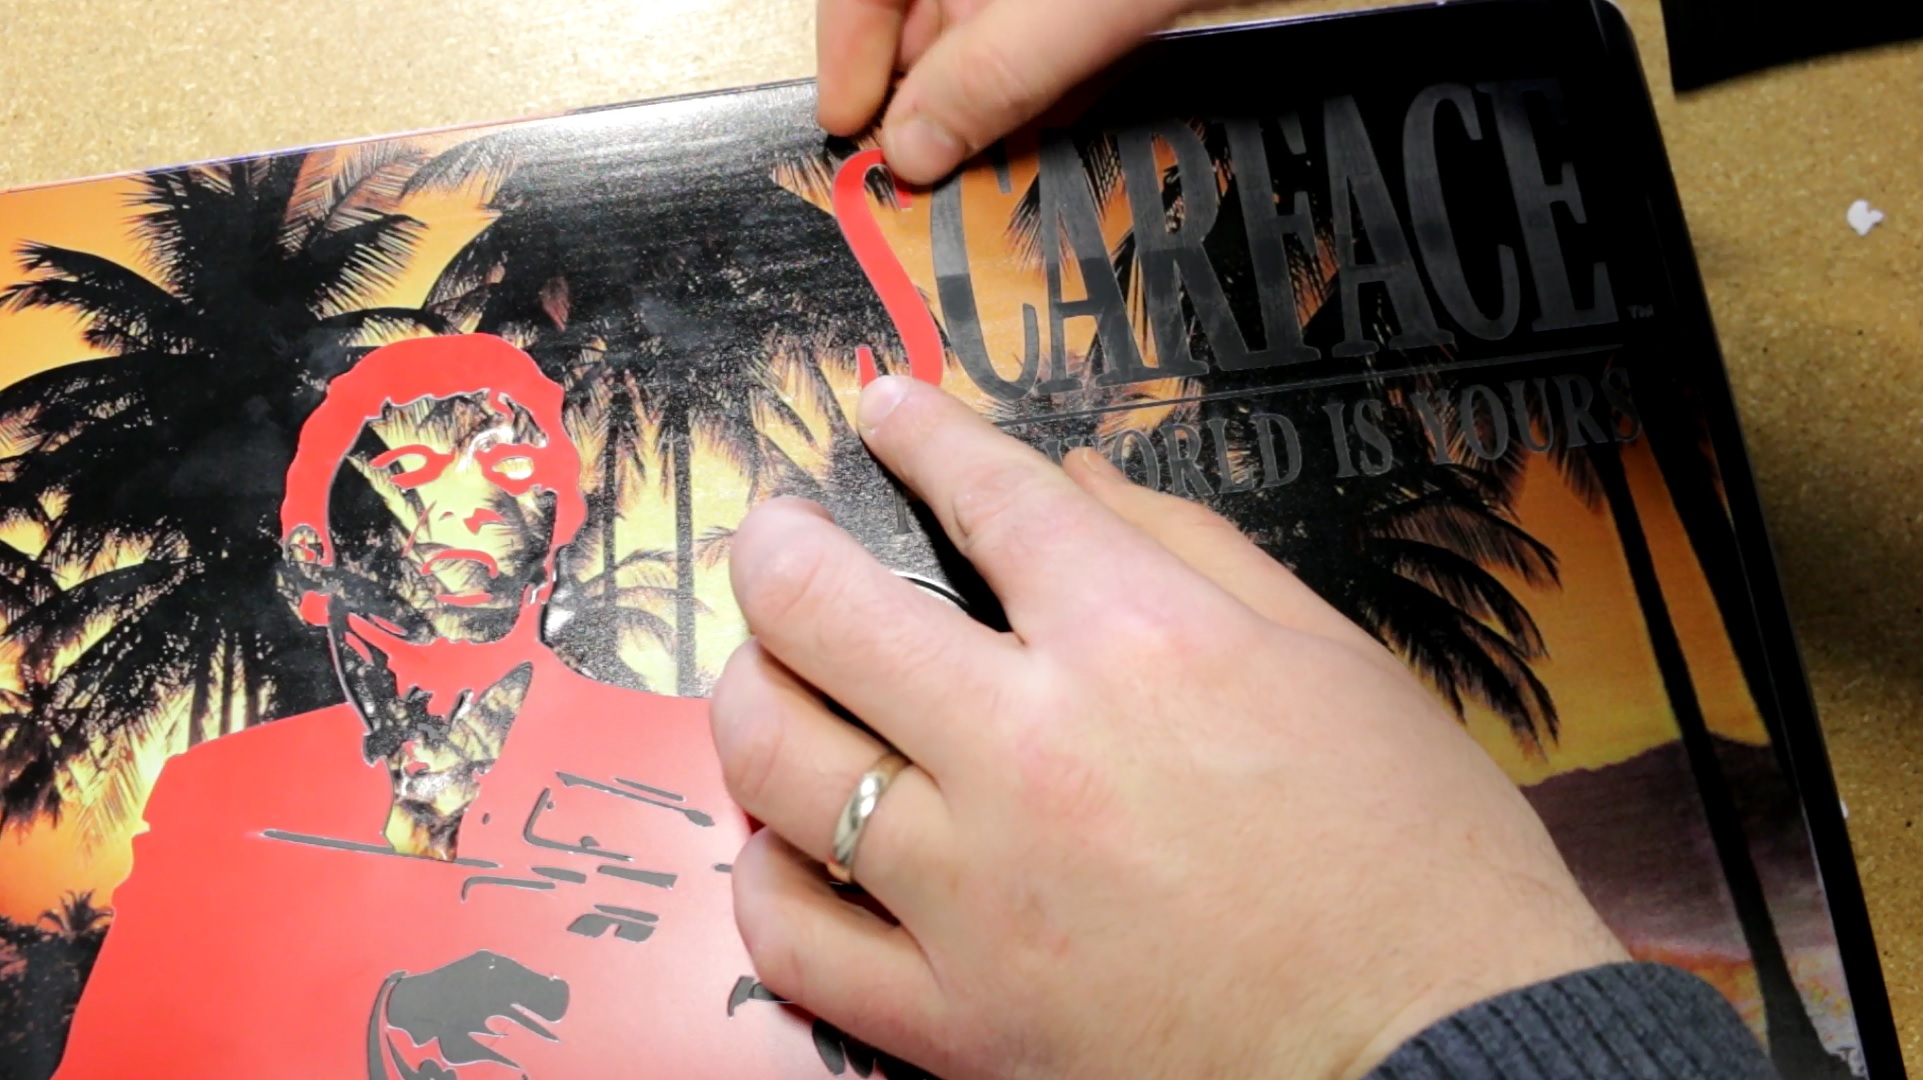
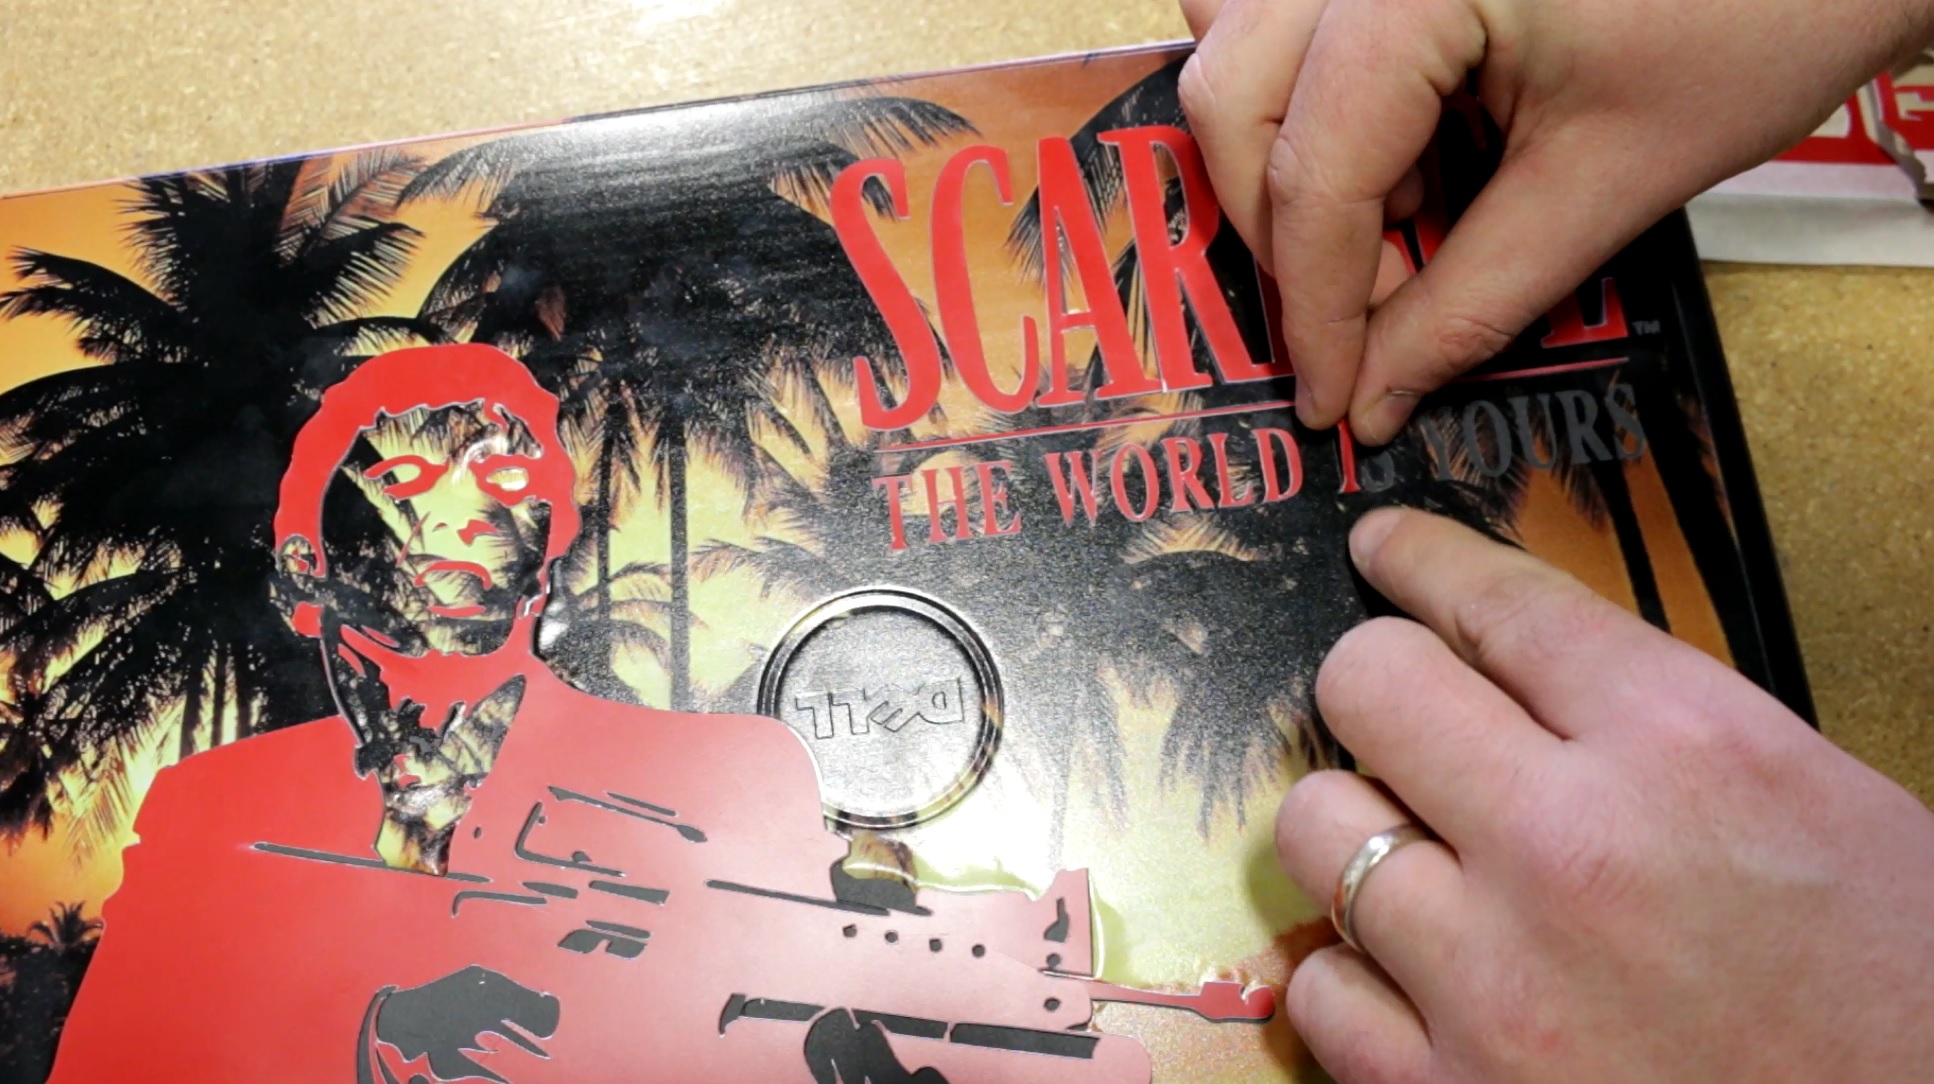
The reason we do a kiss-cut is because we don't want to cut through the adhesive backing. This way it's easier to just peel our top layer from the adhesive and then glue it onto the laptop.