USB Powered Solder Fume Extractor
by miniProjects in Circuits > Gadgets
3928 Views, 52 Favorites, 0 Comments
USB Powered Solder Fume Extractor

As you all know soldering is an inevitable part of creating a reliable circuitry, unfortunately fumes released during soldering are harmful or toxic to humans. It is highly recommended to use a device that can remove these fumes from your working area.
Hence I created a fume extractor which creates an air draft to direct solder fumes to an activated carbon filter, filtering the air.
Lets get started.
Short Video

Here we have a short video, describing complete process.
Components


Electronic components-
- DC fan (generally used in laptop cooling pads),
- XL6009 based adjustable boost converter,
- USB cable with USB 2.0 type A male port and
- FR107 diode (diode used as freewheeling diode, FR107 is not absolute necessary other diodes should also work)
Non-Electronic components-
- Activated carbon filter sheet (dimensions should be greater than your DC fan)
- Old plastic box's lid (dimensions should be greater than your DC fan)
Tools


Tools-
- Solder iron/wire,
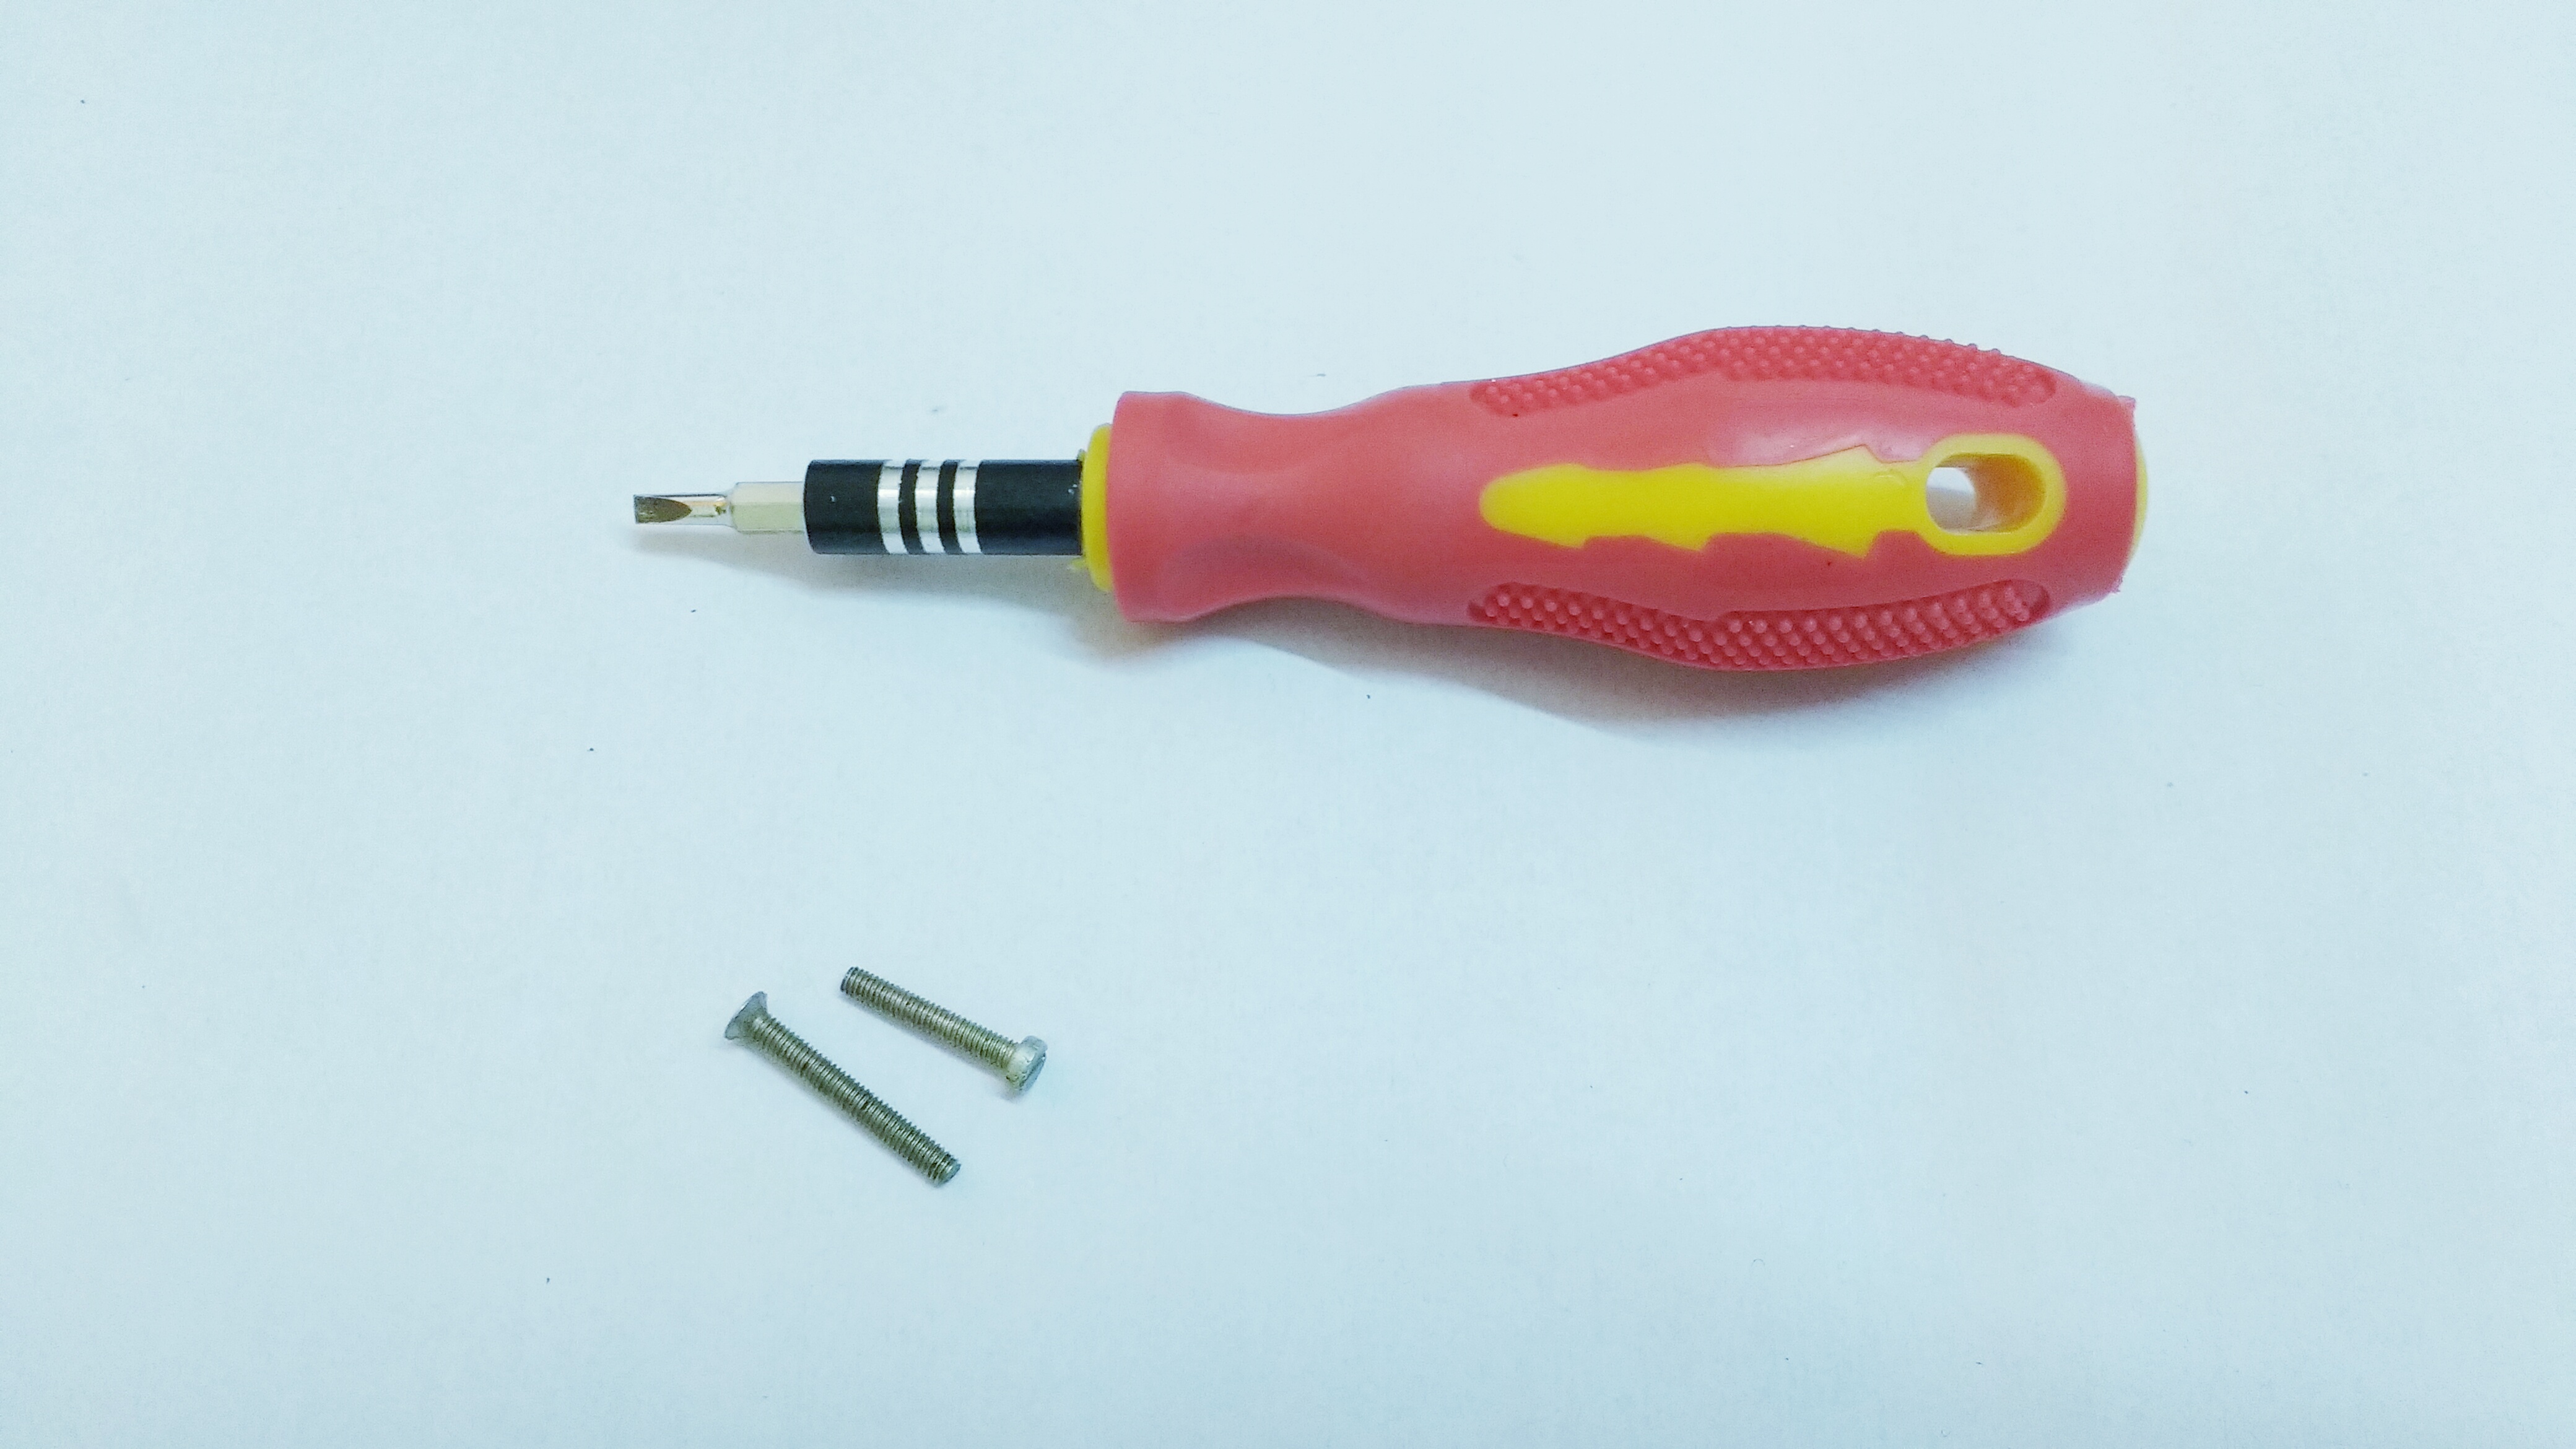
- Screw driver,
- M3 nuts, bolts and washers,
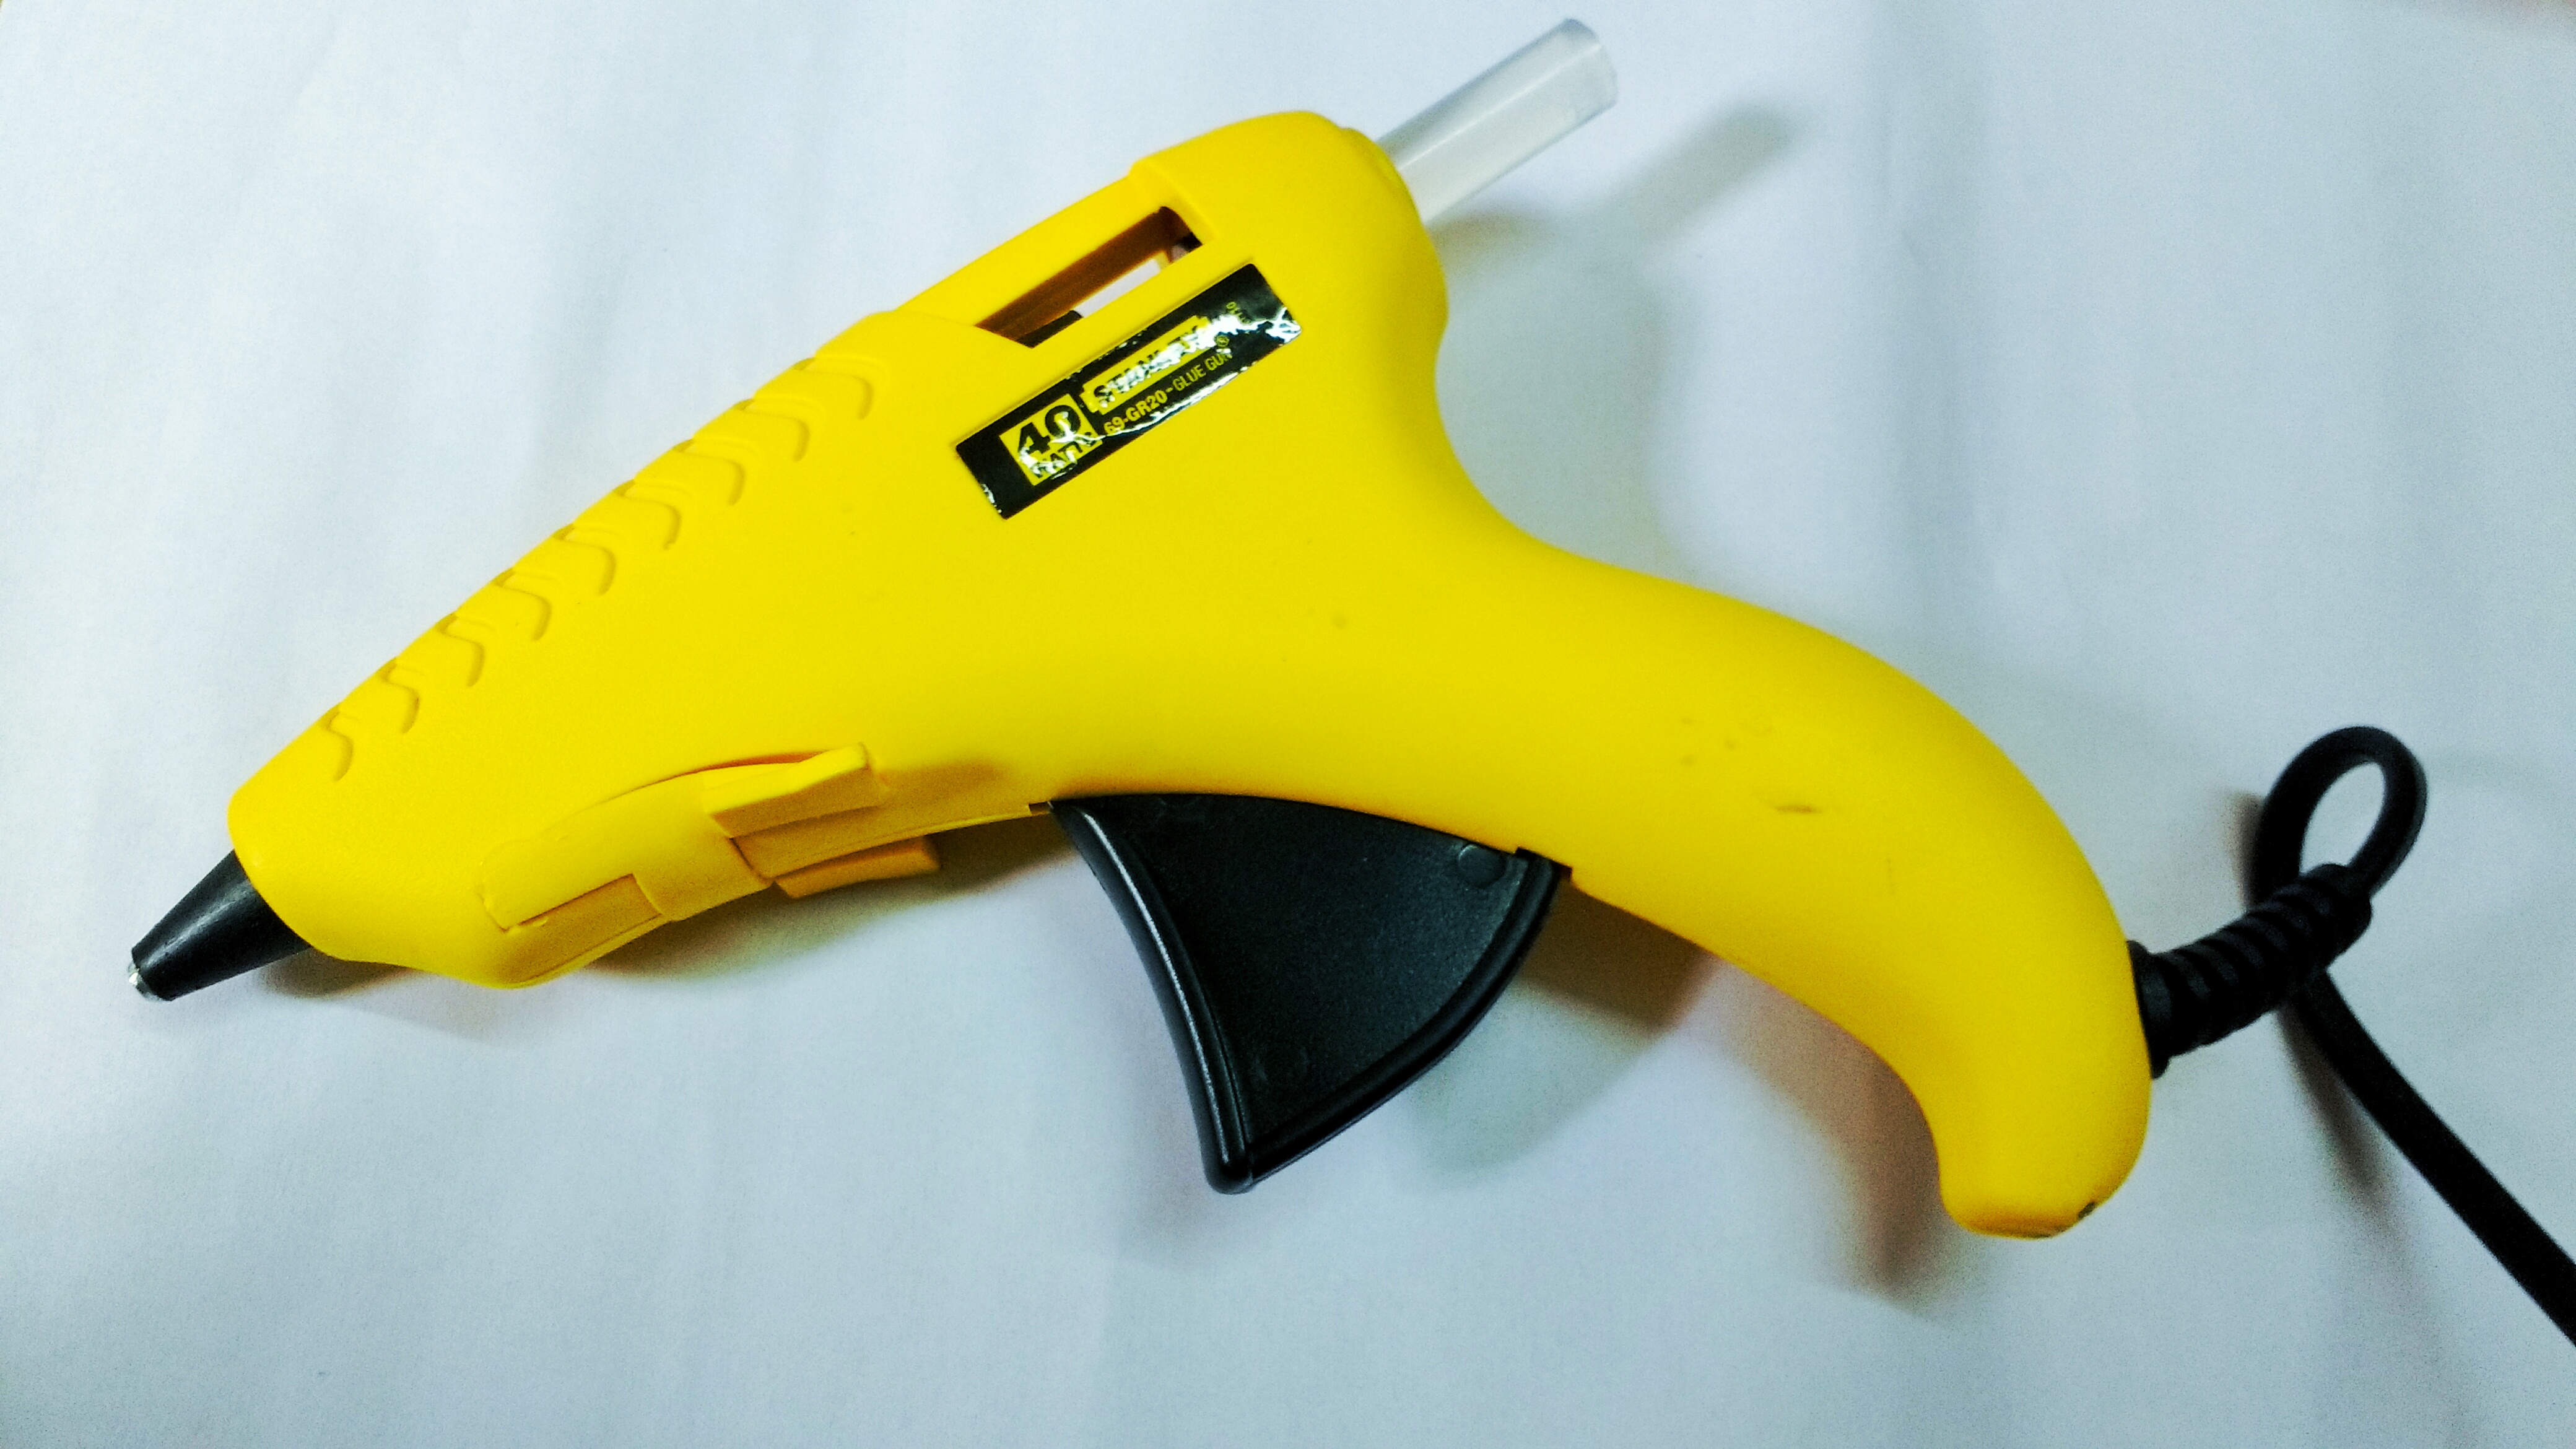
- Hot glue gun,
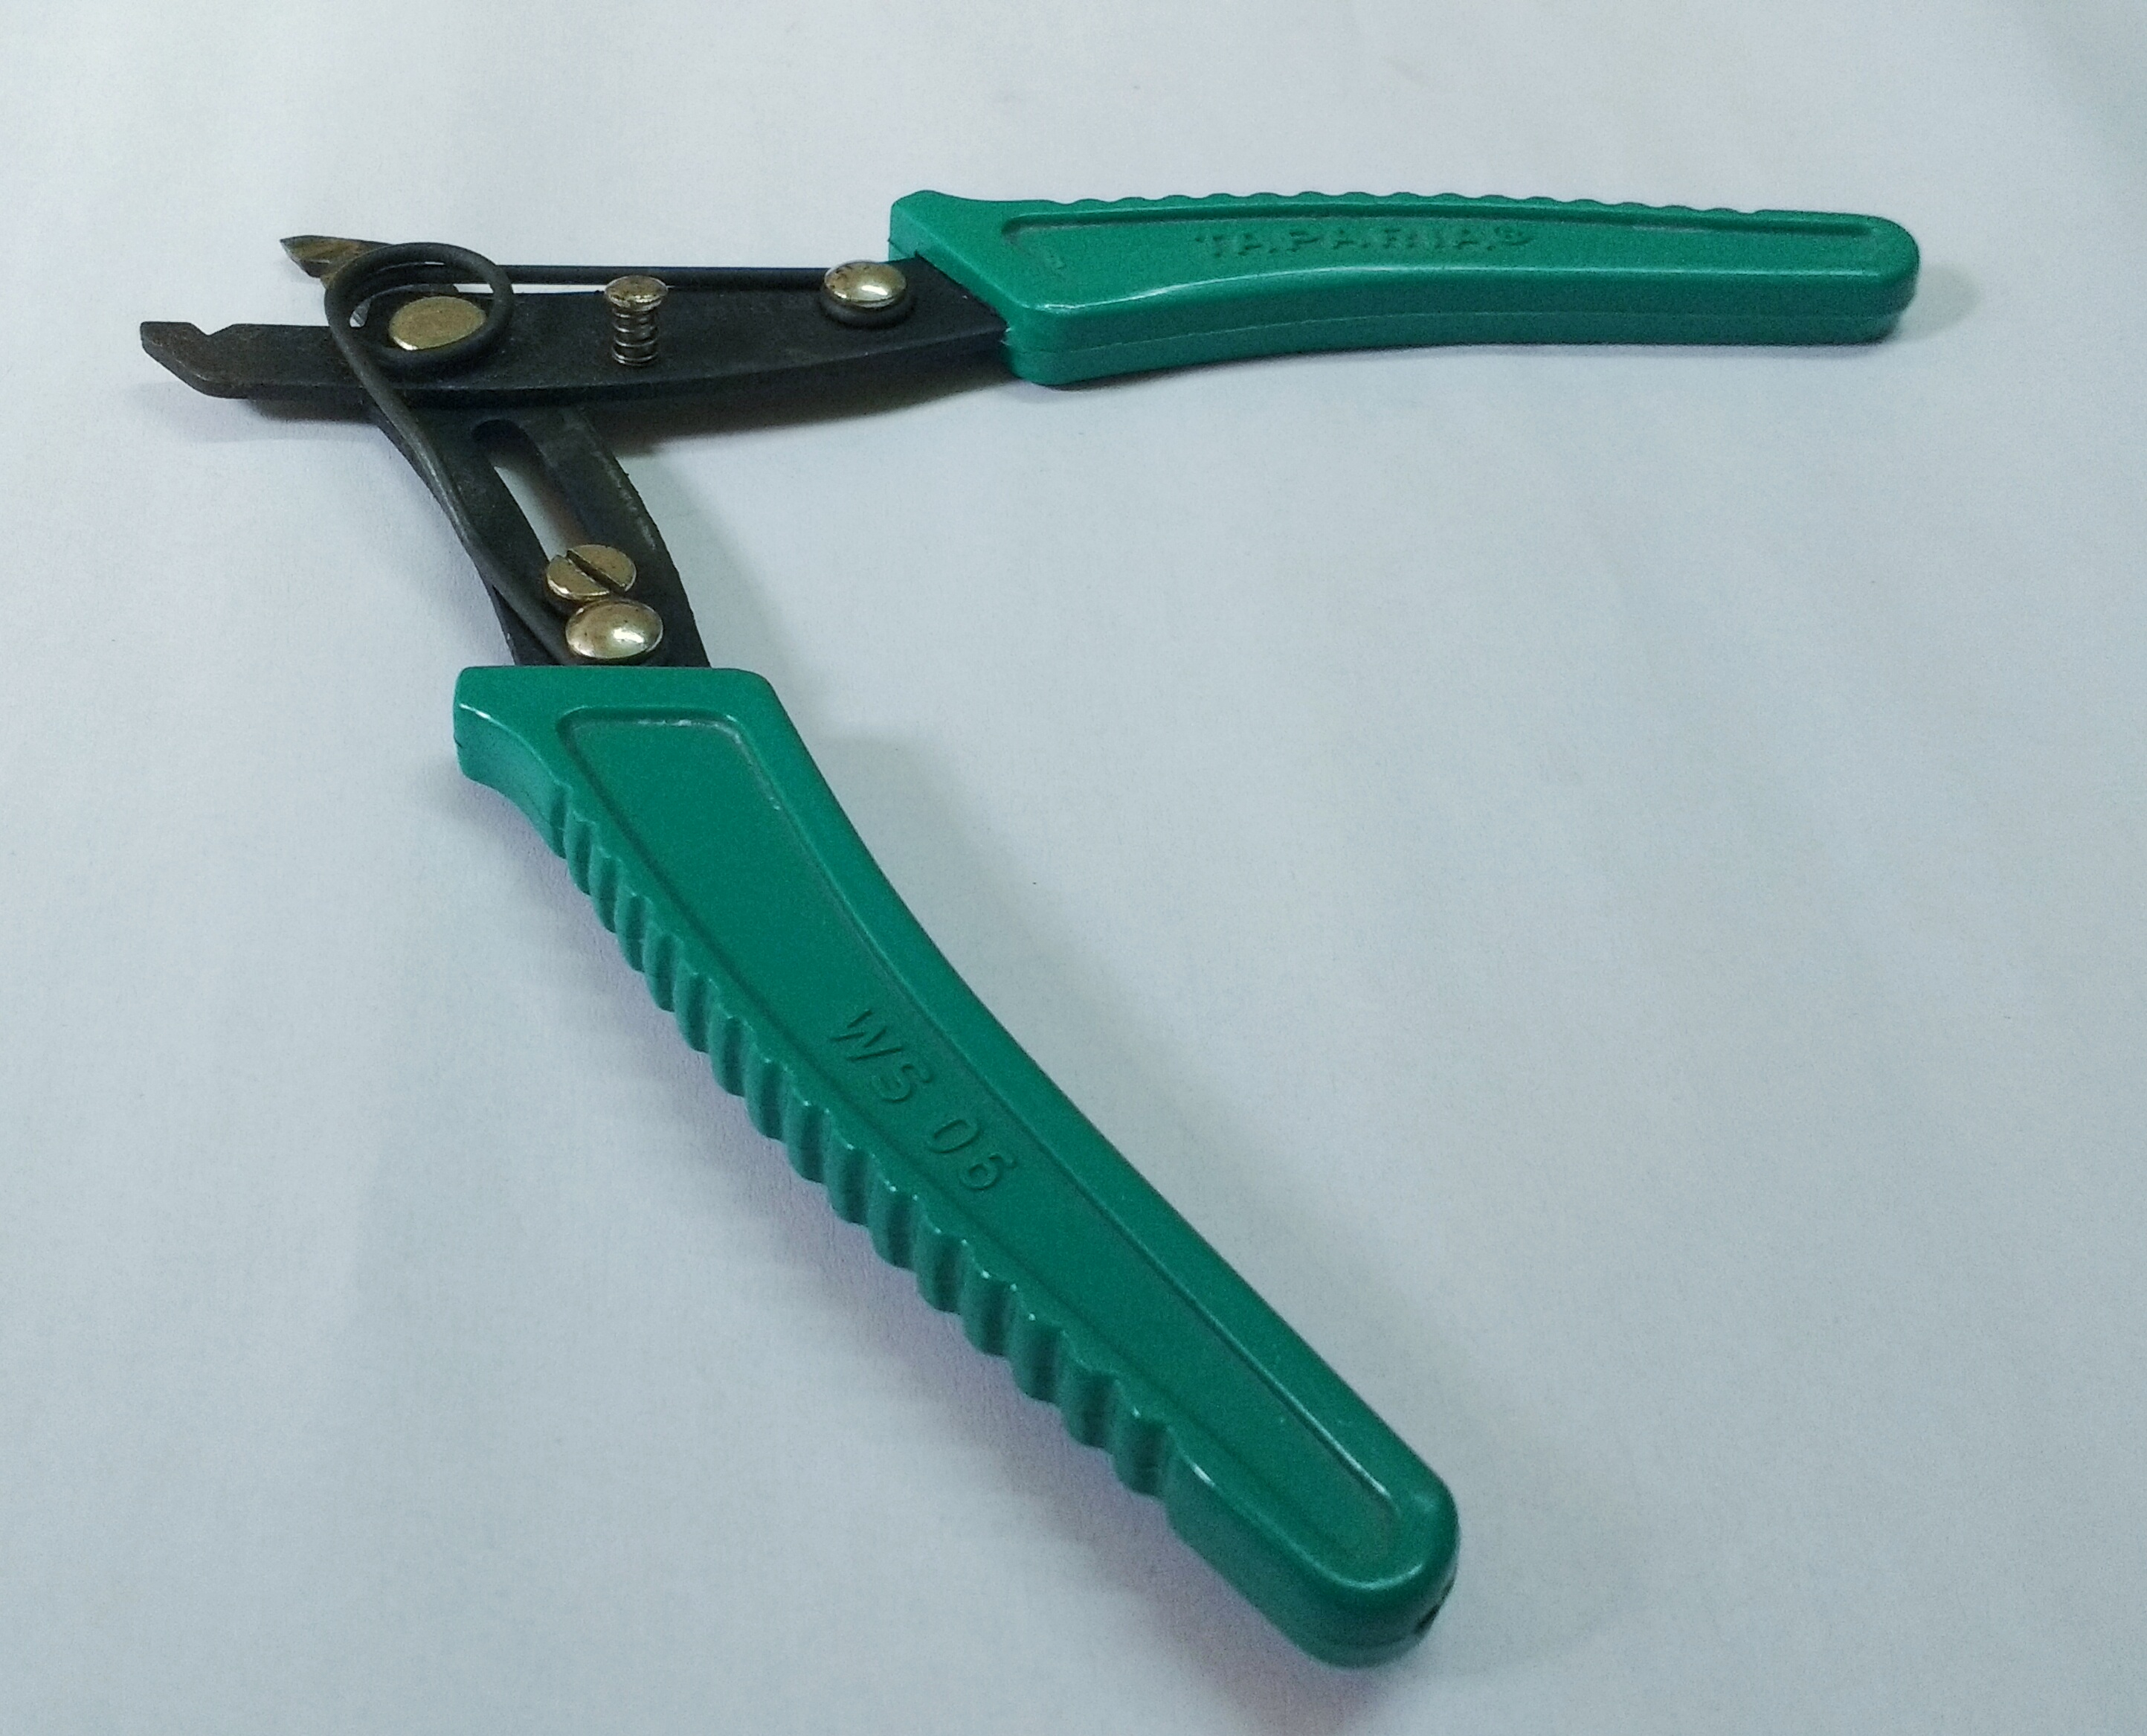
- Wire stripper,
- Hot blade and
- Multimeter.
Circuitry


Description: DC fan that I bought required 12v for its operation and I wanted to power fume extractor using USB power supply so we need a step-up or boost converter that converts USB 5v to 12v needed by fan. Our circuit is pretty simple, USB power connects to input of XL6009 based boost converter and output of converter connects to DC fan. Don't forget to connect FR107 diode as freewheeling diode at output of converter, with cathode of diode connecting to positive output terminal of converter.
Steps-
- chop off USB cable towards opposite end of USB 2.0 type A male port,
- Use wire stripper to expose USB supply wires. Generally RED wire is 5v and BLACK wire is GND,
- Connect 5v and GND wire of cable to input pins of XL6009 based boost converter while maintaining the ploarity,
- Tune potentiometer on boost converter to get 12v as output for 5v as input using a flat edge screw driver and a multimeter,
- Solder freewheeling diode with cathode connecting to positive output terminal of converter and
- finally connect fan at output terminals of converter. (On swapping fan's terminal fan rotates in opposite direction)
Once circuitry is done, check it's operation using a USB power bank.
Now it's time for some mechanical assembly but before that just a bit of theory regarding boost converter.
Practical Boost Converters and Power Requirement

Description: For all practical boost converters conversion from 5v to 12v will occur only if input power is greater than output power. USB 2.0 can deliver at max 500ma at 5v giving us 2.5W and USB 3.0 can deliver at max 900ma at 5v giving us 4.5W. Fan that I bought was rated at 2.16W i.e. 12v at 180ma. Hence USB 3.0 or a USB power bank should be able to drive my fume extractor keeping converter efficiency in mind. Please perform this calculation for your fan before proceeding.
Assambly


Description: In this step we put every thing together. For back side of fan I used activated carbon filter and for front side I used an old plastic box lid which I modified using a hot blade. Tied every thing using M3 nuts, bolts and washers. Used hot glue gun to place boost converter behind the front lid and secure wiring.
Steps:
- Cut activated carbon filter to the size of your fan using a blade,
- Get an old plastic box lid, make sure to have it's dimensions greater than your fan,
- Mark fan measurements on the lid,
- Cut through the lid using a hot blade,
- Make few horizontal vents for air to flow in the fan,
- Use M3 nuts, bolts and washers to attach filter at the back and plastic lid in front of the fan,
- Finally use hot glue gun to place converter at the back of front lid and secure wiring.
So that's it, this is how you get a USB powered fume extractor. Make one for your self and avoid unhealthy fumes.
Thanks for reading.