USB Pesistence in Ventoy
.png)
.png)
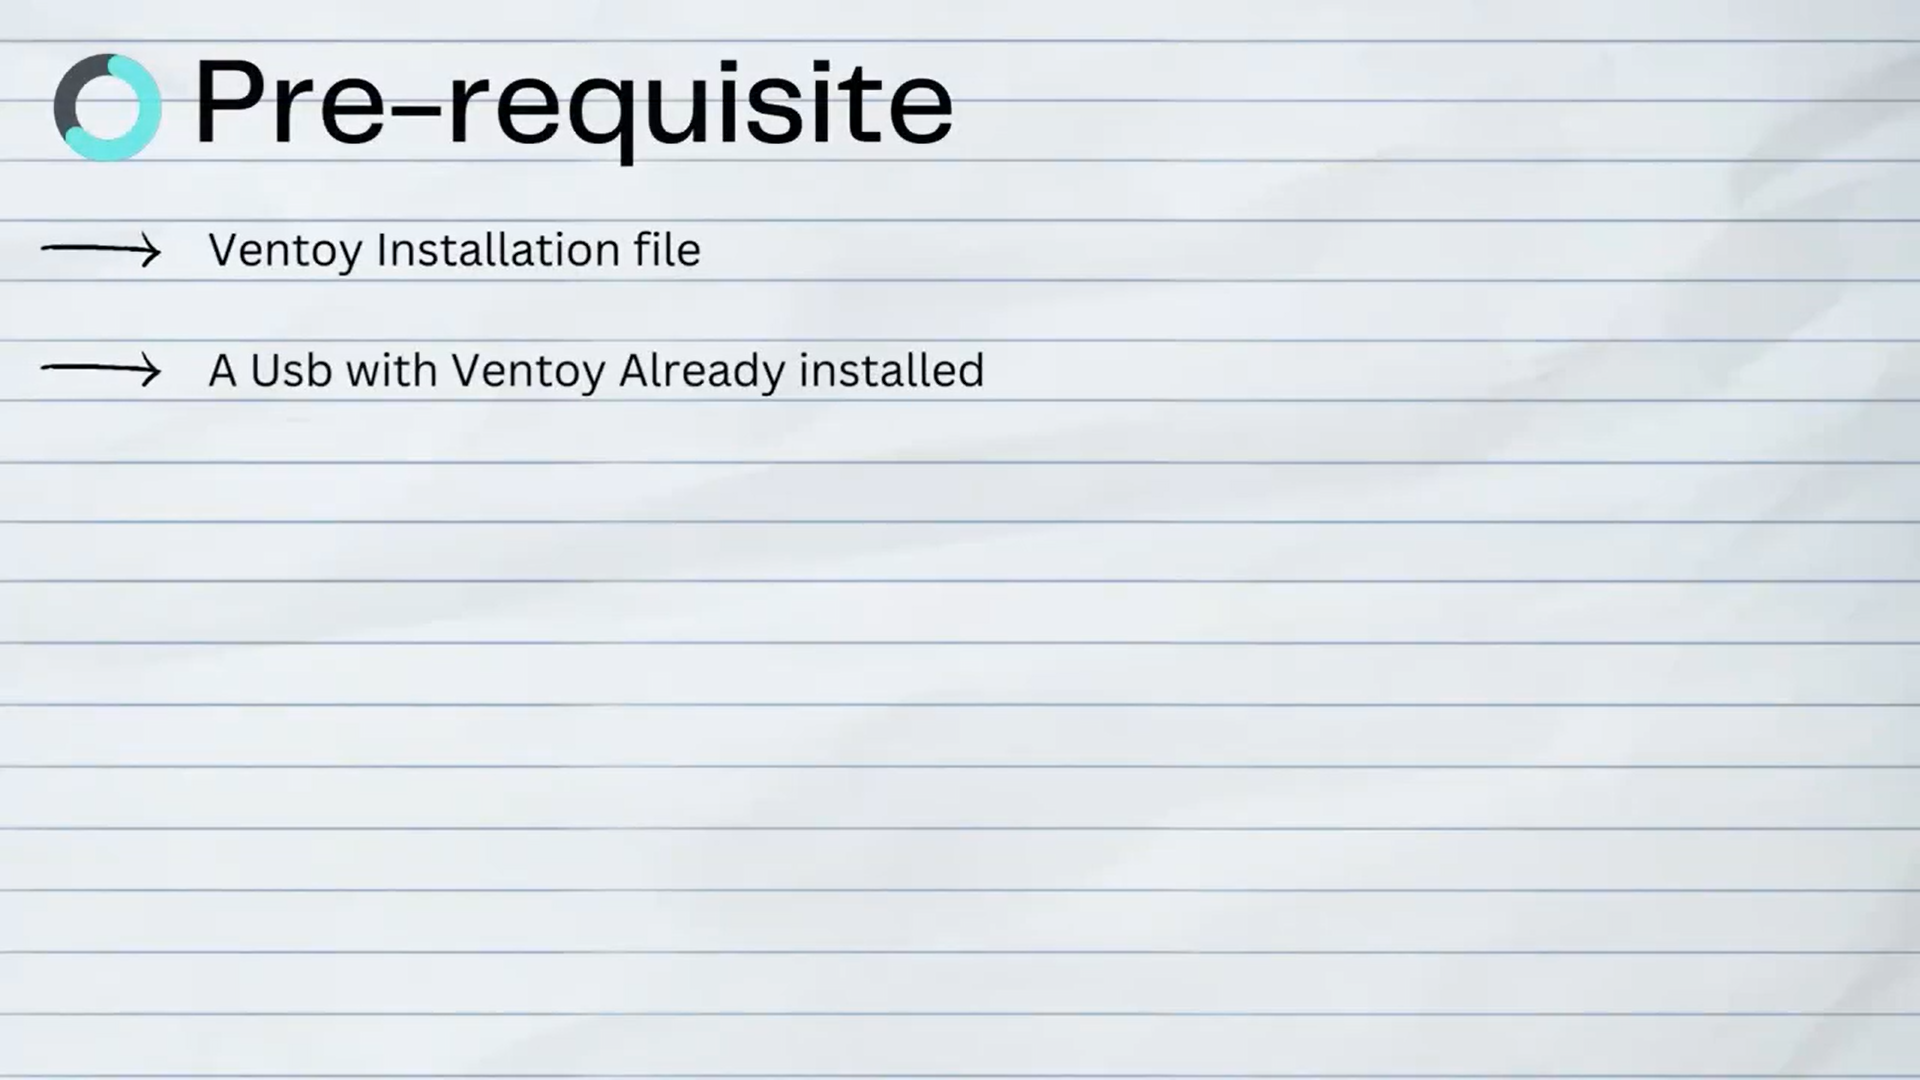
Please see the above prerequisites mentioned
Supplies
.png)
LINKS
Download Ventoy: https://www.ventoy.net/en/download.html
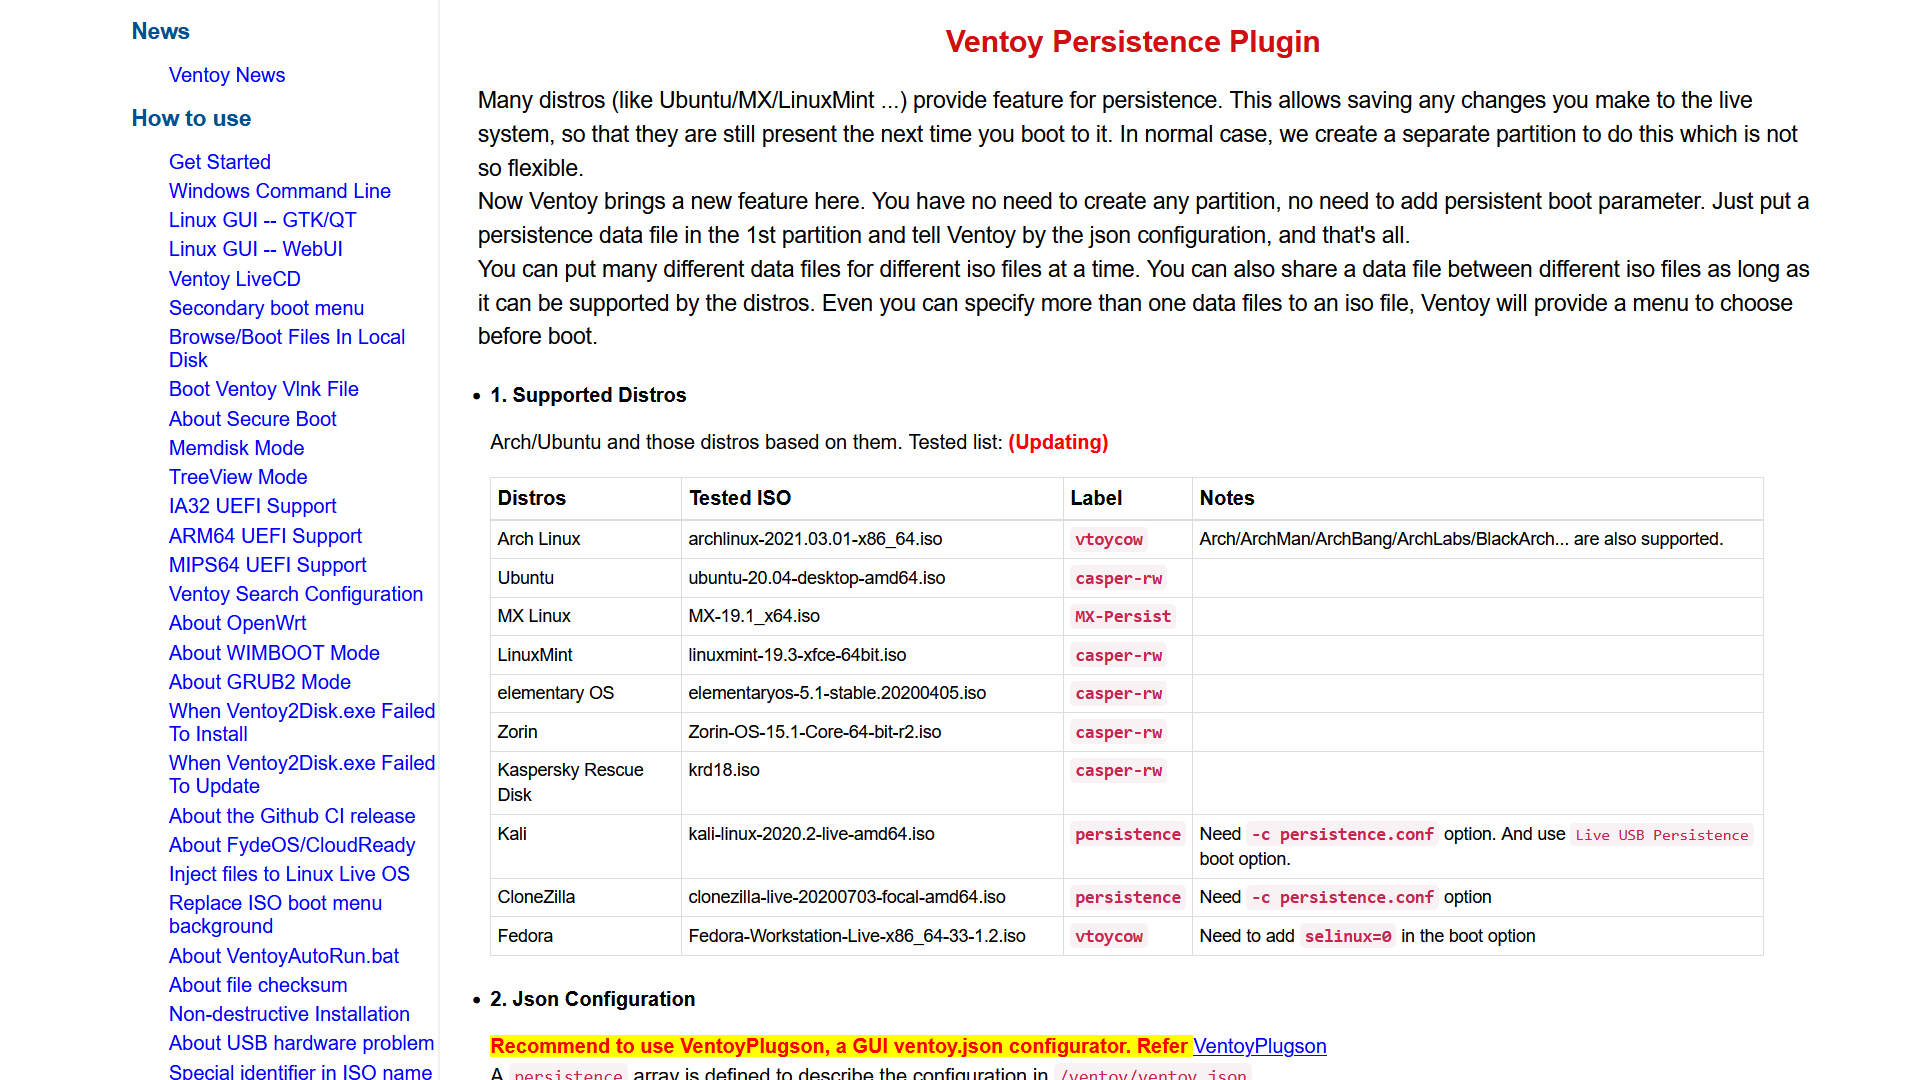
Visit the offical guide link: https://www.ventoy.net/en/plugin_persistence.html
As seen Ventoy officially tested this distors to be fully working:
Name ---------- Label (IMPORTANT)
Arch Linux ------> vtoycow
Ubuntu ----------> casper-rw
MX Linux -------> MX-Persist
LinuxMint -------> casper-rw
elementary OS -> casper-rw
Zorin -------------> casper-rw
Kaspersky Rescue Disk ---> casper-rw
Kali ---------------> persistence
CloneZIlla -------> persistence
Fedora -----------> vtoycow
It's safe to say that any of the mentioned distros provide full support without any second-guessing about their functionality. Feel free to experiment if you're up for it!
Download Predefined .img File (Shell for Storage)
.png)
.png)
.png)
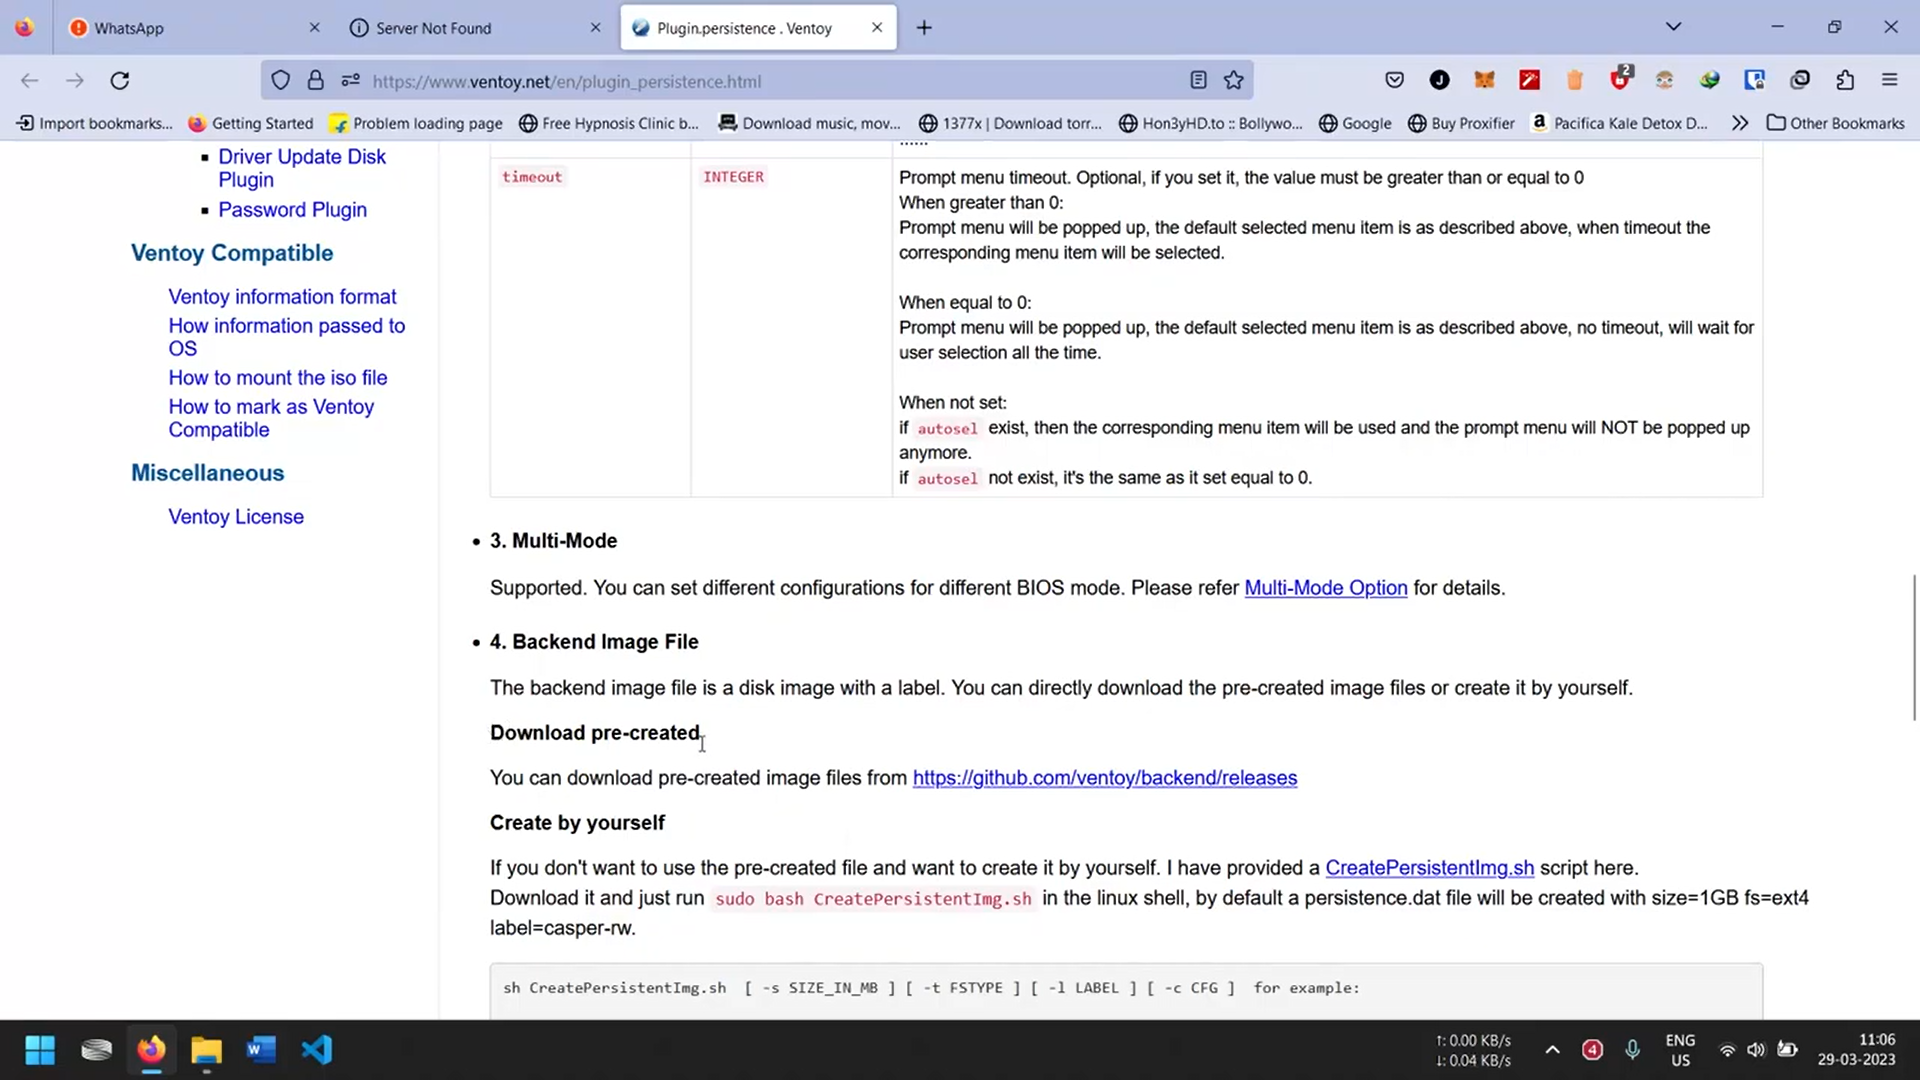
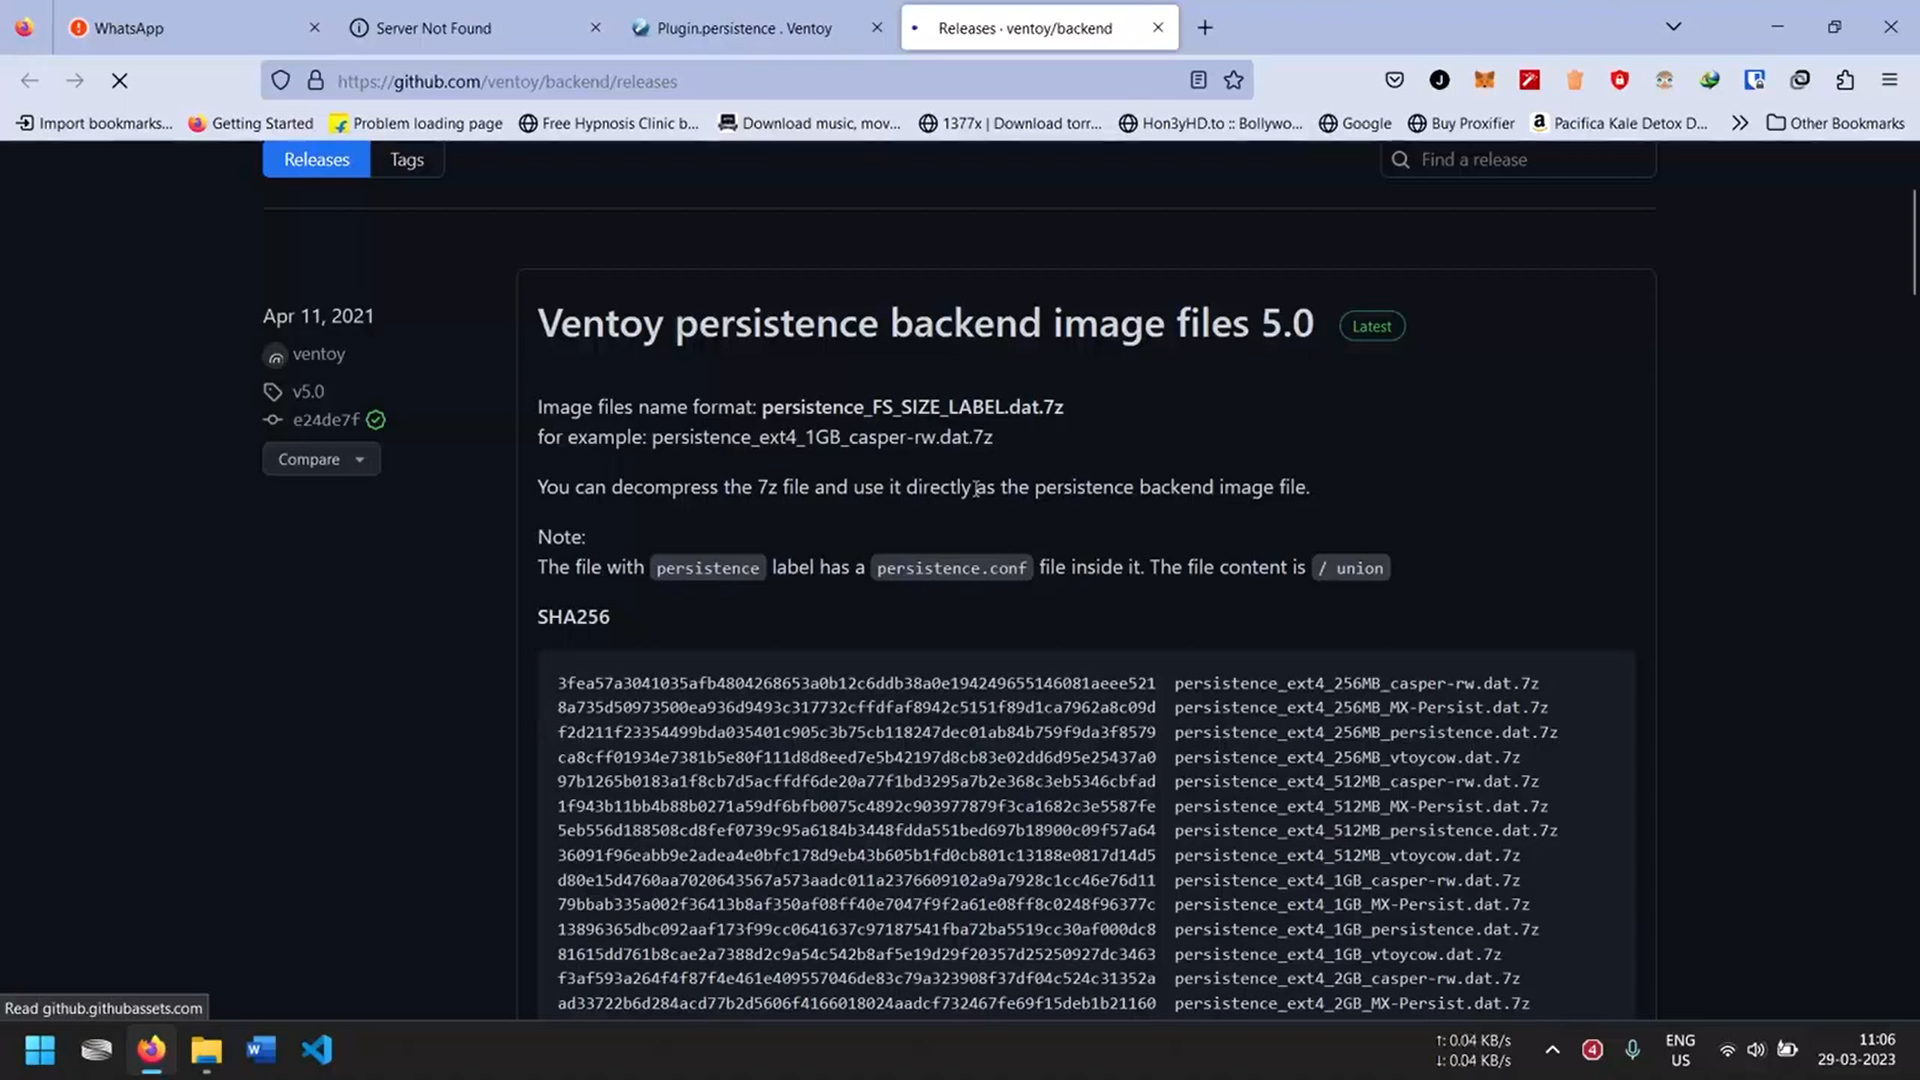
On official guide scroll down and under Download pre-created
Go to Github link: https://github.com/ventoy/backend/releases
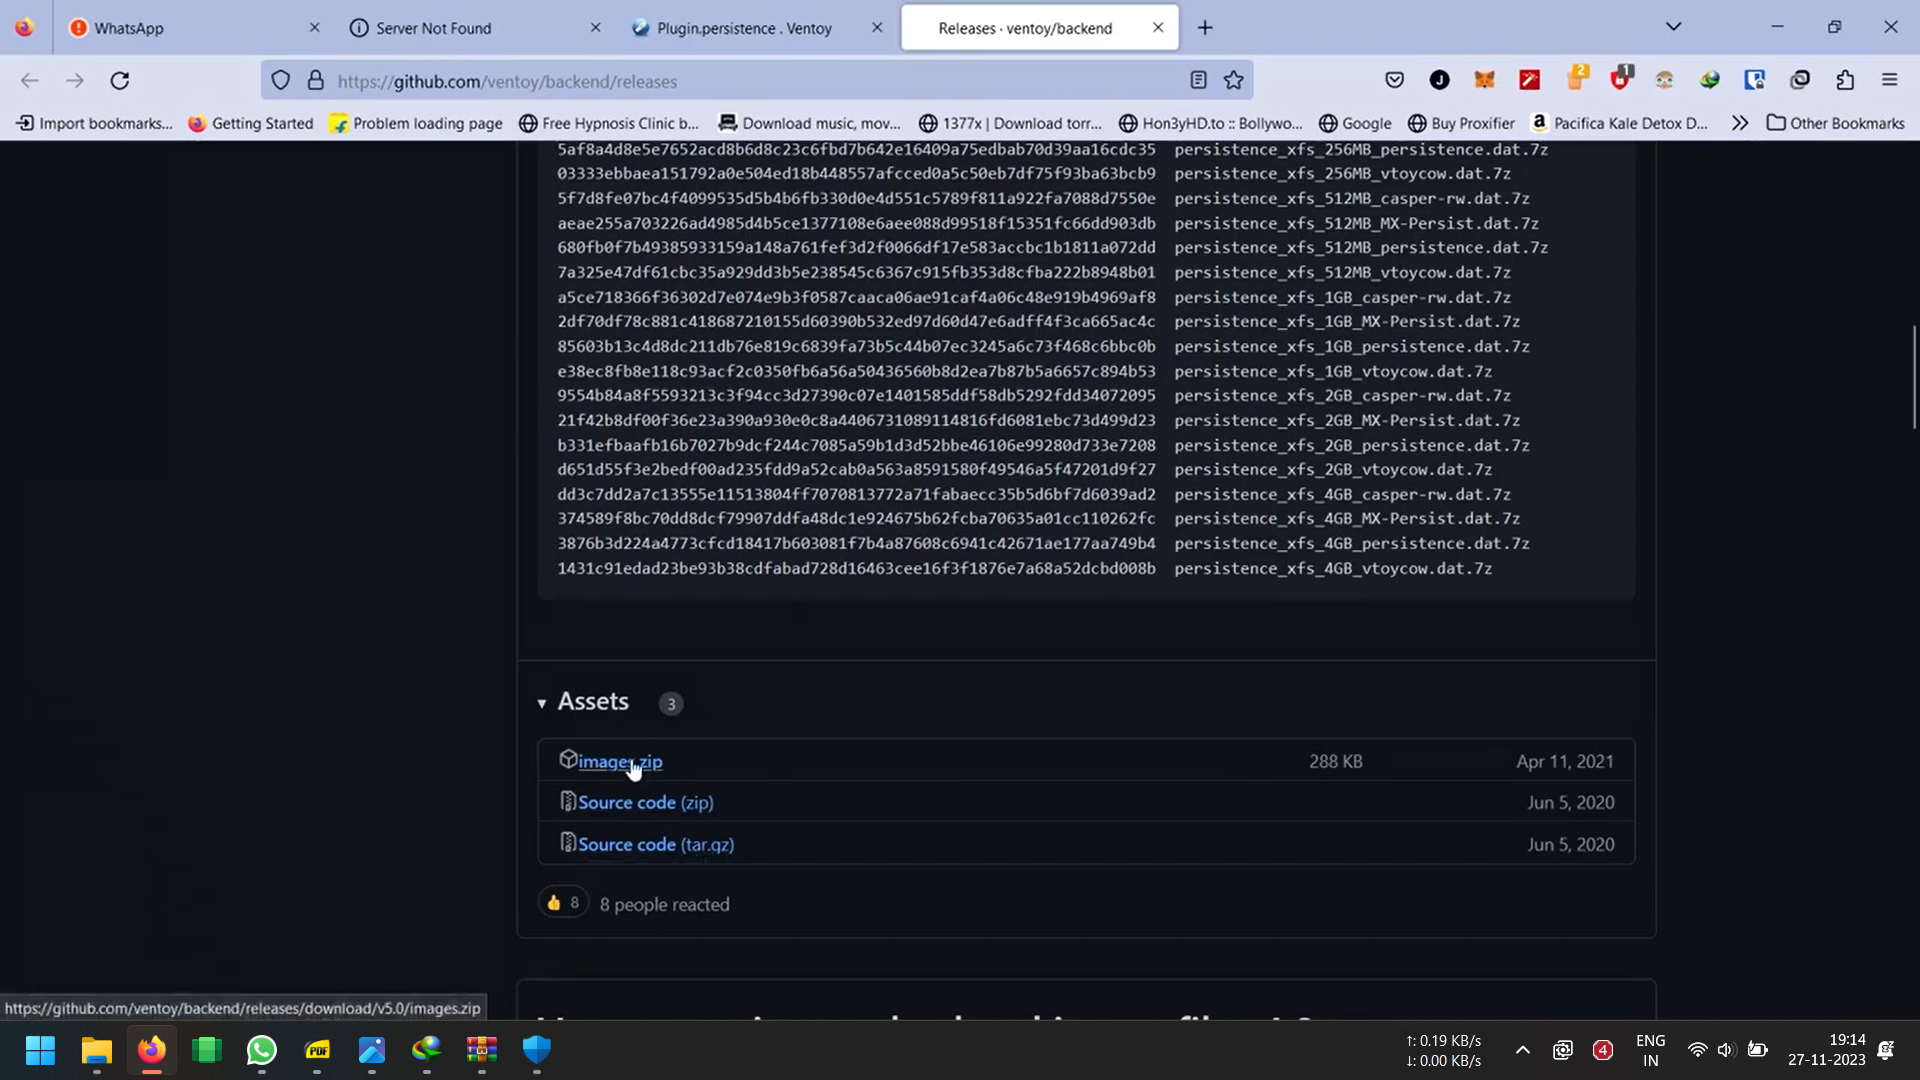
Scroll down under Assets download Images.zip file.
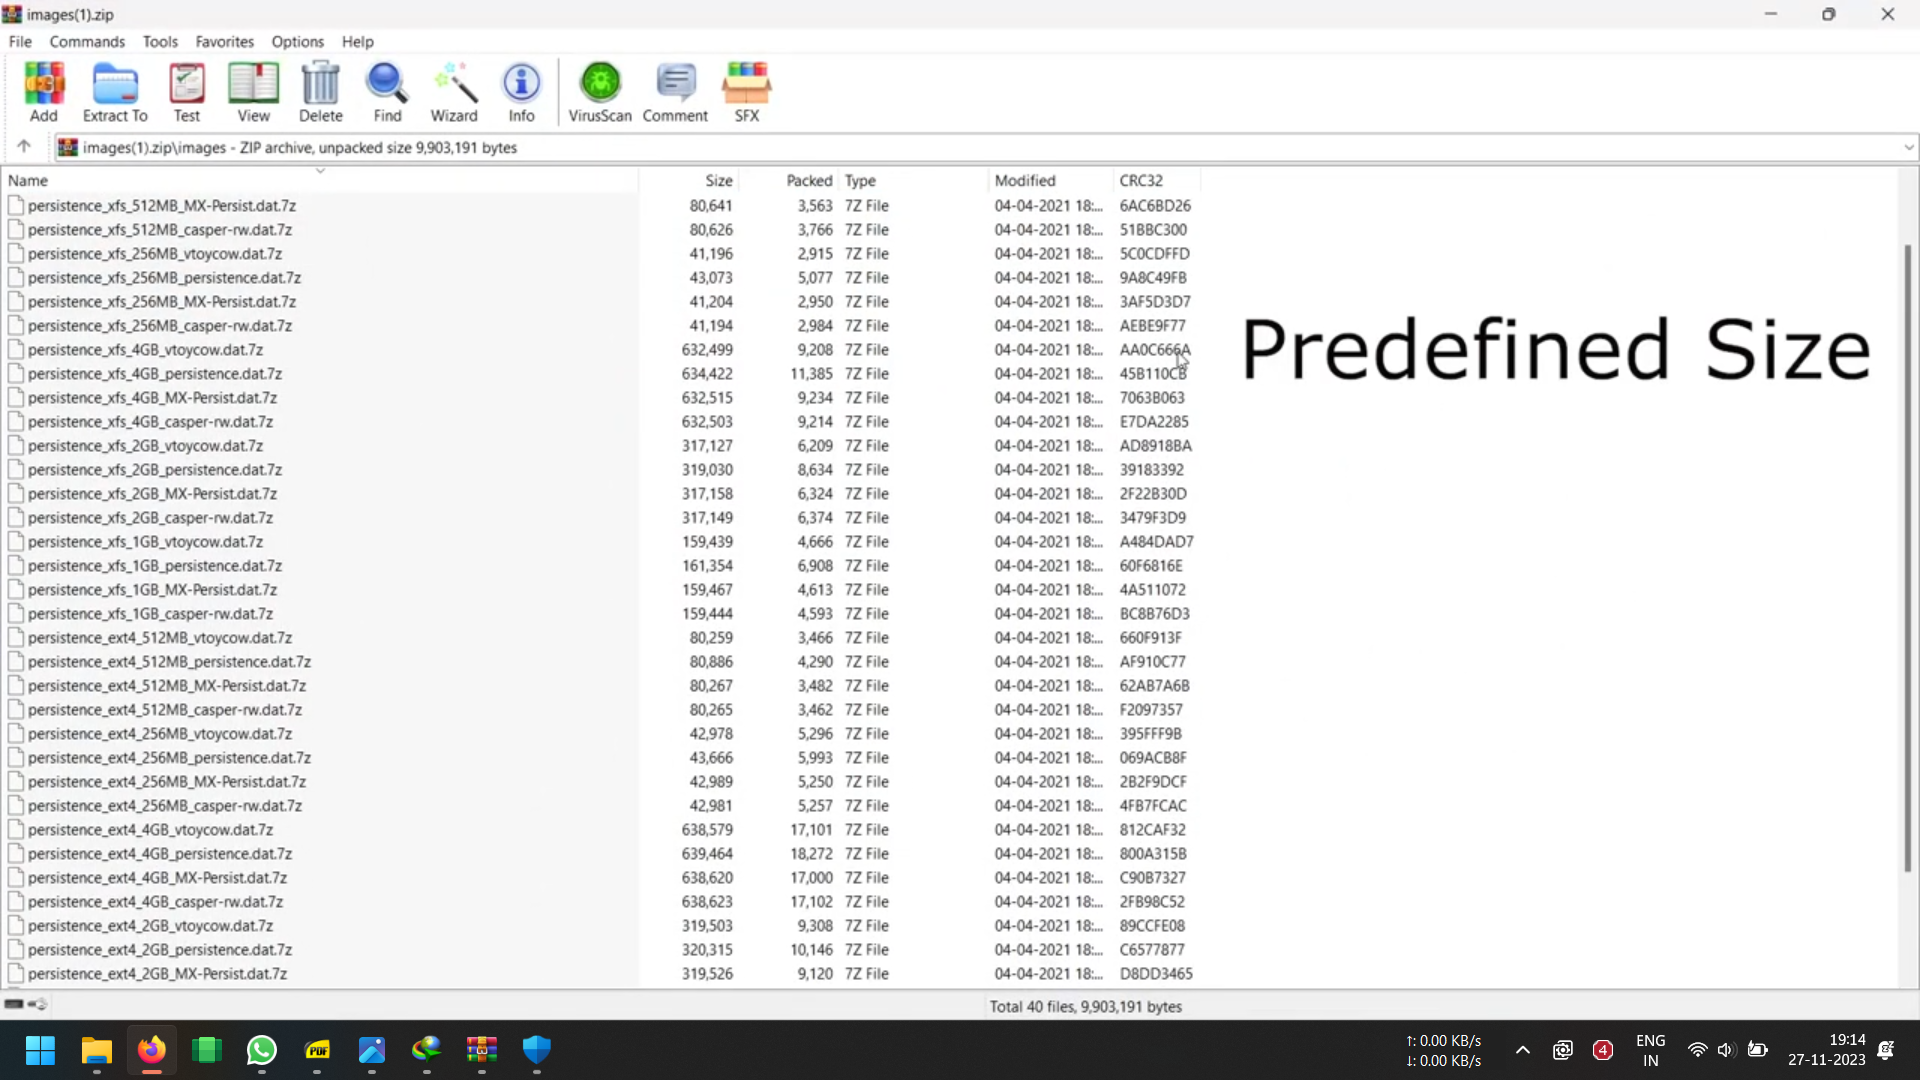
Open Images.zip
.png)
Opening Images.zip you will see predefined sizes ranging from 256mb upto 4Gb of Image files.
Select Prefered Size, Label, FileSystem
.png)
As previously stated, depending on your chosen operating system and preferred size, select the appropriate label and file system.
Eg: I chose Kali live OS
So, OS/Label/Filesystem
Kali-persistence-Ext4
File chose:
persistence_ext4_4GB_persistence.dat.7z
NOTE: USE EXT4 AND NOT XFS IF YOU WANT TO EXPAND YOUR PERSISTENCE STORAGE SIZE IN THE FUTURE. WITH XFS YOU CANNOT!
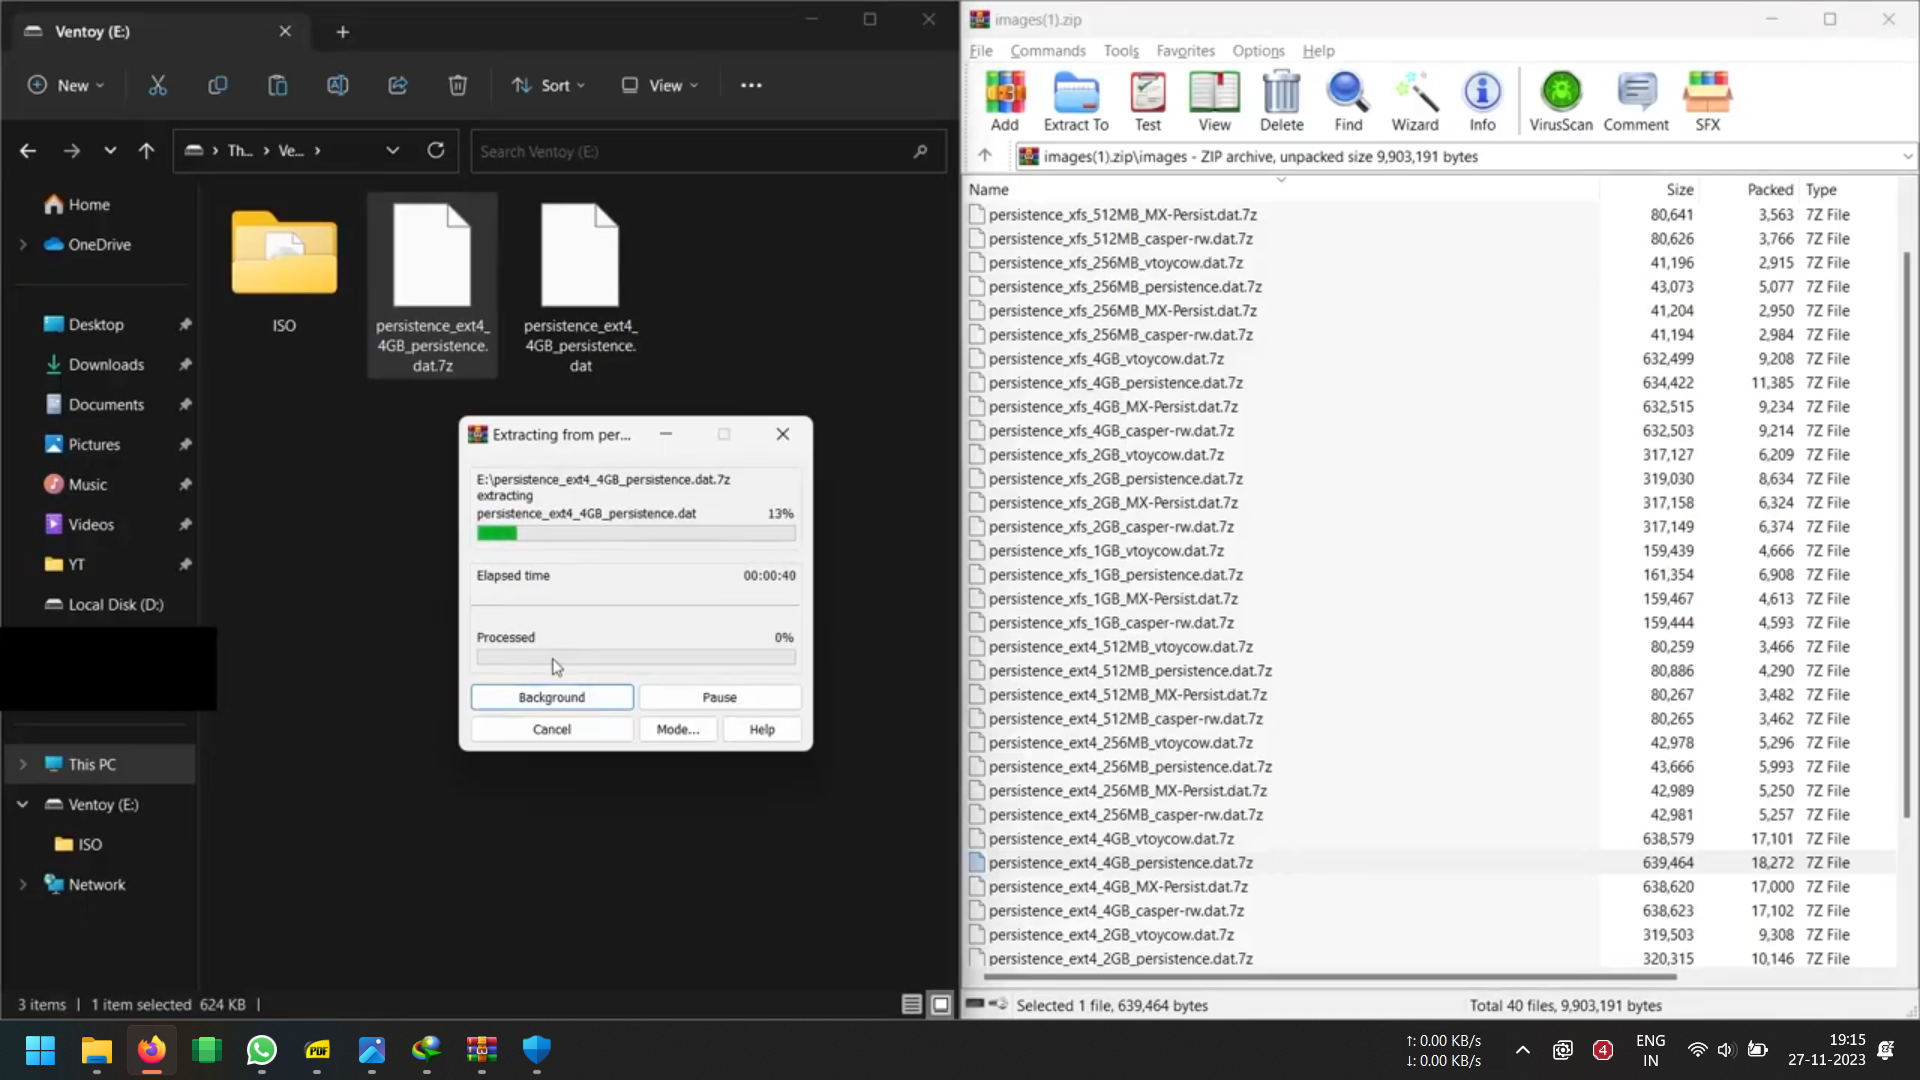
Copy File and Extract .dat
.png)
Please take note: it is advisable to extract the .7z file onto an SSD drive. I made the mistake of extracting it onto a USB drive with notably slower speeds. Once extracted move it to the final destination USB folder.
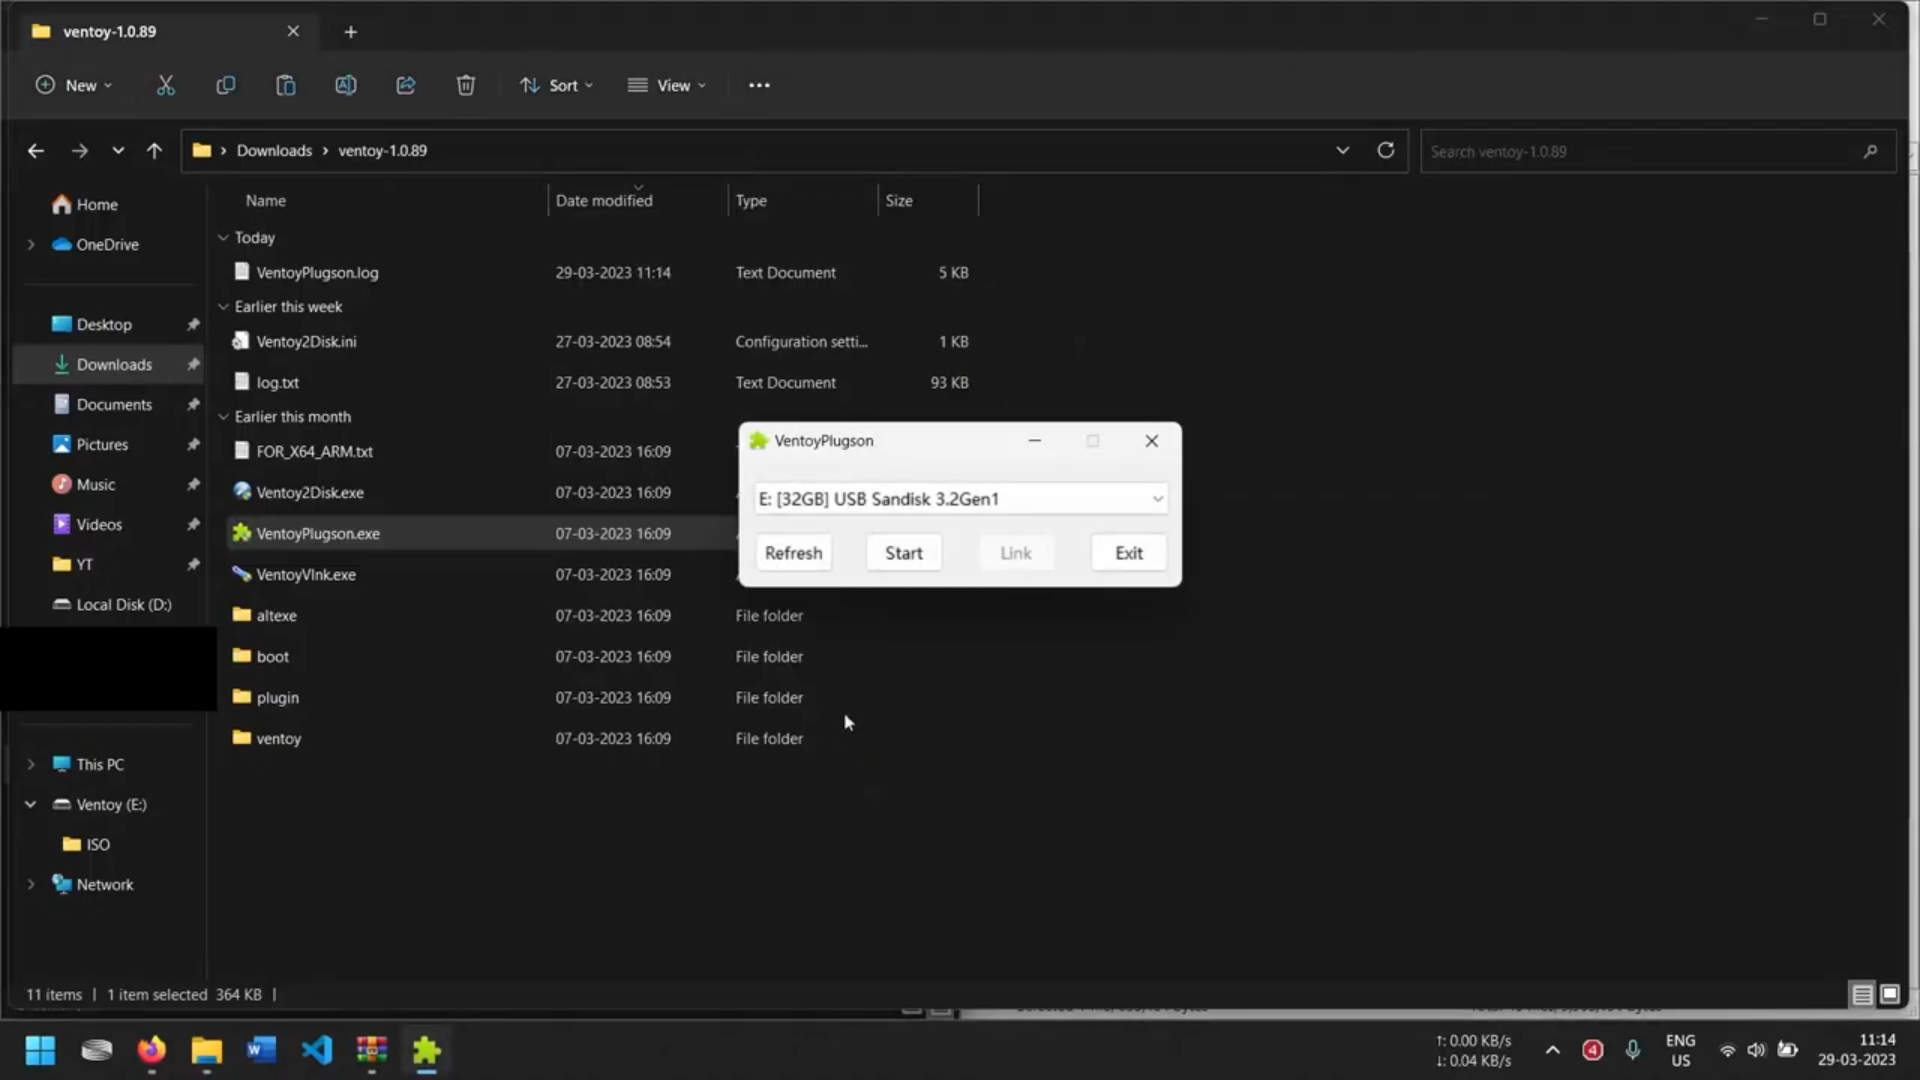
Open VentoyPlugson on Previously Downloaded Ventoy
.png)
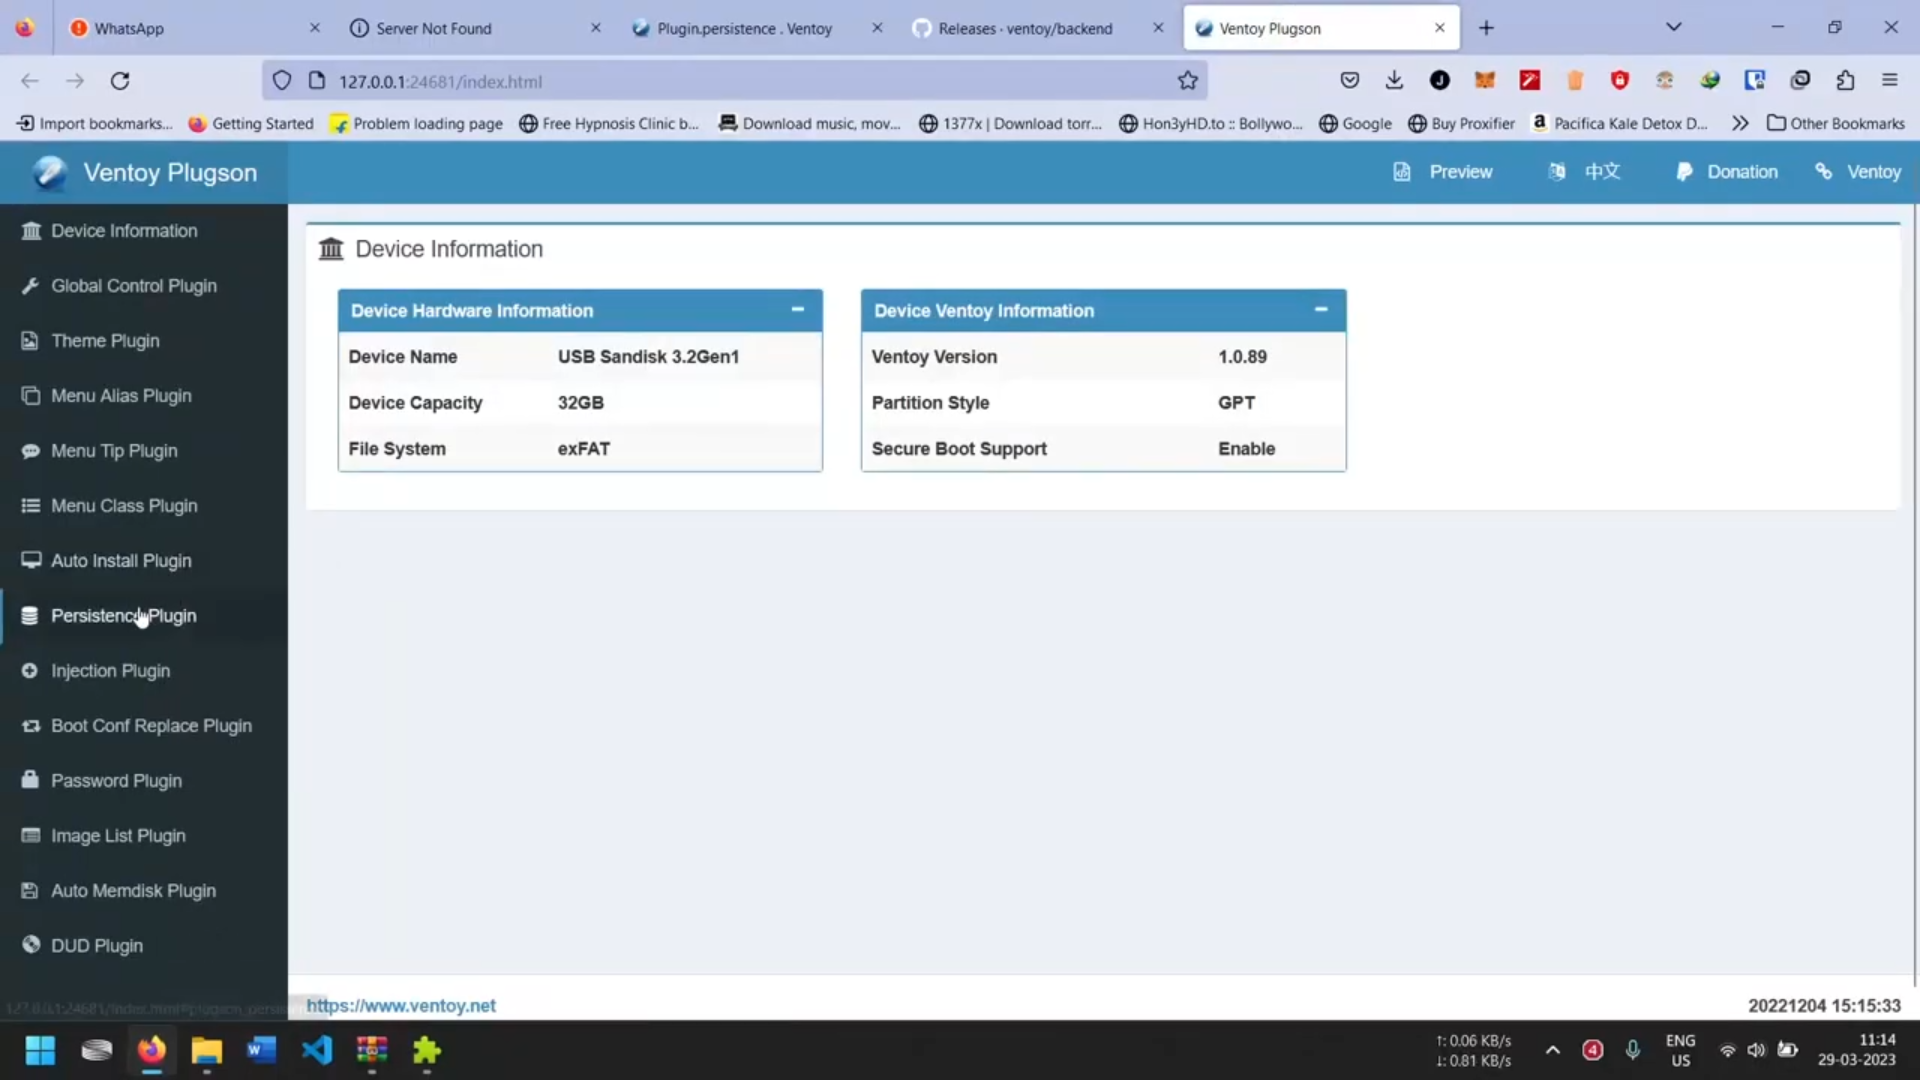.png)
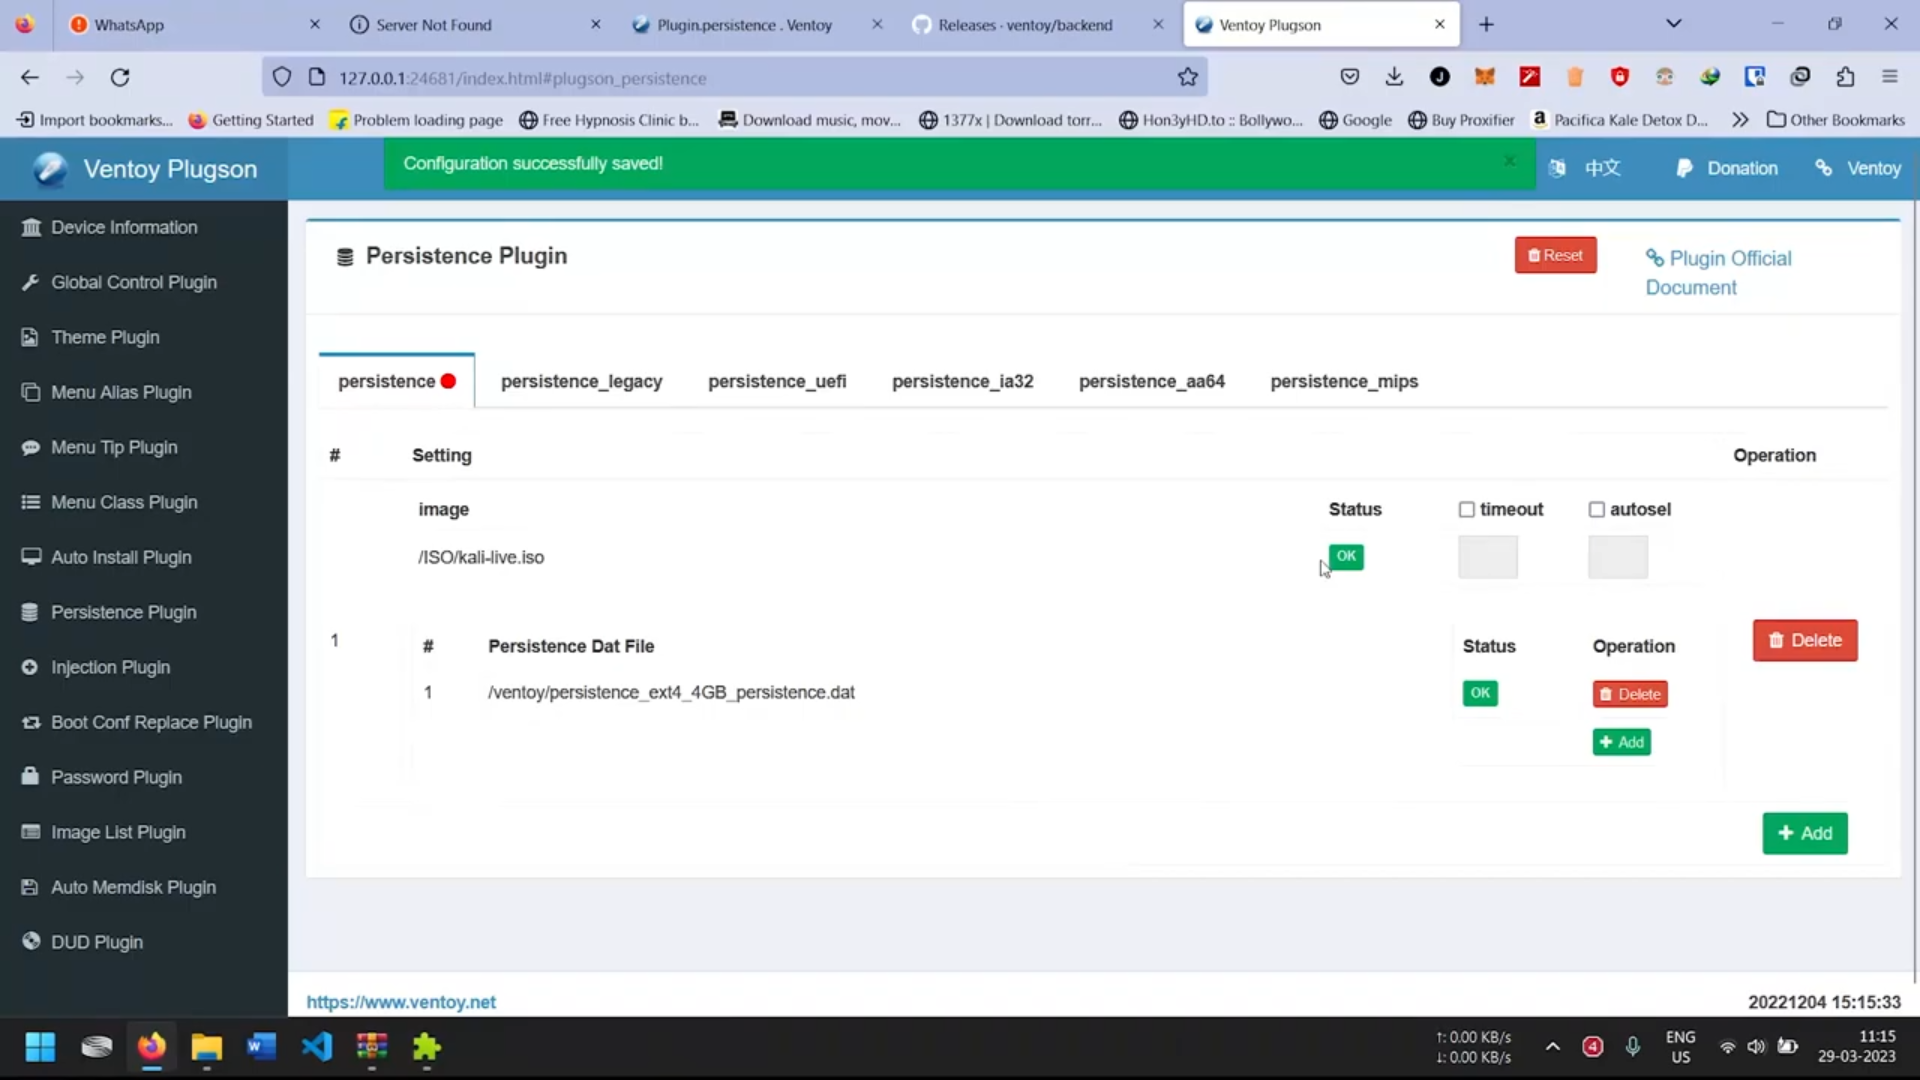
Upon clicking start a local webpage will be launched. Navigate to the "Persistence Plugin" tab and proceed by clicking on it
Follow Exactly
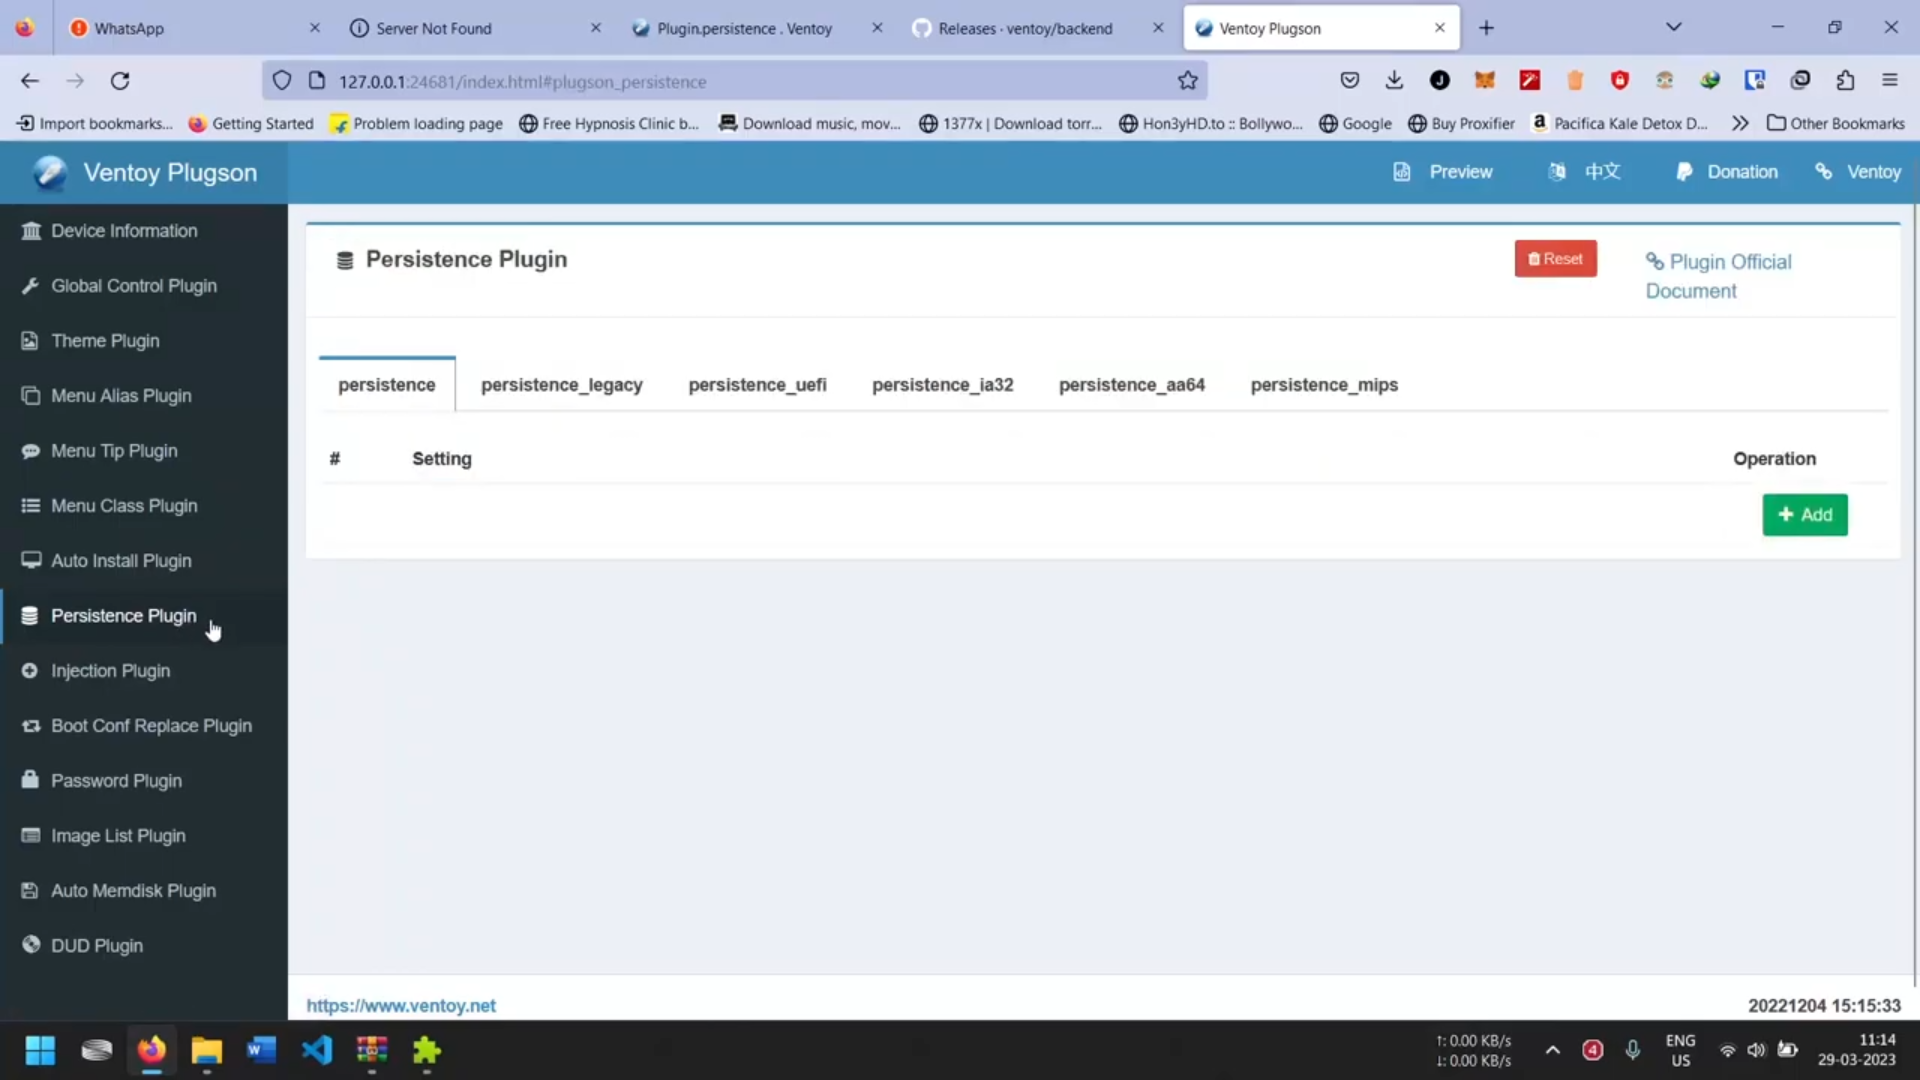.png)
.png)
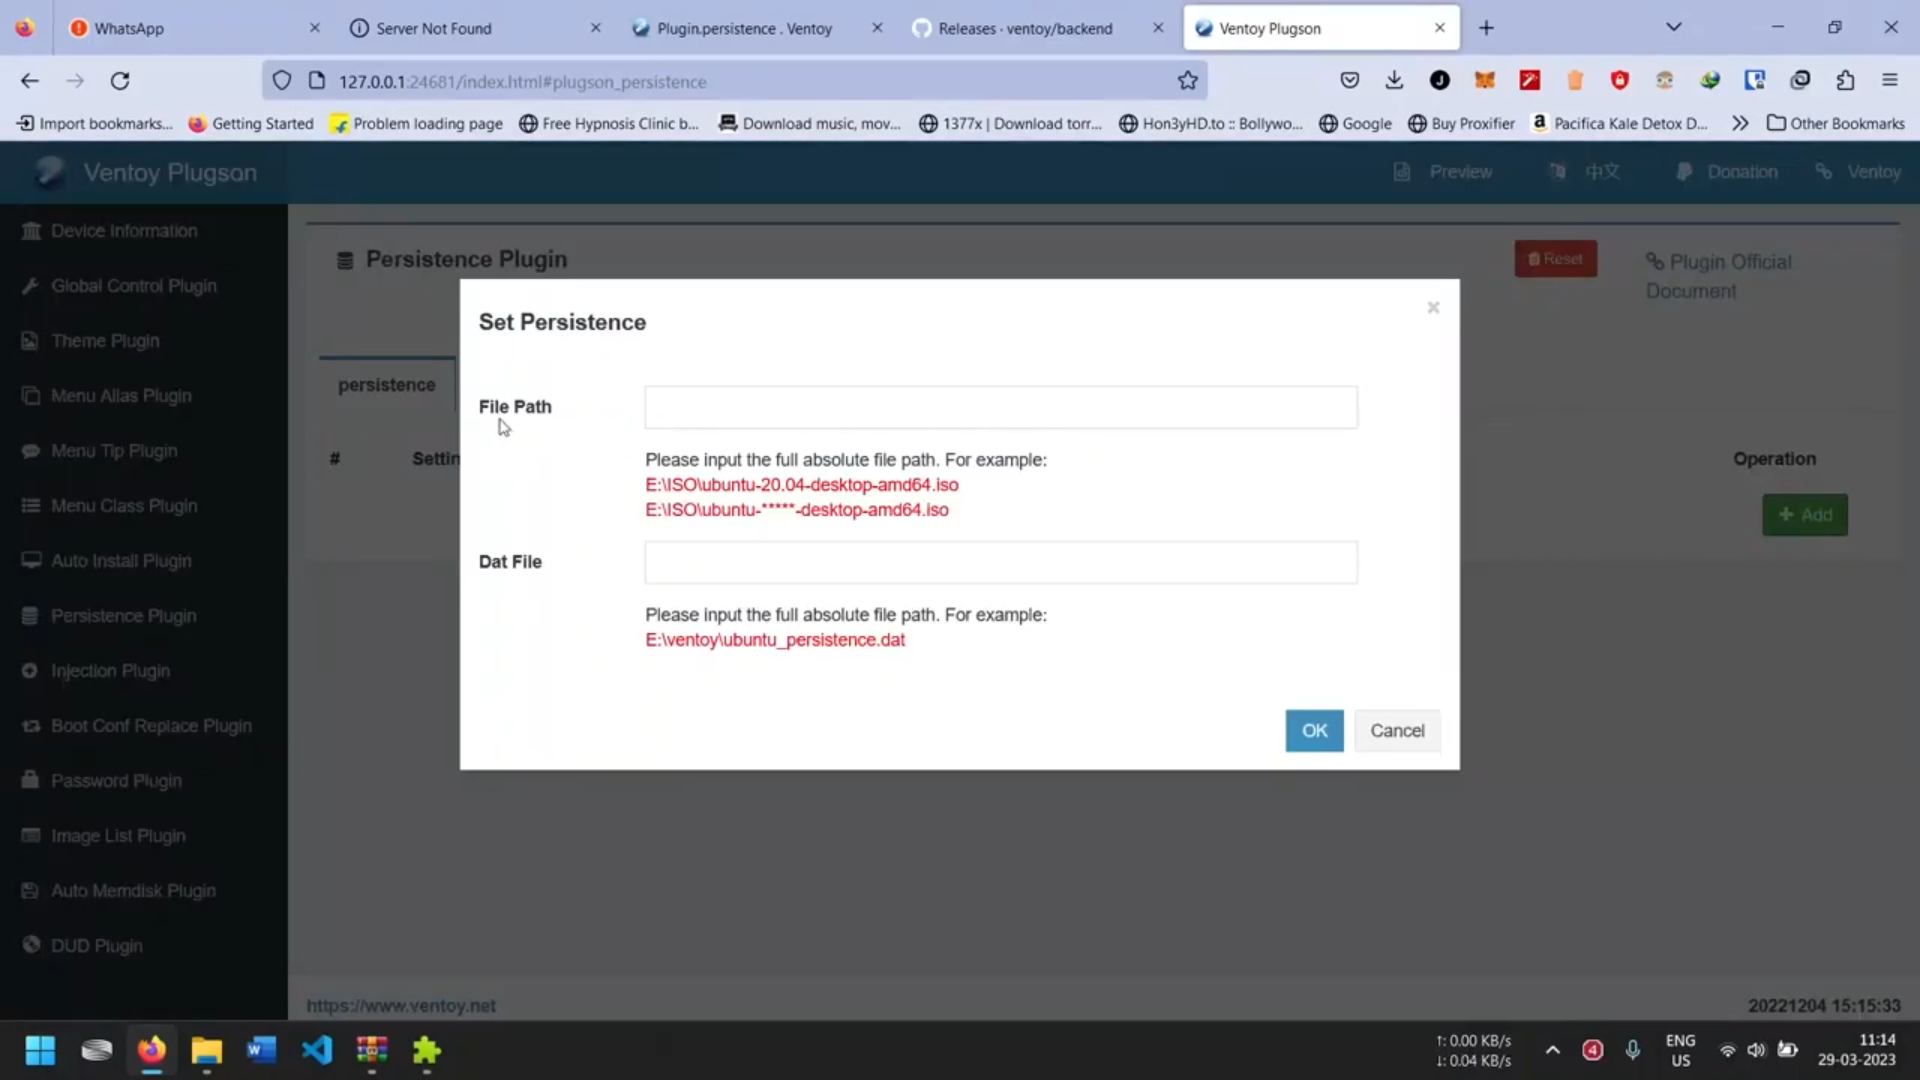
- Click on "Add" (A new pop-up window will appear).
- Enter the precise file location path for your Distro.
- Enter the exact file location path for your .dat file.
- Press okay.
In My Case
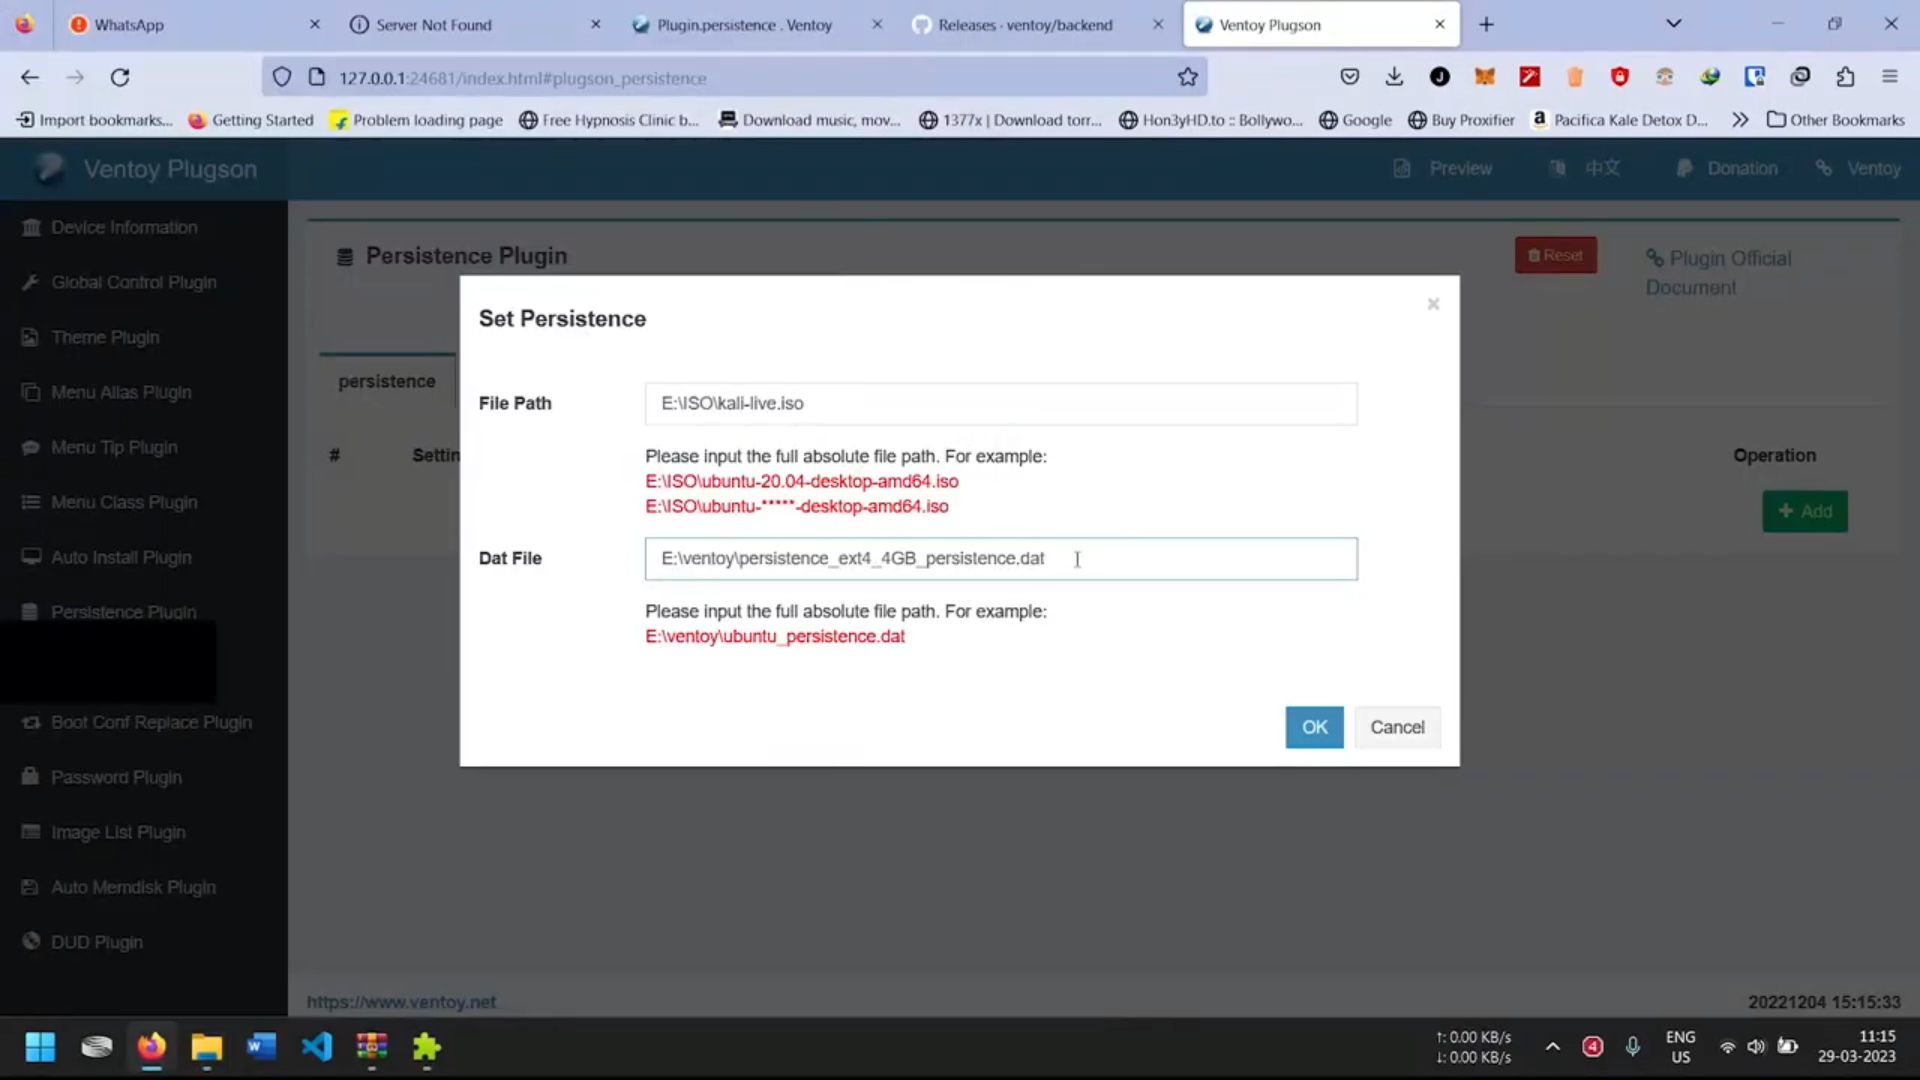.png)
In my case:
E - My 32GB USB drive
Inside 2 Folders ISO & ventoy folder
E:\ISO\Kali-live (I like my Distos seperate in a folder so)
E:\ventoy\persistence_ext4_4GB_persistence.dat
upon completion click OK
Auto Verification by Plugin
.png)
The status lights will turn GREEN if the plugin successfully locates both the distro and .dat file locations.
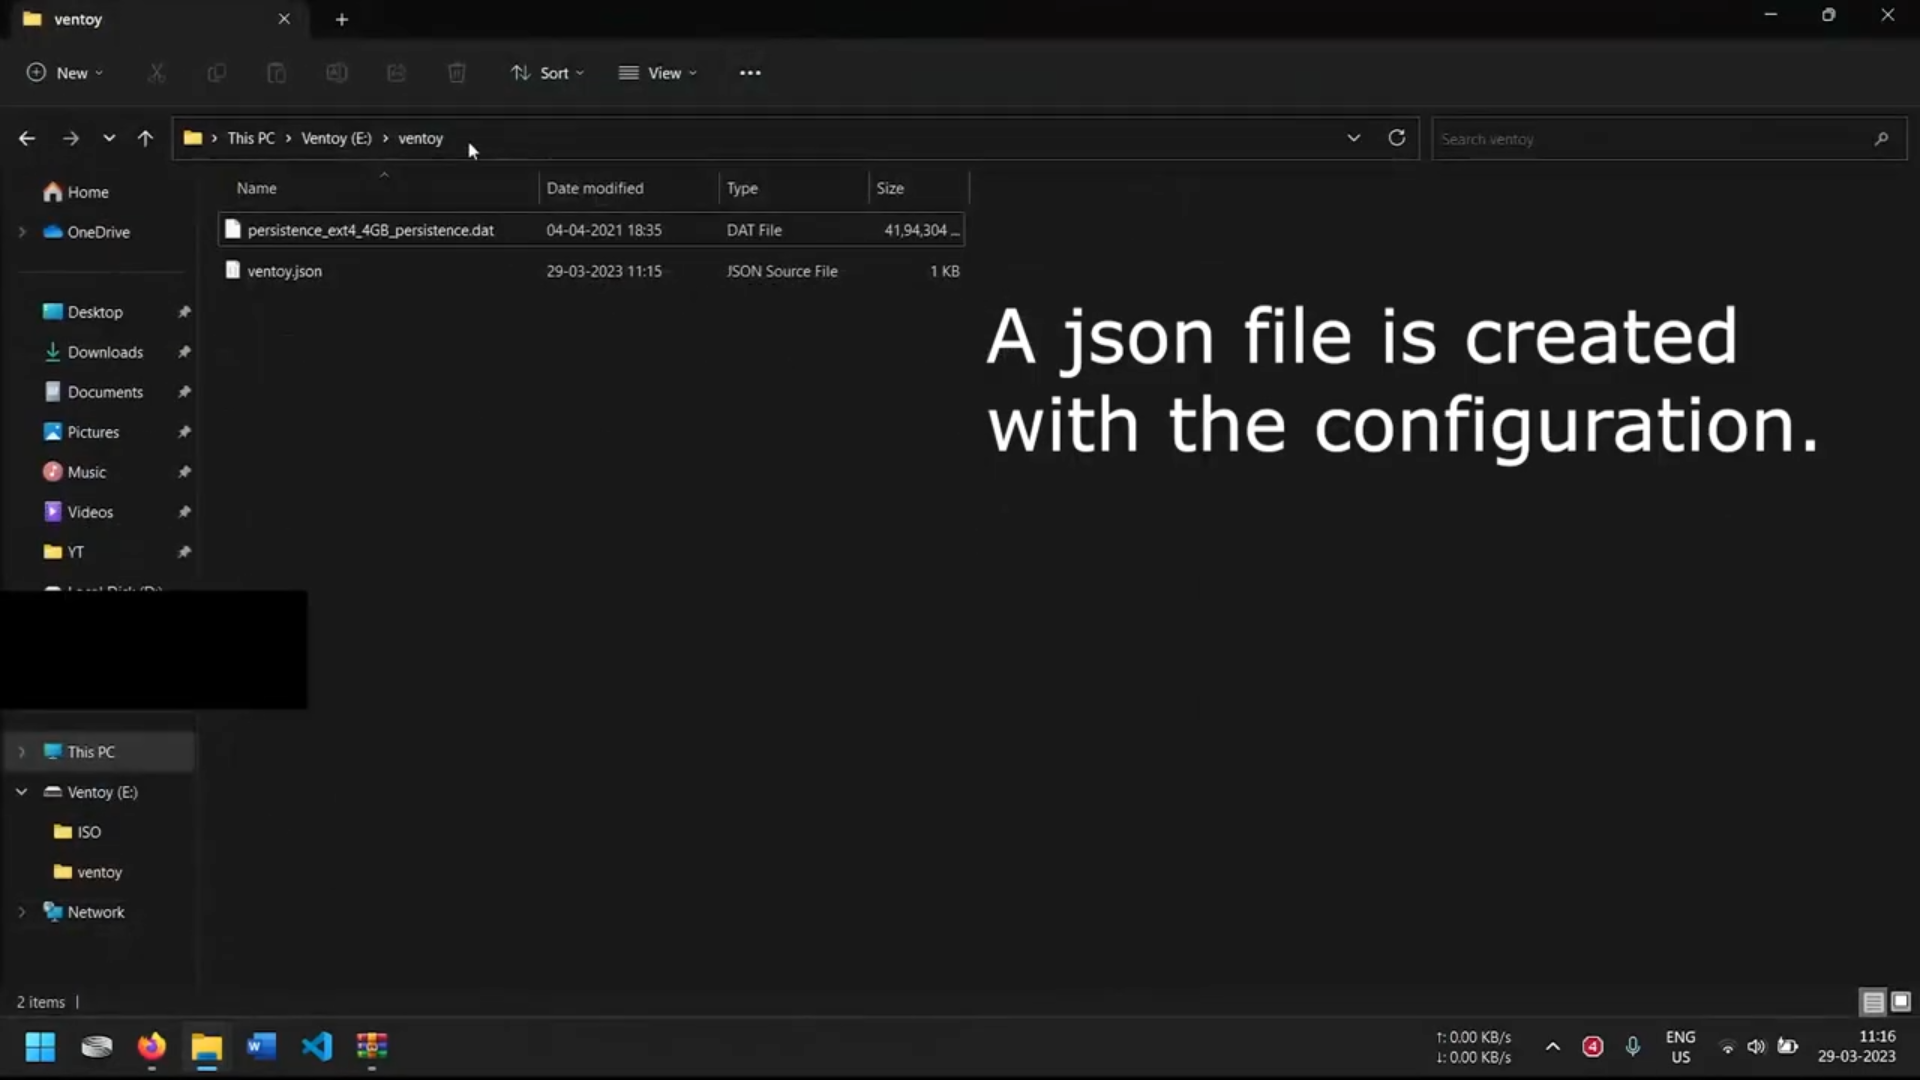
.json File Is Created With Configuration
.png)
- Close all open applications and processes, including the Plugson plugin that was previously initiated.
- Safely remove the pendrive from your computer.
- Shut down your computer.
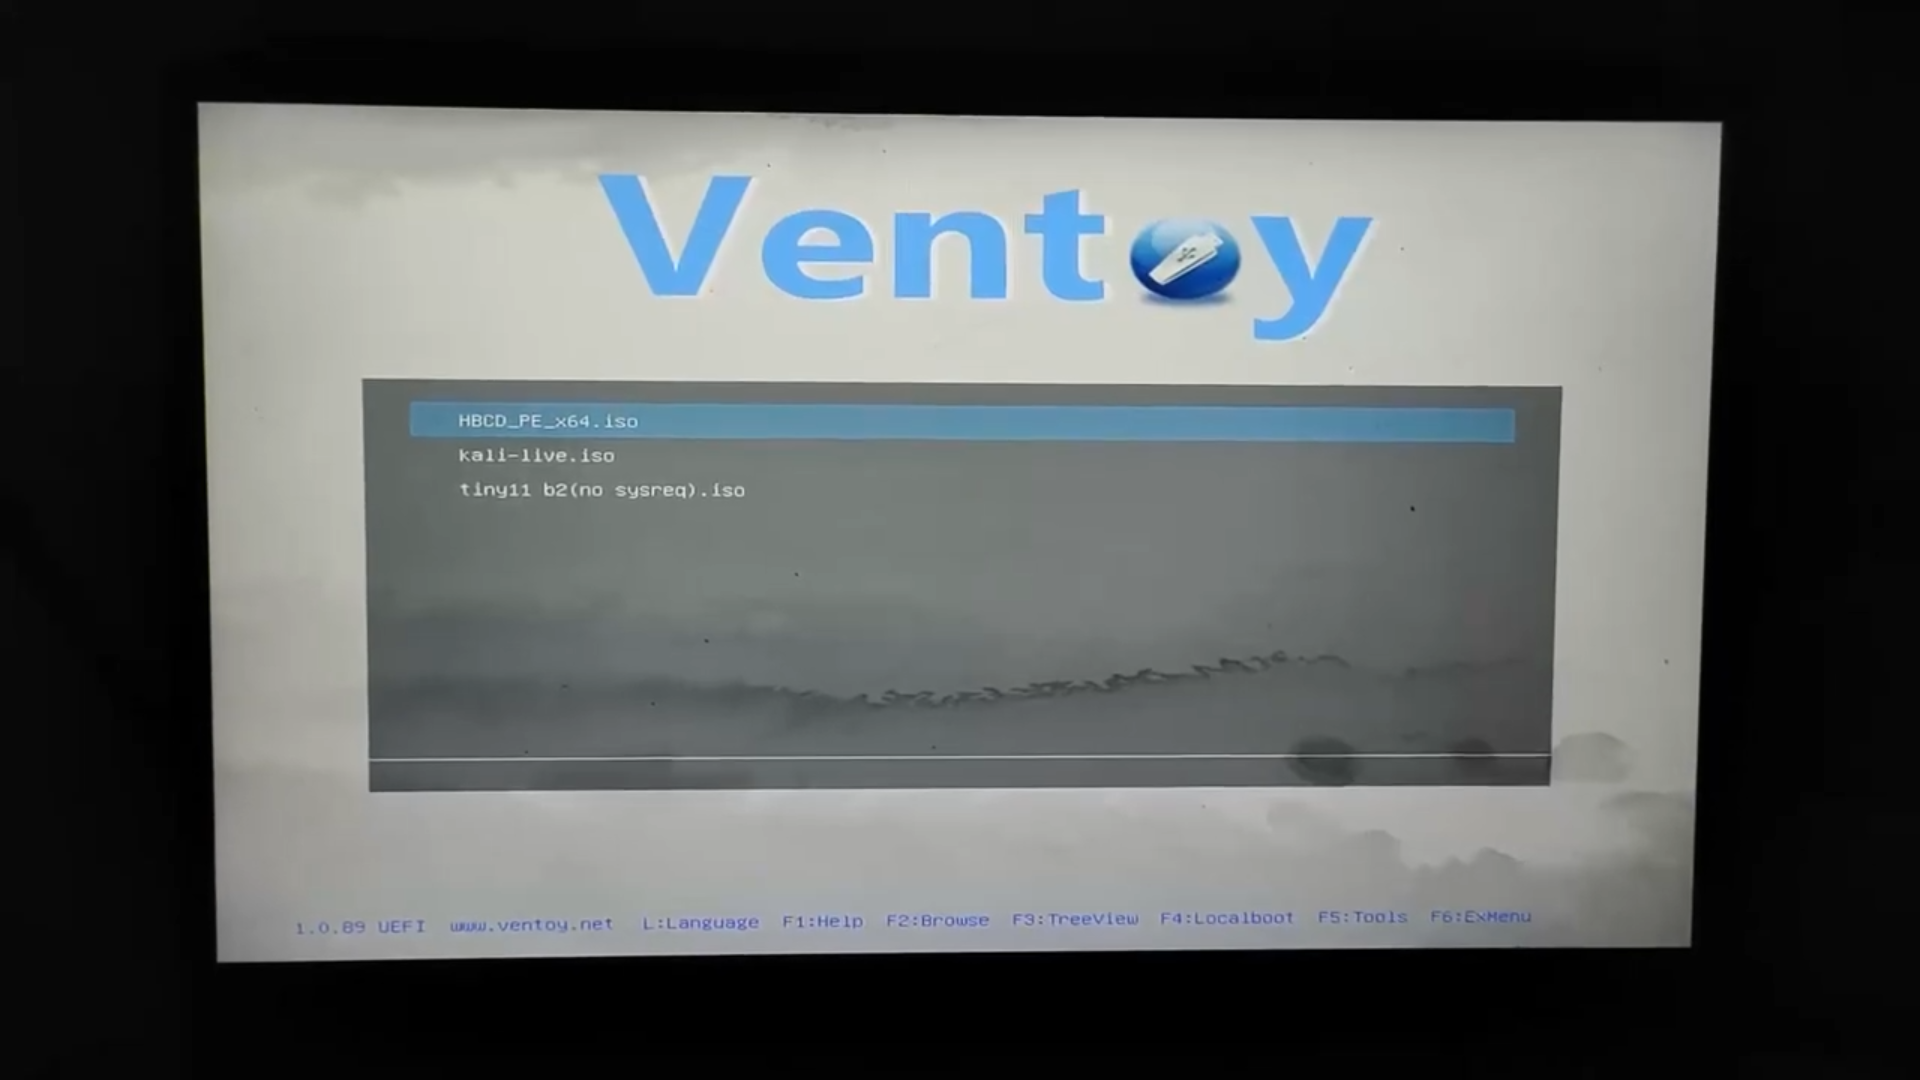
Boot From USB Upon Start
.png)
Select your persistence distro
in my case Kali-live.iso
Next
Boot in normal mode>Boot with /ventoy/persistence_xx_xx.dat
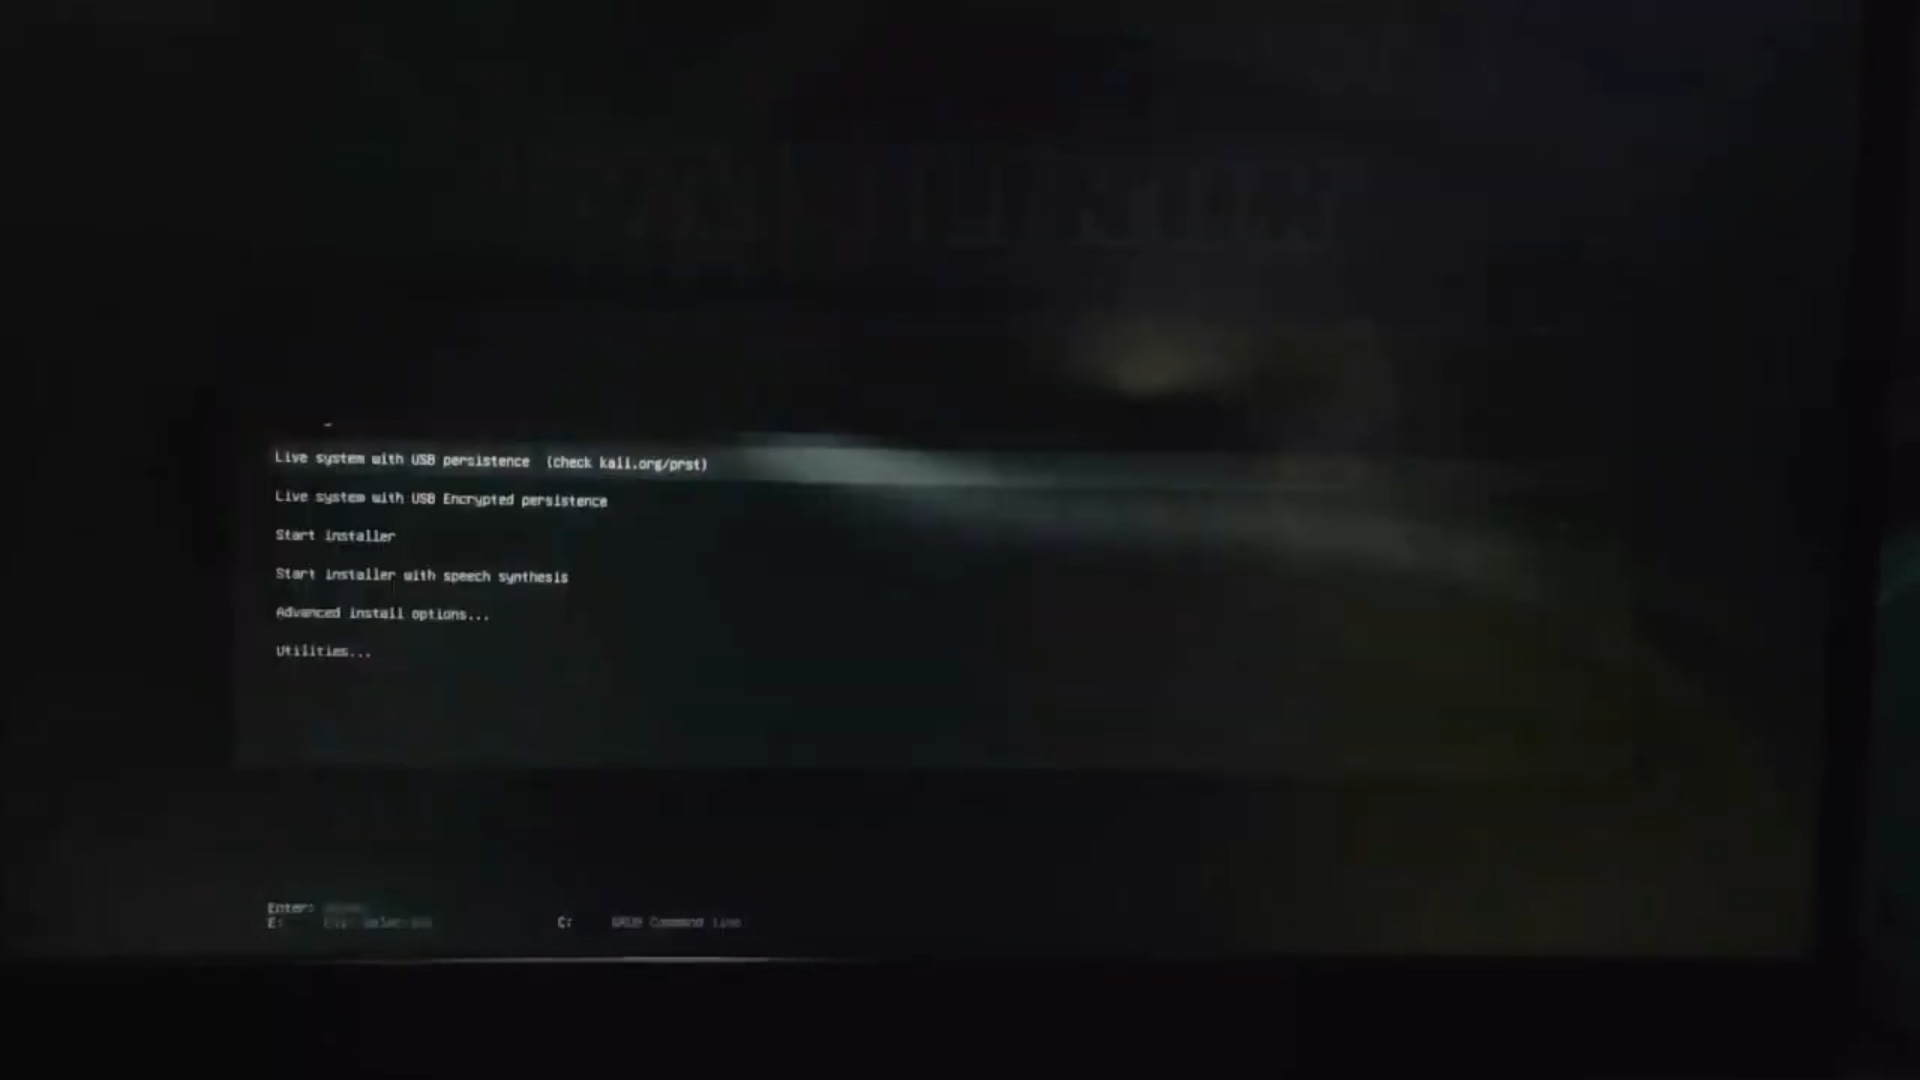
Select "Live System With USB Persistence"
.png)
To Verify
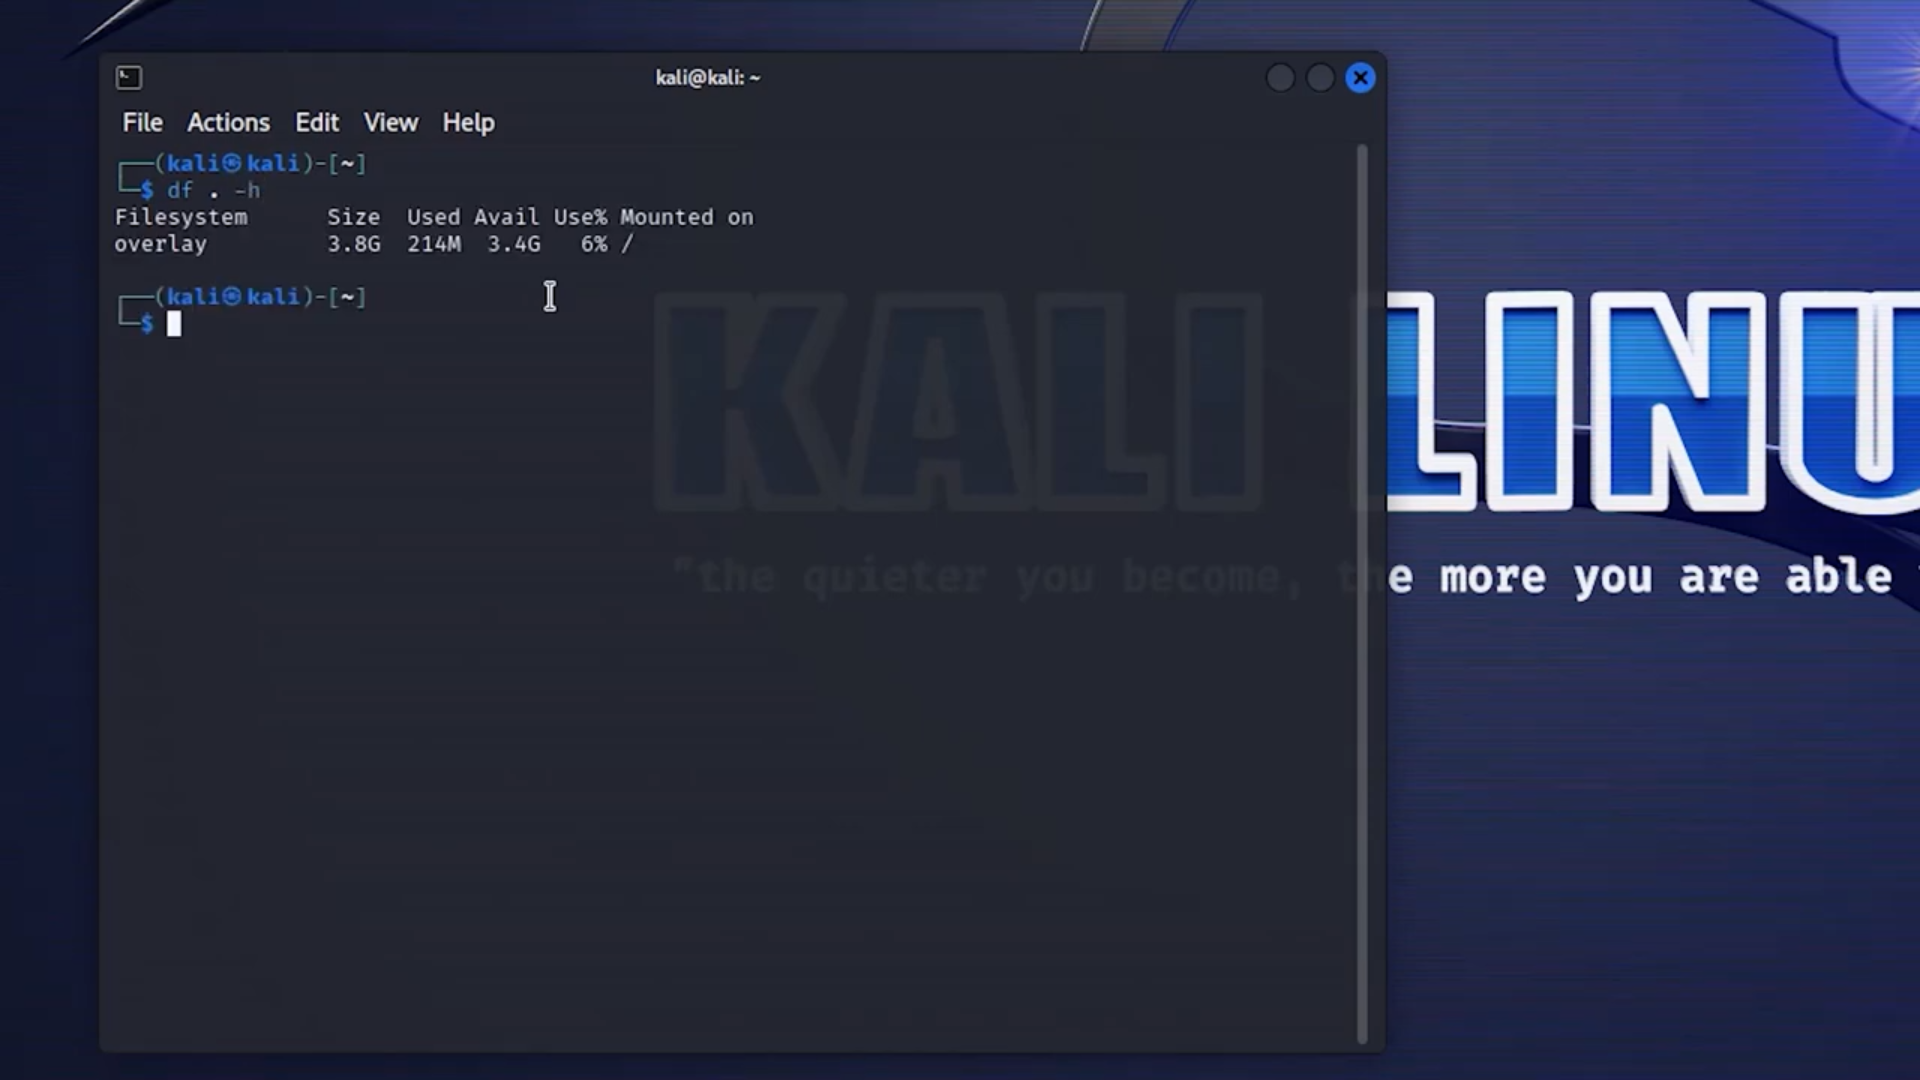.png)
Open terminal and type:
df . -h
Done 👍
Feel free to leave comments down below if you have any doubts or require further clarification. Additionally, if you have suggestions or if there's a specific topic you'd like to be covered in a video or instructable, please share your thoughts. Thank you.