USB Mouse W/ Circuit Playground
by OnTheBrink in Circuits > Gadgets
1917 Views, 8 Favorites, 0 Comments
USB Mouse W/ Circuit Playground
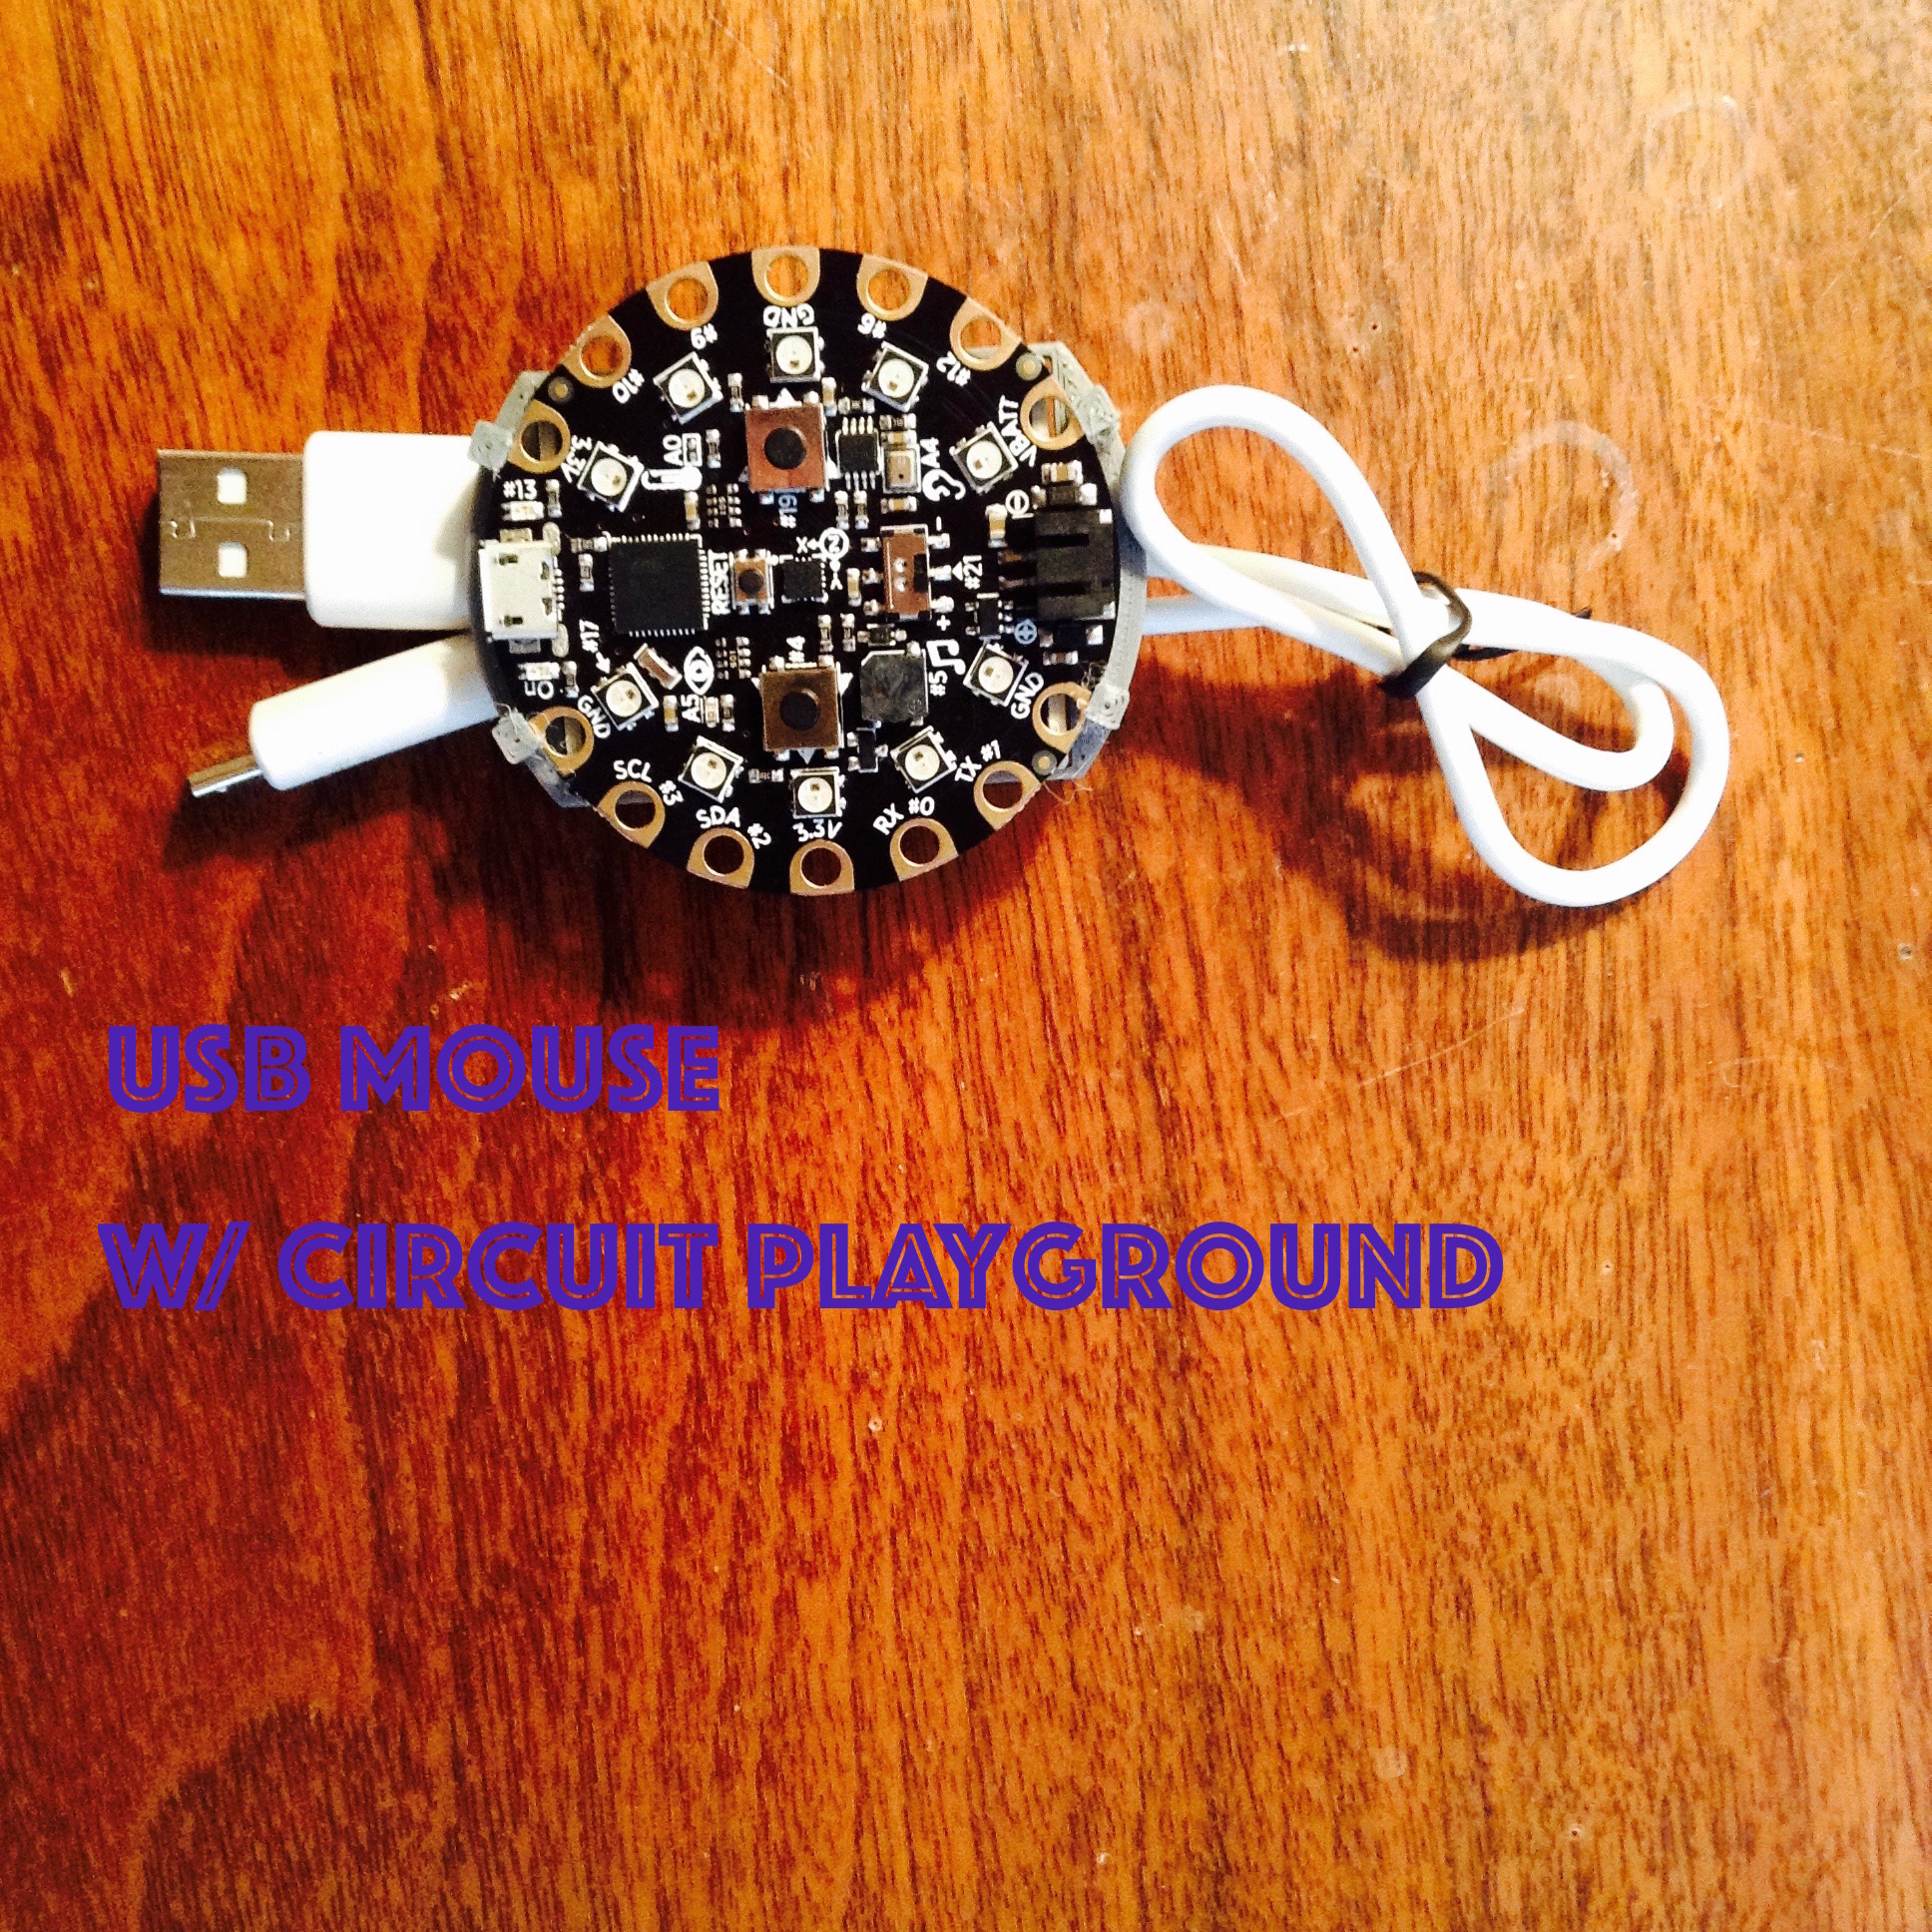
Hello everybody! Today, I'm going to show you how to make USB Mouse with an Adafruit Circuit Playground.
Parts
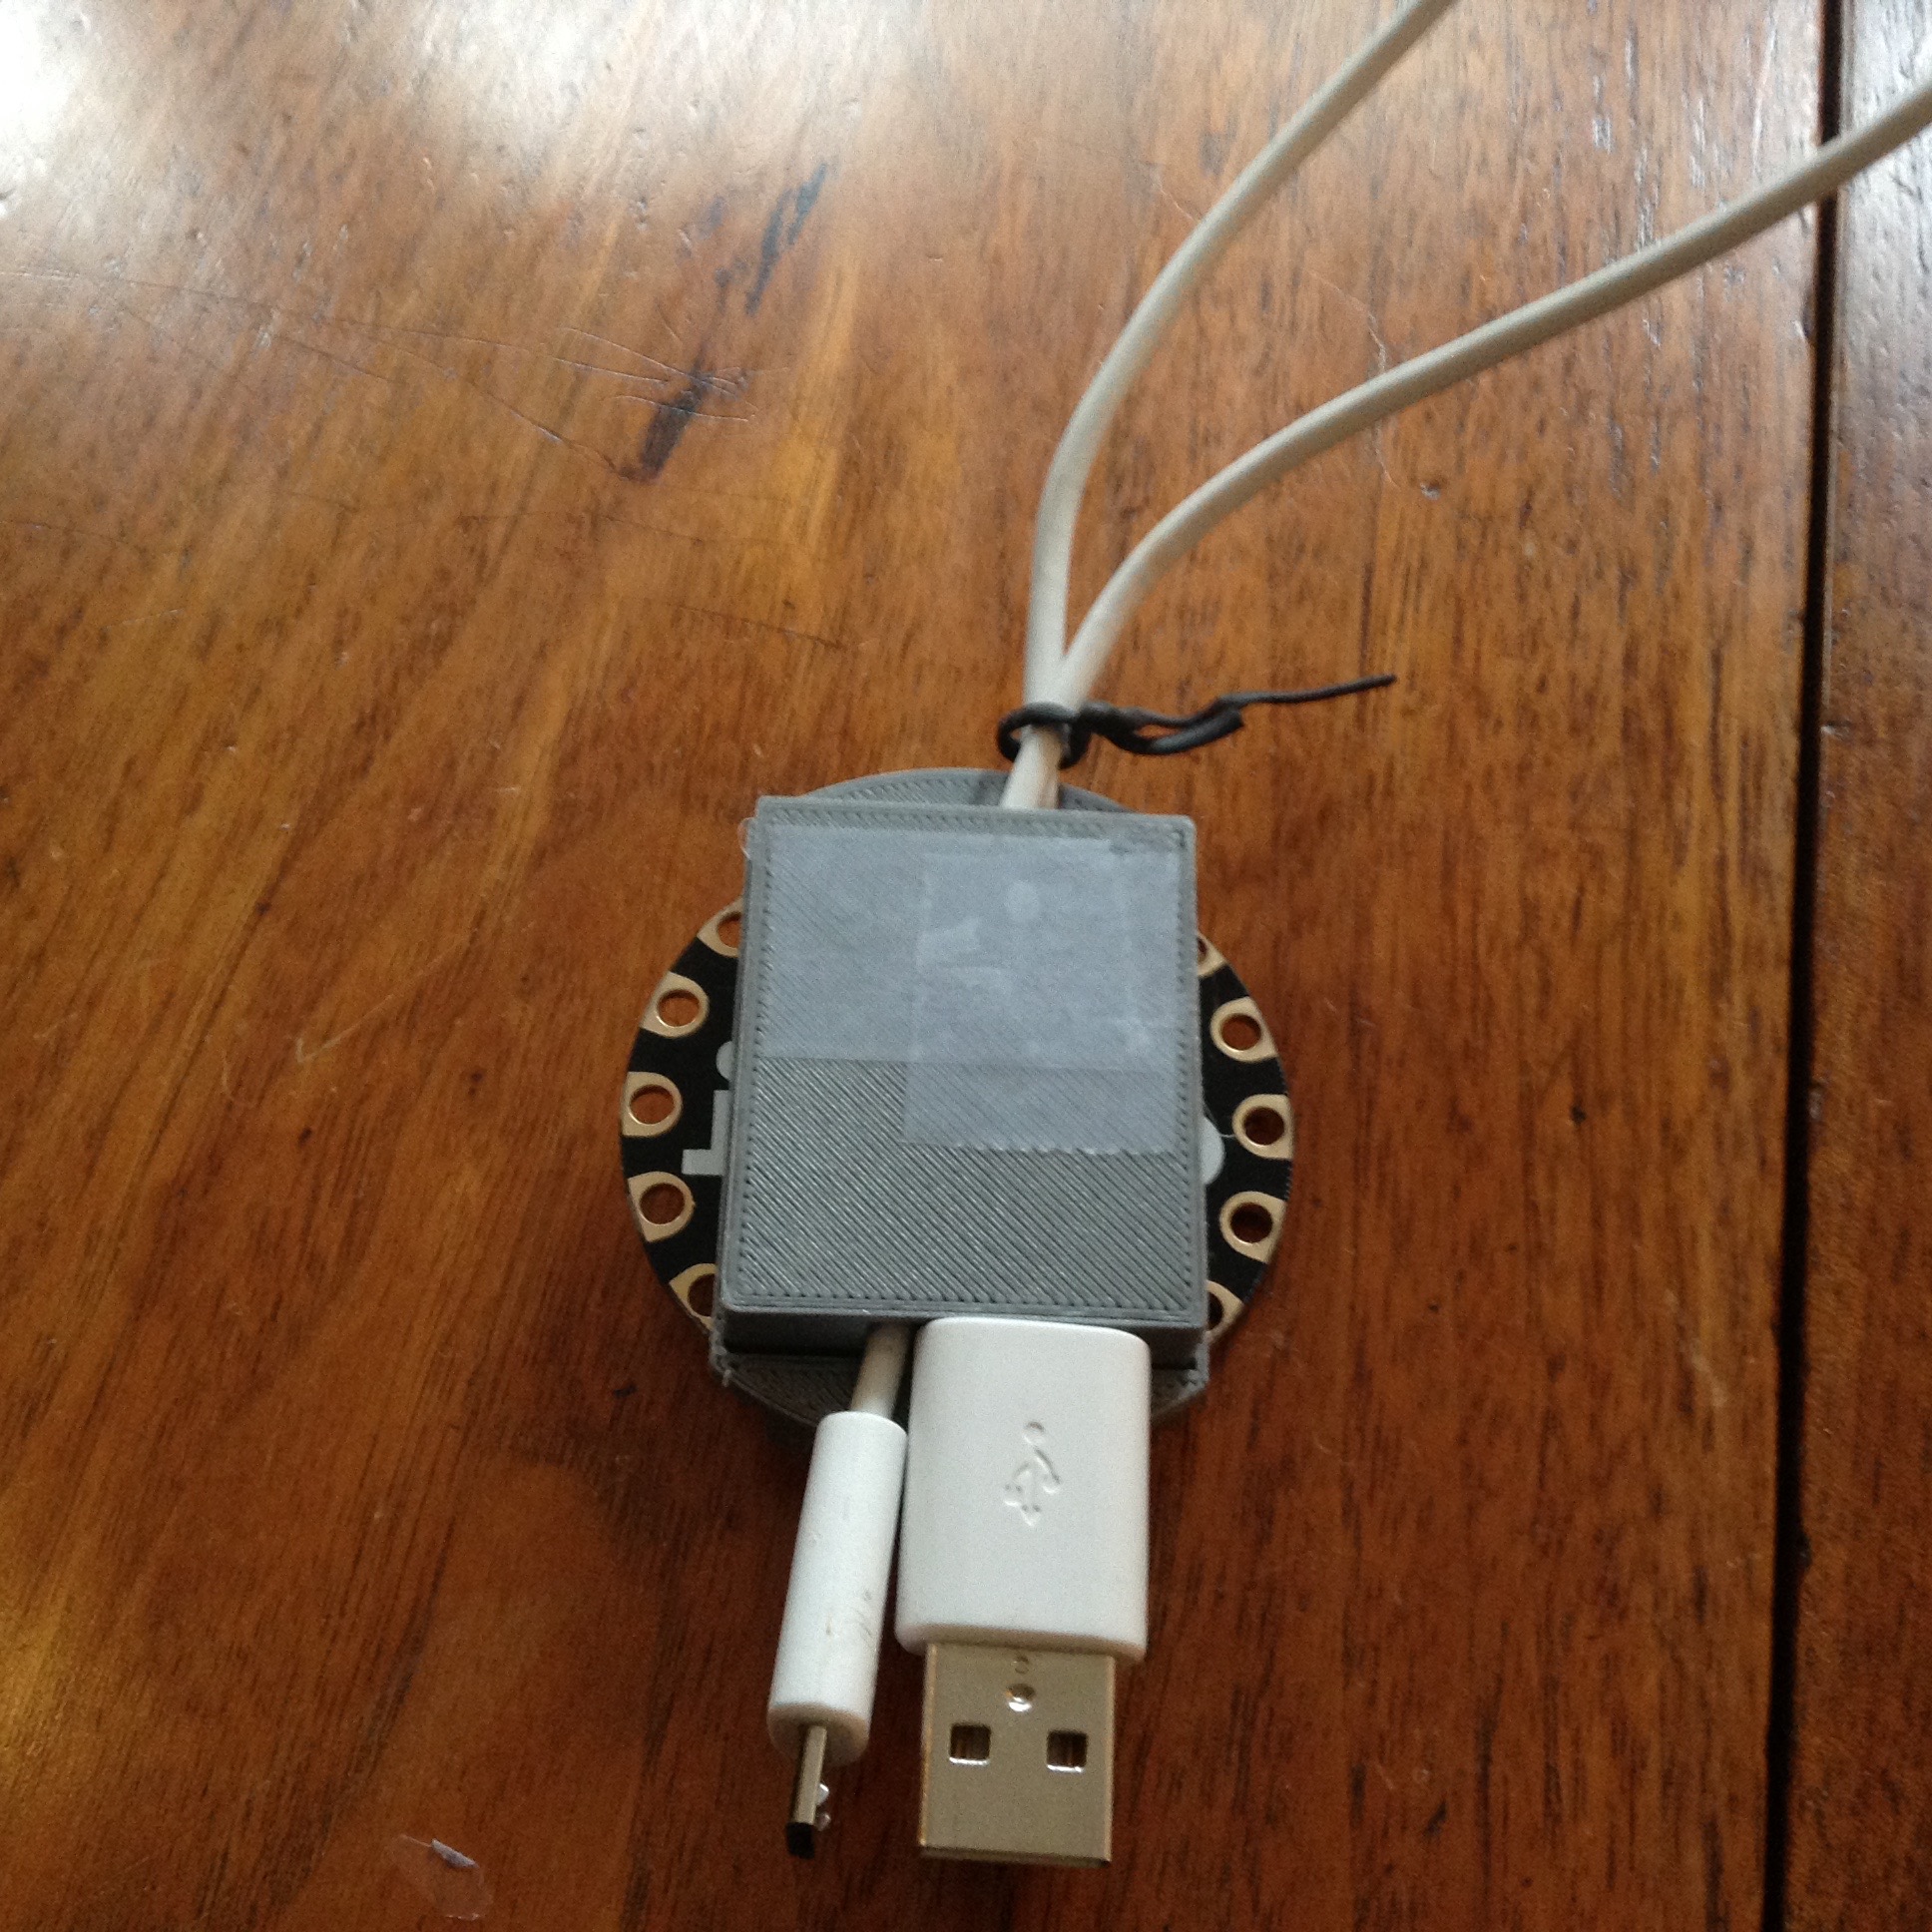
For the mouse, you will need:
- A 3D-Printer w/ PLA Filament
- Circuit Playground
- Arduino IDE
- Micro USB Cable
Printing the Body
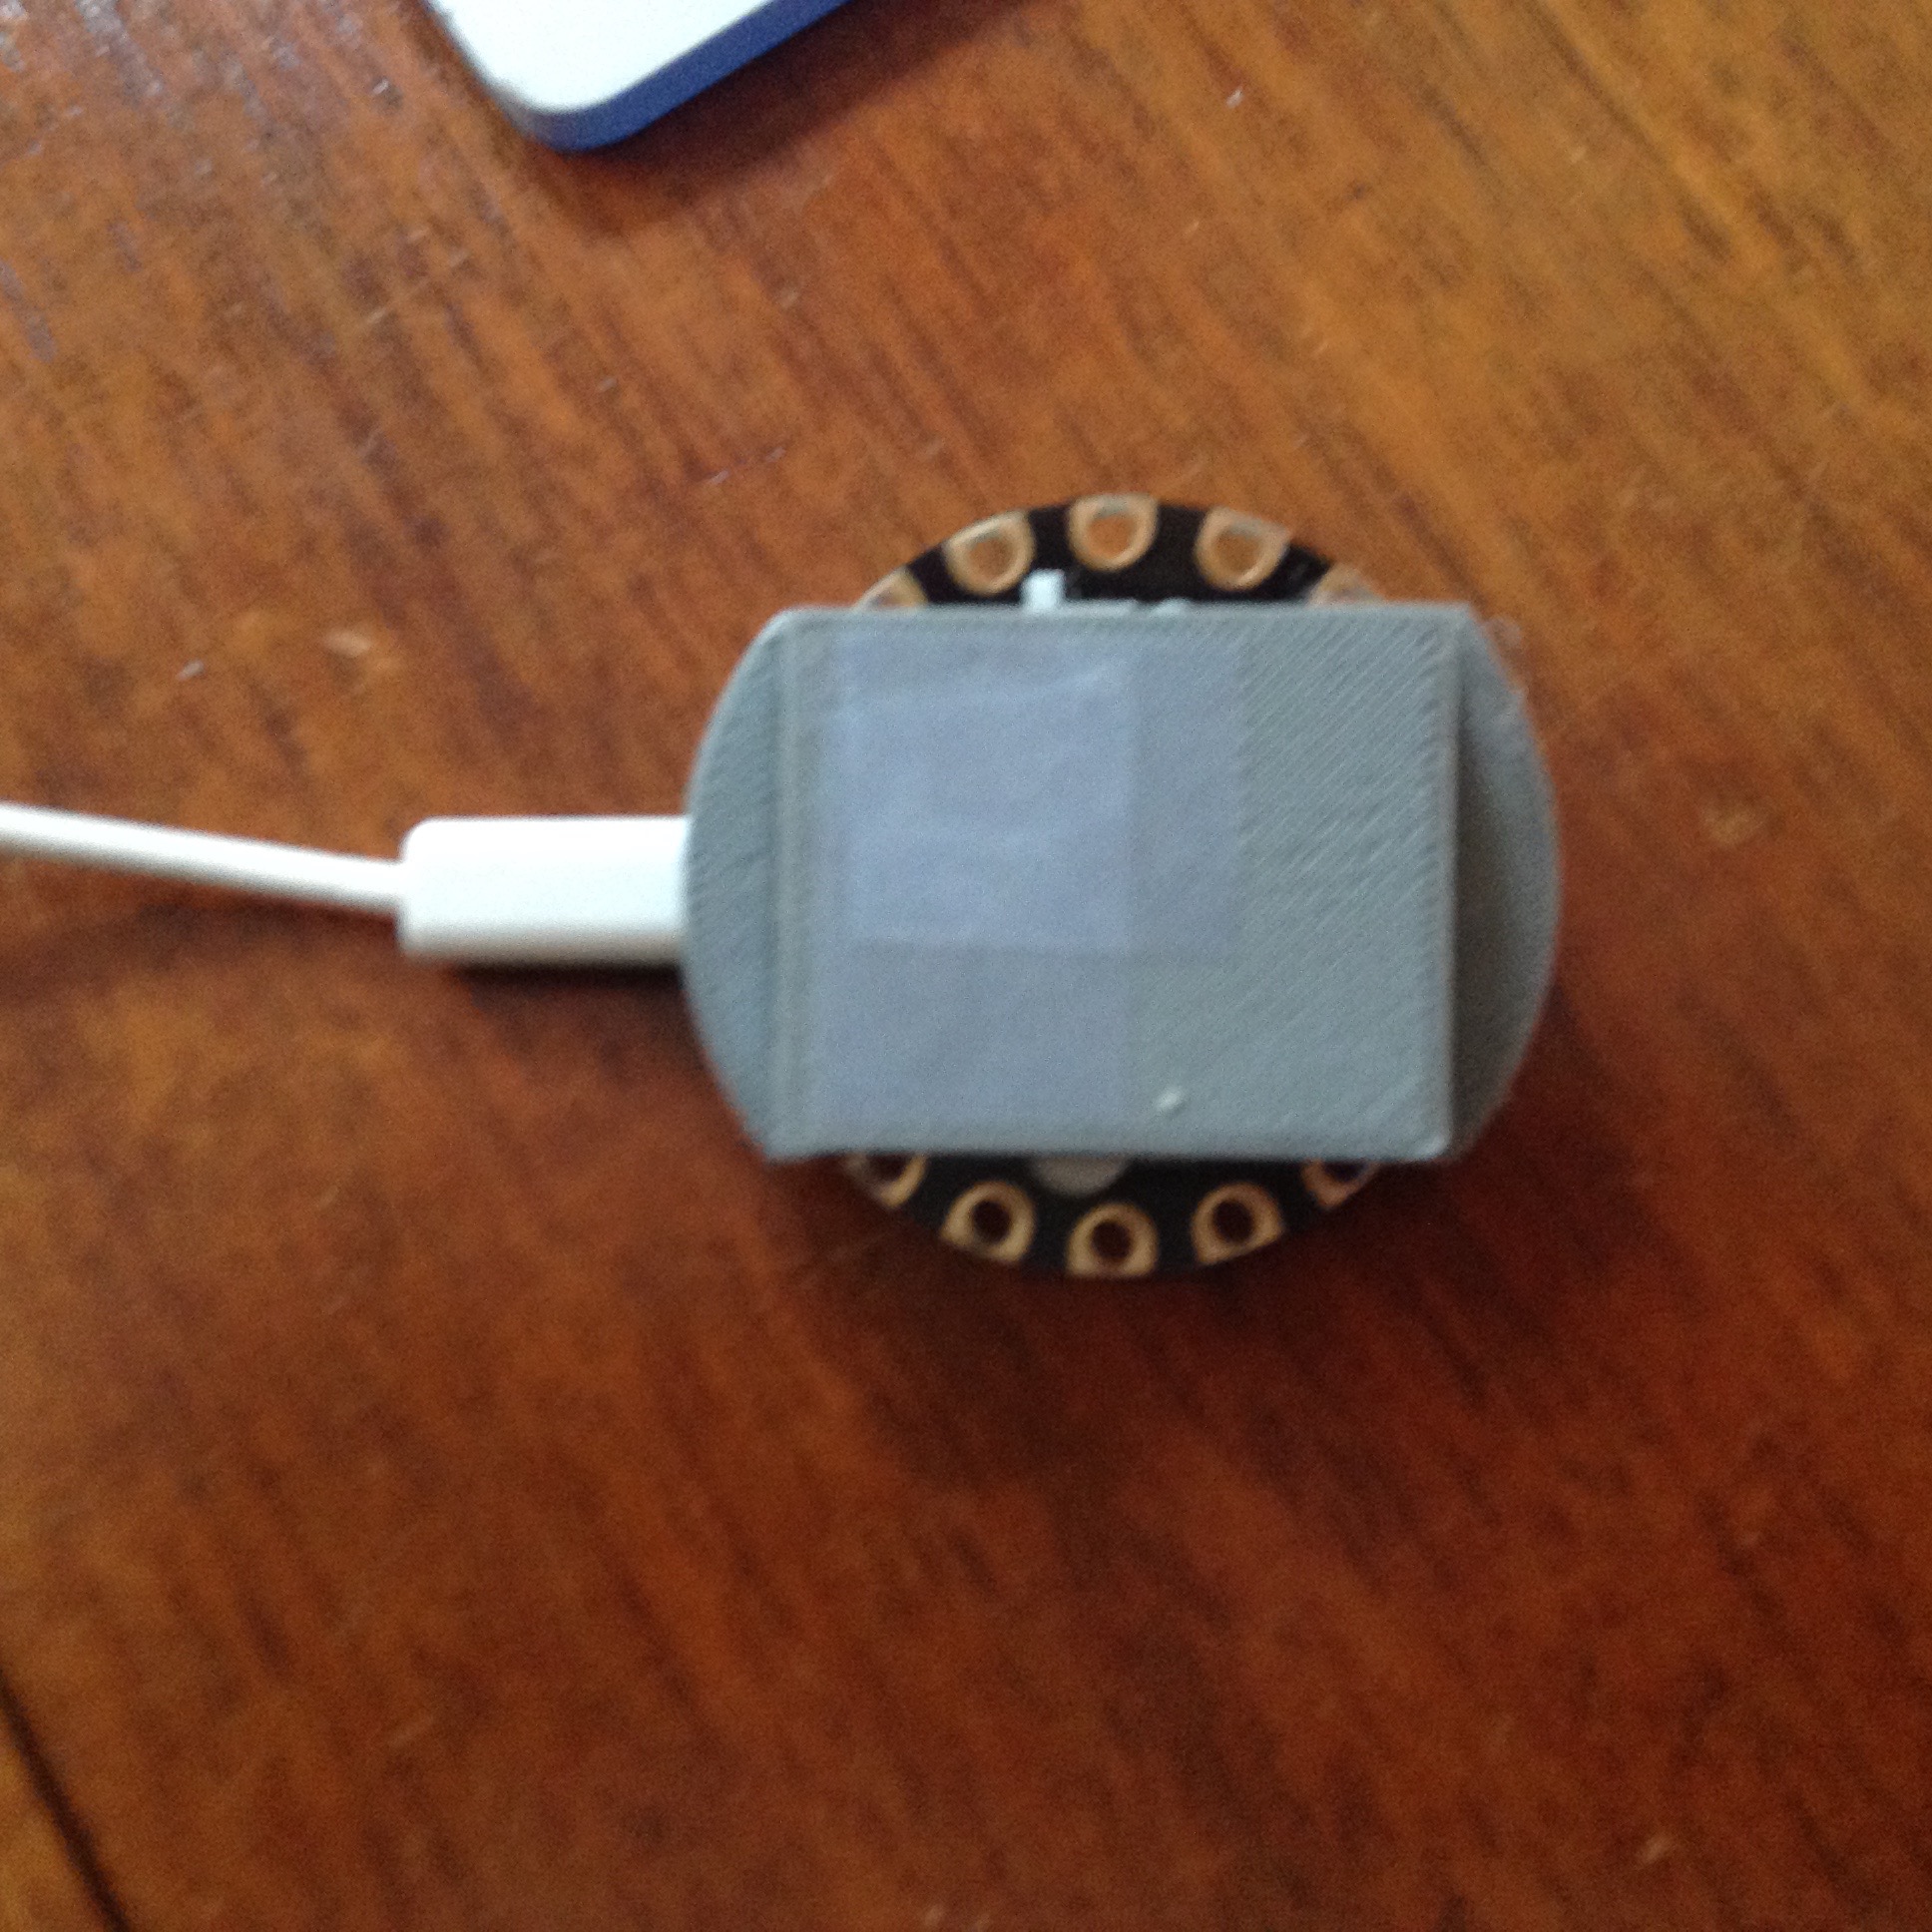
This file was designed by Thingiverse user mstewmakes.
***STEPS IF YOU HAVE A 3D PRINTE
R Upload these files into your SD card or upload them to your printer. Keep that print time in mind when scaling the files up or down. Load the new g code files into your 3D printer (I use a PRUSA is MK2, so I just put the files onto a SD card, but if you have a wireless printer, just upload the files wirelessly). Start the print and you are done.
***STEPS FOR SOMEONE WHO DOES NOT HAVE A 3D PRINTER
First, Choose the printing service you want to use. I recommend that you use 3D hubs, since their file sharing system is very easy to use. Upload the files and chose the hub you want to use. The hubs also give you the option of filament you want to use. Most filaments would be fine for this project, just use common sense when choosing. For example, printing this crossbow in a super flexible filament would not be that great of an idea, since the functionality of a crossbow is based on having a tense frame. The site will guide you through payment and the hub will give you an estimated delivery date as well
Code & Assembly
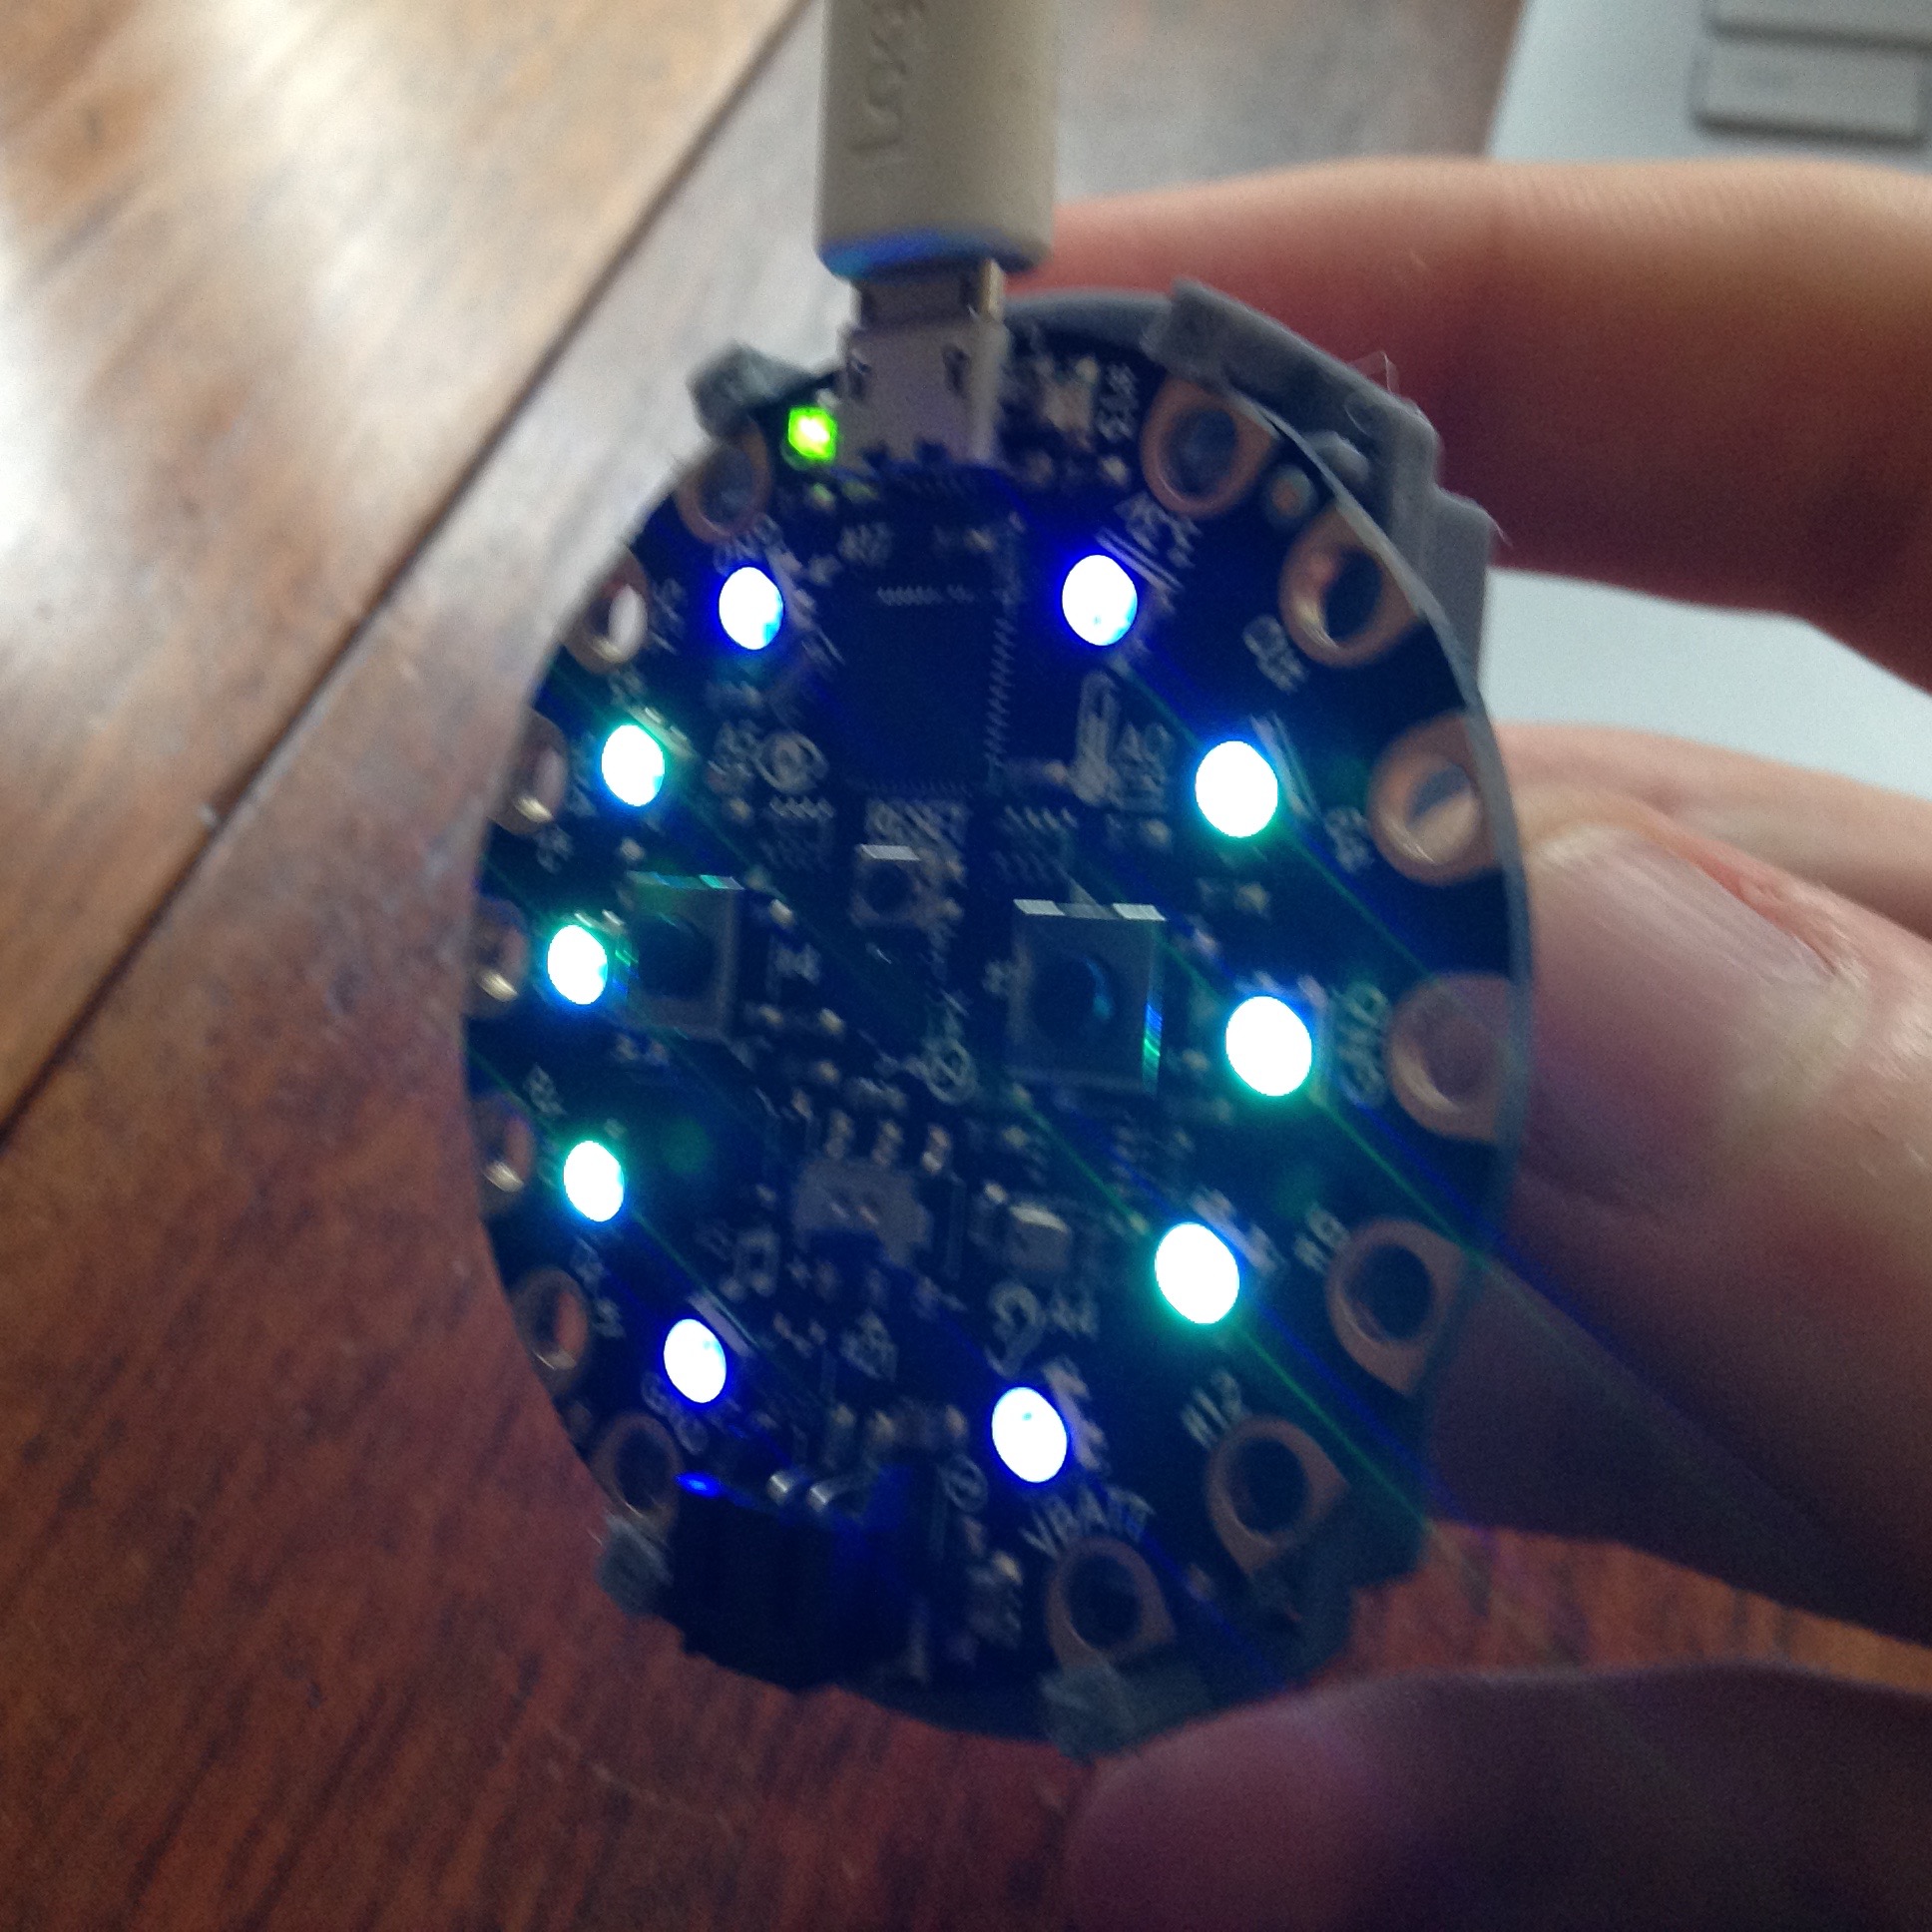
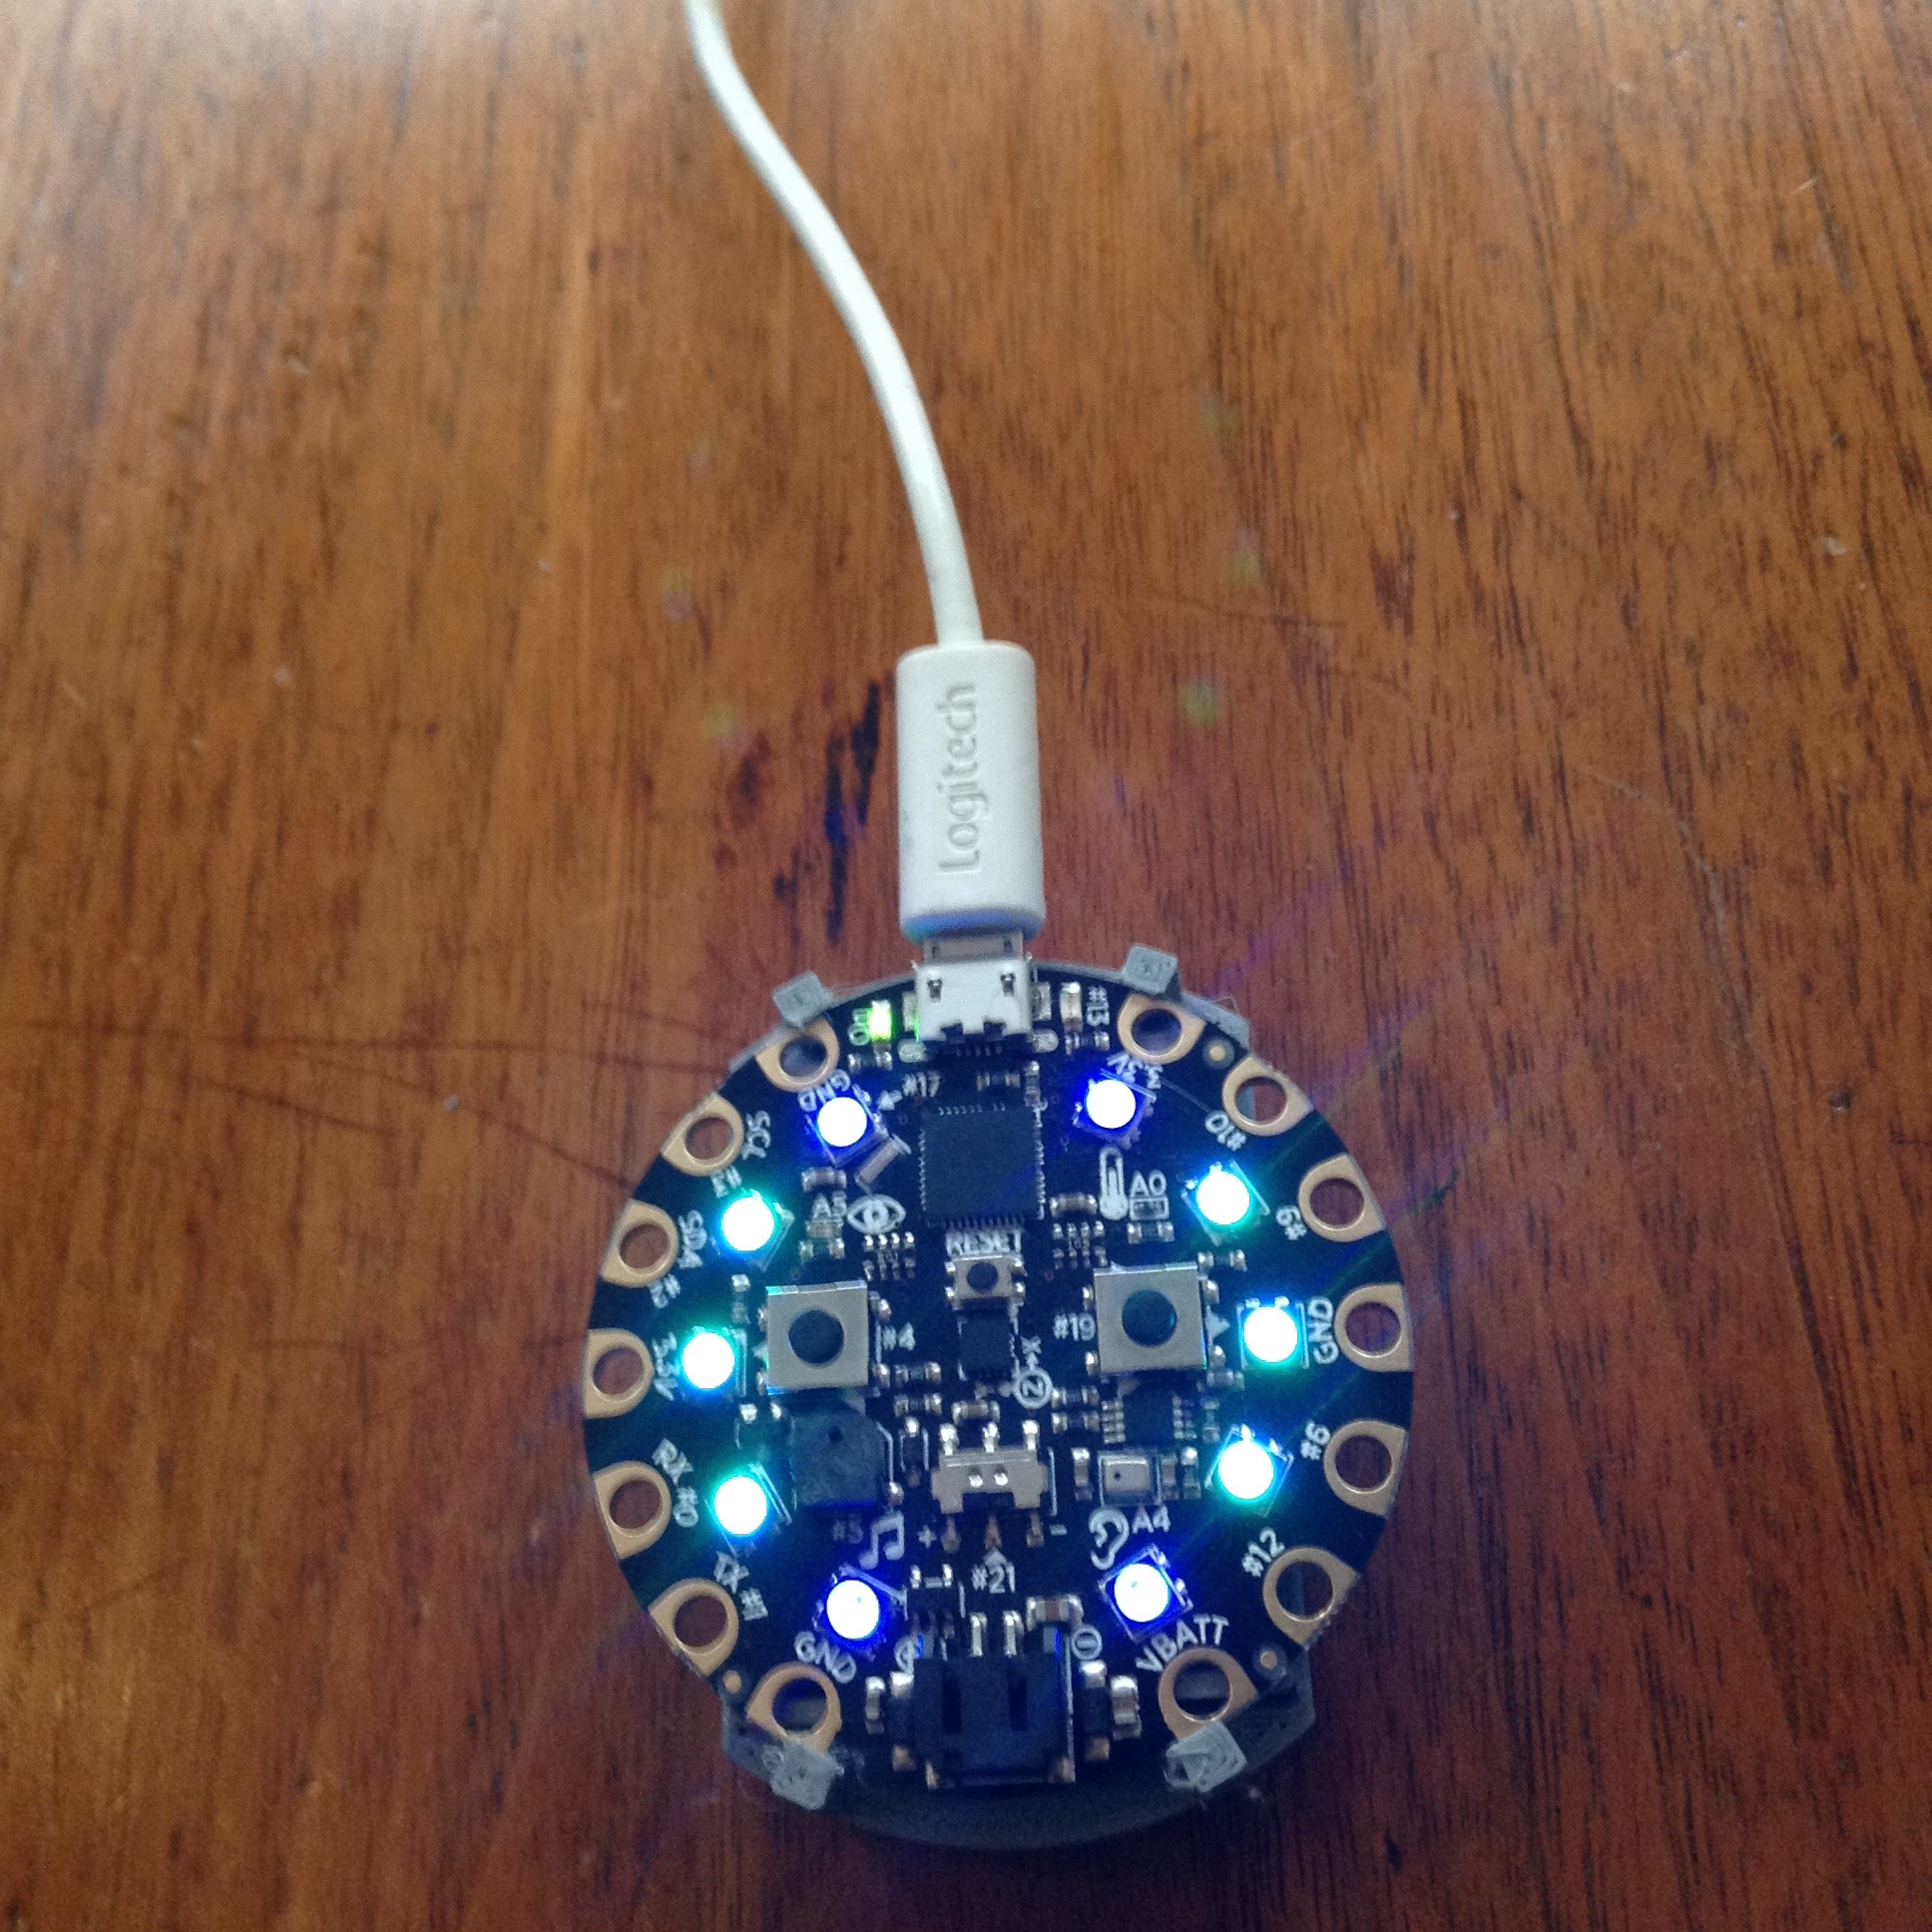
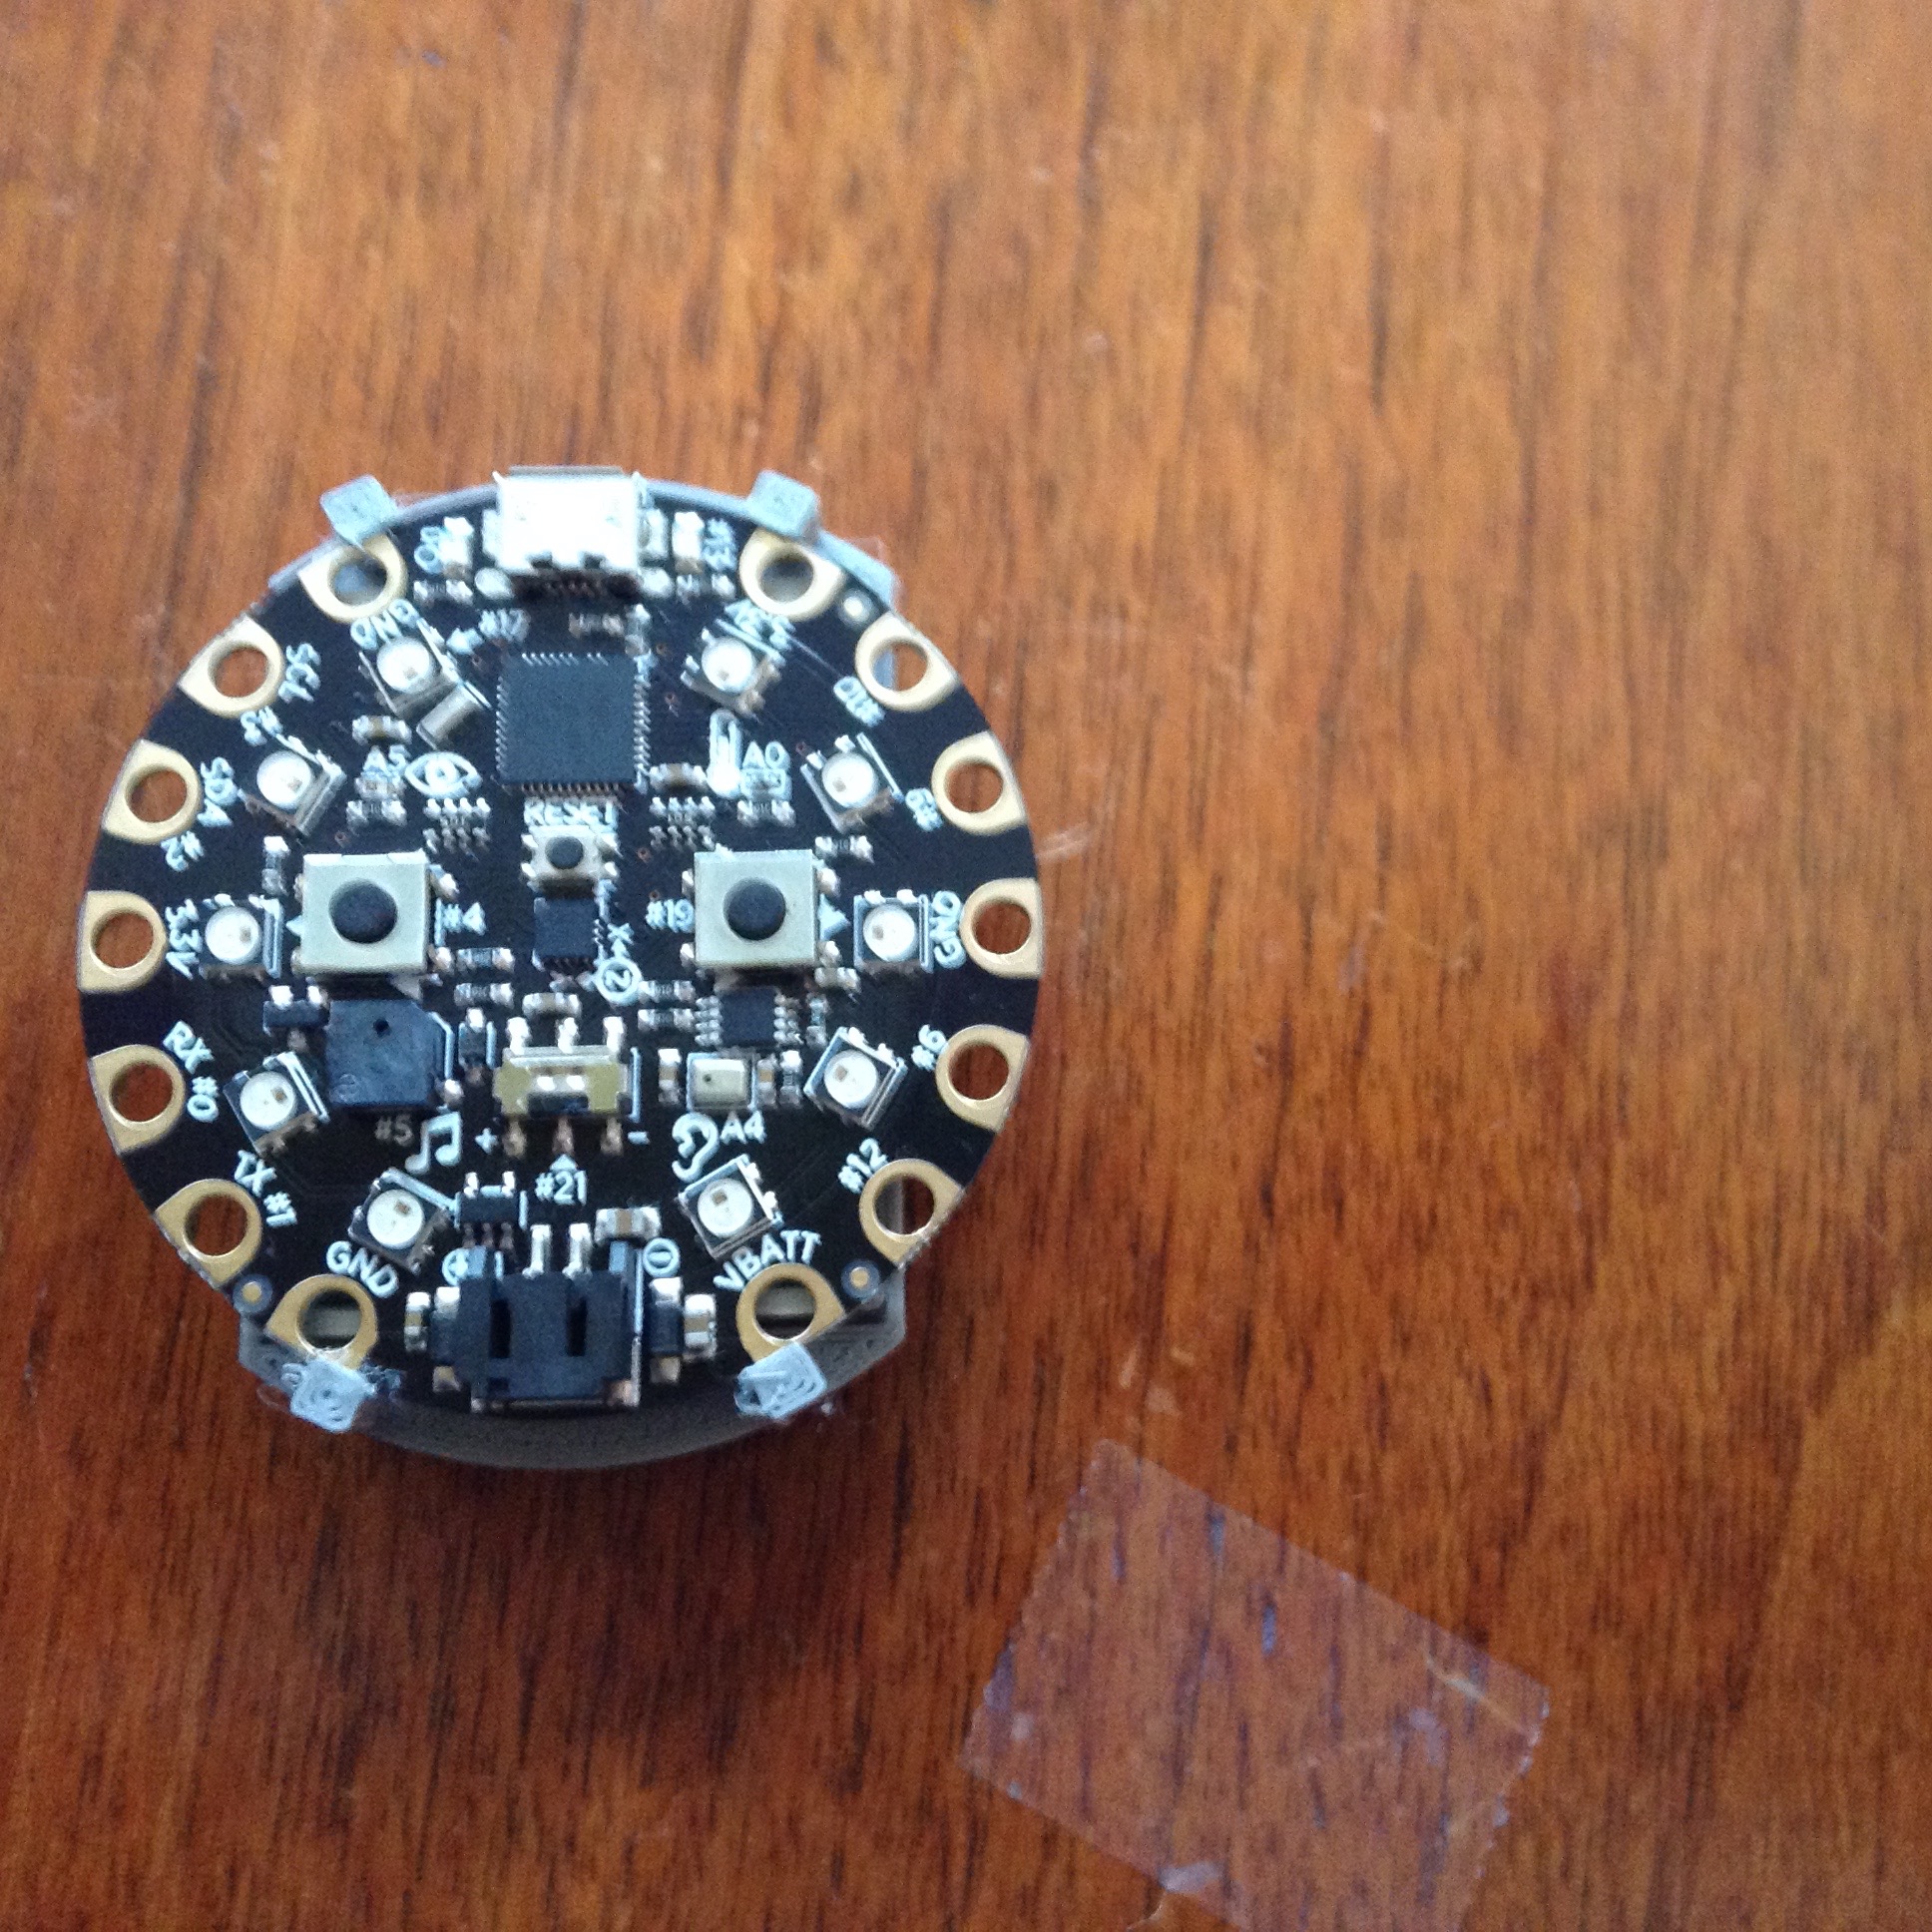
Here is the .ino file for you to upload to the board. The first block of code after the void loop() governs the color of the LED and the rest dictates how the mouse works. I recommend reading the code notes to learn more about how the program works, if you want. For assembly, all you need to do clip the Circuit Playground to the "base" and attaching the backpack to the bottom of the "base" piece. The hollow part of the backpack can be used to store the USB cable. That's pretty much it for this project. Thanks for reading and, as always, Happy Making!