U-Lock Holster

I was considering buying a U-Lock holster, like the nice leather ones made by Mission Bicycles in San Francisco. However, I was not sure if I would like that means of carrying my lock, and I wanted to try it out first. So I looked around the house to see if I could just make one instead, and found a roll of sew-on Hook and Loop (Velcro) material, and I was off. It came out pretty good and I commute with it for a while, with no issues. I am sharing it here because before I attempted to make my own, I looked on instructables.com but did not find any ideas for these (not at that time anyway).
Materials and Tools

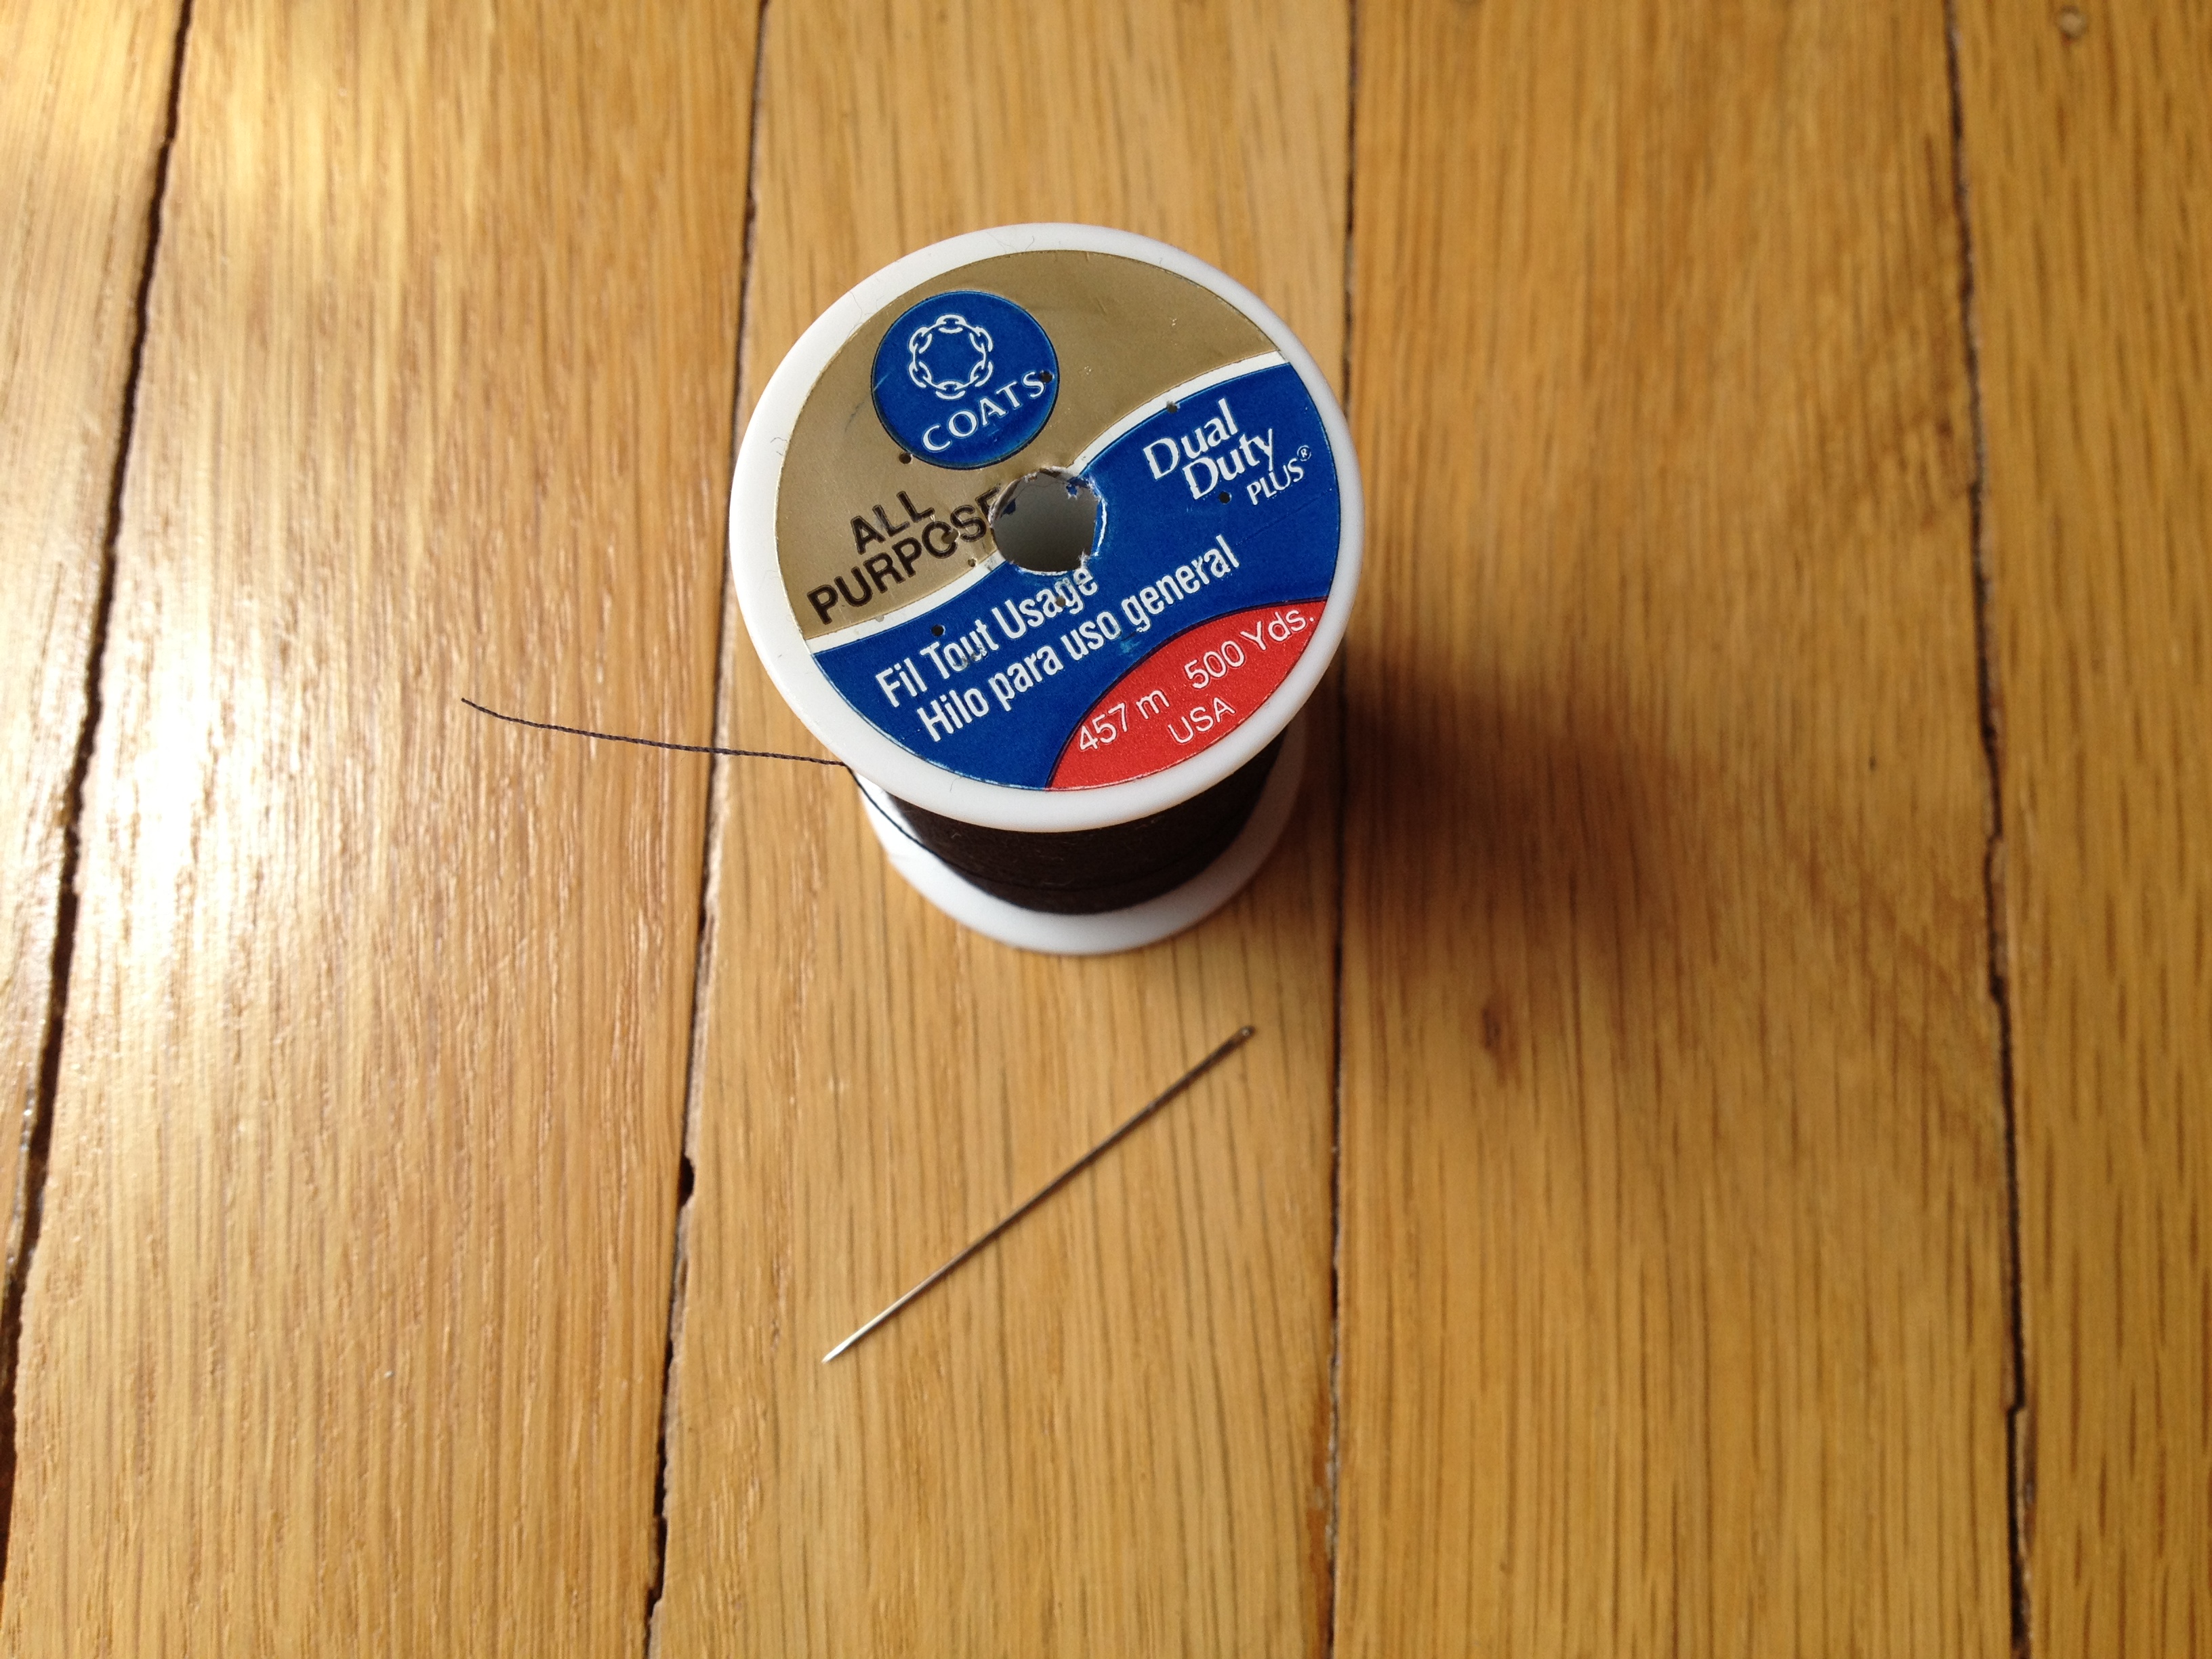

If you have the hook and loop material and something to cut it with, you really do not need anything else to complete this. However, here is the list of what I used:
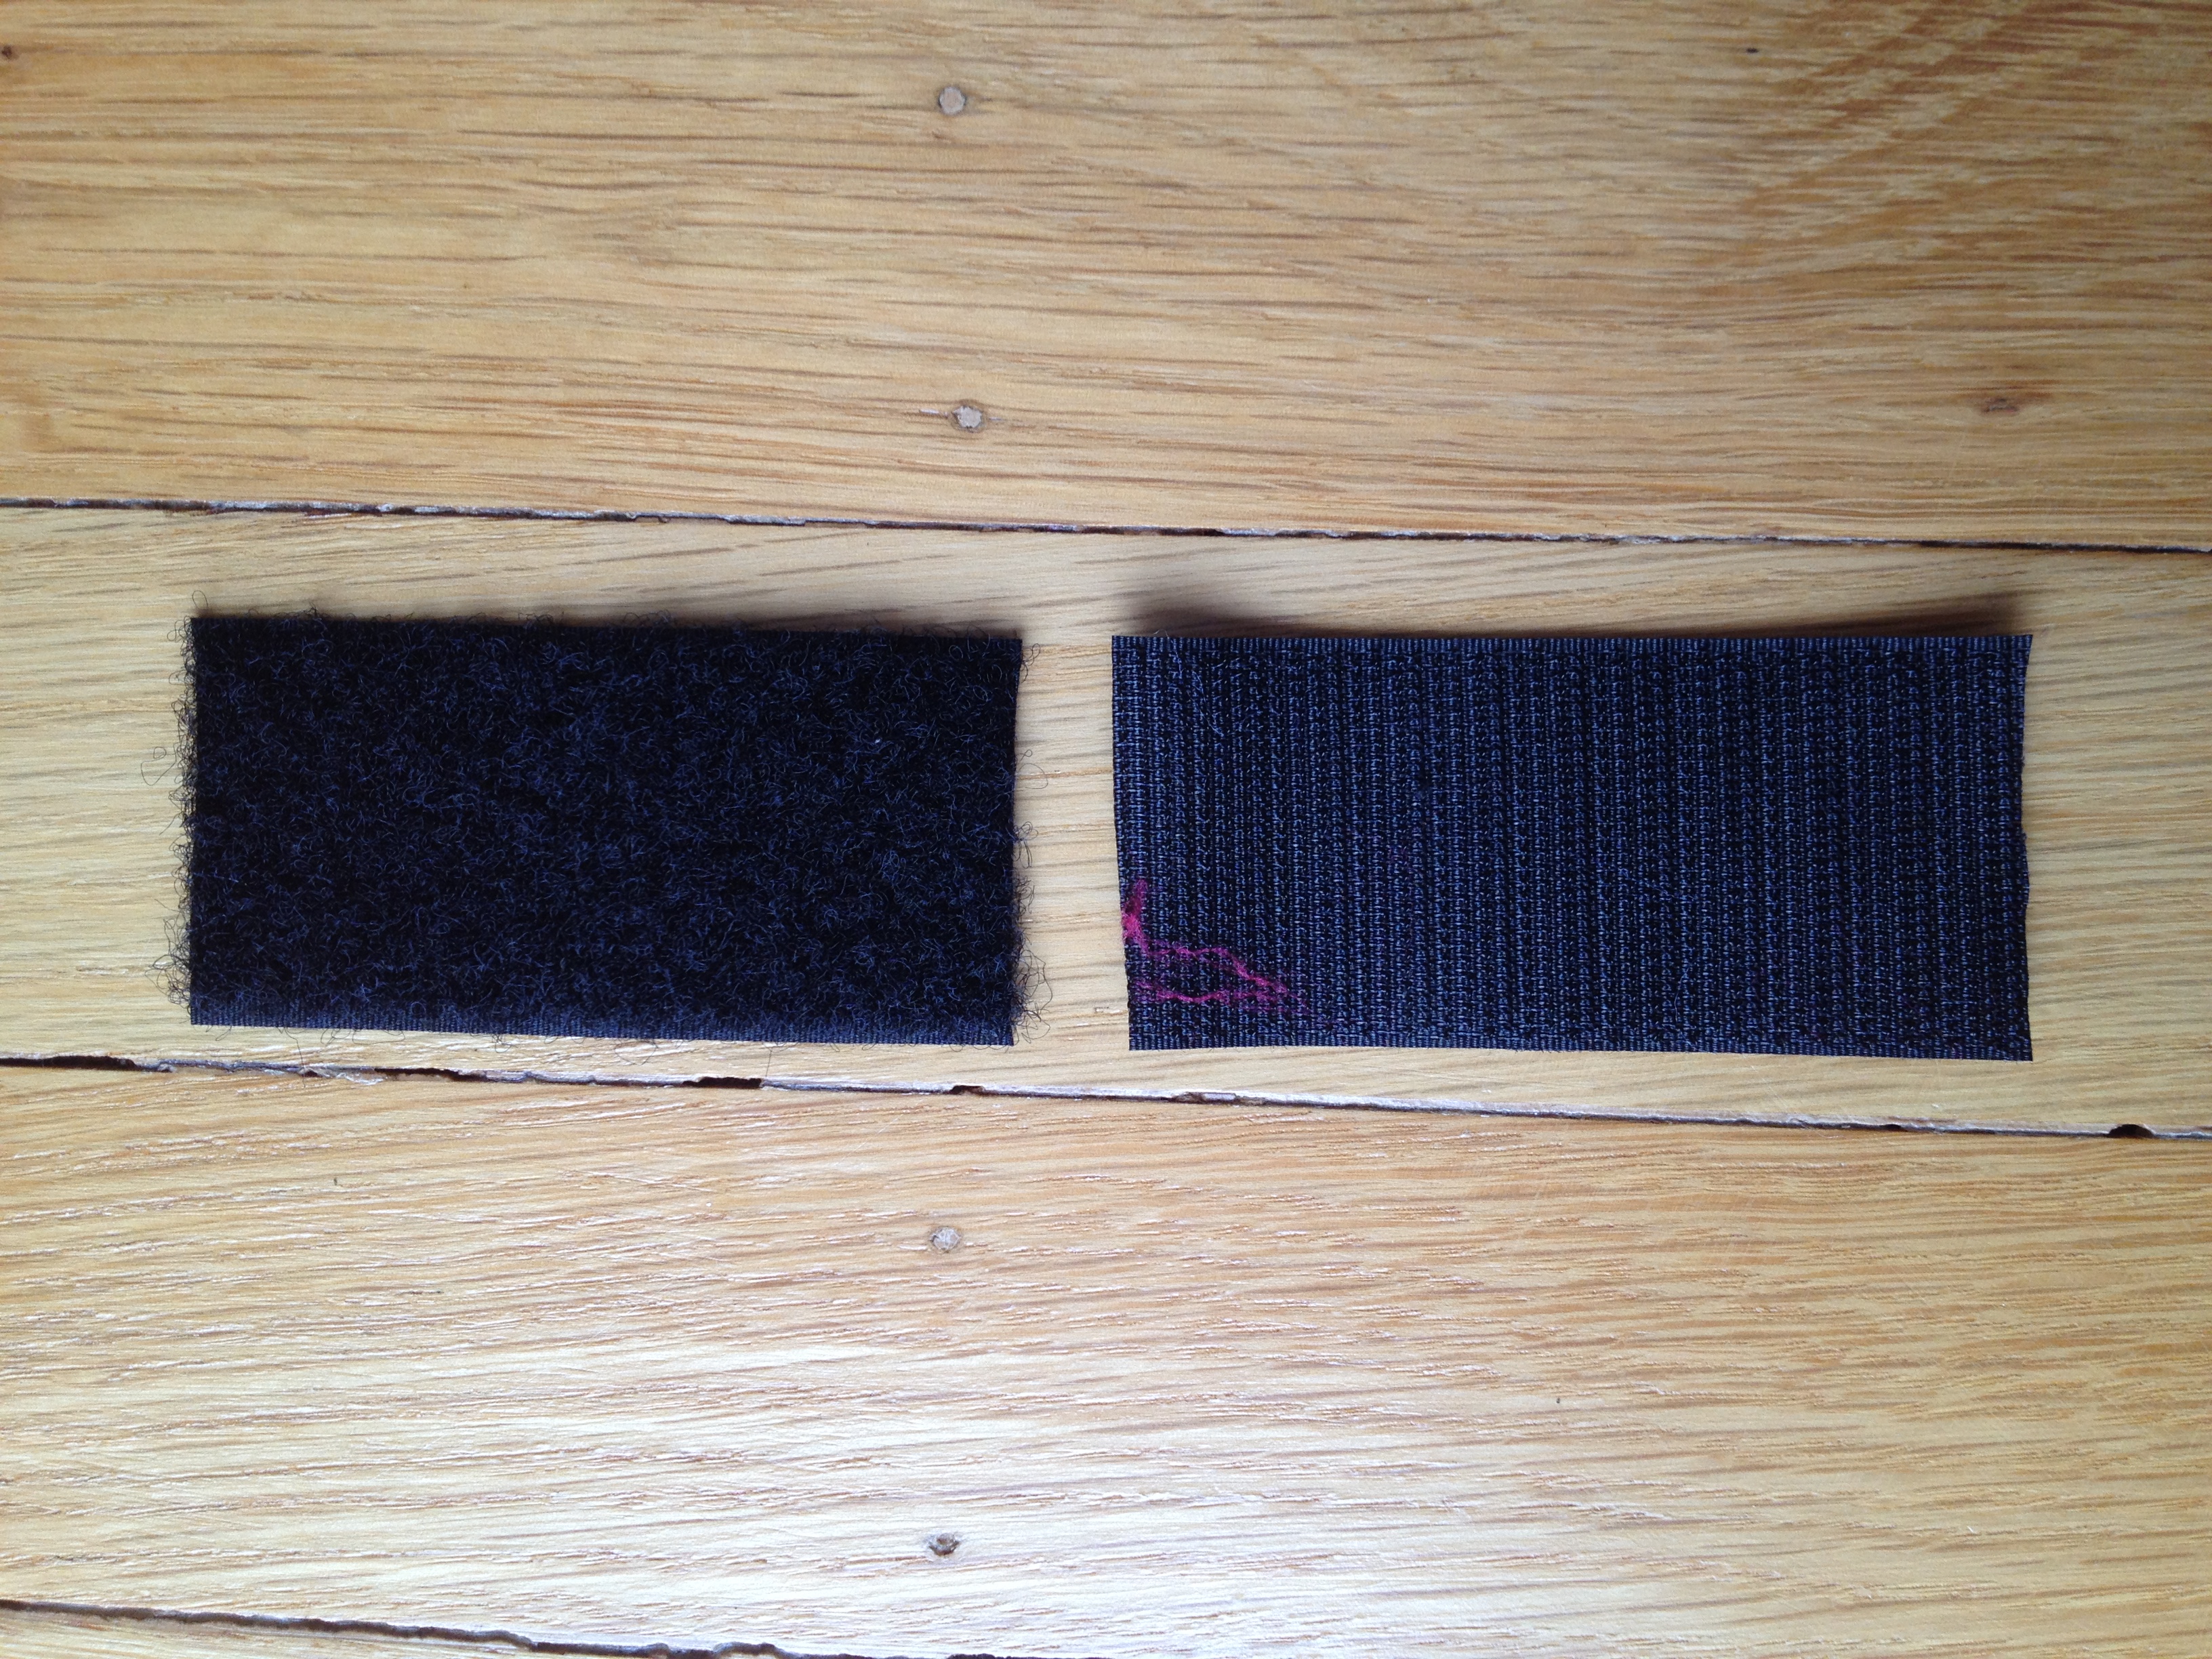
1) Around a foot and a half of 1 1/2" or 2" Sew on Hook and Loop material. This is the type that does not have adhesive backing, and is meant to be sewn onto things. You can get a 5 yard roll for about $8 on Amazon. (in this photo I have already cut it into some smaller pieces, but assume it was around that long to begin with)
2) Something to cut the Hook and Loop Material (I used just any old Scissors that were laying around)
3) Your U-Lock for sizing
4) (Optional) needle and thread
Size and Cut

.JPG)
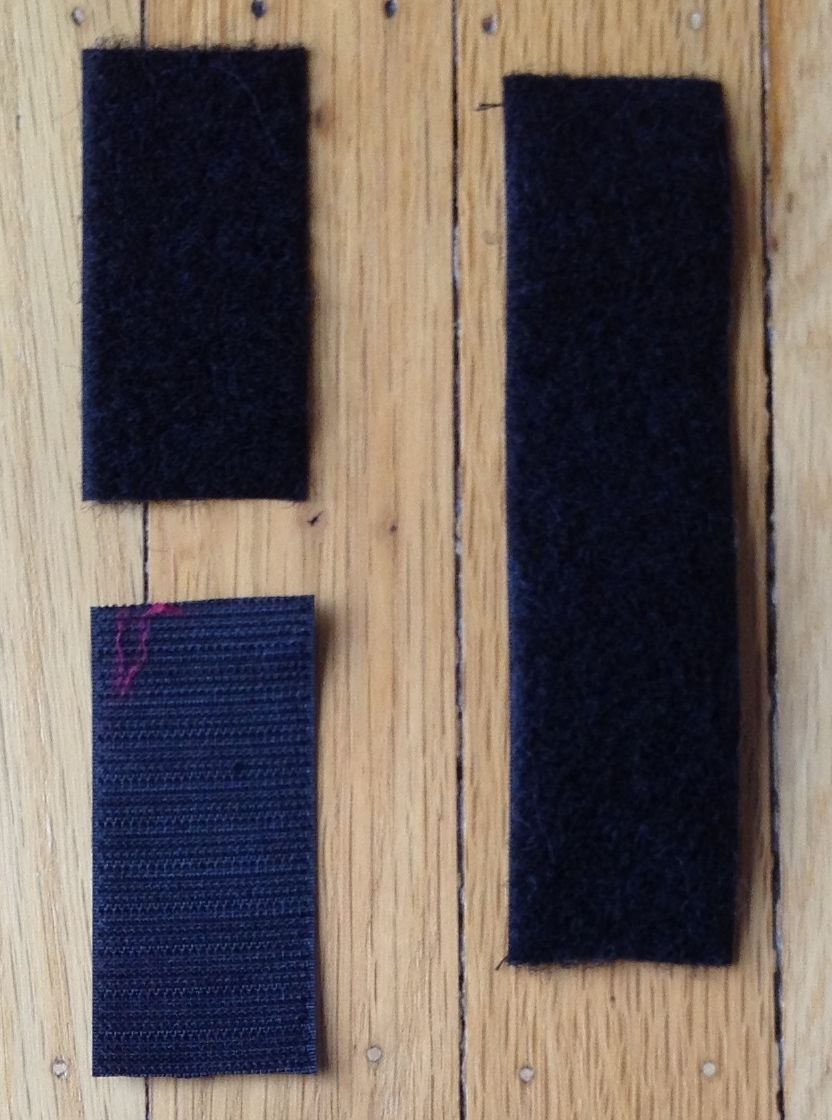
For the main body of the holster, cut one long strip of Hook and Loop material (it's two pieces, one has the hooks and one the loops, of equal lengths). This should be longer than the width of your lock, plus enough for the belt loops on each end. Initially I left this a bit longer than I thought I would need, around 12" long, then cut it once I had finished and attached the belt loops, with the lock in place. For my lock, the final length ended up being roughly 9" long, but this will vary depending on the lock it will hold.
For the belt loops there are actually two different ways to do this, and the length of Hook and Loop material required is different for each. One way requires sewing, the other does not. I will explain both.
a) Sewing method (a bit stronger)
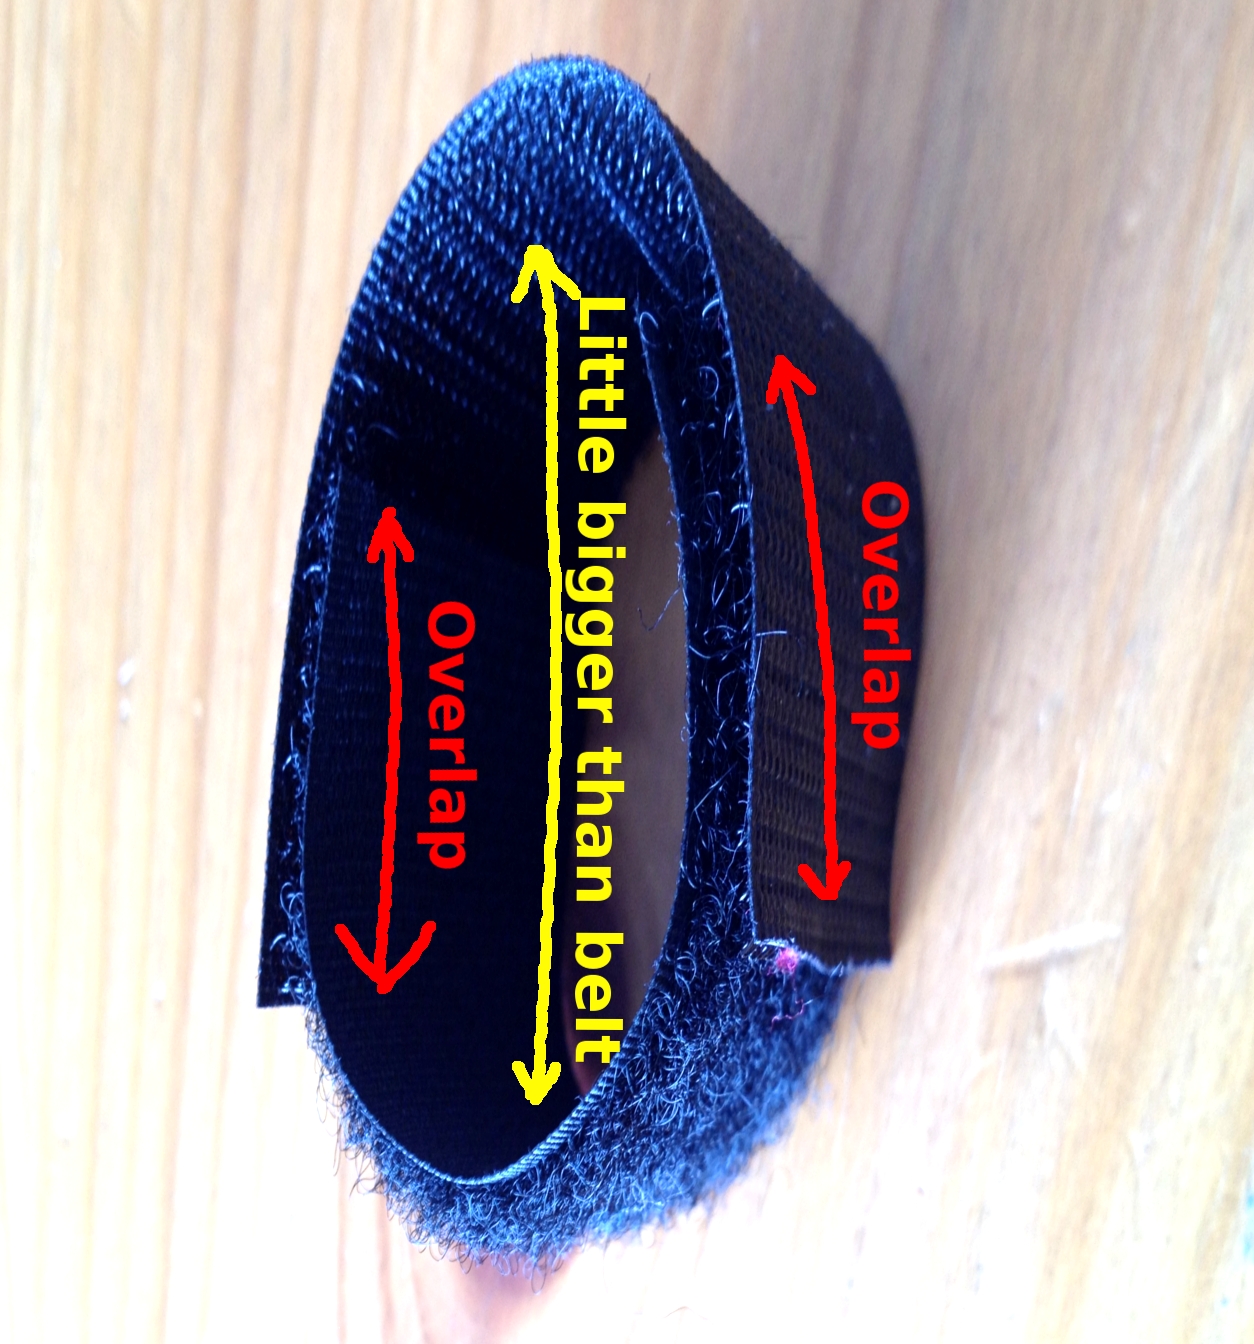
For those that wish to sew, cut one strip of Hook and Loop material (again two pieces, one has the hooks and one the loops, of equal lengths) long enough to wrap around the Belt the holster will eventually be used with, and overlap itself about the width of the Hook and Loop Material being used. In my case the belt I planed to use was around 1 3/4" wide, and the Hook and Loop material I was using was 1 1/2" wide. So I measured 2 1/4" (to be a little larger than the belt I was using) plus 3" to account for the width of the Hook and Loop material I was using. So the length for me was 5 1/4".
b) Non-sewing method (less strong than the sewing method, but it still works)
For those that do not wish to sew, cut one strip of Hook and Loop material (again two pieces, one has the
hooks and one the loops, of equal lengths) long enough to wrap around the Belt the holster will eventually be used with, and overlap itself about the width of the Hook and Loop Material being used, plus an additional double of the width of the Hook and Loop material being used. In my case the belt I planed to use was around 1 3/4" wide, and the Hook and Loop material I was using was 1 1/2" wide. So I measured 2 1/4" (to be a little larger than the belt I was using) plus 3" to account for the width of the Hook and Loop material I was using, plus another 3". So the length for me was 8 1/4". Then cut the Hook and Loop material in half (again, of course we want two pieces, one has the
hooks and one the loops, of equal lengths). I actually did not leave enough overlapping material, so my pieces were shorter, but if I were doing it again I would do as I have outlined above.
Making the Belt Loops


.JPG)


.JPG)

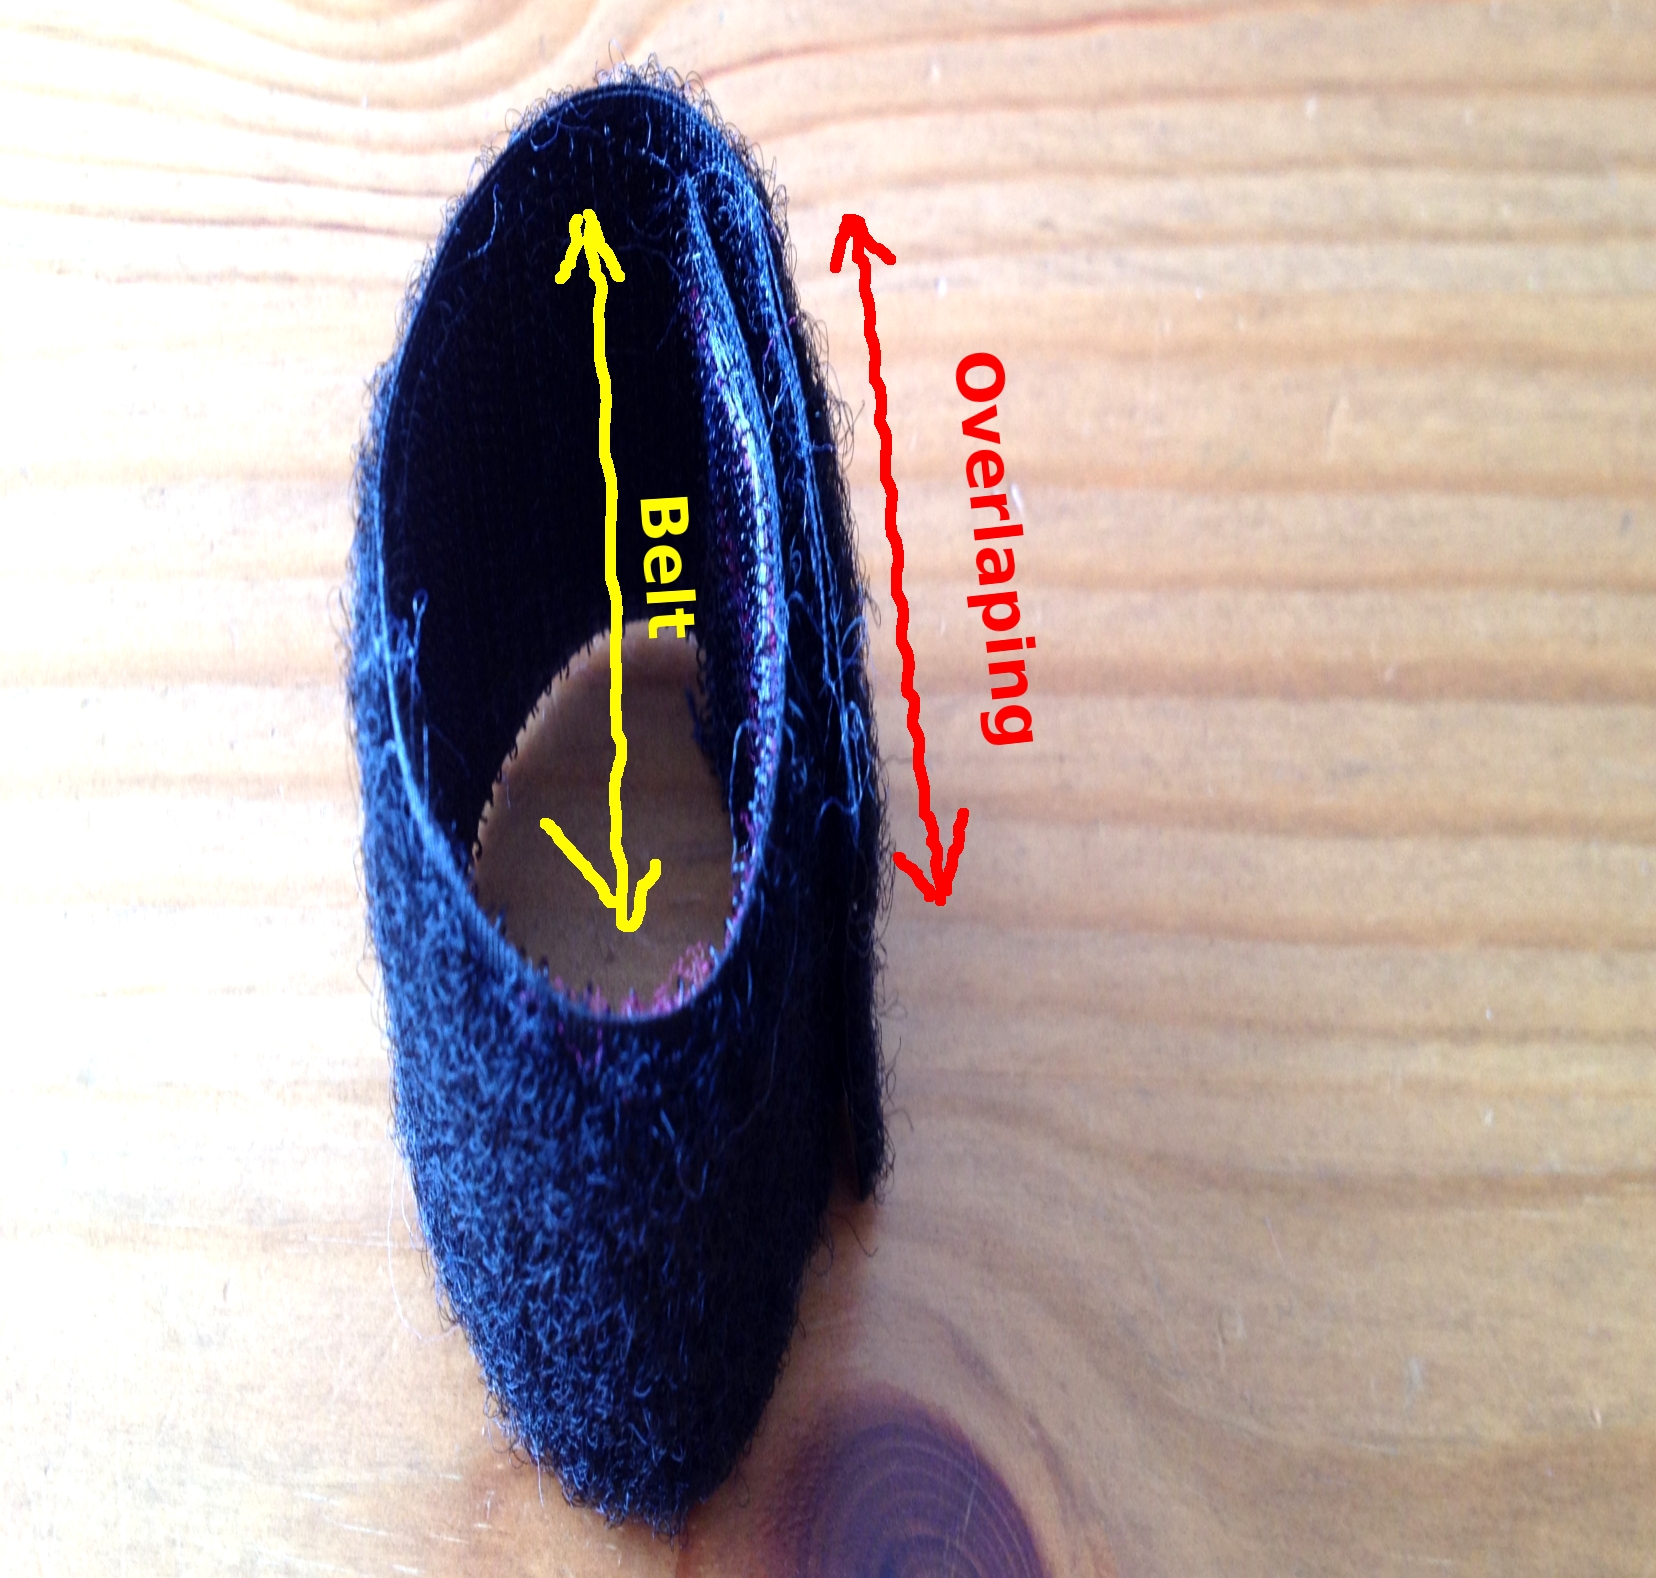
If sewing the belt loops, for each, you will have two pieces of Hook and Loop material (one has the hooks and one the loops, of equal lengths). Place them back to back (so Hooks and Loops are facing away from each other) and then sew around the edges. A machine may be used, but really it does not require much strength, and very rough and simple sewing by hand is also fine (my hand sewing was terrible and it still worked fine :) Then wrap the strap around the belt being used, overlapping the Hook and Loop material, with the hooks and loops facing each other, and press them together.
If not sewing, simply overlap the two pieces of material, about width of the Hook and Loop Material being used, with the hooks and loops facing each other, and press them together. Then wrap the strap around the belt being used, overlapping the Hook and Loop material, with the hooks and loops facing each other, and press them together.
See the photos in this step to see how the wrapping and overlapping looks.
Attaching the Belt Loops and Trimming


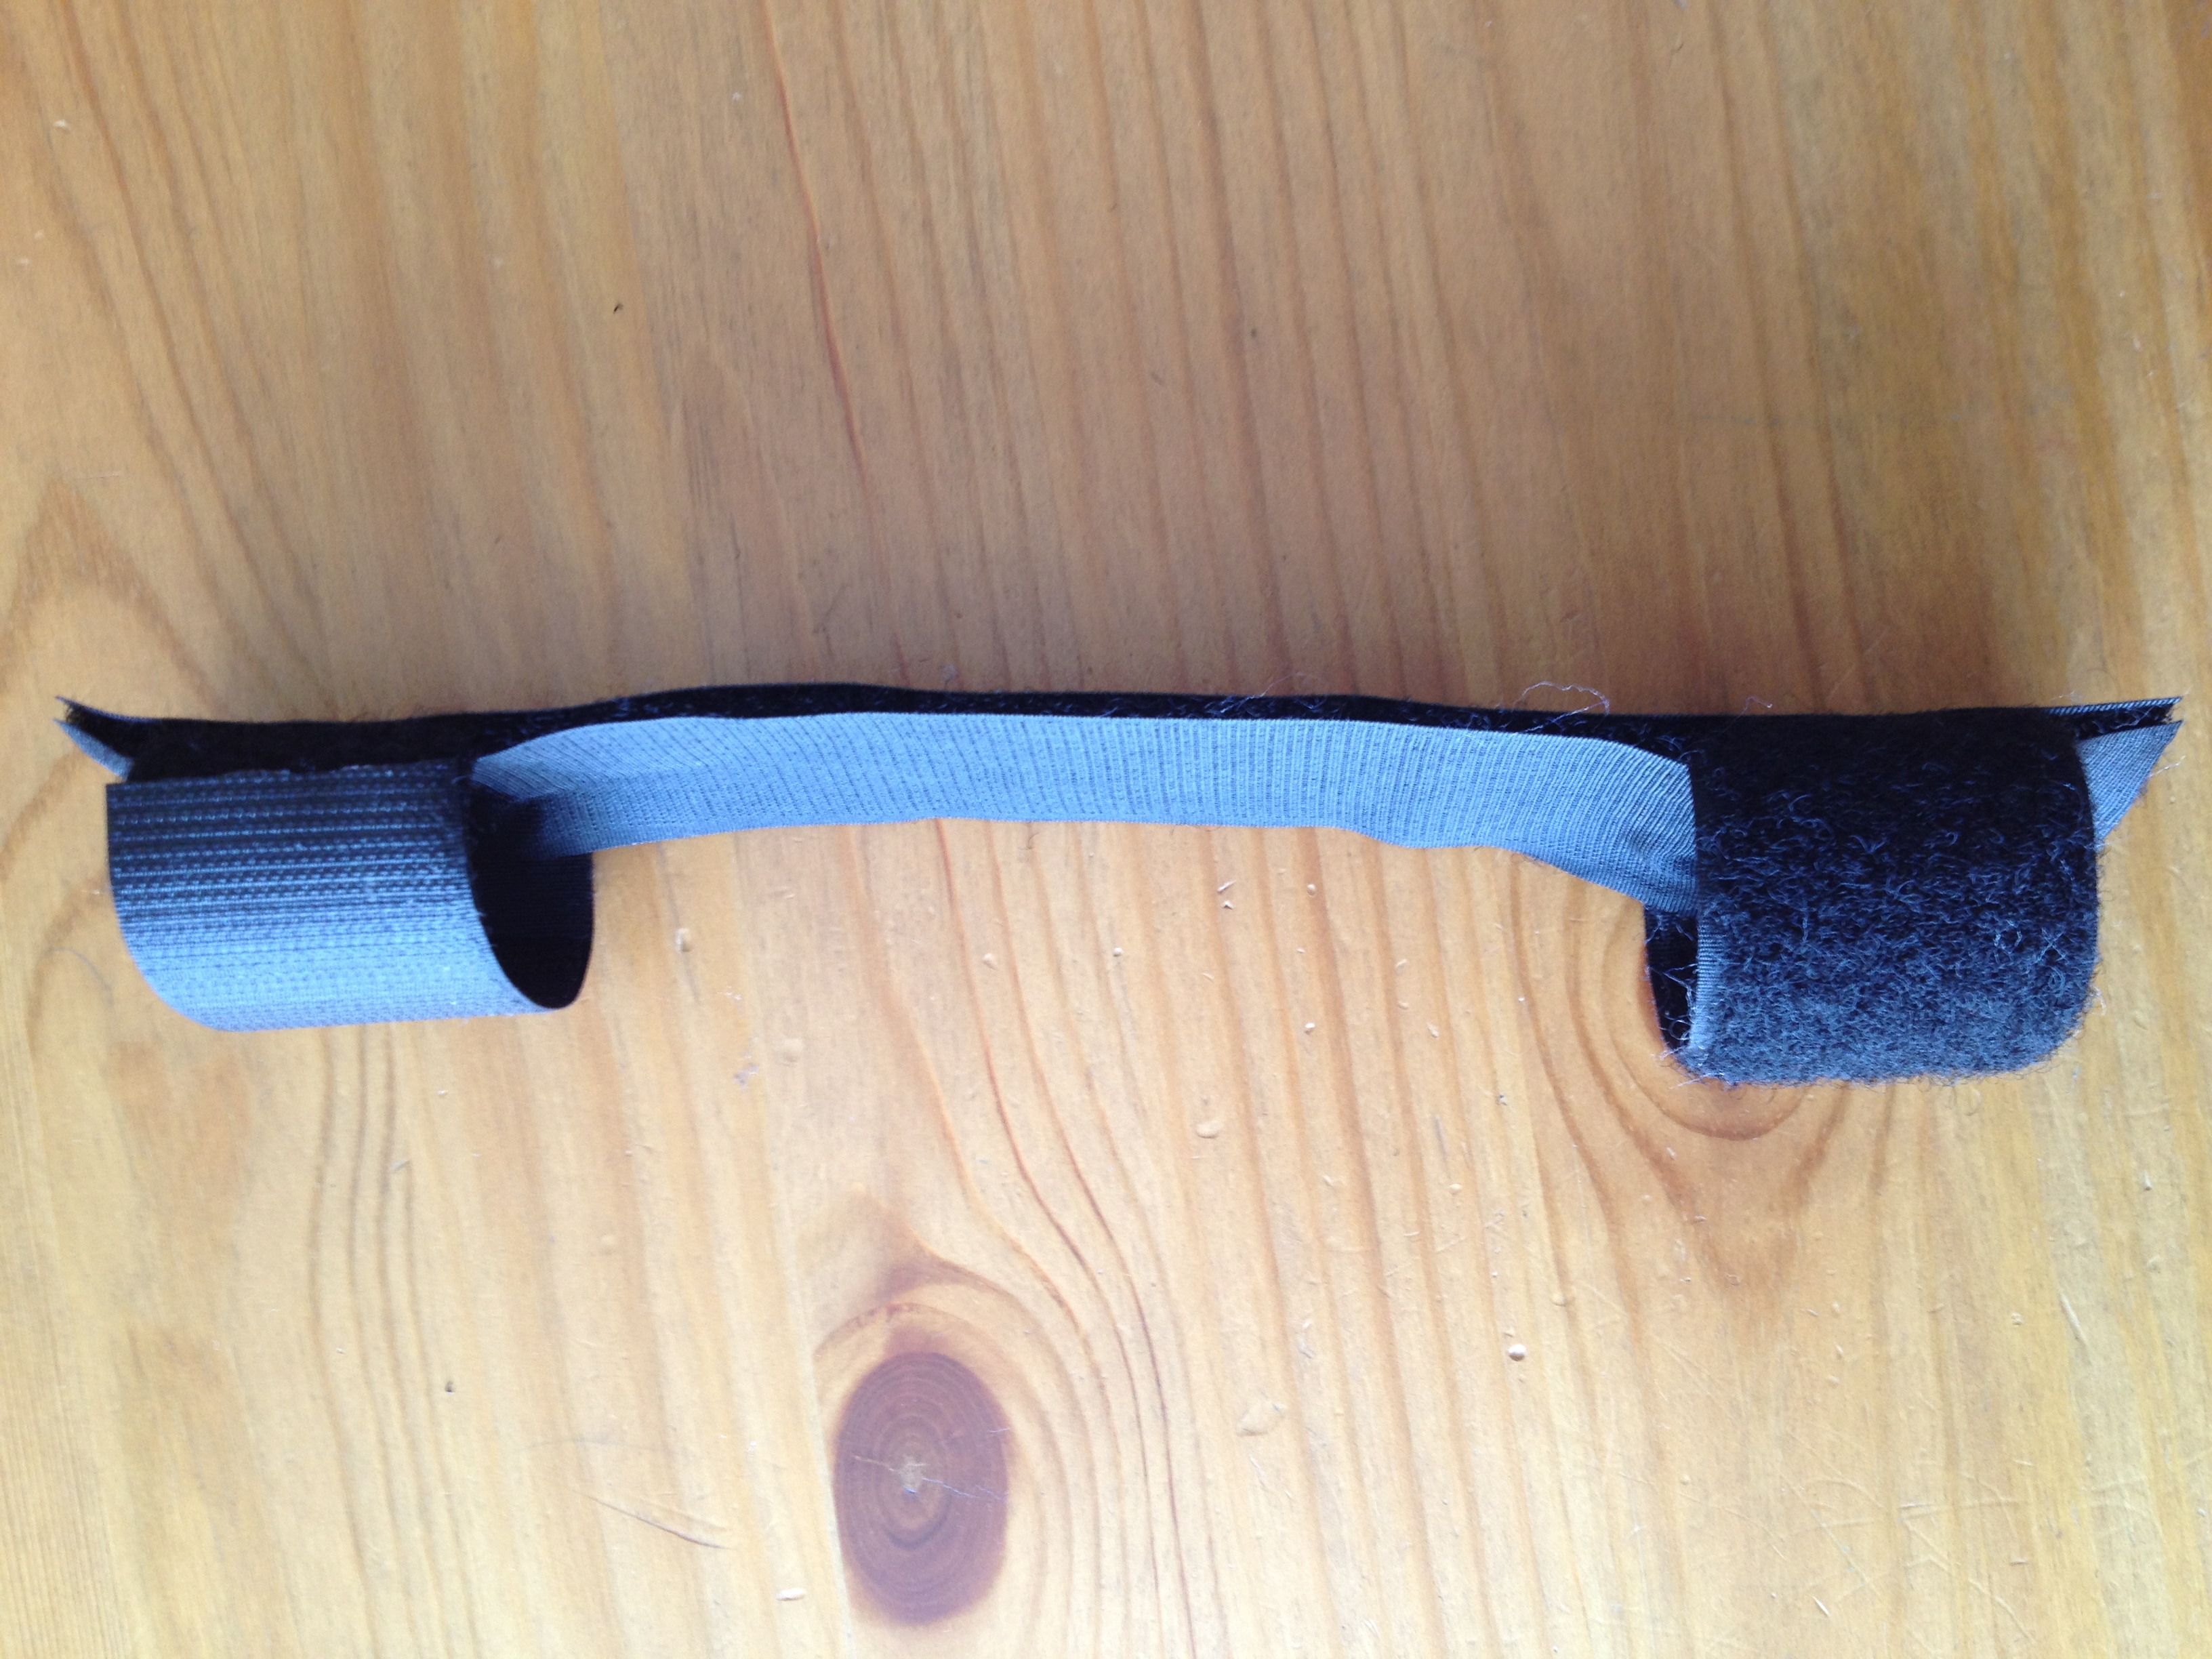
We are getting close to riding now. To put it all together, start by laying one piece of the long Hook and Loop material on the table, with the hooks or loops facing up. If you sewed your belt loop pieces, then use use which ever piece is the opposite material of the outside of your Belt Loops (if the Belt Loops have hooks facing out, then start with loops etc.), if you did not sew, then you will have both Hook and Loop material available on the outside of your Belt Loops, and you can use either one. Then, place one of your Belt Loops on the end of the long main piece and press it together. If you did not sew your belt loops, leave a little material on the ends, past the Belt Loops, to help hold everything together. Next, place your lock on the nearly completed holster, close but not touching the first Belt Loop that is attached (to leave a little room for sliding the lock in and out of) and then place the other Belt Loop on the other side of the lock, again leaving some space, and press it down. Then, remove your lock and insert the other half of the long Hook and Loop material through the Belt Hoops and press it down against both the Belt Loops and the long piece's mate, and press them together (the 2nd photo on this page shows how it should look at this point). Lastly, cut off the excess material of the long Hook and Loop material, and complete your Holster. Again, if you did not sew your belt loops, leave a little material on the ends, past the Belt Loops, to help hold everything together.
If not sewing, you will notice that you only have one side of the Belt Loops (either hooks or loops) attached to the main body of the Holster. this is still enough to support the lock when worn on a belt. I did one of each for this Instructable, and wore it on my daily commute afterwards. It worked fine.
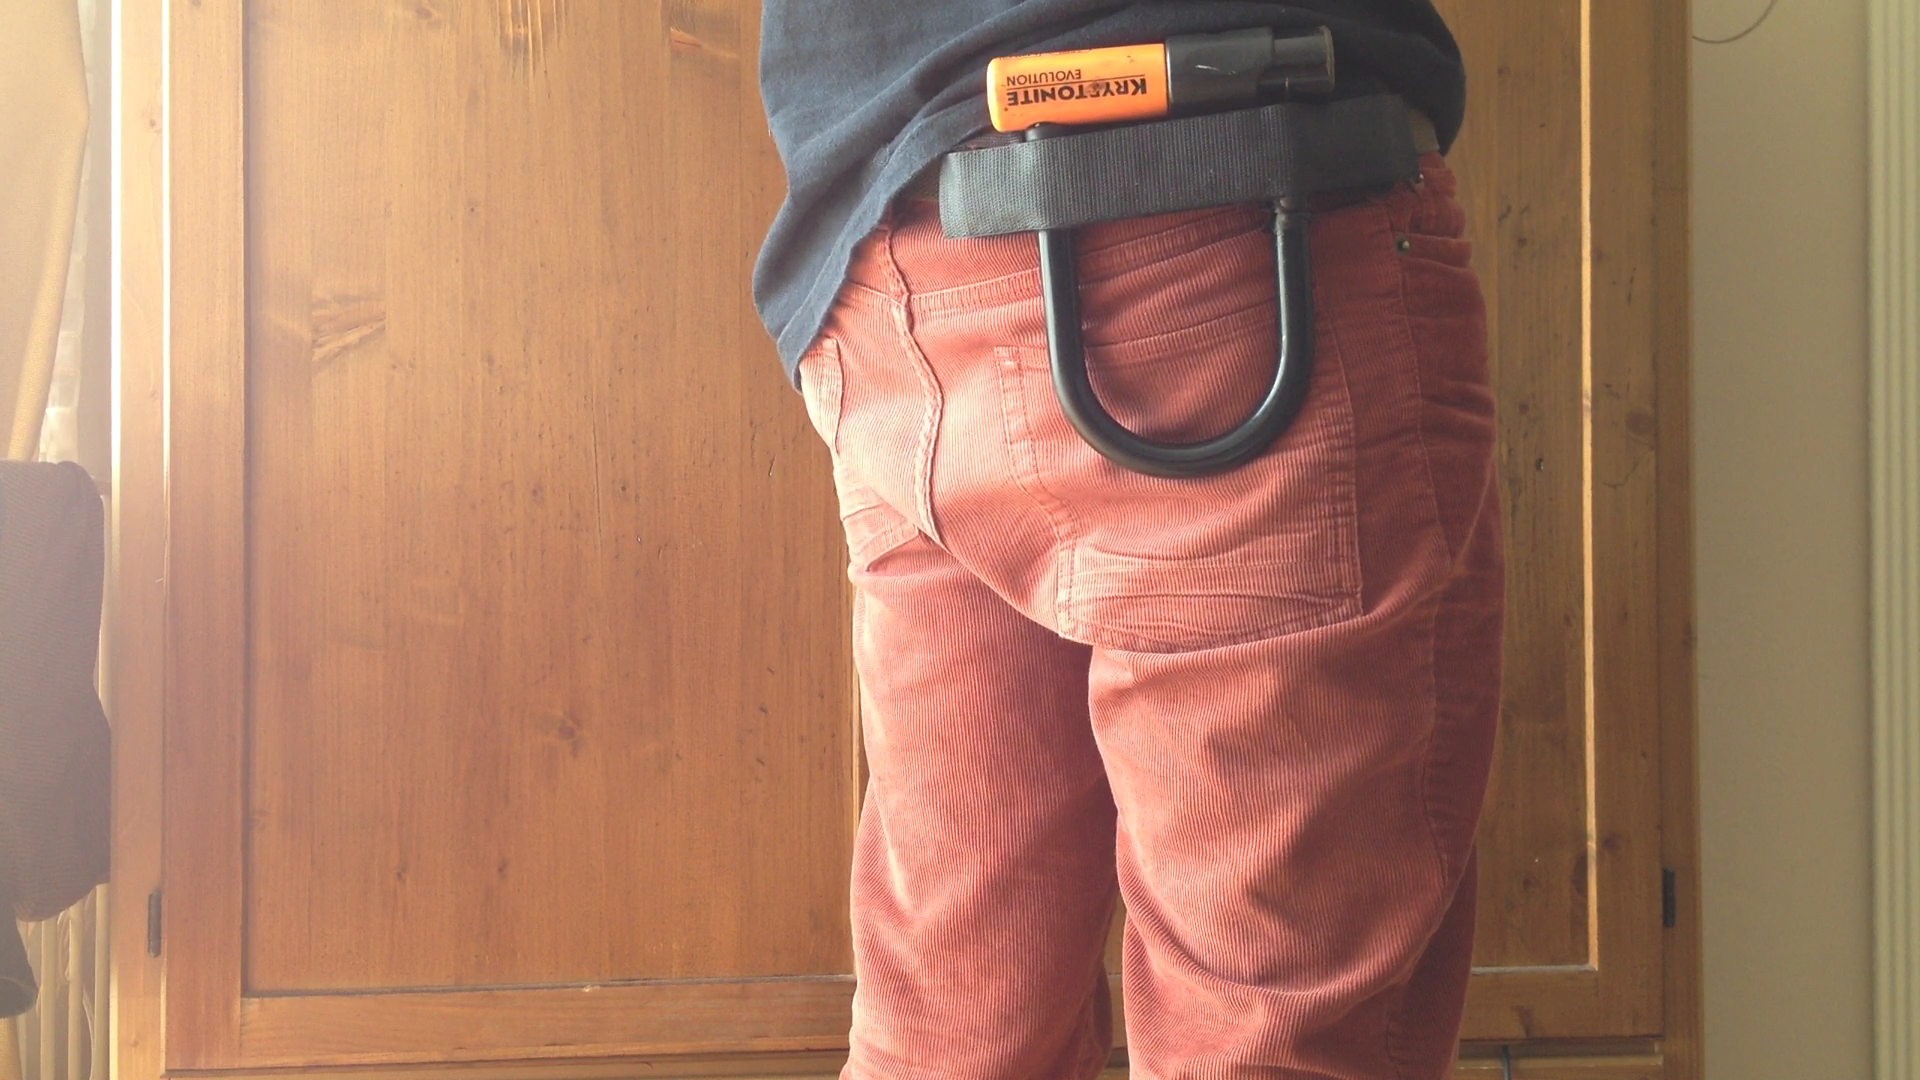
That's It, Put It on a Belt, Hang a Lock and Go for a Ride

.png)