Typography Alphabet Canvas
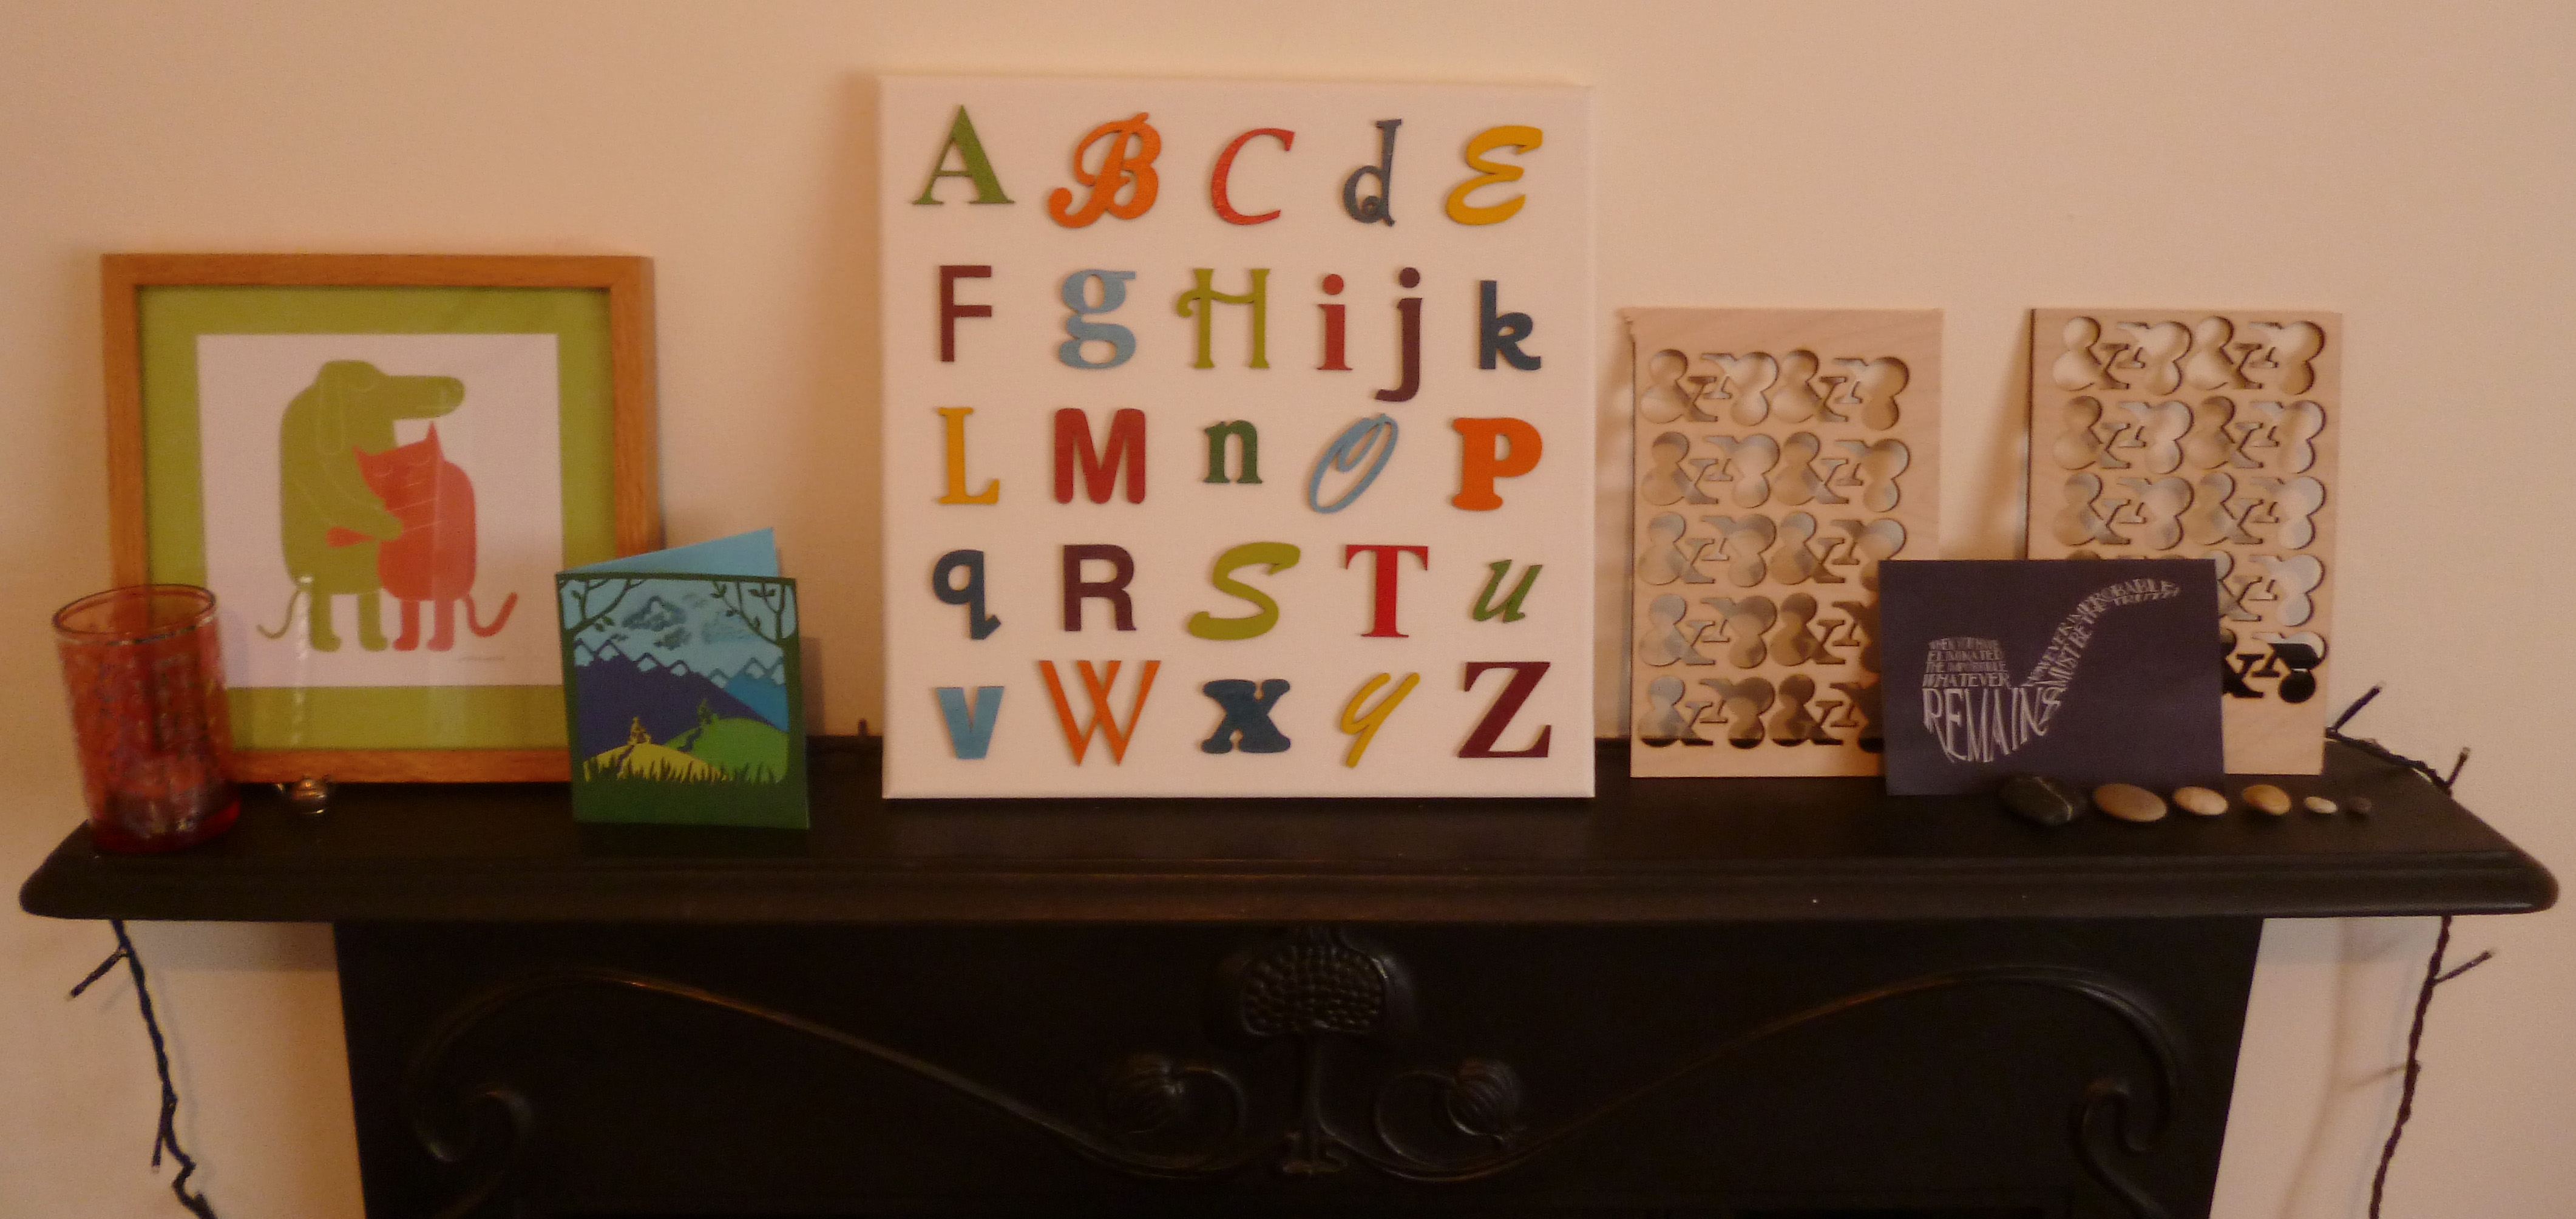
A really simple project that would look great on your wall or mantelpiece, especially if you are interested in fonts!
Laser cut wooden letters, painted, varnished and glued onto canvas. Very easy to make, and looks really effective.
Laser cut wooden letters, painted, varnished and glued onto canvas. Very easy to make, and looks really effective.
Step 1: Assemble Your Materials.
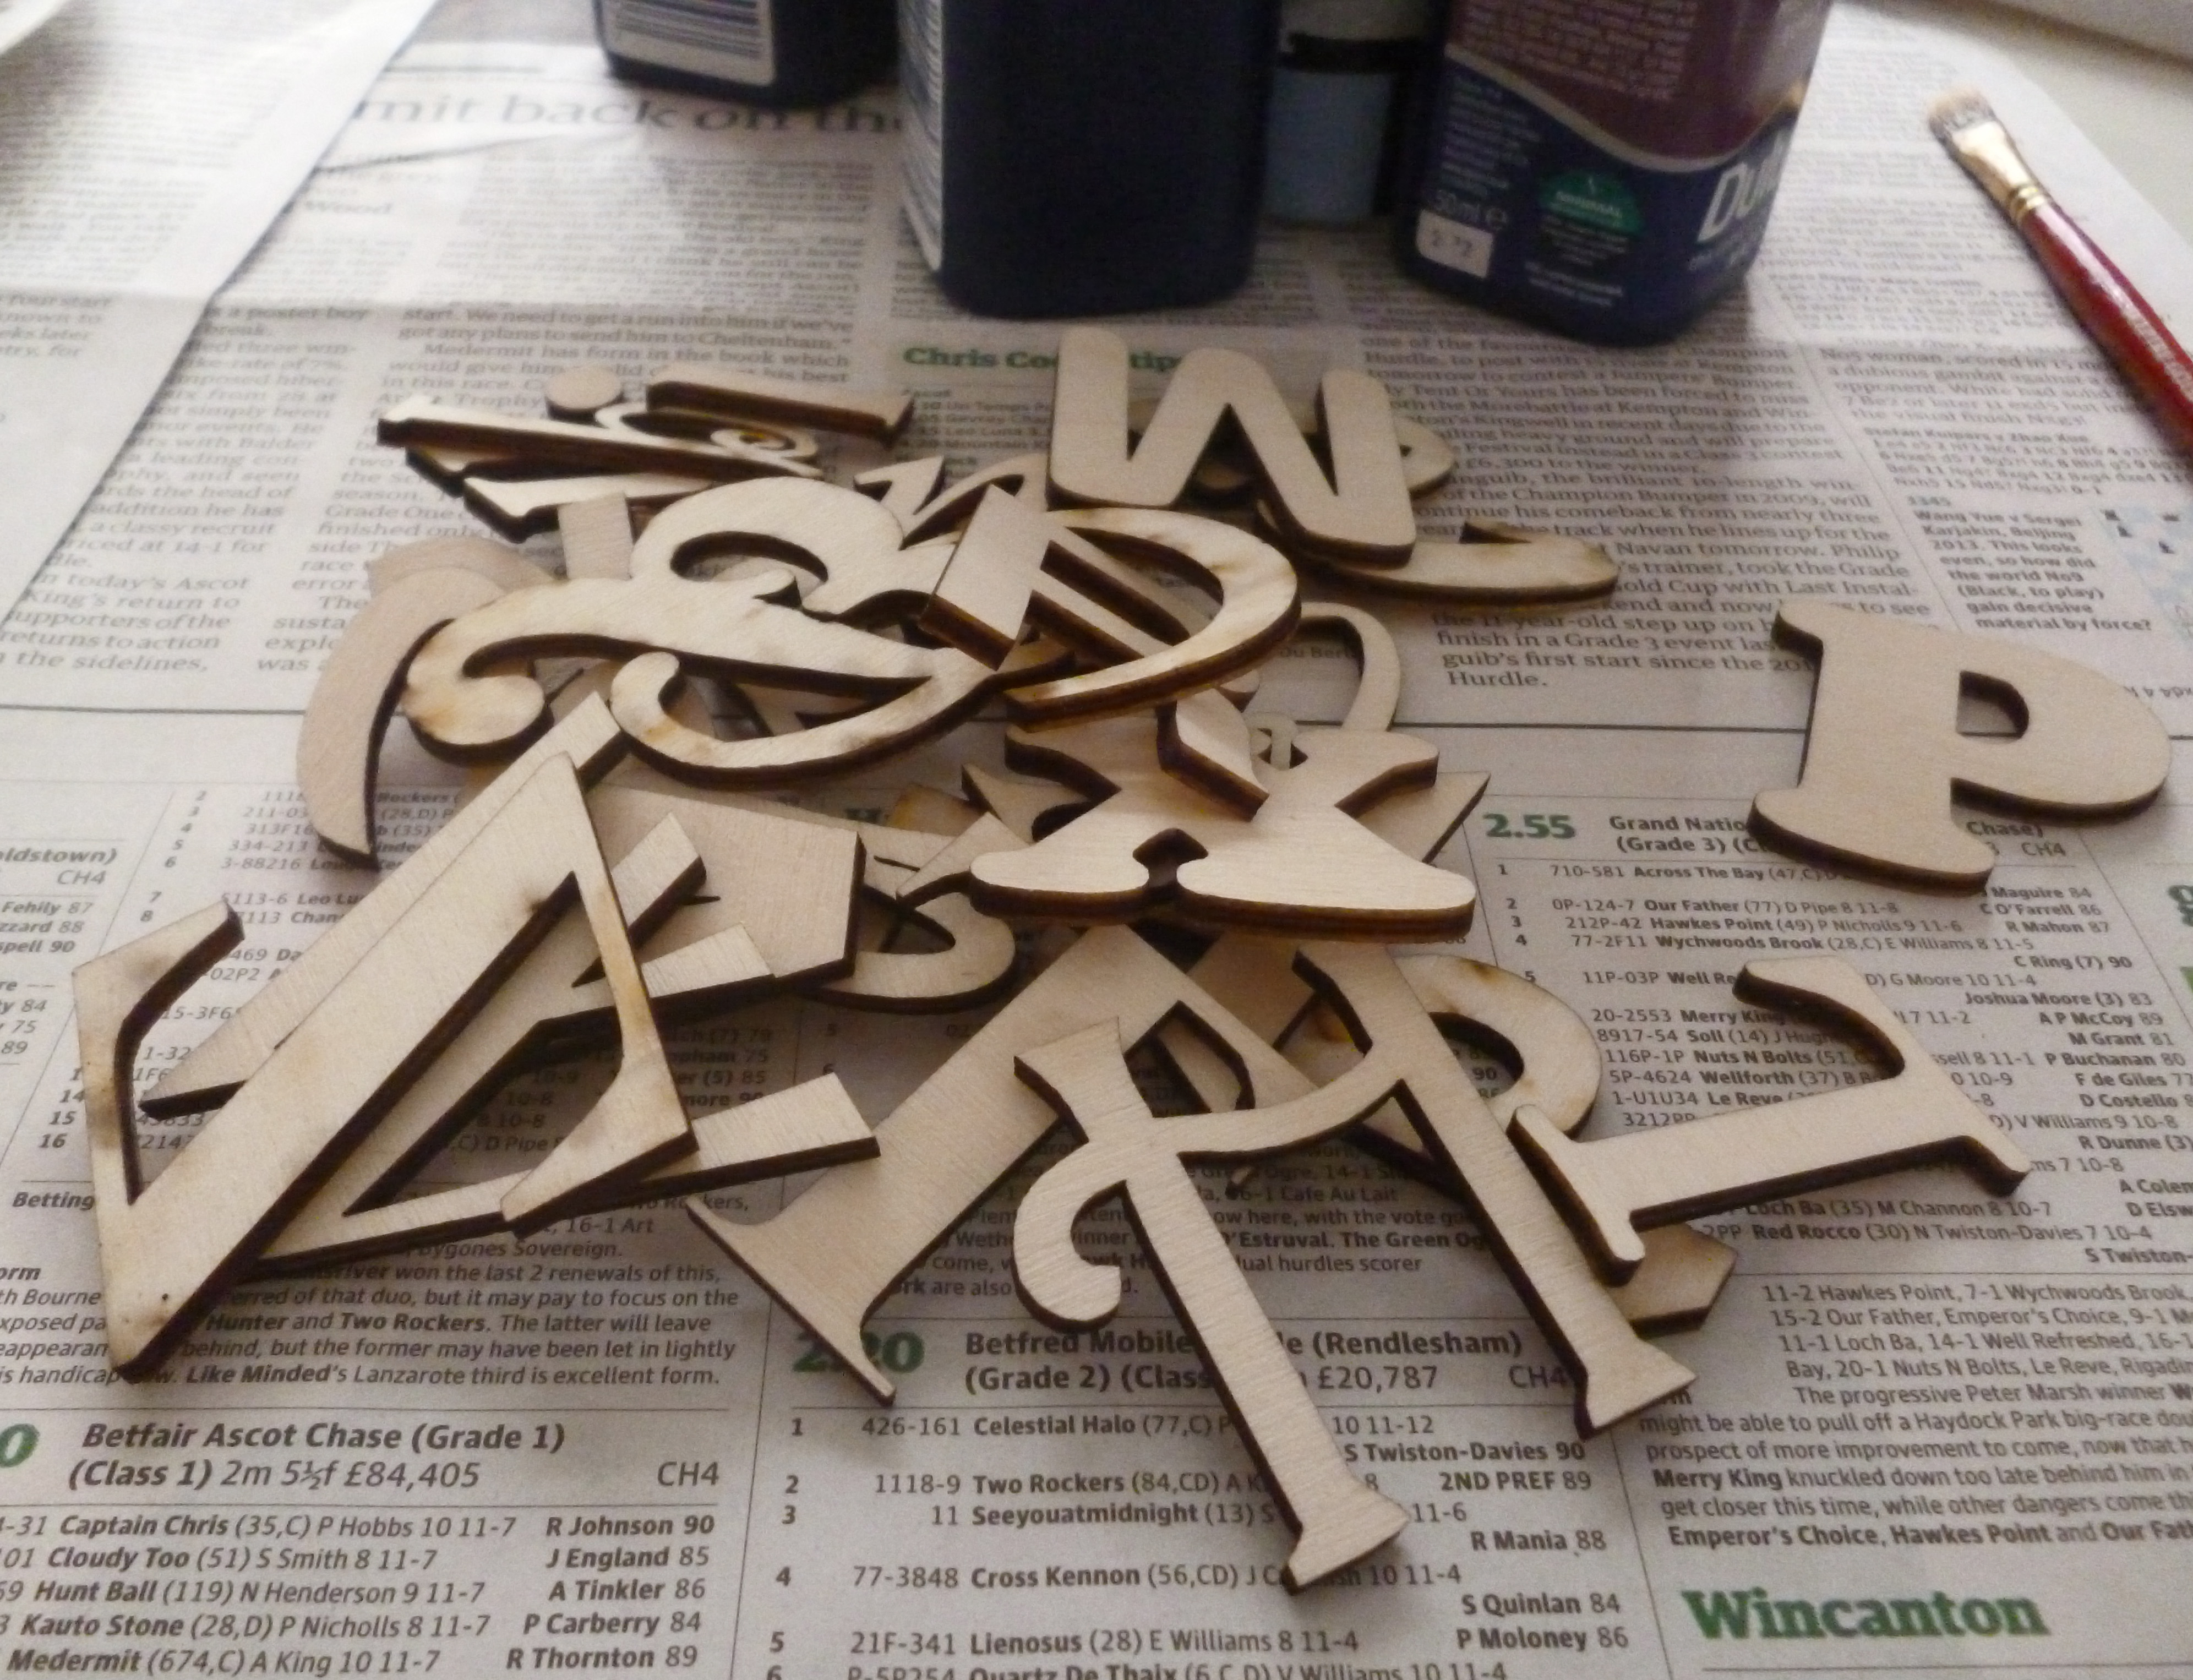
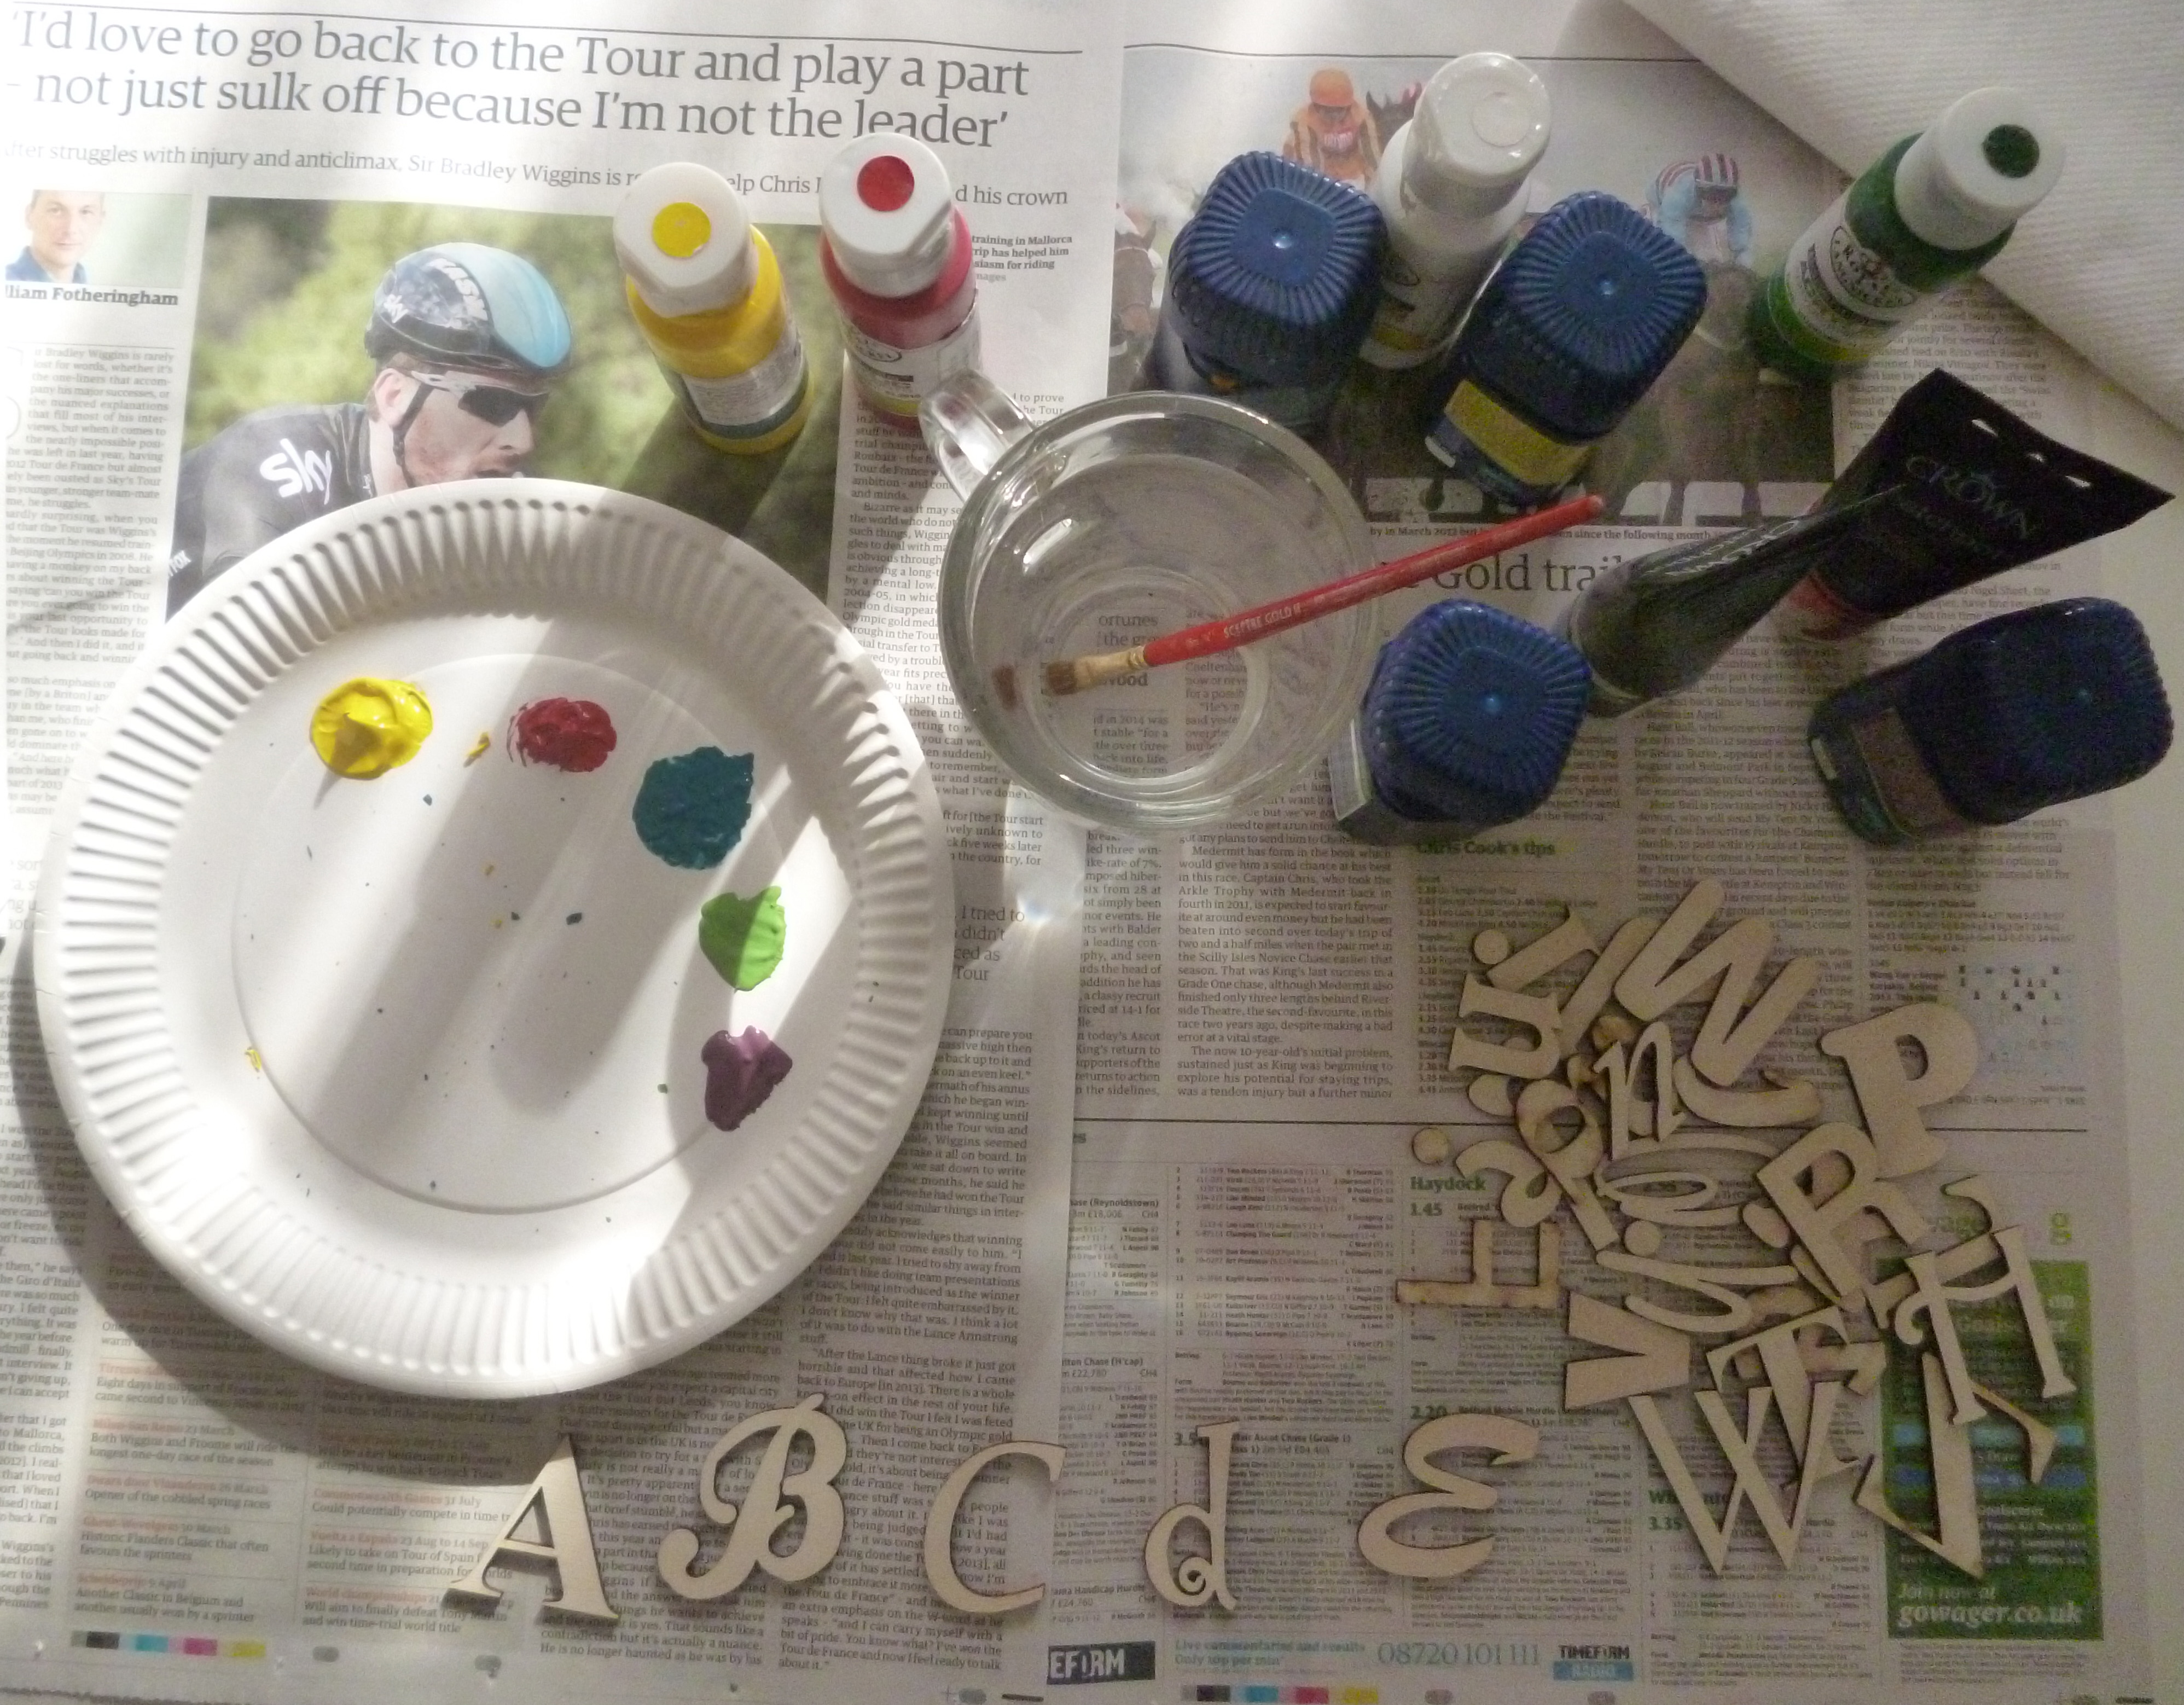
For this project you will need: a square canvas, a set of wooden letters, paints, brushes, varnish and glue. I used a 30x30cm canvas with 5cm high letters, as I worked out this would give me the ratio of background to letters, and letter spacing that I wanted.
I chose a selection of fonts that I liked. Wooden letters can be found on our website here: http://www.inf.co.uk/infinite/RLETTERS.html
We will shortly be adding a ‘mixed font alphabet set’ to the website, but until then, the letters can be chosen individually by you (we have a range of fonts and sizes on the website already), or you can specify in the item notes that you’d like us to pick you a selection of fonts.
I used 3mm thick letters, though we can also manufacture letters at 6mm thick. I also used a mixture of upper and lower case.
Step 2: Painting
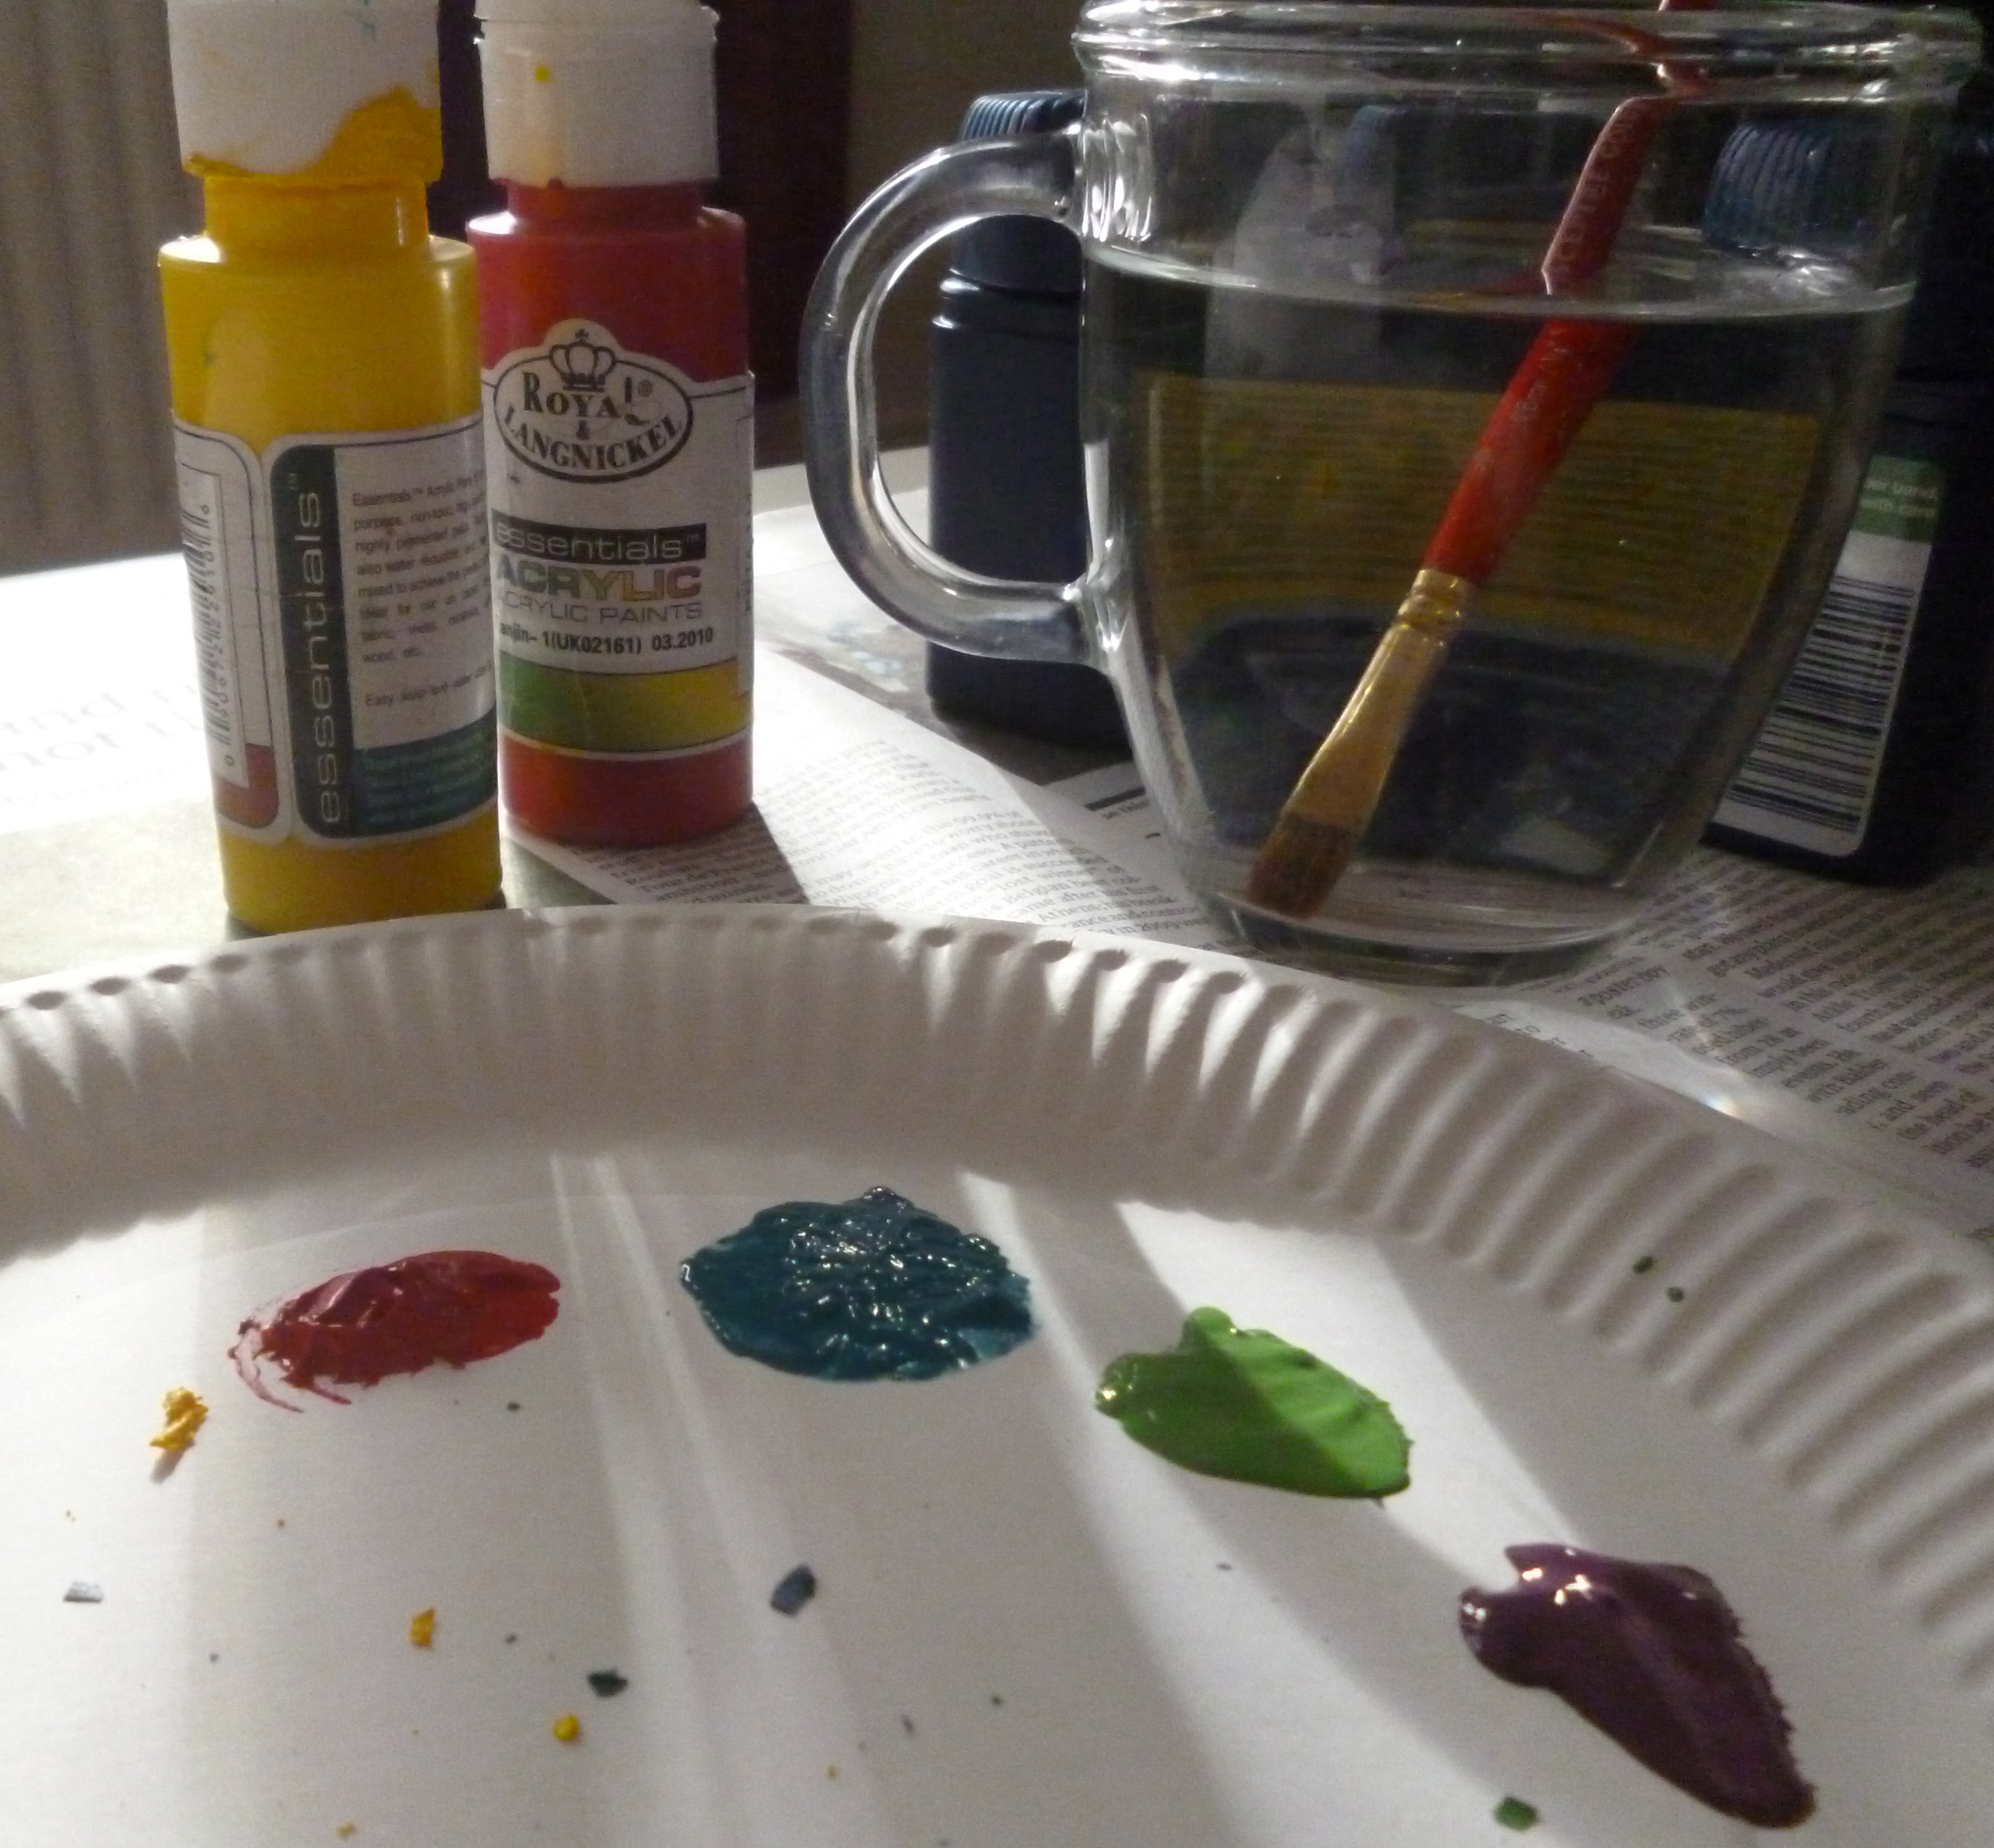
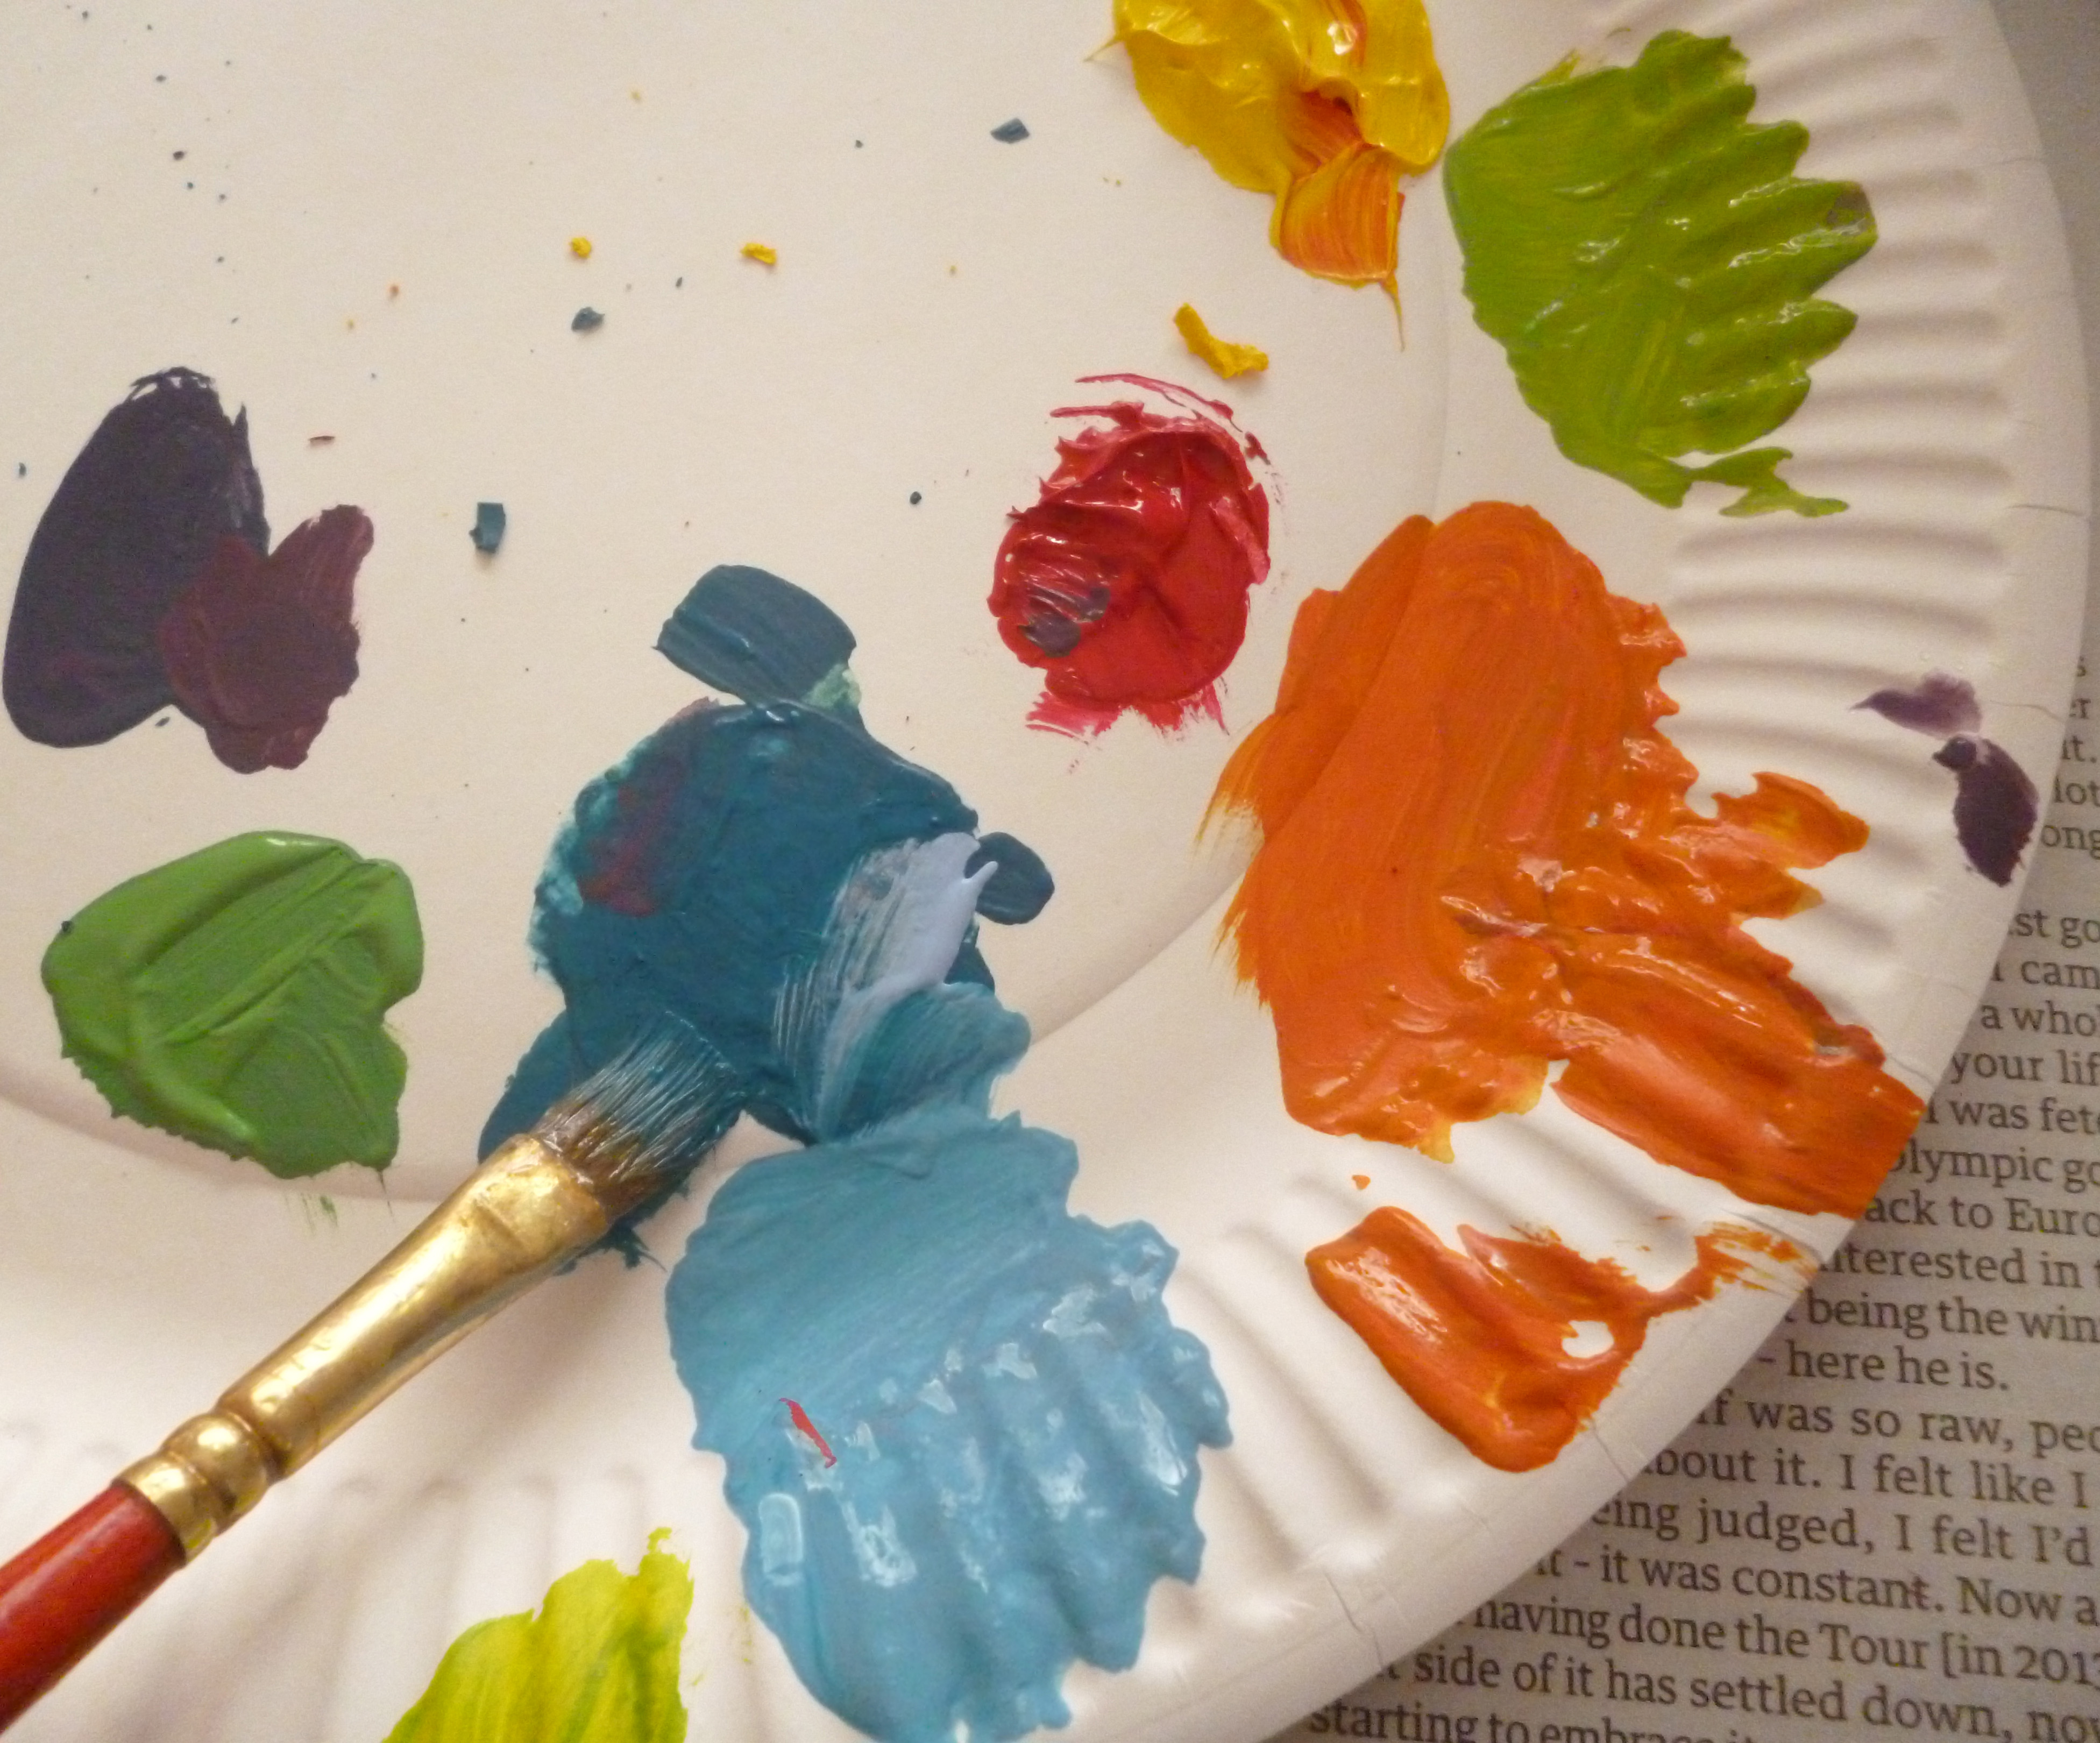
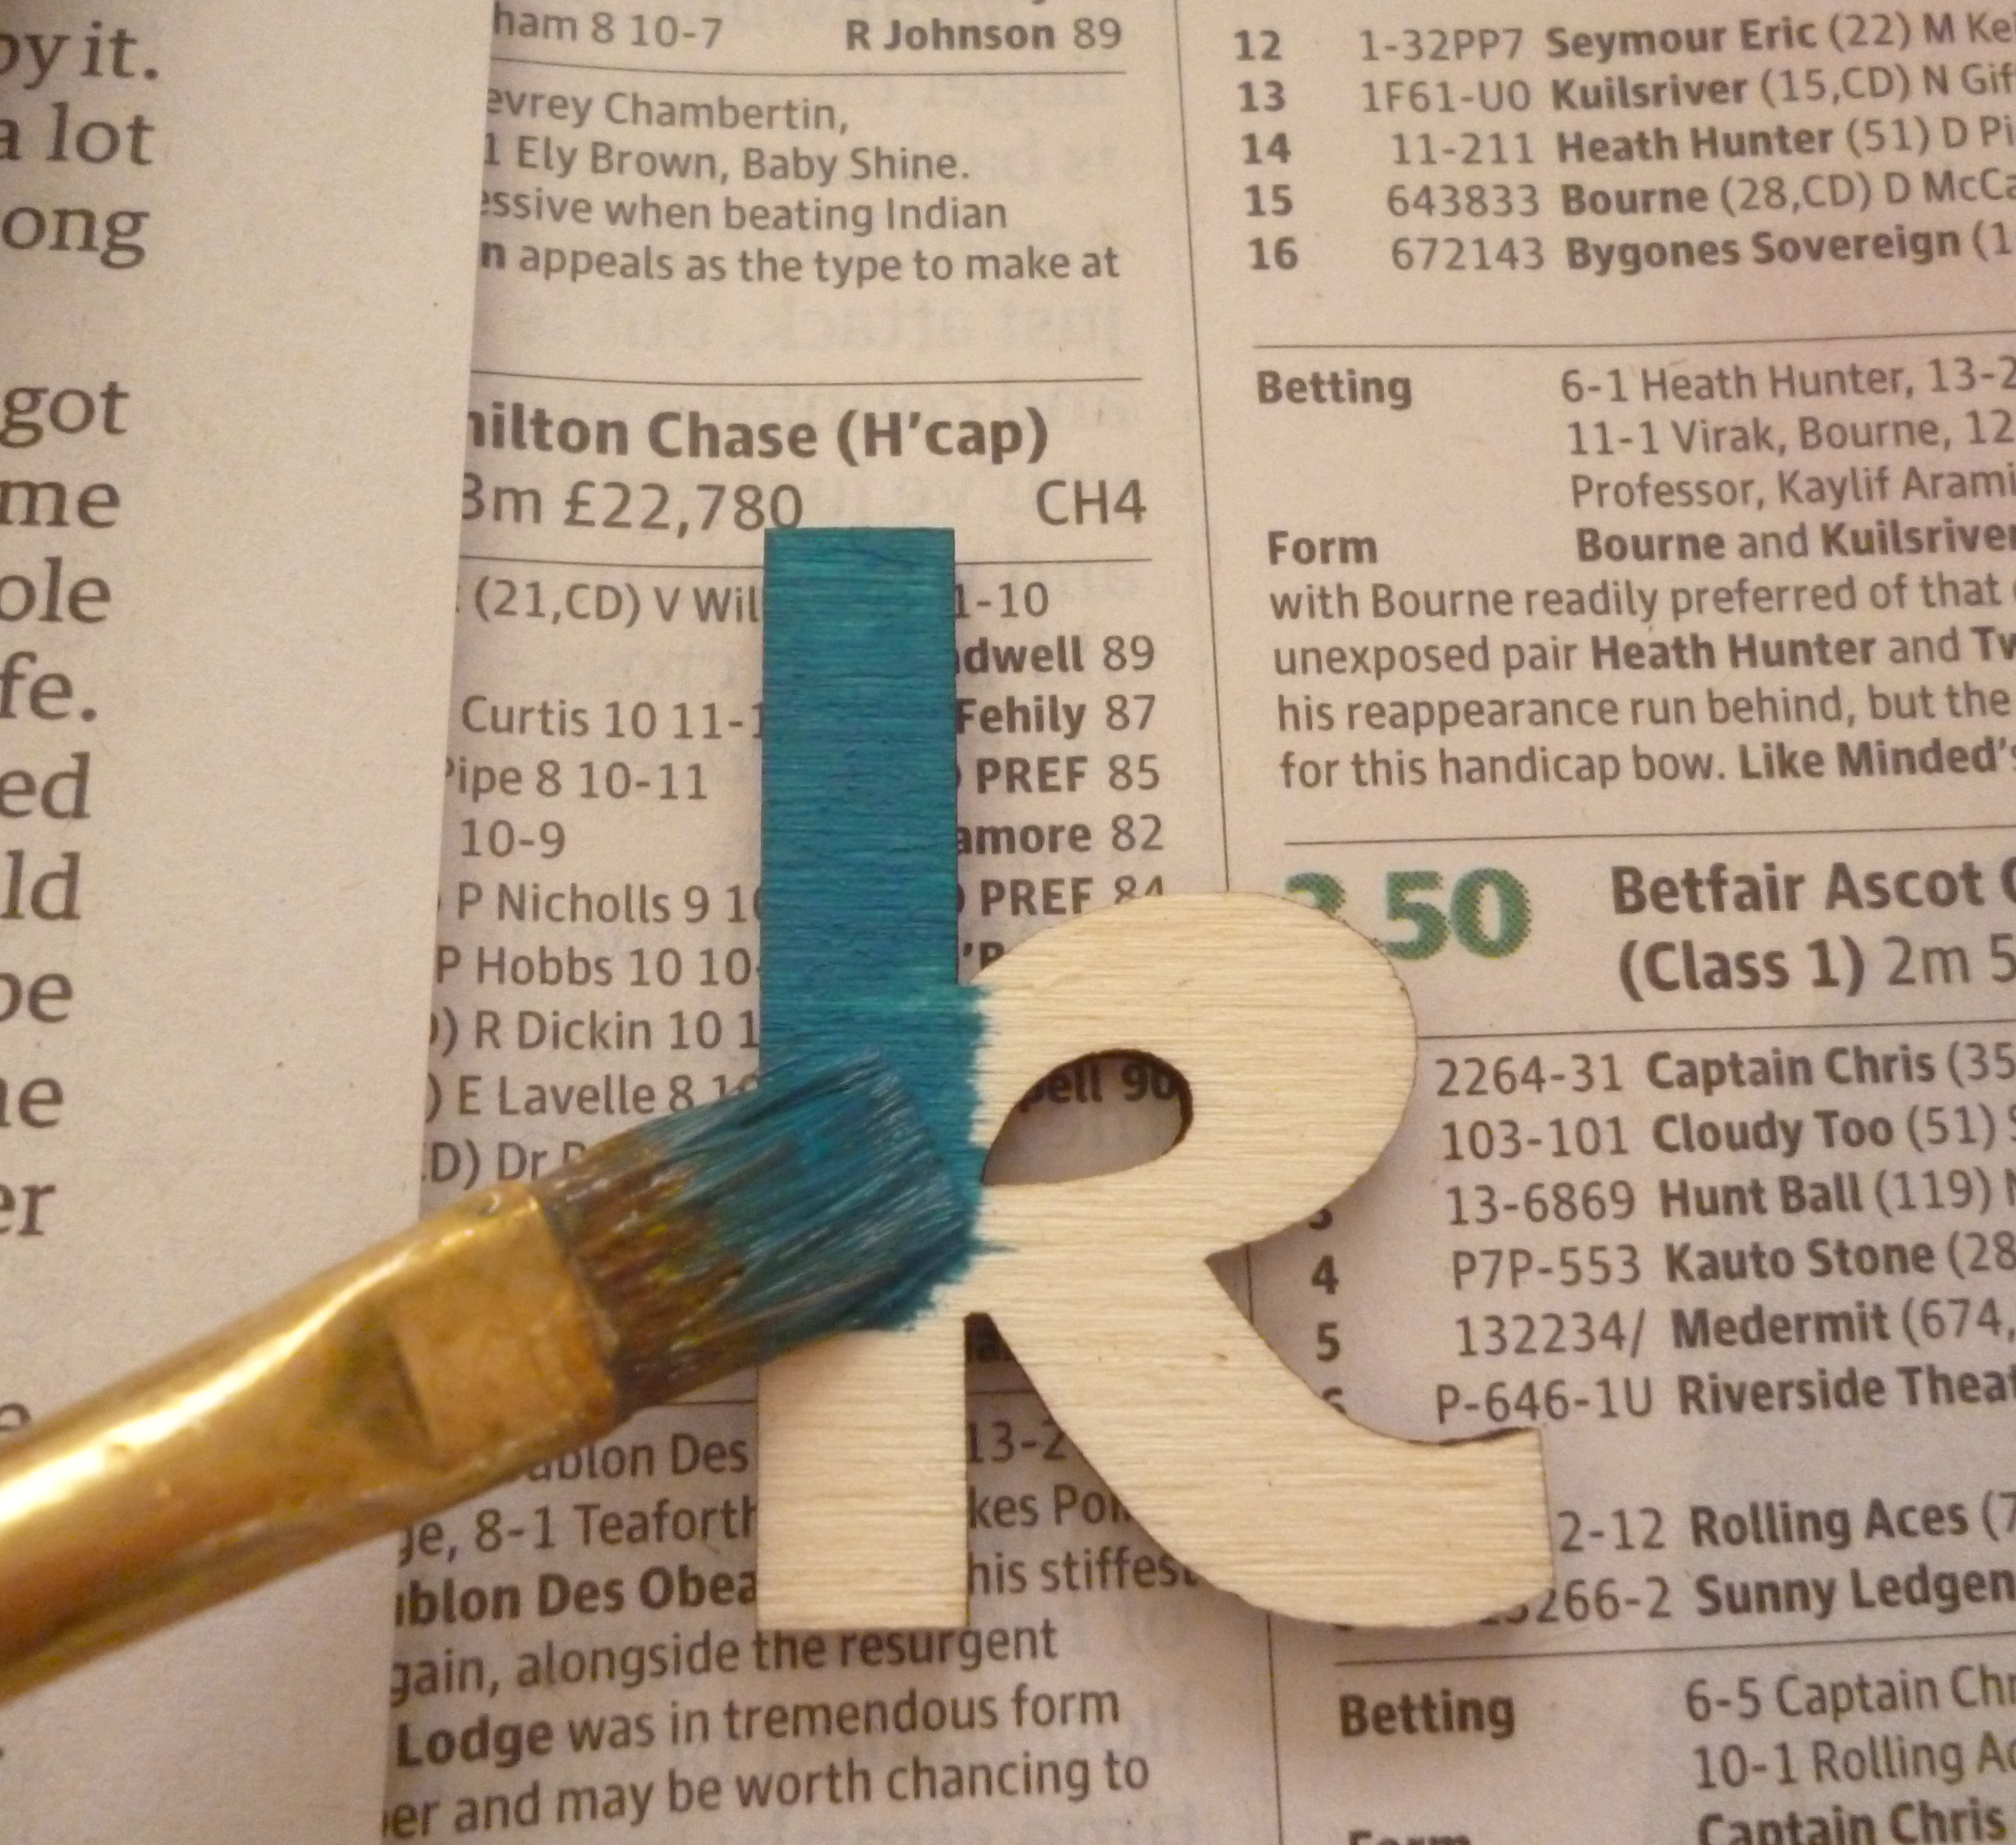
Choose the colours and paints you’d like to use. The plywood takes different kinds of paint really well. Acrylics, water colours and poster paints all work well, but I favour the even finish and bright colours of emulsions, or slightly diluted acrylics. I’ve chosen a selection here.
You’ll also need a small brush, and water for cleaning.
Depending on the surface of your letters and the paints you have chosen, you may want to give them a quick, light sand before you start painting.
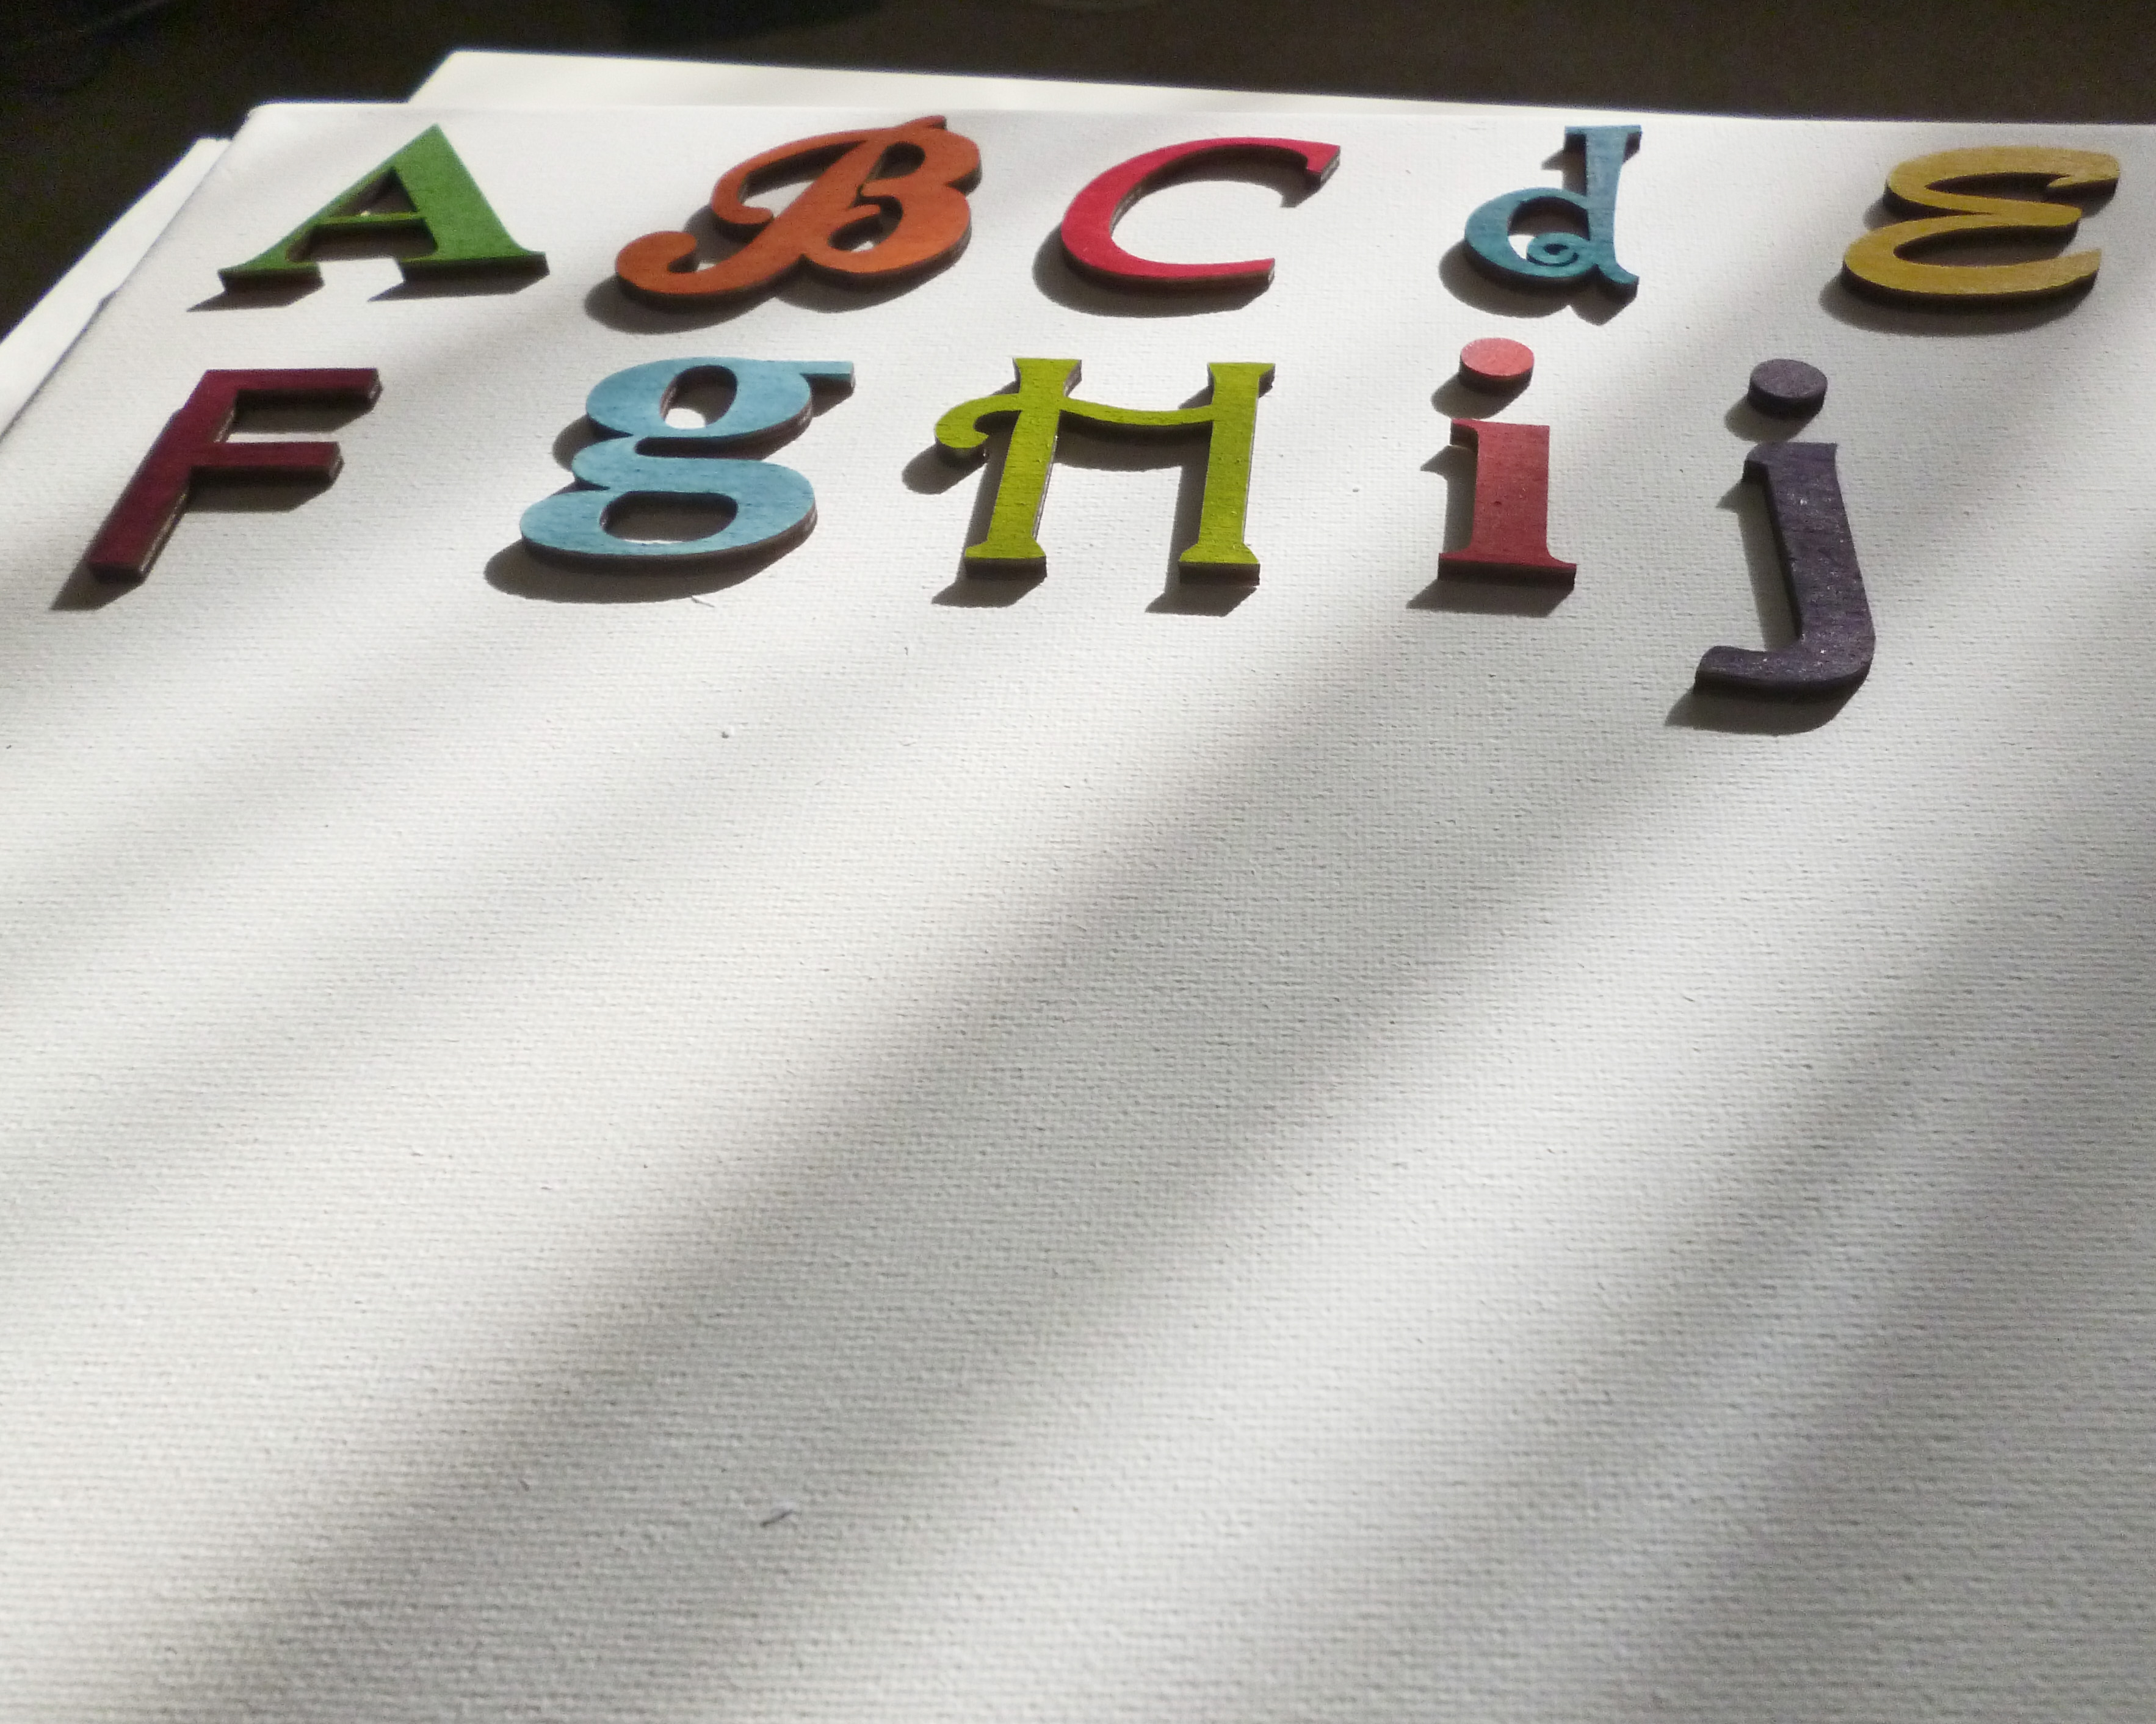
Because I wanted to have an even distribution of different colours over the canvas, and for it have a balanced appearance, I laid out my letters as I went along in order to decide which letters should be painted which colours. You don’t have to do this of course, especially if you want a more random appearance.
Step 3: Another Coat?
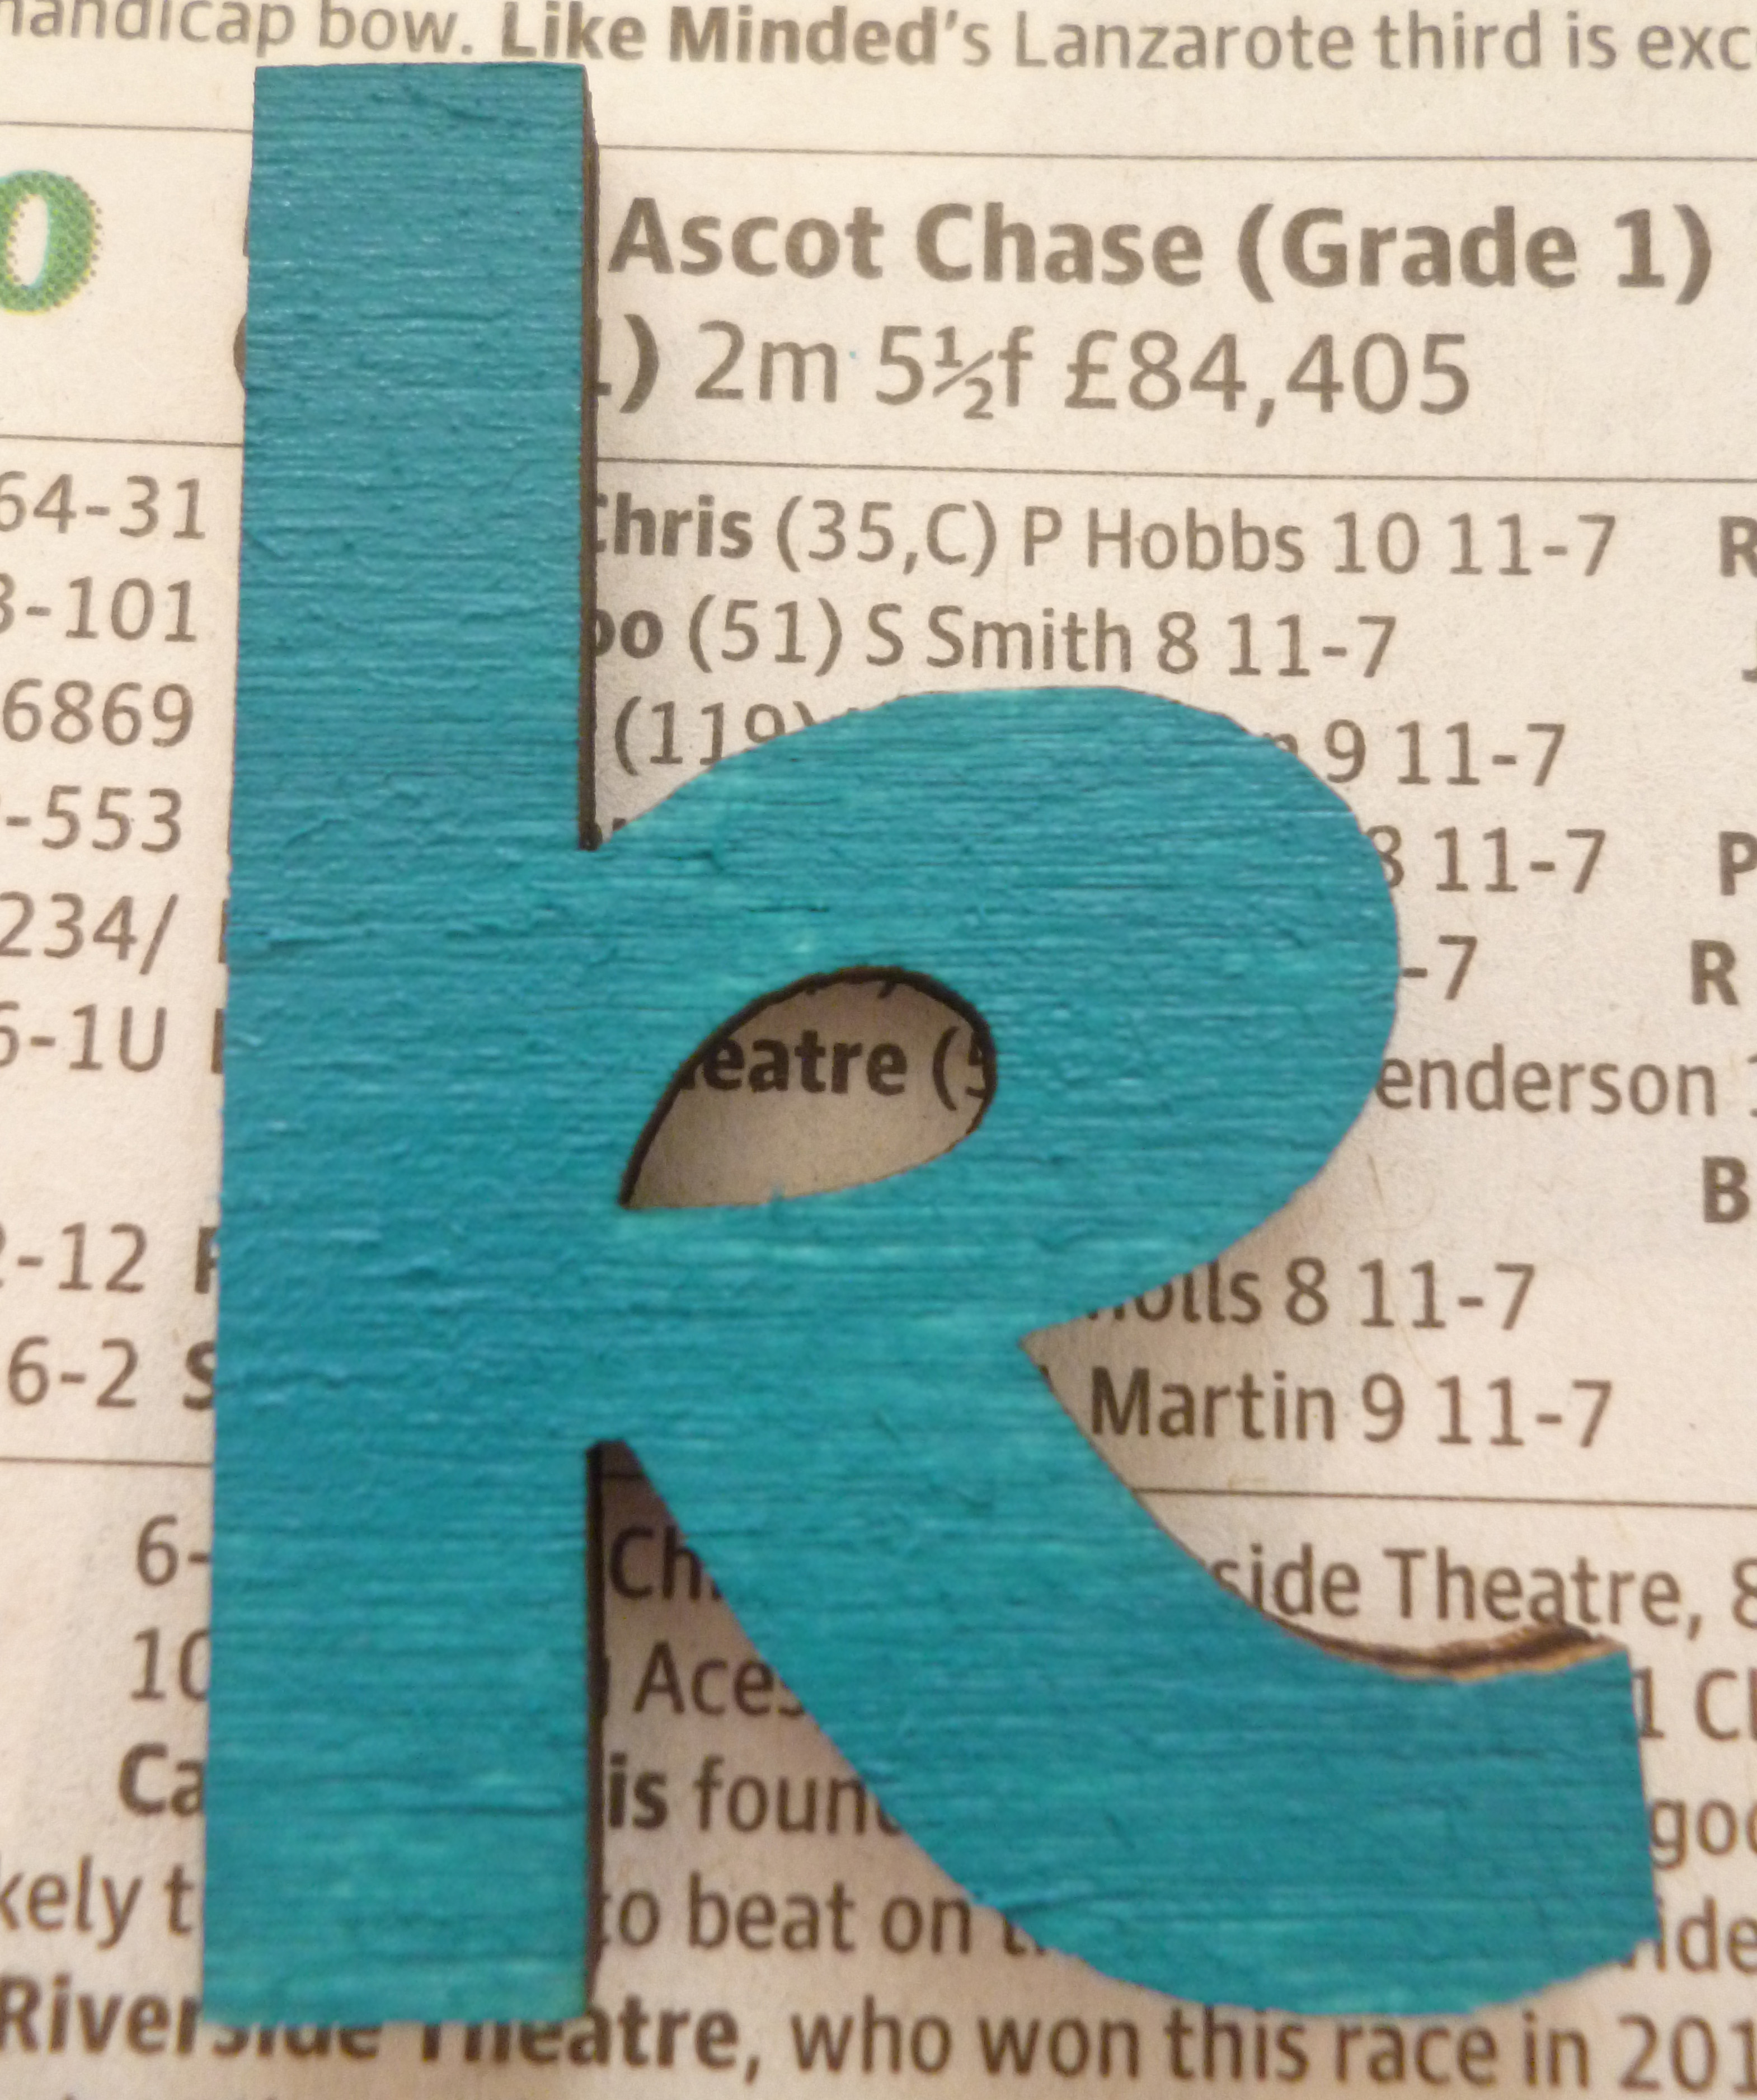
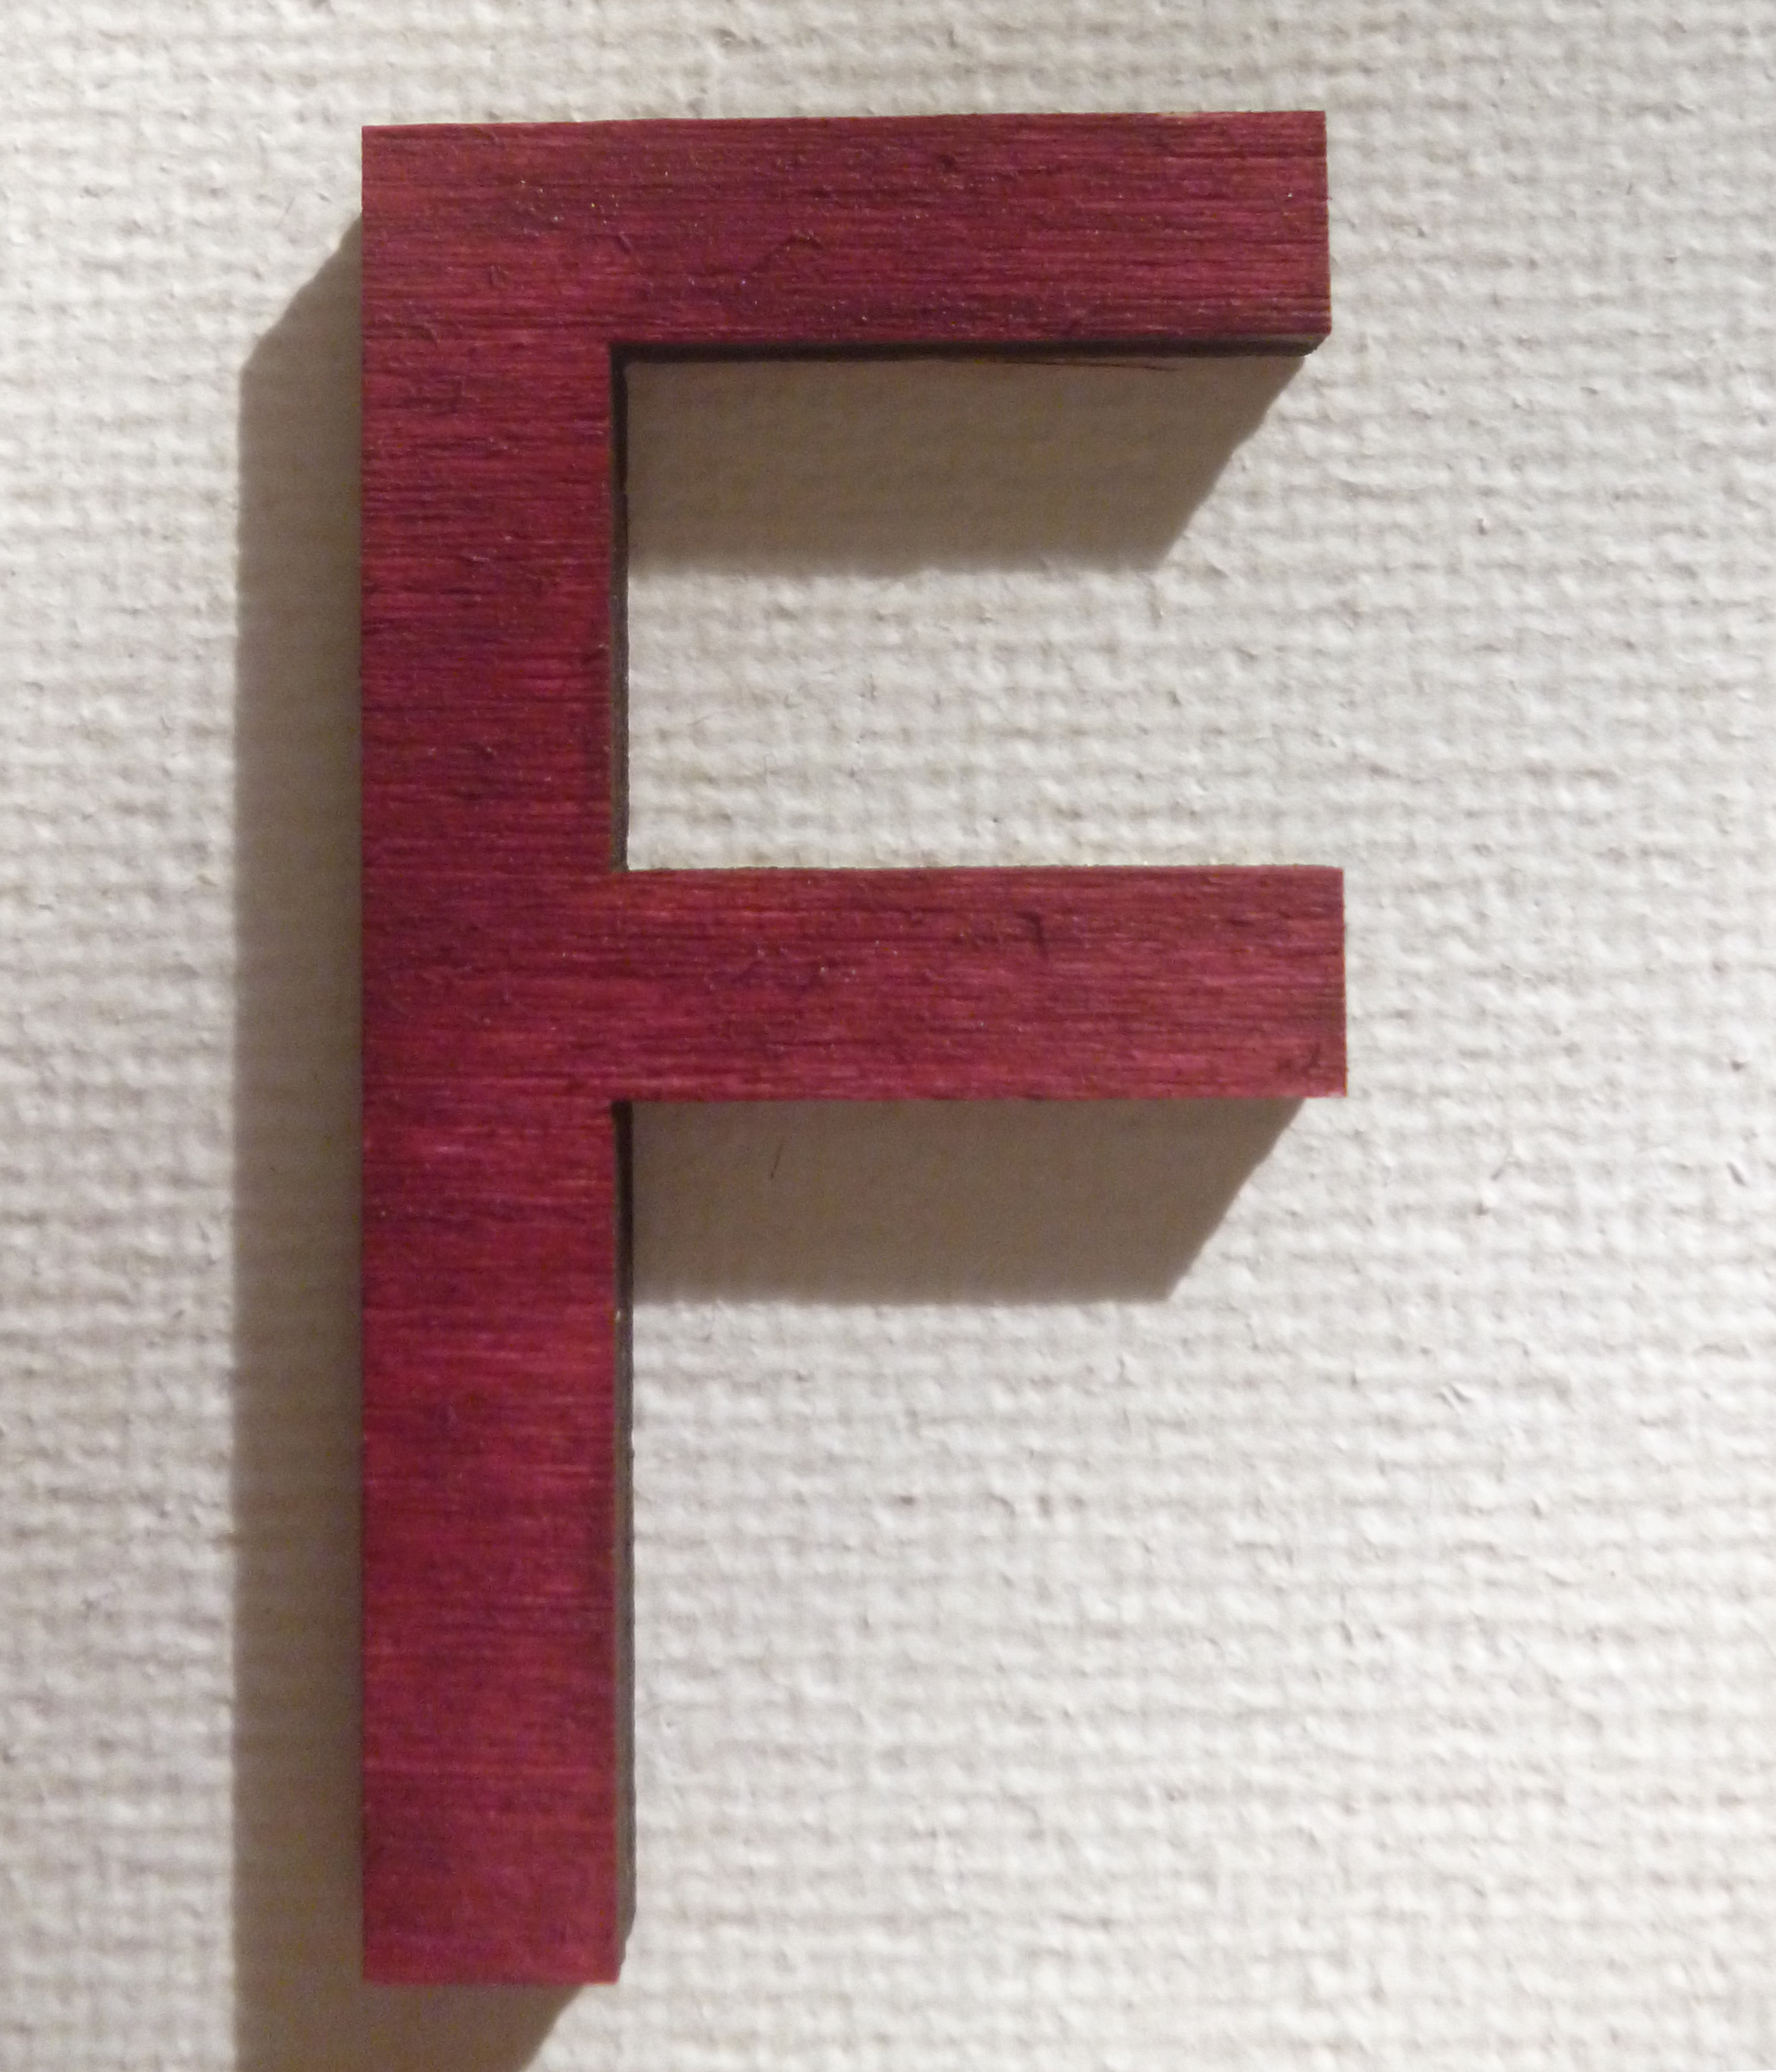
You might want to give your letters another coat of paint. I didn't want to see any of the wood grain through the paints on my letters, so I gave them two or three coats, just to make sure.
Step 4: Sticking Down the Letters.
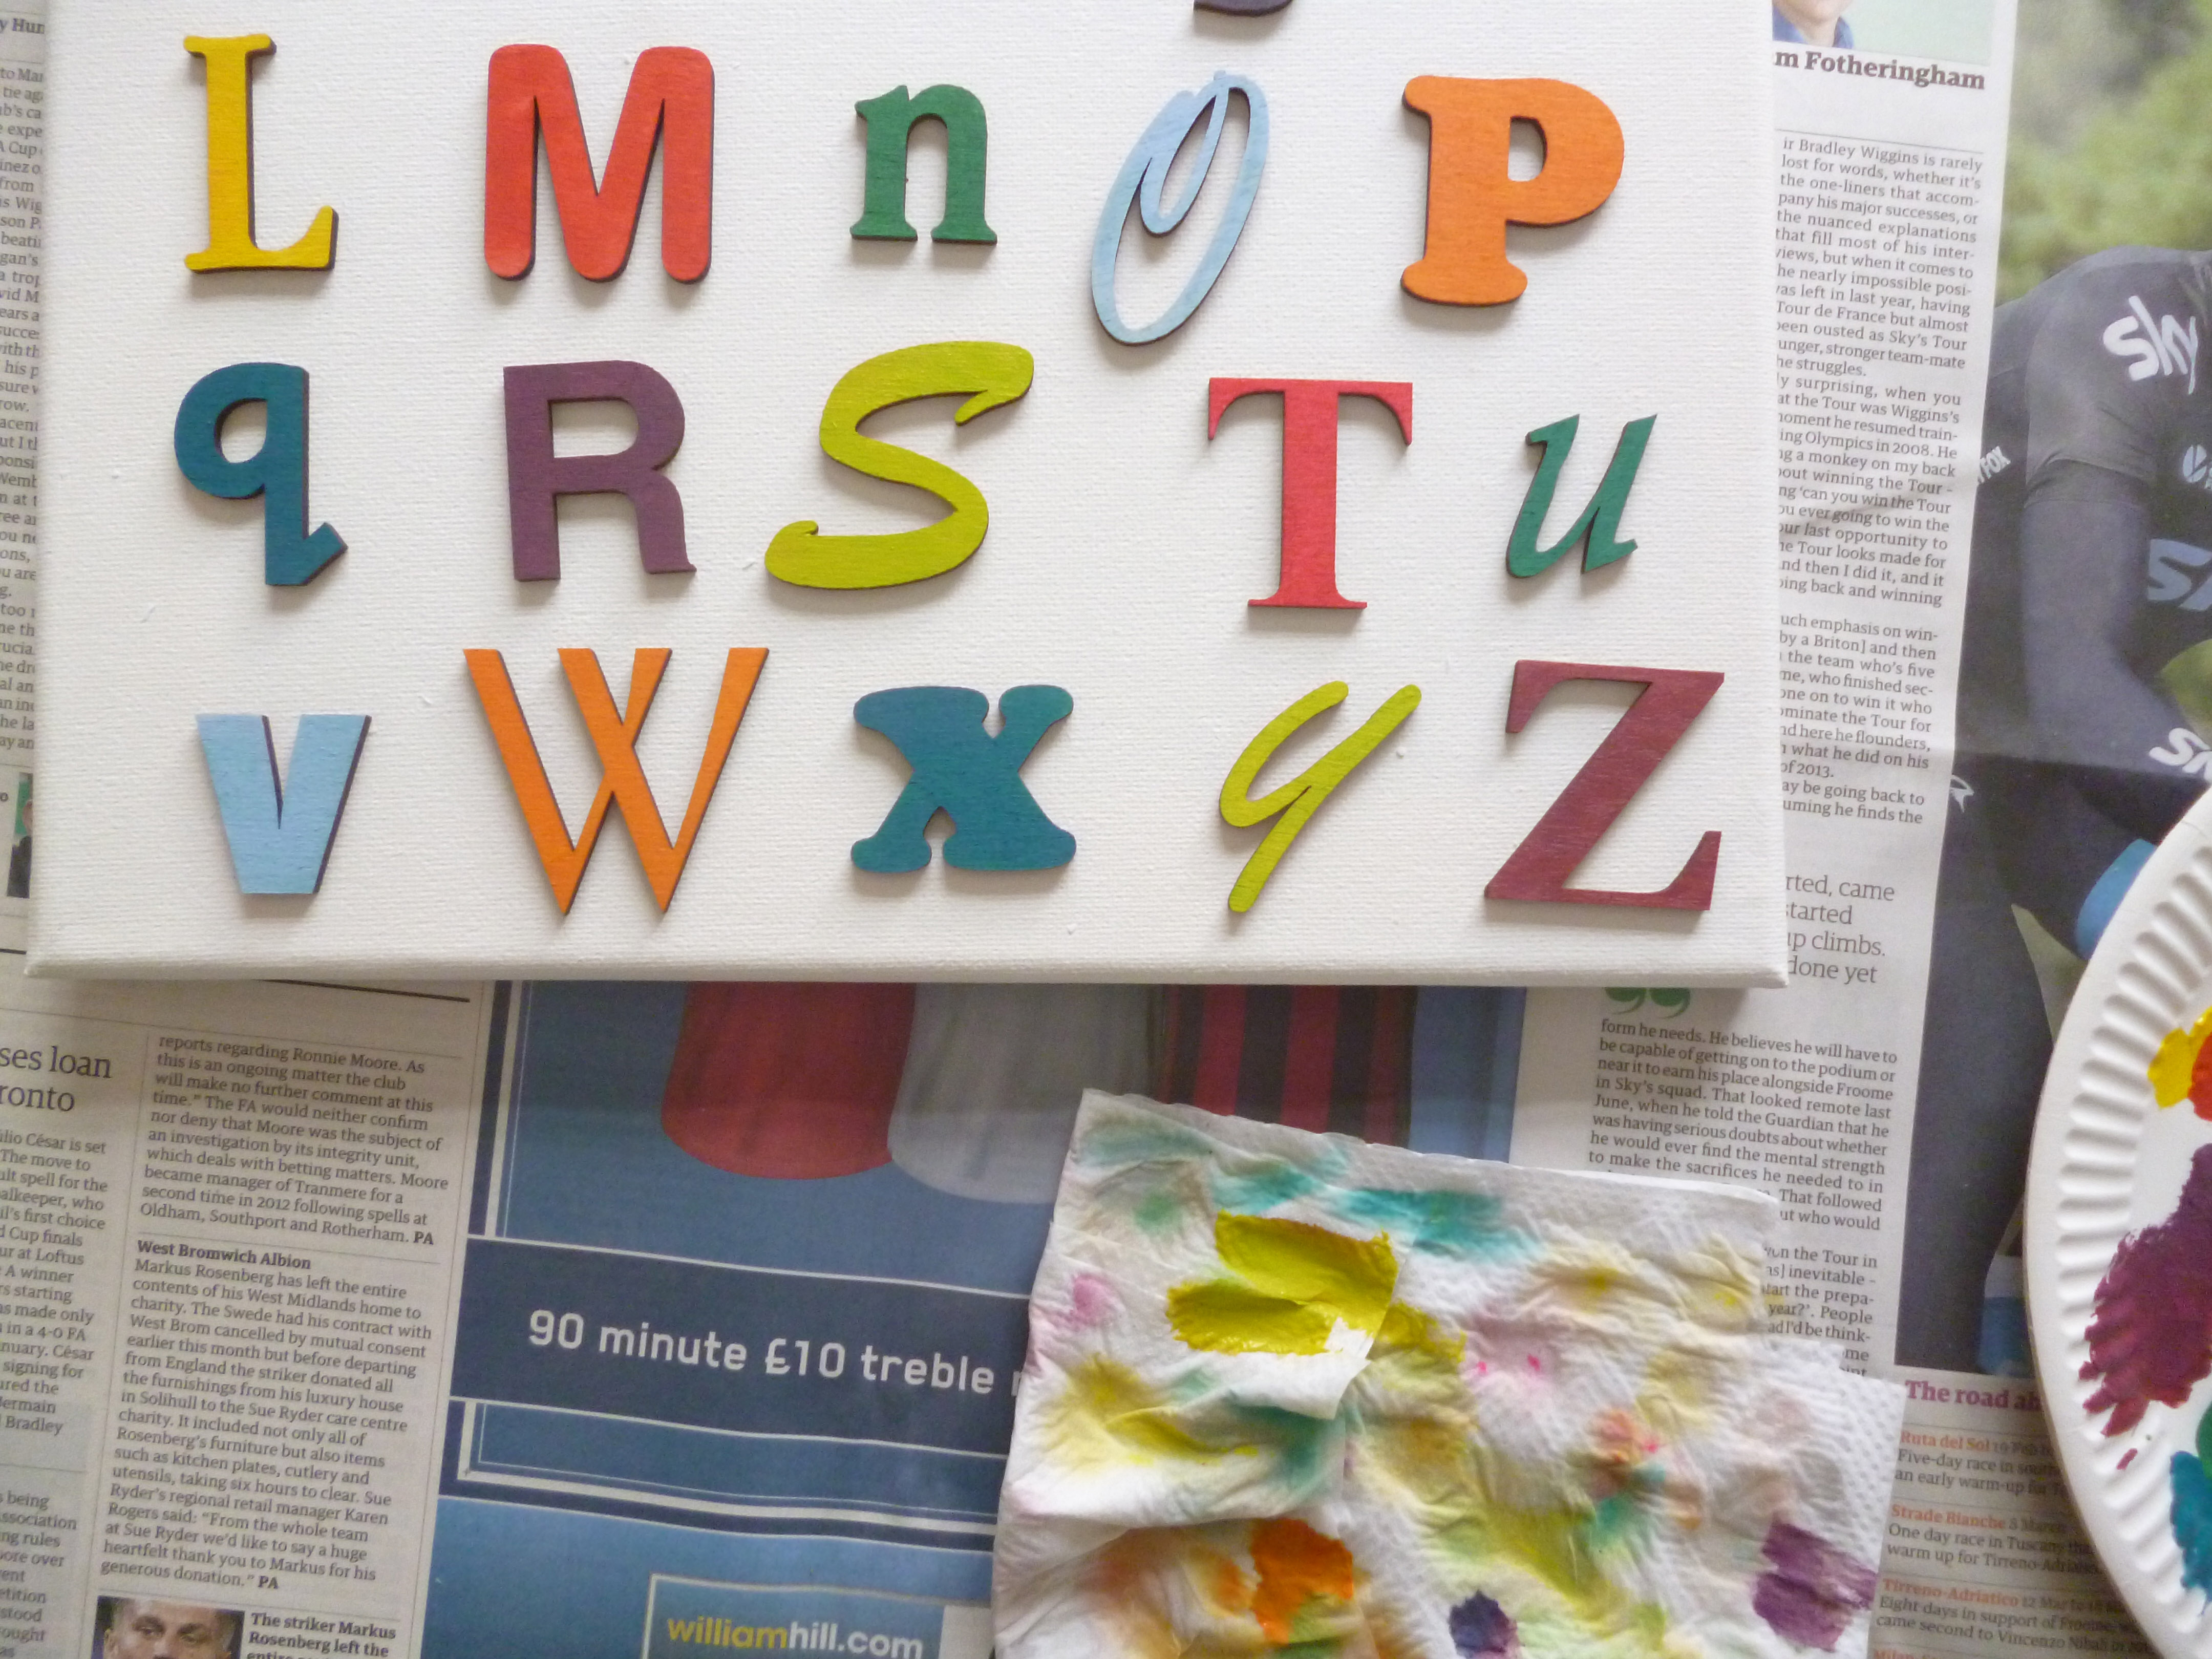
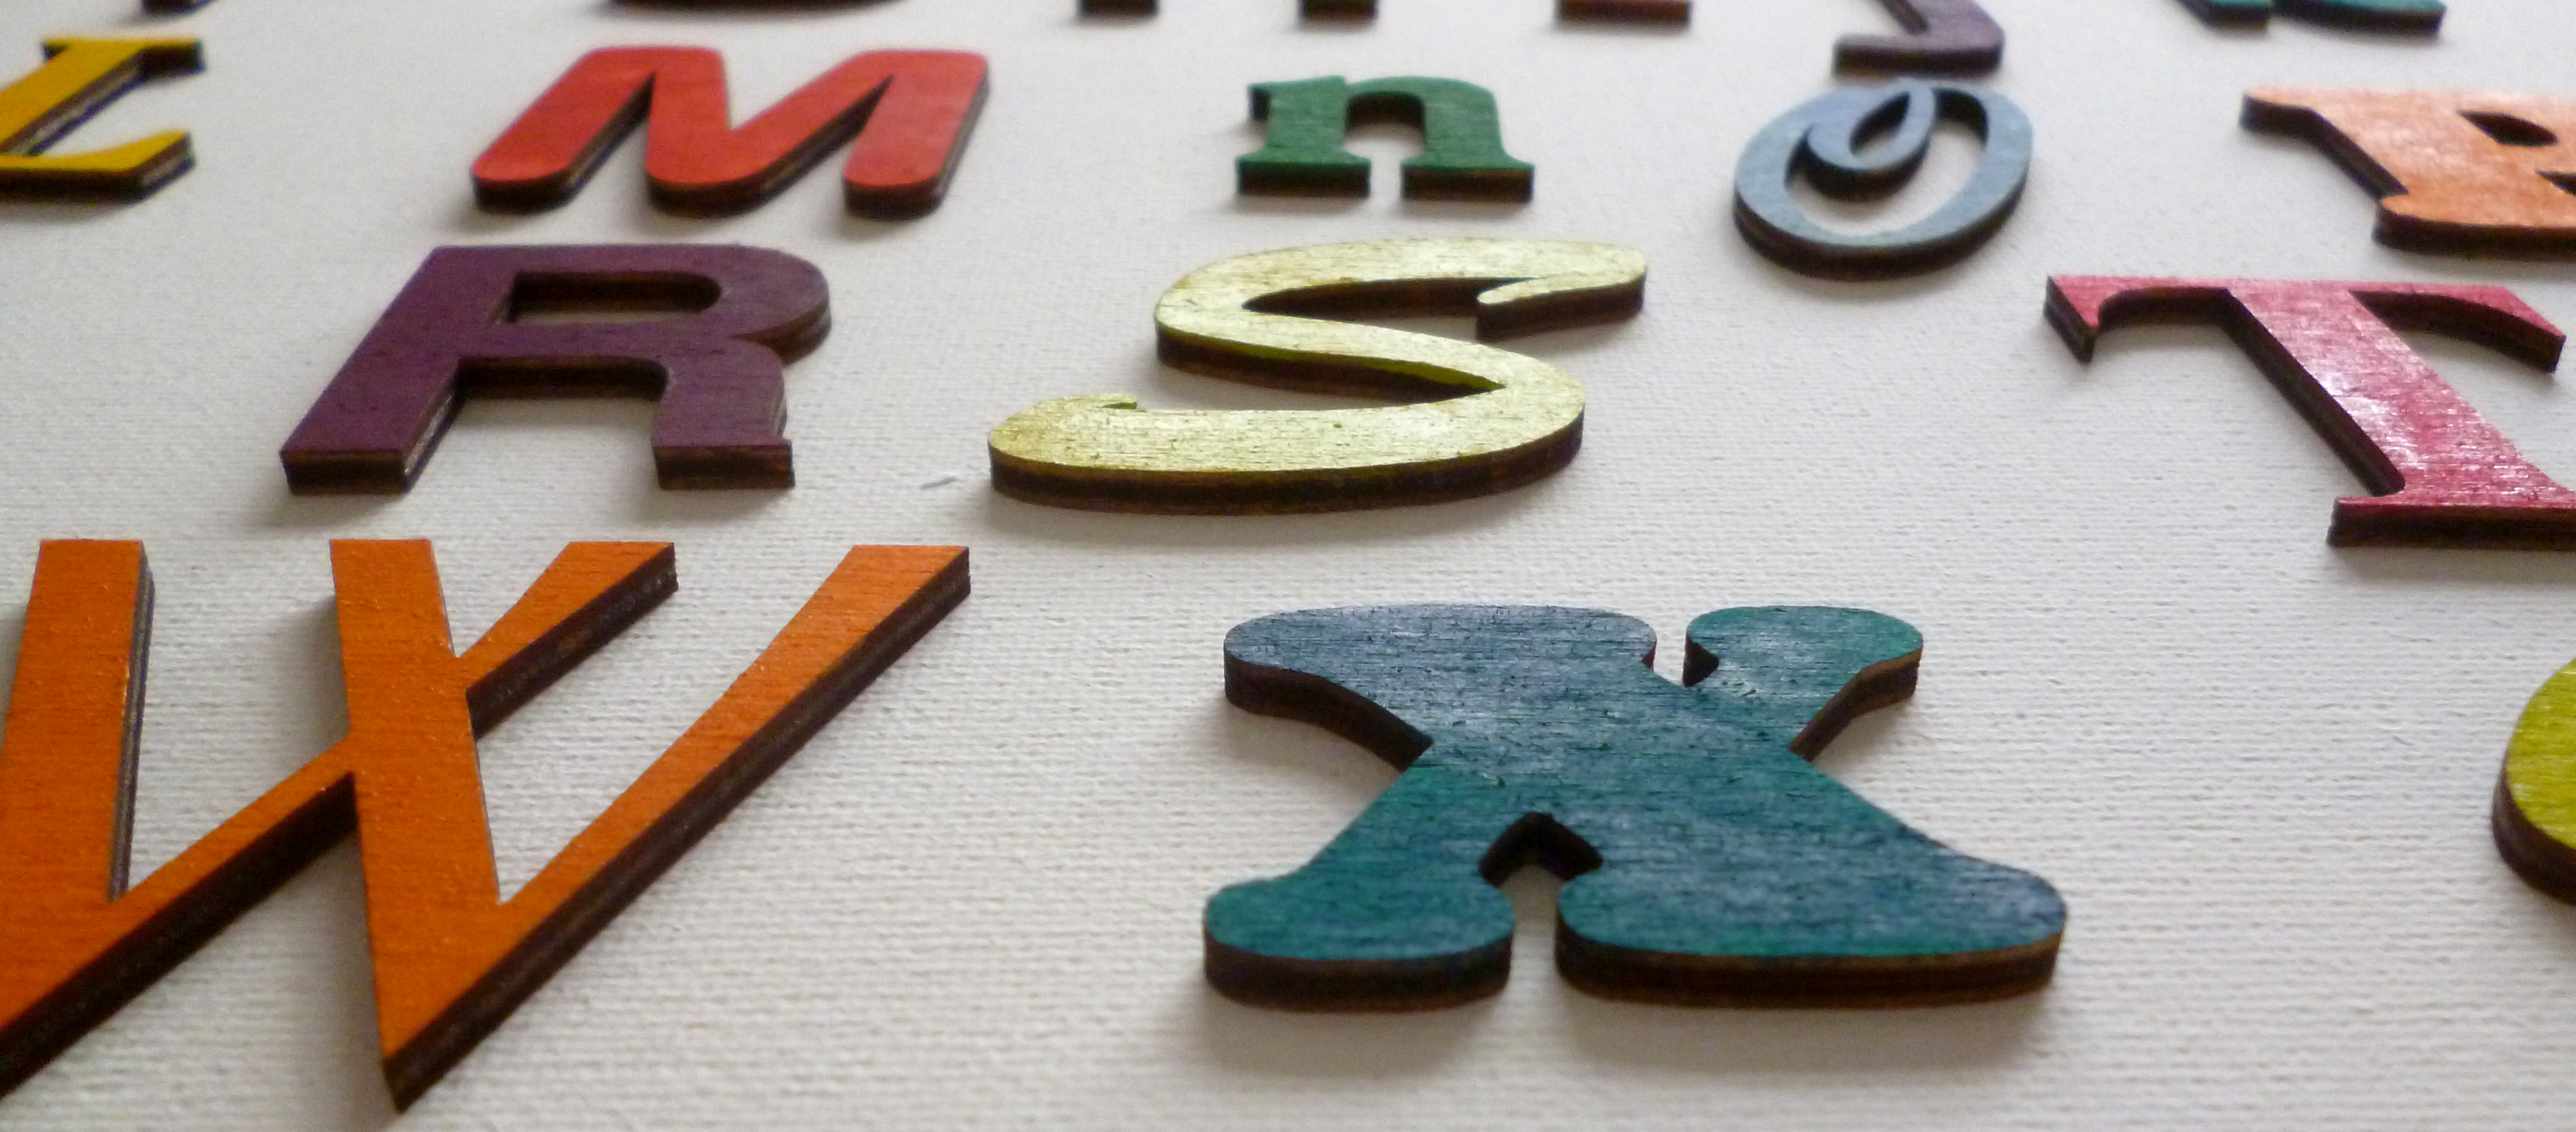
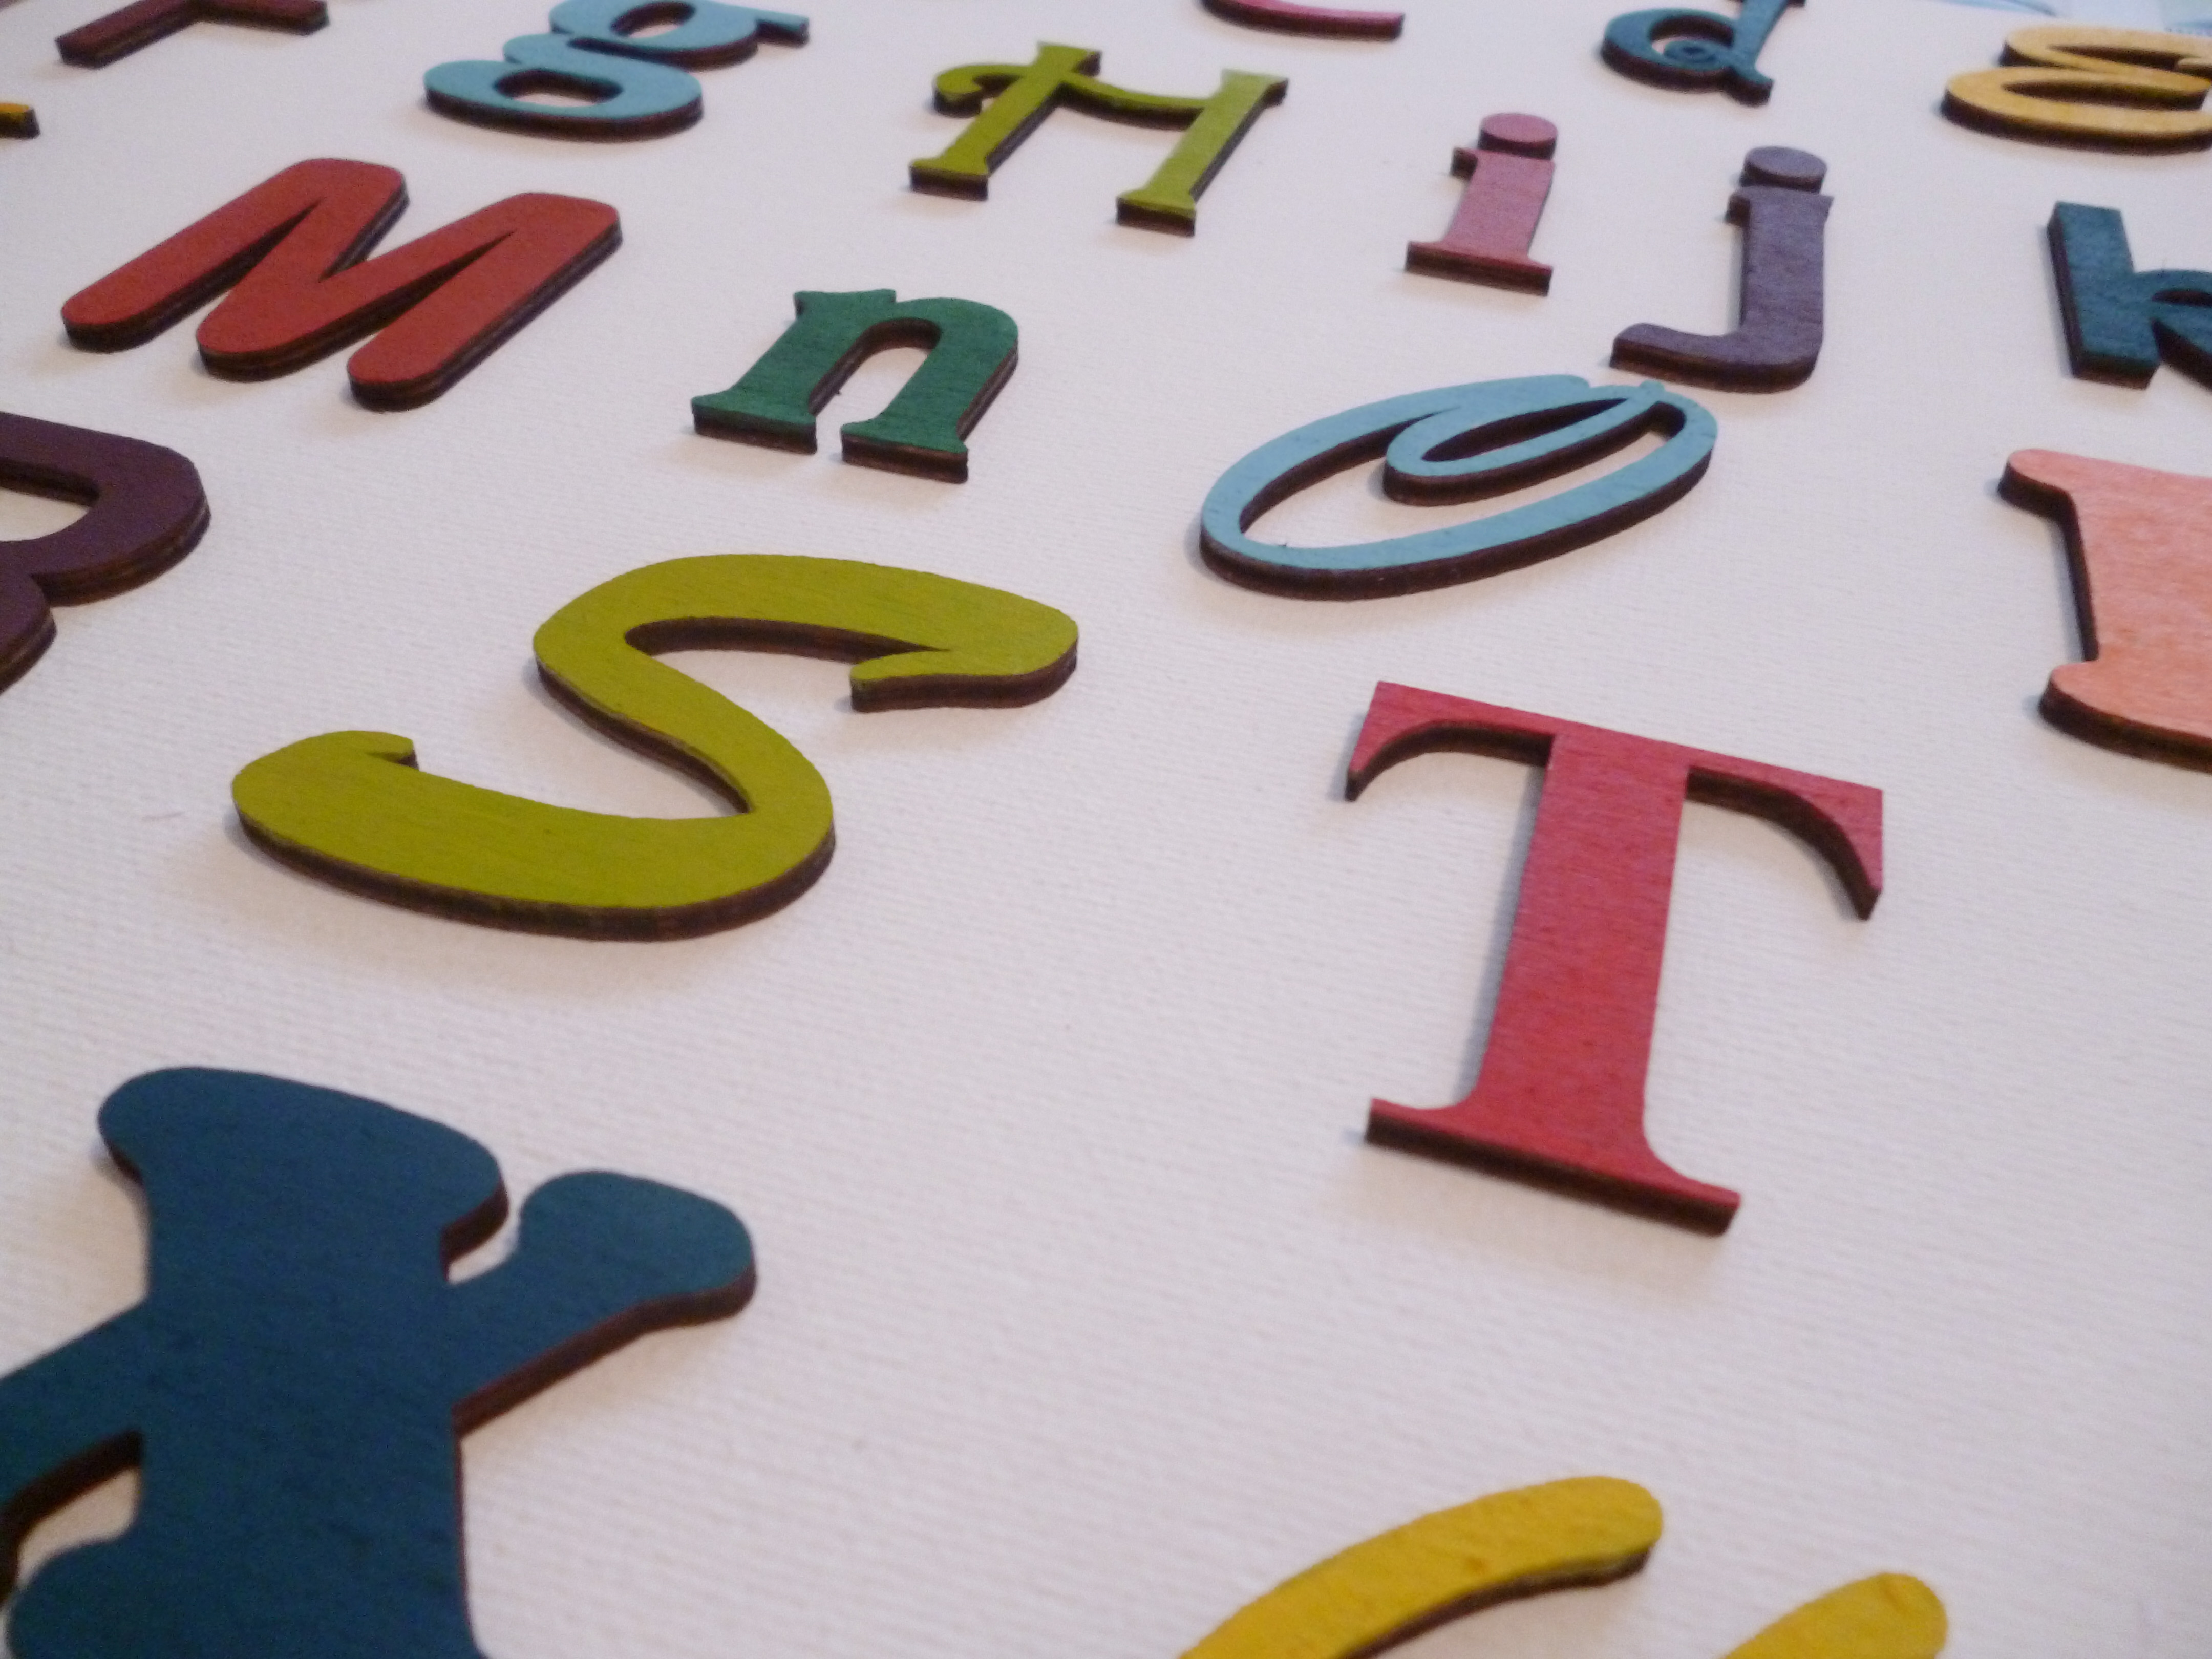
Once all your letters are painted to your satisfaction, you can attach them to your canvas. It’s worth playing around with them a bit to get the placing just right, especially if you want them really neat. You might even want to measure out the spaces between each letter and make a small pencil mark, to ensure you stay accurate.
You could use PVA glue, wood glue, or something stronger. I used a two-part epoxy as it's what I had to hand, and I know it is really strong!
You could use PVA glue, wood glue, or something stronger. I used a two-part epoxy as it's what I had to hand, and I know it is really strong!
Step 5: Varnishing.
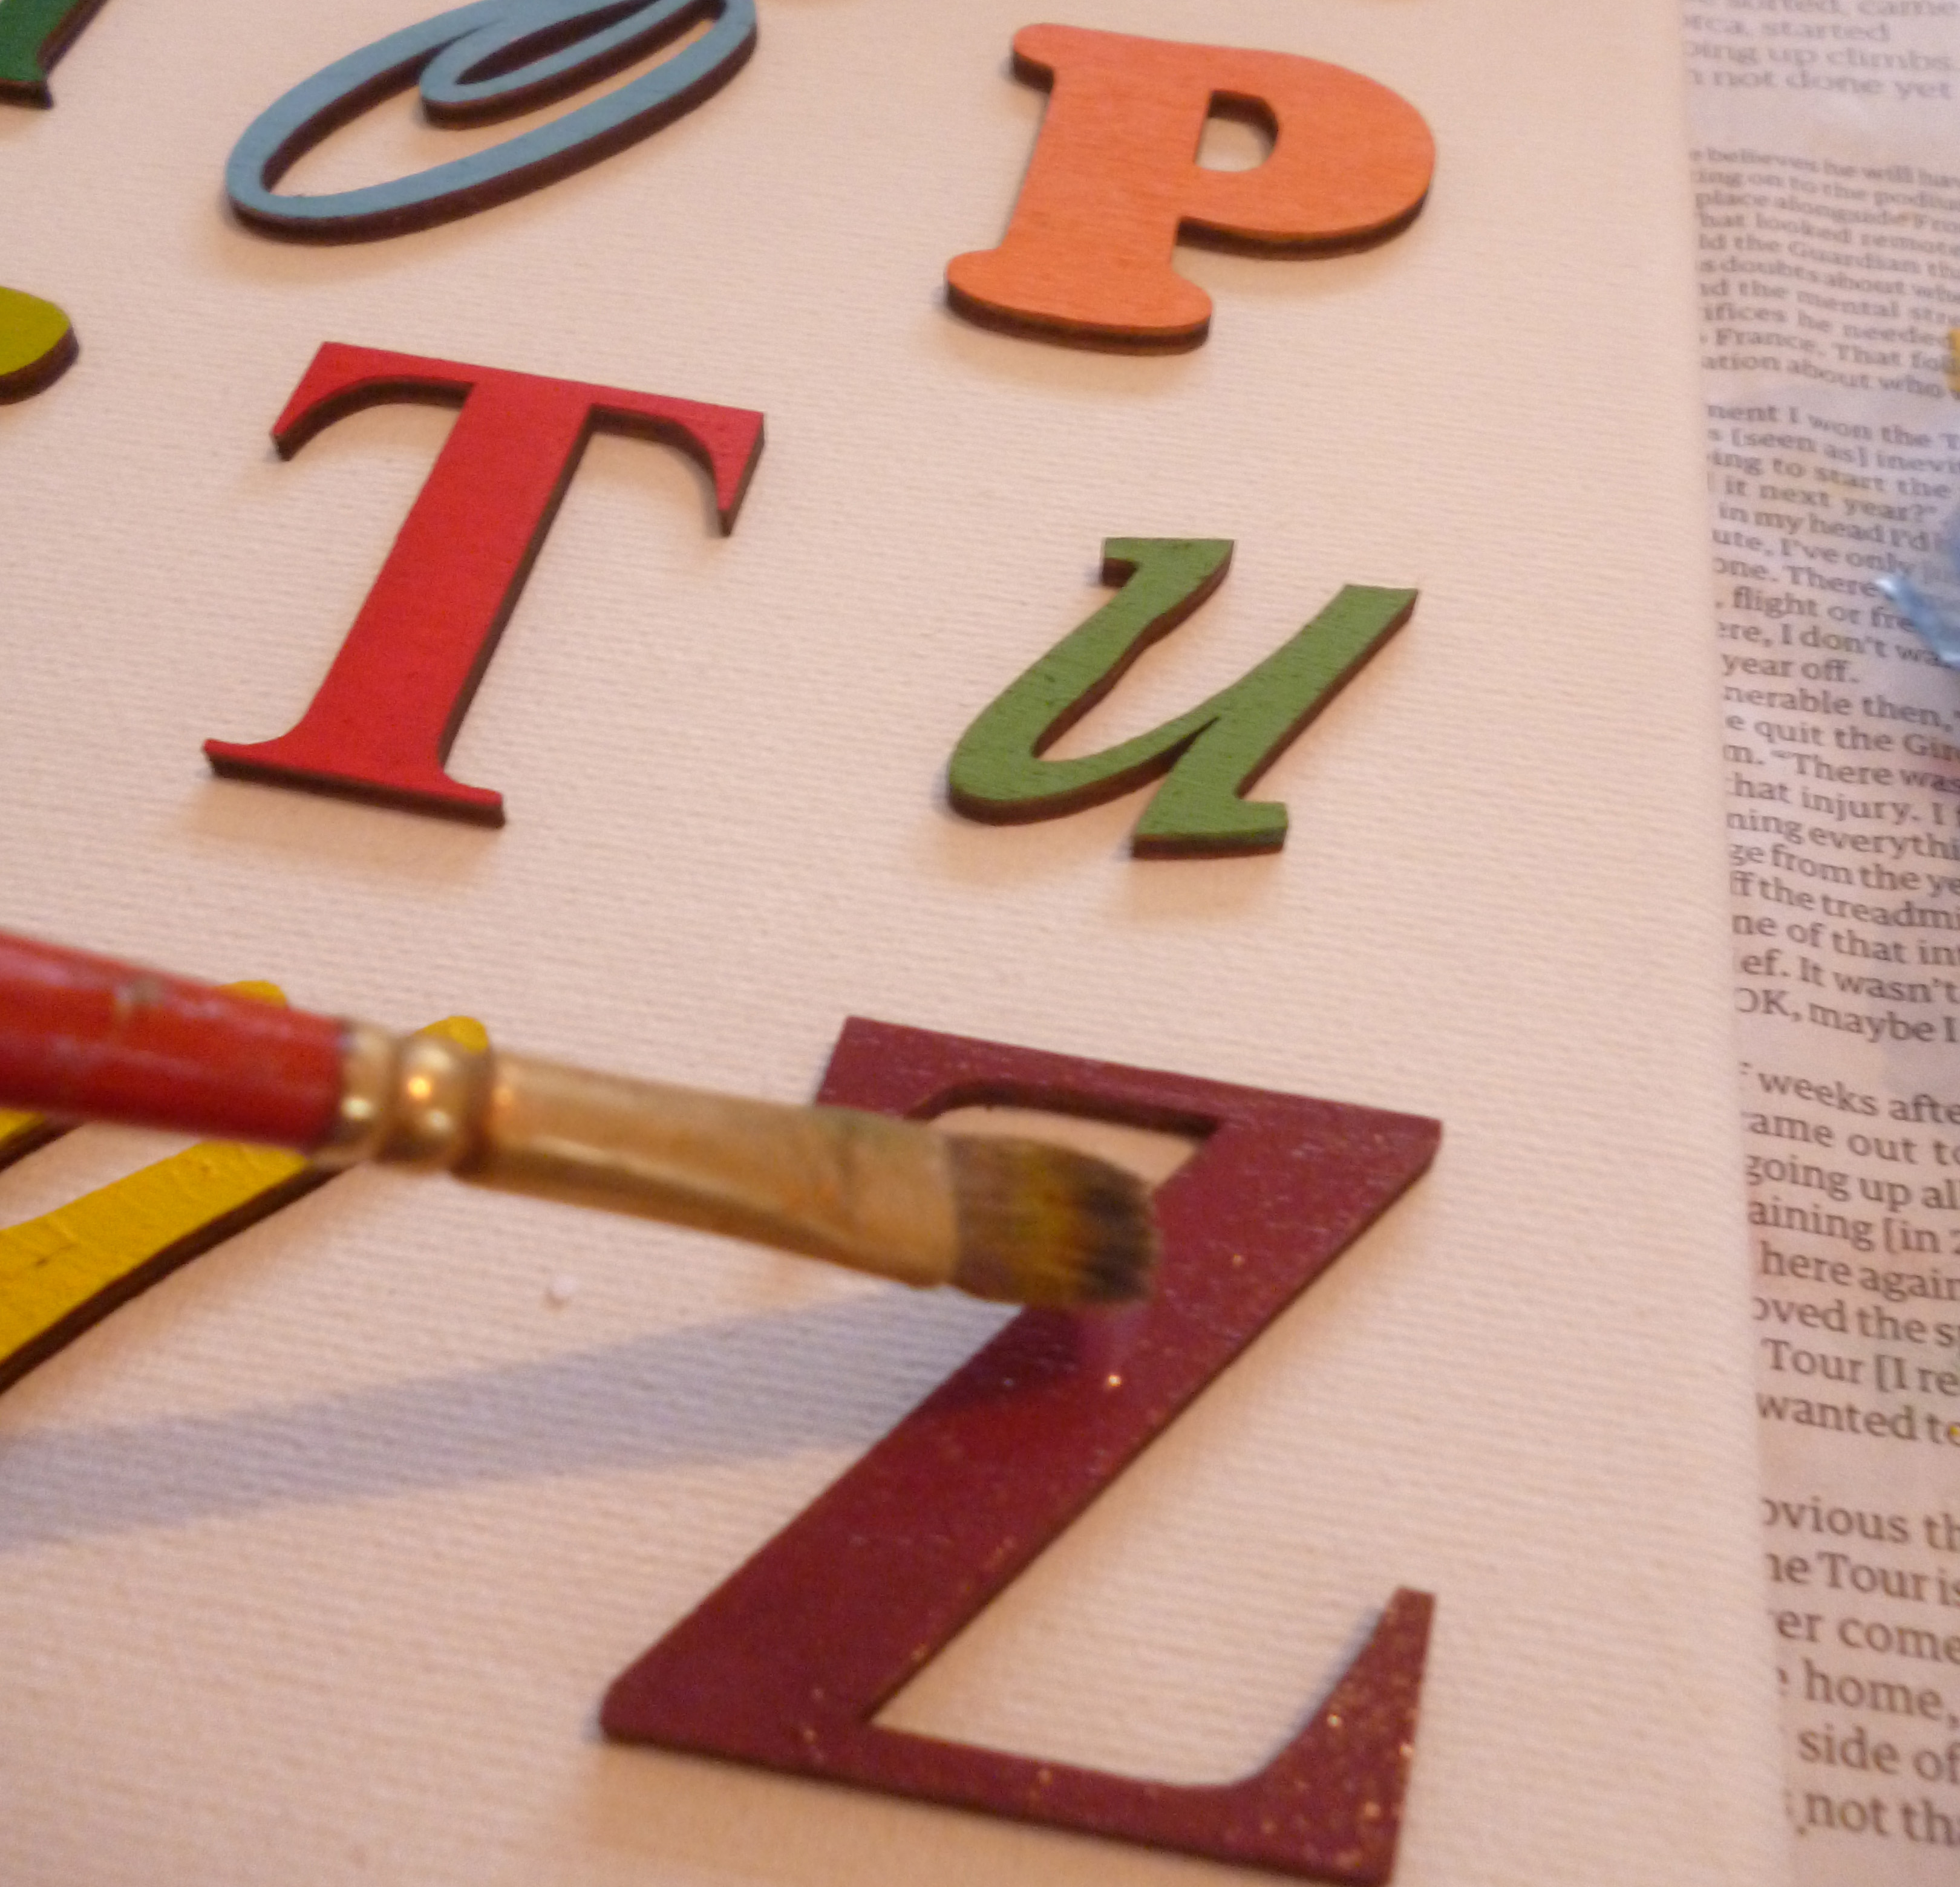
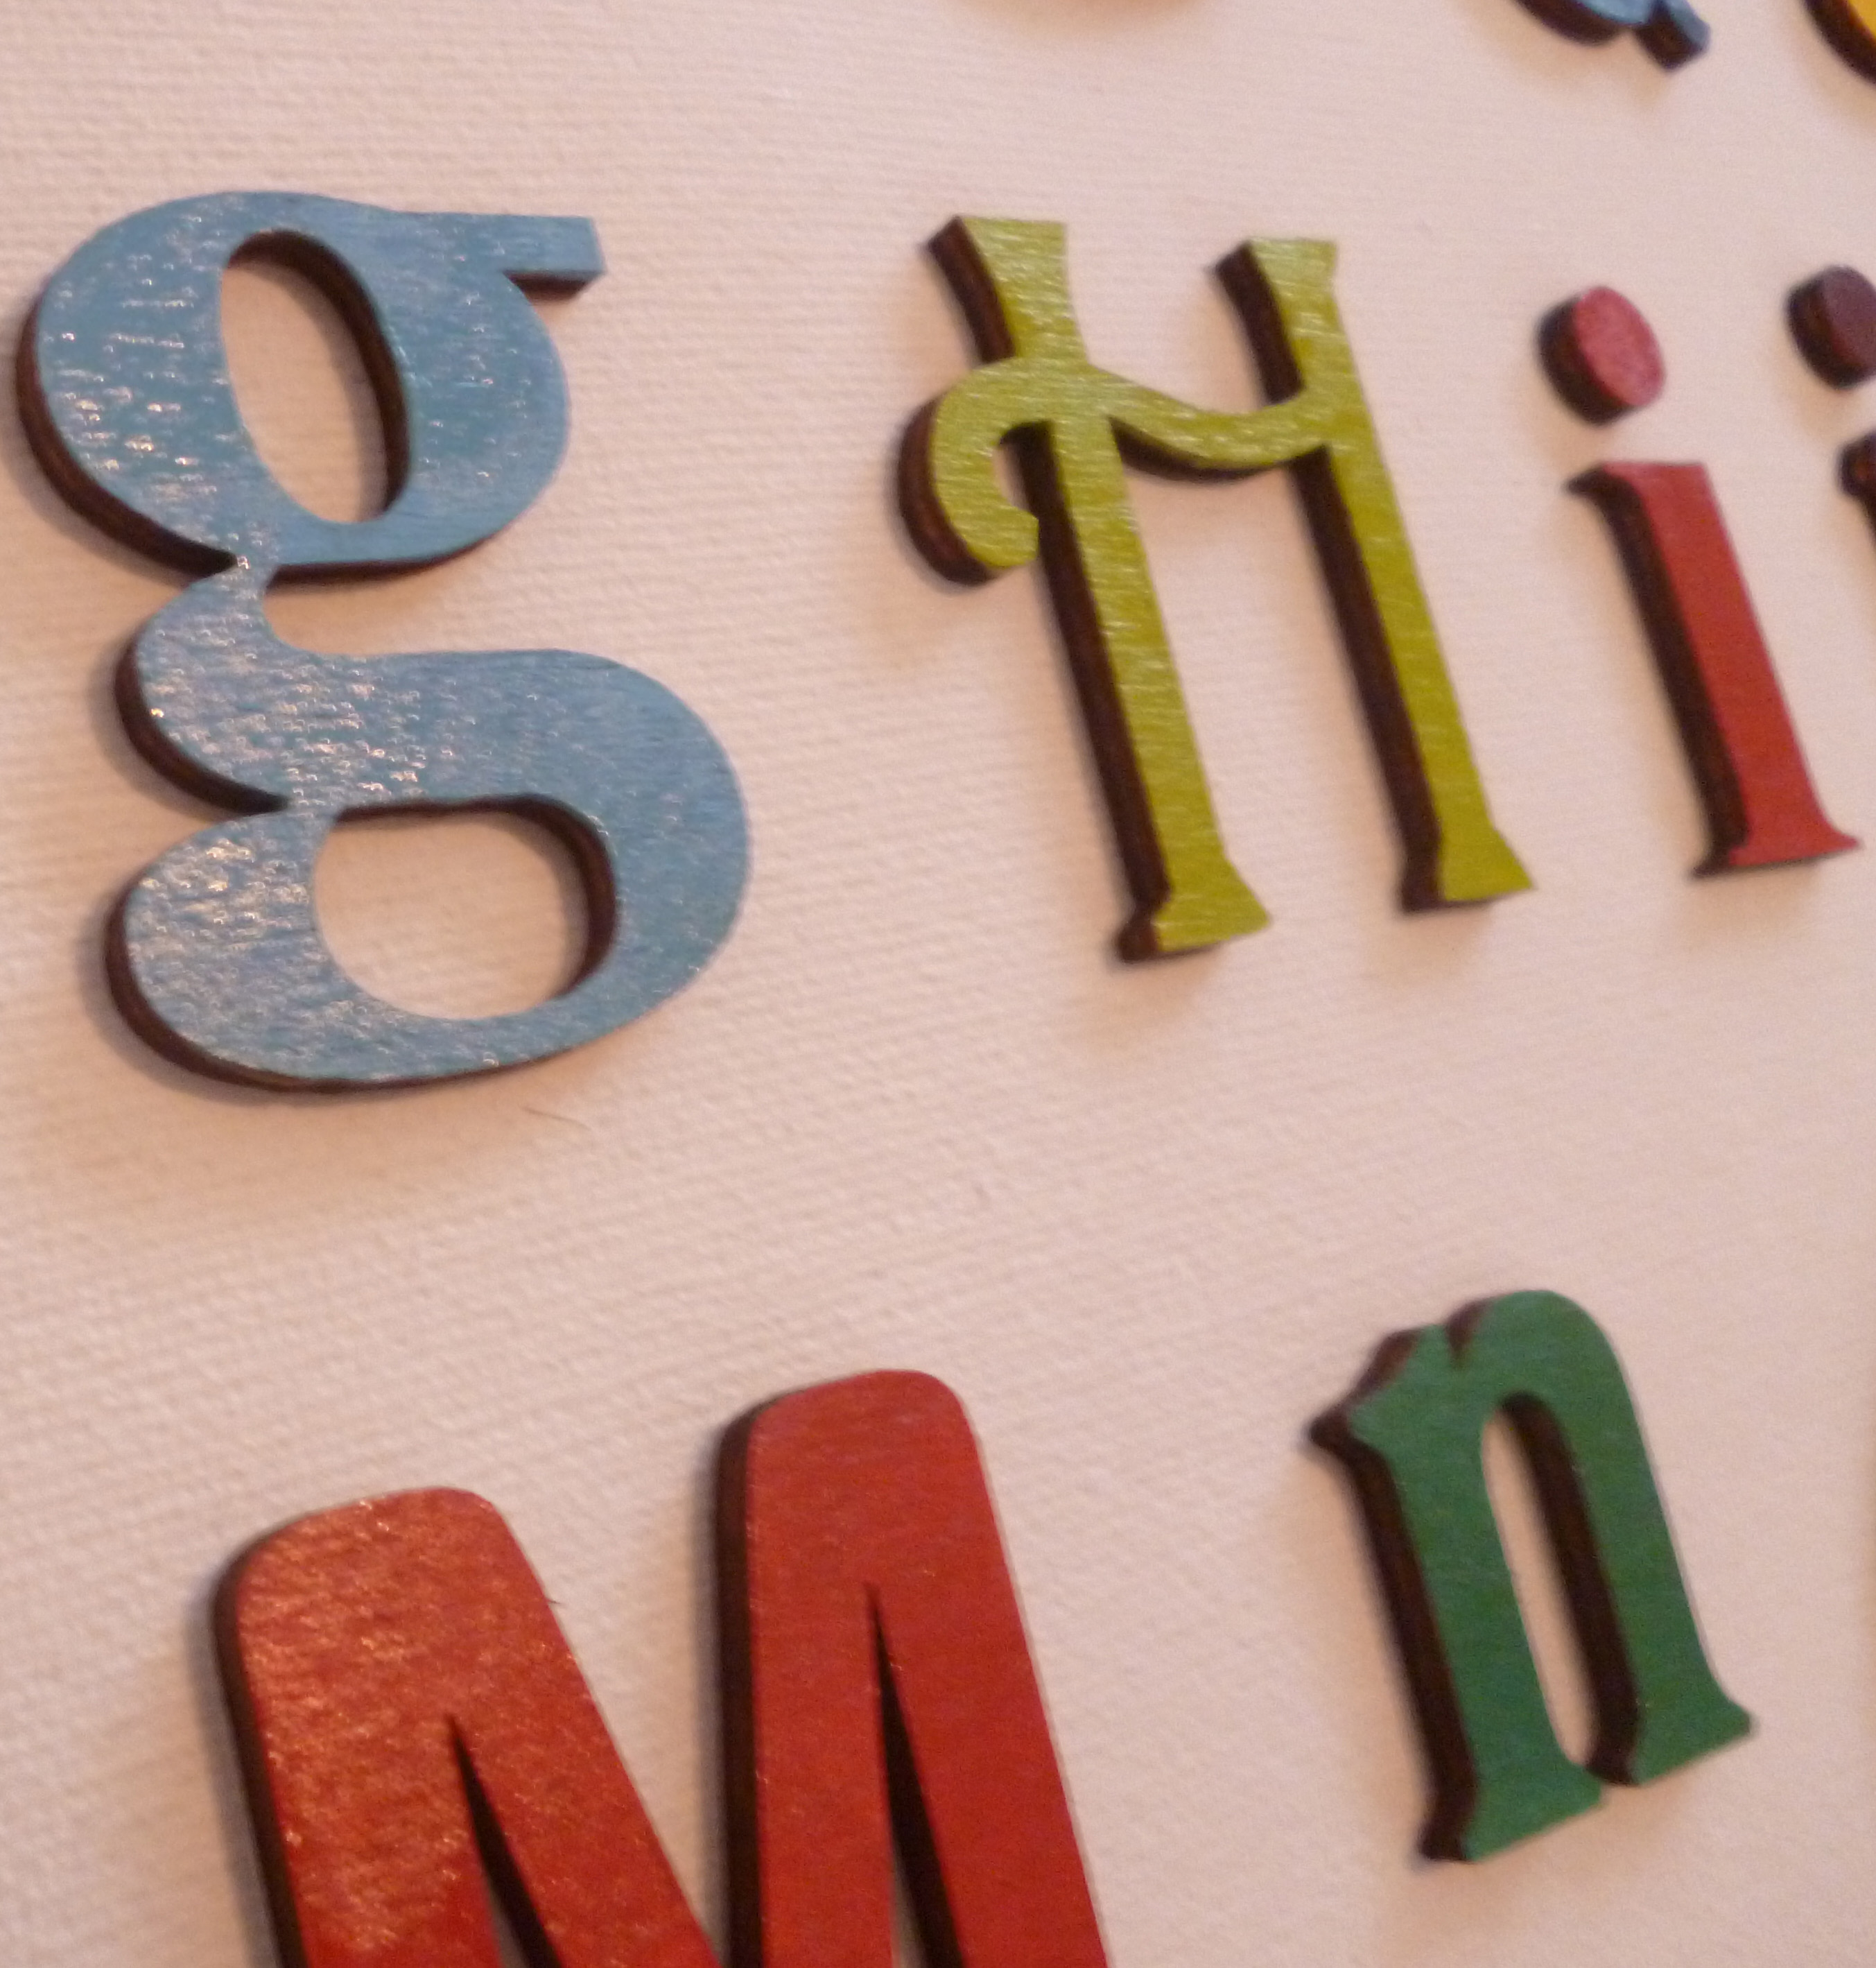
This stage is of course optional, but I decided to varnish the letters to give them a slight shine. I did this once the letters were already stuck down, but if you’re worried about dripping varnish onto the canvas, do it before you stick them on!
Use whichever kind of varnish you prefer/have to hand.
Use whichever kind of varnish you prefer/have to hand.
The Finished Canvas!
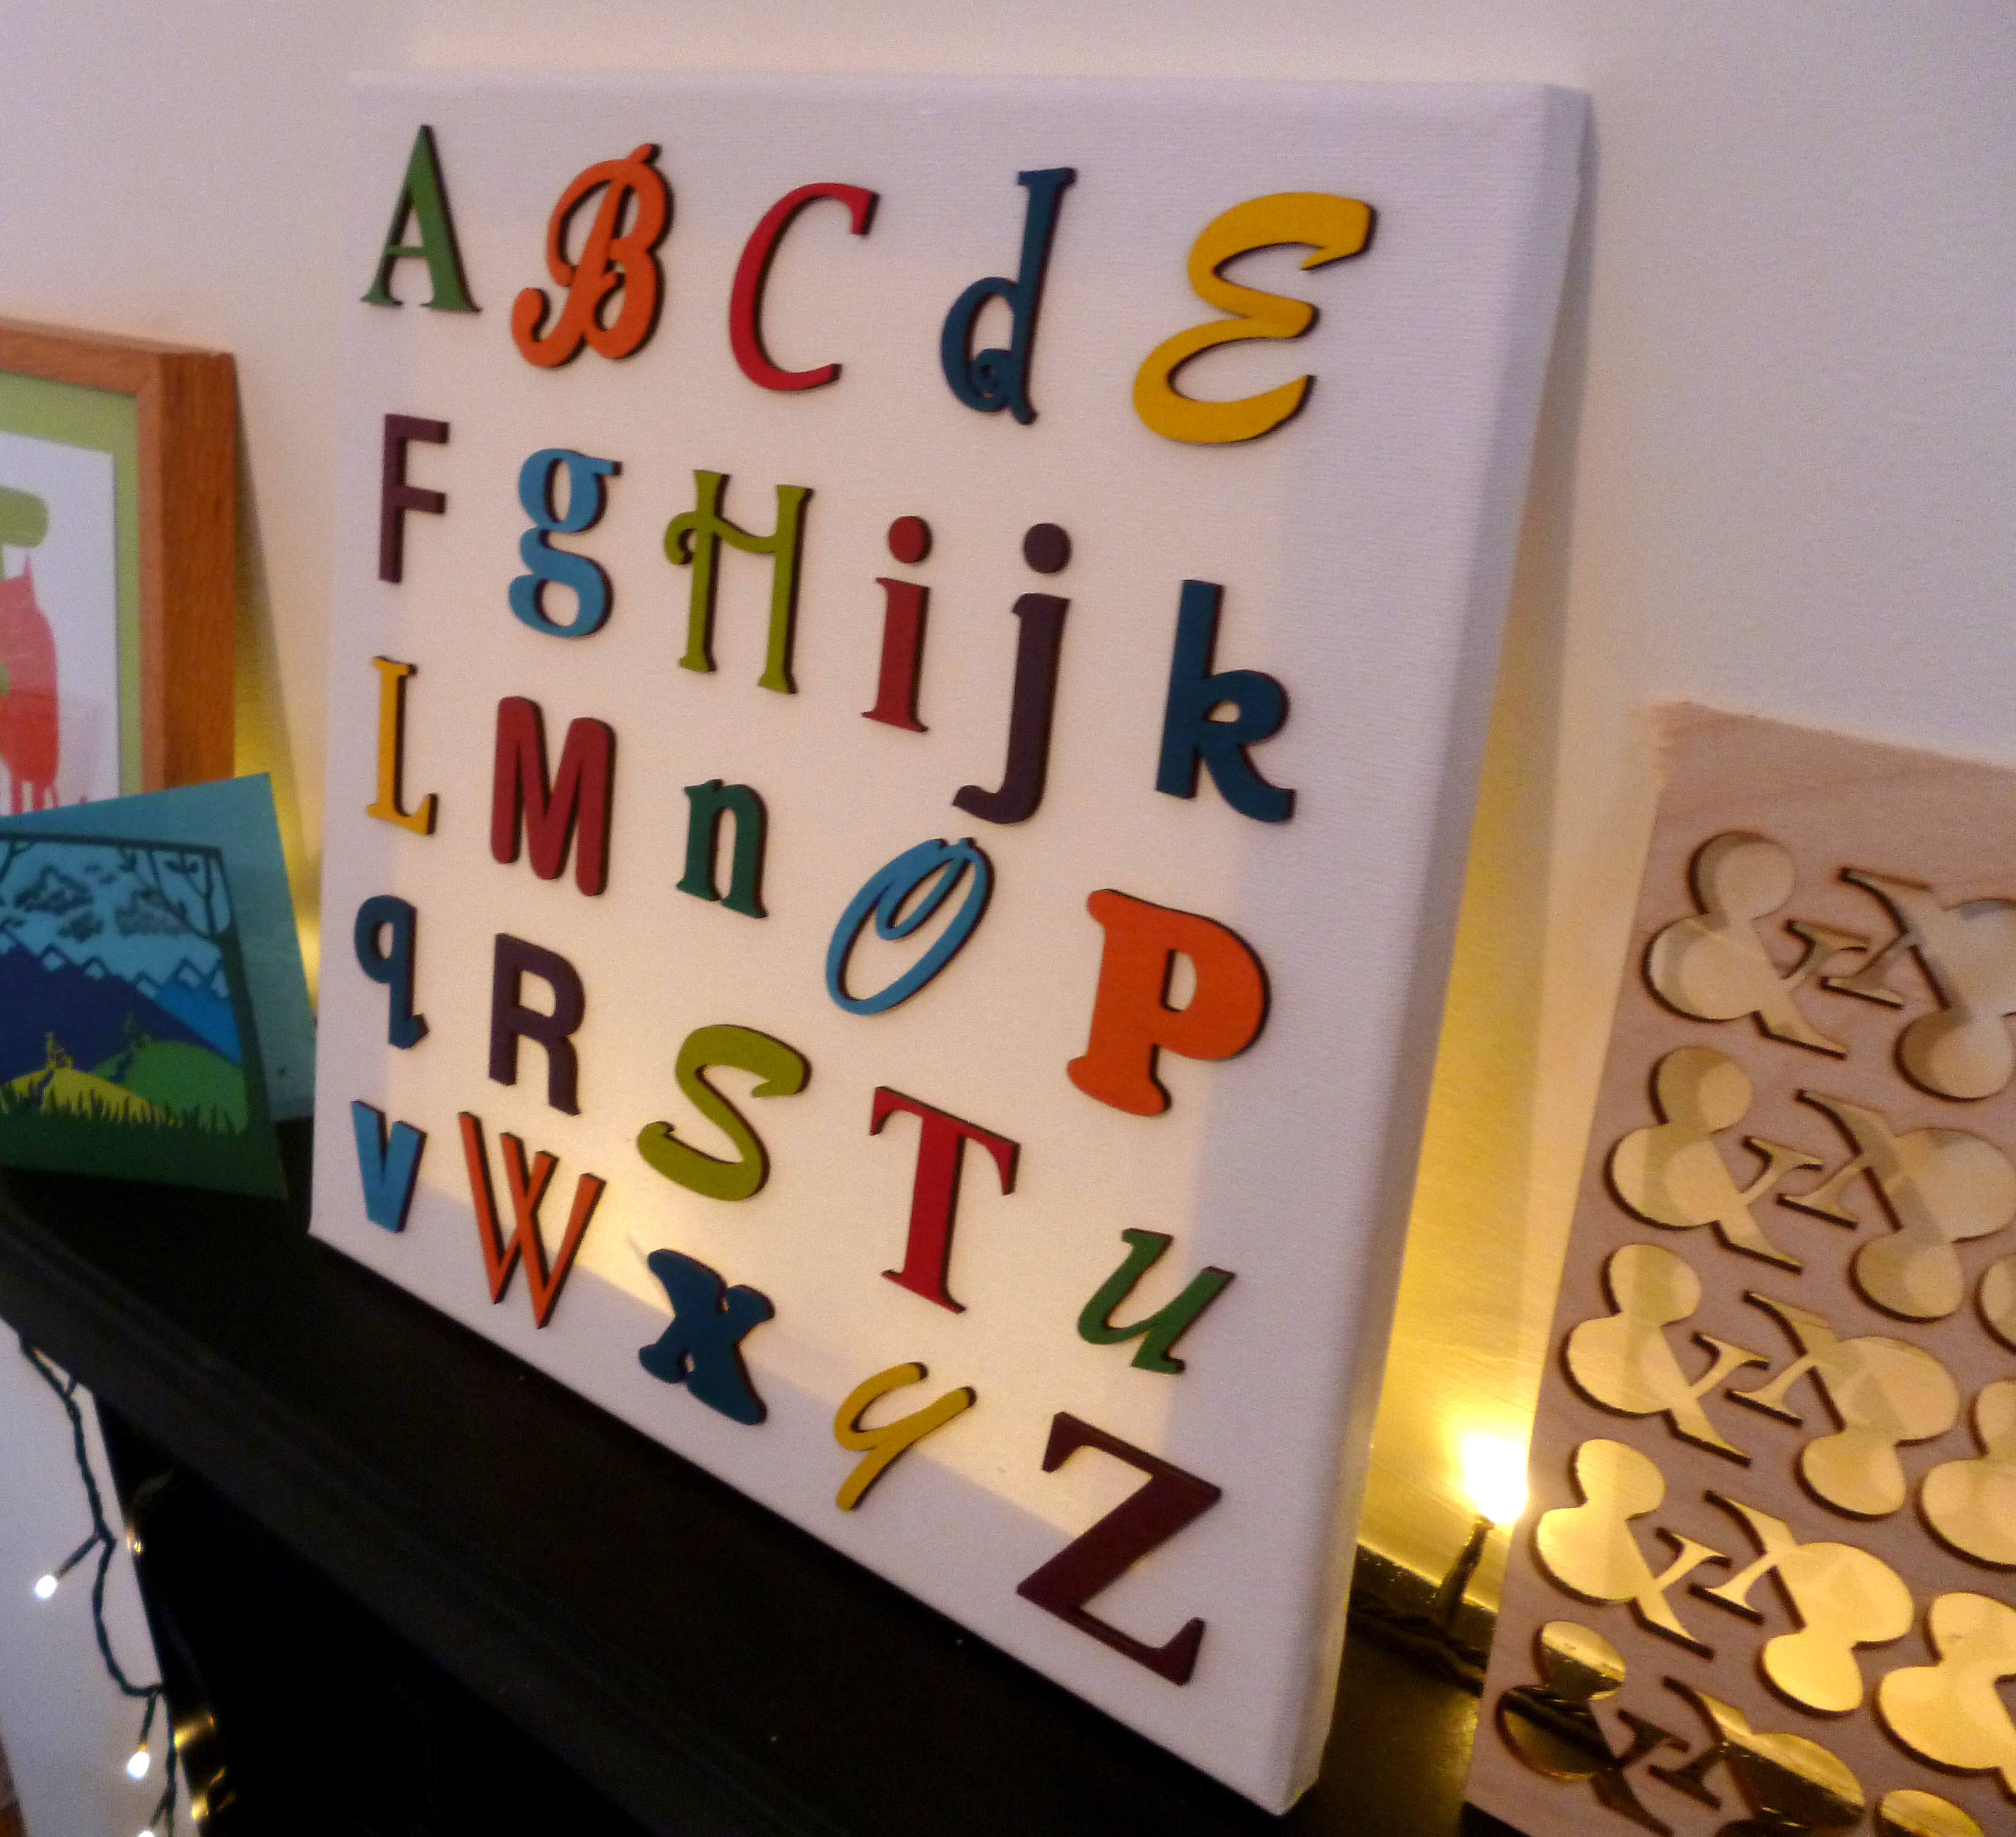
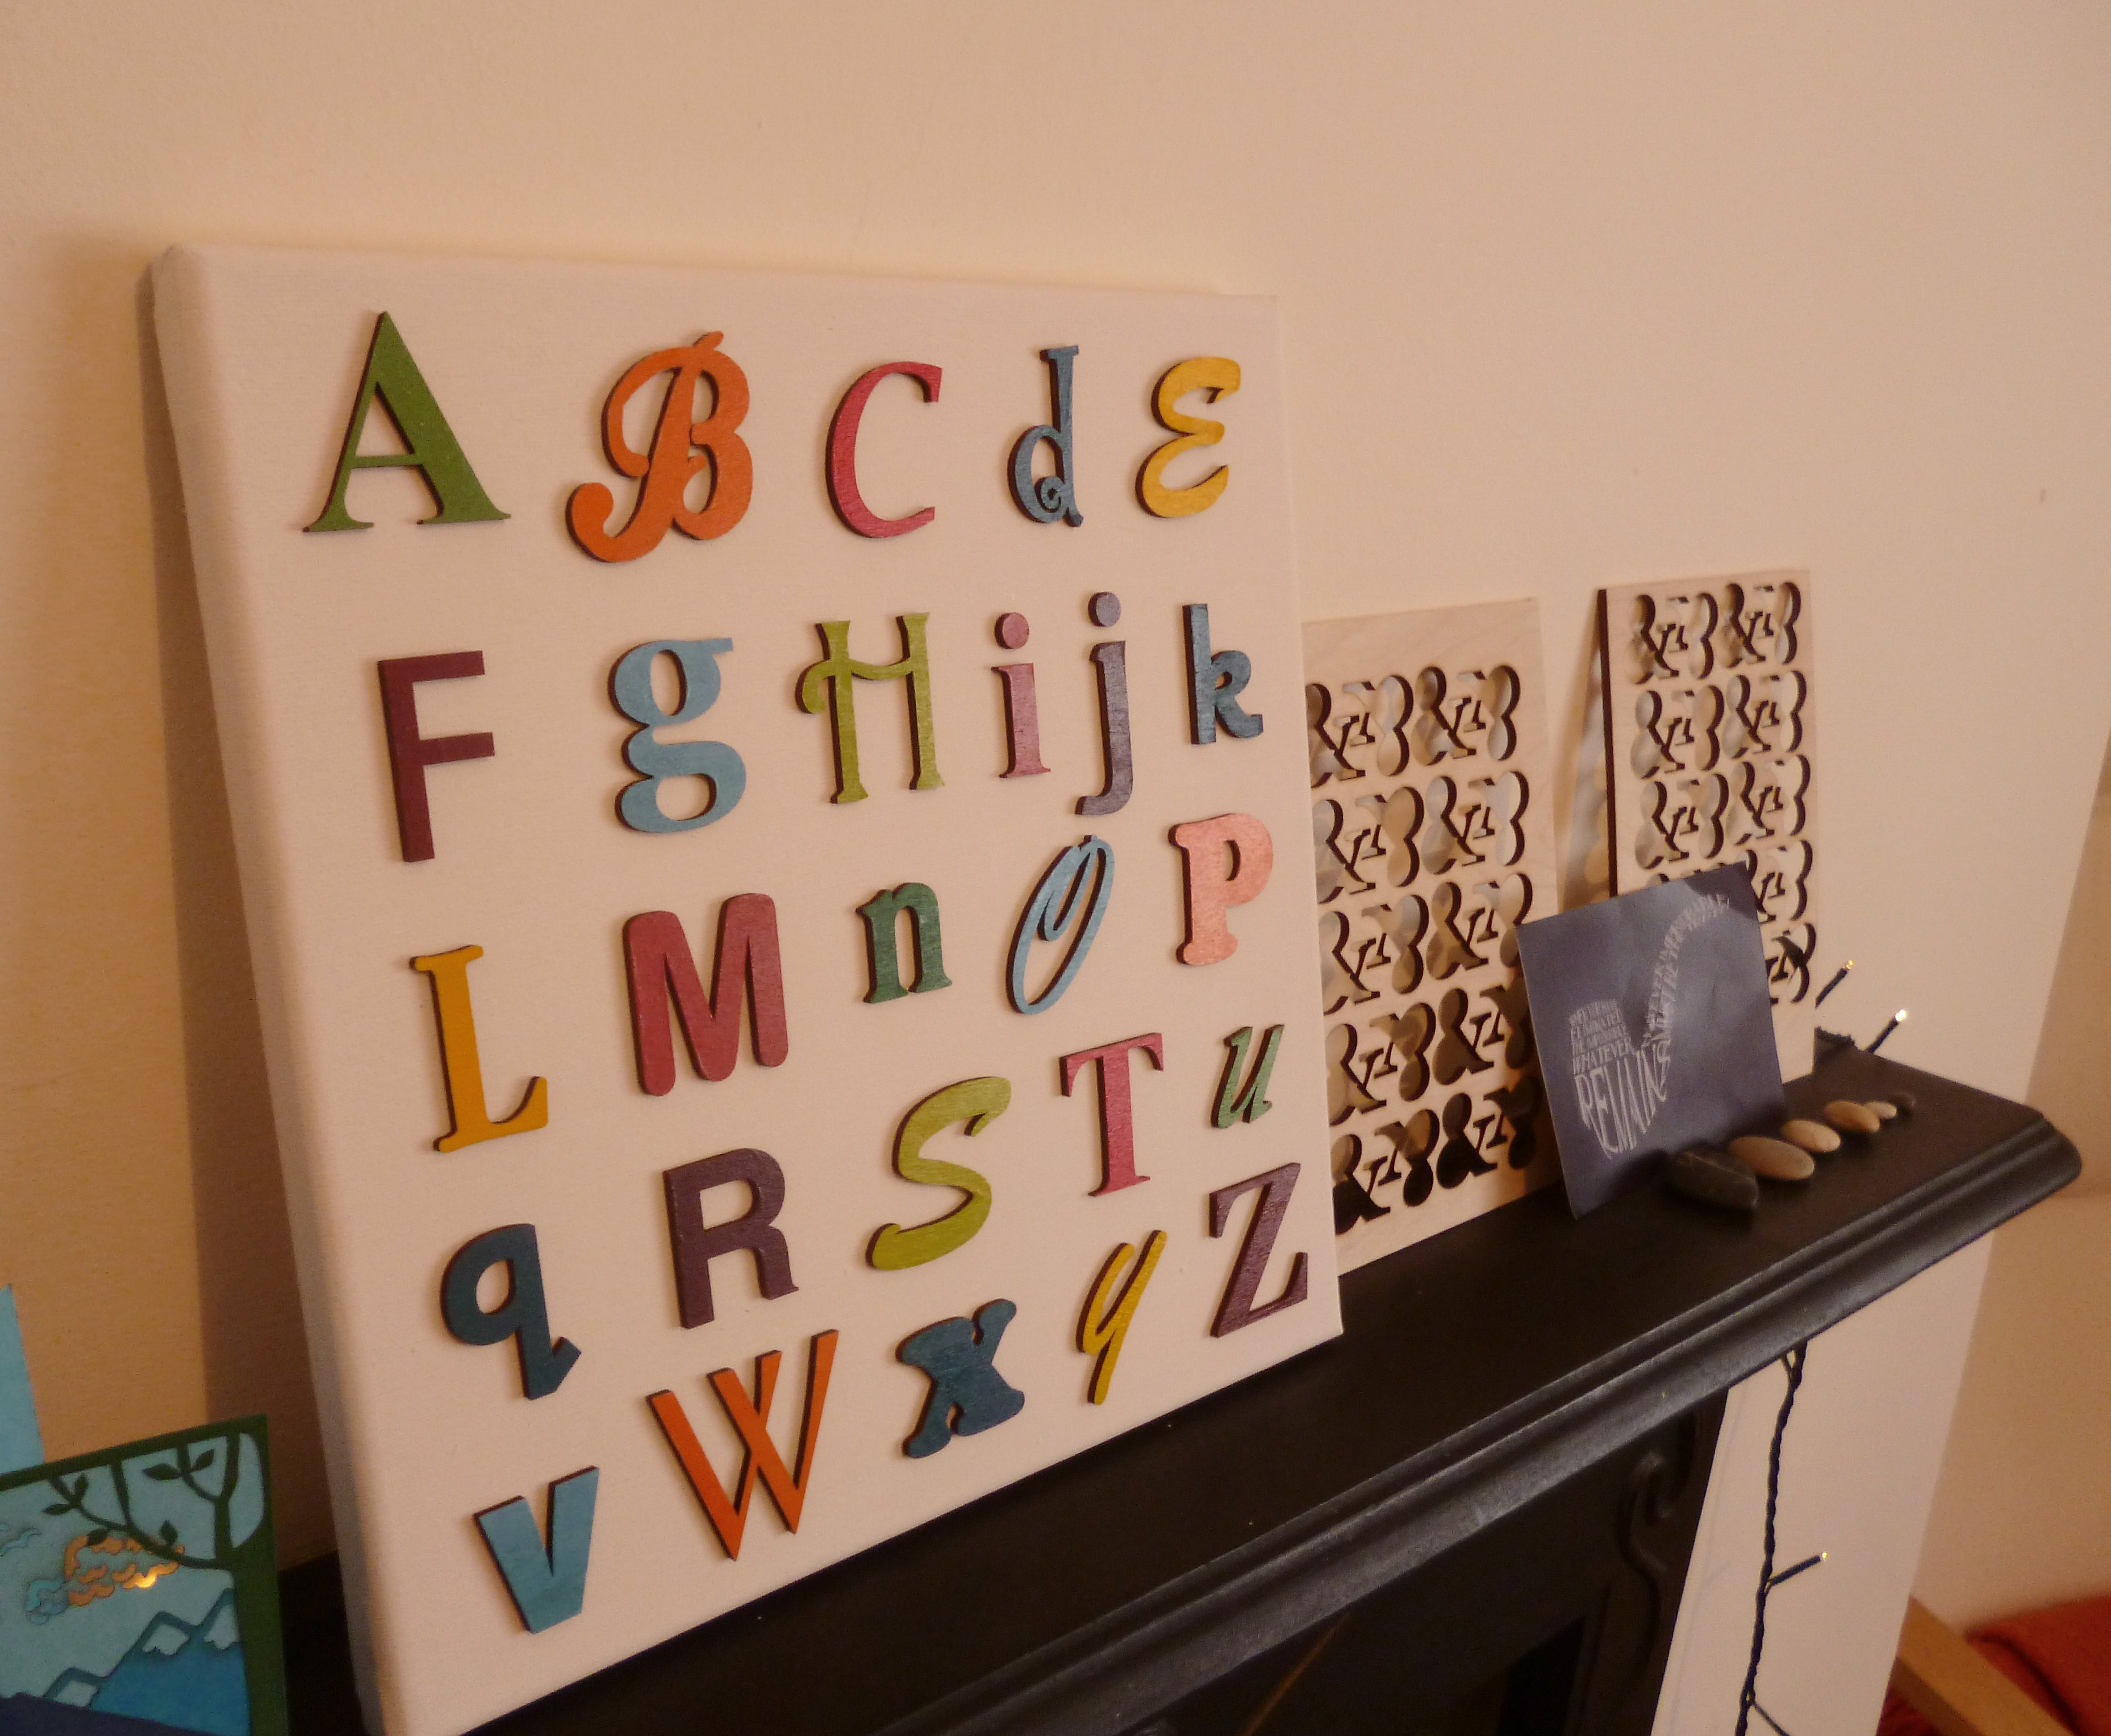
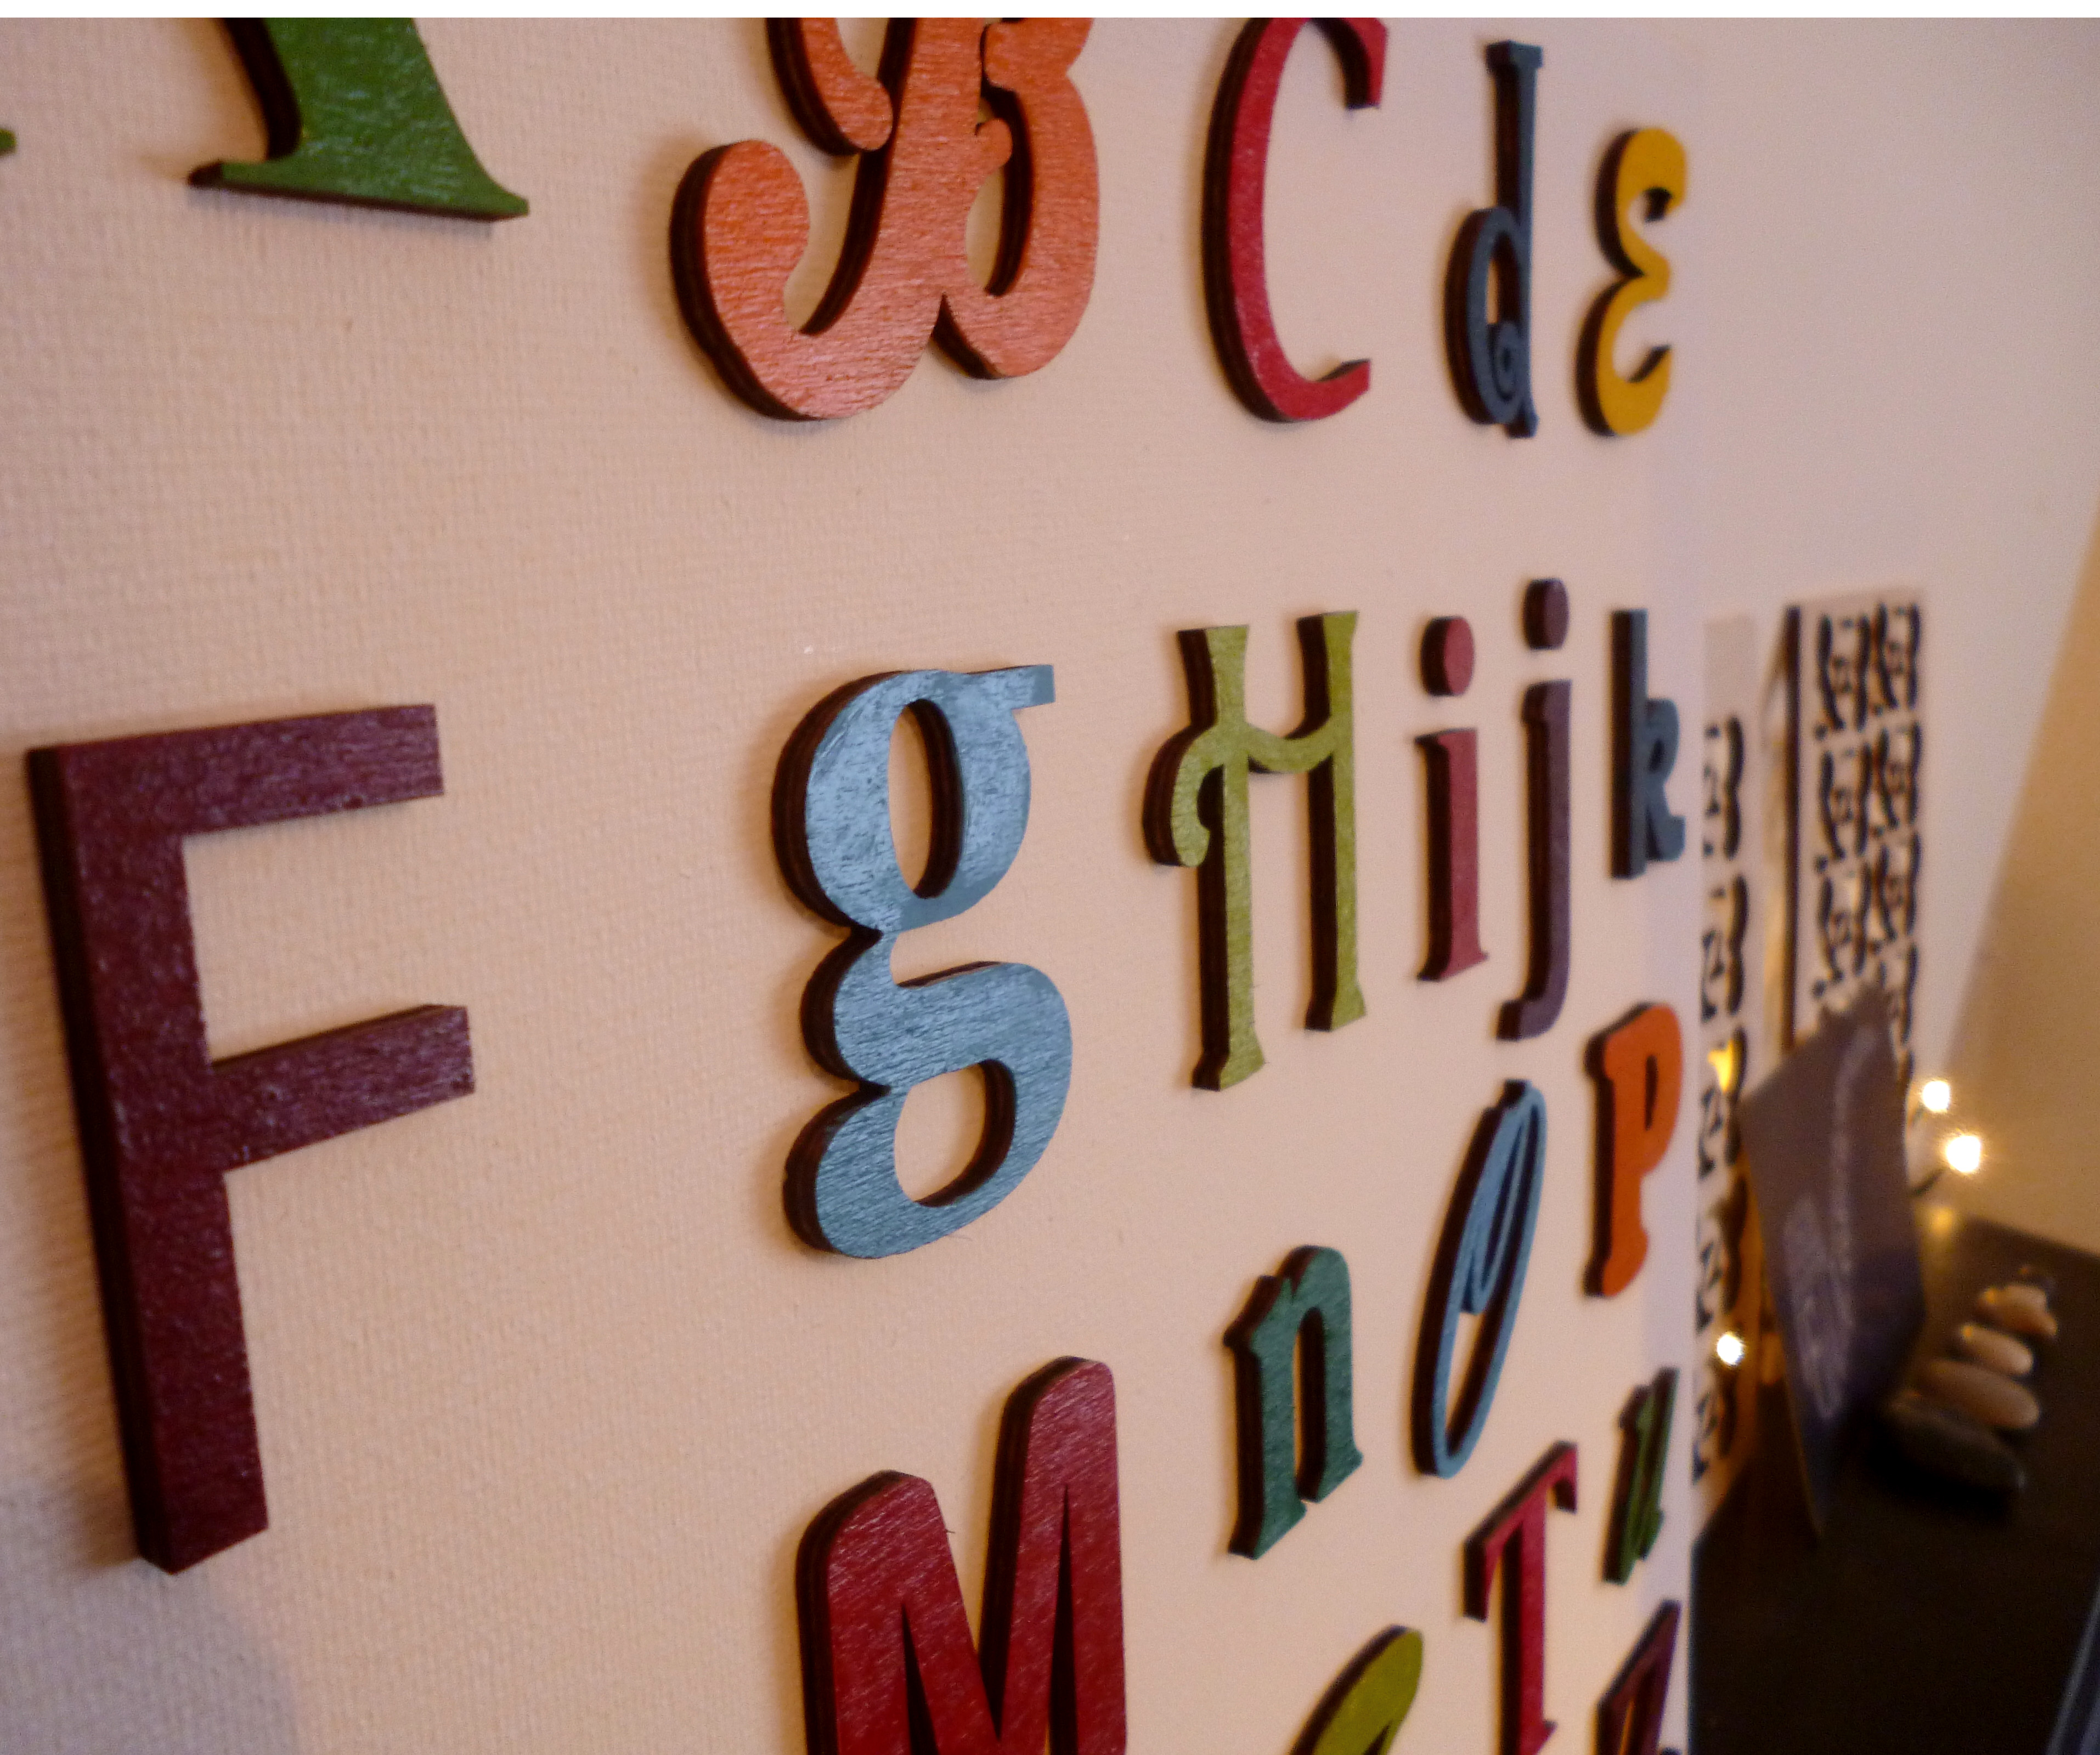
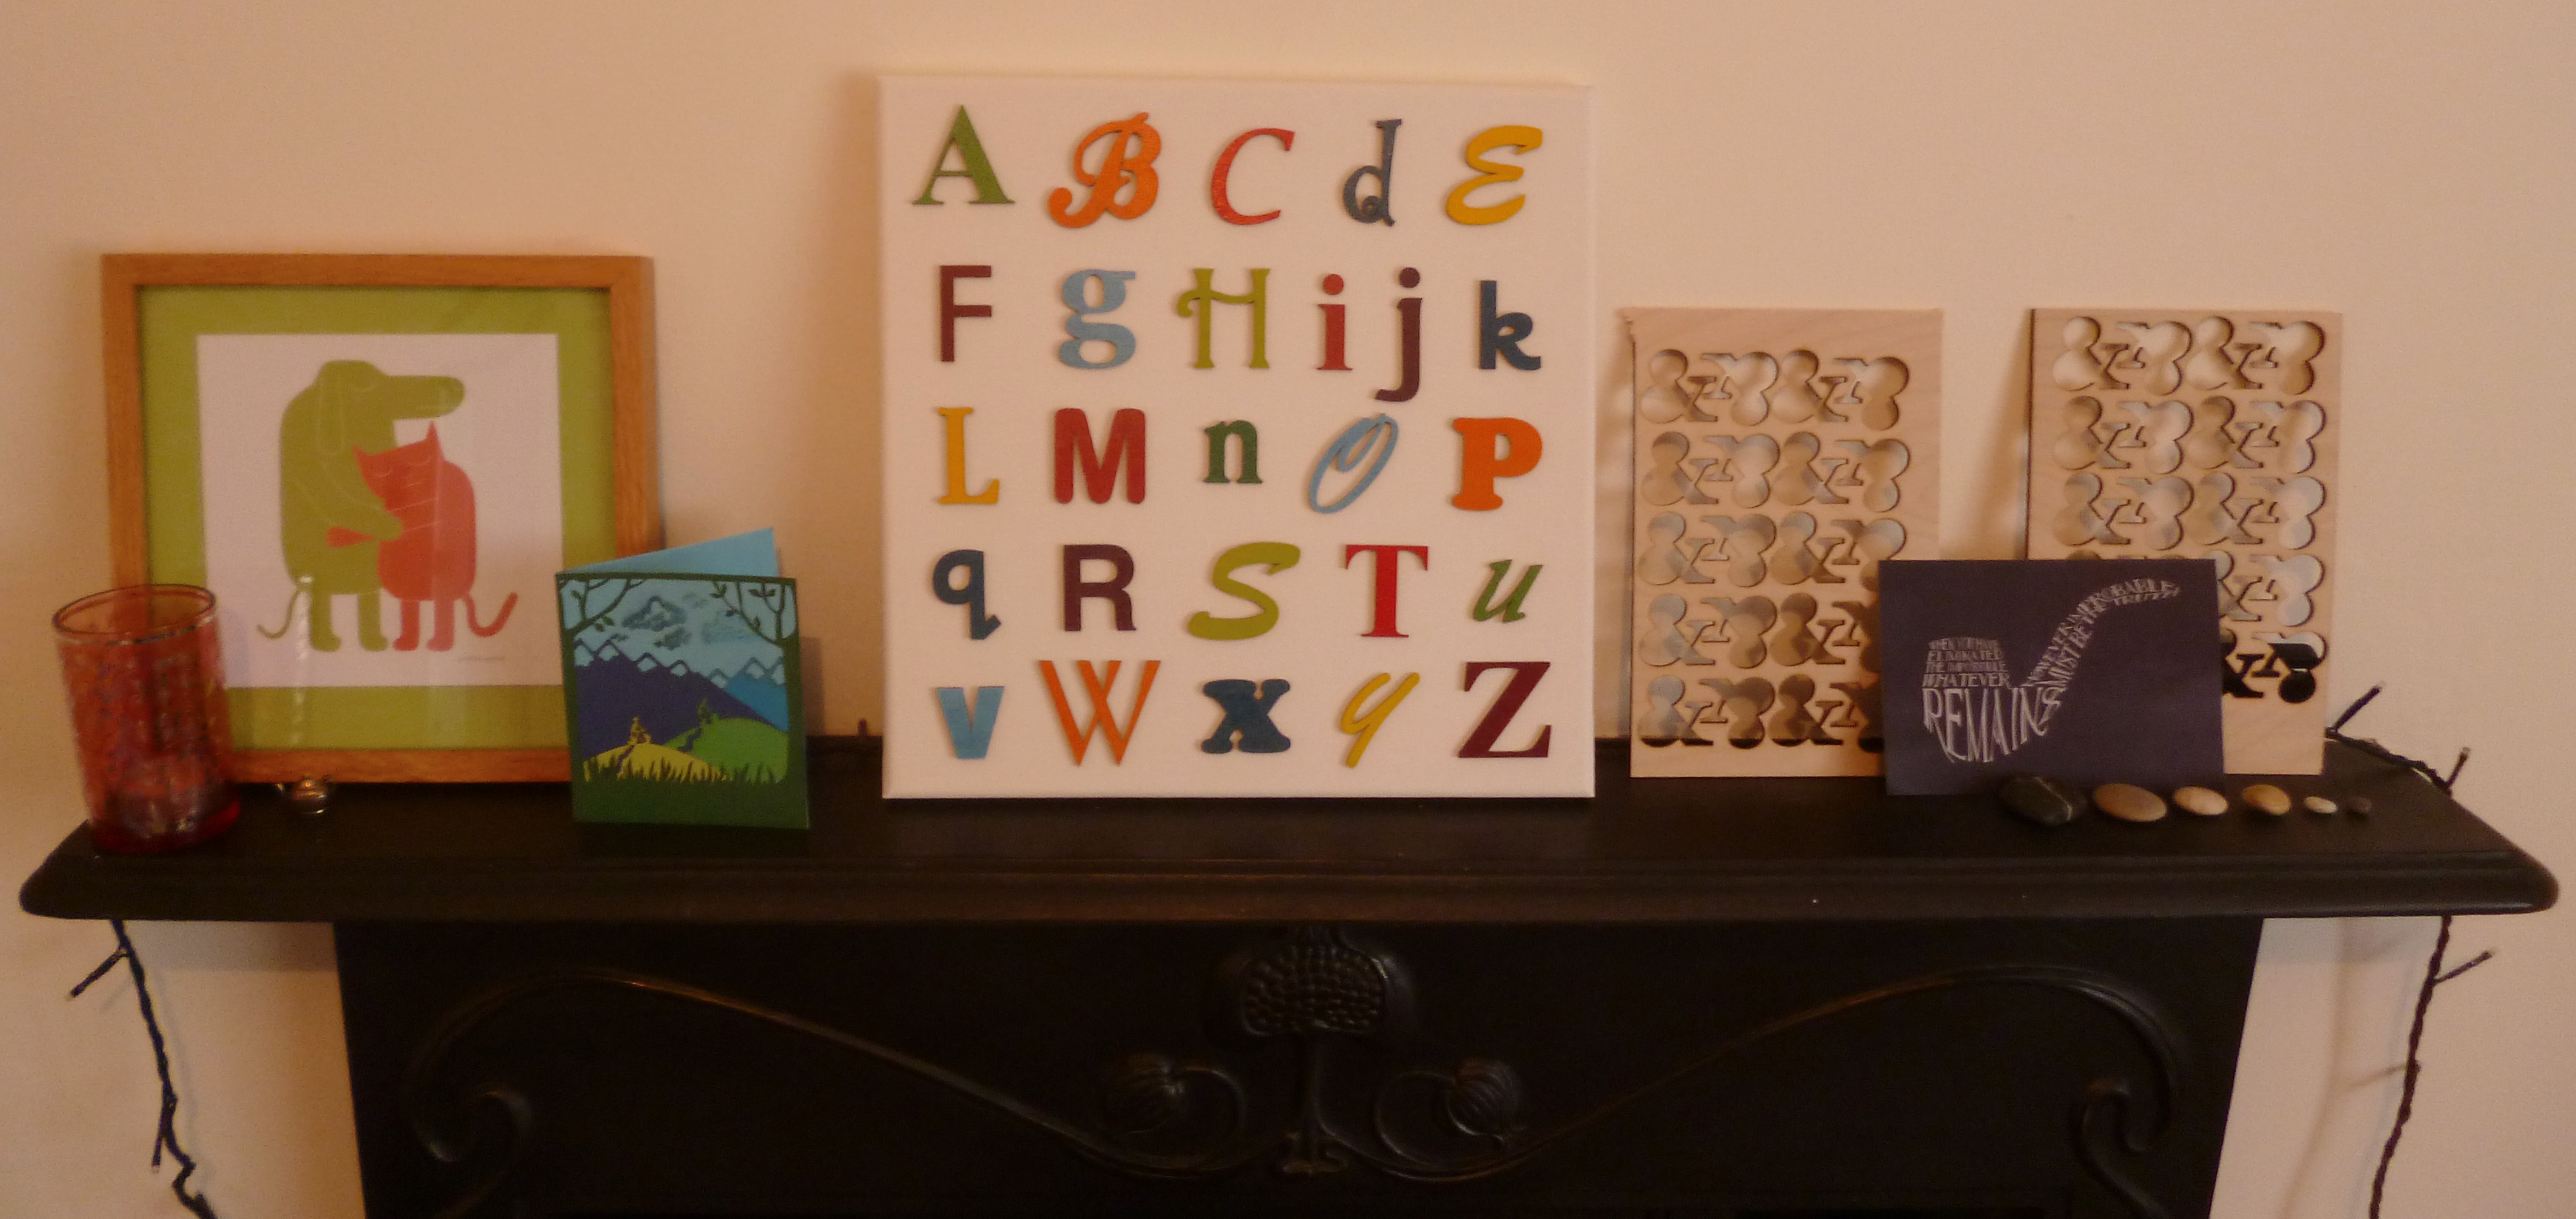
This project looks fantastic on a mantelpiece or wall. It could be put in a frame, or propped on a bookcase. If had bigger letters, you could simply paint them and hang them in a group on a wall, without the canvas. In the bigger sizes, the letters would look really good in 6mm wood, or even in MDF.
The basic idea could be adapted in many ways - using different sizes, fonts, colours, a set of numbers, letters spelling out a quote or words.....
I hope you will enjoy making your own alphabet canvas :)
The basic idea could be adapted in many ways - using different sizes, fonts, colours, a set of numbers, letters spelling out a quote or words.....
I hope you will enjoy making your own alphabet canvas :)