Twitch Streaming From OS X With an NVidia Shield Tablet
1848 Views, 8 Favorites, 0 Comments
Twitch Streaming From OS X With an NVidia Shield Tablet
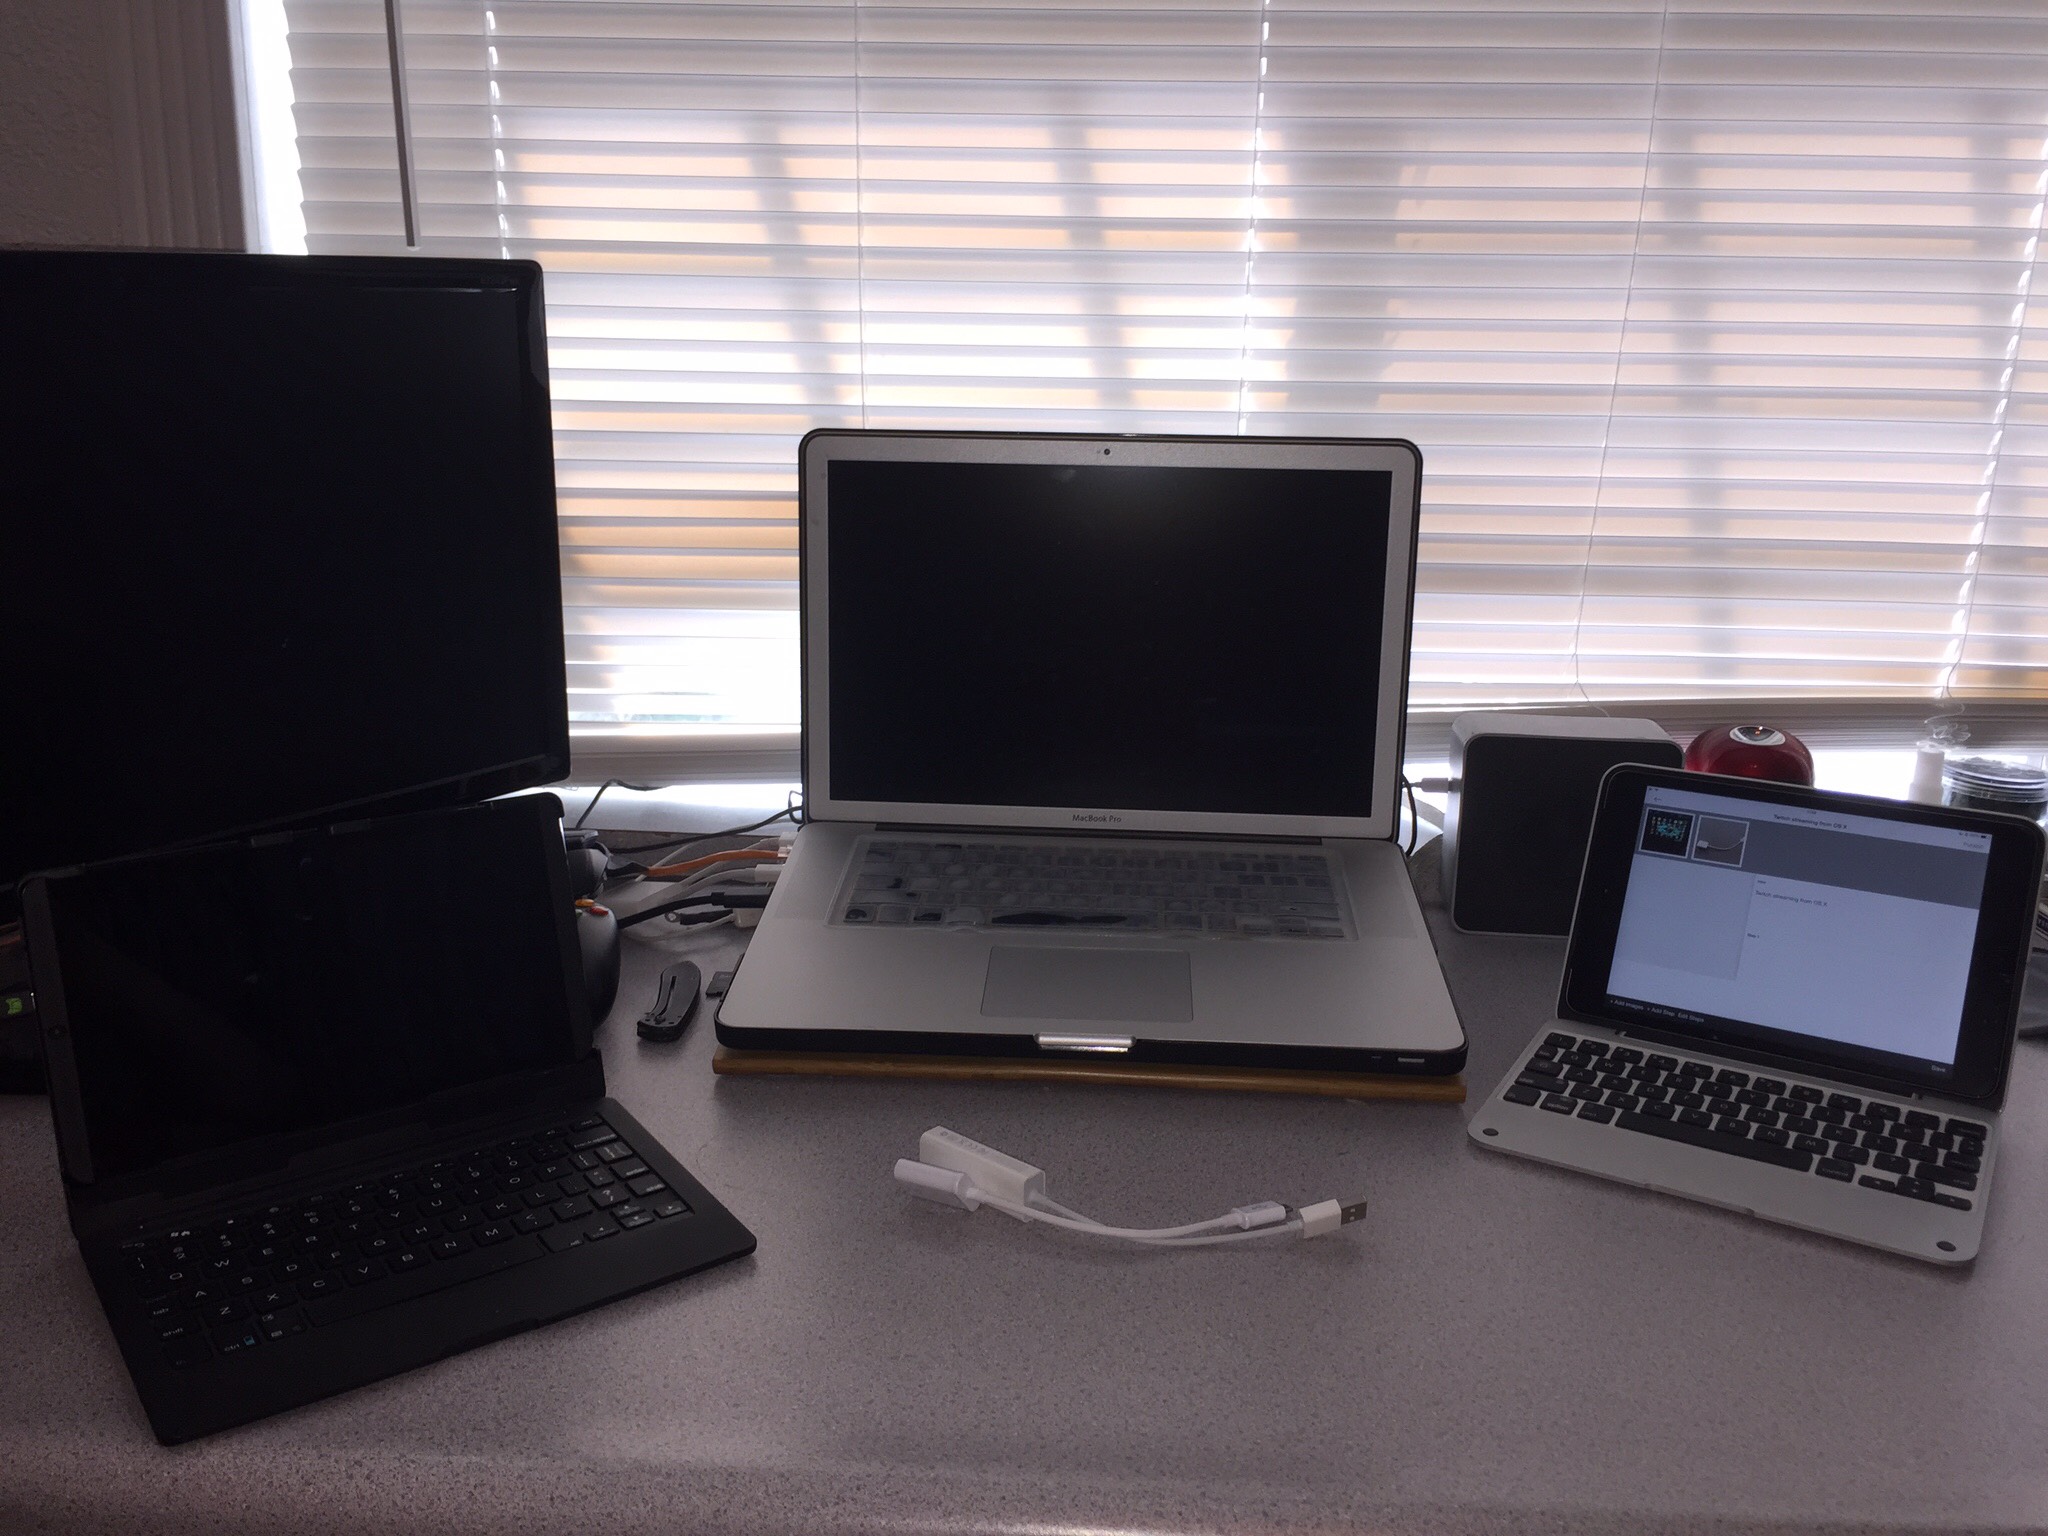
After discovering the wonderful world of twitch.tv, I decided I wanted to stream some games I played. However, setting this up in OS X was tricky. It required that I download Alpha release software (OBS), hack Yosemite (soundflower), and tolerate buggy implementation. This just would not do. The solution on the other end of the spectrum was $500 for Wirecast. I wanted a functional, enjoyable solution and didn't want to spend $500. I also wanted something that made broadcasting as fun as the game I was playing.
This solution makes use of a used nVidia Shield tablet (used $200), an iPad (used $200), an OTG cable ($20), an Apple USB to Ethernet cable ($30), an OS X box (the gaming rig), and parallels ($40 on sale).
By putting all these together I was able to create a streaming studio that does not stutter or drop frames, is fluid, and works with any game I choose to play (I'll add how to stream iOS games with it later).
Assemble Your Devices
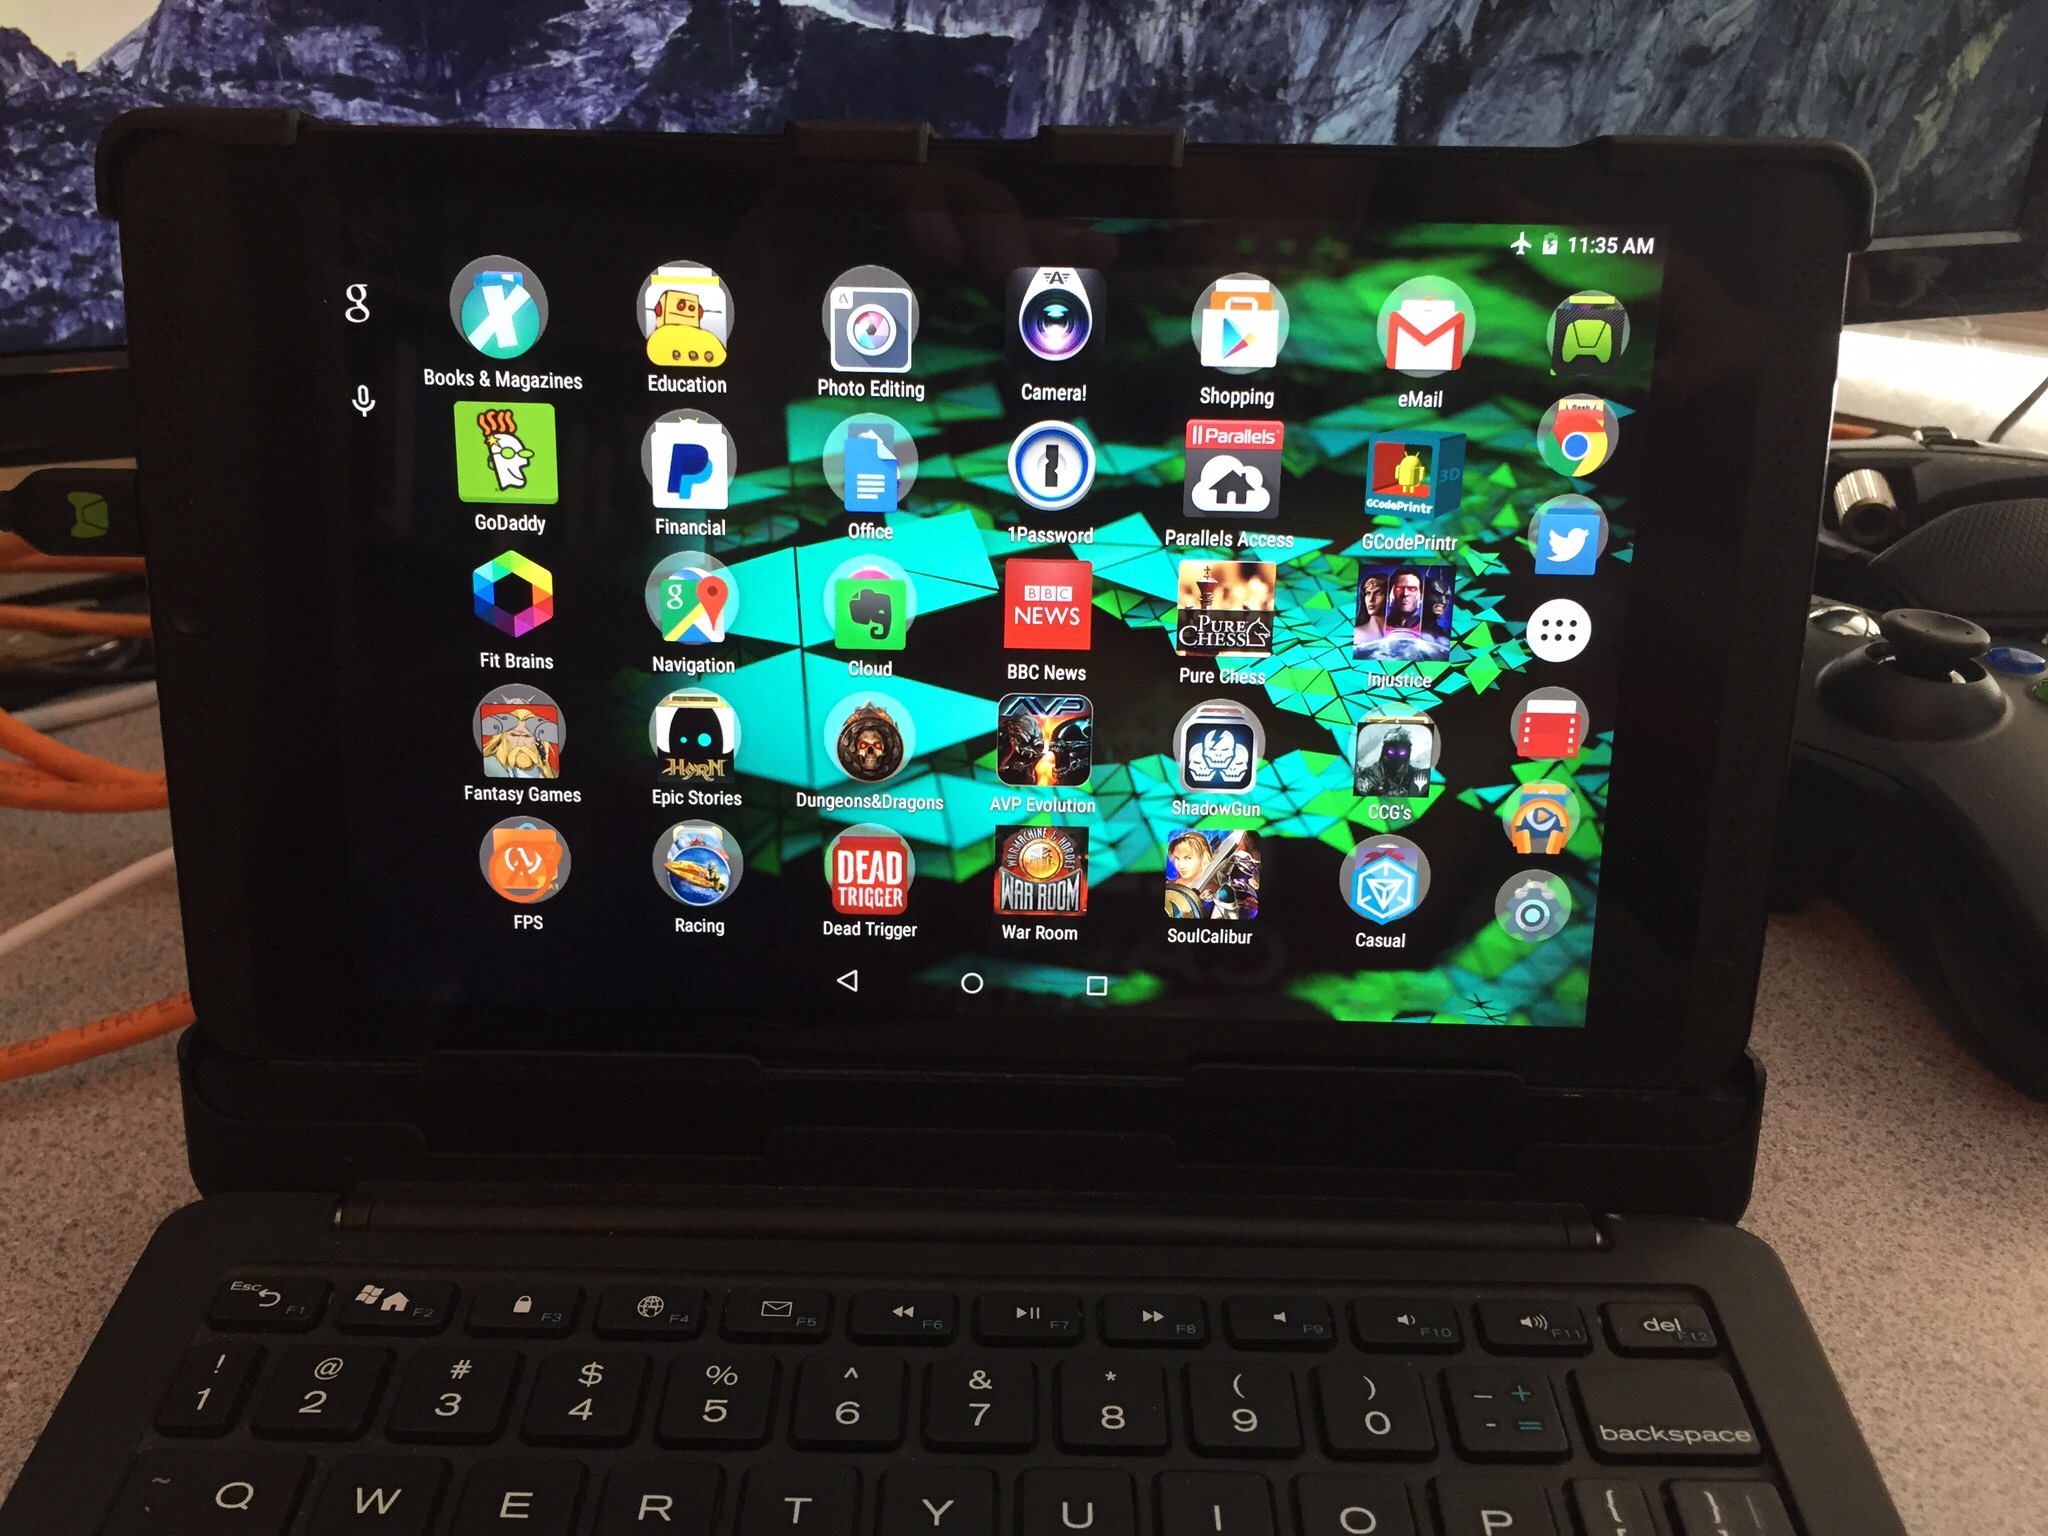
I am using an nVidia Shield Tablet as my twitch.tv broadcasting station. There are two versions of the tablet. One is a 16GB WiFi only model, the other is a 32 GB LTE/WiFi model. My budget allowed for the 32 GB model (I already had it on hand). Feel free to buy a used 16GB model on eBay. I am running Android Lollipop on my Shield, and have no experience streaming from earlier versions of Android. The only piece of software you will need to install on the Android for this configuration is Parallels Access.
Some of you might be asking, why Parallels Access? There are RDP and VNC apps available (like Jump). These are less expensive than having to buy Parallels, and won't they work?
I tried them first, and the answer is: at four or five frames per second. VNC is built in to OS X. It was not designed for streaming video. It works for controlling a GUI, but is not useful for streaming 30 to 60 fps (frames per second). That is what you need to play anything that is not a text based game. So, no, RDP and VNC won't help us here.
This is why we are using Parallels Access. It can stream video and audio fast enough that we can use the broadcasting functionality in the Android to receive video and audio, compress it, and transmit it to twitch.tv.
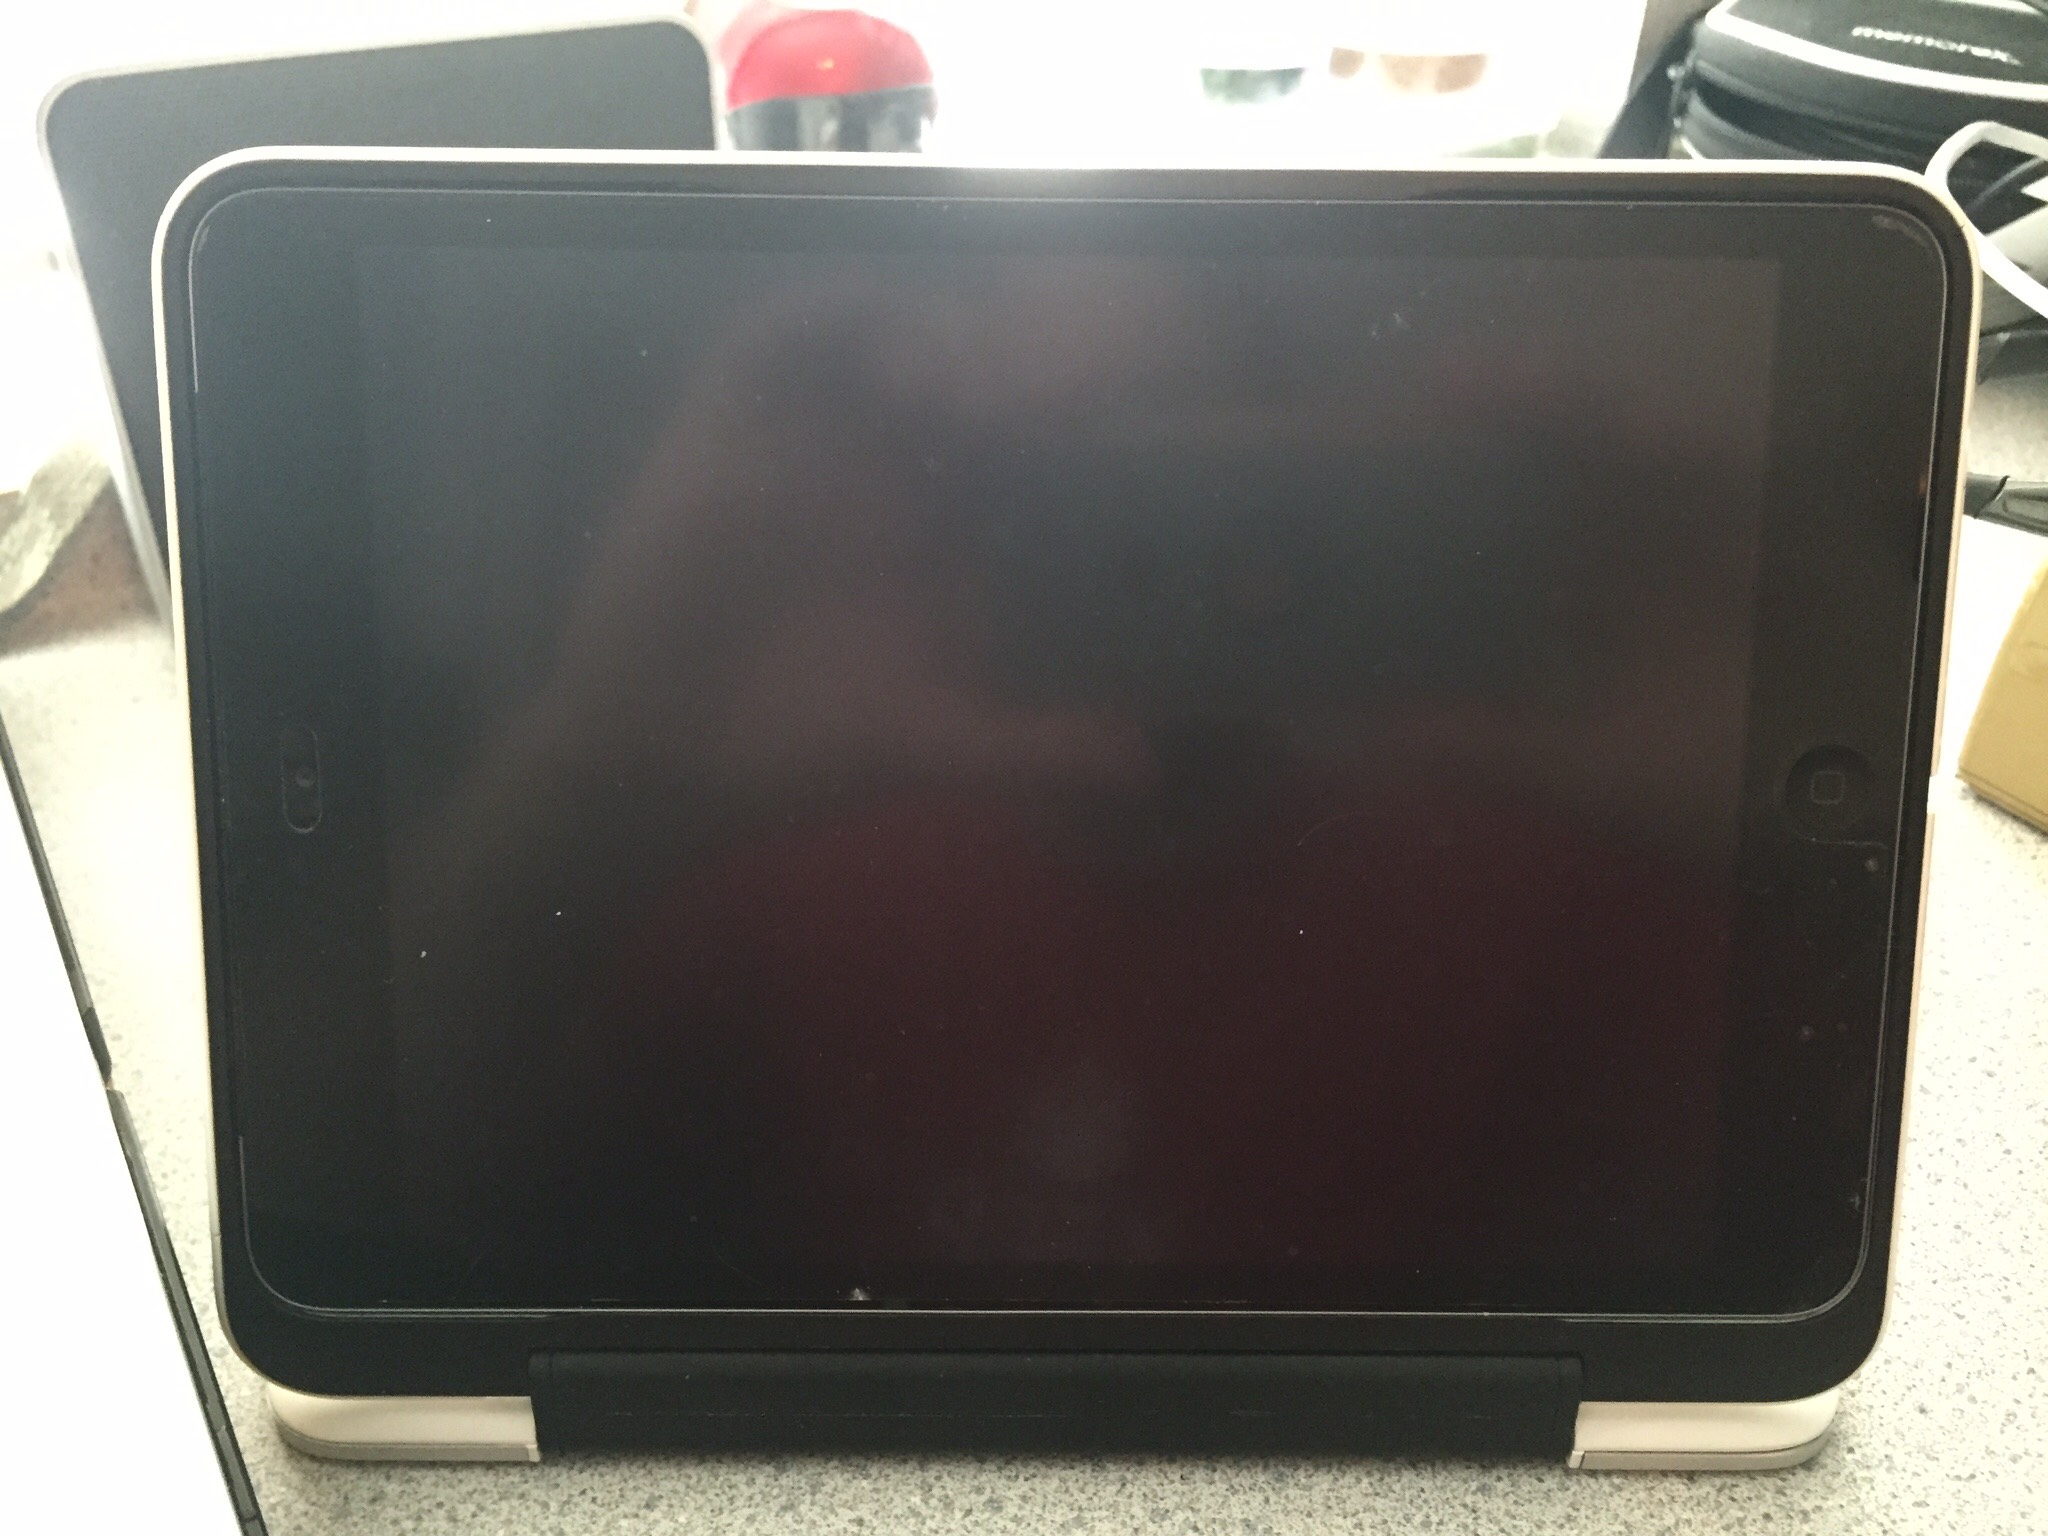
I mentioned you will want to have an iOS device too. As long as it can run the twitch app, you can use anything that works (even an iPhone).
It is assumed that all Apple devices are on the same wireless network.
Install Software
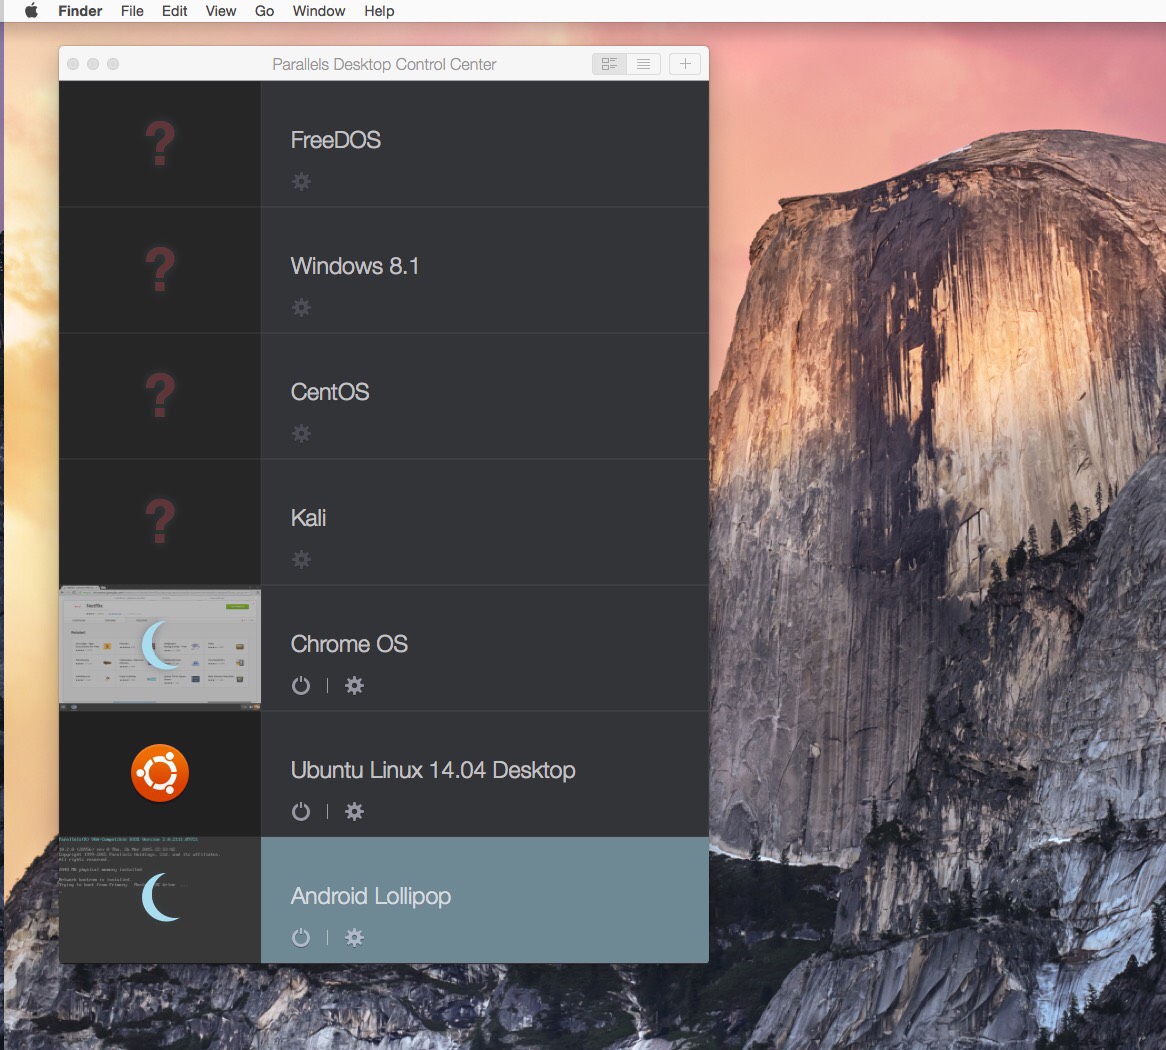
If you are planning on streaming games I am assuming you have games to stream, already installed. It would help if you knew how to play those games too.
Install Parallels. There are times you can get it on sale if you don't already have it. No, VMWare Fusion will not work here, it has to be Parallels.
Once Parallels is installed you will need to install Parallels access on the nVidia Shield Tablet.
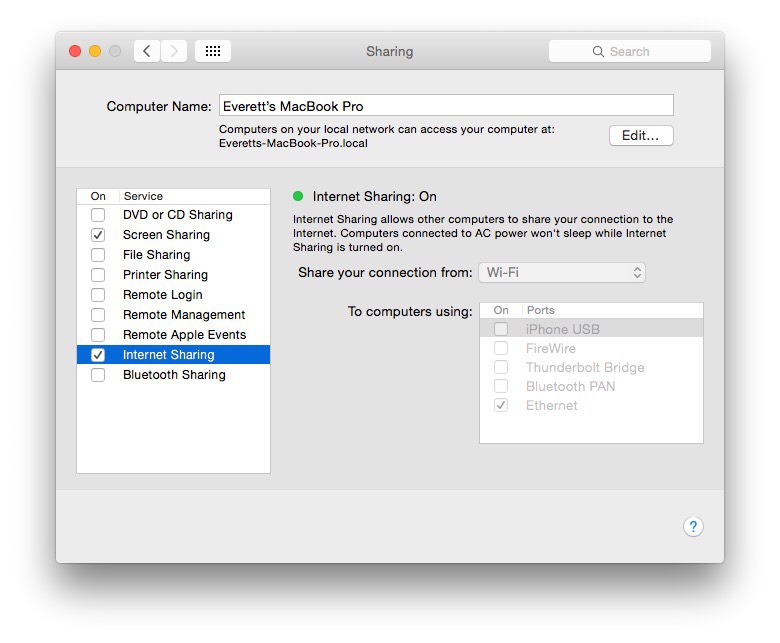
Ensure that you are sharing your wireless internet connection with your ethernet port on you OS X device. In my case this is the MacBook Pro shown earlier.
Physical Connection
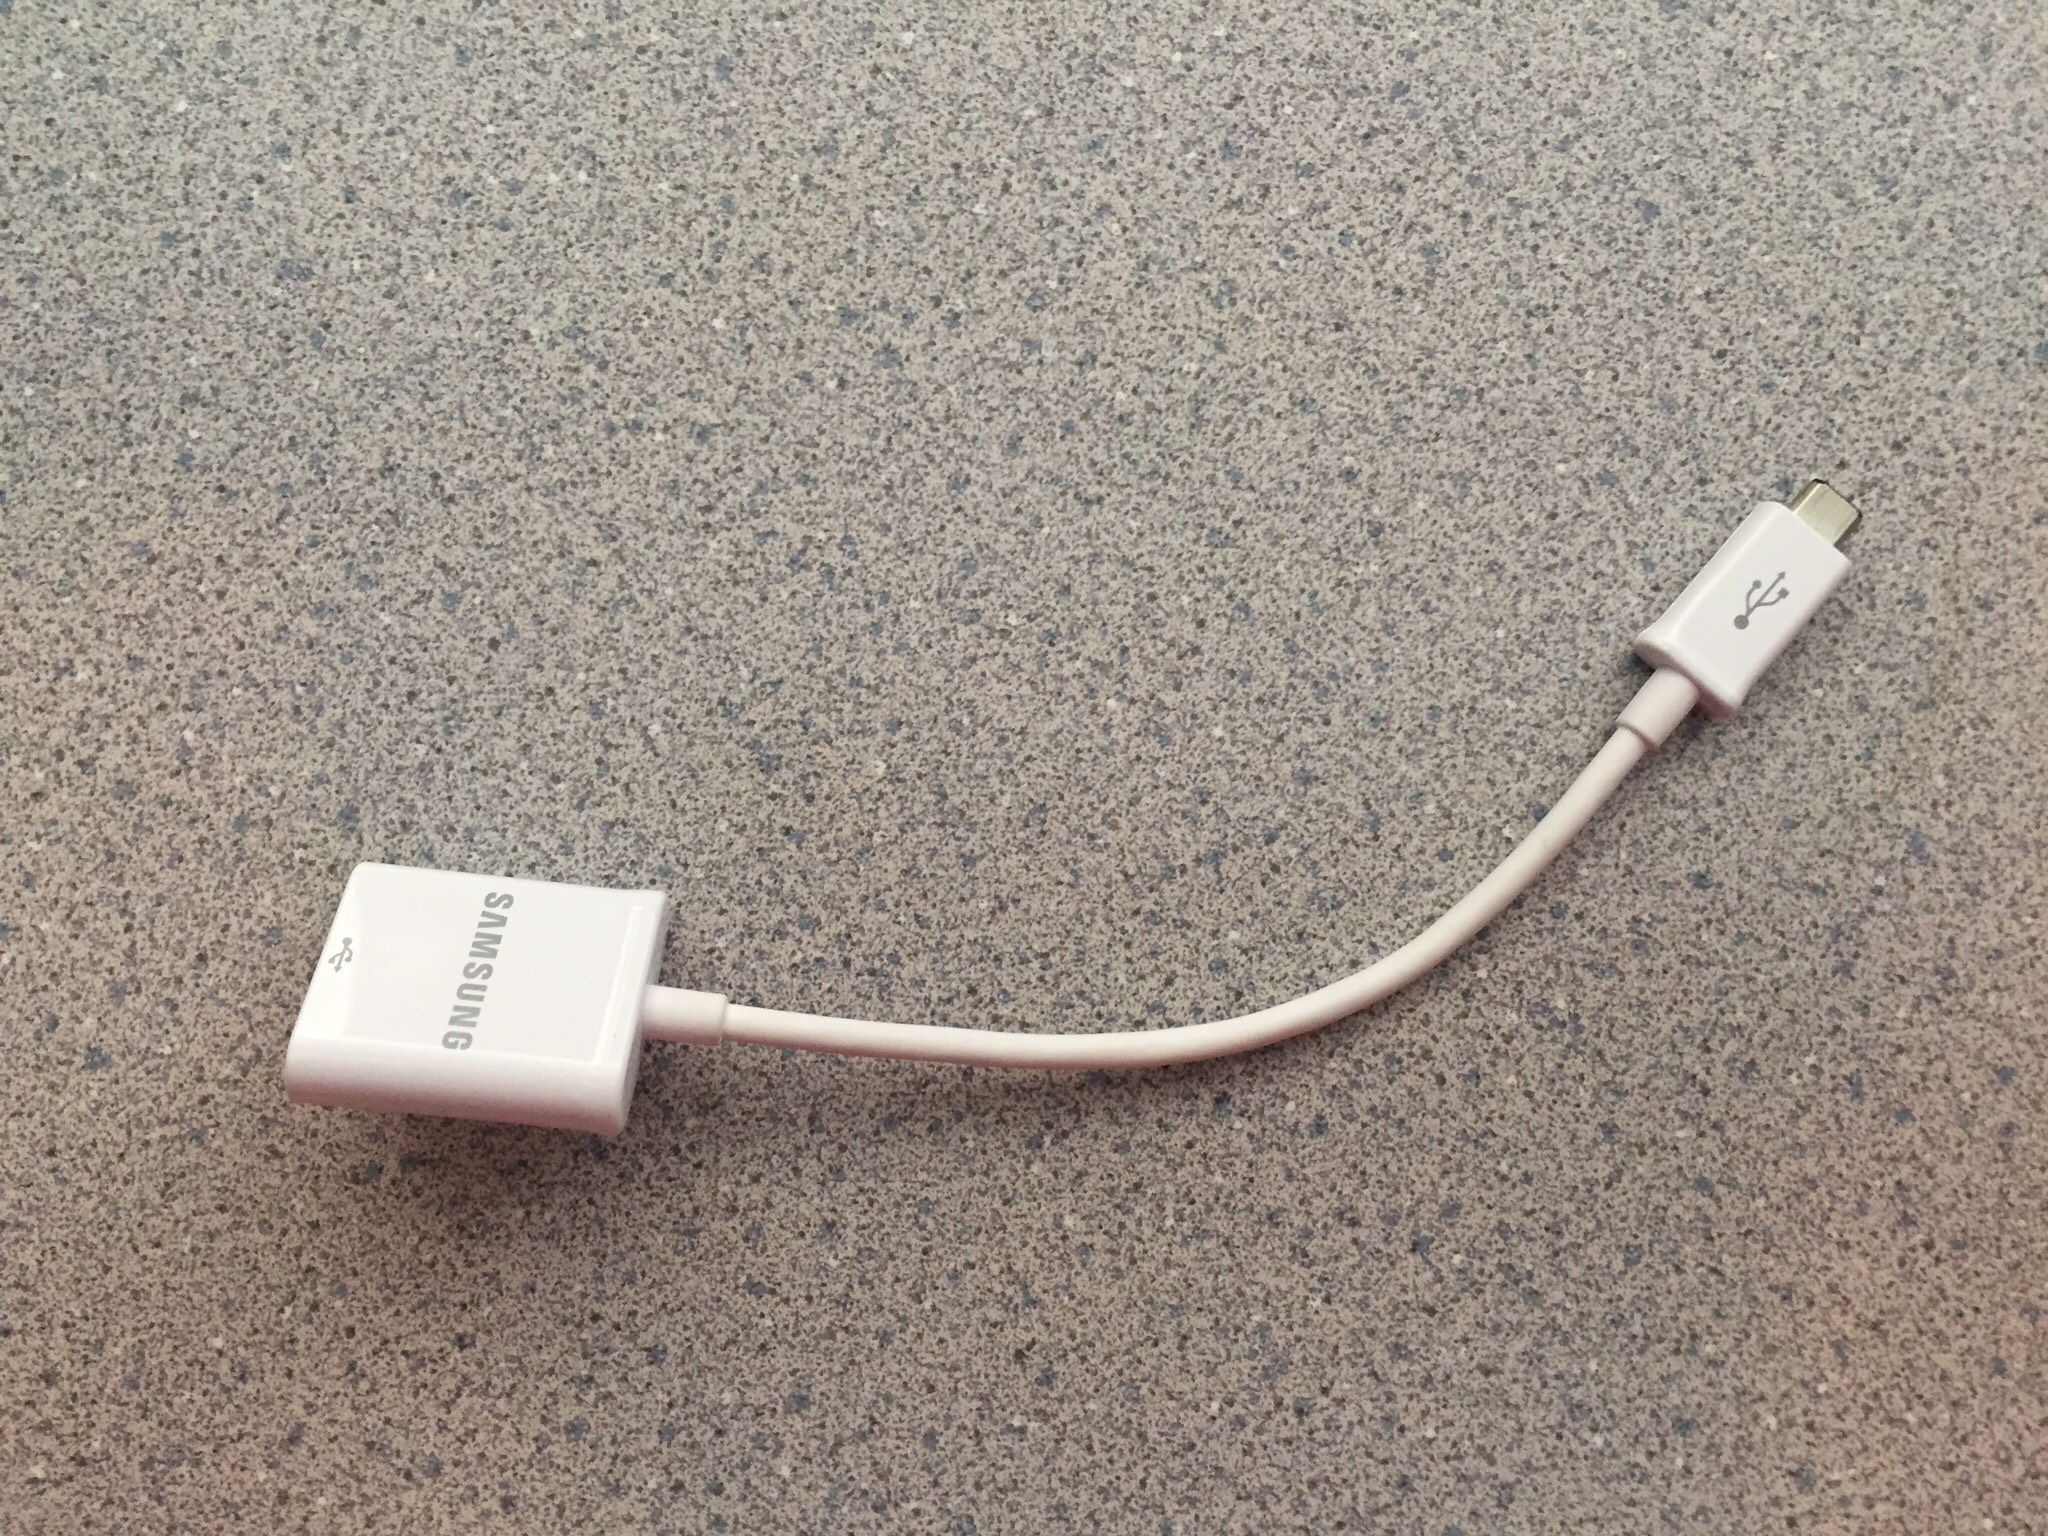
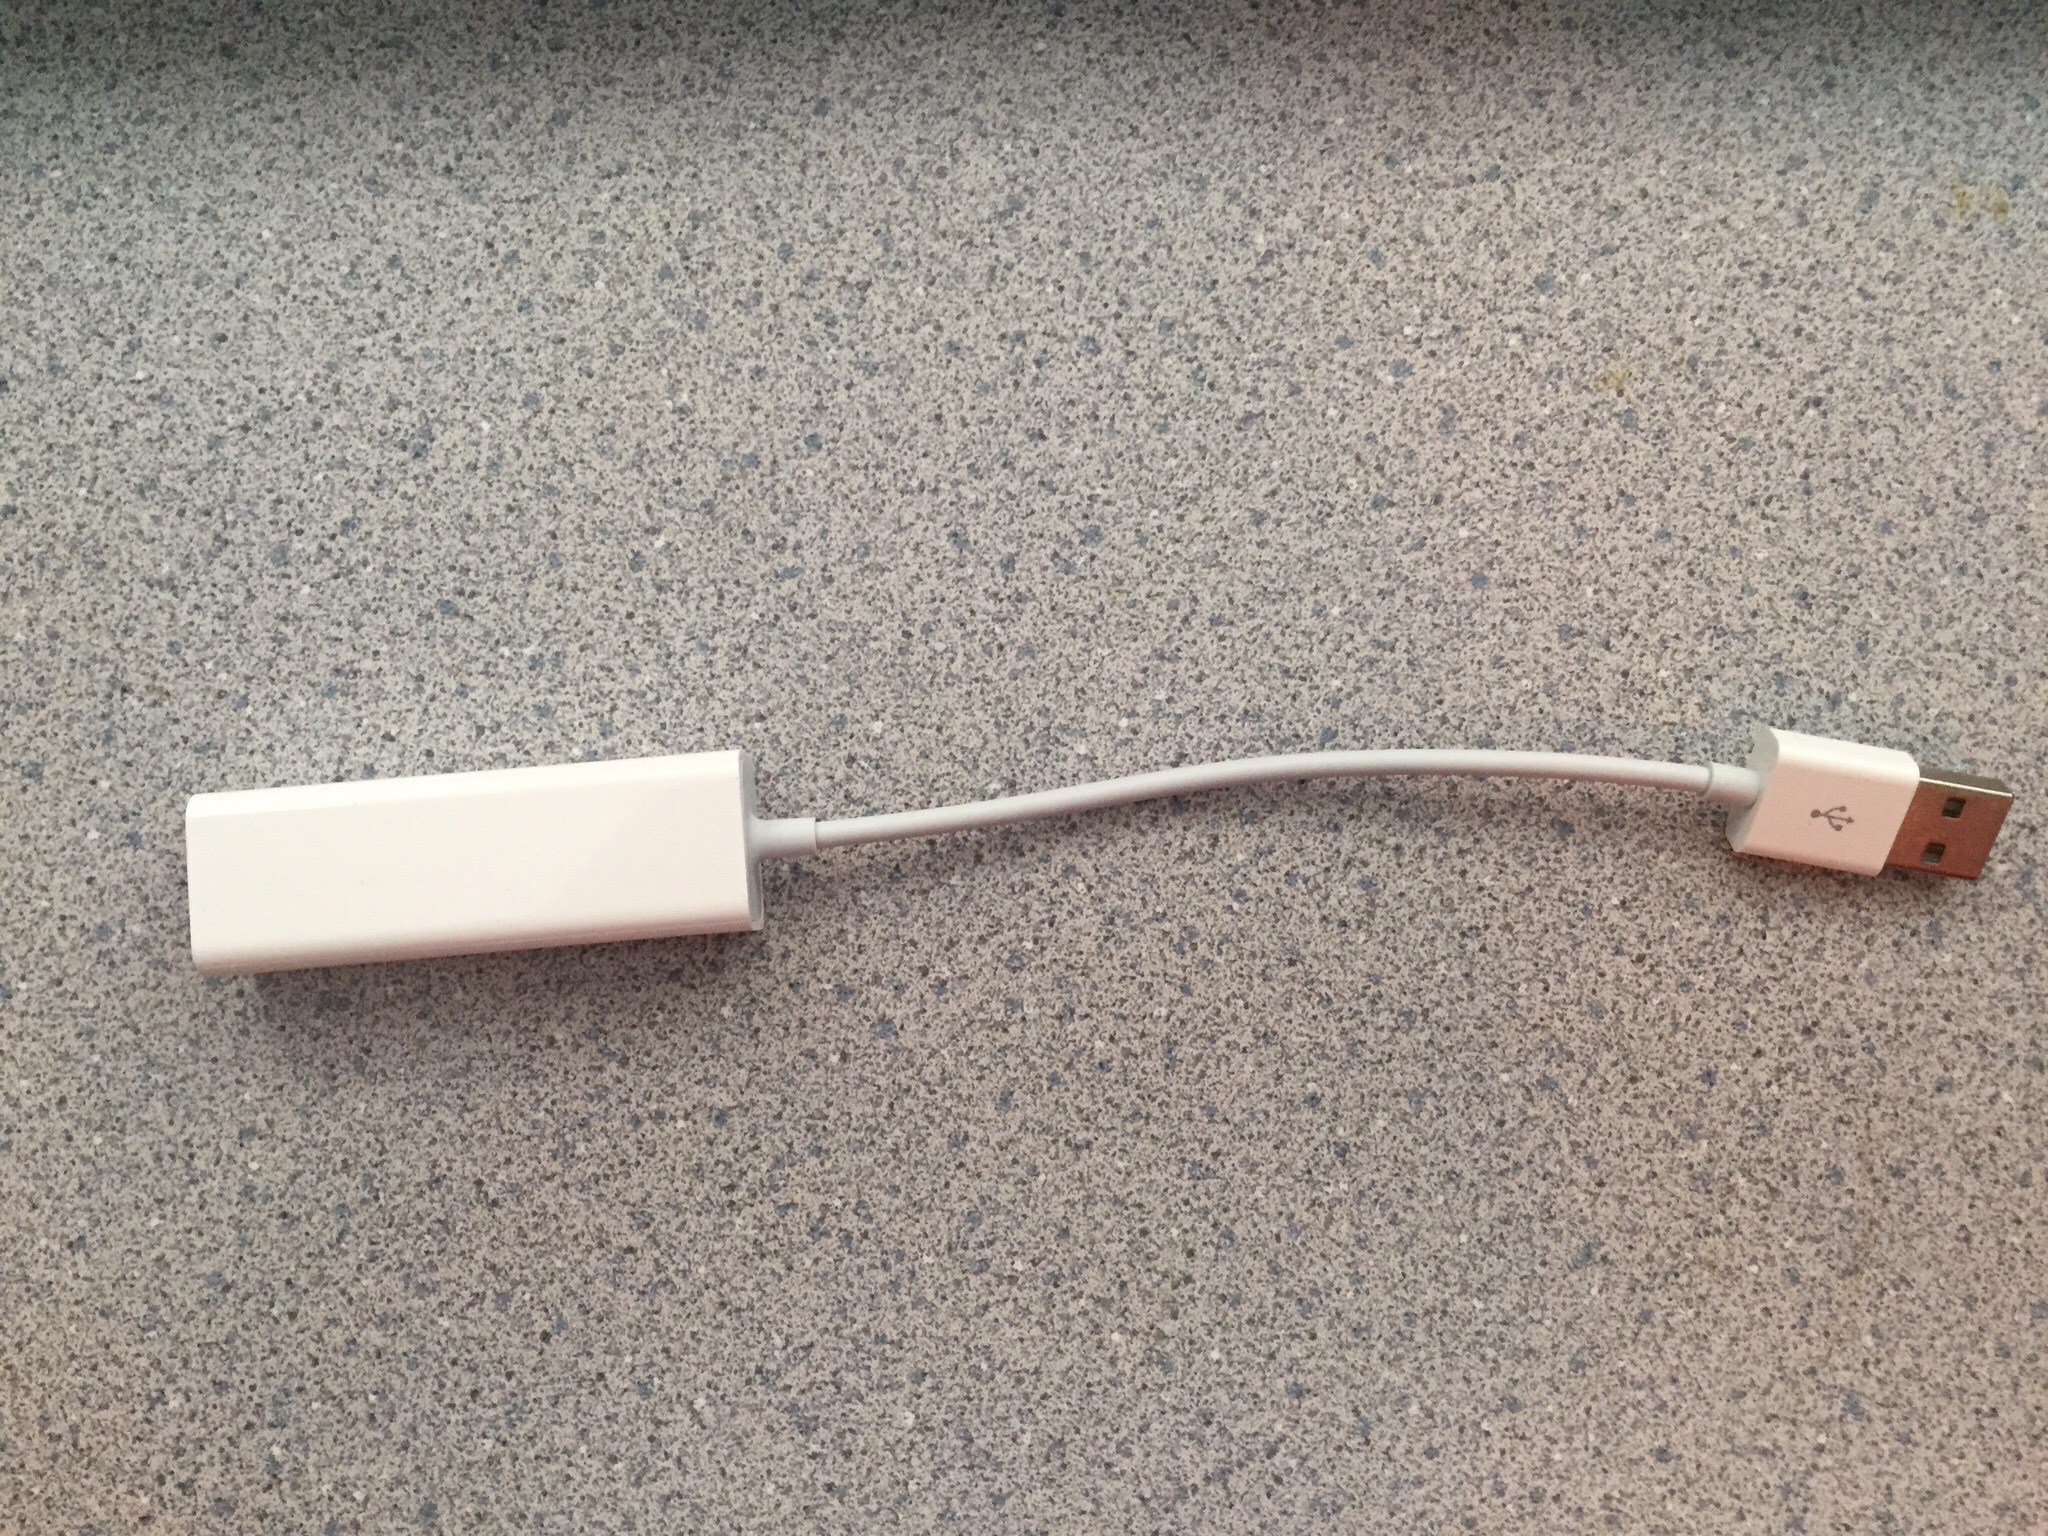
The first cable that you will need to use with the Android is an OTG (on the go) cable. This converts the slave mini USB connection on the Android to a standard controller USB connection. It is the cable labeled "samsung" in the picture. After connecting the OTG cable to the Android, you will need to plug an Ethernet to USB adapter in to the OTG cable. I had an Apple USB to Ethernet adapter on hand, it worked perfectly.
Connect the ethernet port that was created with the OTG/USB/Ethernet cables on the Android to the ethernet port on the OS X device (MacBook Pro in the pictures).
It will take a minute, but a picture of an ethernet connector should pop up at the top of the Android device. Place the Android in airplane mode to ensure that all traffic goes through the ethernet port, and no power is wasted on the Bluetooth and WiFi transceivers.
Double Check Those Connections
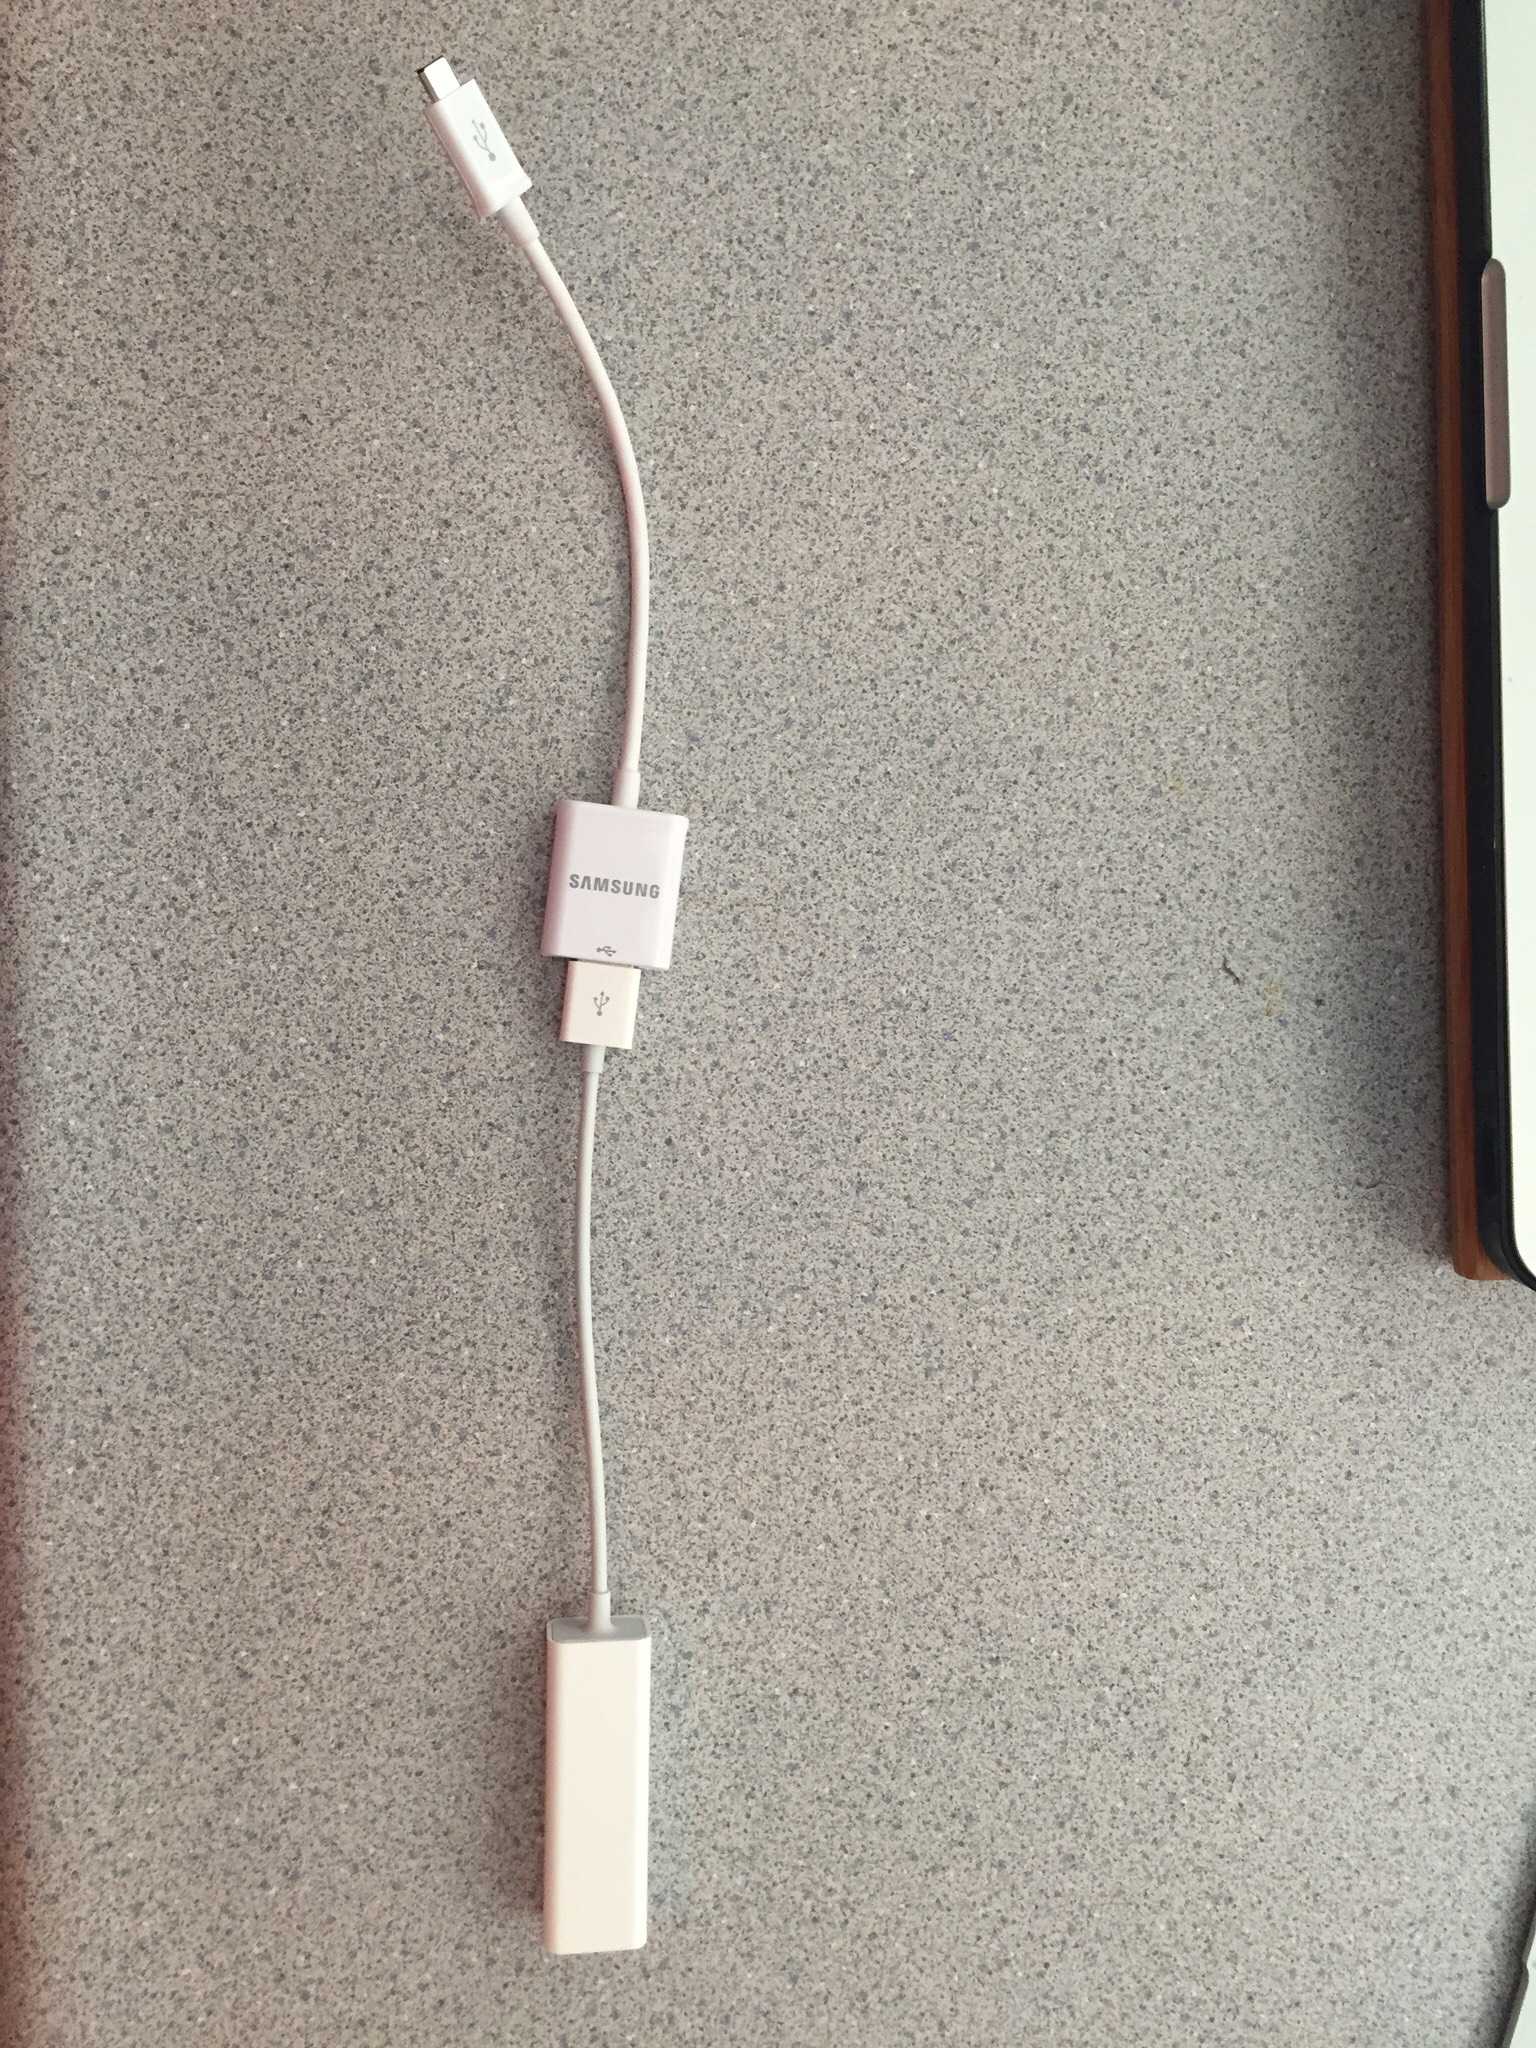
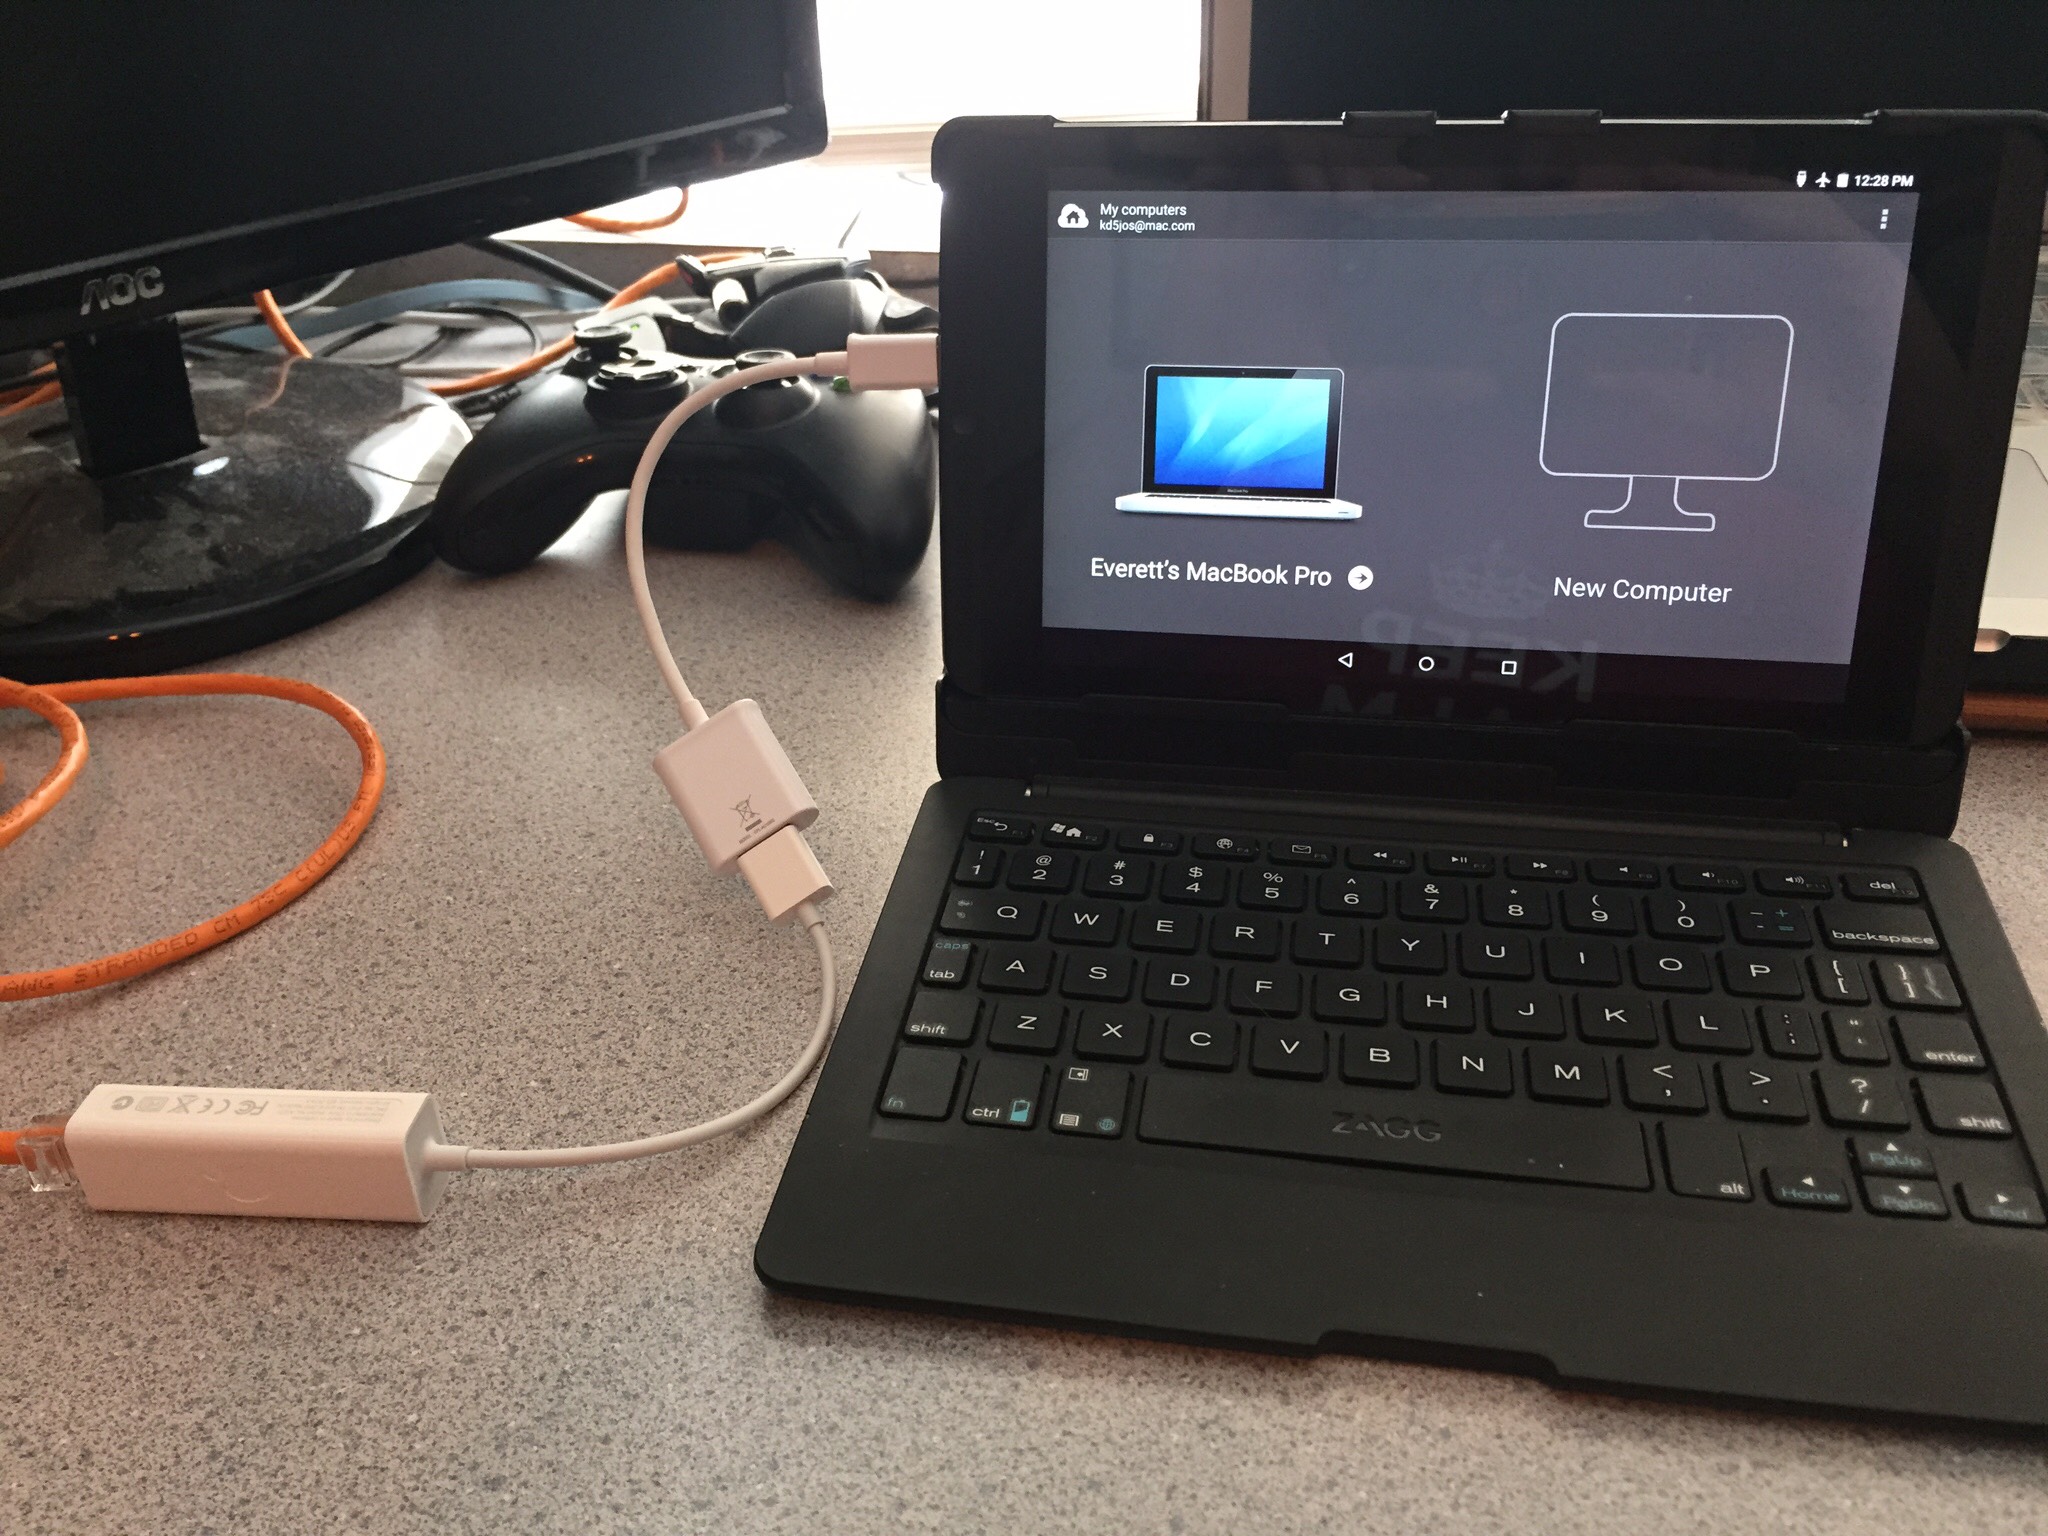
Here you see the Apple USB/Ethernet cable plugged in to the OTG cable.
Next you see the two cables connected to the Android device.
An ethernet cable is connected from the Android device to your OS X based computer (the gaming rig).
Parallels Access is shown running on the Android. If you look at the top of the Android screen, you can see it is in Airplane mode, and the ethernet symbol indicates a physical network connection.
Select the Game You Want to Play
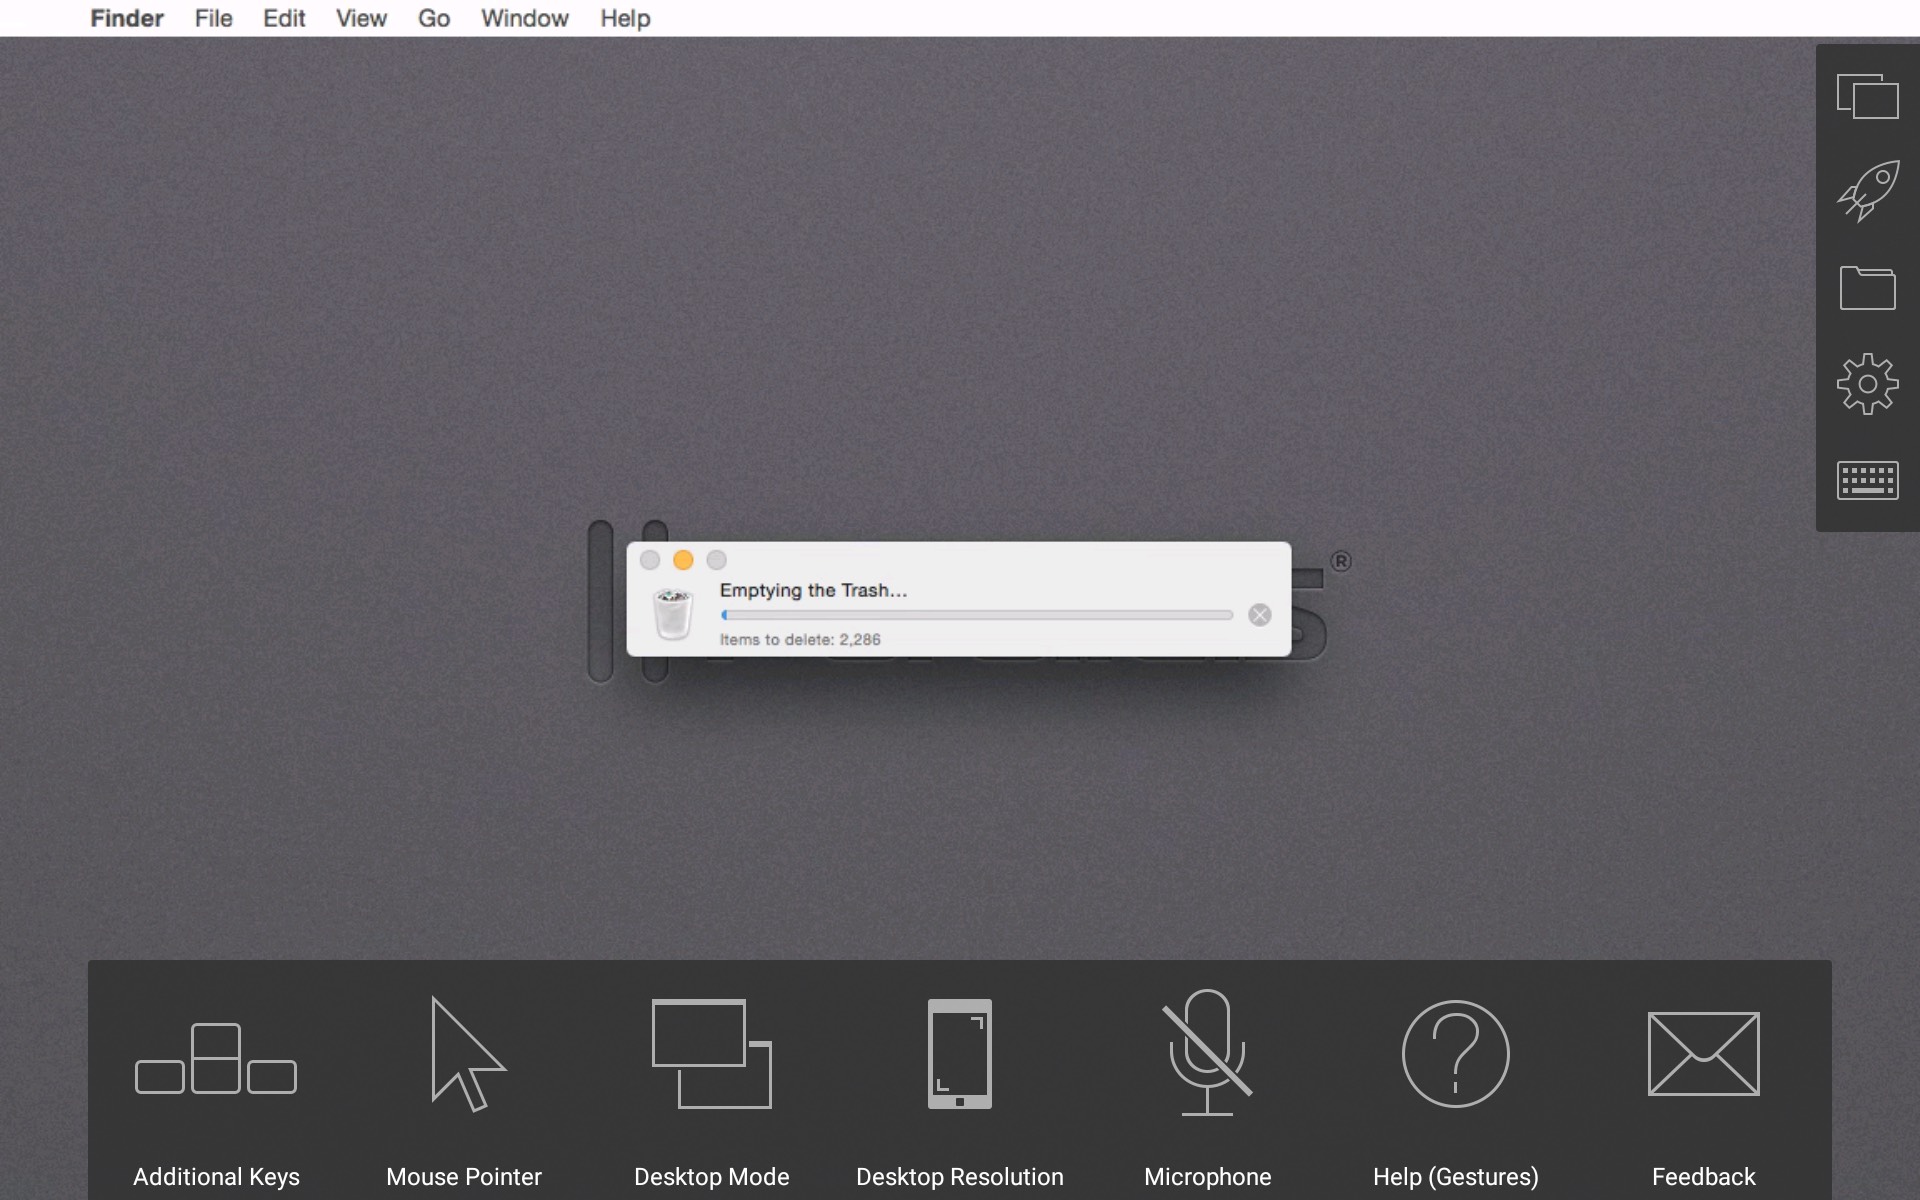
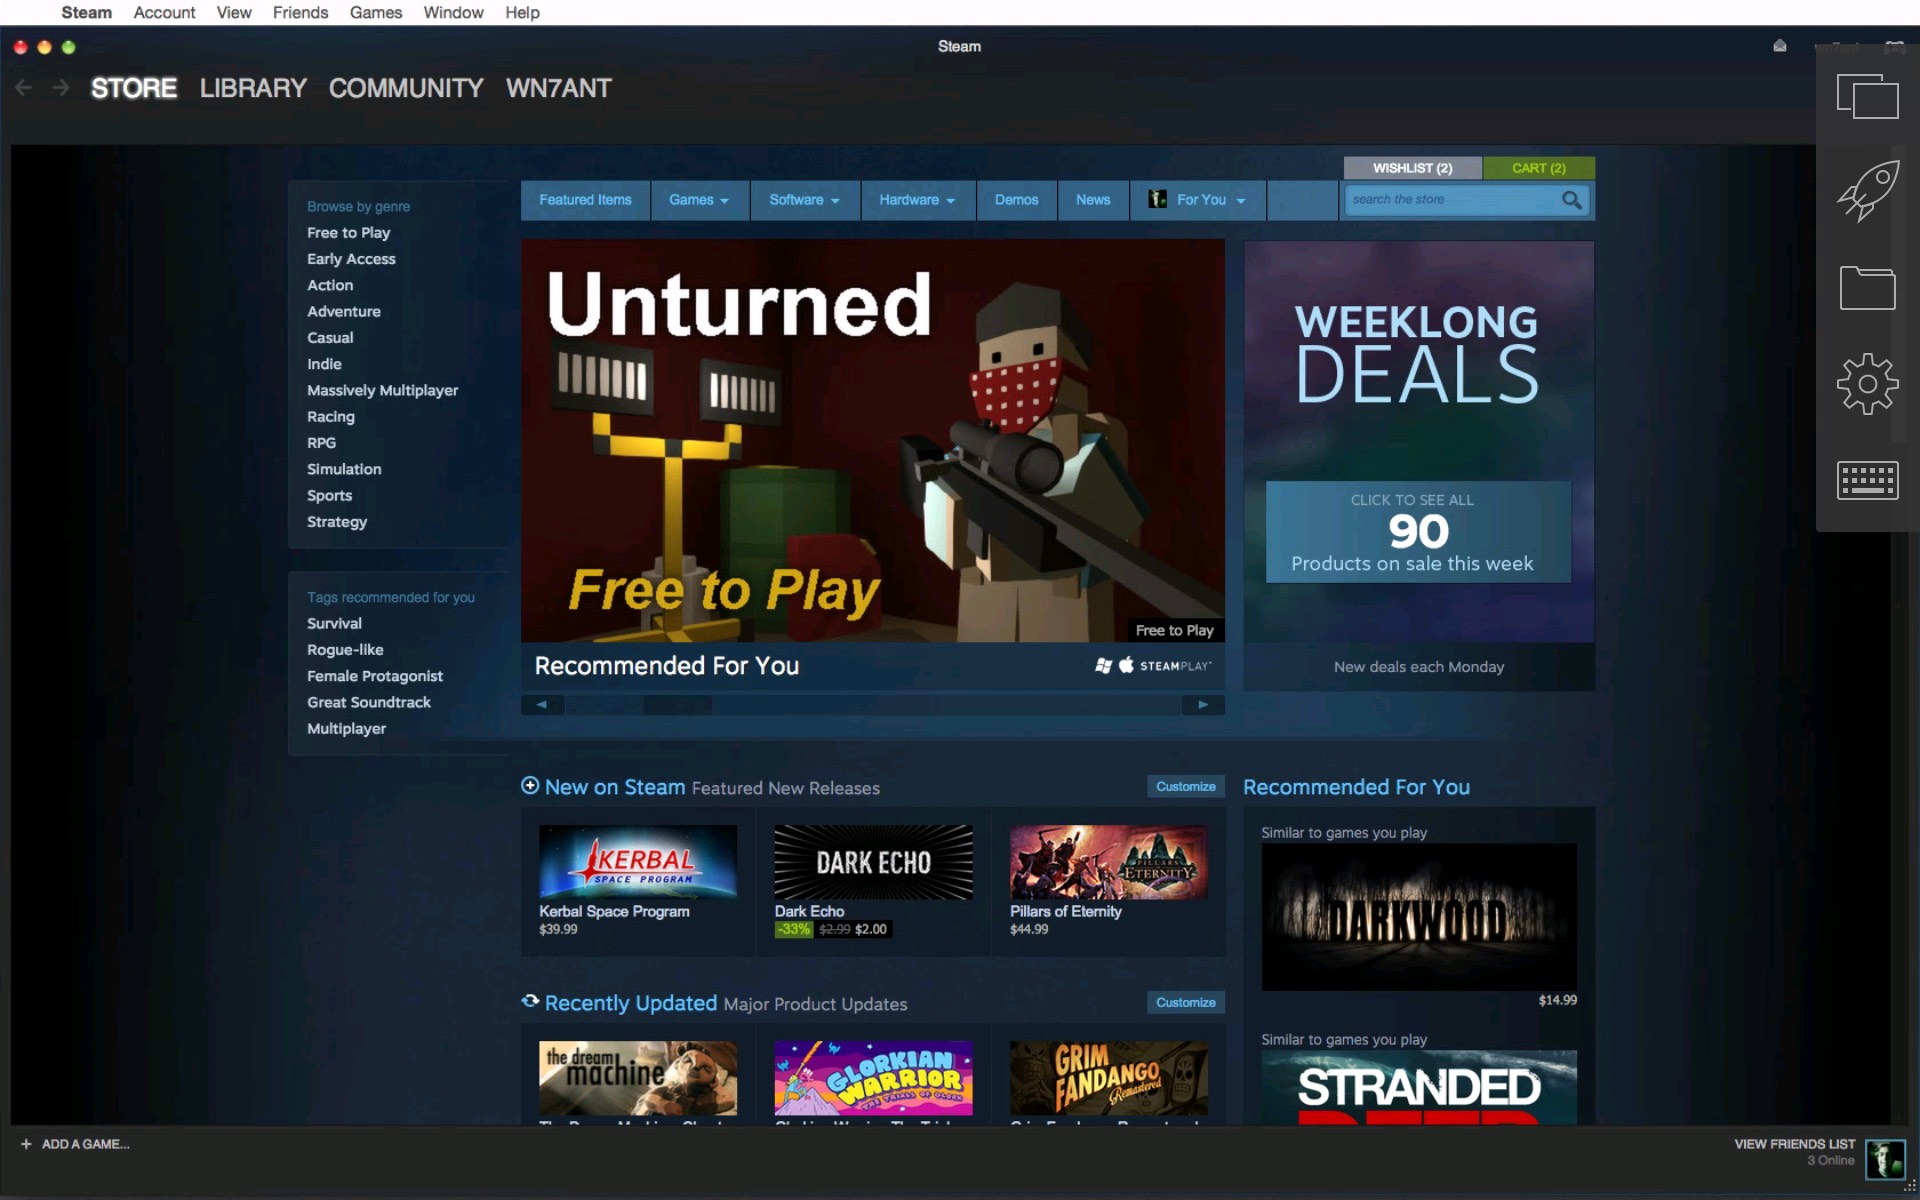
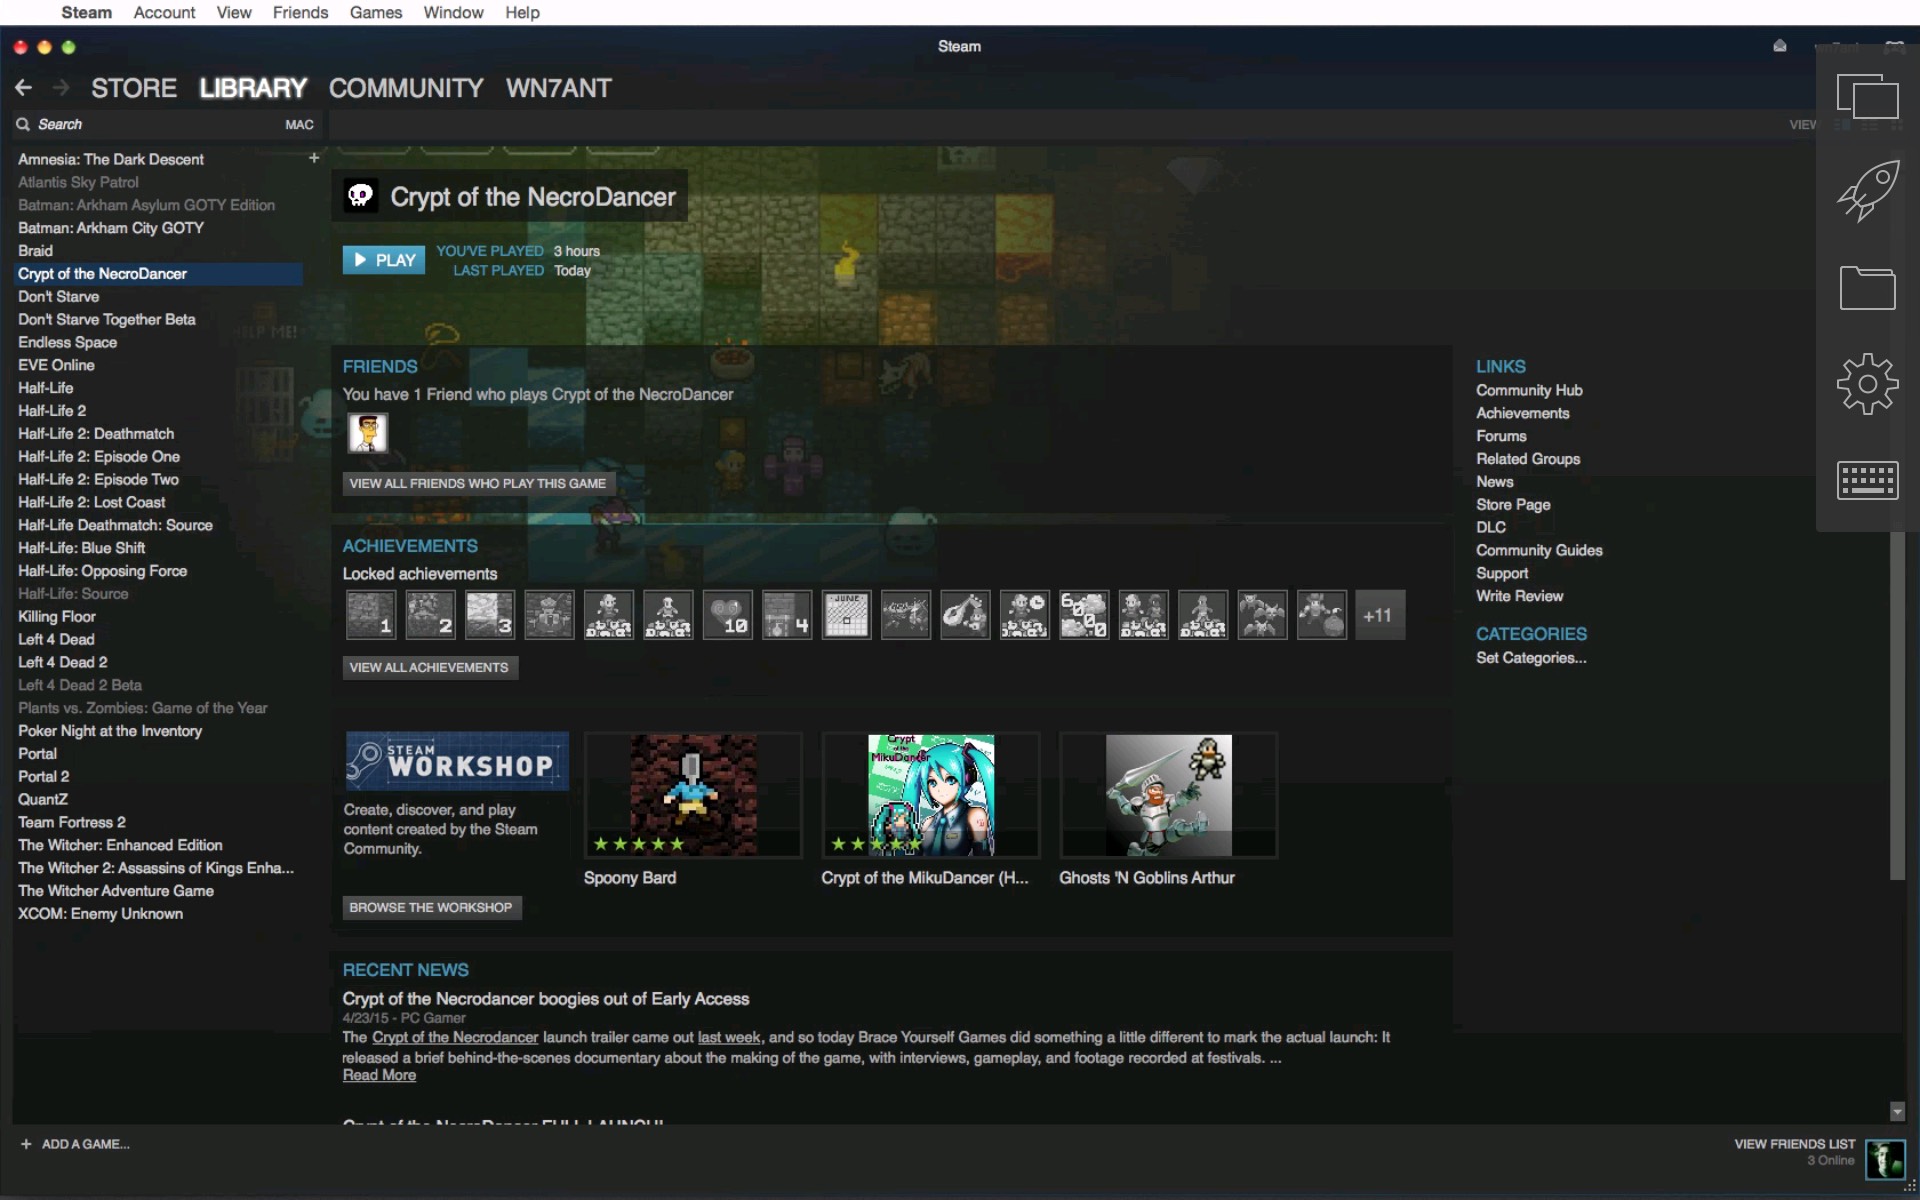
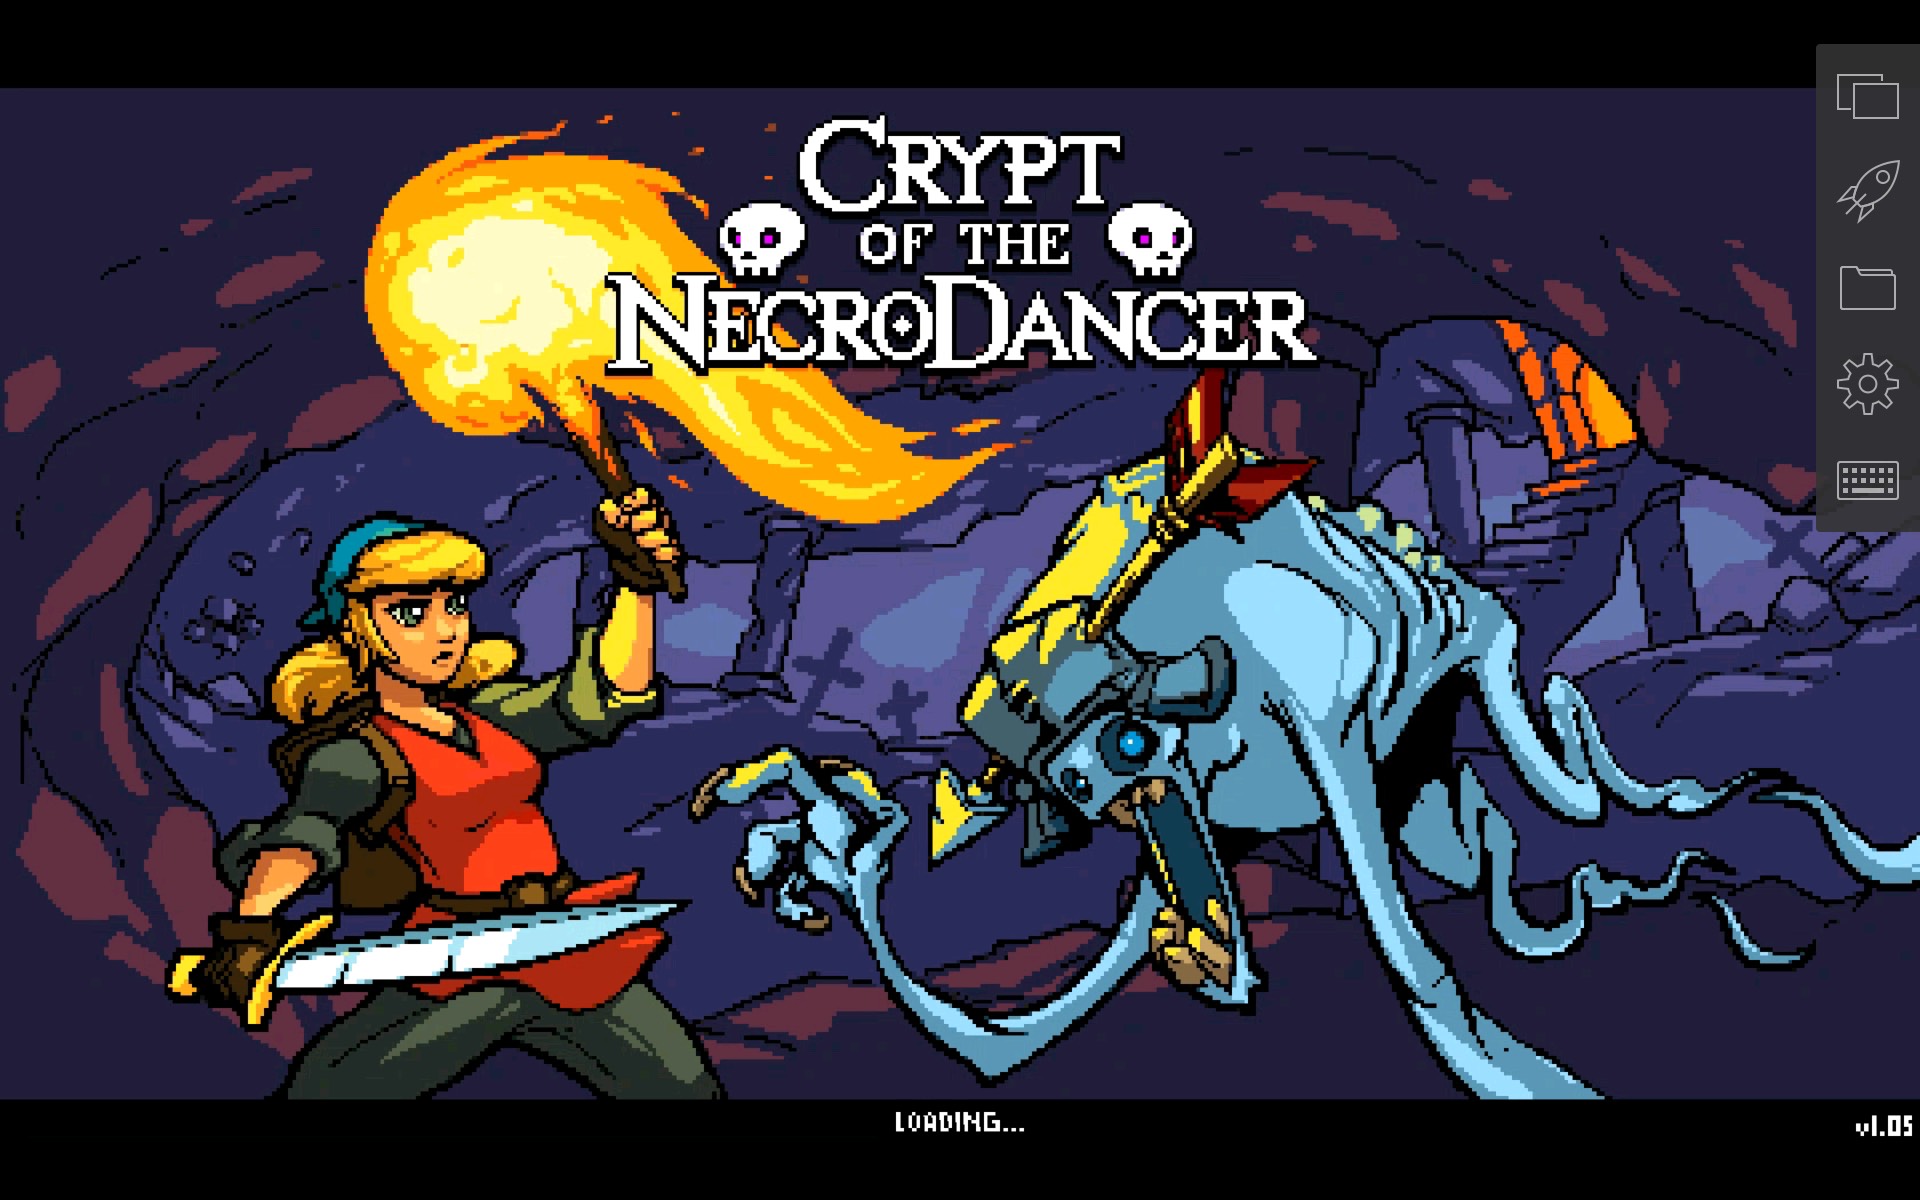
Once you select the computer and take over control, you will see a screen with available applications on it. If you tap the three stacked squares in the upper right, you will be provided a menu. The second option in the menu is Edit applications list. Select this. You will be provided a list of applications. Look for the games that you want to stream. Select it in the list. An icon has been made available with the name of the game. Tap the icon, and the game will launch.
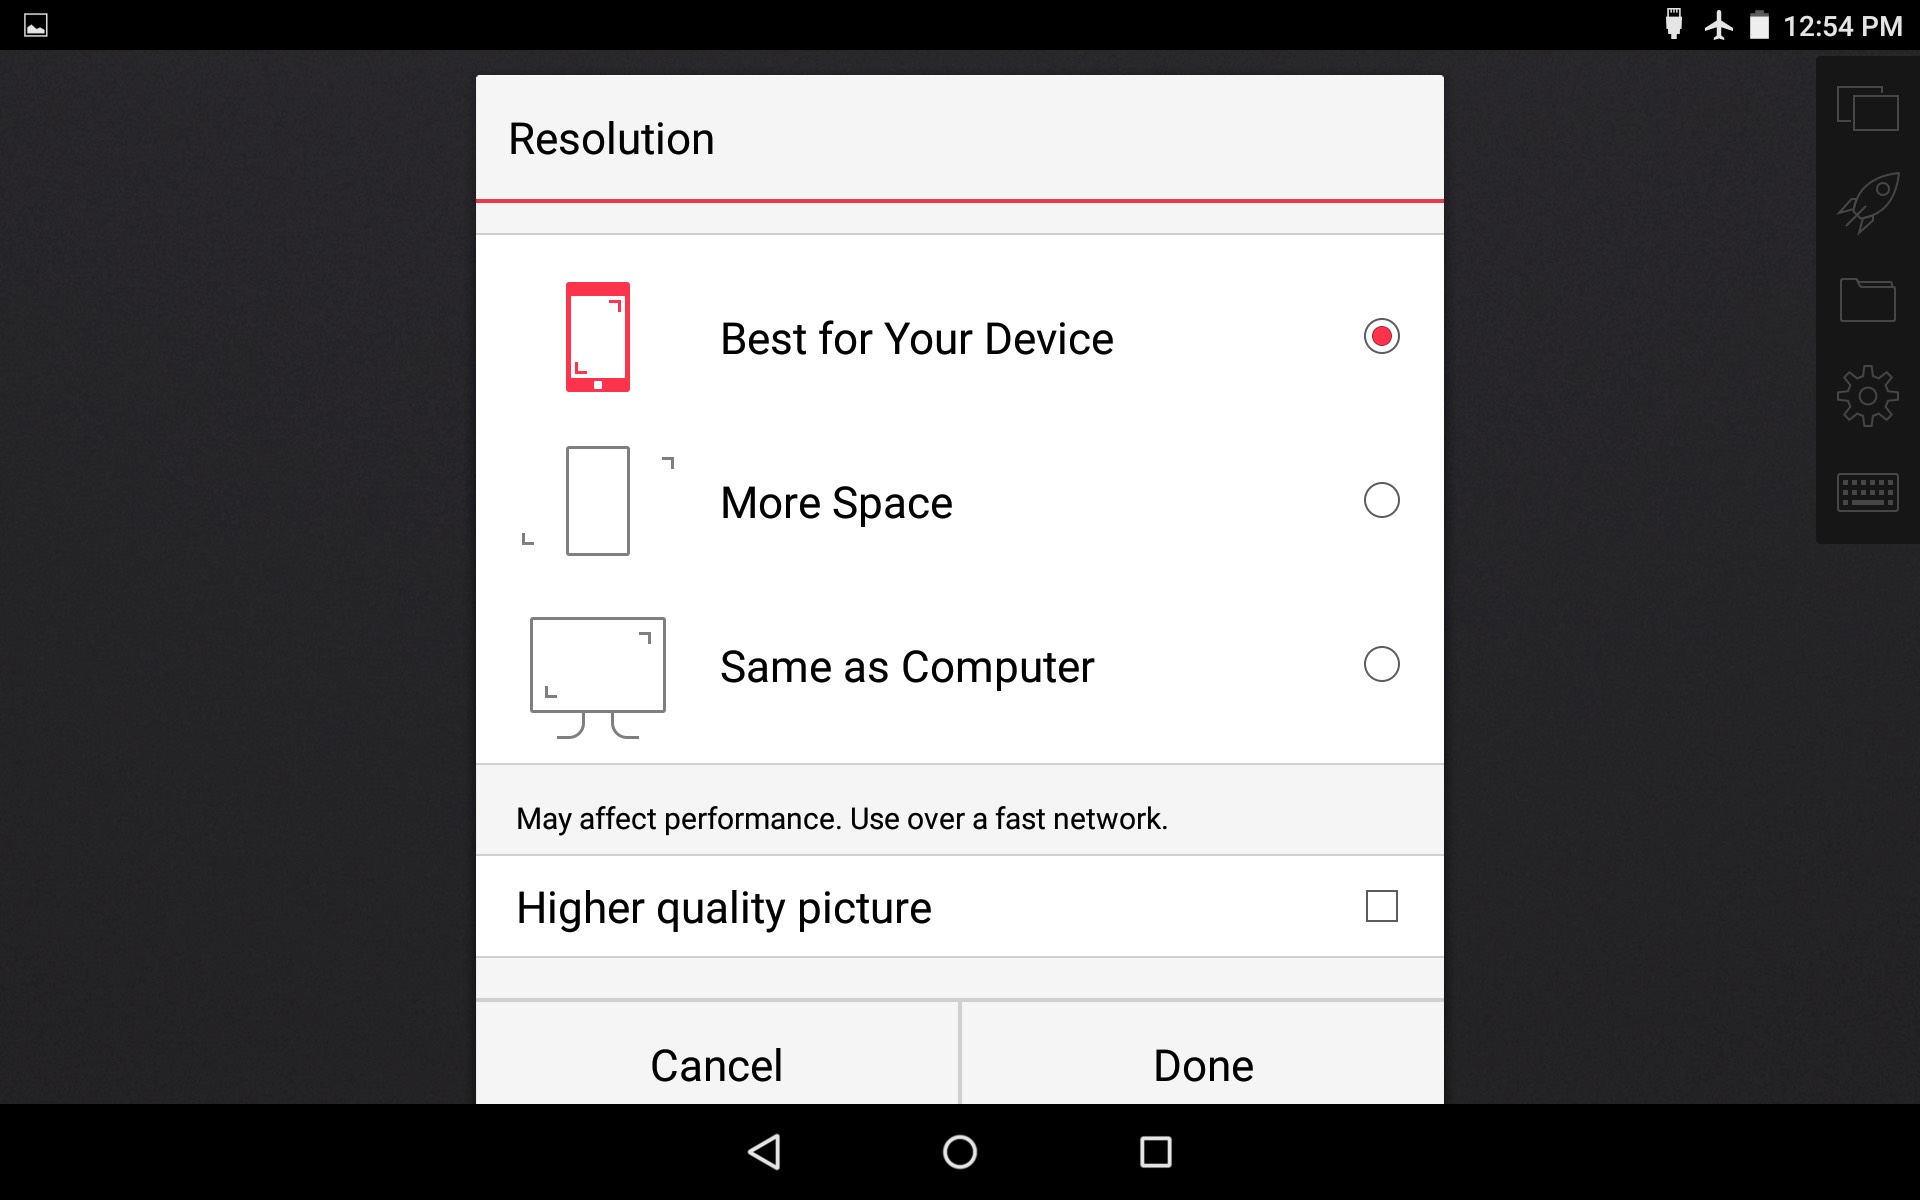
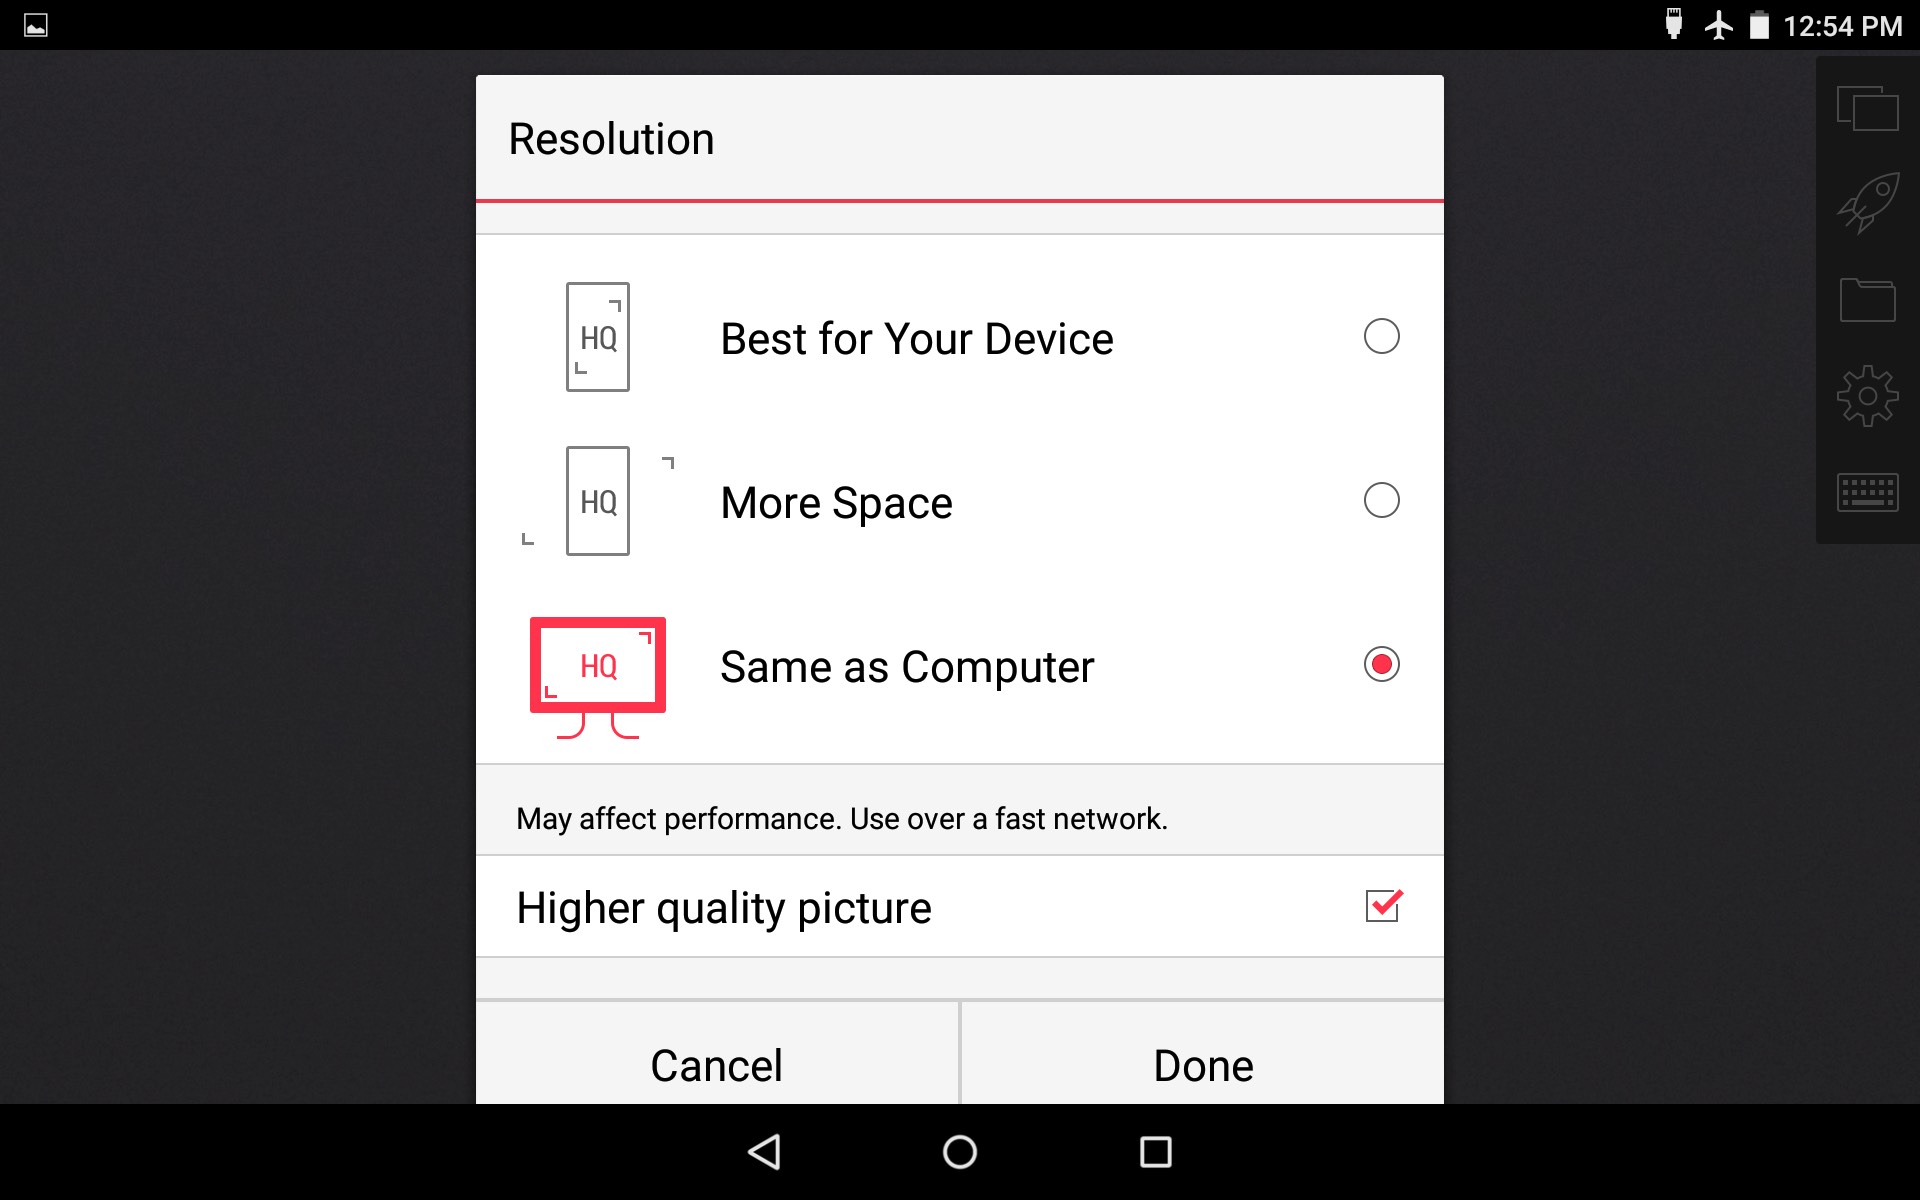
PRO Tip: Instead of doing that, choose Finder in the first screen. While Parallels Access is running there will be 4 charms on the right side of the screen. Select the cog (settings). At the bottom of the screen select Desktop Resolution. Set it to Same as Computer and ensure that the Higher Quality picture box has a check mark in it. Click Done.
Return to the OS X device (the gaming rig) and search for the game you want to play. The best way I have found to do this is to CMD-Space, type in the name of the game, and when the named application appears press enter.
The game is now running at full resolution on your computer, and video and audio are being streamed to the Android. You should be able to hear and see the game on the Android. You will also be able to see the game on the gaming rig, but not hear it. There is a possible fix by going into audio midi setup and clicking +, then creating a new device with two outputs (one is sound flower, the other your speakers). That is outside the scope of this Instructable though.
Time to Start Streaming
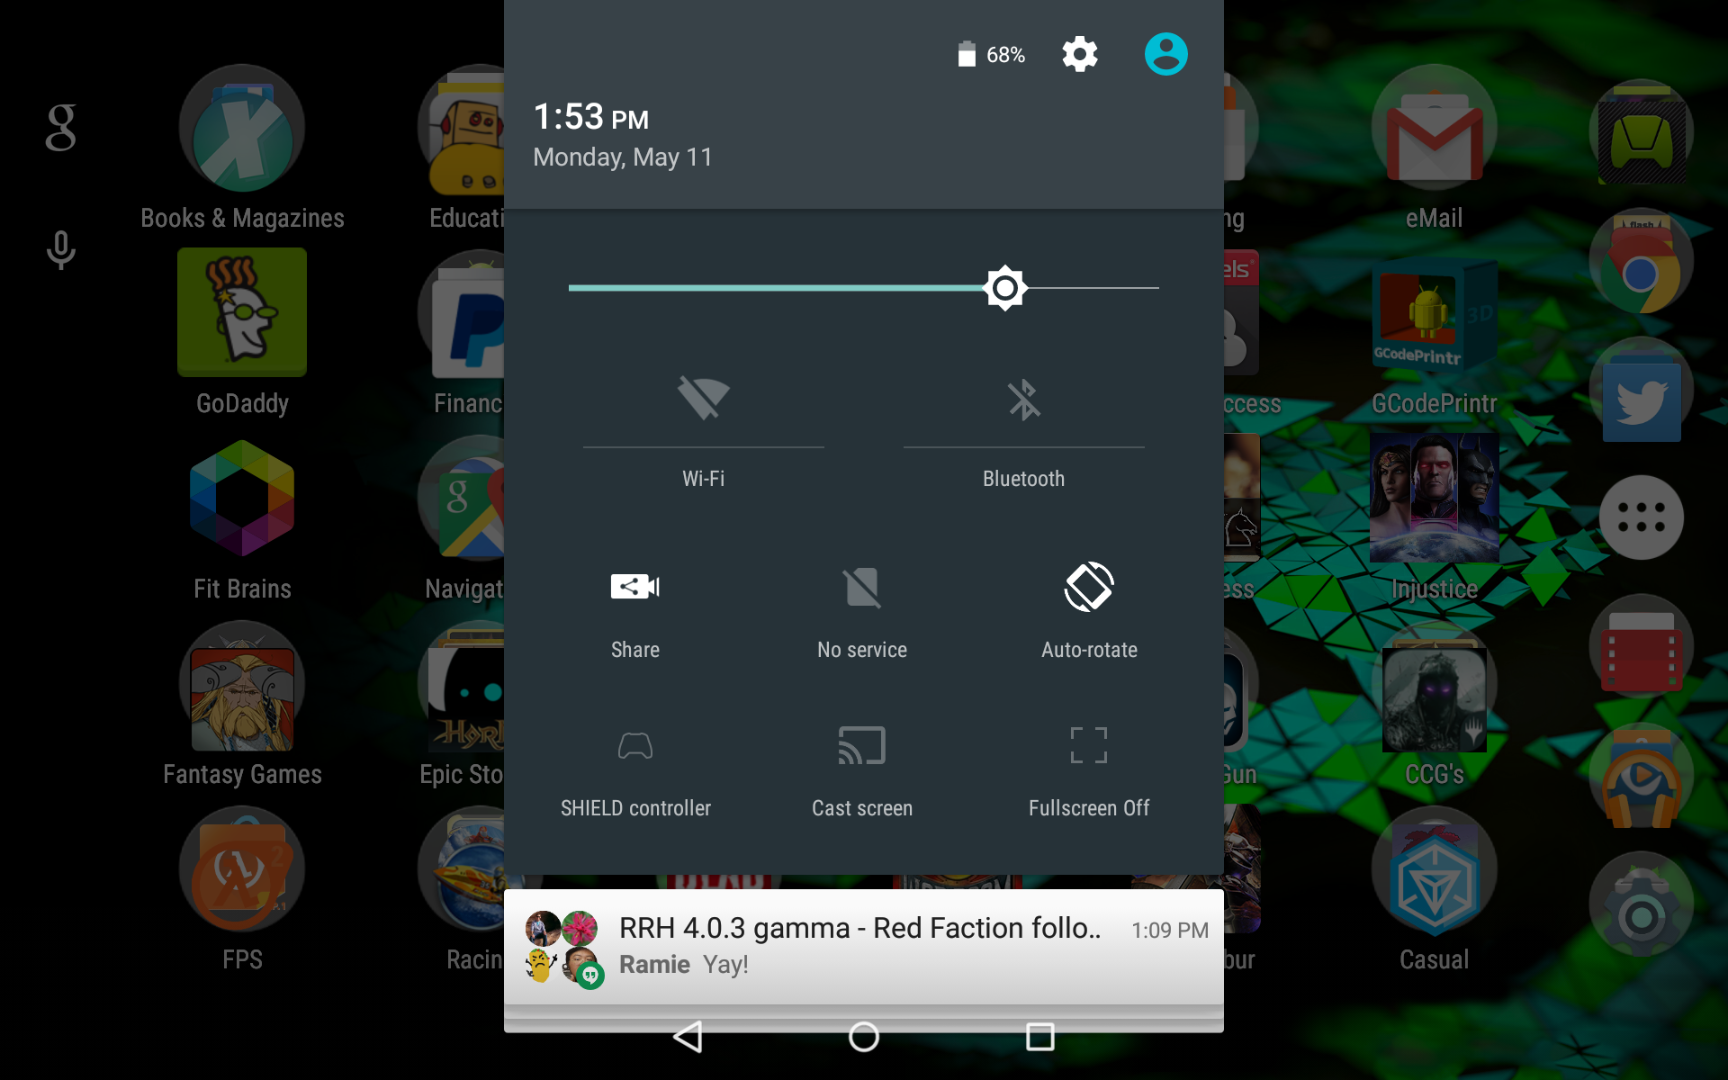
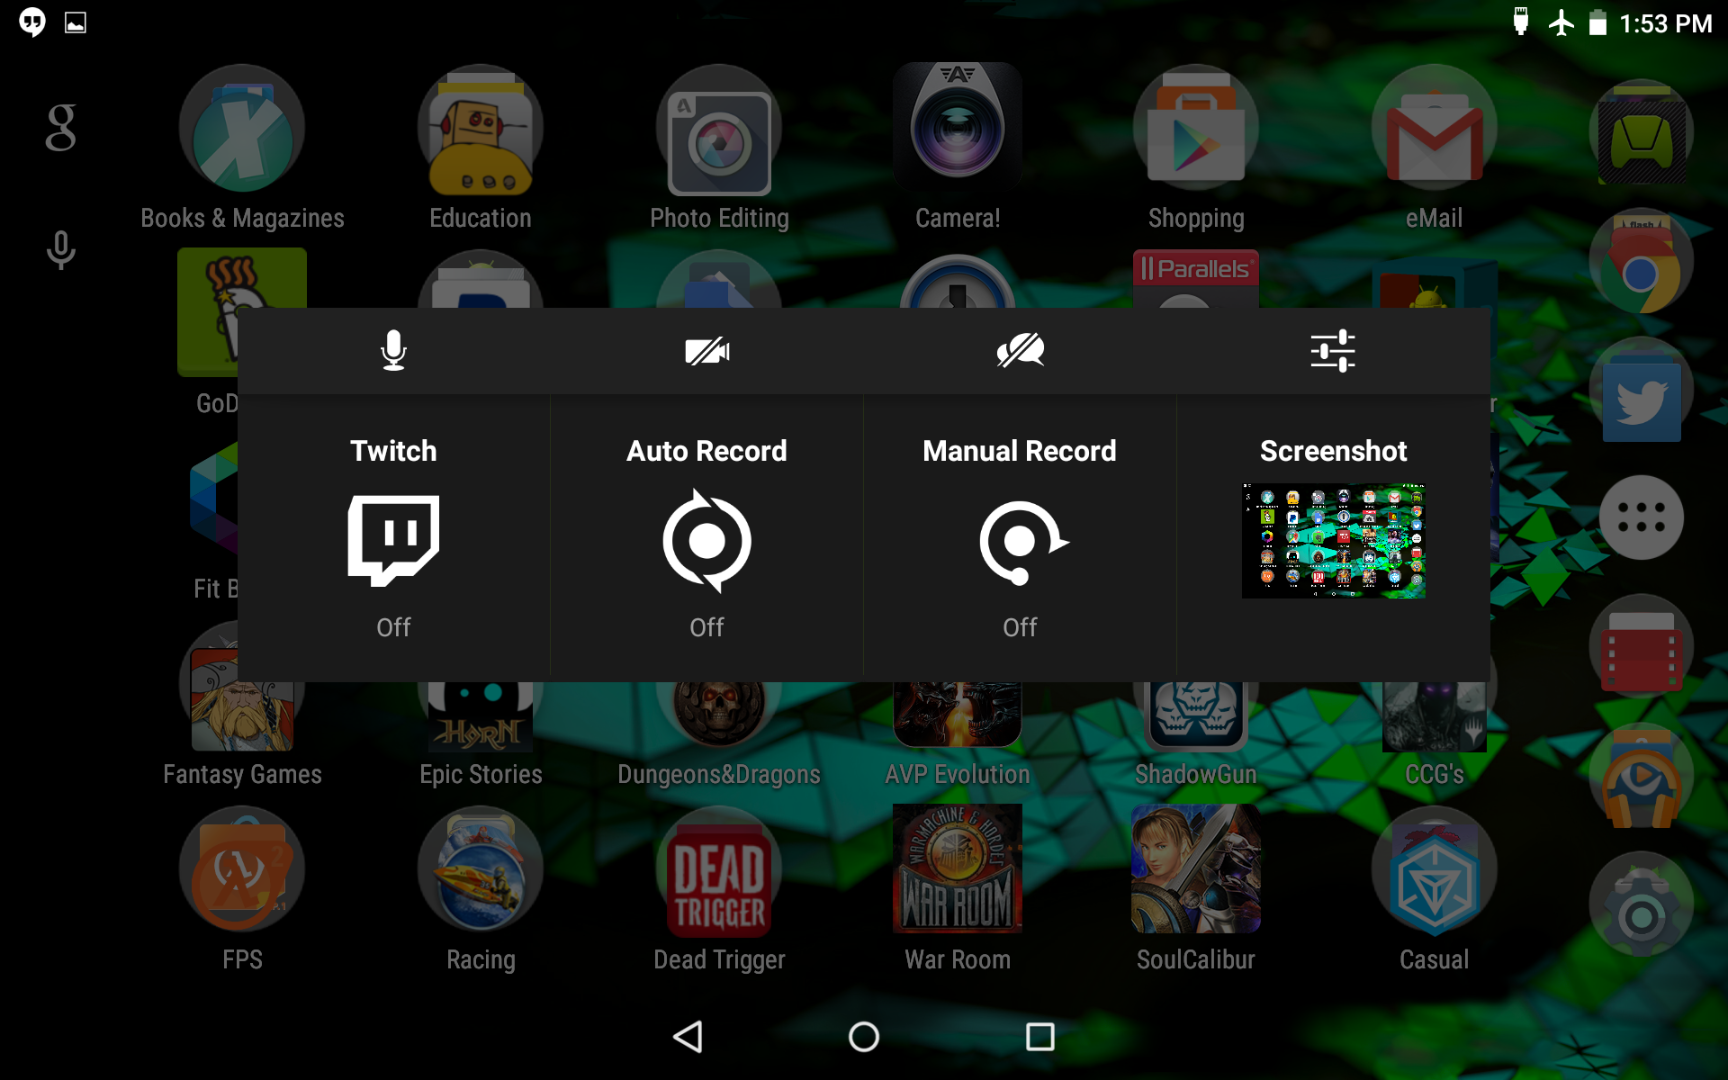
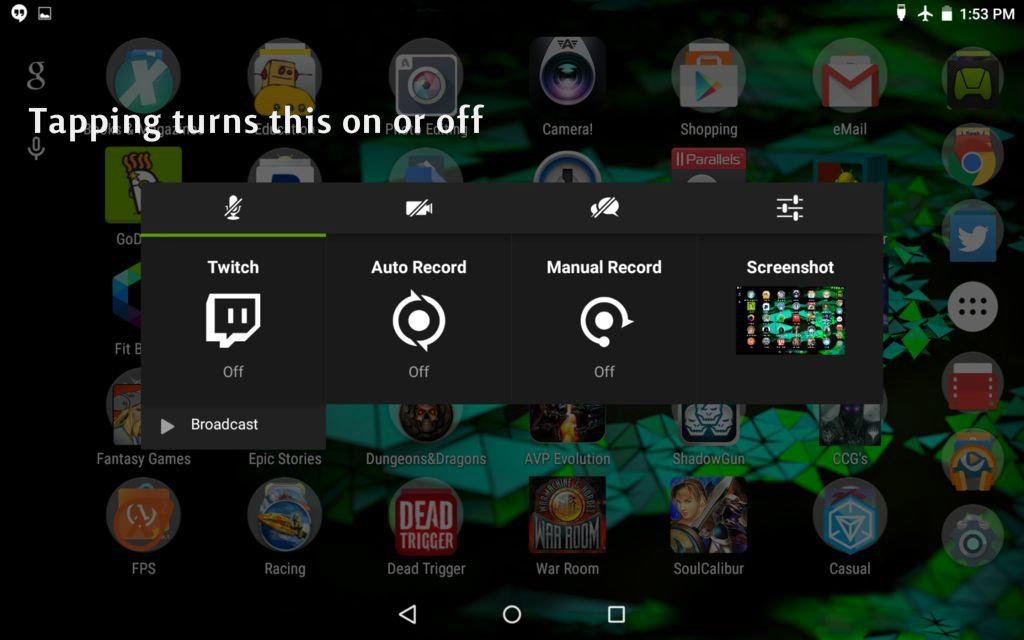
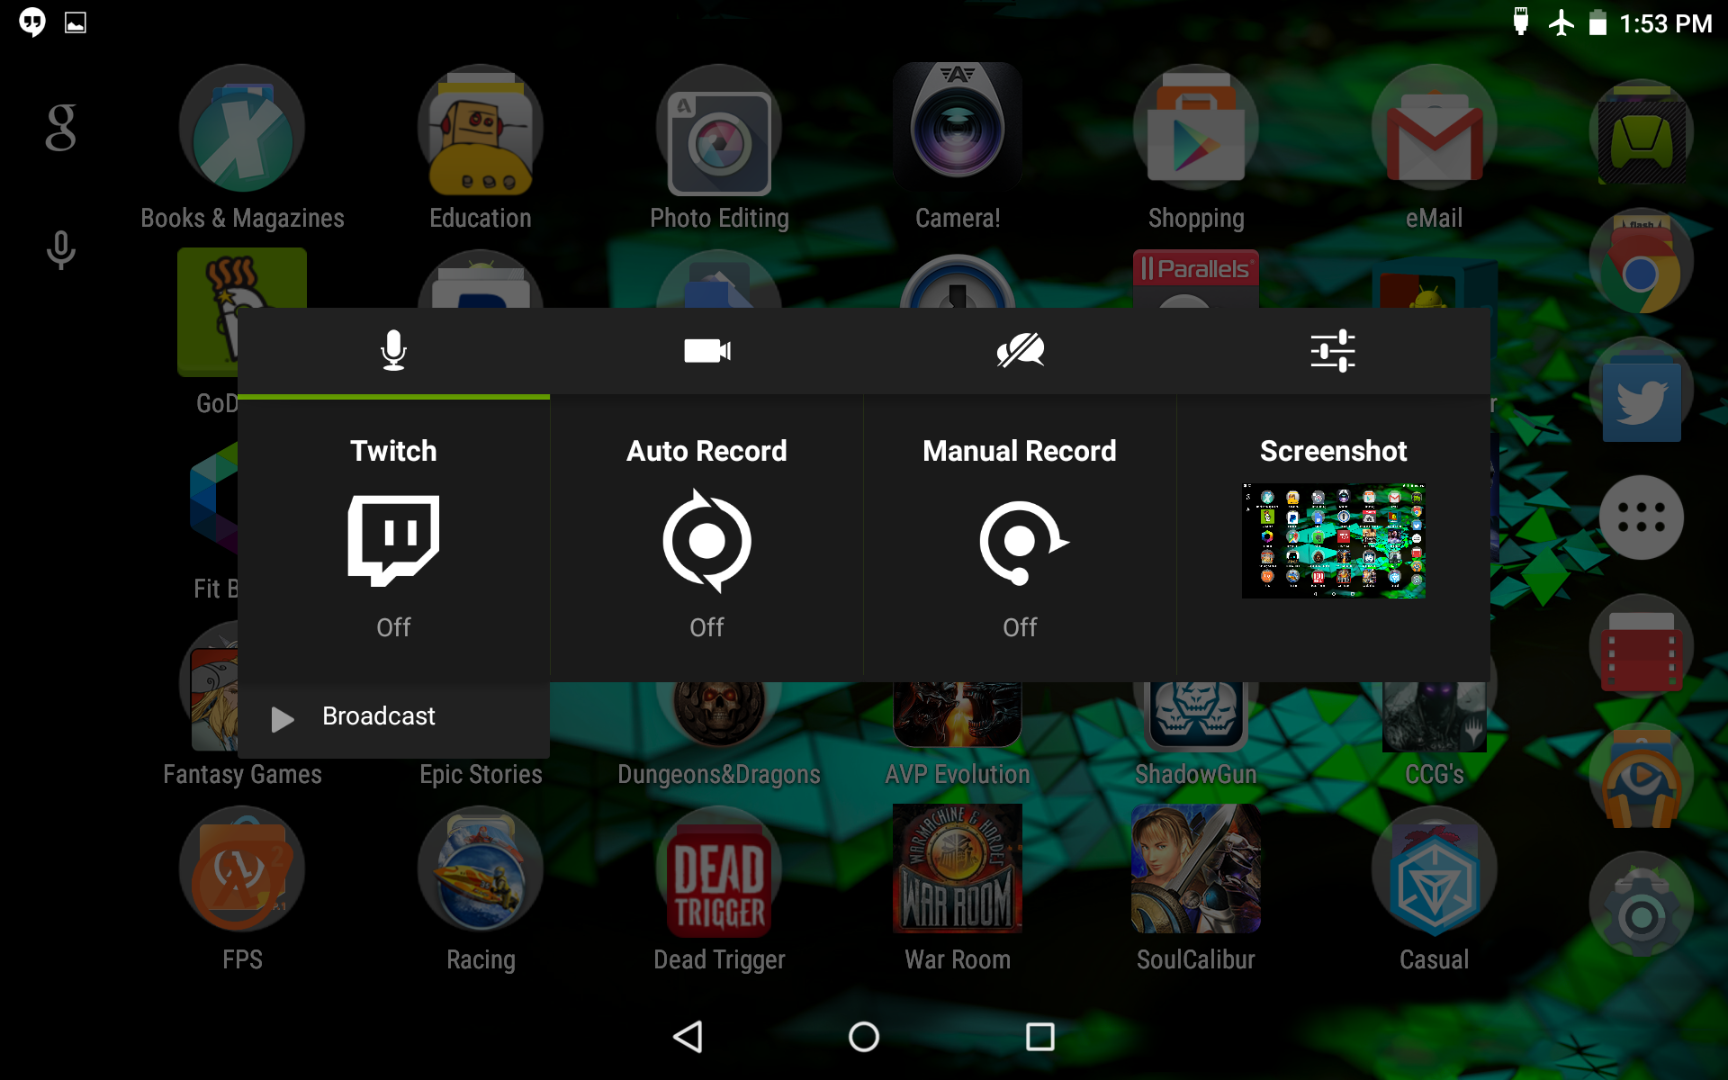
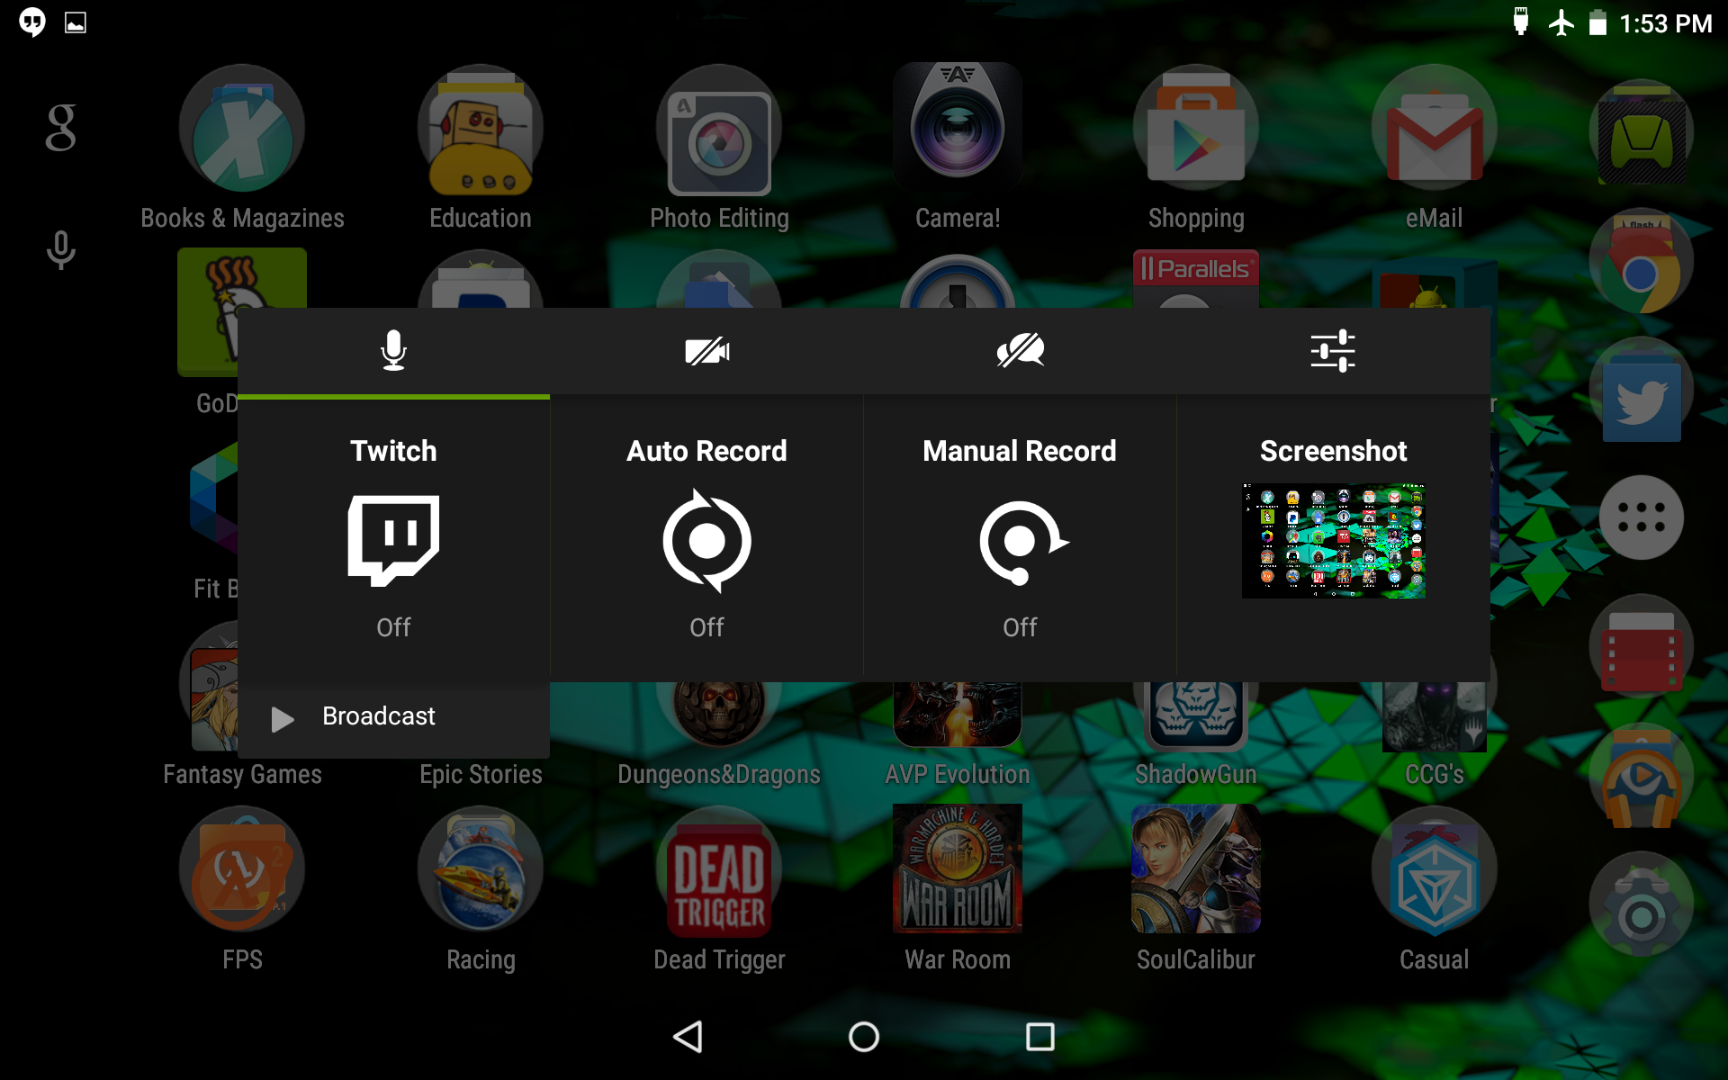
Use two fingers to drag down from the top of the screen on the Android. You should see a series of settings on the android. One of them will be Share (it looks like a little camera). Tap the camera symbol. Another menu will pop up with Twitch on the left side. Tap that option, a green bar will appear above Twitch, and the word Broadcast drops under the icon. If you have already configured Twitch on your Android, when you hit Broadcast, you are streaming the game. If you want to be able to include commentary, you will need to plug headphones that have a mic on them into the headphones port. Above the Twitch icon you will see a microphone icon, and to the right of the mic icon is a video camera icon.
If the mic icon has a slash through it, tap it once. You have just turned on your microphone. You can turn on the video camera on your Android by removing the slash from the camera icon. Then you will broadcast video AND audio.
But what is the iOS device for?
That's next.
Control of the Stream and Chat
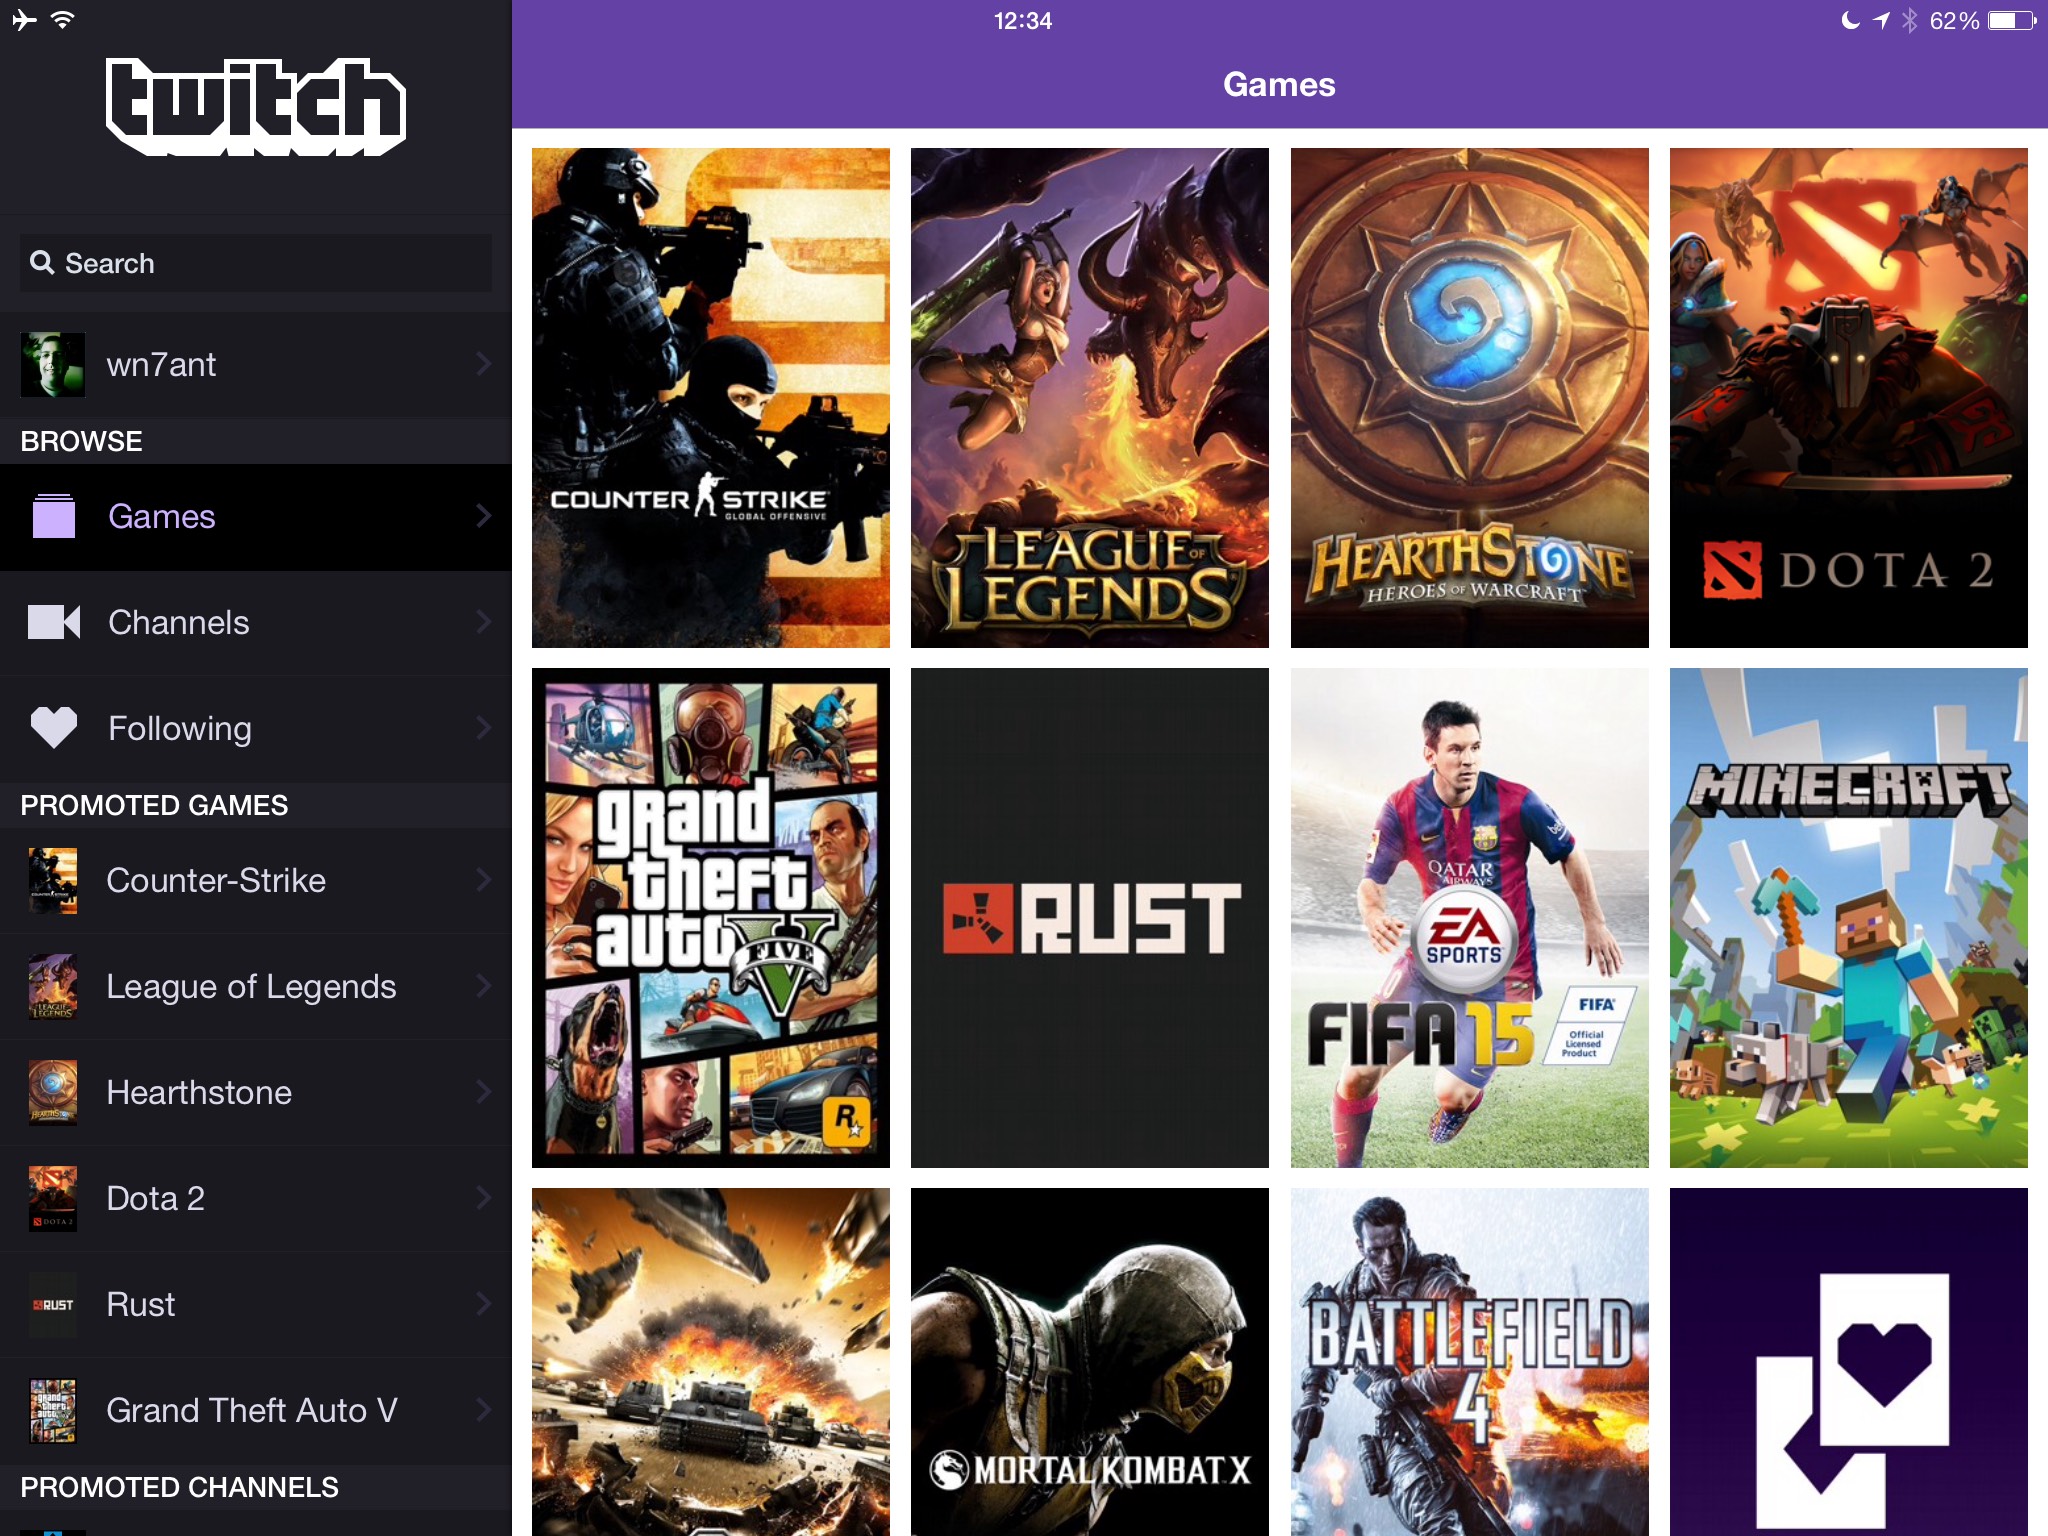
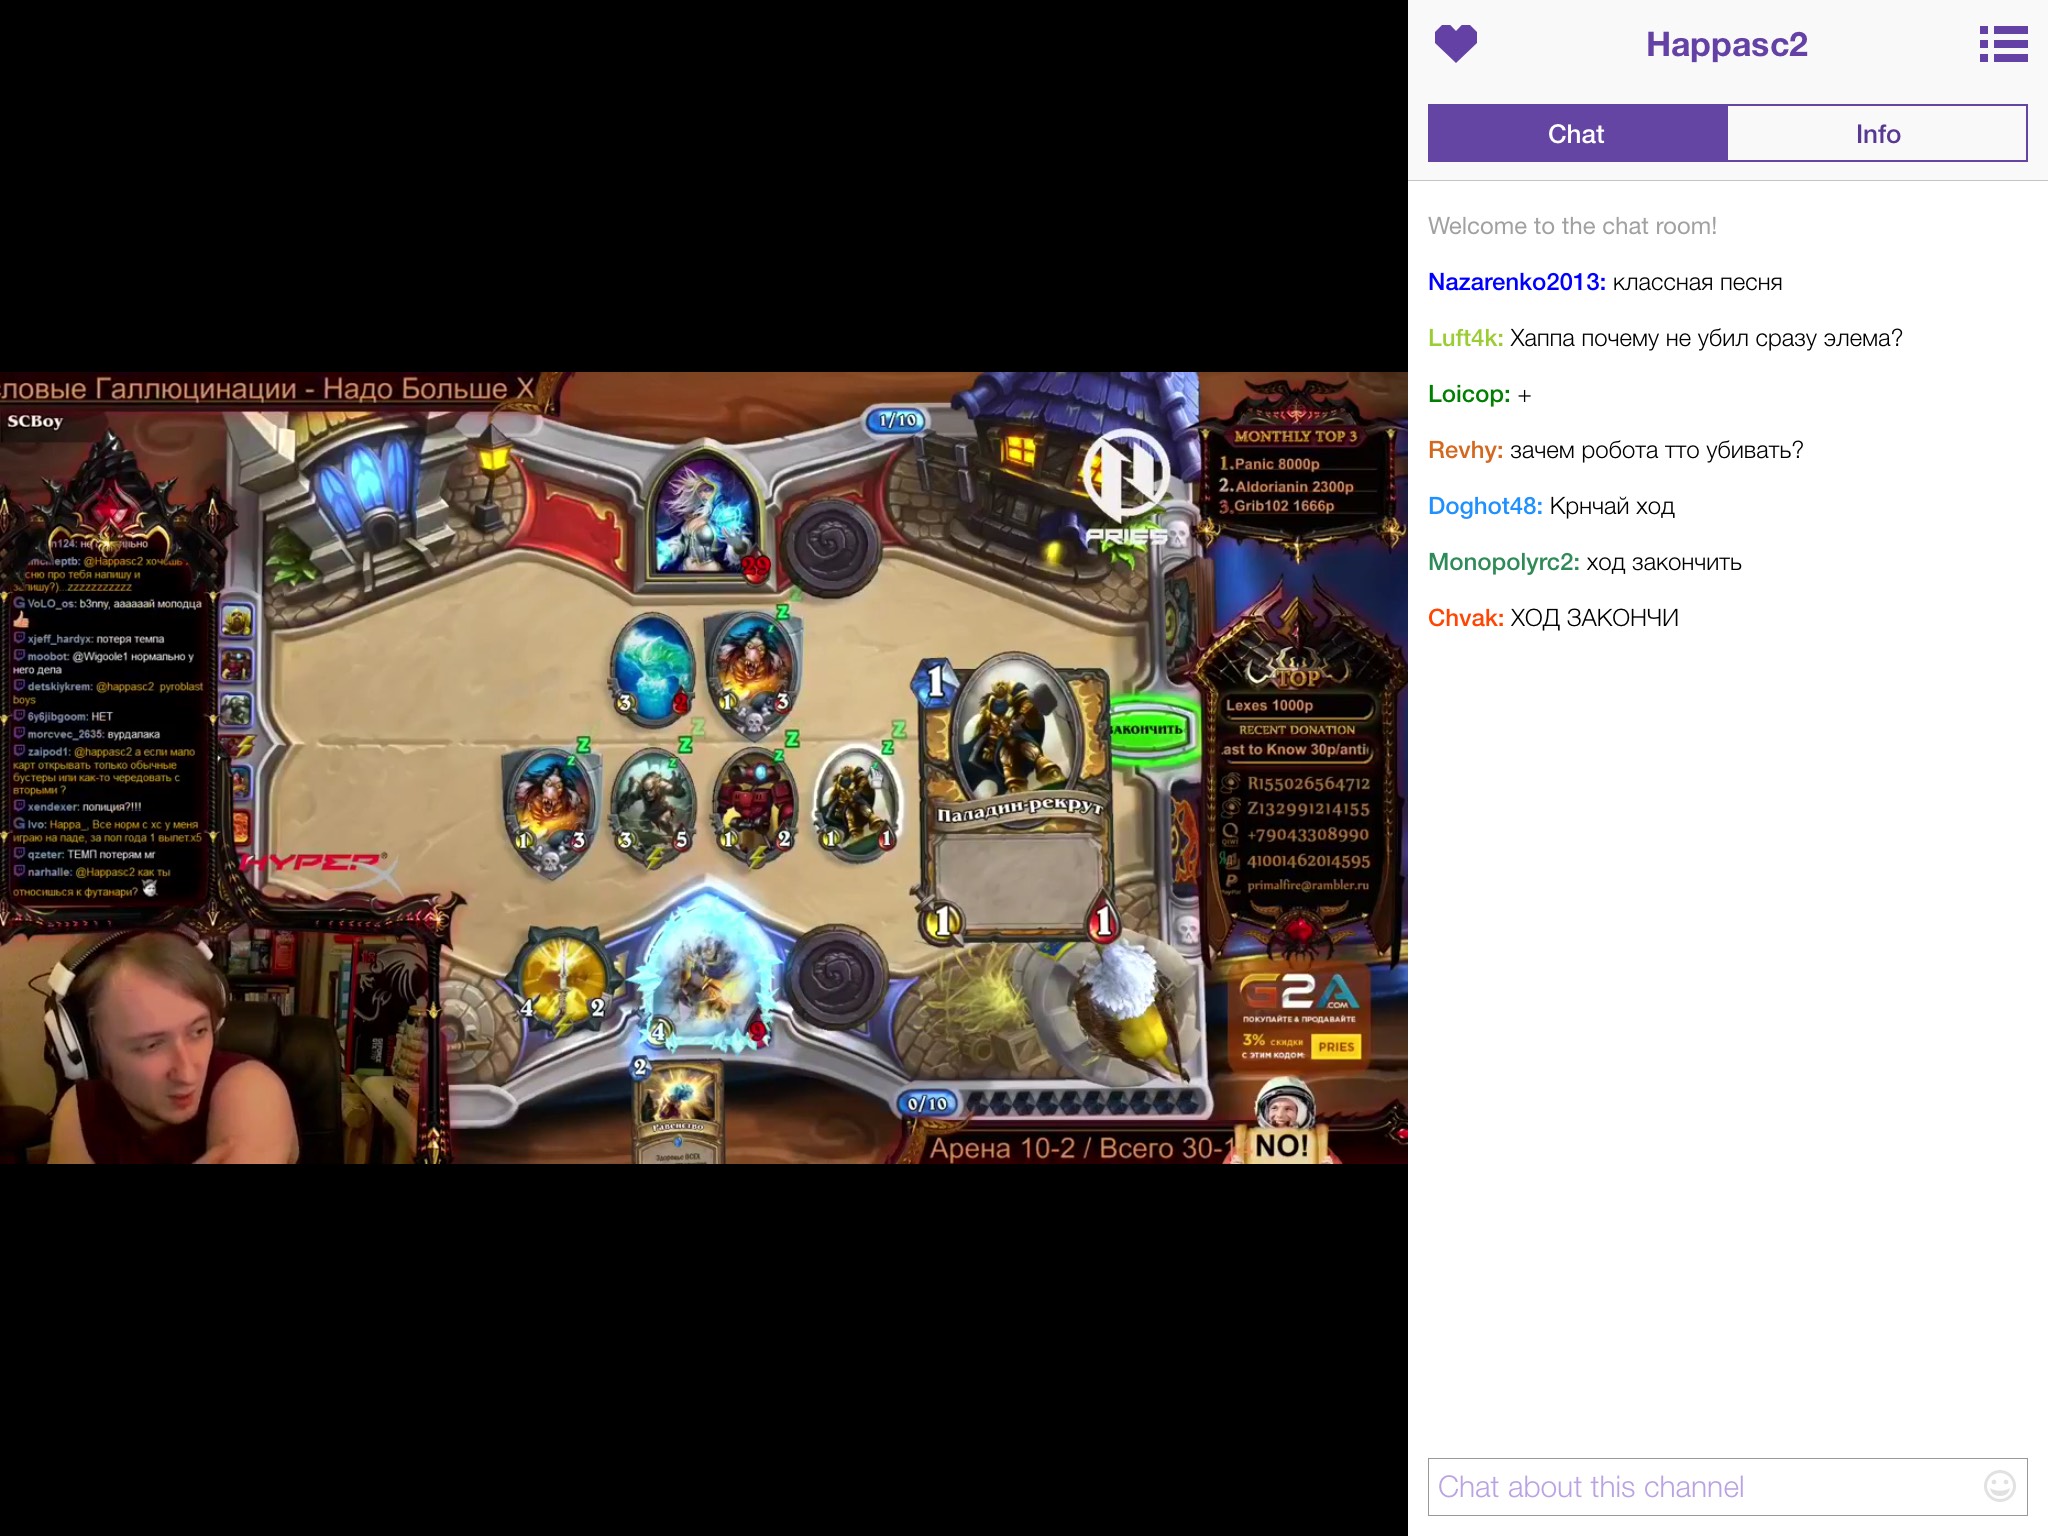
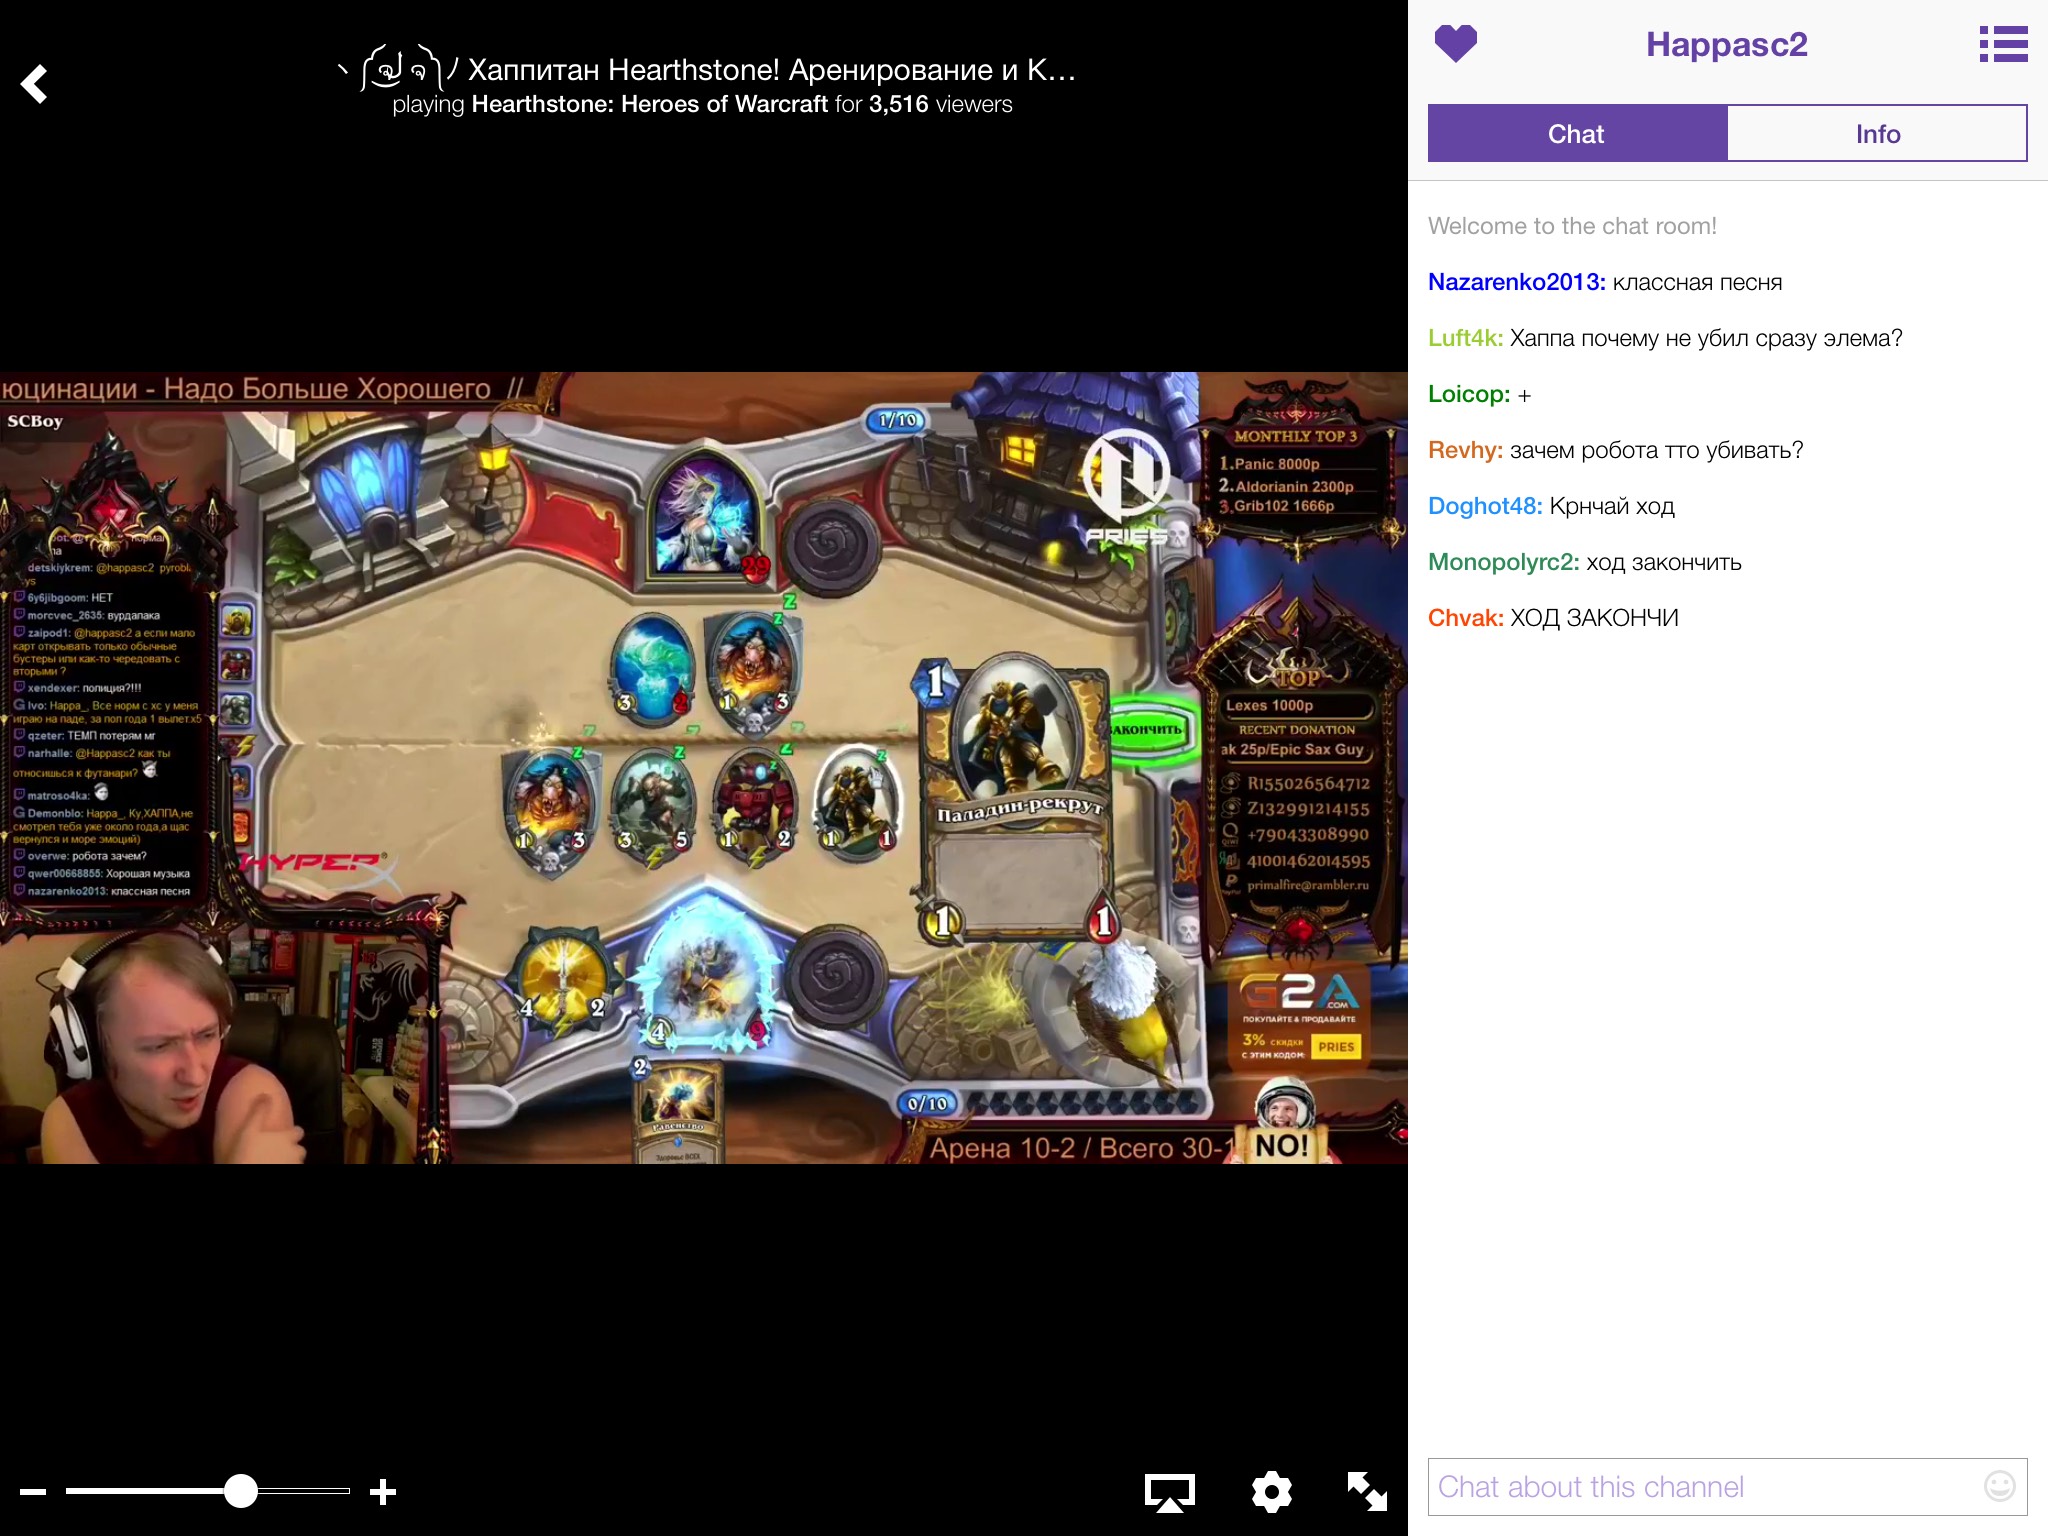
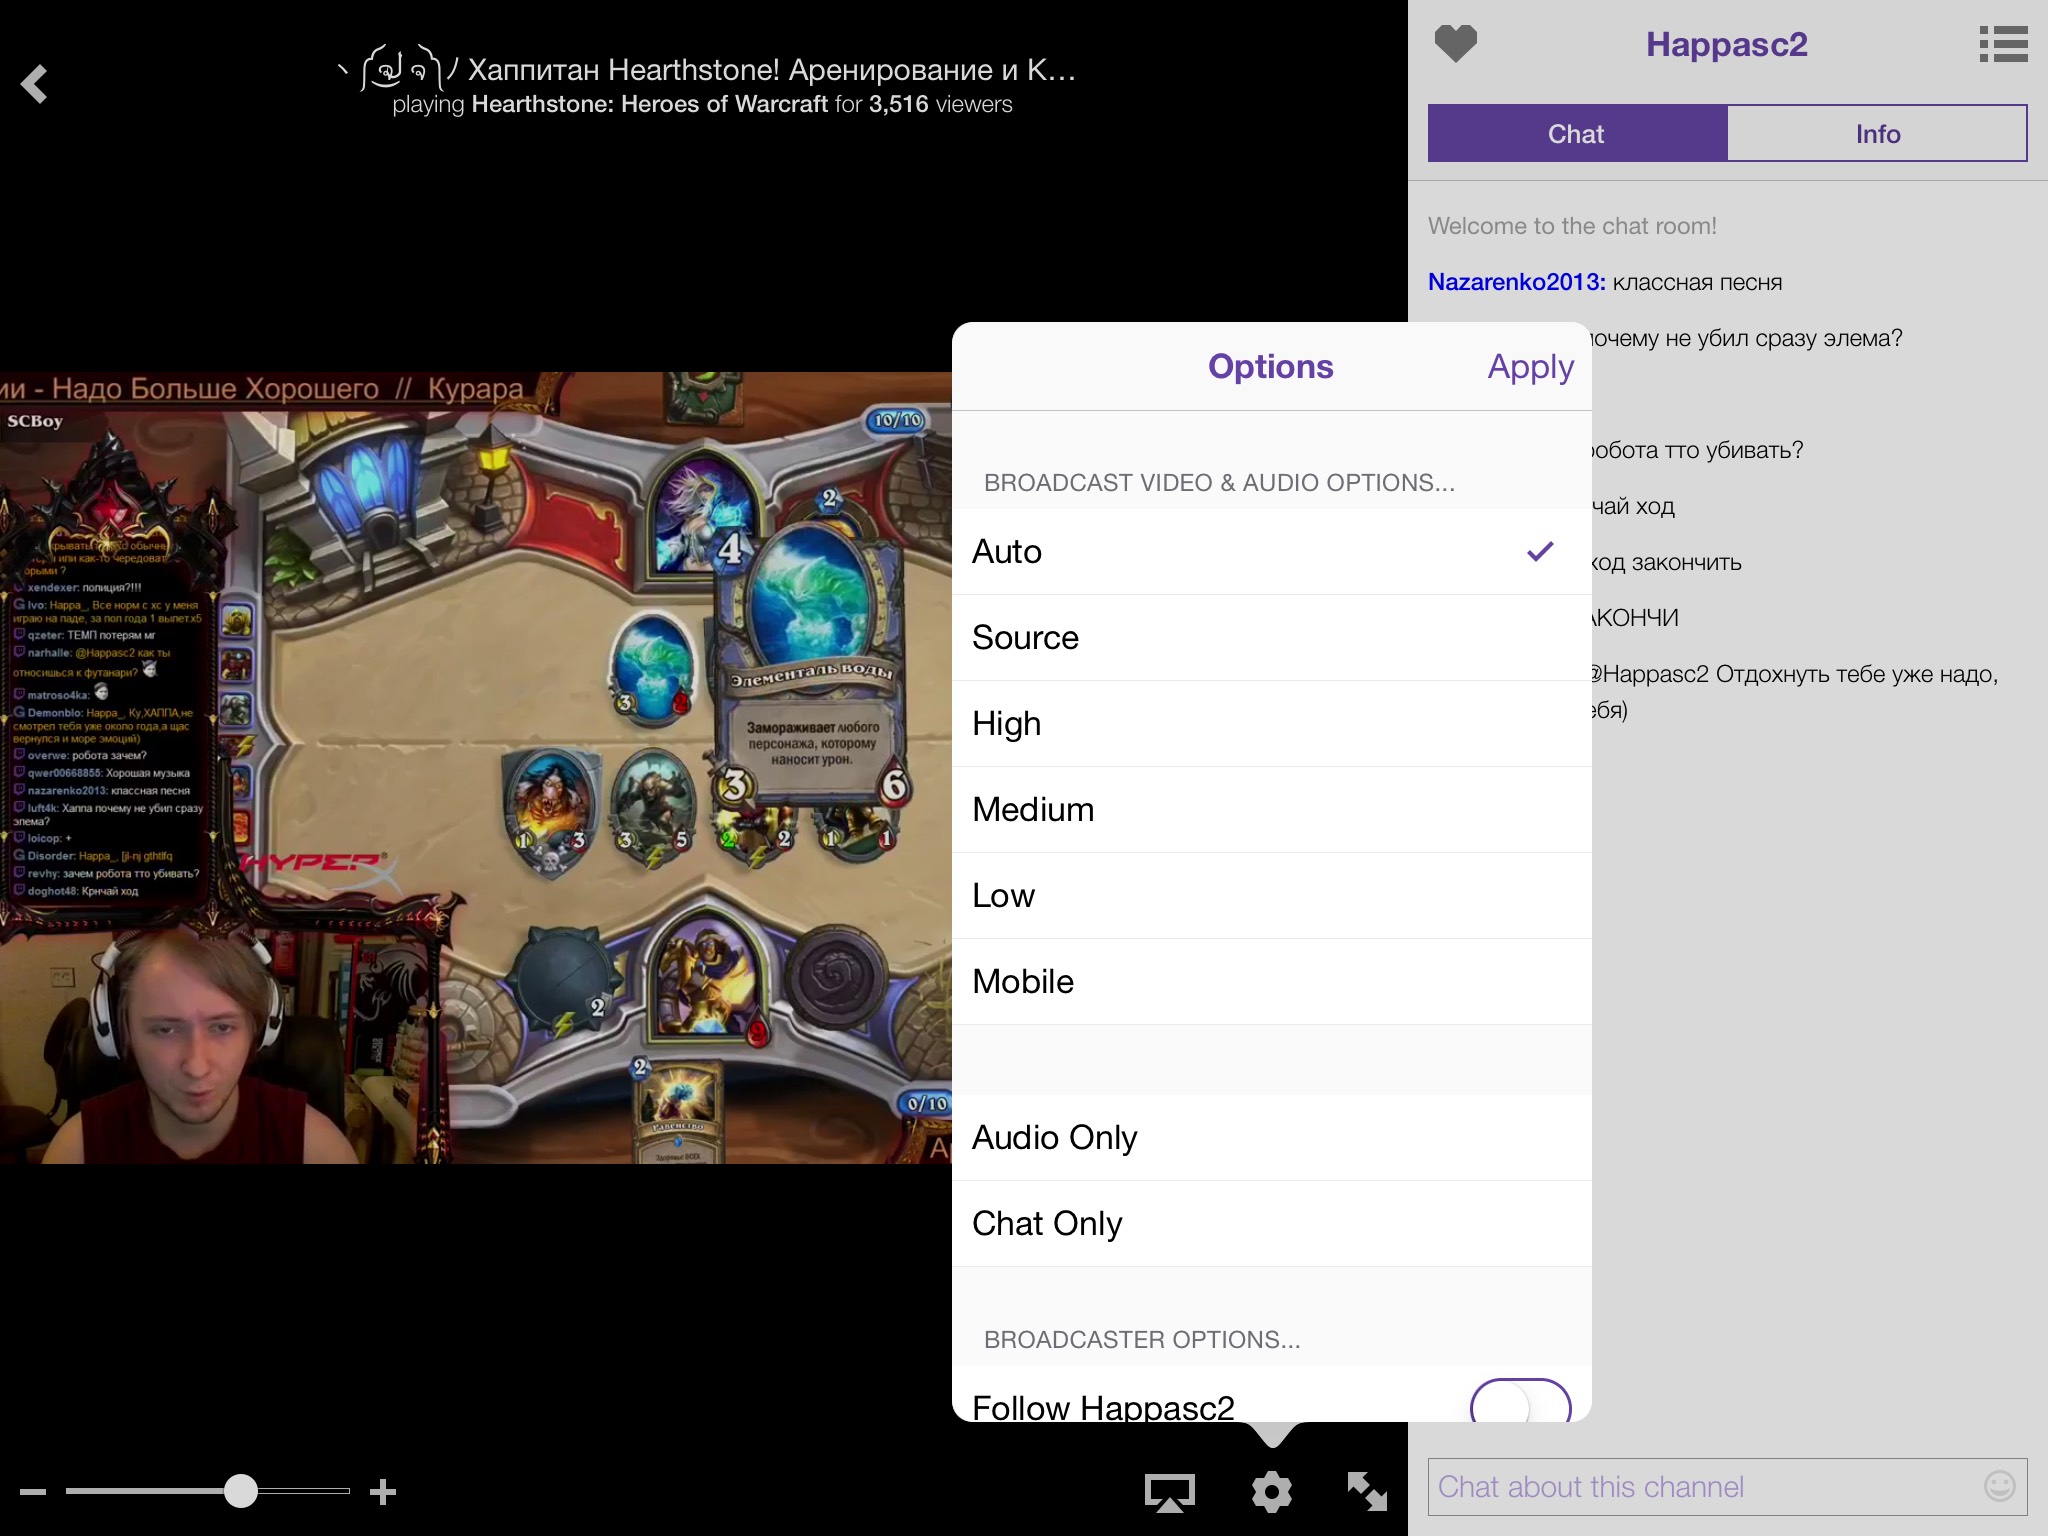
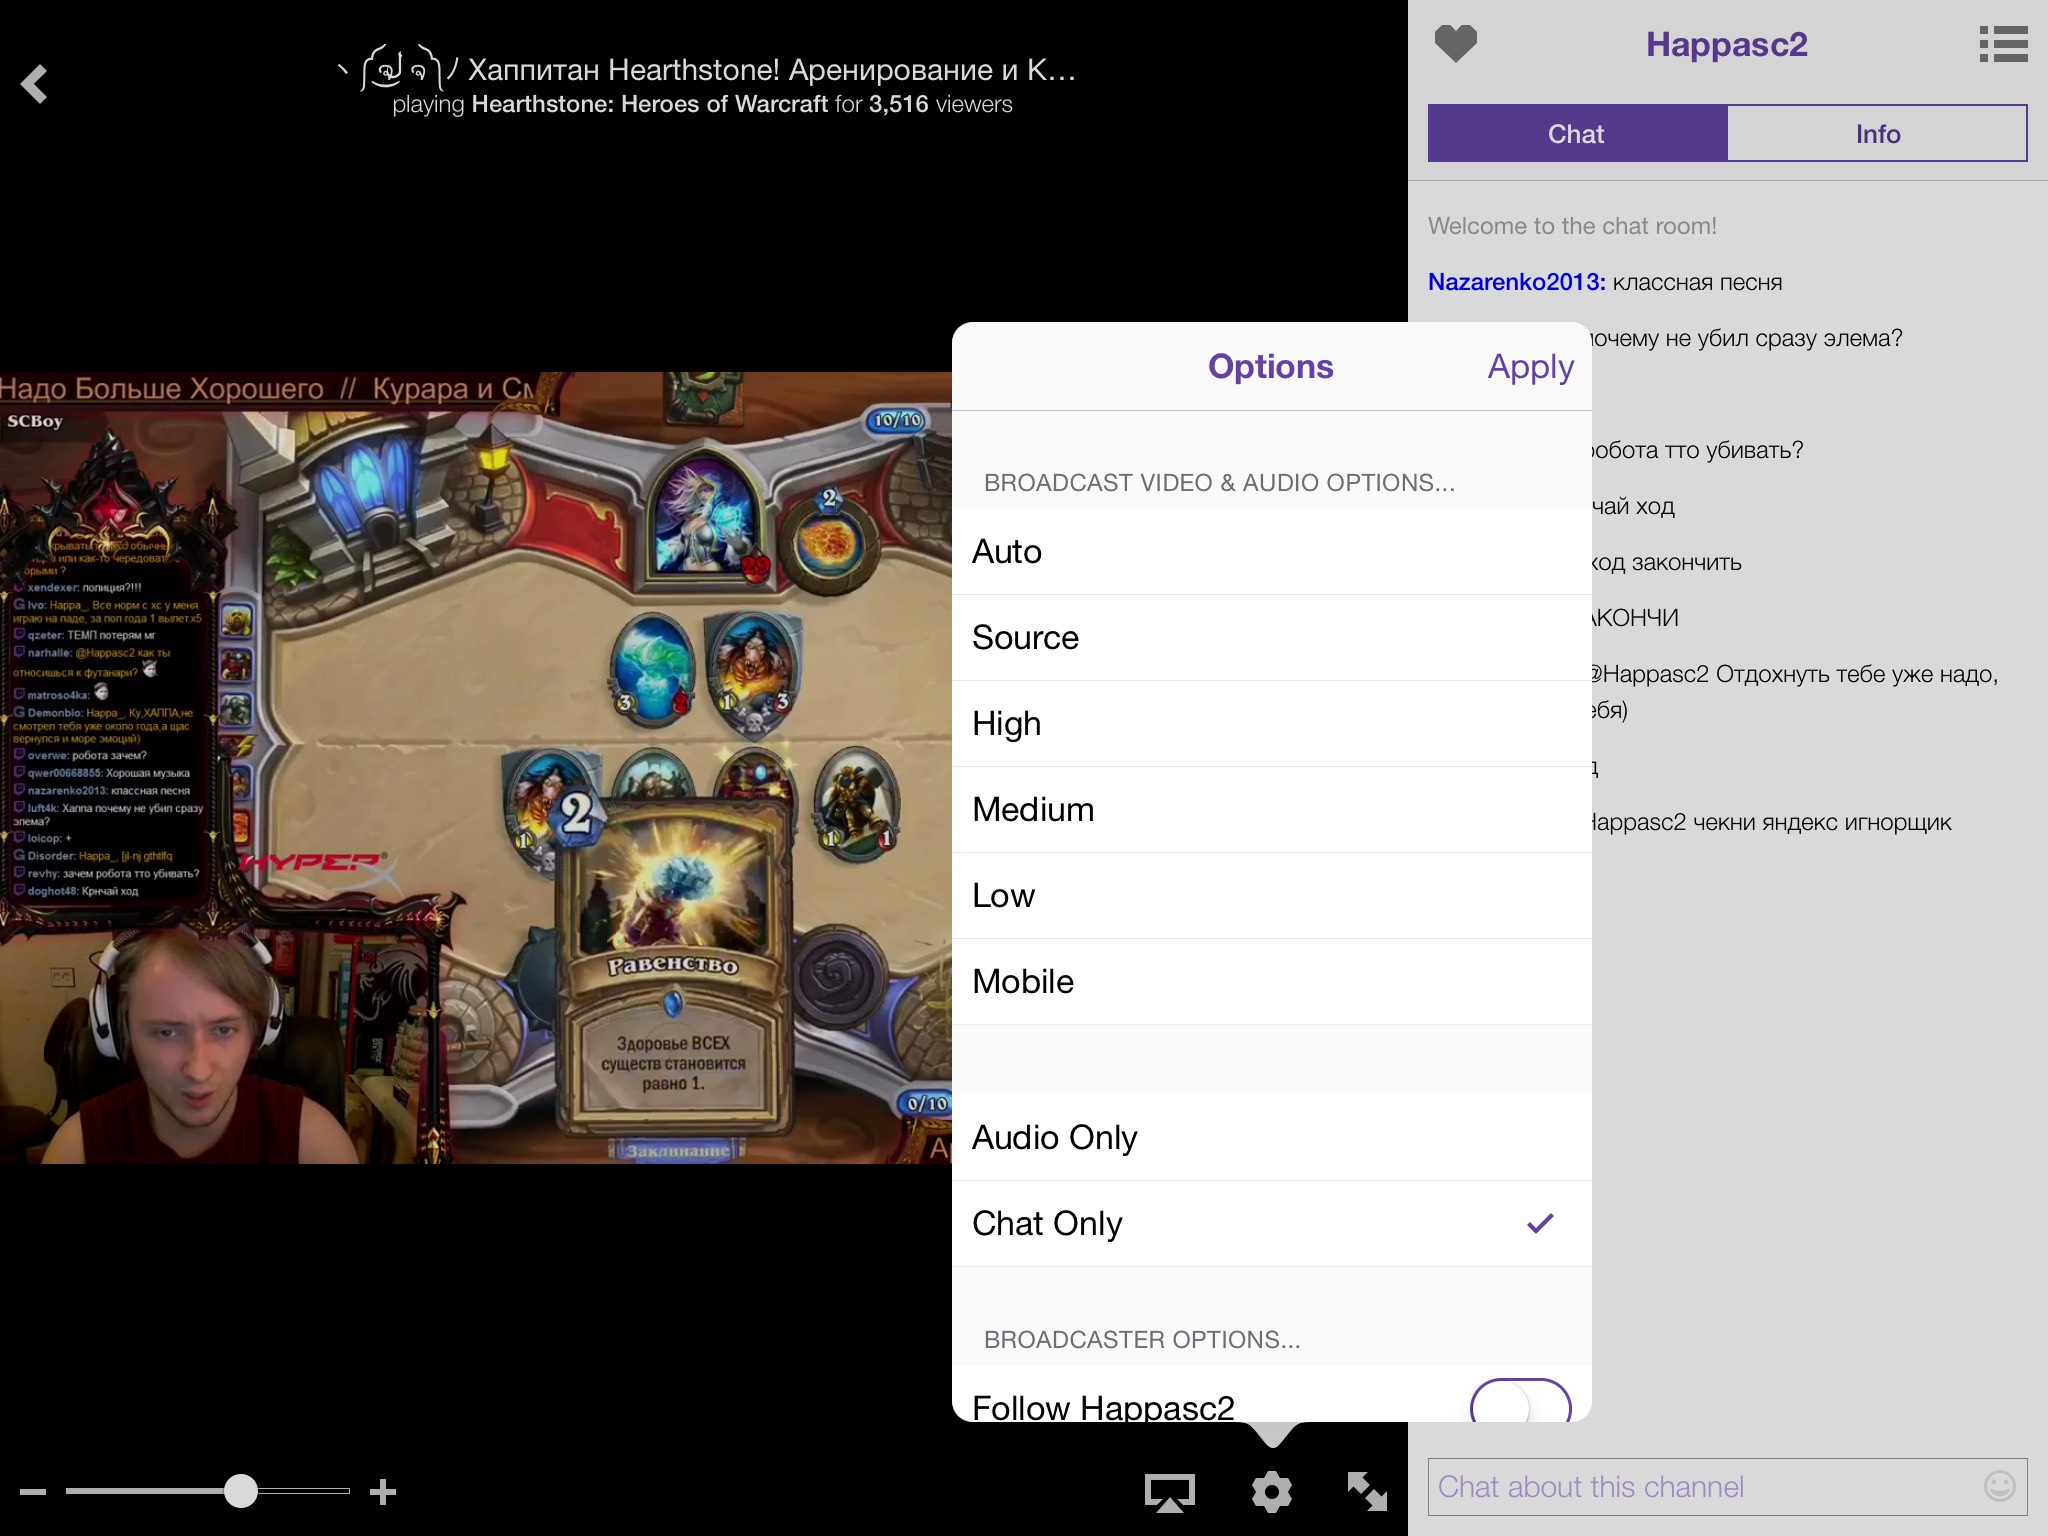
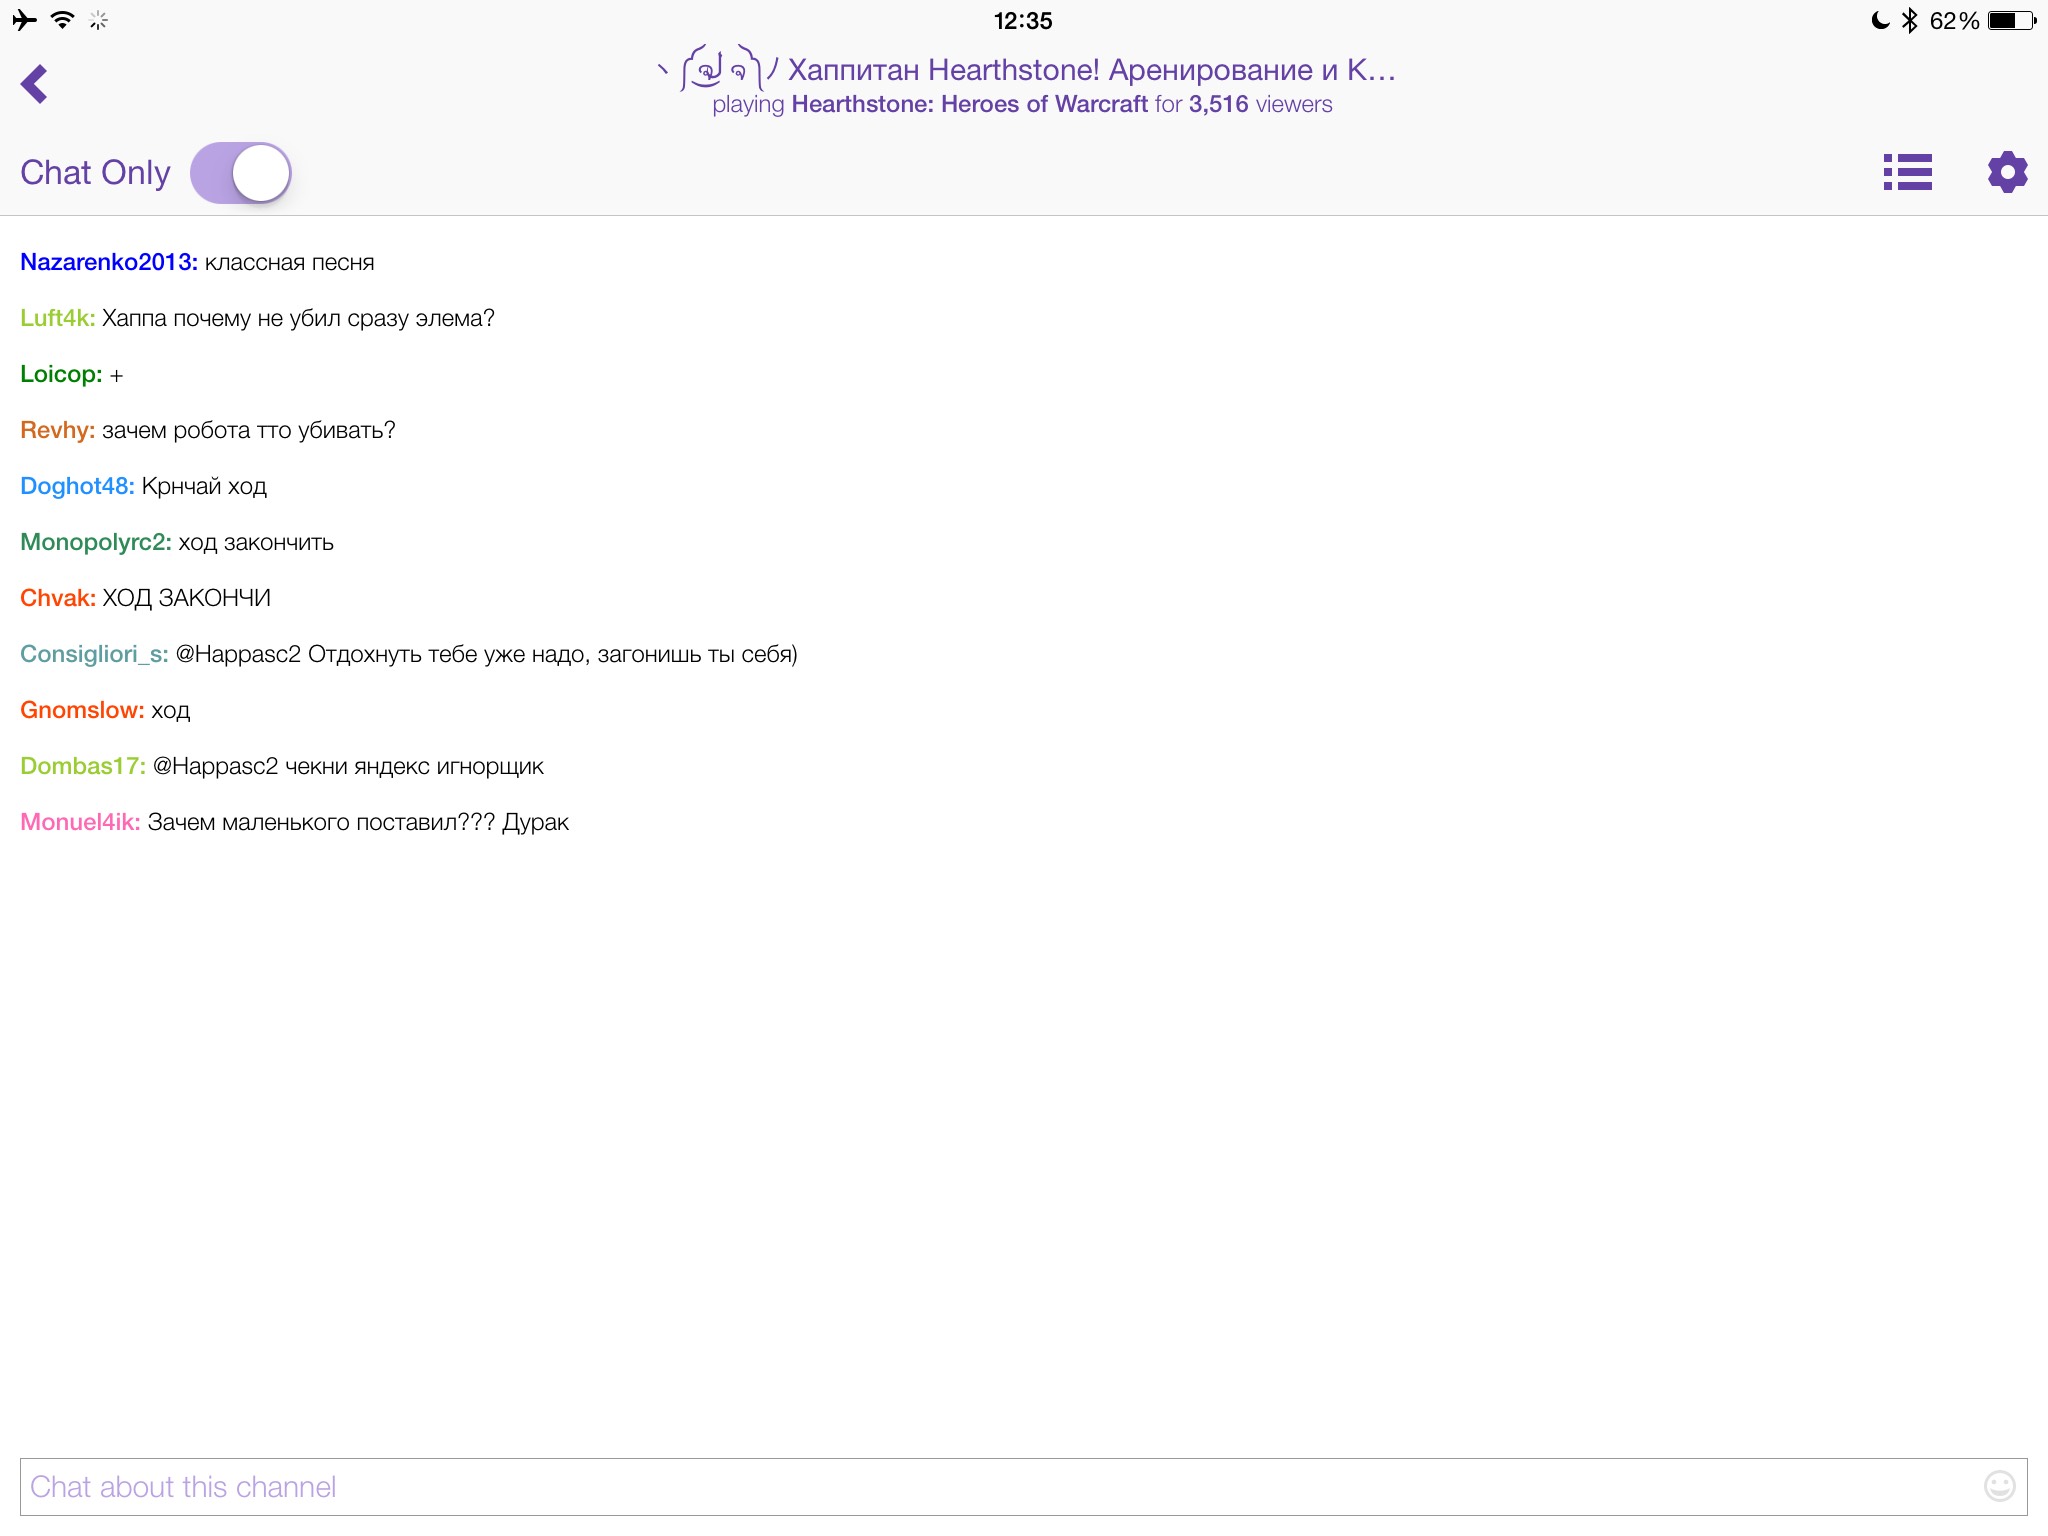
Using Safari on your iOS device connect to your twitch account. Login in the upper right hand corner and go to the dashboard (drop down menu).
While in the dashboard change the name of your stream and select the game you are playing. This way people can find it faster, and know what to expect. Press the home button on the iOS device and start up the Twitch app.
Connect to your stream and configure the app to show you Chat only. This way you can see what people are saying, and respond using the mic.
At this point you have the Android broadcasting the game that is on your OS X box (Mac I assume), and you can see the chat on twitch.tv and respond as necessary. You are not taxing your gaming rig with video/audio broadcasting, the configuration works with anything on the screen of the OS X box, and you can both see what people are saying, and what they are seeing.
This configuration works great with Steam games, Blizzard games, and native OS X games. If you run in to an issue I am happy to try and assist. I do not guarantee any tech support for these instructions, and as always, your mileage may vary.
I don't know cyrillic, Russian, or anything derivative. I am not aware of anything in the pictures being offensive. If you feel I need to correct the images, let me know.