Twist and Pop Card
![[Tutorial + Template] Handmade Twist & Pop Card Tutorial](/proxy/?url=https://content.instructables.com/F2R/2J5Q/J3YQ1QV2/F2R2J5QJ3YQ1QV2.jpg&filename=[Tutorial + Template] Handmade Twist & Pop Card Tutorial)
Welcome back to another Paper Chaser TO tutorial!
Today we'll be making one of my favourite cards, the Twist and Pop card. It's a fun, and simple card to make and I hope that you guys will enjoy making it!
Creating the Mechanism
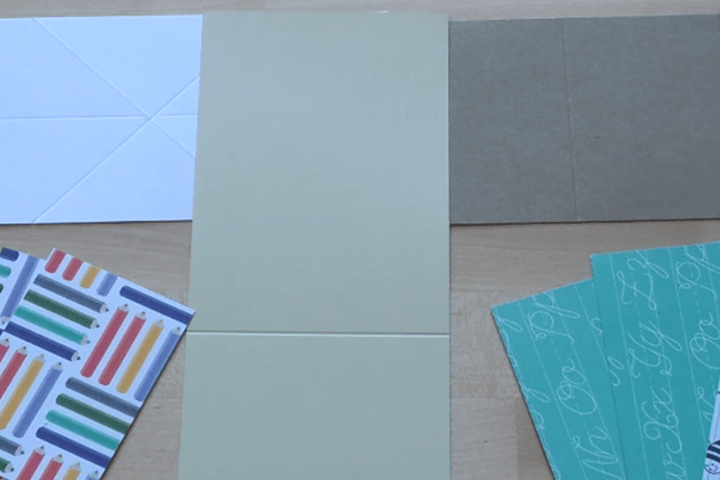
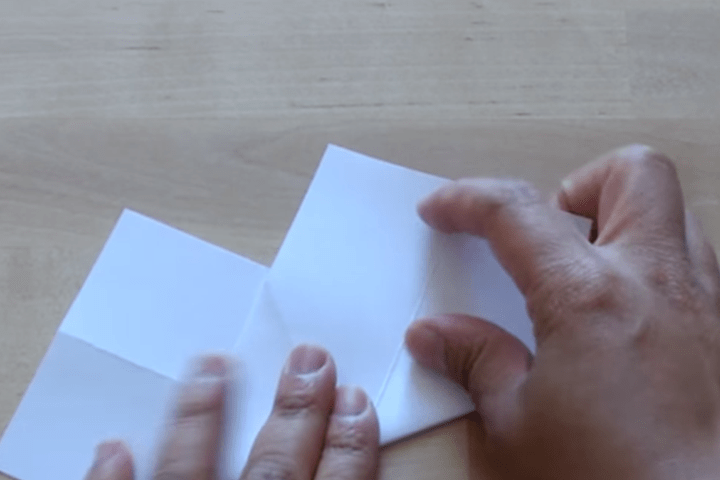
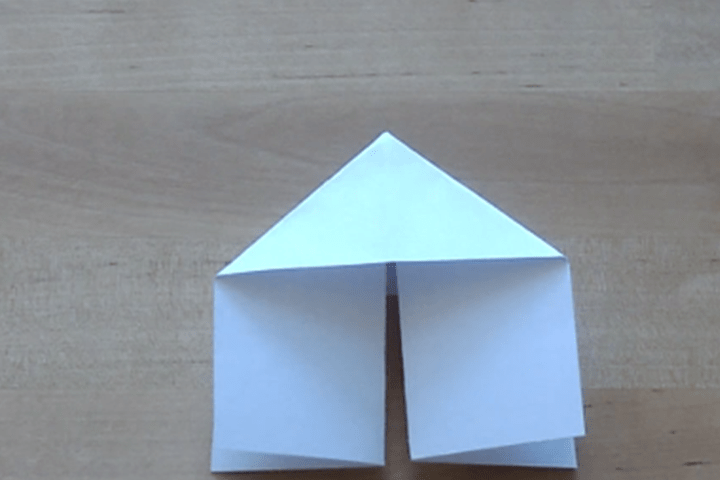
Once you've got the template, use it to cut your pieces, and then score the pieces.
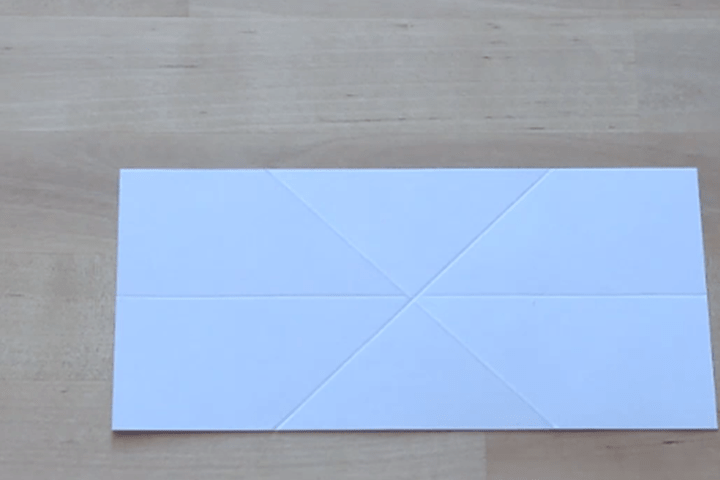
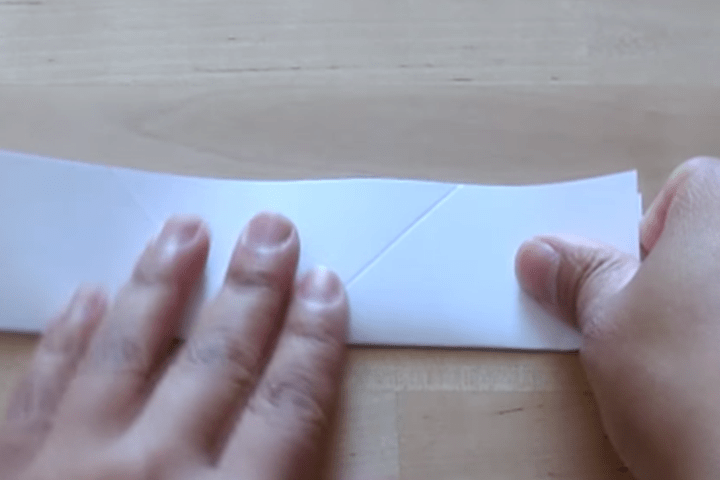
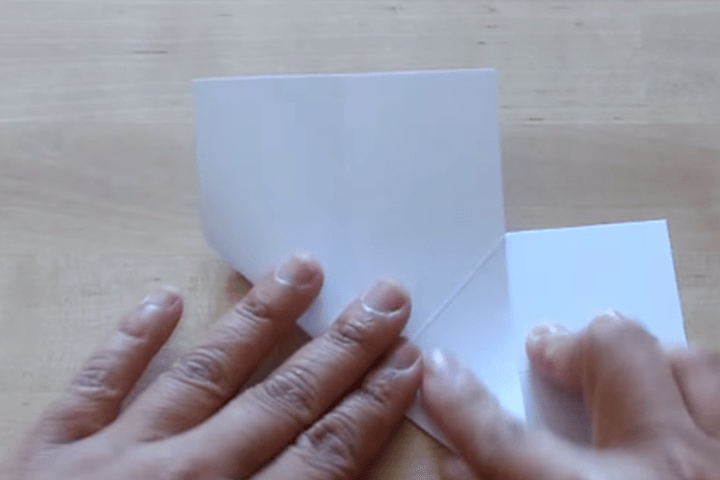
We'll be starting off with the mechanism. Get your mechanism and fold it in half like a hotdog. Make sure there's a nice crease before you unfold it. Now you'll want to fold it diagonally.
When you've finished folding it diagonally, unfold it, and pinch along the middle crease. You should end up with something similar to the photo above.
Creating the Card Base
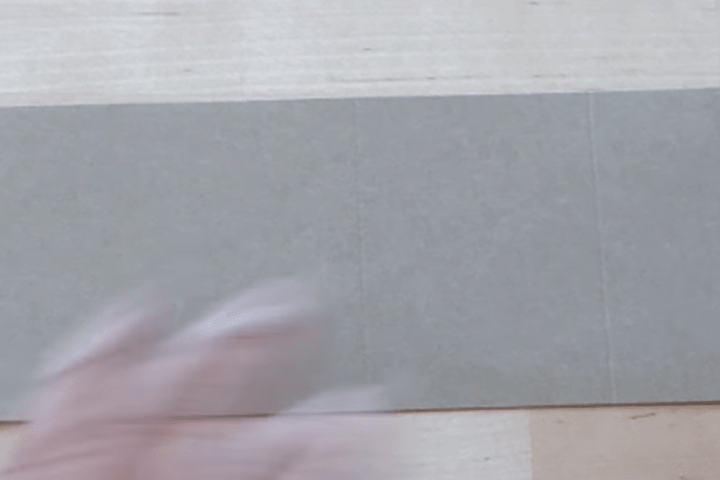
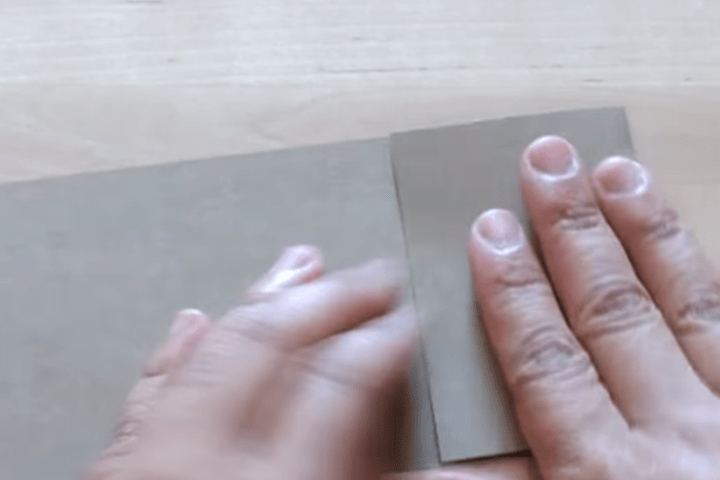
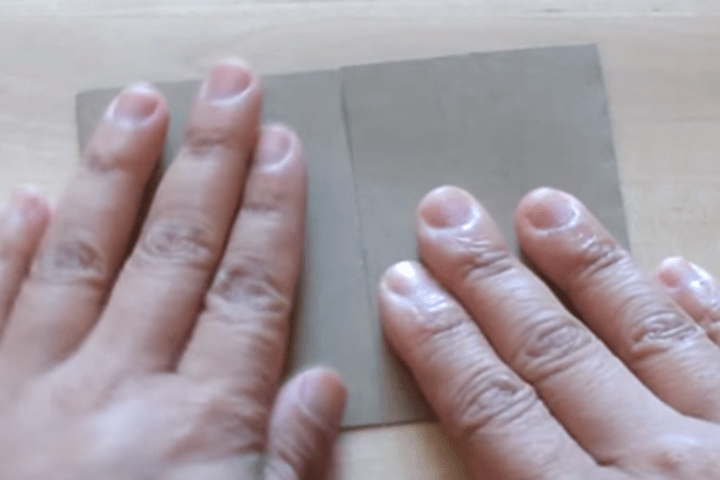
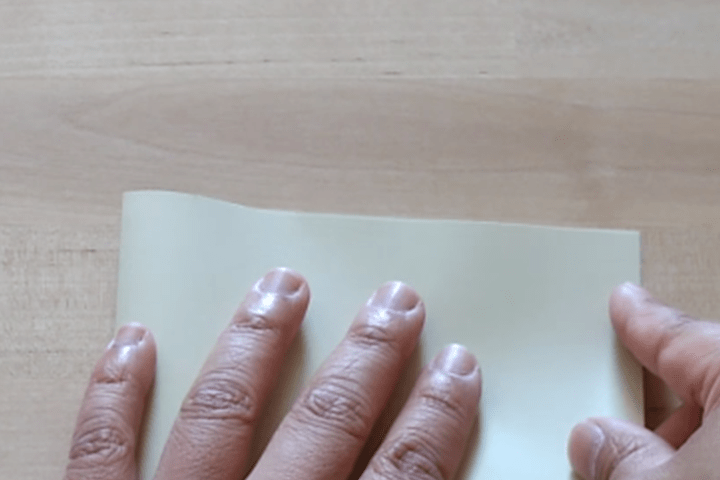
Grab your card piece and fold the outer edges to the center.
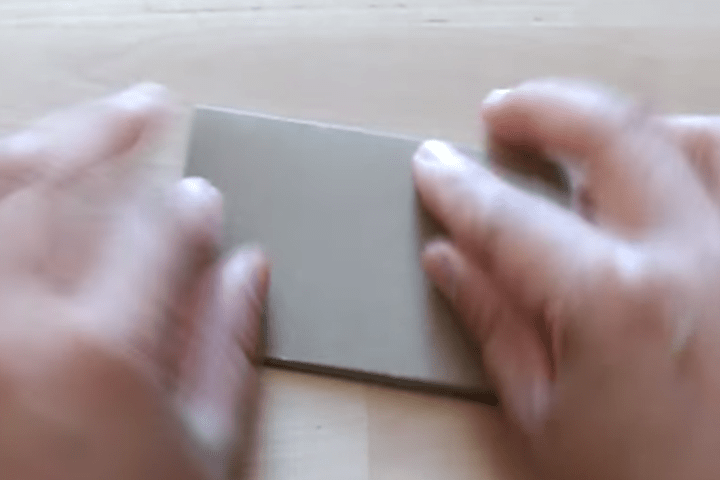
Flip everything over and fold it in half. Make sure to press down on everything to make the crease stand out more.
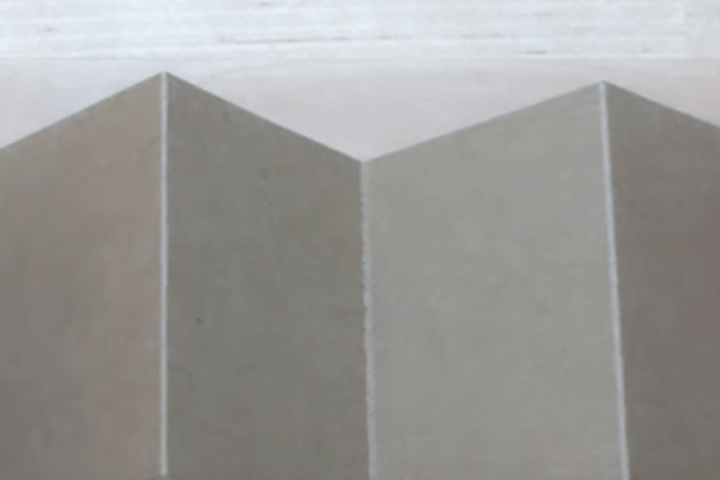
After you finished folding everything, you should have something similar to the photo above. Glueing down the mats is optional and not necessary for this tutorial.
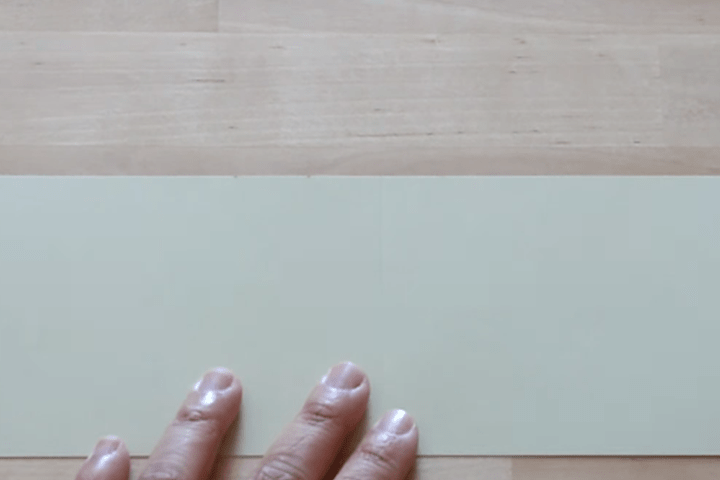
Now grab your card piece and fold it in half.
Finishing the Mechanism
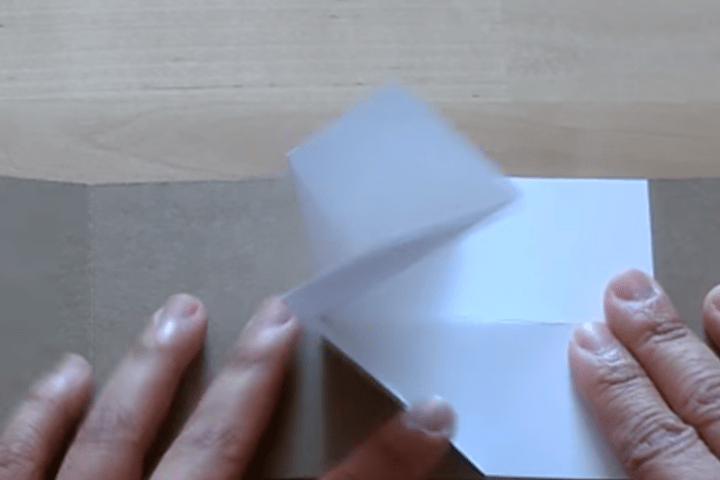
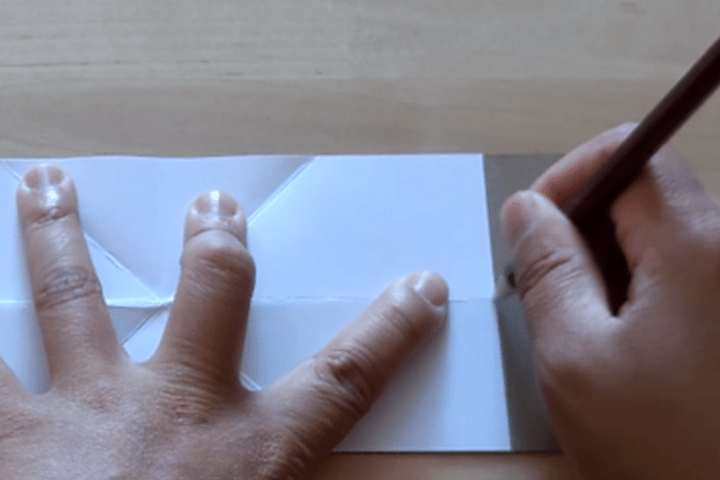
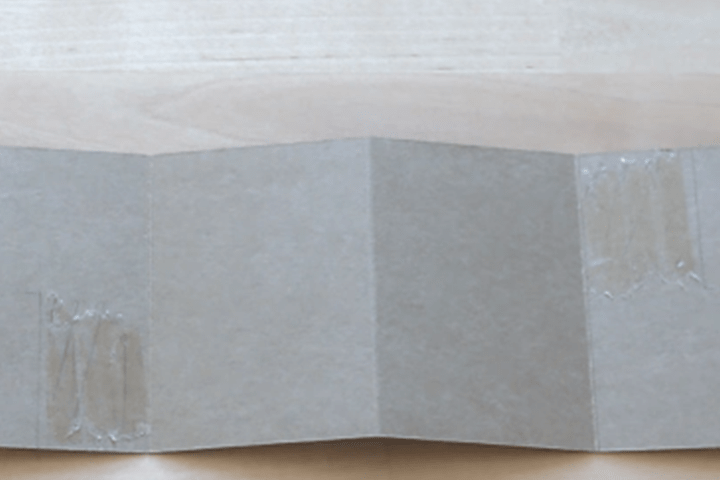
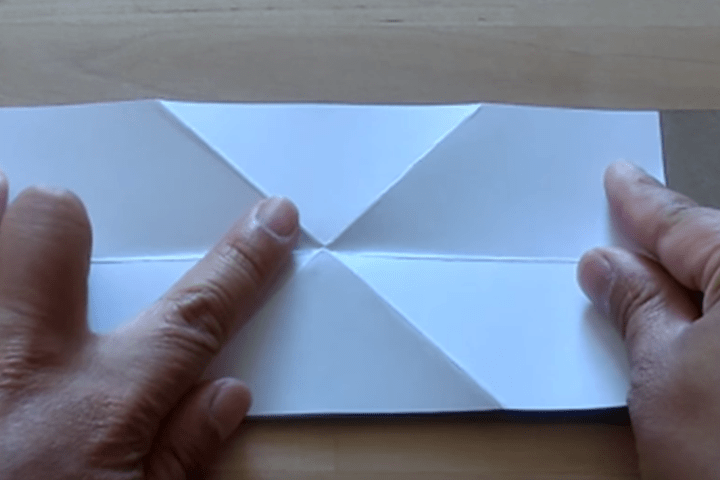
Get your mechanism that you made in step 1 and card piece that you made in step 2.
Line up the mechanism with the card piece and grab a pencil. You're going to want to use the pencil to mark down the glue spots on the card.
Apply glue to the areas where you just marked with the mechanism. With the mechanism, make sure that it's pointing upwards before pushing it down onto the glue.
Putting It Together
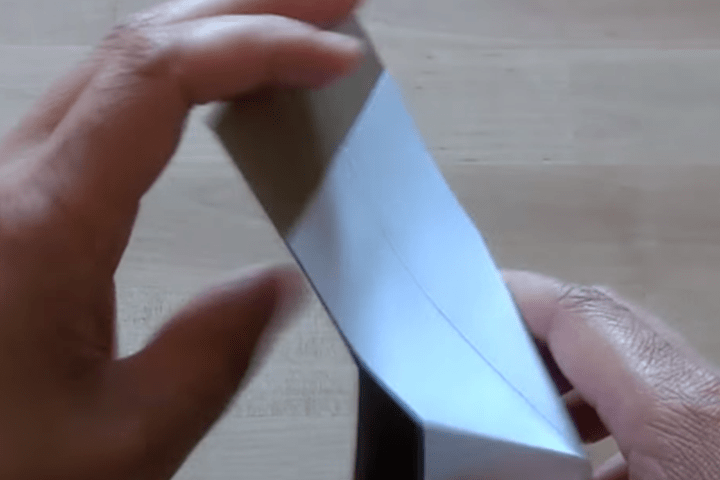
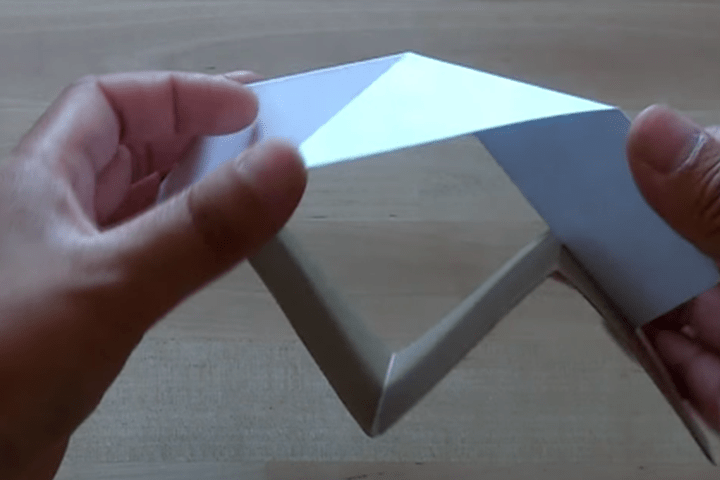
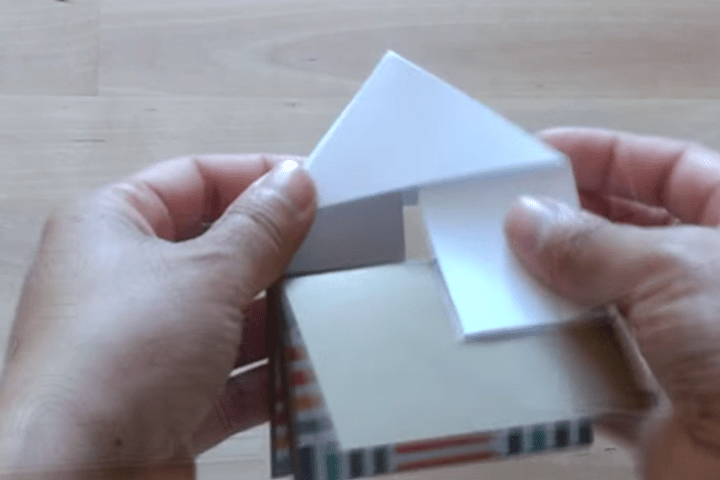
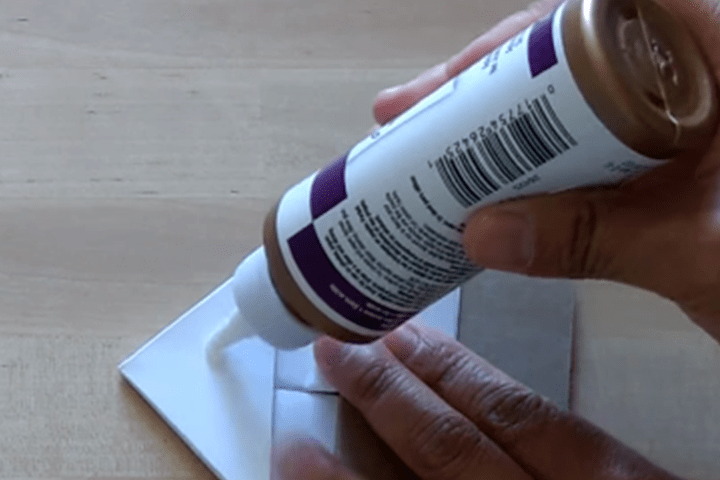
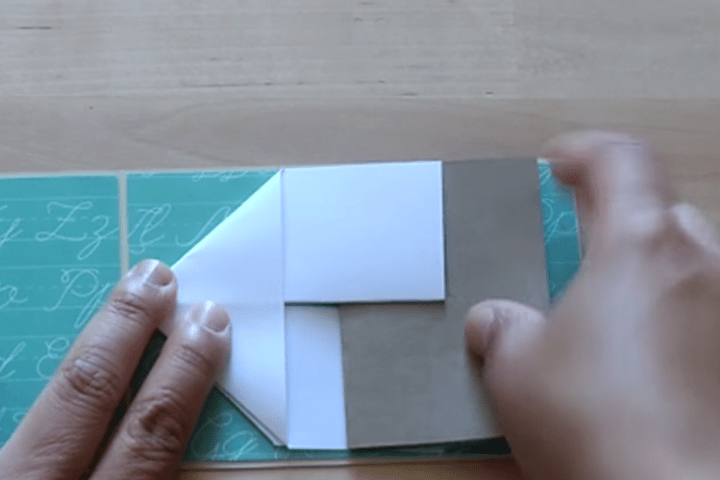
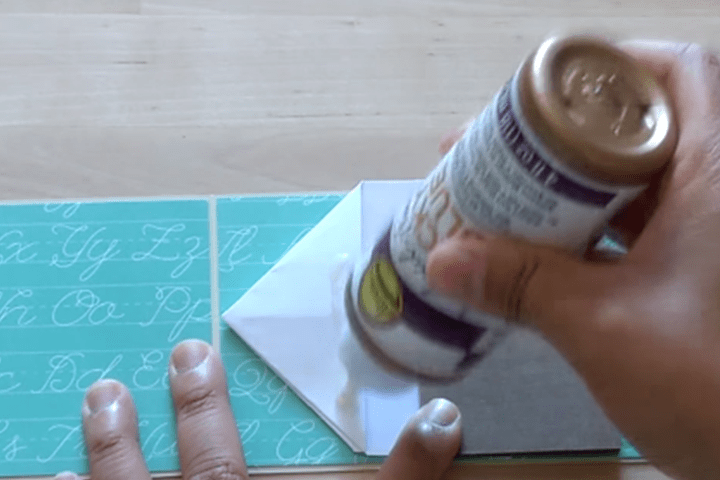
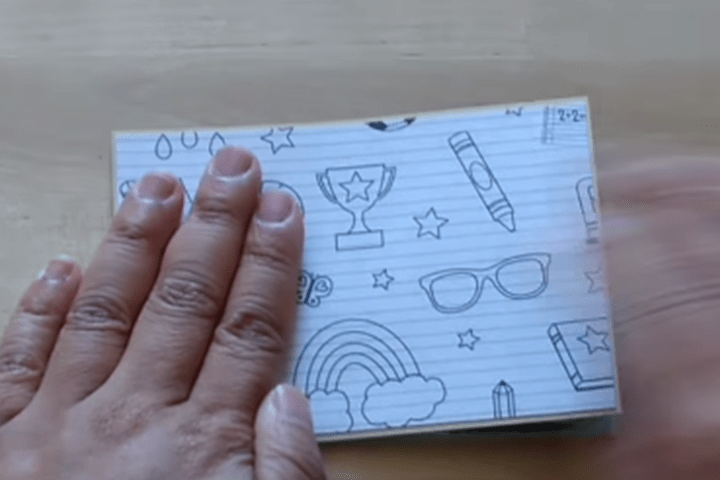
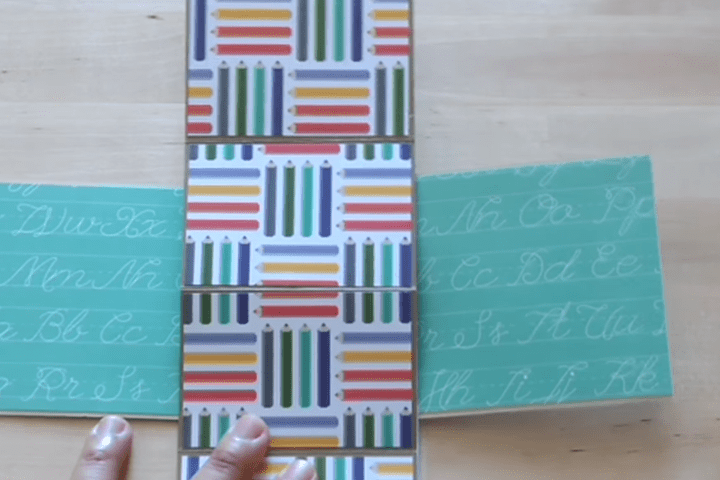
This part is a little bit tricky. You're going to want to bend and fold the card piece with the mechanism closed.
Apply glue to the top of the mechanism so that we can stick it into the card.
After you stuck it onto the card, apply glue again to the top of the mechanism. After that, you'll want to close the card on the mechanism.
When you open the card now, it will twist and pop open!
Congratulations on making your twist and pop card!