Twinkle Installation and User Guide
by Northstrix in Design > Software
545 Views, 2 Favorites, 0 Comments
Twinkle Installation and User Guide
Twinkle is an open-source text editor that supports the Data Encryption Standard (DES for short). Although DES is considered insecure because of the short key length, it still requires a lot of computational power to brute-force the key. Brute-forcing the key can cost tens of thousands of USD. The philosophy behind Twinkle is simple. Some encryption algorithm is better than none!
Download Eclipse IDE
To use Twinkle, you need to install Eclipse IDE or any other IDE with the Java Development Kit. You can download Eclipse IDE here https://www.eclipse.org/downloads/
Launch the Eclipse Installer
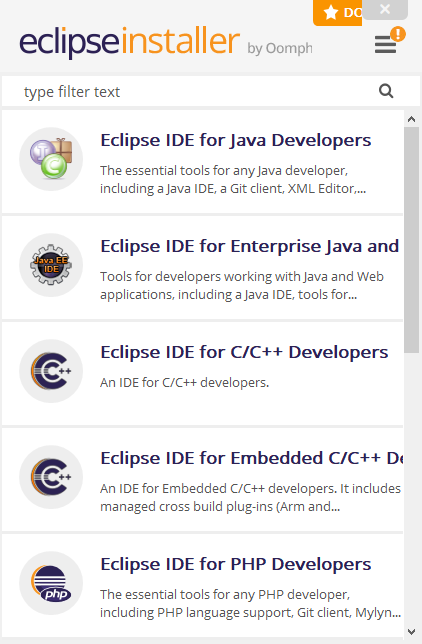
You should see something like this, select the Eclipse IDE for Java developer.
Install the Eclipse IDE
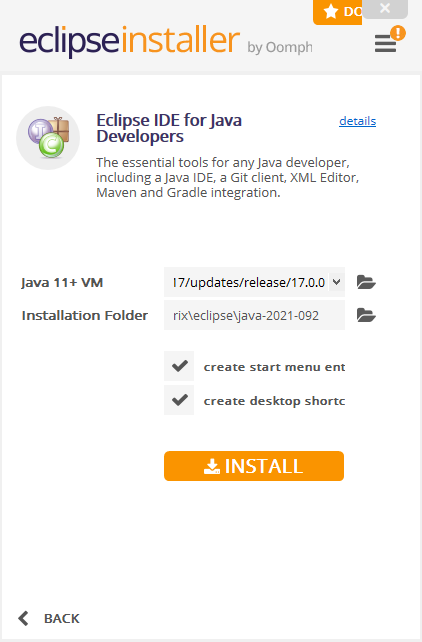
Click INSTALL and then accept the End-User License Agreement when the window pop up.
Launch Eclipse
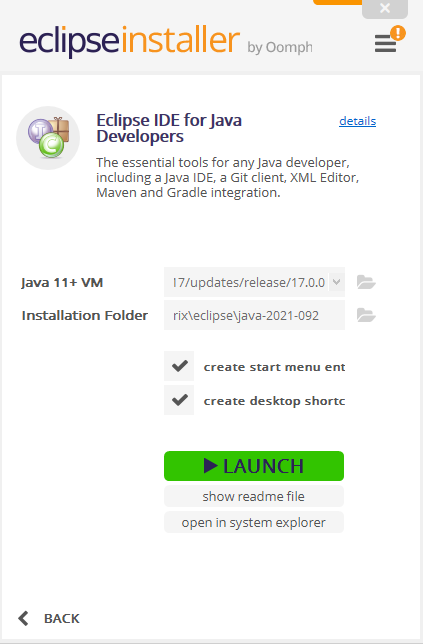
After the installation process completes, click LAUNCH.
Choose a Folder for the Workspace
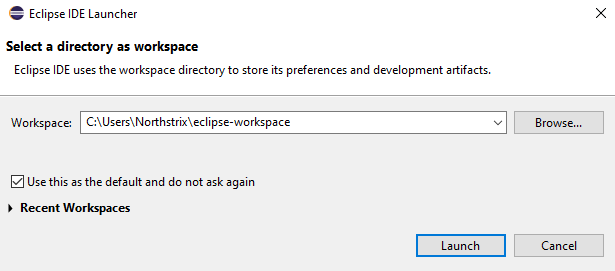
Choose a workspace directory, press Launch, and then close the window with the program.
Download Twinkle
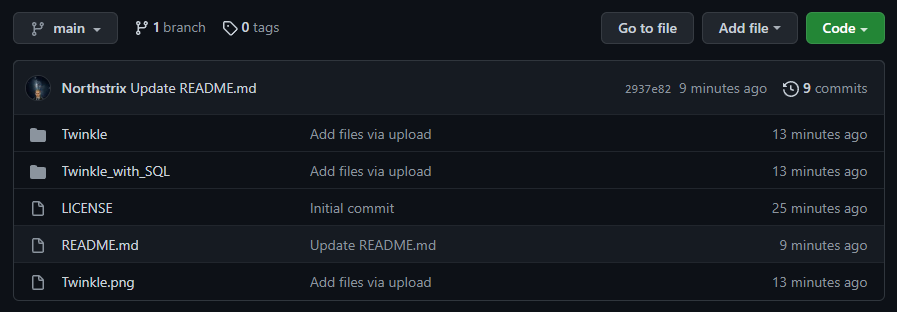
You can download Twinkle here https://github.com/Northstrix/Twinkle
Extract Twinkle Into the Workspace
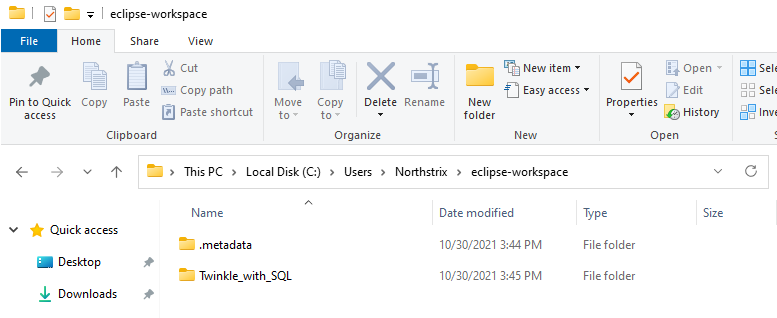
Choose the version of Twinkle you need and extract it into the workspace.
Twinkle is just a text editor.
Twinkle_with_SQL is a text editor with a built-in database.
Launch Eclipse IDE for Java Developers
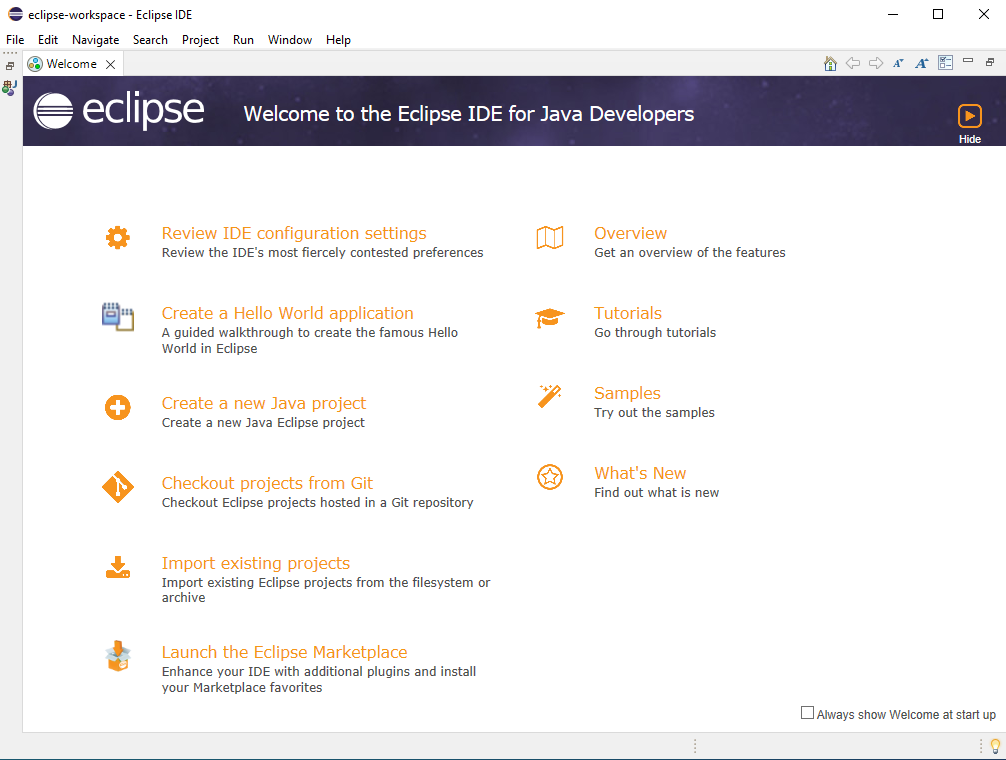
Import Twinkle
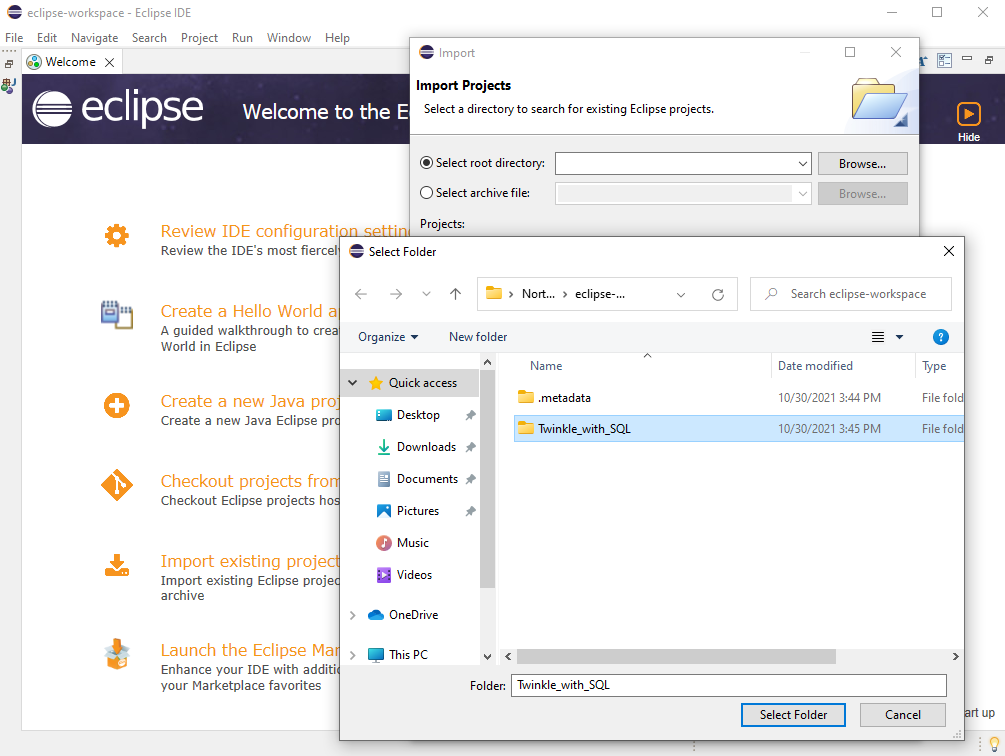
To do so, click Import existing projects. Then in the Select root directory line click Browse. Navigate to the workspace and select the folder with Twinkle.
Make Sure the Import Tab Looks Like This
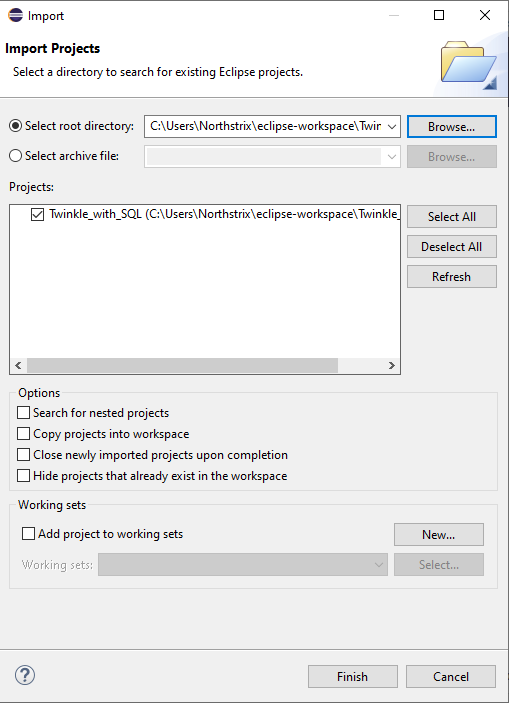
If you did everything correctly, the Import tab should look very similar to the one in the photo.
Press Finish.
What to do in the next step depends on the version that you've chosen.
If you've chosen Twinkle, then go directly to step 16.
If you've chosen Twinkle_with_SQL, then don't skip anything and go through every step of the tutorial.
Open Project Properties (Twinkle_with_SQL Only)
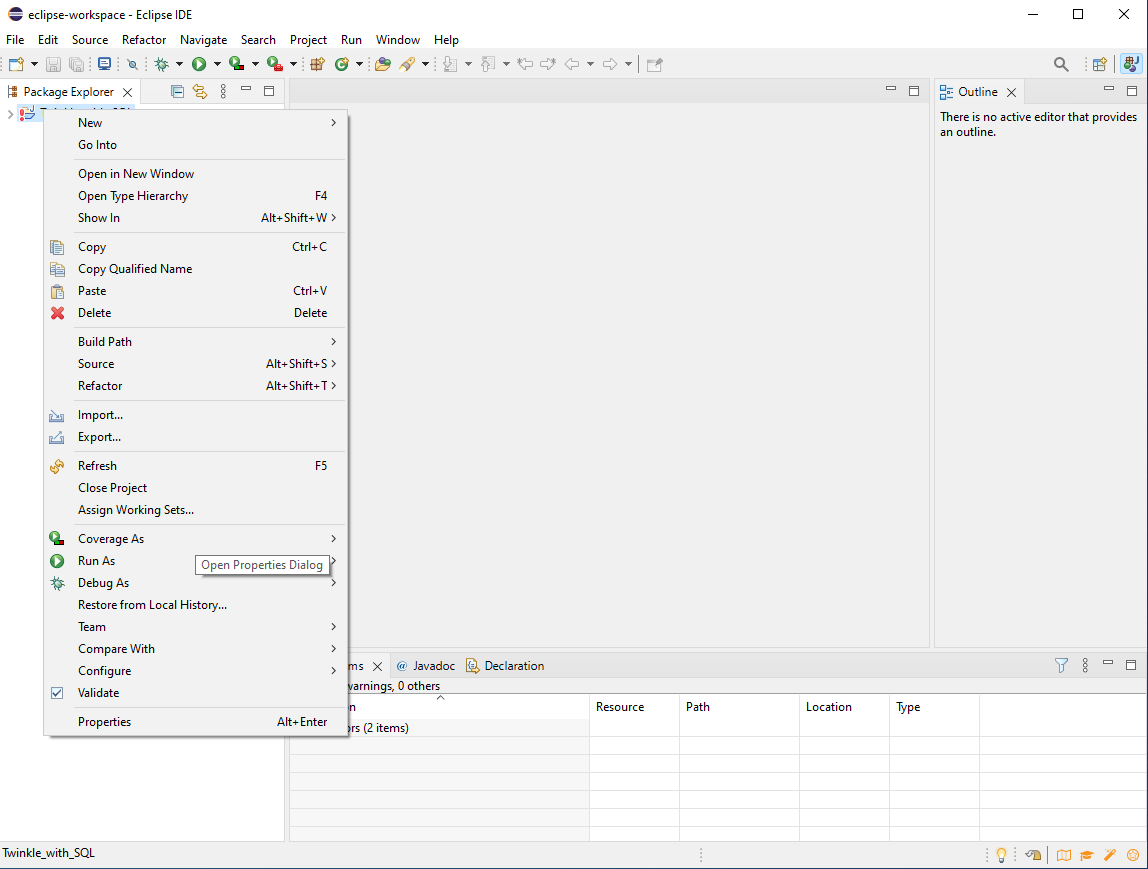
Right-click on the Twinkle_with_SQL and then click on properties.
Remove the Old Library Reference (Twinkle_with_SQL Only)
Go to Java Build Path -> Libraries, and then remove the old reference to the sqlite-jdbc library (click on the line with the name of the library and press the Remove button).
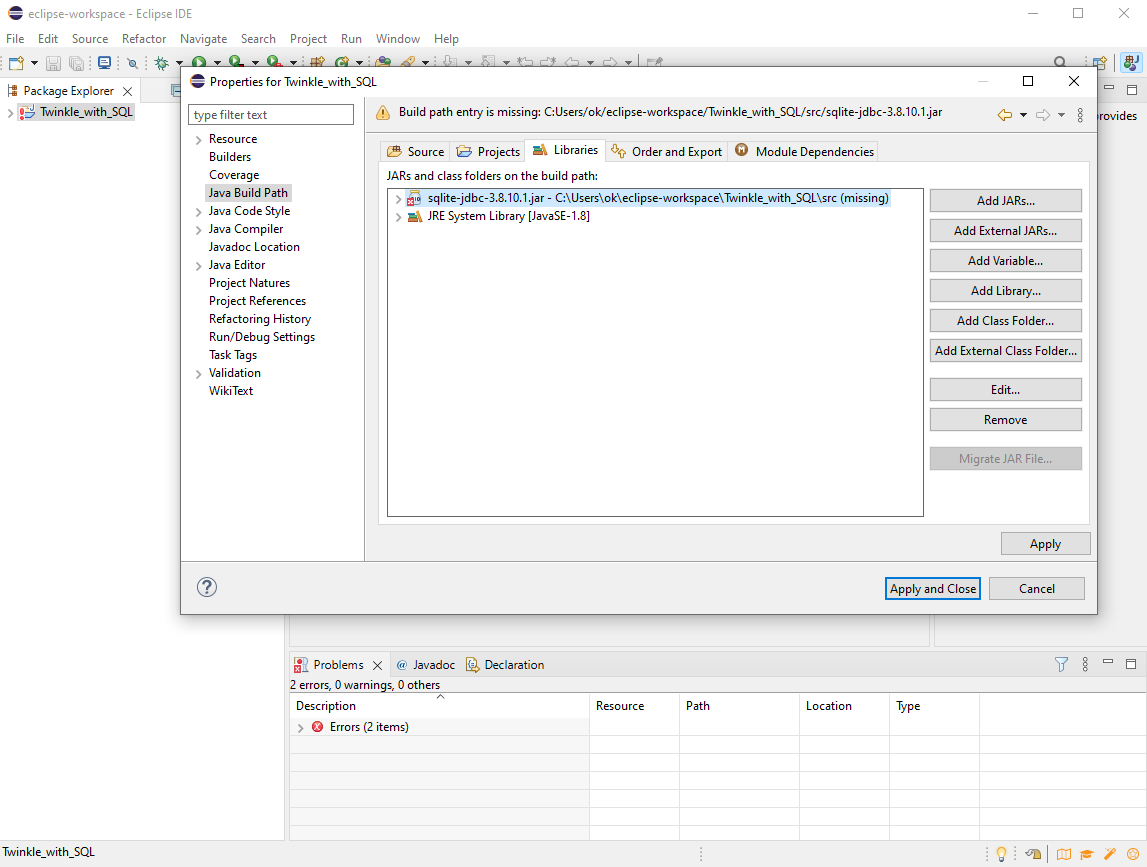
Link the SQL Library (Twinkle_with_SQL Only)
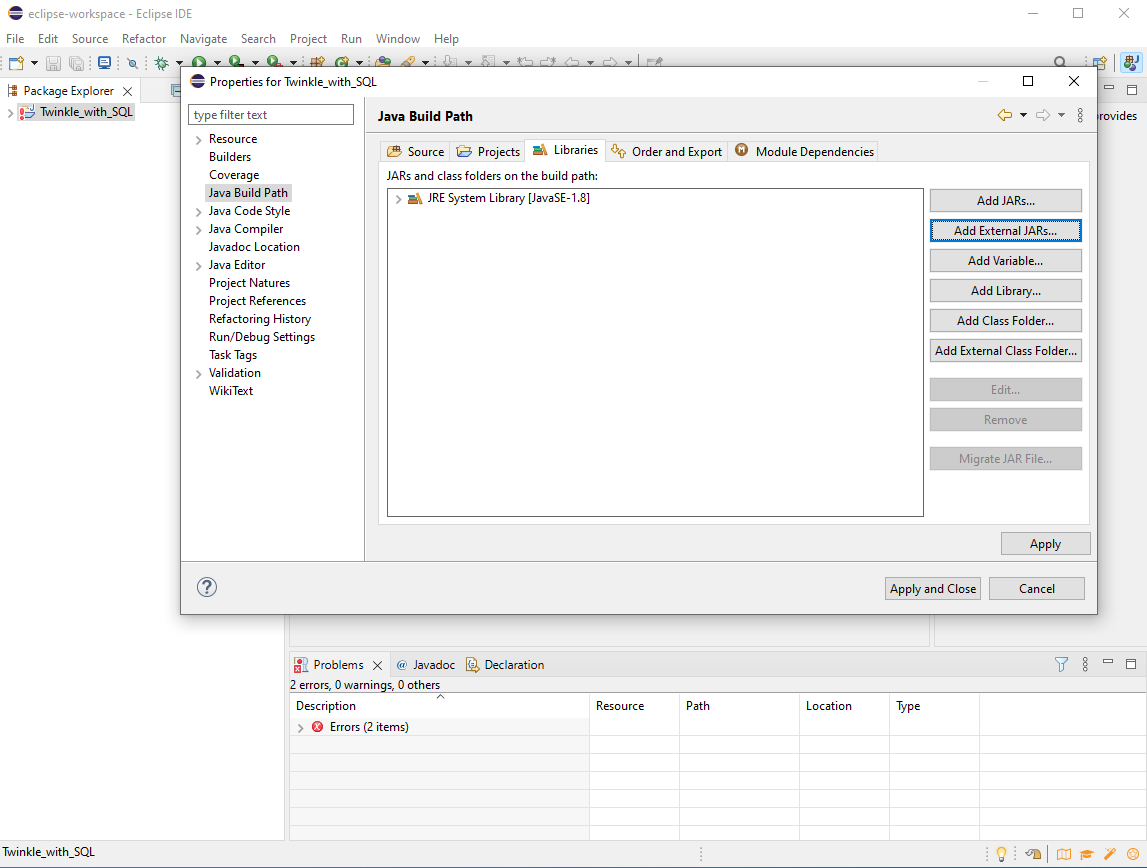
Make sure the Properties for Twinkle_with_SQL tab looks the way it looks on the screen, and then press Add External JARs...
Select the .jar File With the Library (Twinkle_with_SQL Only)
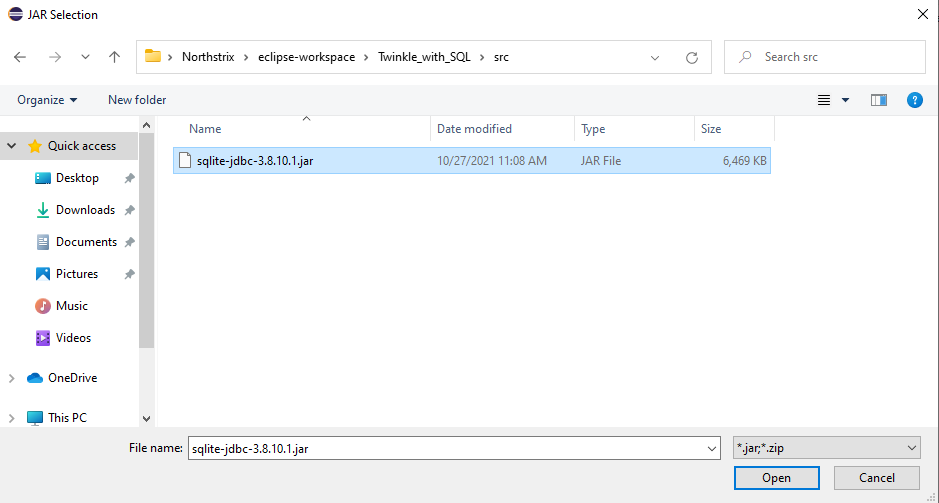
Navigate to the workspace, open the Twinkle_with_SQL folder, open the src folder. Select the .jar file with the library and press Open.
Apply the Changes (Twinkle_with_SQL Only)
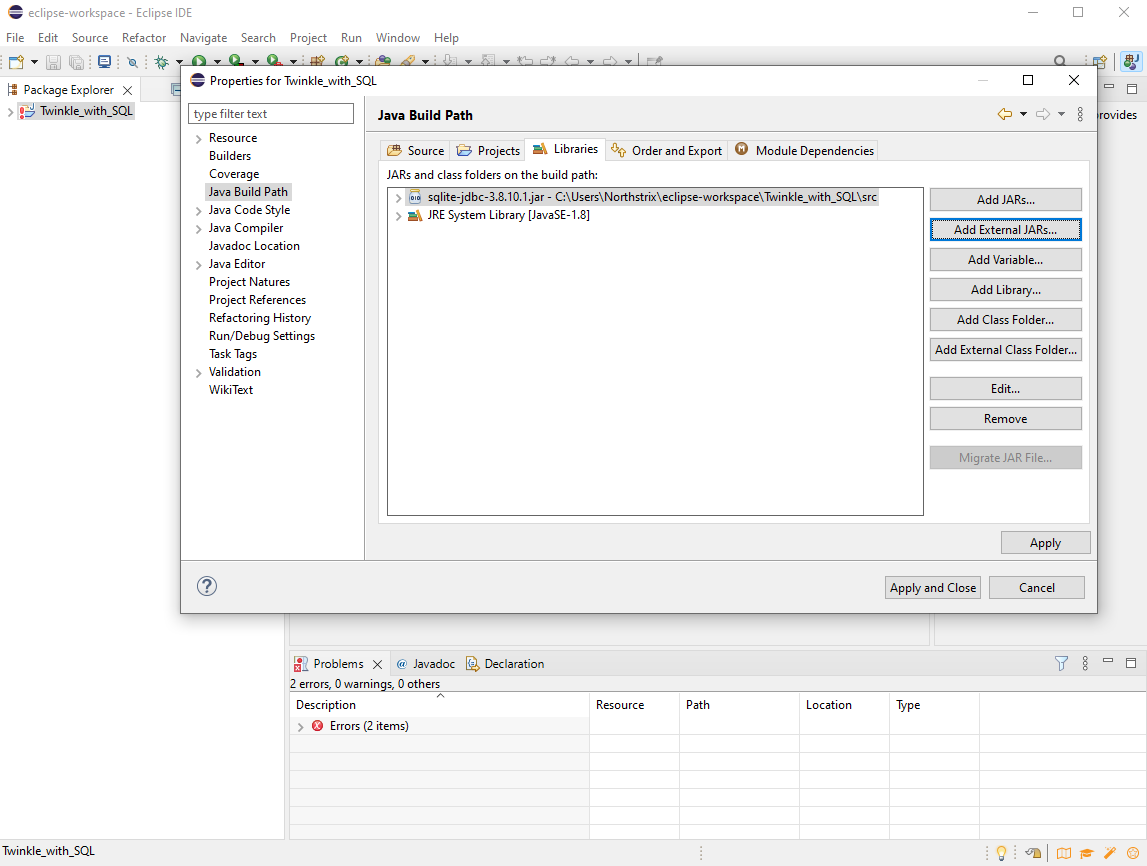
After you've linked the library, the Properties of Twinkle_with_SQL tab should look similar to this. Press the Apply and Close button to apply the changes.
Run Twinkle
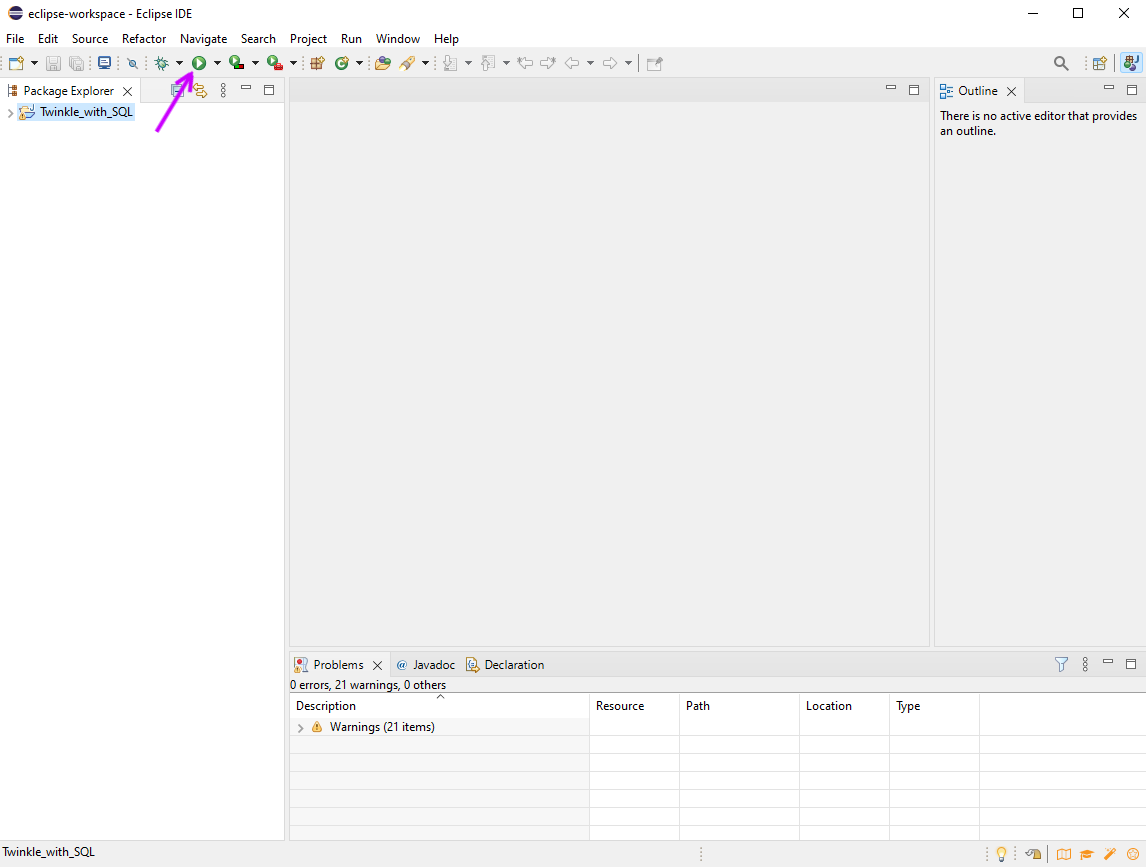
Press the Run button to run Twinkle.
Select the Editor Class to Run (Twinkle_with_SQL Only)
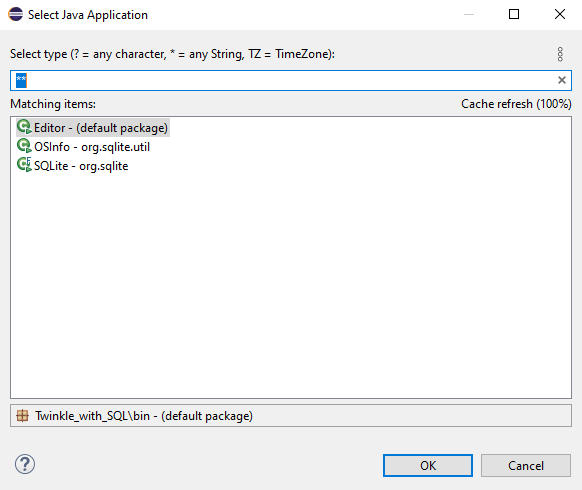
If you've chosen Twinkle, then skip this step
if you've chosen Twinkle_with_SQL, then select the Editor class and press OK.
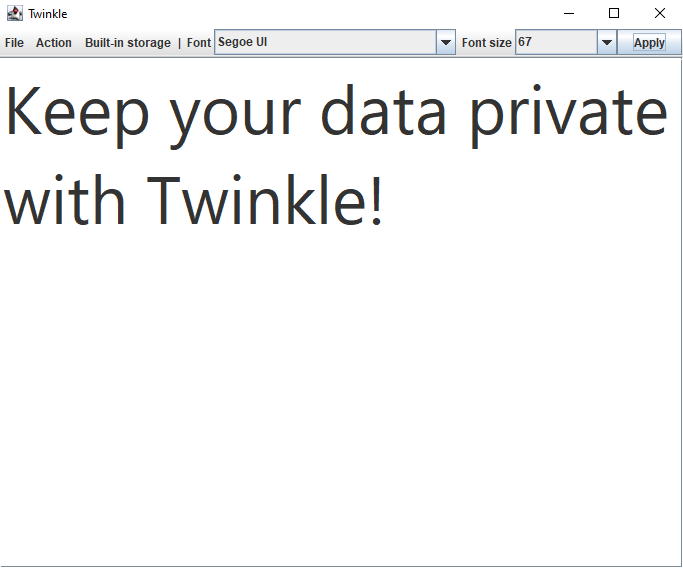
Write a Note
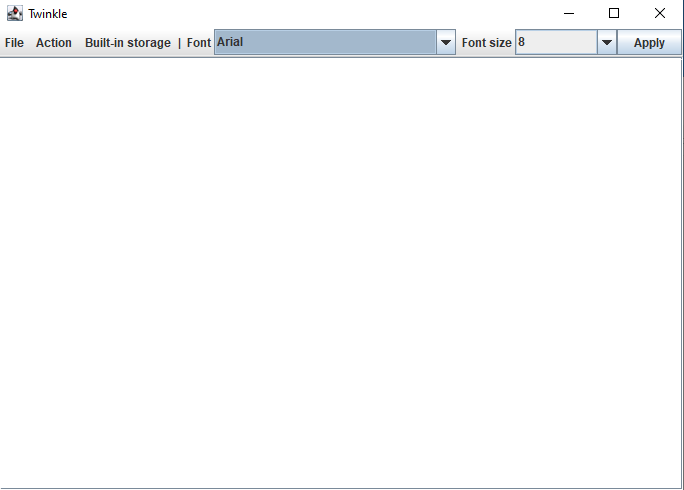

It's time to add the first record.
You can change the font and the font size in the designated combo boxes.
Press Apply to apply the new font and the font size.
Generate Key
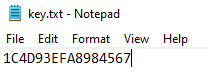
To save or open a record, you need a 16 characters long key in the hexadecimal format. Generate it by any means possible.
The best way to do it is to throw a dice.
Allowed characters in the key: 0123456789ABCDEF
The extension of the file that contains the key is irrelevant.
Click Select Key
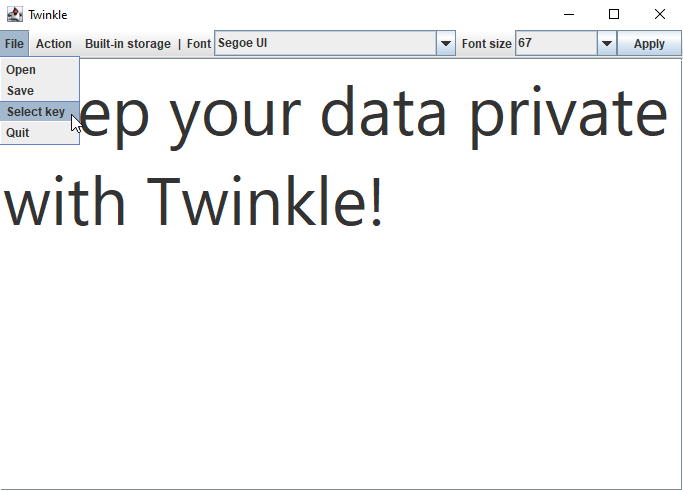
To select the key, click File -> Select key
Locate Your Key
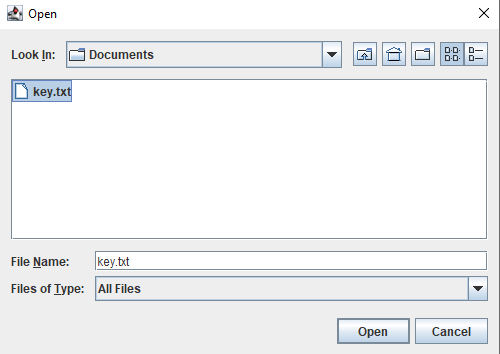
In the pop-up window, locate the key that you've generated, click on it, and then press Open.
You need to load the key every time you're opening the program.
Save Record
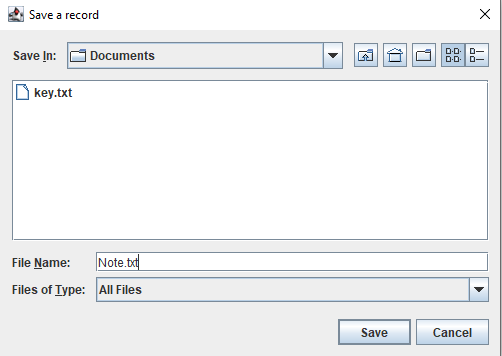
To save record click File -> Save. After that, navigate to the folder where you want to save your record, enter the name of the record, and press Save.
The extension of the file that contains the note is irrelevant.
Content of a Note

That is how Keep your data private with Twinkle! looks for someone without a key.
Create a Table
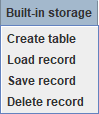
To use a built-in database you need to create a table for the data (Built-in storage -> Create table), You only need to press this button in two cases:
1) You've never pressed it before;
2) You've deleted the file called stuff.db
In case of successful creation of the table, you will see the corresponding message.
If you press this button without a need to do so, you will get a pop-up window with the error.
Add Record to the Database
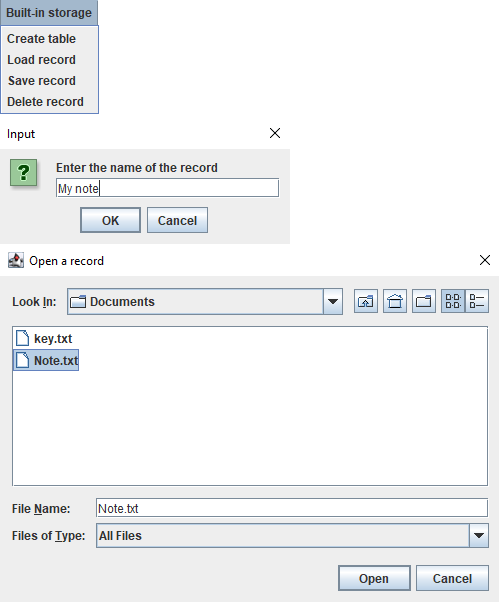
To add a record to the database save it first.
Then click Built-in storage -> Save record. Name your record as you wish and press OK. Now, navigate to the saved record, select it, and press Open.
In case of success, you will get a corresponding message.
Load Record

To load the record, click Built-in storage -> Load record.
In the pop-up window select the record that you want to load and press Select.
Delete Record

To delete the record, click Built-in storage -> Delete record.
In the pop-up window select the record that you want to delete and press Delete.
You can only delete one record at a time.