Tutorial: Unwrapping UVs and Applying a Unique Texture in Blender
by Aaronb543 in Design > 3D Design
157 Views, 2 Favorites, 0 Comments
Tutorial: Unwrapping UVs and Applying a Unique Texture in Blender
Welcome to this tutorial on unwrapping UVs and applying a unique texture in Blender.
Supplies
- Blender
- Image manipulation software of your choice (e.g Adobe Photoshop)
Set Up Your Scene
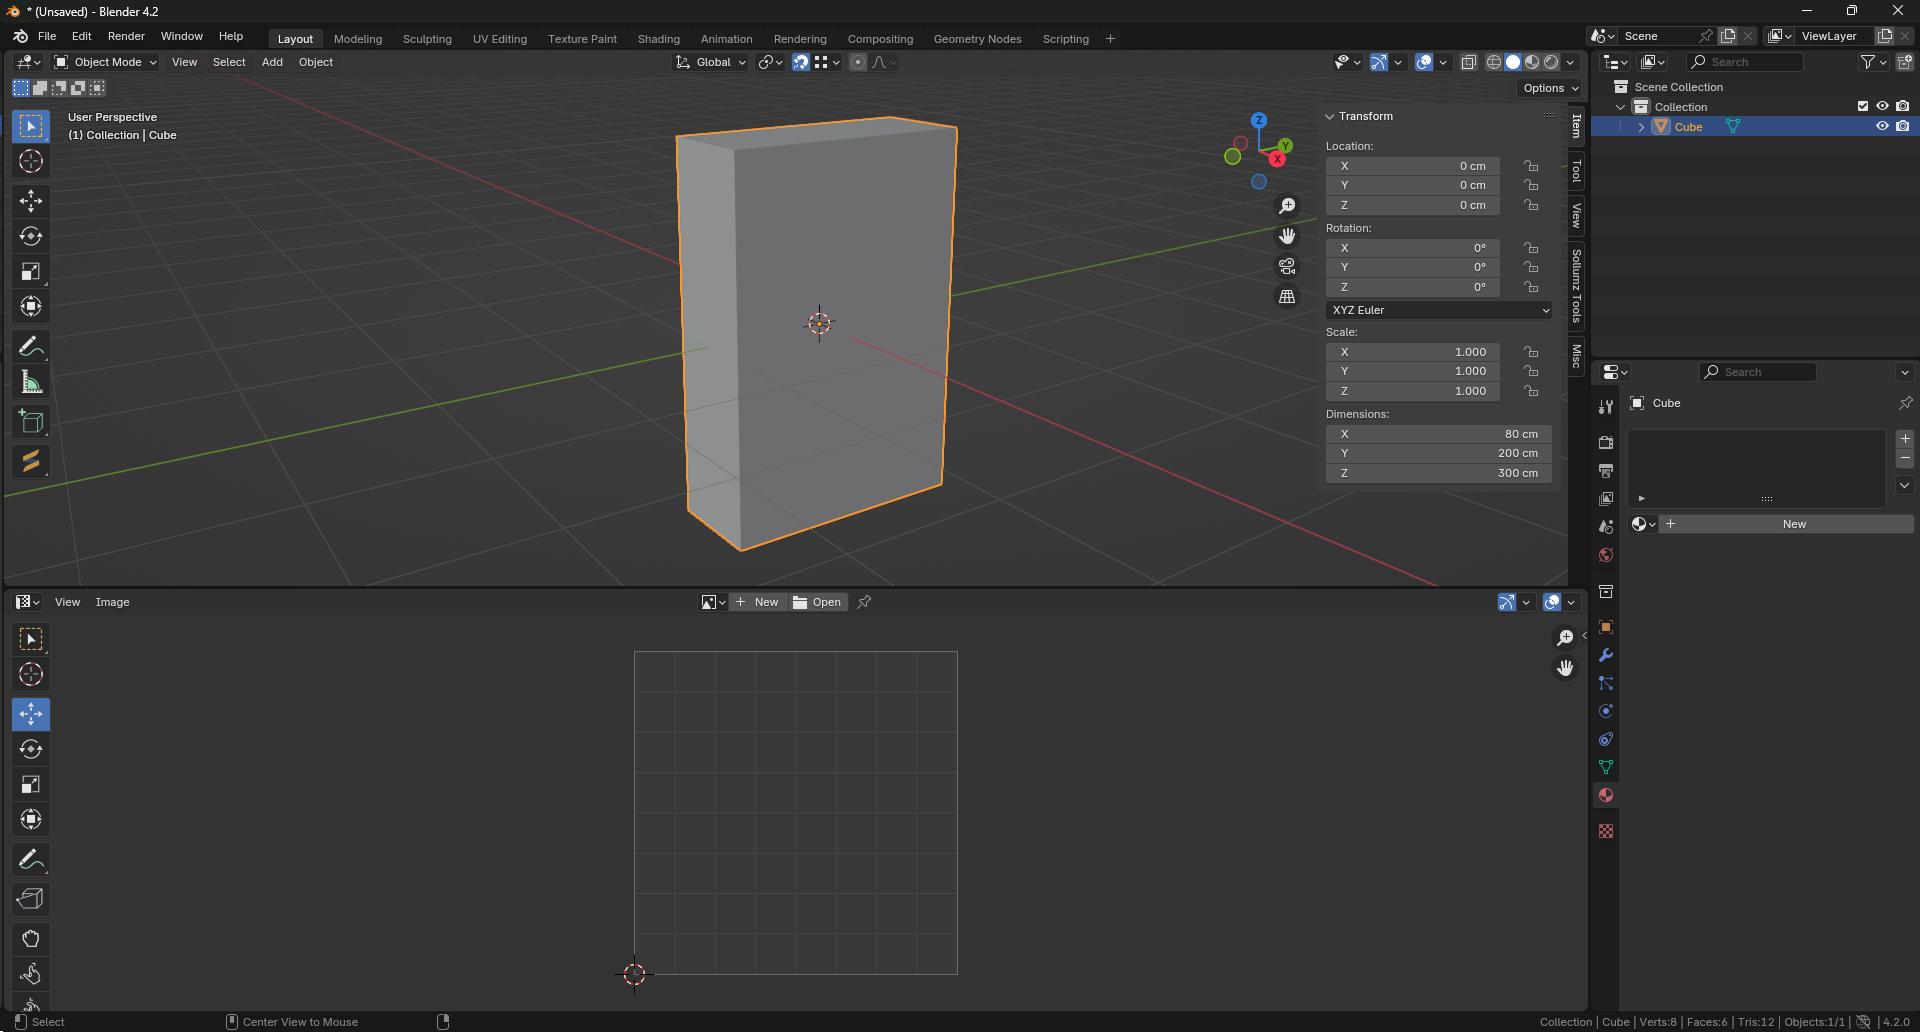
- Open Blender and create/import your 3D model.
- Make sure your model is selected in the 3D viewport.
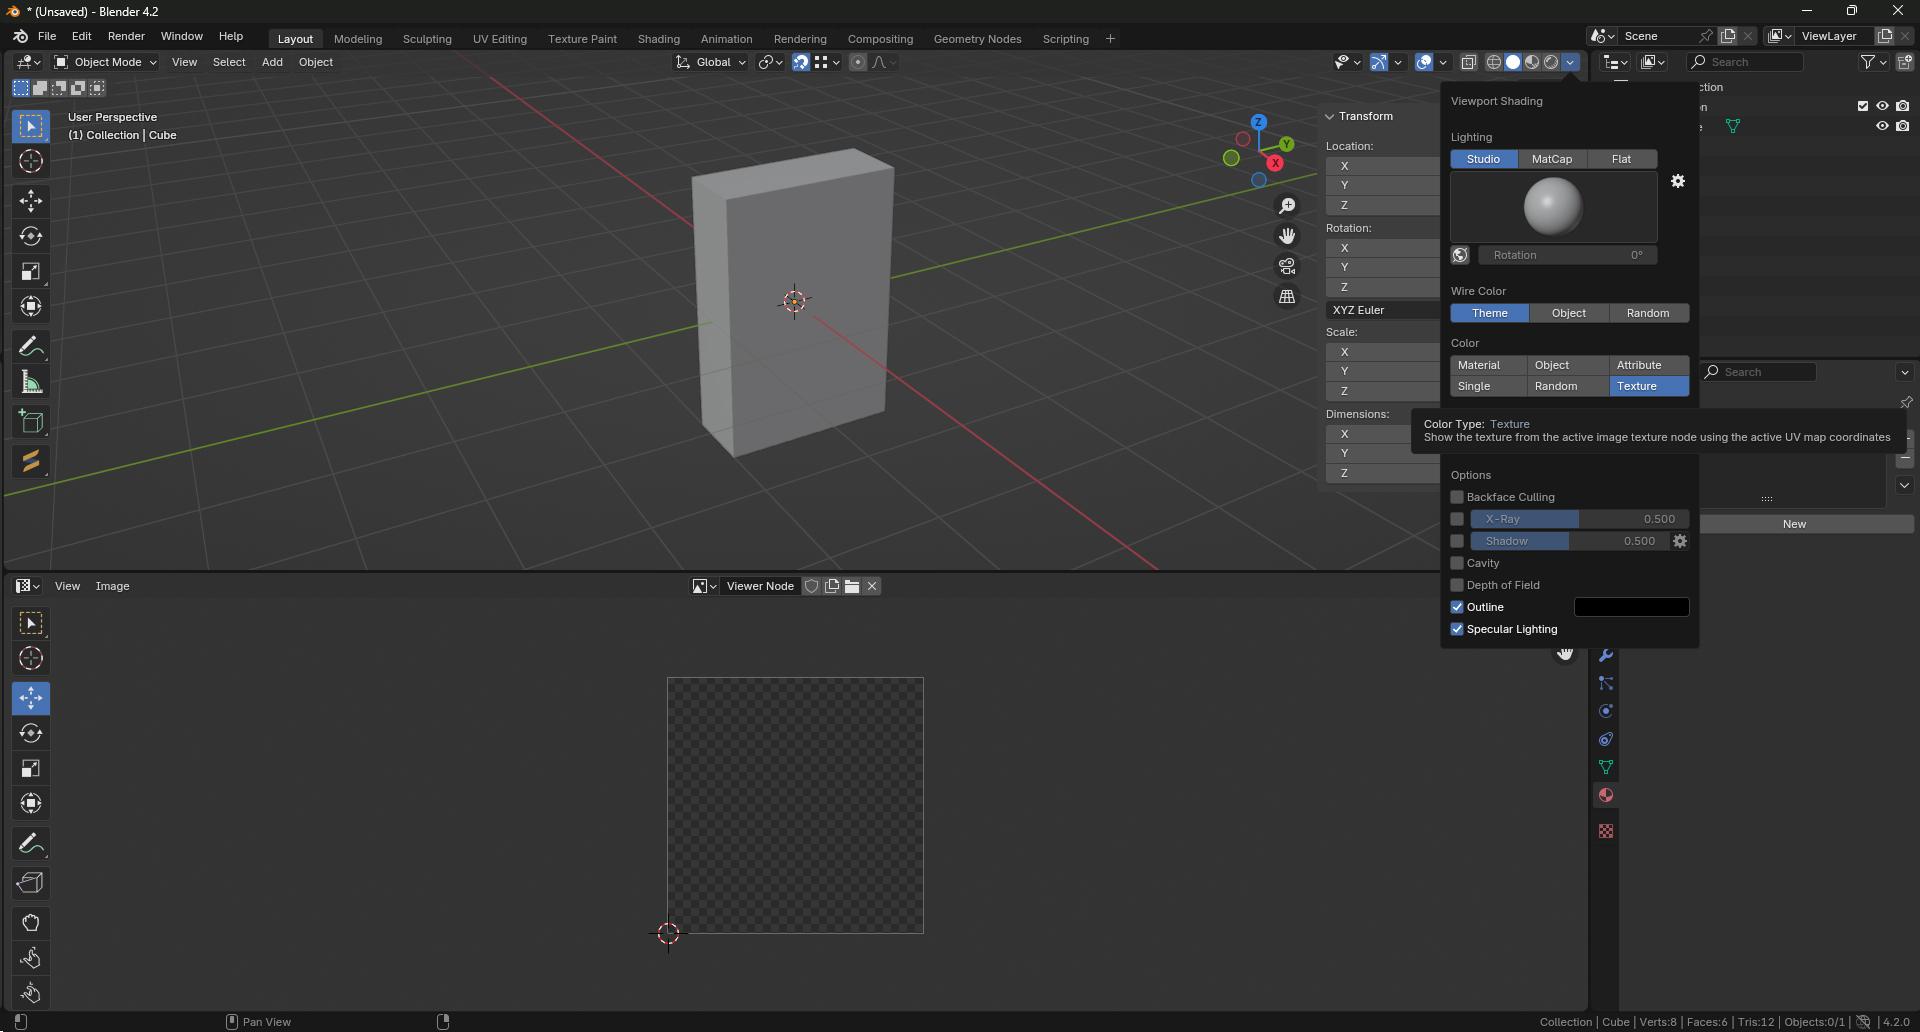
- At the top of our viewport we want to select the shading option arrow, this will give us a drop down. Ensure that you select texture in the color section, this will allow you to view any assigned textures in your scene.
Creating Seams

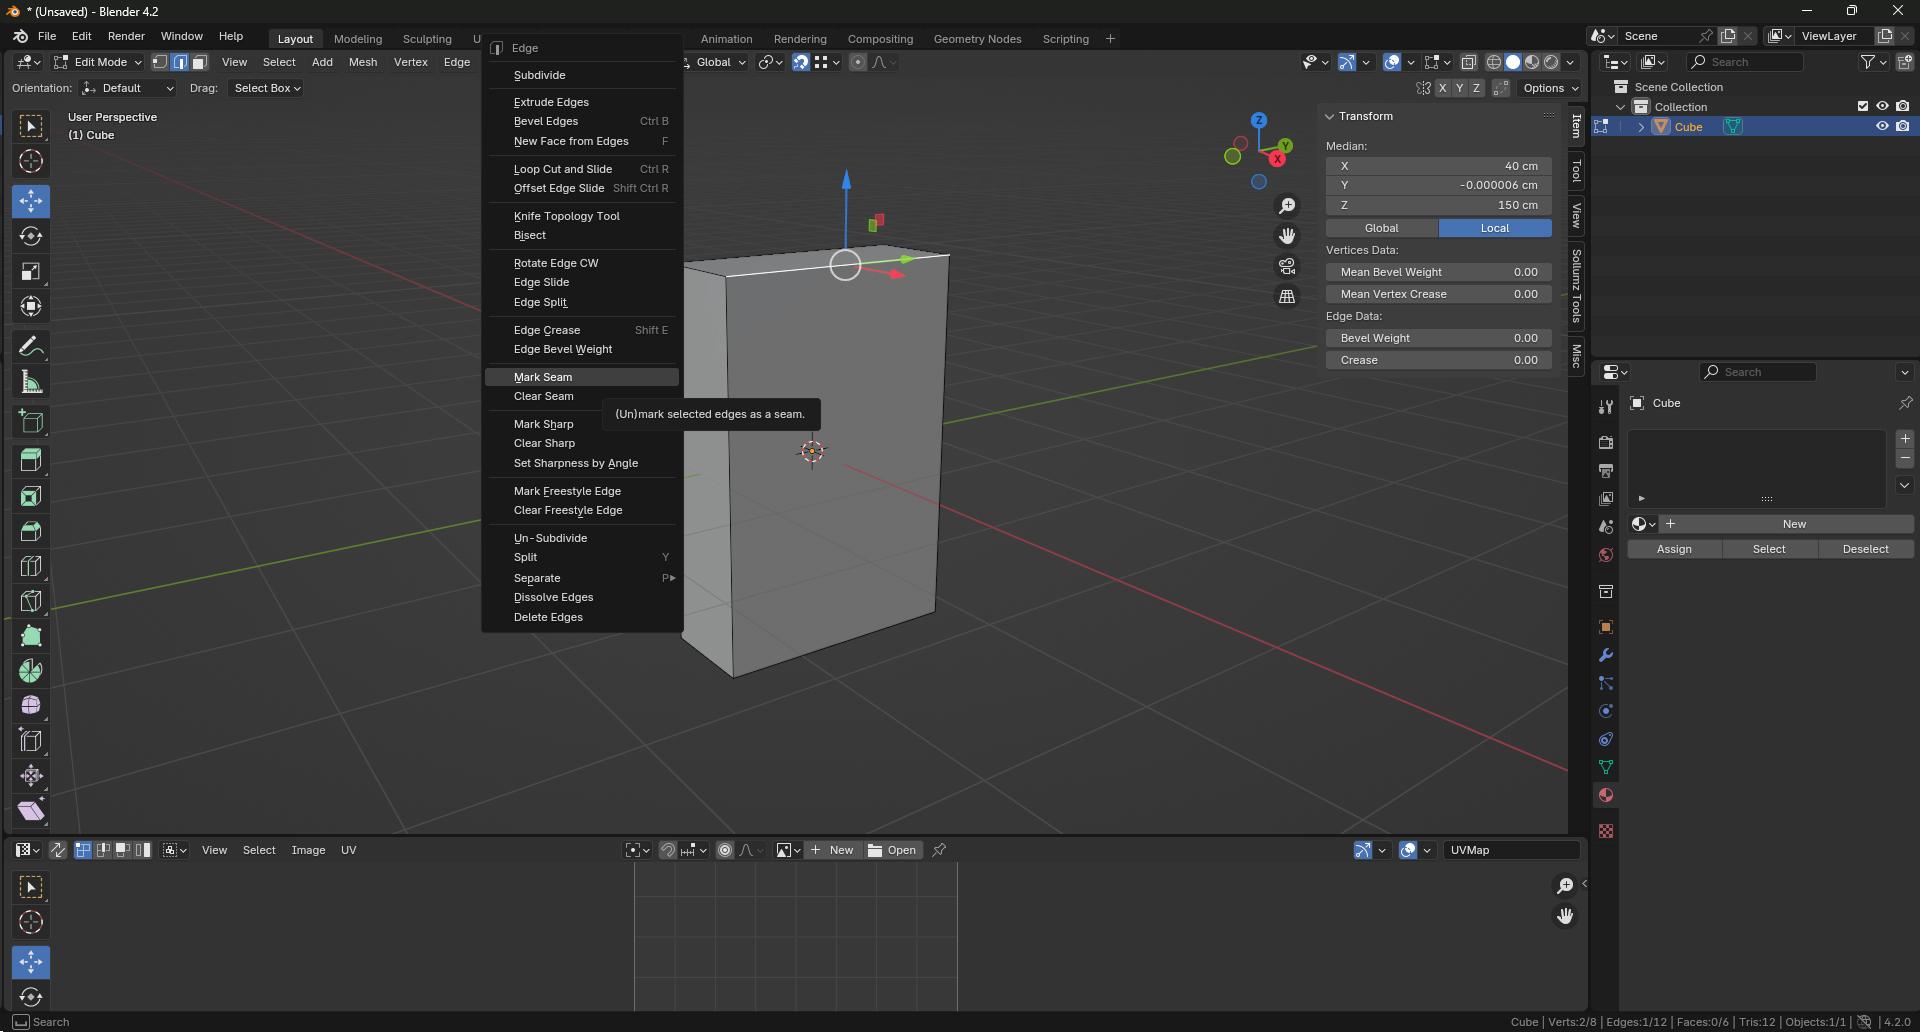
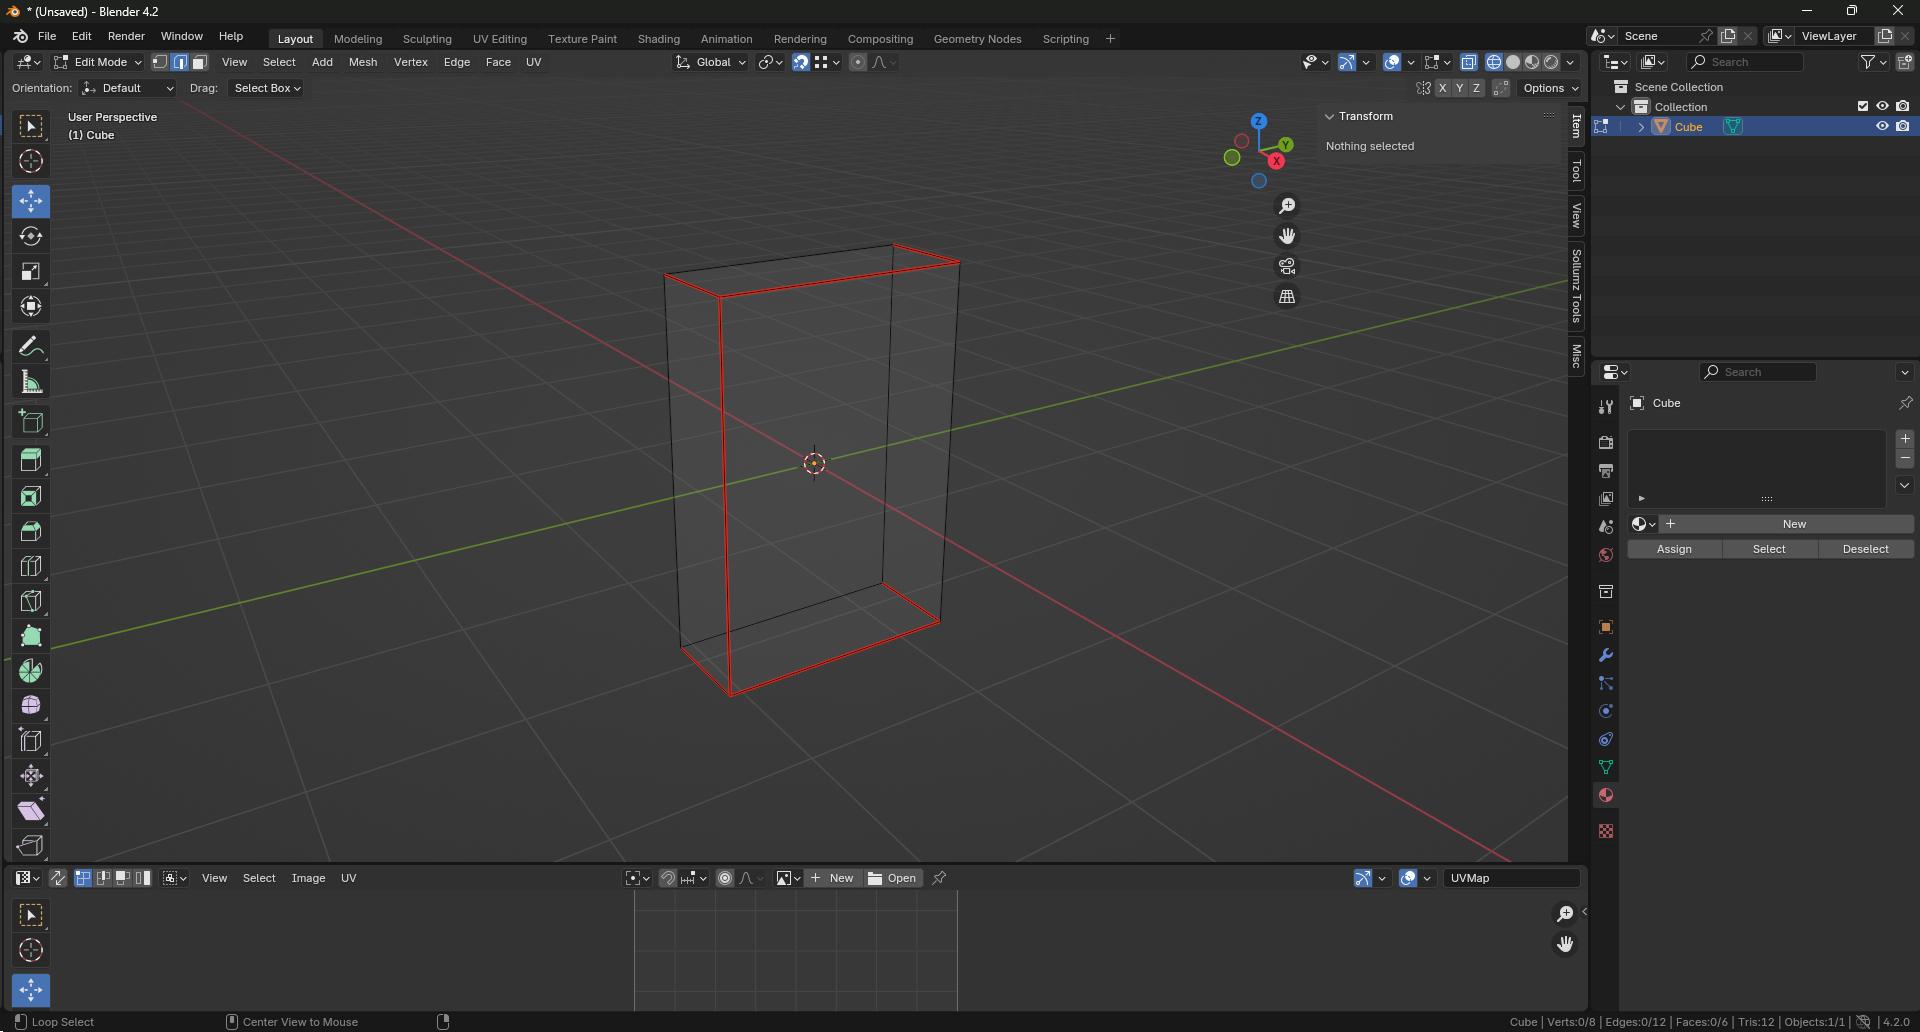
- With your model selected, press Tab to enter Edit Mode.
- With edge select mode enabled select the edges where you want your UV breaks/ seams to be. Think of your UV like a net for a cereal box and decide where best to place these seams.
- With these edges select right click and select Mark Seam.
Unwrapping Your Mesh
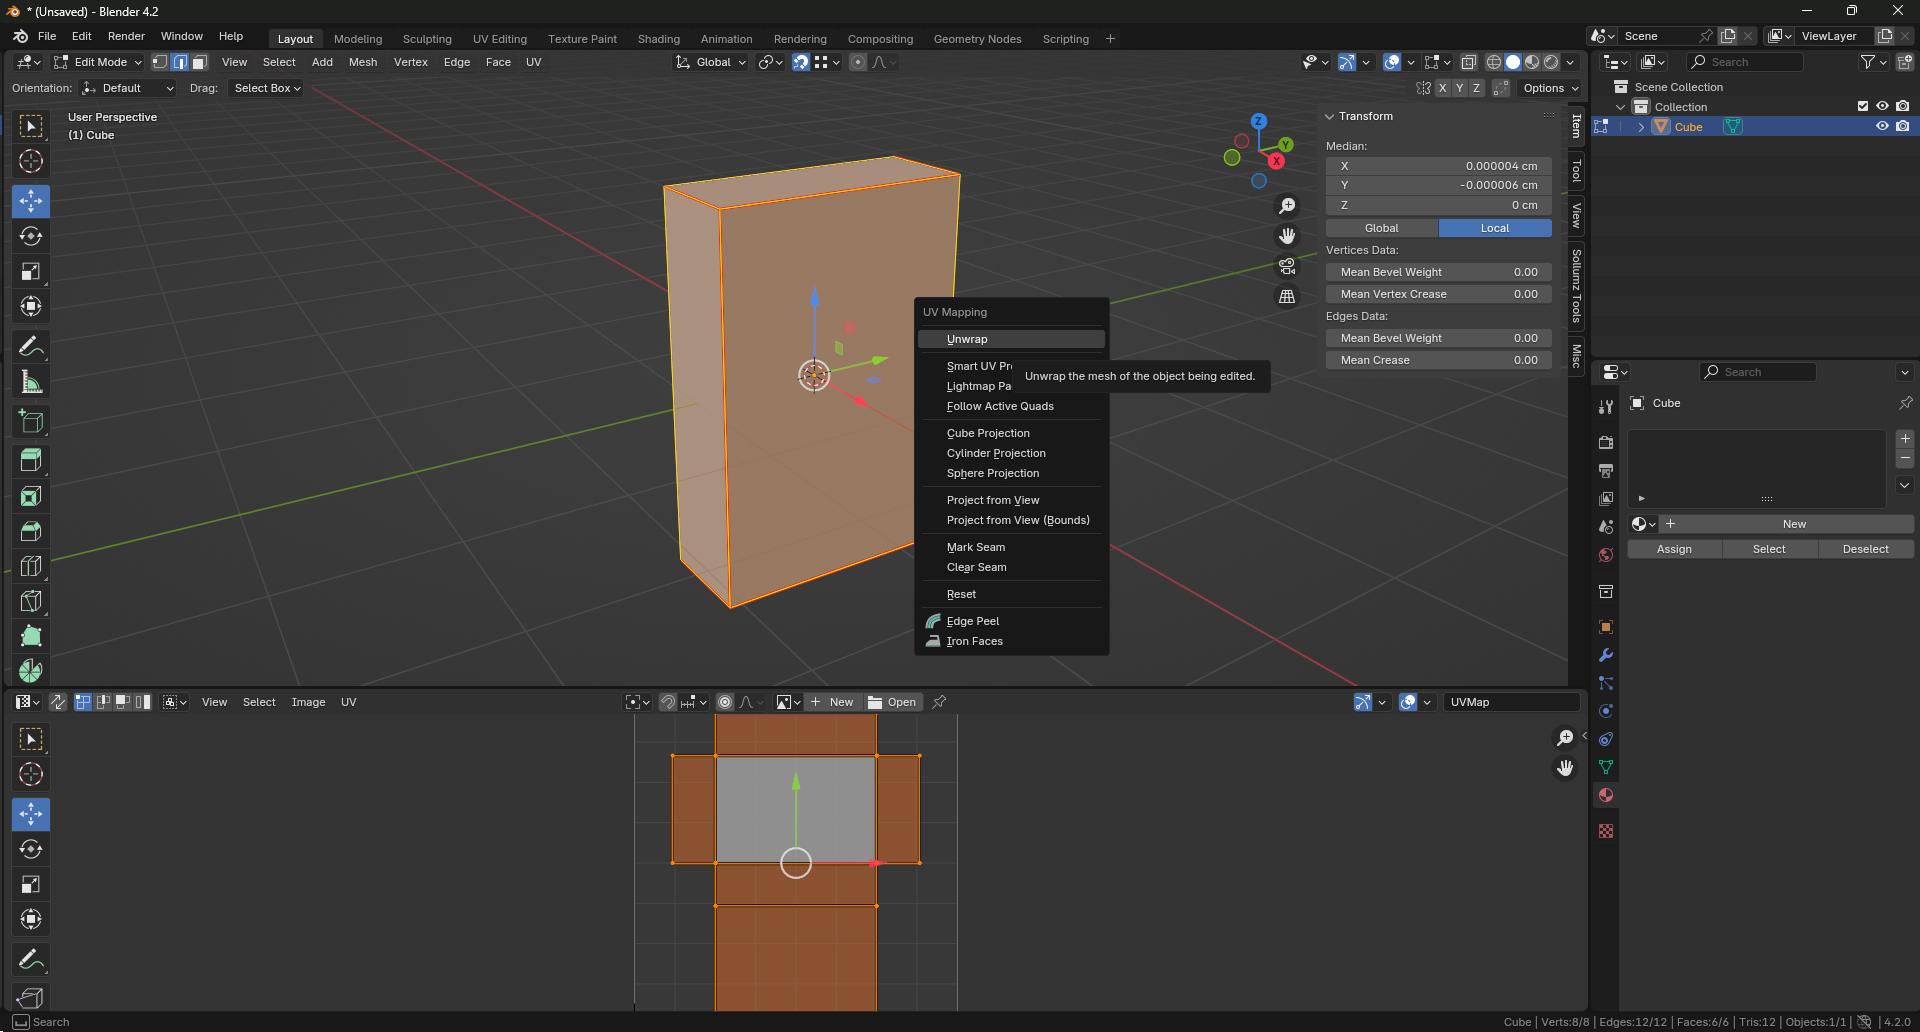
- Make sure you have your whole mesh selected by pressing A.
- Using the U key select Unwrap, this will unwrap your mesh whilst considering any seams you have manually added.
Exporting Our UV to Create a Unique Texture
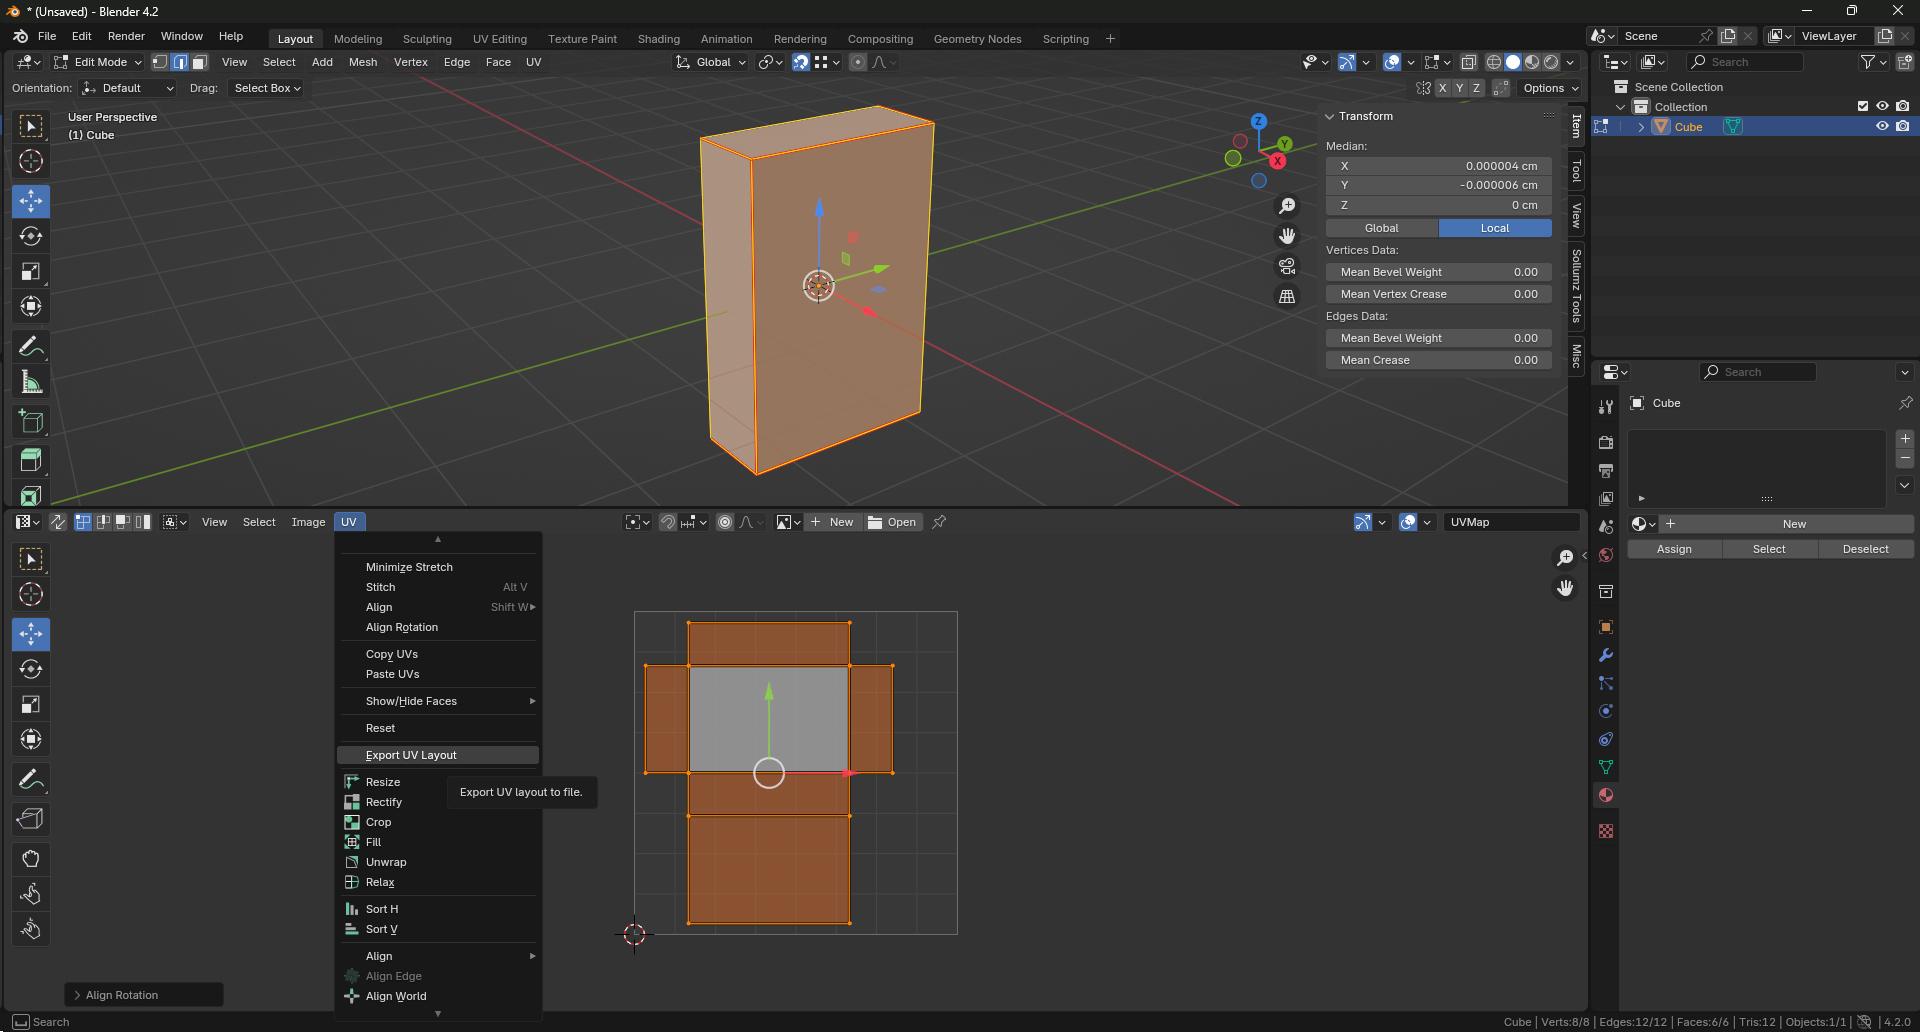
- In our UV editor panel unsure the full UV is selected by pressing A whilst in this panel.
- With our UV selected we can click on the UV tab and select Export UV Layout. This will take us a to a new window that will allow us to save it as a png or vector graphic.
Using Our UV to Create a Unique Texture
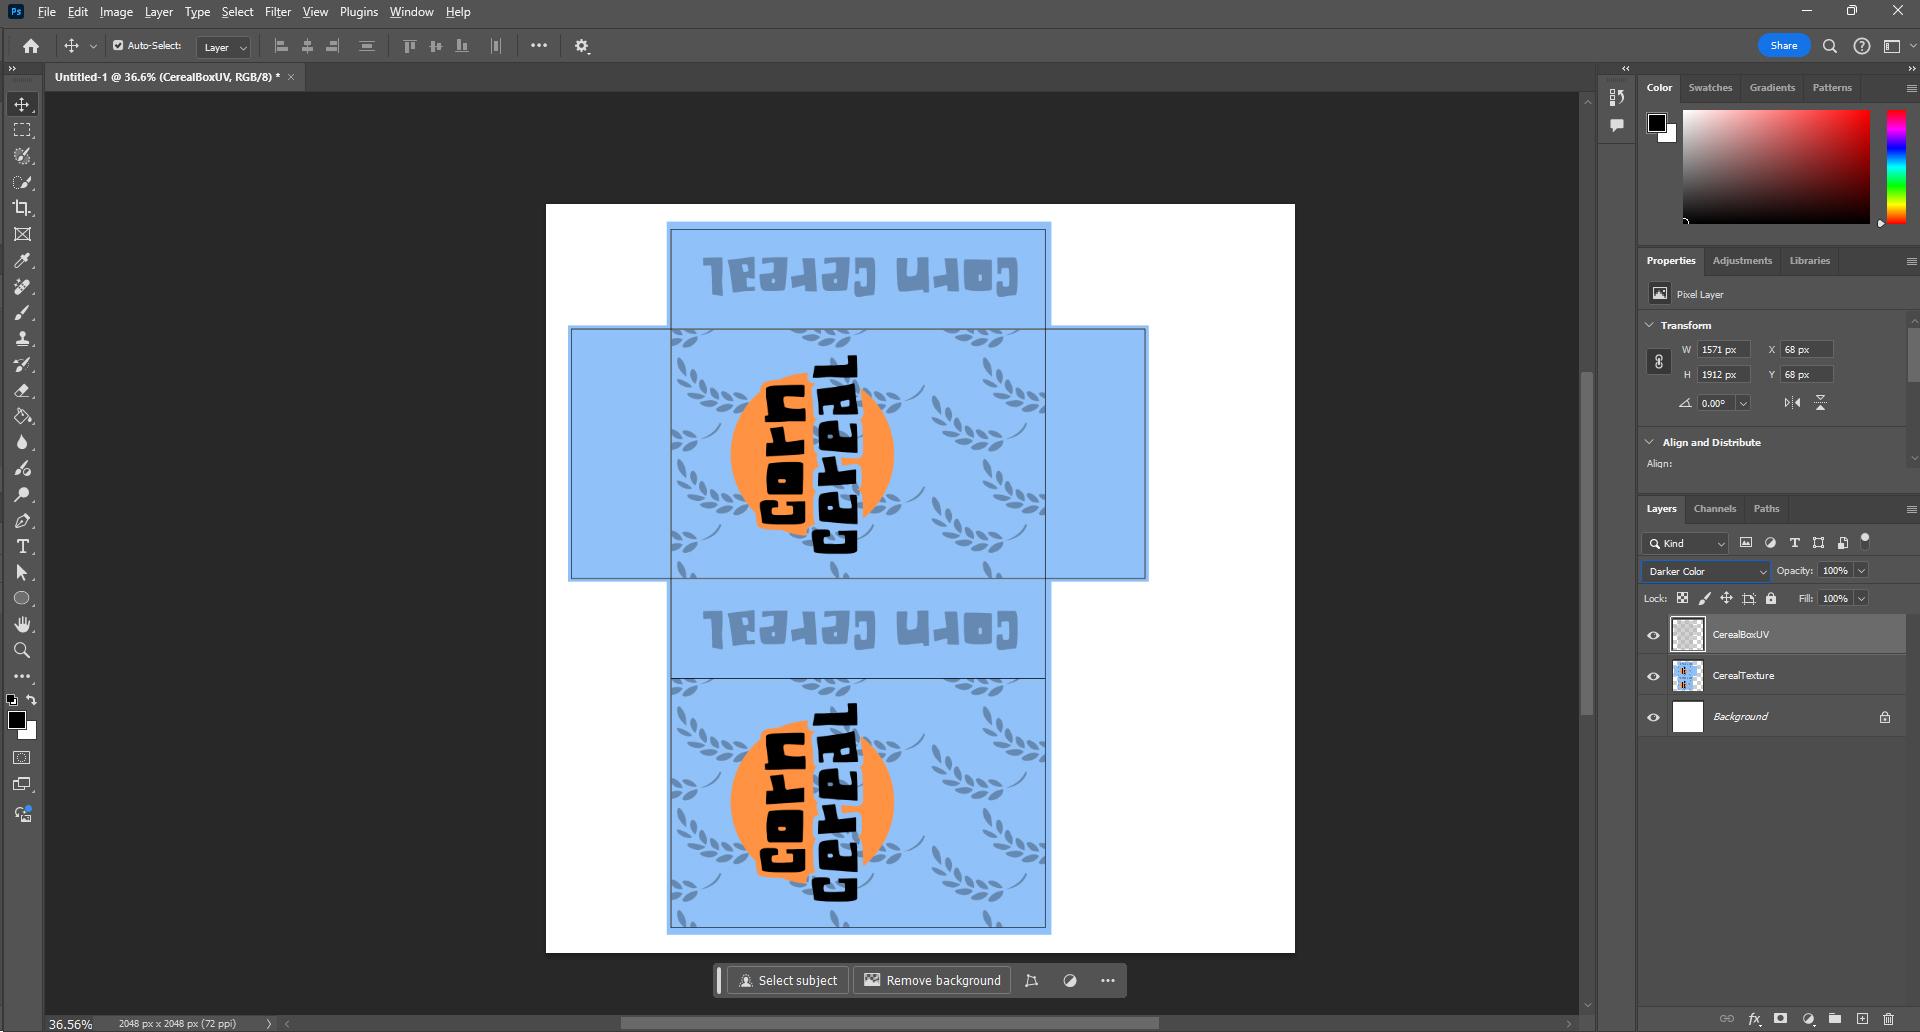
- In our image manipulation software of choice, we can import this UV layout and create a texture within these bounds.
- Once created we can export and save this image we’ve created.
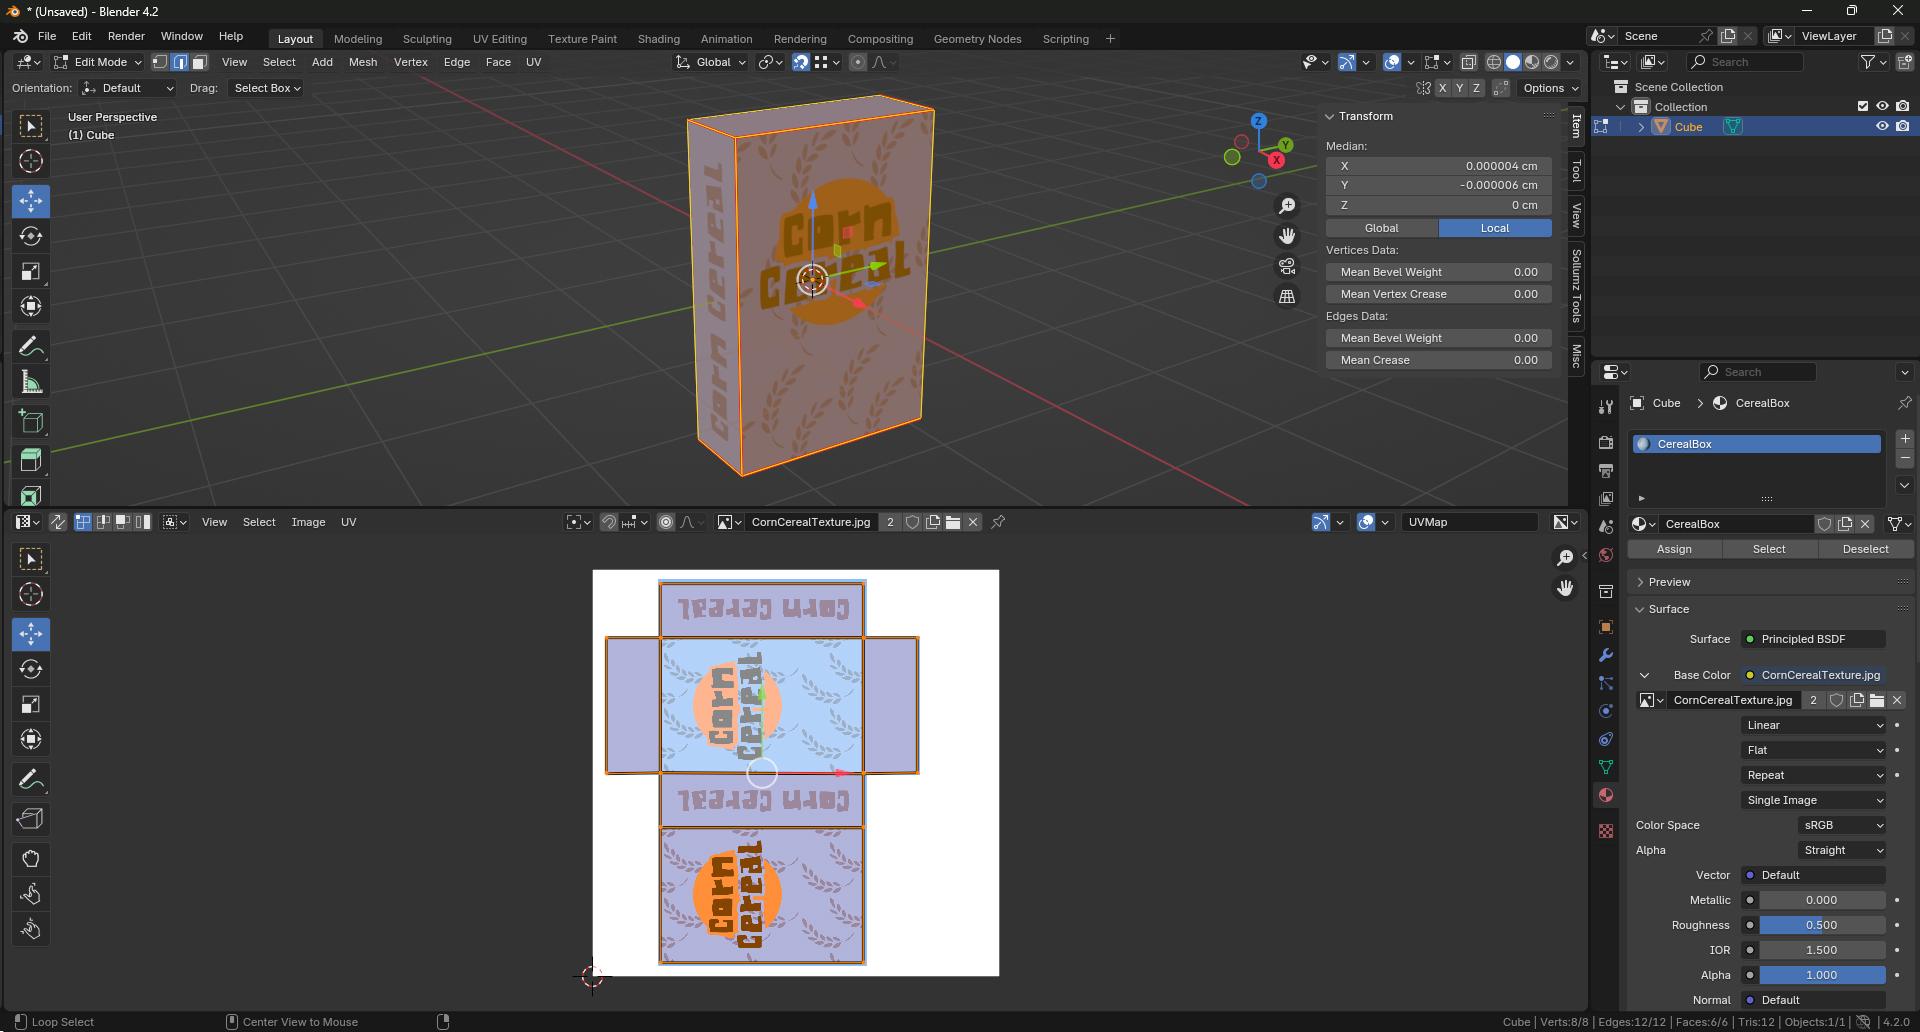
Creating a Material With Our Unique Texture
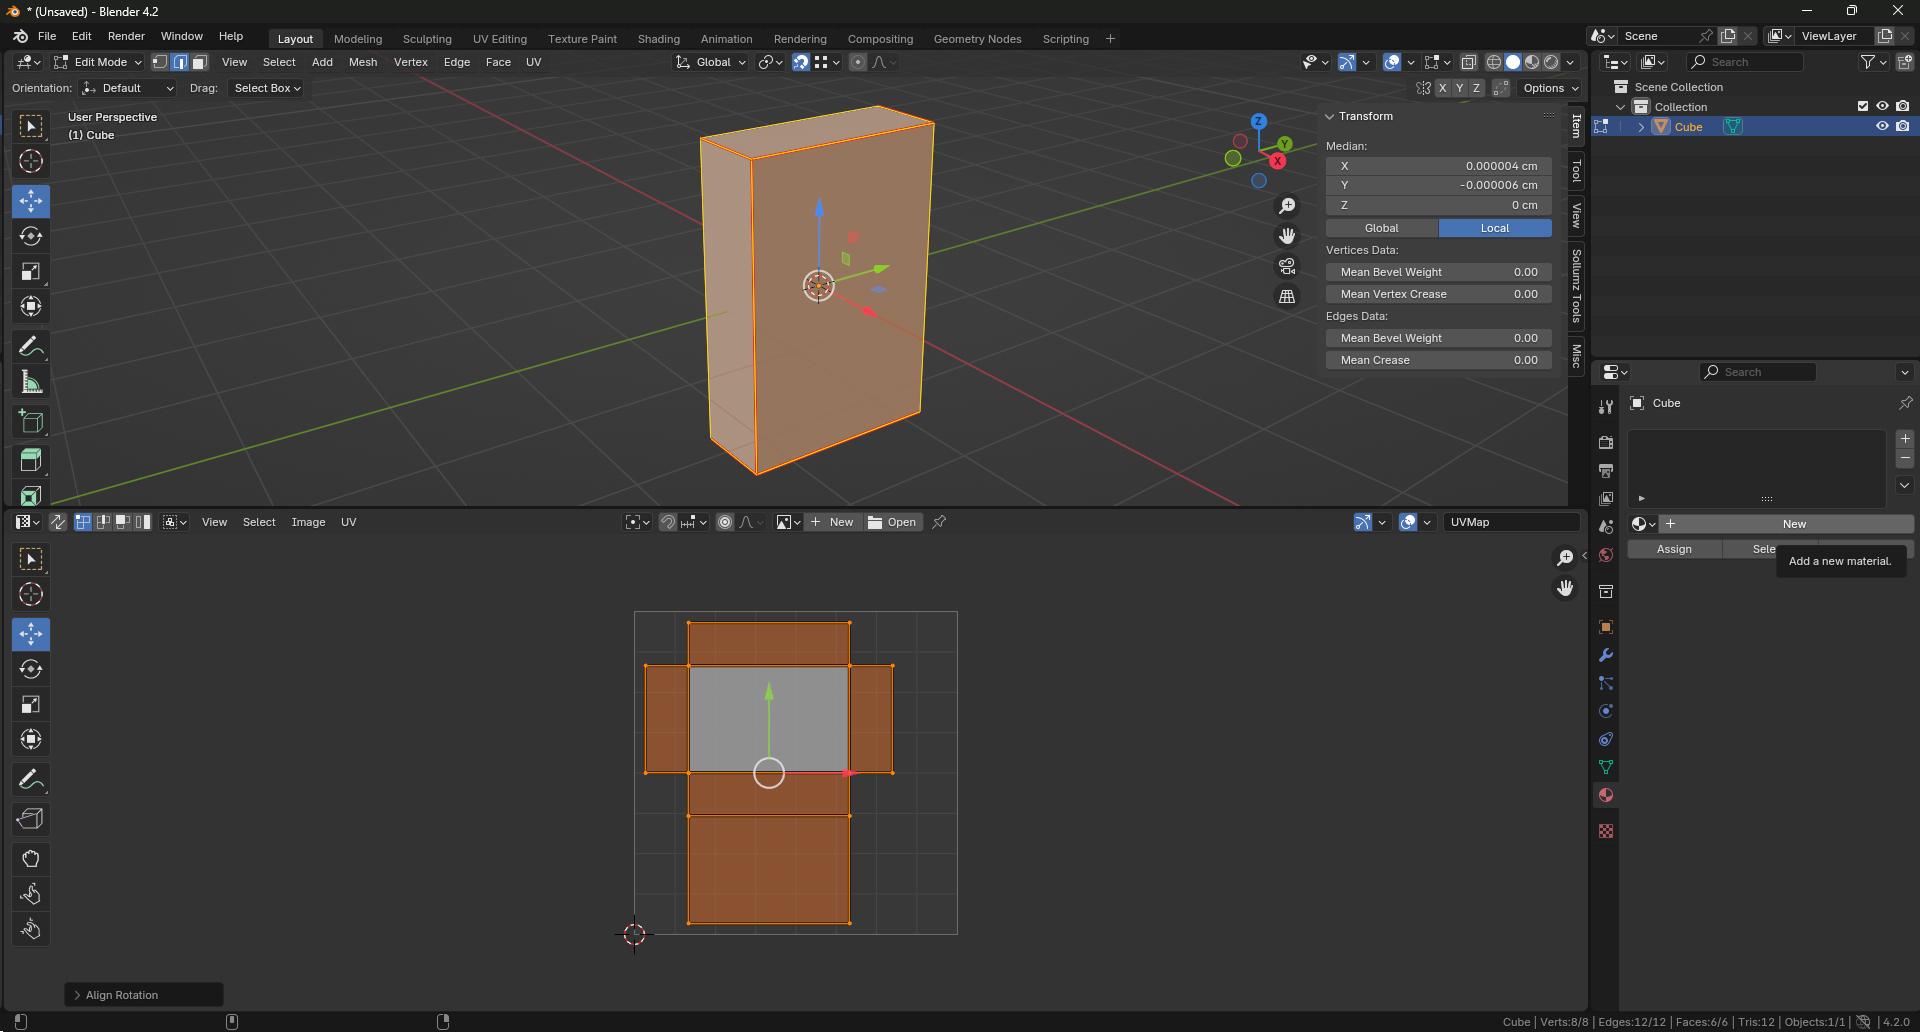
- Going over to our materials tab we can select the New button to create a new materal, giving it a name that tells us what it is.
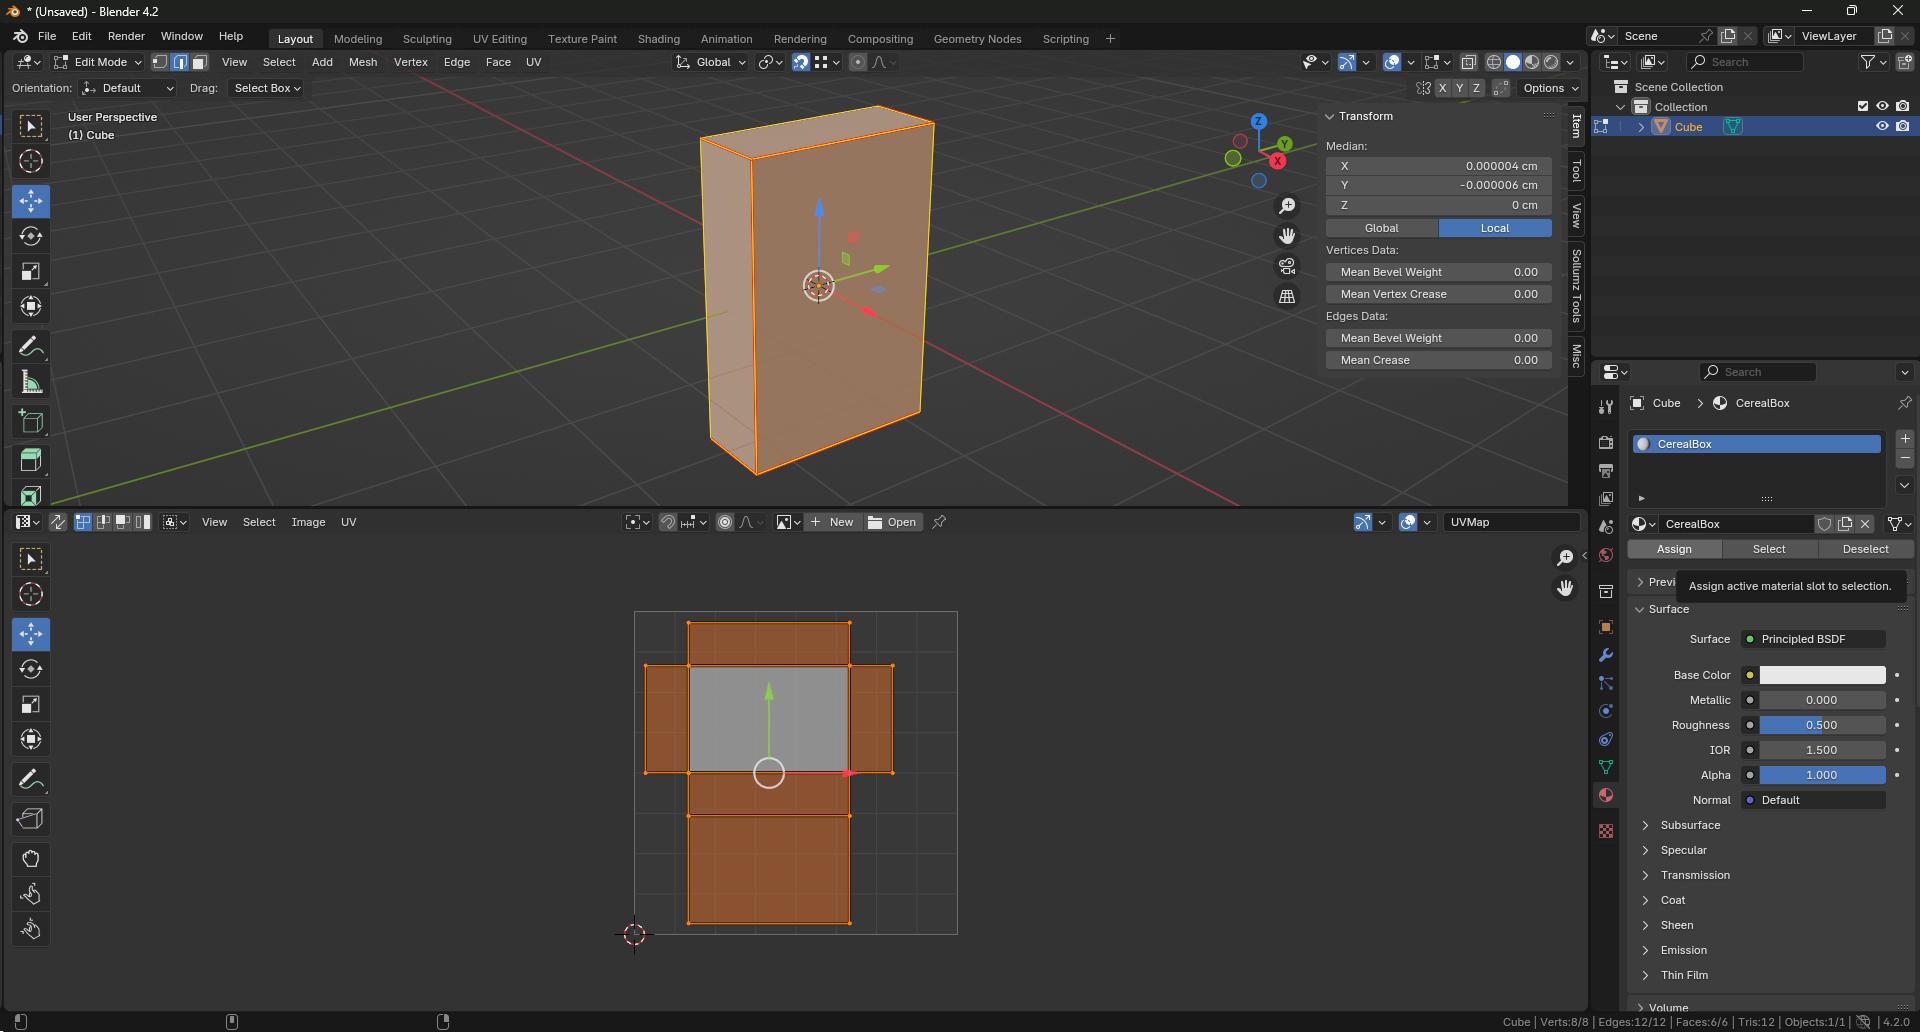
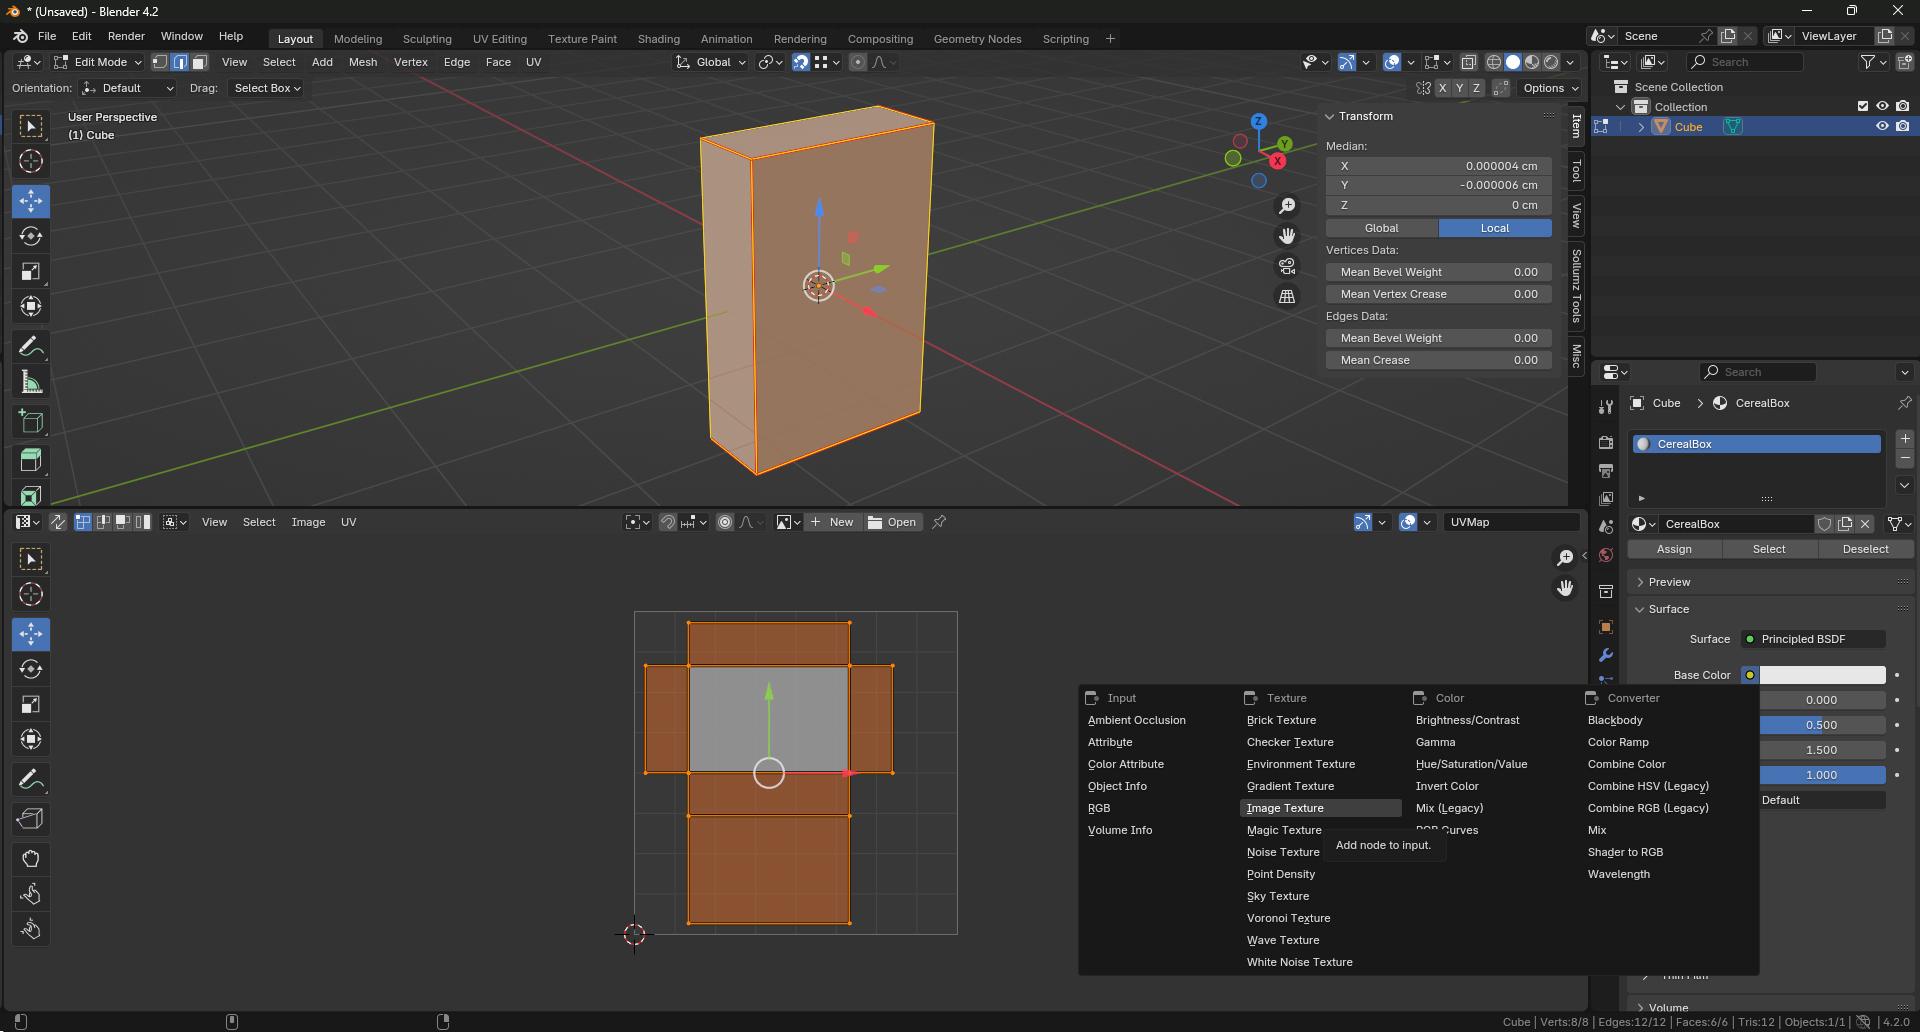
- To assign it an image, we will go to the yellow circle next to Base Color and click it. A new pop up box will show where we want to select Image Texture.
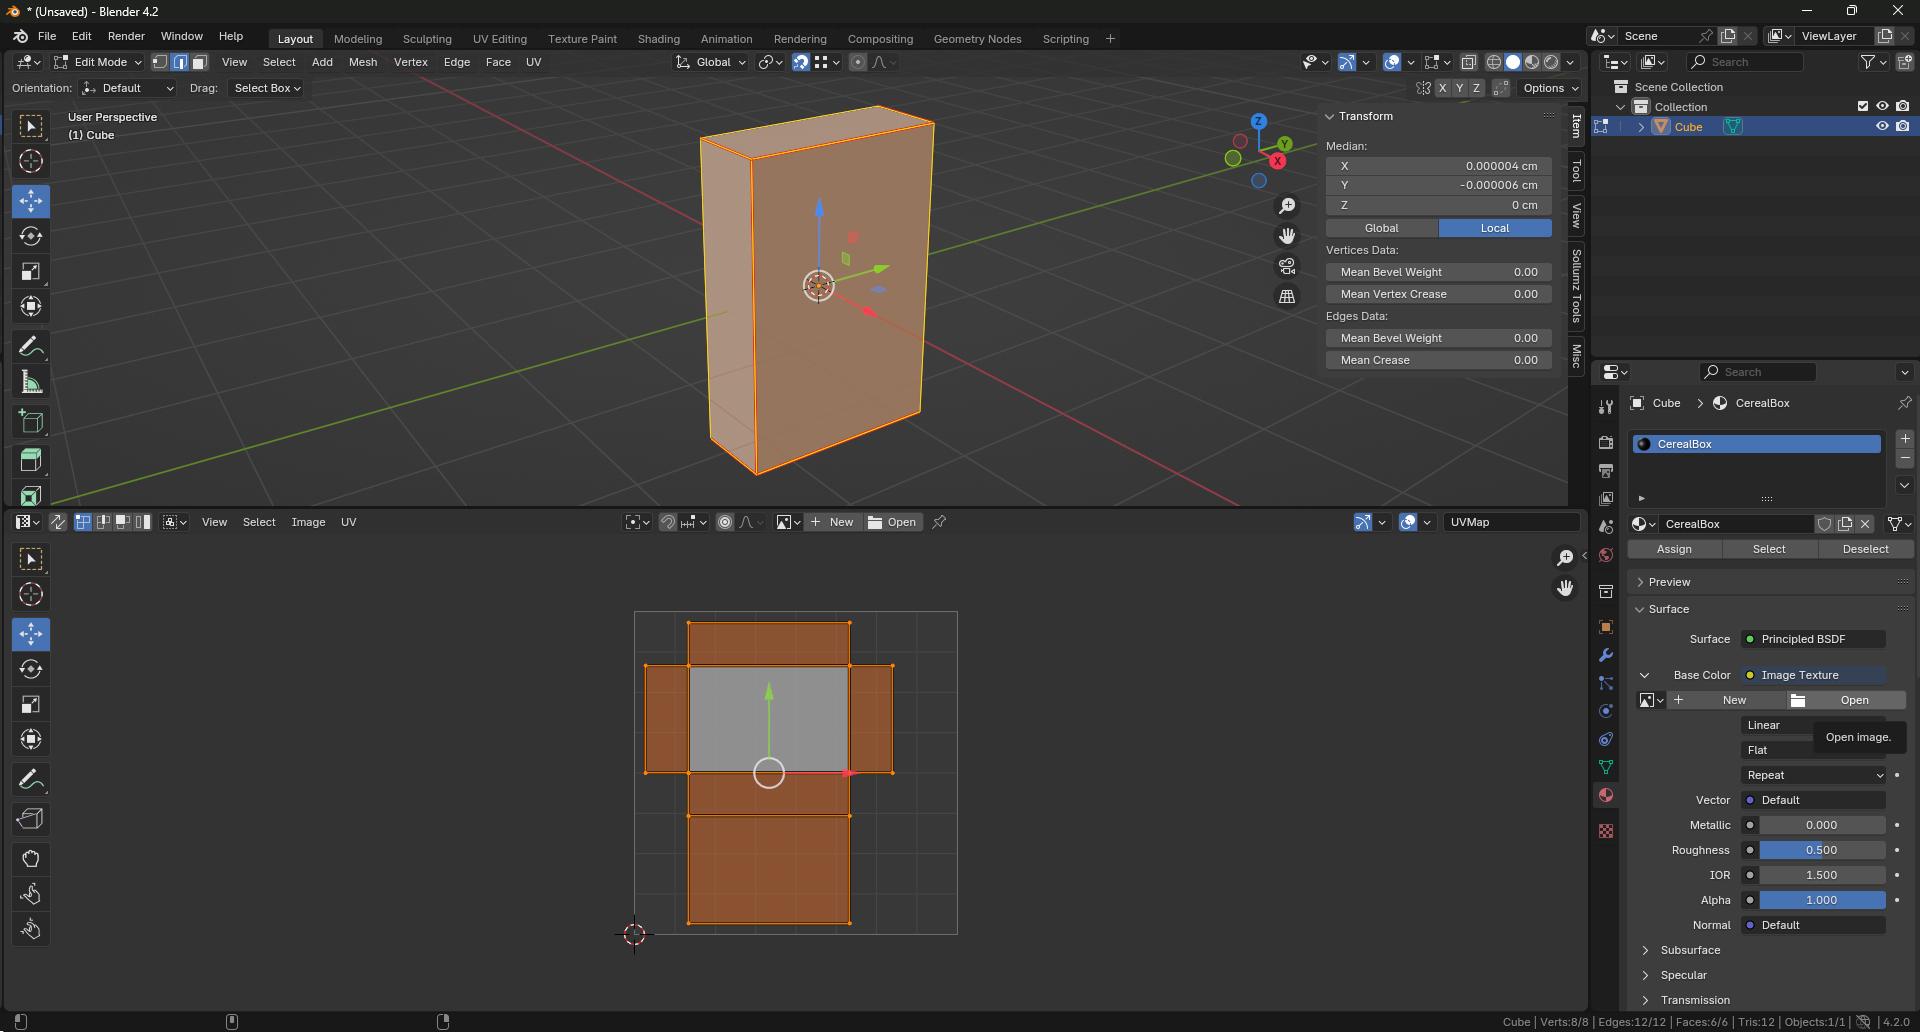
- You will now see that below the Base Color there is a couple new options, we want to select Open. This will open your files allowing you to select the unique texture you created previously.
- With this now in place, you should see that your texture has appeared on your mesh!
- If it hasn’t appeared you may need to manually apply this, but select all faces of your mesh (A button) and select Assign in the materials tab with the texture highlighted.
Take a Step Back and View Your Texture
Congratulations! You've successfully unwrapped a UV map and applied a texture to your model in Blender.
Aaron @ Learn Now