Tutorial: How to Model FT Twin Otter With Autodesk Fusion 360
by rsha1 in Design > 3D Design
222 Views, 3 Favorites, 0 Comments
Tutorial: How to Model FT Twin Otter With Autodesk Fusion 360
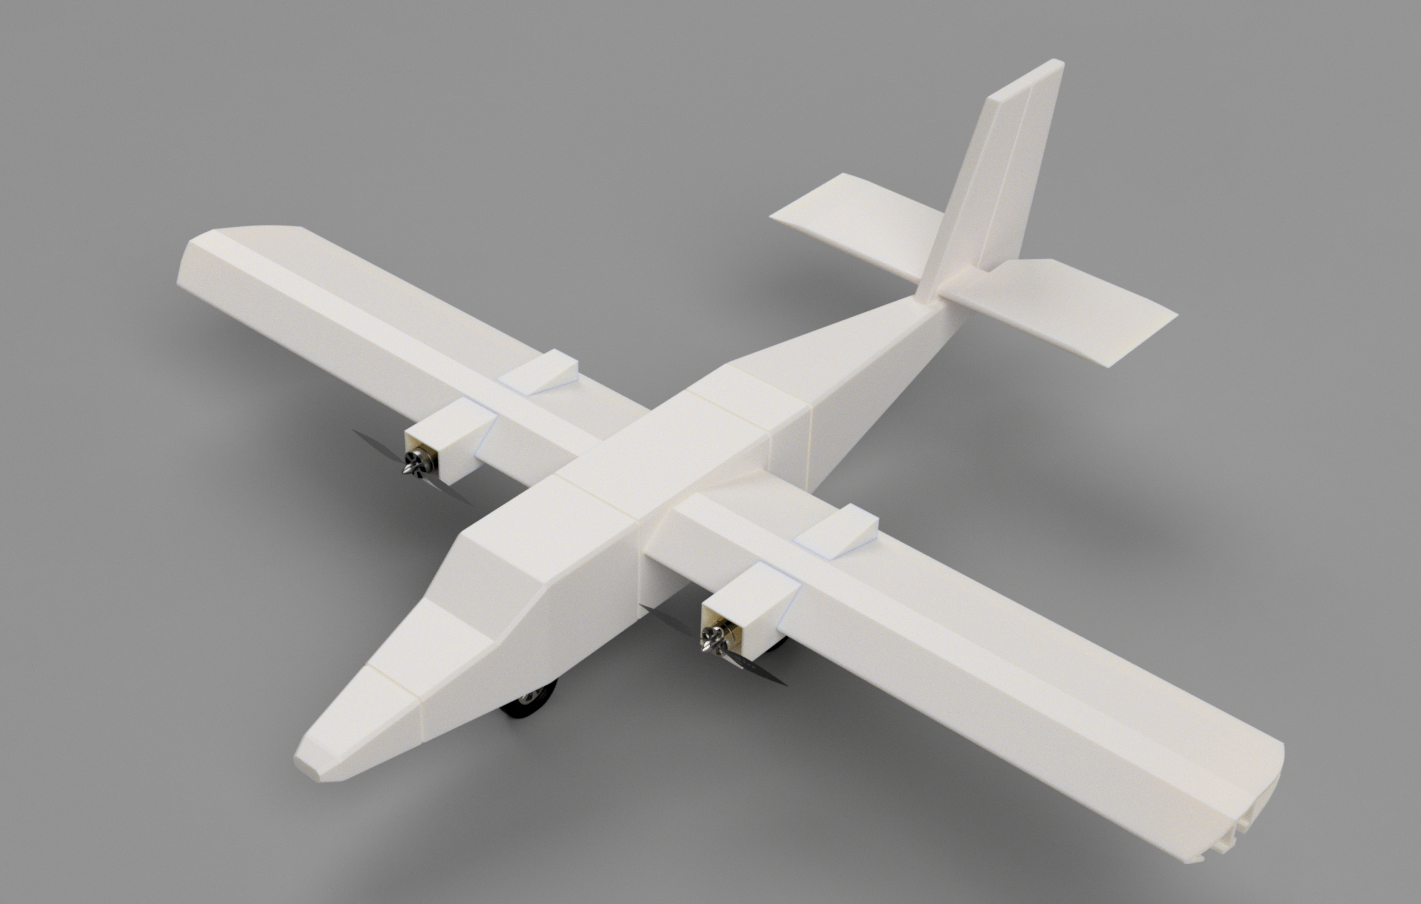
I am a student at Saint James School Maryland. I am registering for the “Make it fly” contest, submitting this project.
I modeled the FT Twin Otter plane with Autodesk Fusion 360, and this is a tutorial of what I did and you can follow it to model a plane yourself.
This model is not to scale, the dimensions I gave are based on my guess.
Unit of ALL Numbers in this Instructable is milimeter
Supplies

A computer, Autodesk Fusion 360 Software
Body
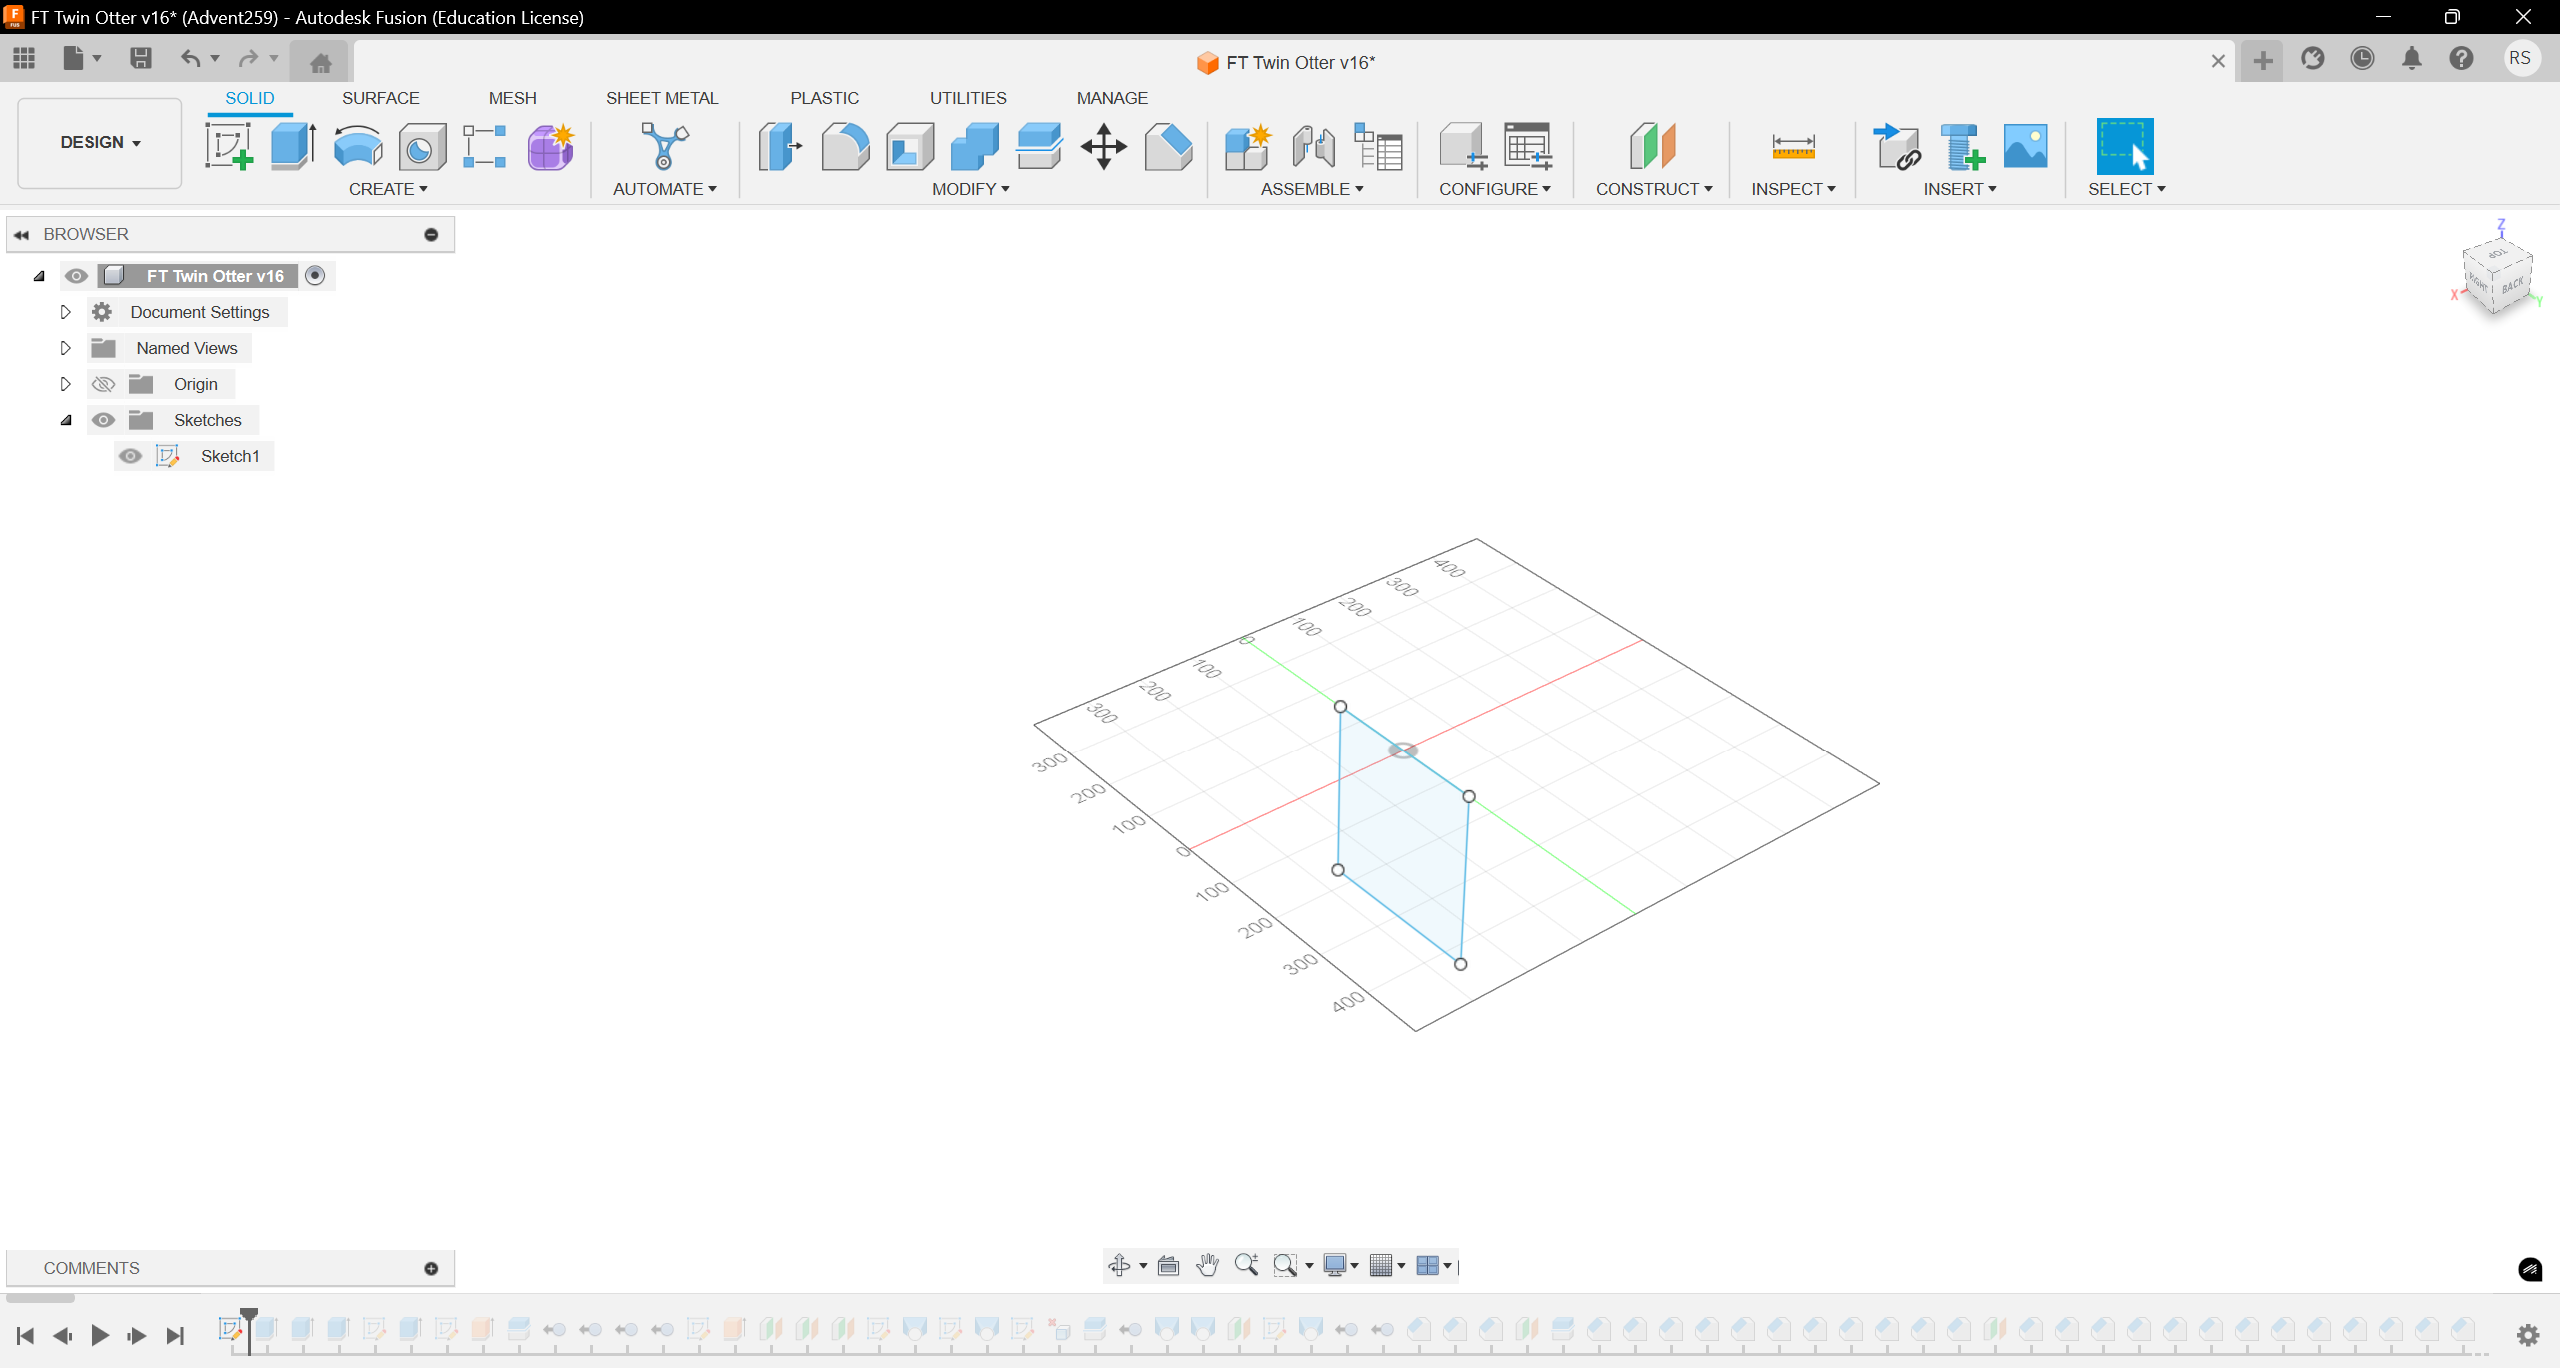
- Create a 300*320 square sketch. (Picture 1)
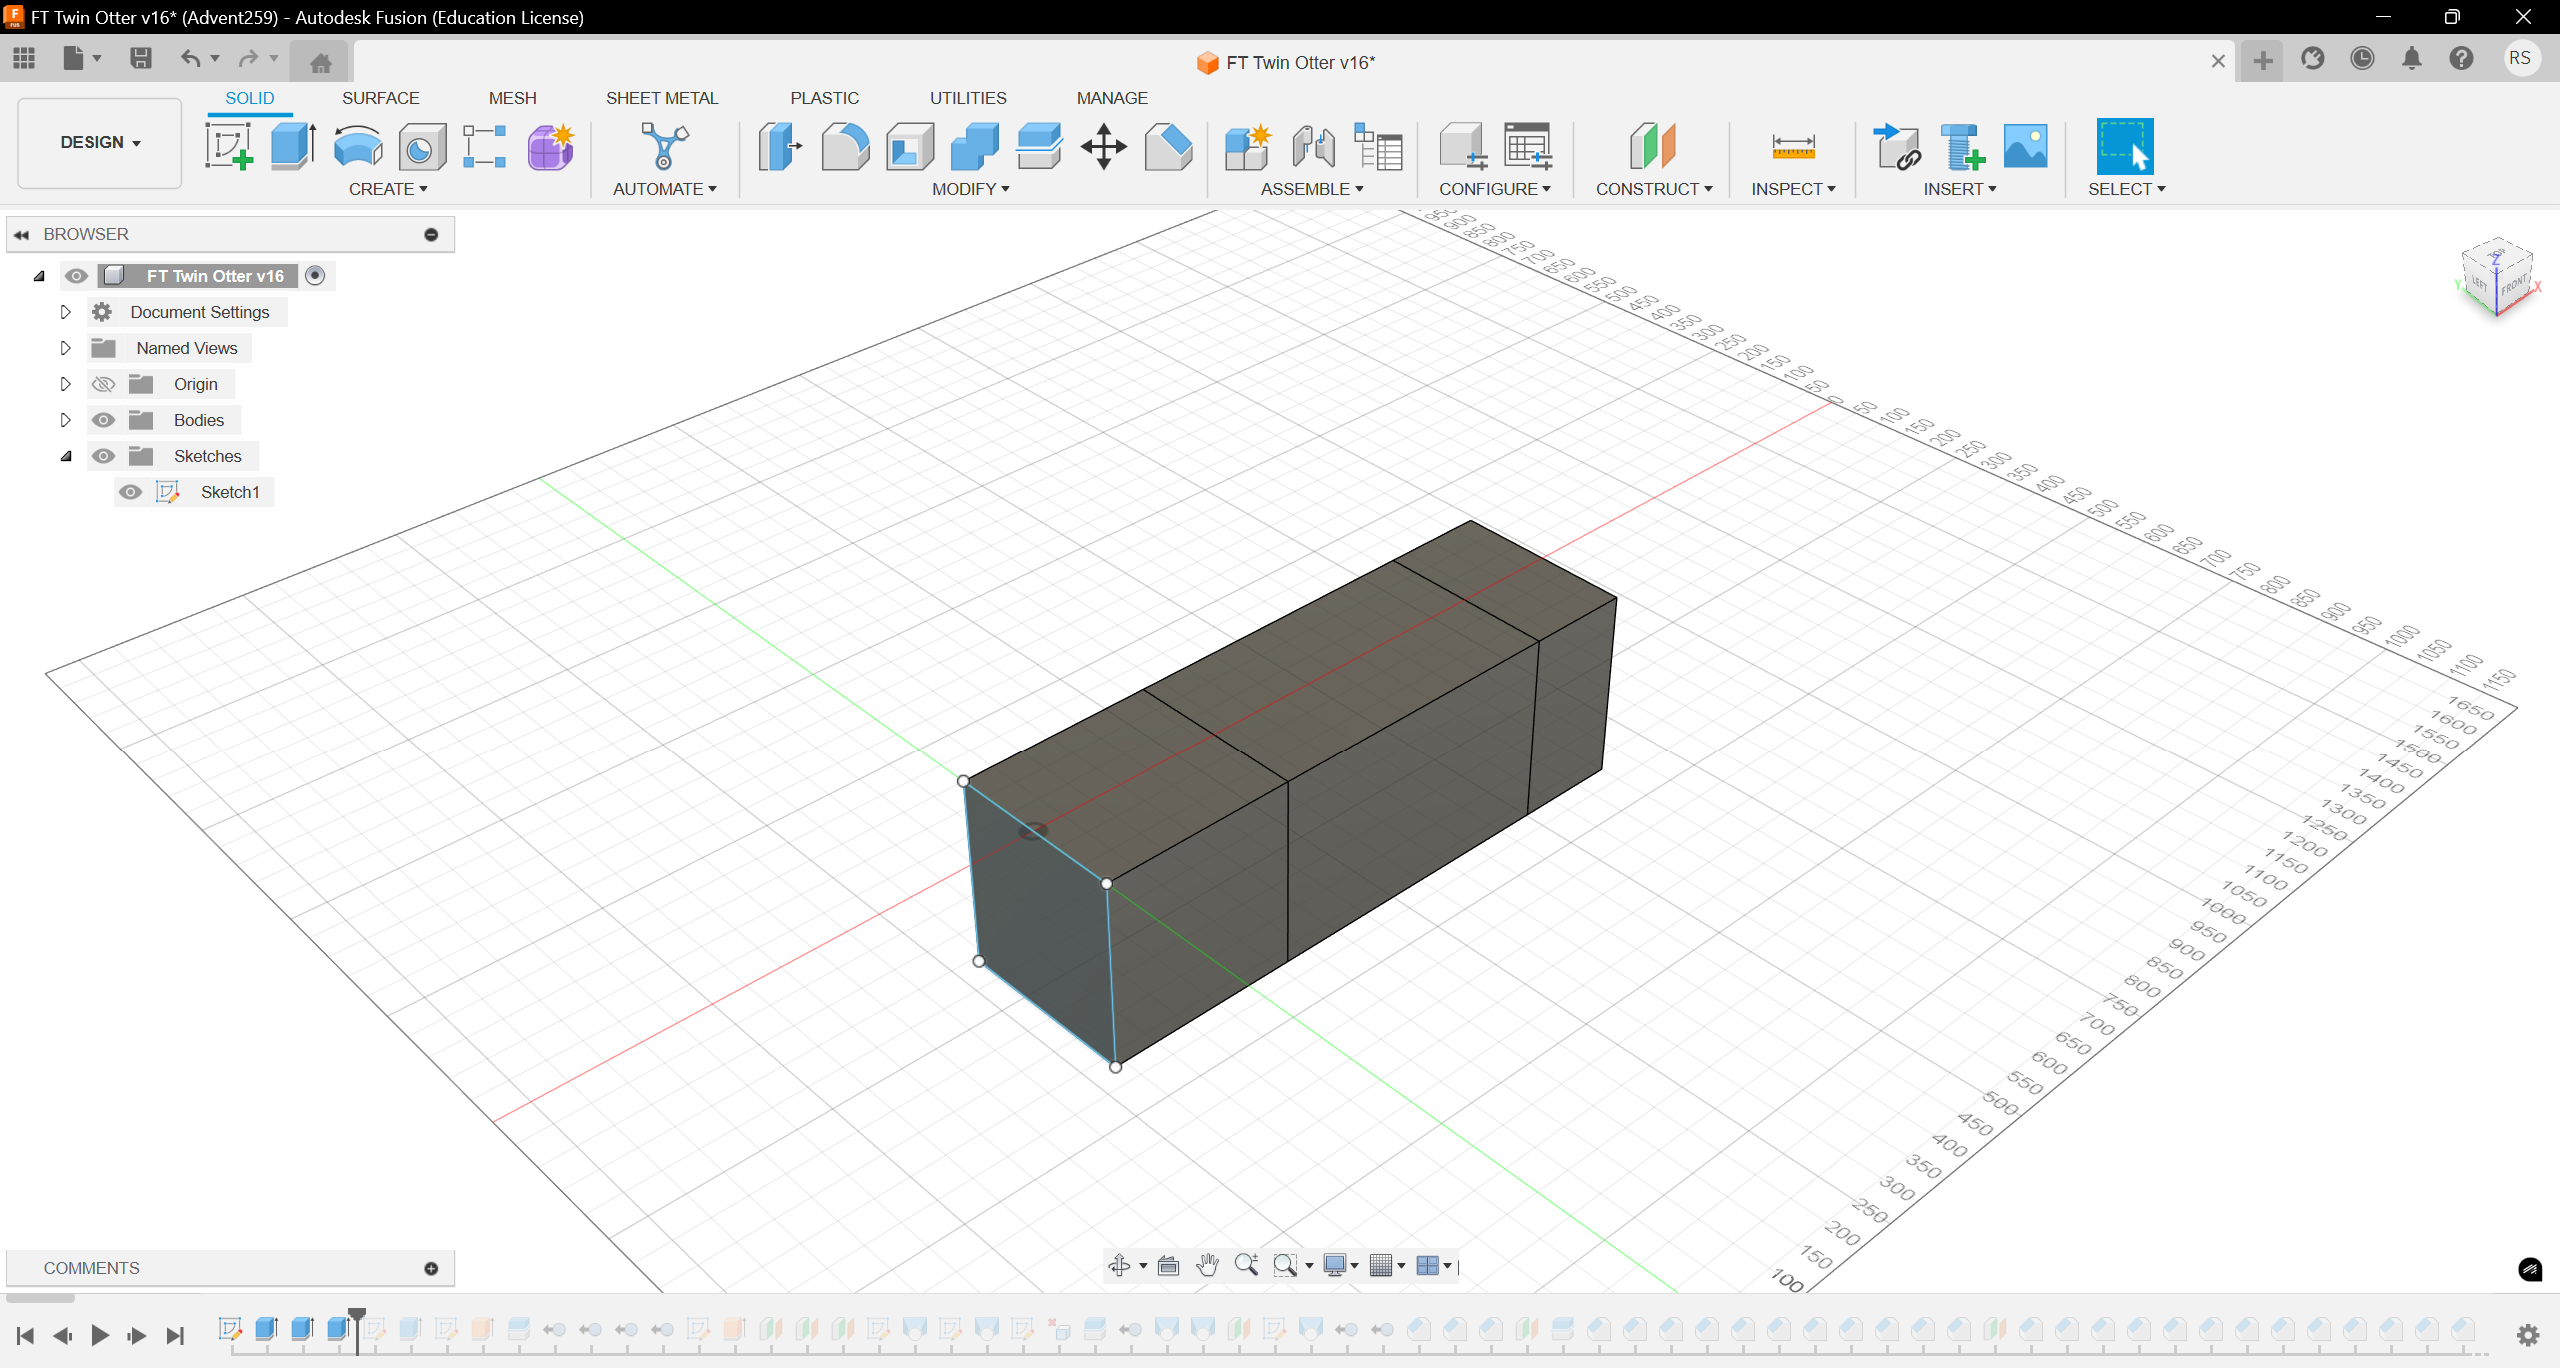
- Use “Extrude” to create 3 solids with length of 320, 500, 170, respectively. (Picture 2)
Tail
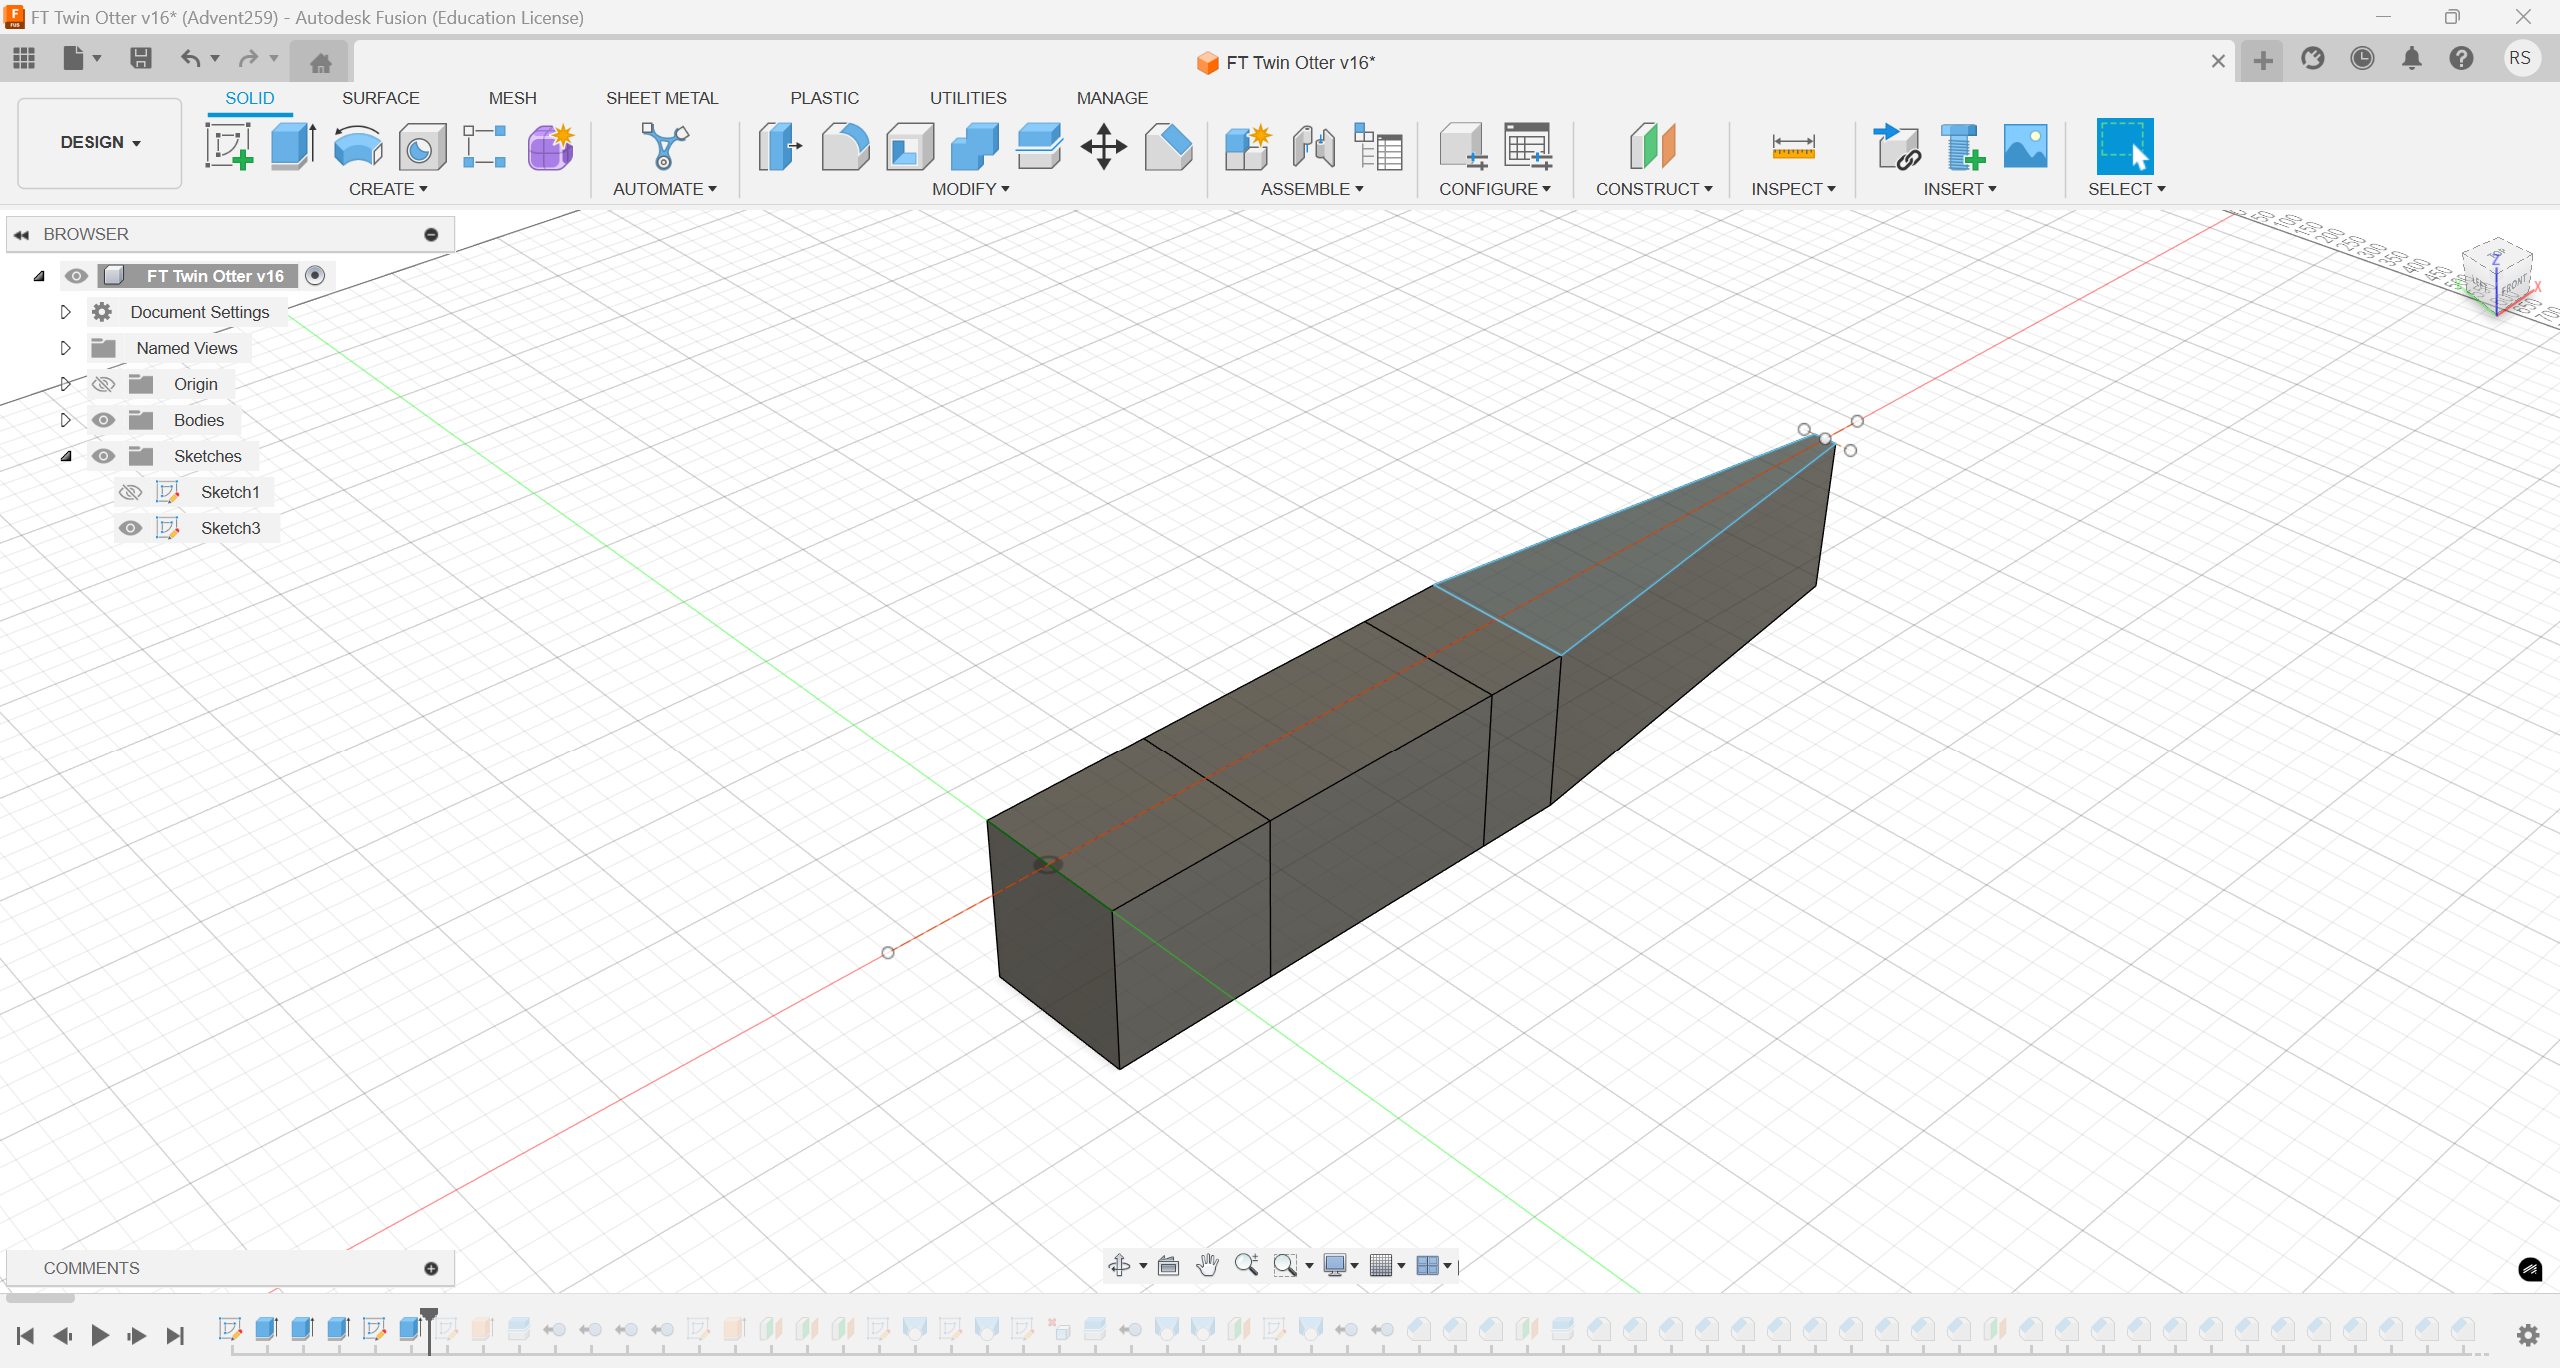
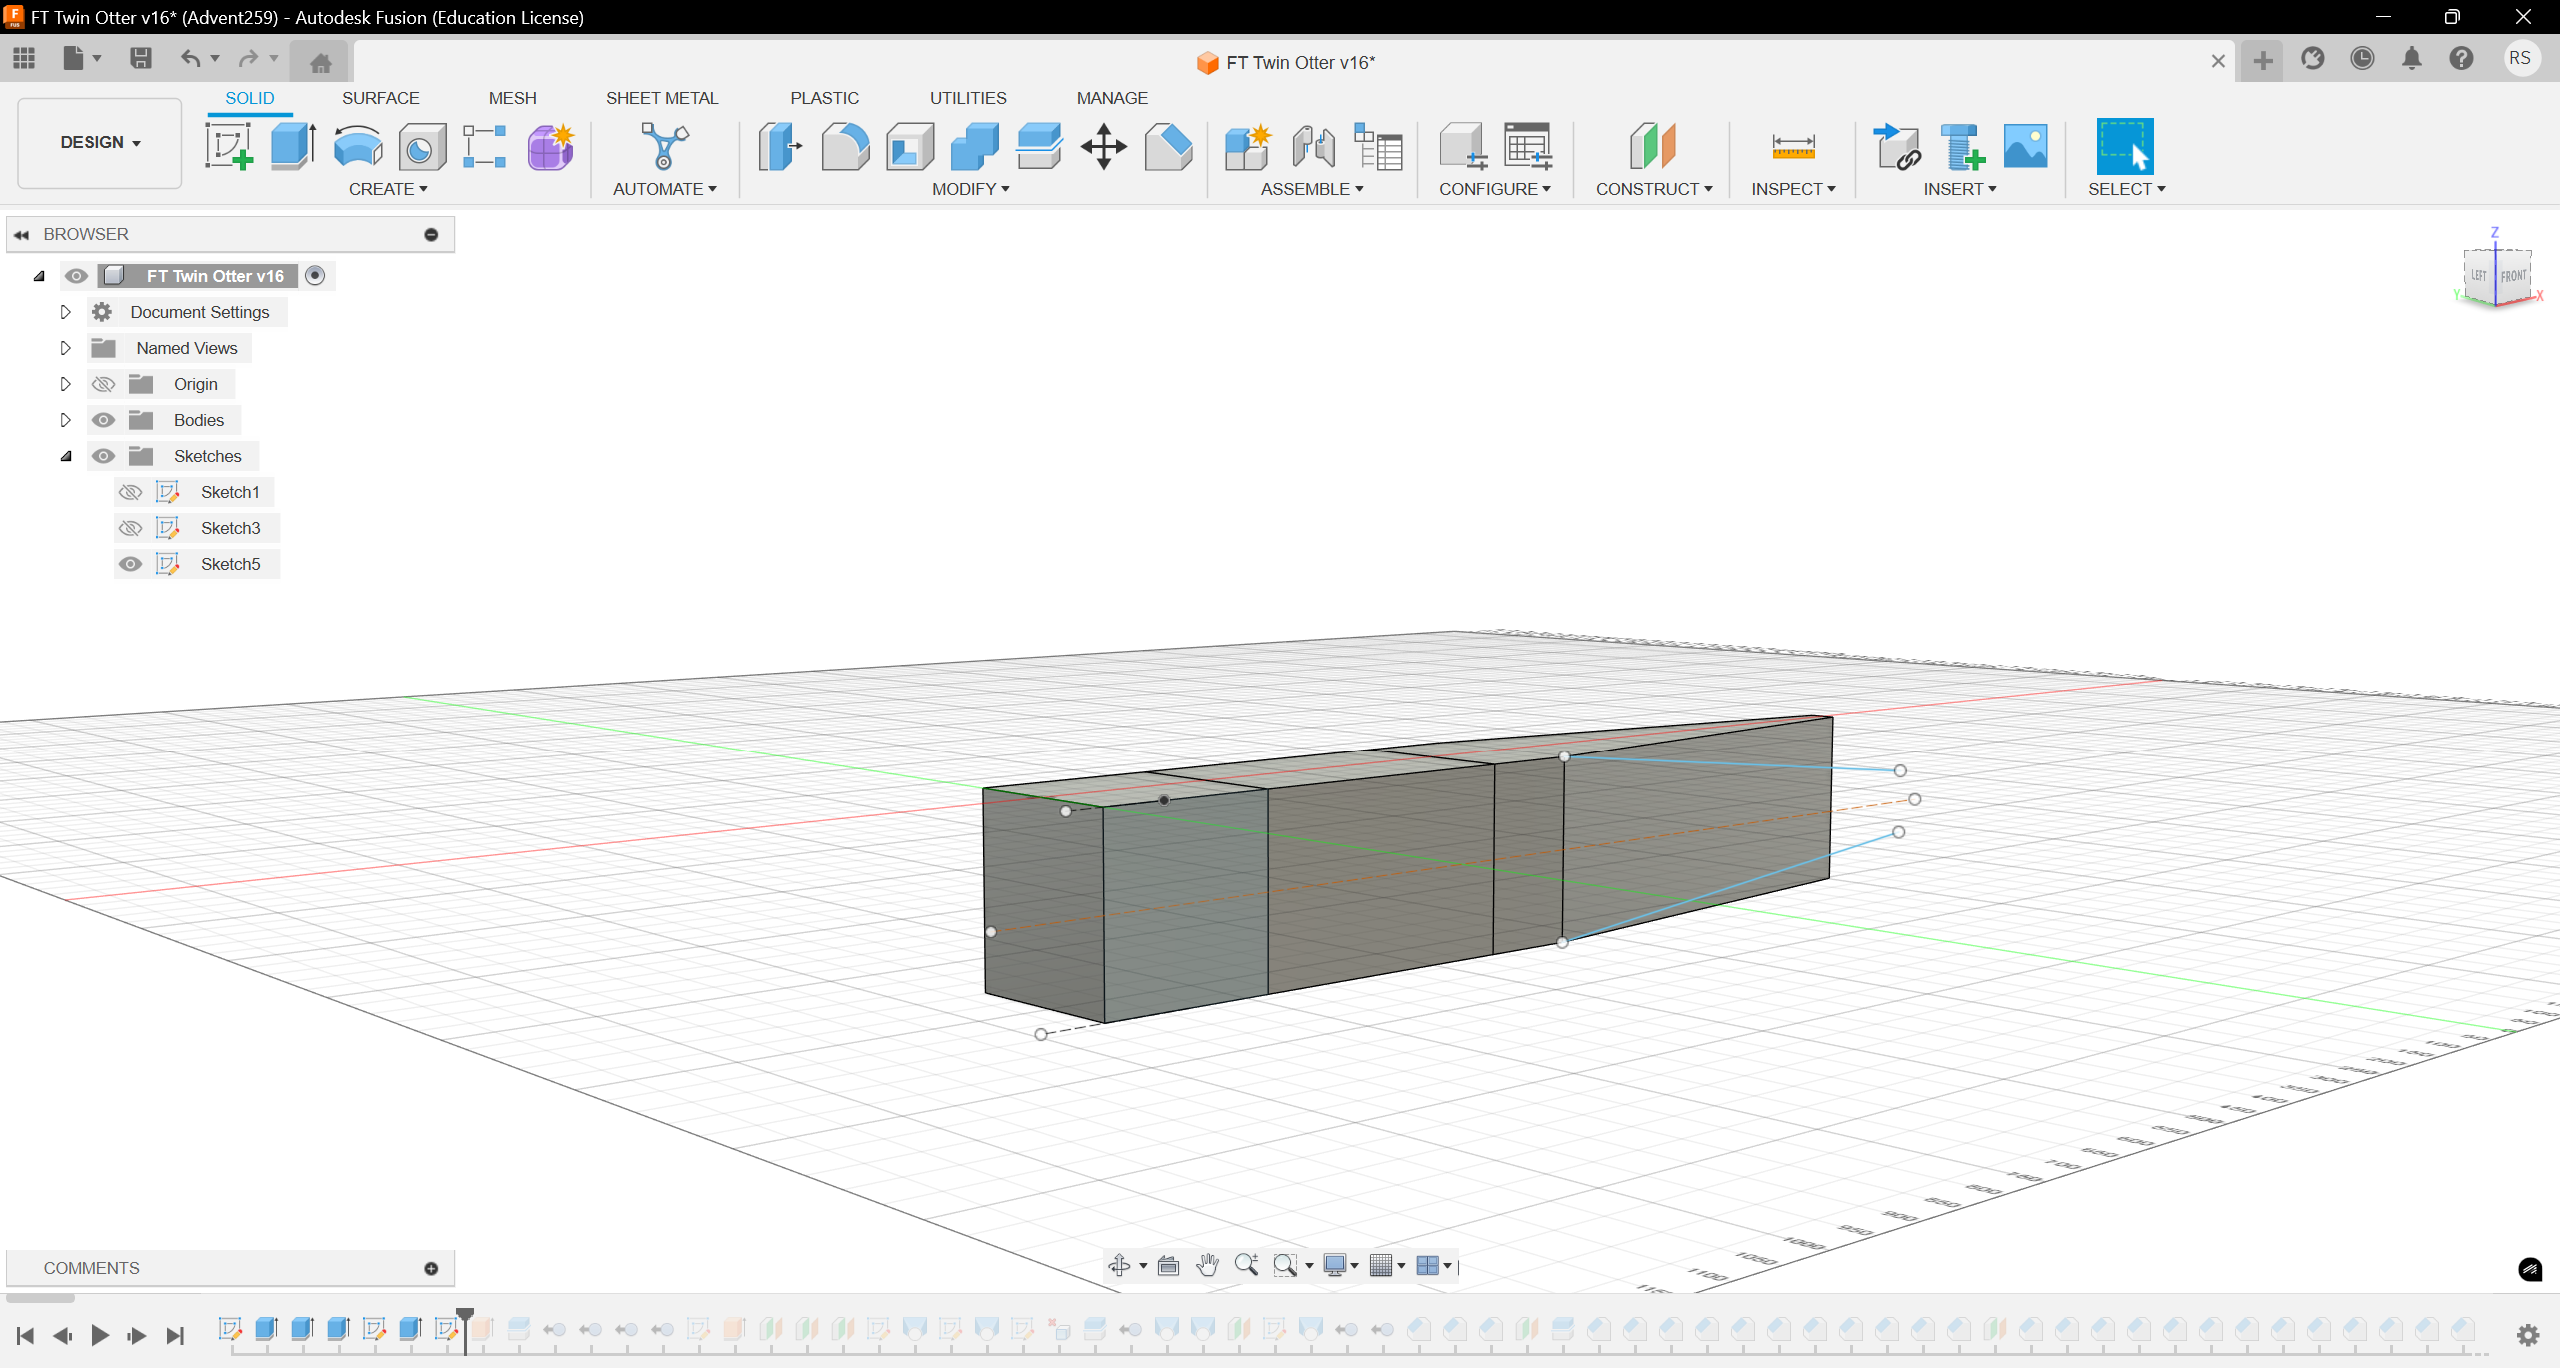
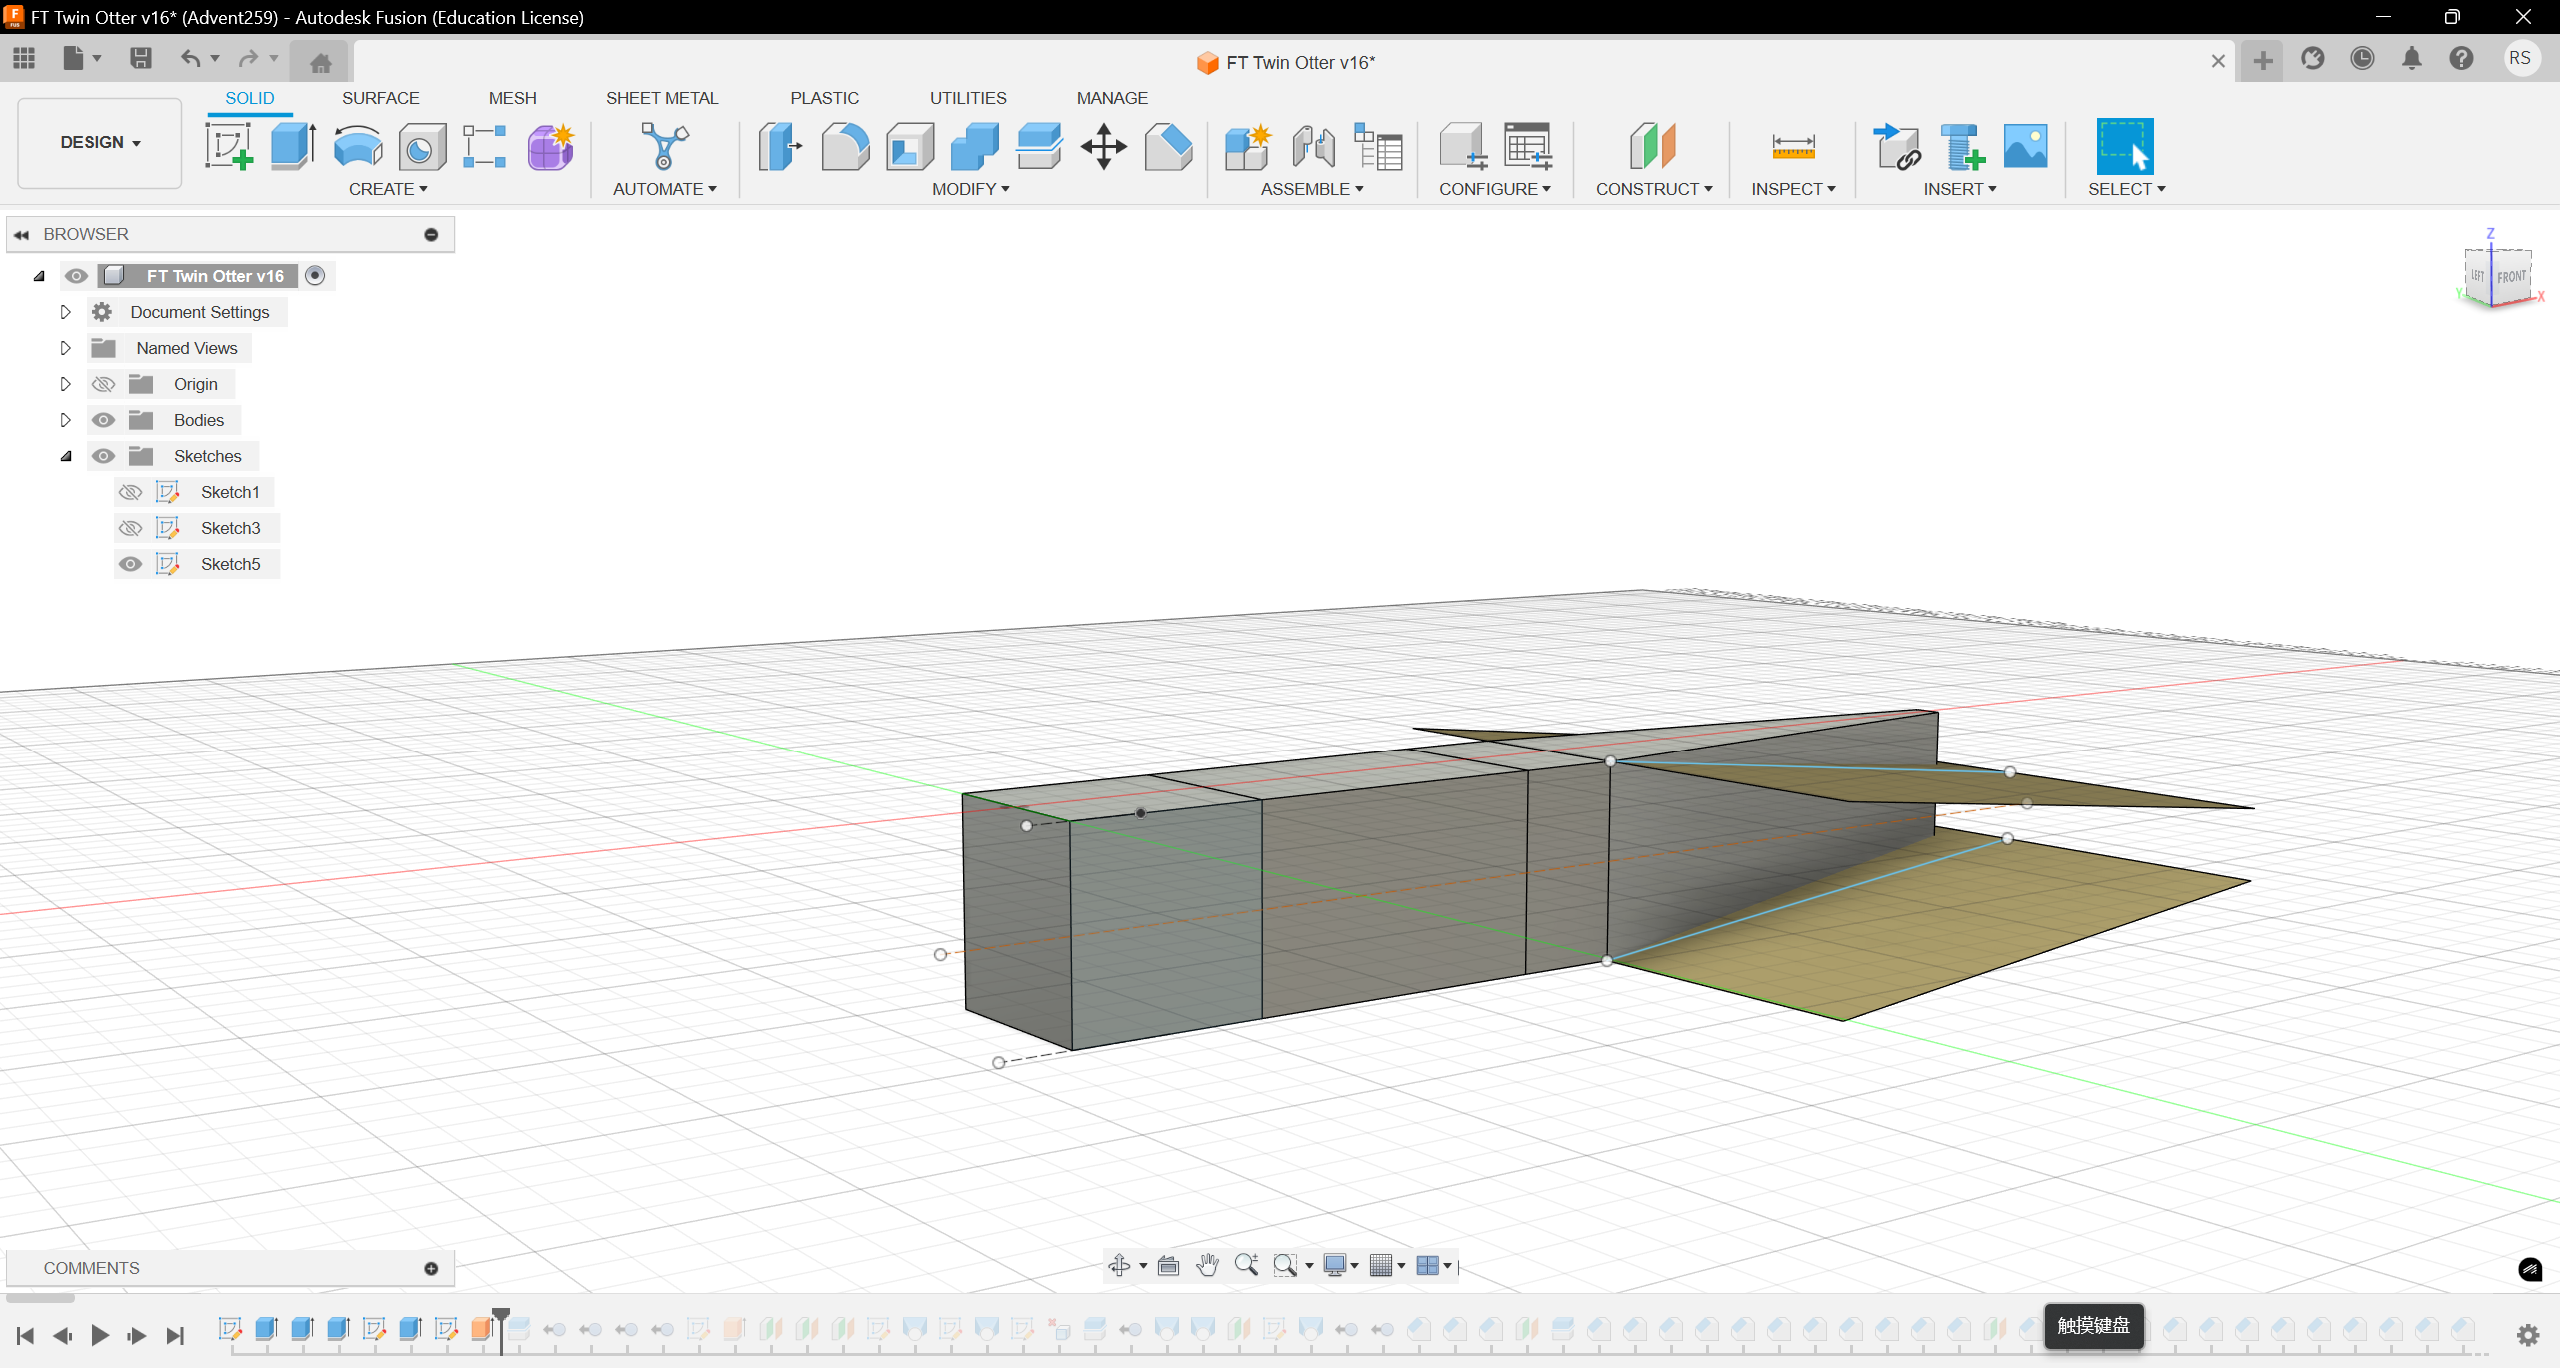
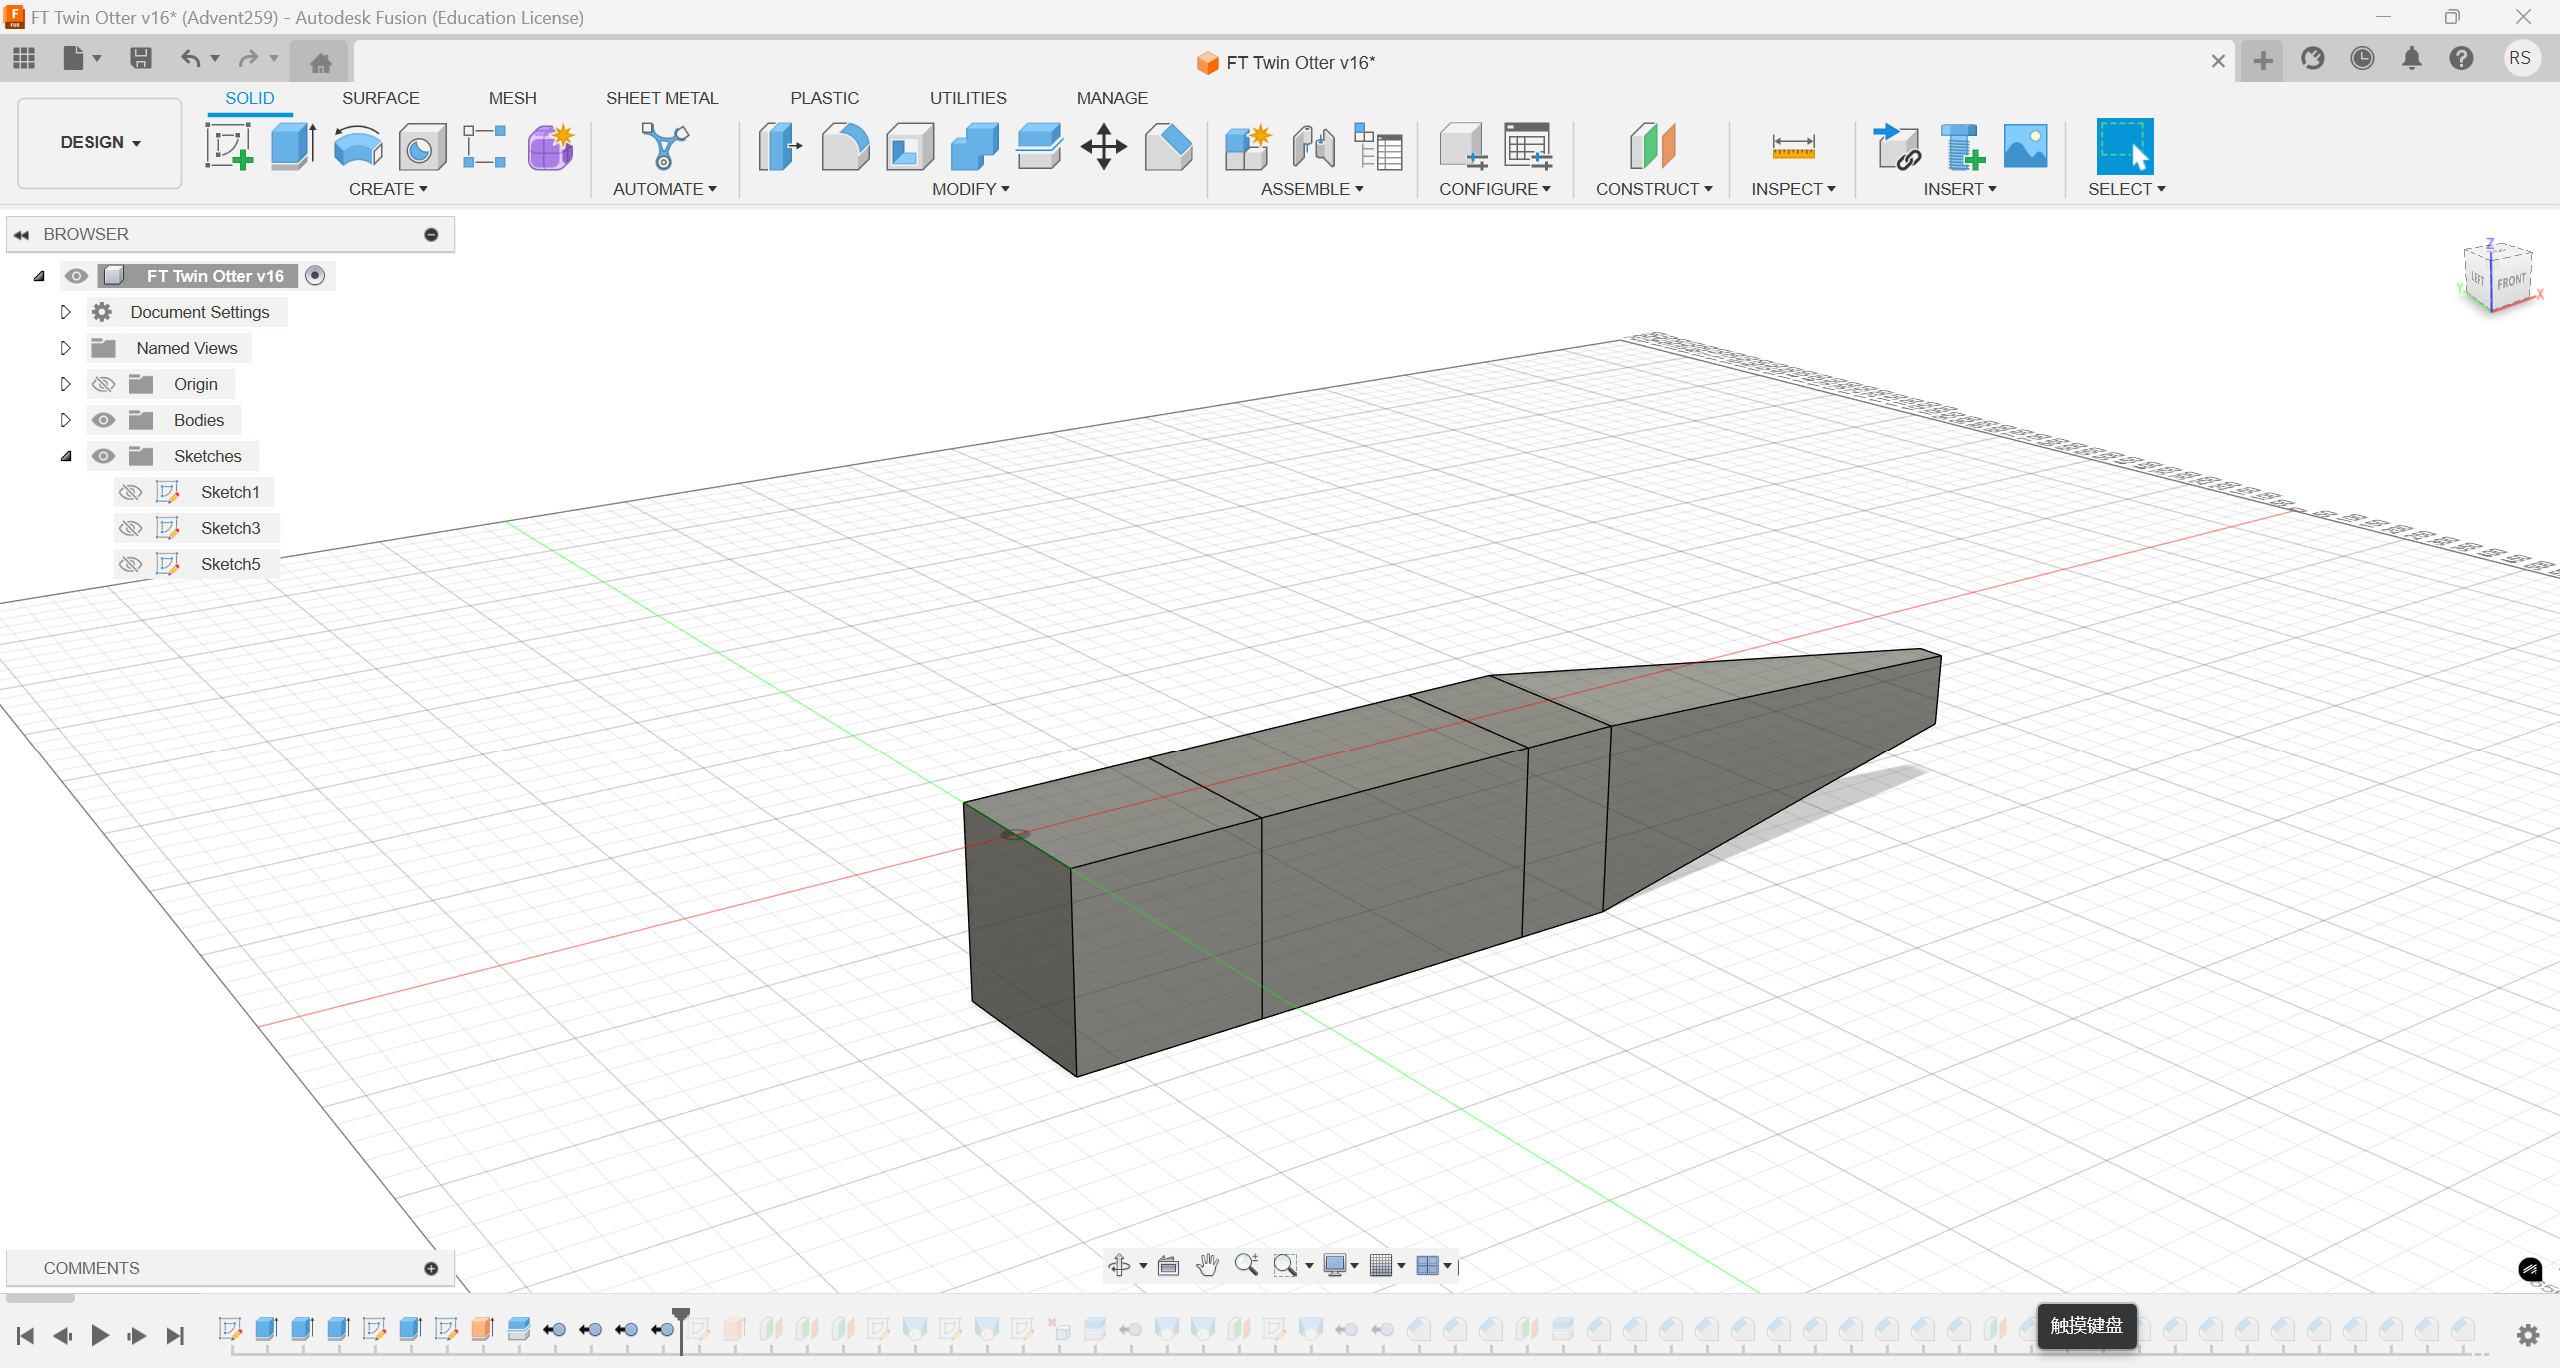
- Sketch a trapezoid with 910 height,300, 50 bottom length, and extrude to create a solid same height as the previous block. (Picture 1)
- Sketch two lines on the side surface and create surfaces to split the tail, and remove the extra parts. (Picture 1, 2, 3)
Head


- Use loft to create the solid of the head, with the sketches created. (Picture 1, 2, 3)
Chamfer the Edges
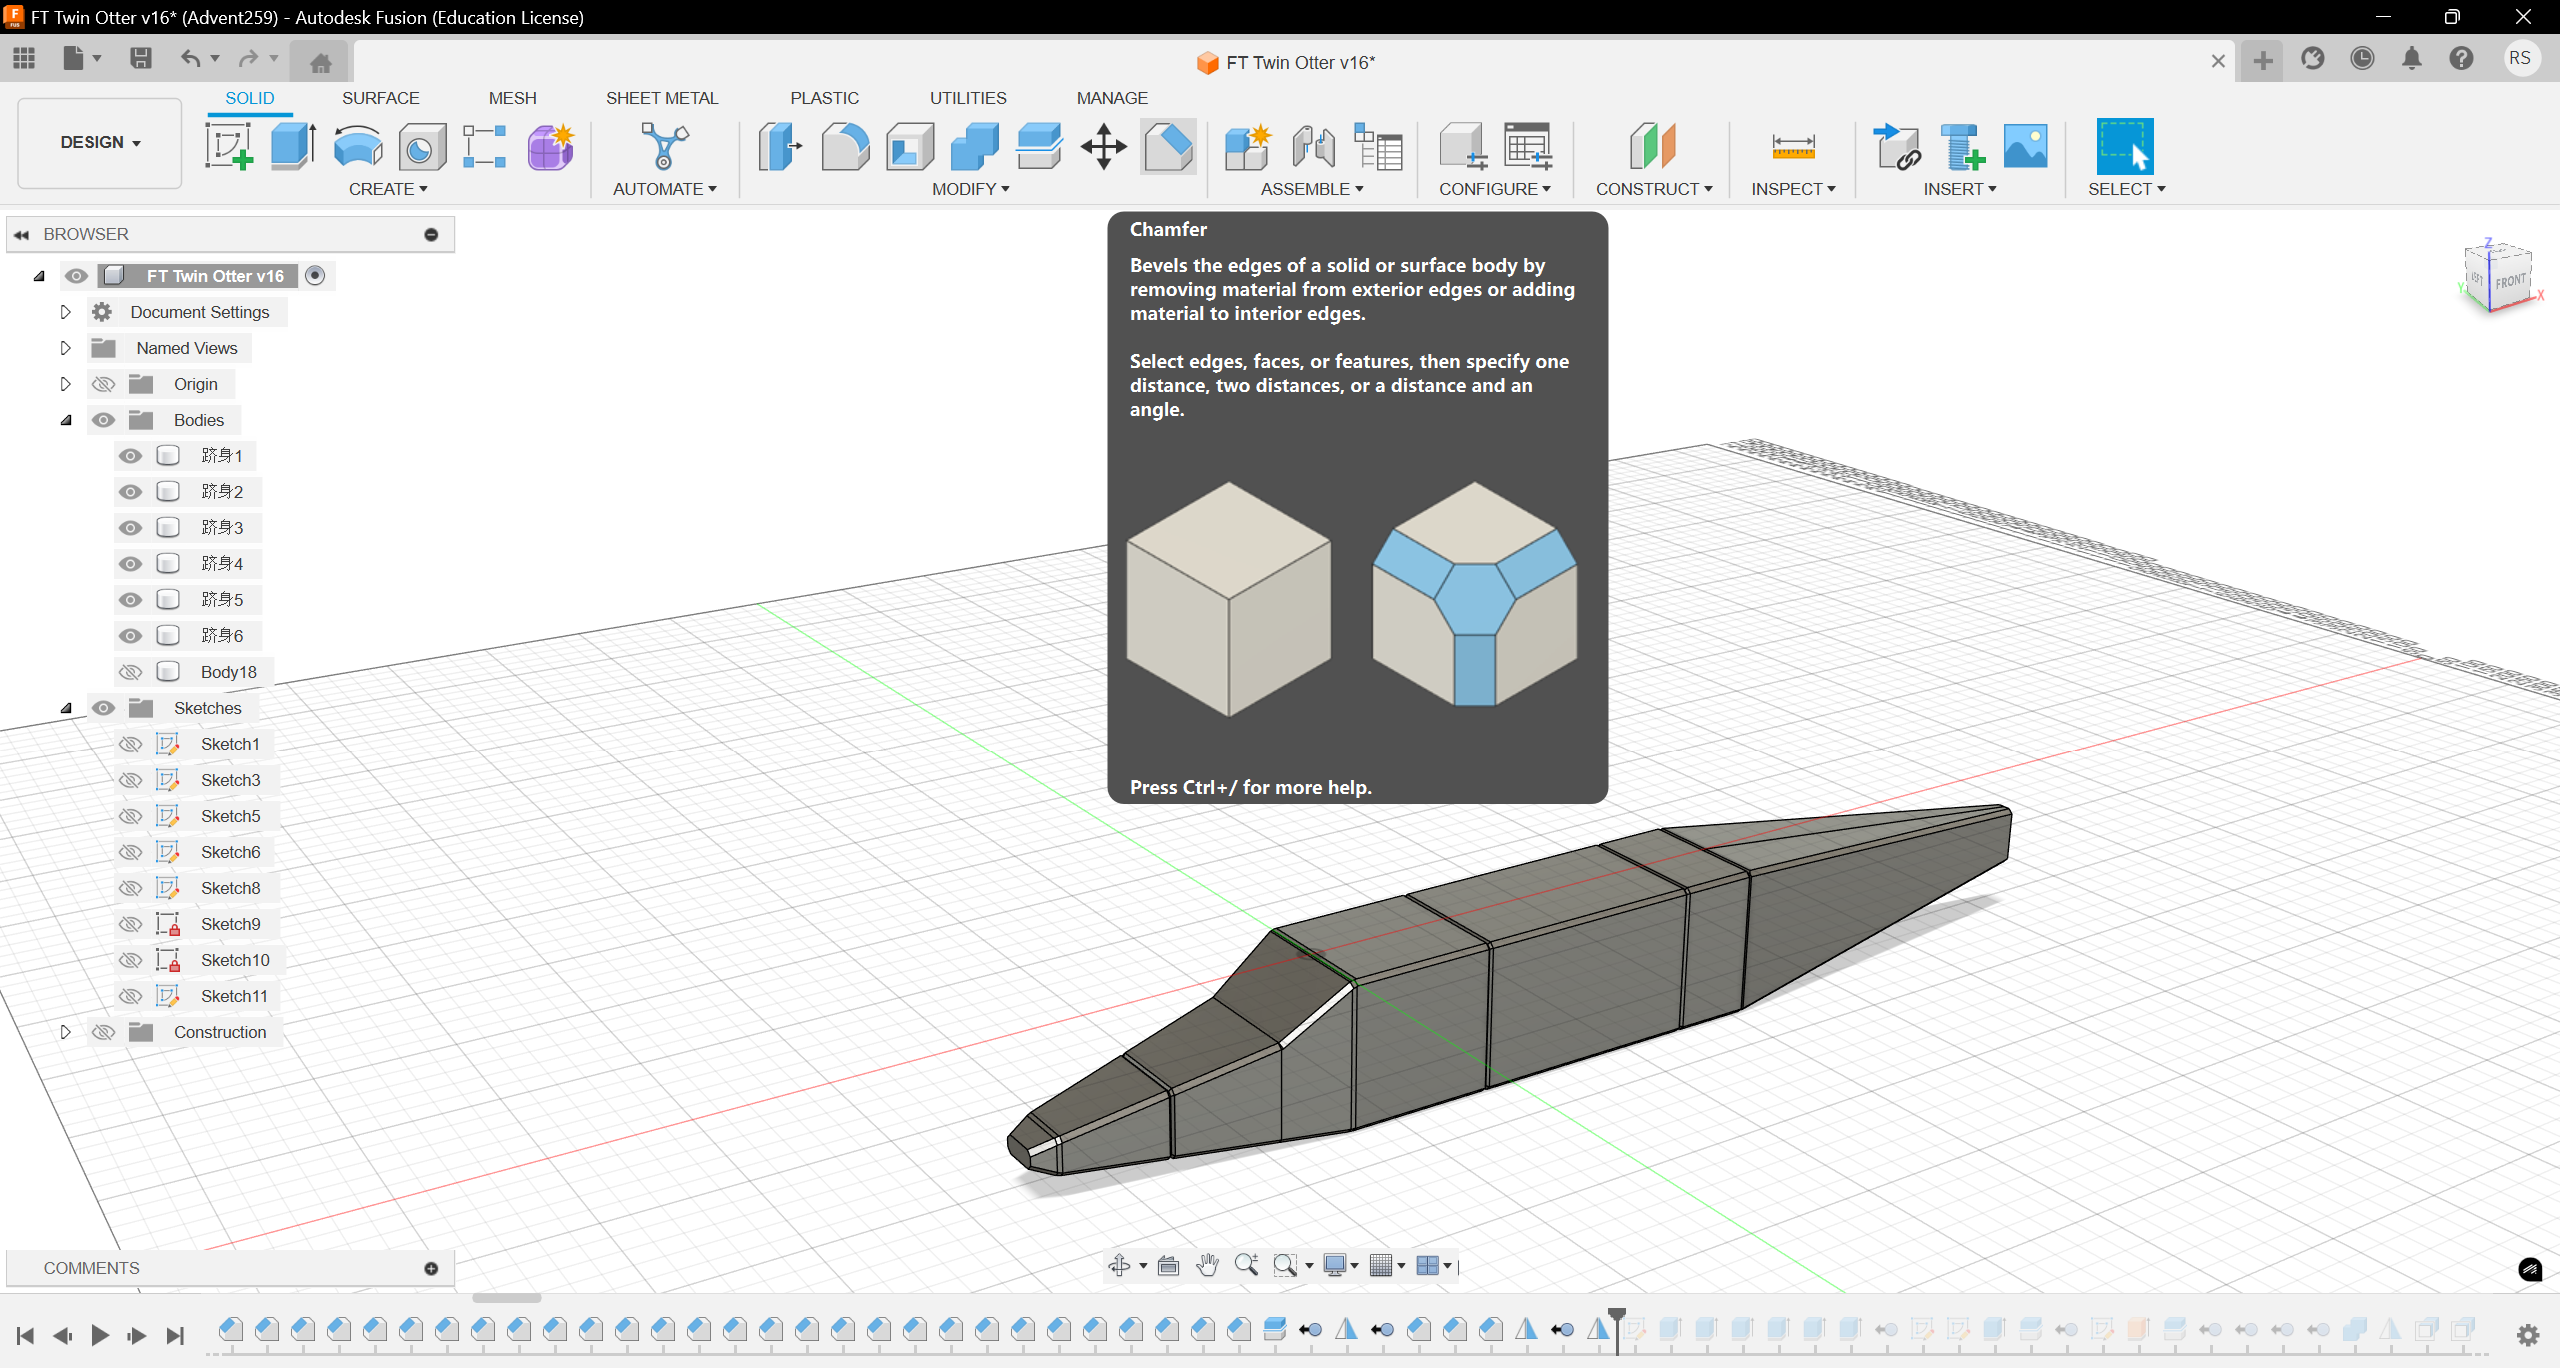
- Use “Chamfer” to all the edges. The chamfer distance is 10. (Picture 1)
Wing

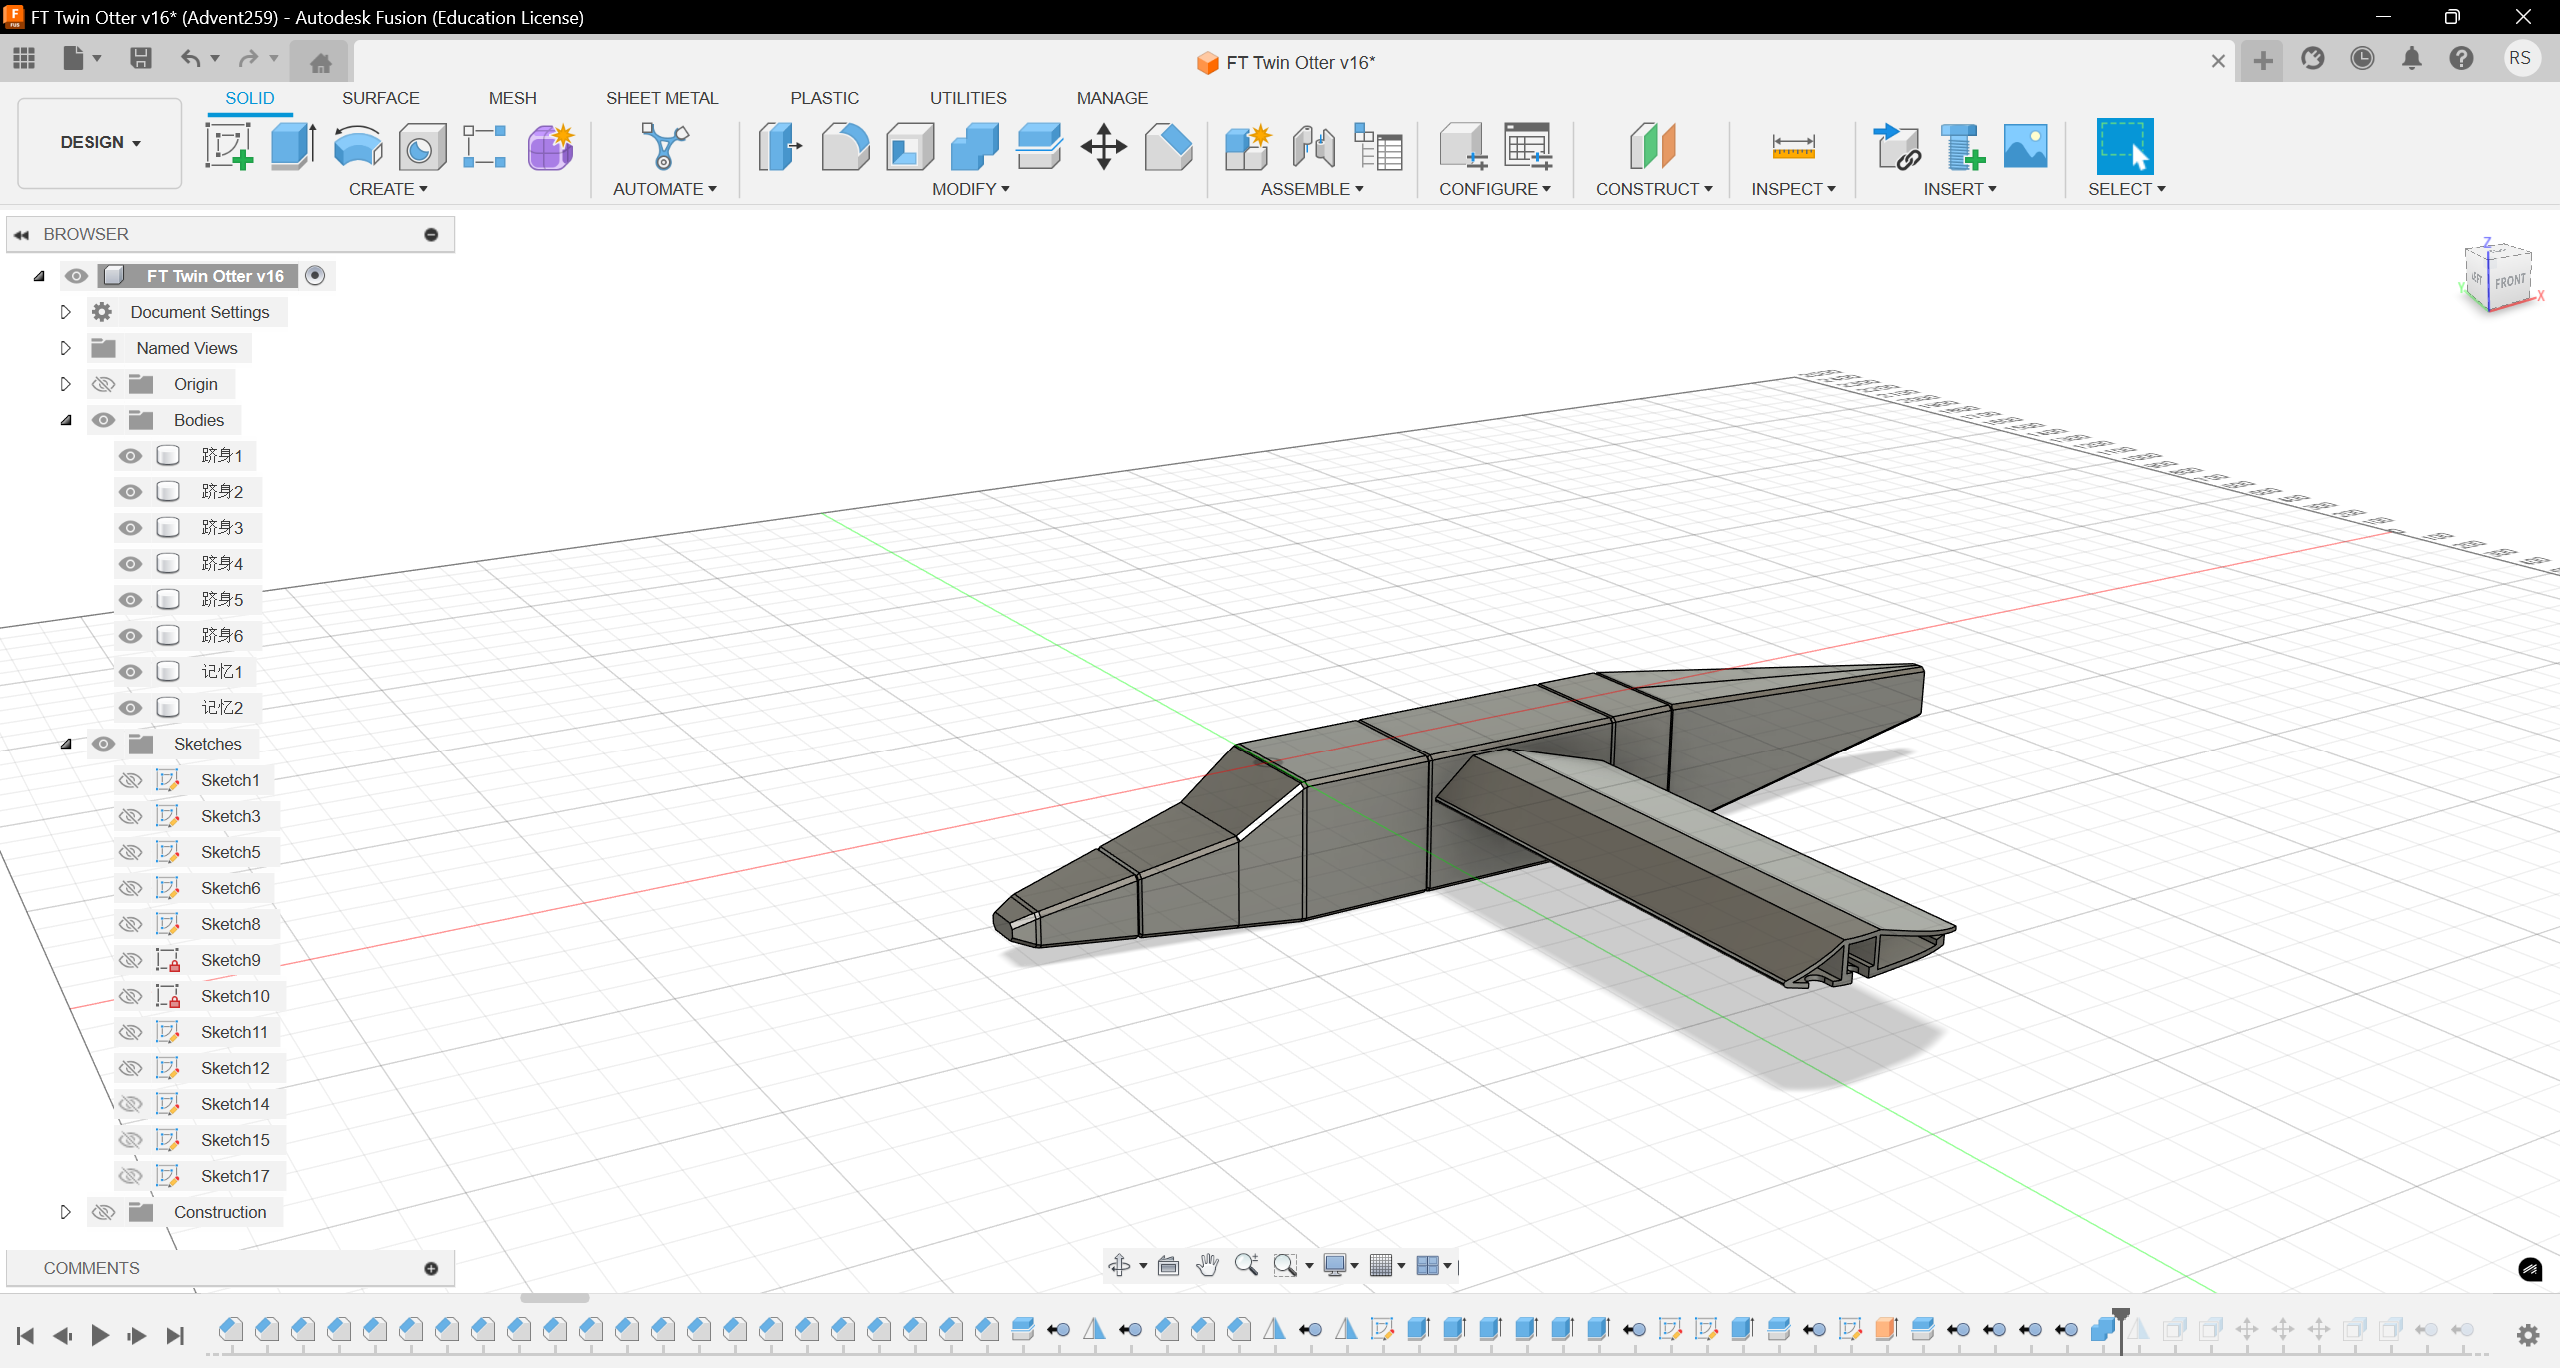


- Sketch the section of the wing with line tool. (Picture 1)
- Use Extrude to create the wing with 1280 length. (Picture 2)
- Sketch and Extrude to cut the extra parts. (Picture 3, 4)
Container of the Engine


- Create a surface with “Extrude”, sketch the section on it. Use “Extrude”, first to cut the extra part on the wing with the section, than create the front part of the container with the section of the length 320. (Picture 1, 2, 3)
- Then cut remove 90 from its end. (Picture 4)
- Create a surface and sketch a smaller section as its end, then use “Loft” to first cut the extra part on the wing, then create the solid. (Picture 5, 6, 7)
- Extrude the internal part of the container 150. (Picture 8)
Engine
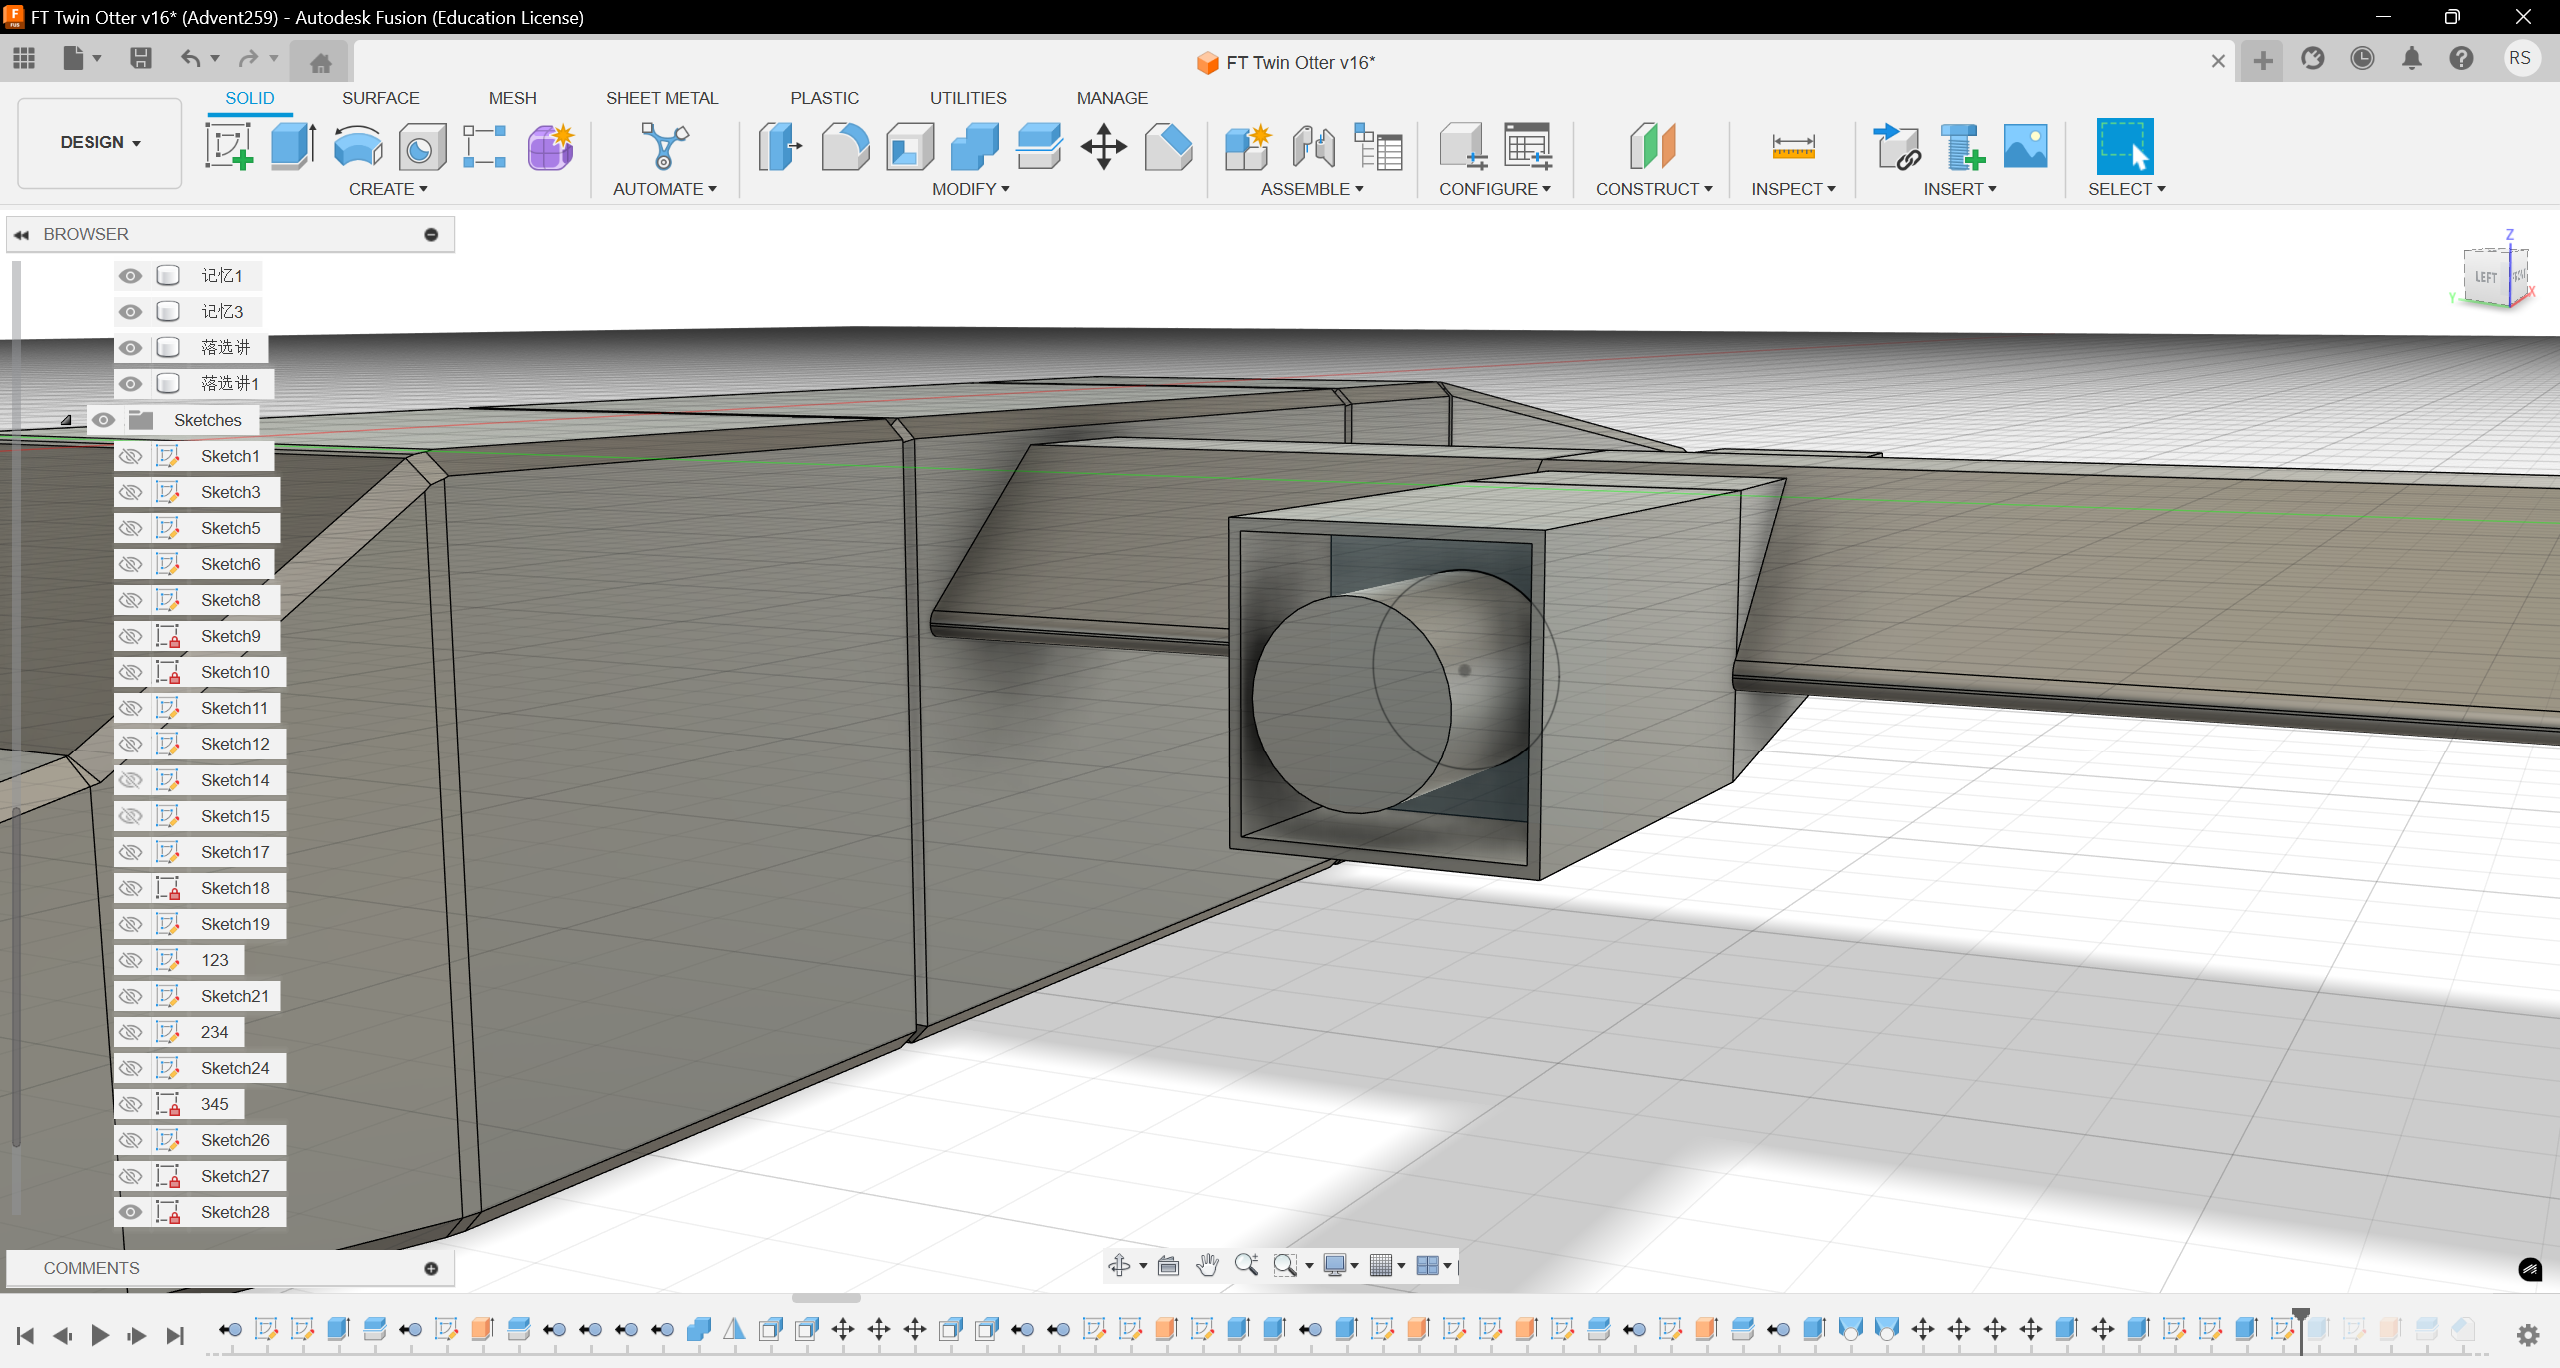

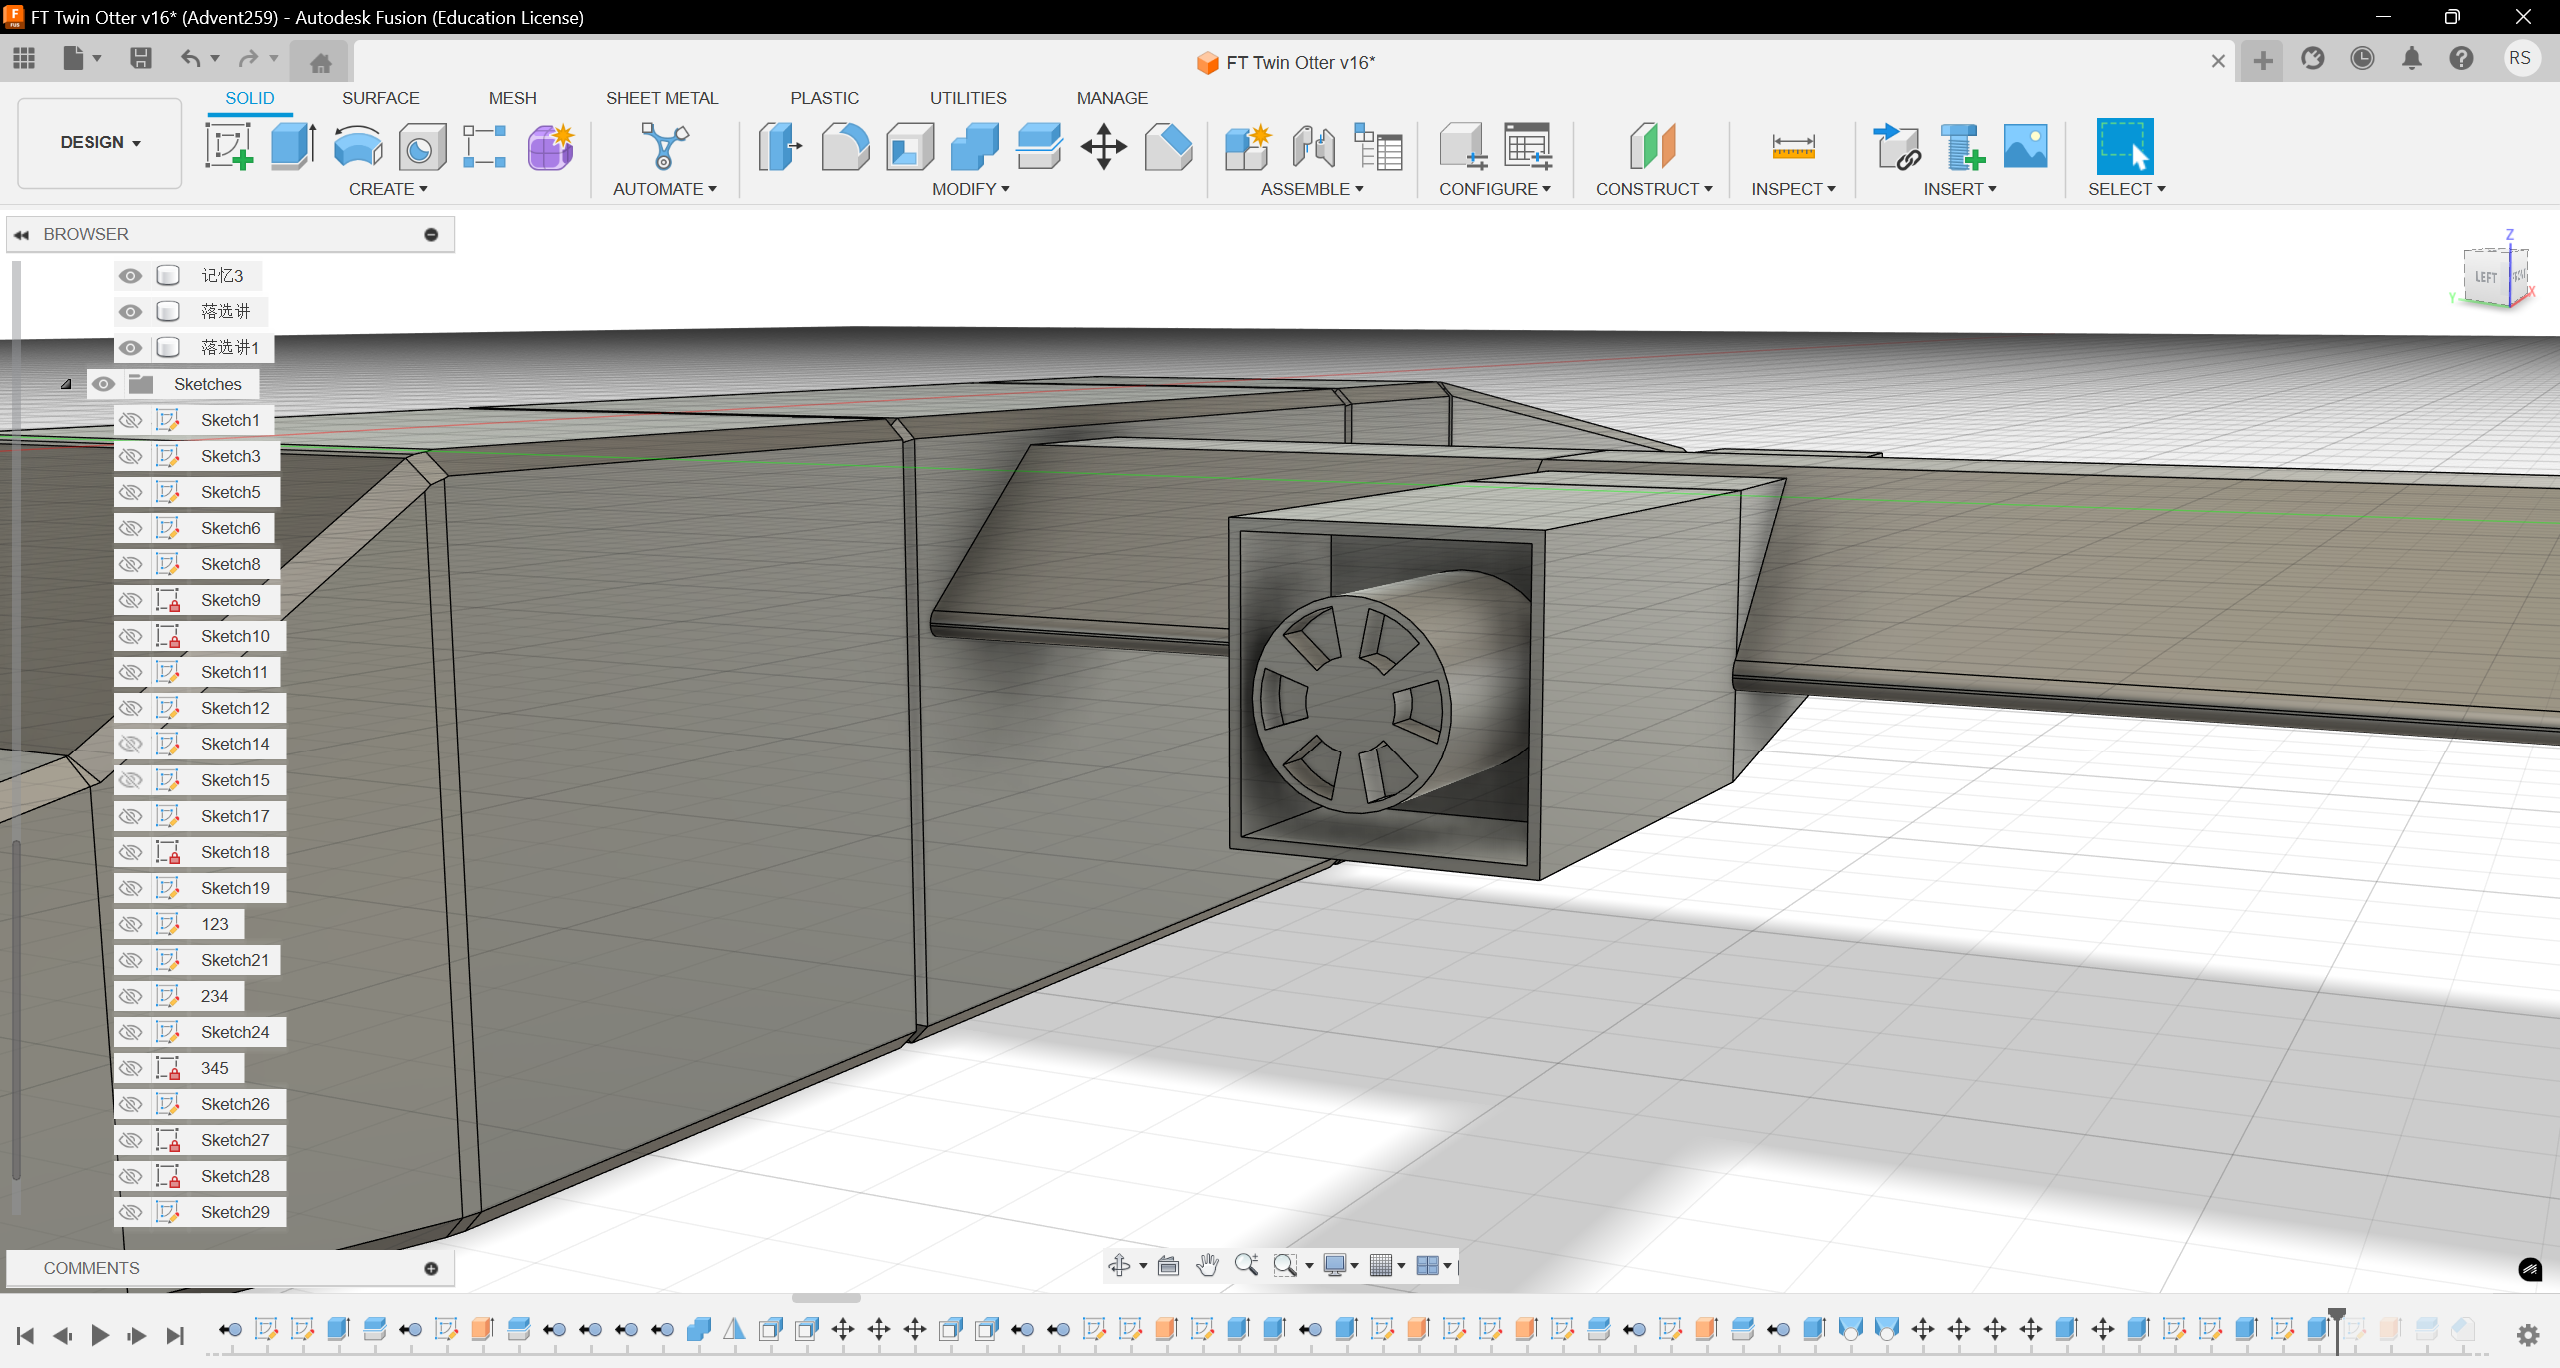

- Use “Extrude” to create a cylinder with 105 height and 80 diameter. (Picture 1)
- Sketch the shape of the engine with “Circular Pattern” tool. (Picture 2)
- Then Extrude to cut 15. (Picture 3)
- Create a concentric cylinder on the previous one with 20 height and 25 diameter. (Picture 4)
Propeller


- Use “Coil” tool to sketch the edge of the propeller. (Picture 1)
- Use “Loft” Tool to connect the edges. (Picture 2)
- Create two surfaces to cut the extra parts. (Picture 3, 4)
- Use “Mirror” Tool to create the other part of the propeller. (Picture 5)
Create the Other Half of Wing

- Use “Mirror” Tool to create the other wing. (Picture 1)
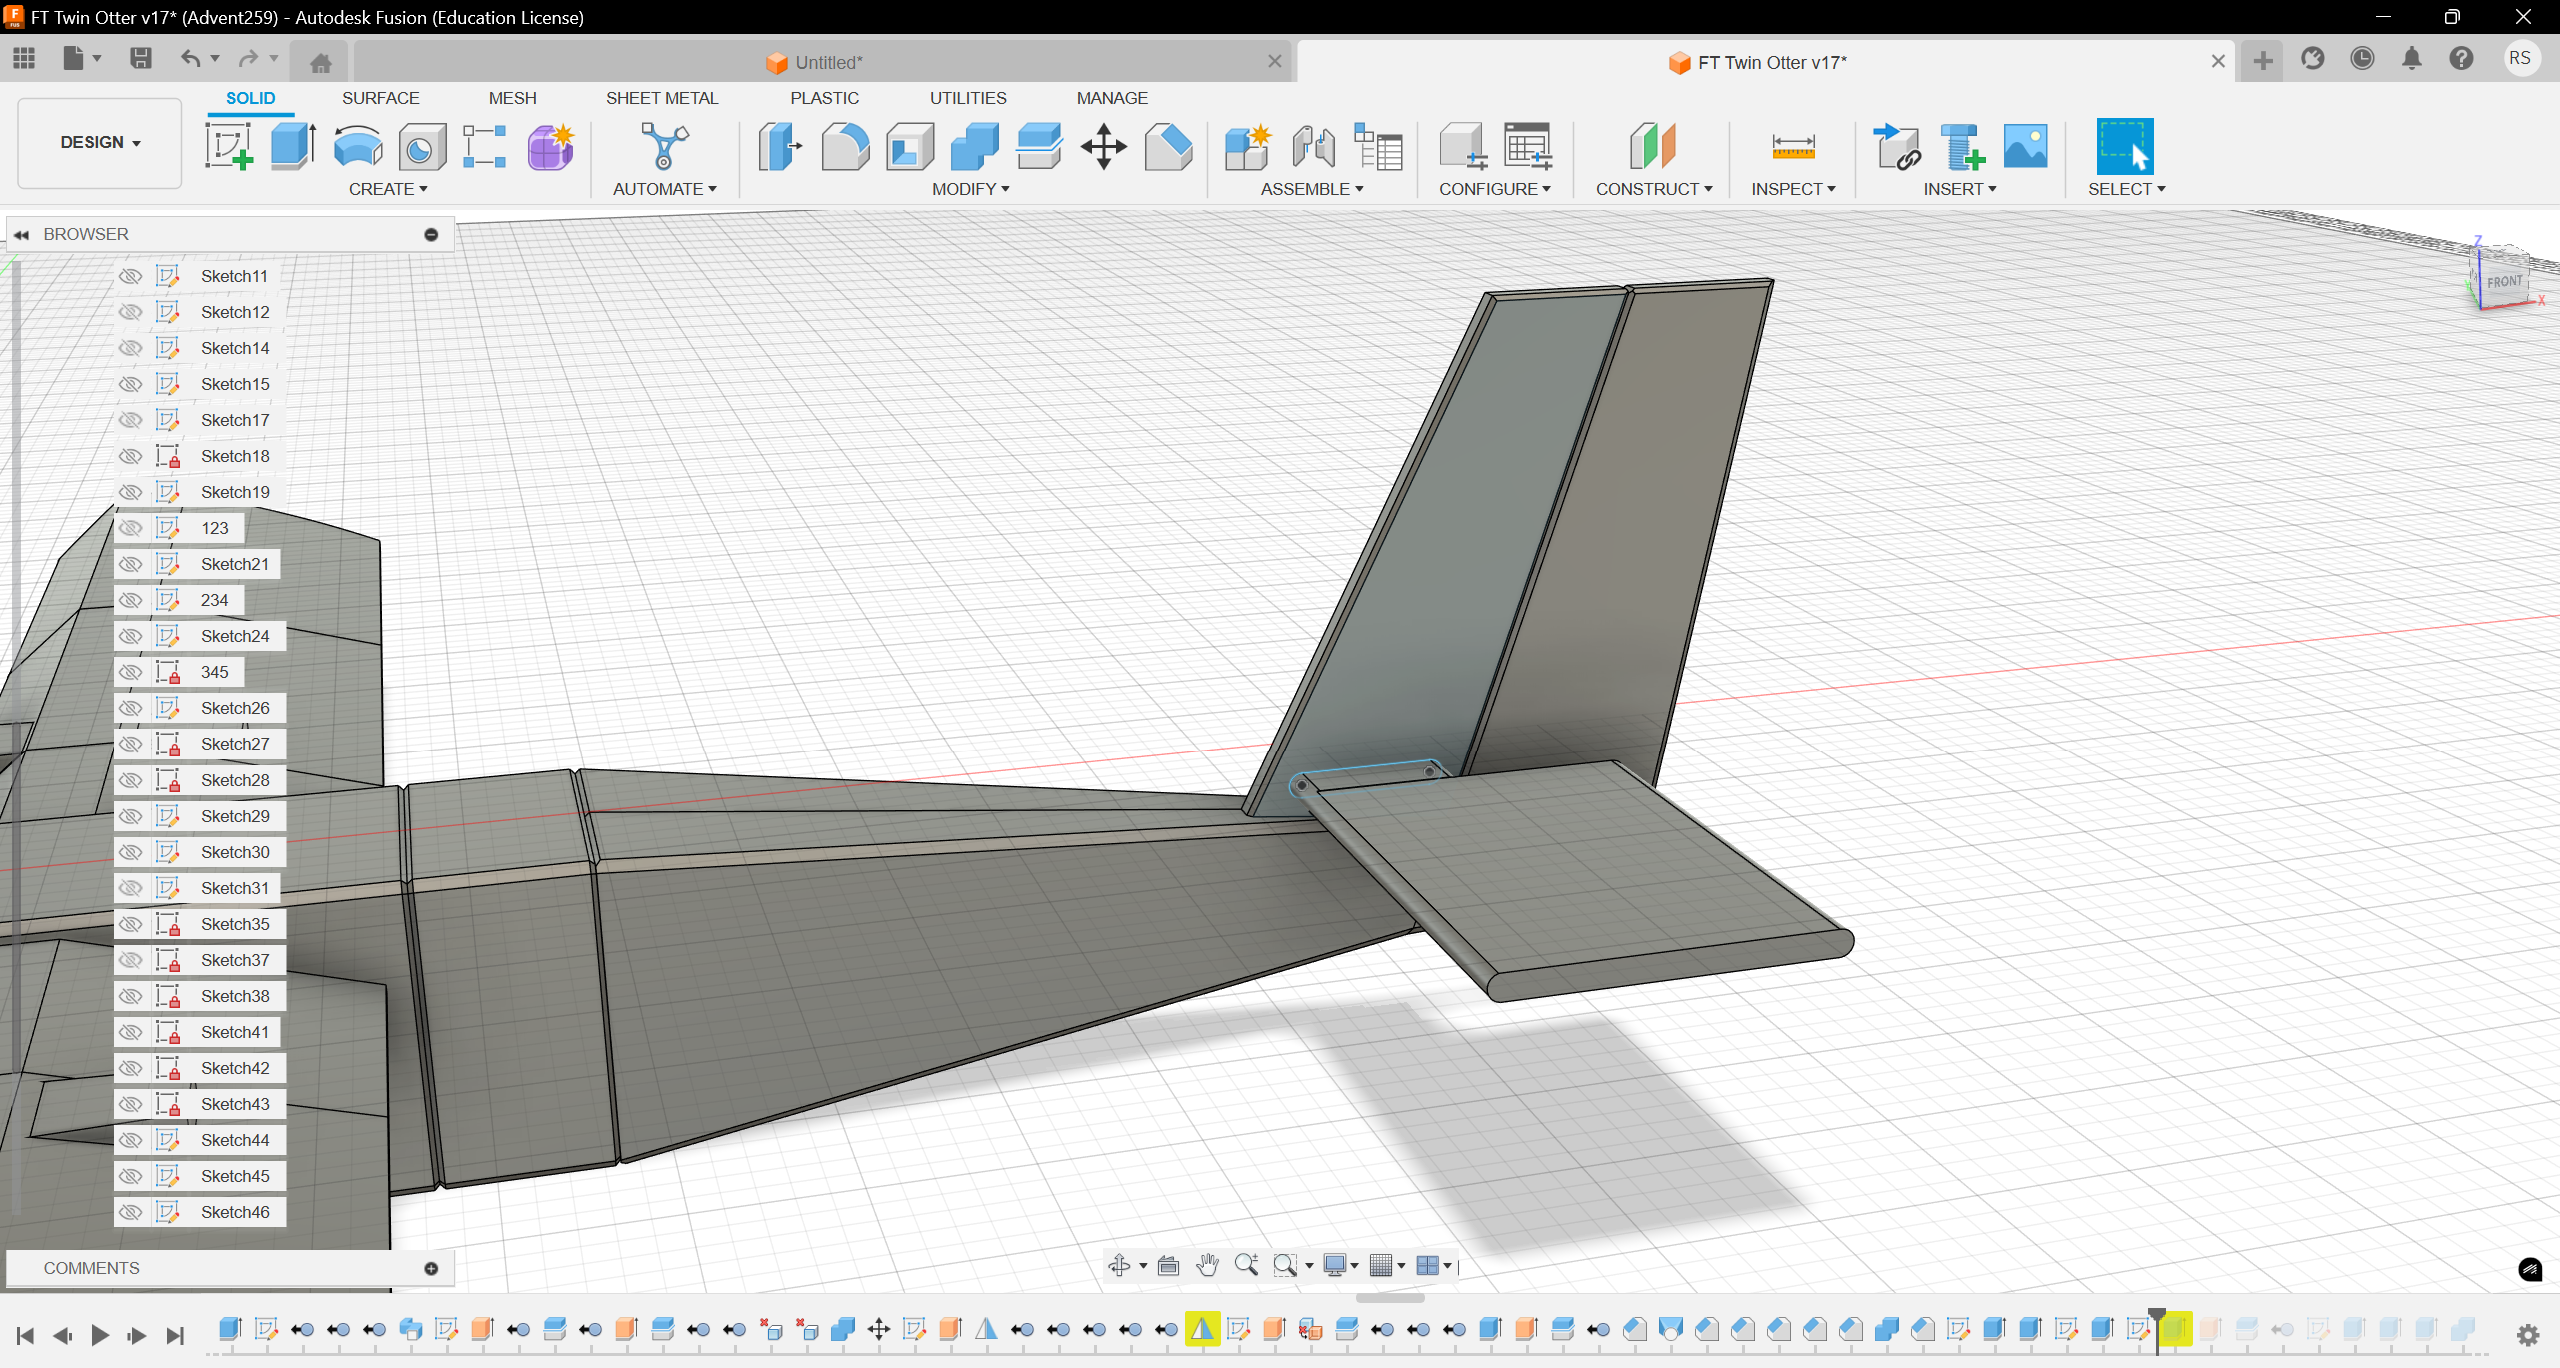
Tail Wing

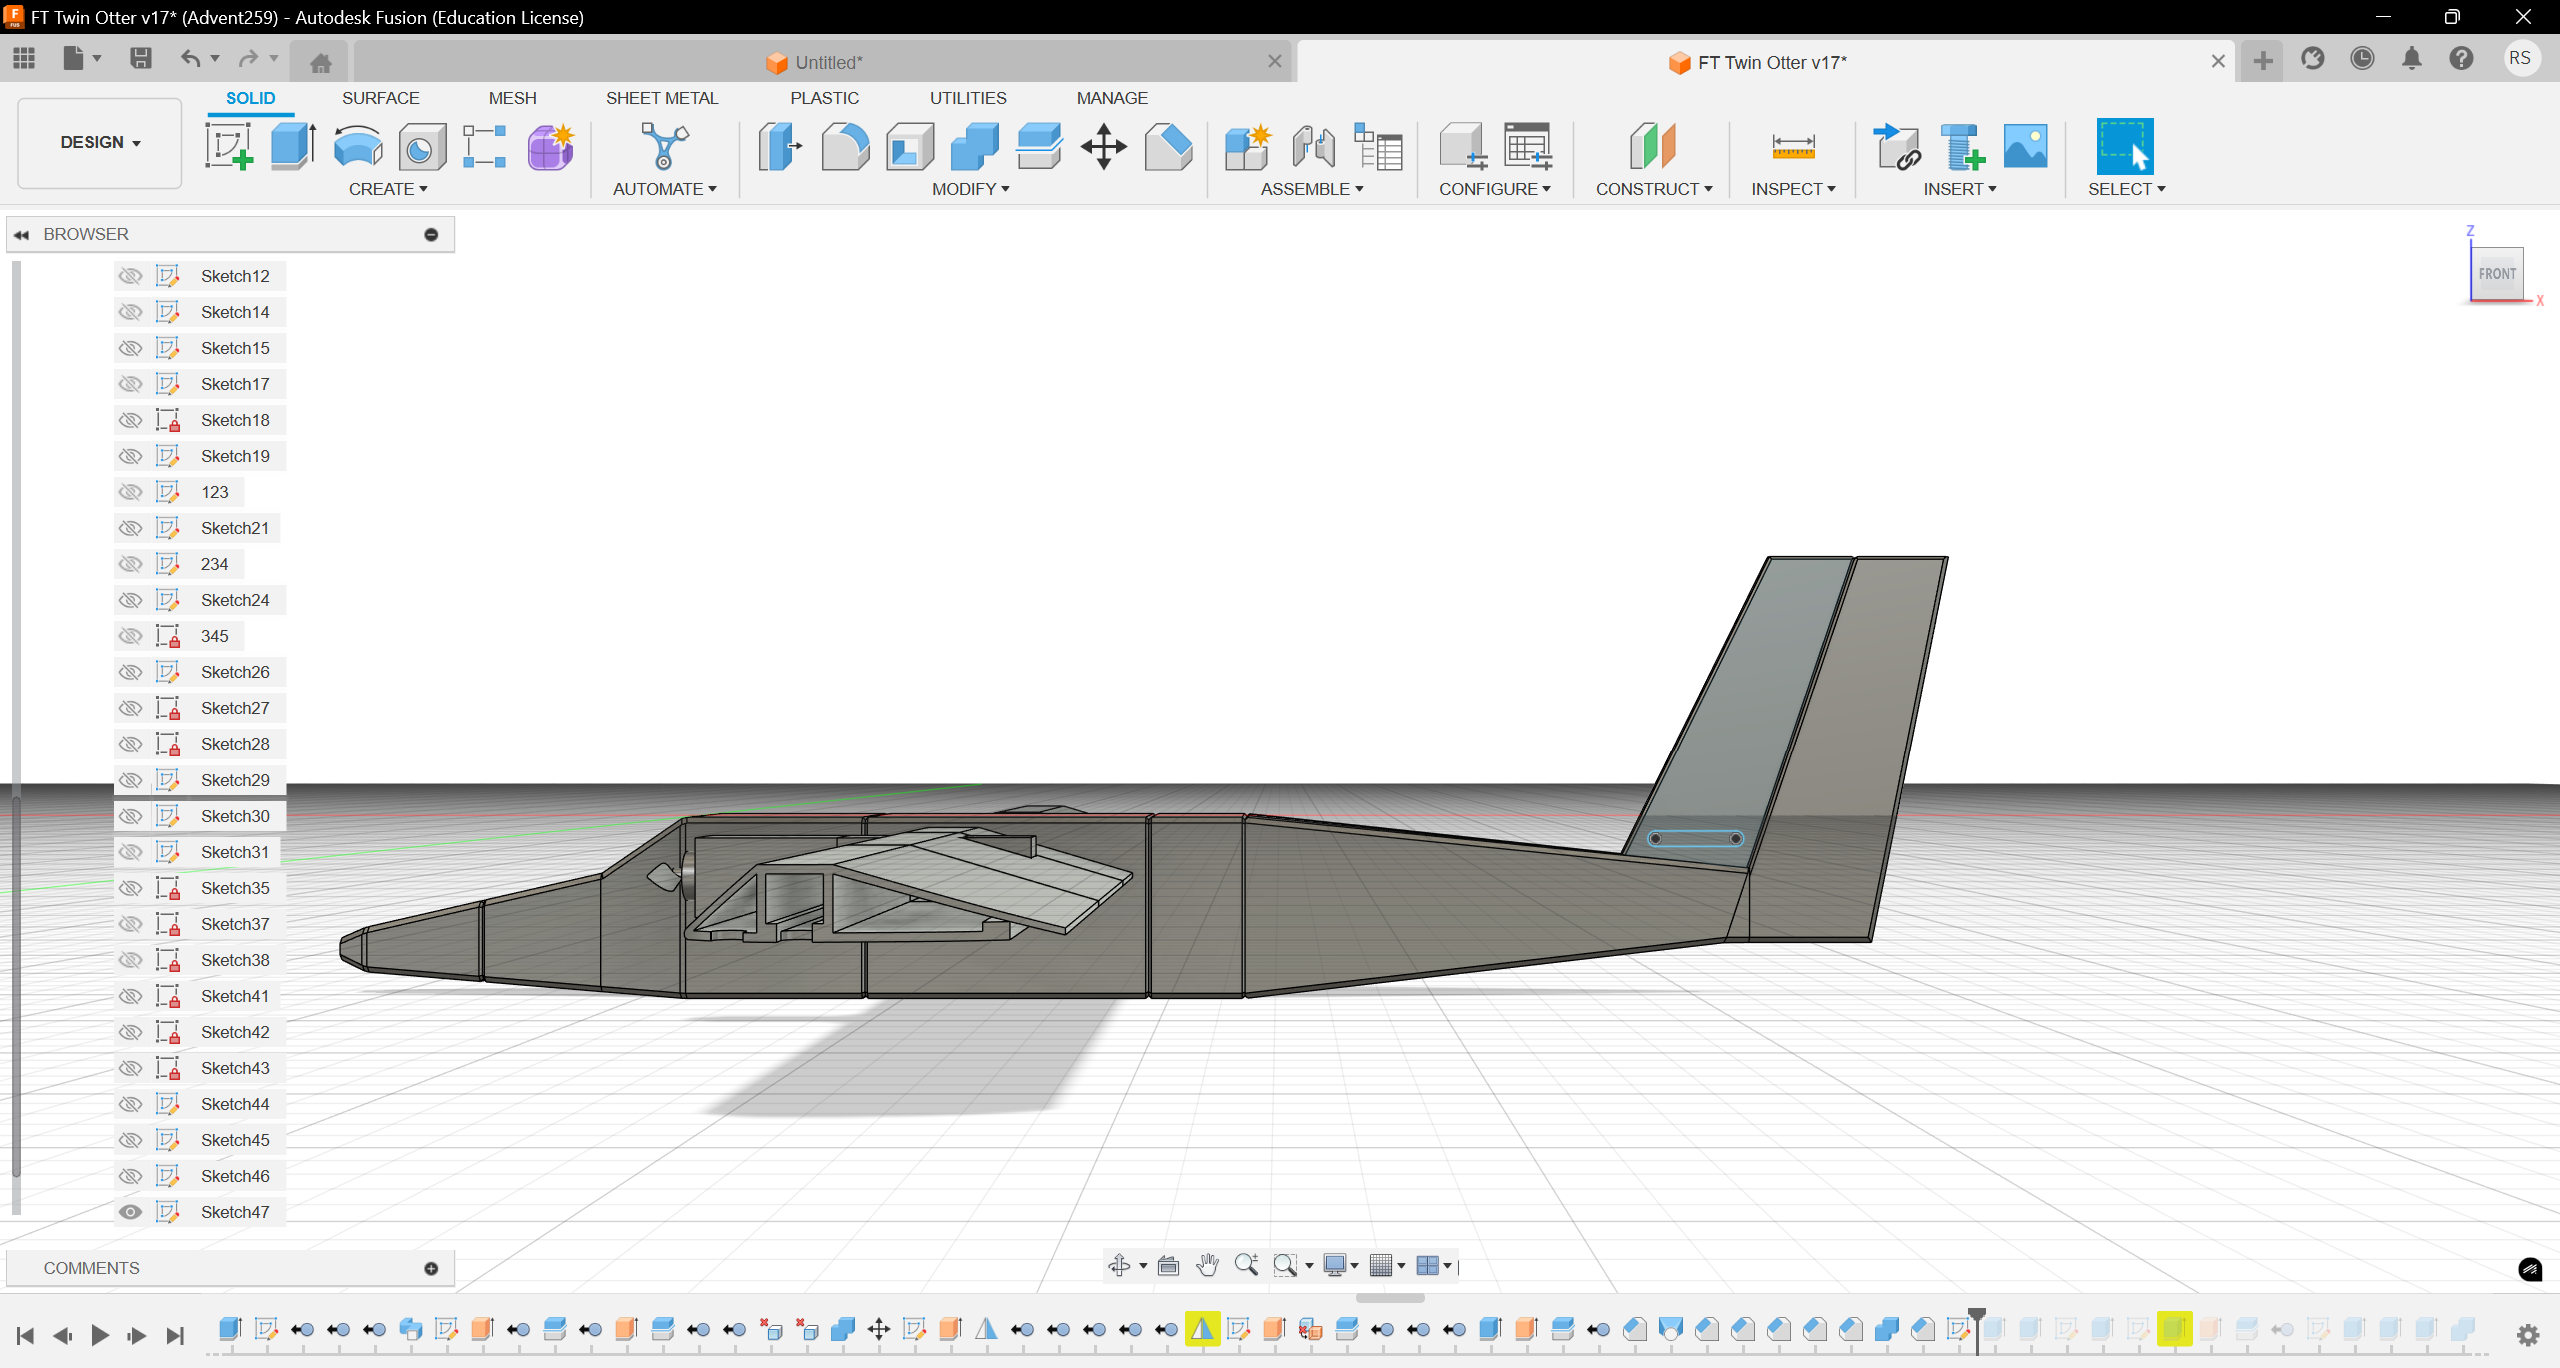

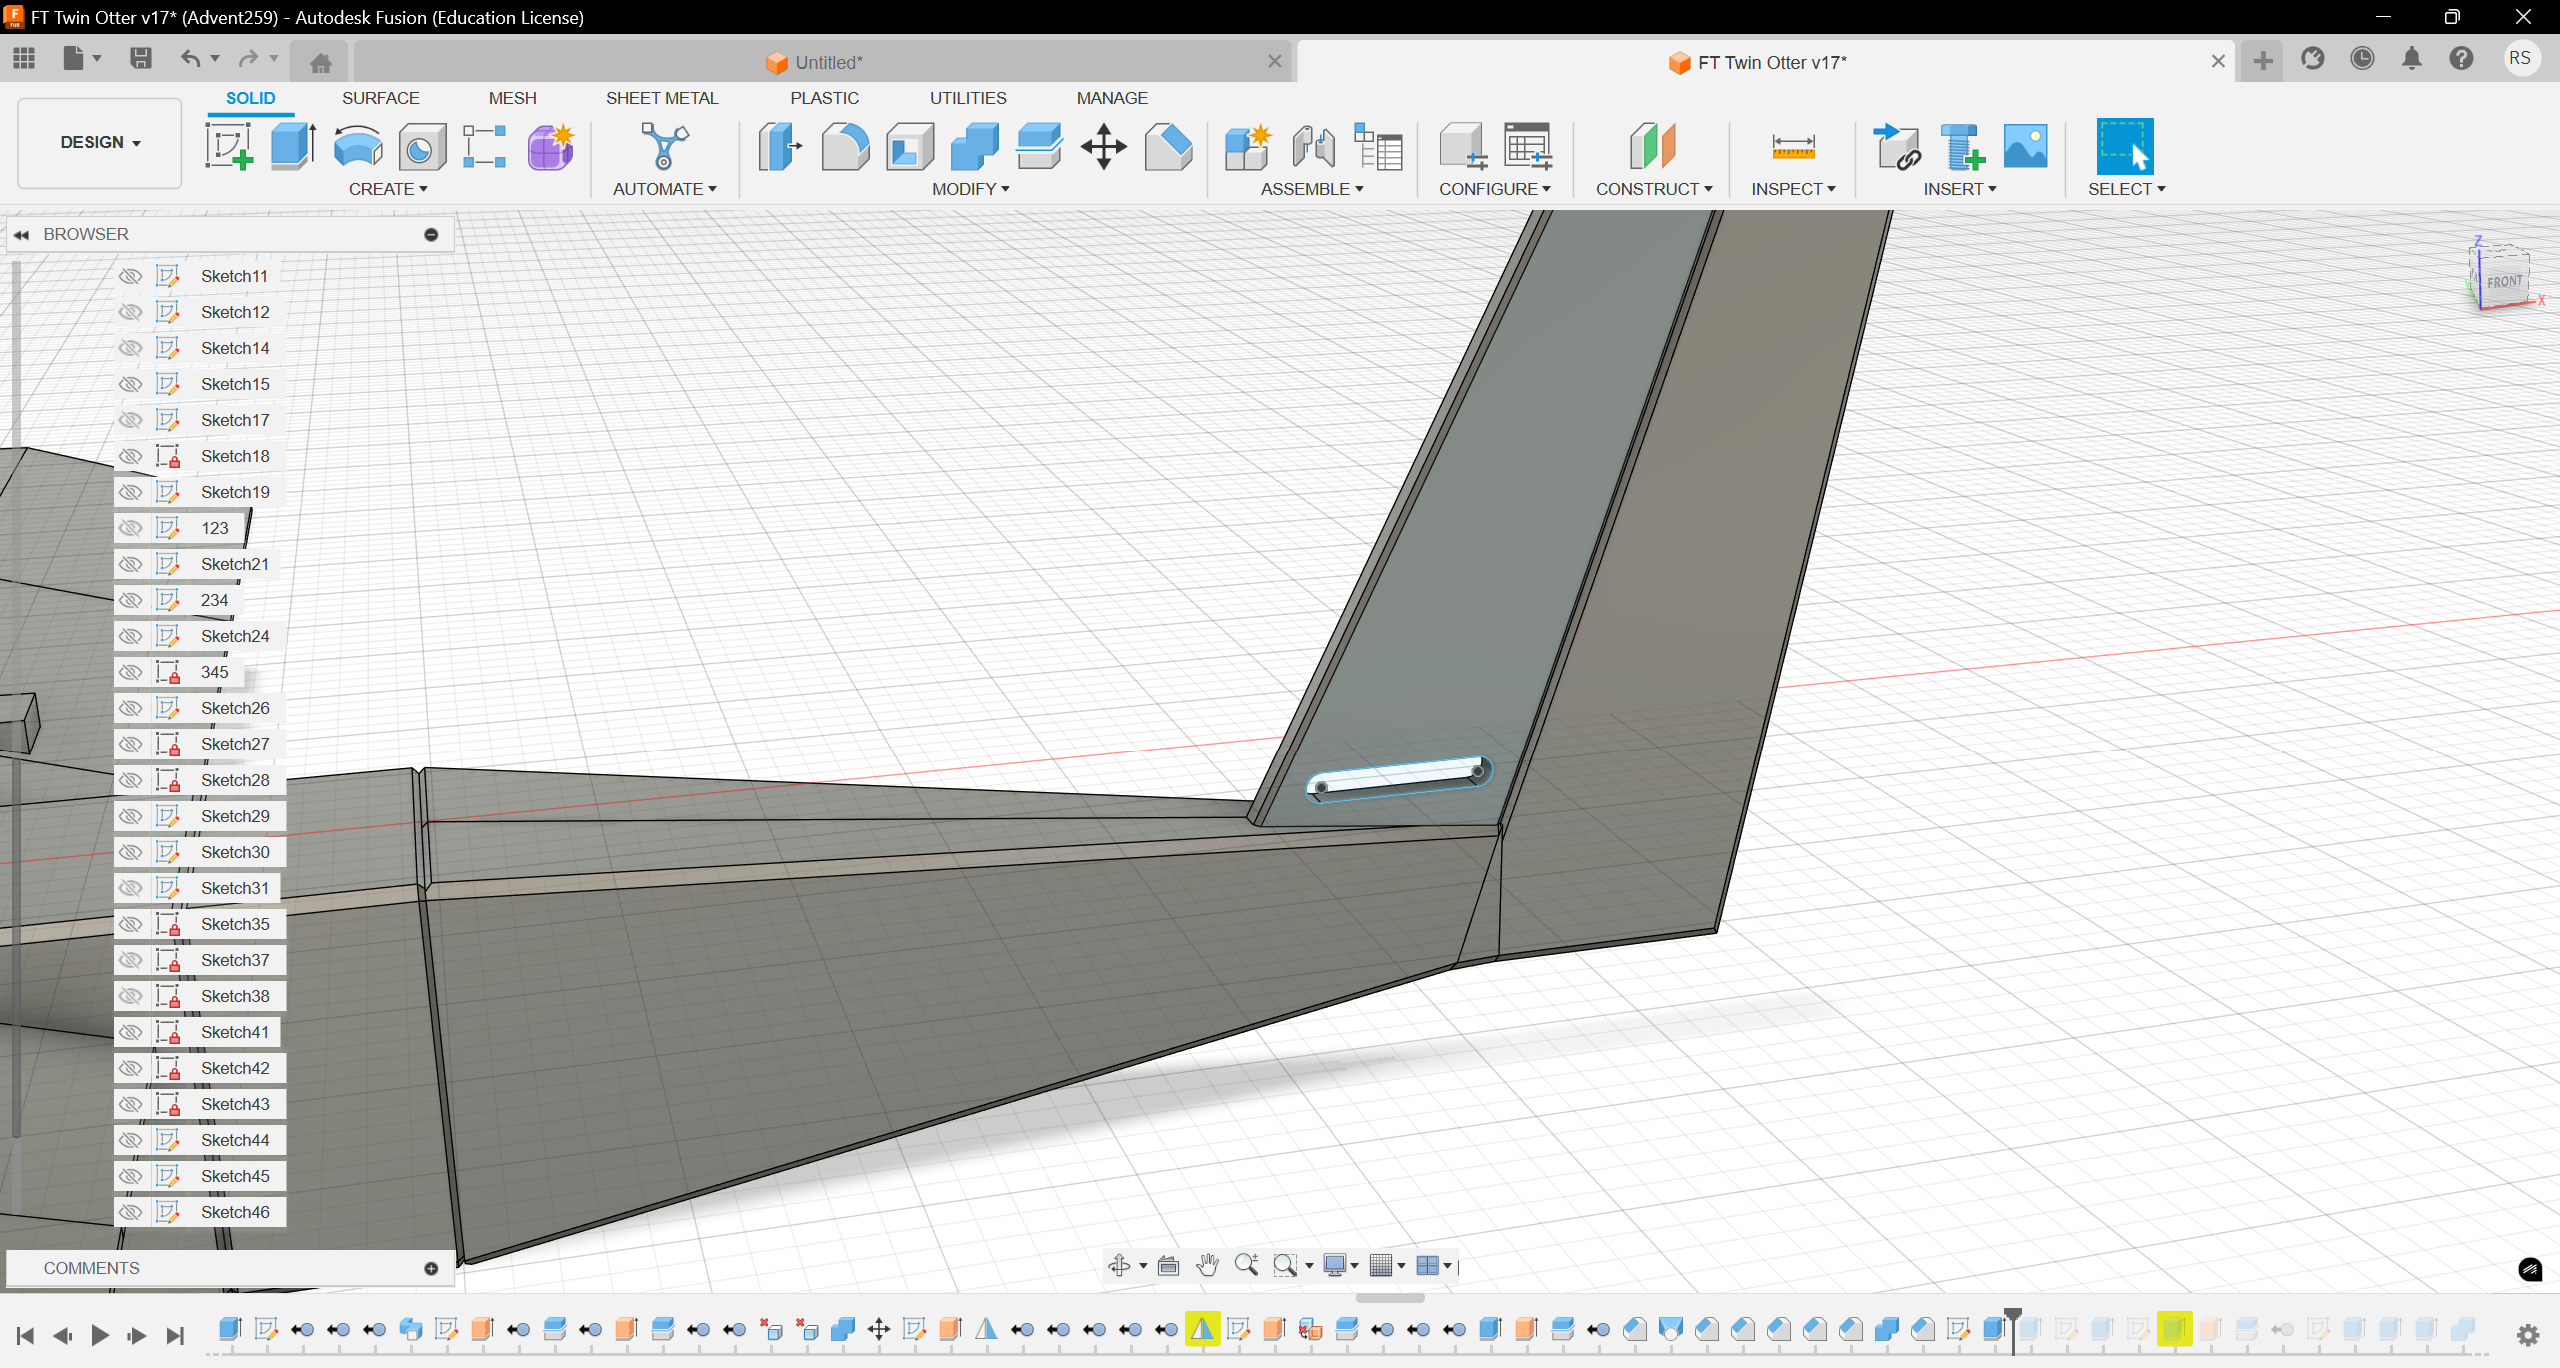

- Sketch the shape of the tail wing. (Picture 1)
- Use “Extrude” tool to create it, 50 thick. (Picture 2)
- Cut a whole with “Extrude” Tool. (Picture 3, 4)
- Use “Extrude” Tool to create the horizontal part of the tail wing, then use “Mirror” tool to create the other half tail wing. (Picture 5, 6)
Wheels


- Sketch the connector of the wheel, with 10 width and 135 length. (Picture 1)
- Use “Loft” to create the connector. (Picture 2)
- Create the rod using “Extrude” tool. (Picture 3)
- Create the axis of the wheel and sketch the section of the wheel. (Picture 4)
- Use “Revolve” tool to create the wheel. (Picture 5)
- Connect the wheel and the connector with “Loft” Tool. (Picture 6)
- Sketch and use “Extrude” tool to create the pattern on the wheel. (Picture 7)
- Use “Mirror” to create the other two wheels. (Picture 8)
It's Done!

You can use Appereance tool or just press A on your keyboard to give it texture of whatever you like.