Turtle Flashlight Deodorizer in Fusion 360
by flyingpuppy in Workshop > 3D Printing
4882 Views, 39 Favorites, 0 Comments
Turtle Flashlight Deodorizer in Fusion 360
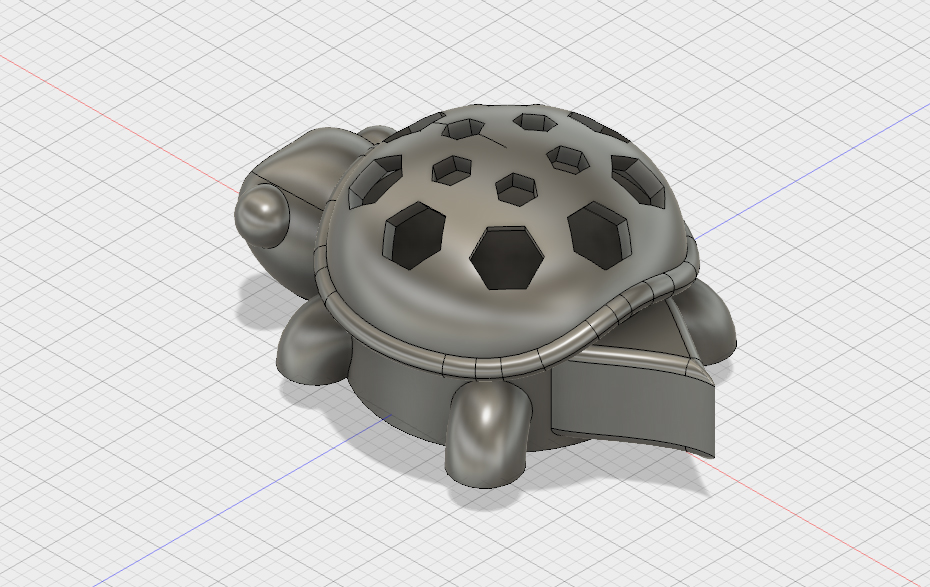
Thanks to the good folks at The High Desert Maker Mill, I recently learned how to use Fusion 360 to make this tiny turtle flashlight that doubles as a car deodorizer. In this Instructable, you will get a free file download for 3D-printing this turtle, and I will show how to design the shell in Fusion 360.
What you will need after printing your turtle:
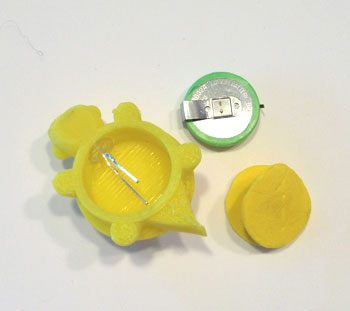
- Lithium battery BR1632A
- LED light
- A bit of wool fibers
- Felting needle(s)
- Essential oil
Designing in Fusion 360
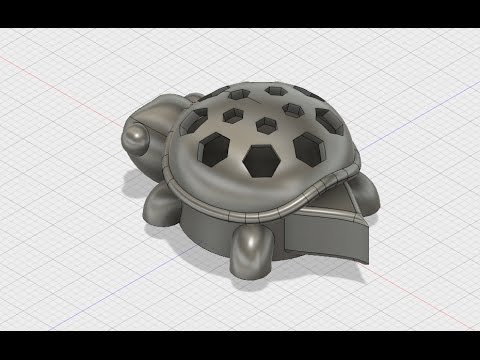
This video tutorial shows how to design the hardest part of this turtle flashlight: the shell.
Free download of STL file (ready to 3D print): http://www.thingiverse.com/thing:1465856
Put Together the Flashlight
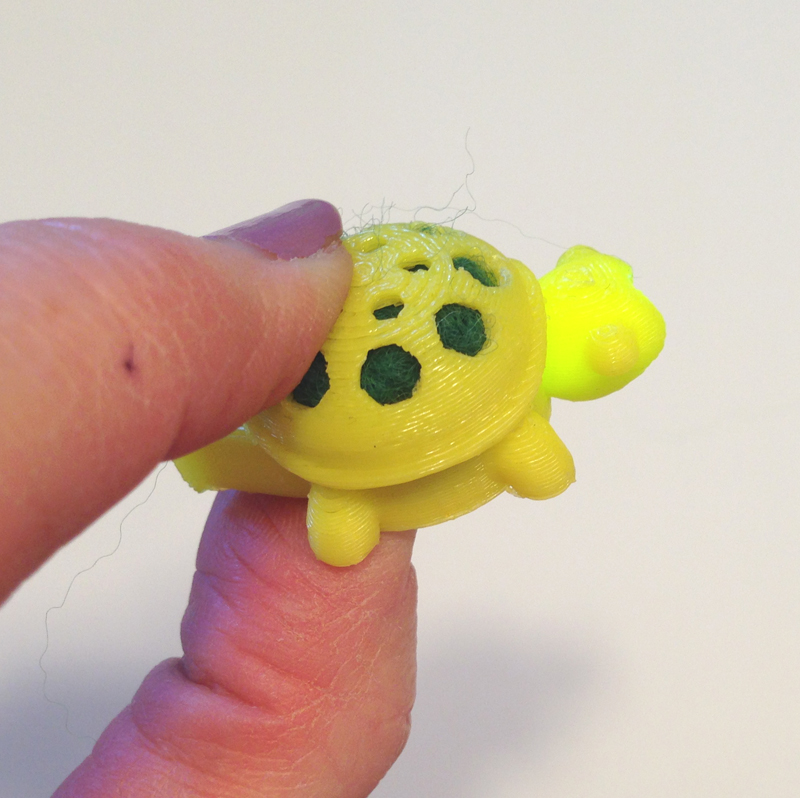
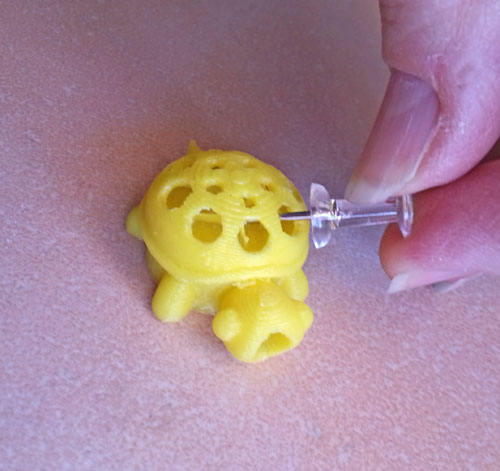
After printing your turtle, you will have to scrape out all the supports--especially on the inside of the neck.
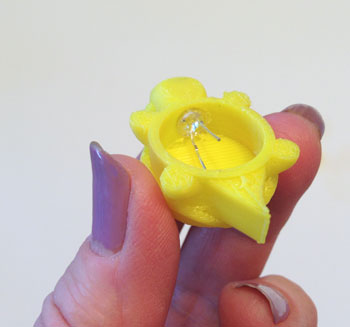
Once the turtle is clean, insert the LED light through the neck from the inside. Insert the battery into the "tummy" of the turtle, making sure it rests between the two legs of the LED (positive to positive).
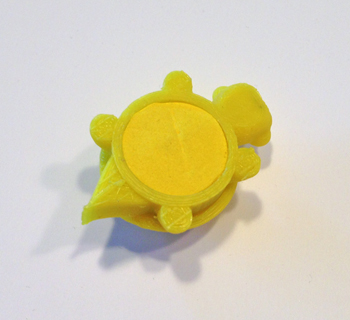
For a lid, I cut two small circles out of 1 mm craft foam (available at most Dollar Stores) and pushed it into the opening below the turtle. The foam should fit snugly on top of the battery.
Your flashlight is finished. Press the turtle's tummy to activate.
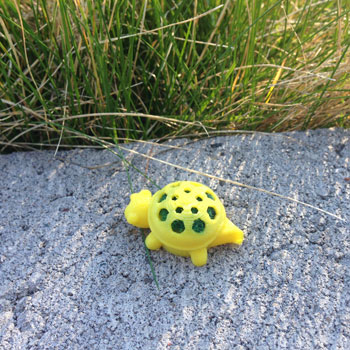
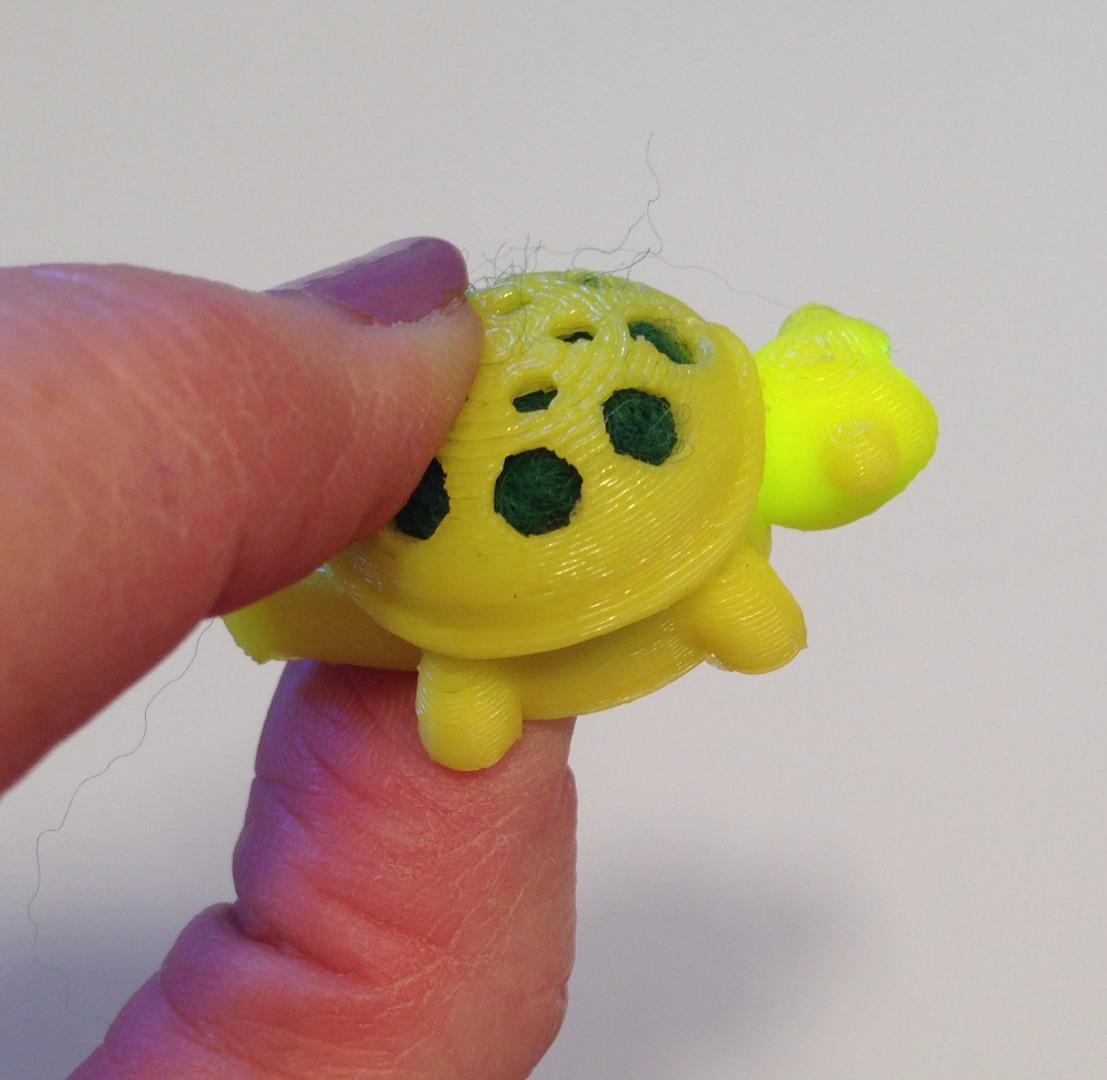
Create a Deodorizer
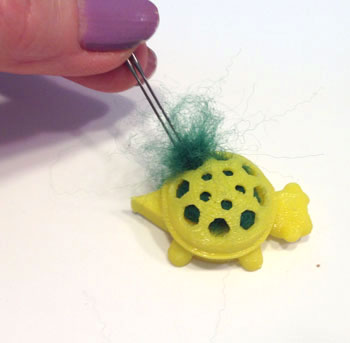
If you want to use your turtle as a car or dorm room deodorizer, clean out the supports from inside the hollow shell and fill the cavity with felt fibers. I used two felting needles to push the fibers into the shell cavity.
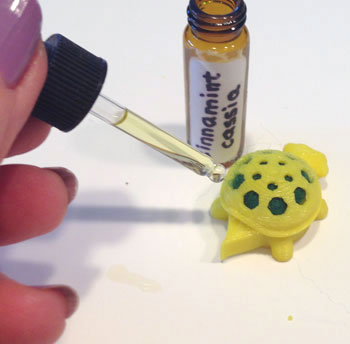
Once the shell is filled, drop a few drops of your favorite essential oil into the felted shell.
Now you have a flashlight and deodorizer in one!
This tutorial was first published on Instructables. Thank you for following Flyingpuppy!