Turntable Synchronisation Kit for Electronic Instruments
by cchpoundr in Circuits > Audio
2627 Views, 17 Favorites, 0 Comments
Turntable Synchronisation Kit for Electronic Instruments
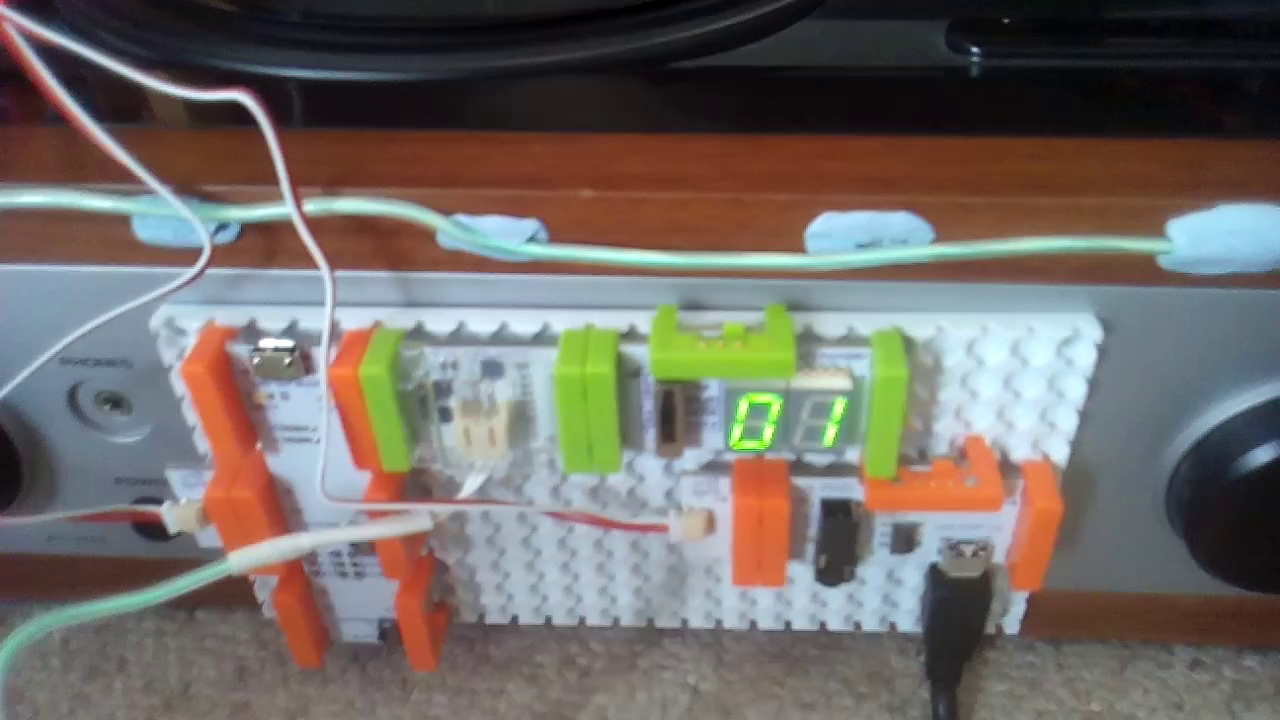
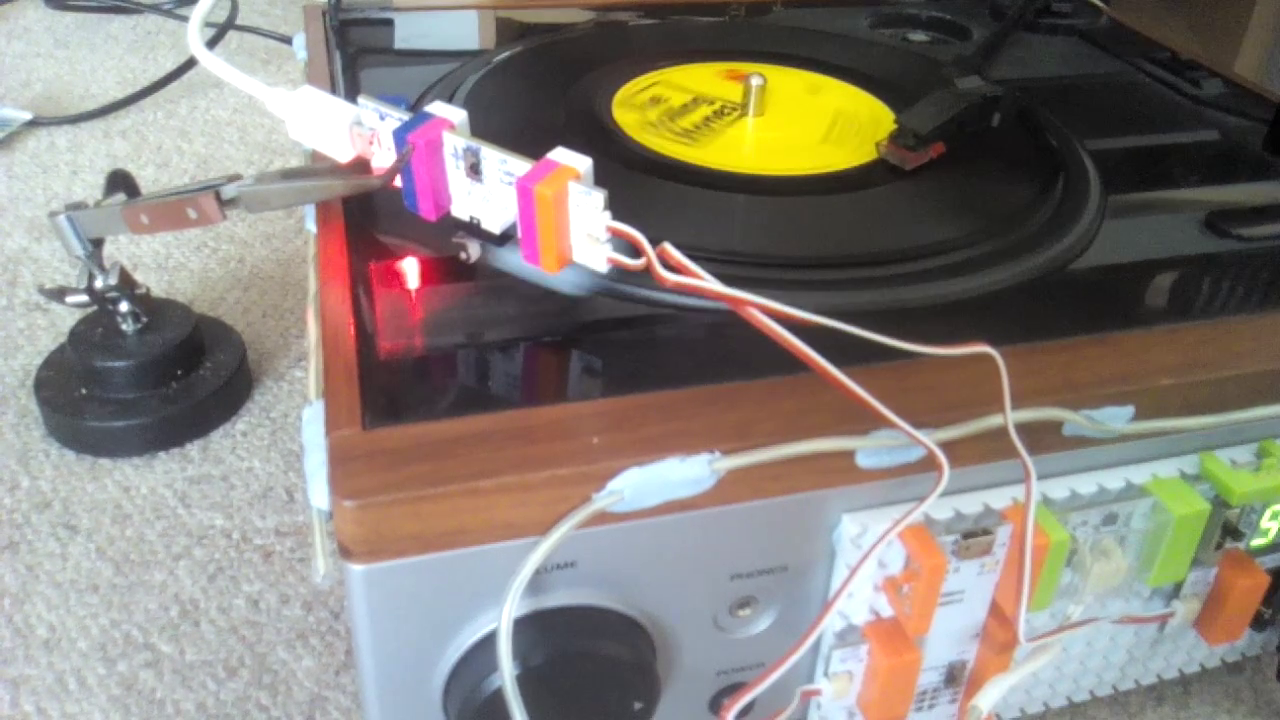
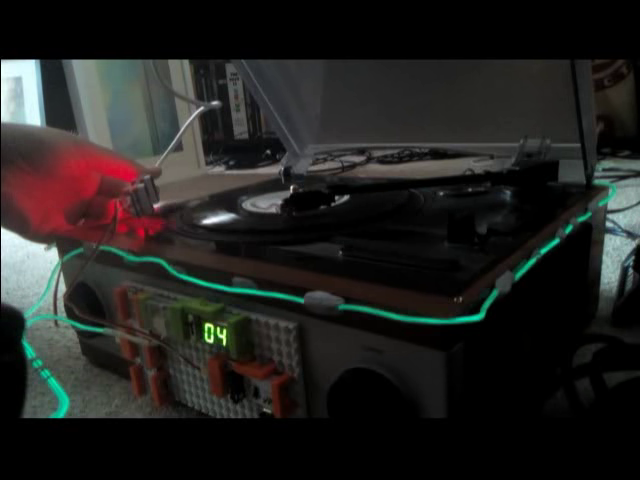
Hi!!
This Instructables project provides an alternative use for a turntable as a master synchronization tool for synchronizing Digital Audio Workstations, electronic musical instruments and anything else that uses MIDI data.
- If using a turntable in full working order, the turntable should provide a regular and reliable tempo source, based on it's speed setting (33 1/3, 45 or 78 rpm).
- If the turntable is broken, the turntable will provide an irregular, indeterminate and humanized tempo for everything else to synchronize to. This was the reason to why I created this project!
Videos of this project can be viewed here:
Collect the Tools!!
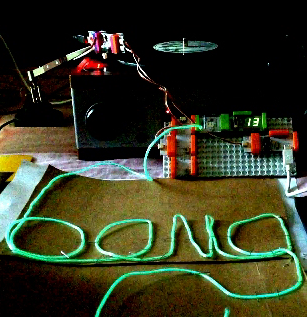
For this Instructable, you will need the following:
1. A turntable (any Hi-Fi record player or DJ turntable will be fine)
2. A computer with a spare USB port.
3. Ableton Digital Audio Workstation (or any other software that allows you to map MIDI values to parameters)
4. MIDI-equipped electronic music instruments and/or plug-in instruments. I used the Softube Modular plug-in instrument and a Korg Volca Sample hardware sampler.
5. littleBits modules (as shown in the picture):
- Power (USB or battery: a USB cable can be plugged from the USB module into a phone charger or a computer for power)
- Roller Switch (the trigger that is used for synchronization)
- Split (to send the voltage from the Roller Switch to both the Arduino and MIDI modules, as well as move the MIDI module away from the turntable mechanism so that it's wires are out of the way)
- MIDI (to send musical data to your computer)
The following modules used for creating visual data are optional:
- Arduino (to program the visual data)
- Light Wire
- Number Plus (adds another visual element in the form of a time limit to your compositions and performances)
Additionally, these extra Bits are very useful:
- Shoes (these are small connectors that hold the Power, Roller Switch and Split modules together)
- Mounting Board (affix the Arduino, Light Wire, Counter Plus and MIDI modules to this)
6. Third-Hand (for holding the Power, Roller Switch and Split modules in place above the turntable).
7. Small bit of Blu Tack (used to push the switch of the Roller Switch upwards. Stick it firmly onto the turntable platter so that it sticks out over the edge of the platter).
Connect the Tools Together!!
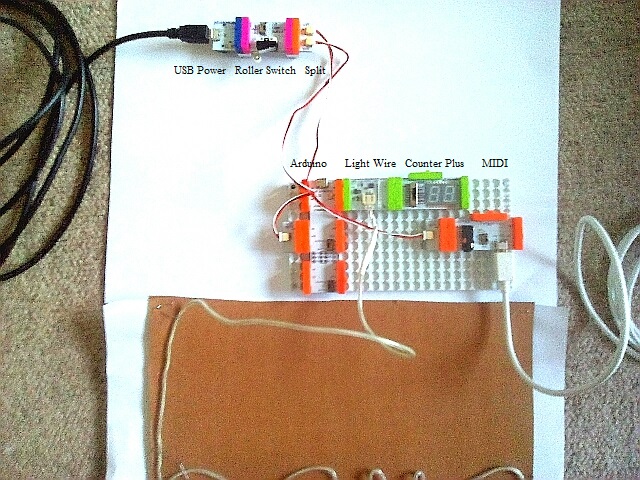
The picture above shows how the littleBits system is created.
The Power module needs to come first in order to supply power to all the other modules, which connect to the right hand side of each other.
All the littleBits modules are magnetized, so they just snap together as long as they are connected in the right order.
- Connect the USB cable supplied with the USB module to a phone charger or spare USB port of a computer.
- Connect the Roller Switch to the Power module
- Connect the Split module to the Roller Switch. Alternatively, if you do not want to add visuals to this project, just use a Wire module instead.
- Connect one end of the Split module or the other end of the Wire module to the MIDI module.
- Connect the MIDI USB cable supplied with the MIDI module to a spare USB port of a computer.
Optional: If you want to add visuals to this project, complete the five steps above and then do the following:
- Connect the other end of the Split module's wire to the a0 (analogue) connection on the left of the Arduino module.
- Connect the Light Wire module to the d1 (digital) connection on the right of the Arduino module.
- Connect the Number Plus module to the Light Wire module. Set this to read 'Value' results and remember to set the up or down (from 0-99 or 99-0) depending on what number is showing.
Affix the Arduino, Light Wire, Number Plus and MIDI modules to the Mounting Board, as shown in the picture.
Attach the littleBits Shoes between the Power and Roller Switch modules, and between the Roller Switch and Split modules.
With the wire part of the Light Wire module, write whatever you like!! I used cardboard, paper and staples to affix the wire into shape and create the word 'Bang'. Alternatively, affix the wire around the edge of your turntable to light it up!!
Hold the LittleBits Modules in Place
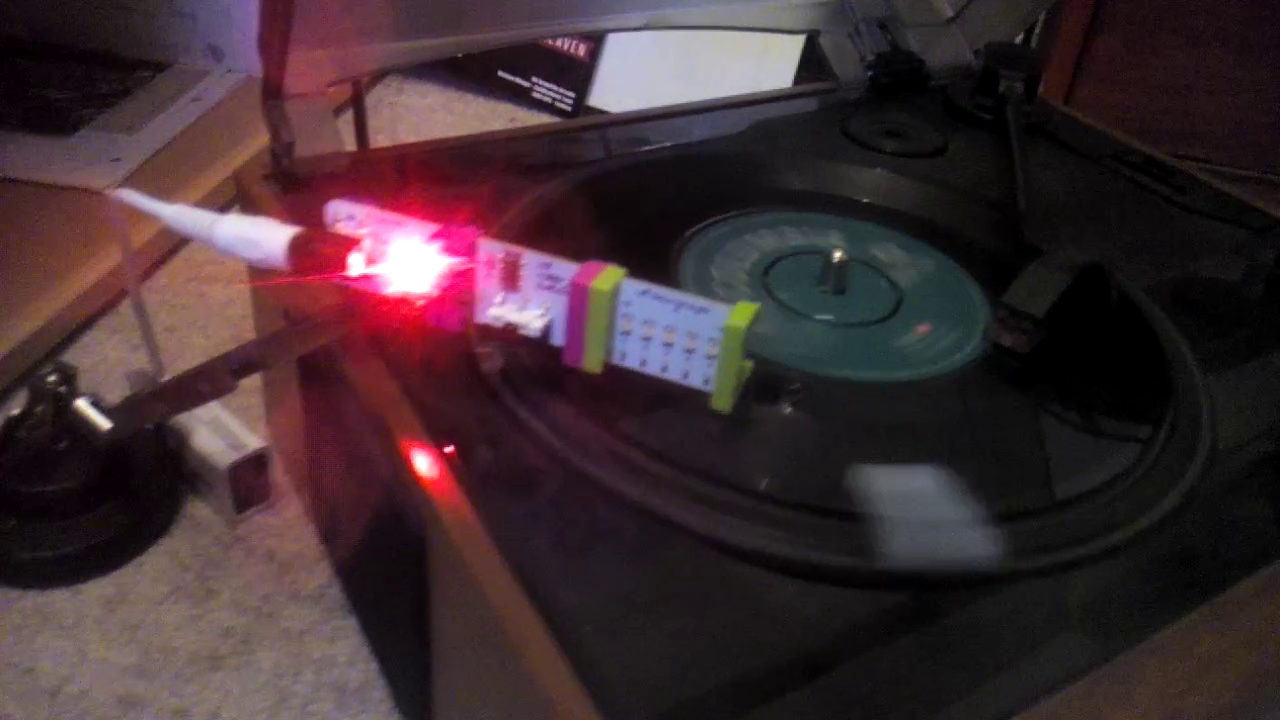
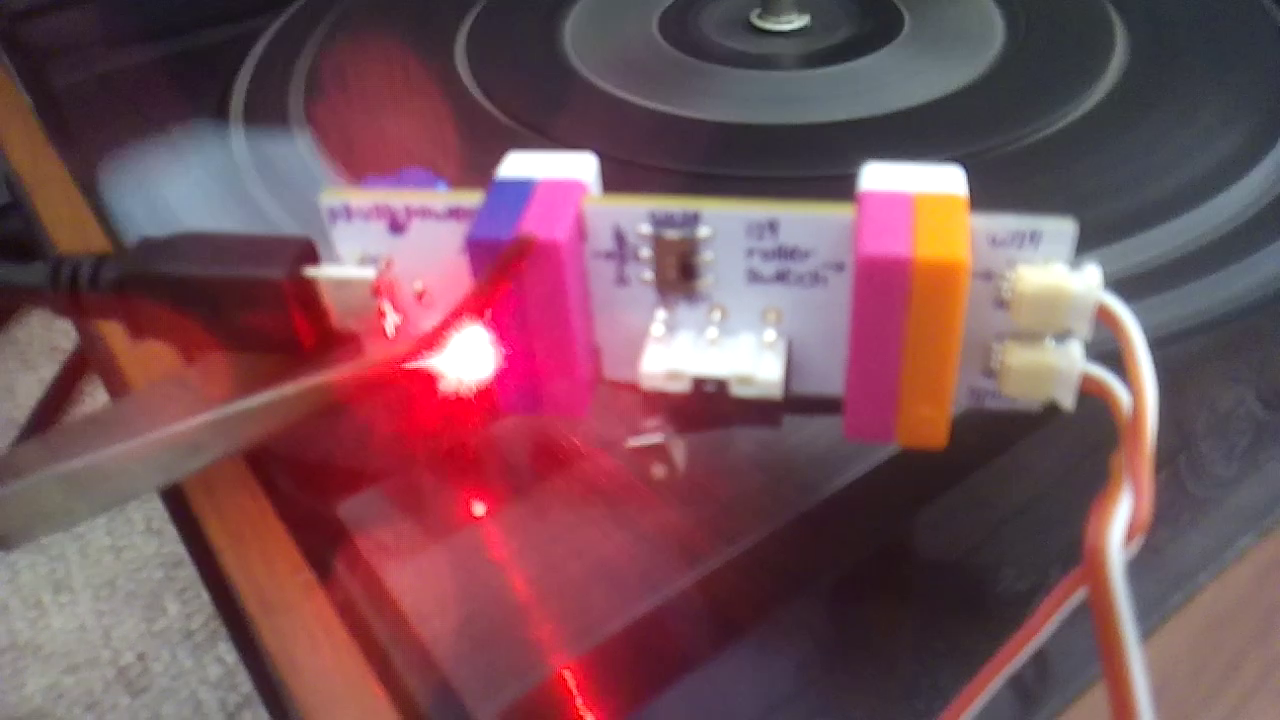
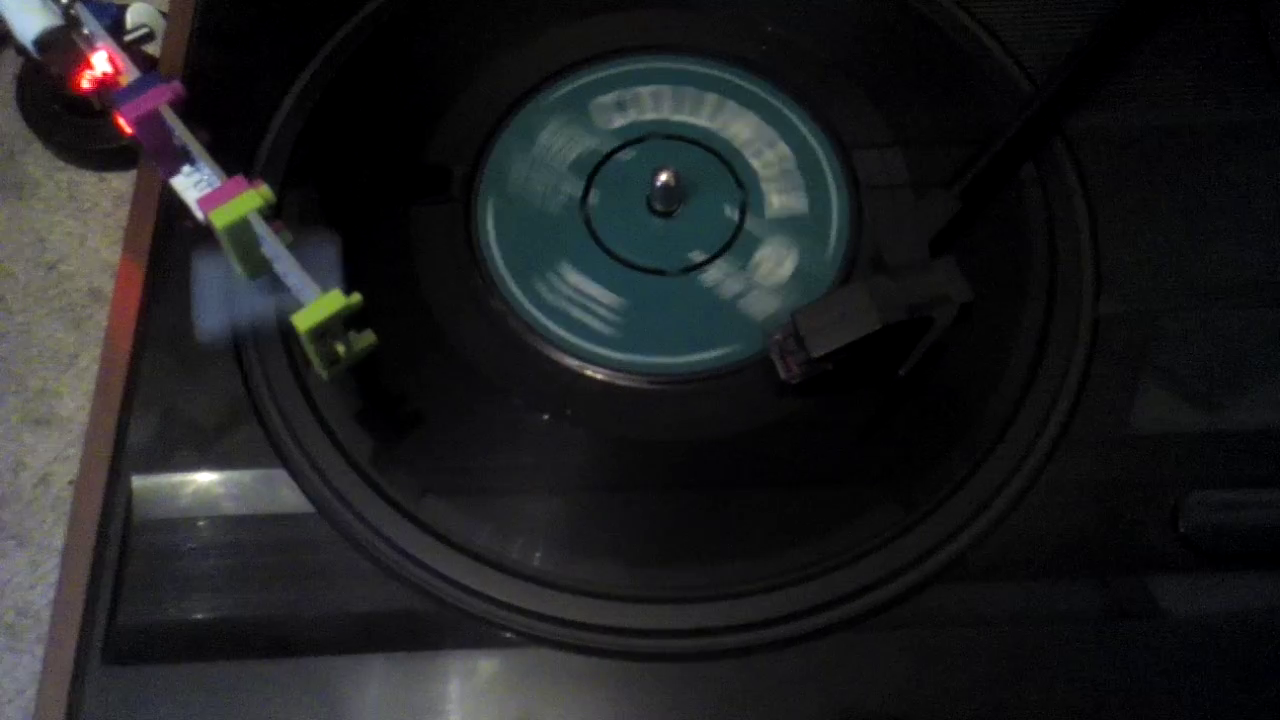
Use a third-hand apparatus to hold the Power, Roller Switch and Split modules (held together by the shoes) in place above a turntable.
Connect the fingers of the third-hand to the connection between the Power and the Roller Switch.
The aim is to make sure that the blu-tack stuck to the rotating turntable platter can regularly push the switch of the Roller Switch upwards to create a voltage, without getting stuck to the switch.
Keep the stand part of the third-hand away from the turntable platter.
Setup the MIDI
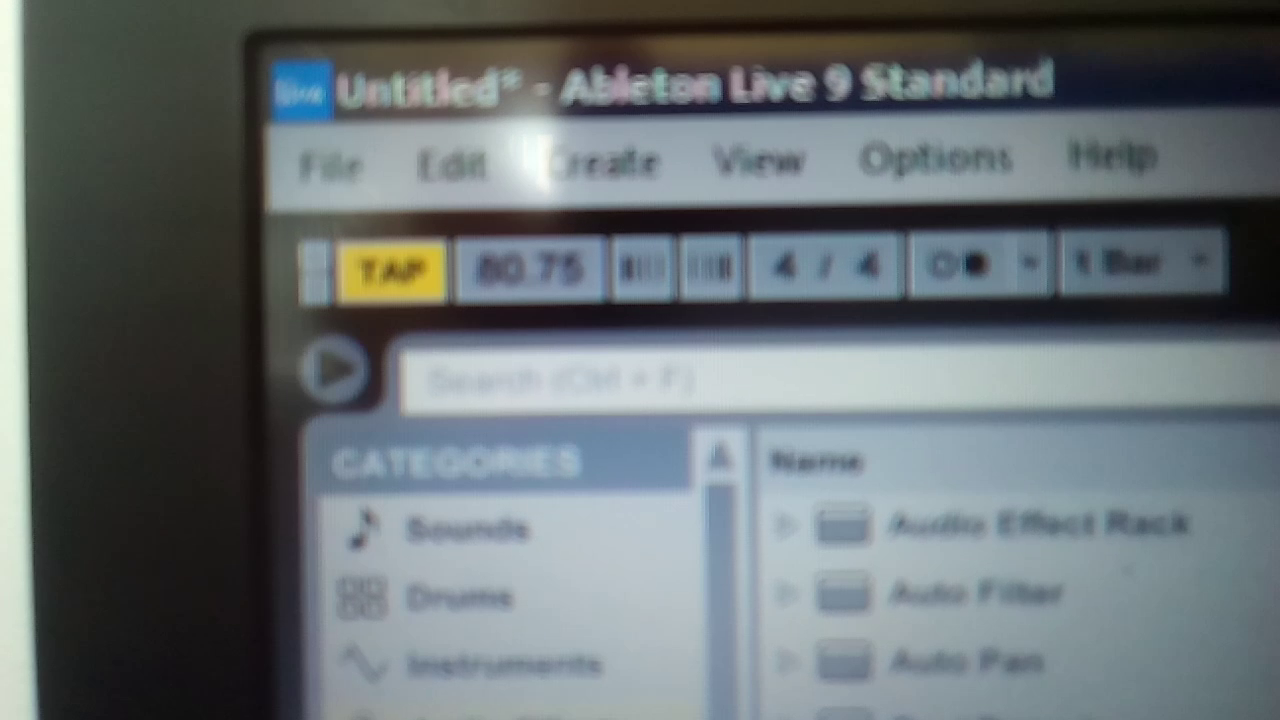
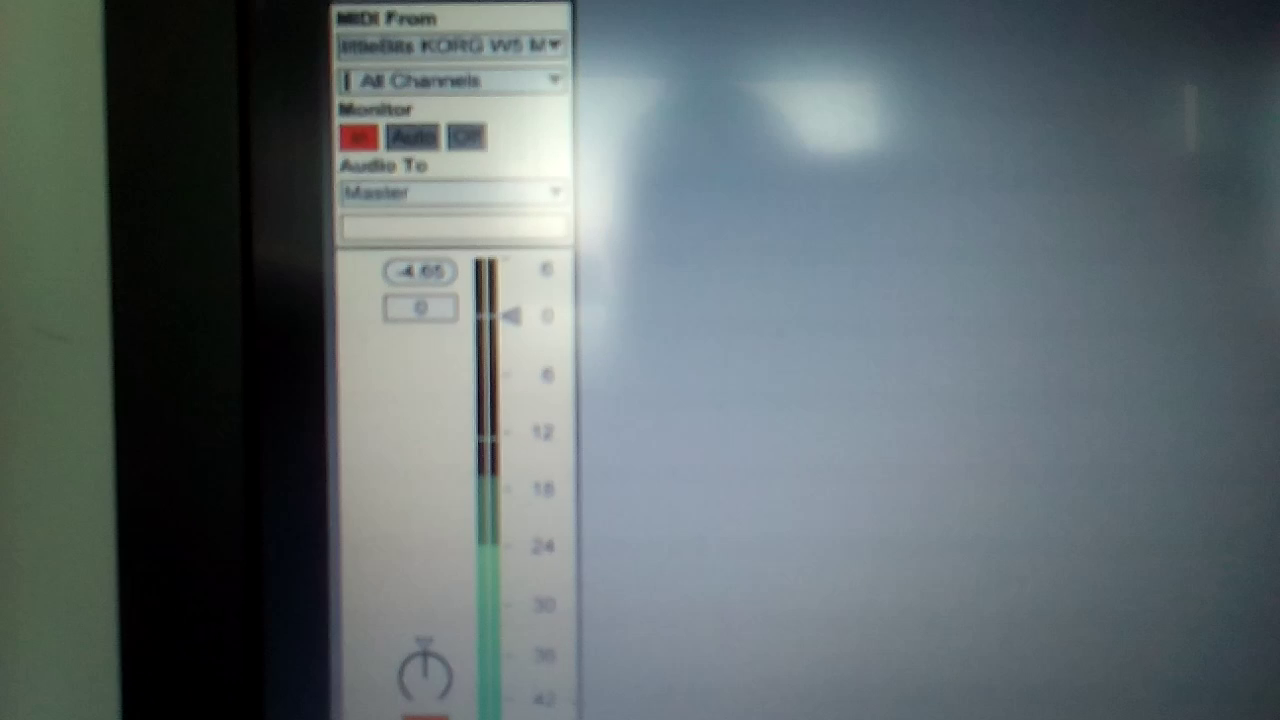
Now that the MIDI module is connected to a computer via USB, turn on the power of the Power module. Switch the mode of the MIDI module to 'Out' on the module itself.
In Ableton, setup a channel so that 'MIDI From' is set to 'littleBits', as shown in the second Ableton screen-shot above.
Click the 'MIDI' button at the top-right of the Ableton screen and then click the 'Tap' button at the top-left of the Ableton screen.
Push the switch of the Roller Switch module upwards. This should send a MIDI note to Ableton and the tap tempo should now be mapped to this MIDI note. Click the MIDI button again to turn off MIDI mapping.
Test the project!!! Push the switch of the Roller Switch module in several times in quick succession. You should see the 'Tap' button on Ableton light up every time you push the switch in (as shown in the first Ableton screen-shot above) and, after a few pushes, Ableton should start playback based on the tempo you have created.
Turn on Your Turntable!!
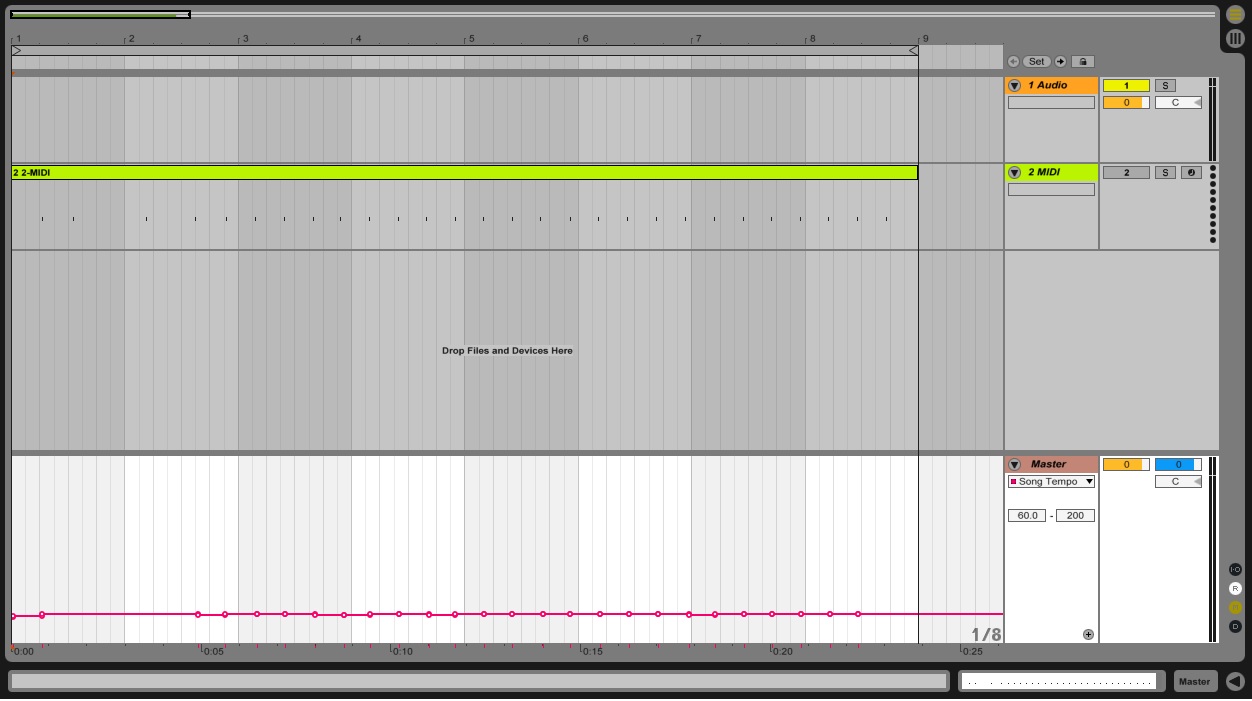
Turn on your turntable and make sure that the blu-tack is pushing the switch of the Roller Switch inwards after every rotation of the turntable platter.
Et voila!!! Ableton should now synchronize to the rotational speed of the turntable!! If your turntable is set to rotate at 33 1/3rpm then Ableton will playback musical data at 33 1/3bpm. In this case, with some clever programming of MIDI and audio data in Ableton, you could sequence music to playback at four times this speed: 133.32bpm.
The screen-print above shows the tempo readings in Ableton, taken from my broken turntable. The turntable was set to rotate at 78 rpm but the tempo recorded in Ableton ranged between roughly 79 and 82 bpm.
Now all you need to do is add your favorite plug-in instruments to Ableton and/or connect your MIDI equipped hardware to your computer, and all your internal Ableton clips and external sequence data should be synchronized to the turntable speed!! HOORAY!!!!! (refer to your instruments' manuals for more information, if you get stuck)
NOTE: You may need to switch the turntable's speed to 78rpm in order for Ableton to understand the MIDI notes it receives from the littleBits MIDI module as tempo readings.
(Optional): Visual Data
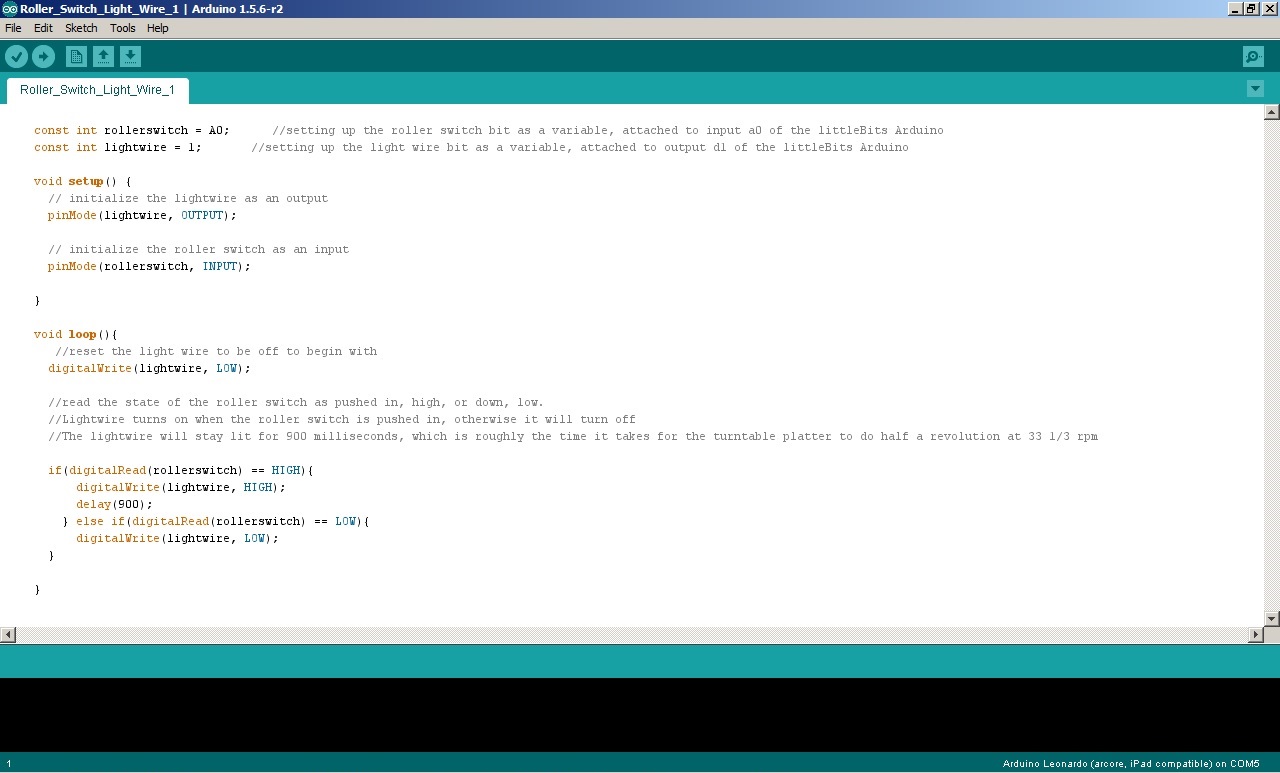
If you would like to use the visual littleBits modules with this project, connect them up refering to the previous steps.
You should notice that the wire of the Light Wire module does not turn on for very long when a voltage is sent to it from the Roller Switch. This is because the switch of the Roller Switch is not pushed upwards for very long by the blu-tack.
In order to make the light of the Light Wire module stay on for longer, you will need to add code to the Arduino module.
Download and install the Arduino IDE software from this link:
https://www.arduino.cc/en/Main/Software
Copy and paste the Arduino code below into the editor screen of the IDE software. Alternatively, use the same code shown in the picture for this step.
const int rollerswitch = A0; //setting up the roller switch bit as a variable, attached to input a0 of the littleBits Arduino
const int lightwire = 1; //setting up the light wire bit as a variable, attached to output d1 of the littleBits Arduino
void setup() { // initialize the lightwire as an output pinMode(lightwire, OUTPUT);
// initialize the roller switch as an input pinMode(rollerswitch, INPUT);
}
void loop(){ //reset the light wire to be off to begin with digitalWrite(lightwire, LOW);
//read the state of the roller switch as pushed in, high, or down, low. //Lightwire turns on when the roller switch is pushed in, otherwise it will turn off //The lightwire will stay lit for 900 milliseconds, which is roughly the time it takes for the turntable platter to do half a revolution at 33 1/3 rpm
if(digitalRead(rollerswitch) == HIGH){ digitalWrite(lightwire, HIGH); delay(900); } else if(digitalRead(rollerswitch) == LOW){ digitalWrite(lightwire, LOW); }
}
Connect the Arduino to a spare USB port on a computer using the USB cable supplied with the Arduino module. Select 'Leonardo' as the Arduino 'Board' from the 'Tools' option in the IDE software, and then select the correct USB 'Port' that the cable from the Arduino module is plugged into.
Click 'Verify' to make sure that the code is written correctly. Then click 'Upload' to send the code to the littleBits Arduino module. You should see the LED light on the Arduino module light up a couple of times.
Close the software and detach the USB cable from the Arduino module from the computer.
Press the switch of the Roller Switch module in quickly. You should see the wire of the Light Wire module stay on for longer than before.
The time that the wire stays lit for varies upon the 'delay' stated in the code (in milliseconds). Experiment with different times to suit your preferences (the time set within this project is 900 milliseconds, which is roughly half the time it takes for a turntable platter to complete a full rotation when set to rotate at 33 1/3 rpm).
For more information on how to connect the Arduino to a computer and download sketches to the Arduino module from the IDE software, please refer to this guide created by the littleBits team: