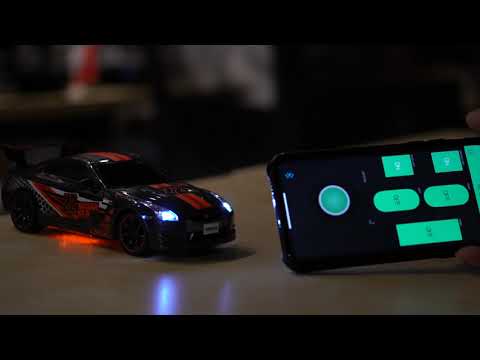
Turning Any R/C Car Into a Bluetooth App Control R/C Car
by WombaticsCo in Circuits > Arduino
5565 Views, 3 Favorites, 0 Comments
Turning Any R/C Car Into a Bluetooth App Control R/C Car
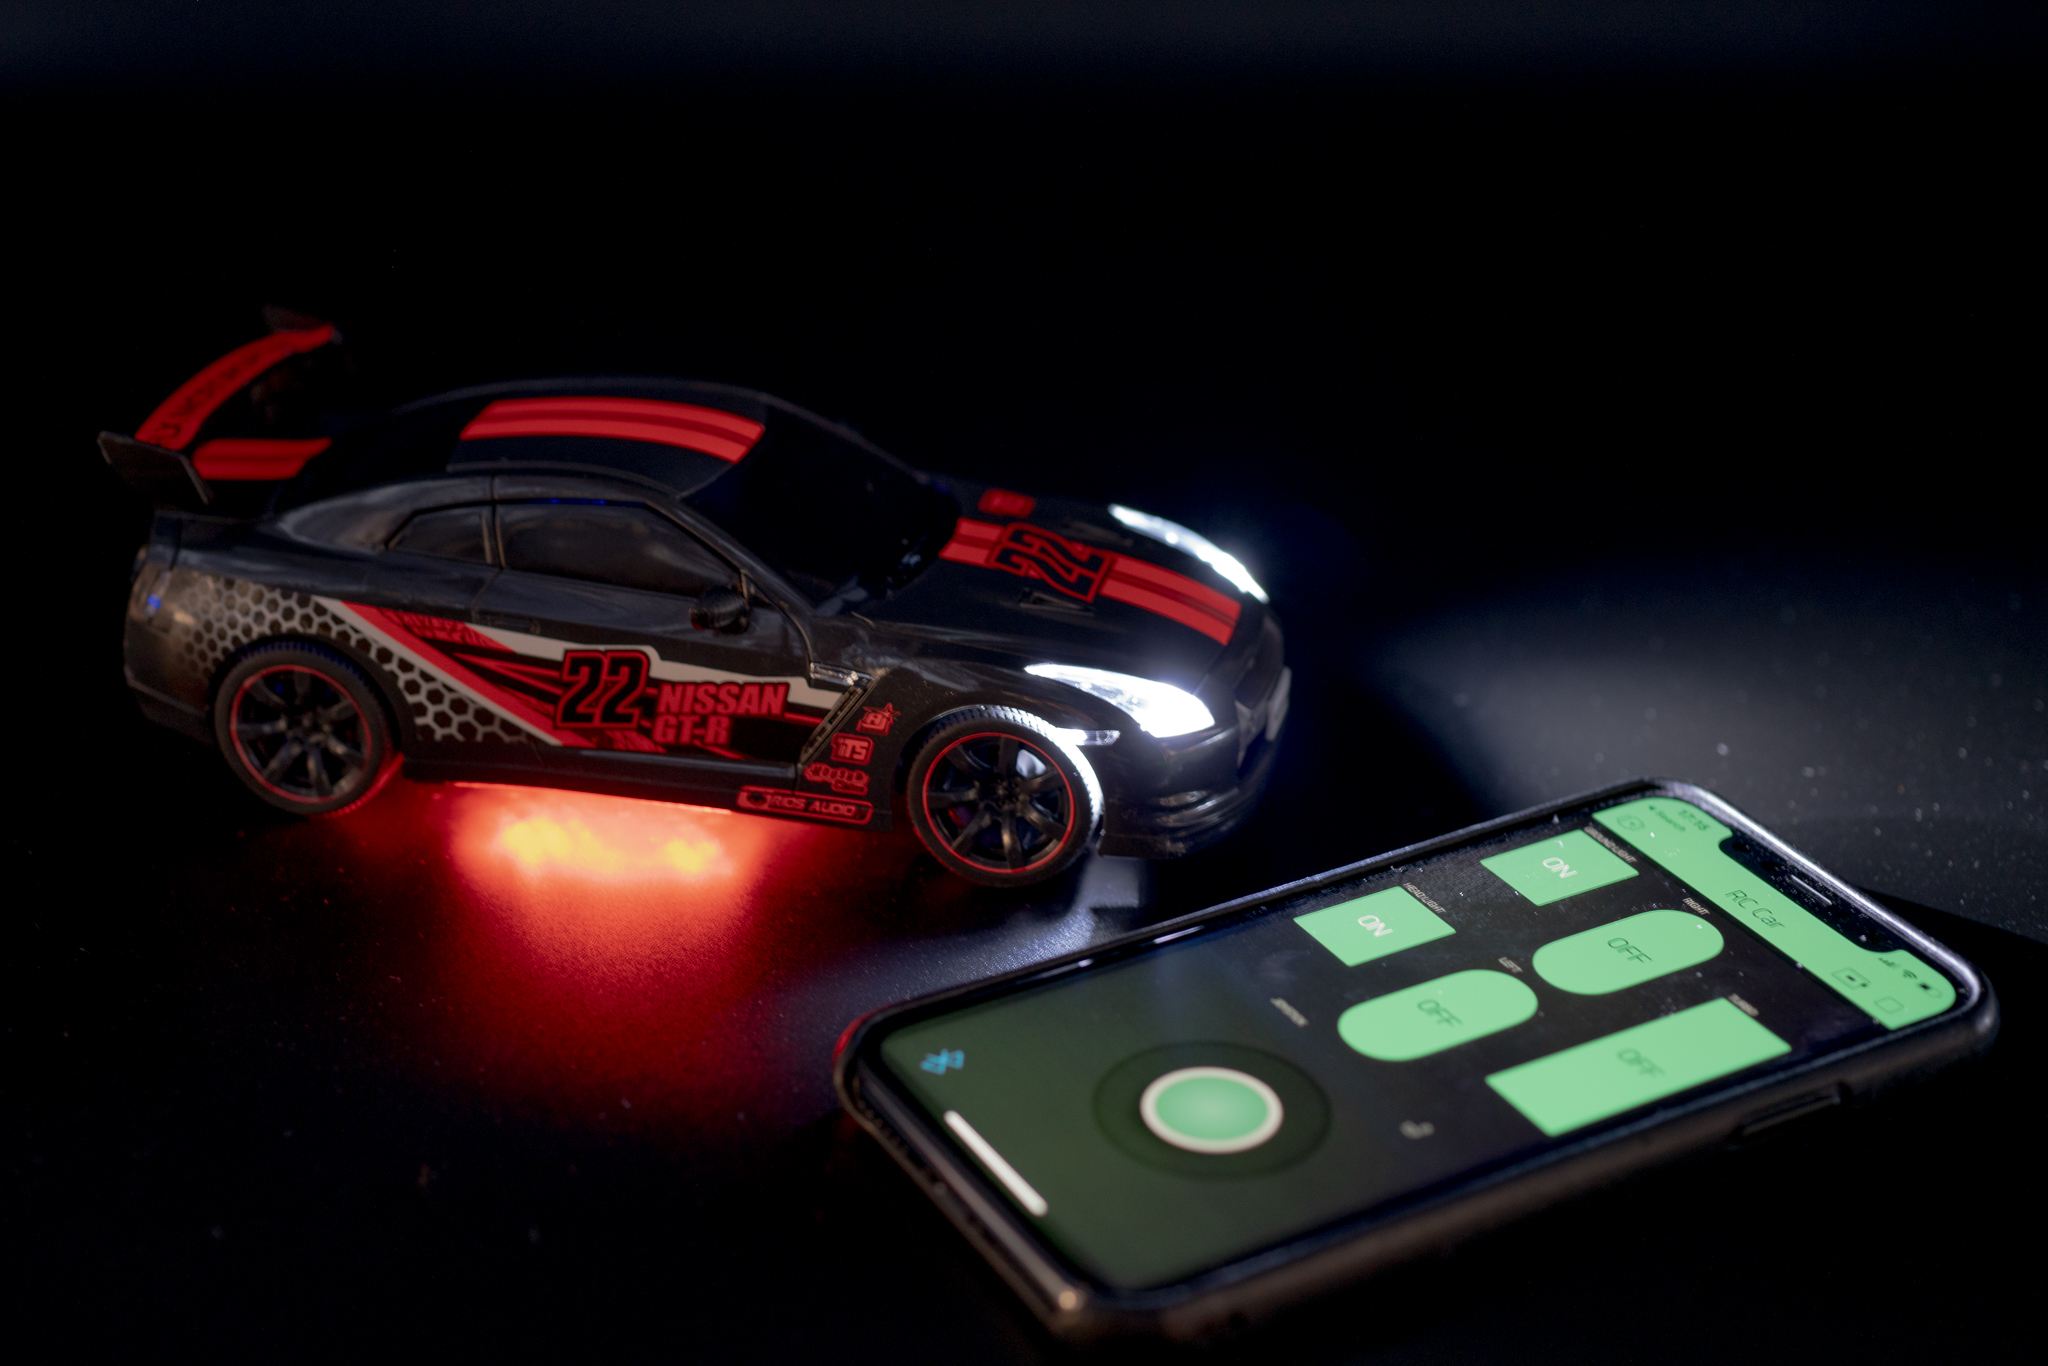
This project shows the steps to change an ordinary remote control car to a Bluetooth (BLE) control car with Wombatics SAM01 robotics board, Blynk App and MIT App Inventor.
The are many low cost RC cars with lots of features like the LED headlights and underglow lights. However, the remote controller came with the car cannot control lights and motors individually. With mobile App and Arduino board, we can convert these ordinary RC Cars to a more advanced bluetooth control toys.
We are using an Arduino Compatible board with BLE (Bluetooth Low Energy), so that it works with both iOS and Android phone.
Picking a RC Car
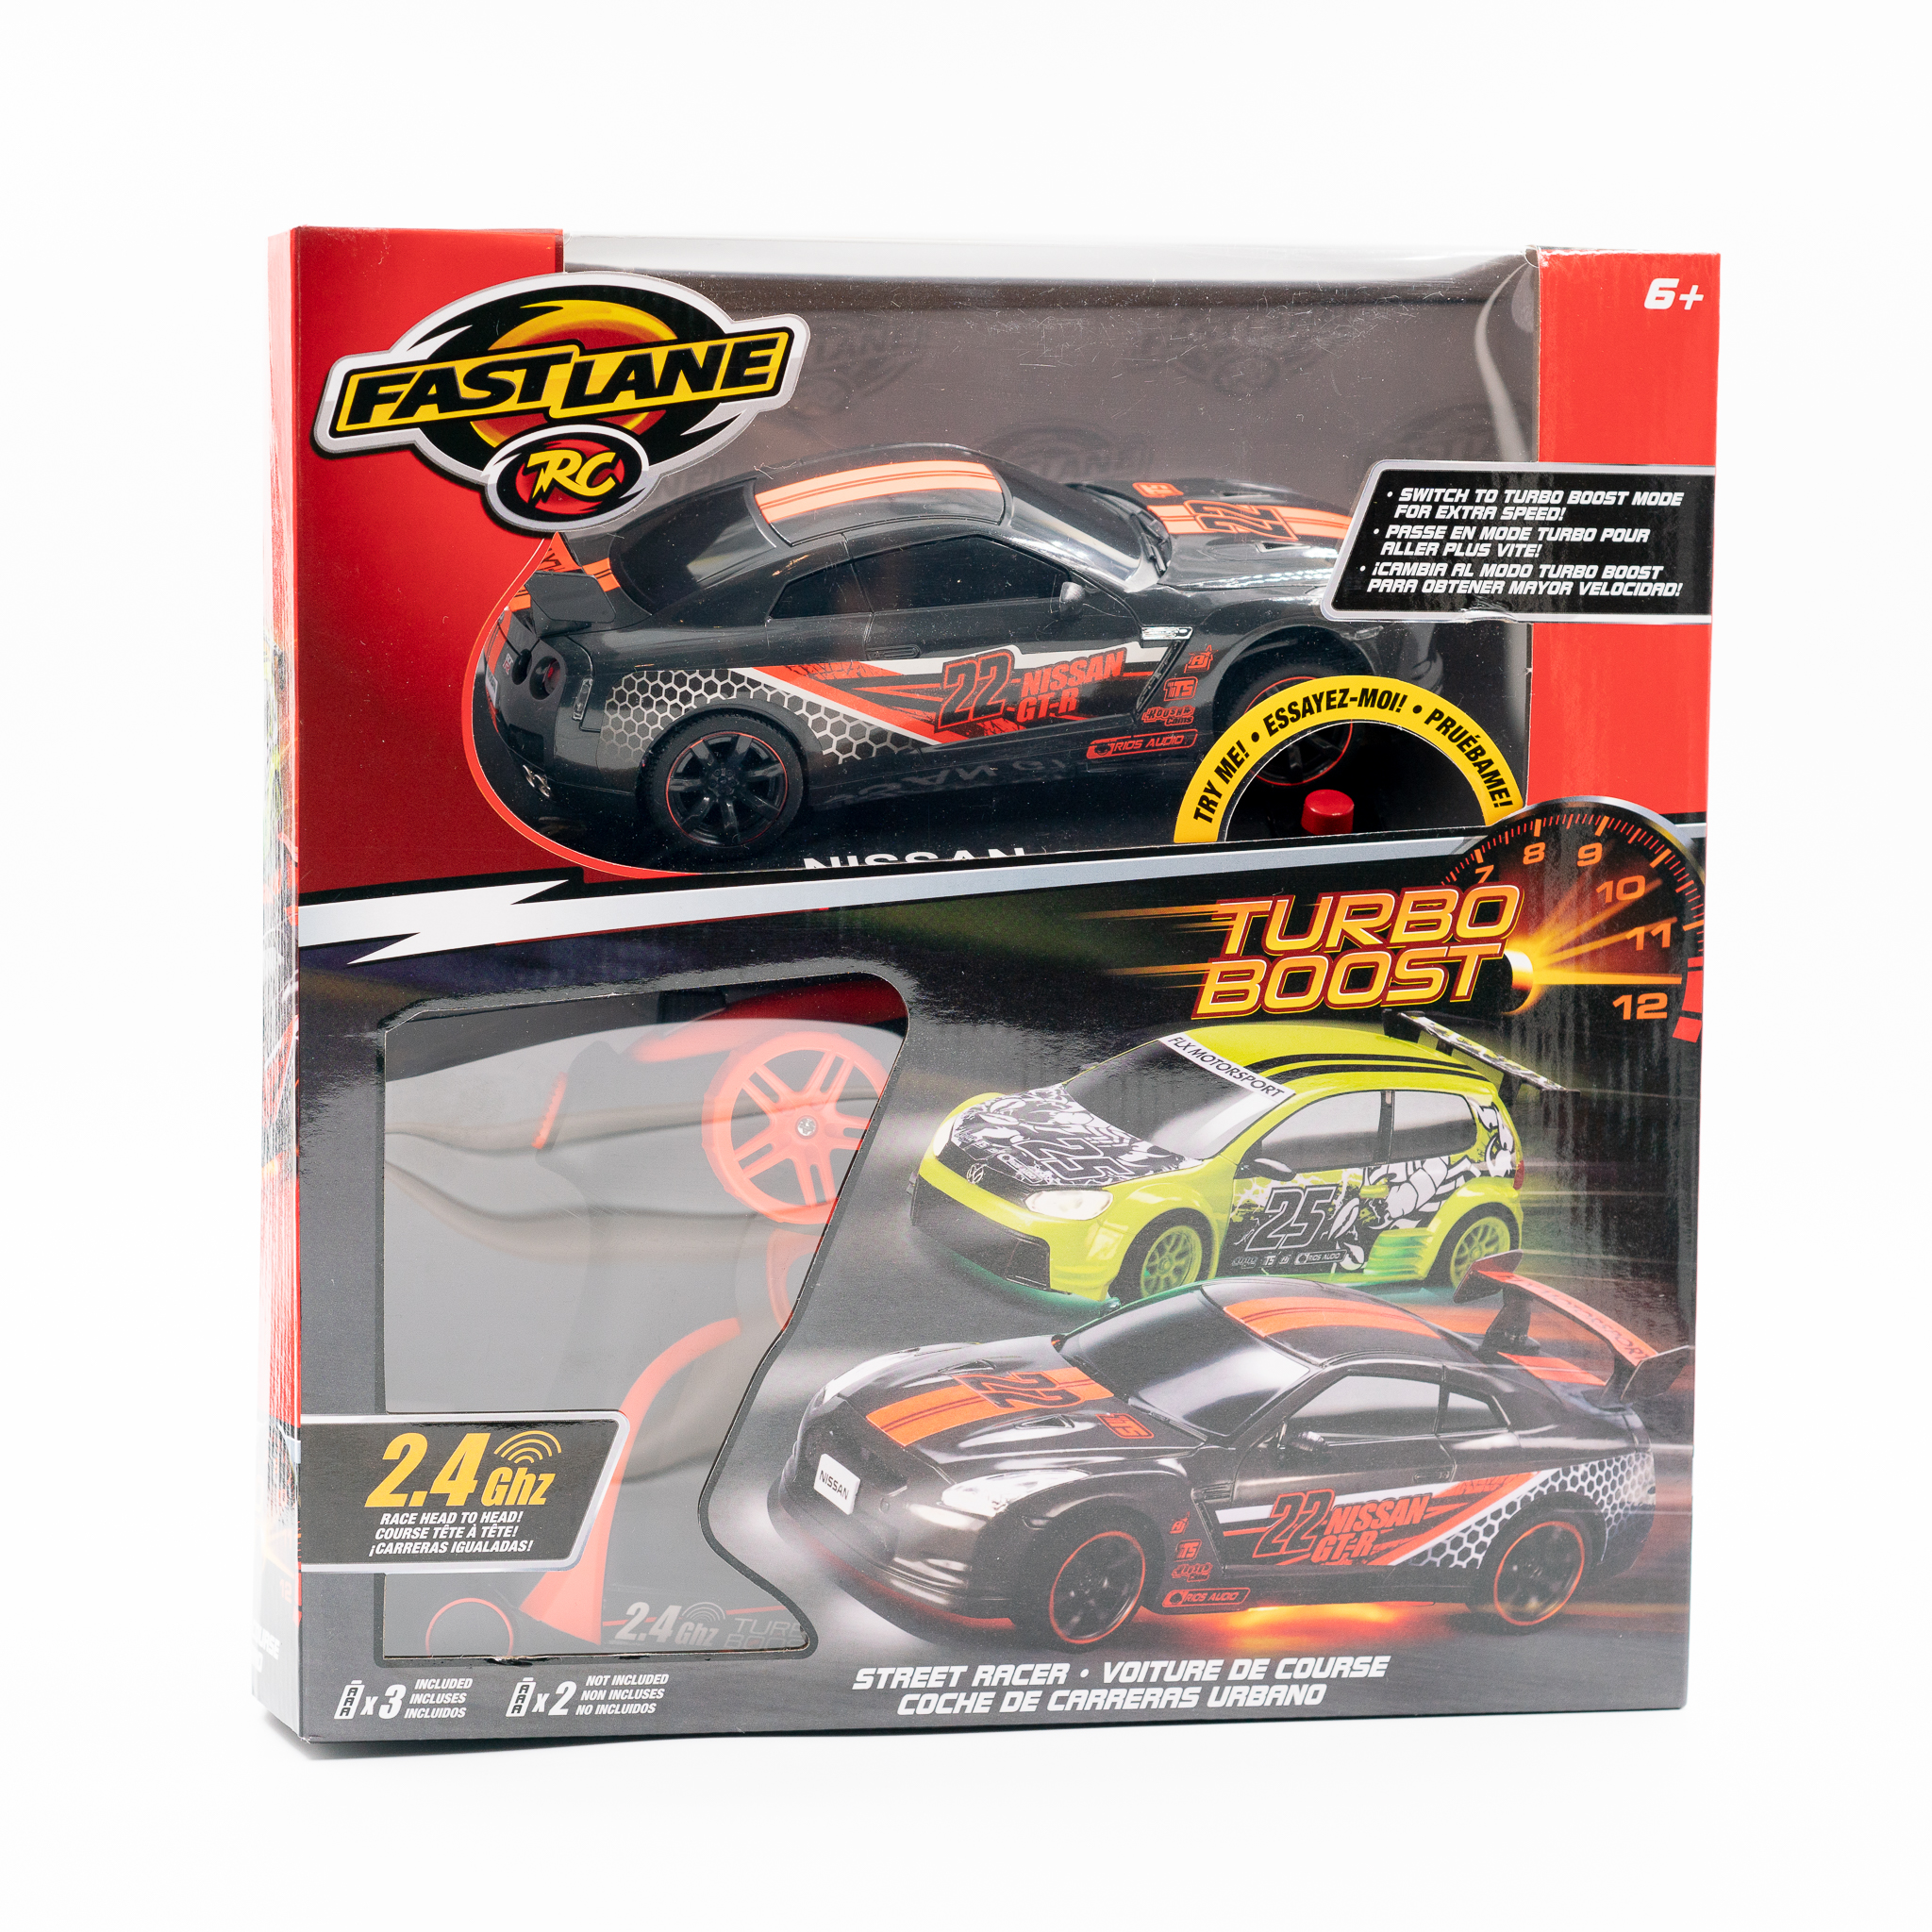
We picked a Fast Lane 1:24 RC Car. This car is prefect for this project, as it has all features that we are looking for, such as headlight and underglow LEDs with enough room to put our board inside.
Taking the Car Apart
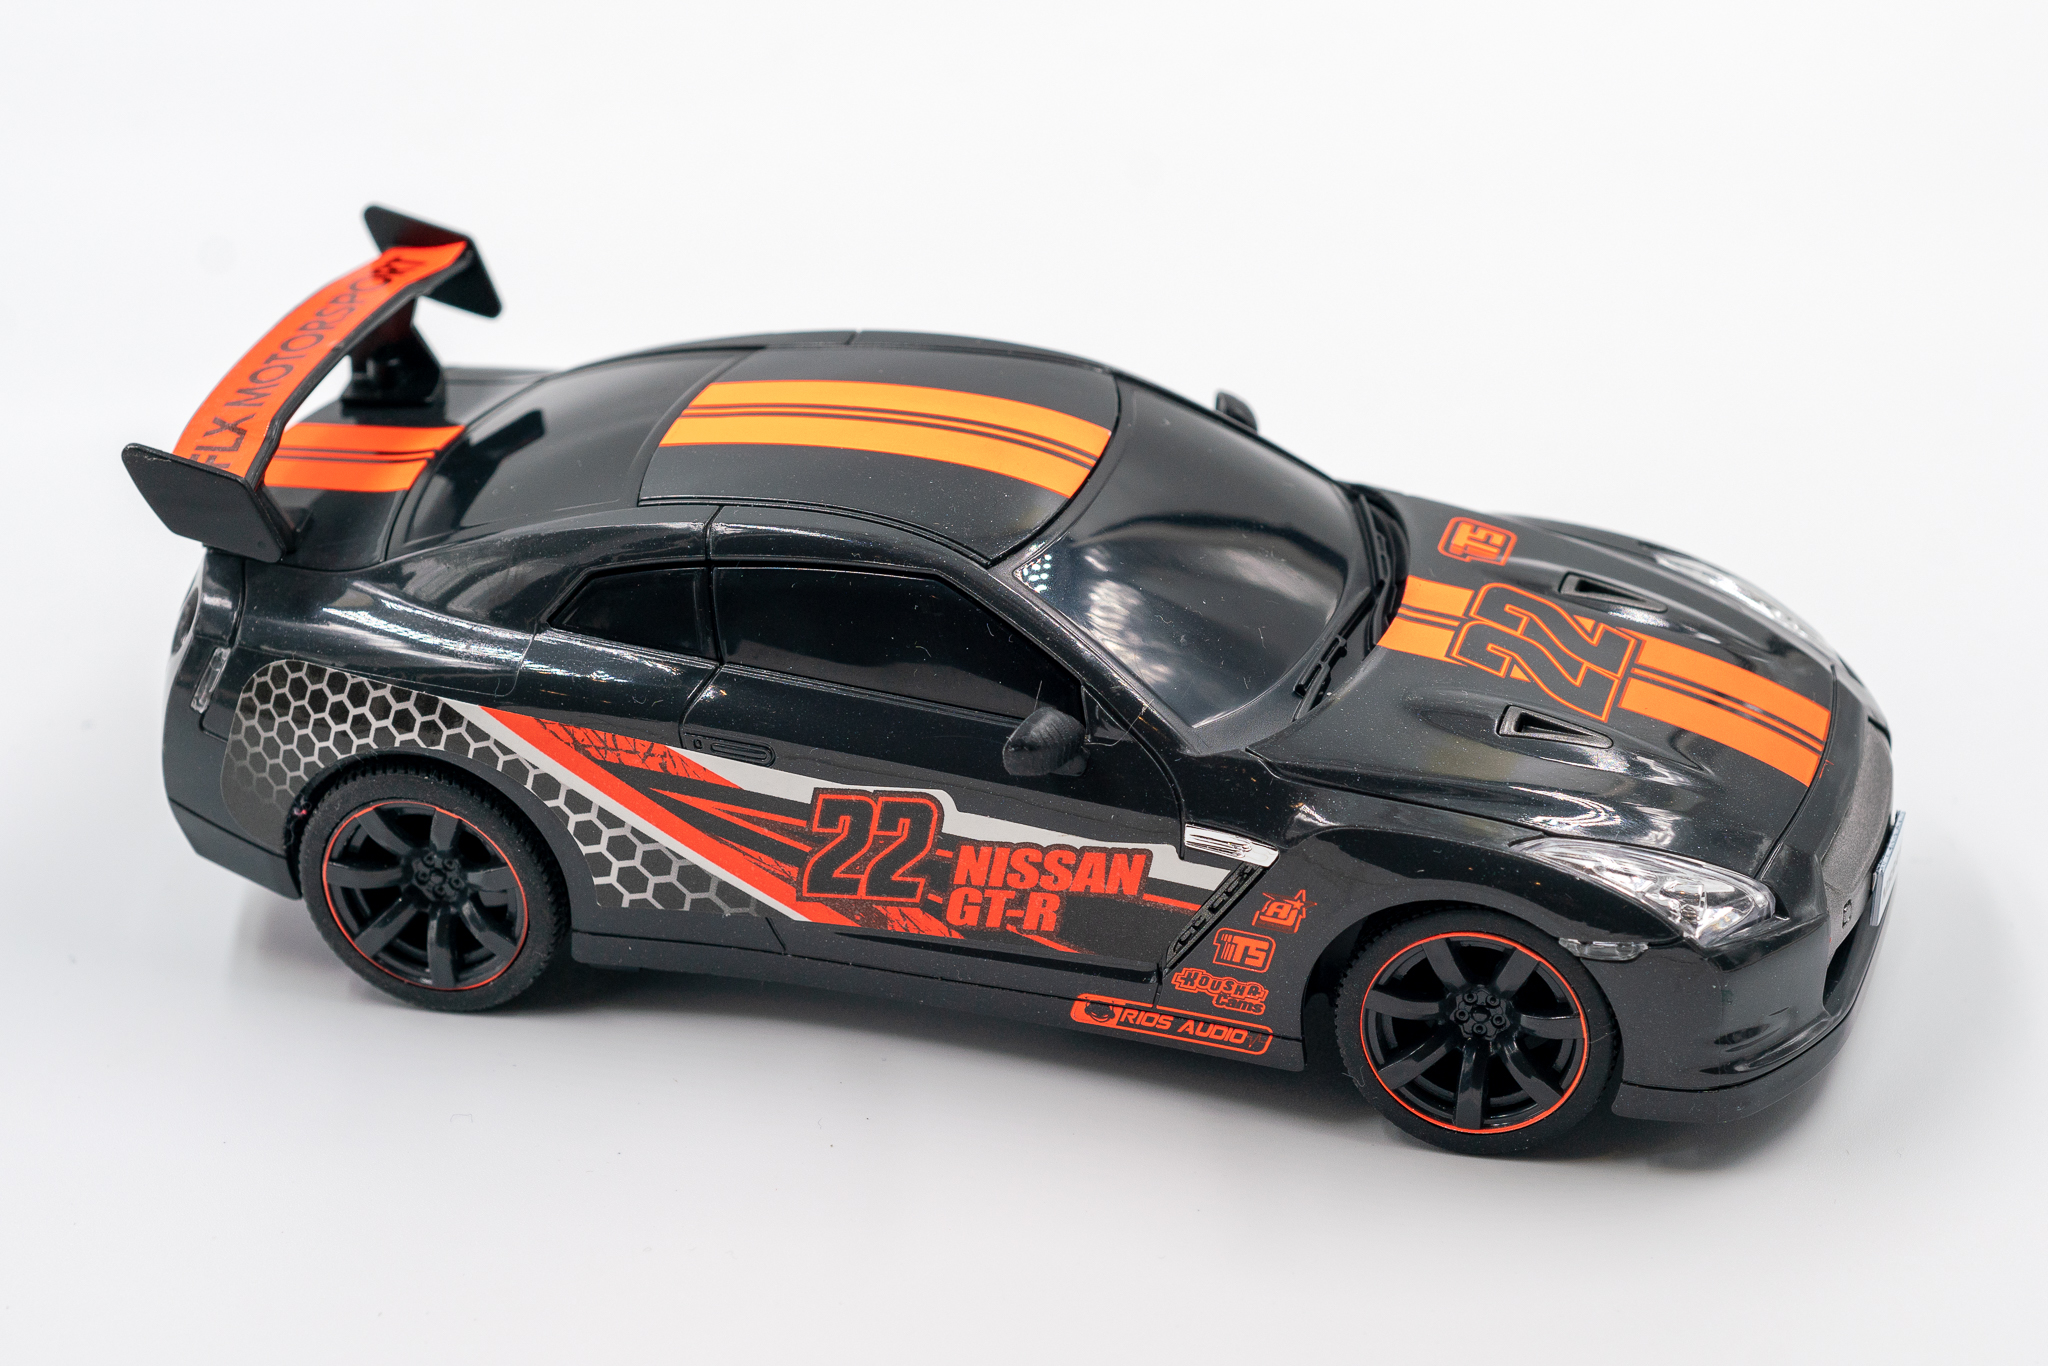
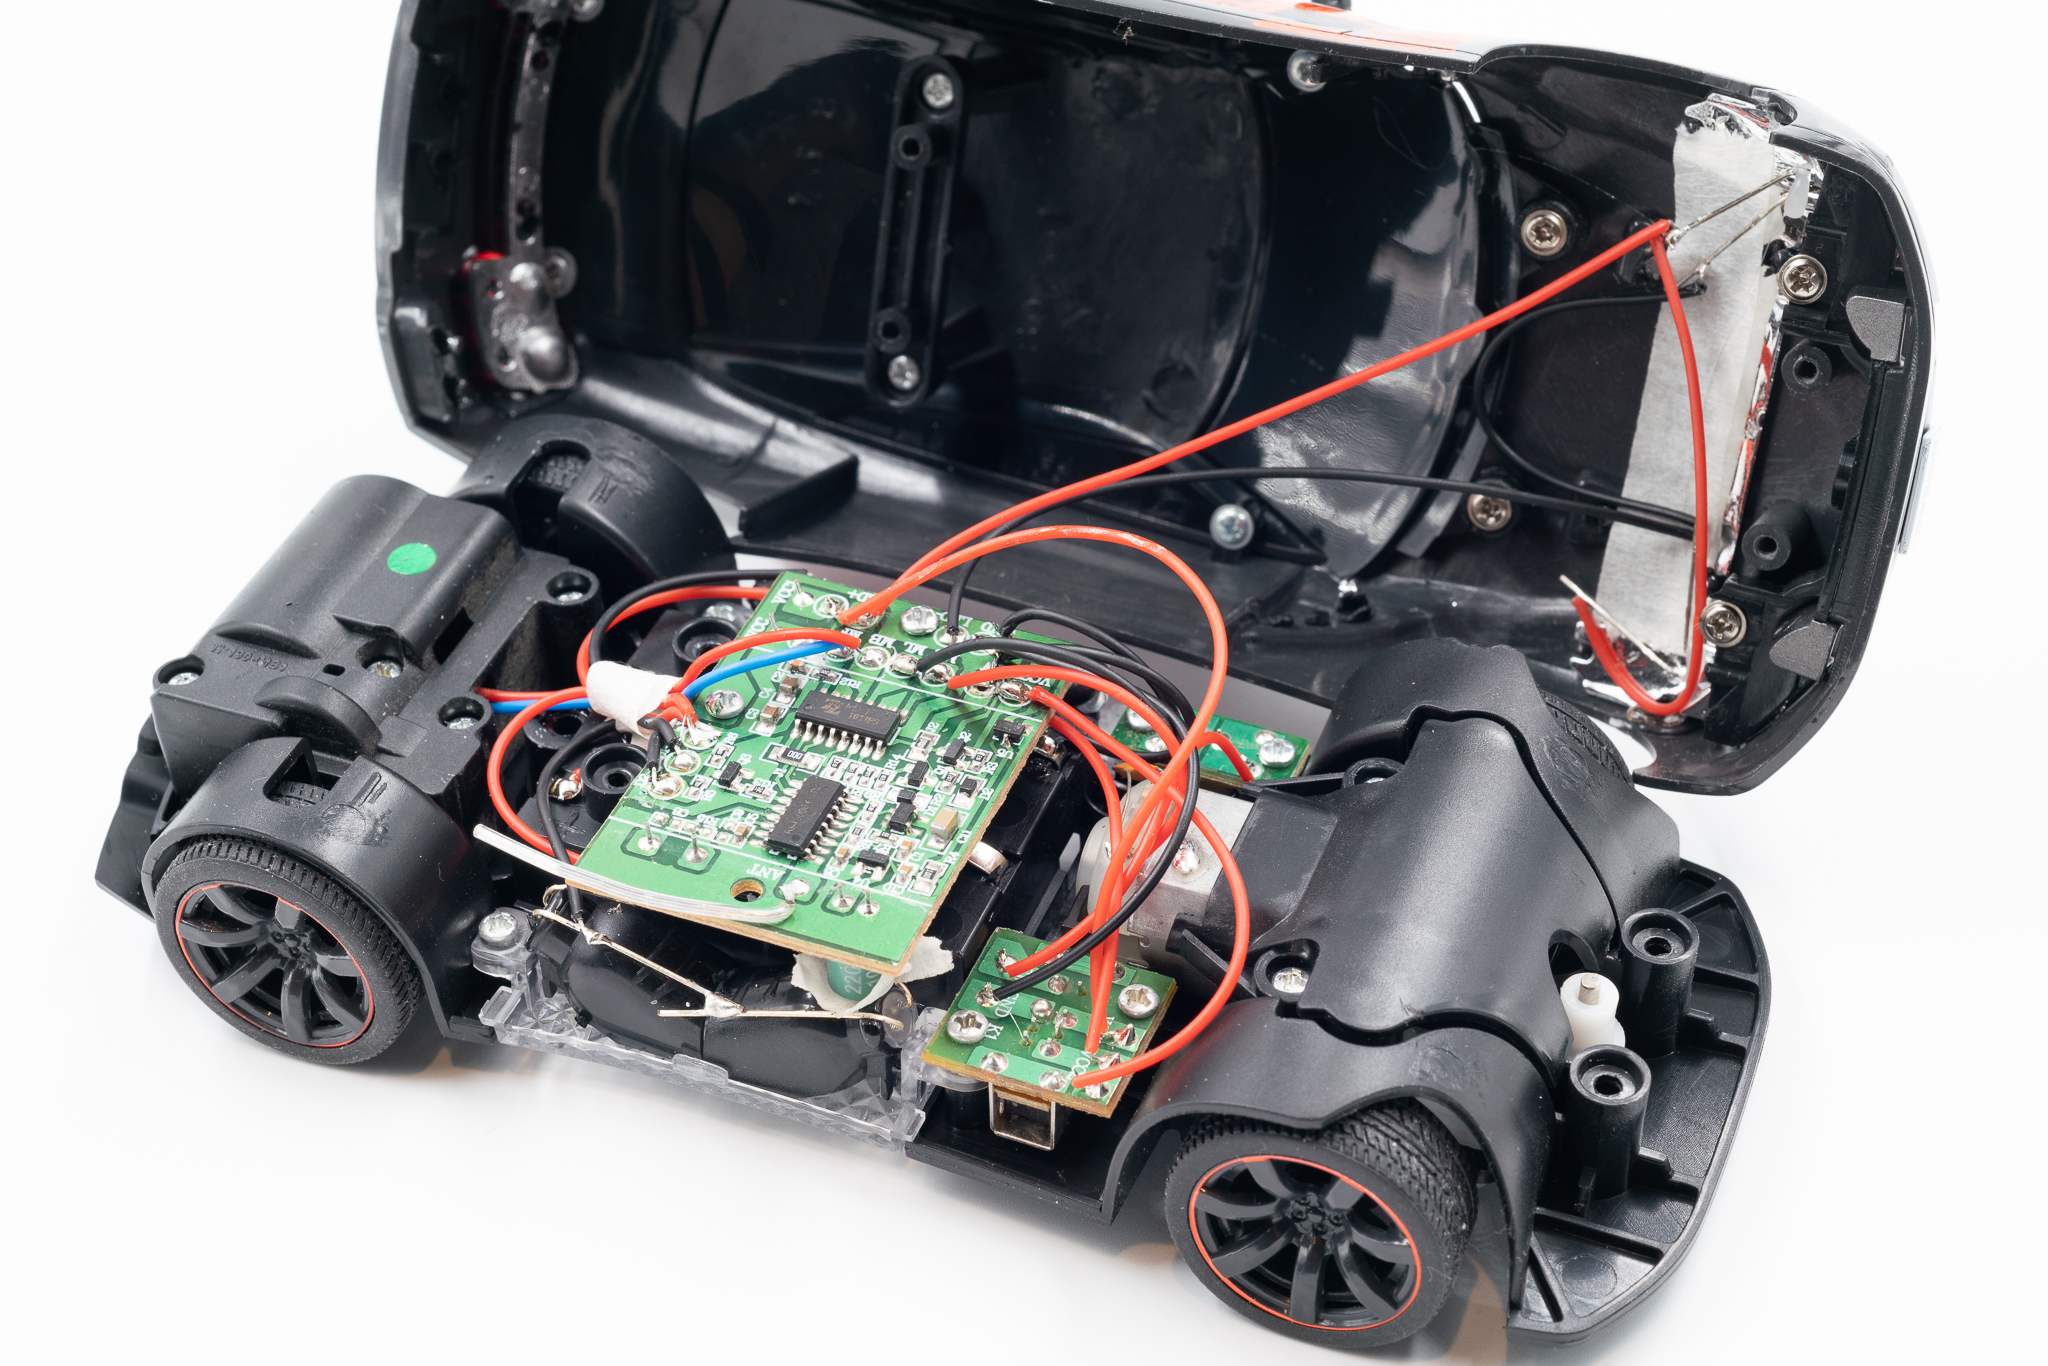
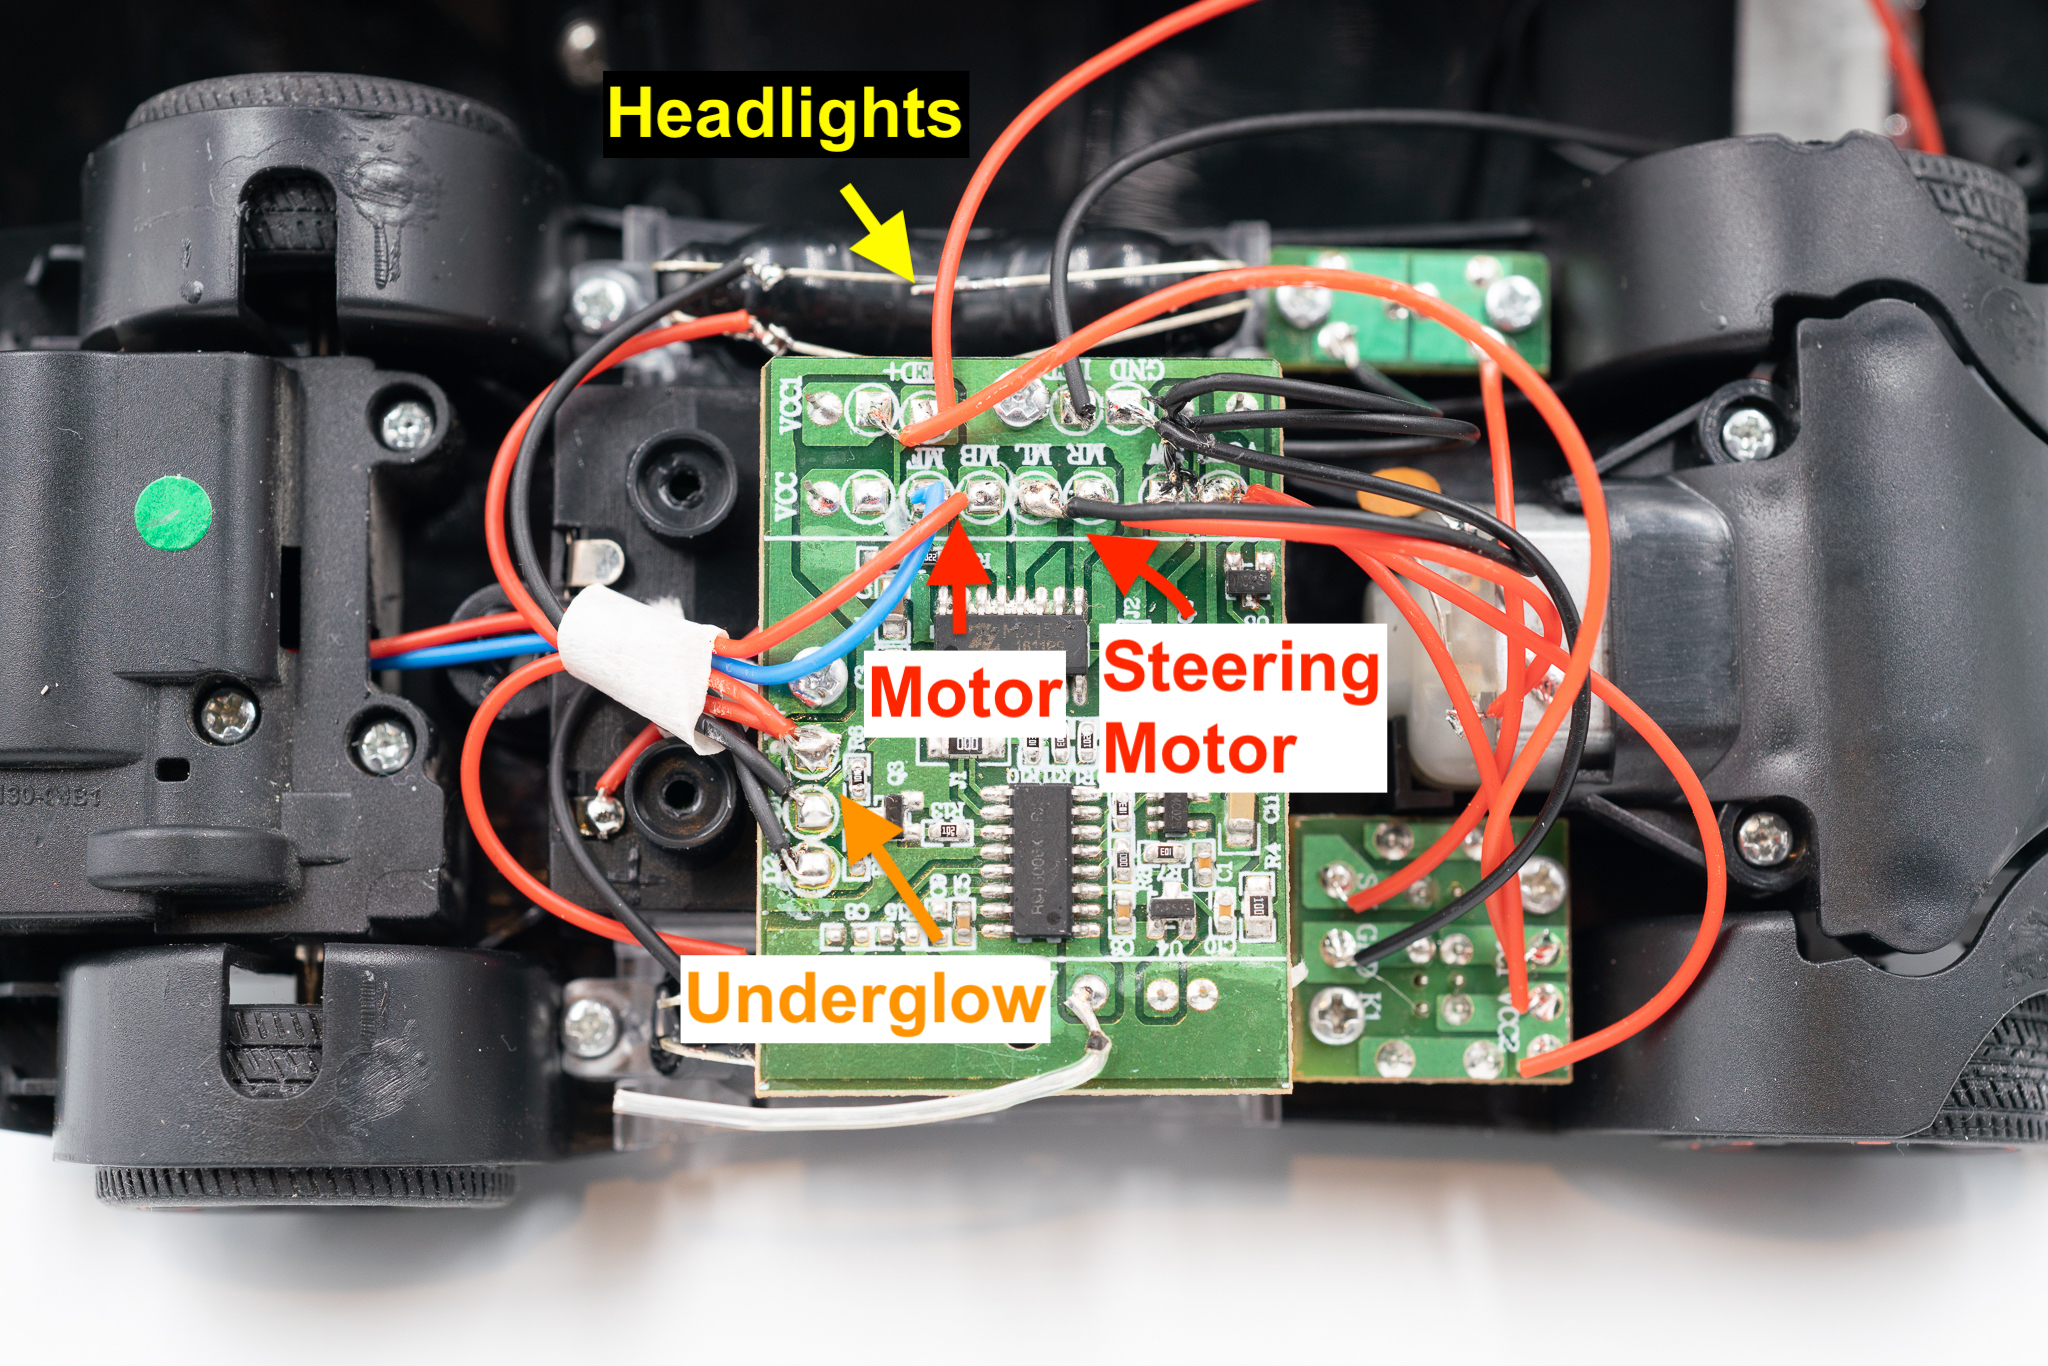
After taking it apart, identify the wires for LEDs and motors. The desoldering them off the board and replace them with Arduino board and motor drive module.
Putting on the Motor Drive Module
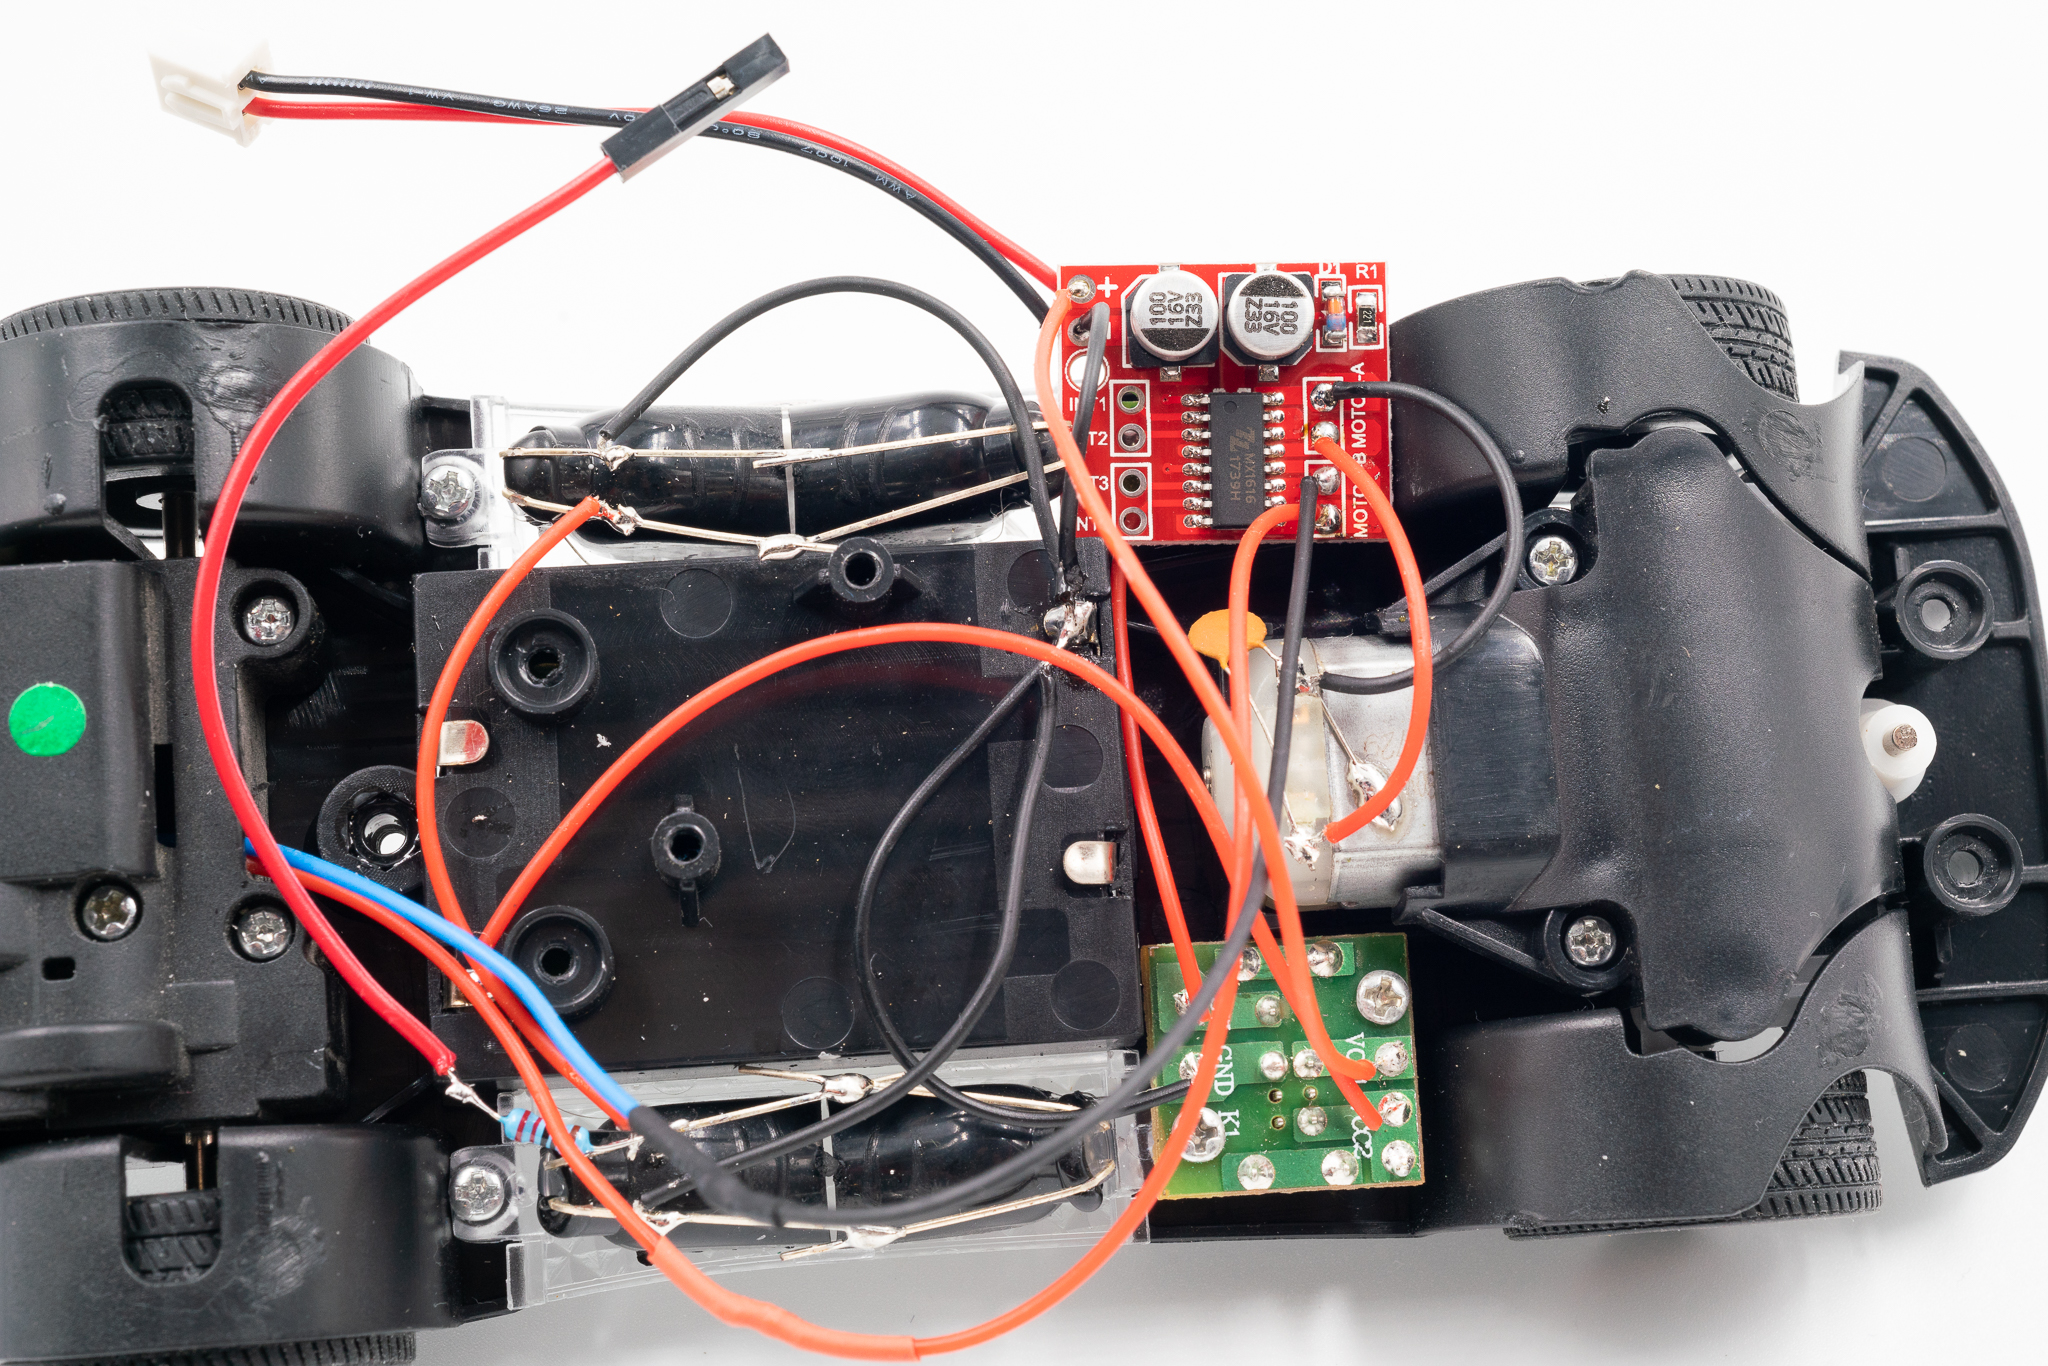
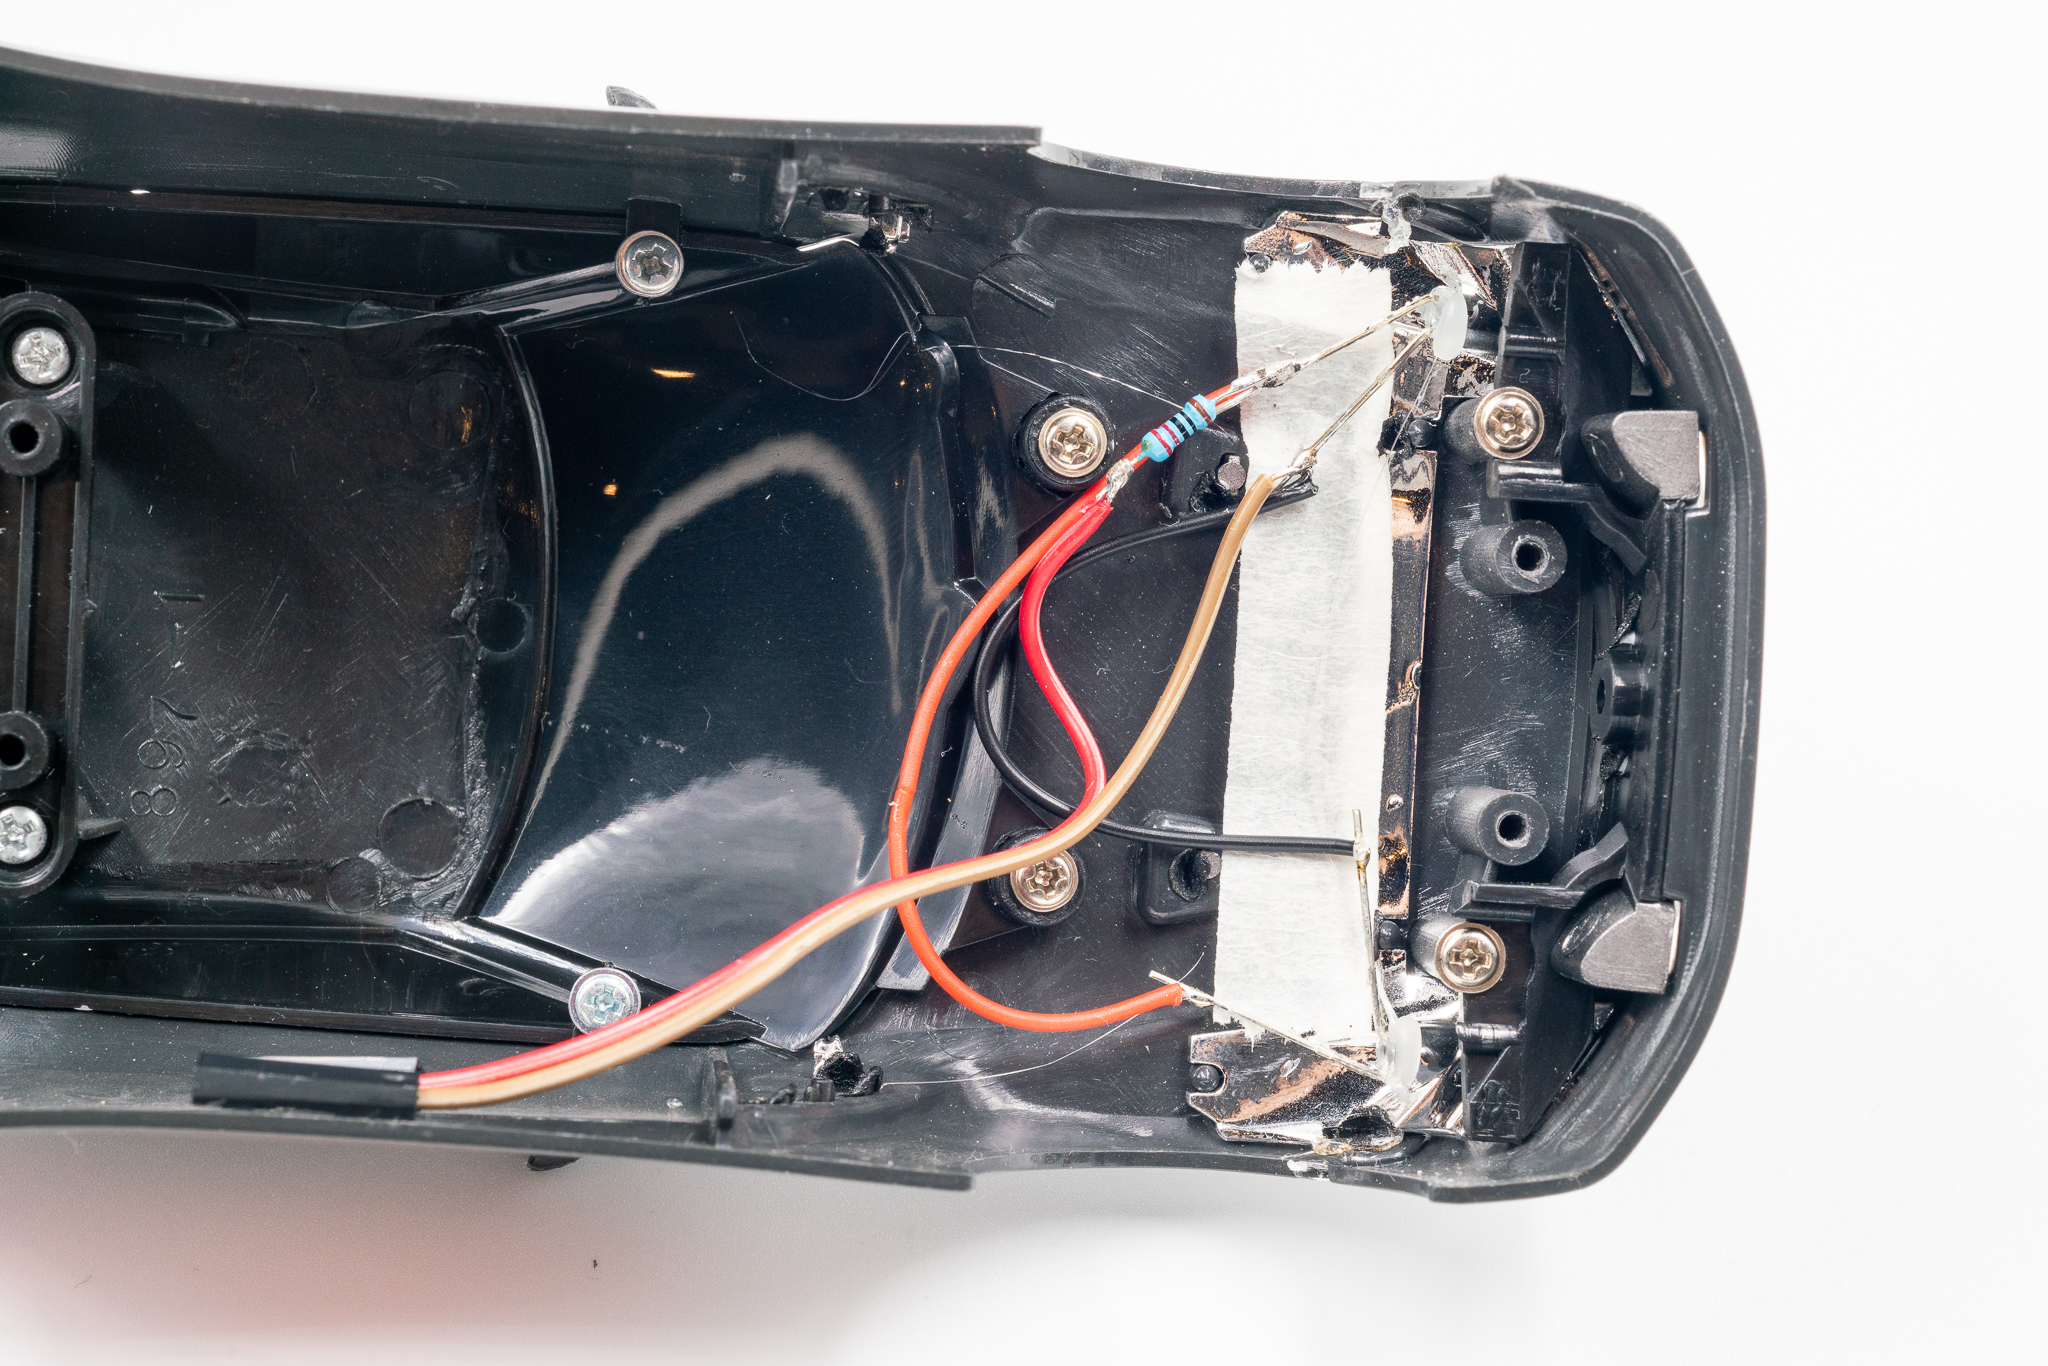
In this step, solder the steering motor to "MOTO A" and back motor to "MOTO B" on the motor driver module. Solder jumper wires to headlight & under-glow LEDs on both +ve & -ve side.
Connecting to the SAM01 Arduino Robotics Board
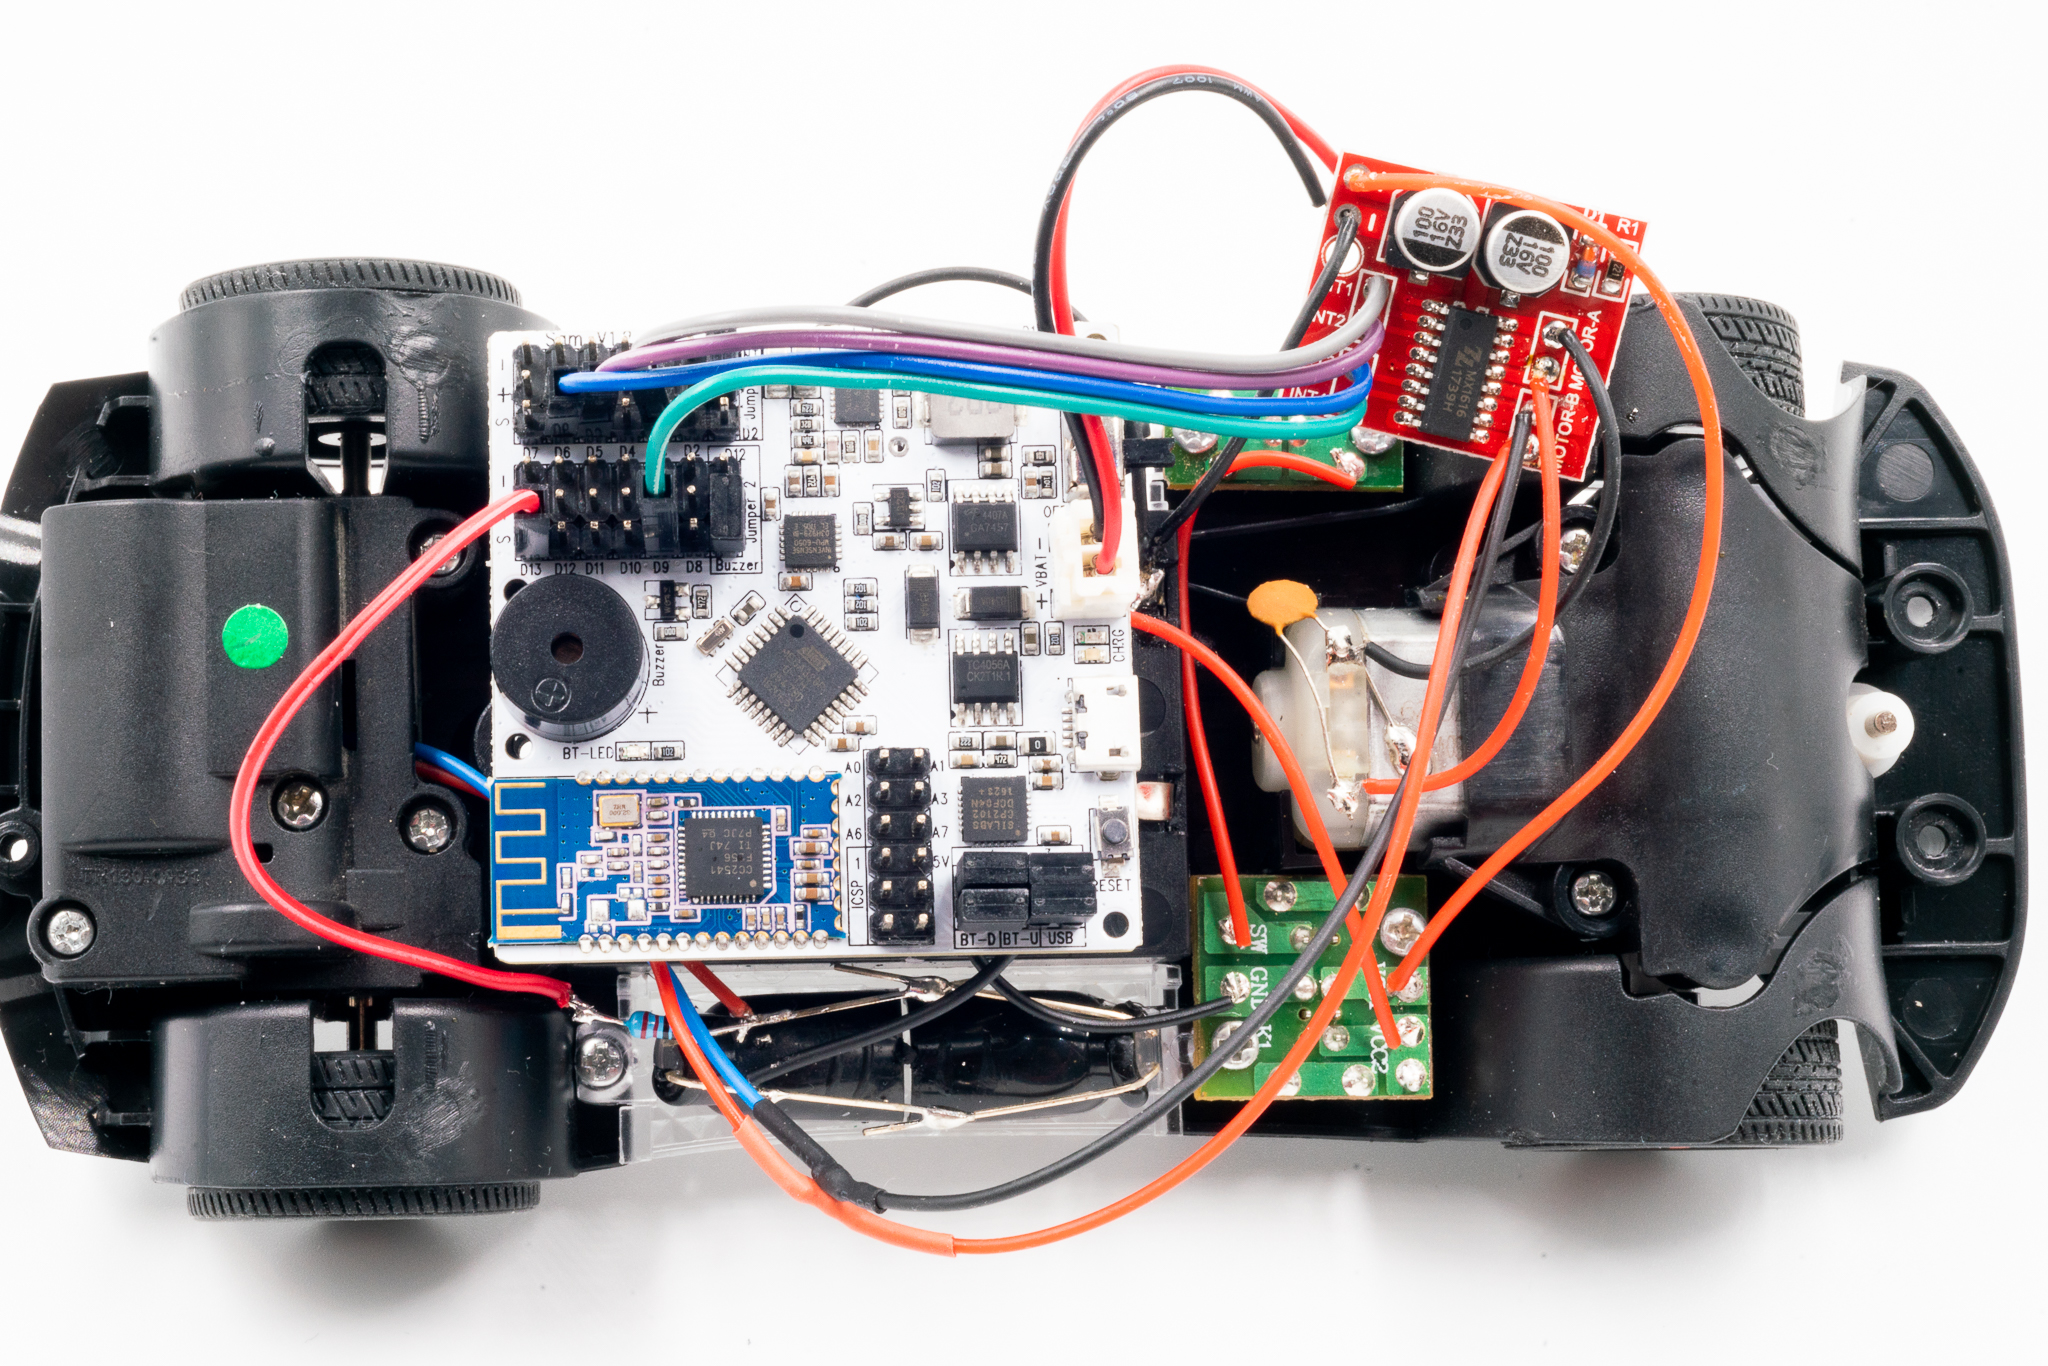
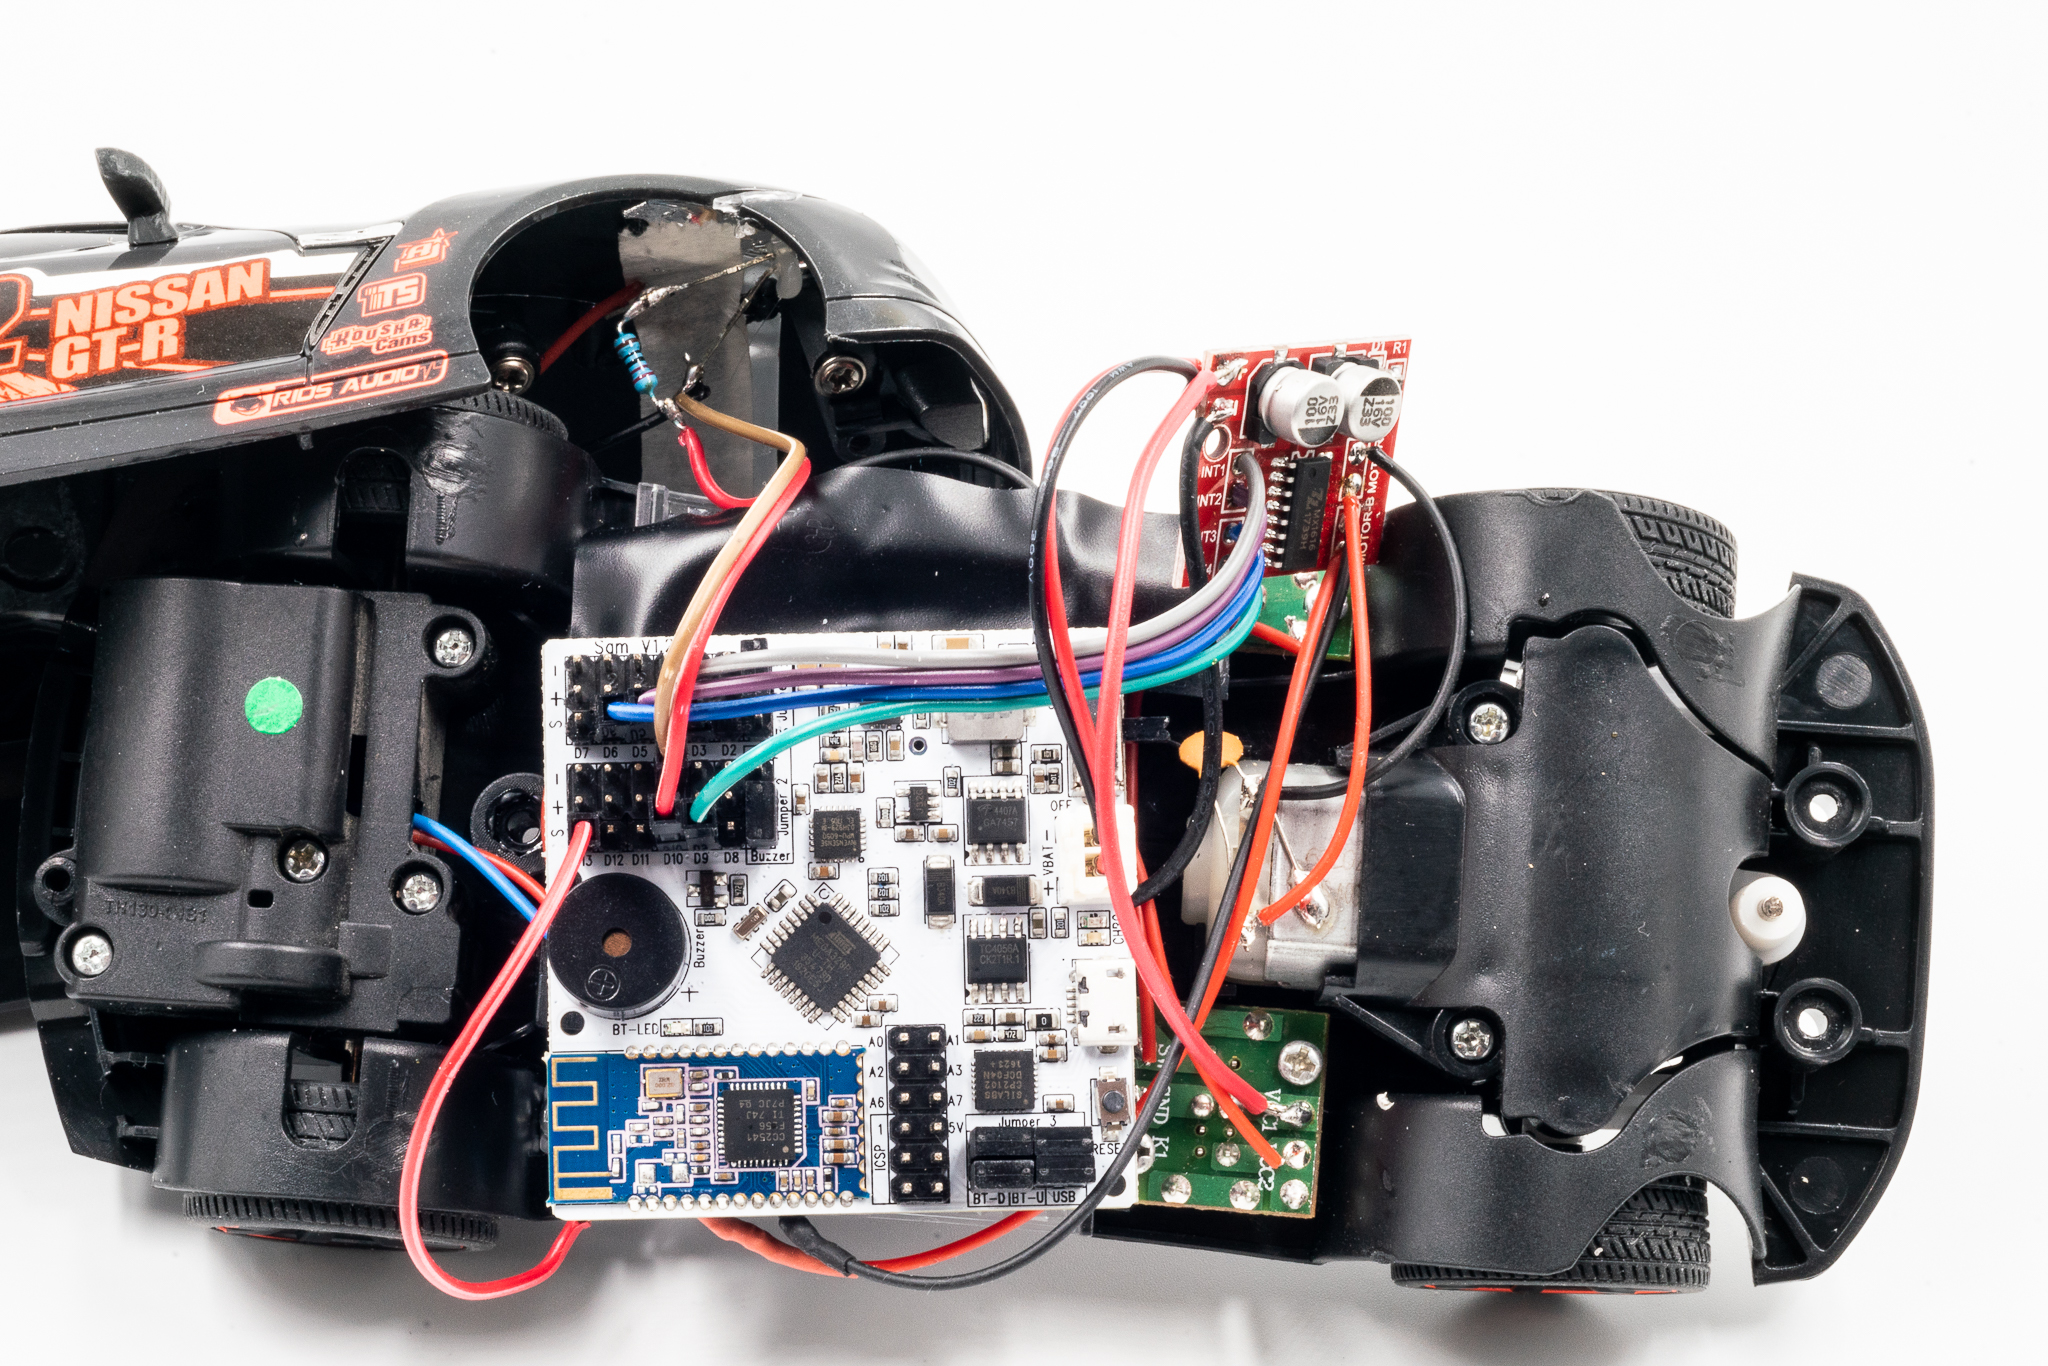
Putting on the SAM01 Arduino Robotics Board and connecting the jumper wires as following.
PIN 3 - INT1 for Motor A (Steering Motor)
PIN 5 - INT2 for Motor A
PIN 6 - INT3 for Motor B (Drive Motor)
PIN 9 - INT4 for Motor B
PIN 10 - Headlight LEDs
PIN 13 - Under-glow LEDs
Arduino Coding & Testing
Now it is time for testing all the connections. I have made Sam_RC_Car_Test.ino for ease of testing. Upload the ino file with Arduino IDE.
** Set board to "Arduino Nano" in Arduino IDE**
Downloads
Prepare for Blynk
After the connections are verified. We are ready to connect with Blynk through BLE.
First upload the file Sam_Blynk_RC_Car.ino with Arduino IDE.
Downloads
Setup Blynk
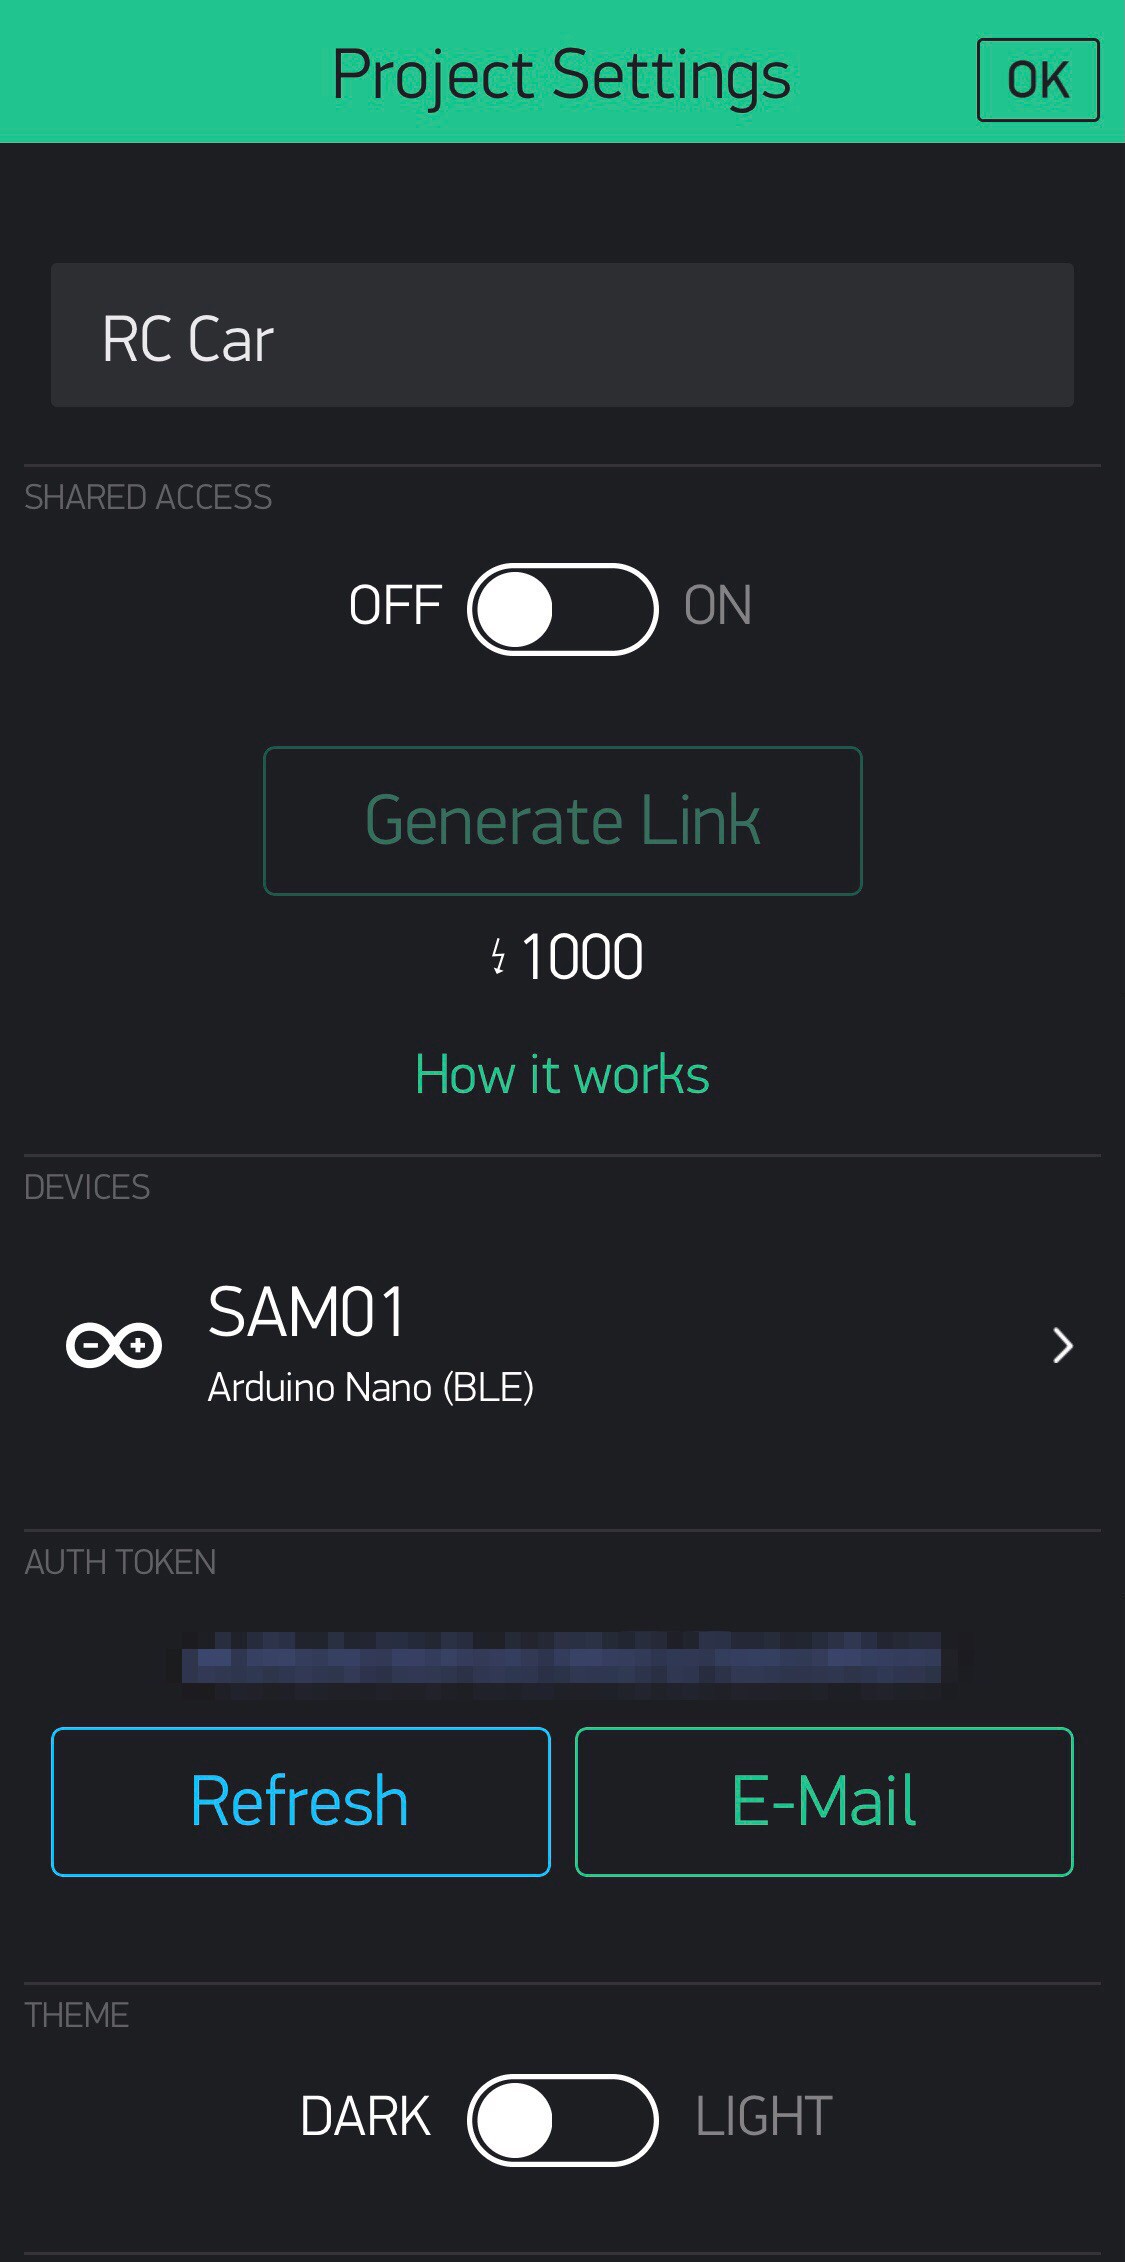
Copy the Auth Token back to Sam_Blynk_RC_Car.ino.
"char auth[] = "yourAuthToken";"
Final Step - Connect and Start Playing
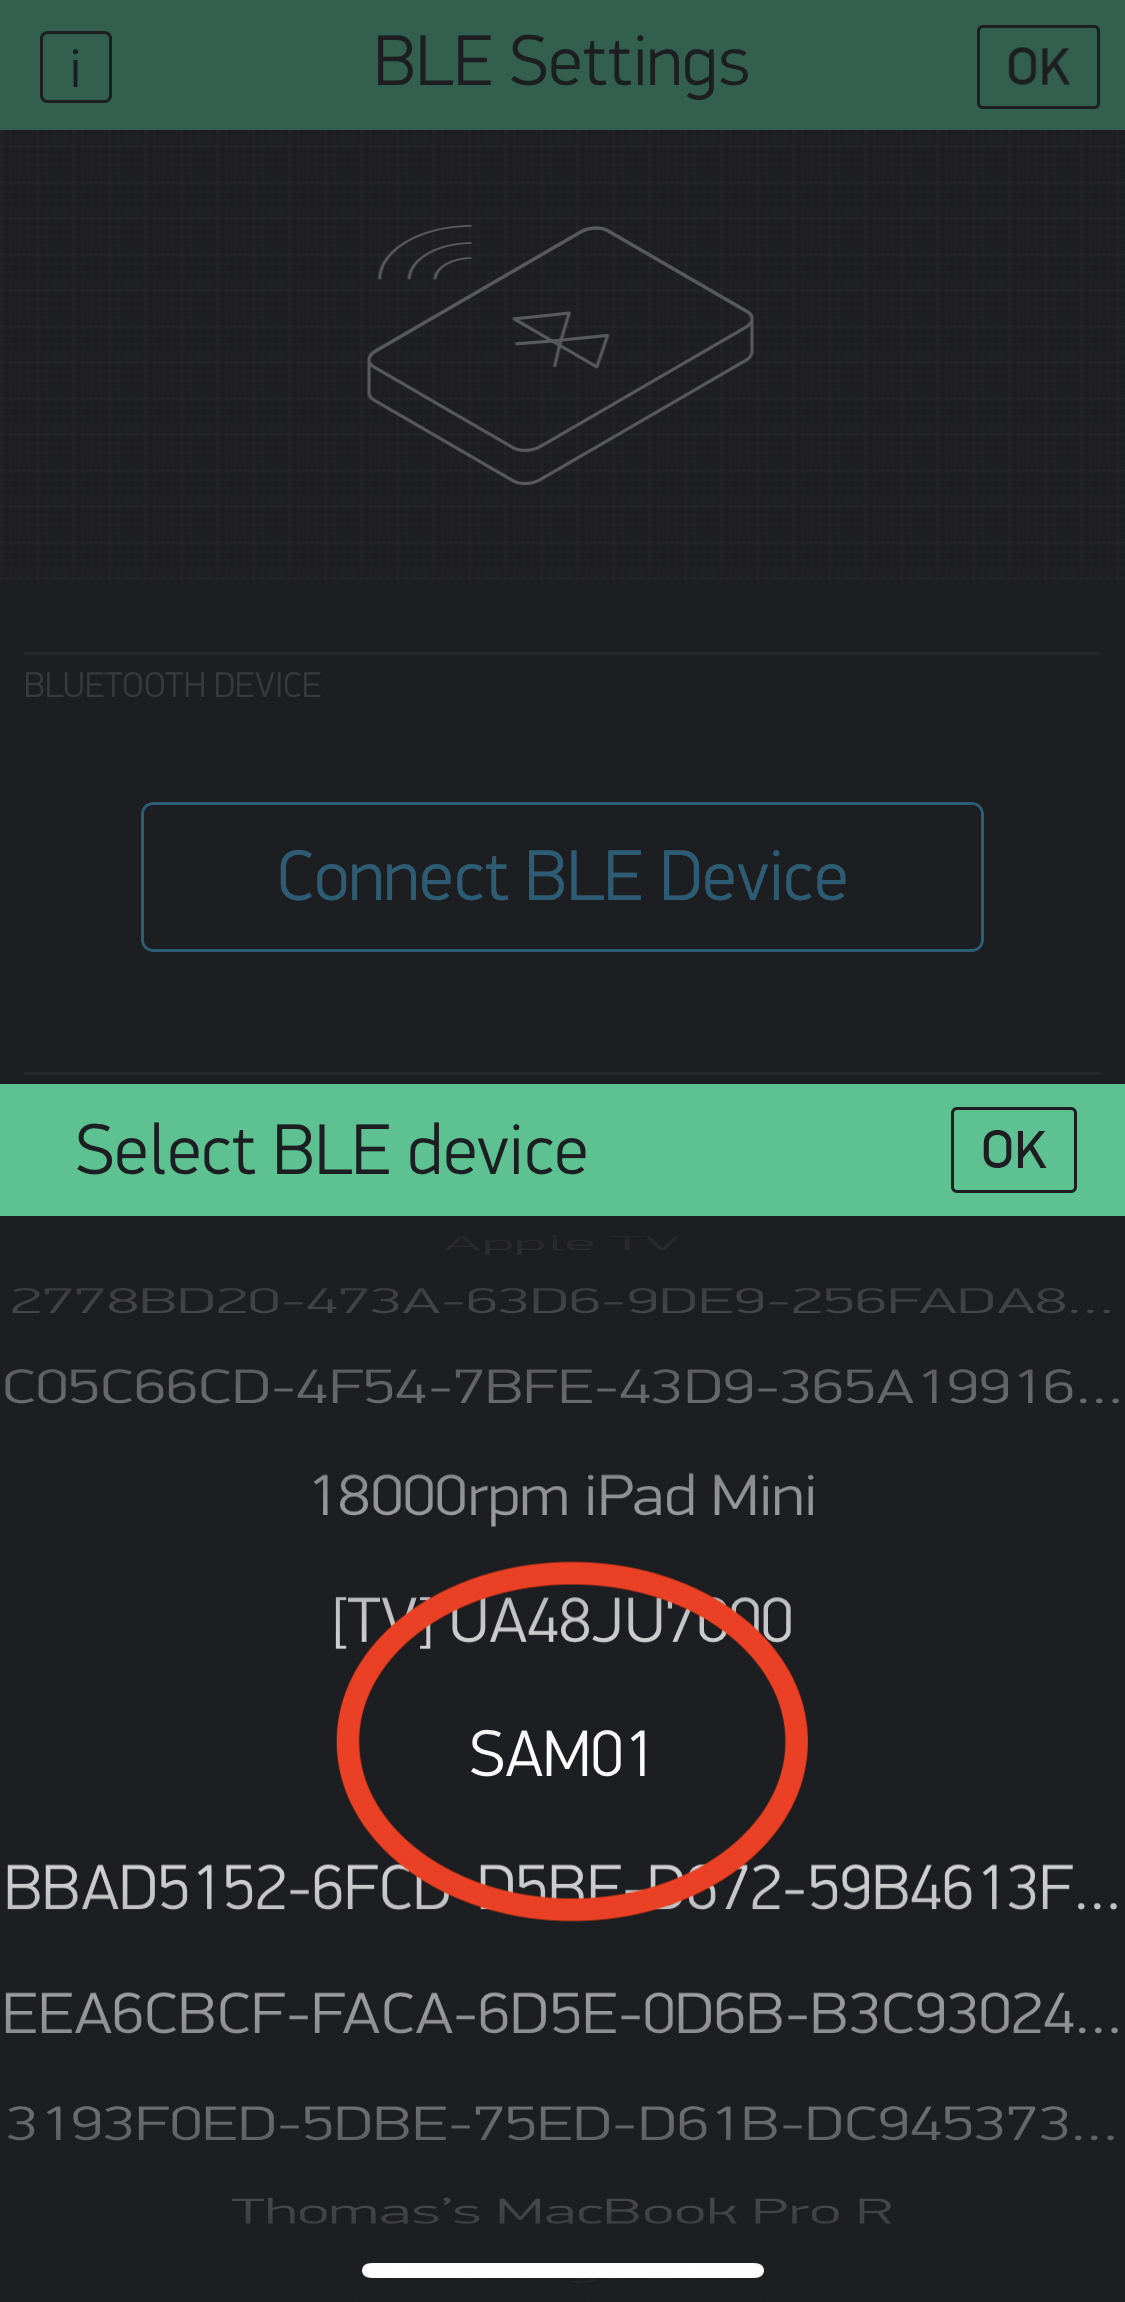
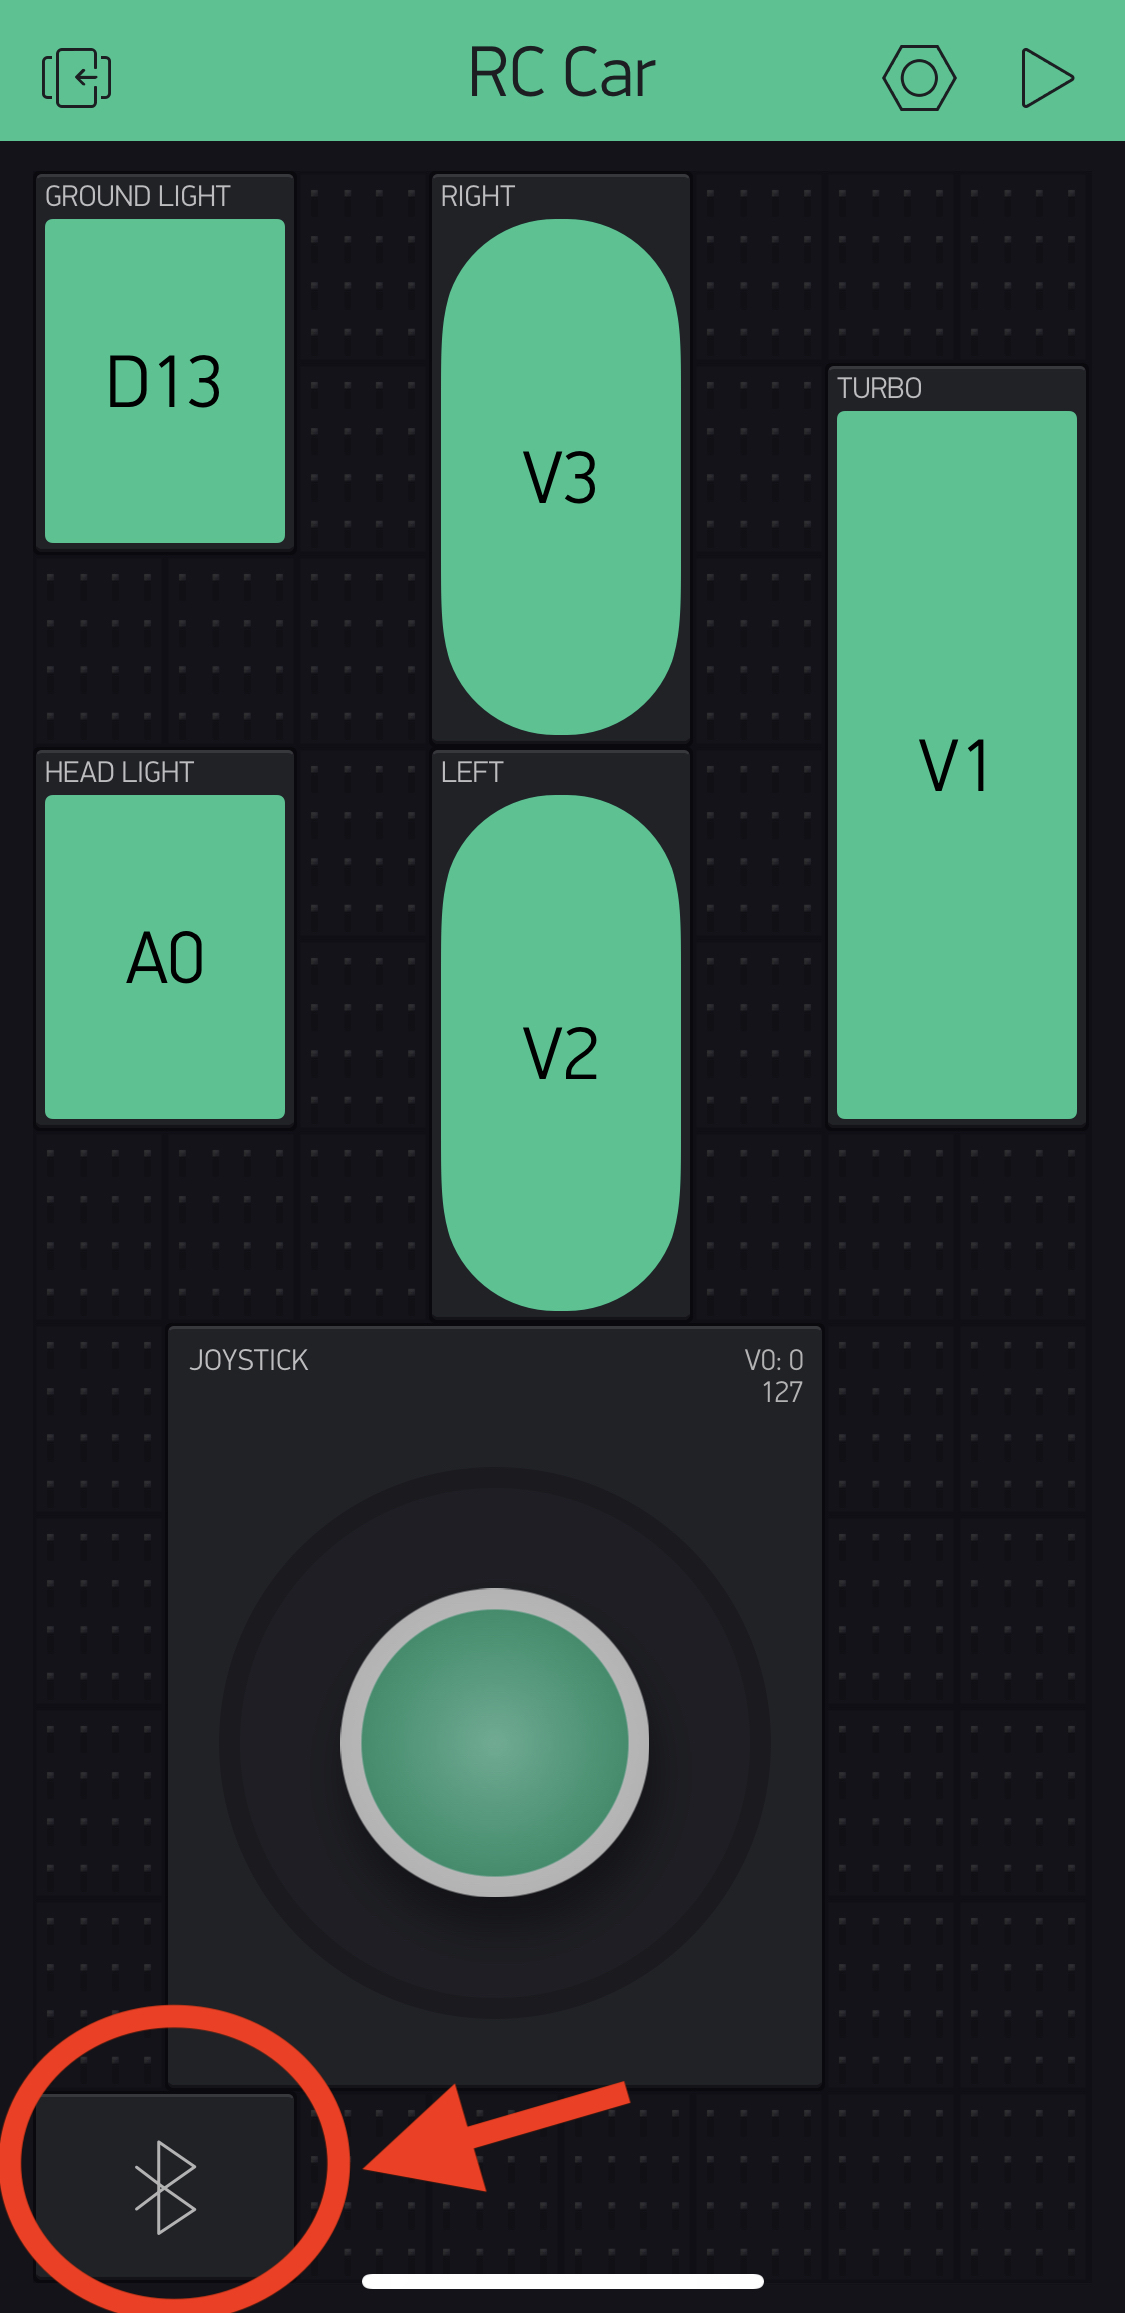
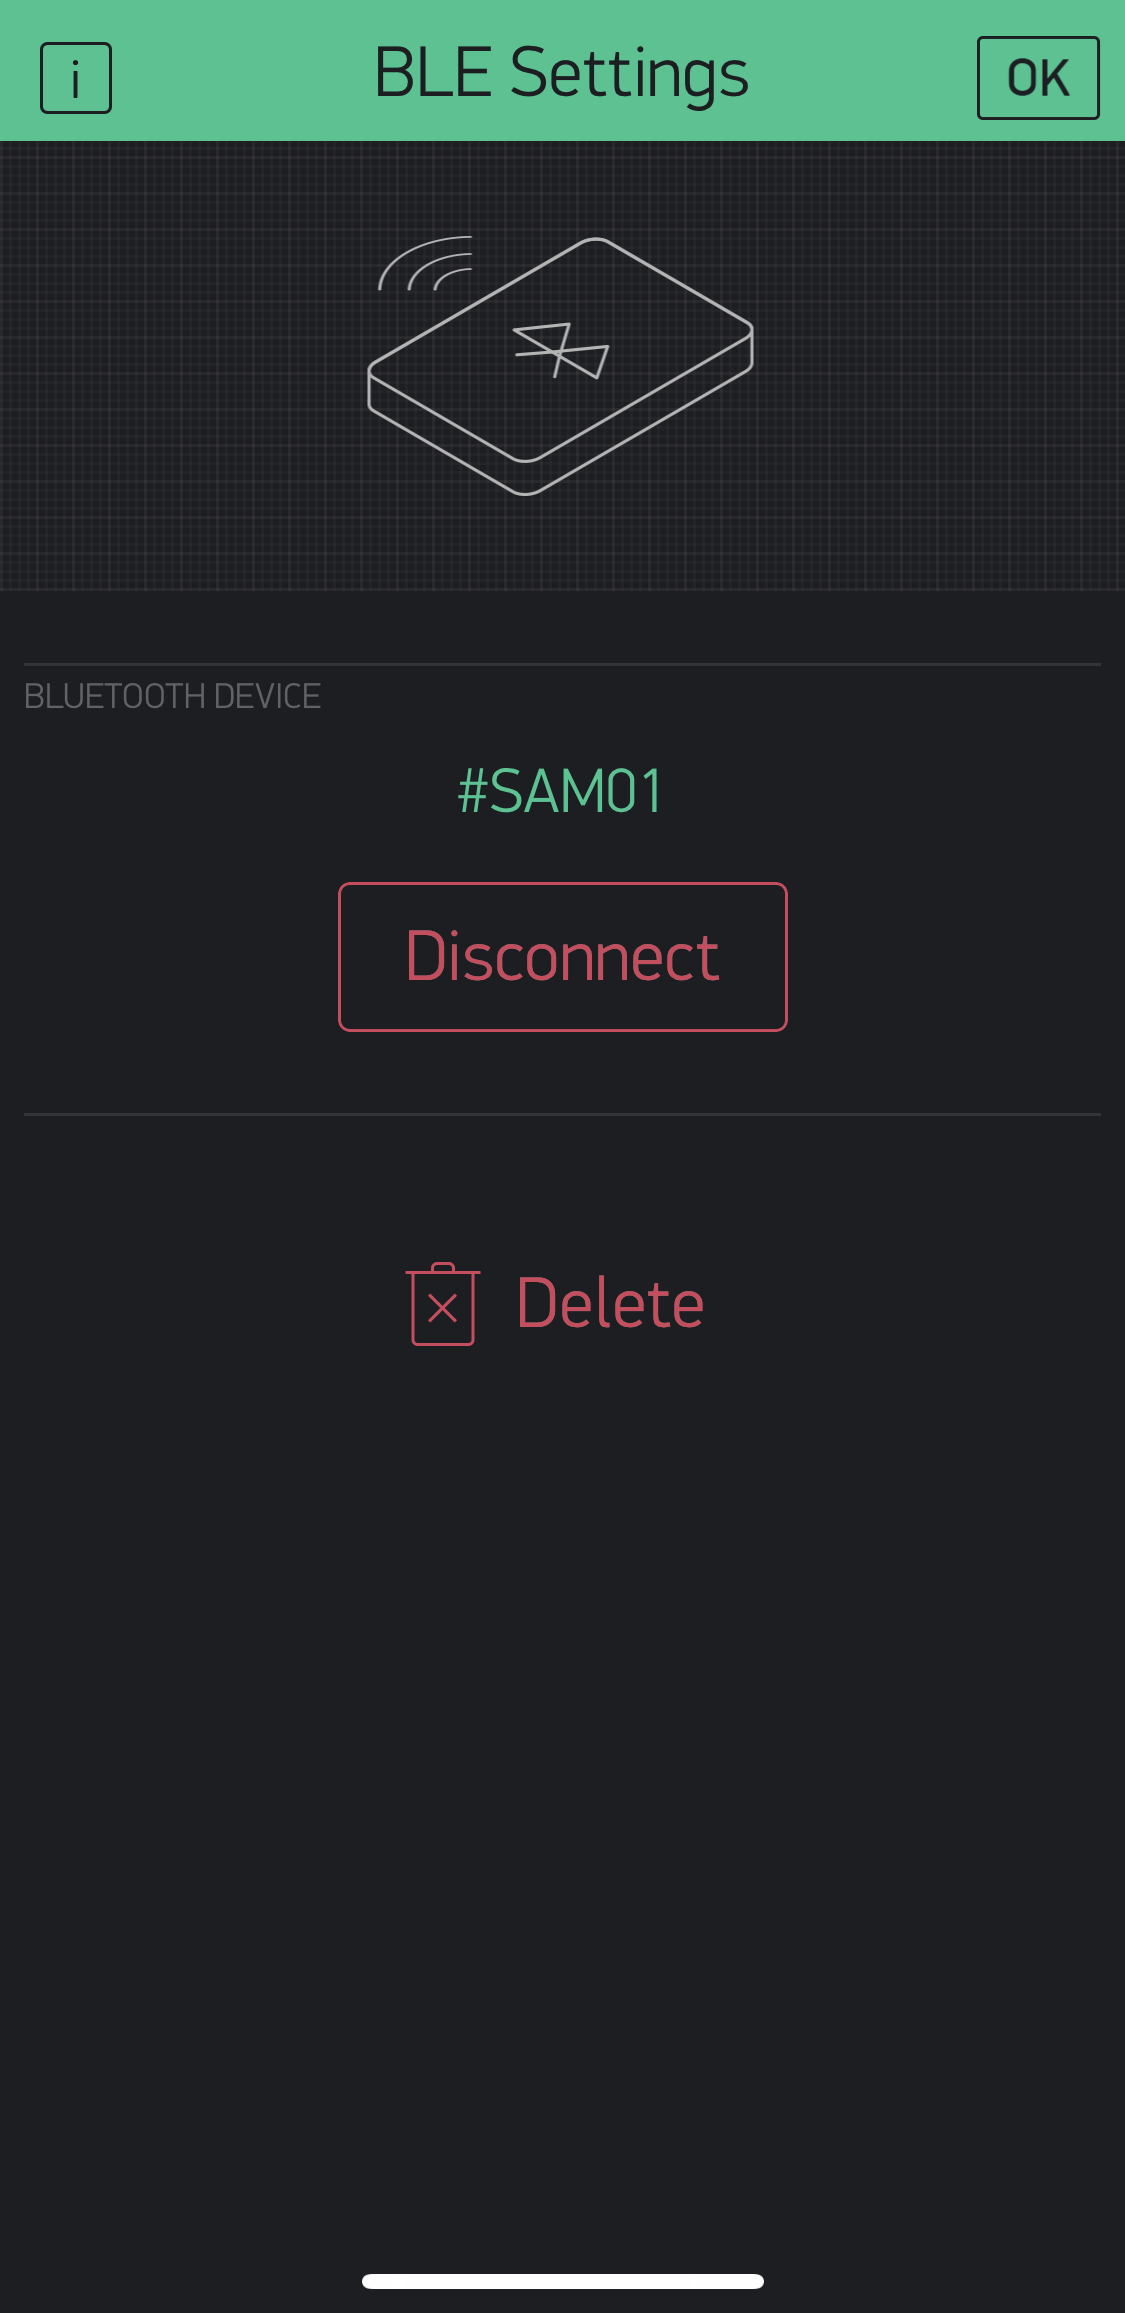
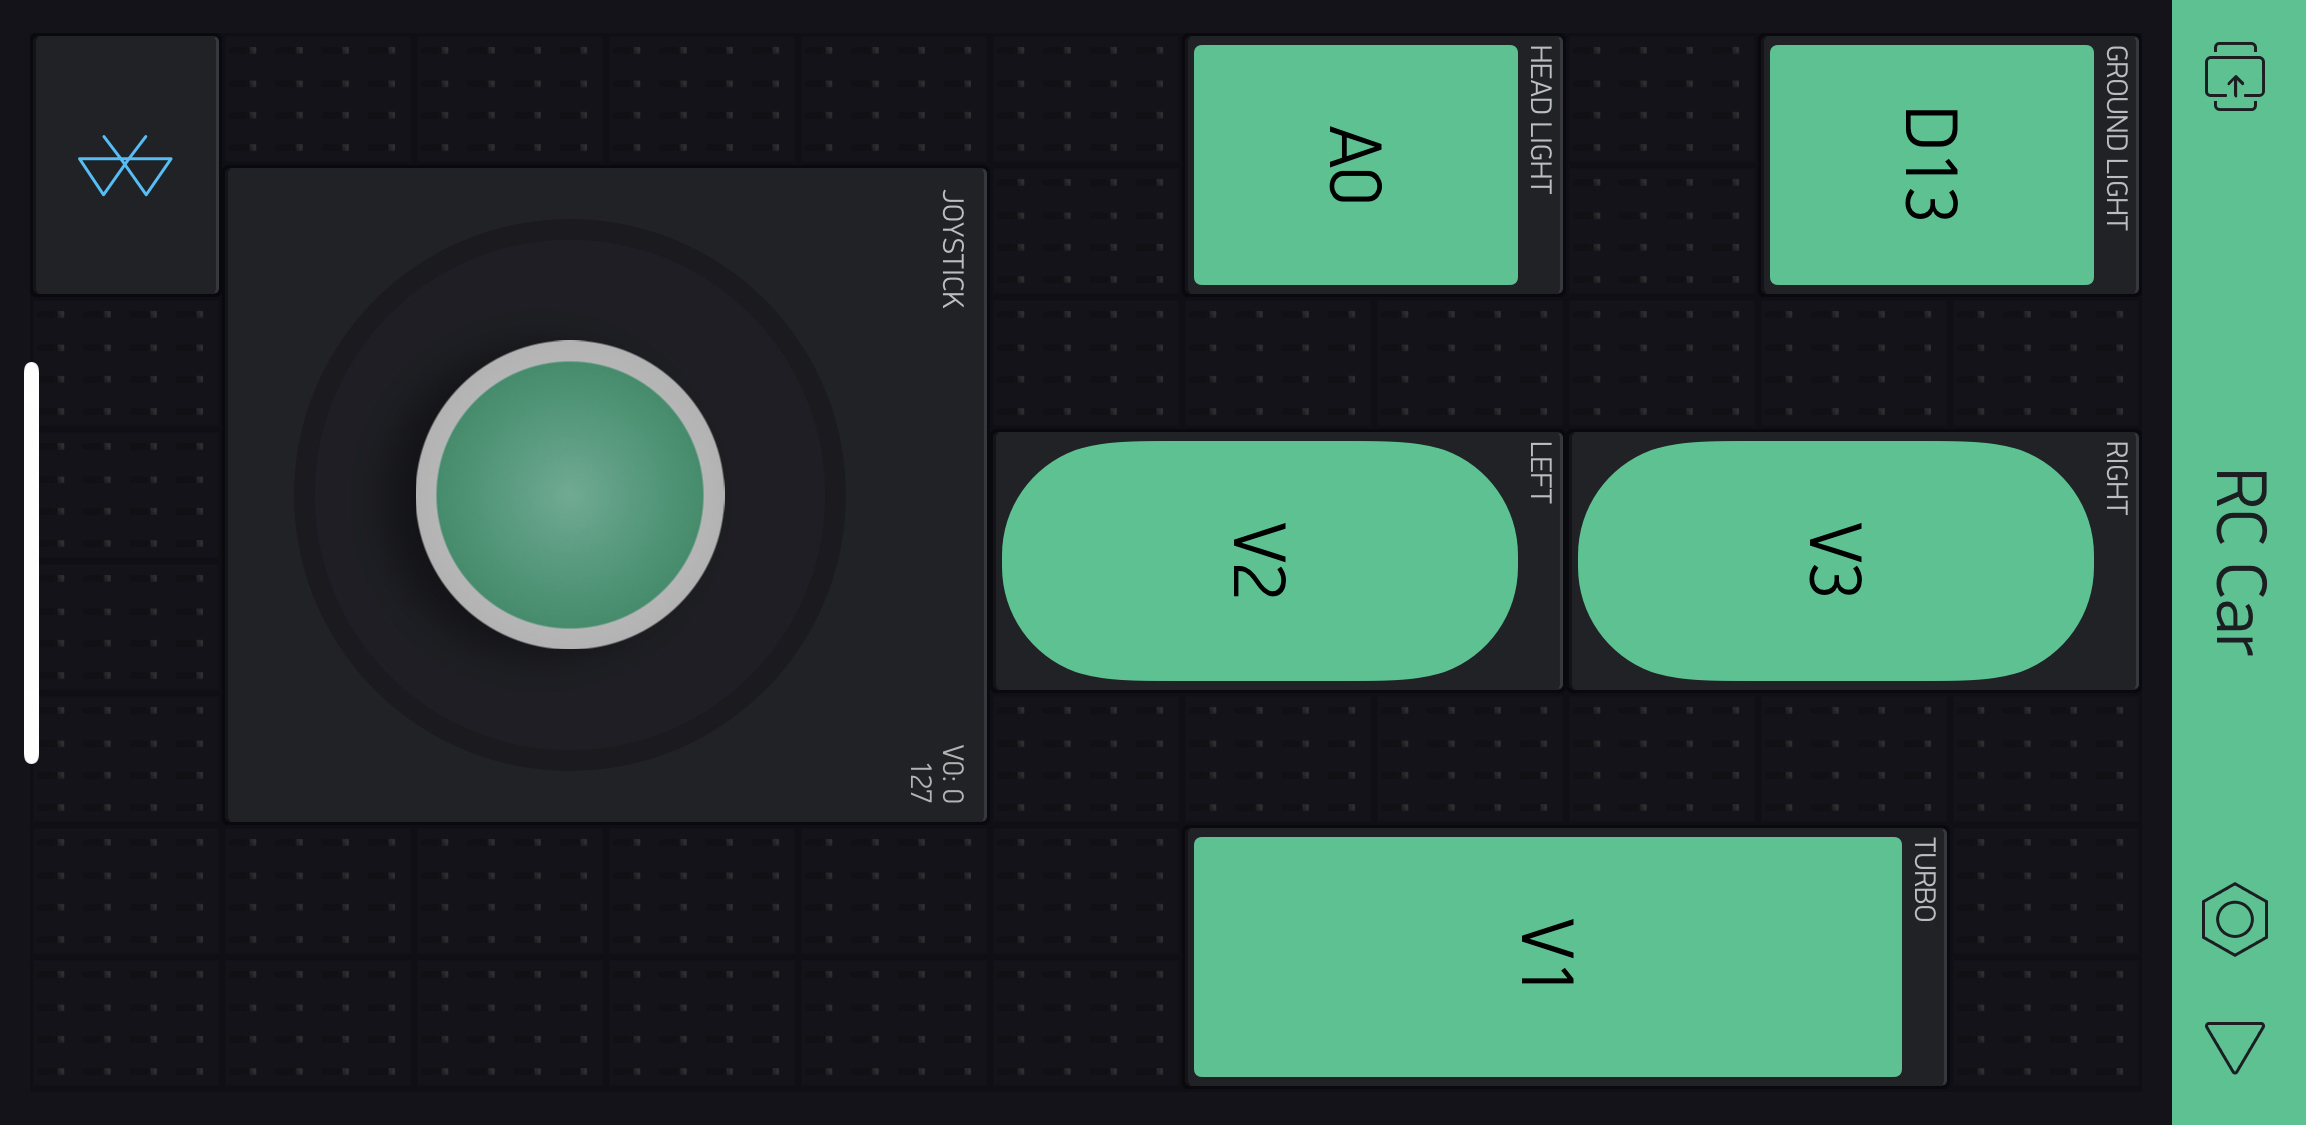
Turn on the RC Car's power and search for SAM01 in Blynk App by following the steps in the pictures.
It is all set and ready to GO!!!
Ready to GO!!
