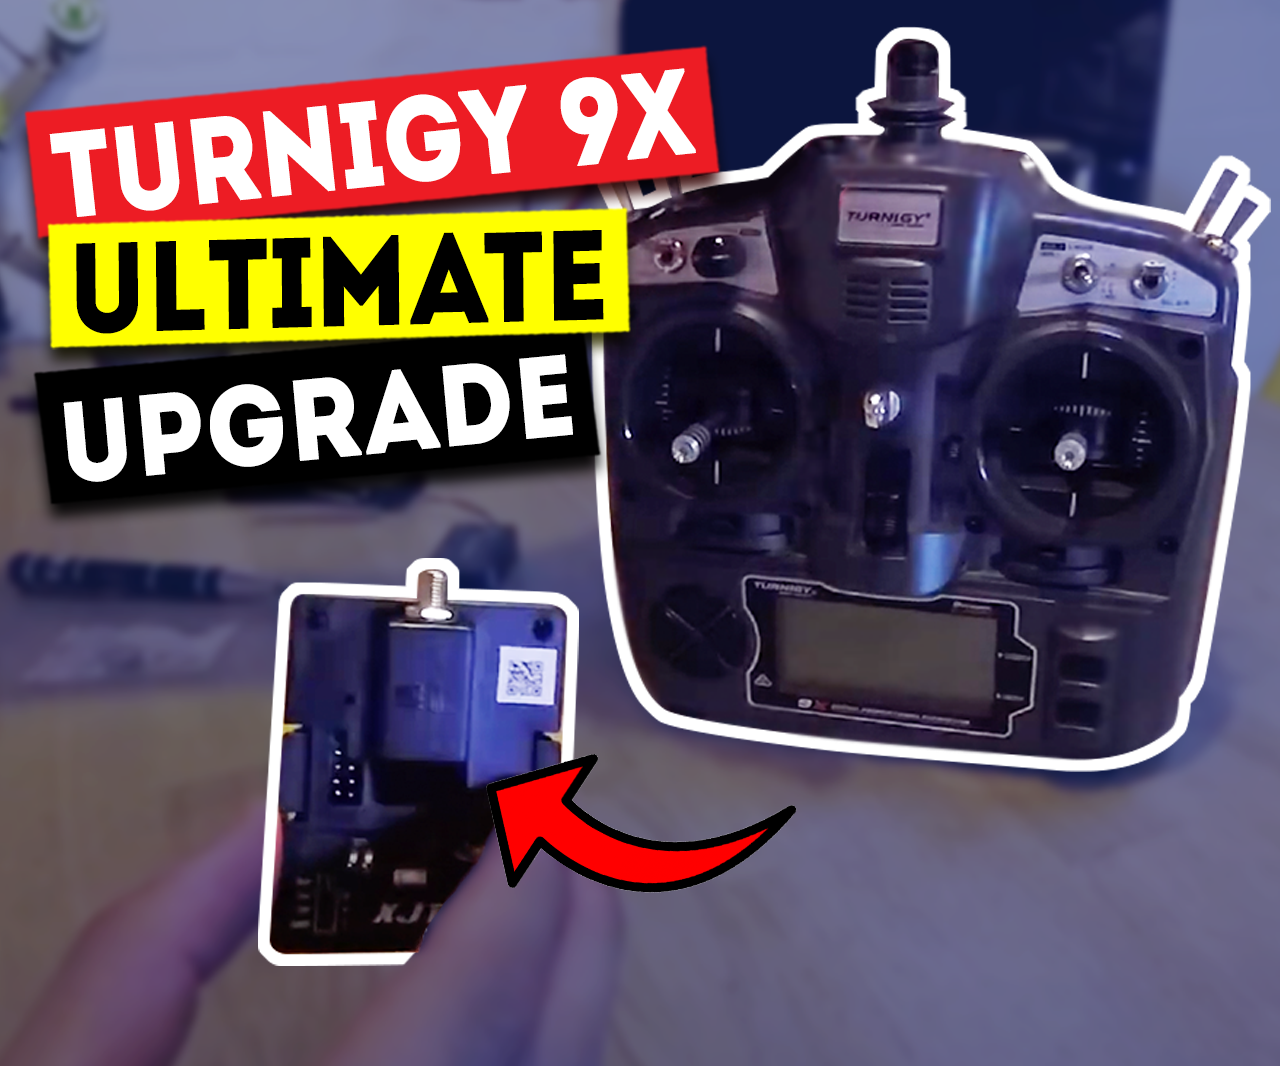
Turnigy 9X Ultimate Upgrade ! FrSky XJT & X8R Modules [Installation and Betaflight Configuration]
by theworkshop.by.gm in Circuits > Remote Control
1341 Views, 3 Favorites, 0 Comments
Turnigy 9X Ultimate Upgrade ! FrSky XJT & X8R Modules [Installation and Betaflight Configuration]
![Turnigy 9X Ultimate Upgrade ! FrSky XJT & X8R Modules [Installation and Betaflight Configuration]](/proxy/?url=https://content.instructables.com/FMY/LT3X/KNRGT5FP/FMYLT3XKNRGT5FP.jpg&filename=Turnigy 9X Ultimate Upgrade ! FrSky XJT & X8R Modules [Installation and Betaflight Configuration])
The Stock Turnigy 9X transmitter is a great, mostly affordable transmitter, but unfortunately, it has a range of only 500m approximately. Using the FrSky technology I am going to show you how to boost this range to 1.5 ~ 2.5 Km.
Supplies
You will need:
- Turnigy
Step 1: Remove Stock Module

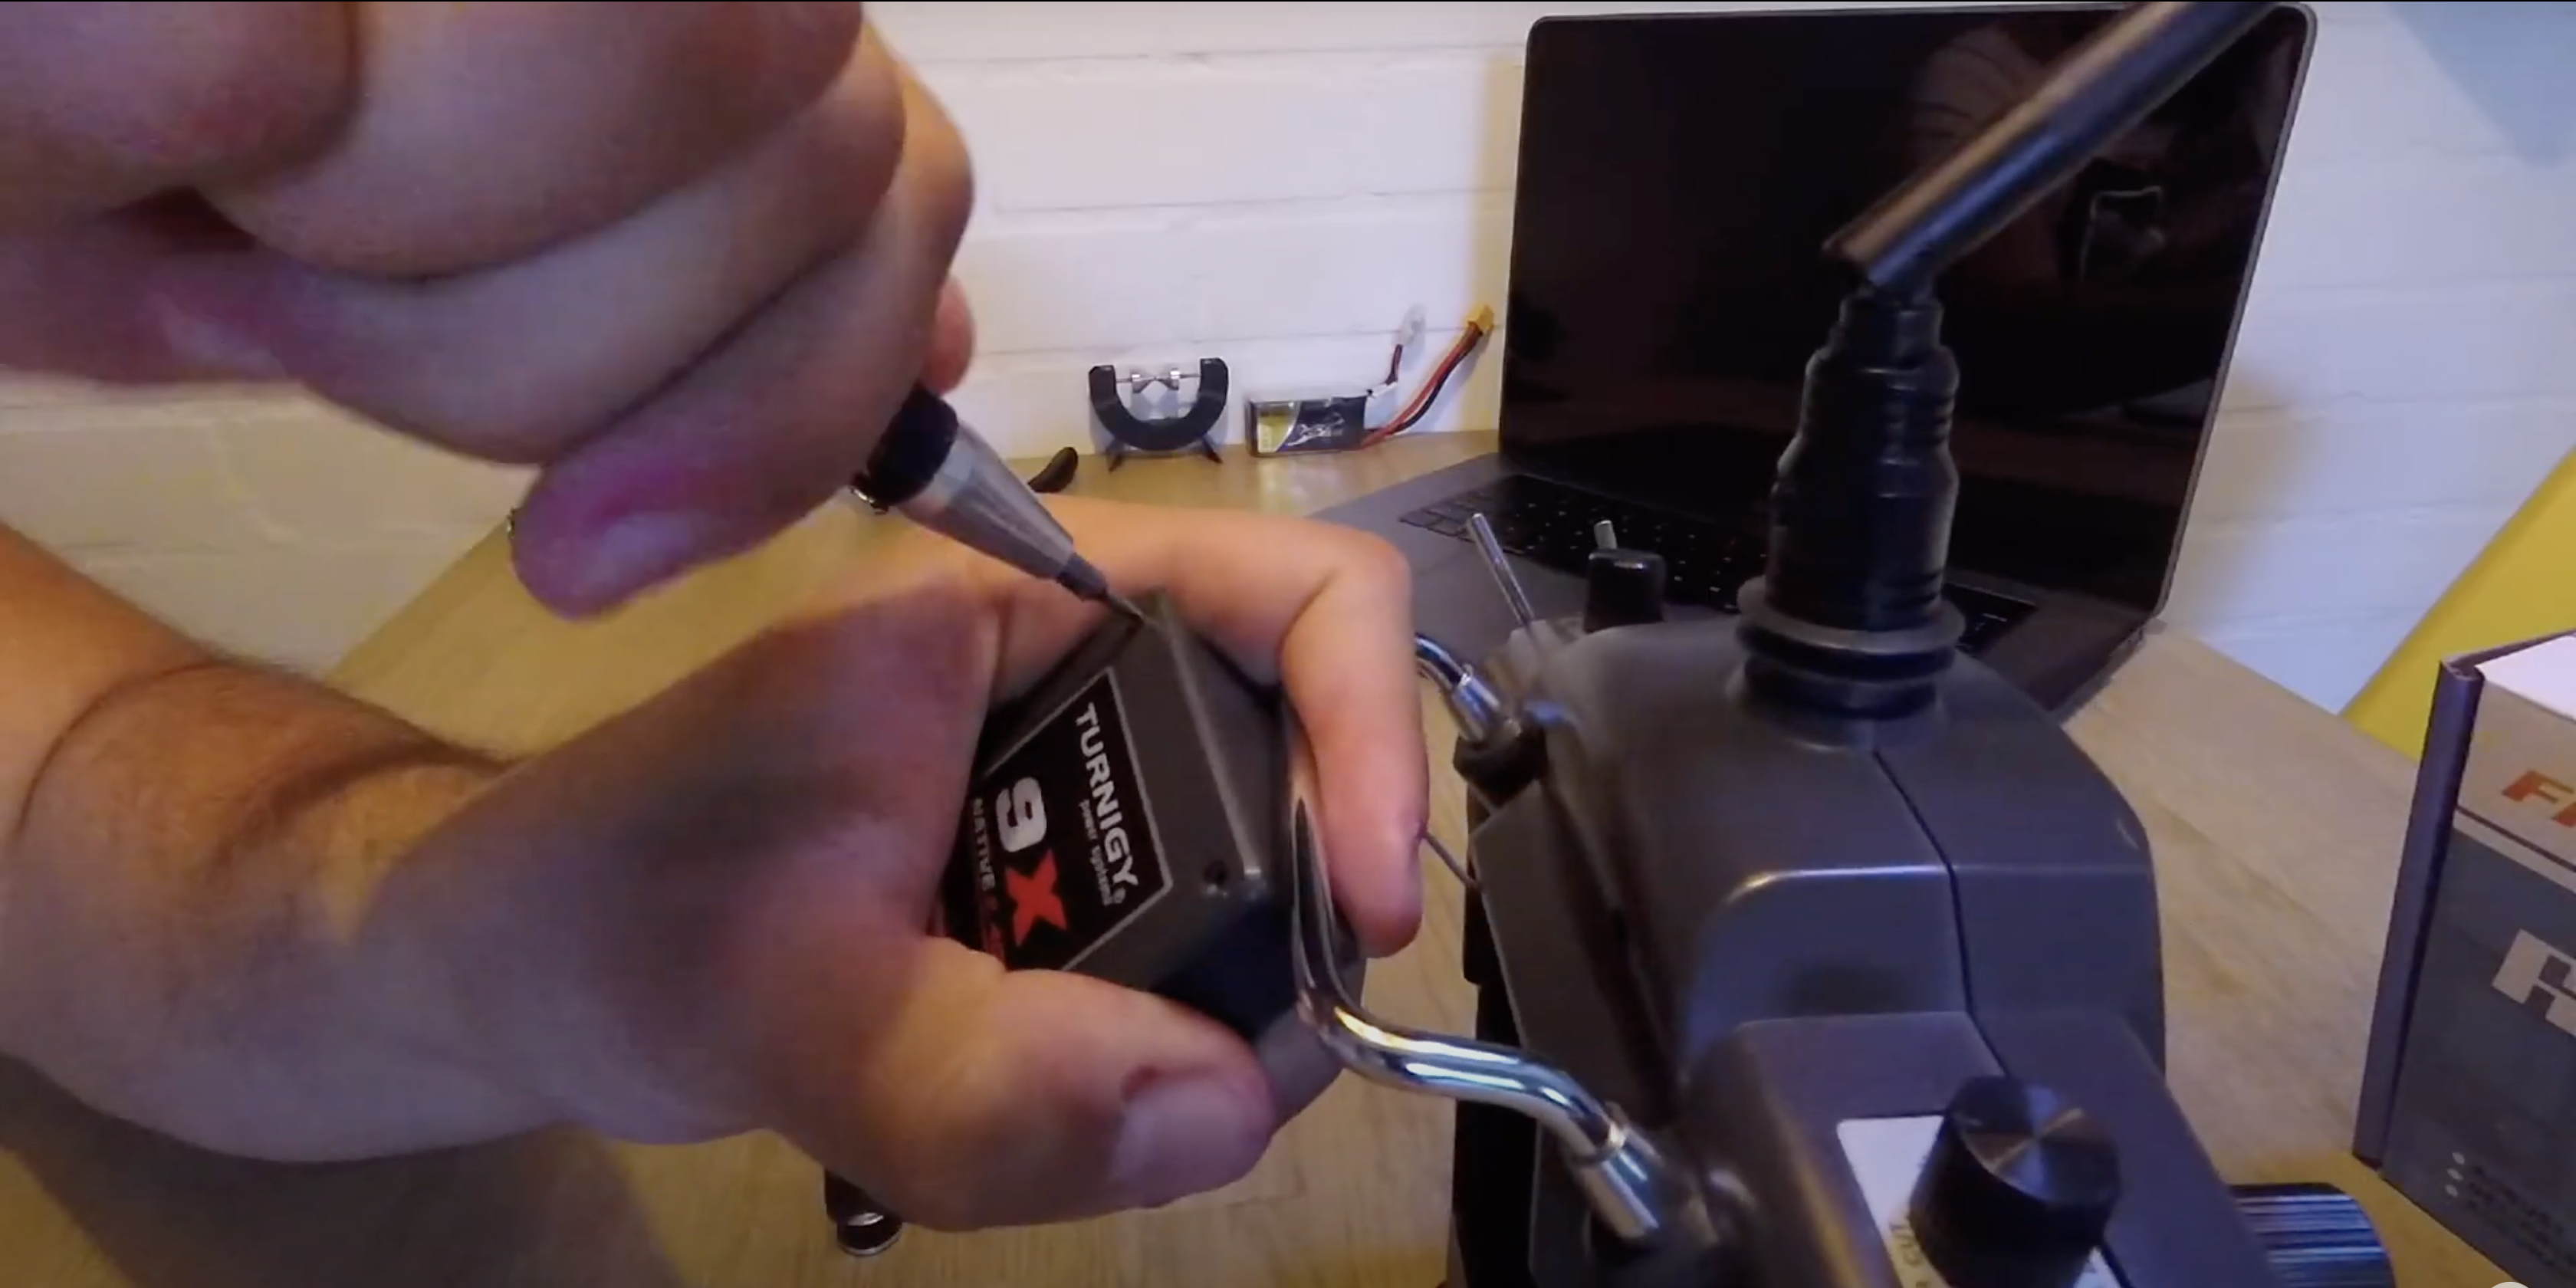
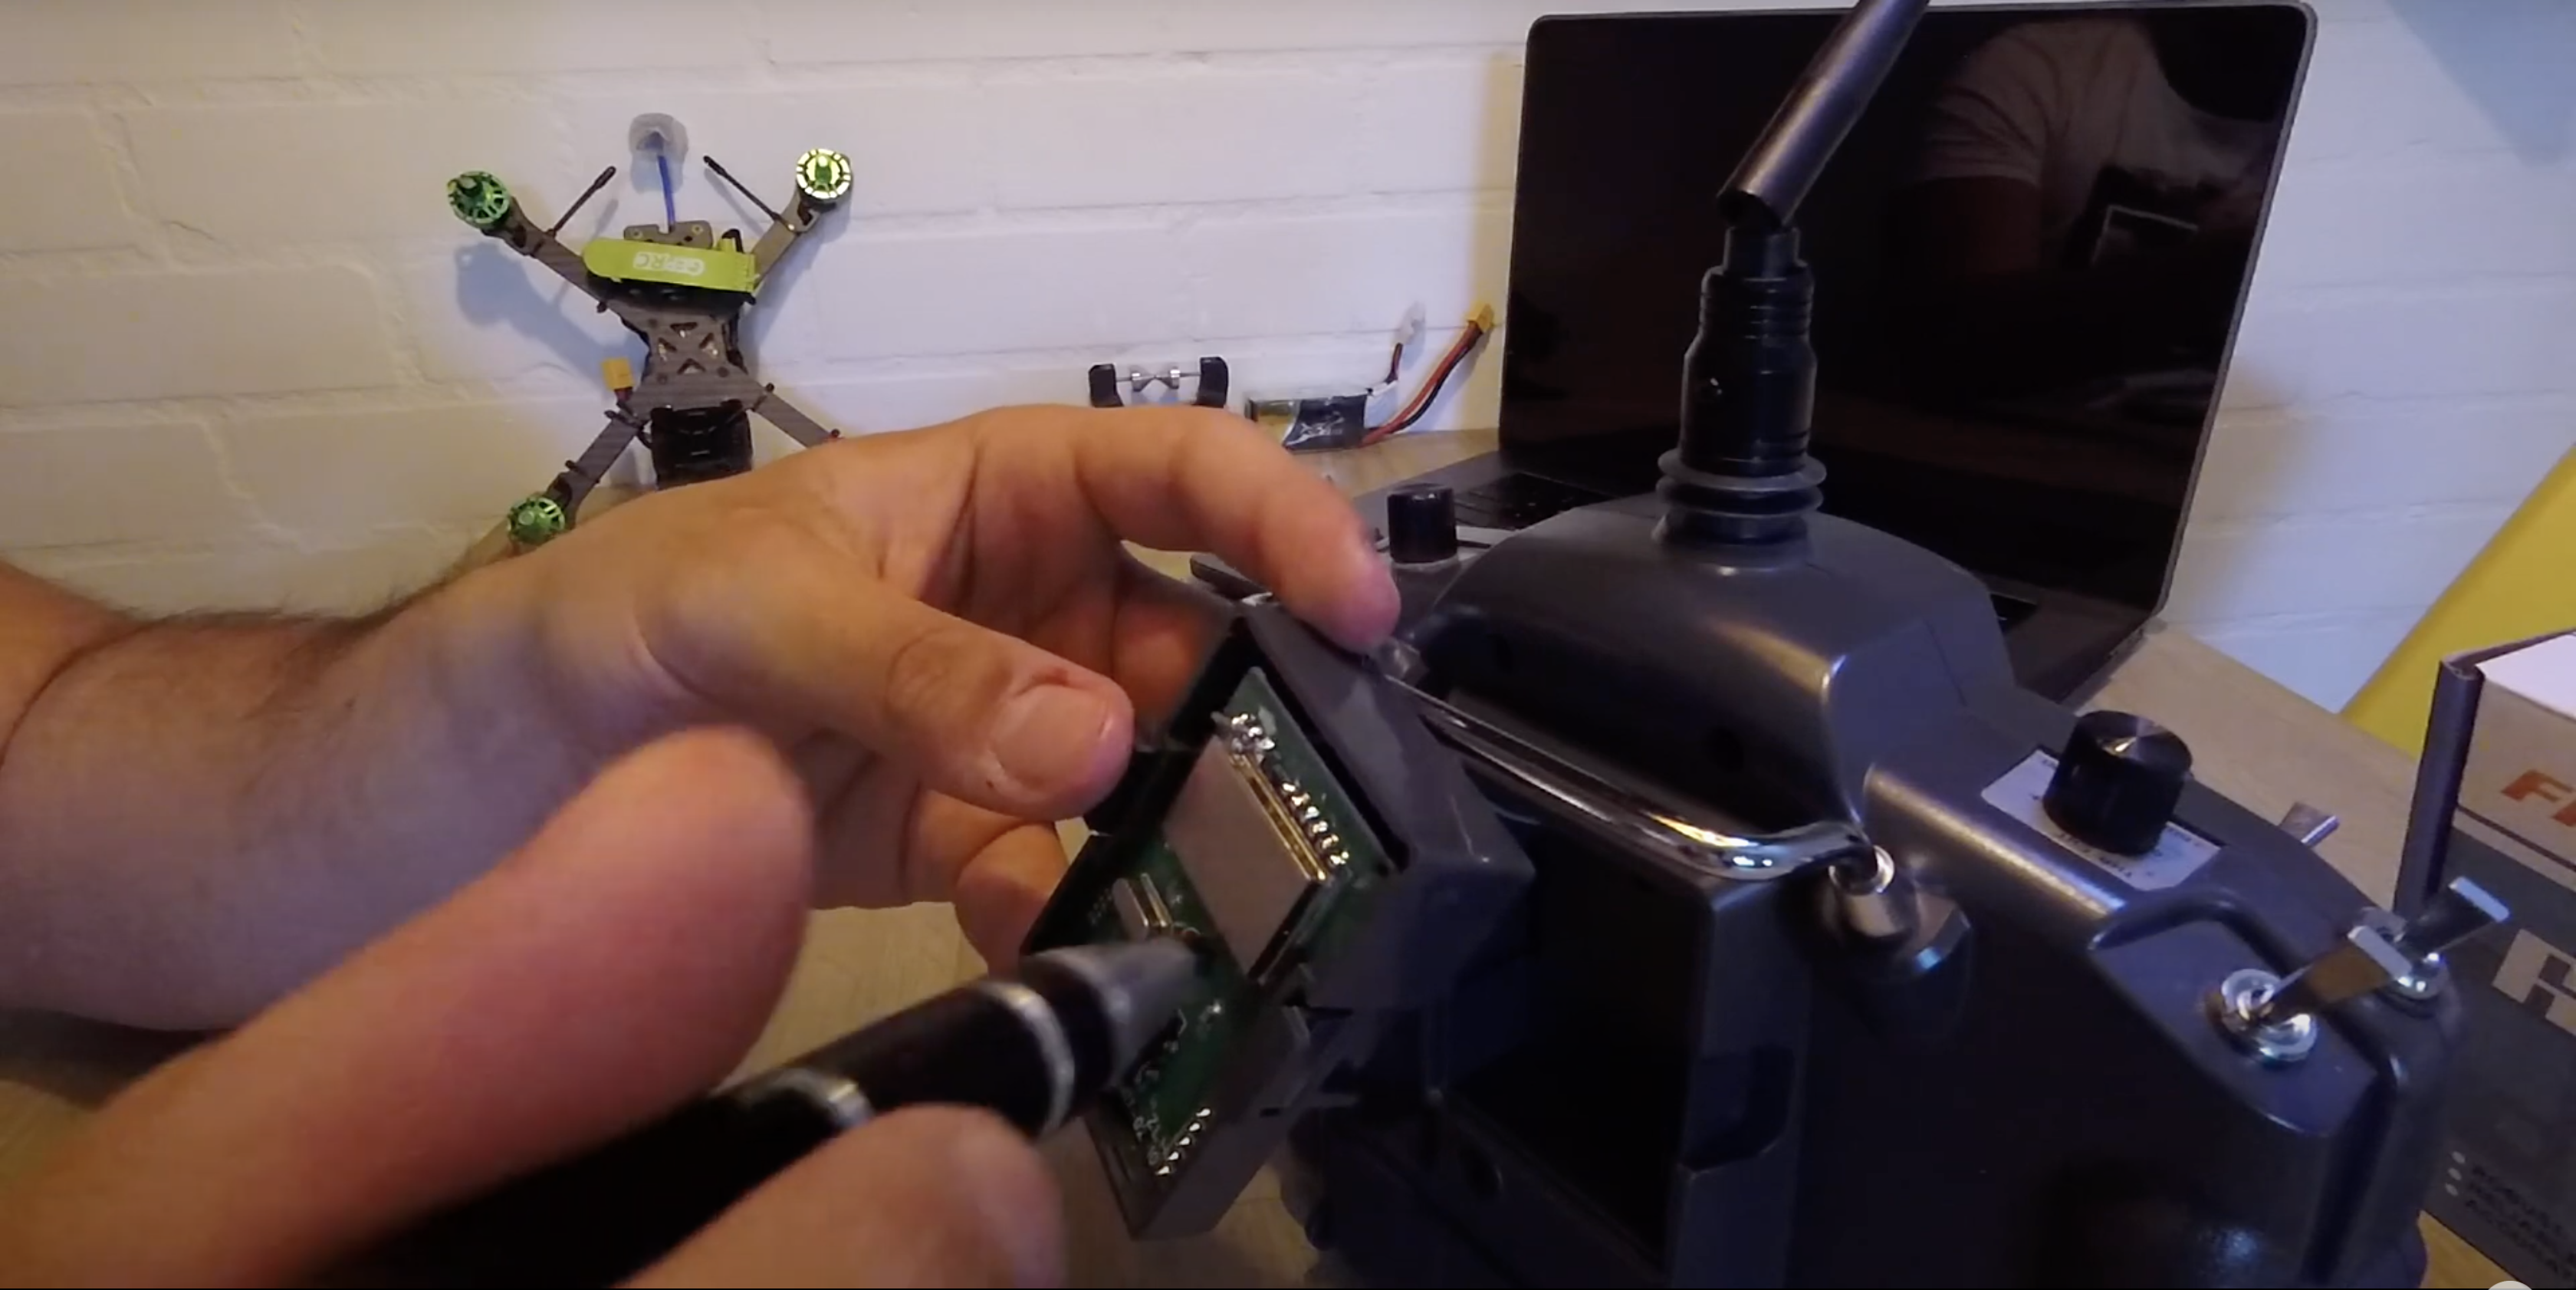
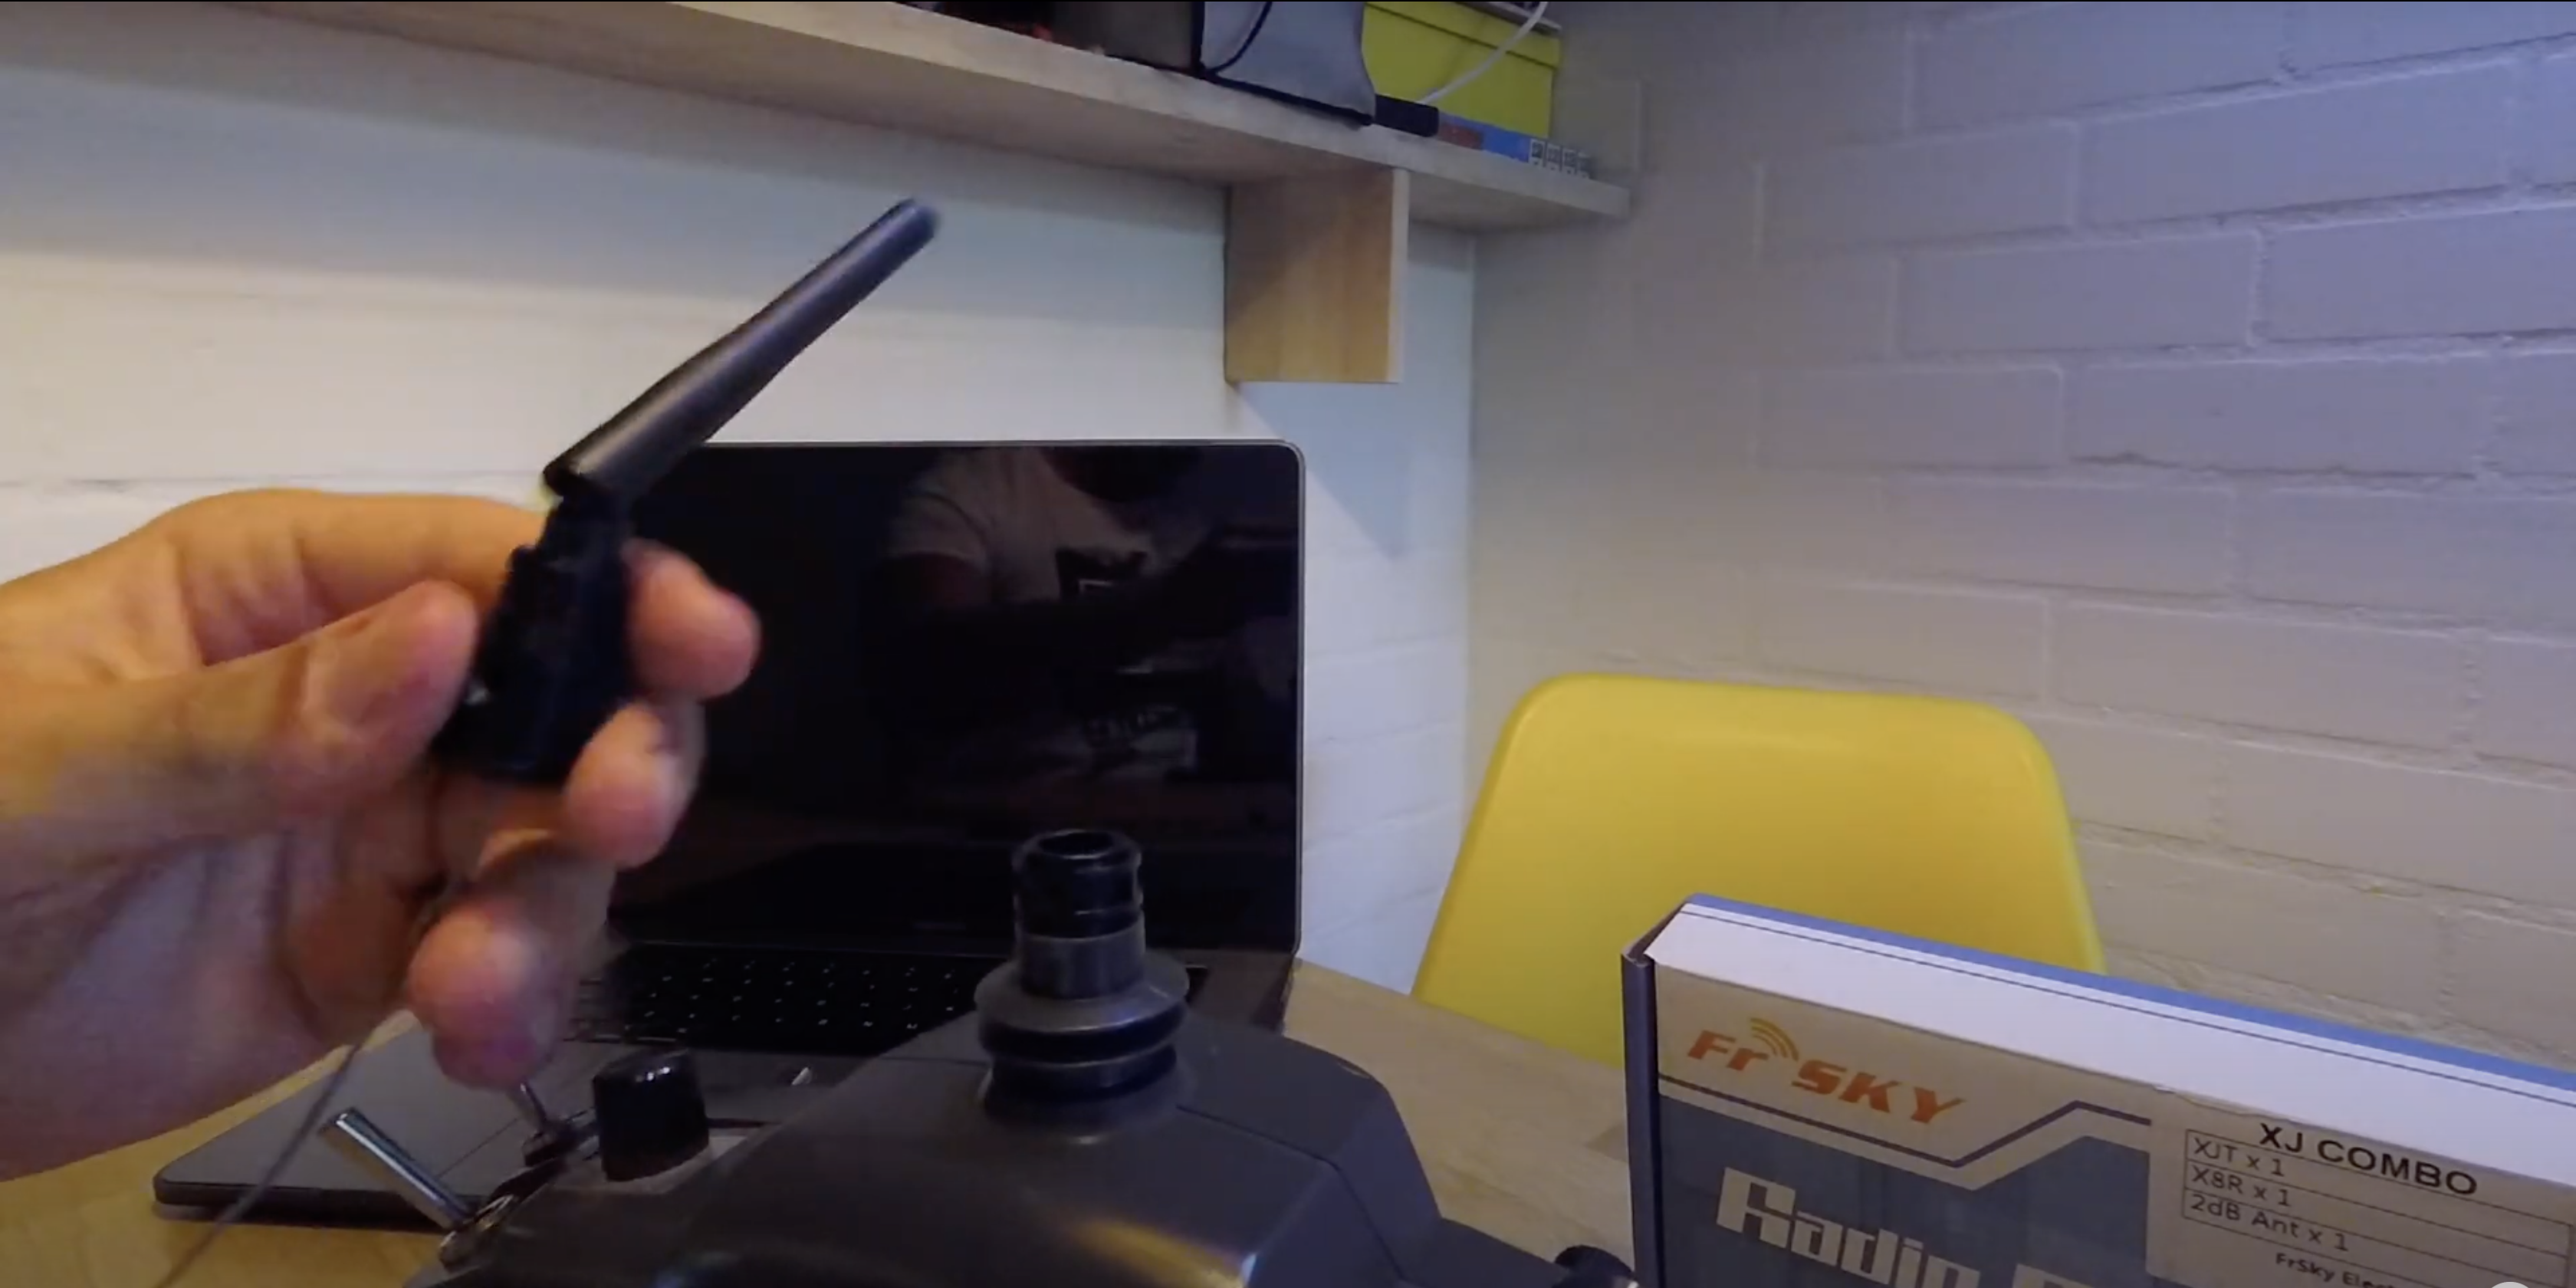
To remove the stock module you need to pinch the clips on the back of the transmitter first. Then unscrew the module and remove the PCB from it. You will see the antenna wire coming out of the PCB, you can unsolder it, or directly cut it.
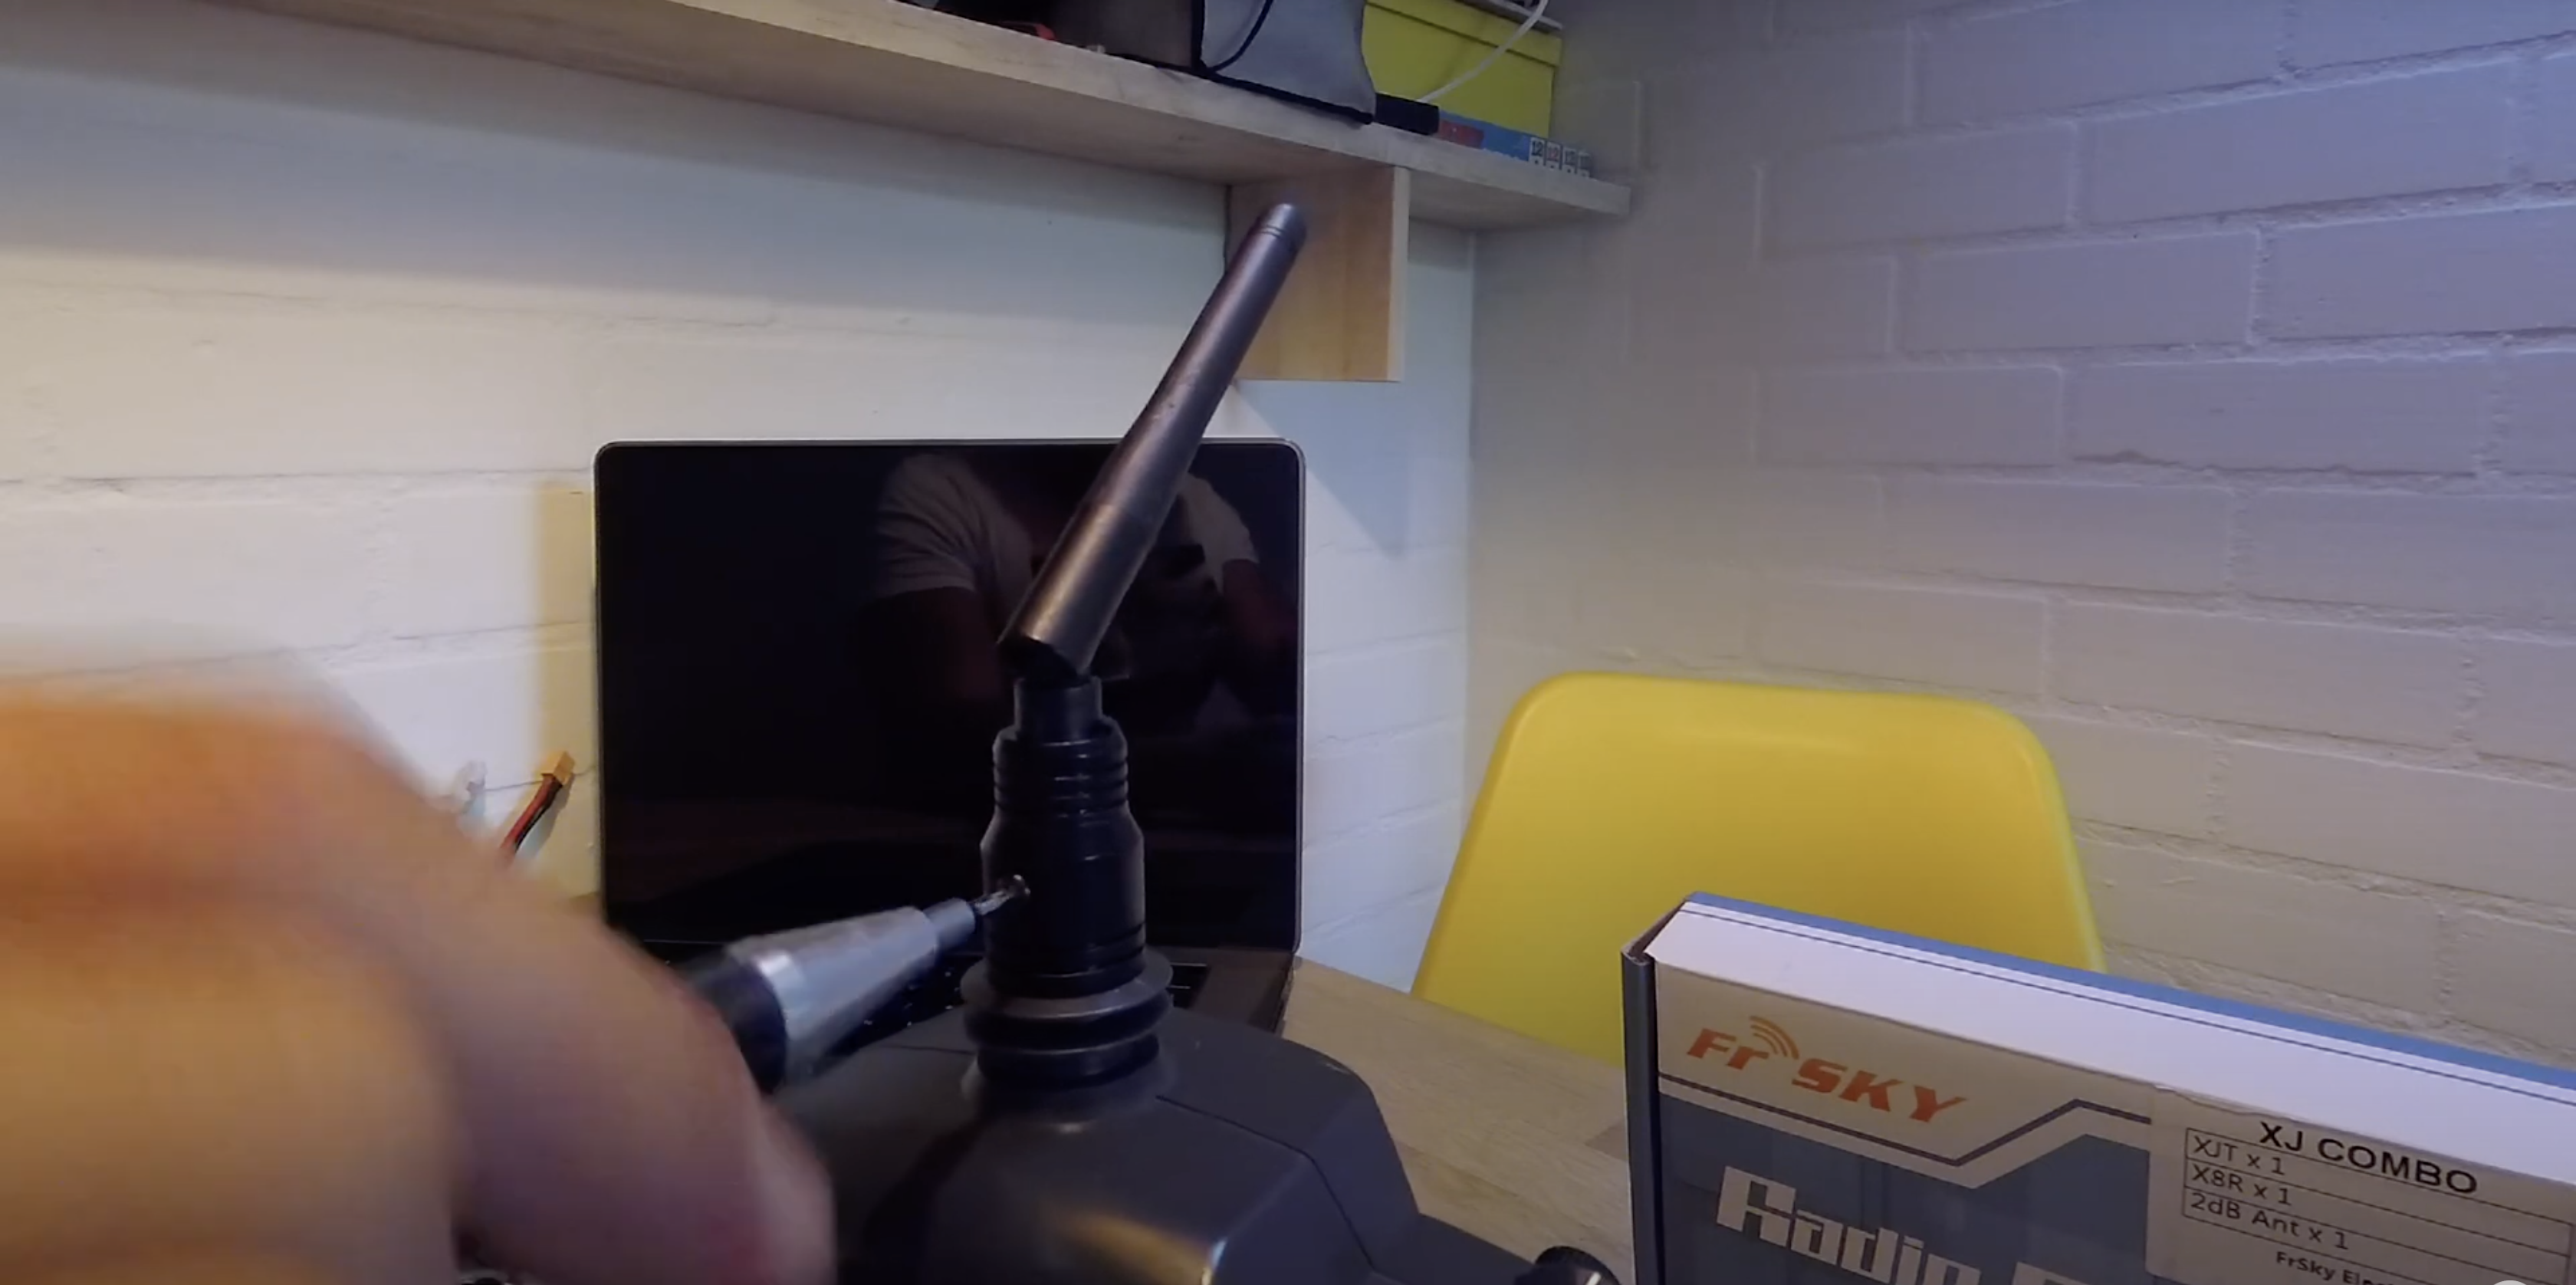
You can then unscrew the antenna from the top of the transmitter and remove it completely.
Tip: Close the hole of the antenna to prevent dust from coming inside the transmitter.
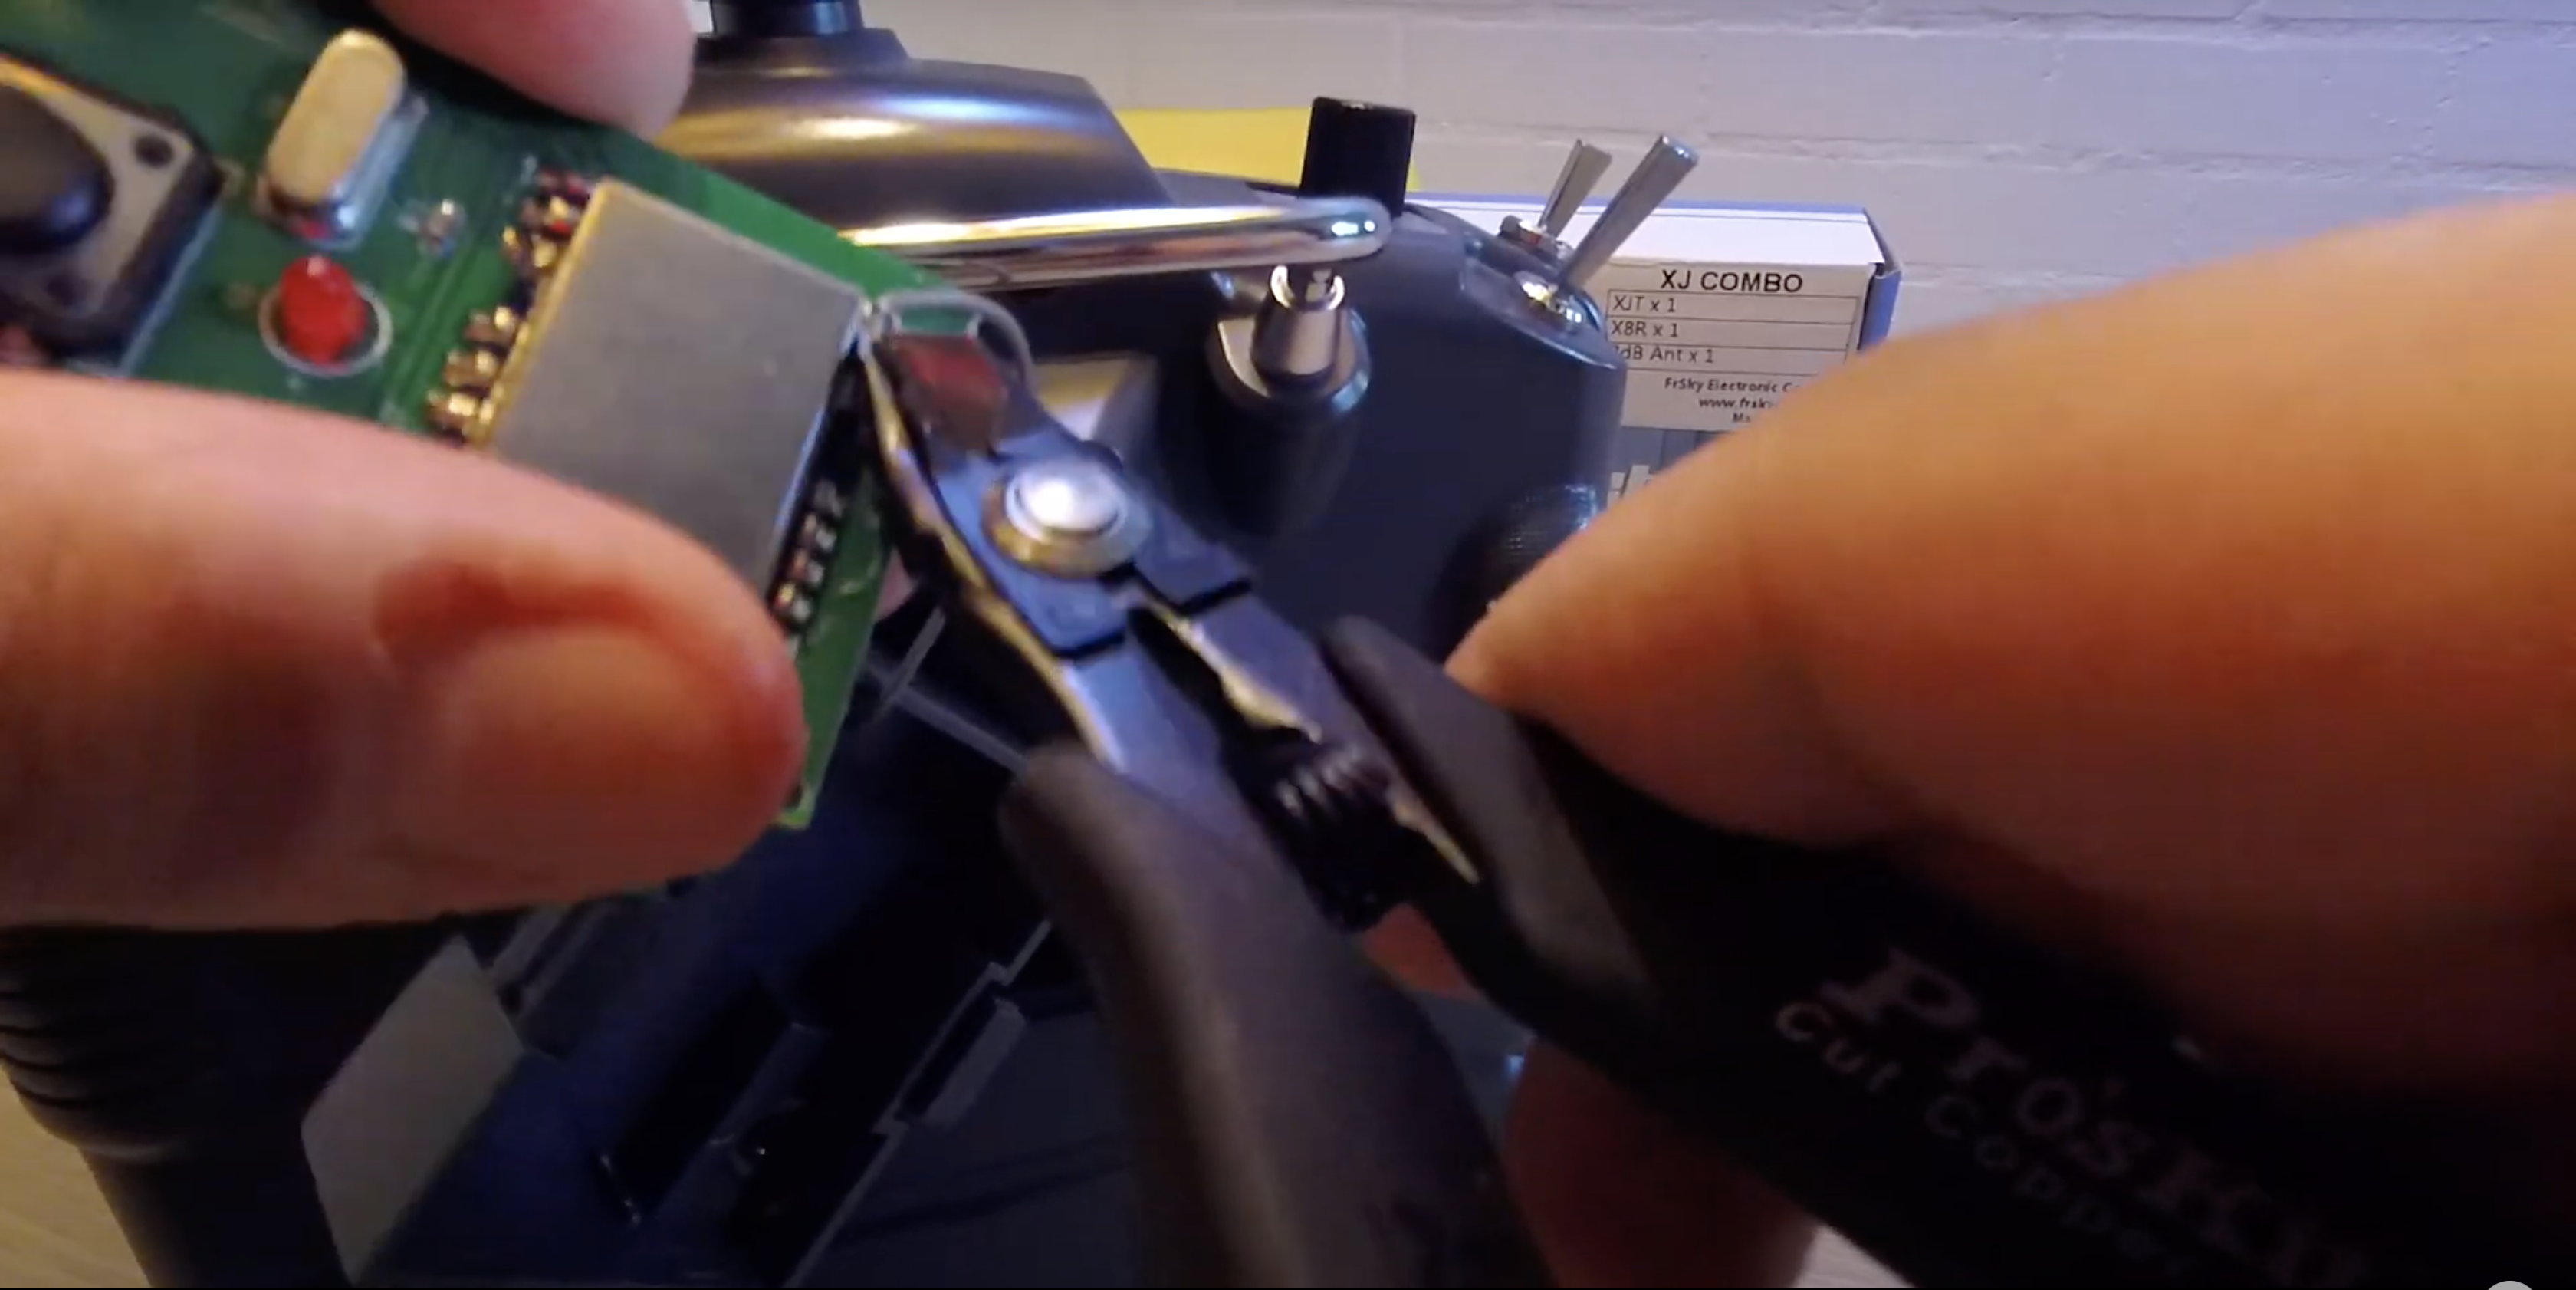
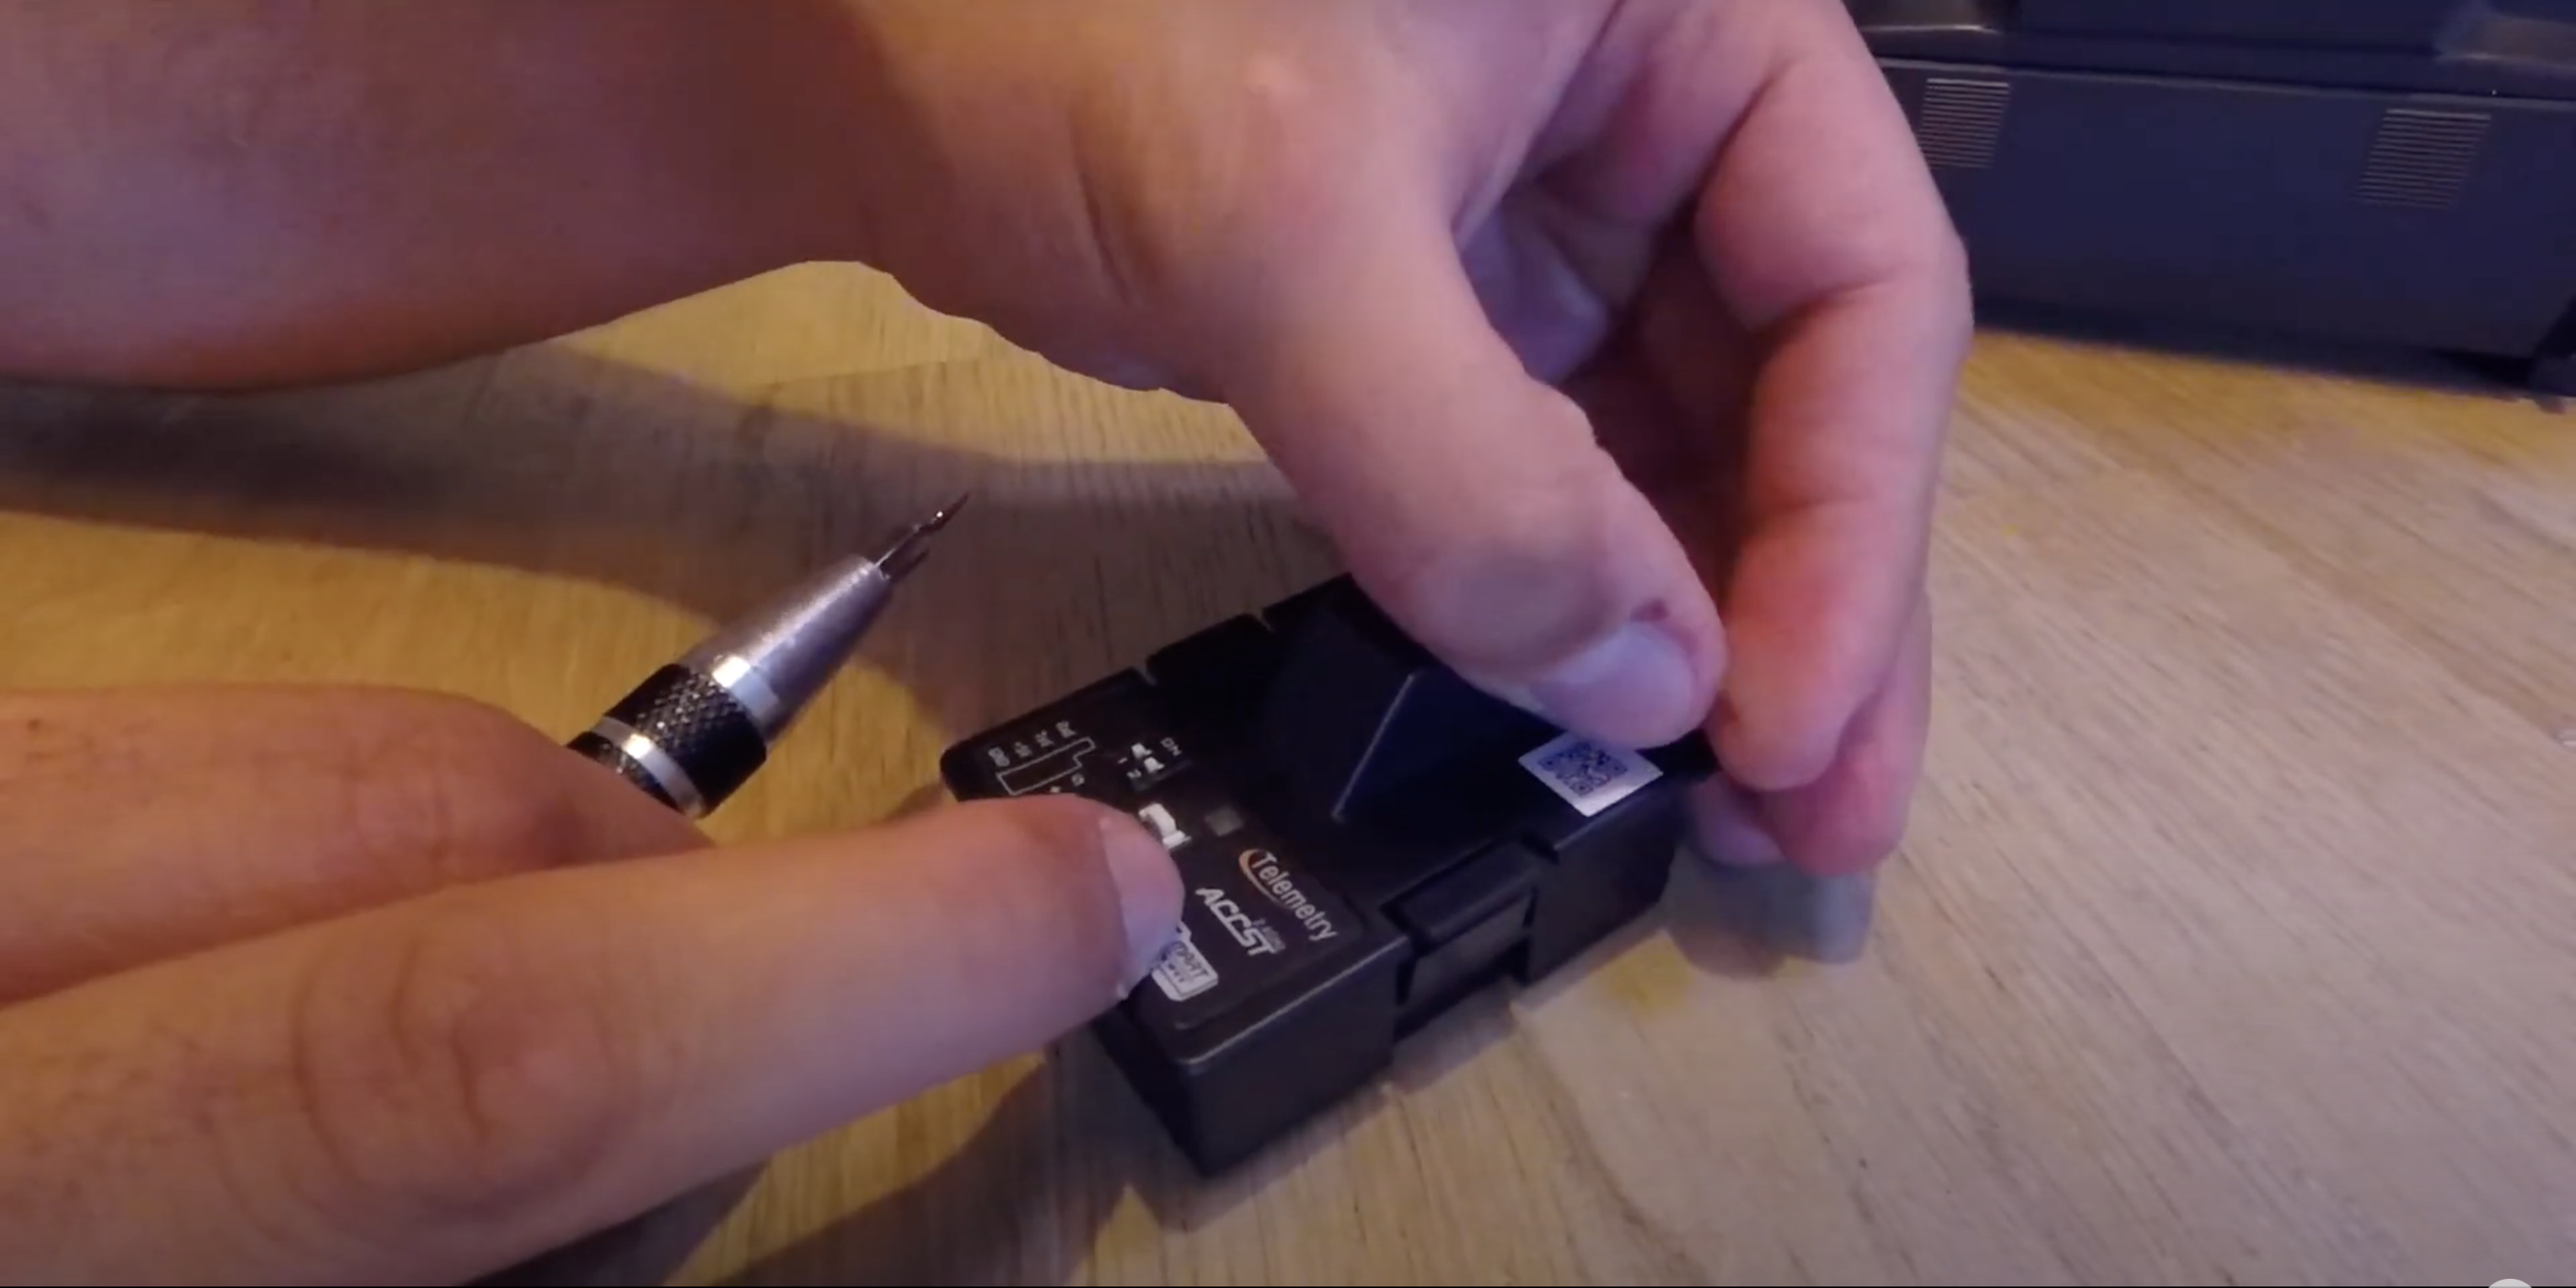
Step 2: Enlarge Pin Hole of XJT Module
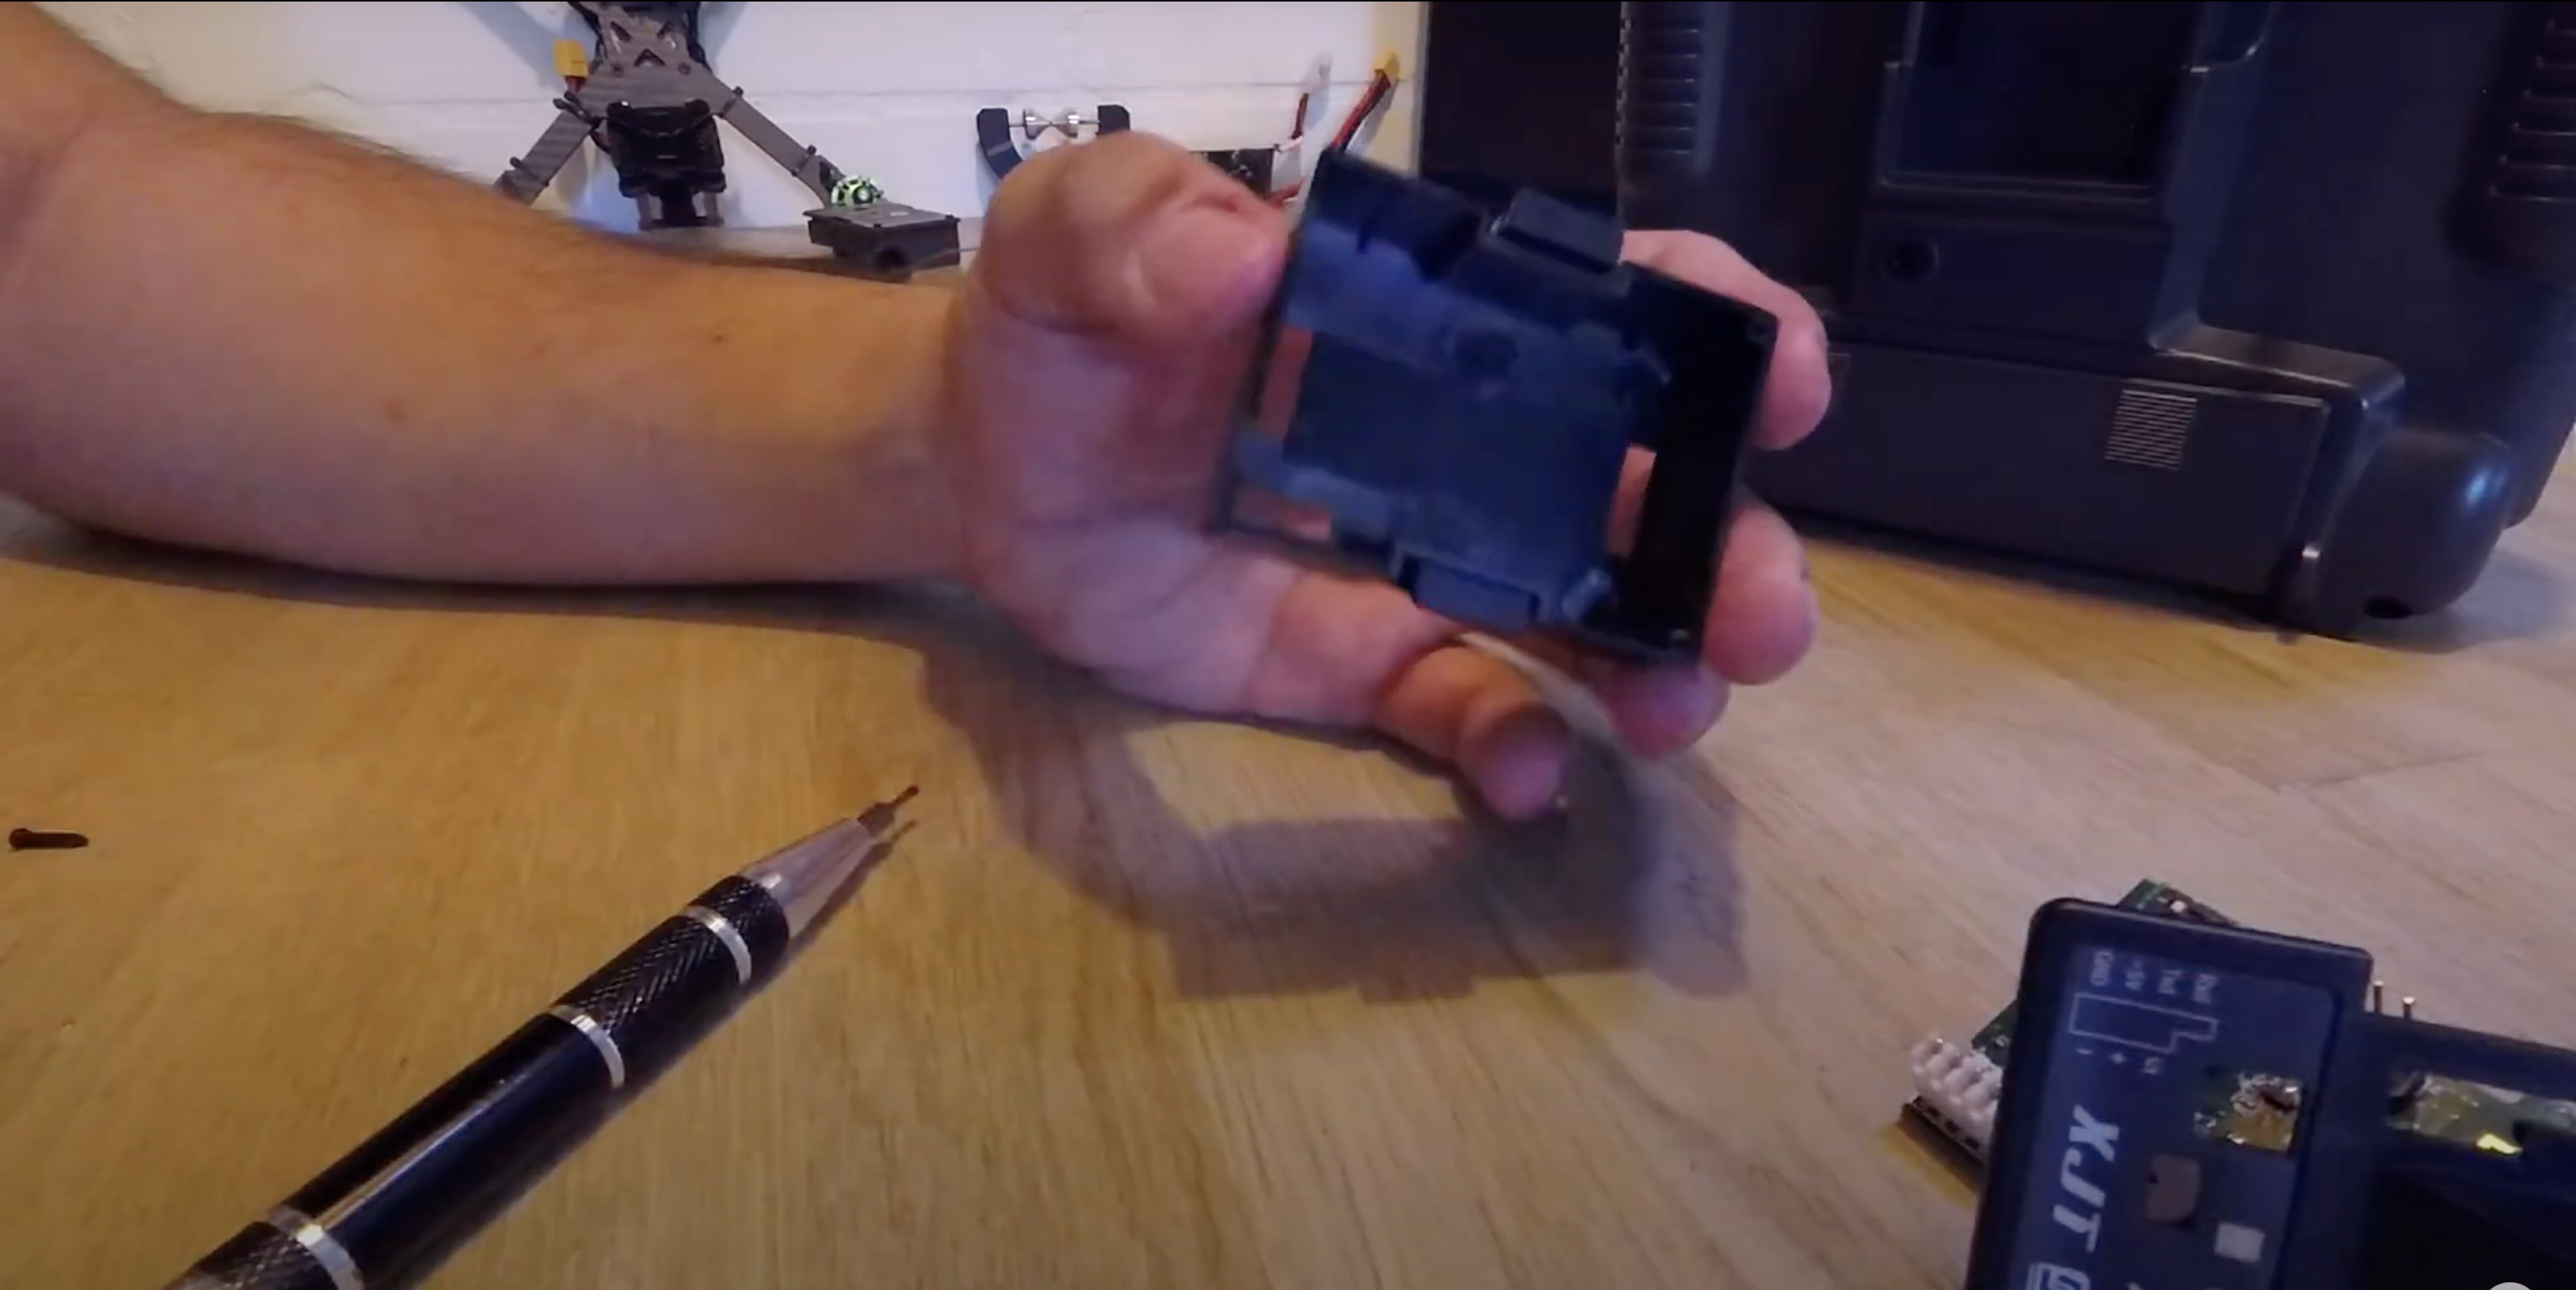
If you try to directly plug the XJT module into your Turnigy 9X you will find that it doesn't find correctly. That's because the square hole of the pins is a little tight.
You will need to take apart the module, and enlarge the square hole so that it fits flush inside the module bay.
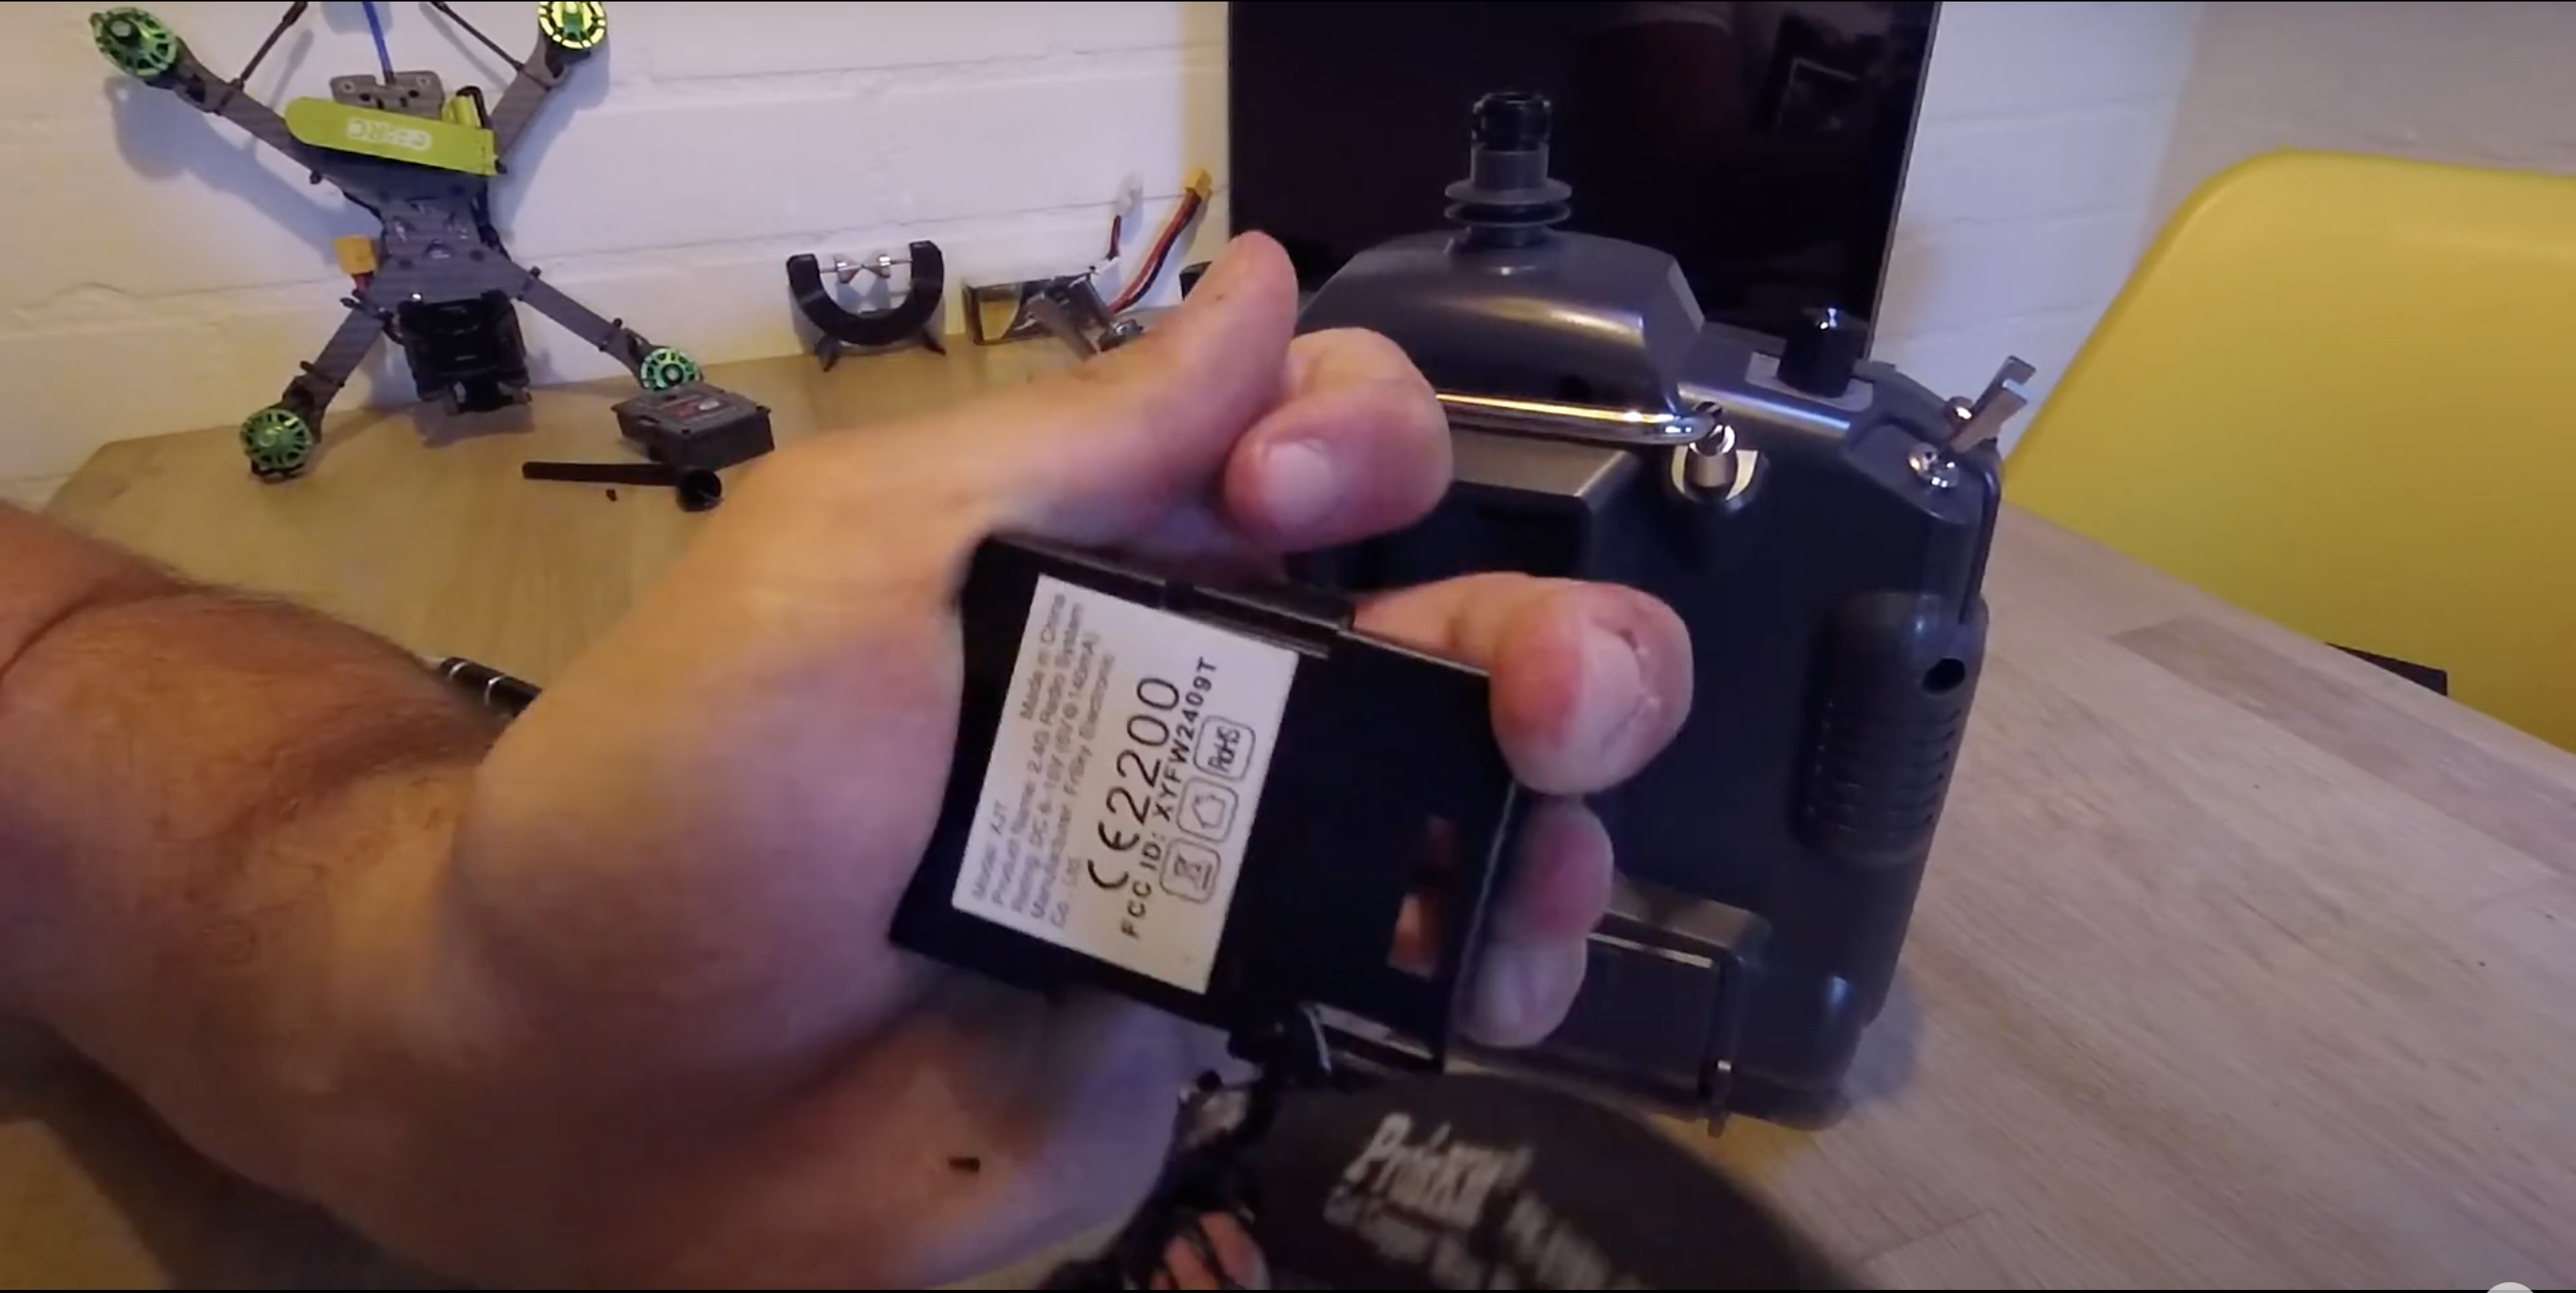
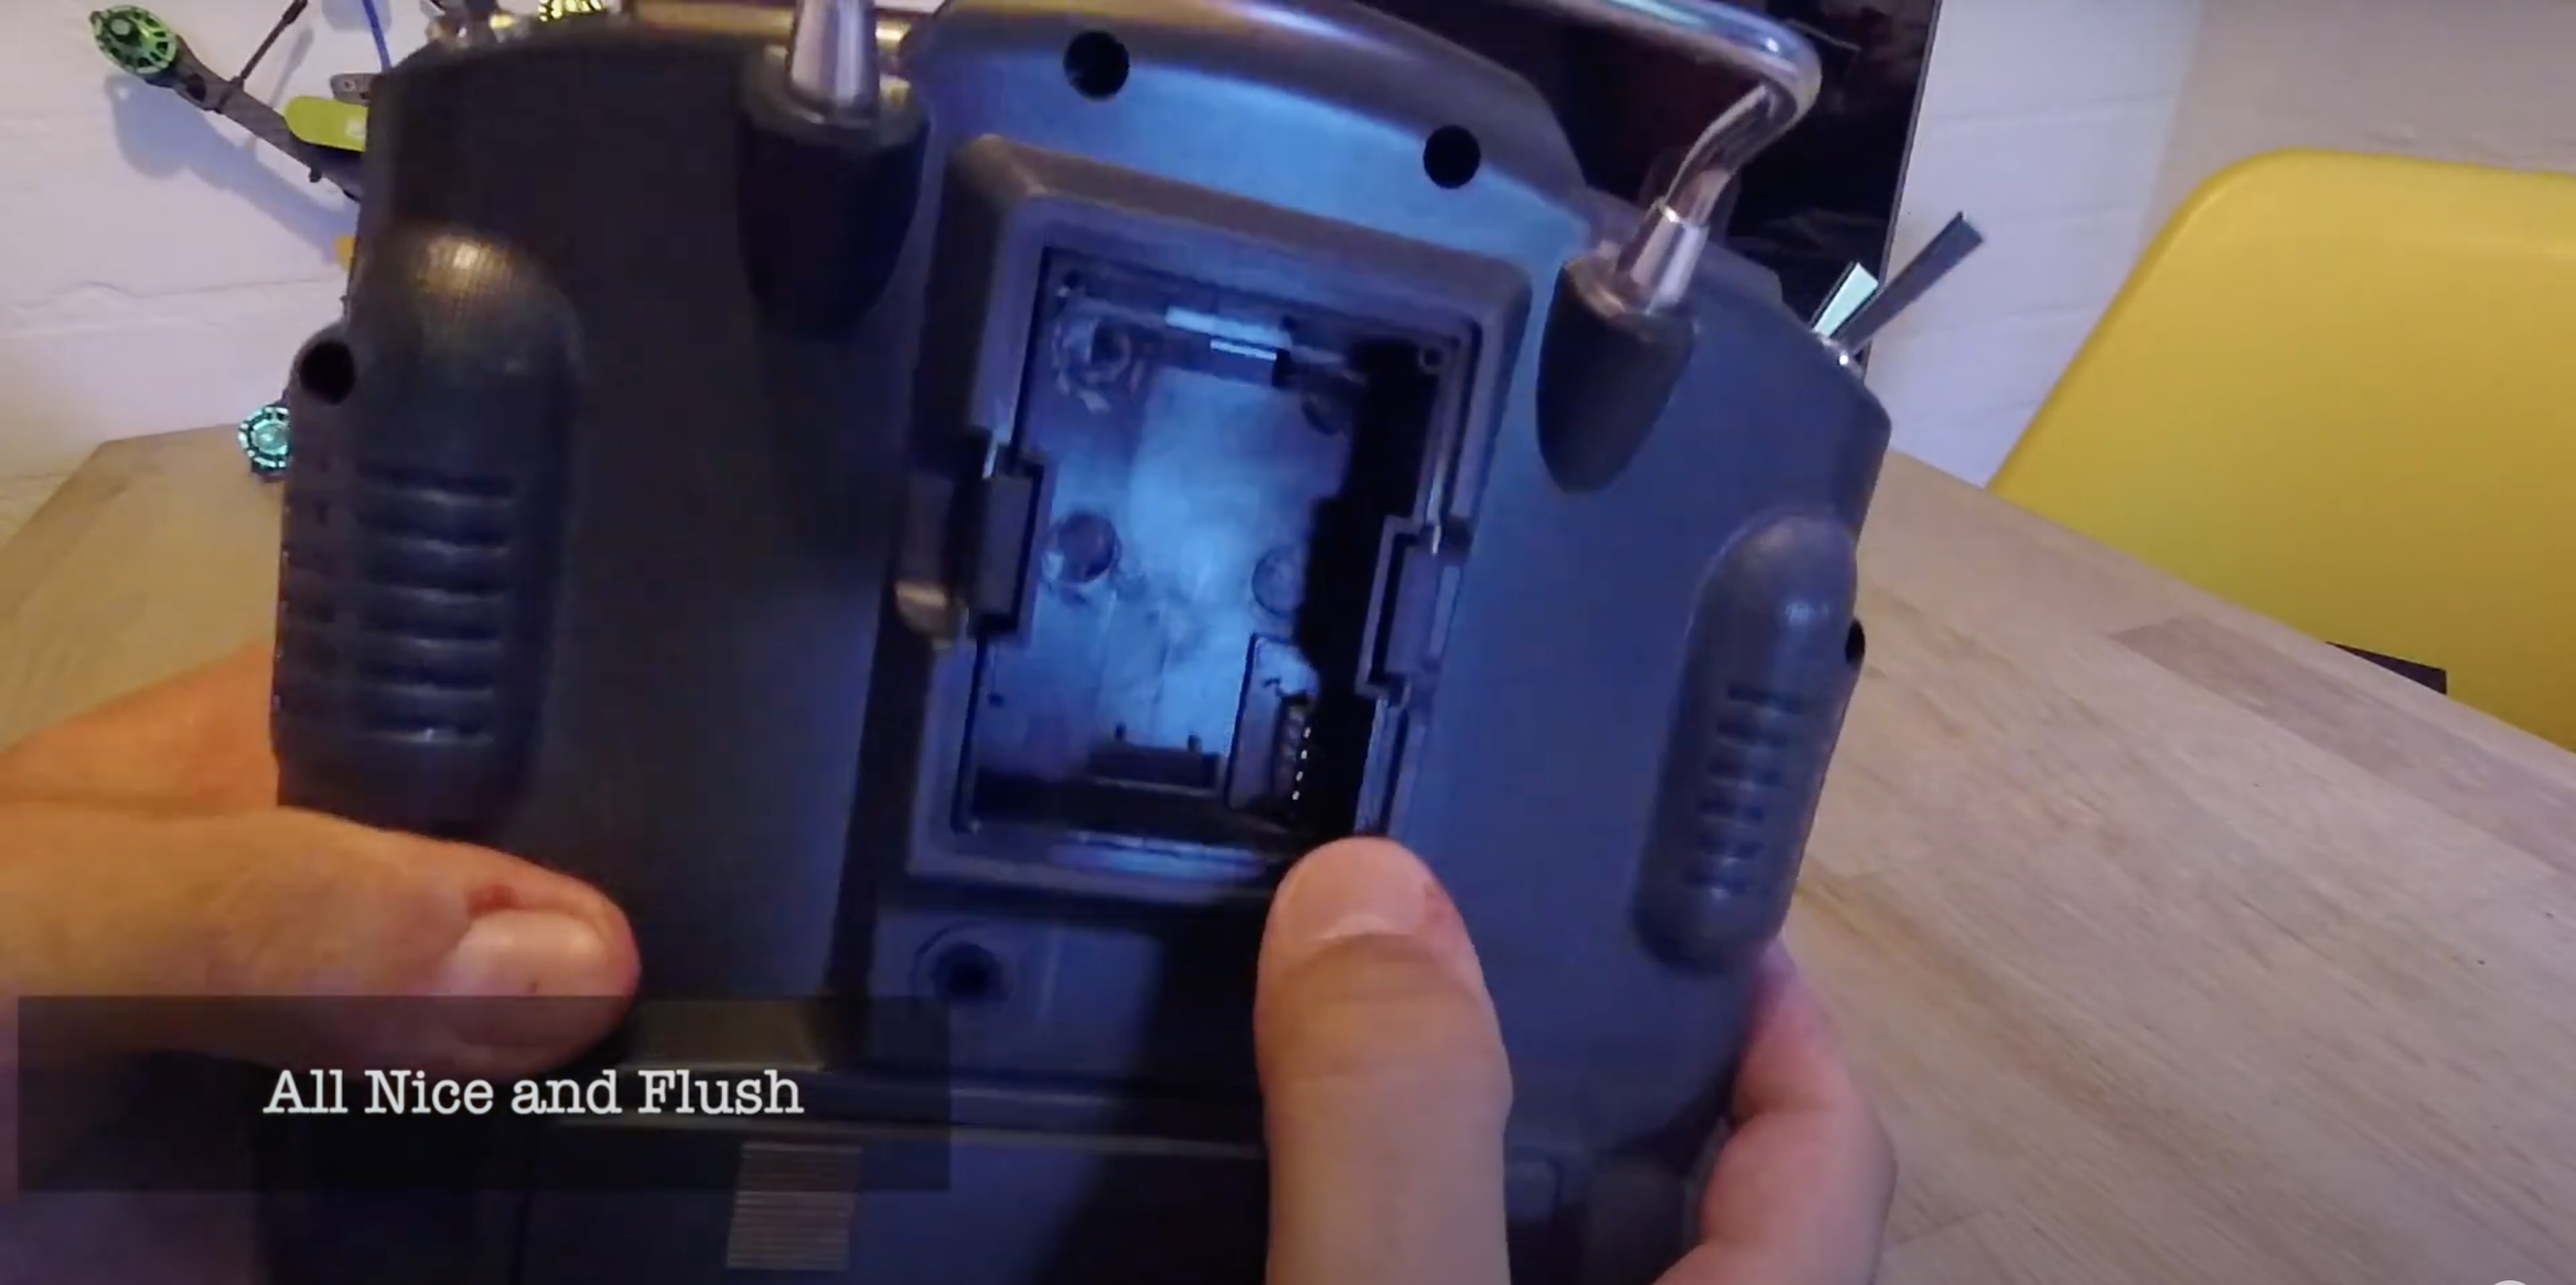
Step 3: Assemble the Module


Now that you have enlarged the square hole of the pins, re-assemble the XJT module and plug it in your transmitter and you should be good to go now.
Step 4: Installing the Receiver and the Betaflight Configuration
If you wish to know how to install the receiver and configure the transmitter in Betaflight you can watch the youtube video where I cover those topics in detail.
Step 5: Last Crucial Step
If you made it so far, your transmitter should seem to be working fine, and you might be wondering what could be this last crucial step.
Well actually, I would like to invite you to Subscribe to my channel and Like the video. This will help me get noticed on Youtube, which in turn will push me to work on more projects like this one. Also, this would mean a lot to me, so if you do end up Subscribing and Liking my video, I would like to thank you in advance!