Turn an Old Mouse Into a USB-powered LED Desk Light
56513 Views, 290 Favorites, 0 Comments
Turn an Old Mouse Into a USB-powered LED Desk Light
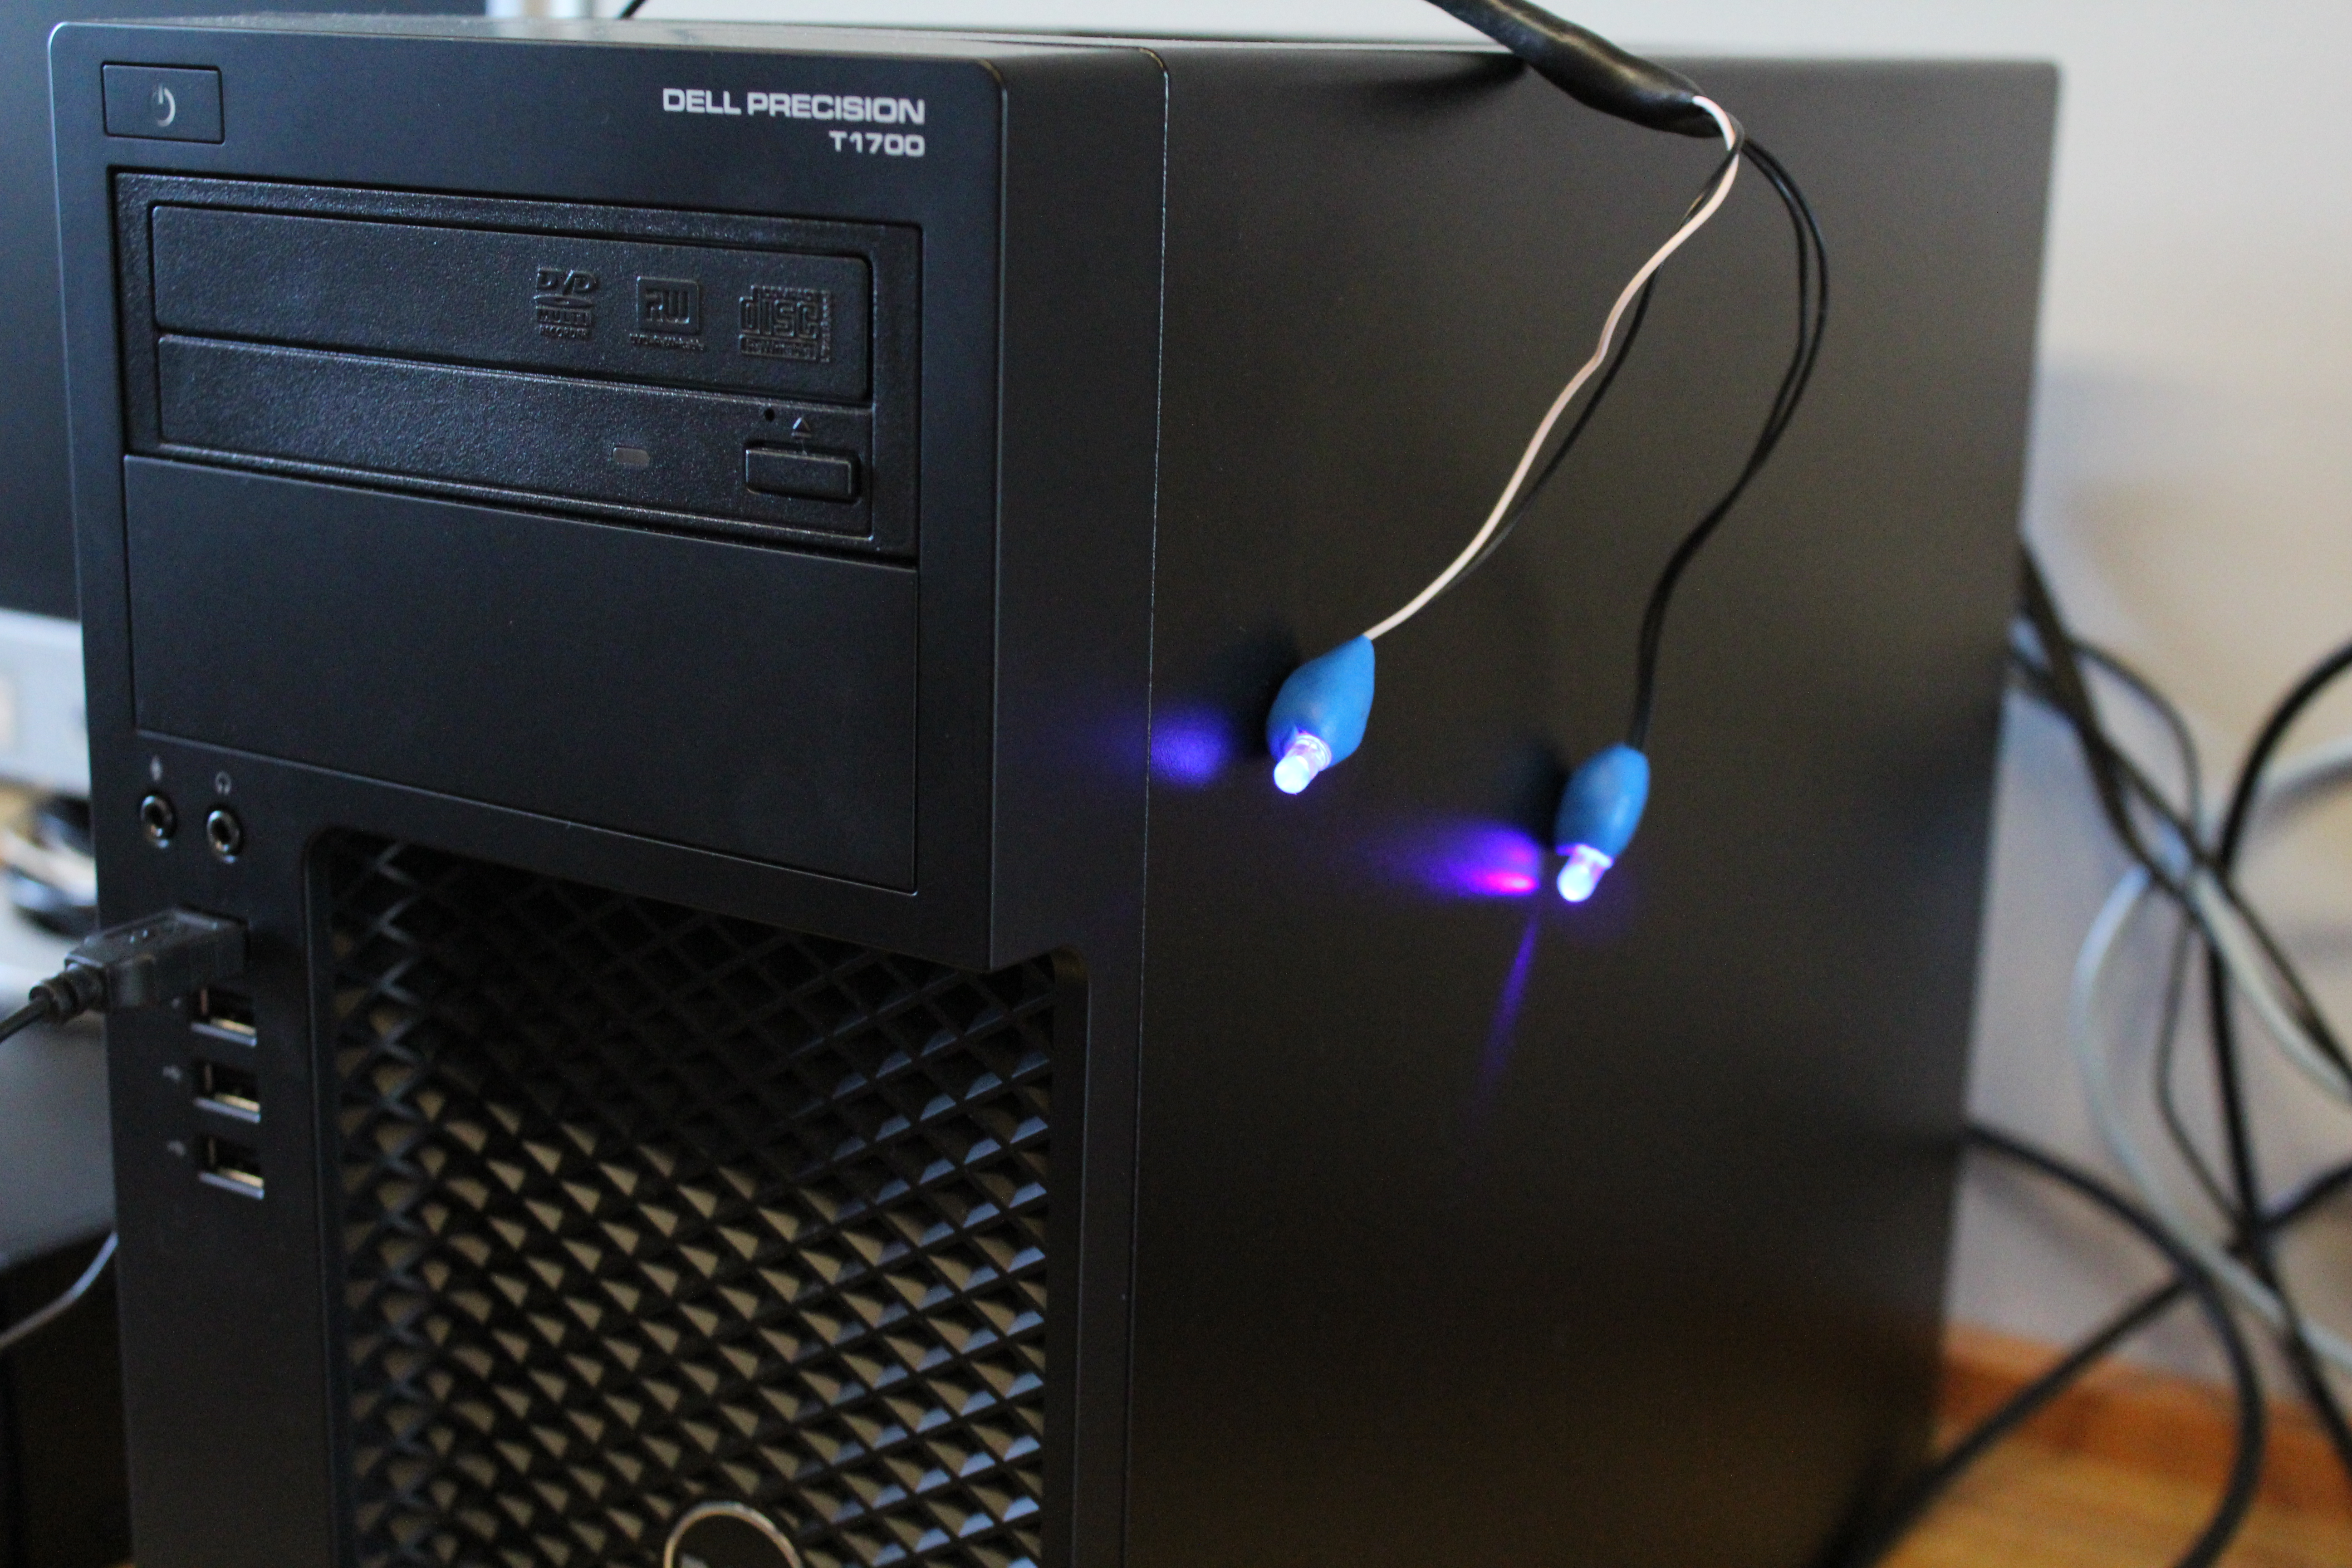
Have an old mouse laying around? Of course you do. Need more LEDs in your life? OF COURSE YOU DO. Let's turn that old mouse into a USB power source for some LED lights. We'll use some Sugru and magnets to make the LEDs capable of sticking to your tower or anything else metal - if you have a keyboard tray, these can make some great keyboard lights. Let's get started!
Here's what you'll need:
- a USB mouse
- a screwdriver
- electrical tape
- two 2-pin connector cables
- a pack or two of Sugru
- two magnets
- two LEDs in the color of your choice
Take That Mouse Apart!
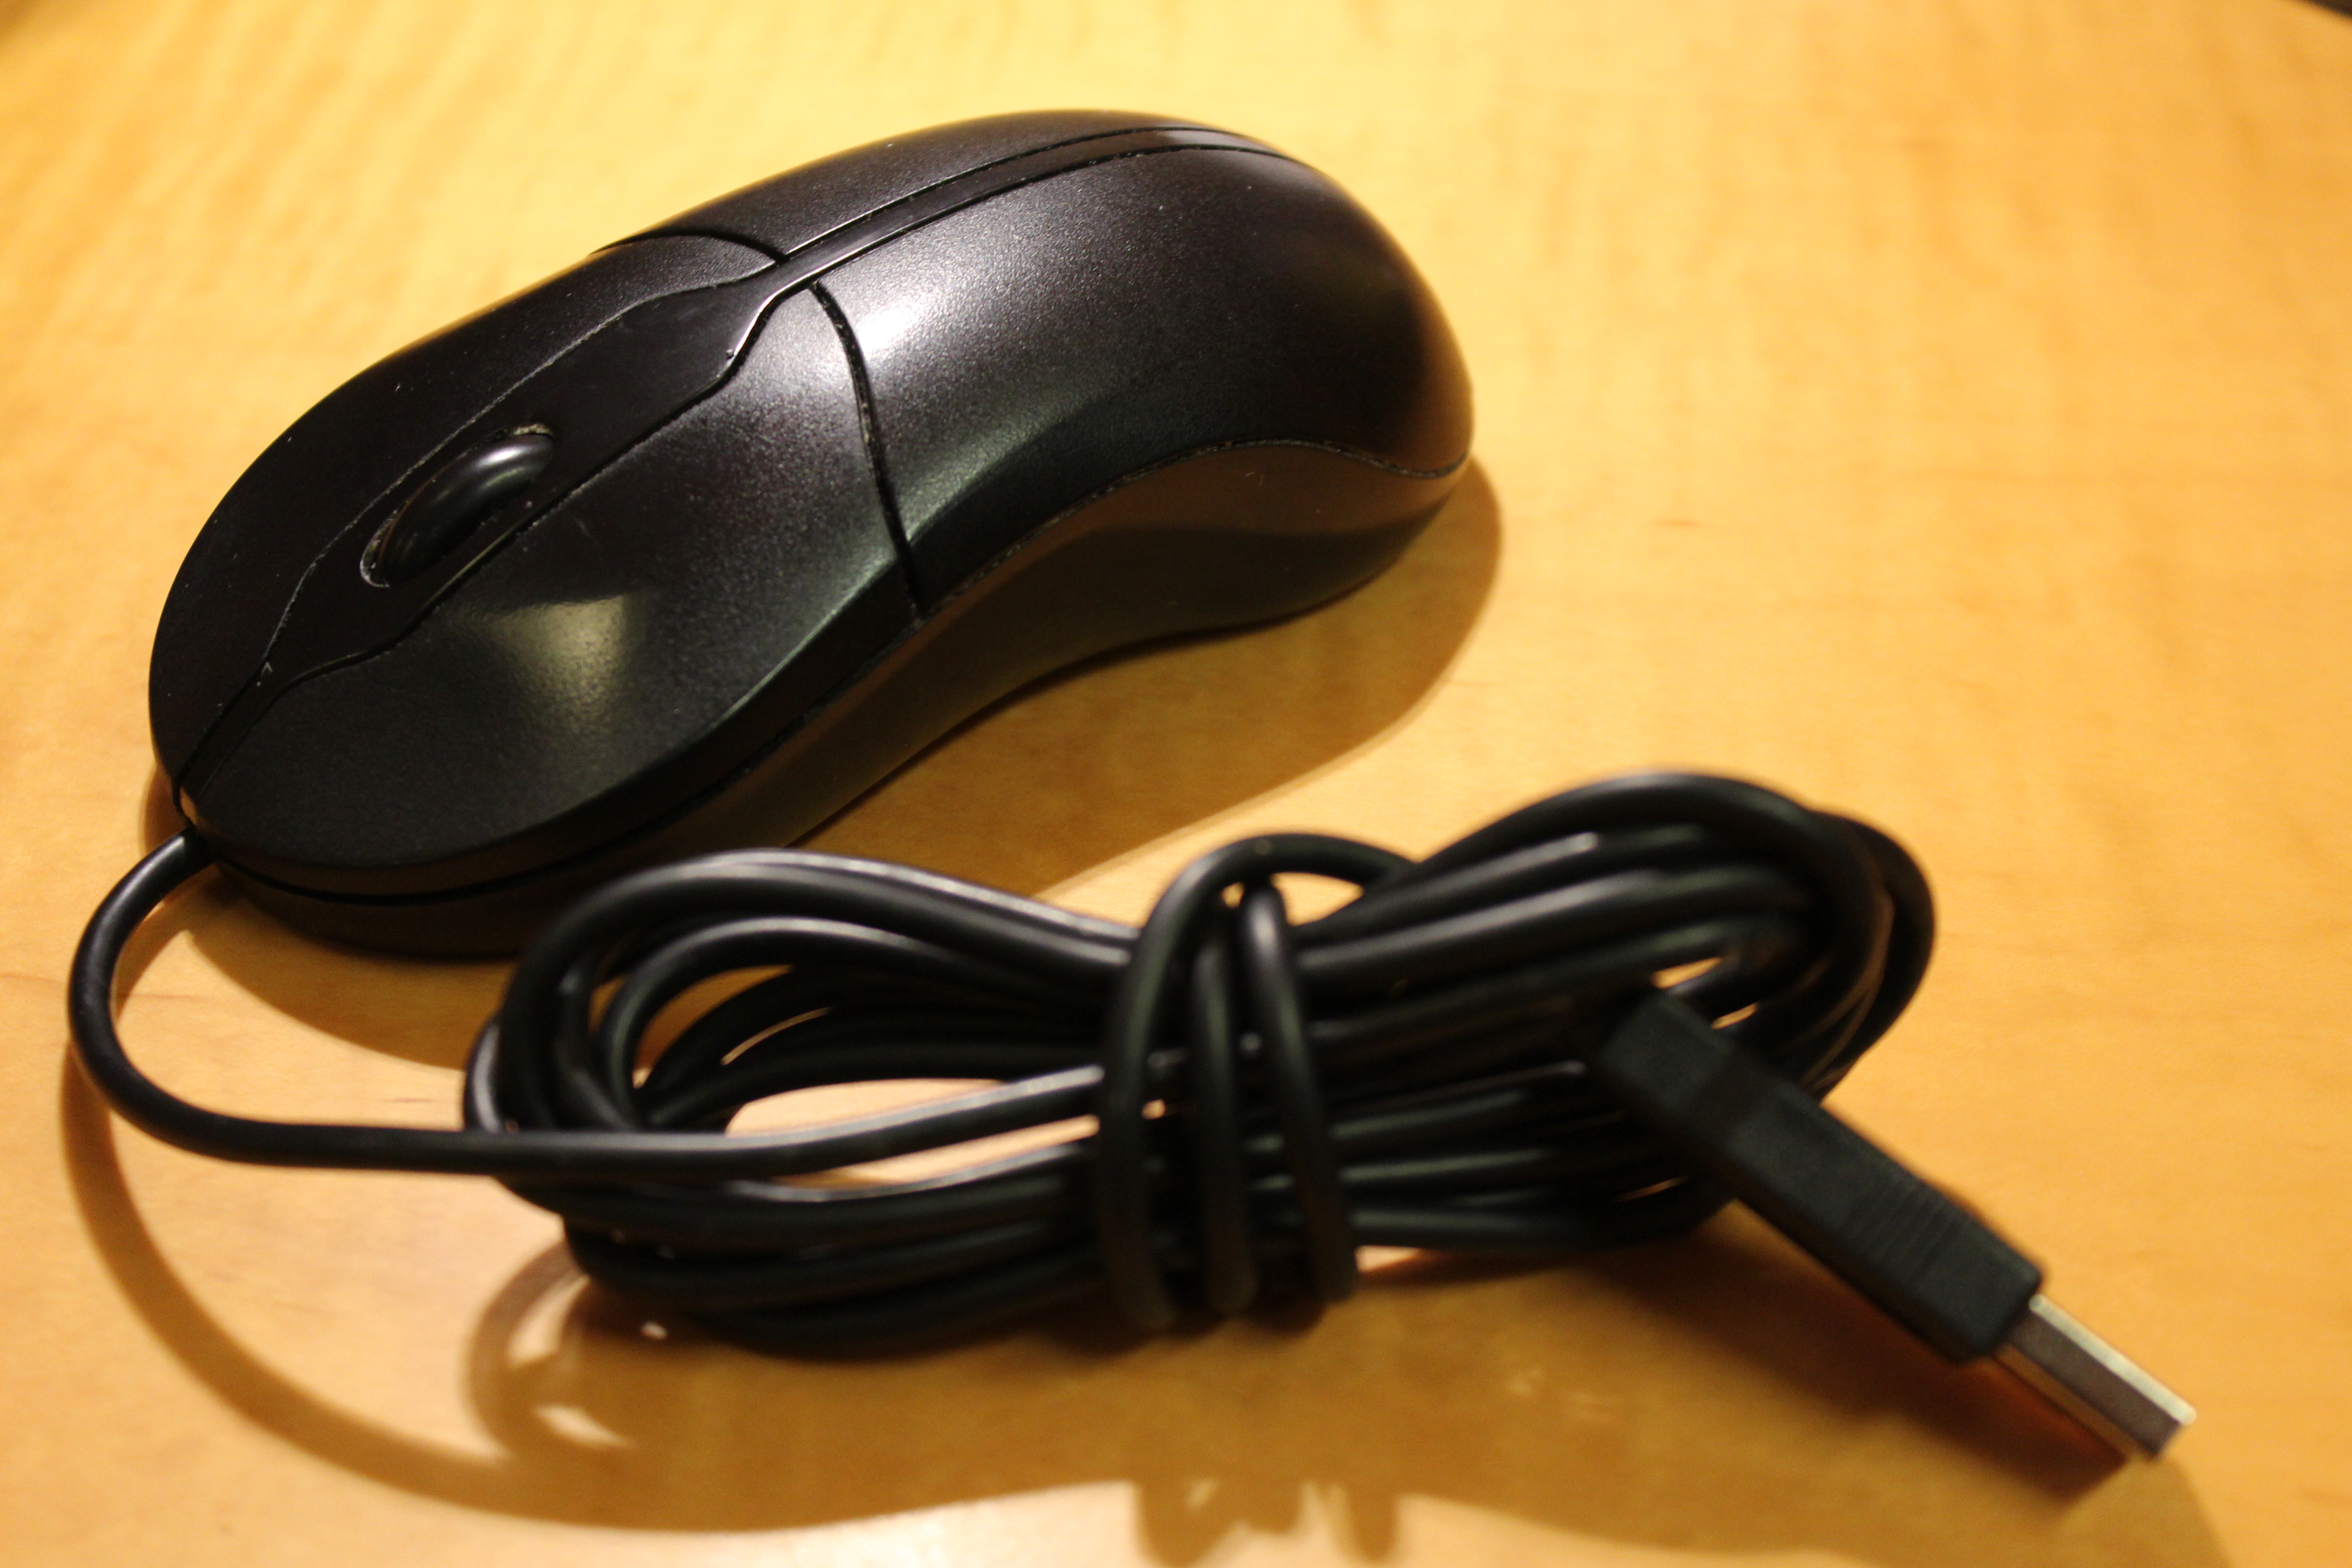

This will vary depending on the model of your mouse, but start by looking at the bottom of the mouse. There's usually a screw somewhere in the center. Take it out, yo. With the screw out, you should be able to pop the top of the mouse off.
Remove the USB Cable From the Mouse.


Once you open up the mouse, look for where the USB cable plugs into the board inside the mouse. Yank it out - don't worry about being too careful - we're going to cut off the connector anyway. In fact, you could just cut the wires out of the connector and call it good. Yeah, do that. Then pull the cord out of the mouse.
You're now going to look at the end of the cord - it should have five wires sticking out. Find the black and the red ones. These are your power: the black is negative and the red is positive. You can trim back the other three and wrap them in electrical tape so you don't short anything out, leaving the black and the red sticking out.
Connect the 2-pin Connectors to the USB Cable
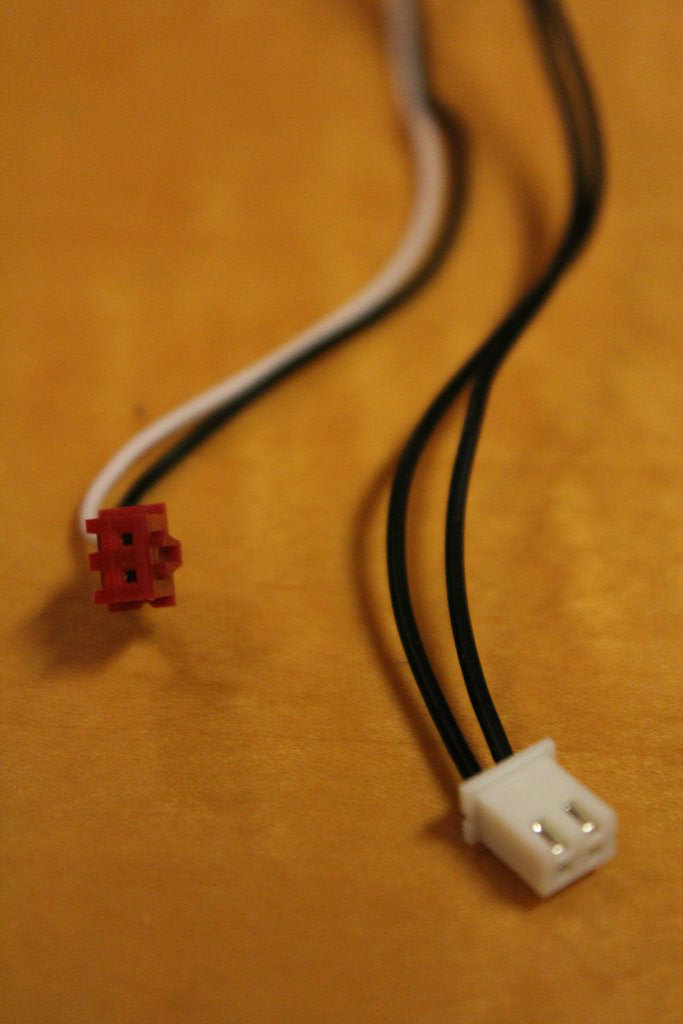
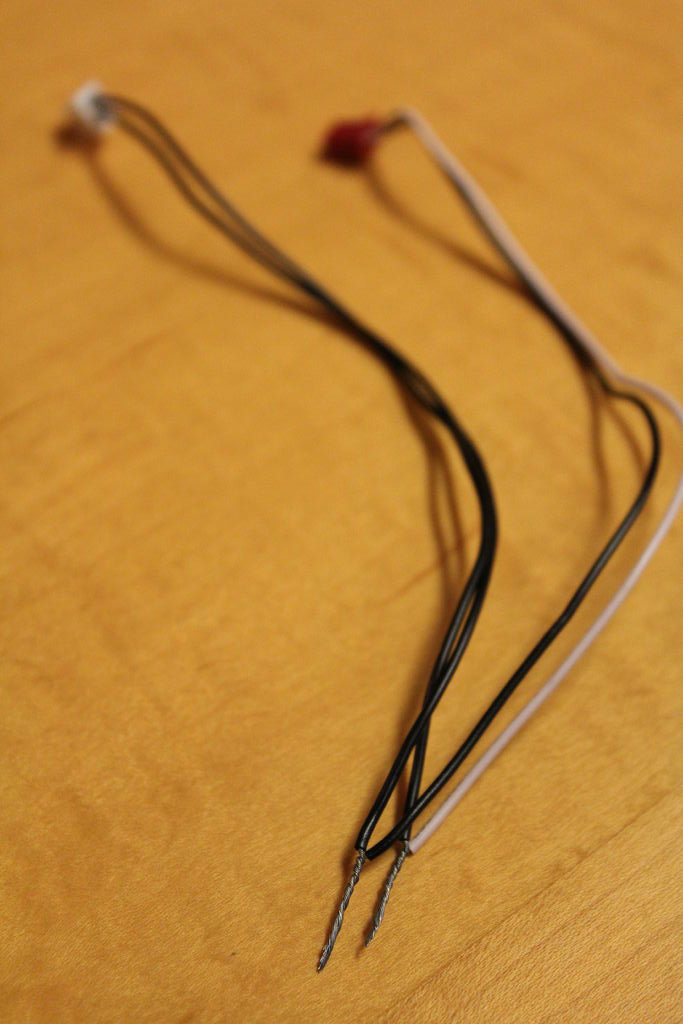
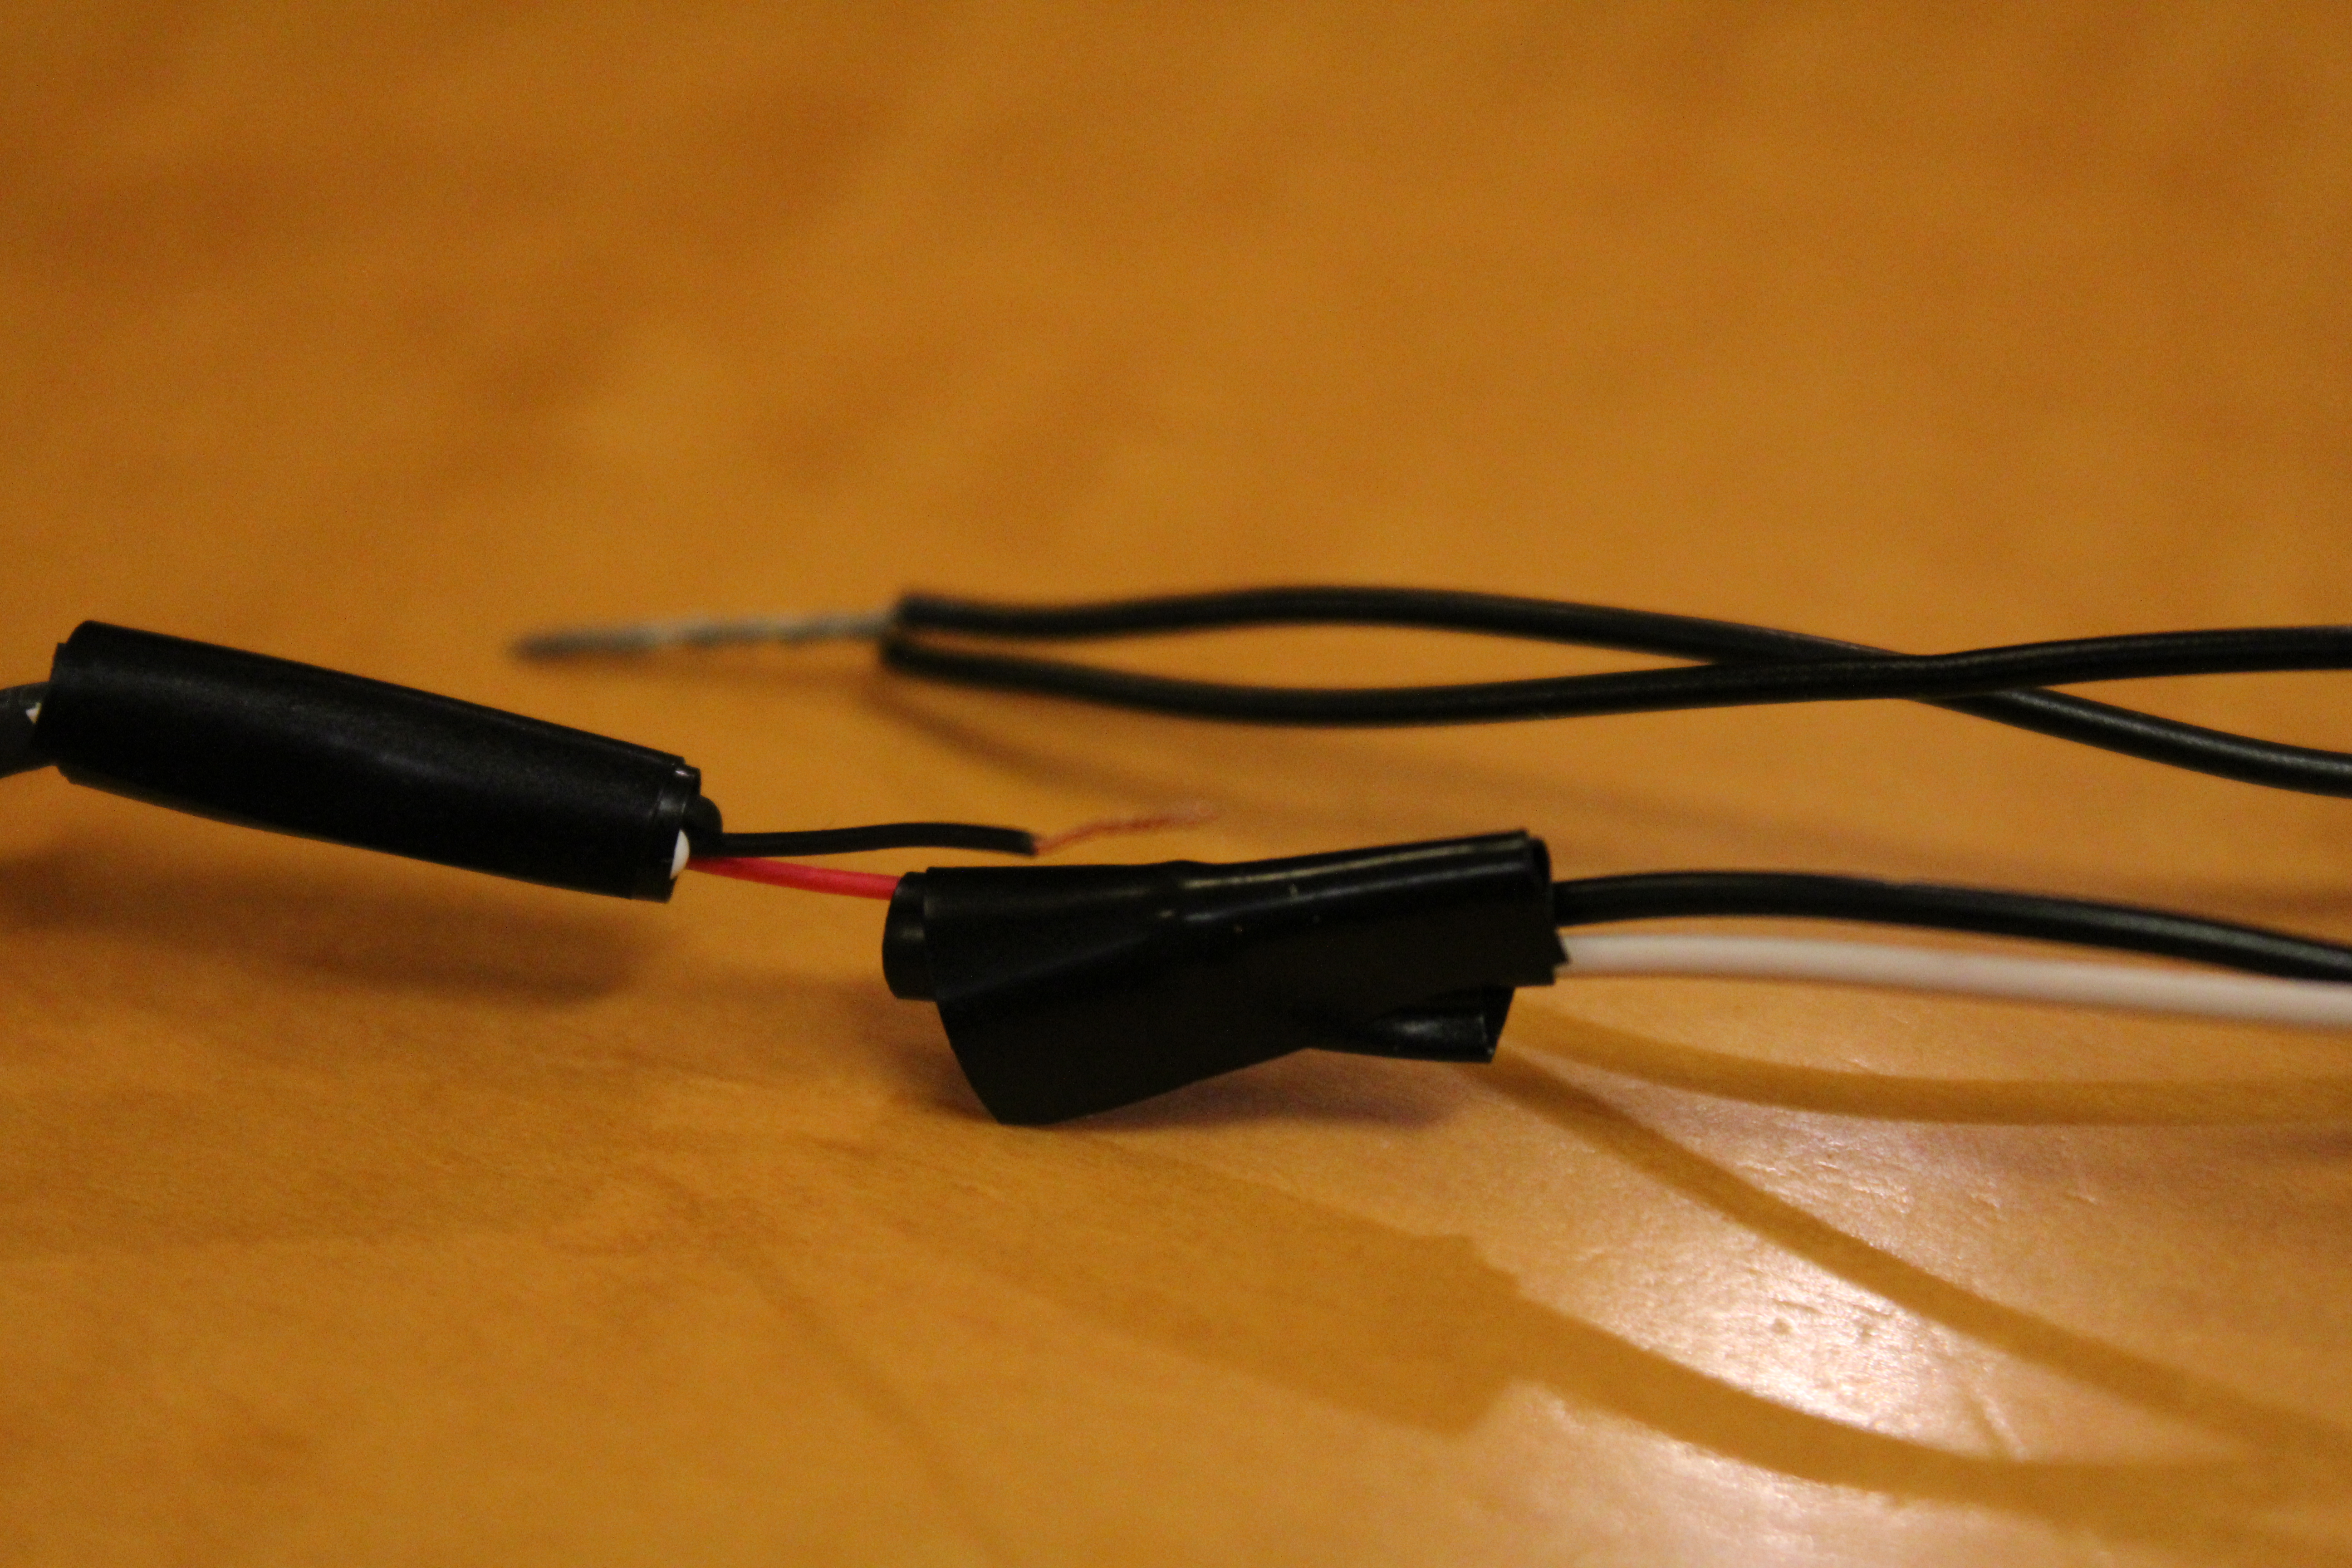
So, you COULD just wire up the LEDs directly to the USB - but what happens when they burn out? You'd have to make a whole new set of lights, is what would happen. You would lose hours of your life, and that would make you sad.
So, to solve that problem, Jesse had the awesome idea of using 2-pin connectors as "sockets" for the LEDs. That way, you can just pull out the LED when it burns out and plug in another one, no muss no fuss. These 2-pin connectors were things we had lying around. You can find them in battery packs, old floppy drives, and inside lots of other stuff. So go find a couple.
Once you have them ready, we're going to connect it to the USB cable (We wanted two lights, so we used two, but you can just use one if you want). Twist together the ends of the connectors in parallel, so that the positive ends are twisted together, and the negative ends are twisted together. See the picture, because NO MAKE WORDS GOOD.
Now connect the 2-pin connectors with the positive and negative wires coming out of the USB cable by twisting each of them together - make sure you wrap them up with electrical tape so the positive and negative don't touch. DON'T CROSS THE STREAMS!
Add Sugru, Make Pretty, All Done.


Almost done! We don't like looking at a lot of electrical tape all the time, so we took some Sugru and covered up the area where the USB cable meets the 2-pin connector wires.
Then, if you want to get super fancy, grab two small magnets - we took ours out of a pair of headphones. Get some more Sugru and set it around the 2-pin connector, being sure to not cover up the holes where you stick in the LED. Stick a magnet in the Sugru. Now you can stick your lights onto anything metal! (Well, once you let the Sugru dry for 24 hours. THEN you can stick it anywhere you want.)
You did it! Stick the LEDs into the 2-pin connectors! Plug the USB into the nearest computer! WATCH LIGHT COME OUT! SELF HIGH-FIVE!