Turn Videos Into ASCII Art Videos
by Tom-Savoie in Design > Software
12069 Views, 106 Favorites, 0 Comments
Turn Videos Into ASCII Art Videos
I have seen videos of ASCII art on the internet, and I've decided to try to reproduce a converter of mp4 files to ASCII mp4 files. I am a real beginner in programming world, but I really enjoyed the process of building this project. There are probably much more efficient ways to achieve to the same result, and I would love hearing advice to improve it! I've tried explaining every bit of this code so that anyone could understand. If you still have questions, I will gladly answer them !
If you want to have a quick summary of the code, you can go to STEP 8, in the main function, that uses a bunch of functions presented in the previous steps.
If you only want to see the results, check STEP 9, and the full code check STEP 10.
Supplies
For this project, you will need to install Python and a text editor (I've used Sublime Text for this project)
You'll also need several libraries :
- PIL (Image and ImageOps) - It will enable us to resize the images and transform them into black and white images (You can install it with the command "pip install Pillow" in the cmd (or "pip3 install Pillow"))
- cv2 - This module is going to separate the video into image frames and latter recreate a video from new images (You can install it with "pip install opencv-python")
- os - A built-in module that will enable us to create folders
- imgkit - It will enable us to convert HTML files to JPG (You can install this module with "pip install imgkit")
- (you might also need a file called wkhtmltoimage.exe) that you can download in the wkhtmltopdf folder from https://wkhtmltopdf.org/downloads.html) This will enable us to convert html files into JPEG files
Separate Video Into Images
This first function will enable us to separate a video into each frame in a specified folder as jpg file
def video_to_images(path):
   os.mkdir('Images')
   video = cv2.VideoCapture(path)
   fps = video.get(cv2.CAP_PROP_FPS)
   success, image = video.read()
   counter = 1
   while success:
       cv2.imwrite("Images/Image{0}.jpg".format(str(counter)), image)
       success, image = video.read()
       counter+=1
   return fps, (counter-1)
Explaination of each line :
def video_to_images(path):
We have to specify the path of the video we want to convert in this function
os.mkdir('Images')
We create a folder where we will stock all of our images
video = cv2.VideoCapture(path)
We import the video on the module cv2
fps = video.get(cv2.CAP_PROP_FPS)
We return the value of FPS of the current video to latter recreate a video with the same data
success, image = video.read()
The first value of the .read() method is a Boolean value, if the reading of the video is successful, this value is True. The second one returns the first frame of the video
counter = 1
We will be using a counter variable to count the number of images
while success:
Corresponds to "while success == True:". As long as there still something to read from the video we continue
cv2.imwrite("Images/Image{0}.jpg".format(str(counter)), image)
We add the image in the specified folder and name it according to its position in the video
success, image = video.read()
counter+=1
If there are still frames remaining, we continue the while loop.
return fps, (counter-1)
We return both the fps data and the total amount of images
Open an Image in PIL
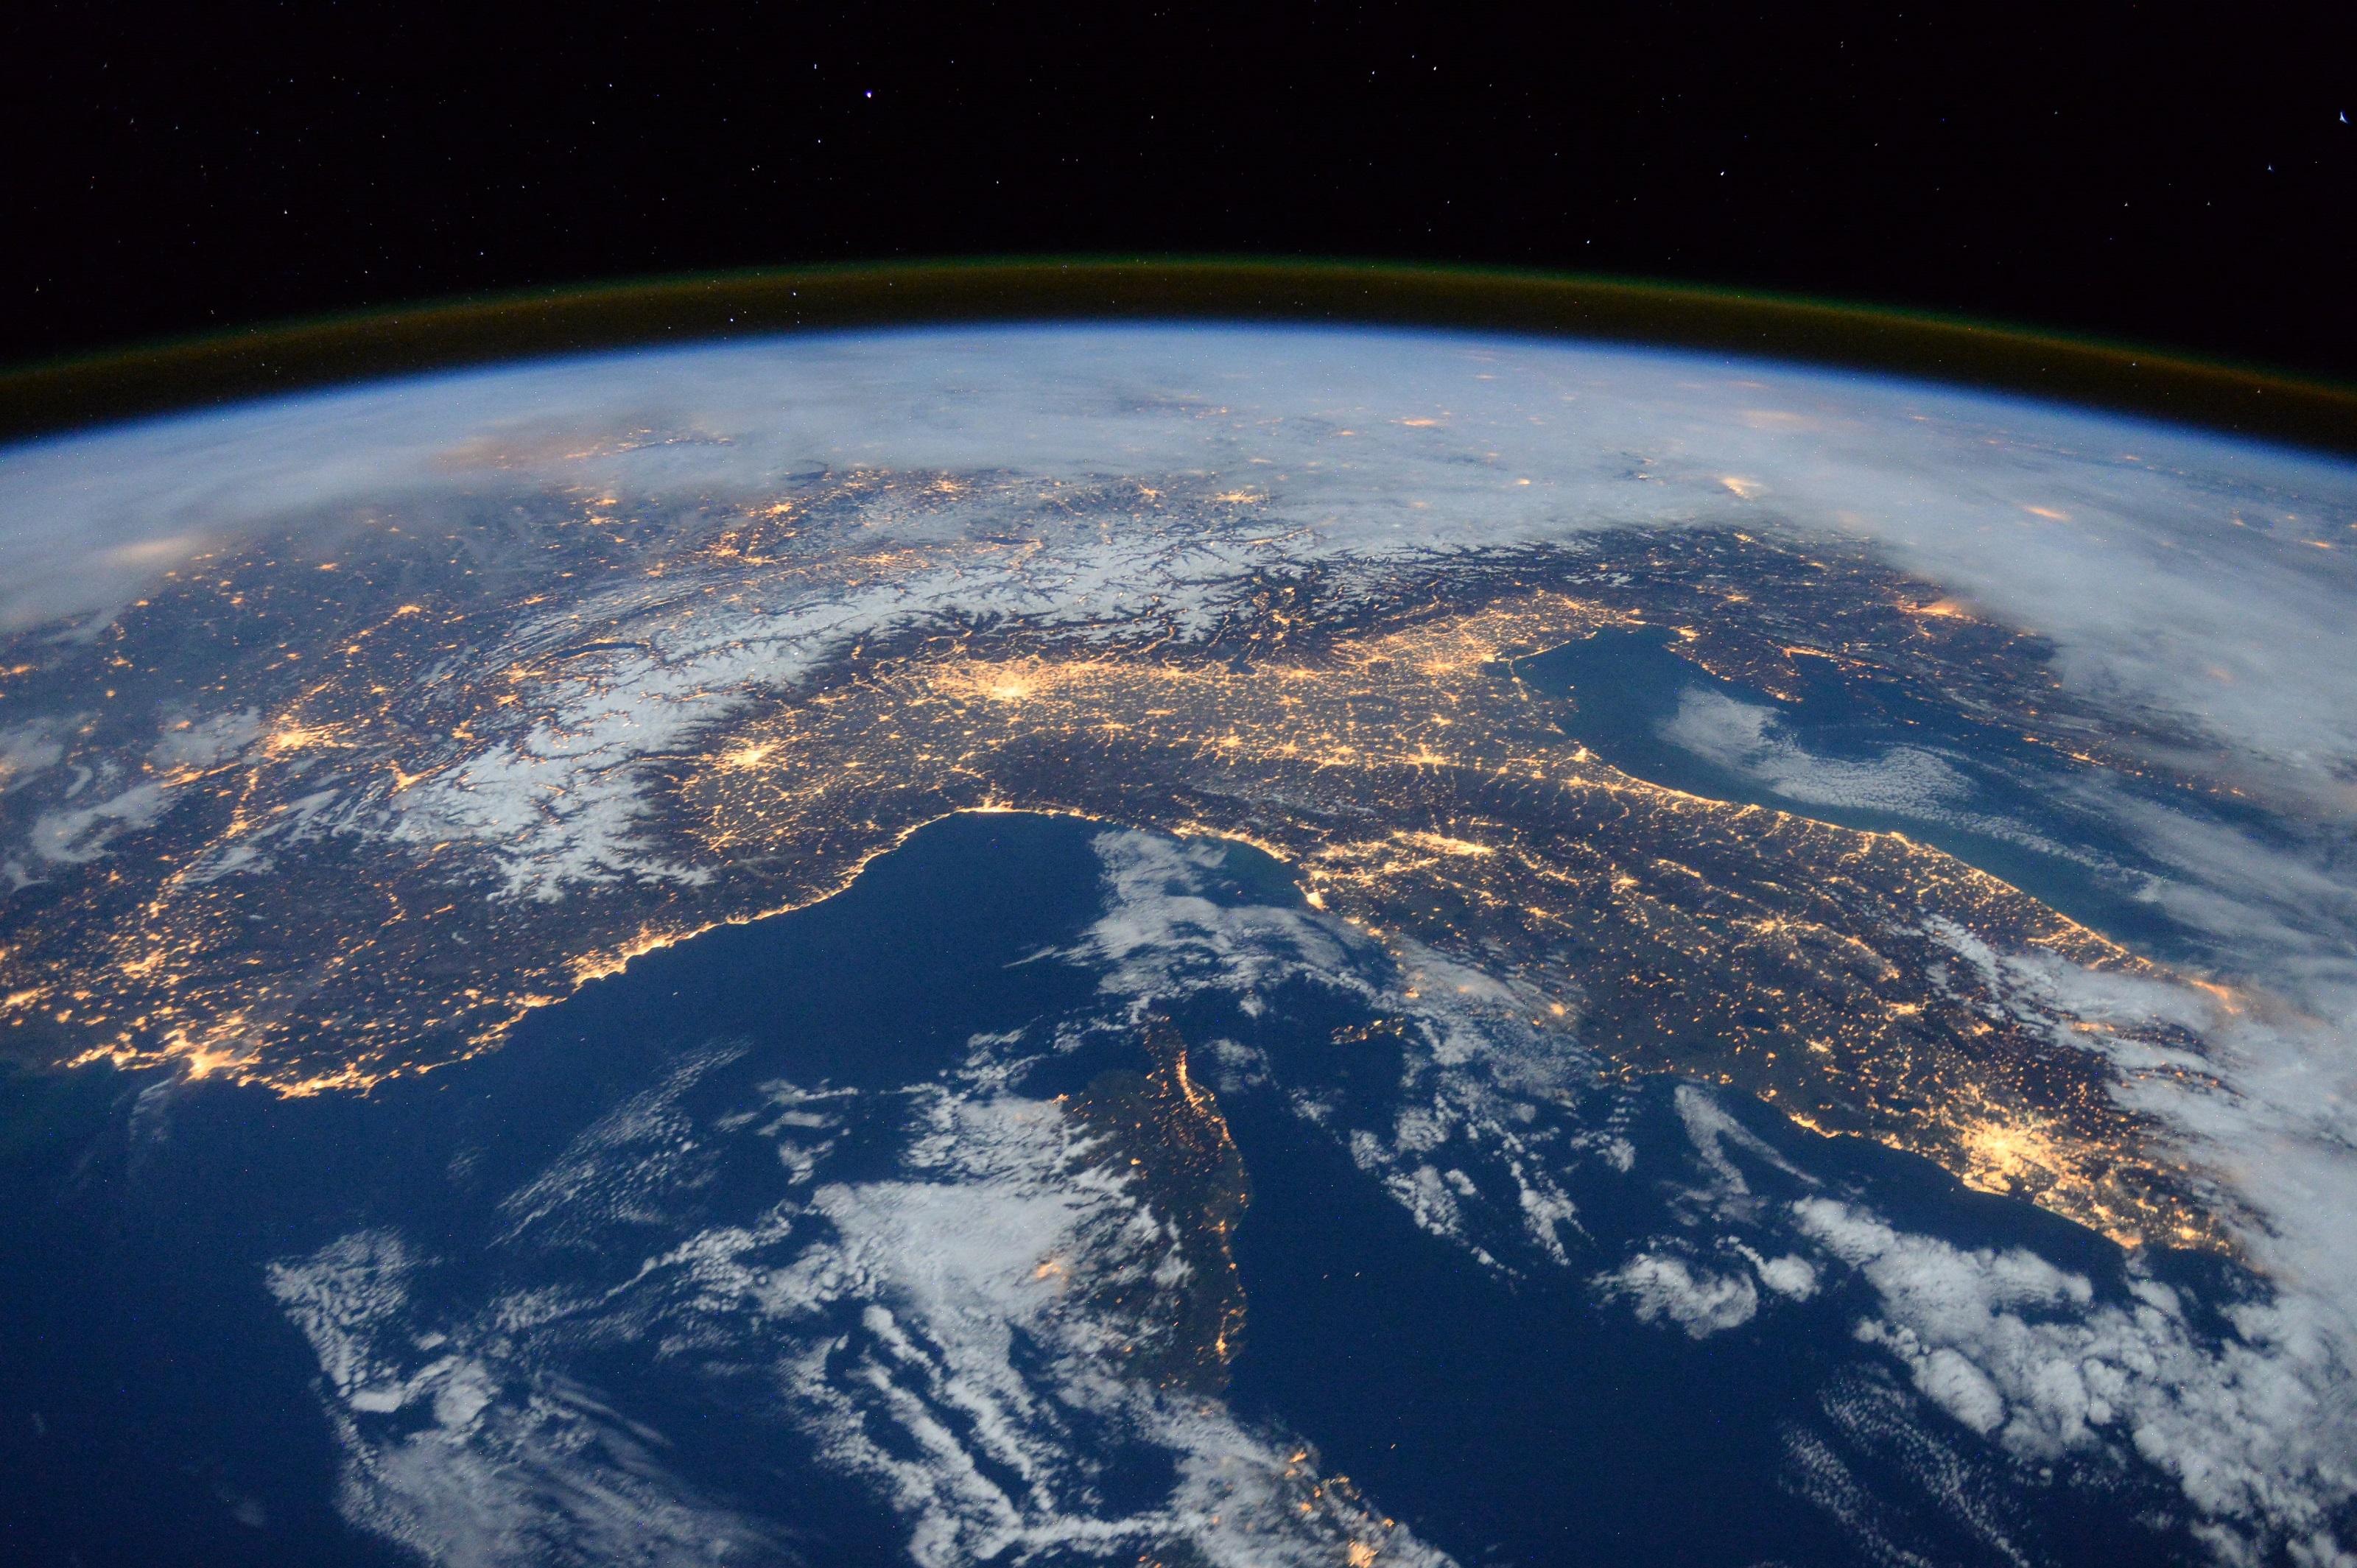
This function transform an image into a flattened image under PIL's format, so that we can use it afterwards to pixelate it. (will show an example of the output from this image (https://pixy.org/4858053/) Free-Copyright Image)
def get_image(image_path):
     initial_image = Image.open(image_path)
     width,height = initial_image.size
     initial_image = initial_image.resize((round(width*1.05),height))
     return initial_image
Let's explain each line :
initial_image = Image.open(image_path)
This first line of the function opens the image in PIL module with its path
w,h = initial_image.size
The size of variable is stocked in two variables, the width and the height
initial_image = initial_image.resize((round(w*1.05),h))
This line resizes the image with a larger width, so when converted in text, it appears as normal. The value depend on the leading of your document HTML that we will create later. If the leading is important, the value has to be also important.
return initial_image
This function will return the flattened image under PIL's format
Pixelate the Image

We are now wanting to resize the image to a certain ratio
def pixelate_image(image, final_width = 200):
   width, height = image.size
   final_height = int((height*final_width)/width)
   image = image.resize((final_width,final_height))
   return image
PS:
When working with really dark images or really bright images, you can add a few lines to ameliorate the brightness, with the module ImageEnhance from PIL :
image = ImageEnhance.Brightness(image)
image = image.enhance(1.5)
1 being the value corresponding to the image (reduce the value for bright image and increase it for darker images)
Explaination of each line :
def pixelate_image(image, final_width = 200):
This function requires the previous image as input, and the second parameter is the final width of the image (set by default to 200), this means that there will be 200 characters per lines
width, height = image.size
Once again, get the resolution of the image in two variables
final_height = int((height*final_width)/width)
With a simple cross-multiplication, we calculate the height corresponding to the final width by keeping the same ratio
image = image.resize((final_width,final_height))
We resize the image with the PIL's method resize() with the new width and height
return image
This function returns the pixelated image
Transform the Image in a Black & White Image
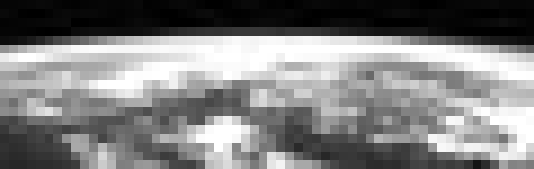
This function returns a black and white version of the pixelated image
def grayscale_image(image):
   image_bw = ImageOps.grayscale(image)
   return image_bw
The method ImageOps.grayscale() is a PIL method to render an image in grey values
We return from the function the new black and white image created.
Create a List of the Characters Needed for the Image
This function will convert the black and white image into opacity value depending on the ASCII character list, and will append the right ASCII character in a list
def ascii_conversion(bw_image,ascii_string = [" ",".",":","-","=","+","*","#","%","@","&"]):
   pixels = bw_image.getdata()
   ascii_image_list = []
   for pixel in pixels:
      ascii_converted = int((pixel*len(ascii_string))/256)
      ascii_image_list.append(ascii_string[ascii_converted])
   return ascii_image_list
Let's explain line by line :
def ascii_conversion(bw_image,ascii_string = [" ",".",":","-","=","+","*","#","%","@","&"]):
This functions requires the black & white image created, and the second parameter is an ASCII string with the character you would like to show, ranked by 'opacity'
pixels = bw_image.getdata()
This creates a list with a grey RGB value (only one as the three red green and blue values are the same) for each pixel of the image.
ascii_image_list = []
We create a list to stock the ASCII characters of the final image
for pixel in pixels:
For each individual pixel
ascii_converted = int((pixel*len(ascii_string))/256)
Once again, with a cross-multiplication we get a value between 0 and the number of character in the ascii_string list minus 1 (because it starts counting from 0) corresponding to the RGB value of it. In this example, a black pixel will correspond to 0 and a white pixel to 8.
ascii_image_list.append(ascii_string[ascii_converted])
From this value between 0 and 8 (if the length of the string is 9) we will add in our ASCII characters list, the character corresponding to the opacity of the pixel. Here, black corresponds to " " and white to "&".
return ascii_image_list
We return from the function this created list with the same amount of characters than pixels.
Get Color of Each Pixel
This function will return a list of the rgb value of each pixel of an image
def get_color(image):
   pixels = image.getdata()   # Creates a list with the RGB value for each pixel
   return pixels
Let's explain line by line :
def get_color(image):
This time, the parameter of this function is not the black and white image, but the pixelated one.
pixels = image.getdata()
This creates a list with the RGB value for each pixel in the image
return pixels
This function returns this list
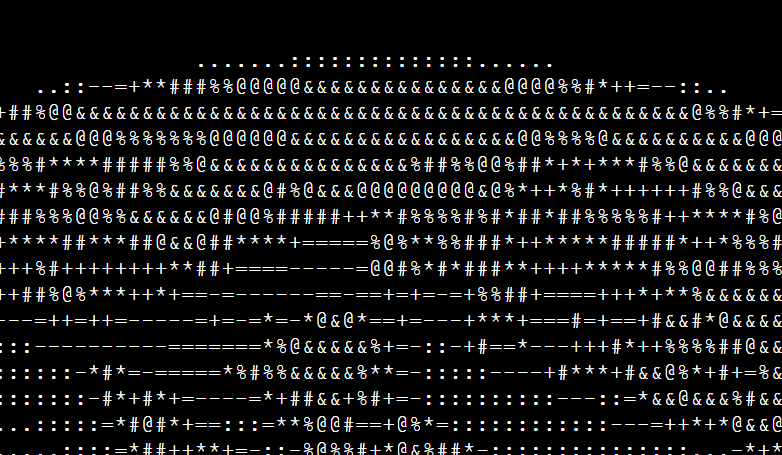
Print the Characters in an Html Document
This function will create as many html documents as frames from the video. For each document, it will print the characters with the right color.
def print_ascii(ascii_list, image, color,image_pos):
   file = open('HtmlImages/Html{0}.html'.format(str(image_pos)),"w")
   file.write("""
      <!DOCTYPE html>
      <html>
         <body style='background-color:black'>
         <pre style='display: inline-block; border-width: 4px 6px; border-color: black; border-style: solid; background-color:black; font-size: 32px ;font-face: Montserrat;font-weight: bold;line-height:60%'>""")

   width, height = image.size
   counter = 0
   for j in ascii_list:
      color_hex = '%02x%02x%02x' % color[counter]
      counter+=1
      if (counter % width) != 0:
         file.write("<span style=\"color: #{0}\">{1}</span>".format(color_hex,j))
      else:
         file.write("<br />")
   file.write("""</pre></body>
      </html>""")
   file.close()
def print_ascii(ascii_list, image, color,image_pos):
This function requires the list of the ASCII characters, created in STEP 5, the pixelated image (to retrieve its size), the color list created in STEP 6, and the position of the image in the video (to name it and to distinguish it from the others)
file = open('HtmlImages/Html{0}.html'.format(str(image_pos)),"w")
We are going to open an html file and name it. (For example, the first image will be named "Html1.html"). We write "w" because we are going to write in this file
file.write("""
      <!DOCTYPE html>
      <html>
         <body style='background-color:black'>
         <pre style='display: inline-block; border-width: 5px 5px; border-color: black; border-style: solid; background-color:black;font-size: 32px ;font-face: Montserrat;font-weight: bold;line-height:60%'>""")
We write in the html file the basis of an html document. We can change the background color in the body tag and in the pre tag. The font size will determine the quality of the video, so it can be modified. The line-height modify the leading of the page (and has an impact on the value of STEP 2)
width, height = image.size
Once again, we get the image size into two variables
counter = 0
We create a counter
for j in ascii_list:
For every character of the ASCII list. j corresponds to one of the ASCII character
color_hex = '%02x%02x%02x' % color[counter]
We transform the RGB value we have in our color list to the corresponding character (with the variable counter) into an hexadecimal value
counter+=1
Counter value is increased by 1
if (counter % width) != 0:
In this if statement, we want to make sure that it will break a line when there are the correct width value per line.
We want the width to not be a divisor of the counter. Here, if the remainder of the division "counter by width" is not null, we enter the if statement and we can print our characters in a row. However, if the remainder is 0, we have reached a multiplier of the width value, and we have to break a line.
file.write("<span style=\"color: #{0}\">{1}</span>".format(color_hex,j))
We write our characters in the file, with the right color
else:
   file.write("<br />")
If the division leaves a remainder of 0, we have to break a line. The tag <br /> in html breaks a line
   file.write("""</pre></body>
      </html>""")
   file.close()
We end the html document and close it.
The Main Function
We've seen each function ! Now we just have to put it all together in a main function
def main(video_path):
   config = imgkit.config(wkhtmltoimage=r'wkhtmltoimage.exe')
   ascii_string = [" ",".",":","-","=","+","*","#","%","@","&"]
   fps,number_images = video_to_images(video_path)
   os.mkdir('HtmlImages')
   os.mkdir('TextImages')

   for i in range(1,number_images+1):
      image = get_image('Images/Image{0}.jpg'.format(str(i)))
      right_size_image = pixelate_image(image)
      bw_image = grayscale_image(right_size_image)
      converted_list = ascii_conversion(bw_image, ascii_string)
      color_list = get_color(right_size_image)
      print_ascii(converted_list, right_size_image,color_list,i)
      imgkit.from_file('HtmlImages/Html{0}.html'.format(str(i)), 'TextImages/Image{0}.jpg'.format(str(i)), config = config)

   res = Image.open('TextImages/Image1.jpg').size
   video = cv2.VideoWriter('final_video.mp4',cv2.VideoWriter_fourcc('m', 'p', '4', 'v'),int(fps),res)

   for j in range(1,number_images+1):
      video.write(cv2.imread('TextImages/Image{0}.jpg'.format(str(j))))
   video.release()
Let's explain line by line :
def main(video_path):
You just need to specify the path of the video you want to convert
config = imgkit.config(wkhtmltoimage=r'wkhtmltoimage.exe')
This command will later enables us to convert the html files into images. You have to download the wkhtmltoimage.exe file and specify the path (I have just put it in the same folder as the python program)
ascii_string = [" ",".",":","-","=","+","*","#","%","@","&"]
This list is the characters you want to use for your conversion, order them in order of opacity (lowest to darkest)
fps,number_images = video_to_images(video_path)
Stock in two variables the fps and the number of images value of the function in STEP 1 (at the same time it will deconstruct the video and stock the frames in the folder Images)
os.mkdir('HtmlImages')
os.mkdir('TextImages')
Create two new folders to stock the html files and the images needed to construct the video
for i in range(1,number_images+1):
For each image in the video ( i will go from 1 to the number of frames in the video)
image = get_image('Images/Image{0}.jpg'.format(str(i)))
It will open the frame of the position i with PIL (see STEP 2)
right_size_image = pixelate_image(image)
It will resize the image (you can add a parameter with the wanted width - it will correspond to the number of characters you want per row) see STEP 3
bw_image = grayscale_image(right_size_image)
It will transform the resized image in a black and white image (see STEP 4)
converted_list = ascii_conversion(bw_image, ascii_string)
It will create a list with the ASCII characters corresponding to each pixel's opacity of the black and white frame (see STEP 5)
color_list = get_color(right_size_image)
This will stock a list with the RGB value of each pixel's color of the resized image (see STEP 6)
print_ascii(converted_list, right_size_image,color_list,i)
This will create an html document to print the characters with the right color (see STEP 7)
imgkit.from_file('HtmlImages/Html{0}.html'.format(str(i)), 'TextImages/Image{0}.jpg'.format(str(i)), config = config)
Finally, we use the imgkit module to convert the html files into images and stock them in the TextImage folder
res = Image.open('TextImages/Image1.jpg').size
In order to create a video, we want to set the right resolution. For that, we collect the resolution of one of the image converted in the previous line (to make sure it existed, I used the first image, but any of them would work, as they come from the same video)
video = cv2.VideoWriter('final_video.mp4',cv2.VideoWriter_fourcc('m', 'p', '4', 'v'),int(fps),res)
We use the module cv2 to recreate the video we've been deconstructing, but with different images ;)
This method creates a video-writer object to write the video and requires : 1. the name of the final video, 2. fourcc 3. the fps and 4. the framesize (with the resolution we've collected from the first image)
for j in range(1,number_images+1):
For each frames
video.write(cv2.imread('TextImages/Image{0}.jpg'.format(str(j))))
We add the frame to the video
video.release()
And we release the video !
(PS : If you have problems in the video, you can also use the plugin MoviePy to create a video from images)
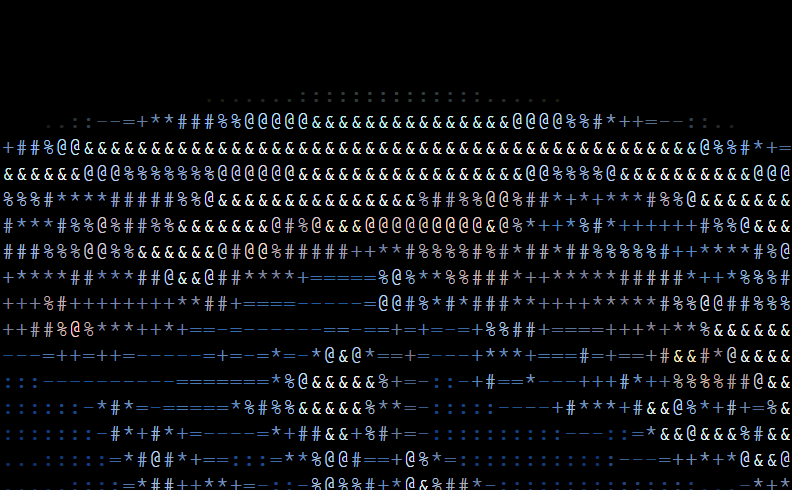
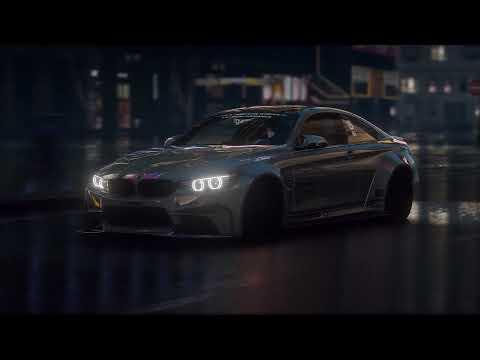
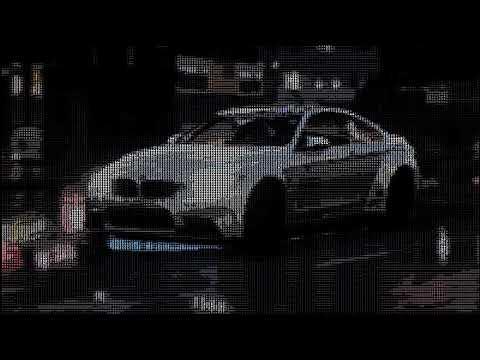
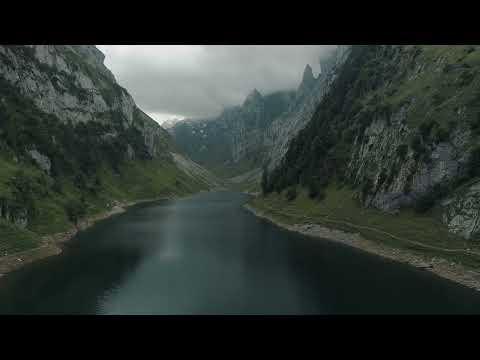
Results
)
)
)
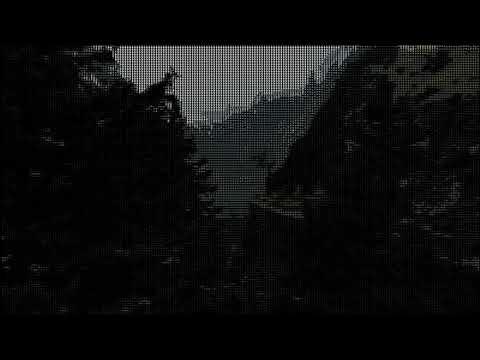)
Here are an example of what you can do with this project ! Hope you enjoyed it !
PS : I've changed the fps value to give a slow-mo effect
Videos credit (Free-Copyright videos) : https://pixabay.com/videos/car-automobile-vehicle-road-bmw-88481/
https://pixabay.com/fr/videos/for%C3%AAt-des-arbres-les-bois-montagne-89420/
Full Code
from PIL import Image,ImageOps,ImageEnhance
import cv2
import os
import imgkit

def video_to_images(path):
  os.mkdir('Images')
  video = cv2.VideoCapture(path)
  fps = video.get(cv2.CAP_PROP_FPS)
  success, image = video.read()
  counter = 1
  while success:
      cv2.imwrite("Images/Image{0}.jpg".format(str(counter)), image)
      success, image = video.read()
      counter+=1
  return fps, (counter-1)

def get_image(image_path):
    initial_image = Image.open(image_path)
    width,height = initial_image.size
    initial_image = initial_image.resize((round(width*1.05),height))
    return initial_image

def pixelate_image(image, final_width = 200):
  width, height = image.size
  final_height = int((height*final_width)/width)
  image = image.resize((final_width,final_height))
  return image

def grayscale_image(image):
  image_bw = ImageOps.grayscale(image)
  return image_bw

def ascii_conversion(bw_image,ascii_string = [" ",".",":","-","=","+","*","#","%","@","&"]):
  pixels = bw_image.getdata()
  ascii_image_list = []
  for pixel in pixels:
     ascii_converted = int((pixel*len(ascii_string))/256)
     ascii_image_list.append(ascii_string[ascii_converted])
  return ascii_image_list

def get_color(image):
  pixels = image.getdata()  # Creates a list with the RGB value for each pixel
  return pixels
def print_ascii(ascii_list, image, color,image_pos):
  file = open('HtmlImages/Html{0}.html'.format(str(image_pos)),"w")
  file.write("""
     <!DOCTYPE html>
     <html>
        <body style='background-color:black'>
        <pre style='display: inline-block; border-width: 4px 6px; border-color: black; border-style: solid; background-color:black; font-size: 32px ;font-face: Montserrat;font-weight: bold;line-height:60%'>""")

  width, height = image.size
  counter = 0
  for j in ascii_list:
     color_hex = '%02x%02x%02x' % color[counter]
     counter+=1
     if (counter % width) != 0:
        file.write("<span style=\"color: #{0}\">{1}</span>".format(color_hex,j))
     else:
        file.write("<br />")
  file.write("""</pre></body>
     </html>""")
  file.close()

def main(video_path):
  config = imgkit.config(wkhtmltoimage=r'wkhtmltoimage.exe')
  ascii_string = [" ",".",":","-","=","+","*","#","%","@","&"]
  fps,number_images = video_to_images(video_path)
  os.mkdir('HtmlImages')
  os.mkdir('TextImages')

  for i in range(1,number_images+1):
     image = get_image('Images/Image{0}.jpg'.format(str(i)))
     right_size_image = pixelate_image(image)
     bw_image = grayscale_image(right_size_image)
     converted_list = ascii_conversion(bw_image, ascii_string)
     color_list = get_color(right_size_image)
     print_ascii(converted_list, right_size_image,color_list,i)
     imgkit.from_file('HtmlImages/Html{0}.html'.format(str(i)), 'TextImages/Image{0}.jpg'.format(str(i)), config = config)

  res = Image.open('TextImages/Image1.jpg').size
  video = cv2.VideoWriter('final_video.mp4',cv2.VideoWriter_fourcc('m', 'p', '4', 'v'),int(fps),res)

  for j in range(1,number_images+1):
     video.write(cv2.imread('TextImages/Image{0}.jpg'.format(str(j))))
  video.release()

main("video.mp4")