Truck
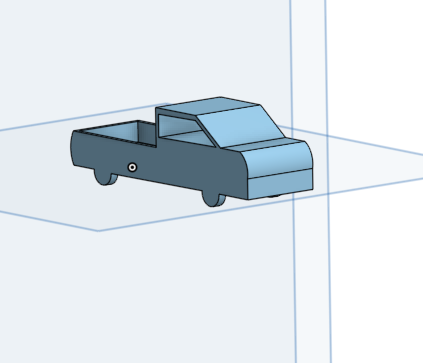
I have always loved vehicles, and that passion made me to make this simple truck.
Supplies
Onshape
Create a New Document in Onshape
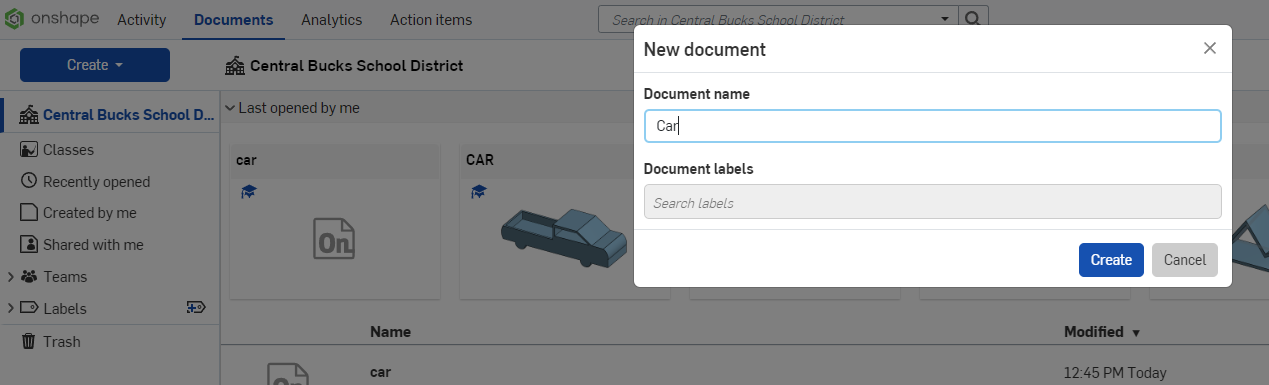
On the top left of your home screen, press "Create" and then "Document". After that, give a name for your project and press "Create".
Create a New Sketch

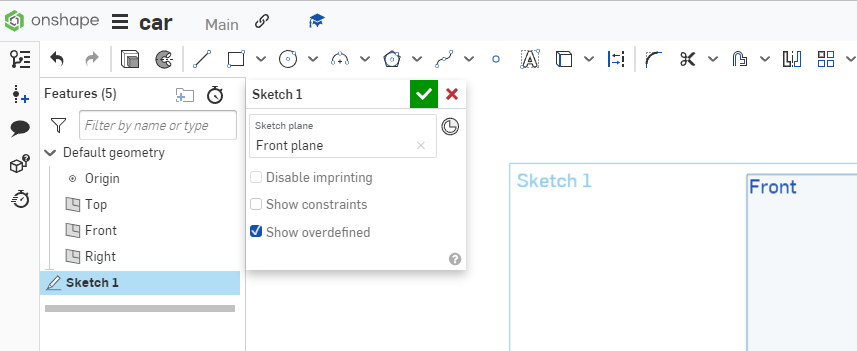
First, we need to make a new sketch. To do so, on the top left, you should see "Sketch". Once you see it, click on it and ensure it creates a new sketch on the front plane.
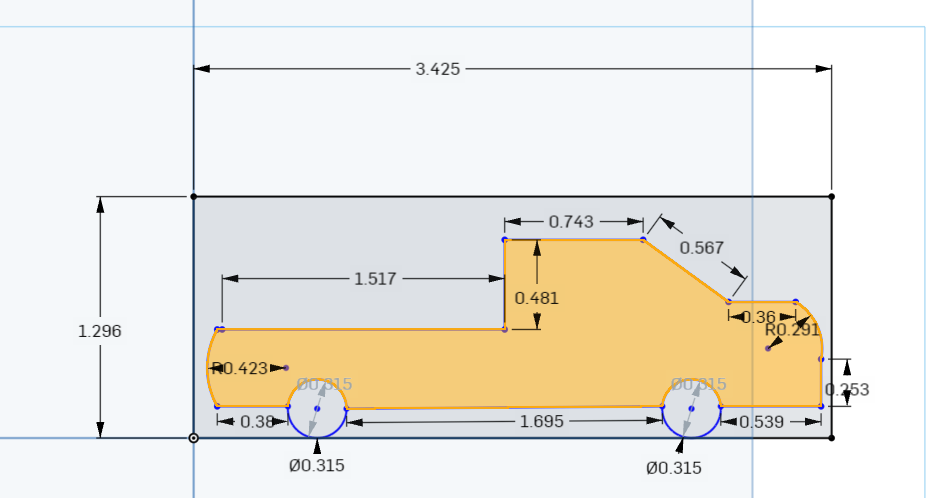
Draw the Outline of the Truck
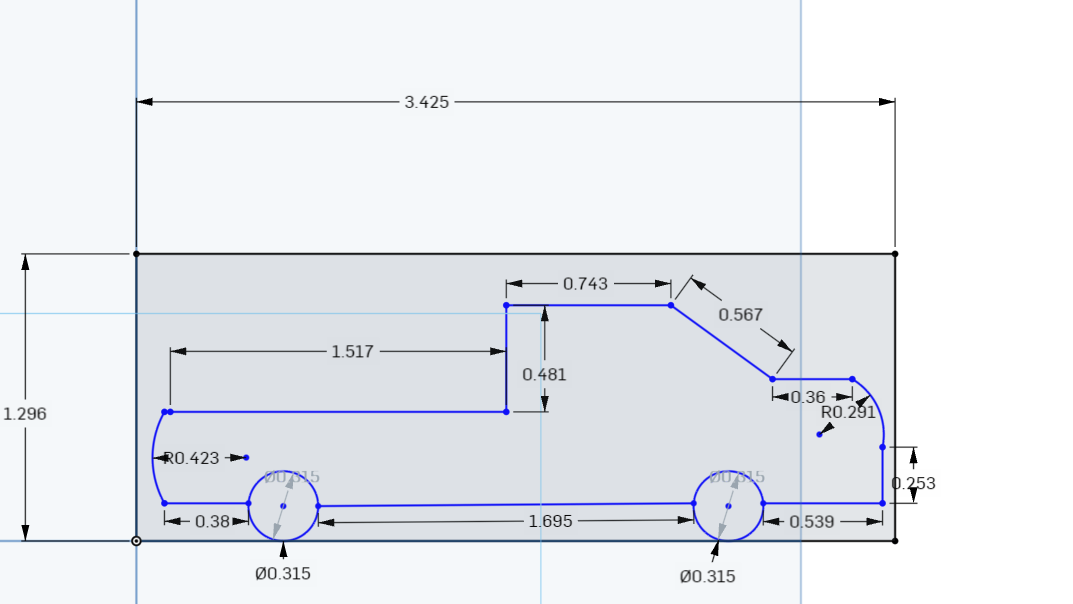
Create a rectangle and within the rectangle draw an outline of the truck as shown in the picture.
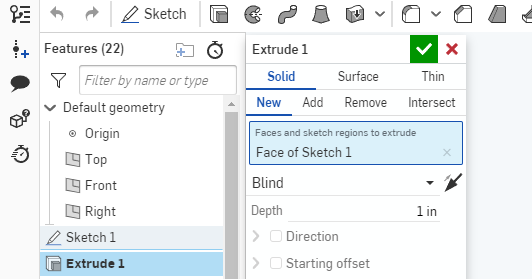
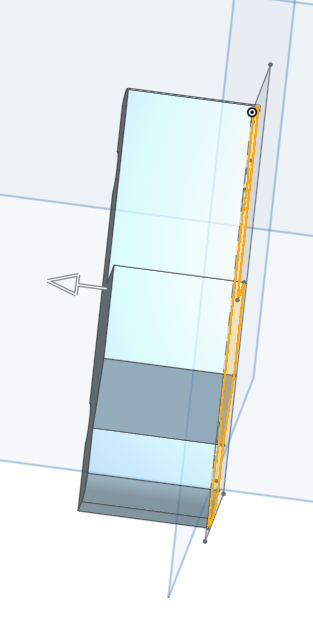
Extrude the Outline
.PNG)
Select only the outline of the truck and unselect the wheels. Once it is highlighted, use the extrude tool to give the outline another dimension.
Make Outline for Wheels
Create a new sketch on the side of the truck. Once created, draw "wheels". Do this for both sides of the truck to get a total of four wheels.
Extrude Wheels

Extrude all the circles to get 3D wheels using the extrude tool.
Outline Trunk and Use Extrude Tool
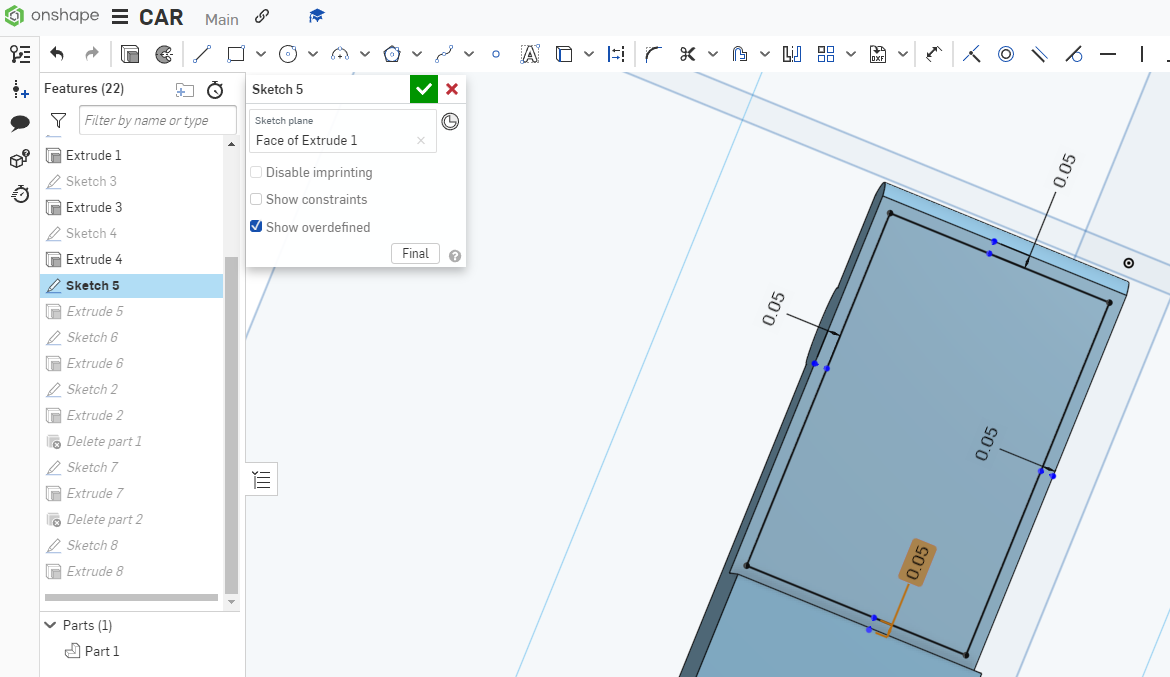
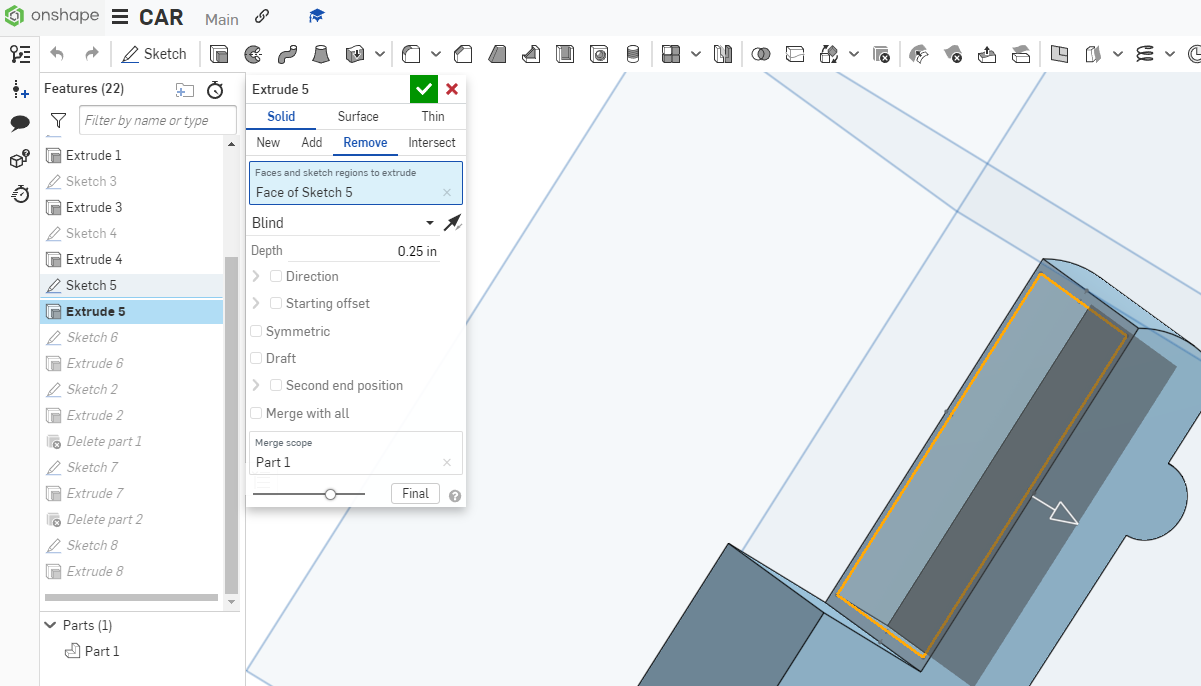
Next step is the cargo area of the truck. To make one, create a rectangle using the offset tool to ensure evenness. Then use the extrude tool to remove the material and make a trunk for the truck.
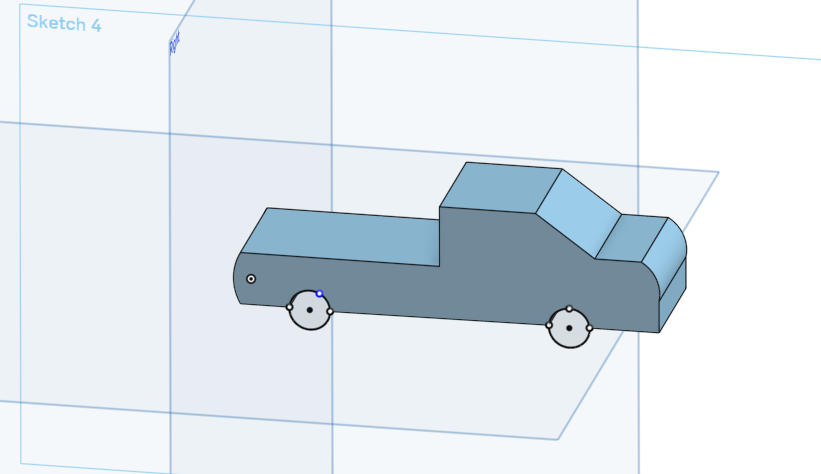
Windows
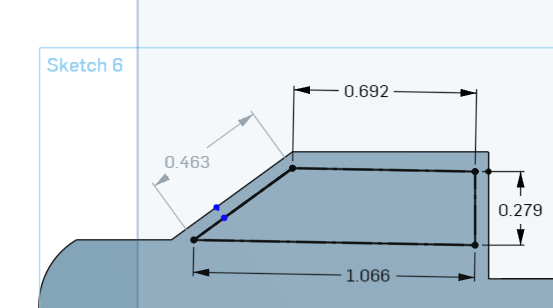
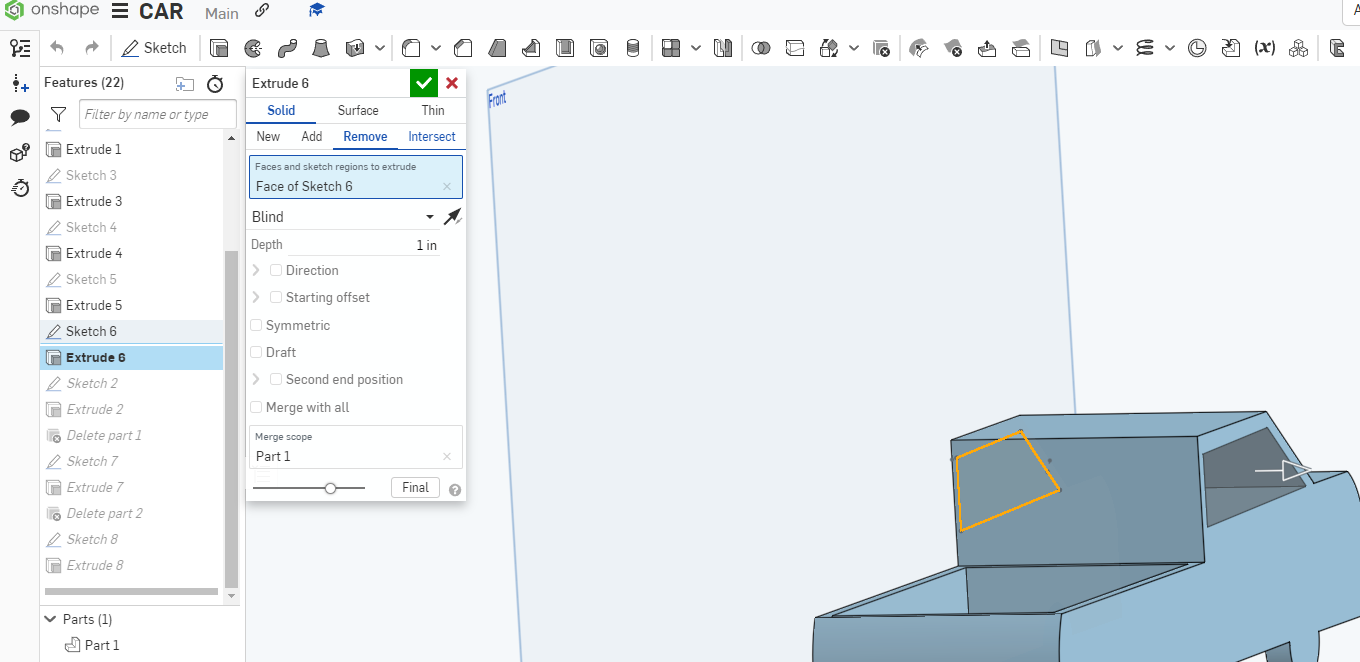
The final step is to make windows. On one side of the truck, create a new sketch. Then, draw an outline as shown in the picture. Finally, use the extrude tool to remove the material. You did it! You have a truck!