Trircle Bowls
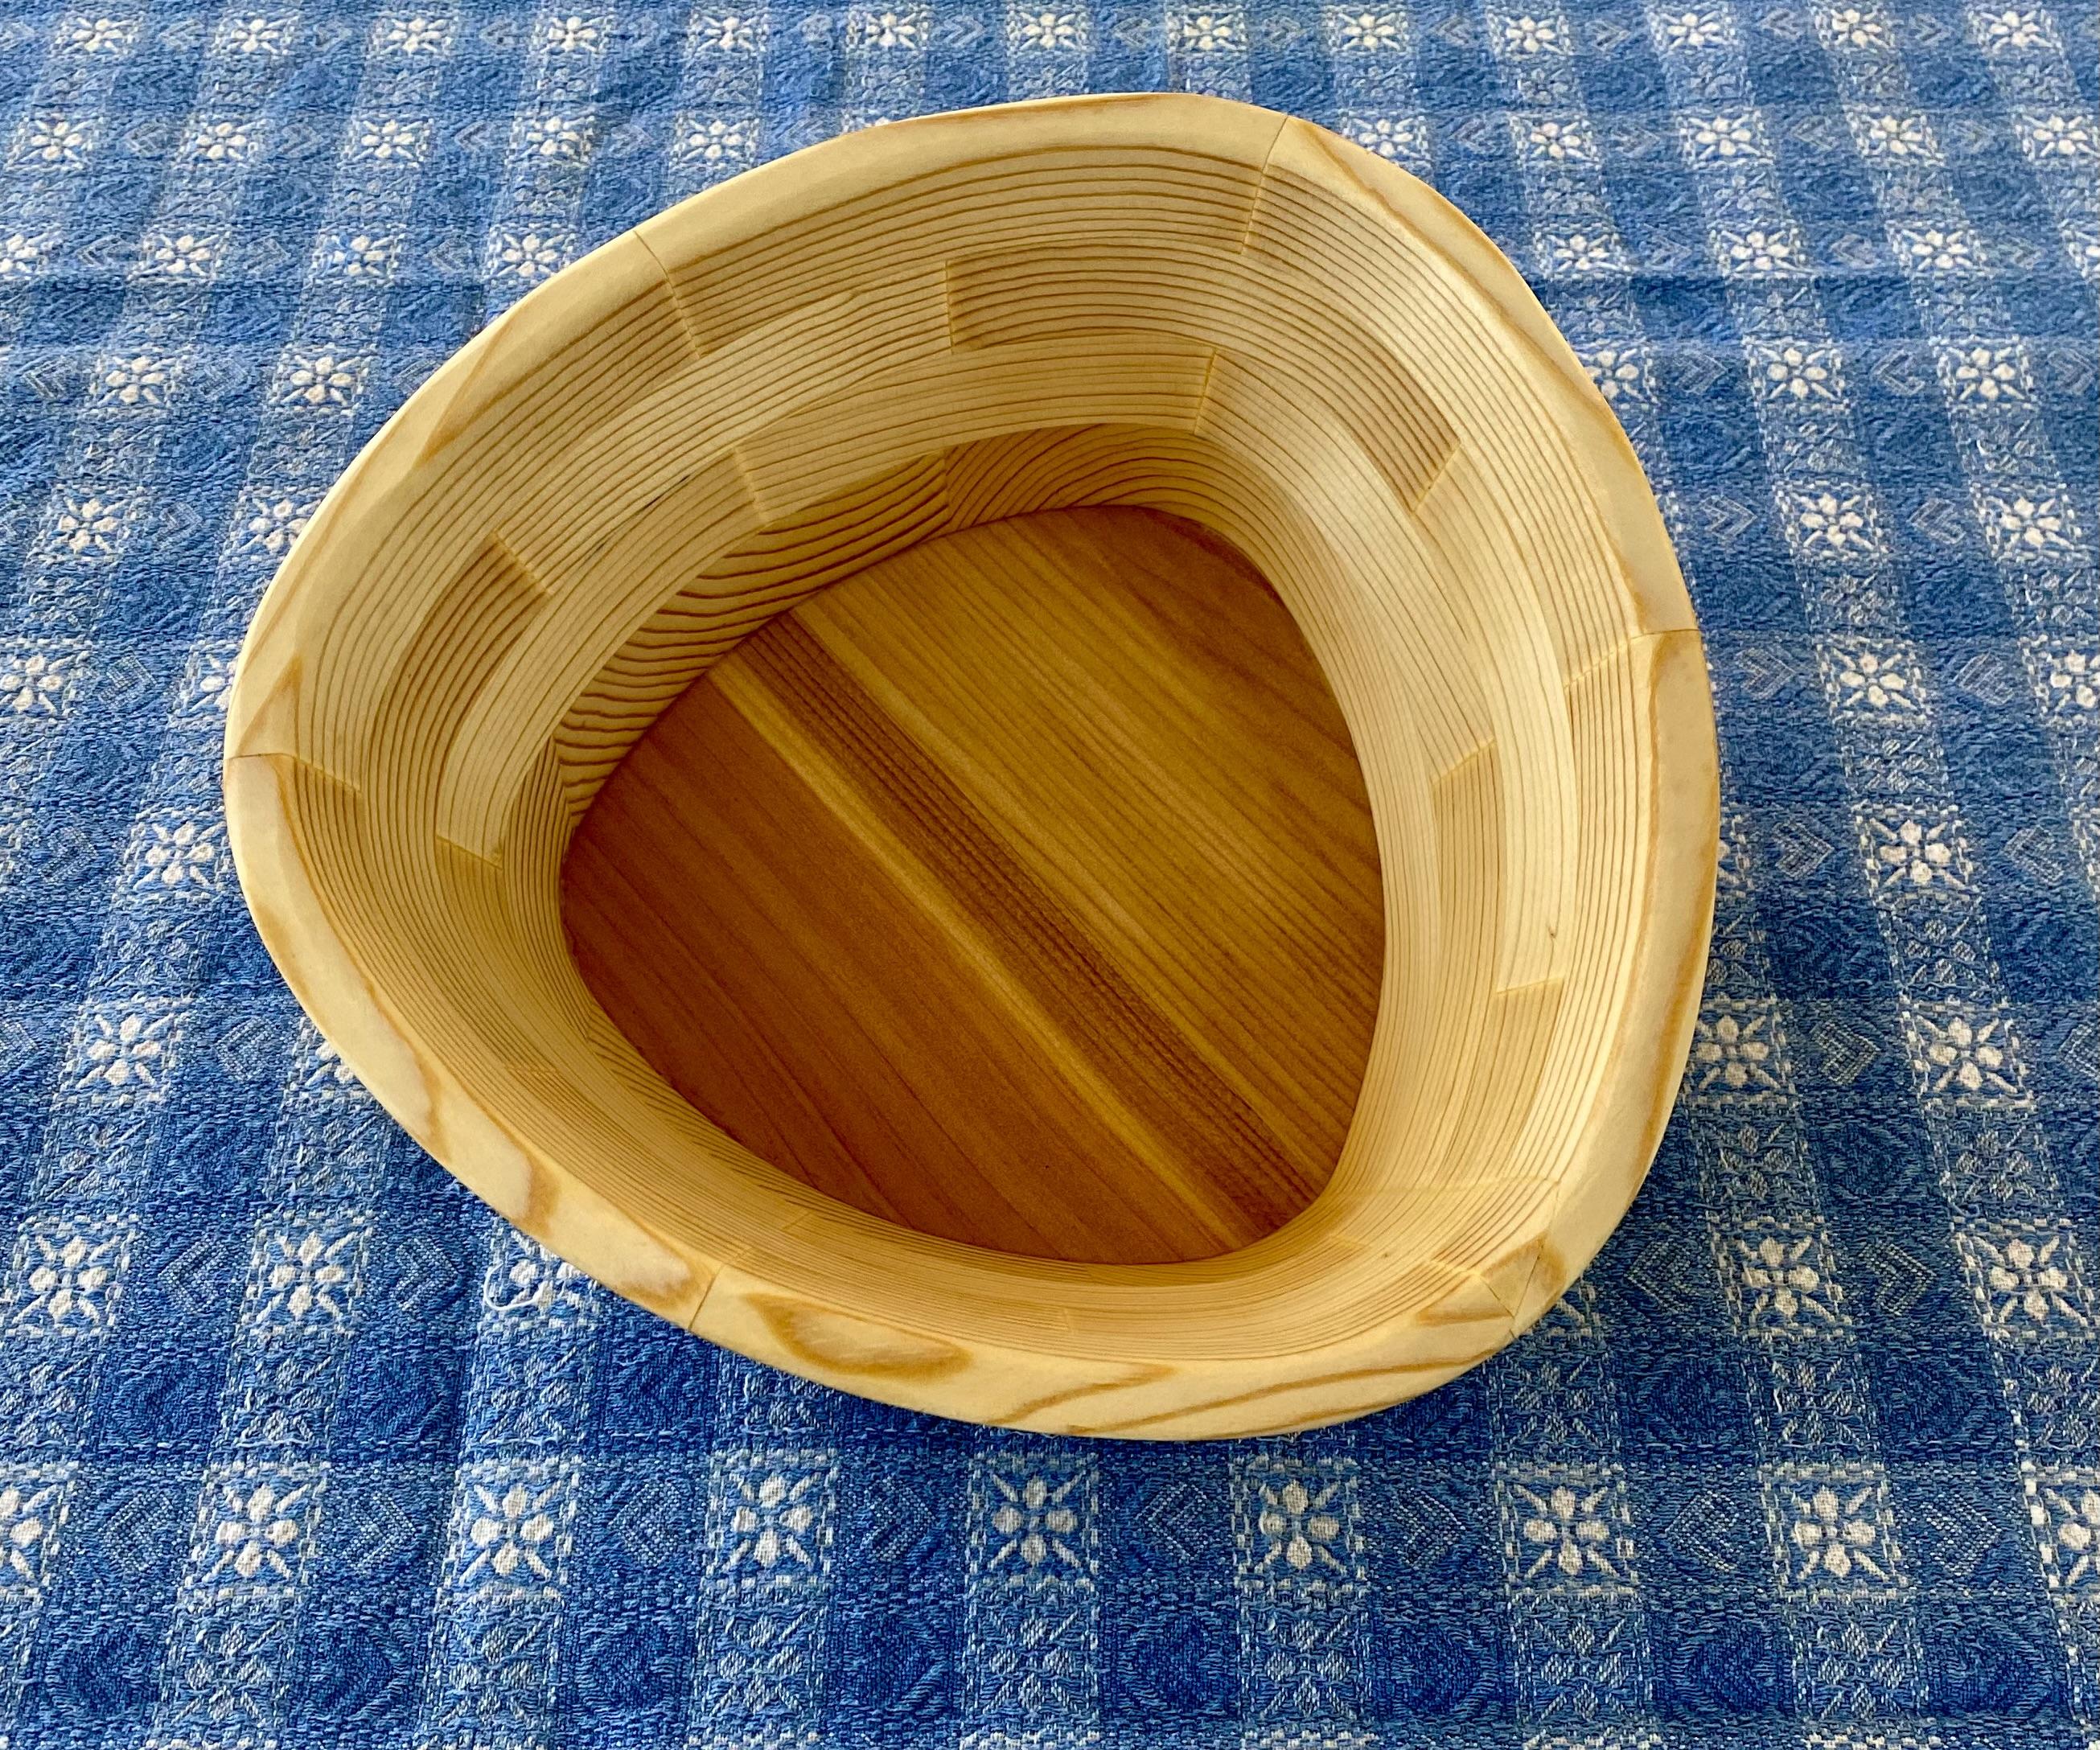
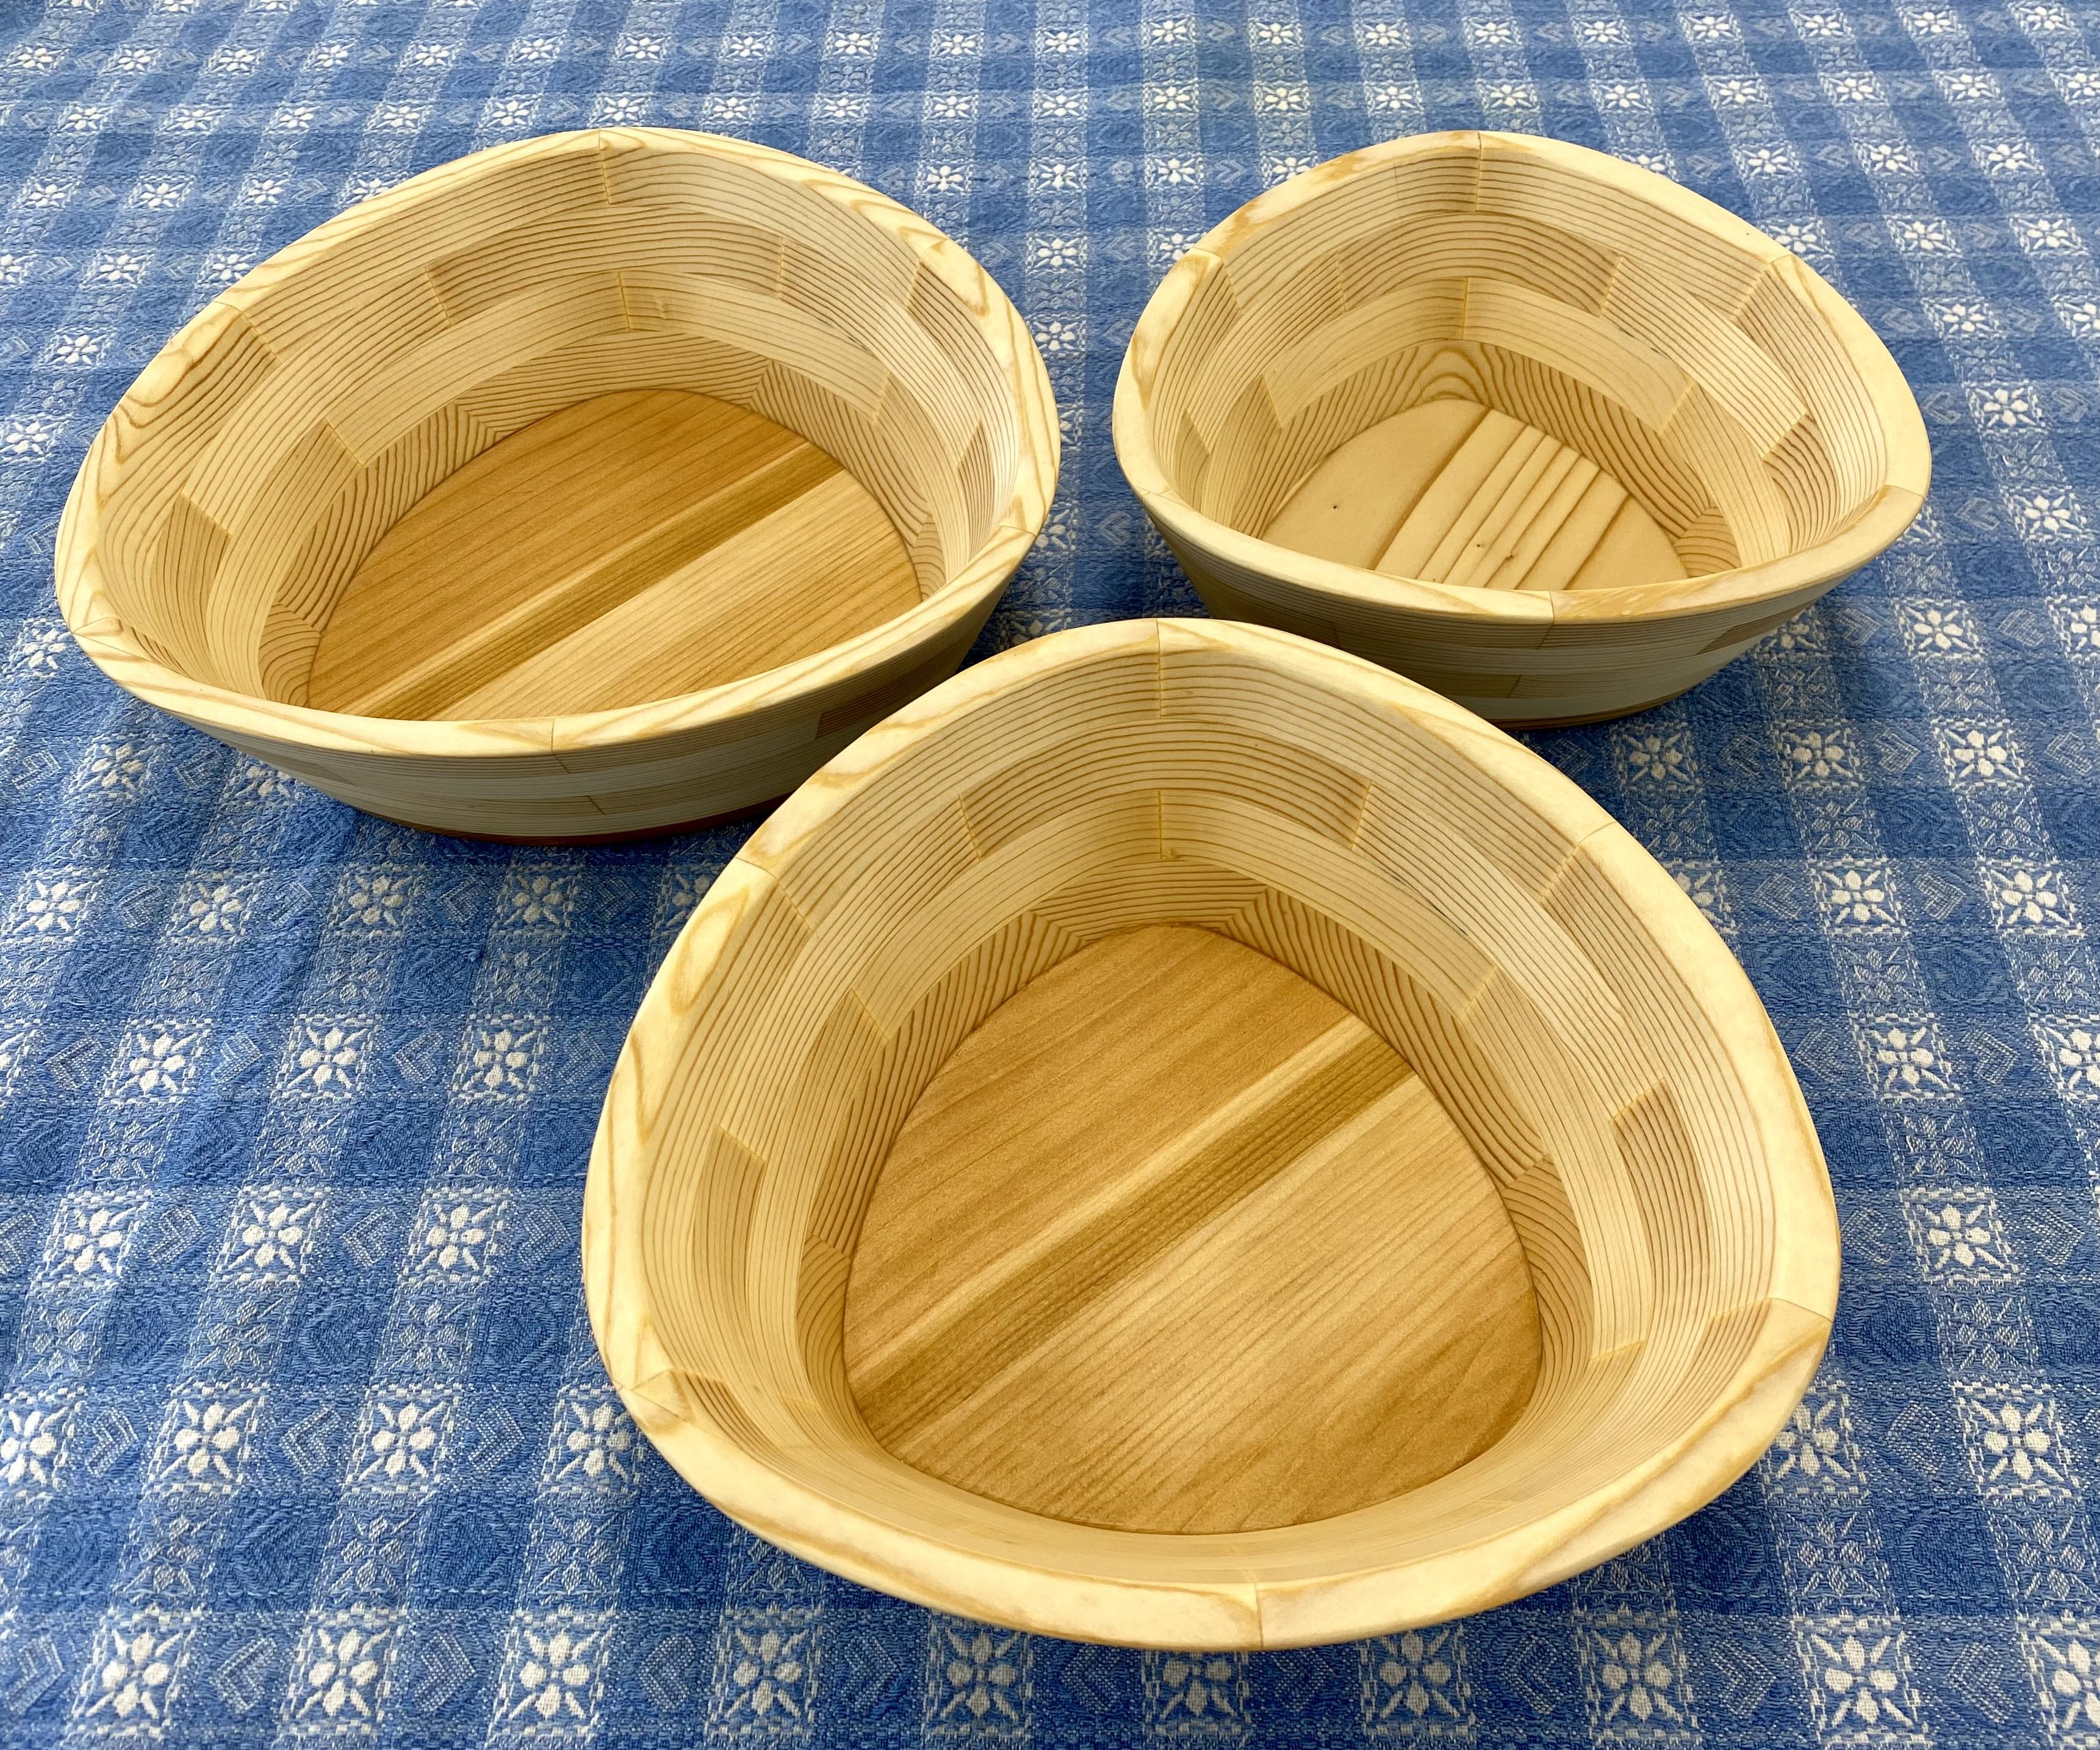
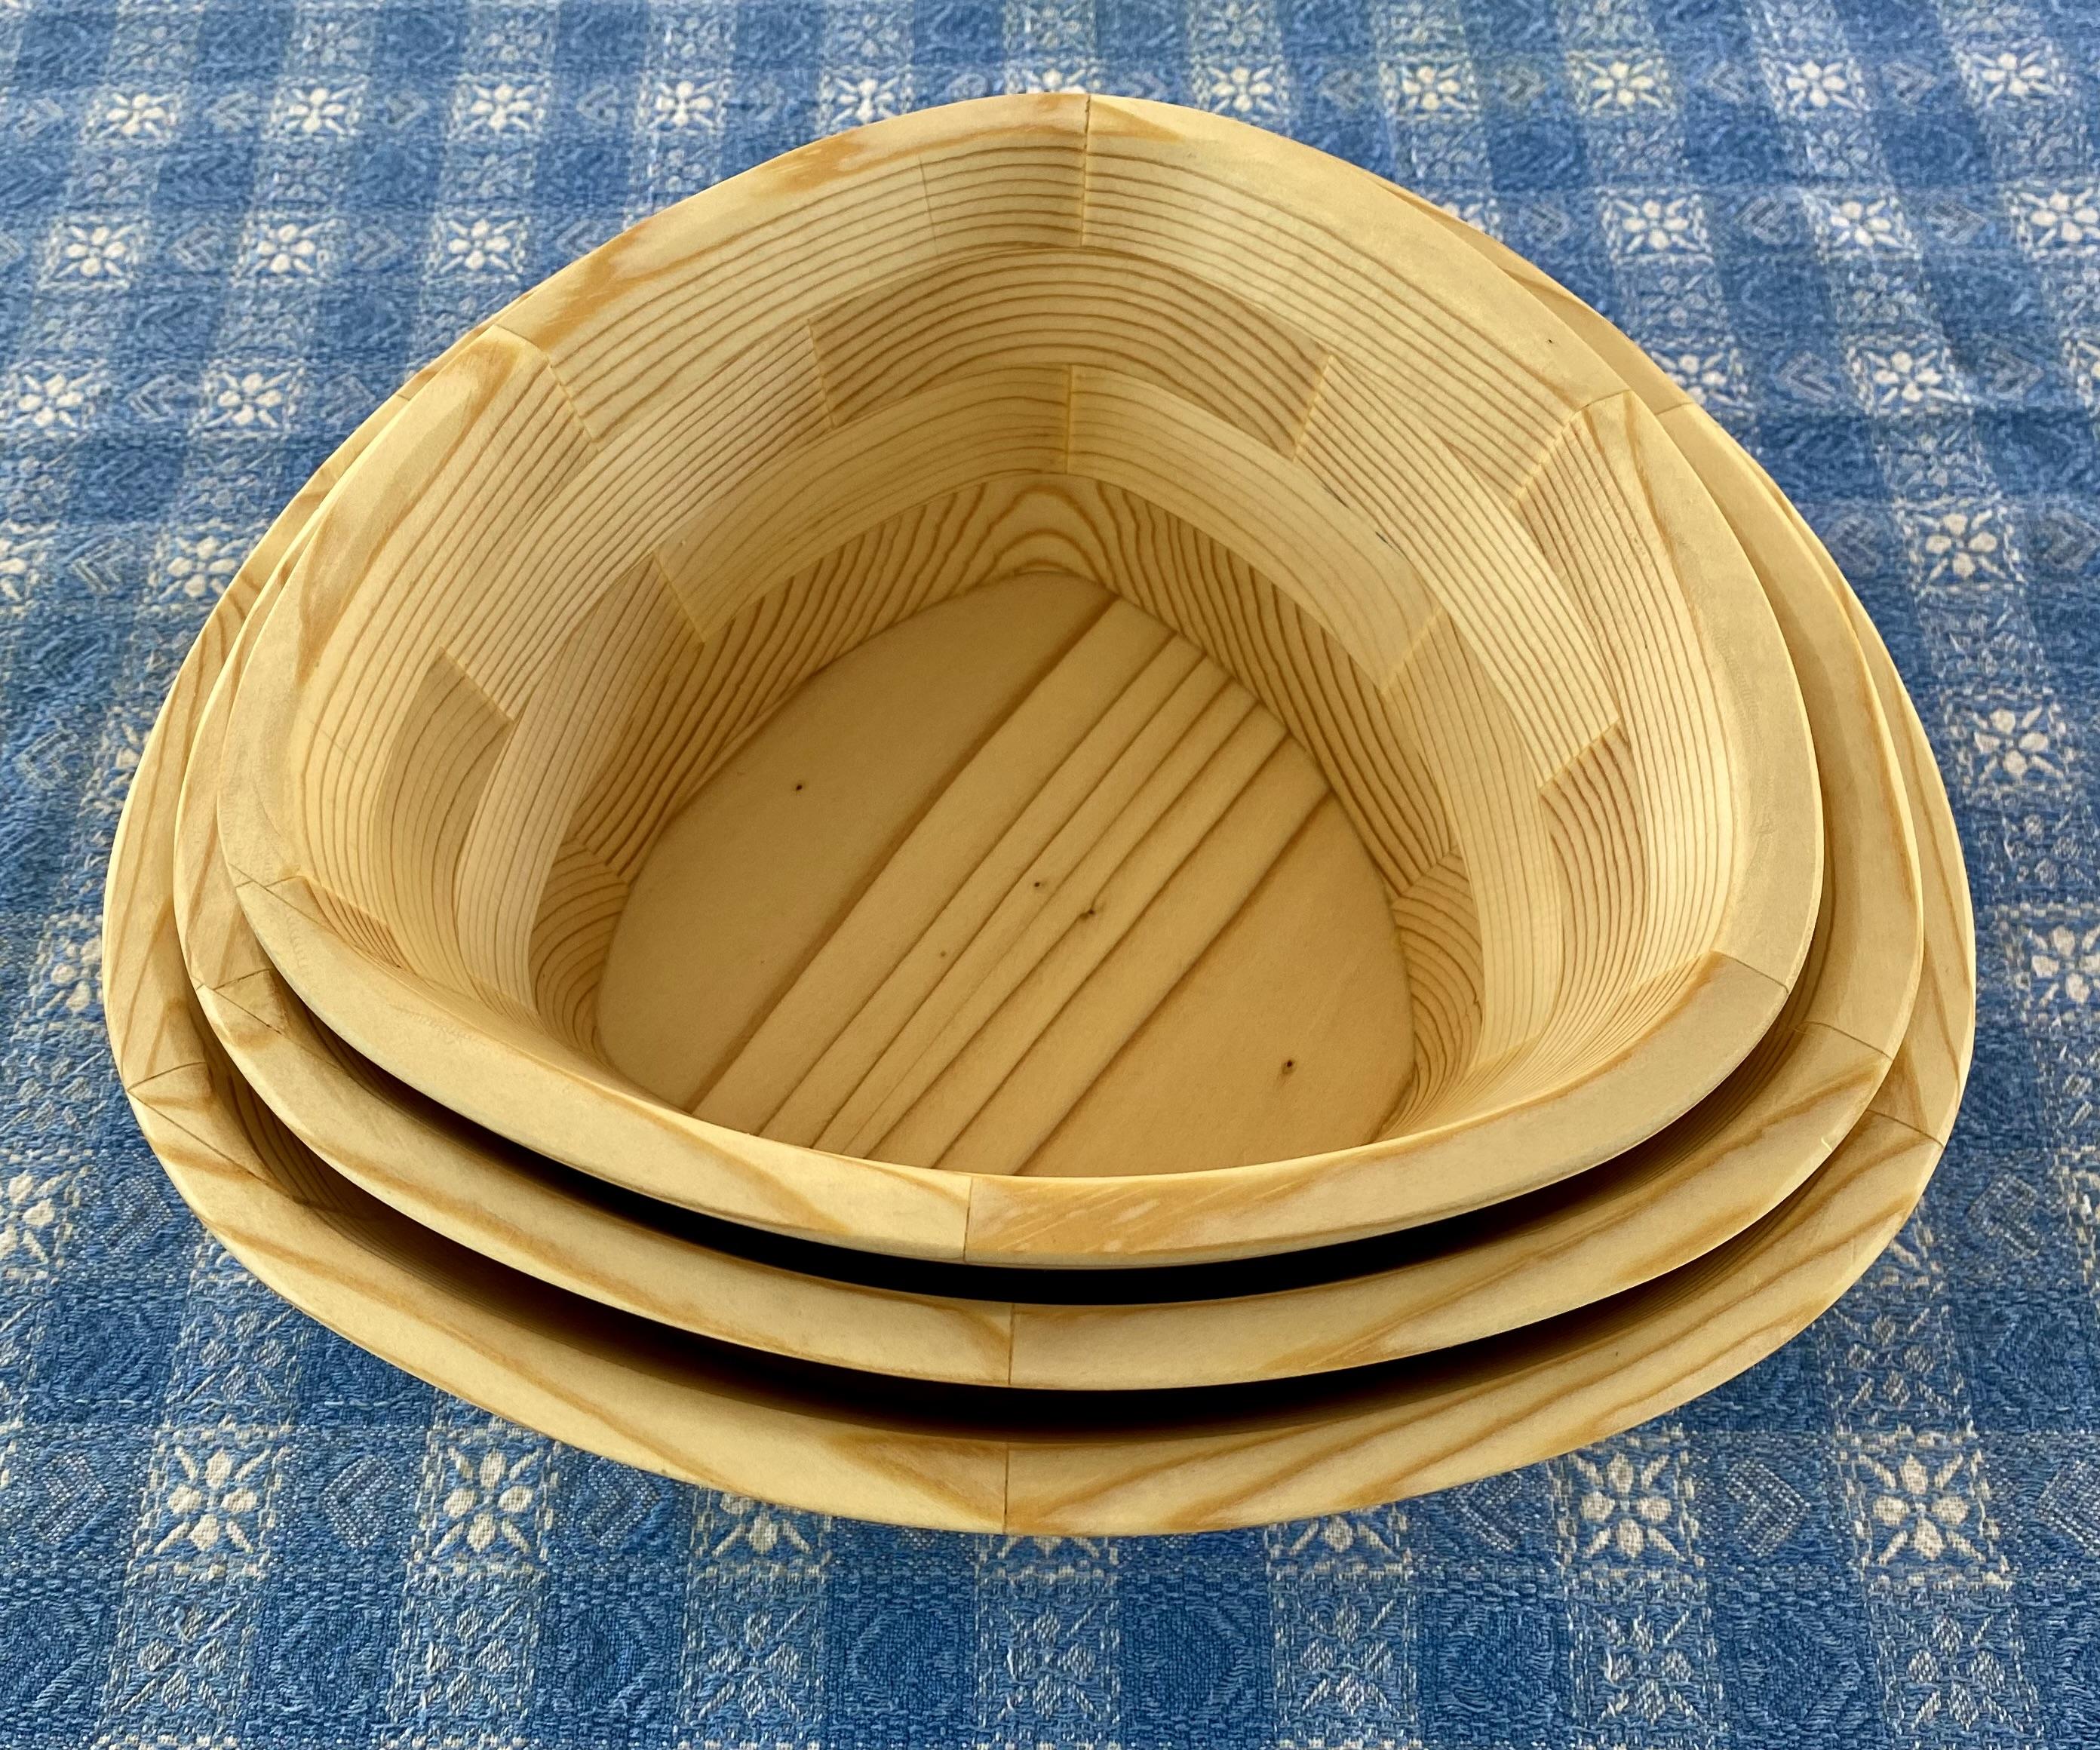
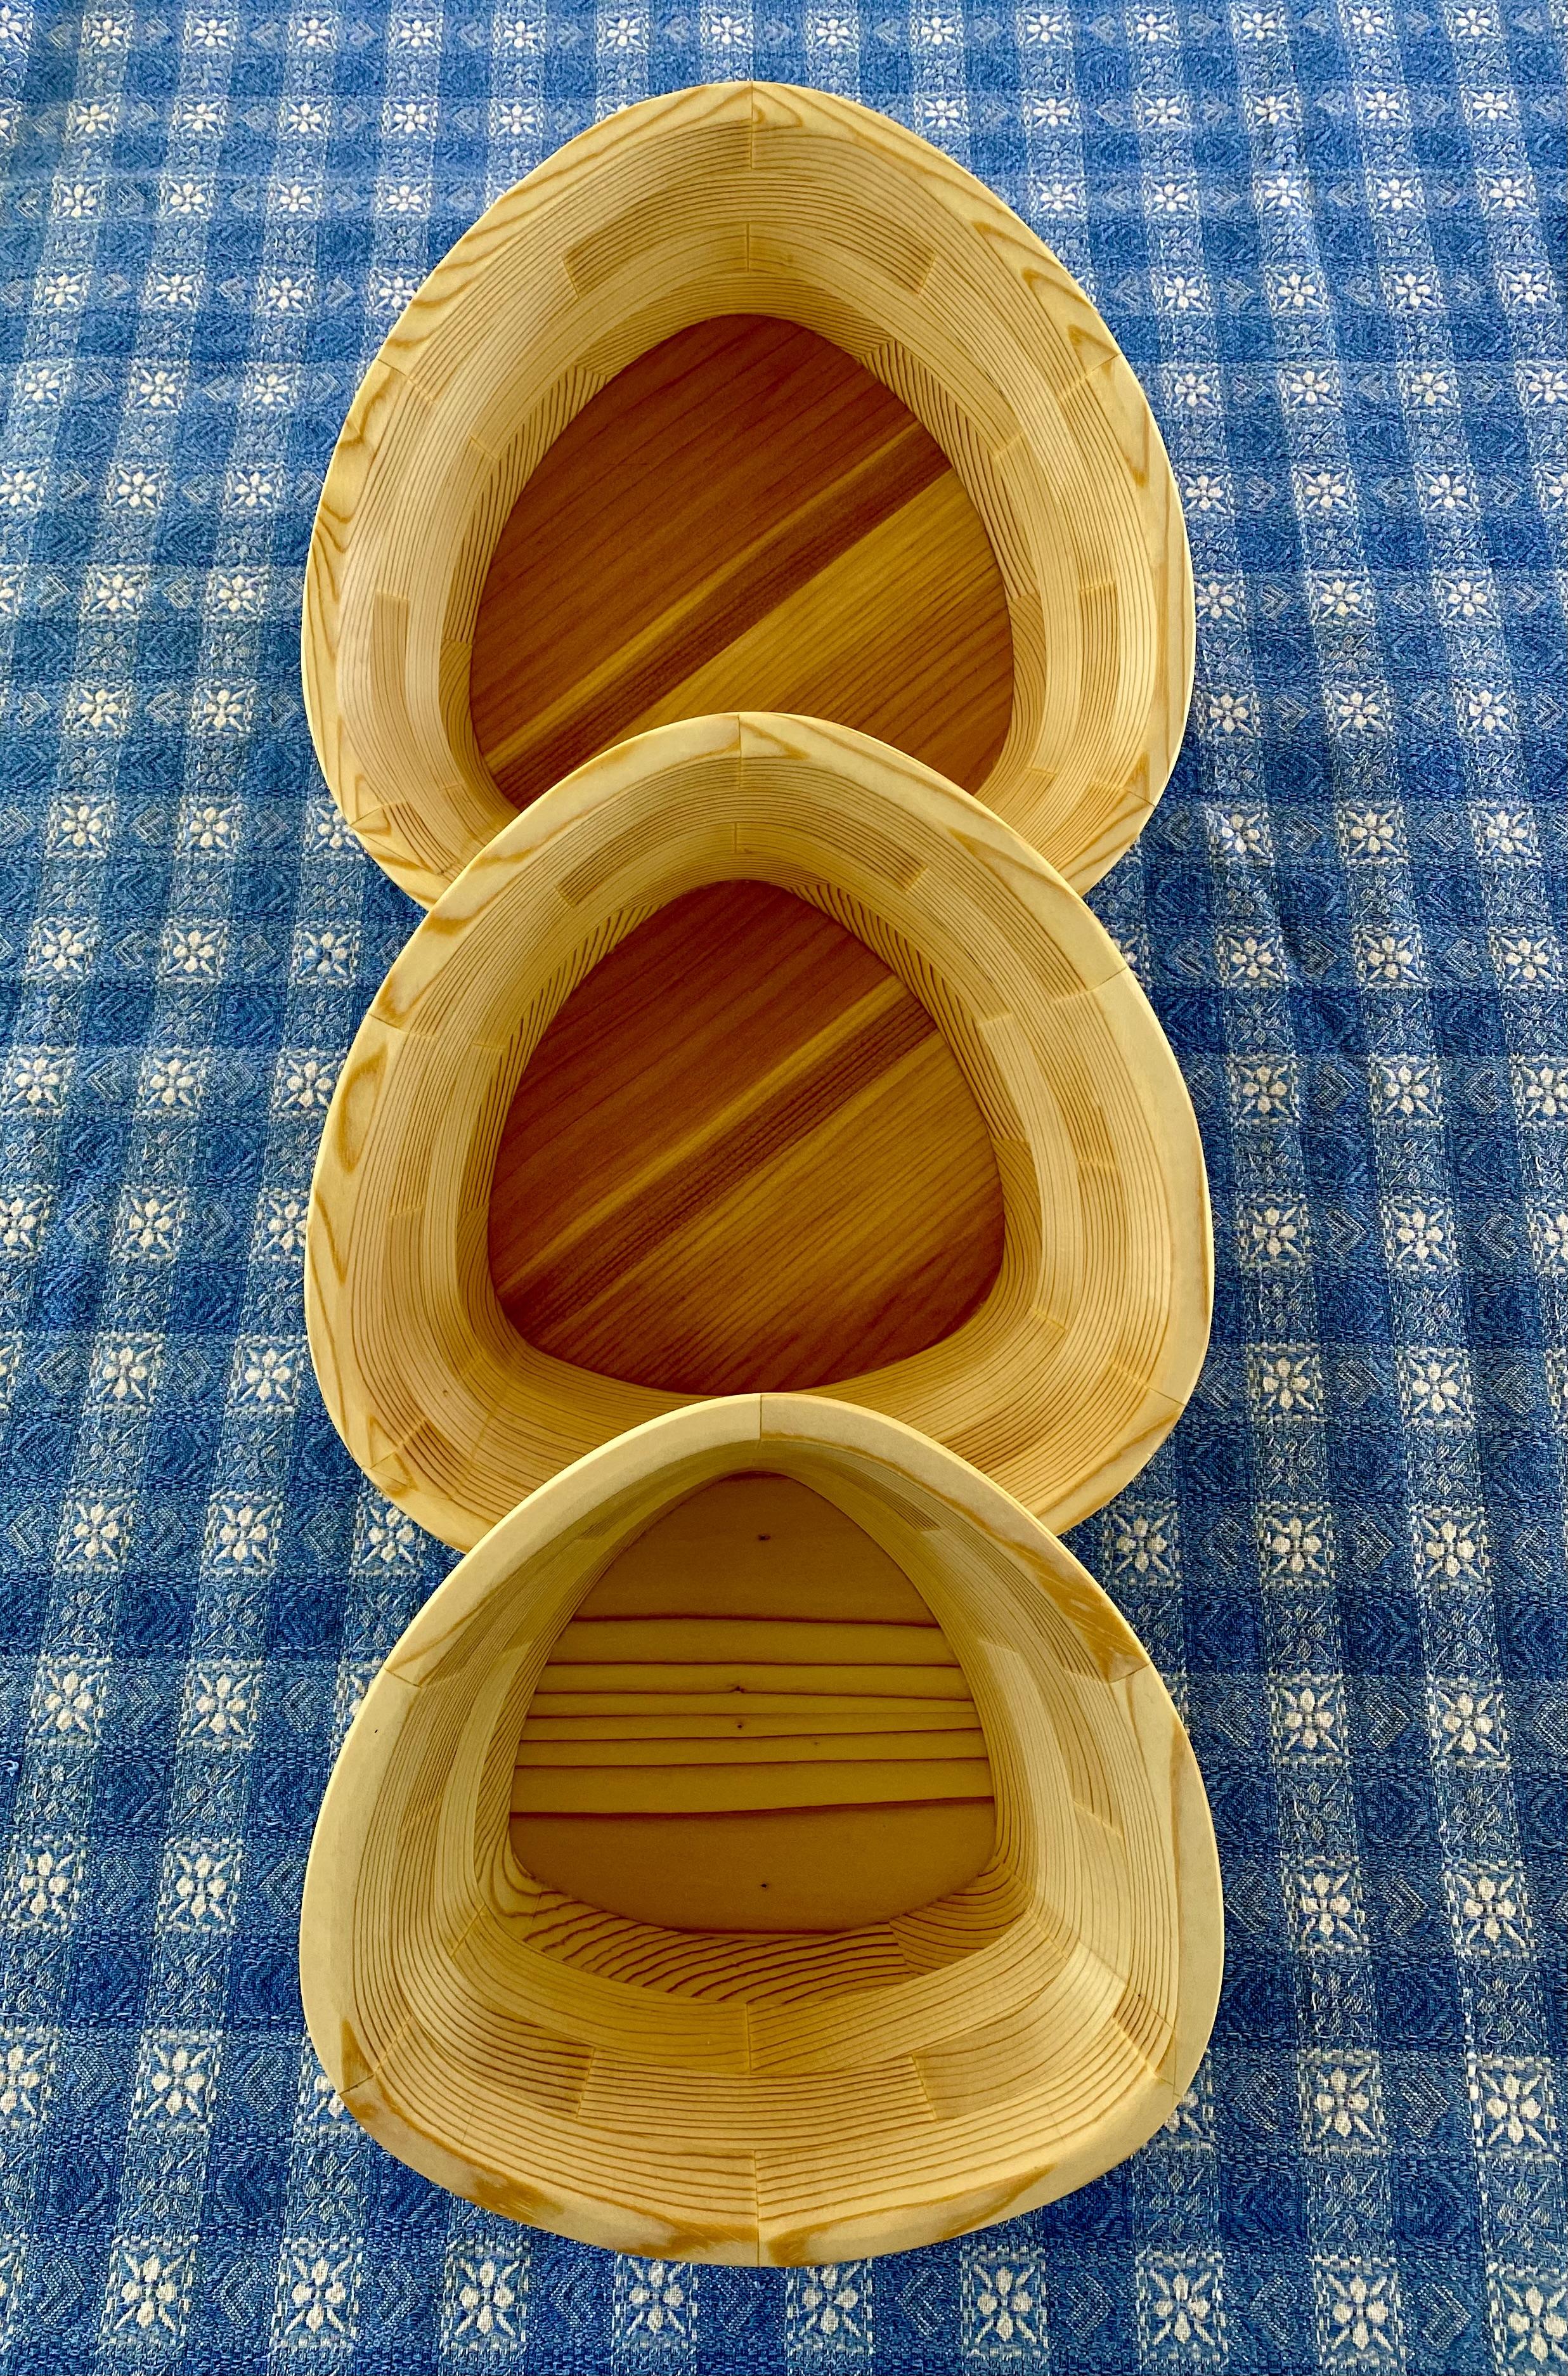
Yes, you read that right: trircle! I’ll show you how to make uniquely shaped bowls on a bandsaw with a really simple jig. Using the technique you can make oval, triangular, rounded rectangle, and rounded five-sided bowls. As an added benefit, you get more than one bowl each time and they will perfectly nest to make a complete set. I’ll describe the technique by making a trircle bowl set; that is bowls with a roundish triangle shape.
The name of the actual shape shown here appears to be unsettled. I like the name “trircle”, it’s a tongue-twisting combination of triangle and circle. Here are a few other naming options being discussed by the graphic design and mathematics communities: tri-oval, trircle, egglipse, 3-lobed epitrochoid, trifocal ellipse, 3-ellipse
I will show a lot of pictures. Take a look at them, they are annotated throughout for additional information!
Supplies
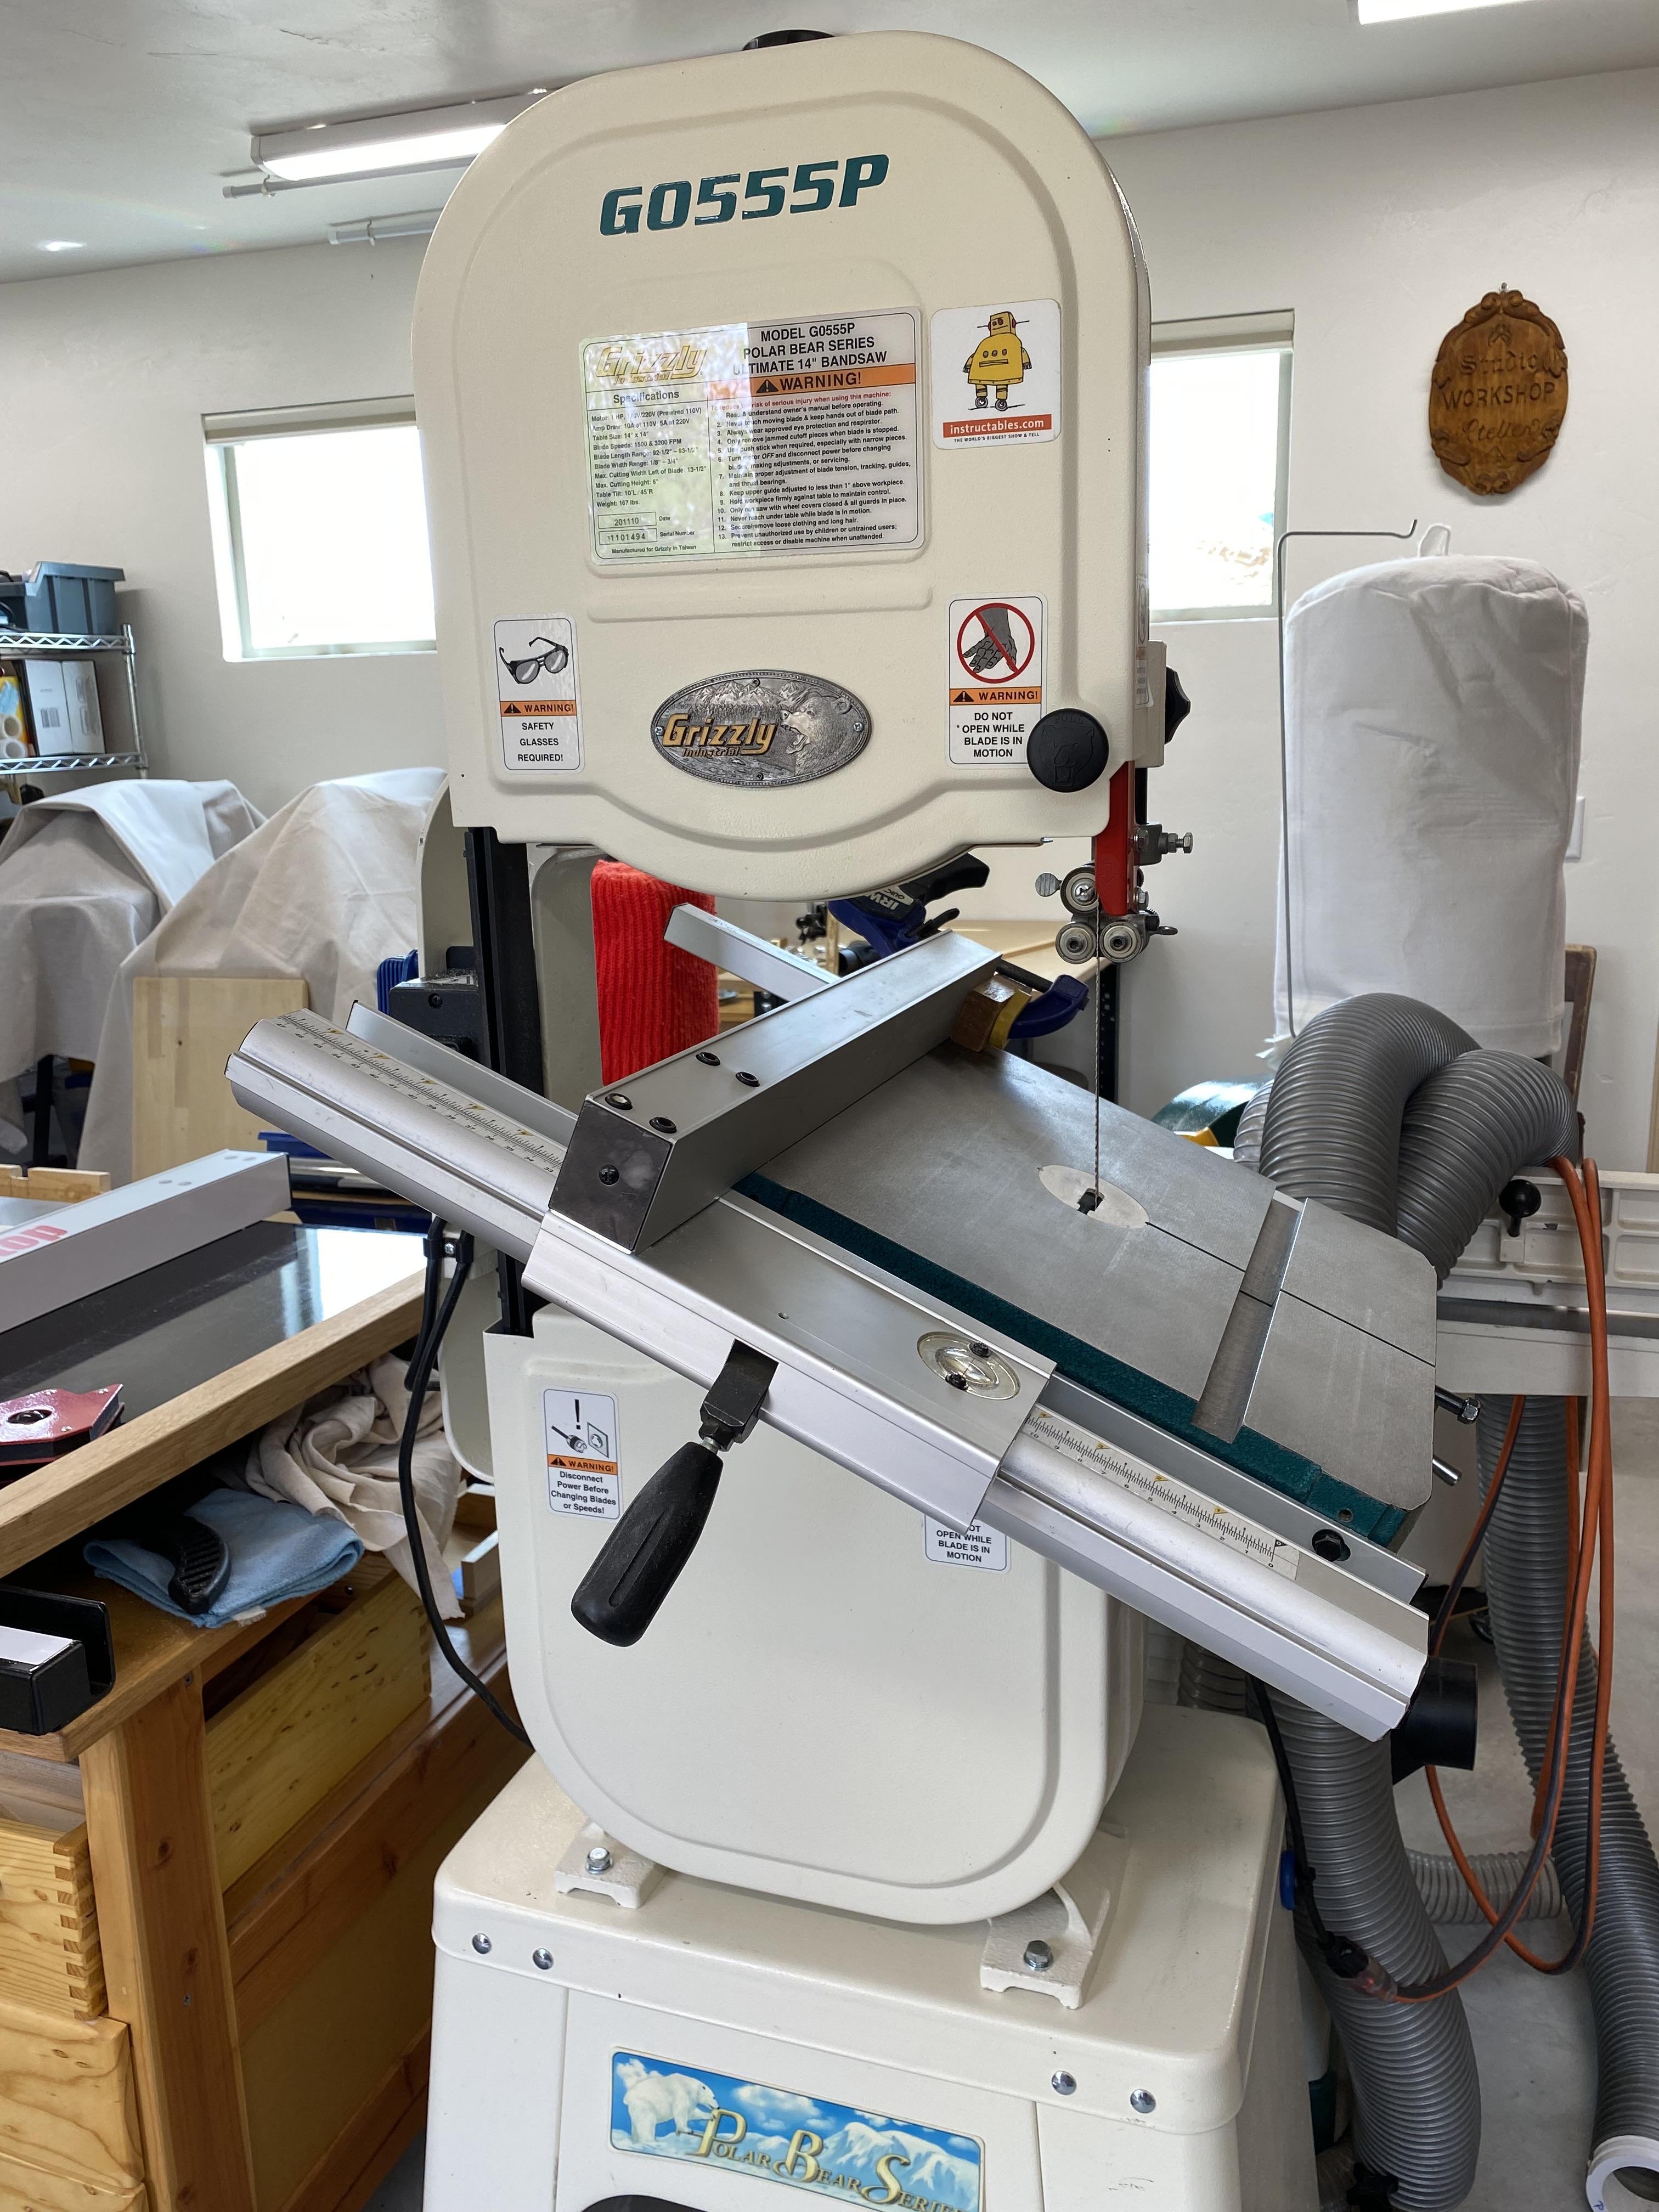
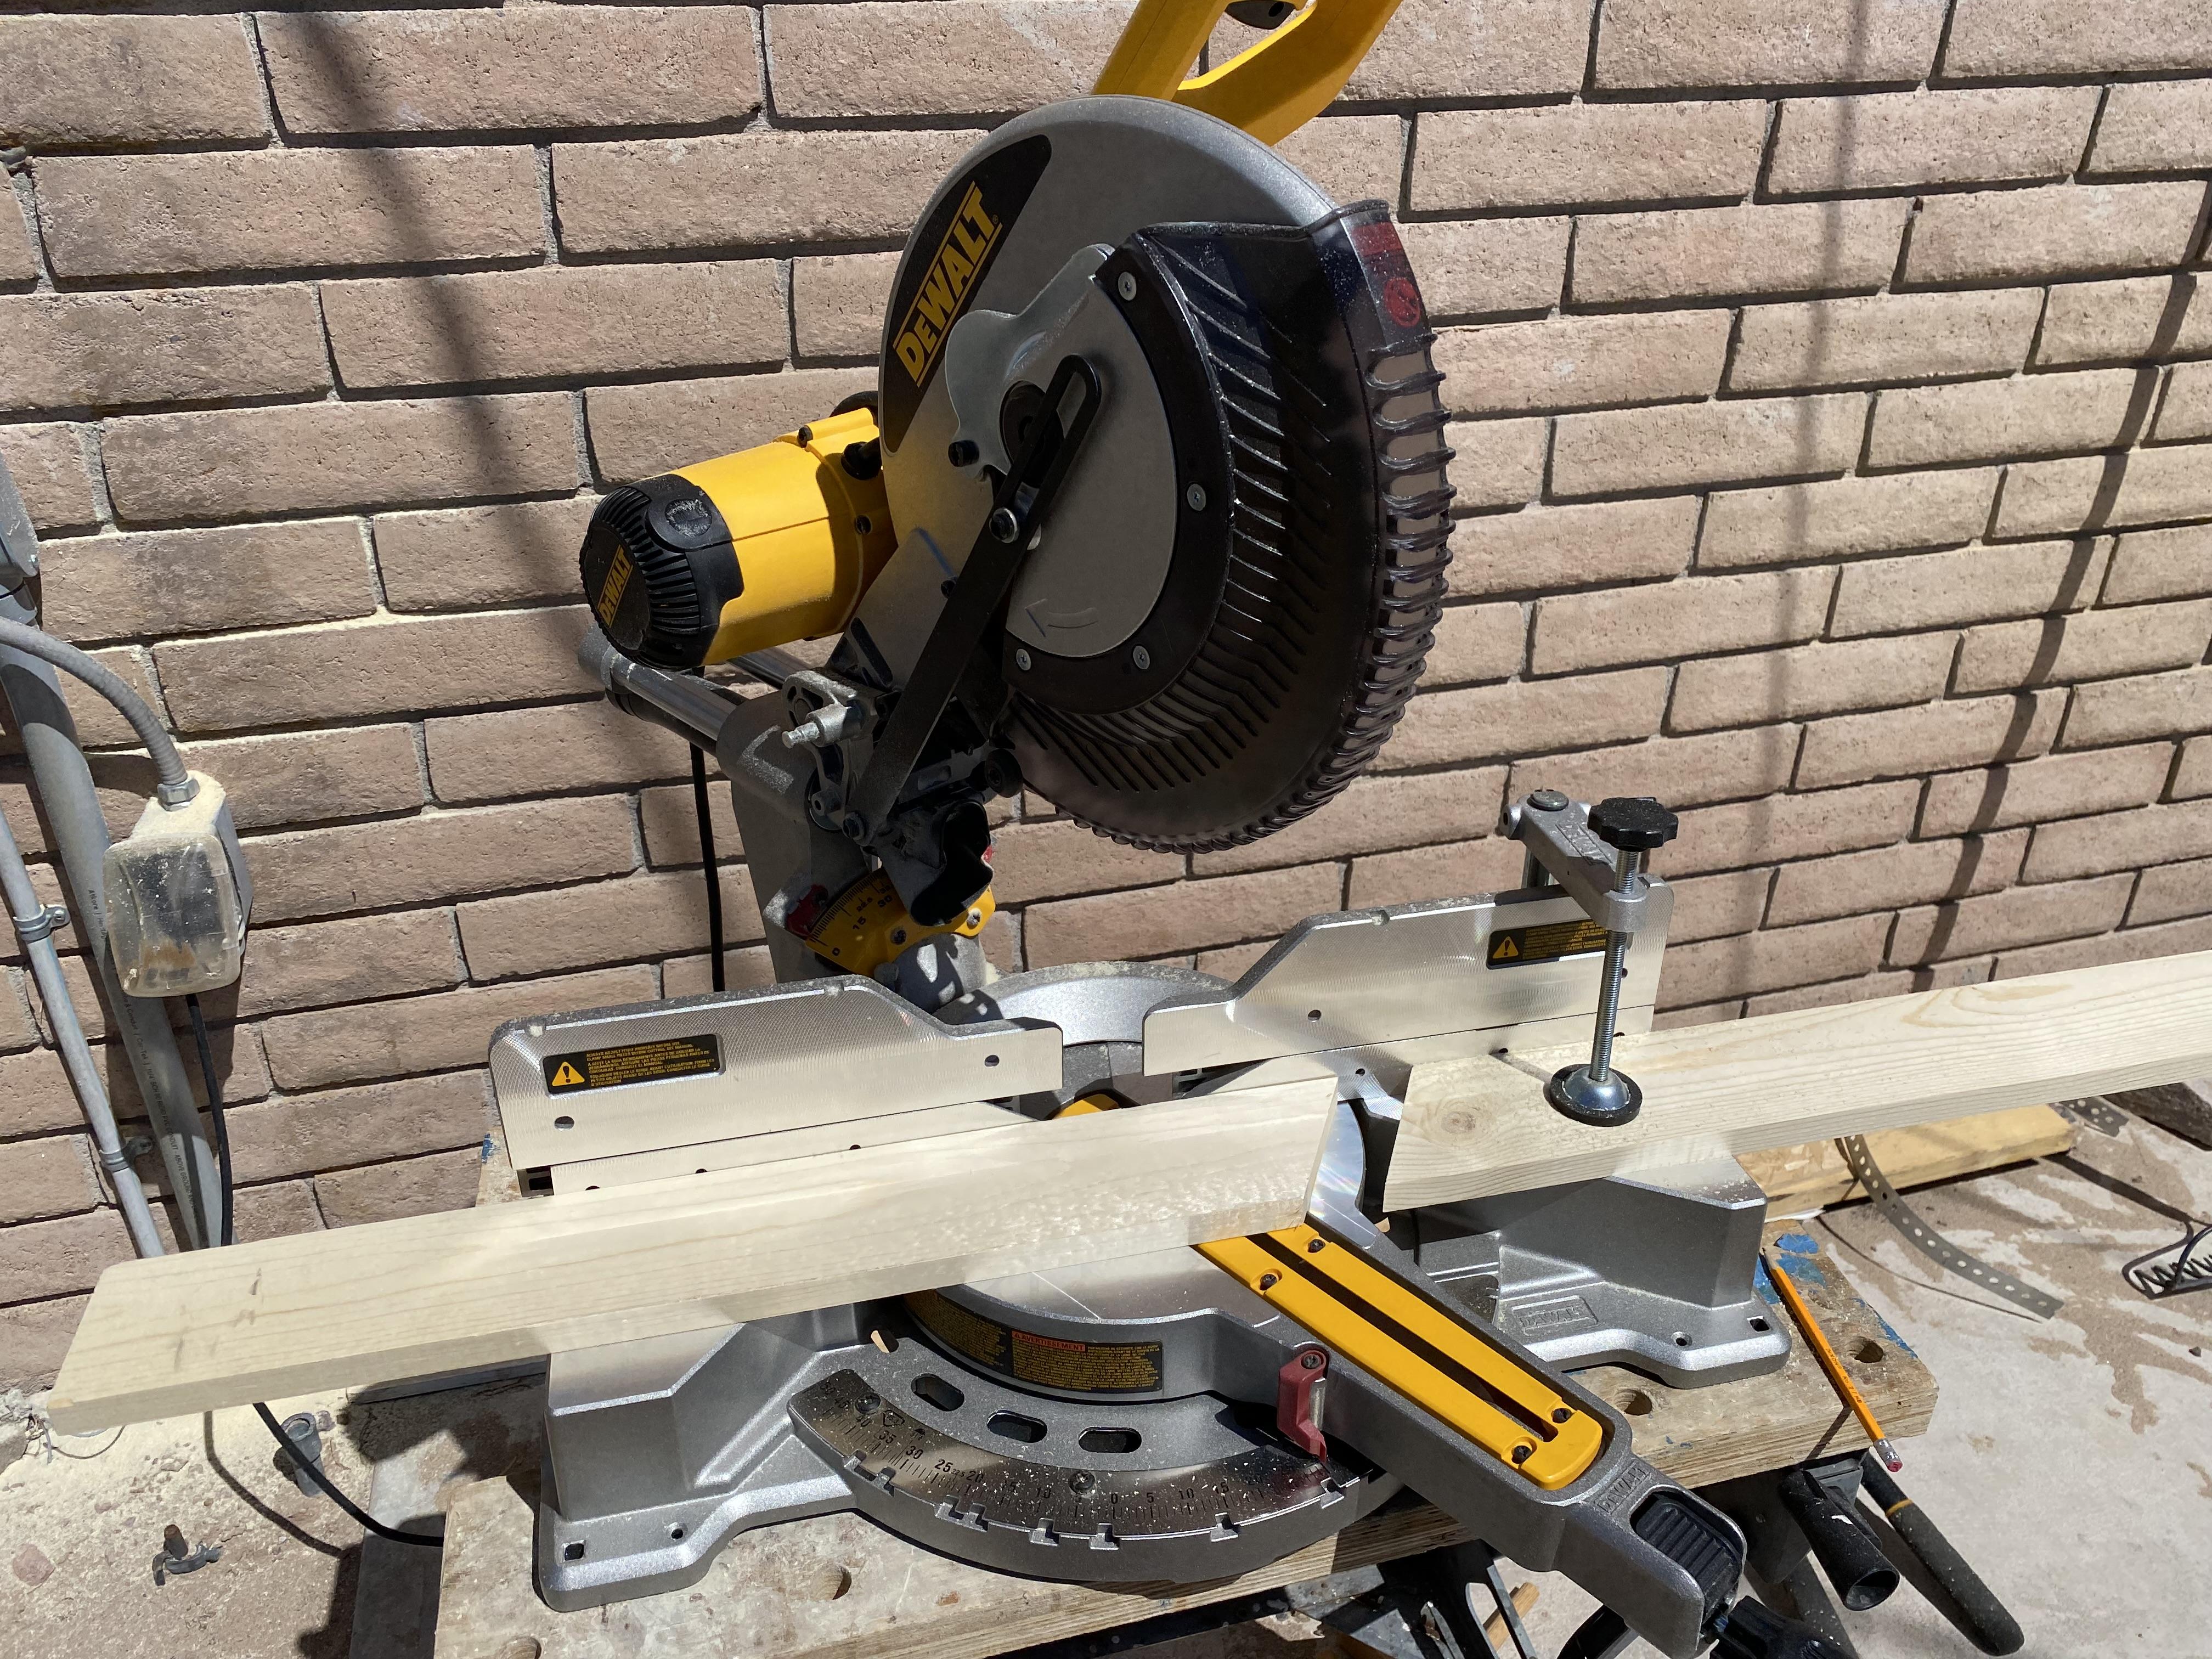
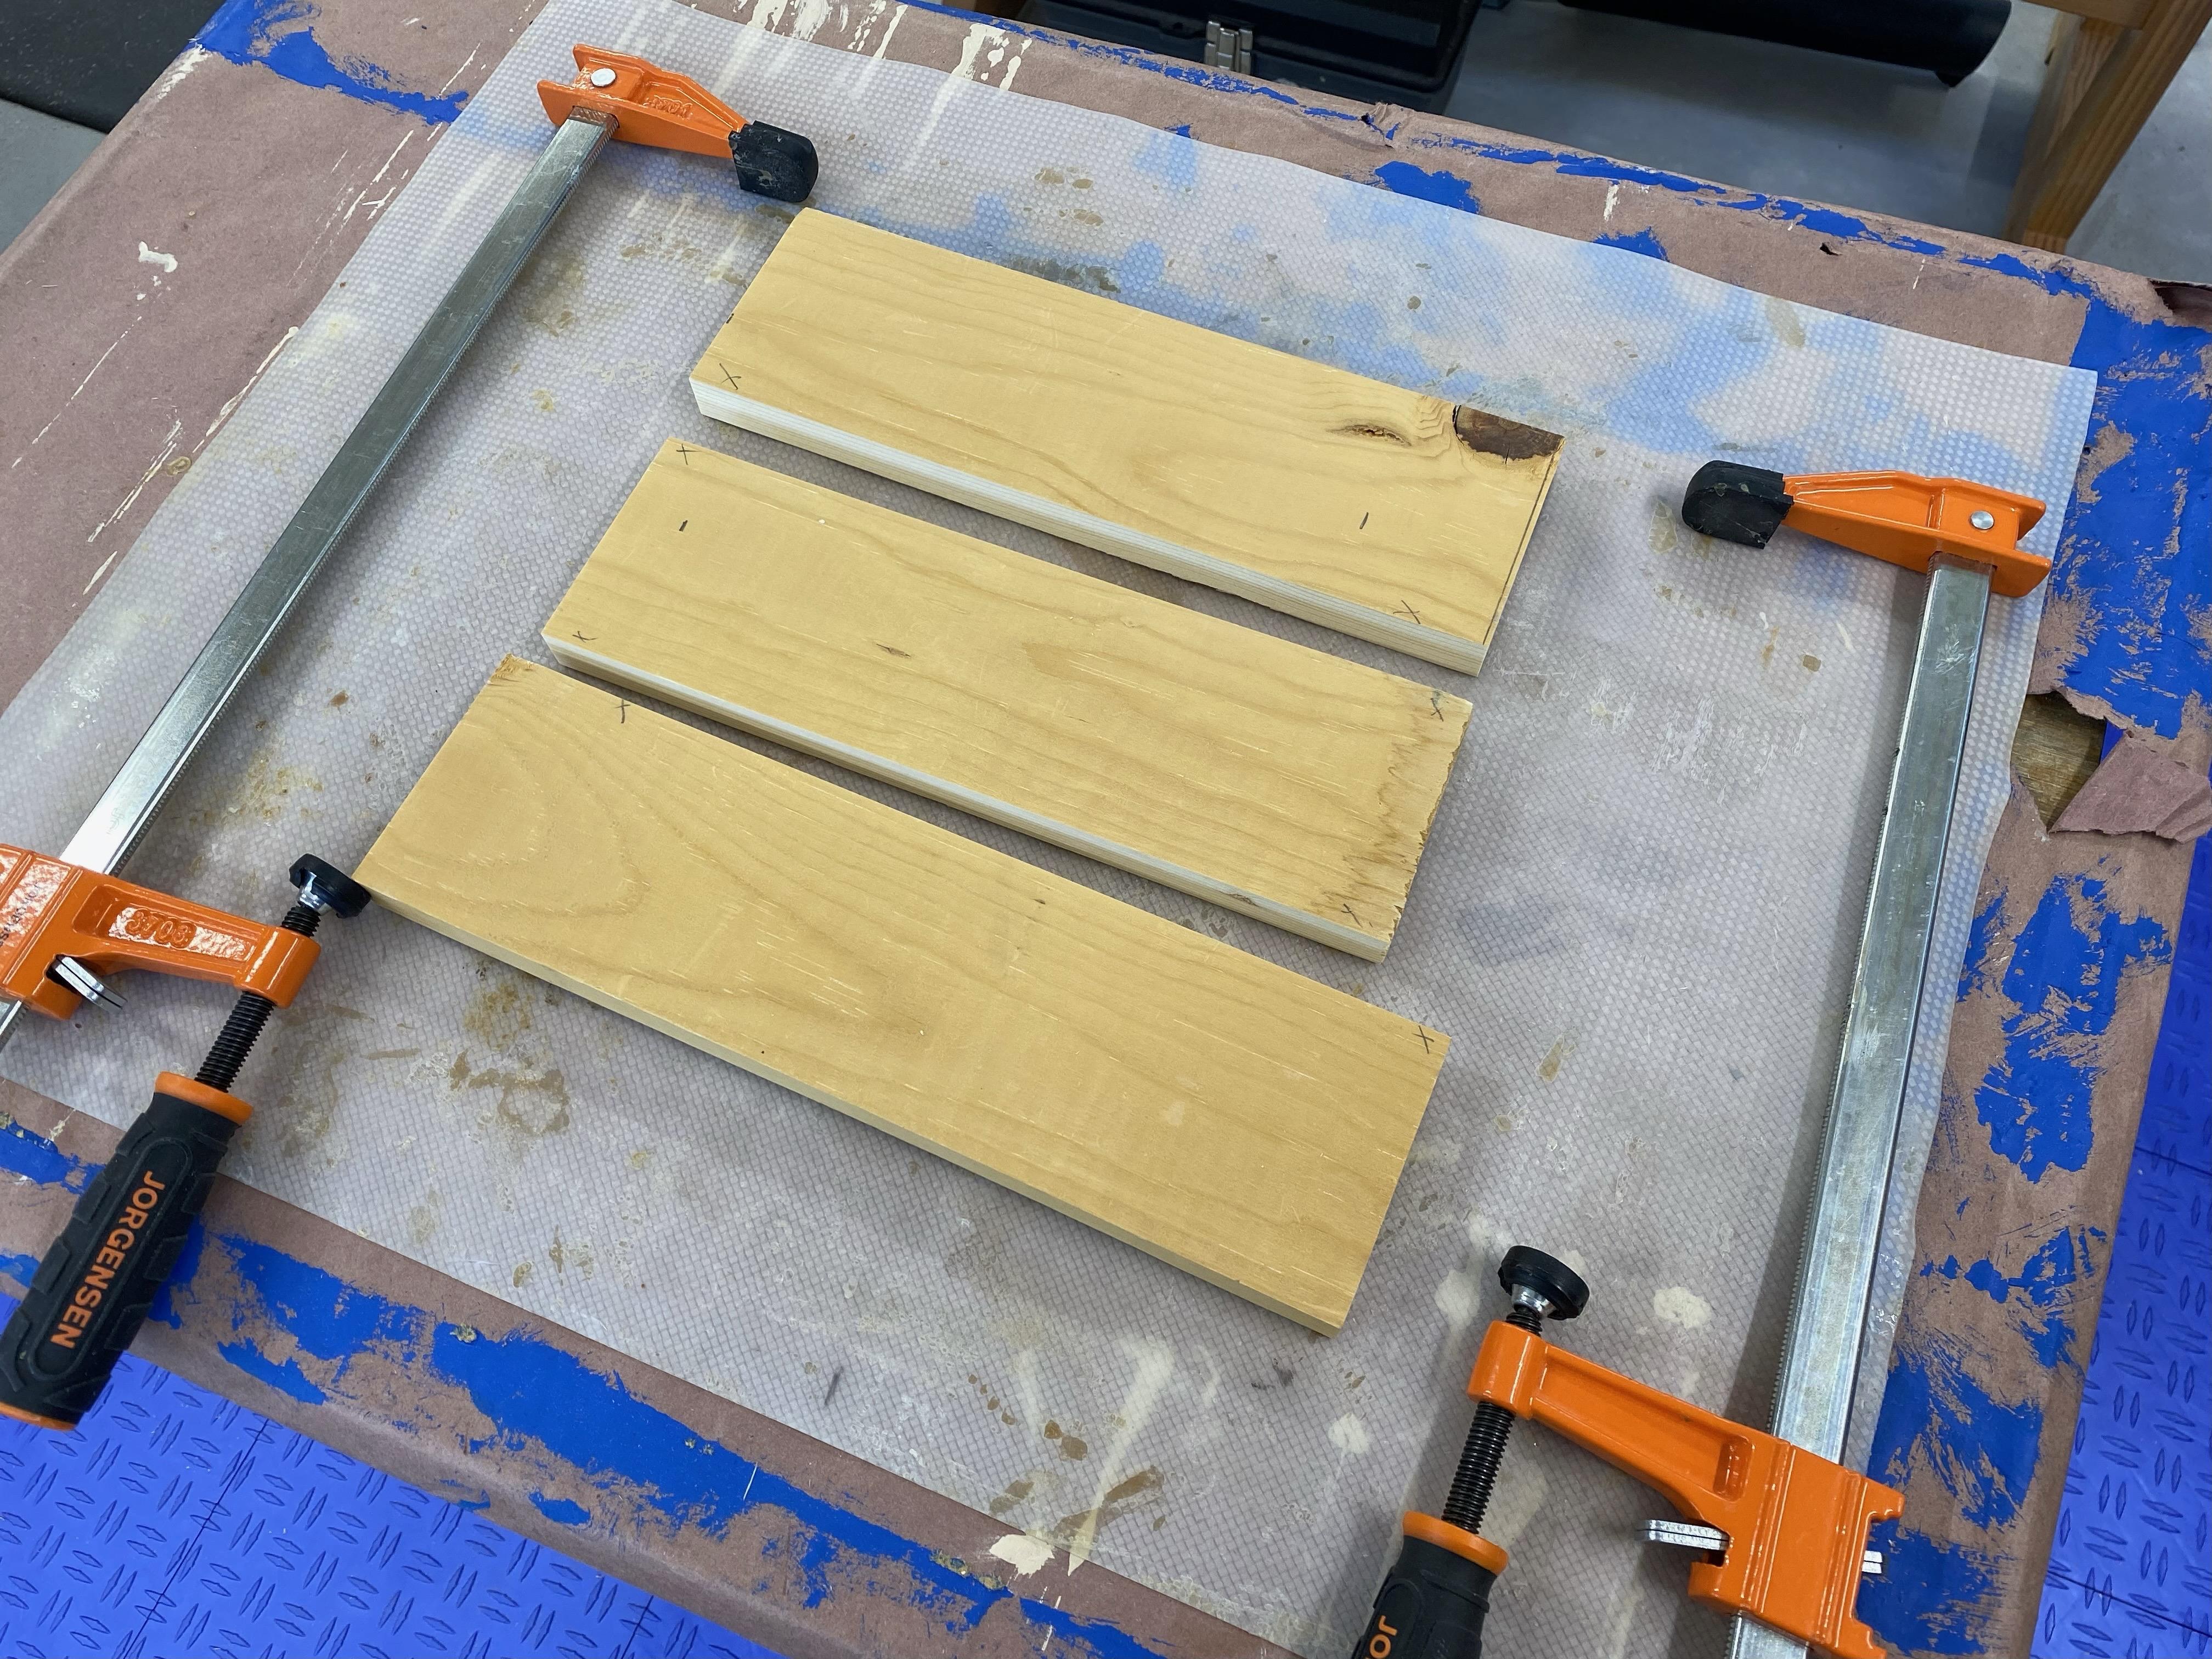
Bandsaw, miter saw, sander
Various small pieces of wood.
Fusion 360 Model of the Trircle
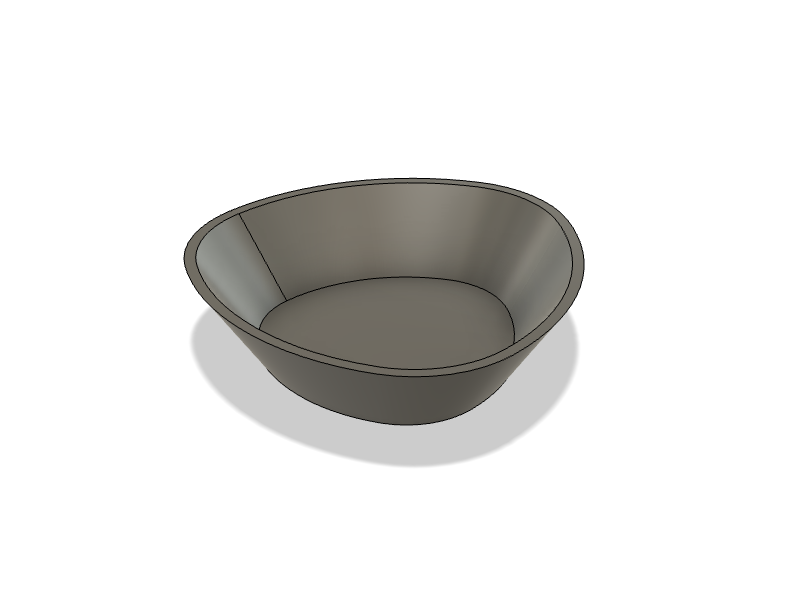
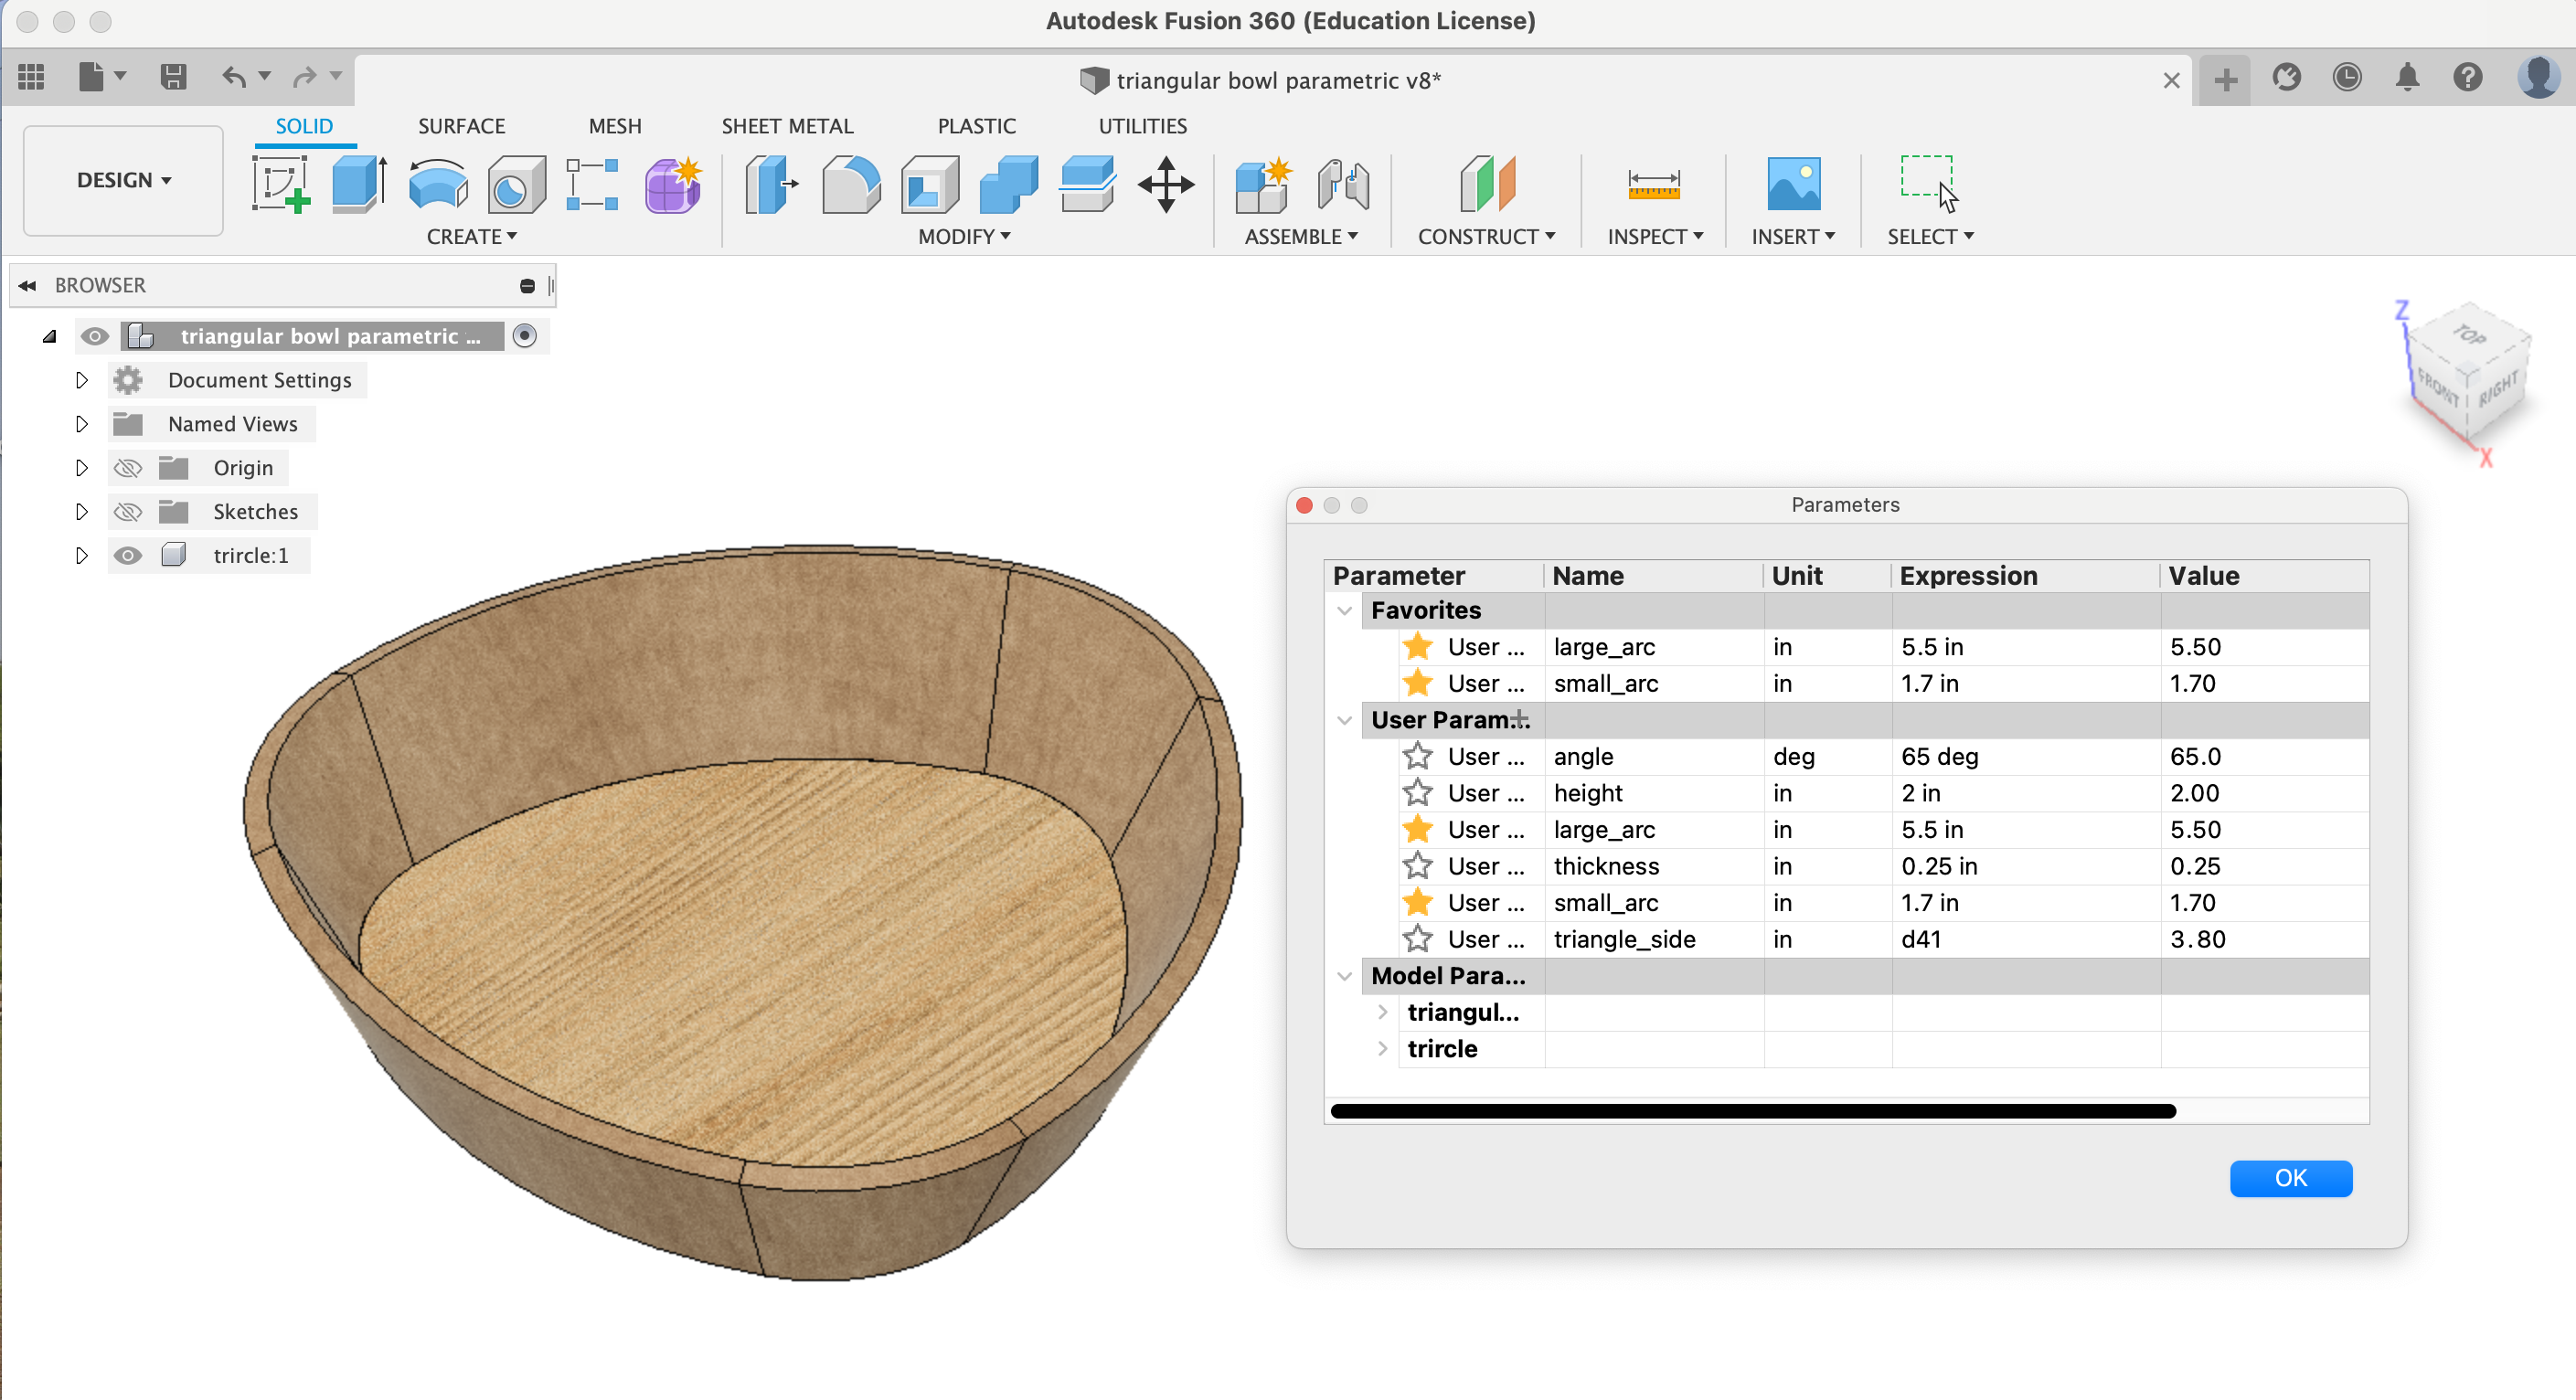
Before we go into the workshop, let’s model these bowls in Fusion 360.
Use the attached Fusion 360 file (triangular bowl parametric.f3d) to follow along for the trircle. I made the design parametric so you can change the shape and size of the bowl; and get the relevant measurements for making it in your shop.
If you want to go straight to cutting bowls skip to step 3 to make a bowl set from the attached pdf templates.
Load the Fusion 360 file in the ‘Design Workspace - Solid’, and go to ‘Modify’ > ‘Change Parameters’. You should see a screen like shown in the second image above.
The shape of the bowl is determined by the radii of the two different arcs forming the sides.
You can change these two parameters: the large_arc and the small_arc
The ‘diameter’ d of the bowl is then given by d = large_arc + small_arc
If the values of the large_arc and the small_arc are close to each other the bowl shape approaches a circle. A good range for a pleasant looking trircle is for the small_arc to be somewhere between 10% and 50% of the large_arc. The example we are making below has the values of large_arc = 5.5 inches and small_arc = 1.7 inches, resulting in a 7.2 inches ‘diameter’ bowl - measured at the bottom. The top of course is larger because of the angled sides!
You can change large_arc and small_arc in Fusion 360 and immediately see the resulting bowl shape. In the parameters window click on the ‘Expression’ for large_arc or small_arc to change its value. The values are assumed in inches. The animation in the next step shows a trircle going from 0.4 inches to 5.5 inches for the small_arc parameter.
Downloads
More Model Parameters

Other parameters you can change are:
(1) the angle of the sides of the bowls
(2) the height of the bowl sides
(3) the wall thickness of the sides
Keep the parameters at reasonable values otherwise the results become unpredictable or break the model.
The last parameter is calculated:
triangle_side = (large_arc - small_arc)
You will need this measurement to lay out and cut your own bowl design as described below. In our example triangle_side has a value of 3.8 inches (5.5" - 1.7" = 3.8").
Once you have a design that you like write down the values for triangle_side, angle, height, and thickness. You can also do a screen capture of your design and parameters in Fusion 360. Now it’s time to actually make the bowls.
Make a Bowl Blank From Wood Segments
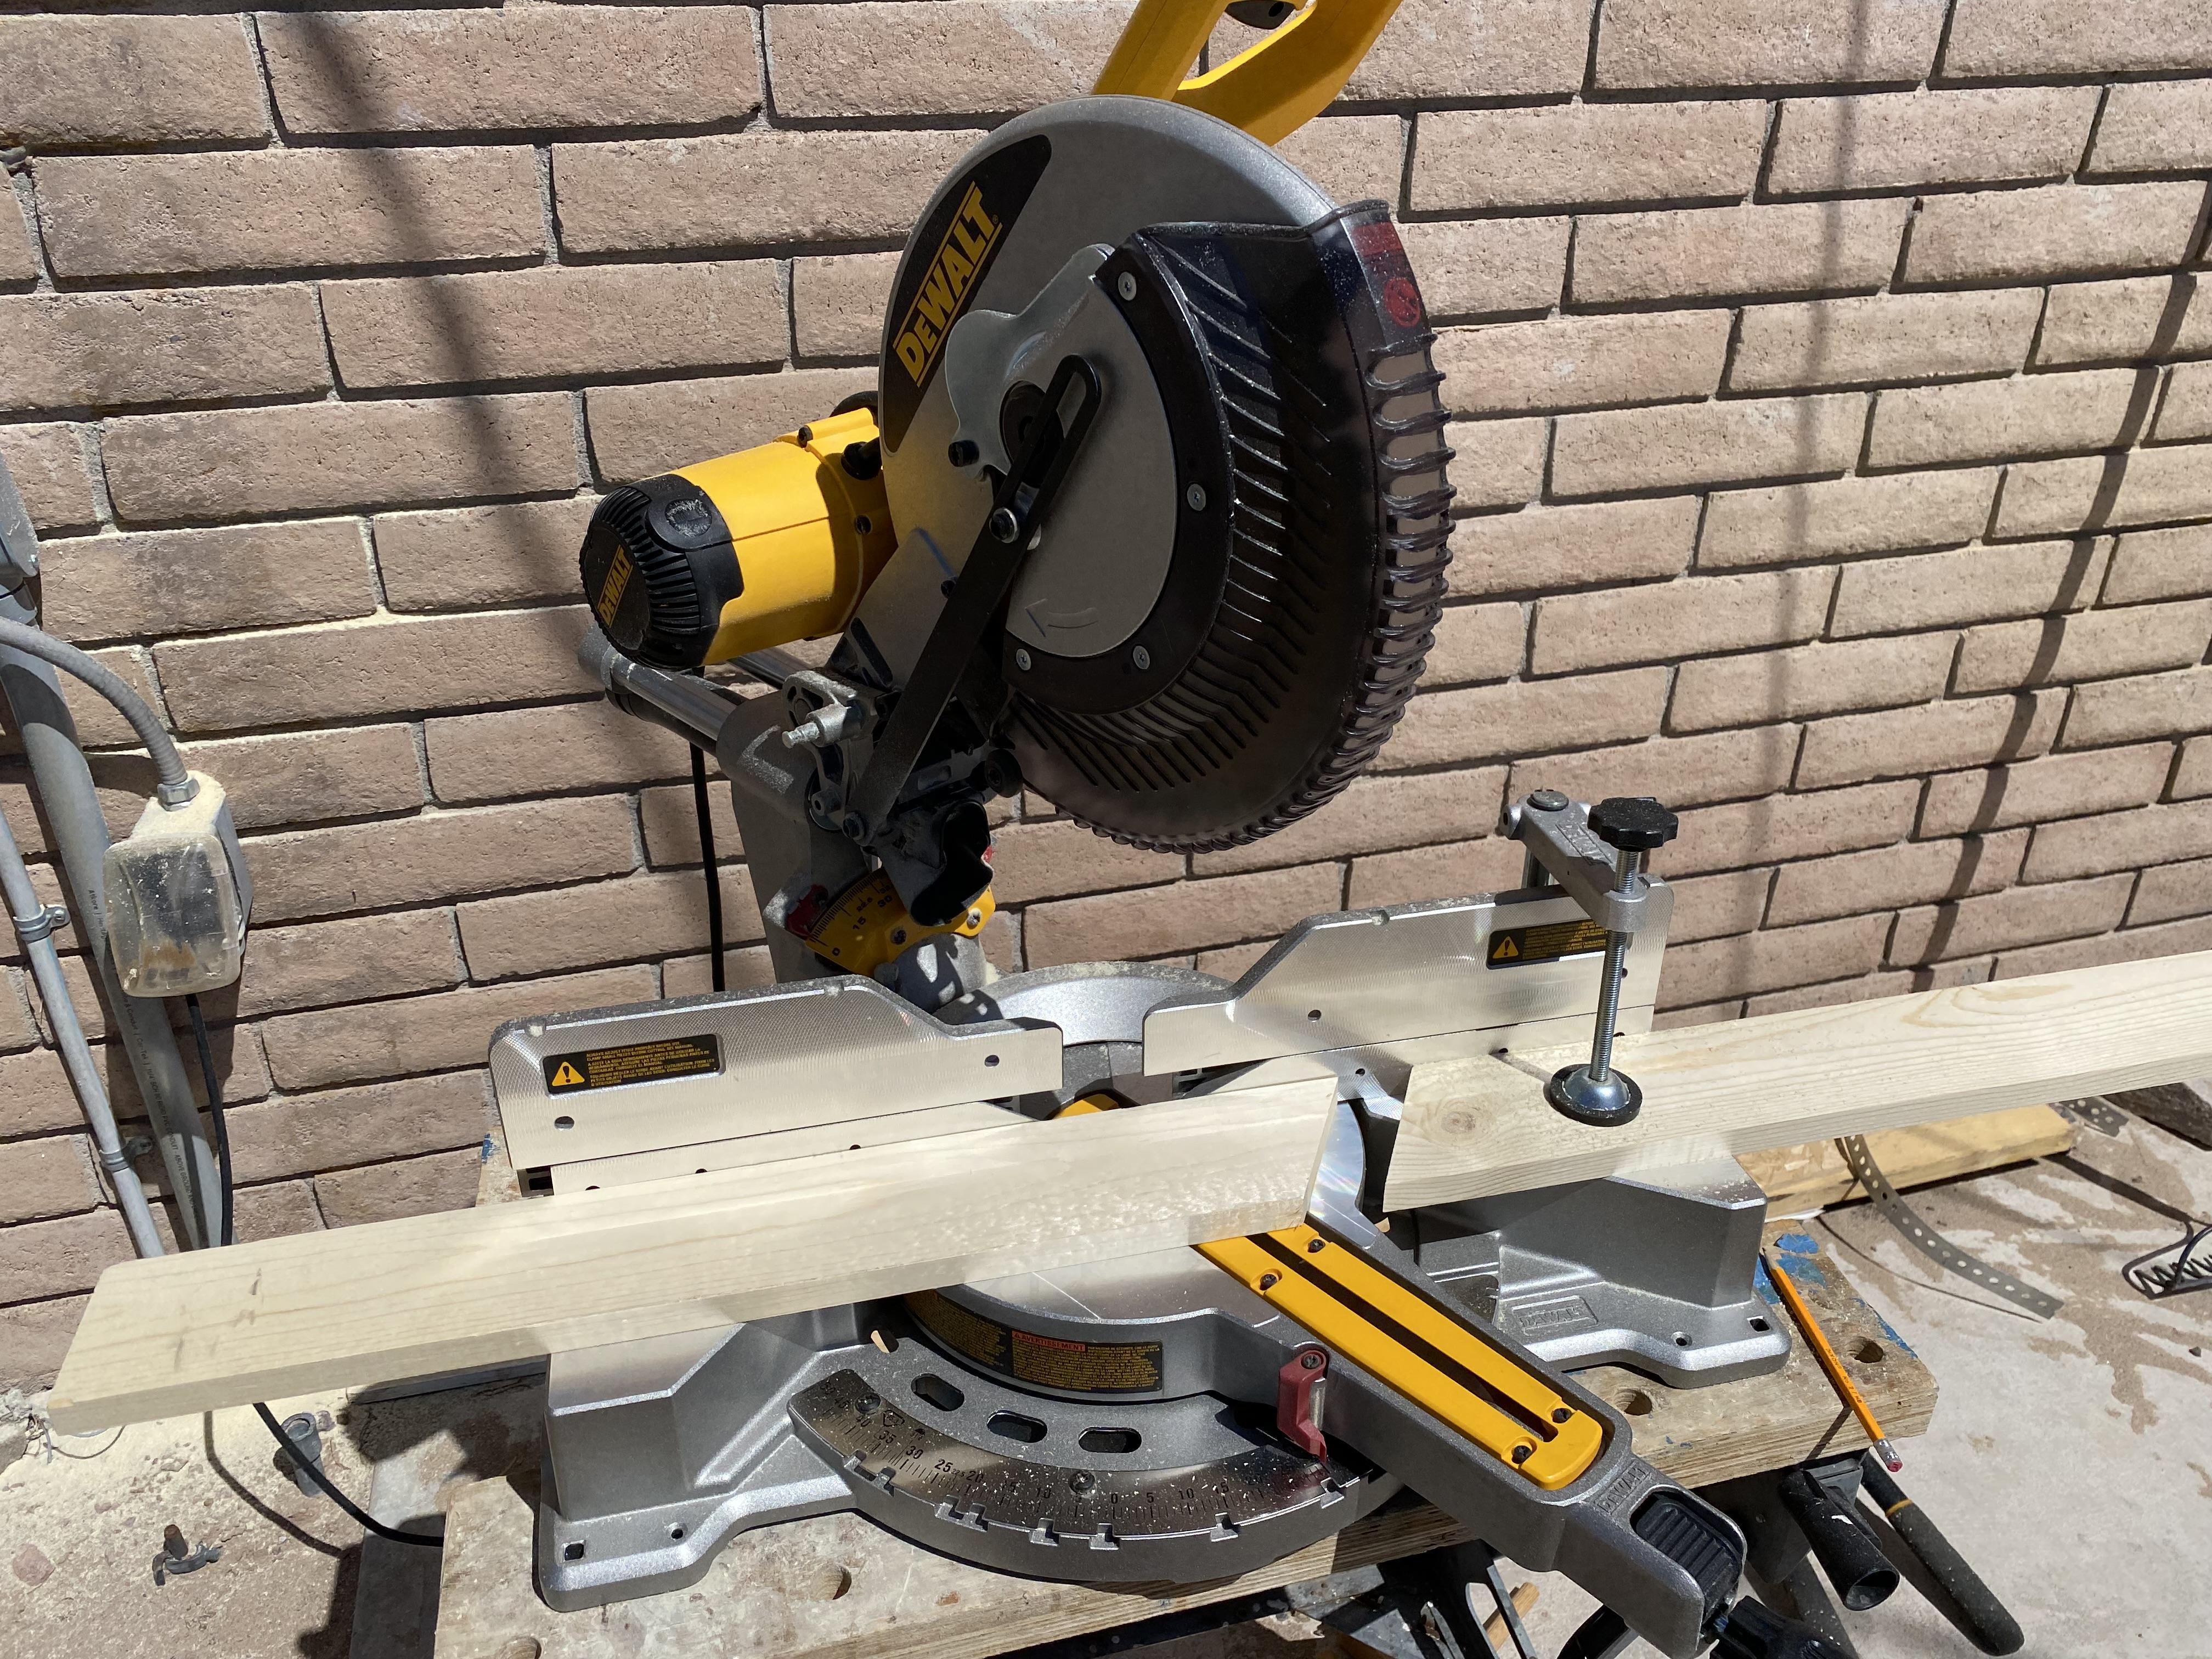
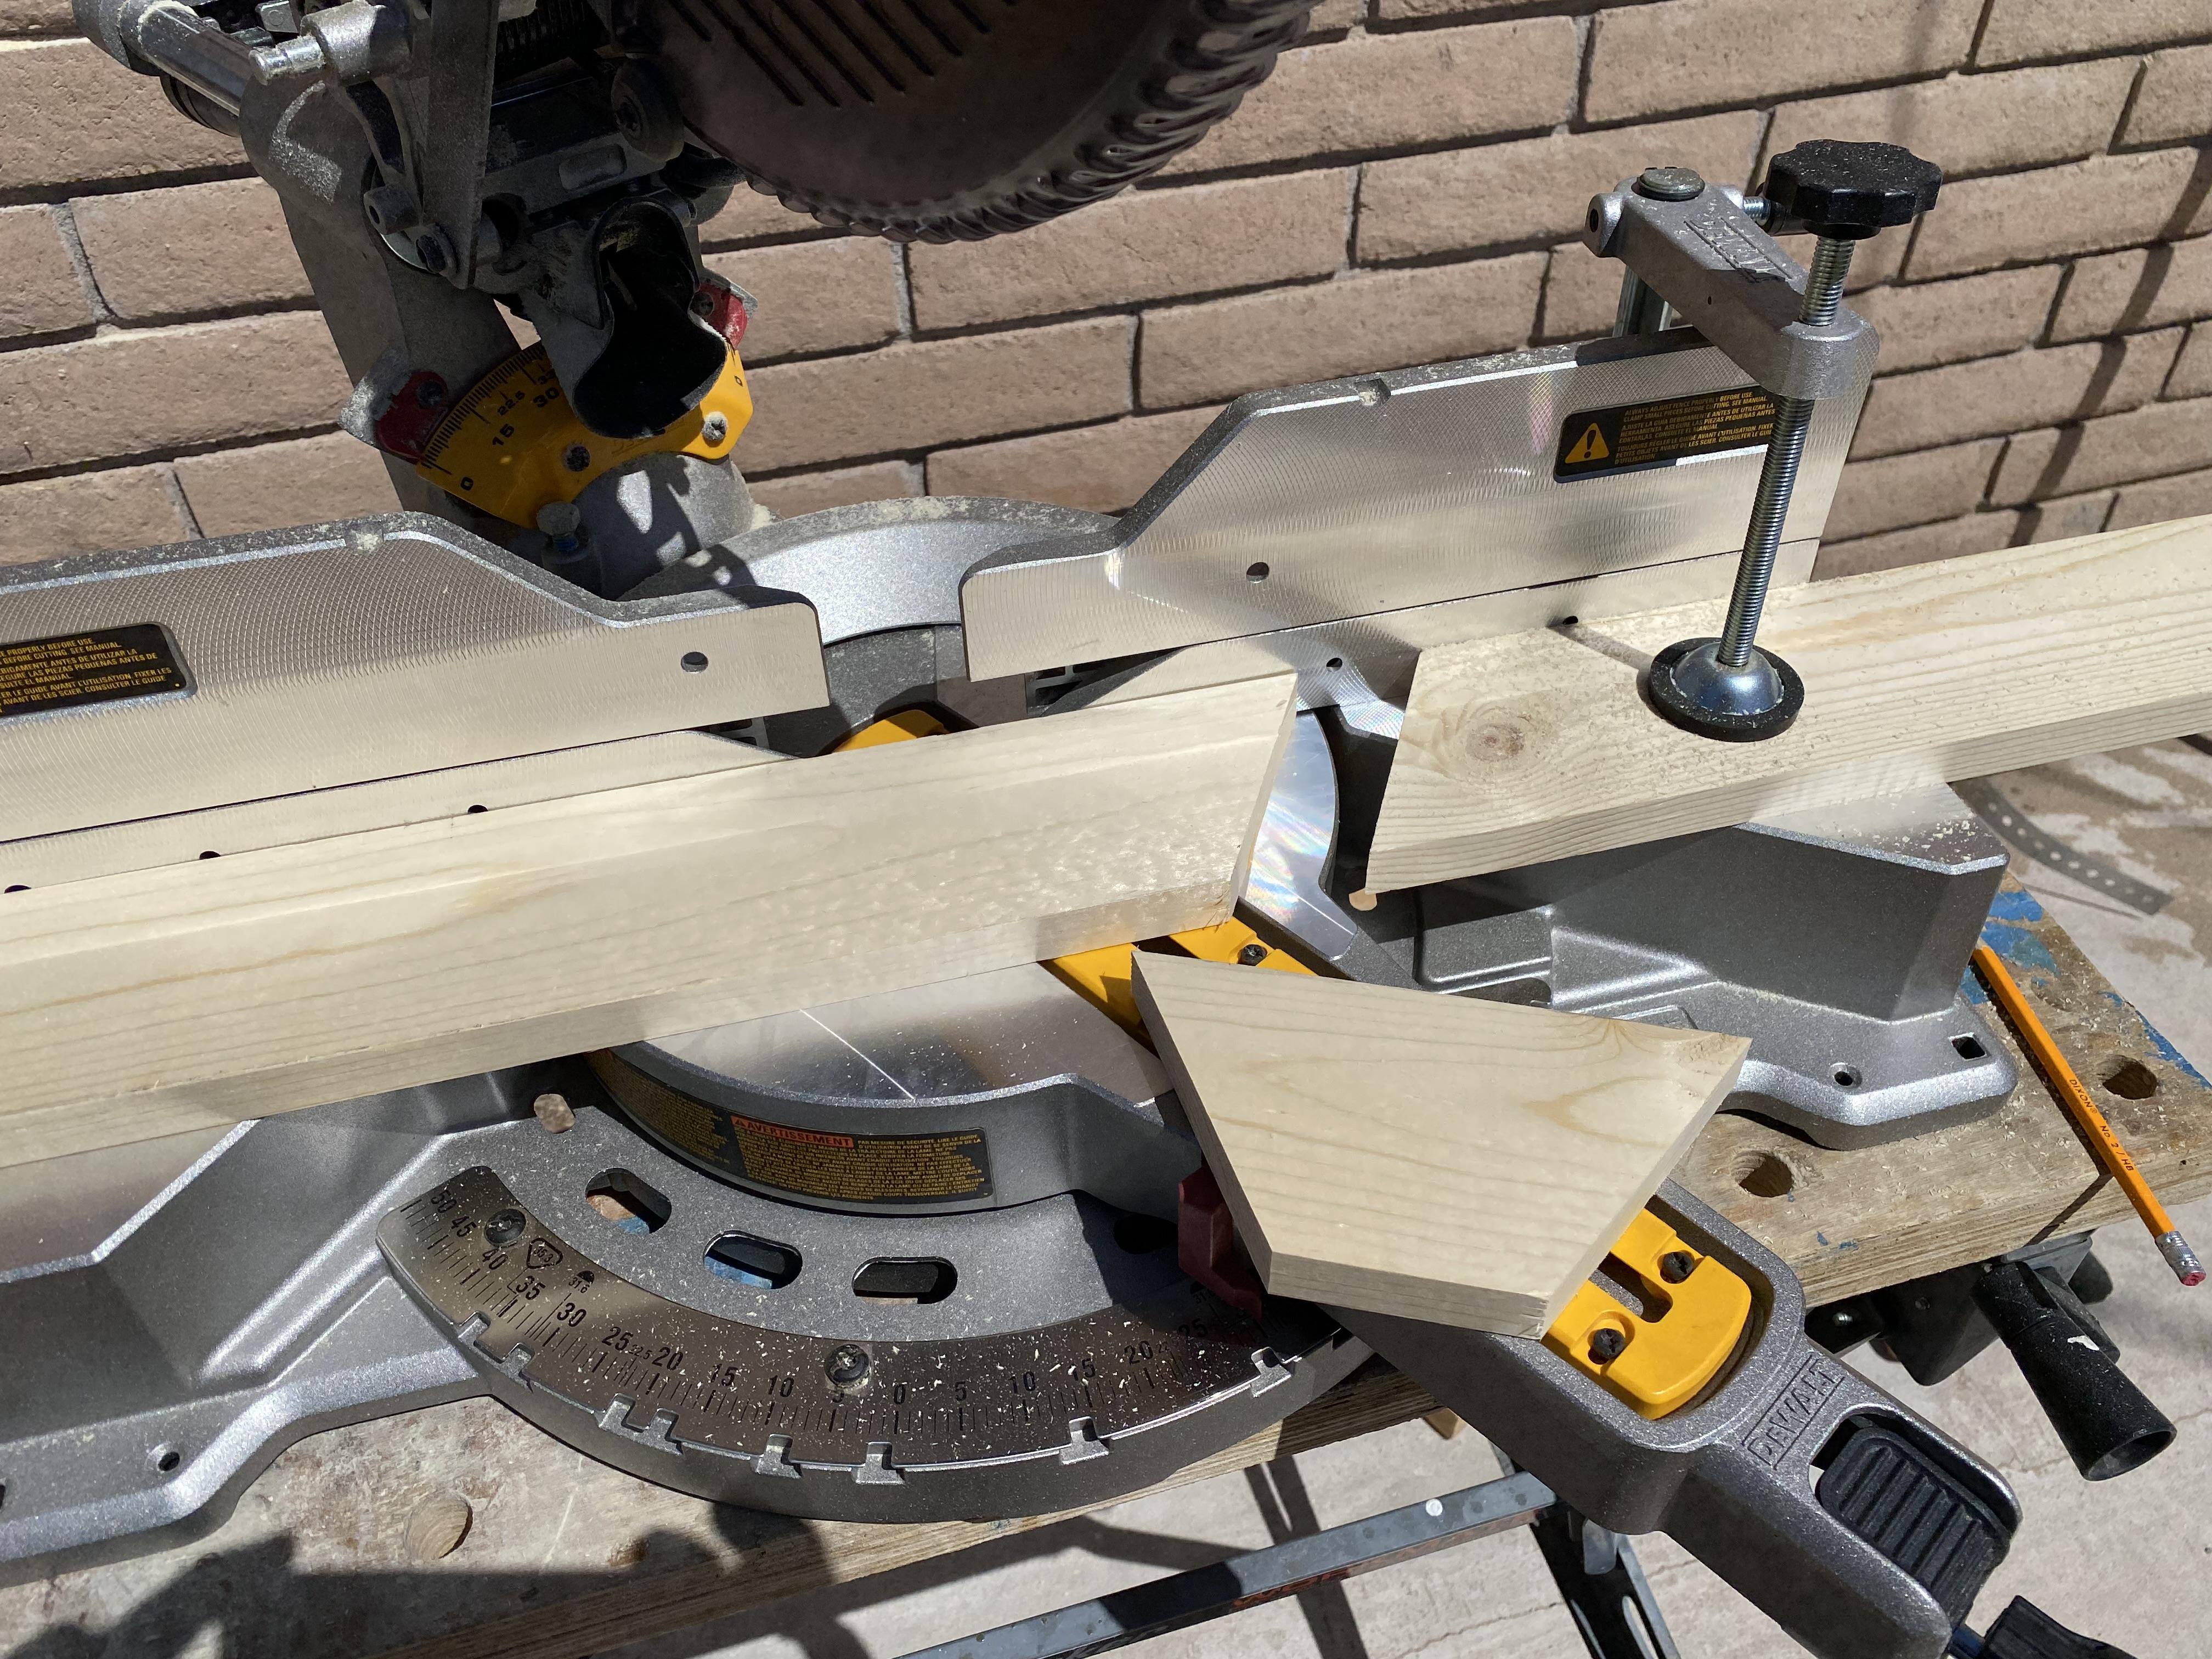
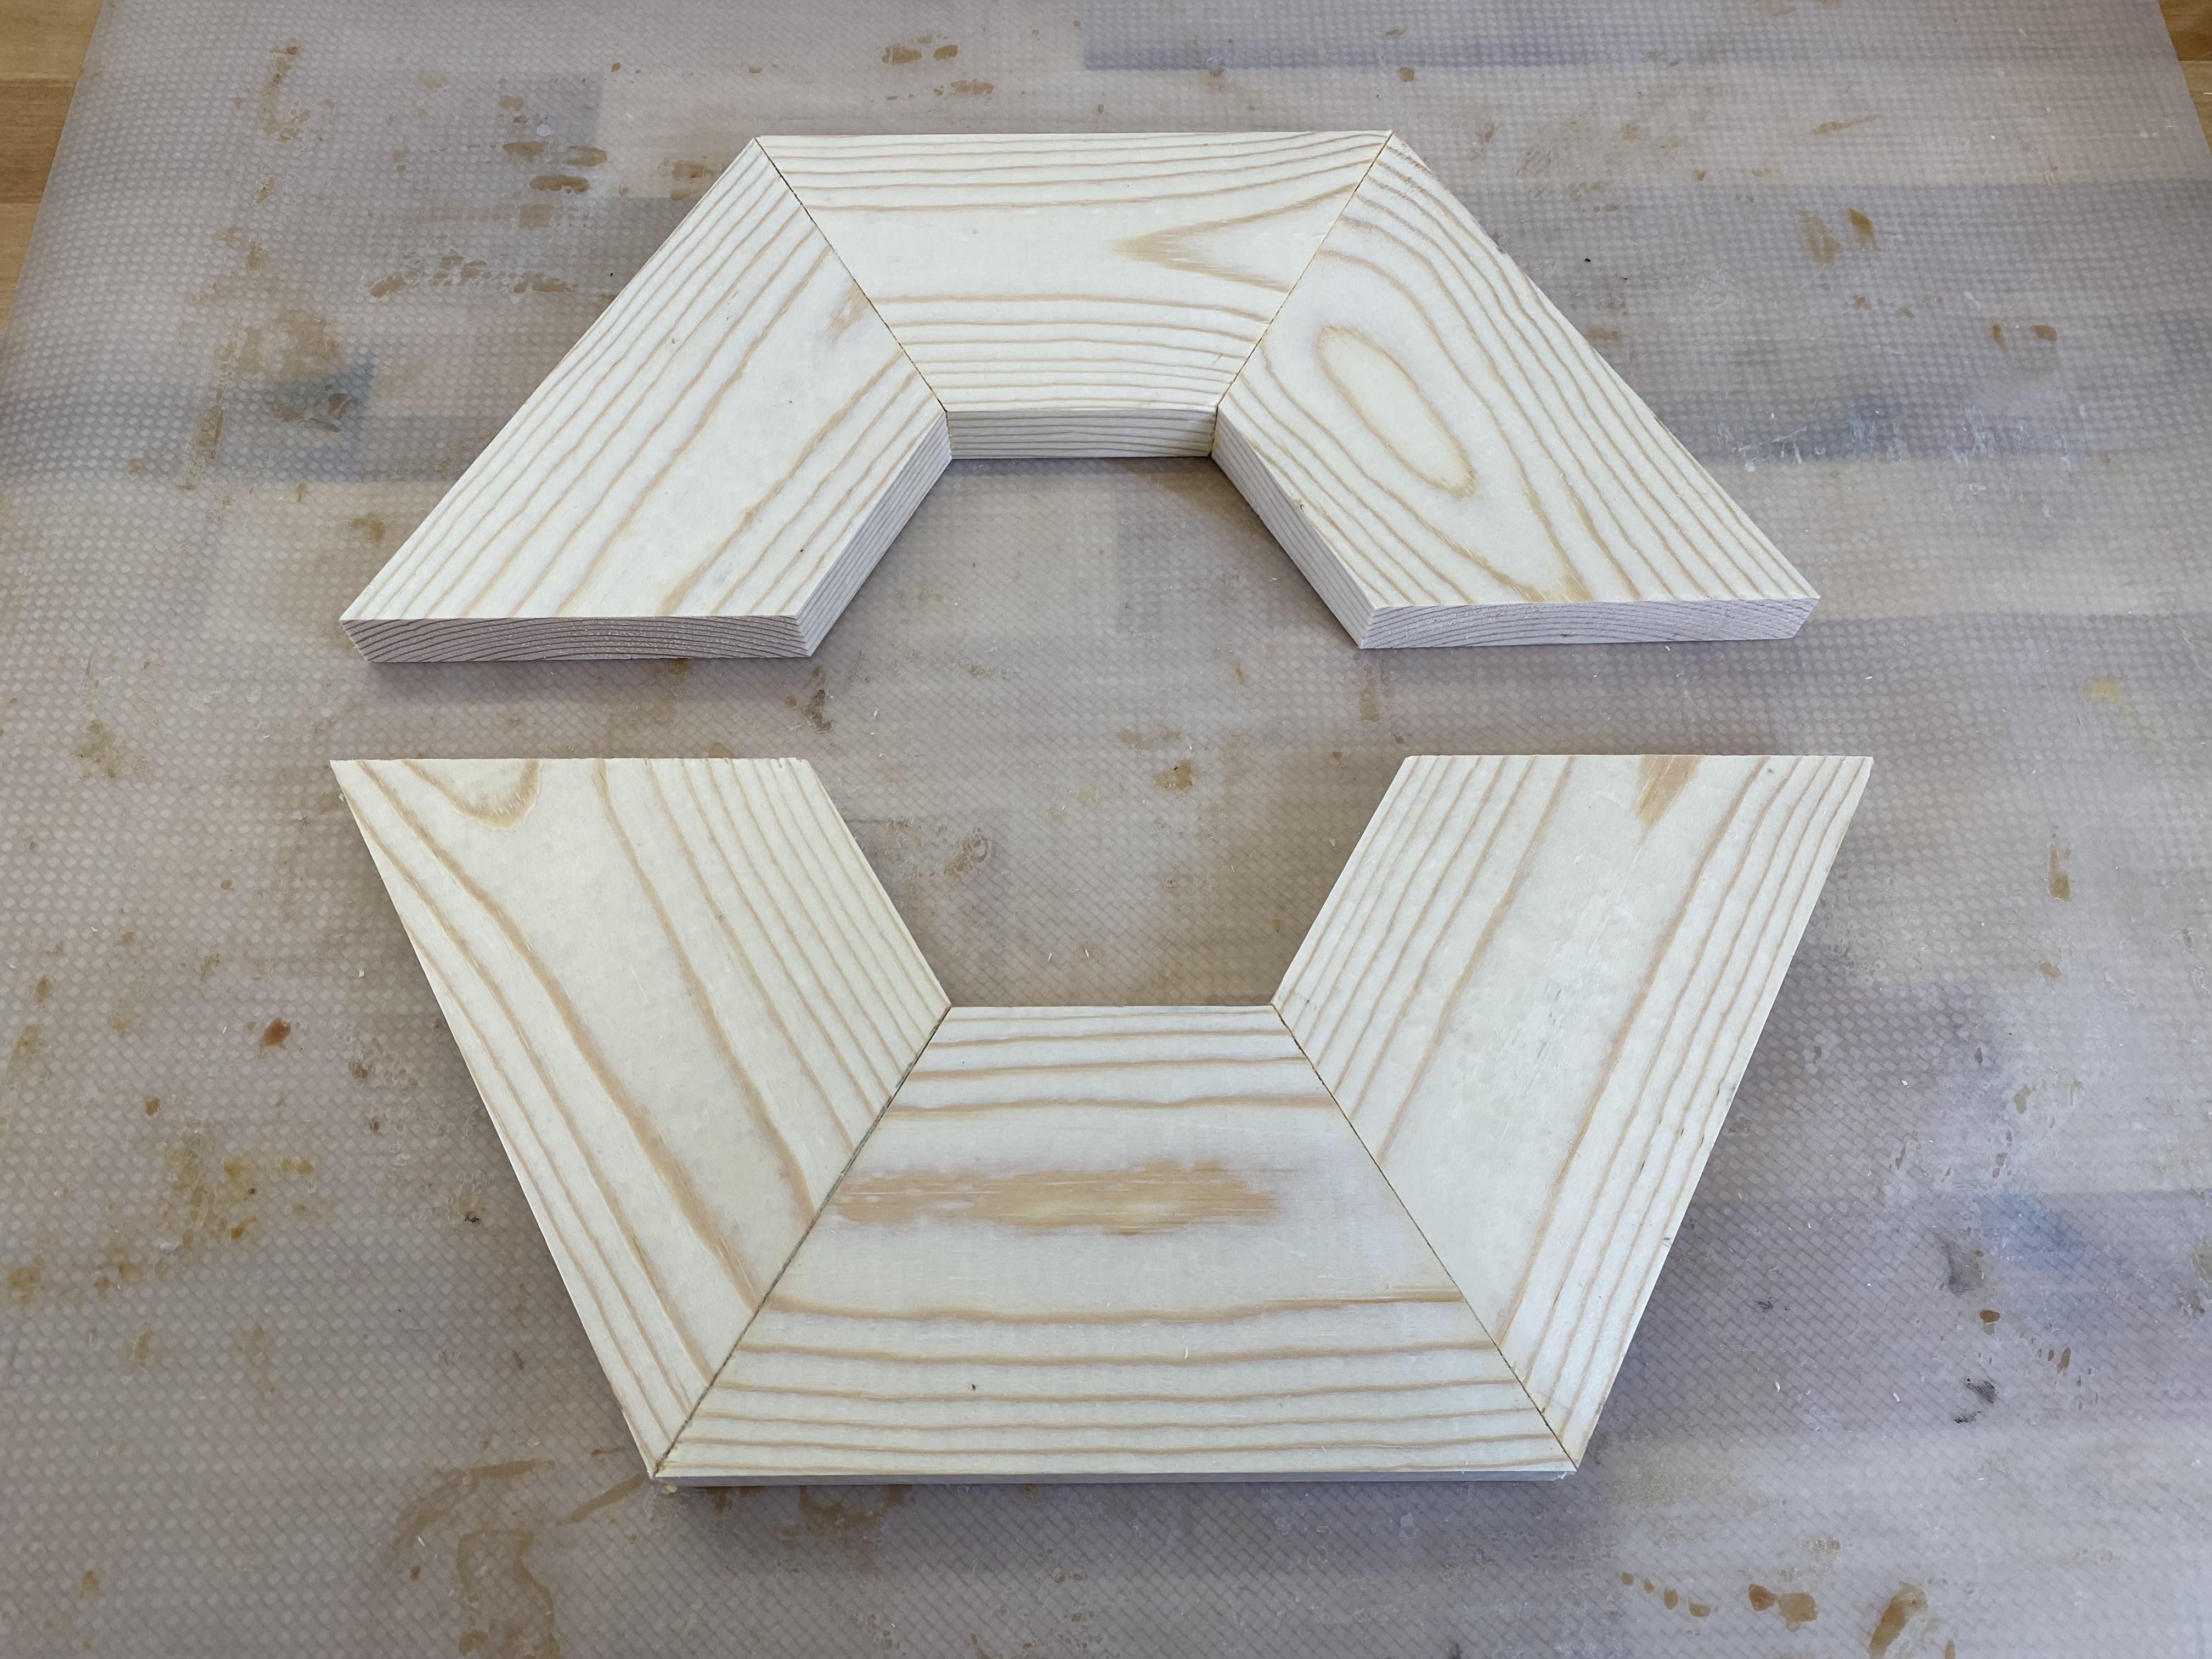
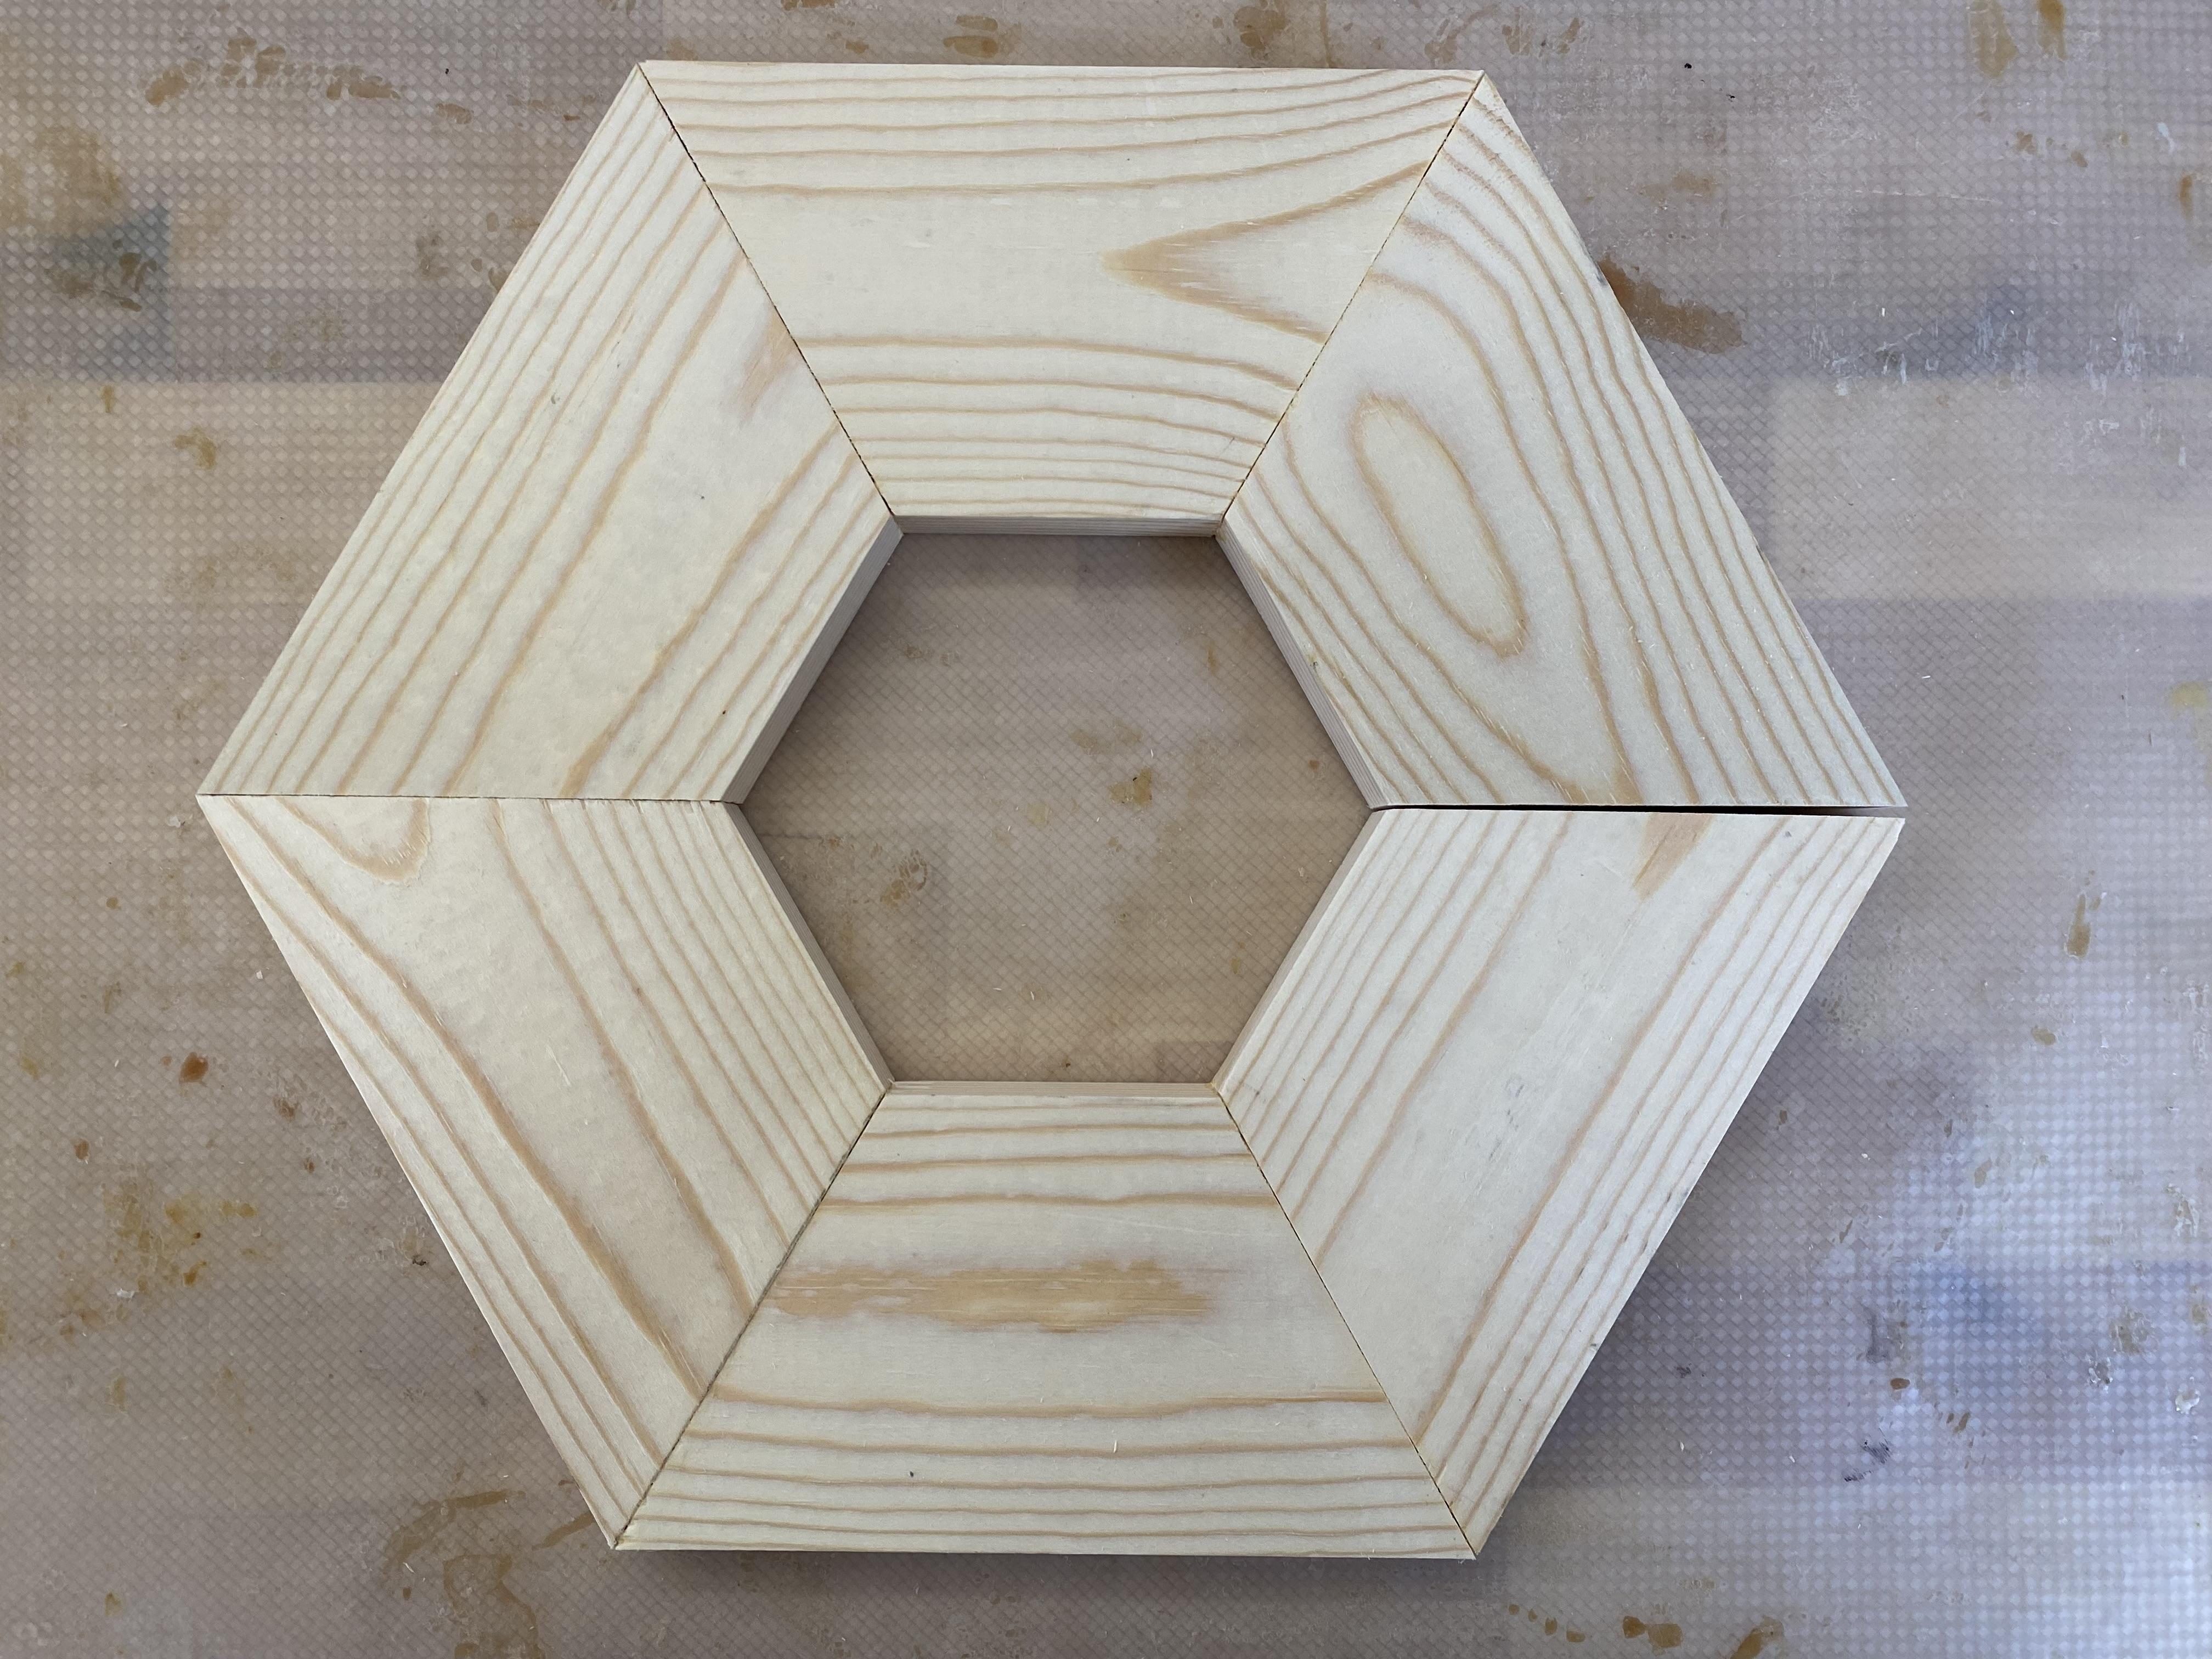
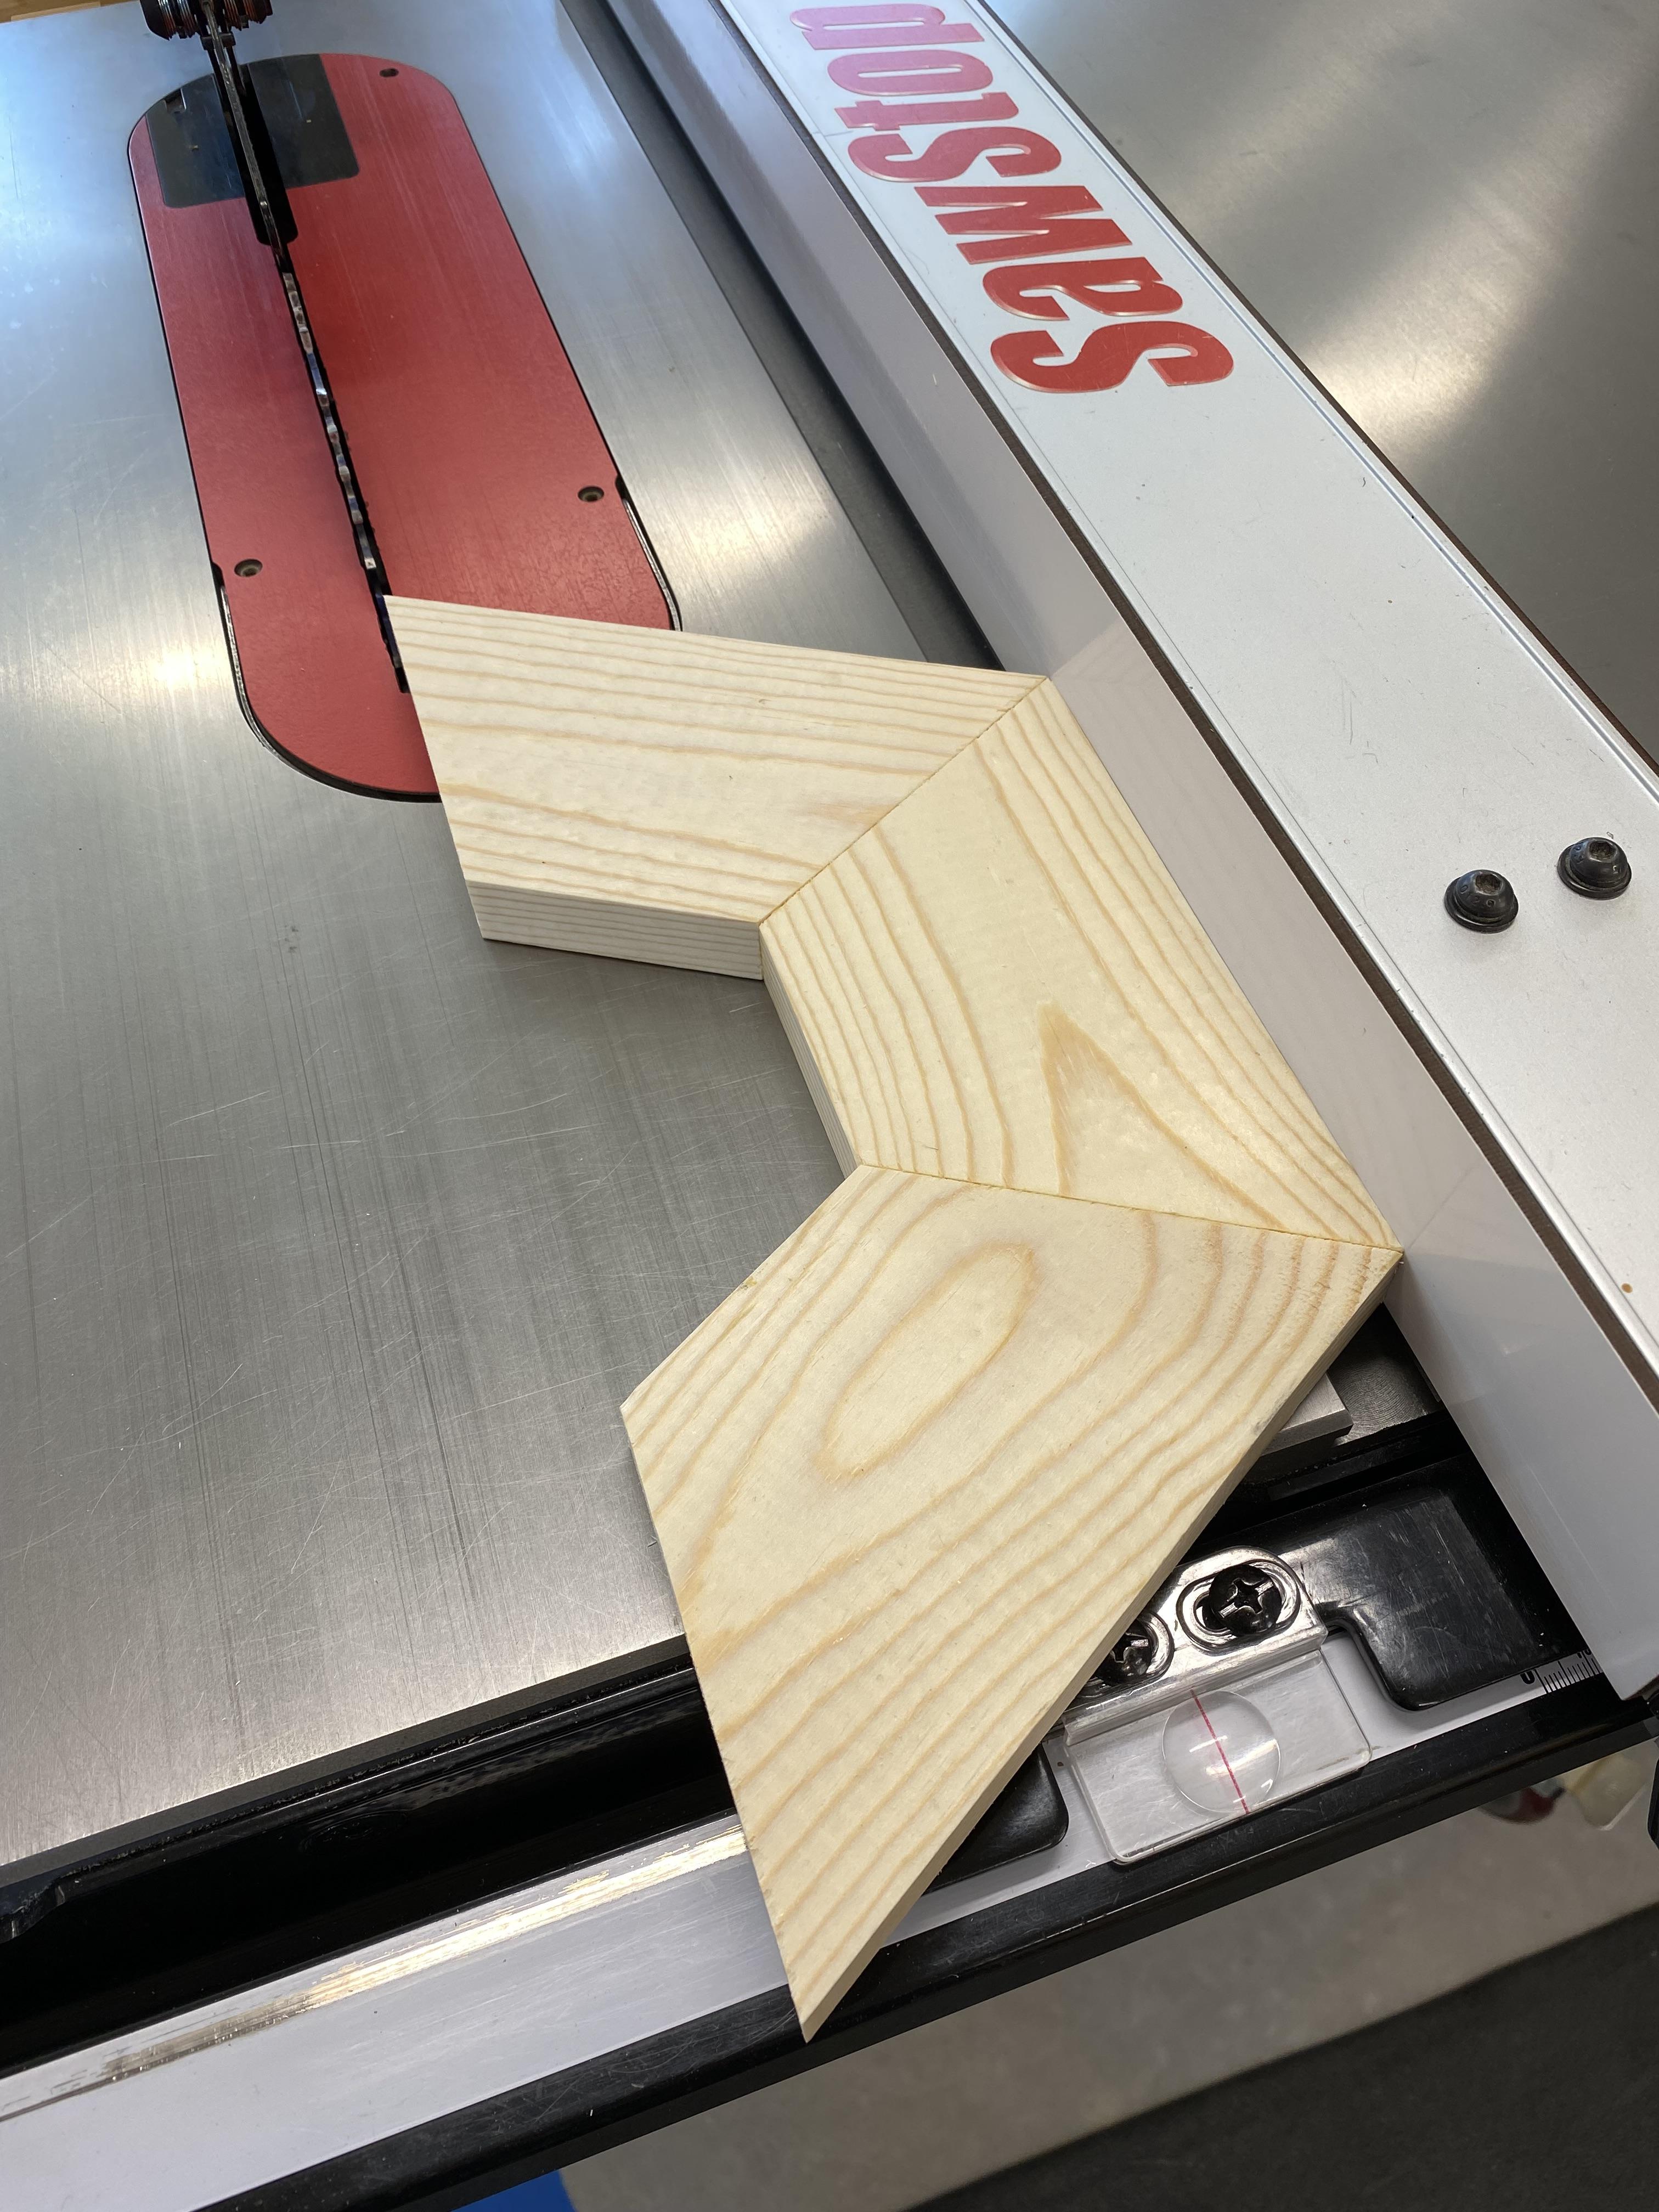
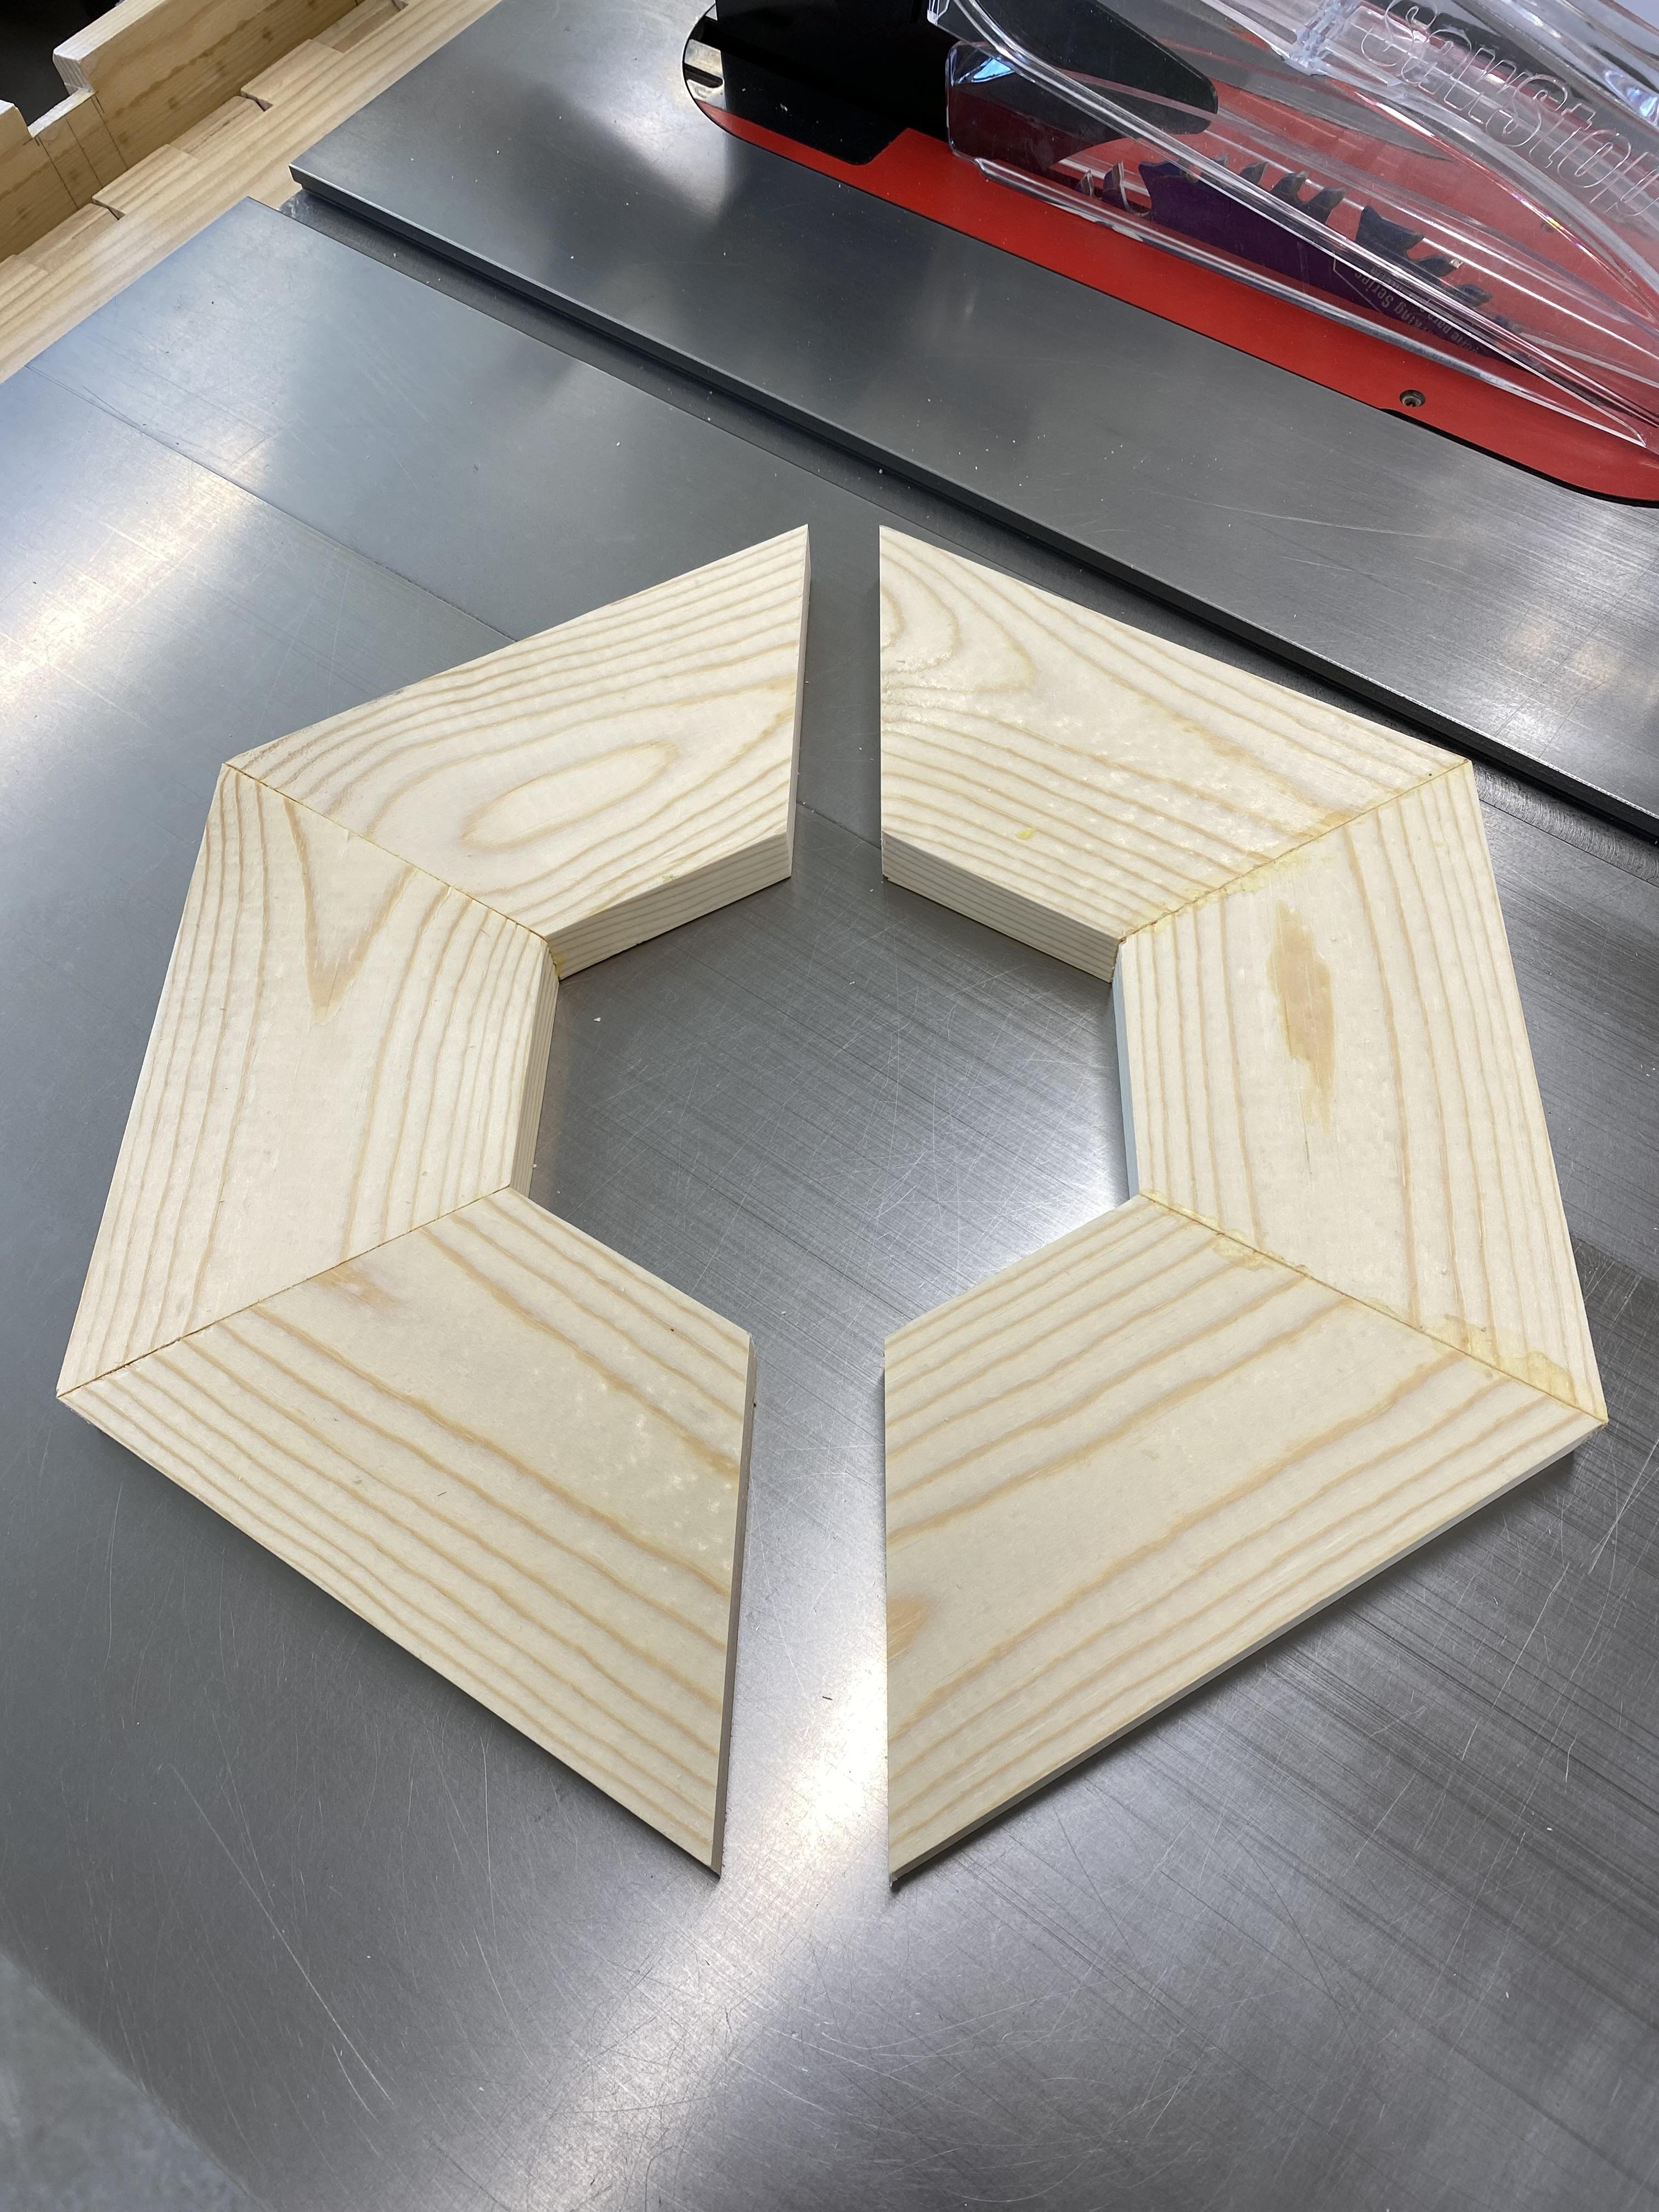
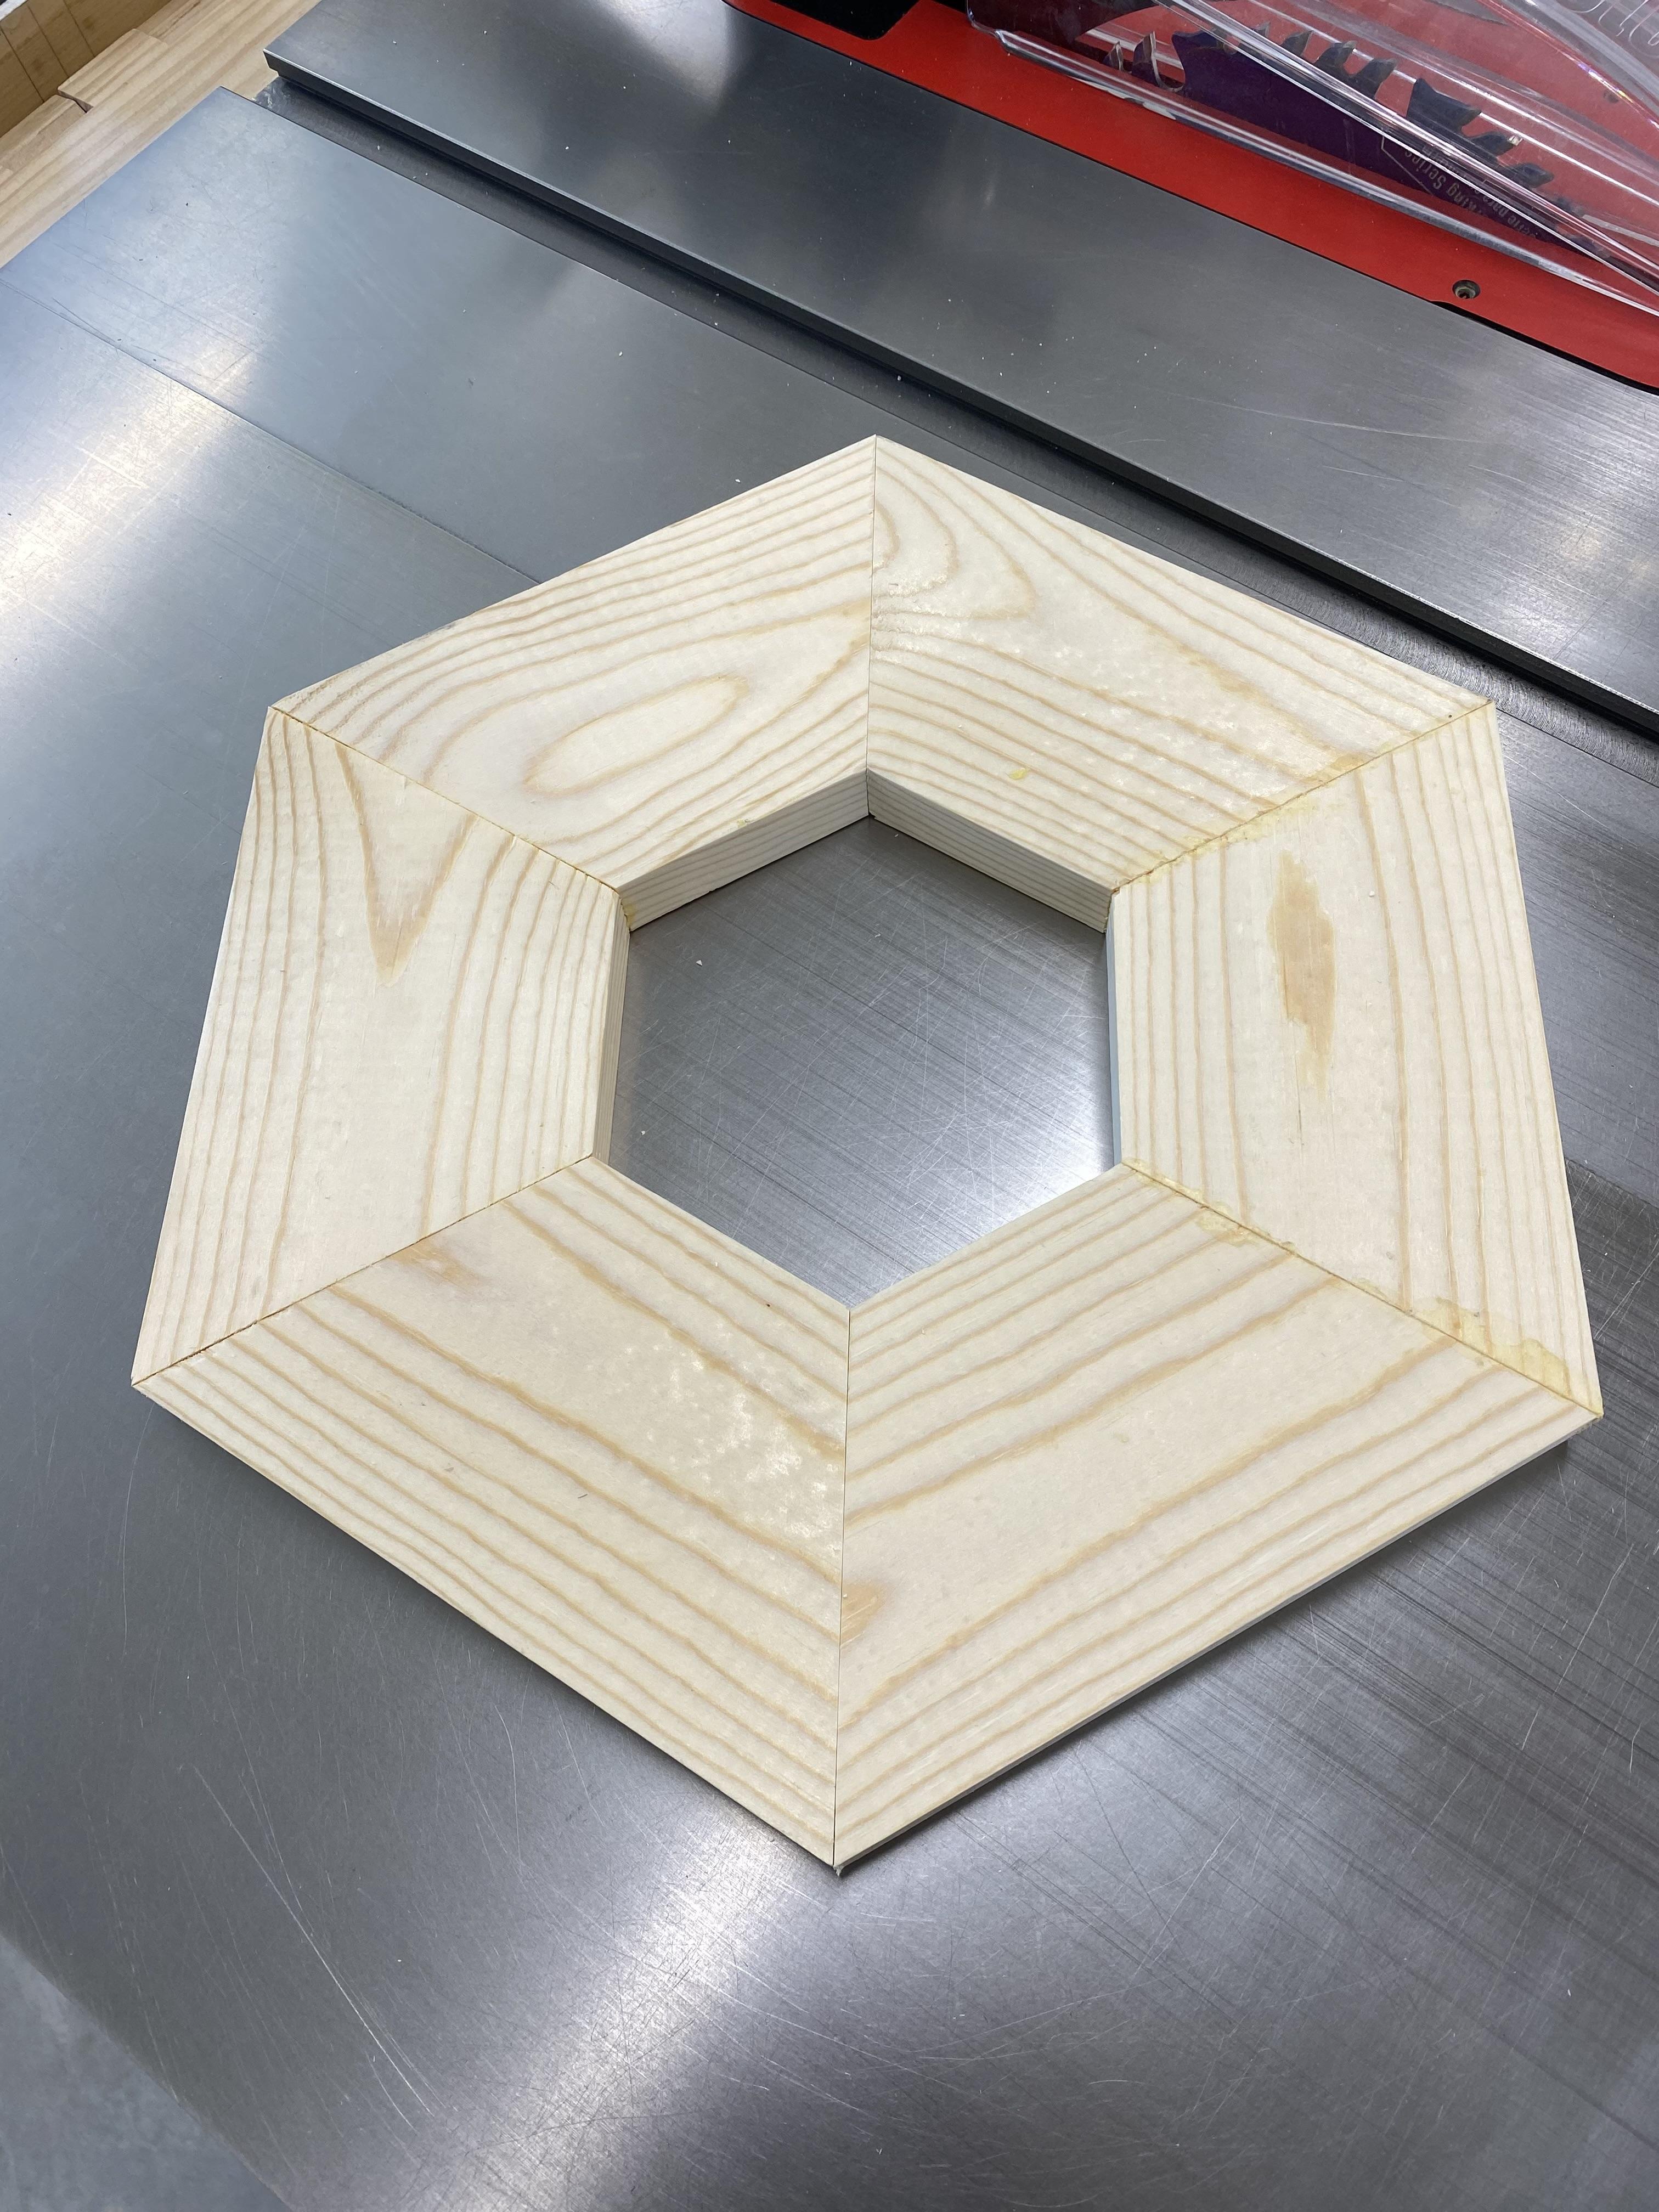
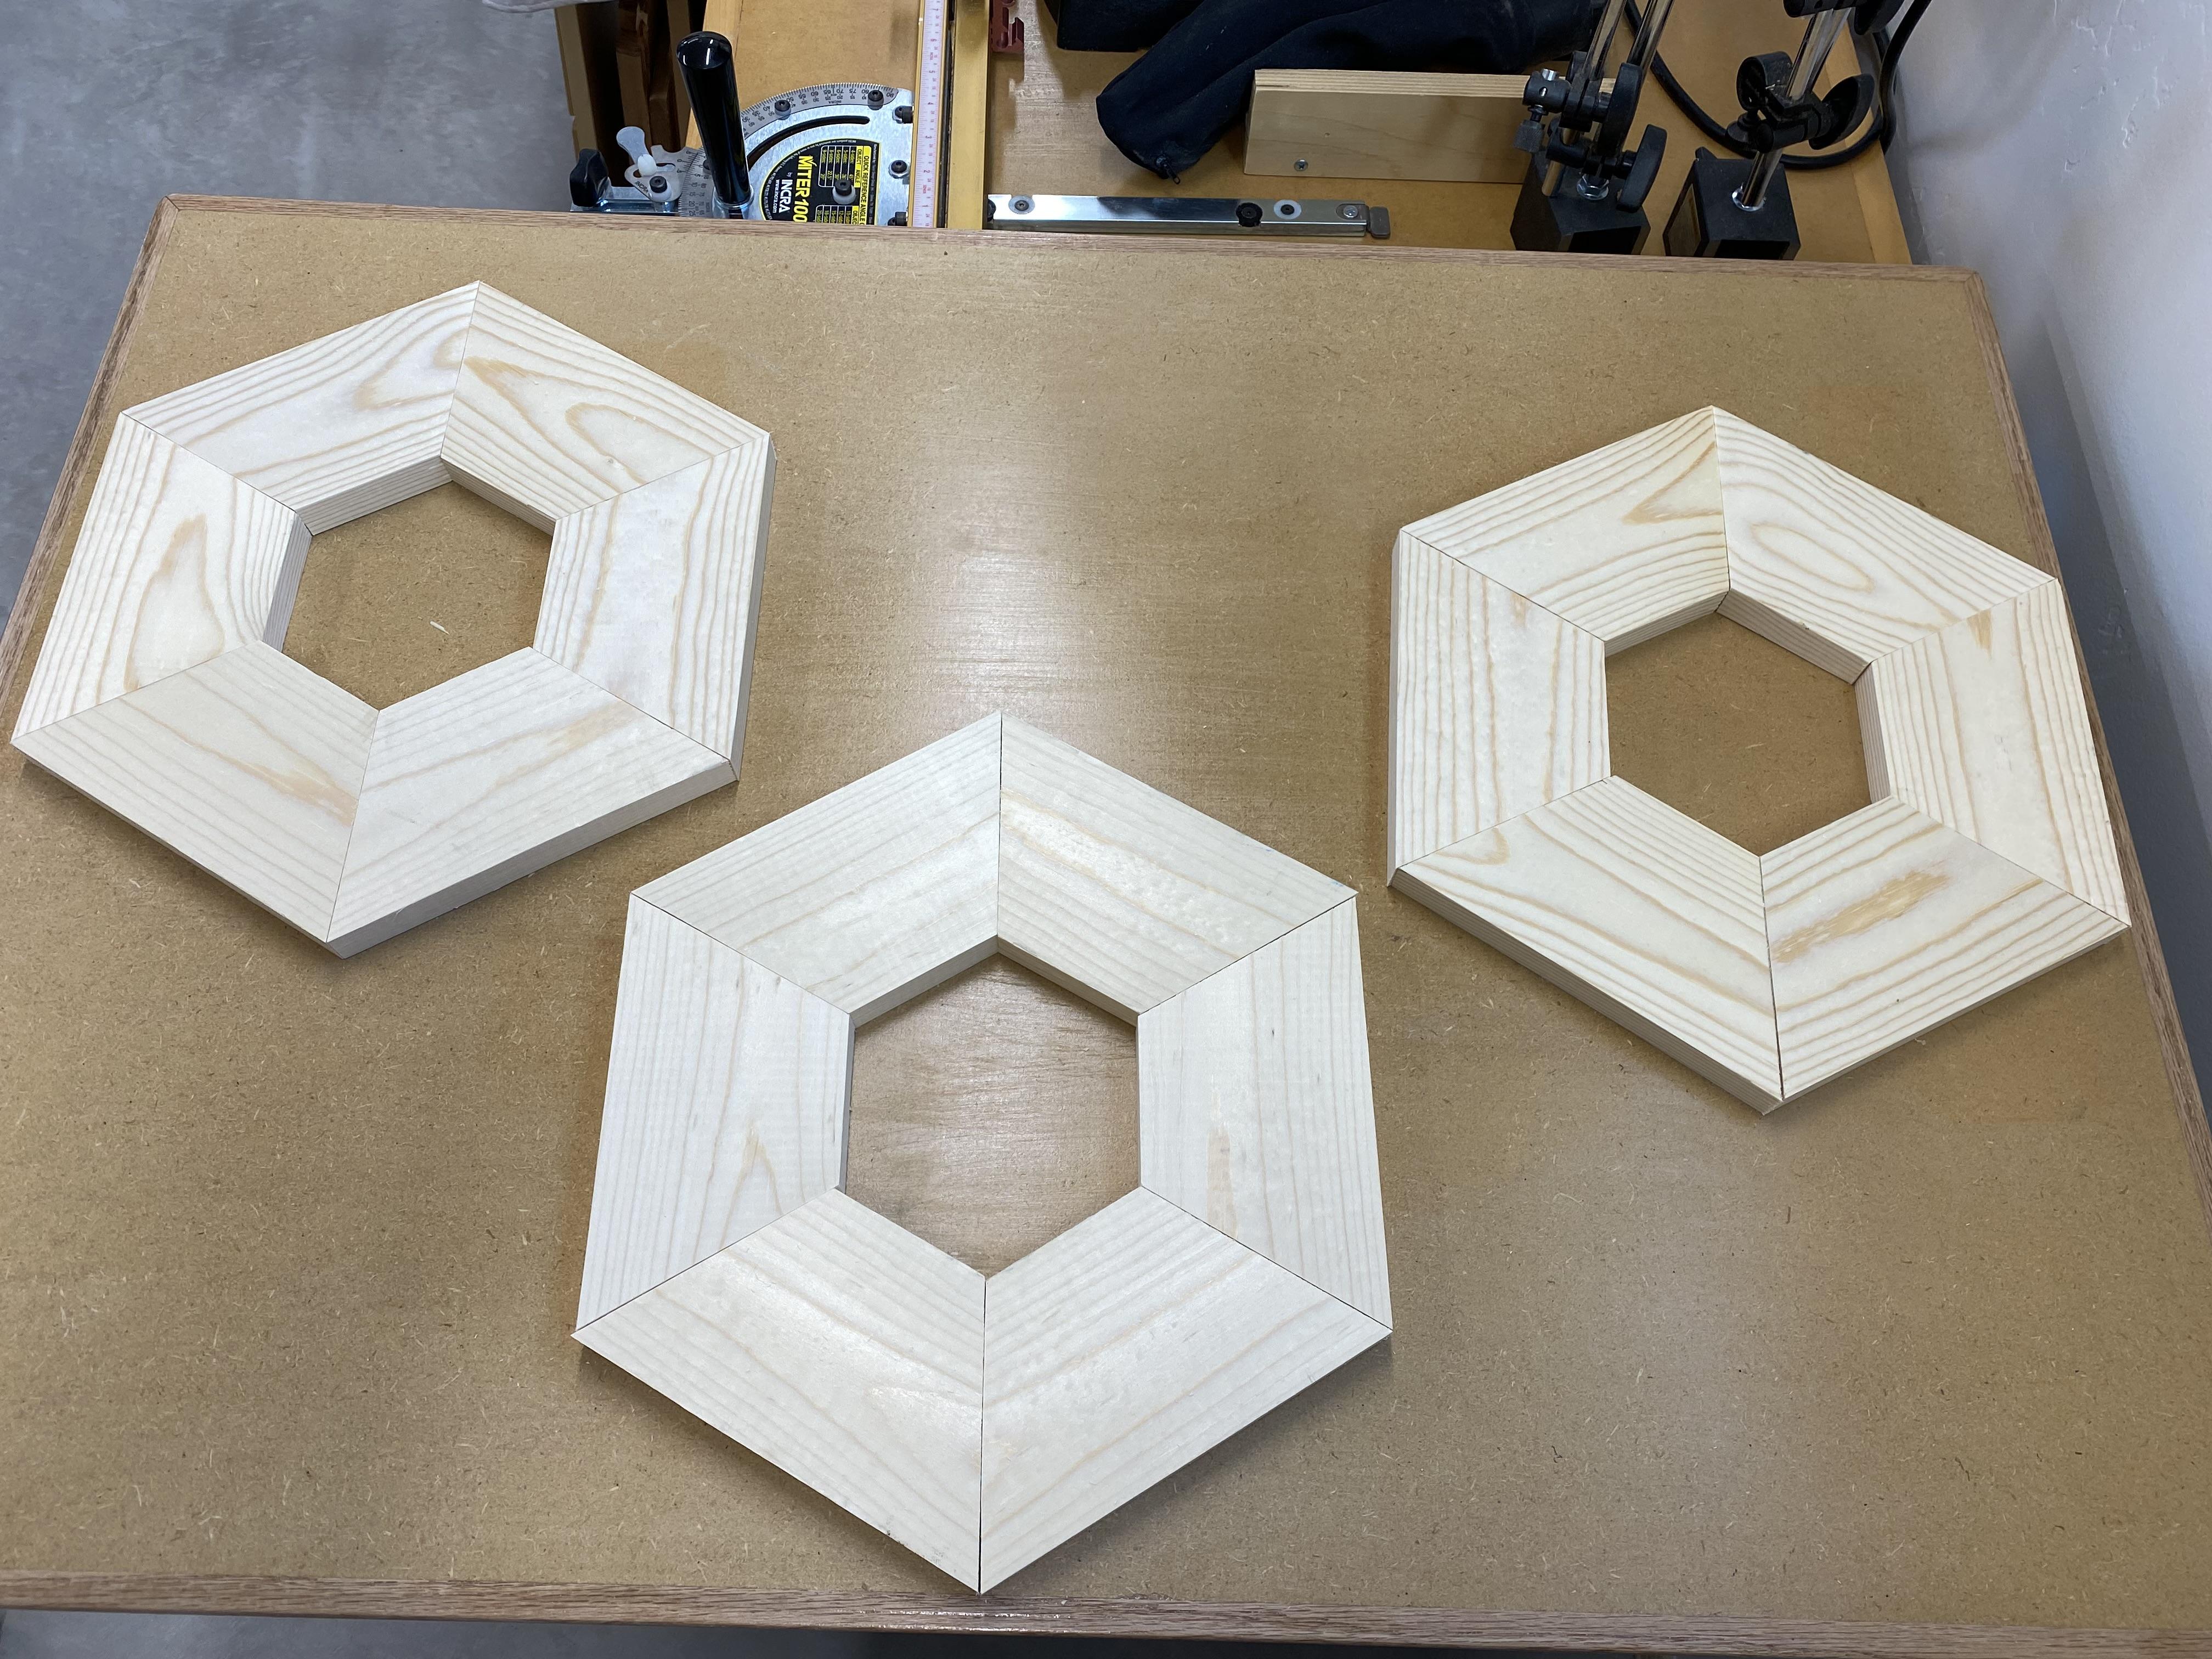
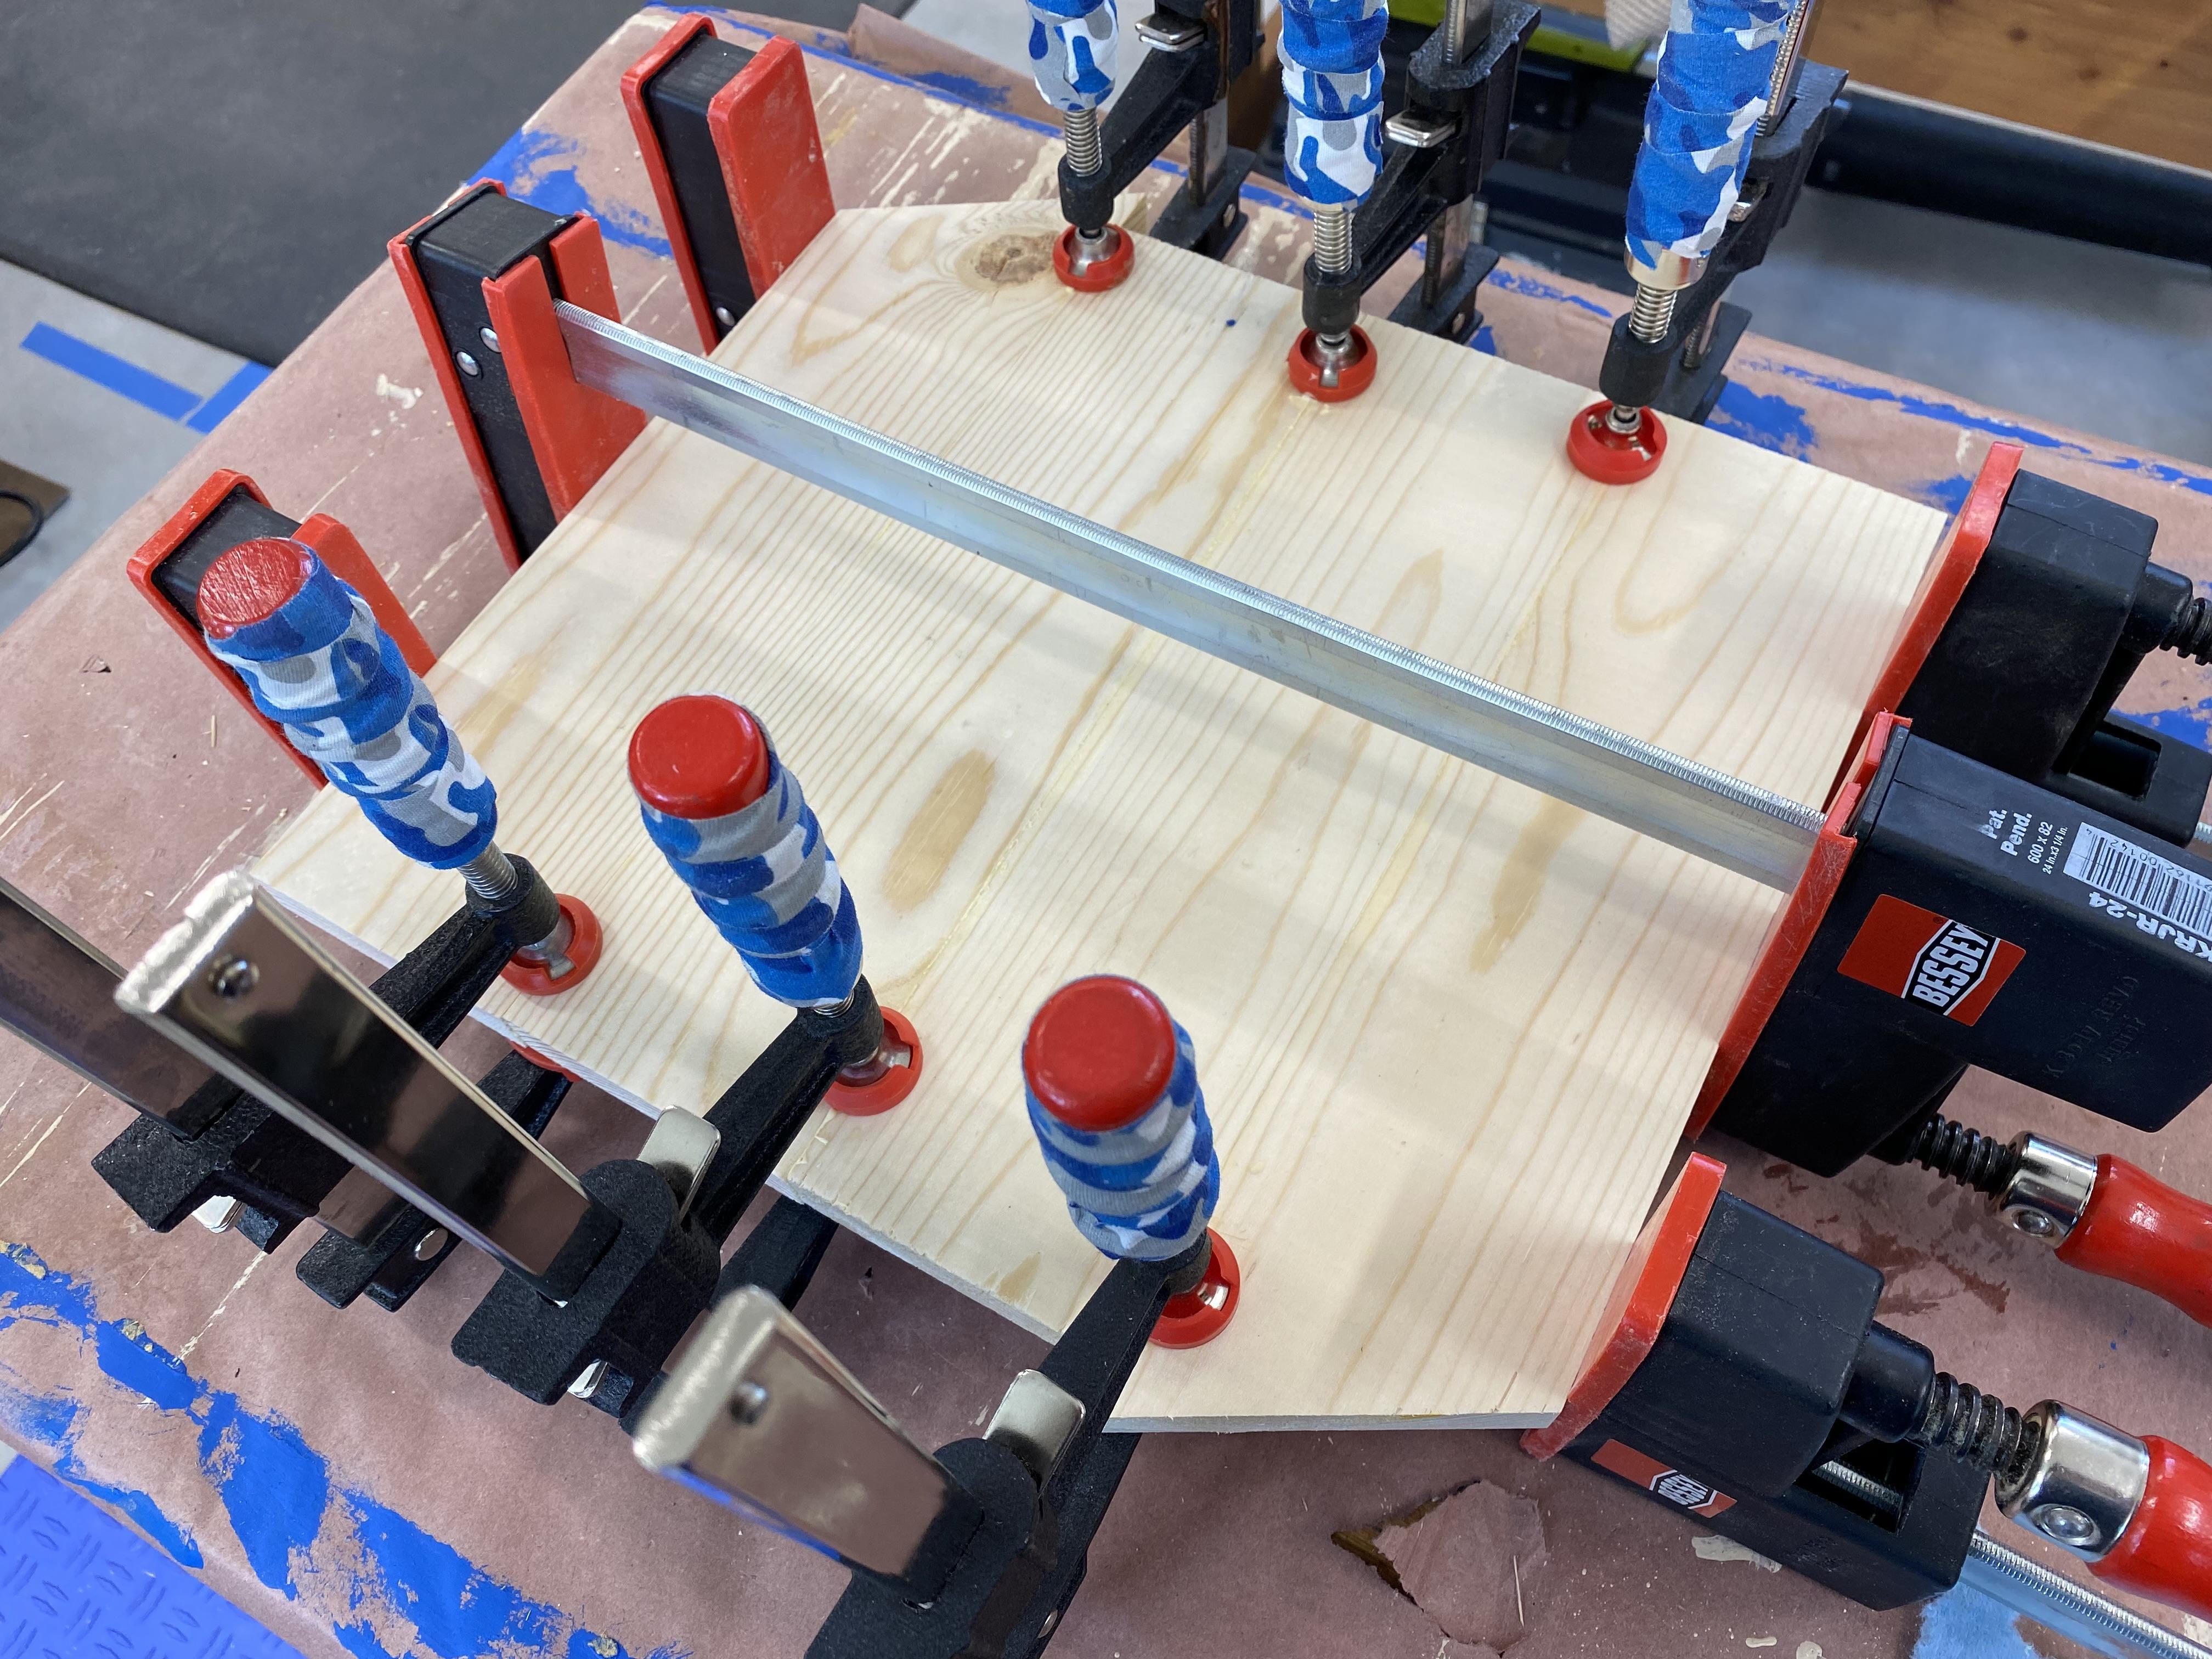
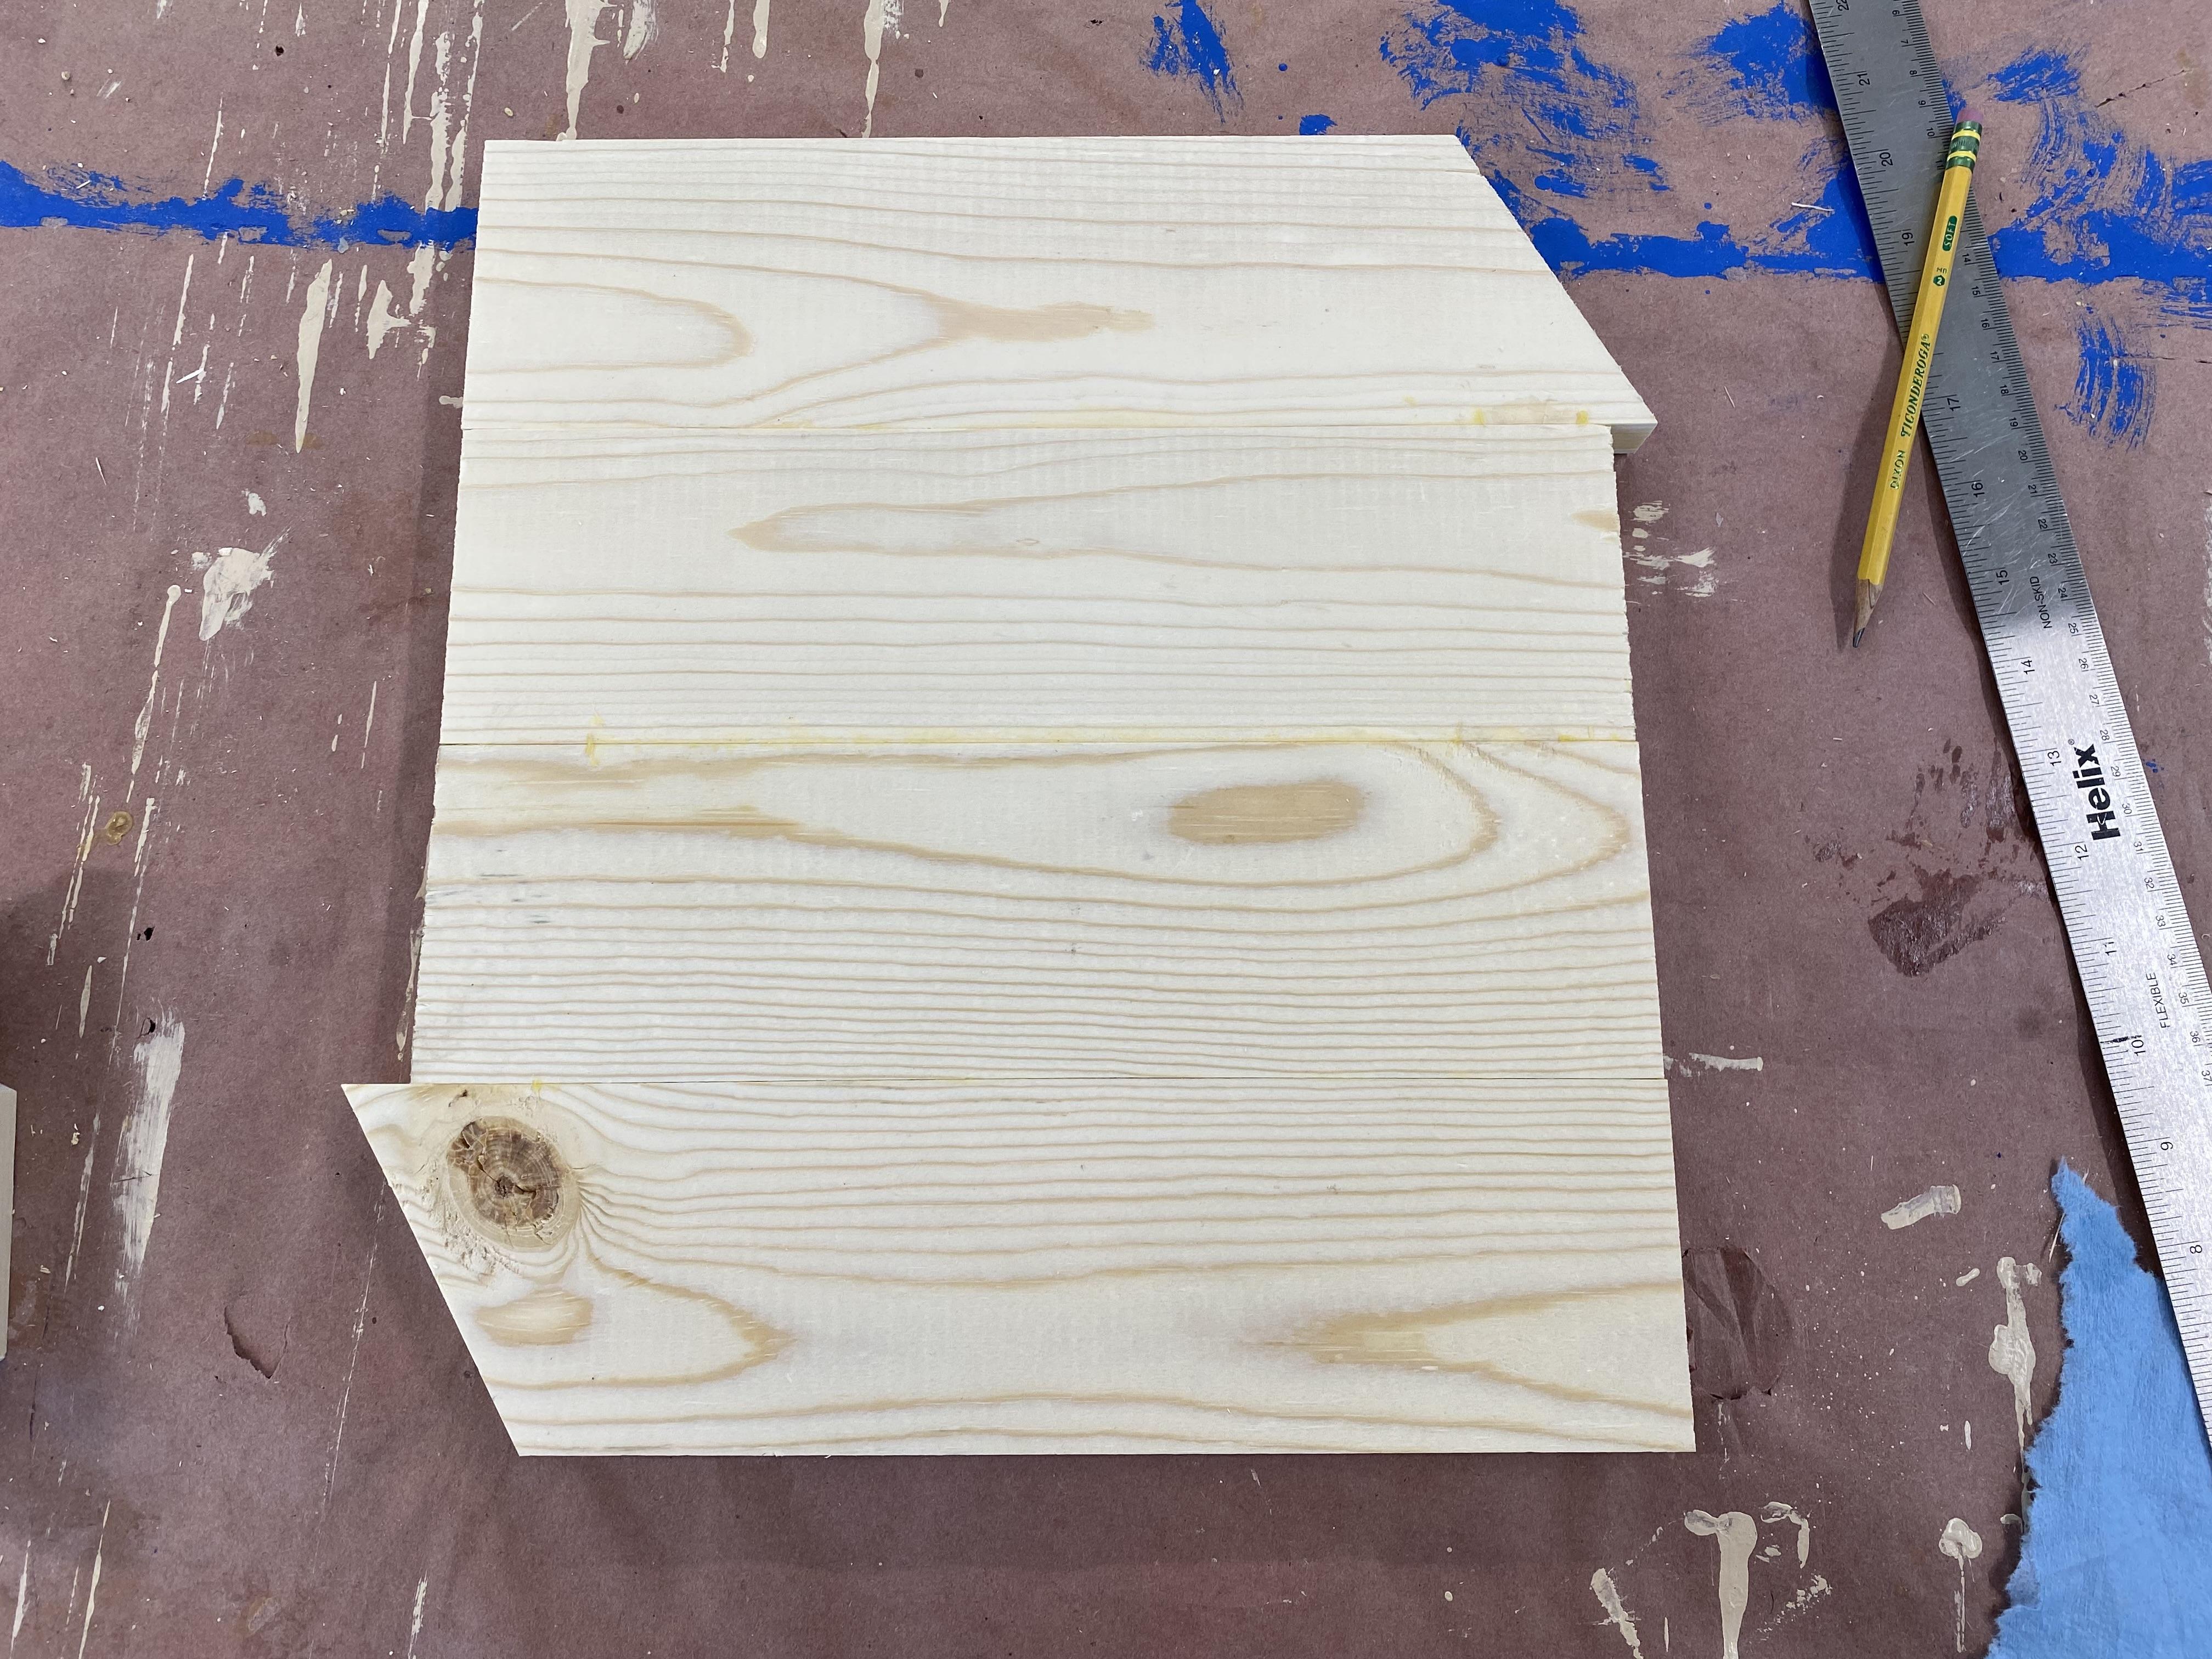
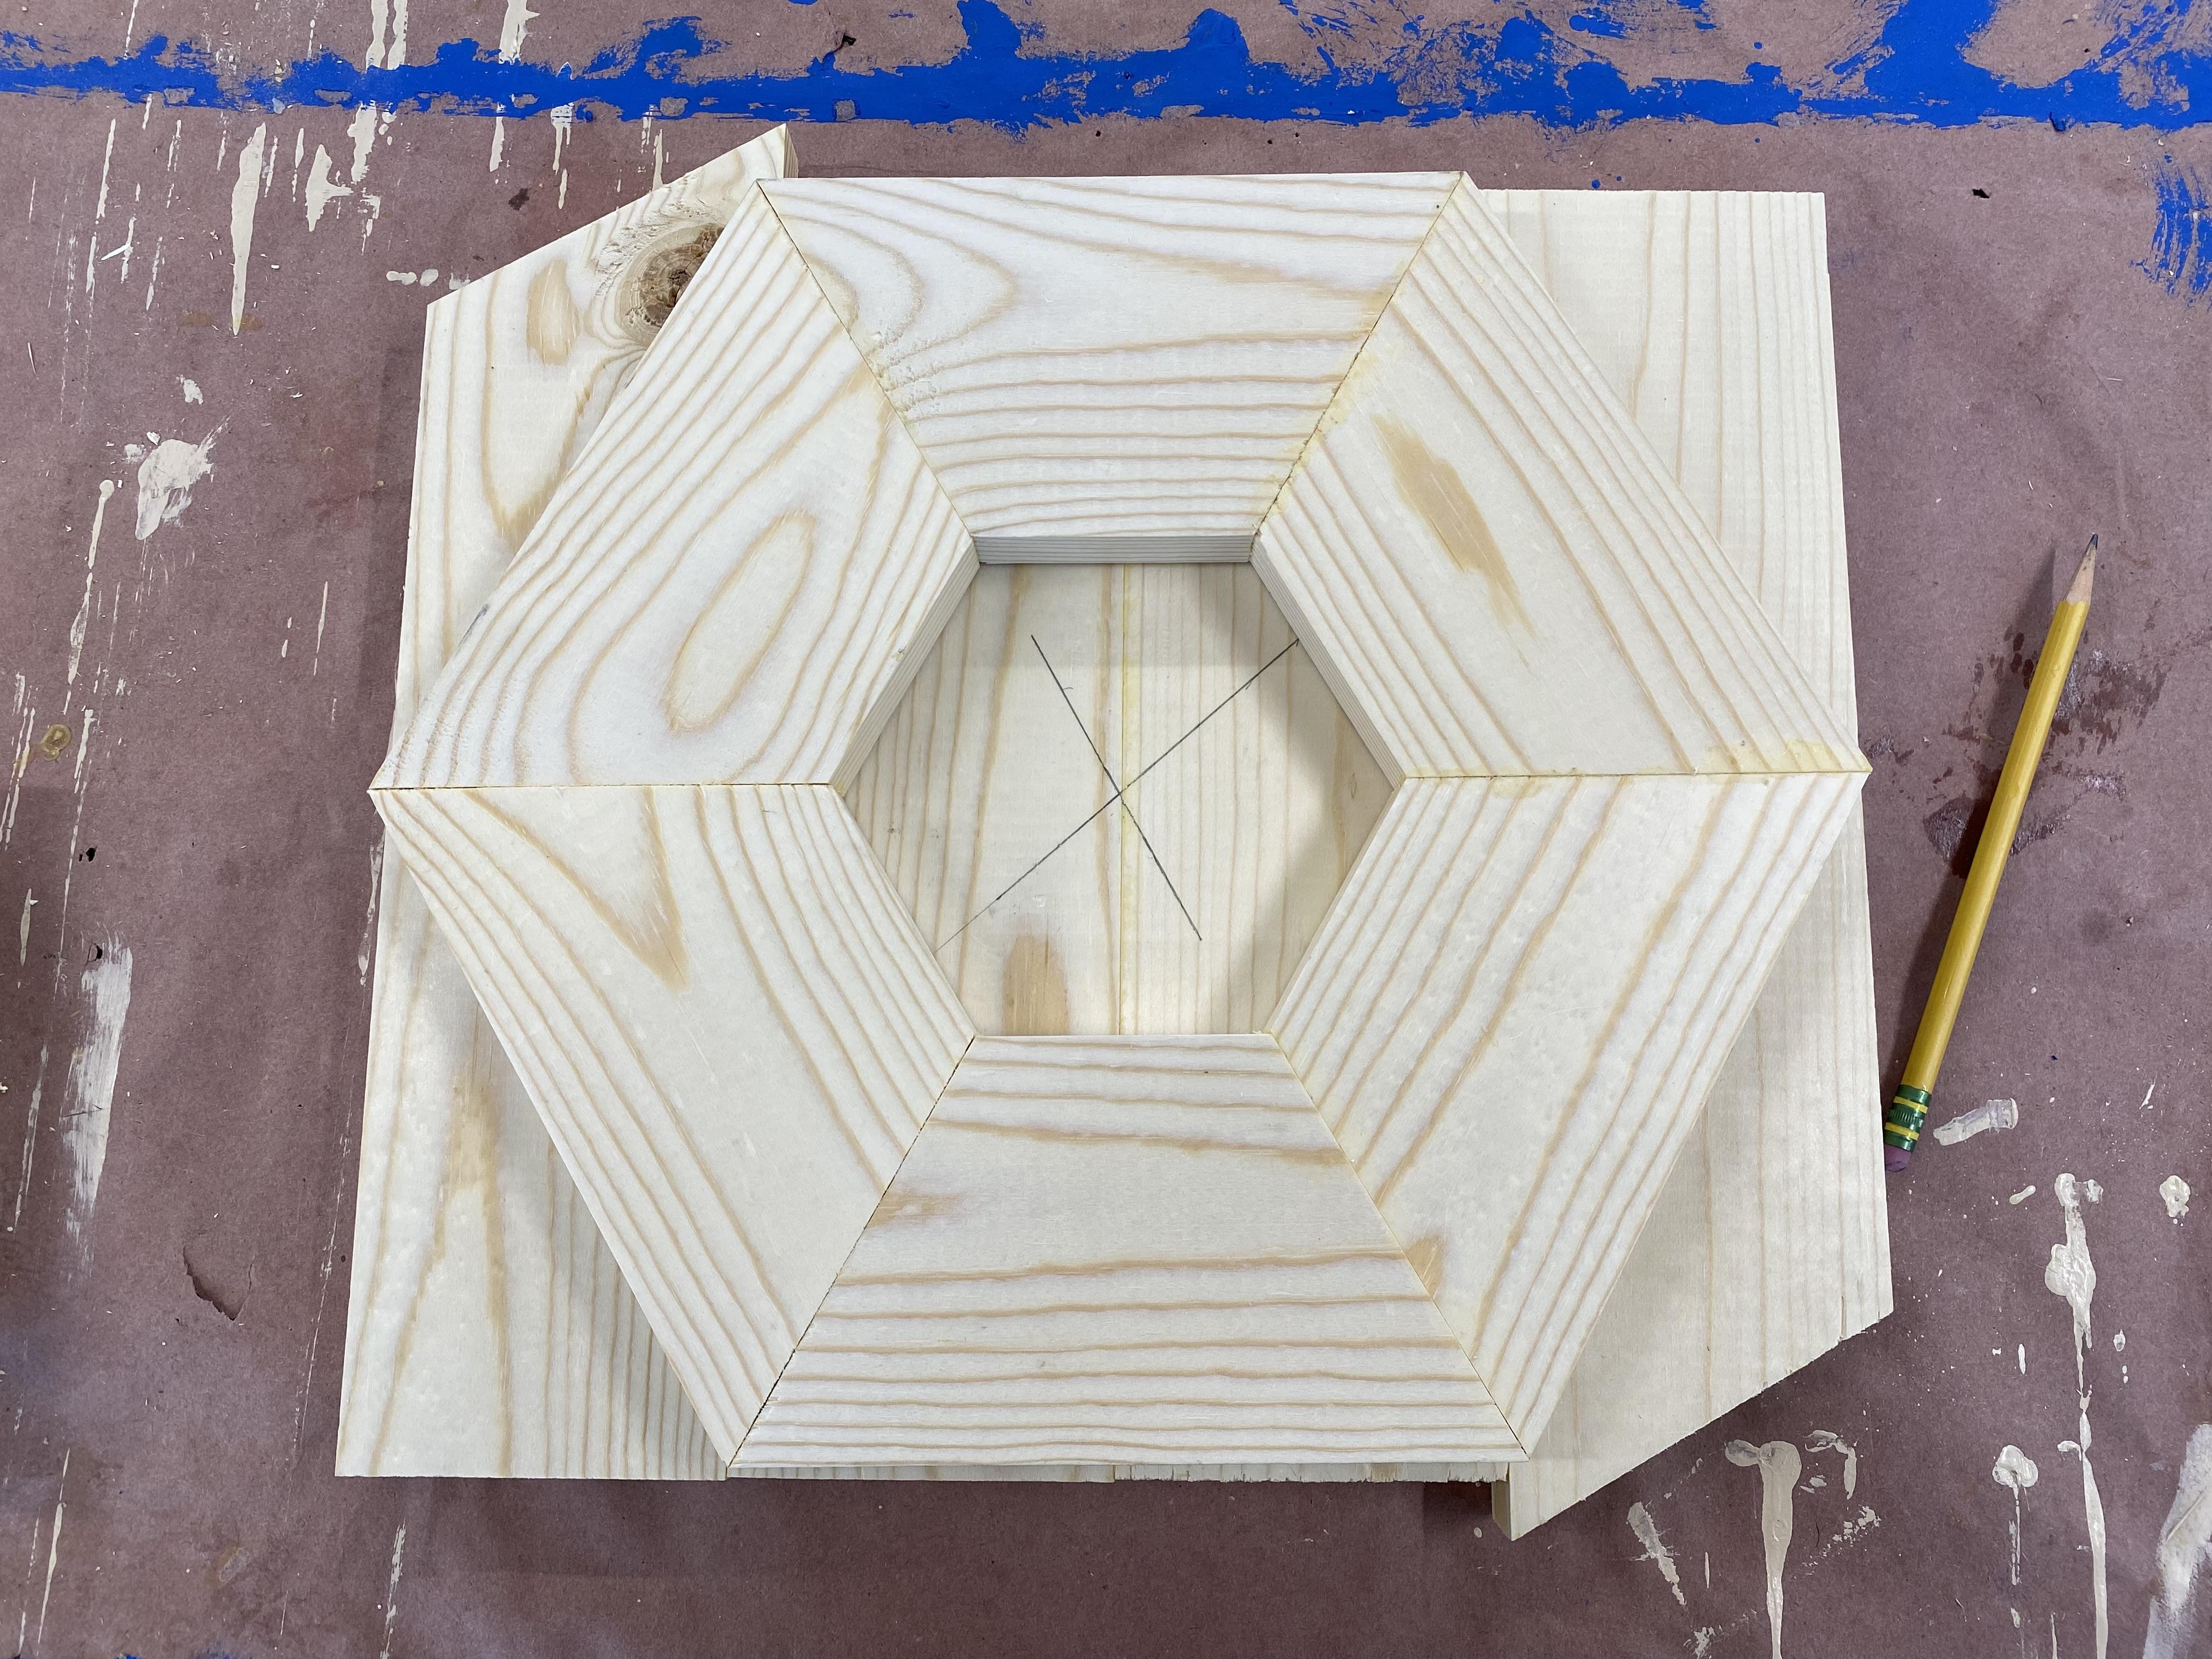
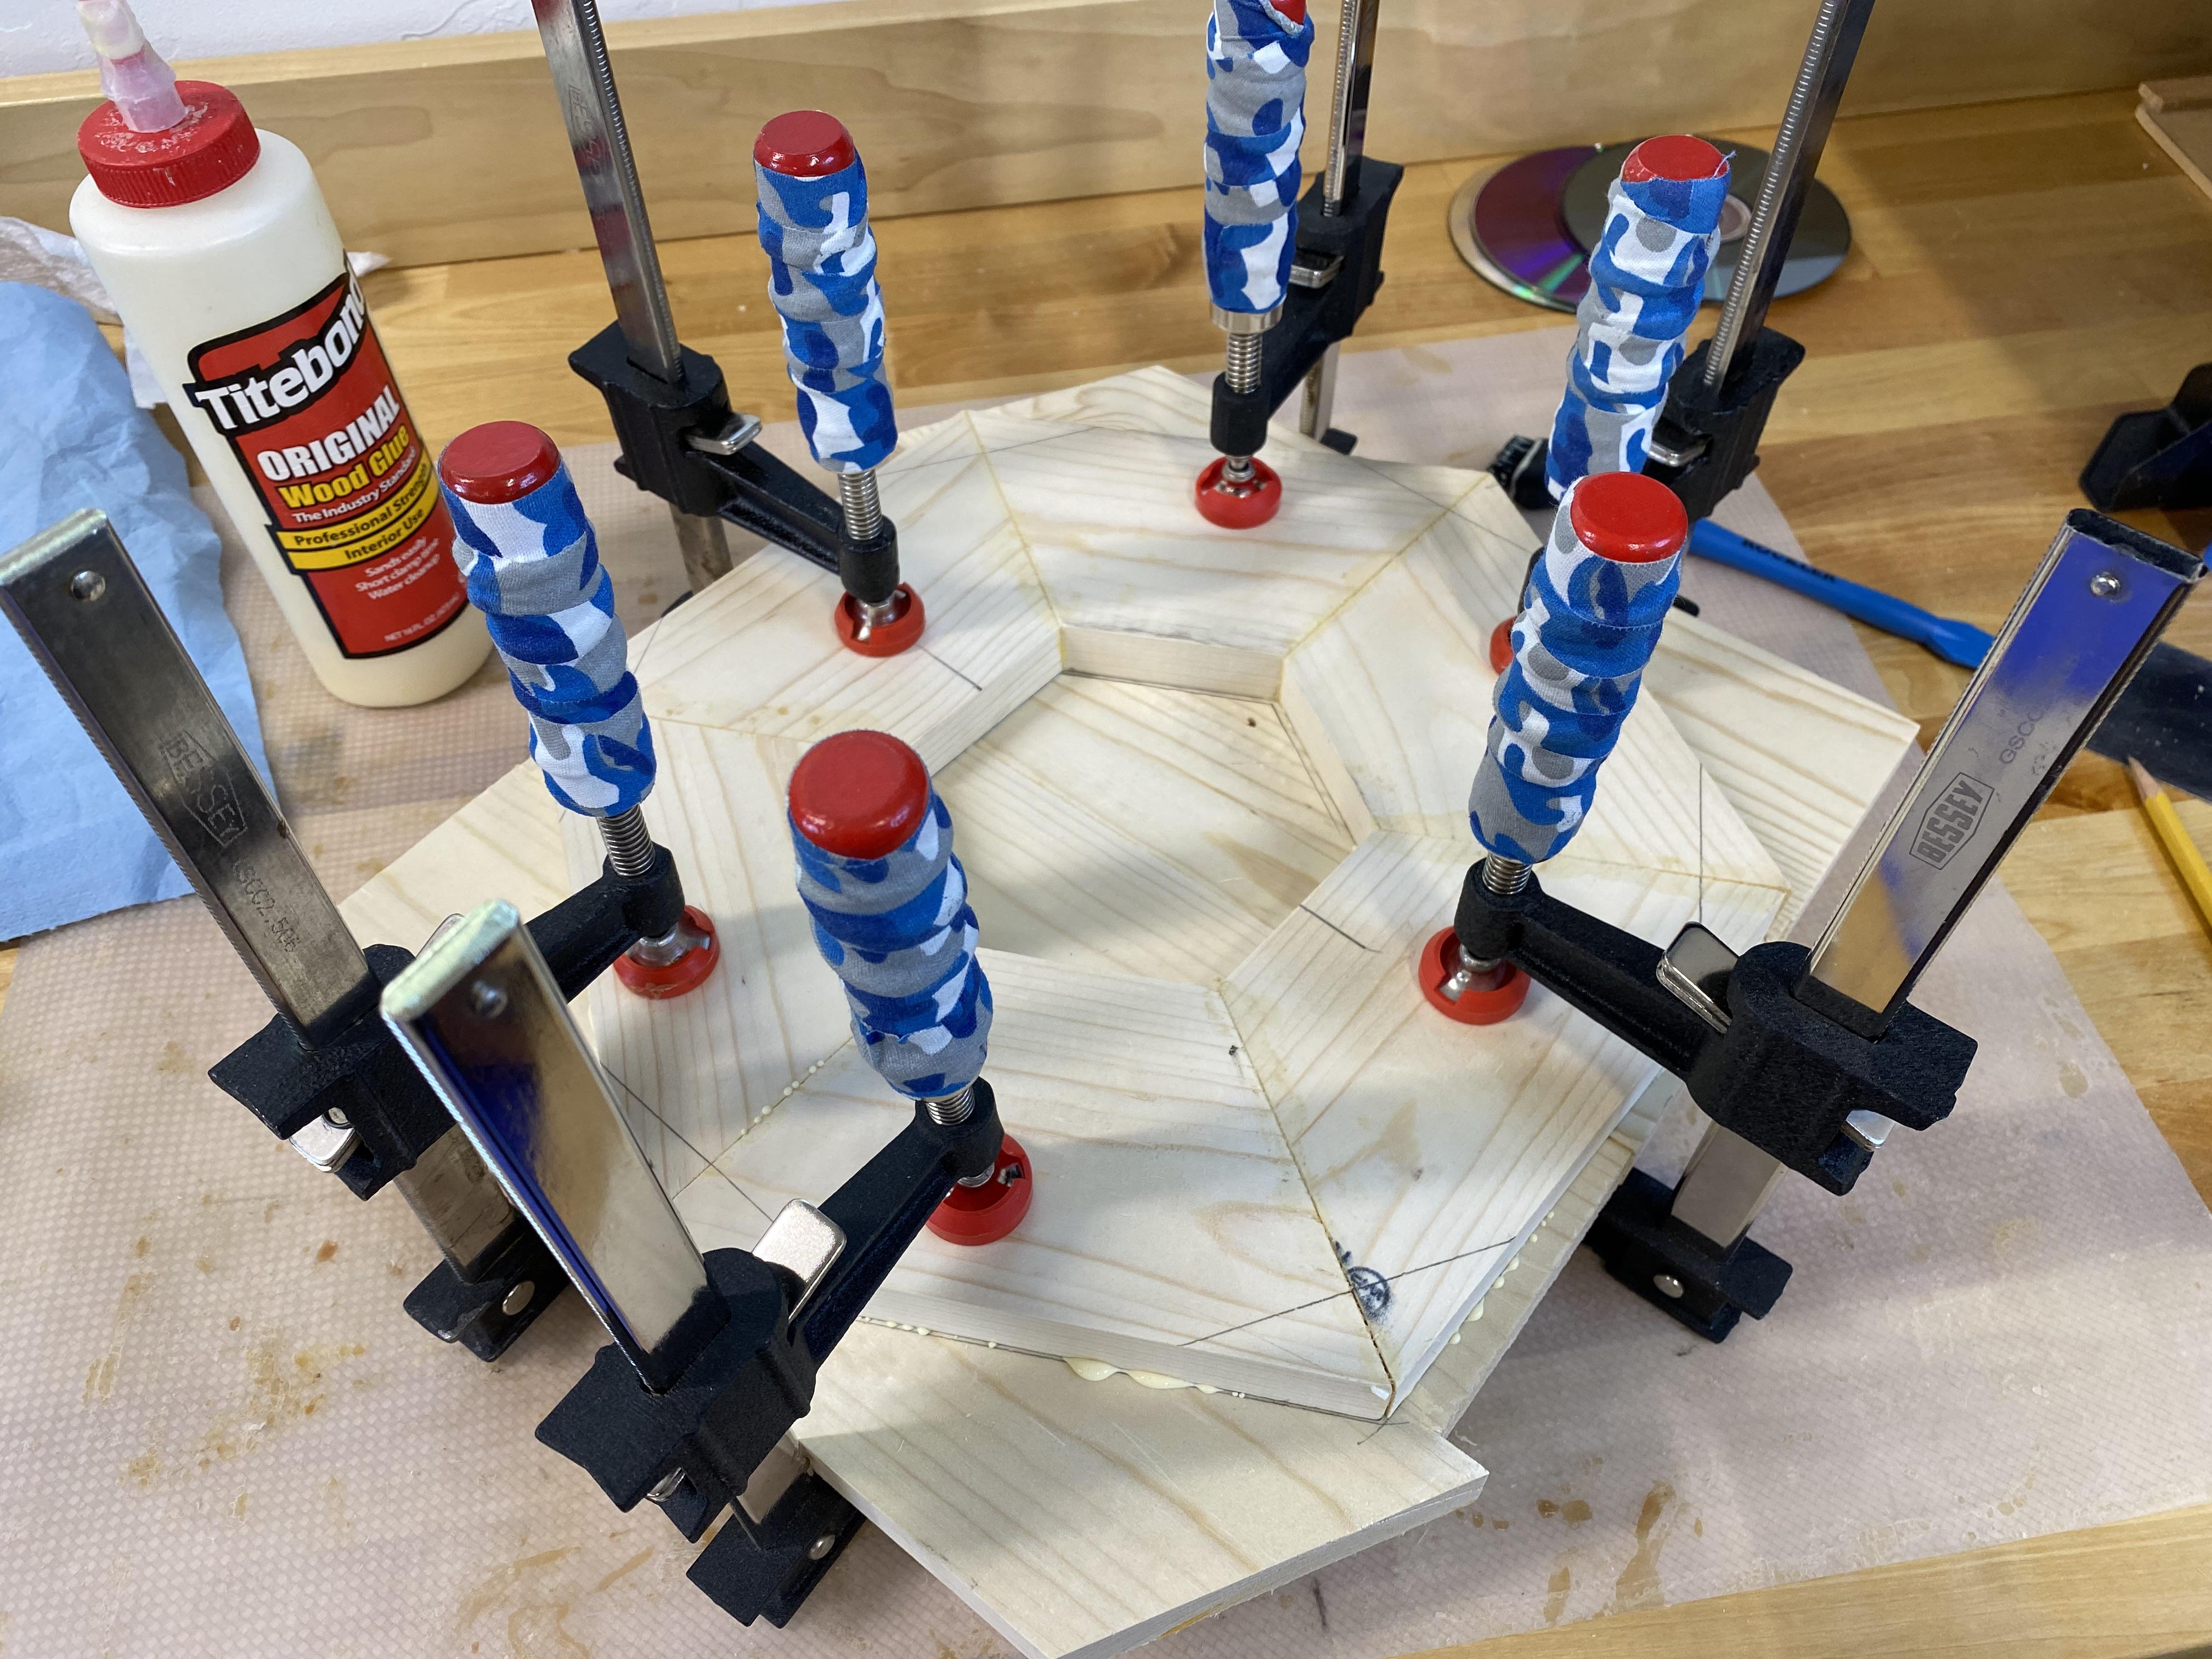
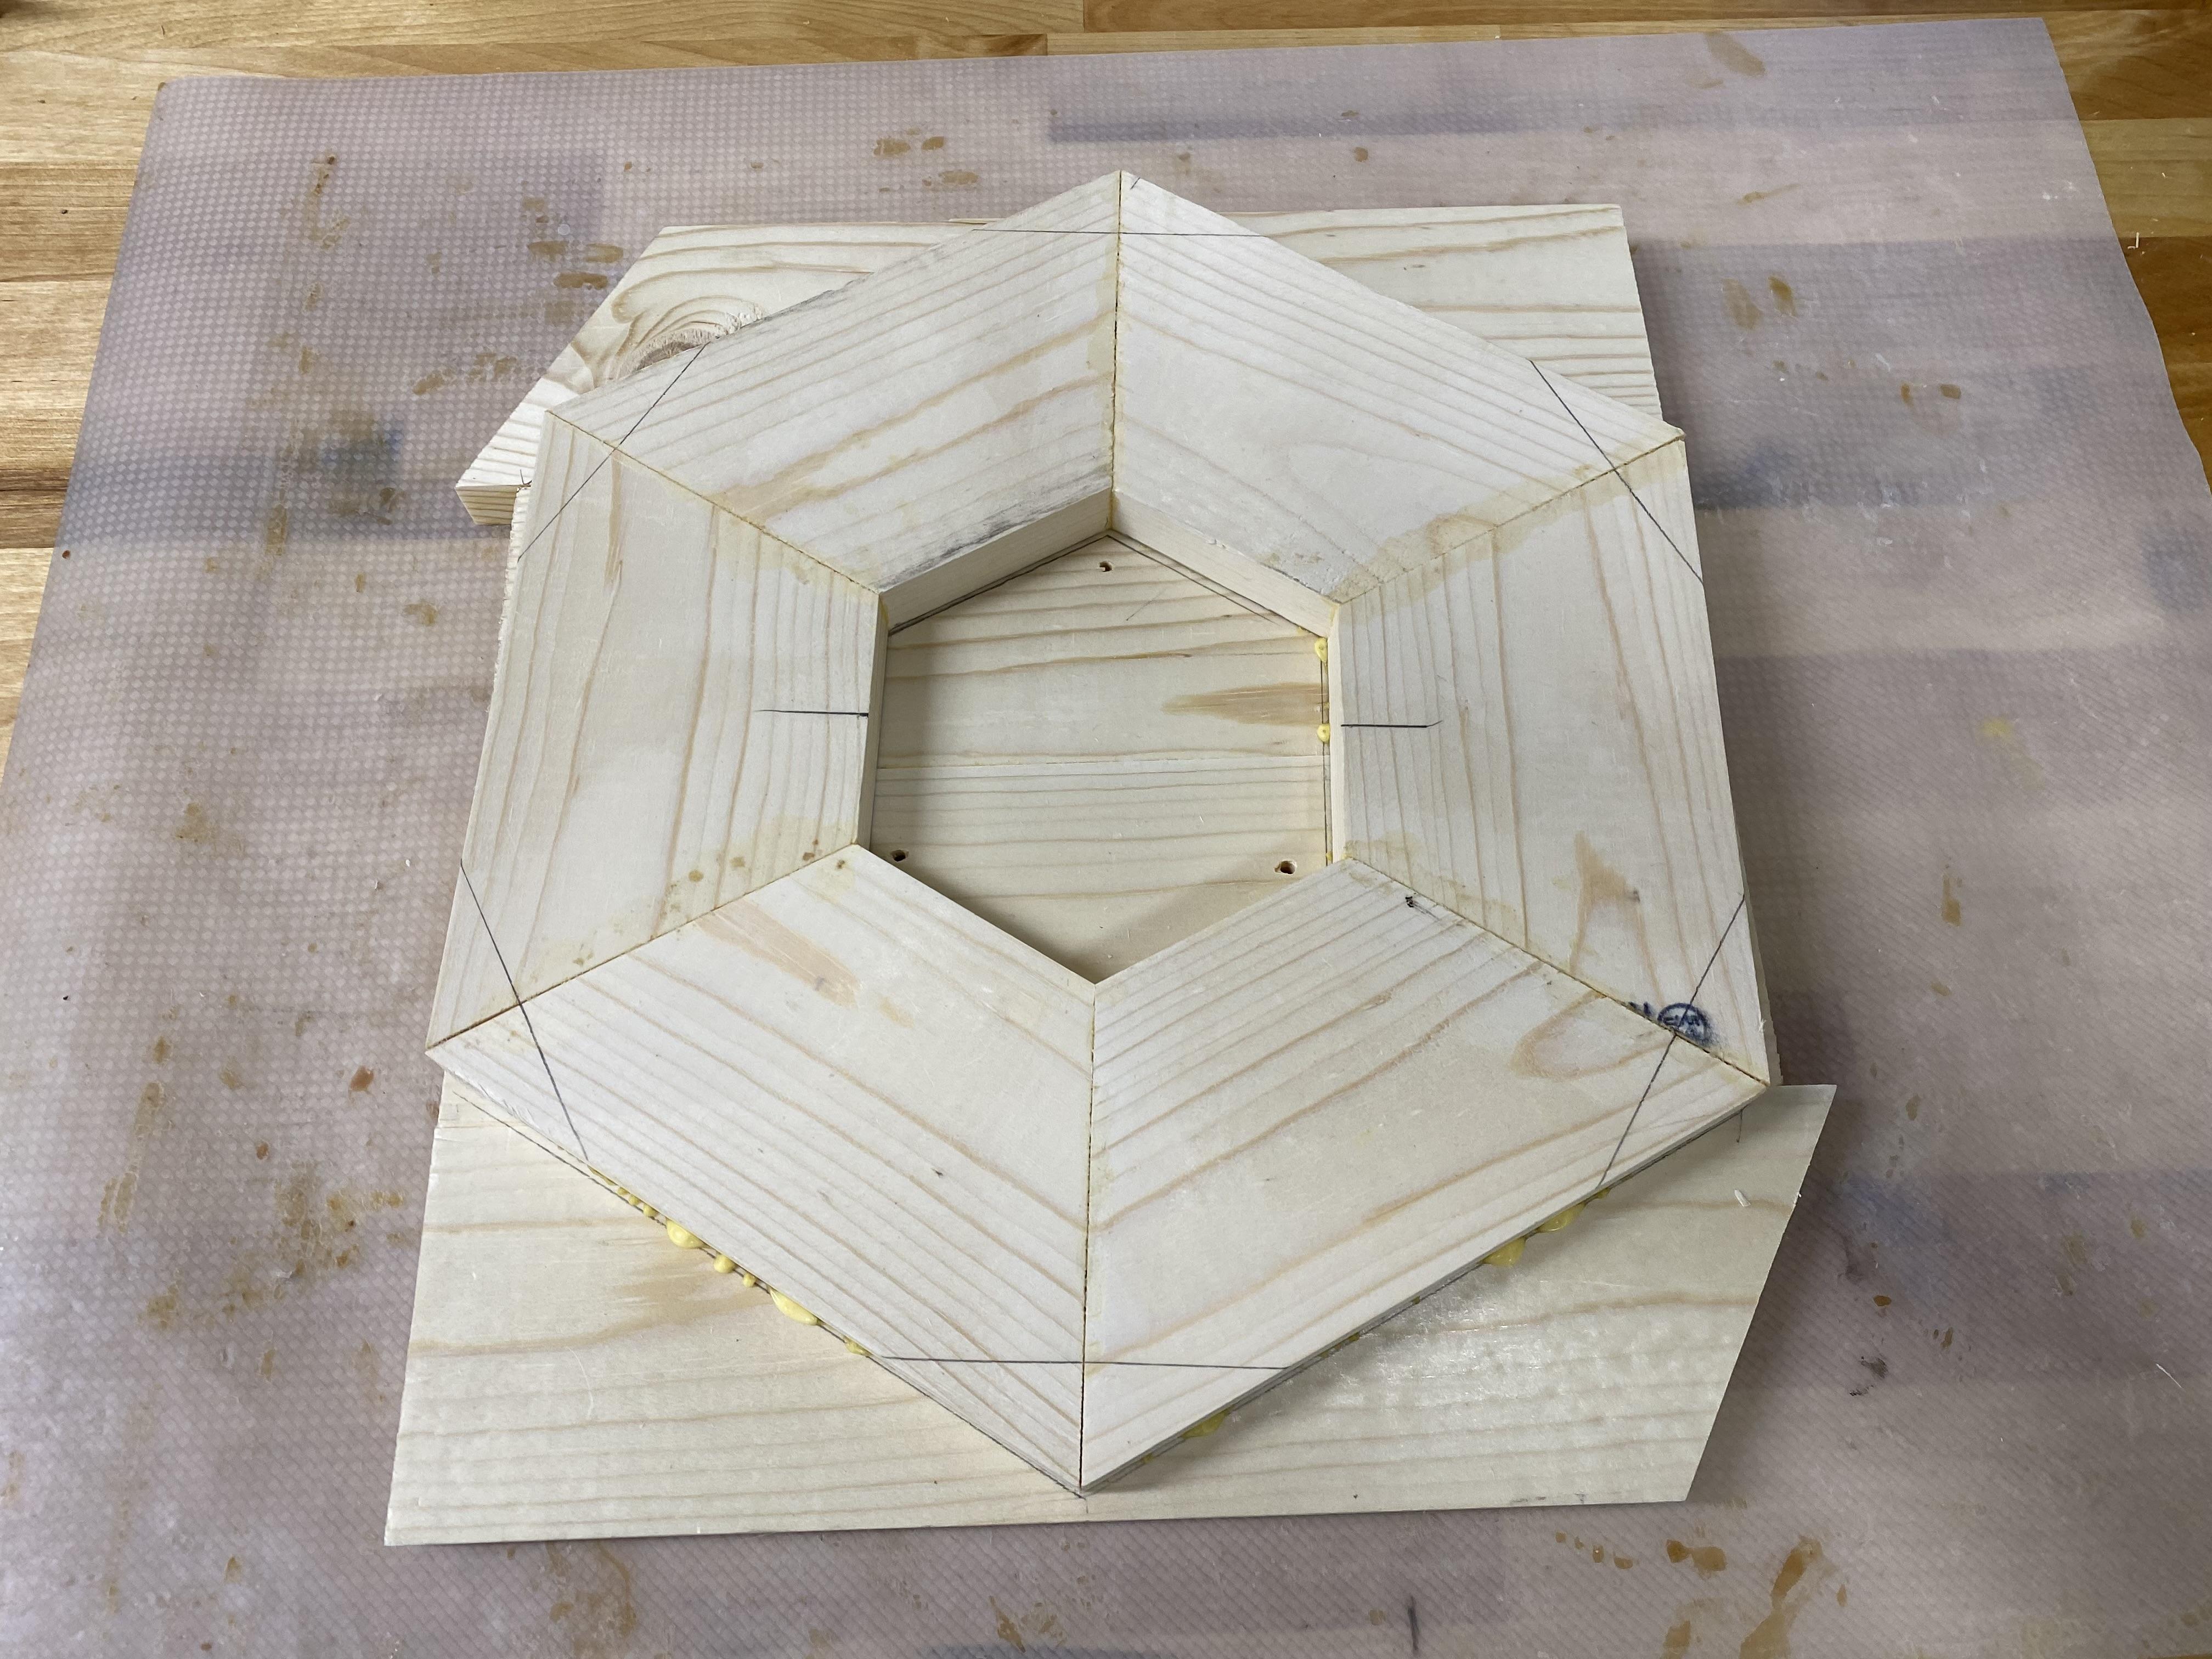
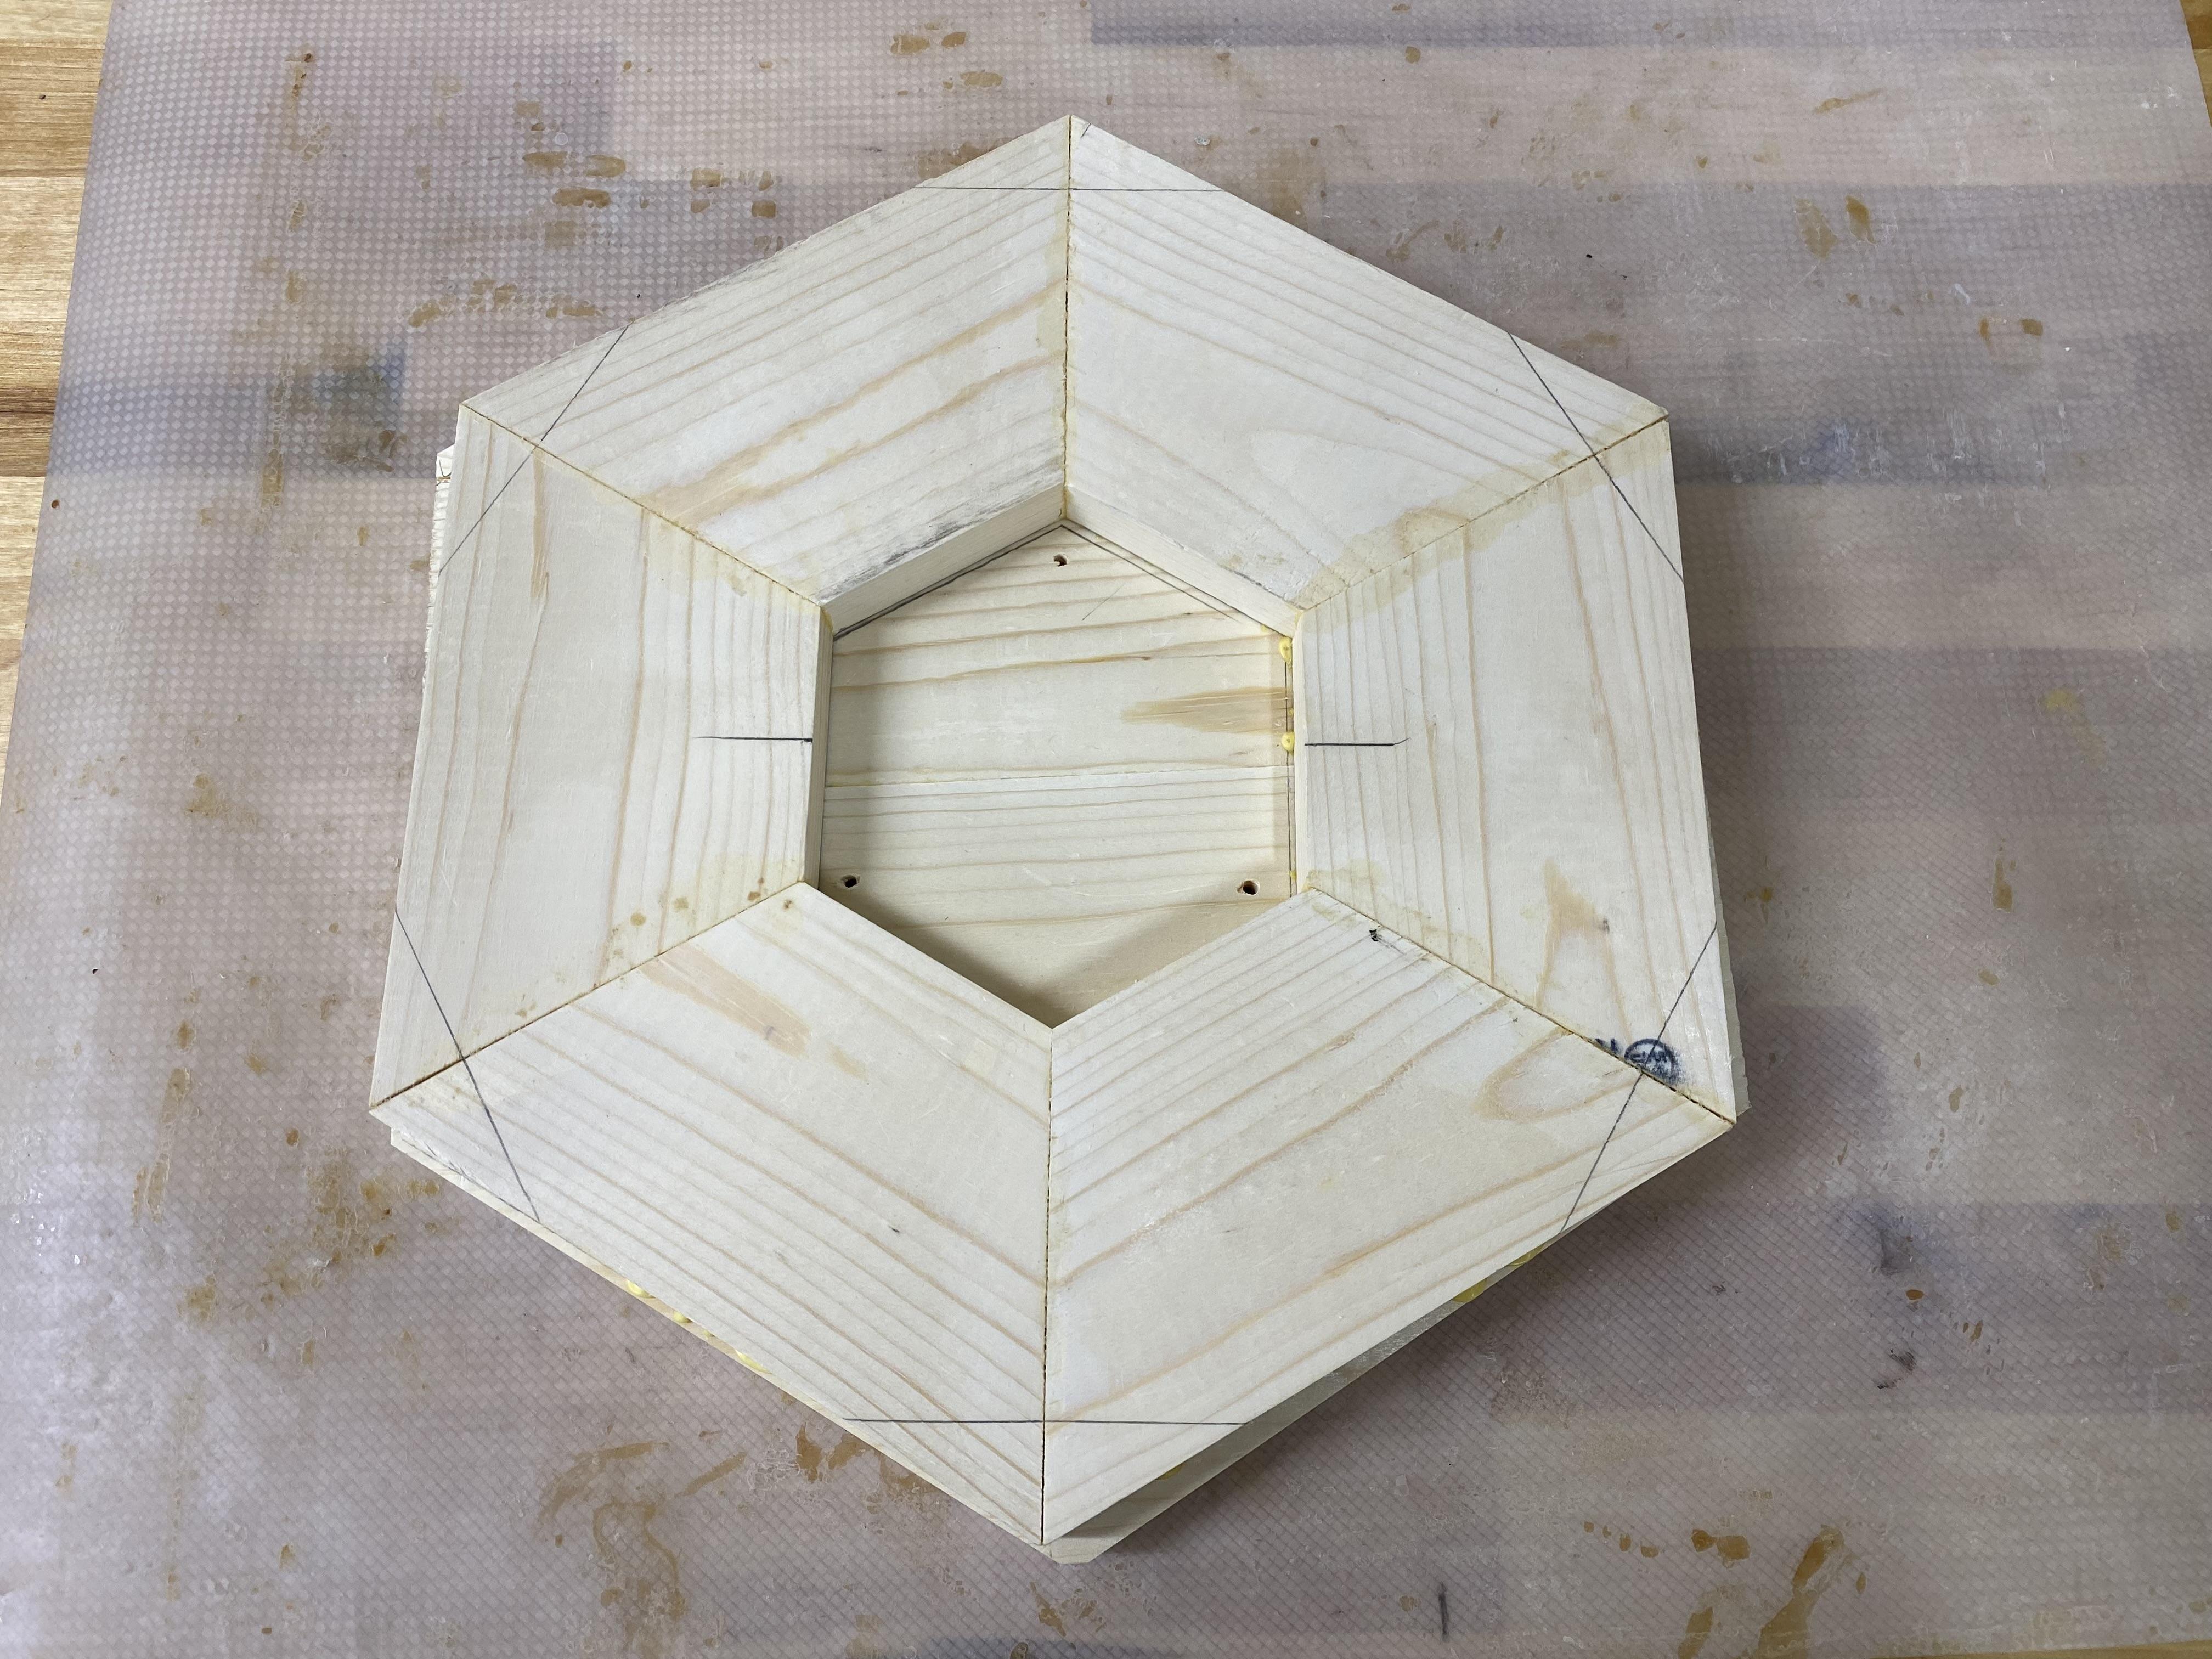
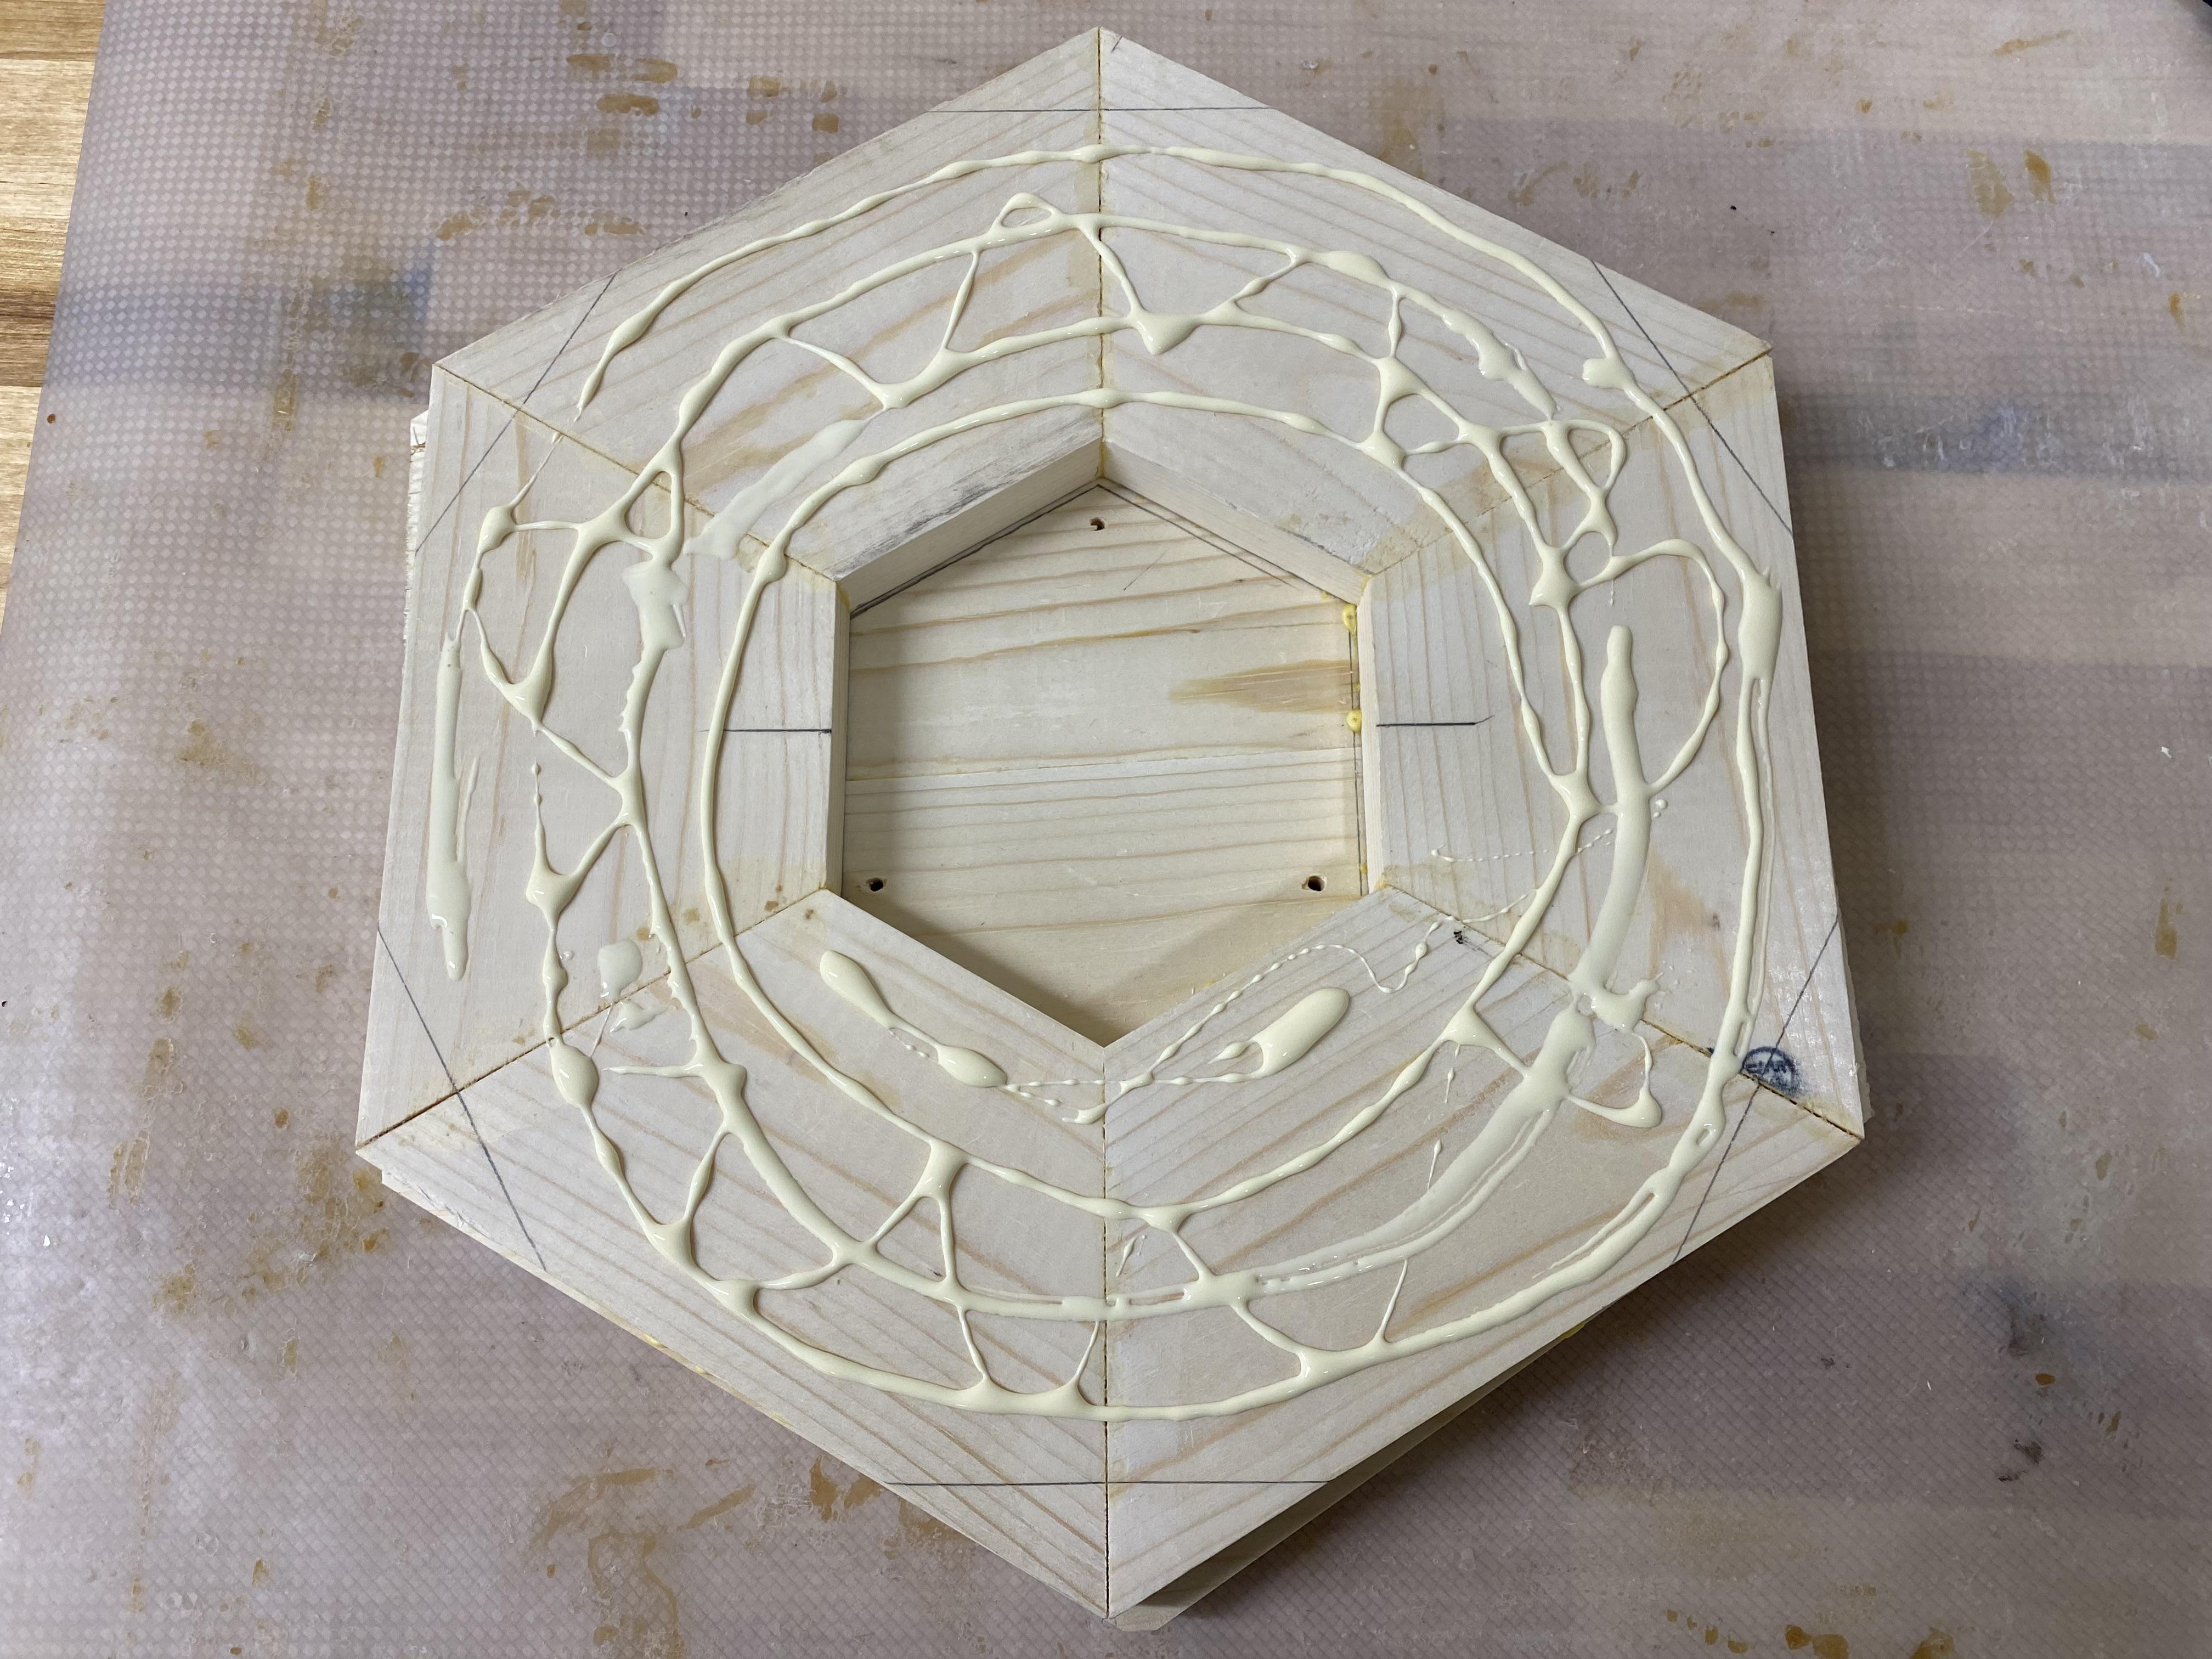
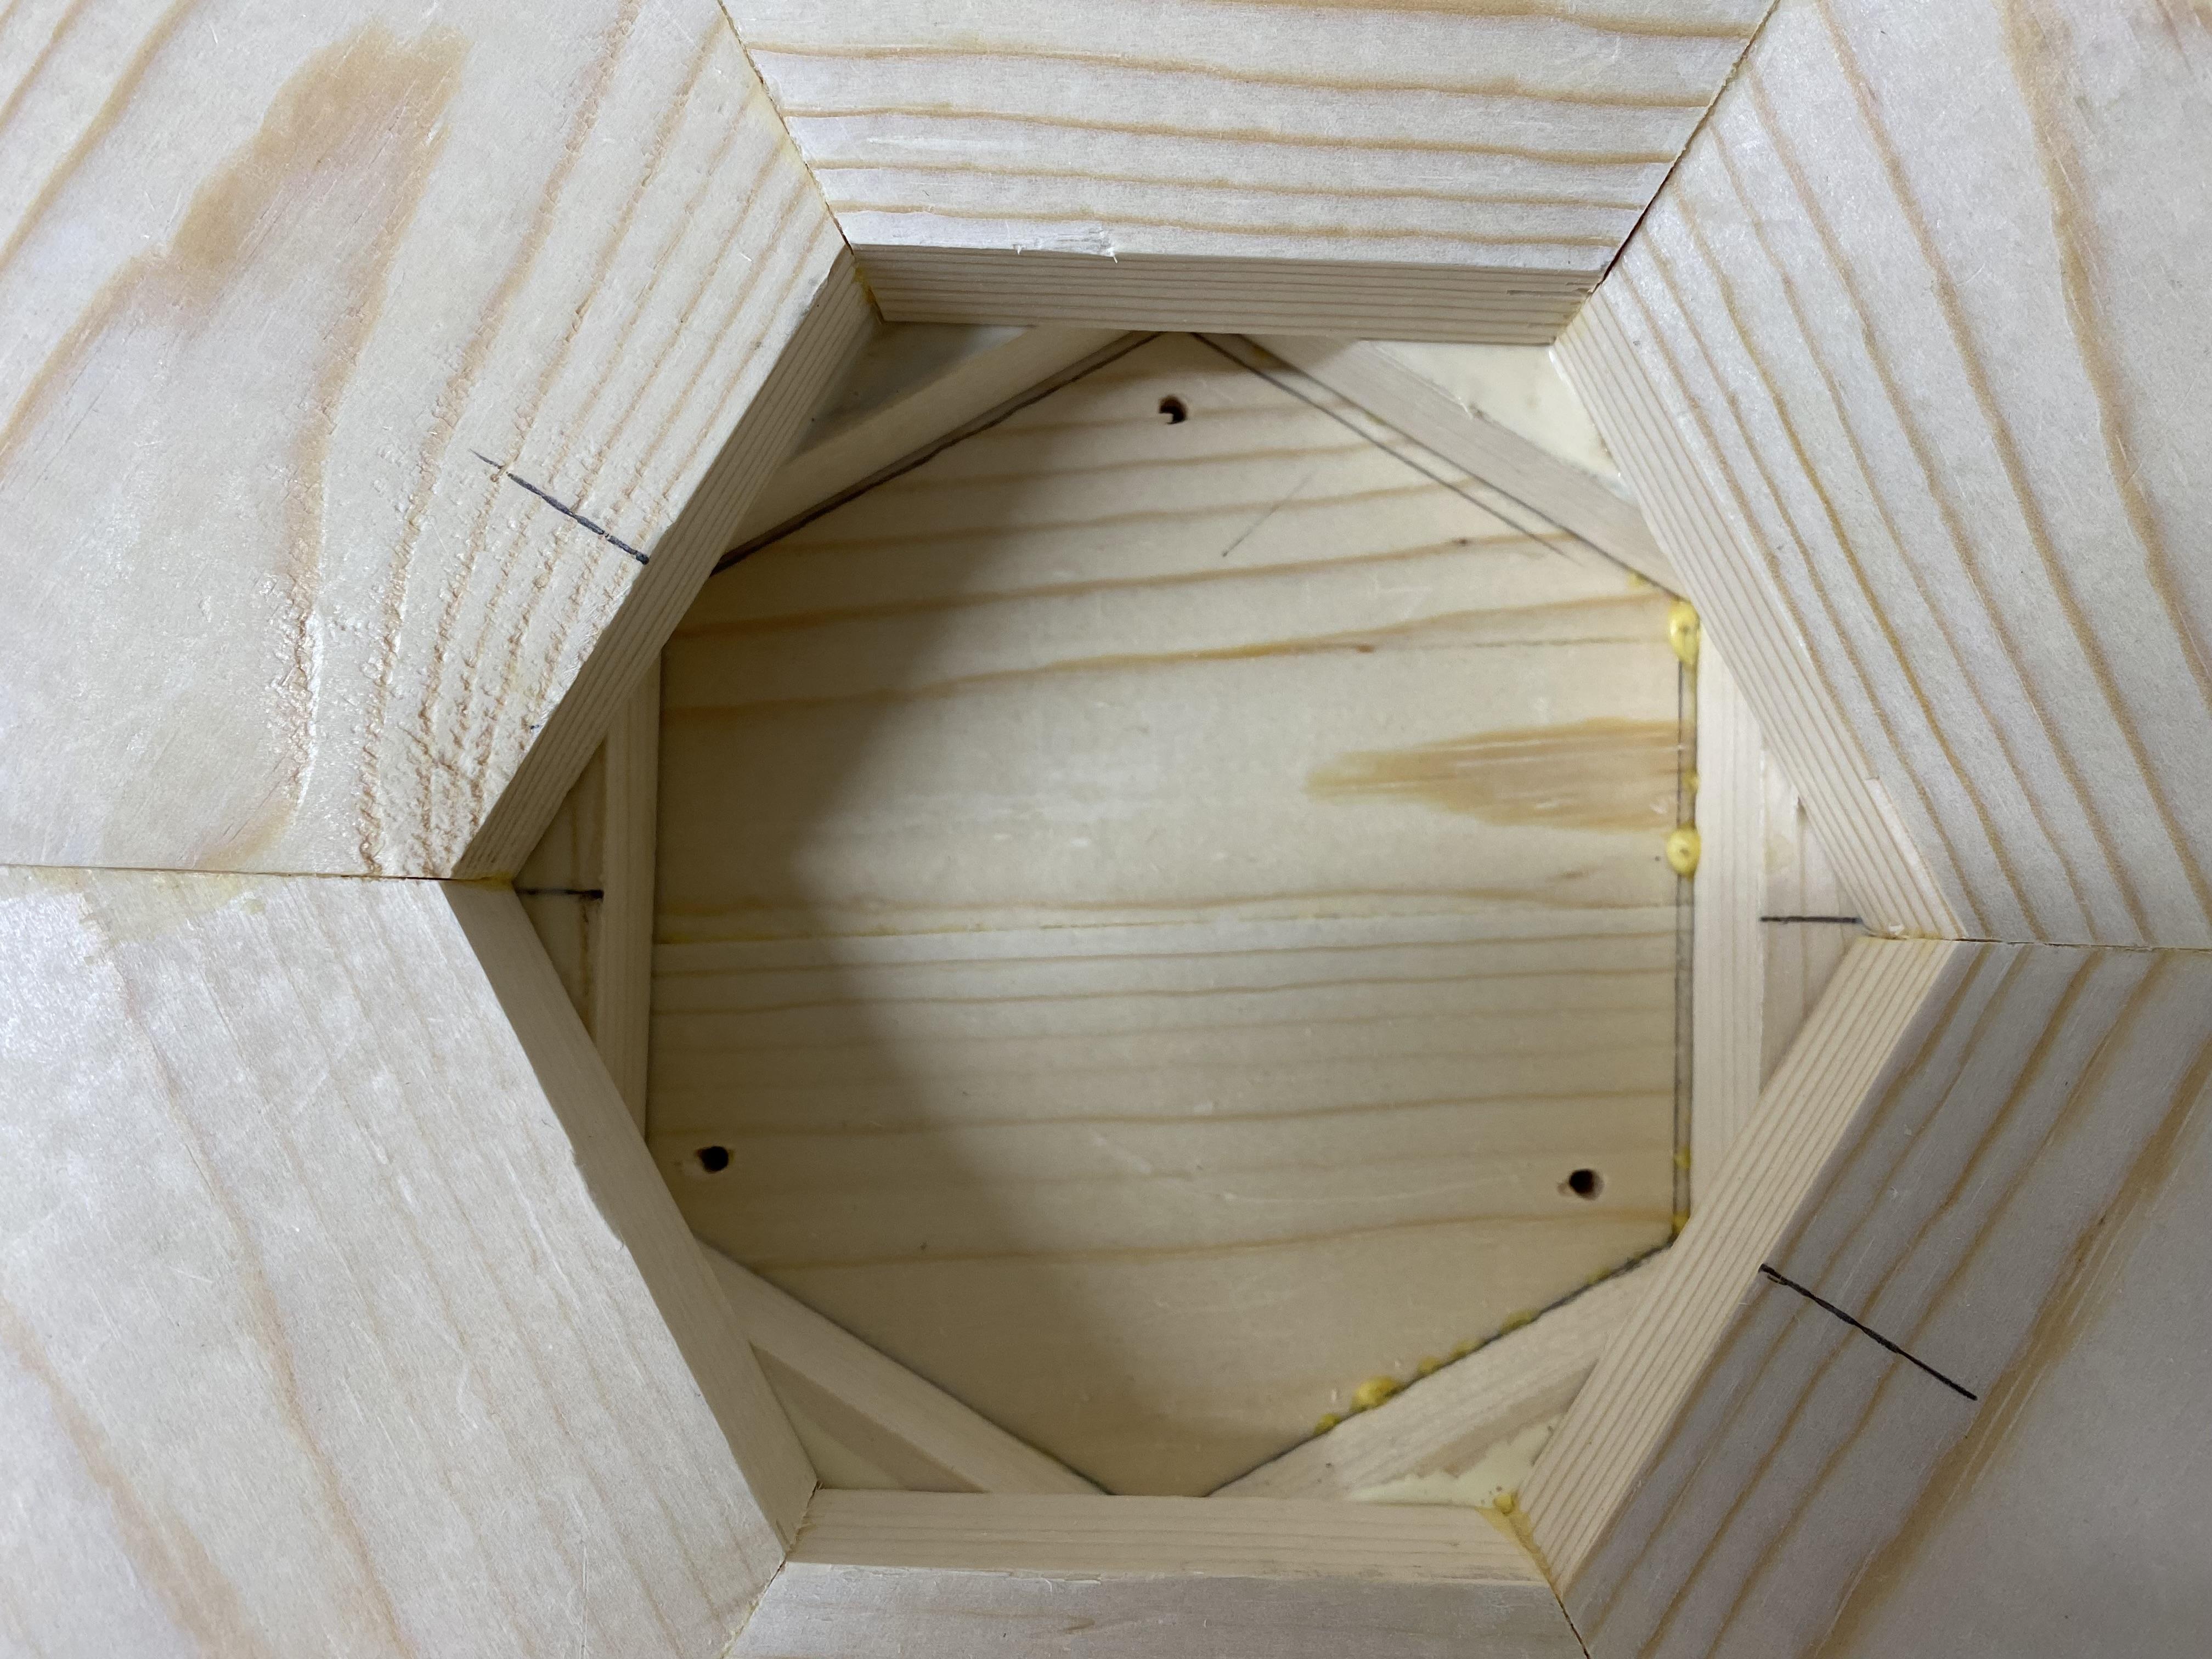
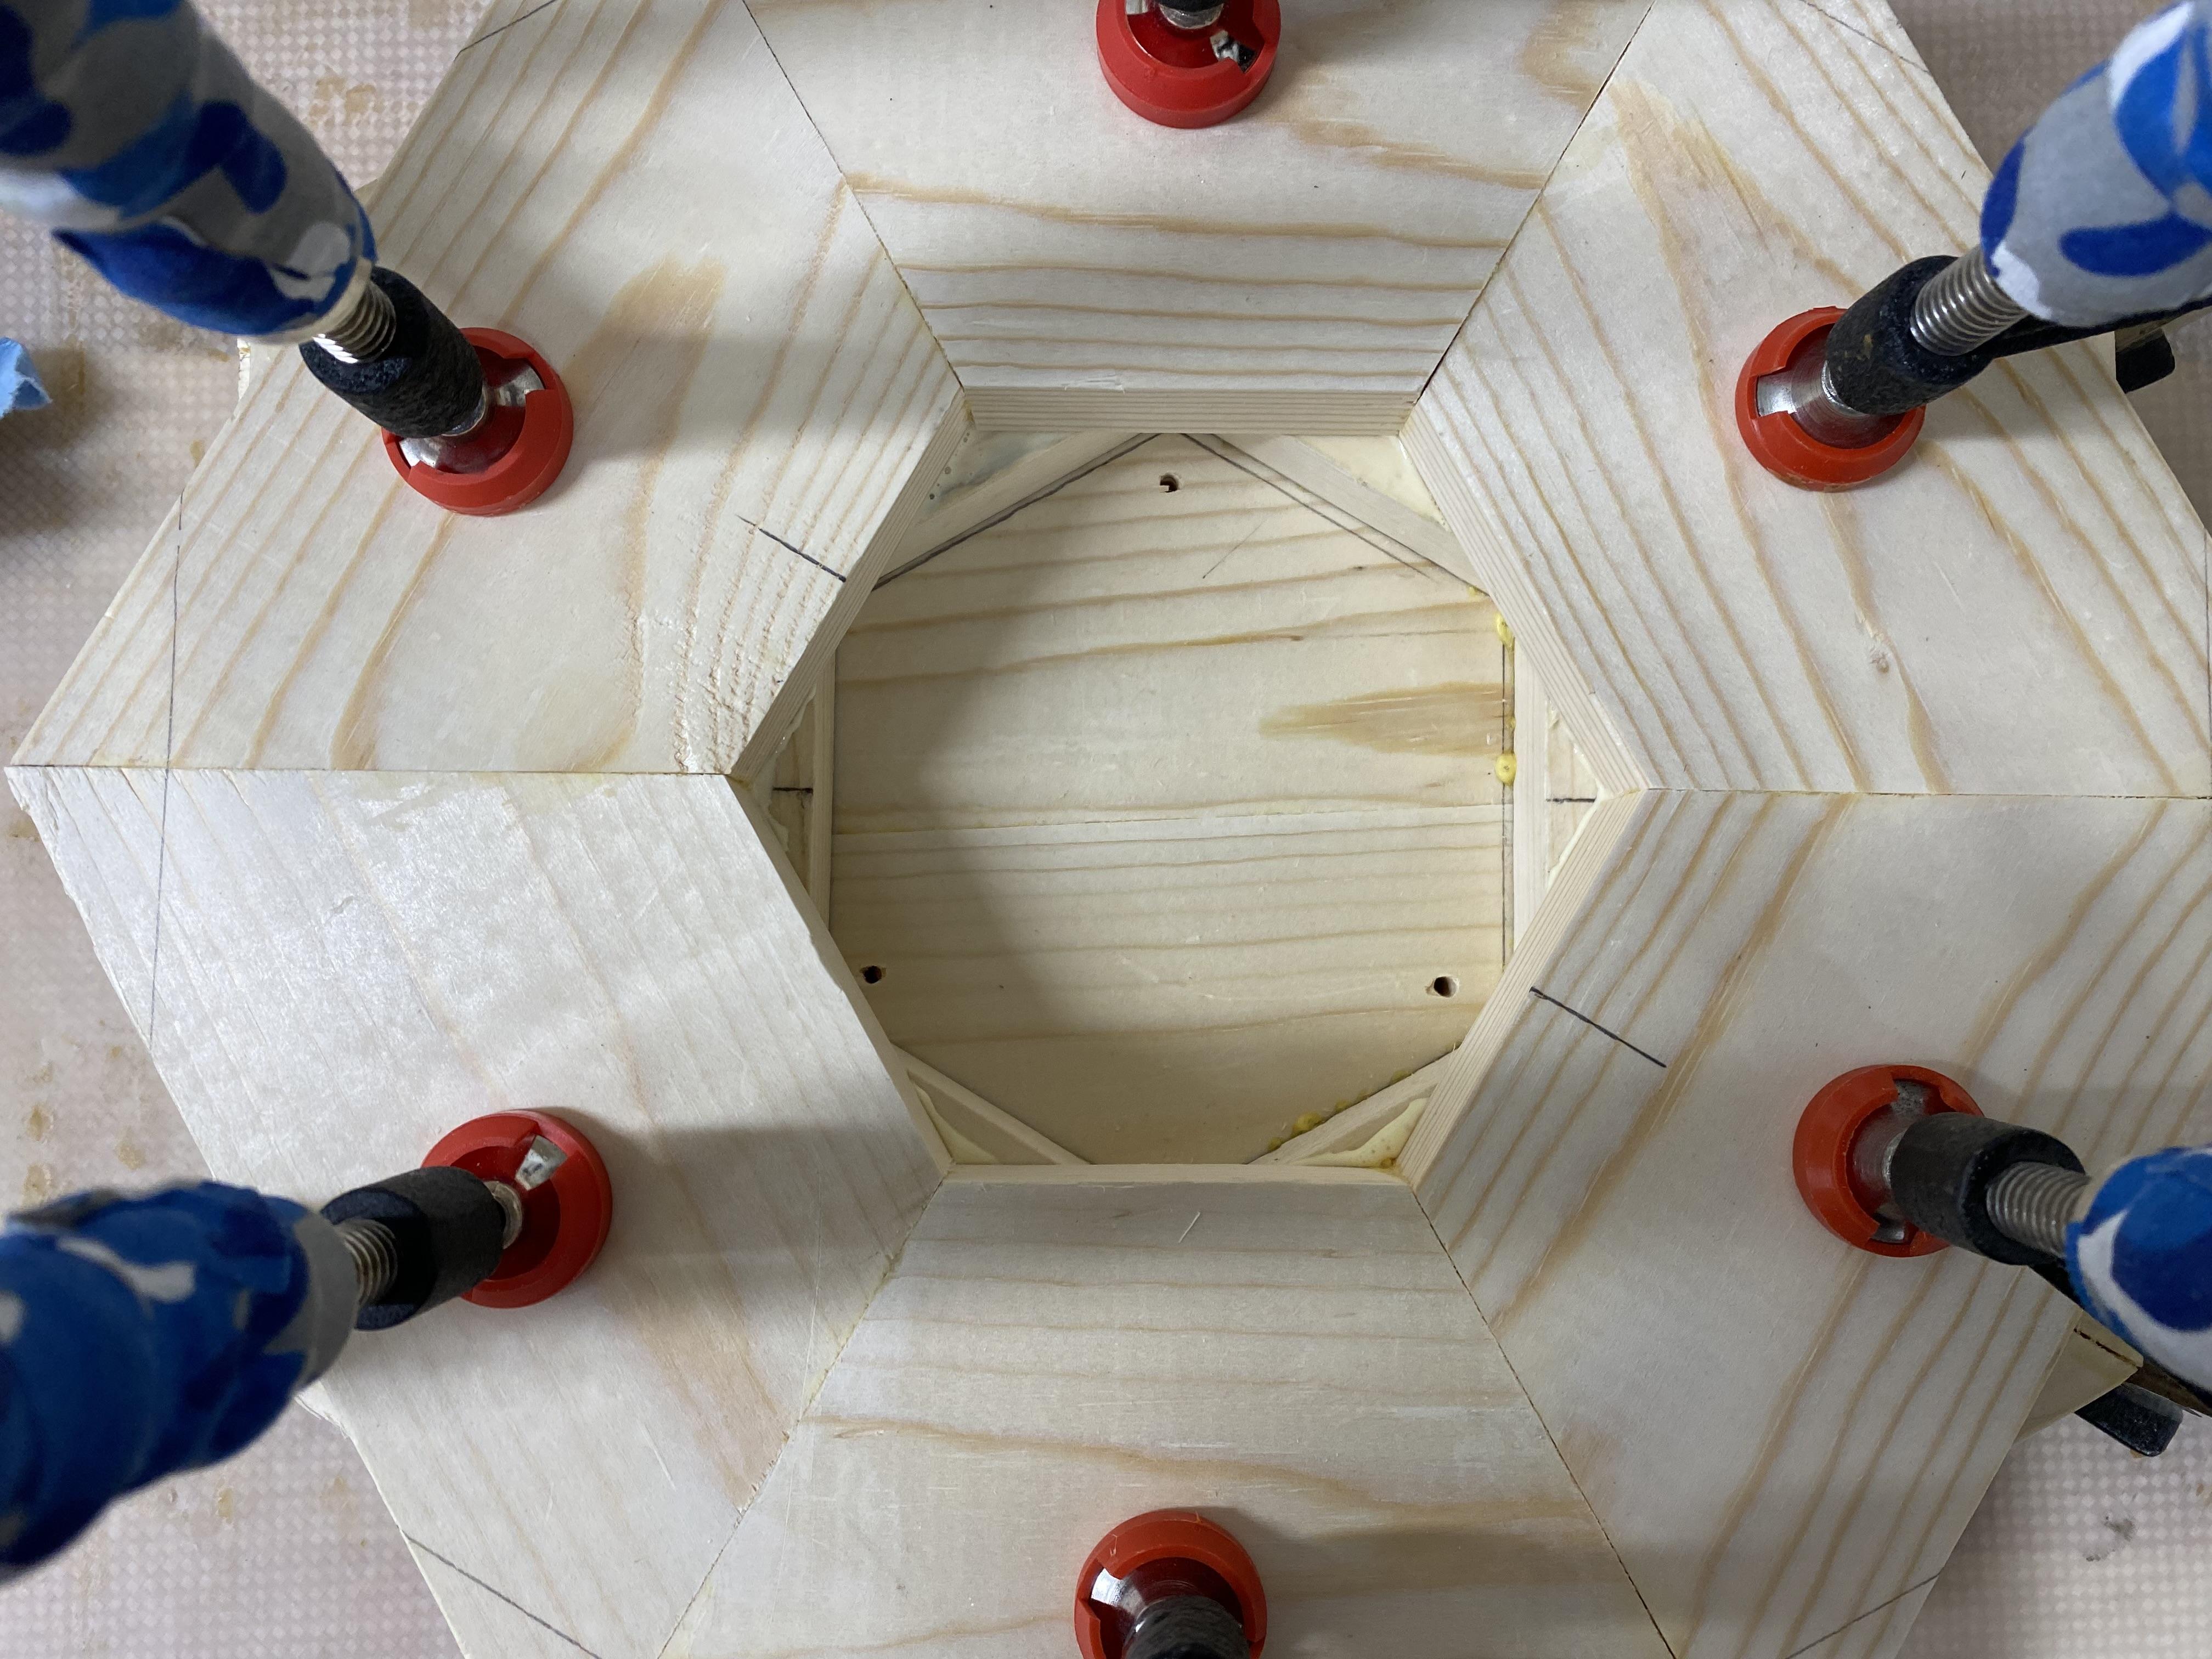
It is easiest and looks best to glue up three layers from six segments each as shown. Each segment is 6.5 inches long on the outside, 3.5 inches wide, with 30 degree miter cuts on both ends. Attached is a sketch (triangular bowl section) of the layout with dimensions. Six segments make up one layer ring. Glue three segment pieces together, then trim straight on the table saw for a perfect fit. Make three rings and be sure they lay flat; some planing/sanding might be required.
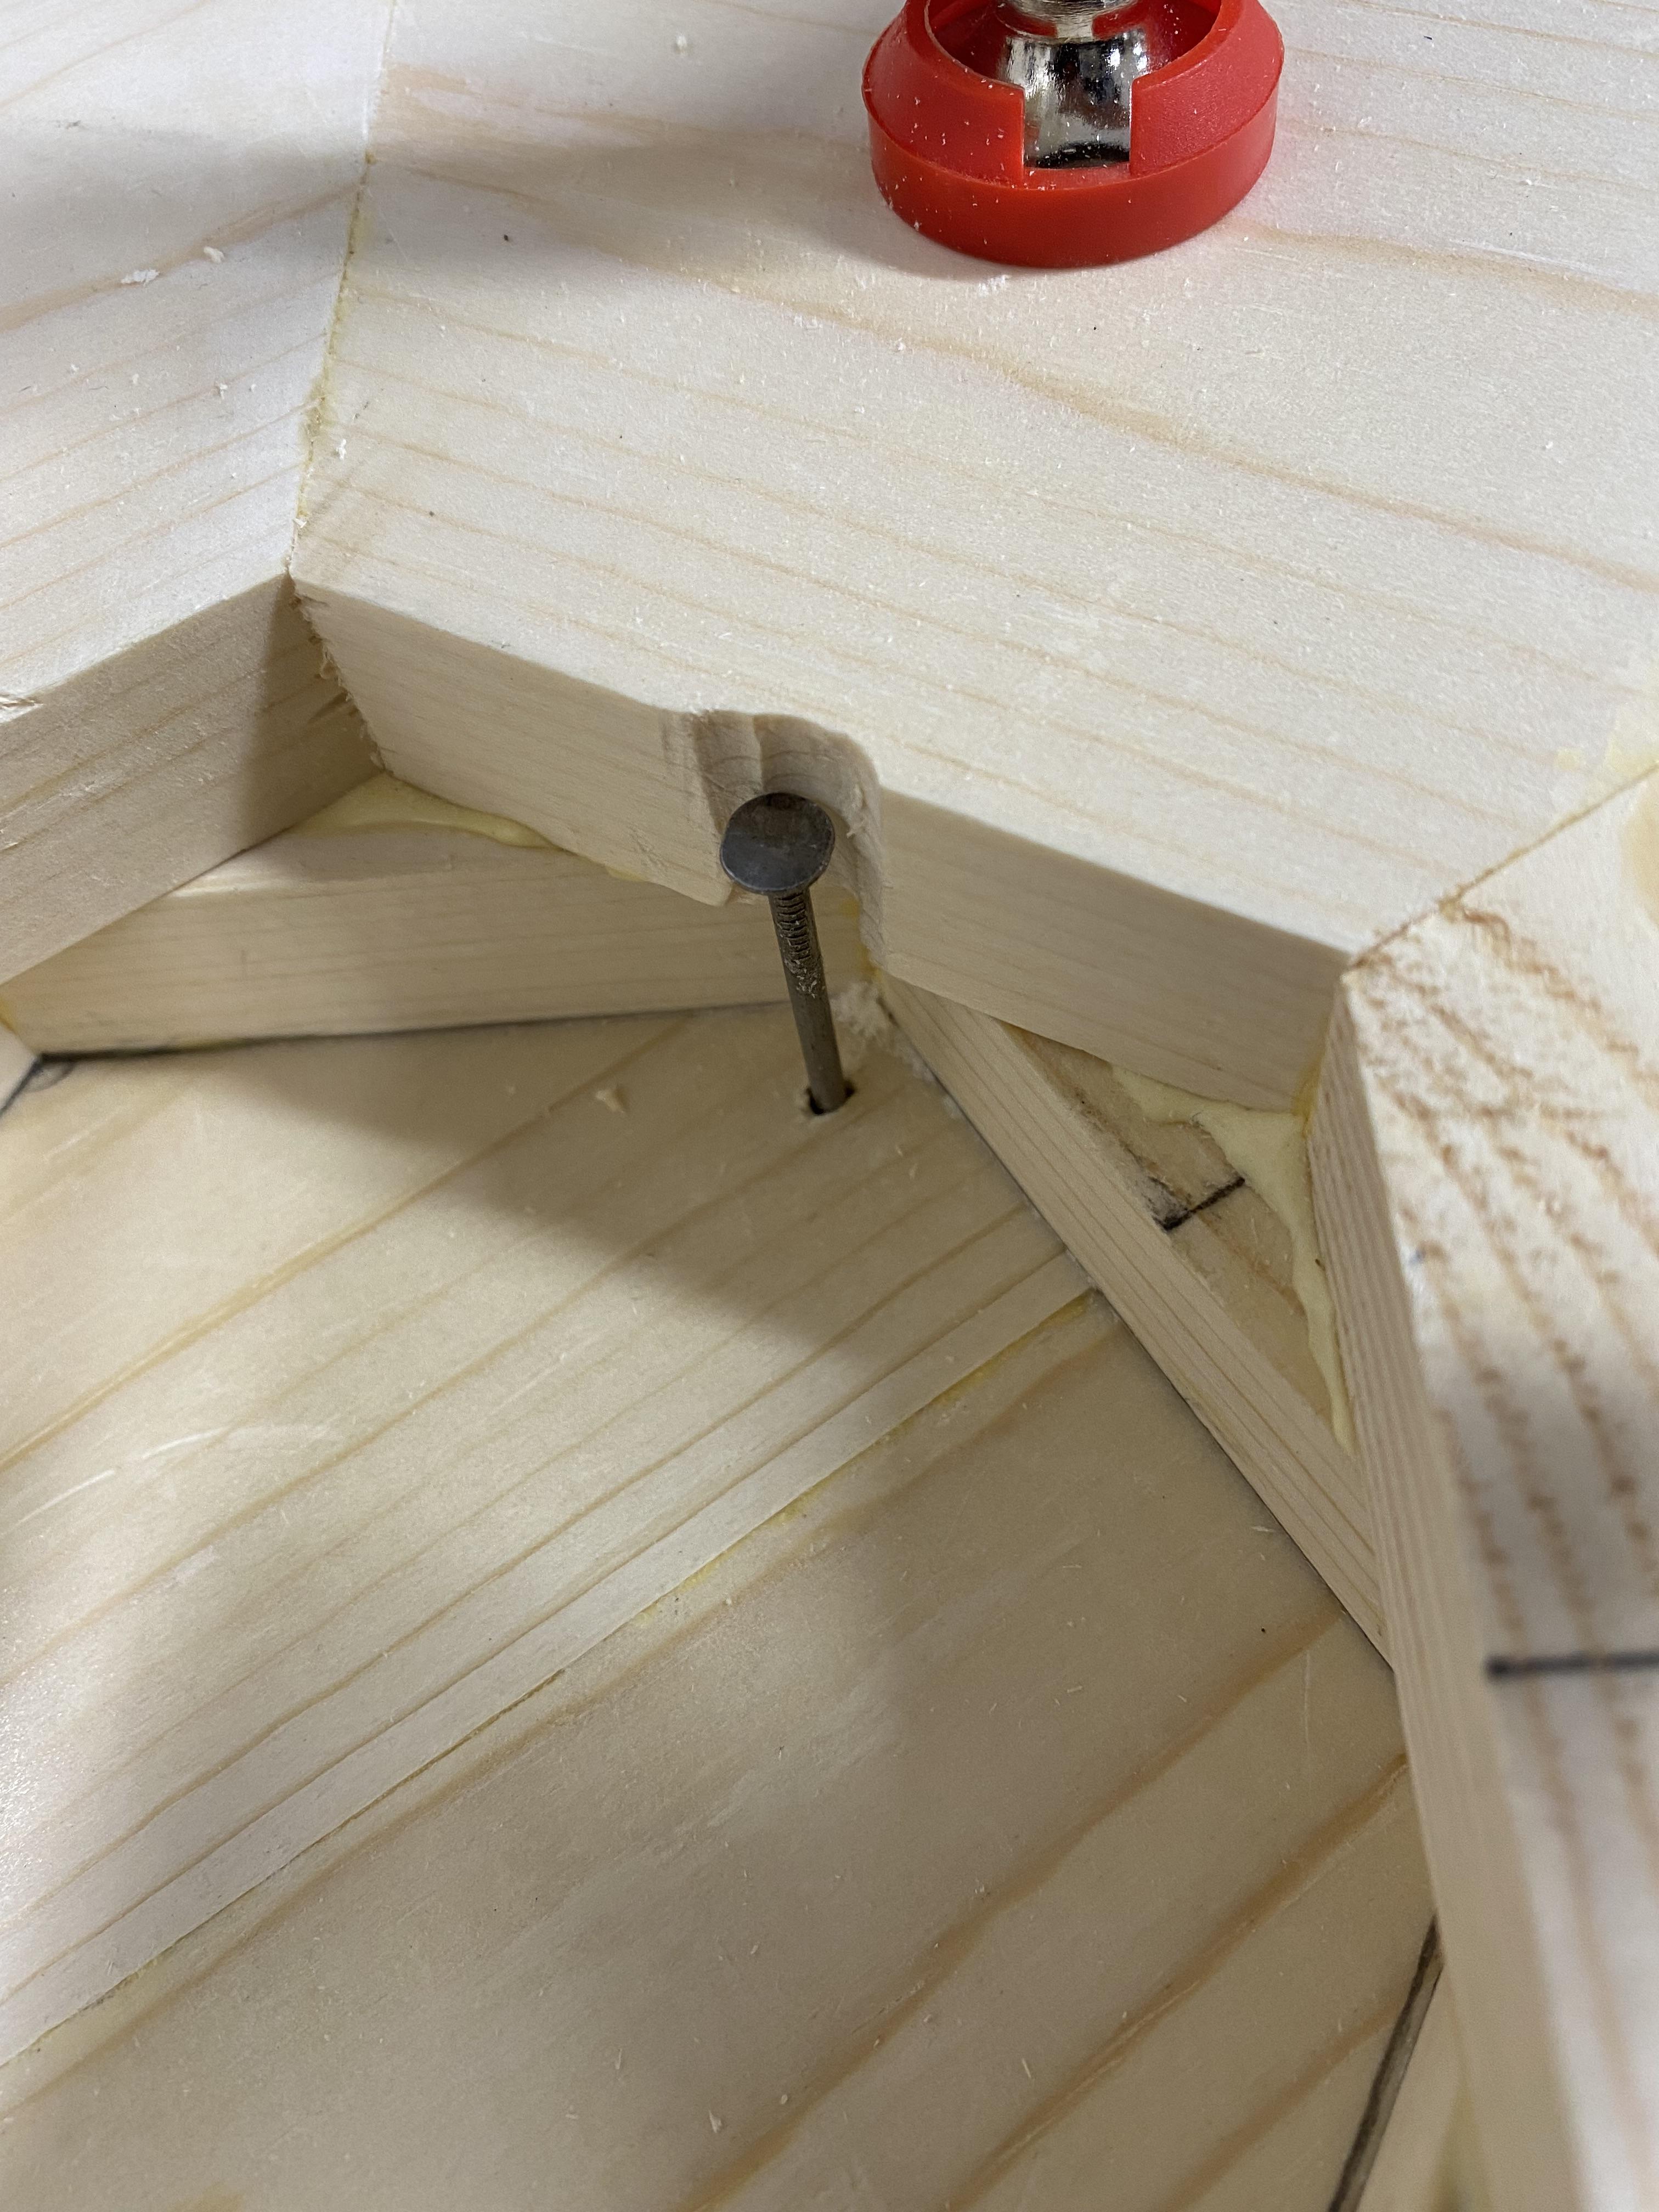
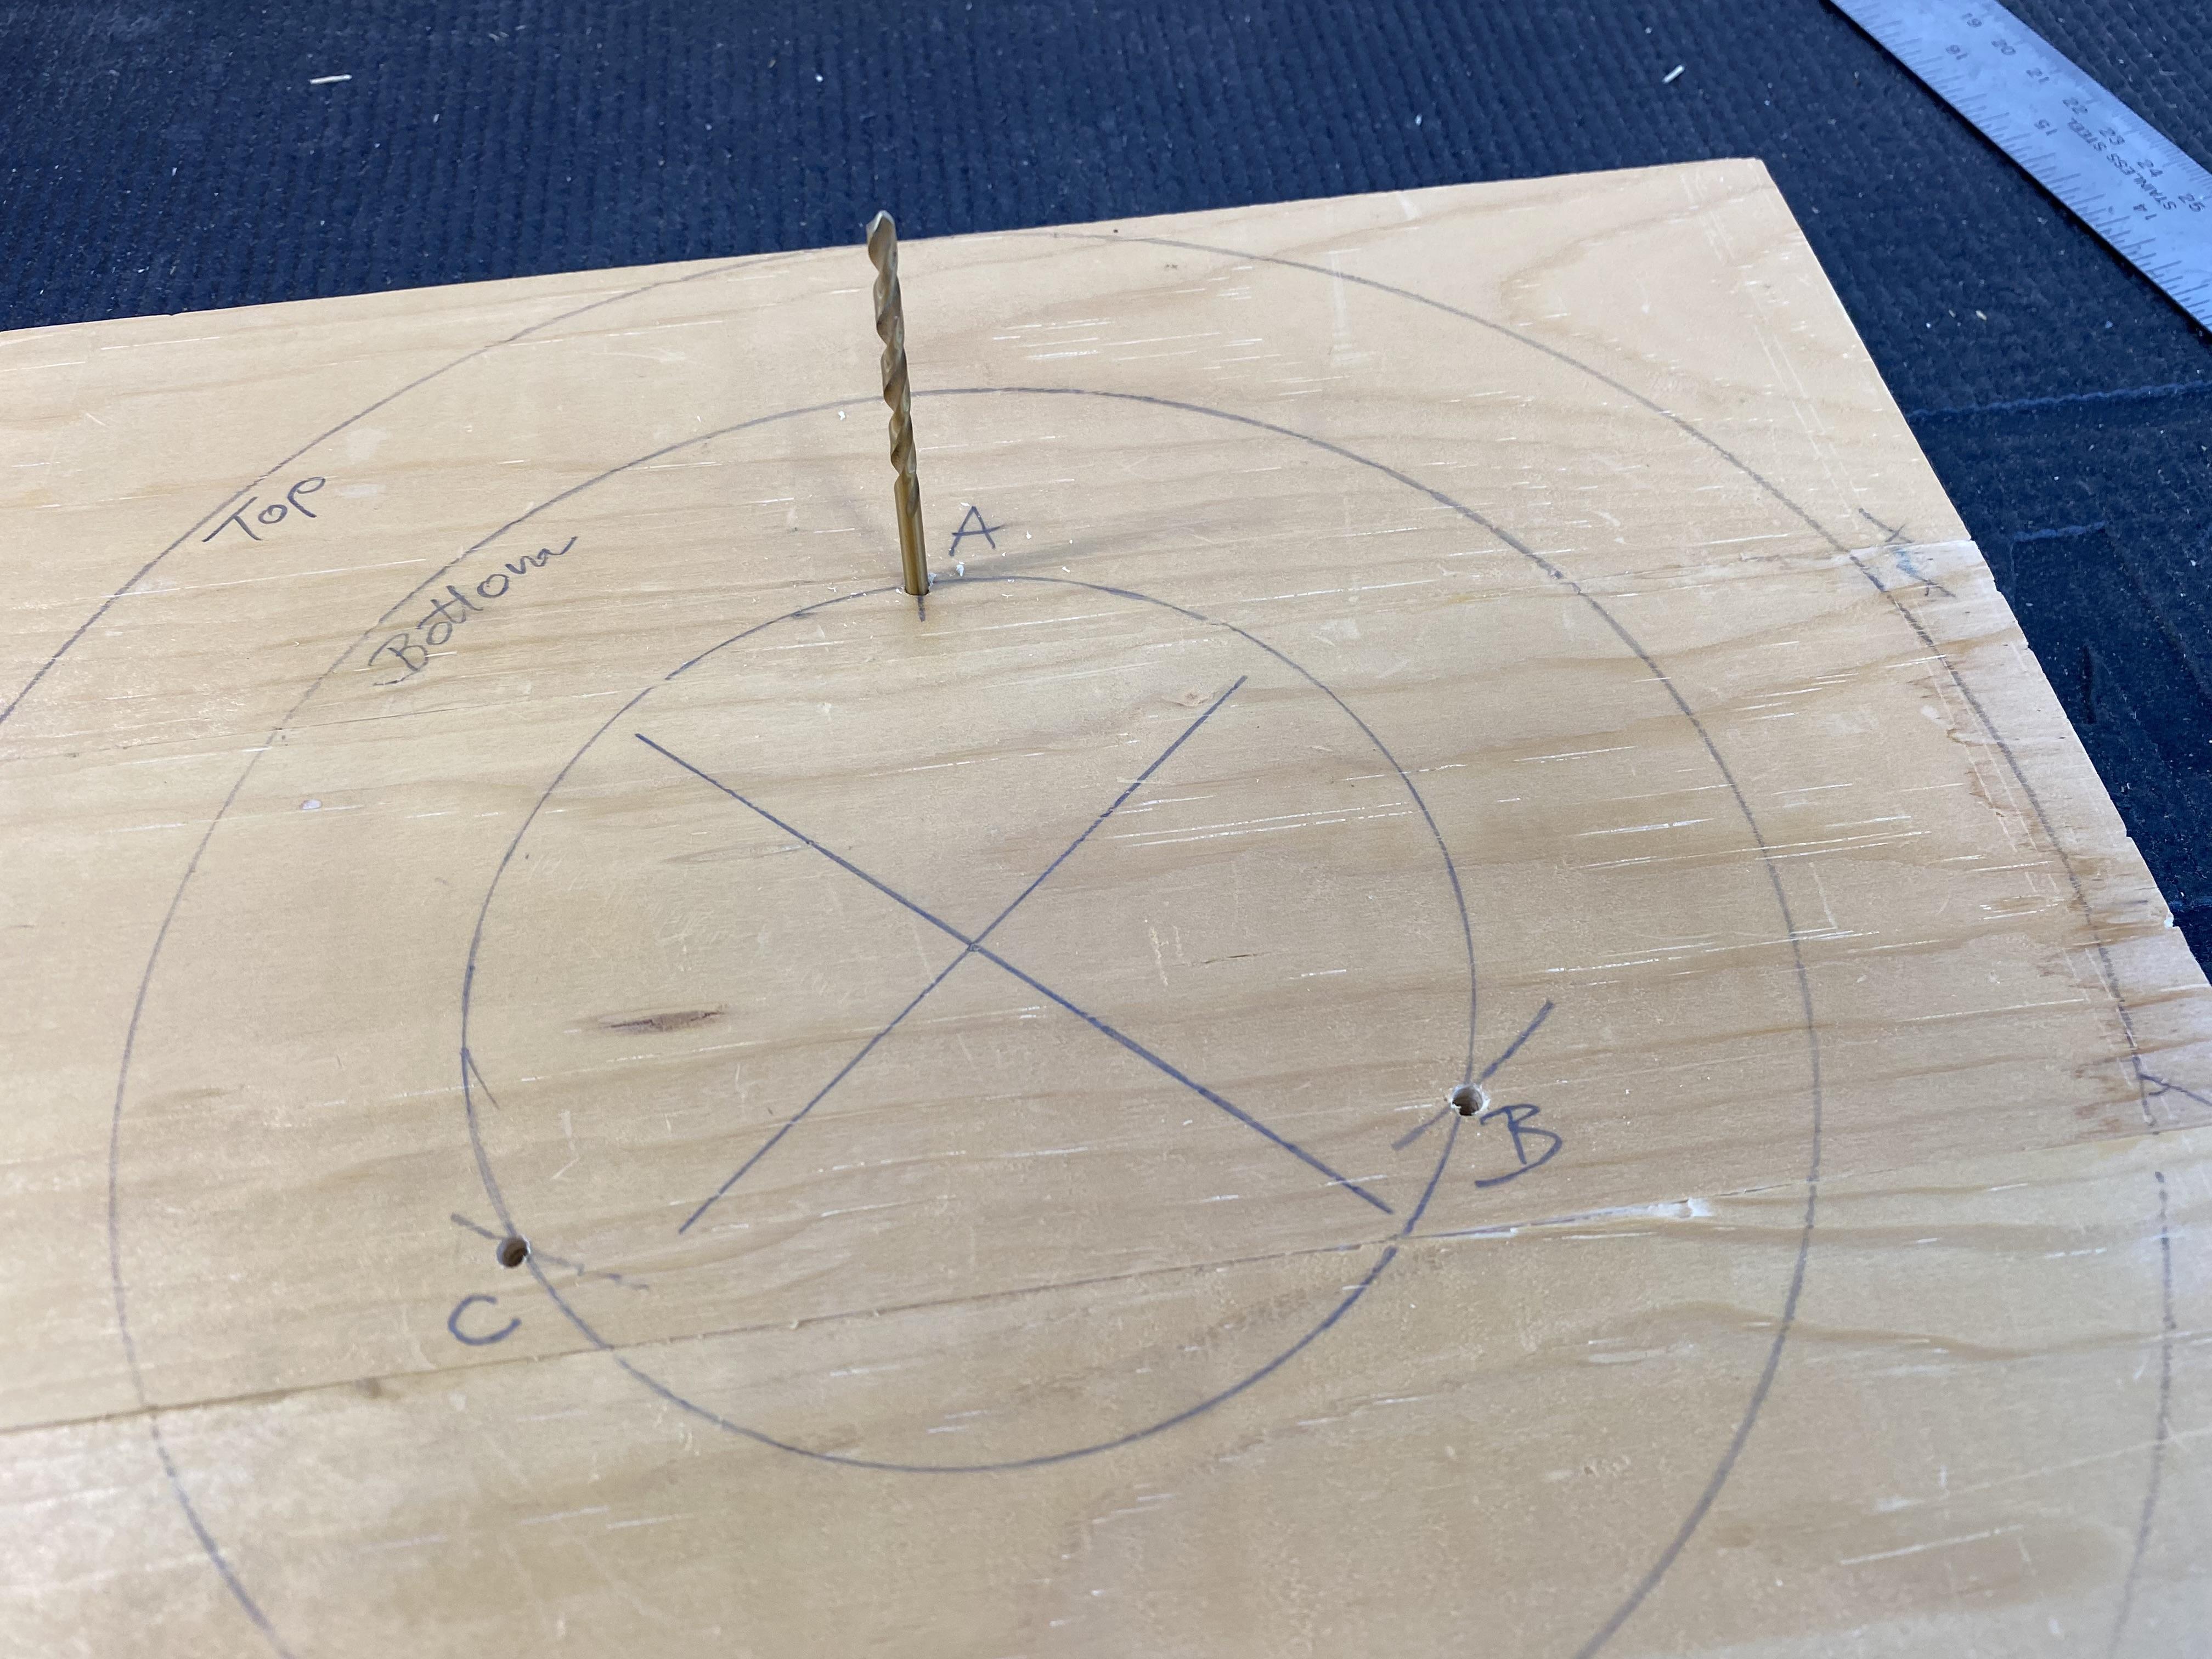
Make a bottom board that is about 12 inches by 12 inches square. Mark an equilateral triangle with a side-length of triangle_side from step 2 in the center of this board, and drill 1/8" holes A, B, and C through the board at the triangle corners. It is important that the spacing of the three holes is accurate and equidistant (e.g. 3.8 inches). The attached pdf file (triangular bowl sketch) will help in the layout.
Now glue up the layer rings to the bottom board, rotating each 30 degrees from the one below. This will overlap the seams for a stronger bond. Be sure that the three triangle holes are accessible for inserting the pivot pins later on. Trim the excess corners off the bottom board.
Trircle Cutting Jig - Very Simple!
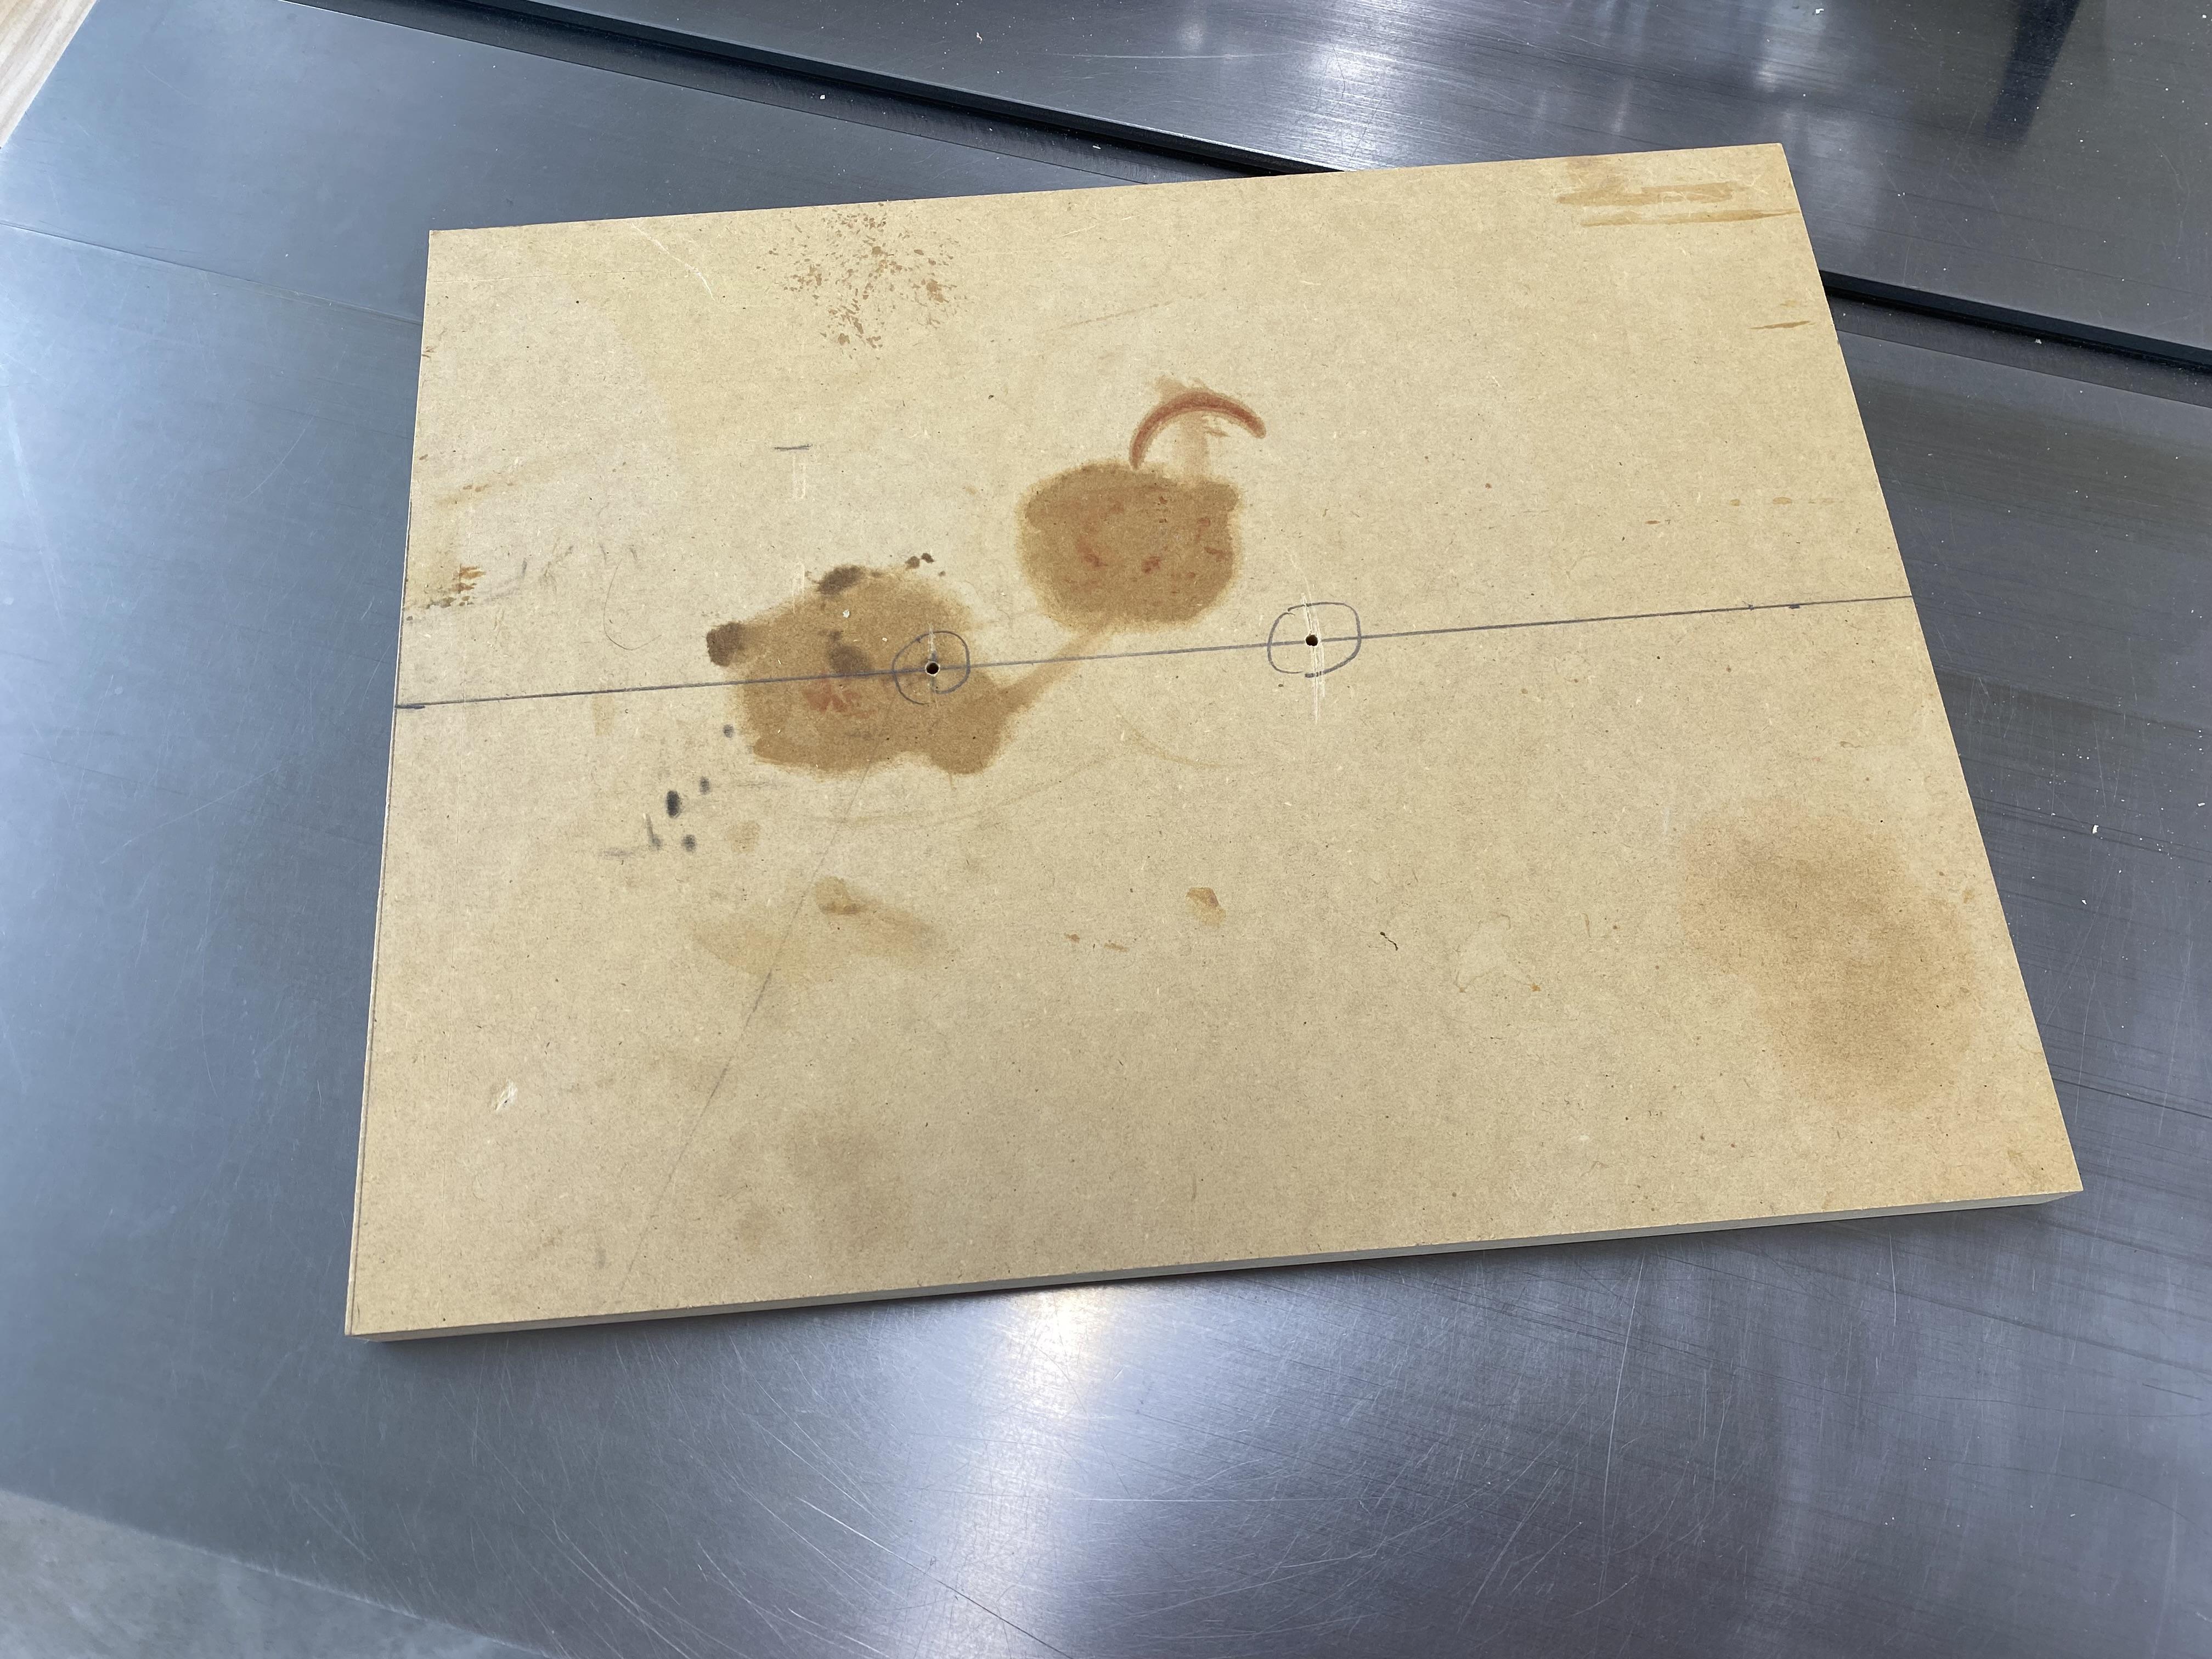
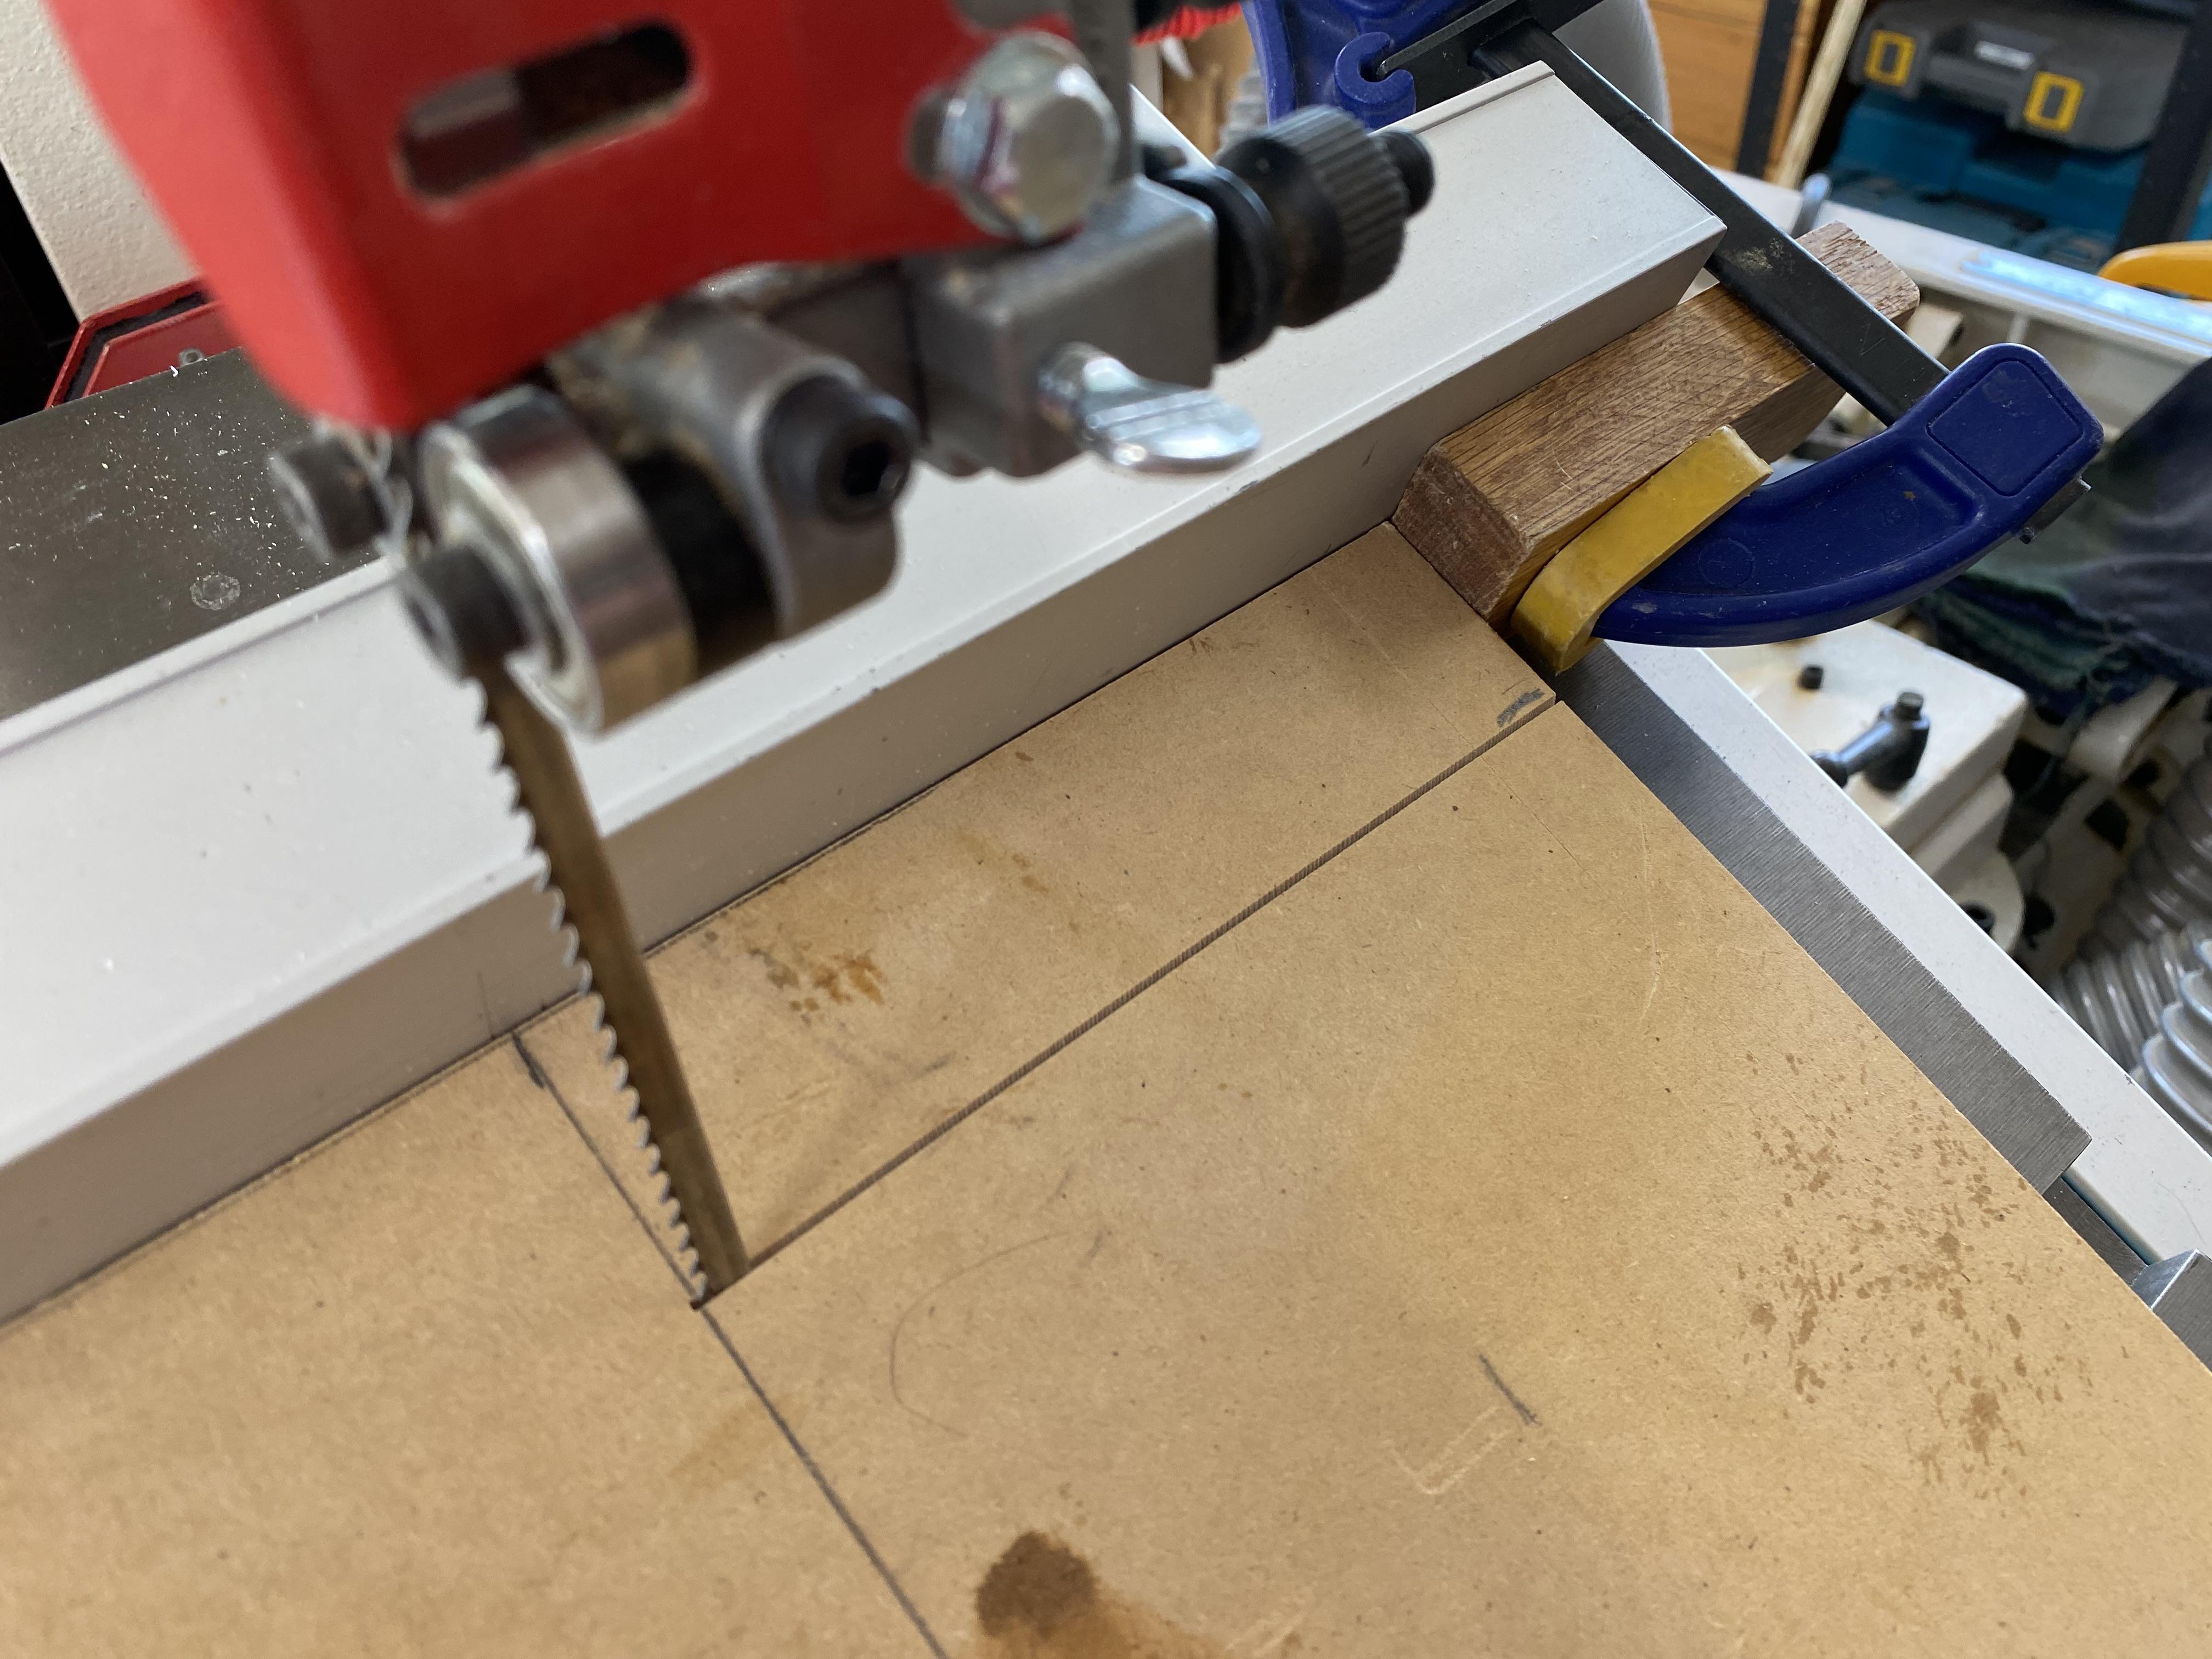
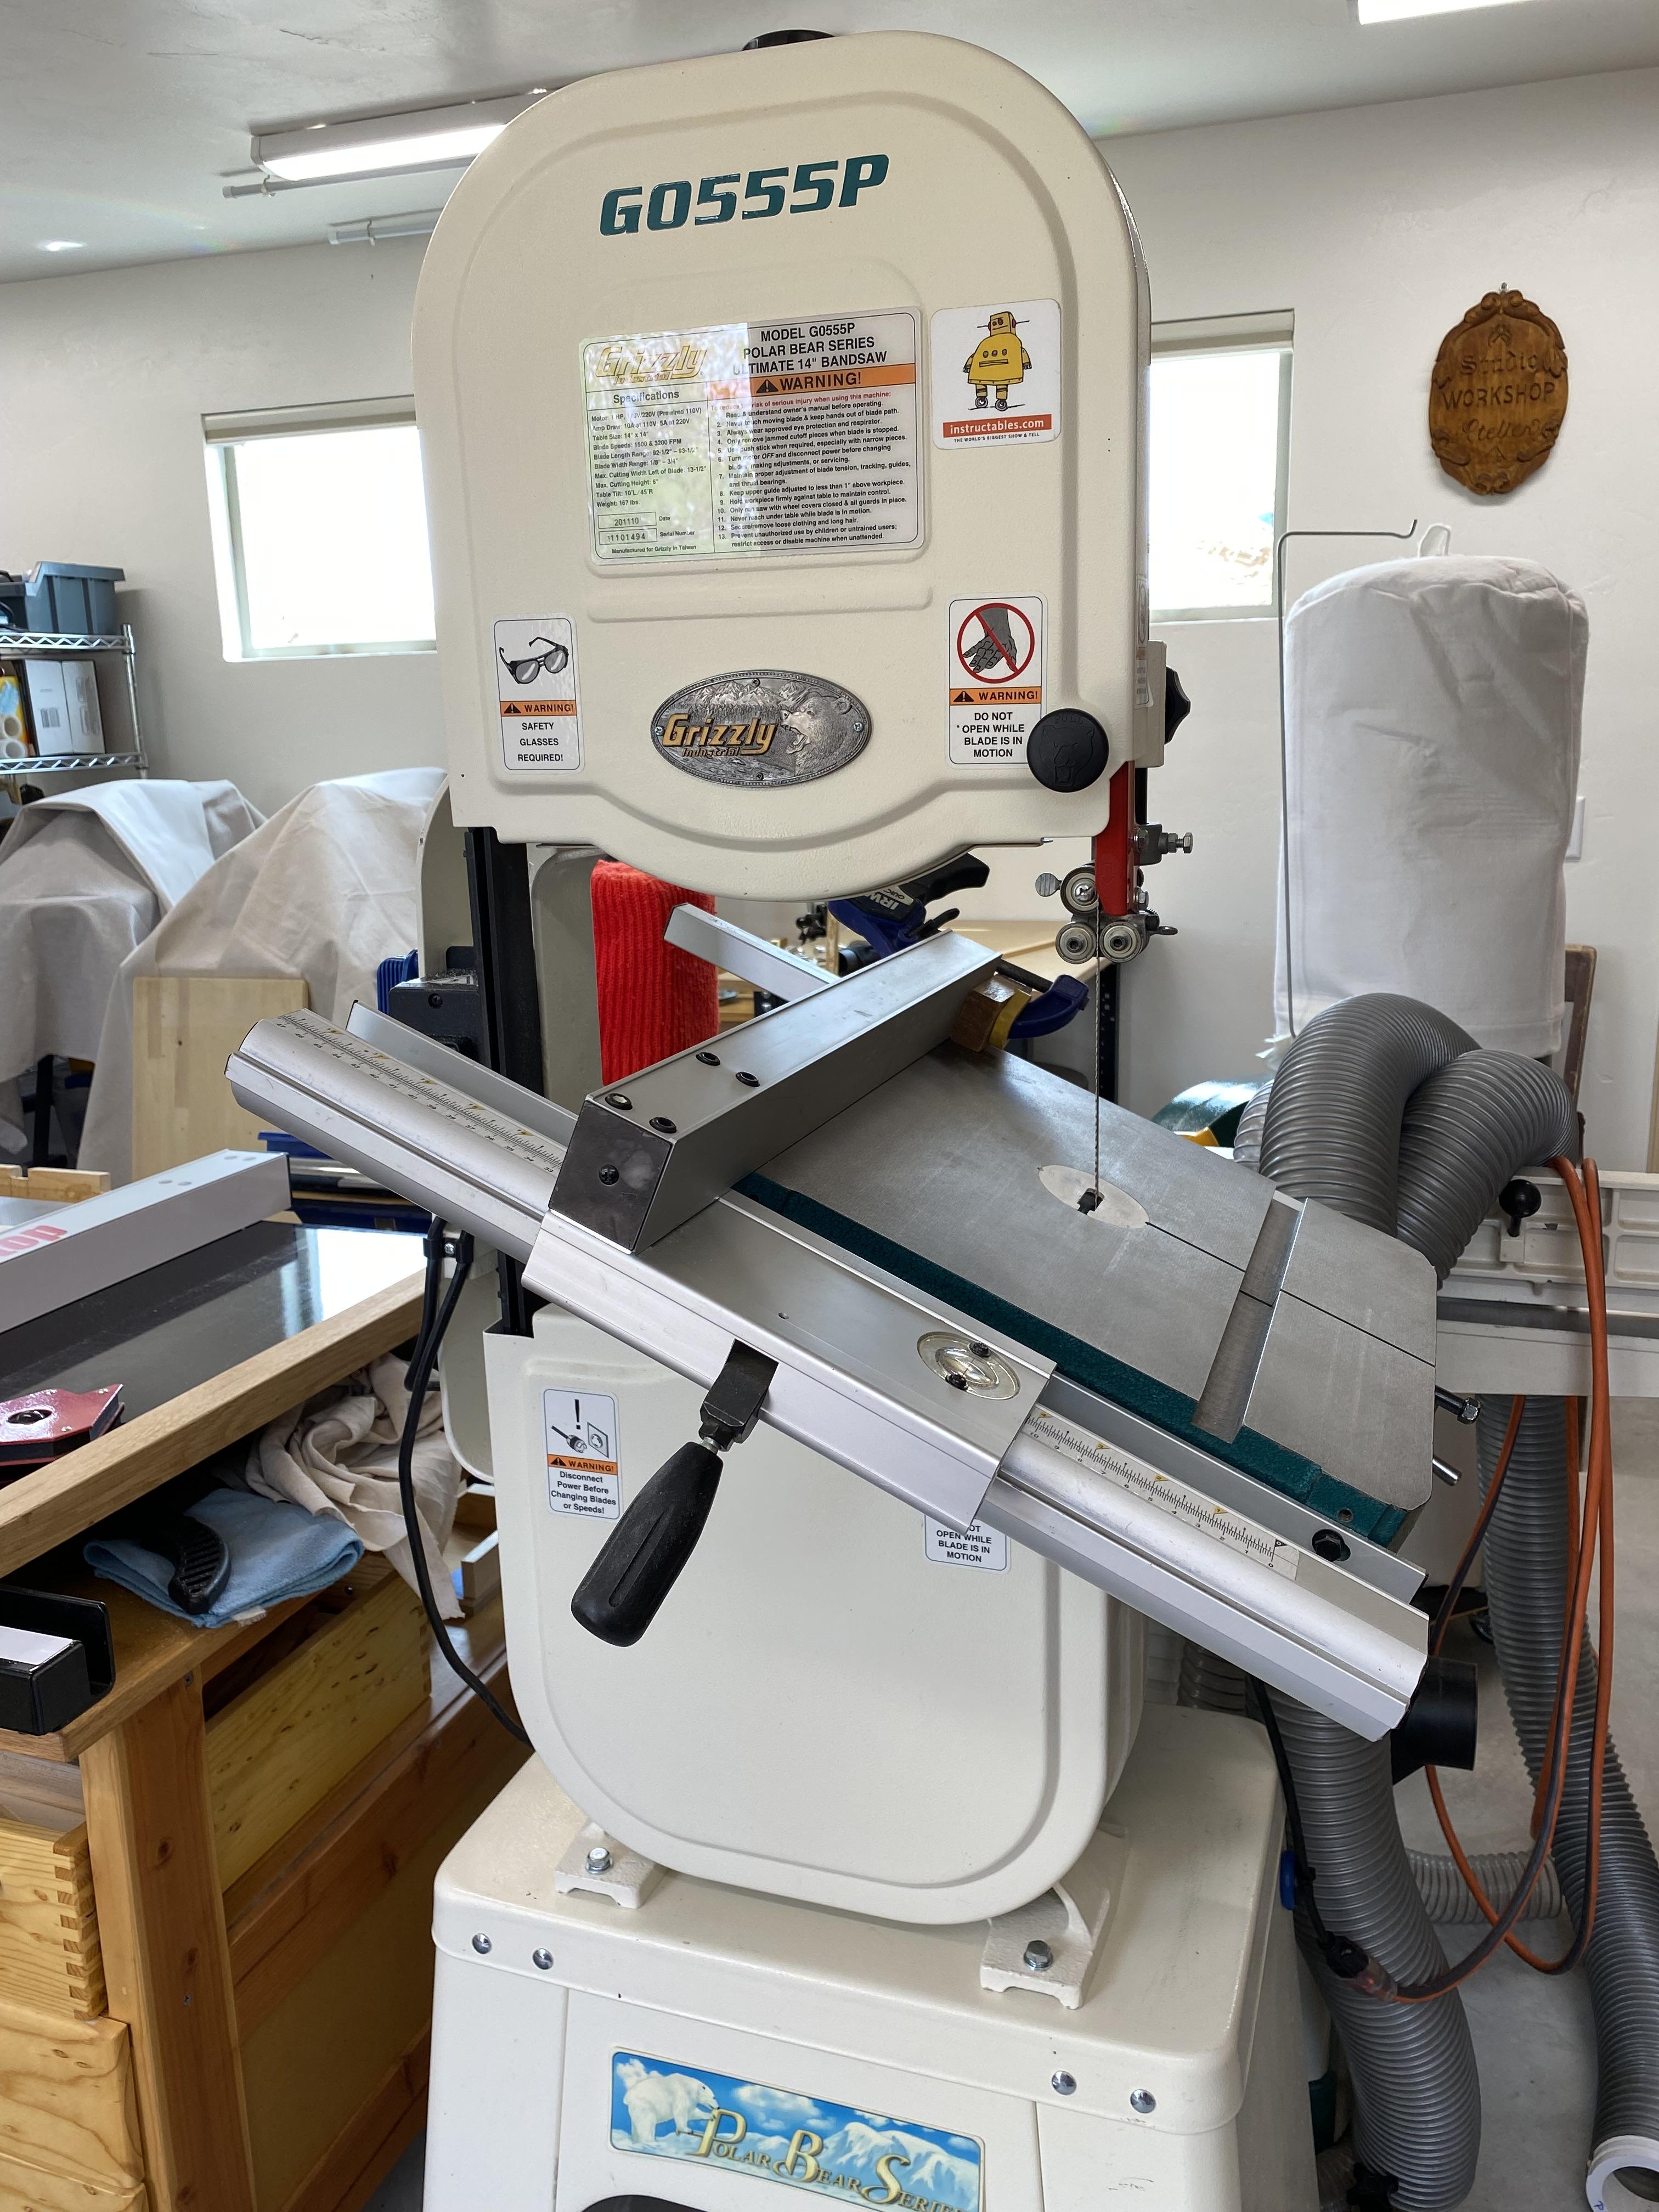
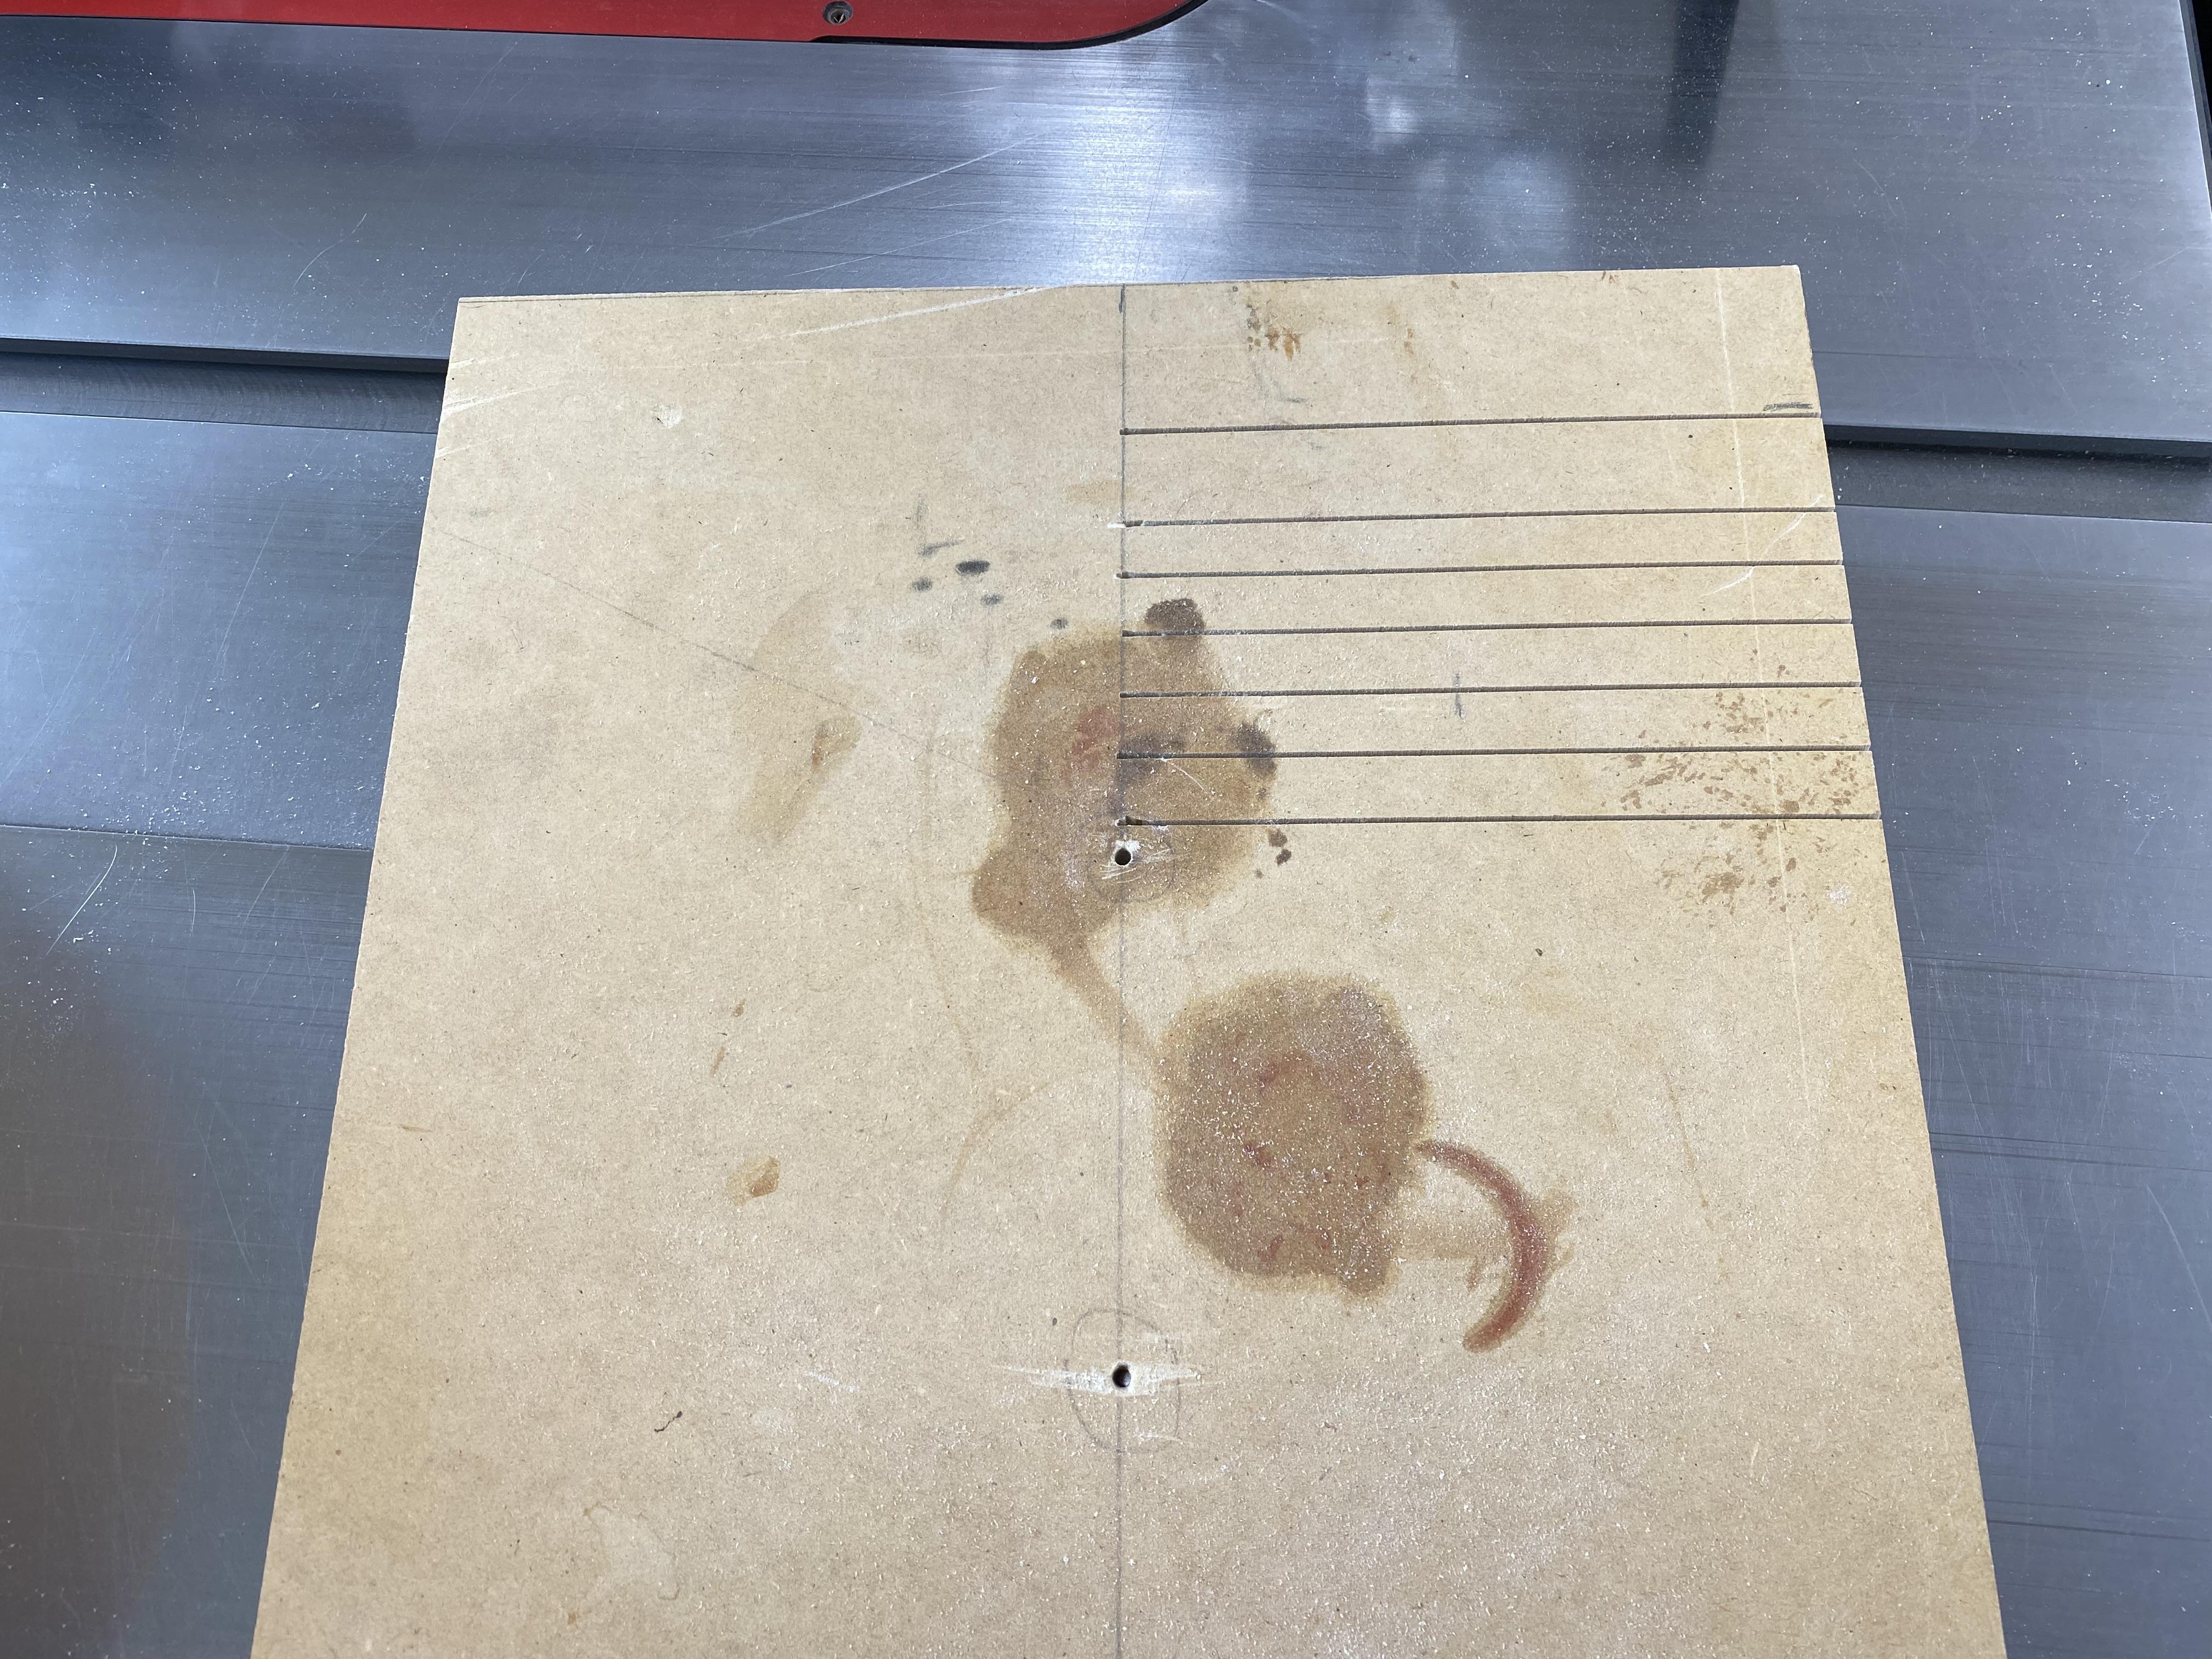
You are ready to build a very simple cutting jig. Take a 12” by 15” MDF or plywood board (actual dimensions are not very critical) and draw a line across the center, from one side to the opposite side, not diagonal! Mark the hole locations A and B on the center line, 6 inches and 9.8 inches from the edge as indicated in the pdf drawing (jig dimensions). Drill 1/8” holes through the jig board at A and B. They need to be spaced exactly triangle_side inches (e.g. 3.8 inches) apart to exactly match the holes of the bowl blank from the previous step.
For cutting I am using a 1/4" wide bandsaw blade. Set your bandsaw table to 25 degrees (the angle from step 2 above, or whatever angle you designed for the side of the bowl - 10 to 30 degrees is good); and set the fence to about 2” from the blade. Make a single cut into the jig up to the center line. Clamp a stop block to the fence against the jig so that you can reliably repeat the cut to the centerline in the following steps.
Downloads
Cut the Trircles
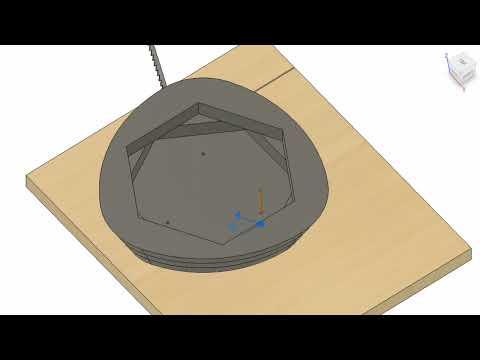
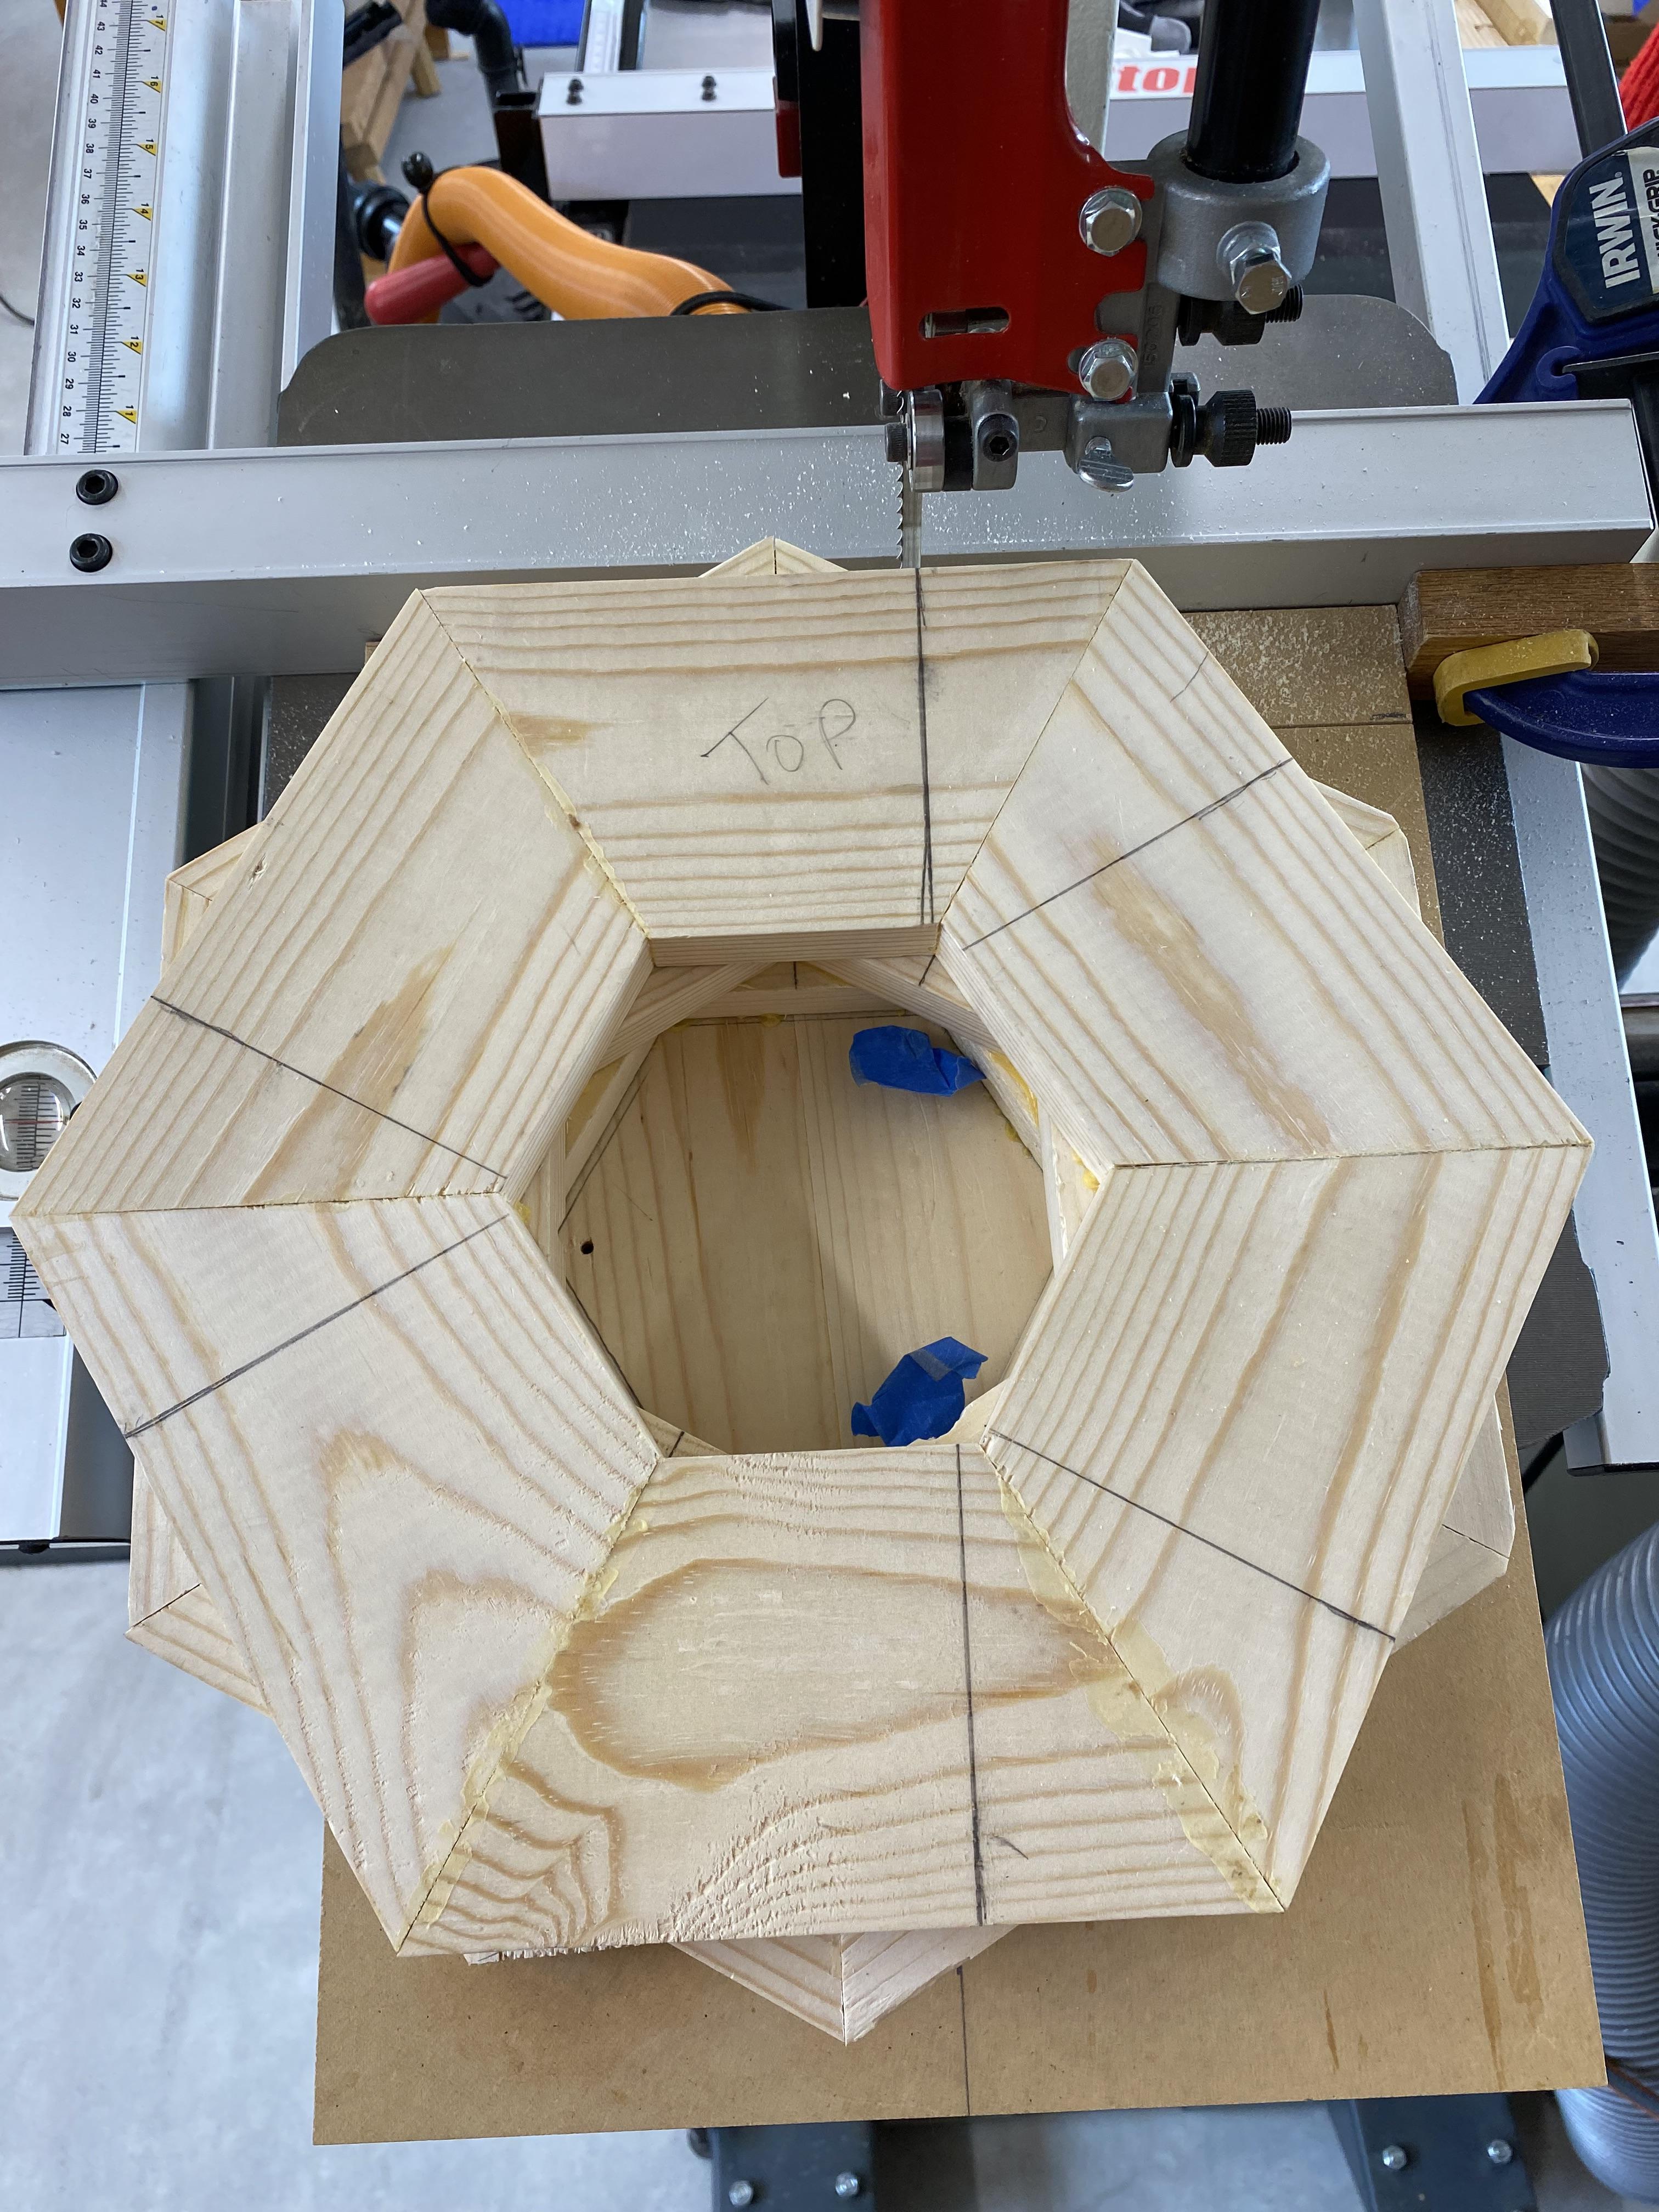
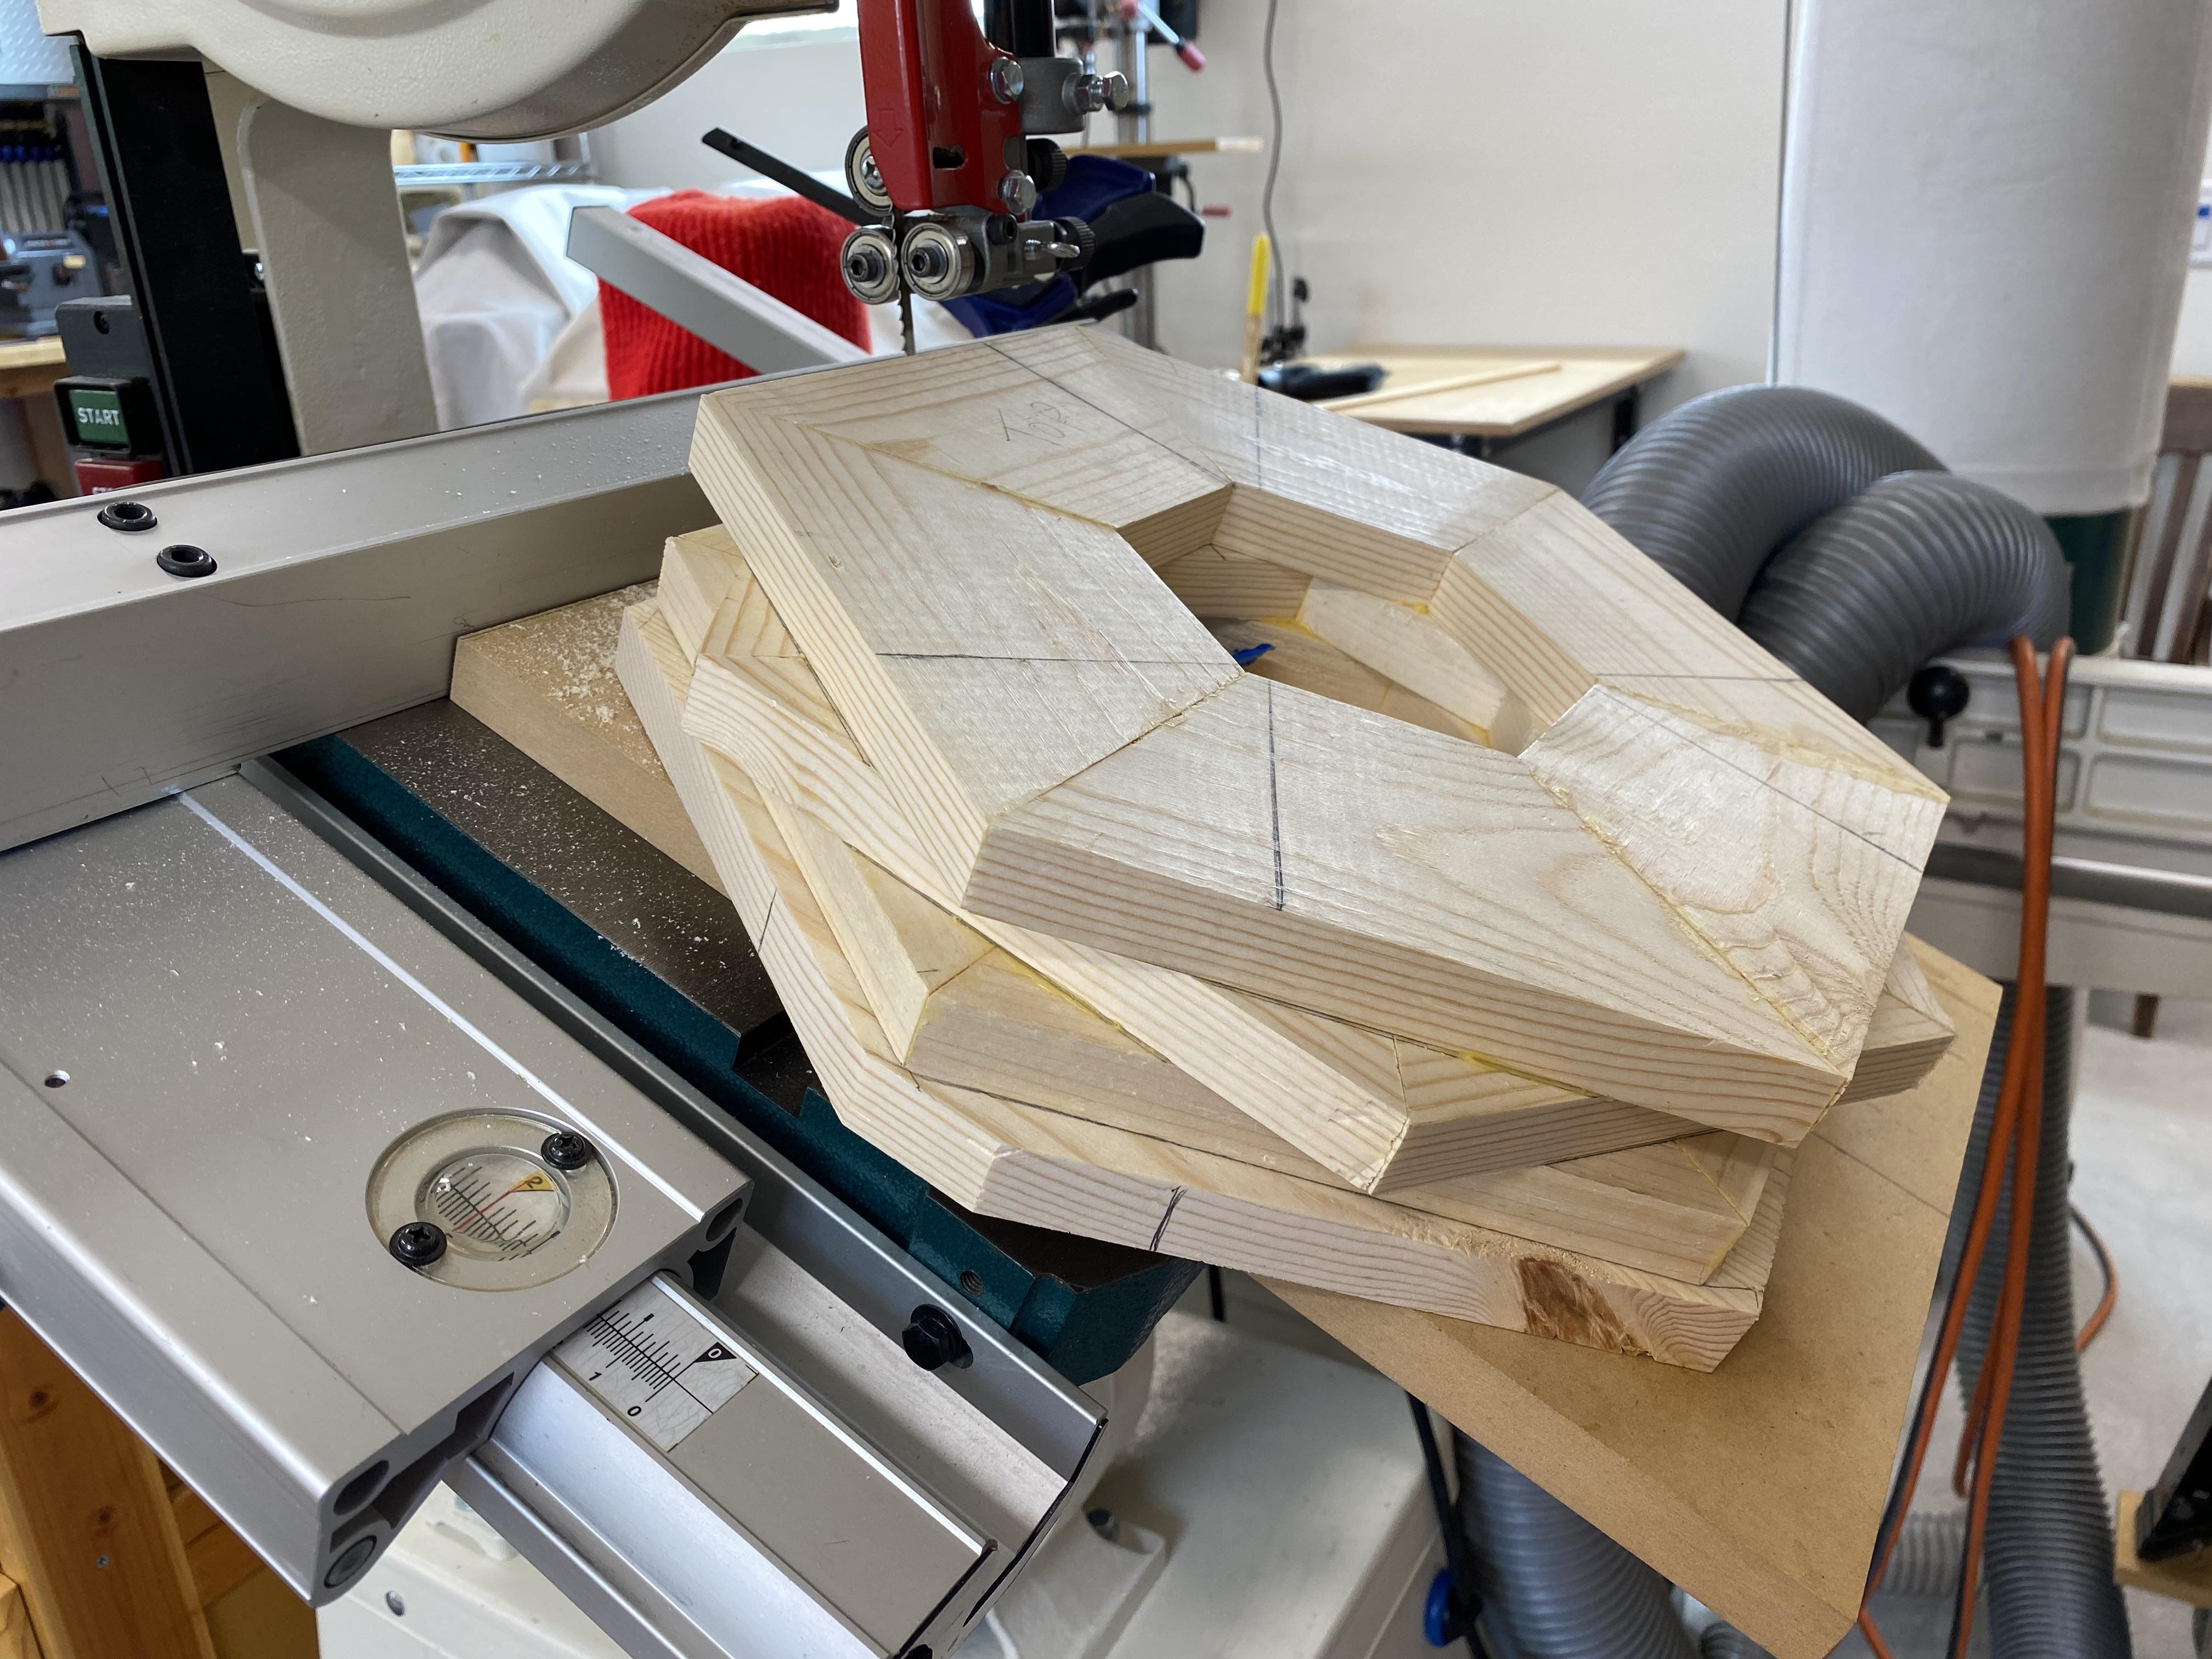
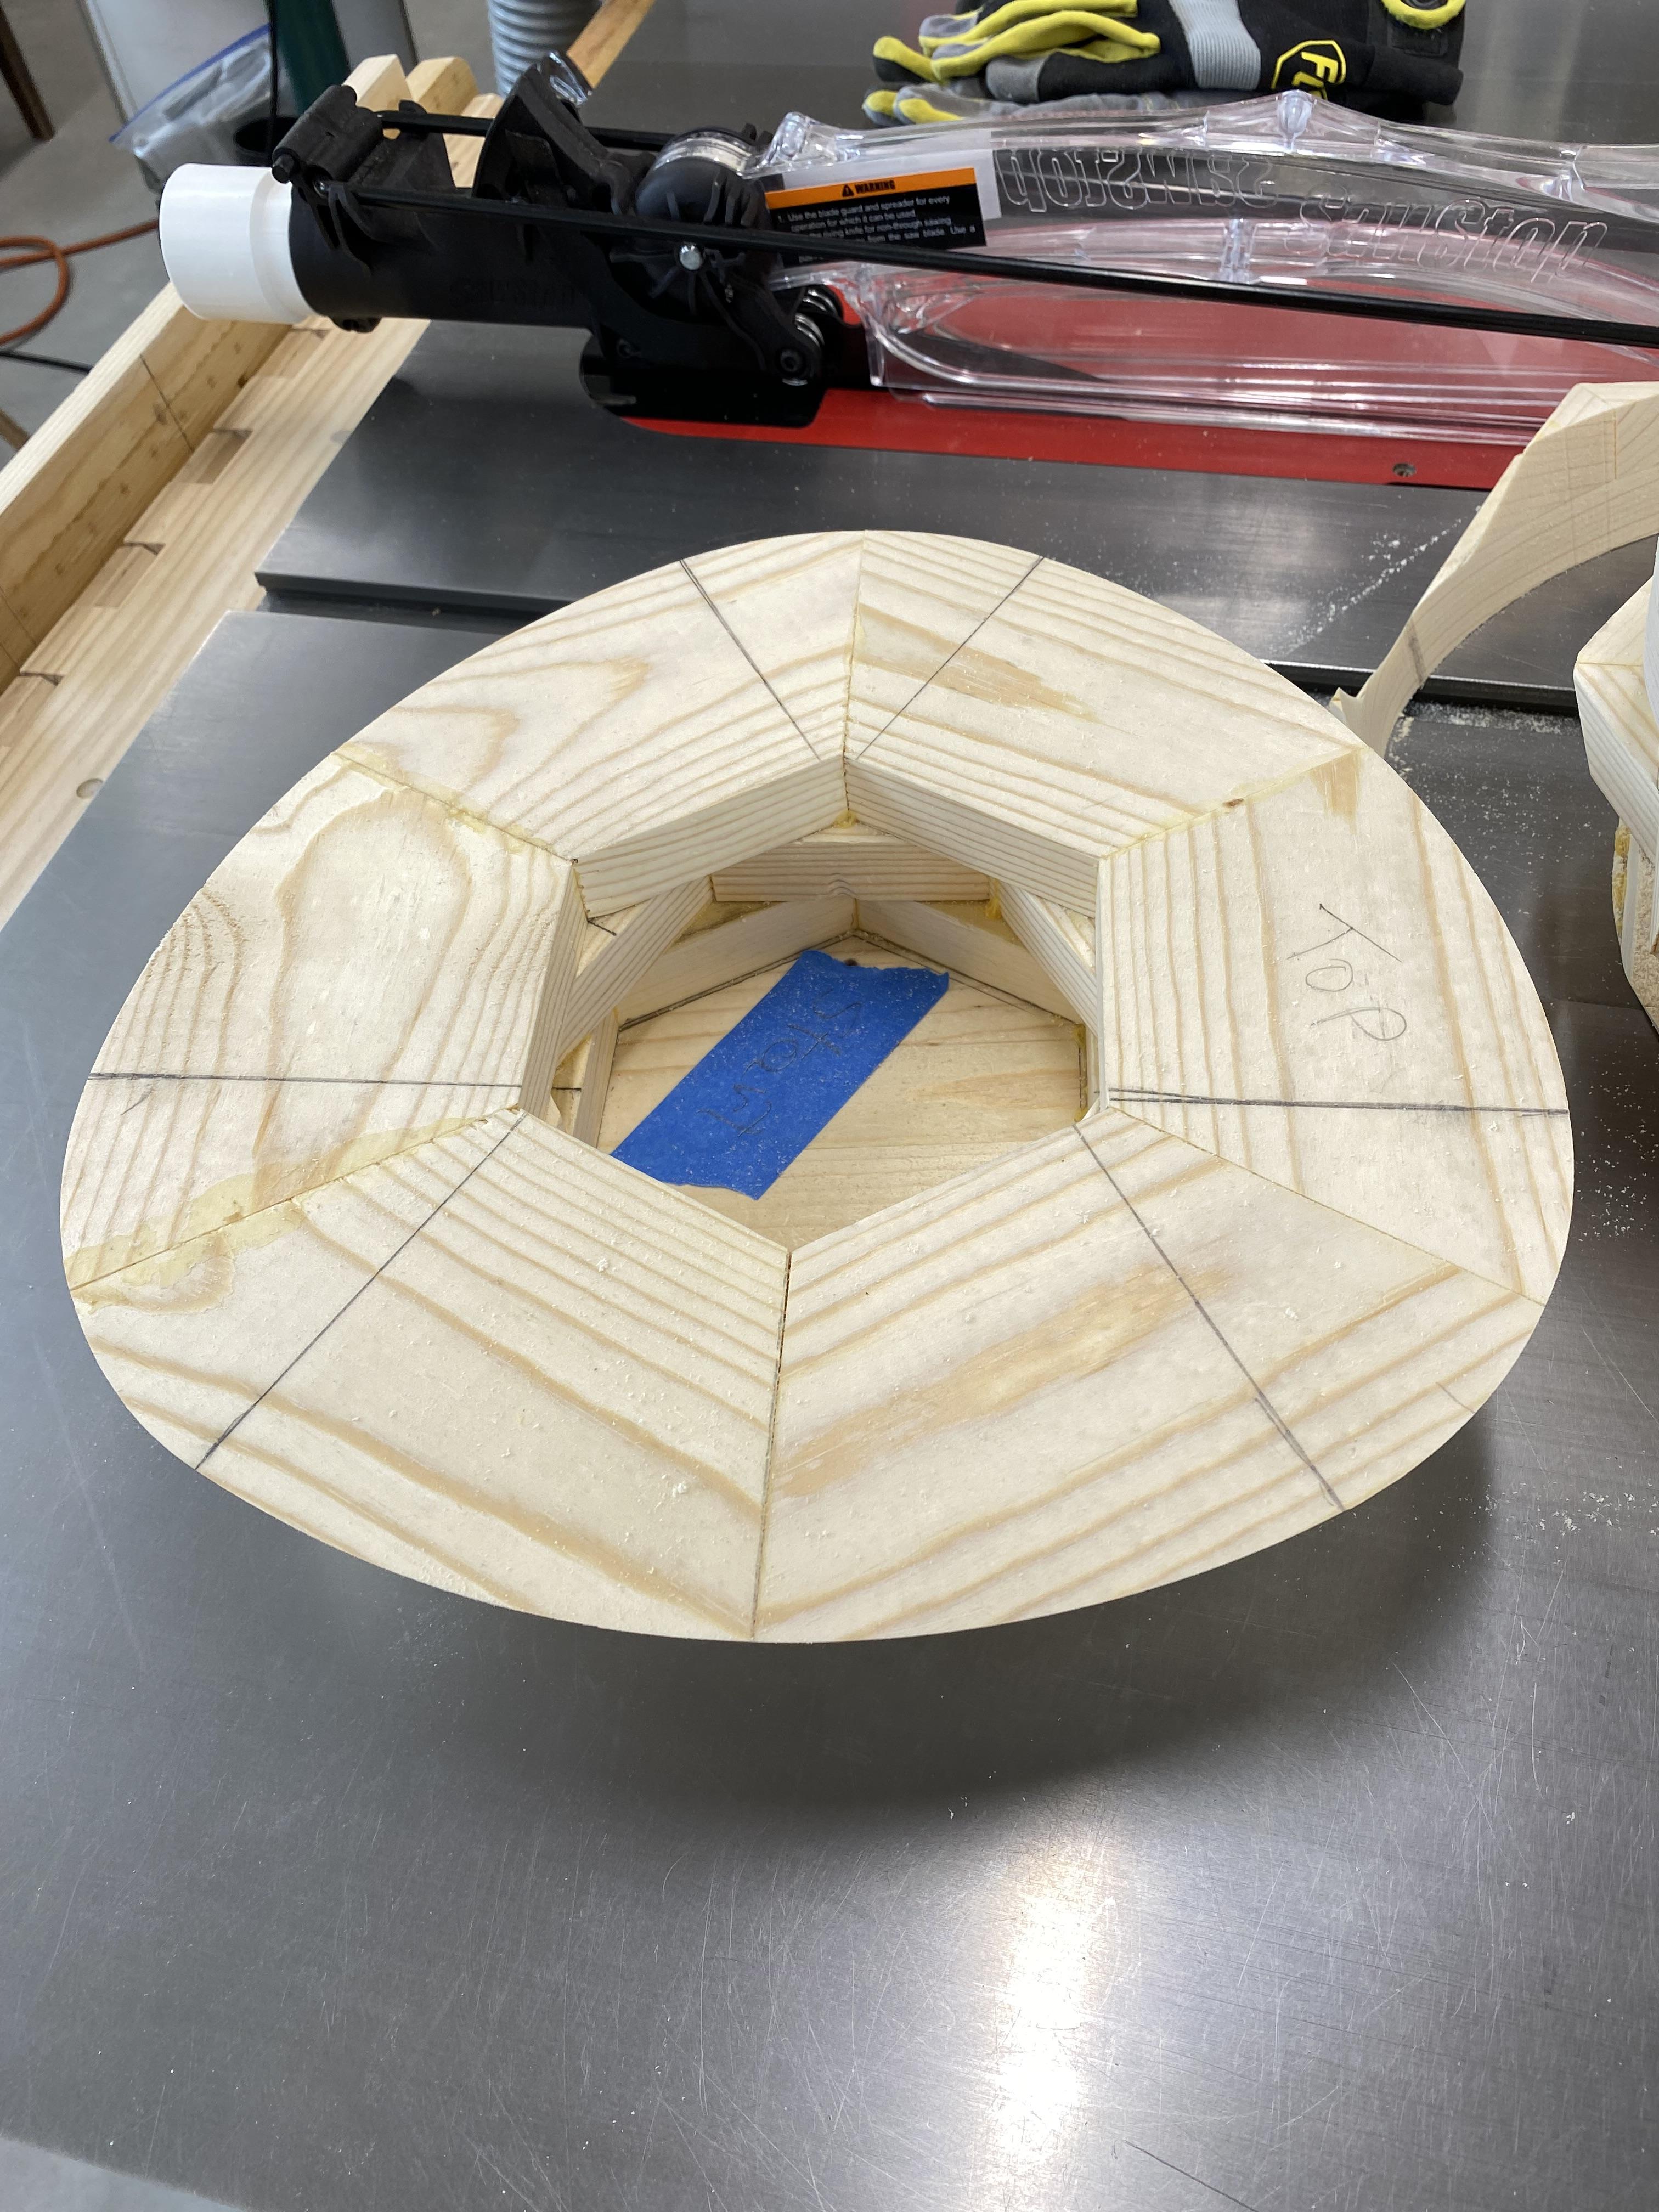
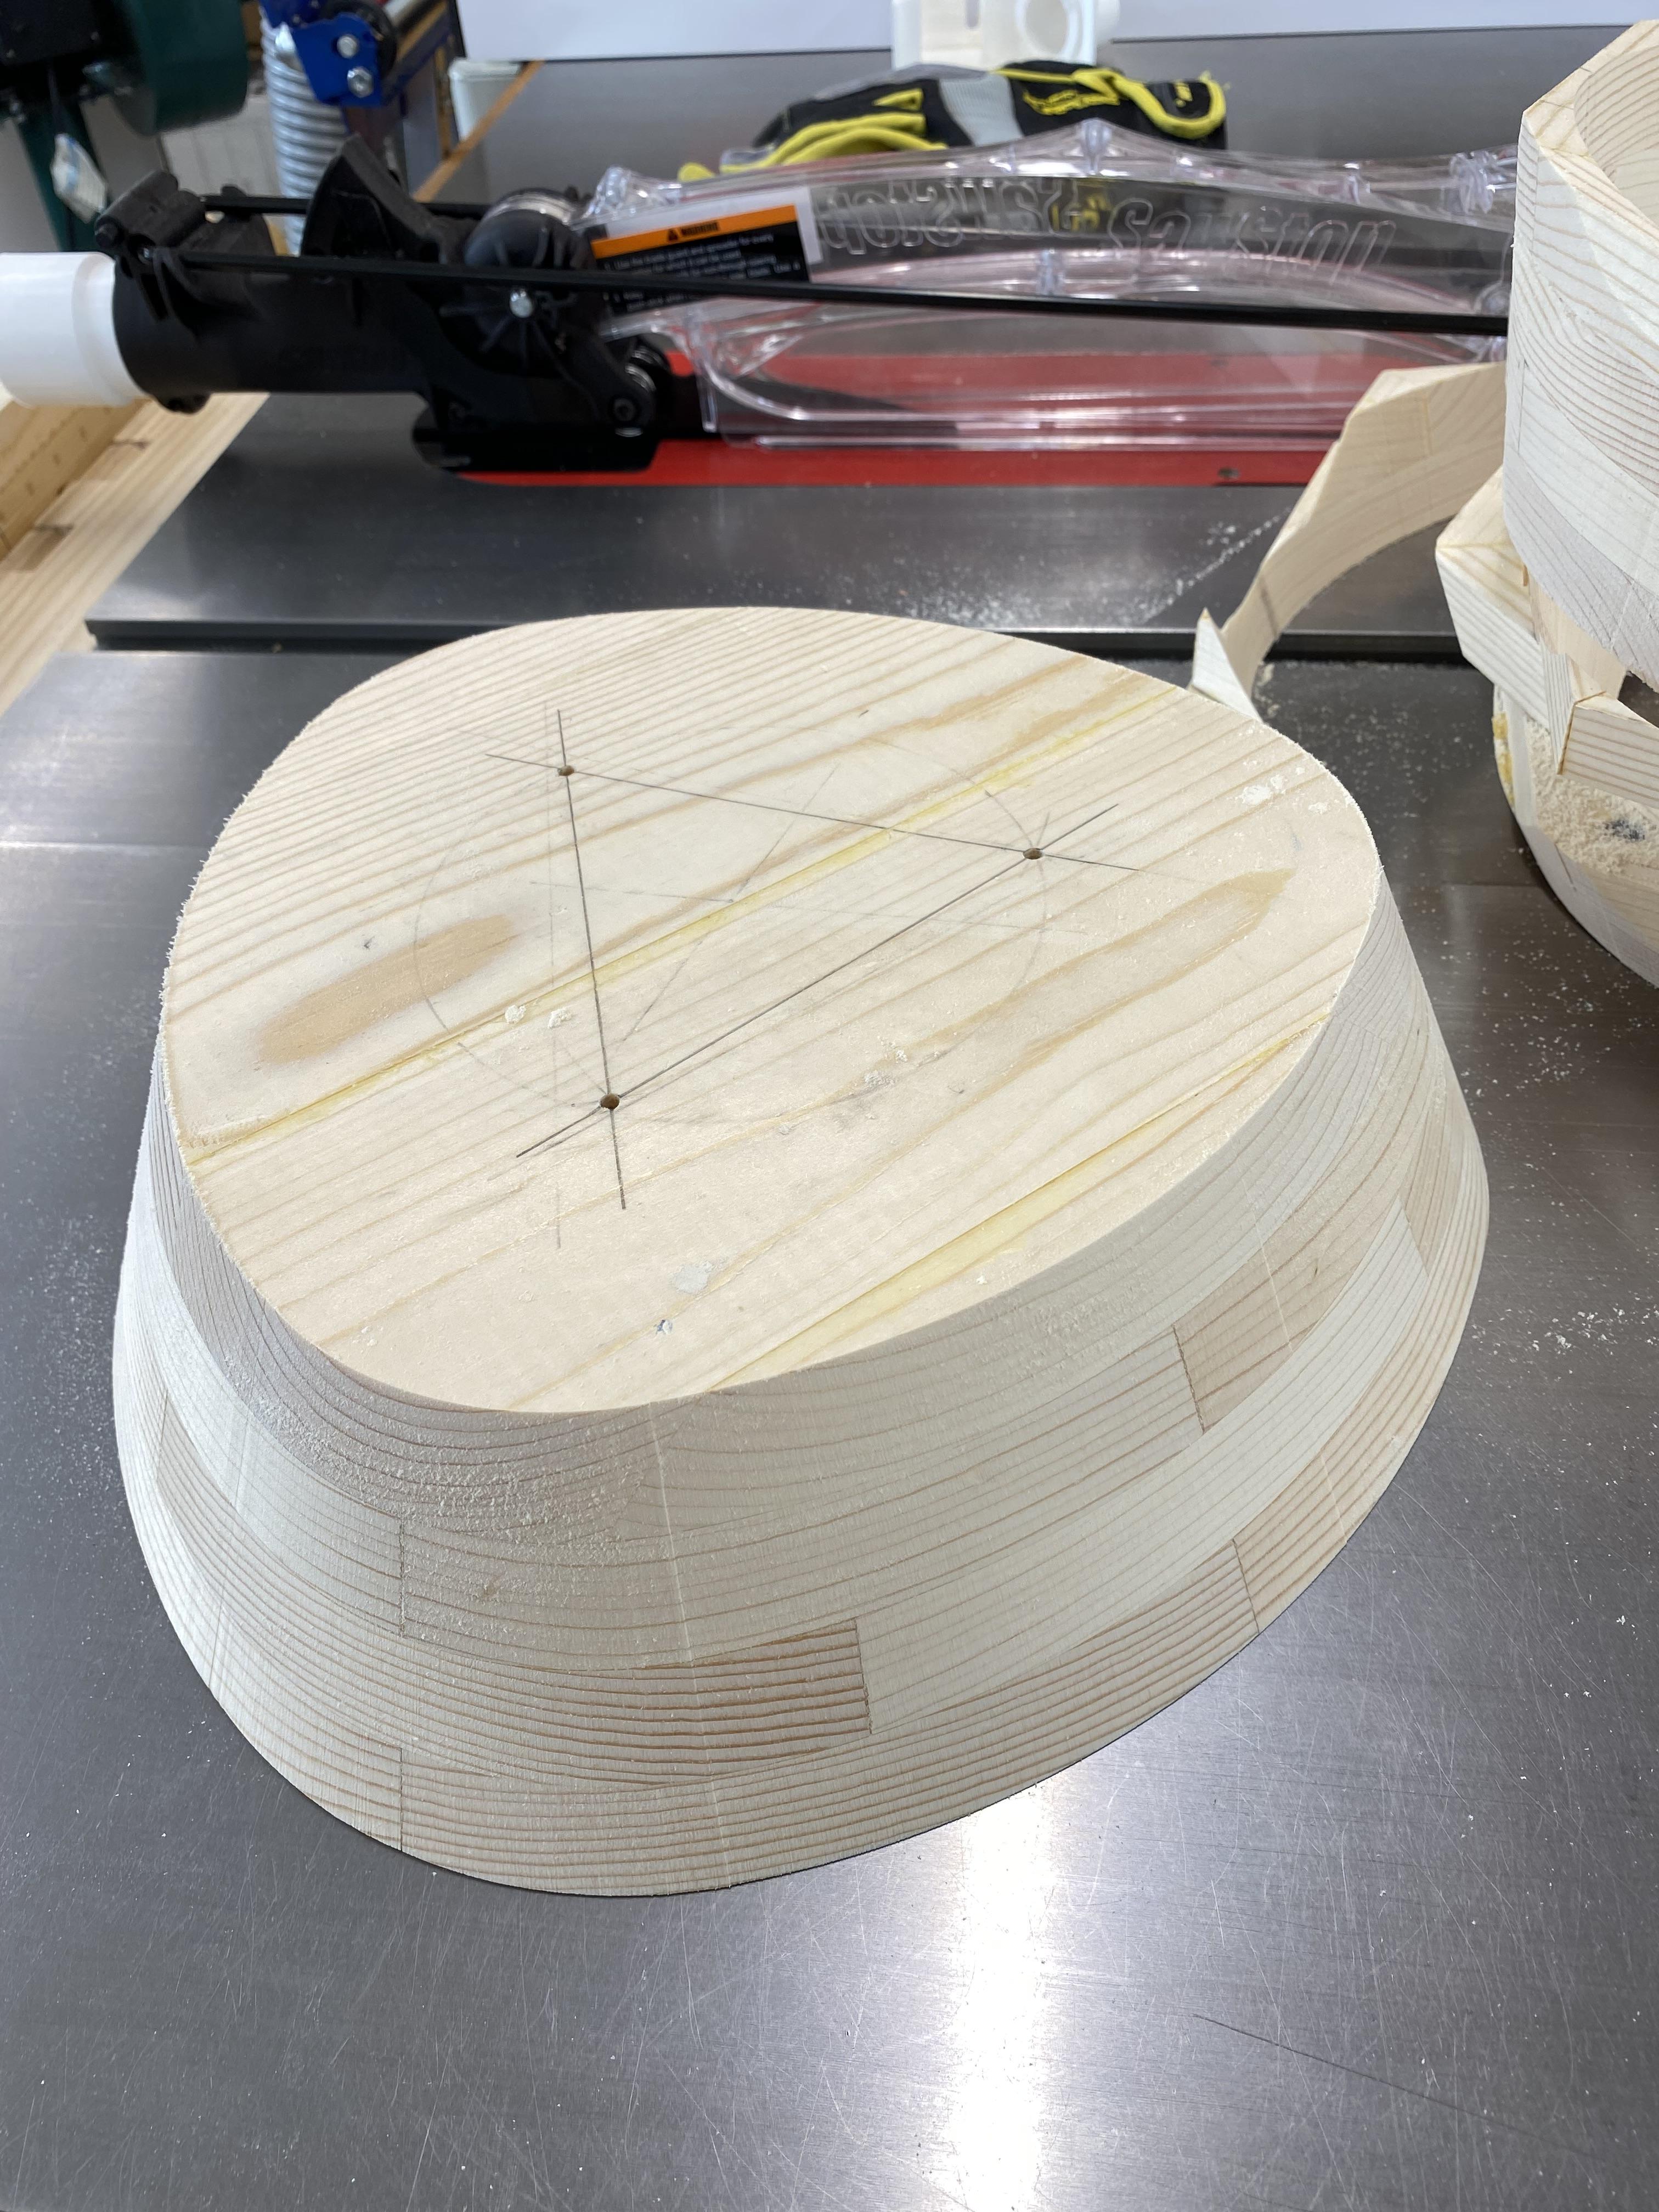
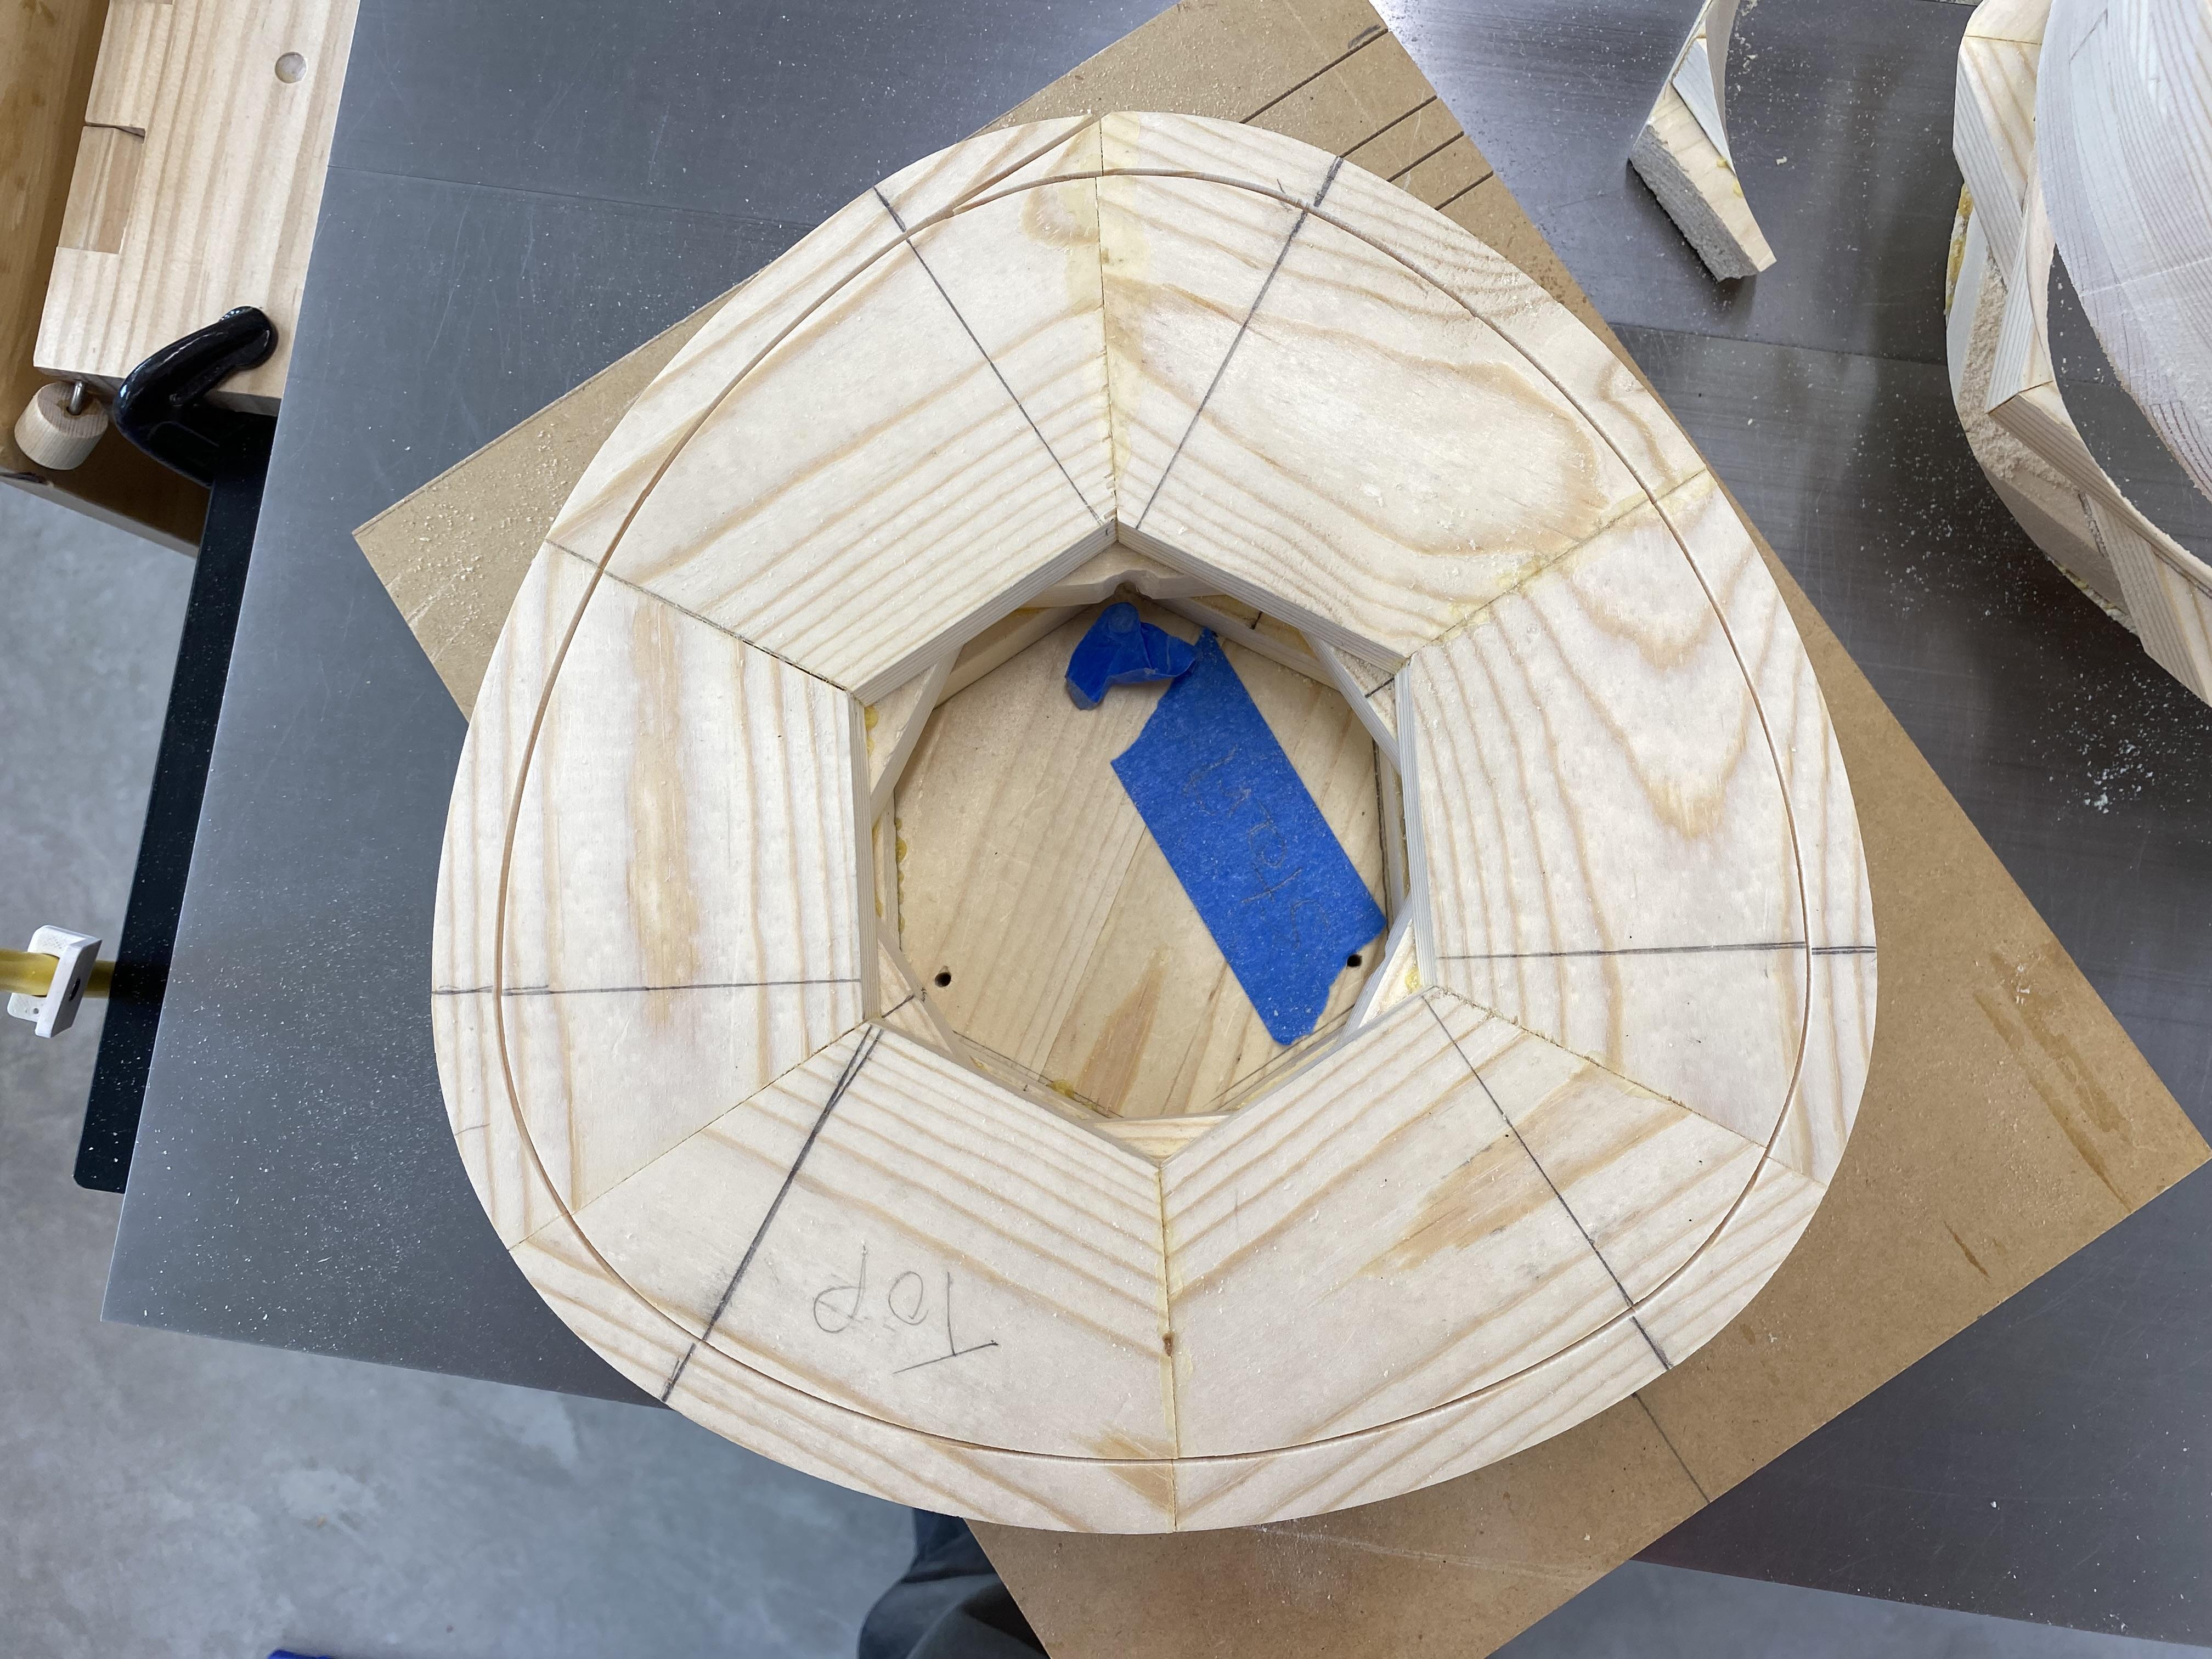
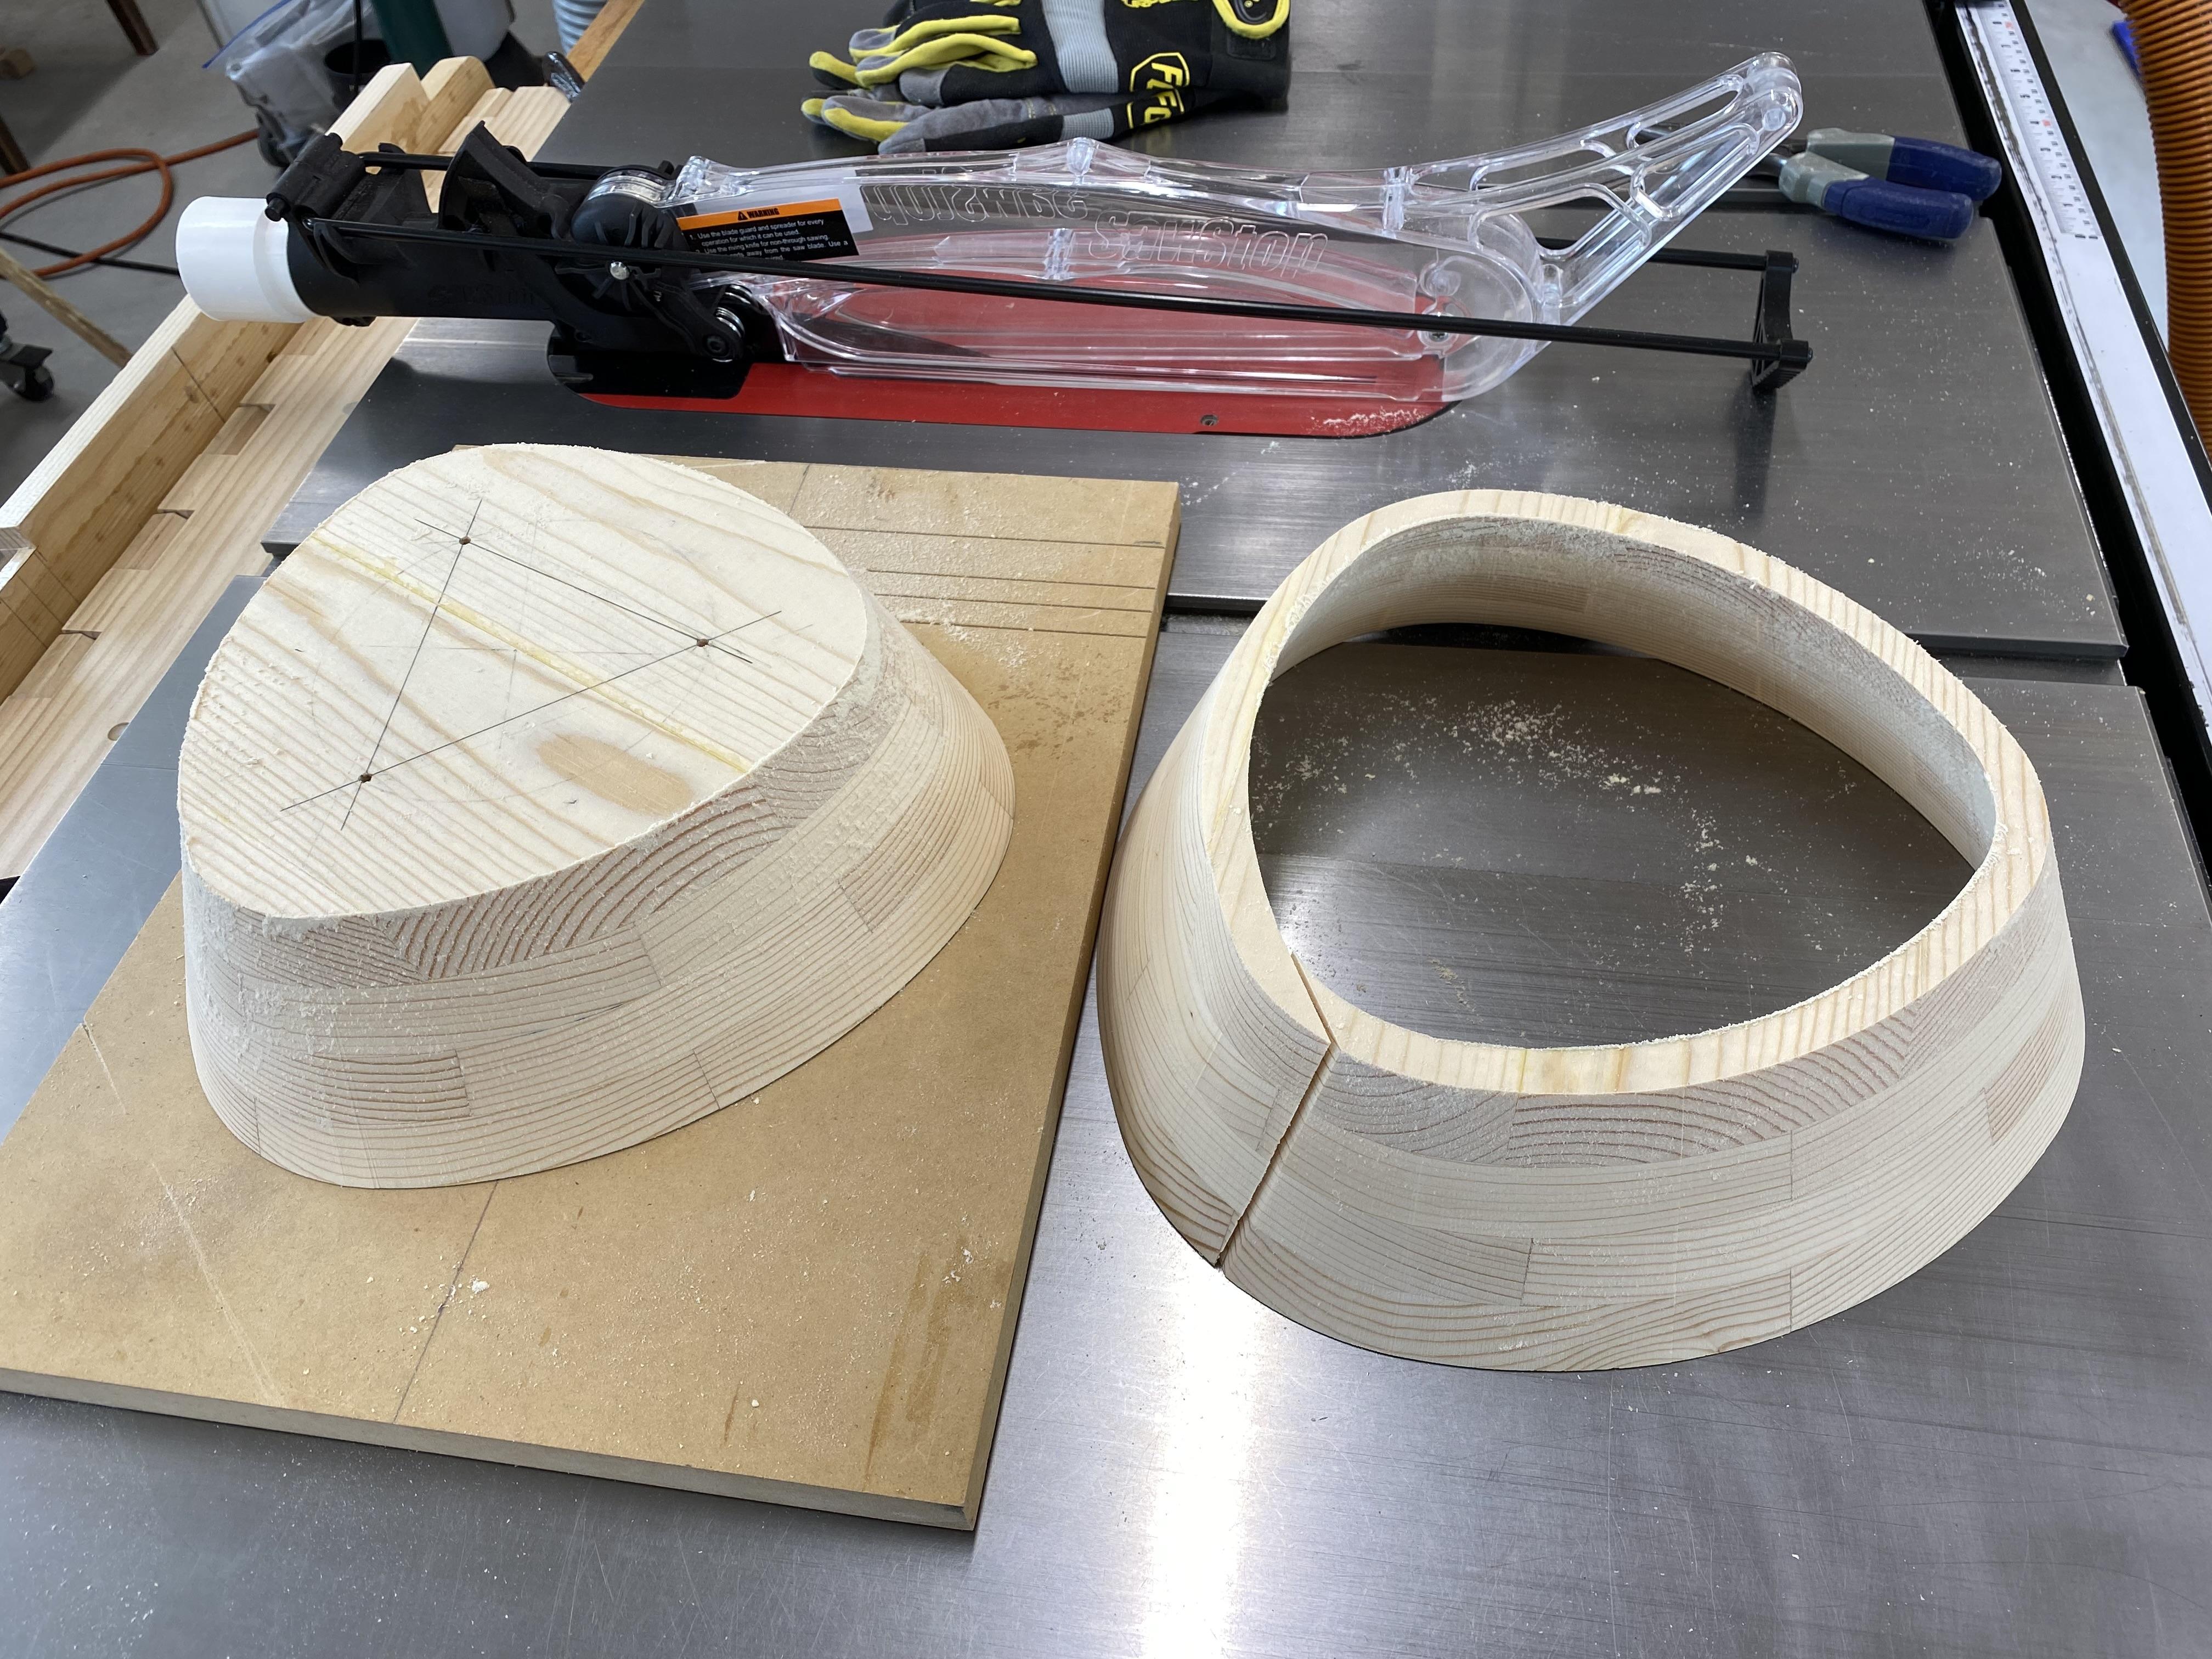
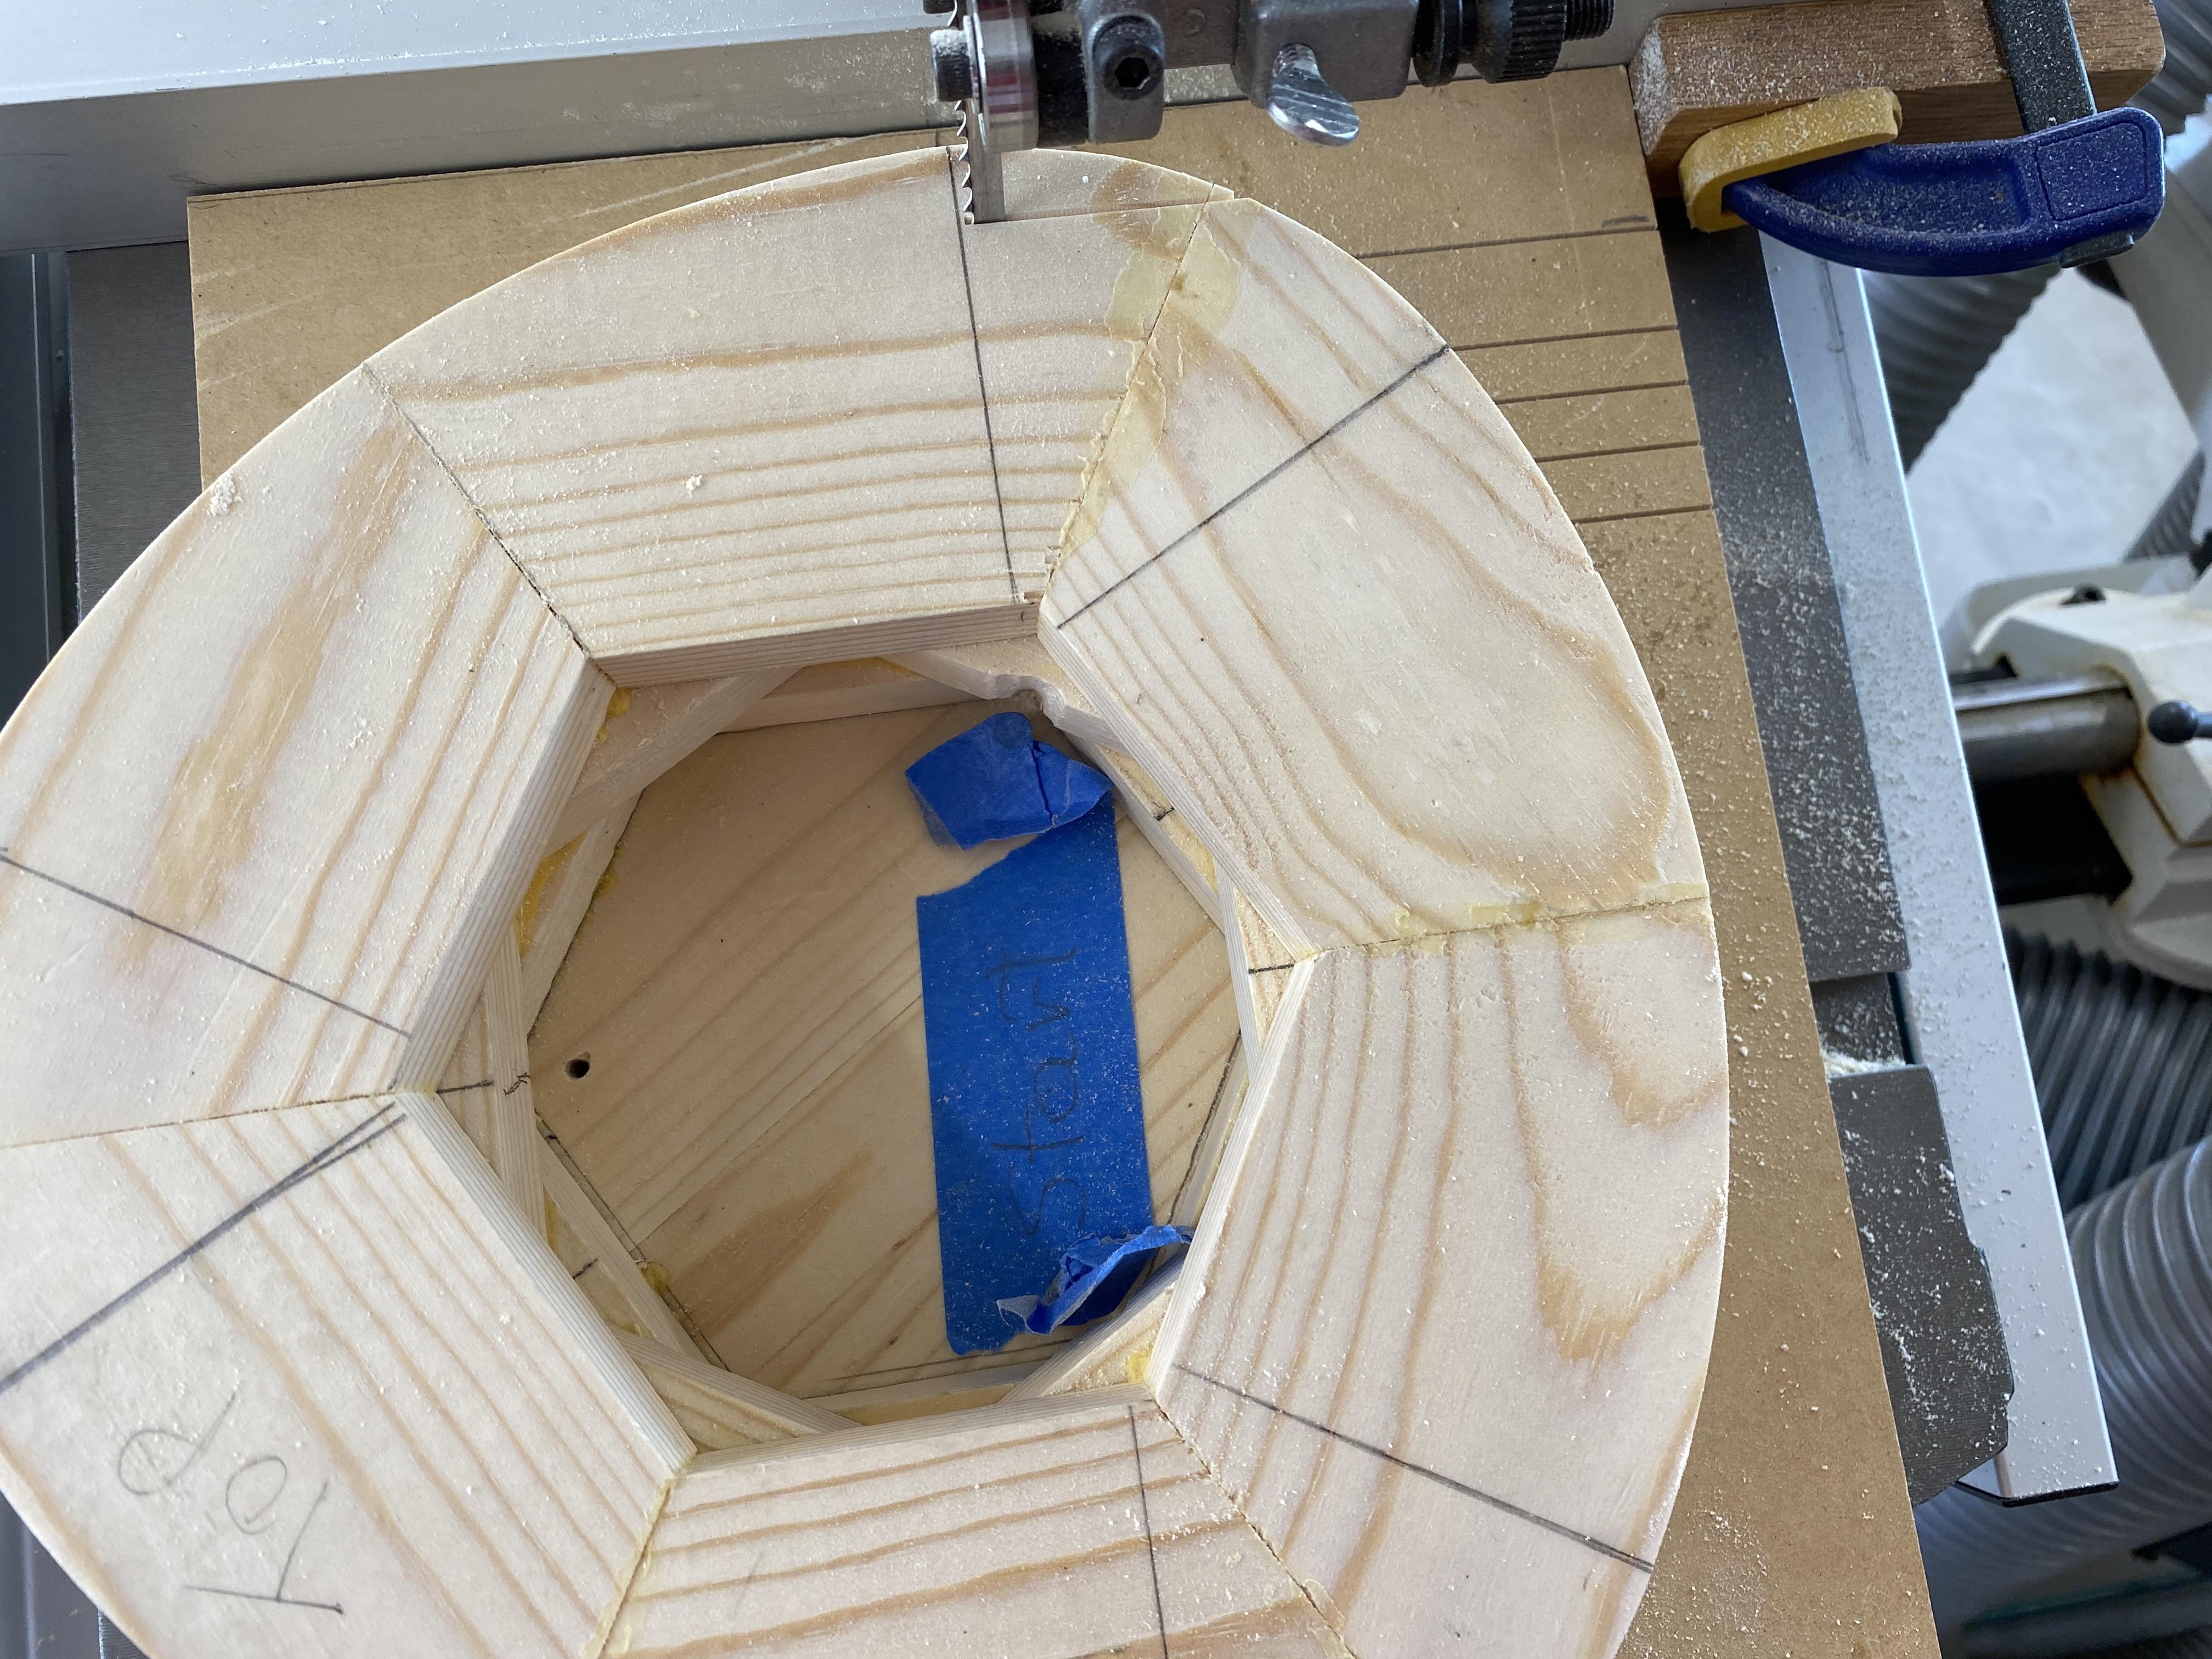
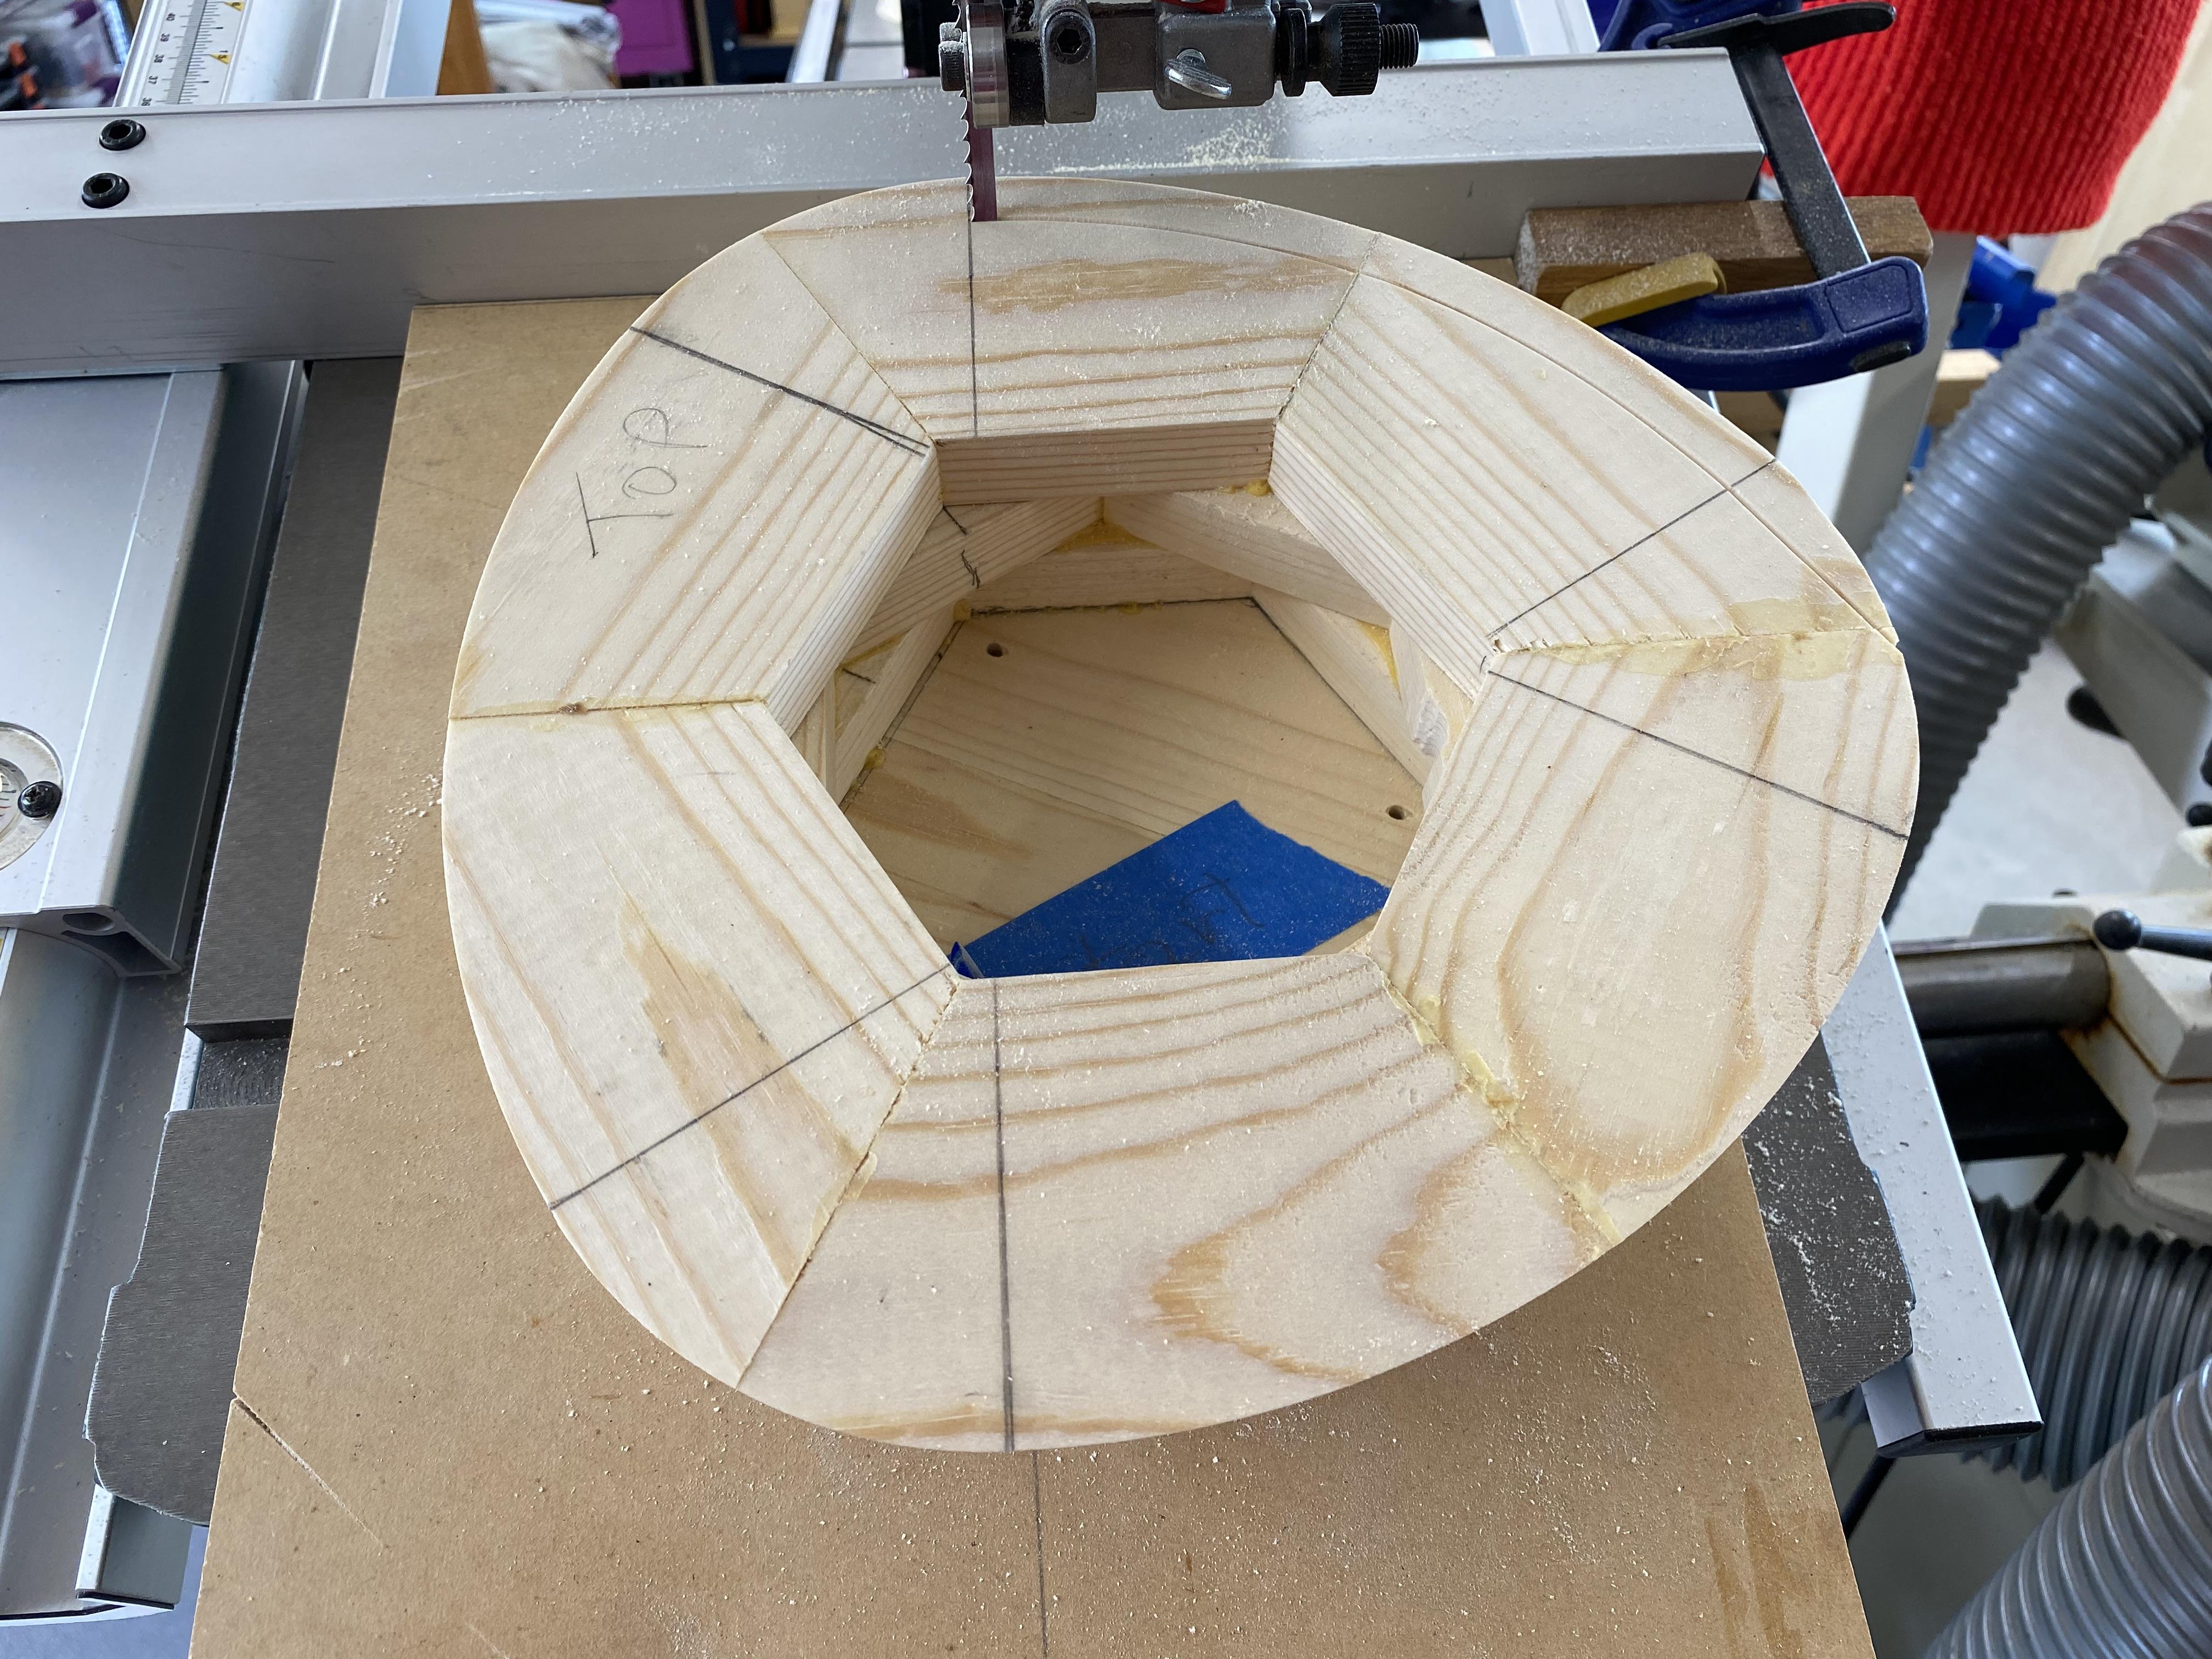
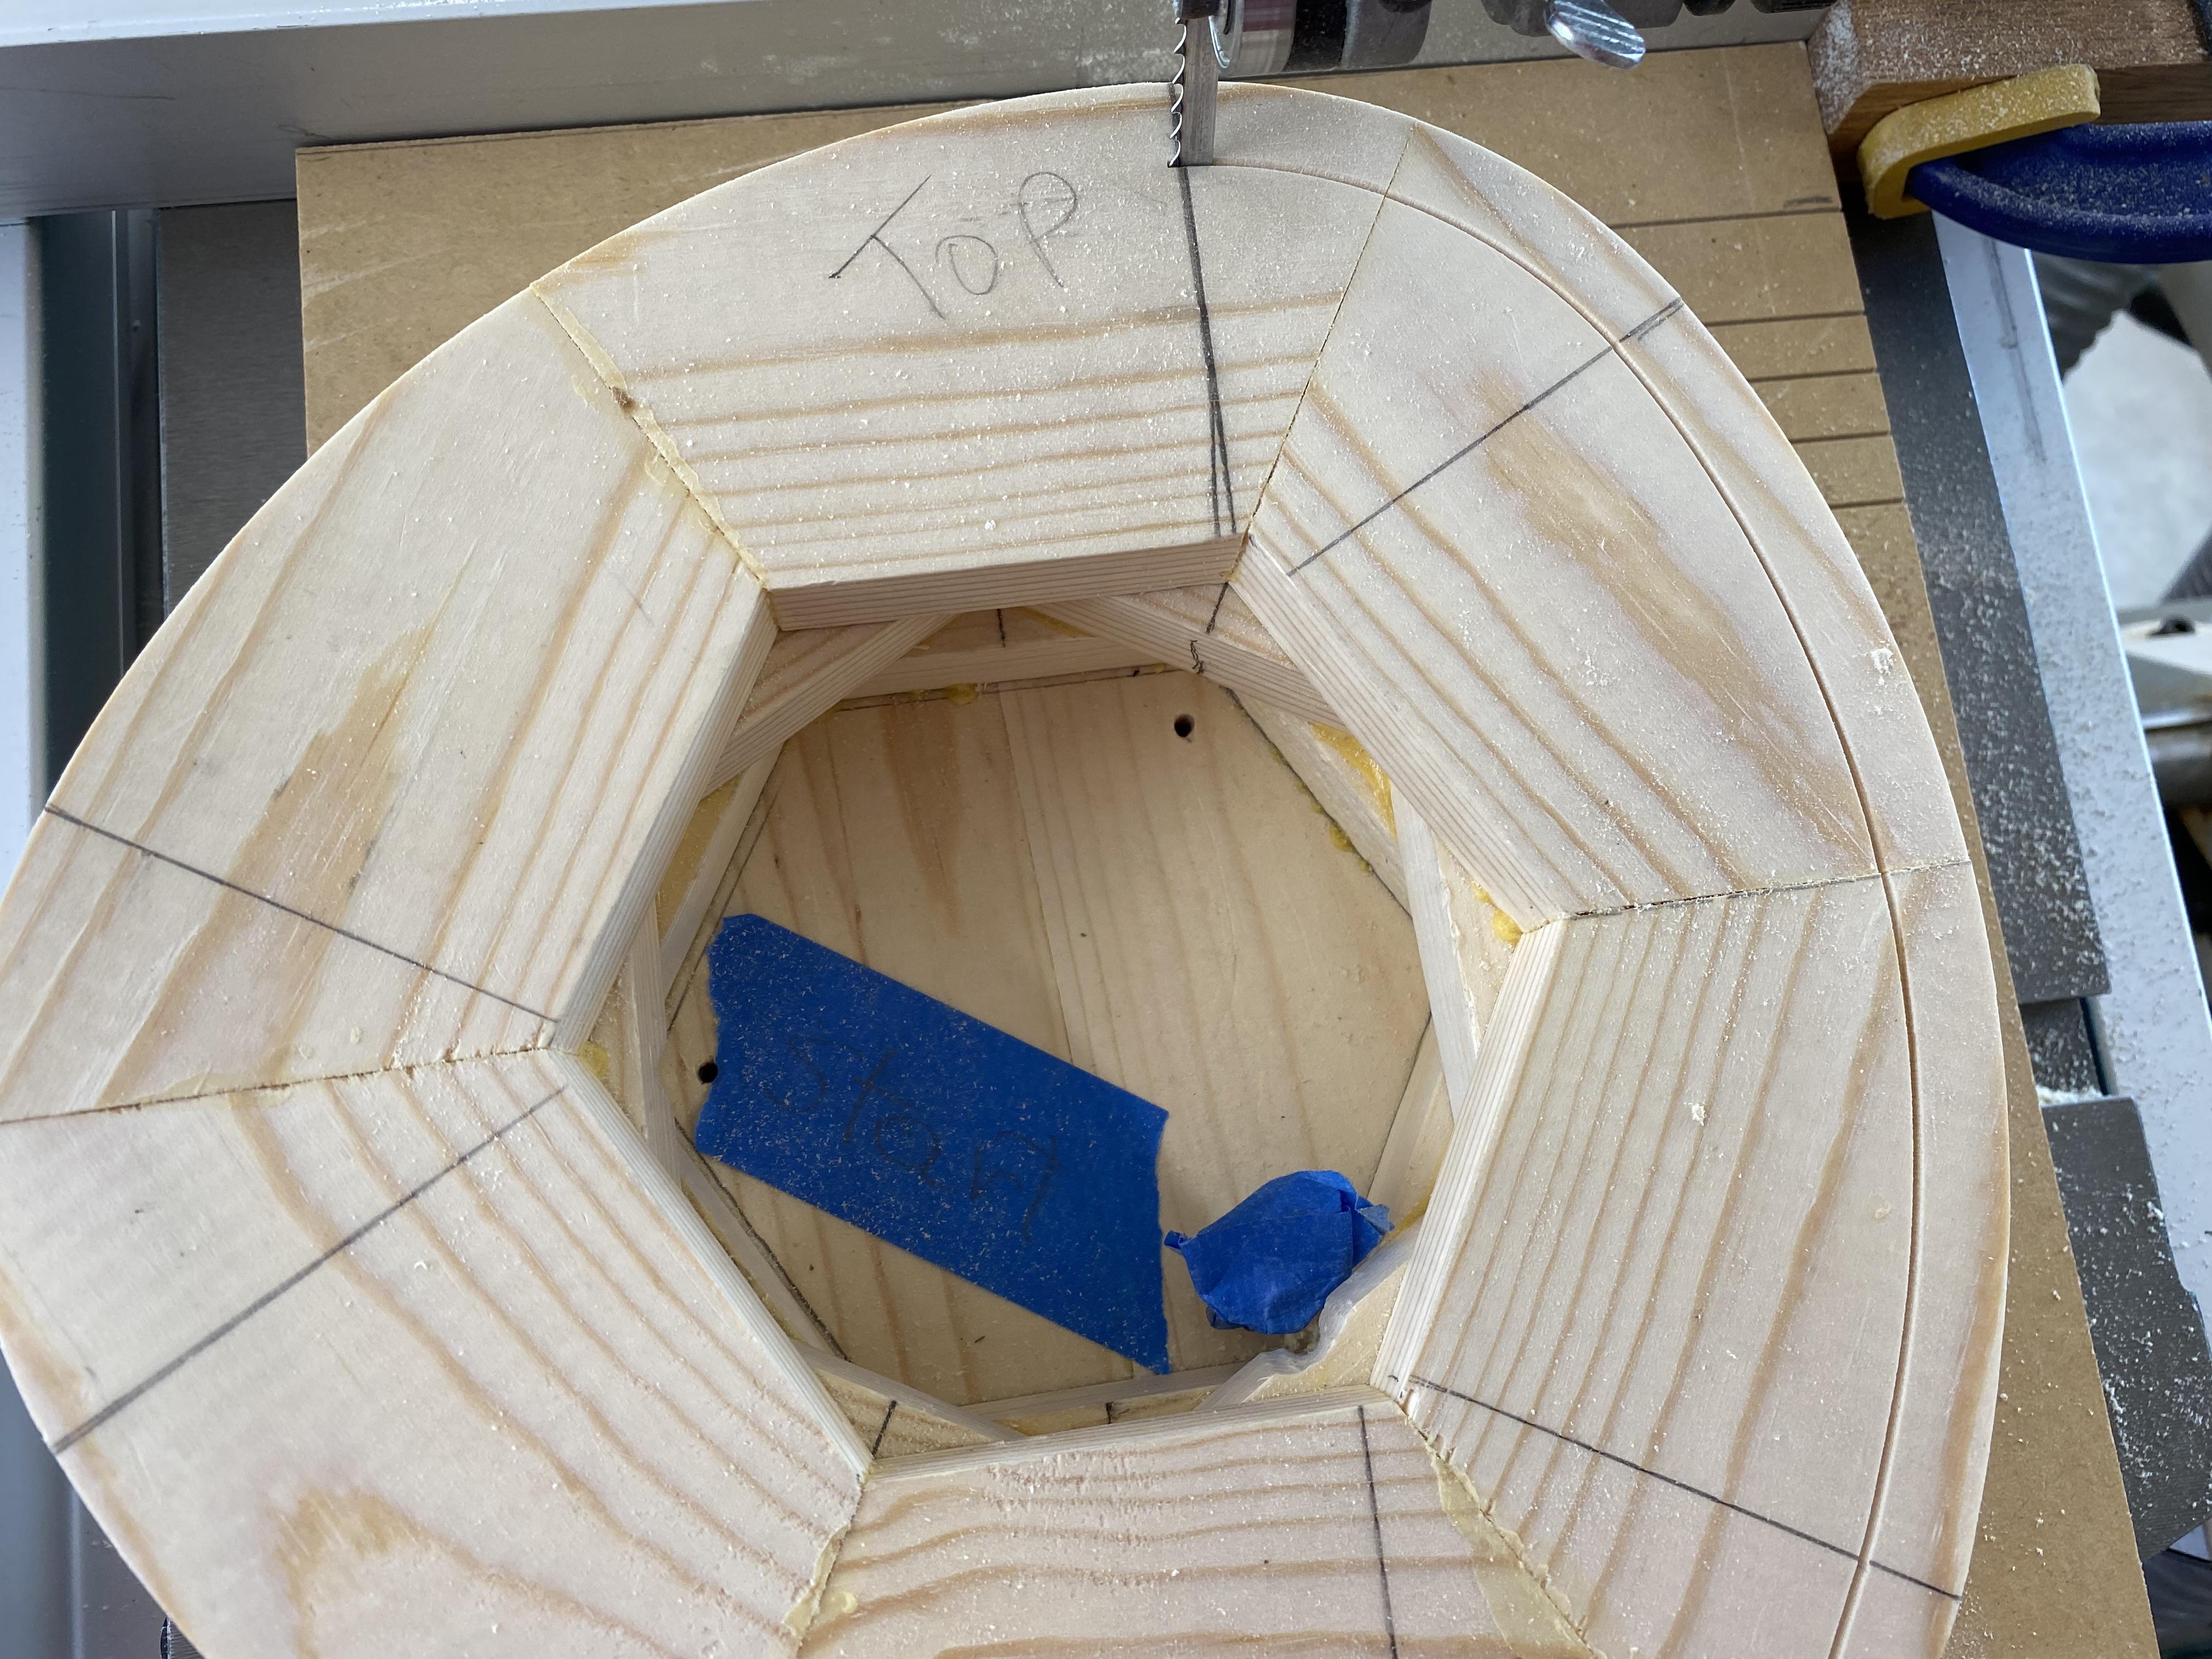
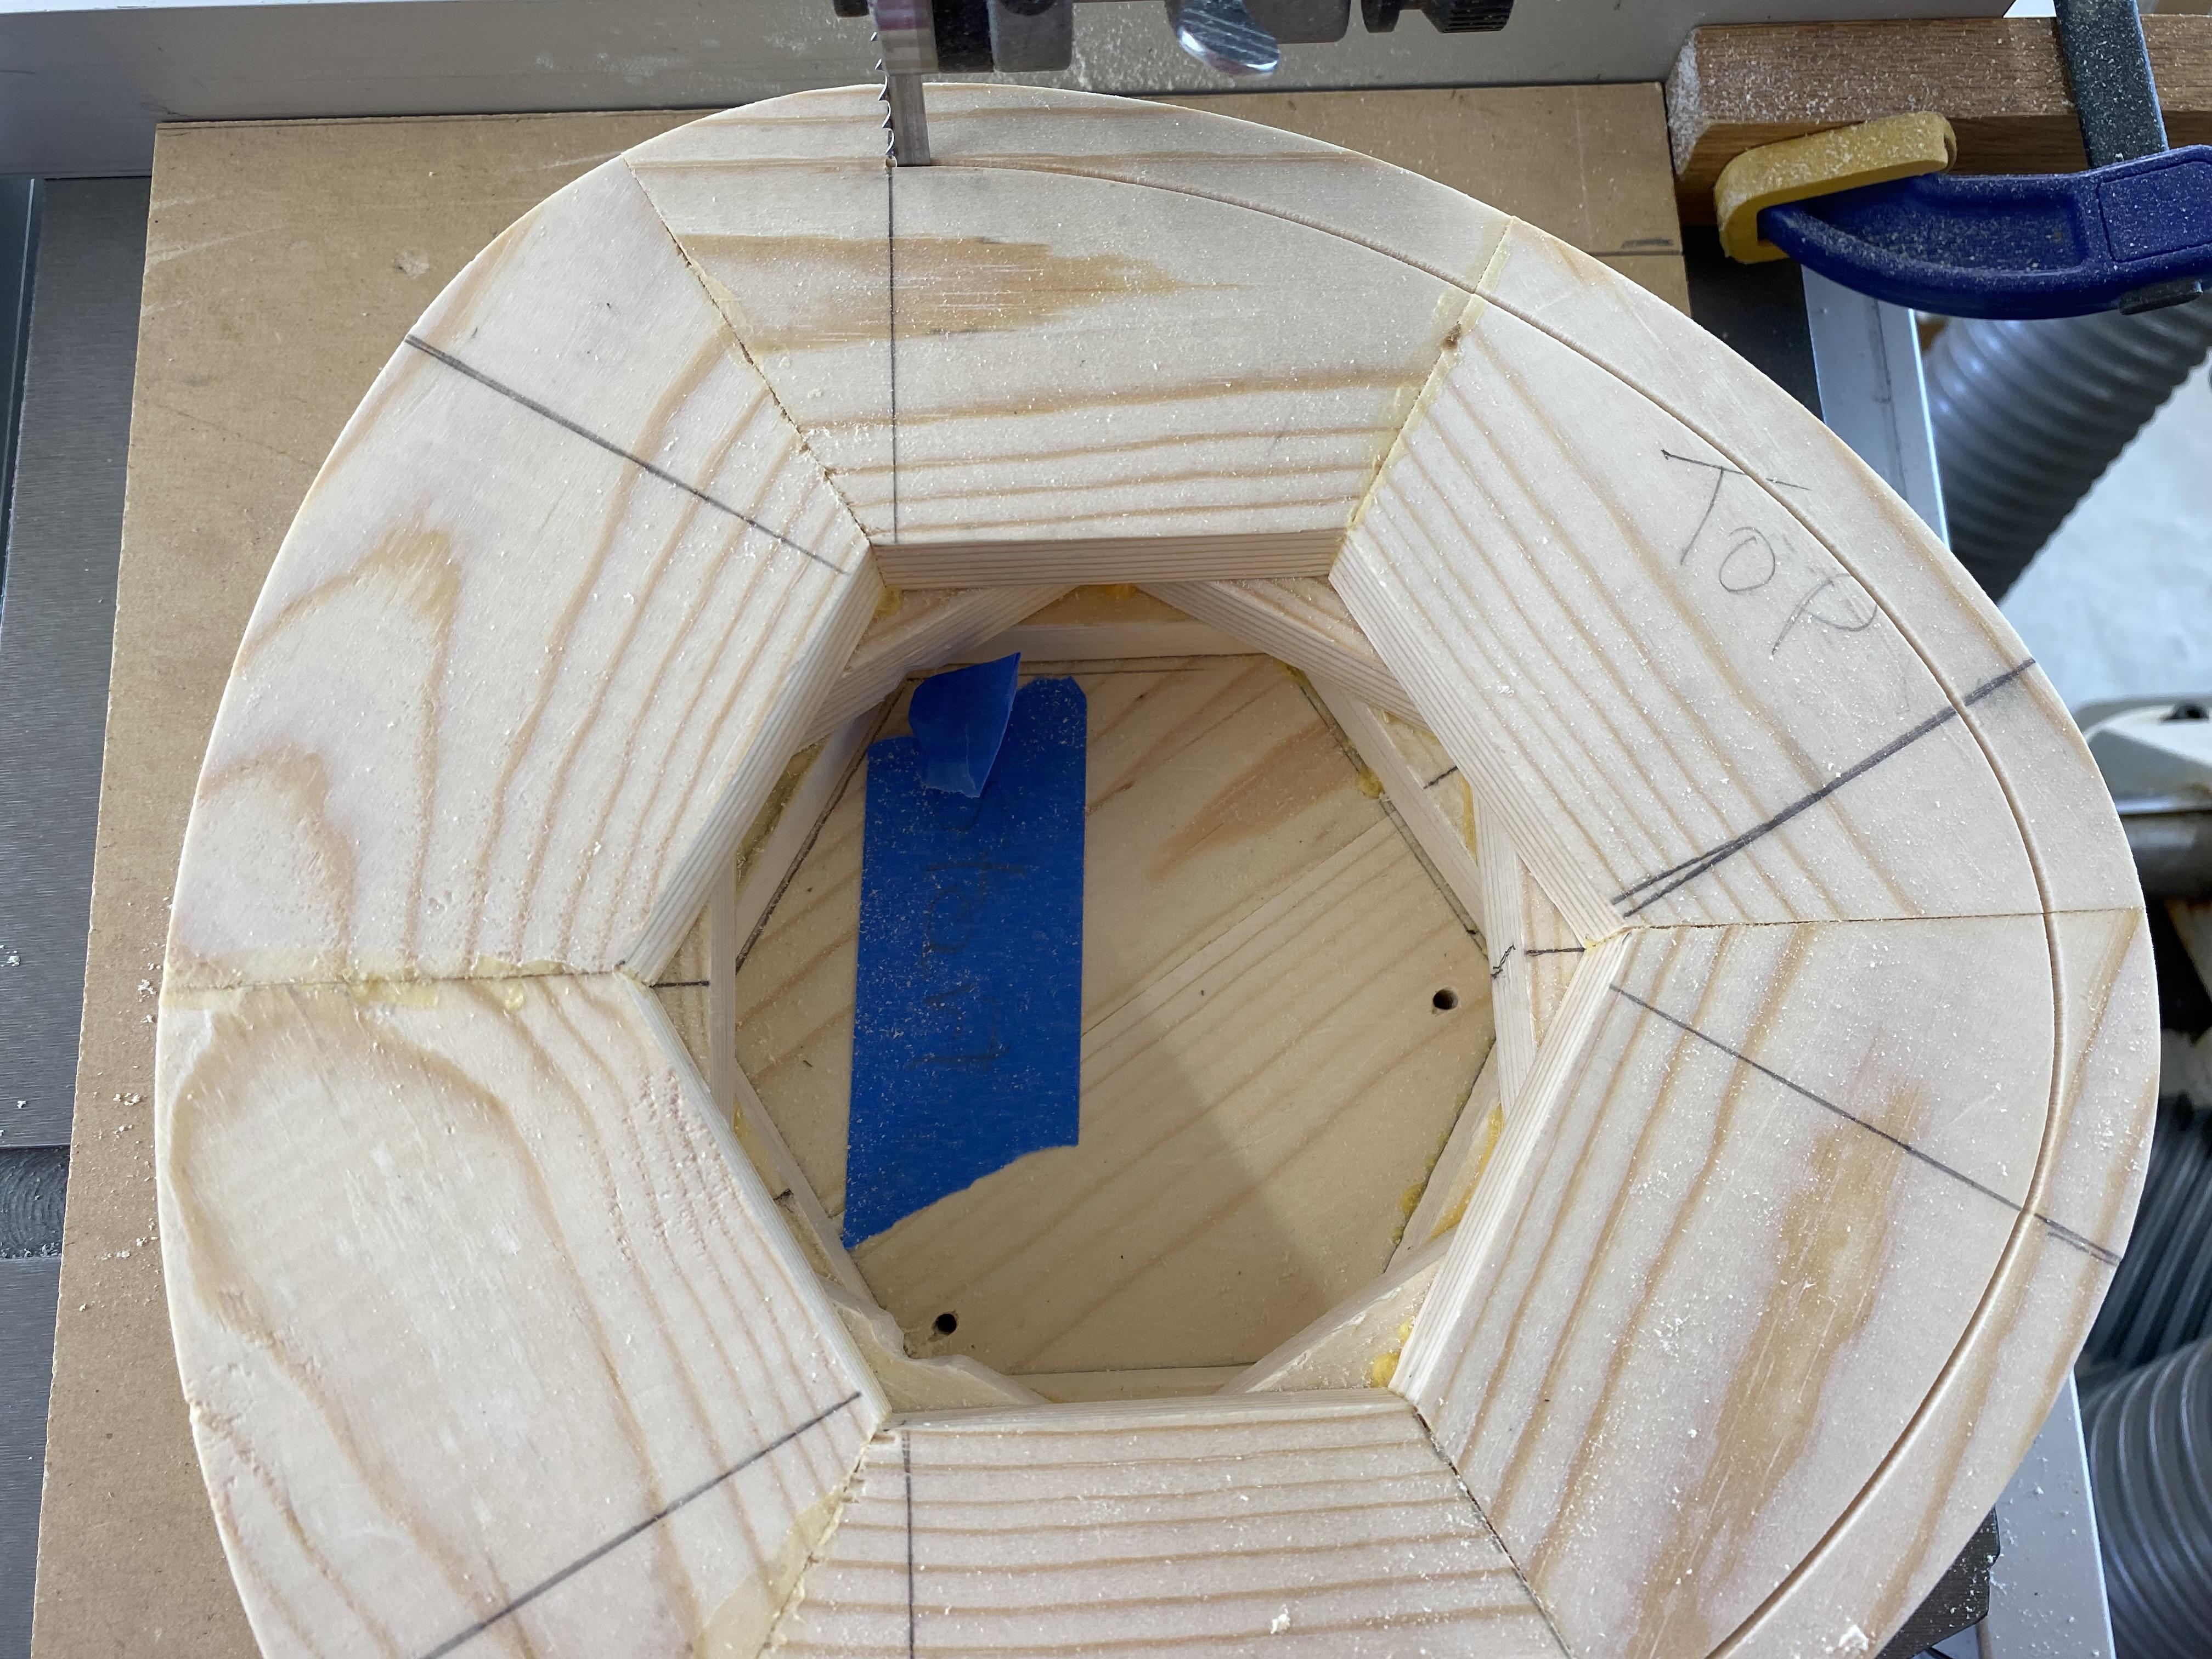
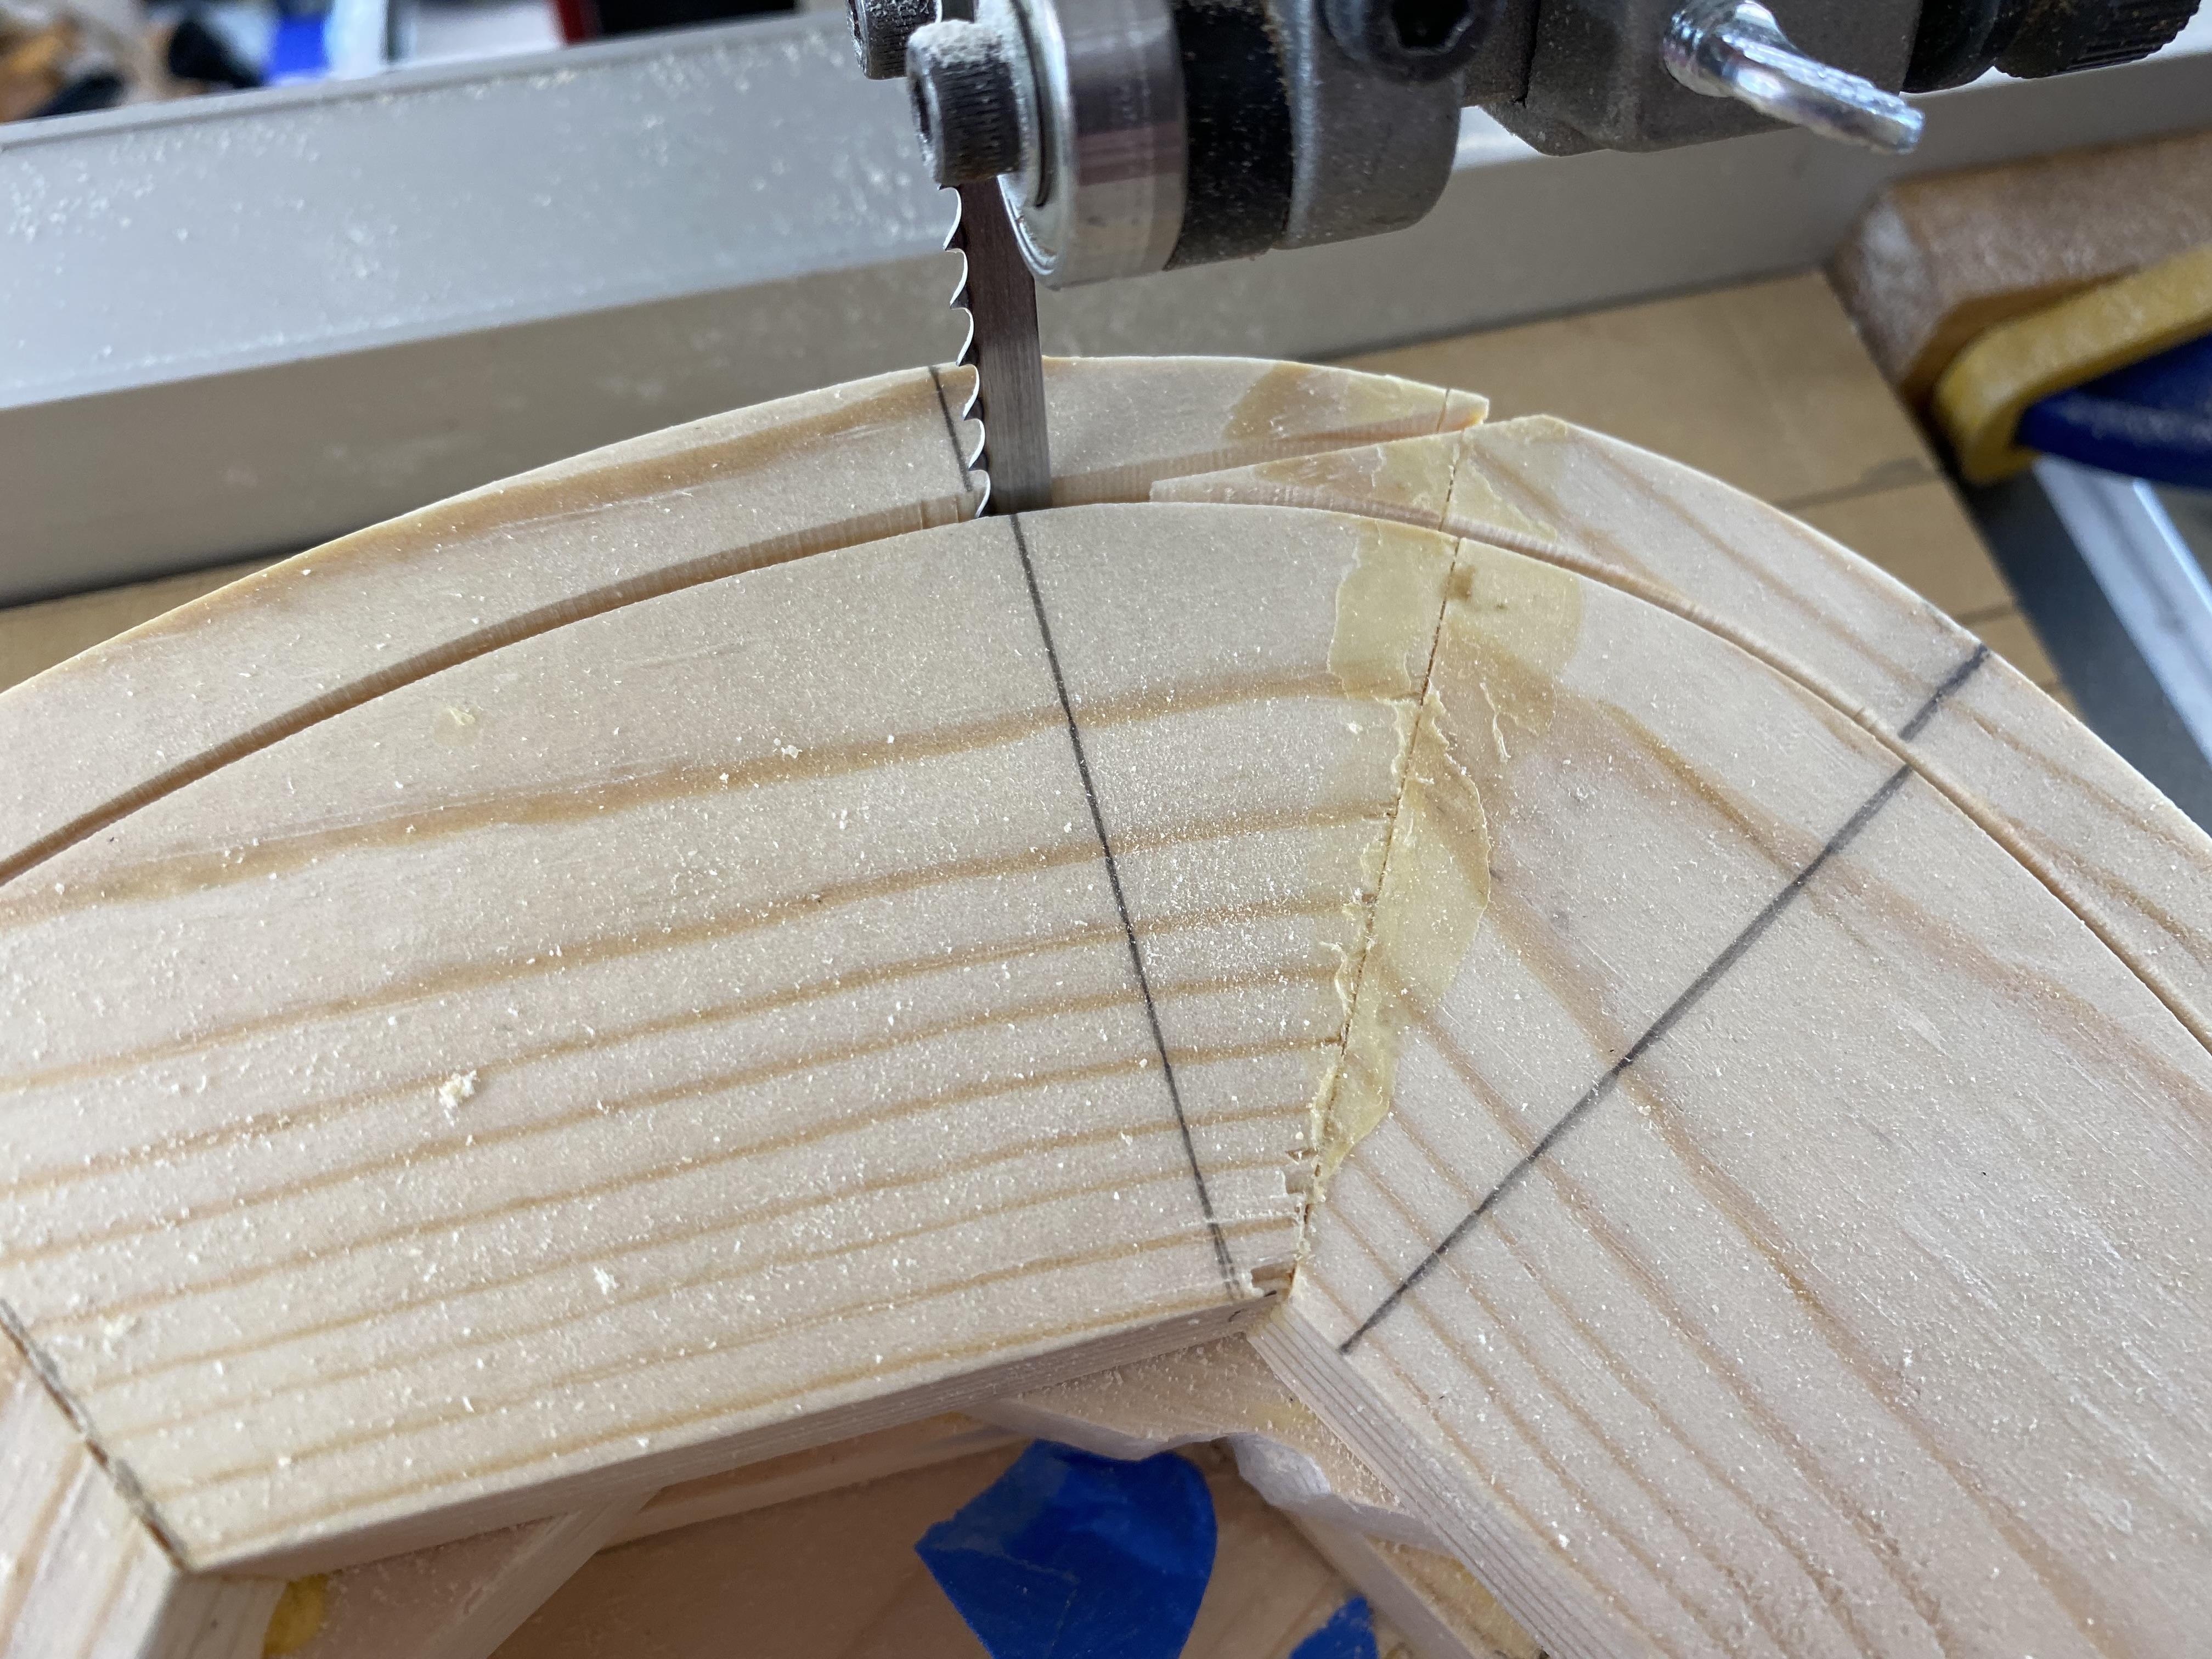
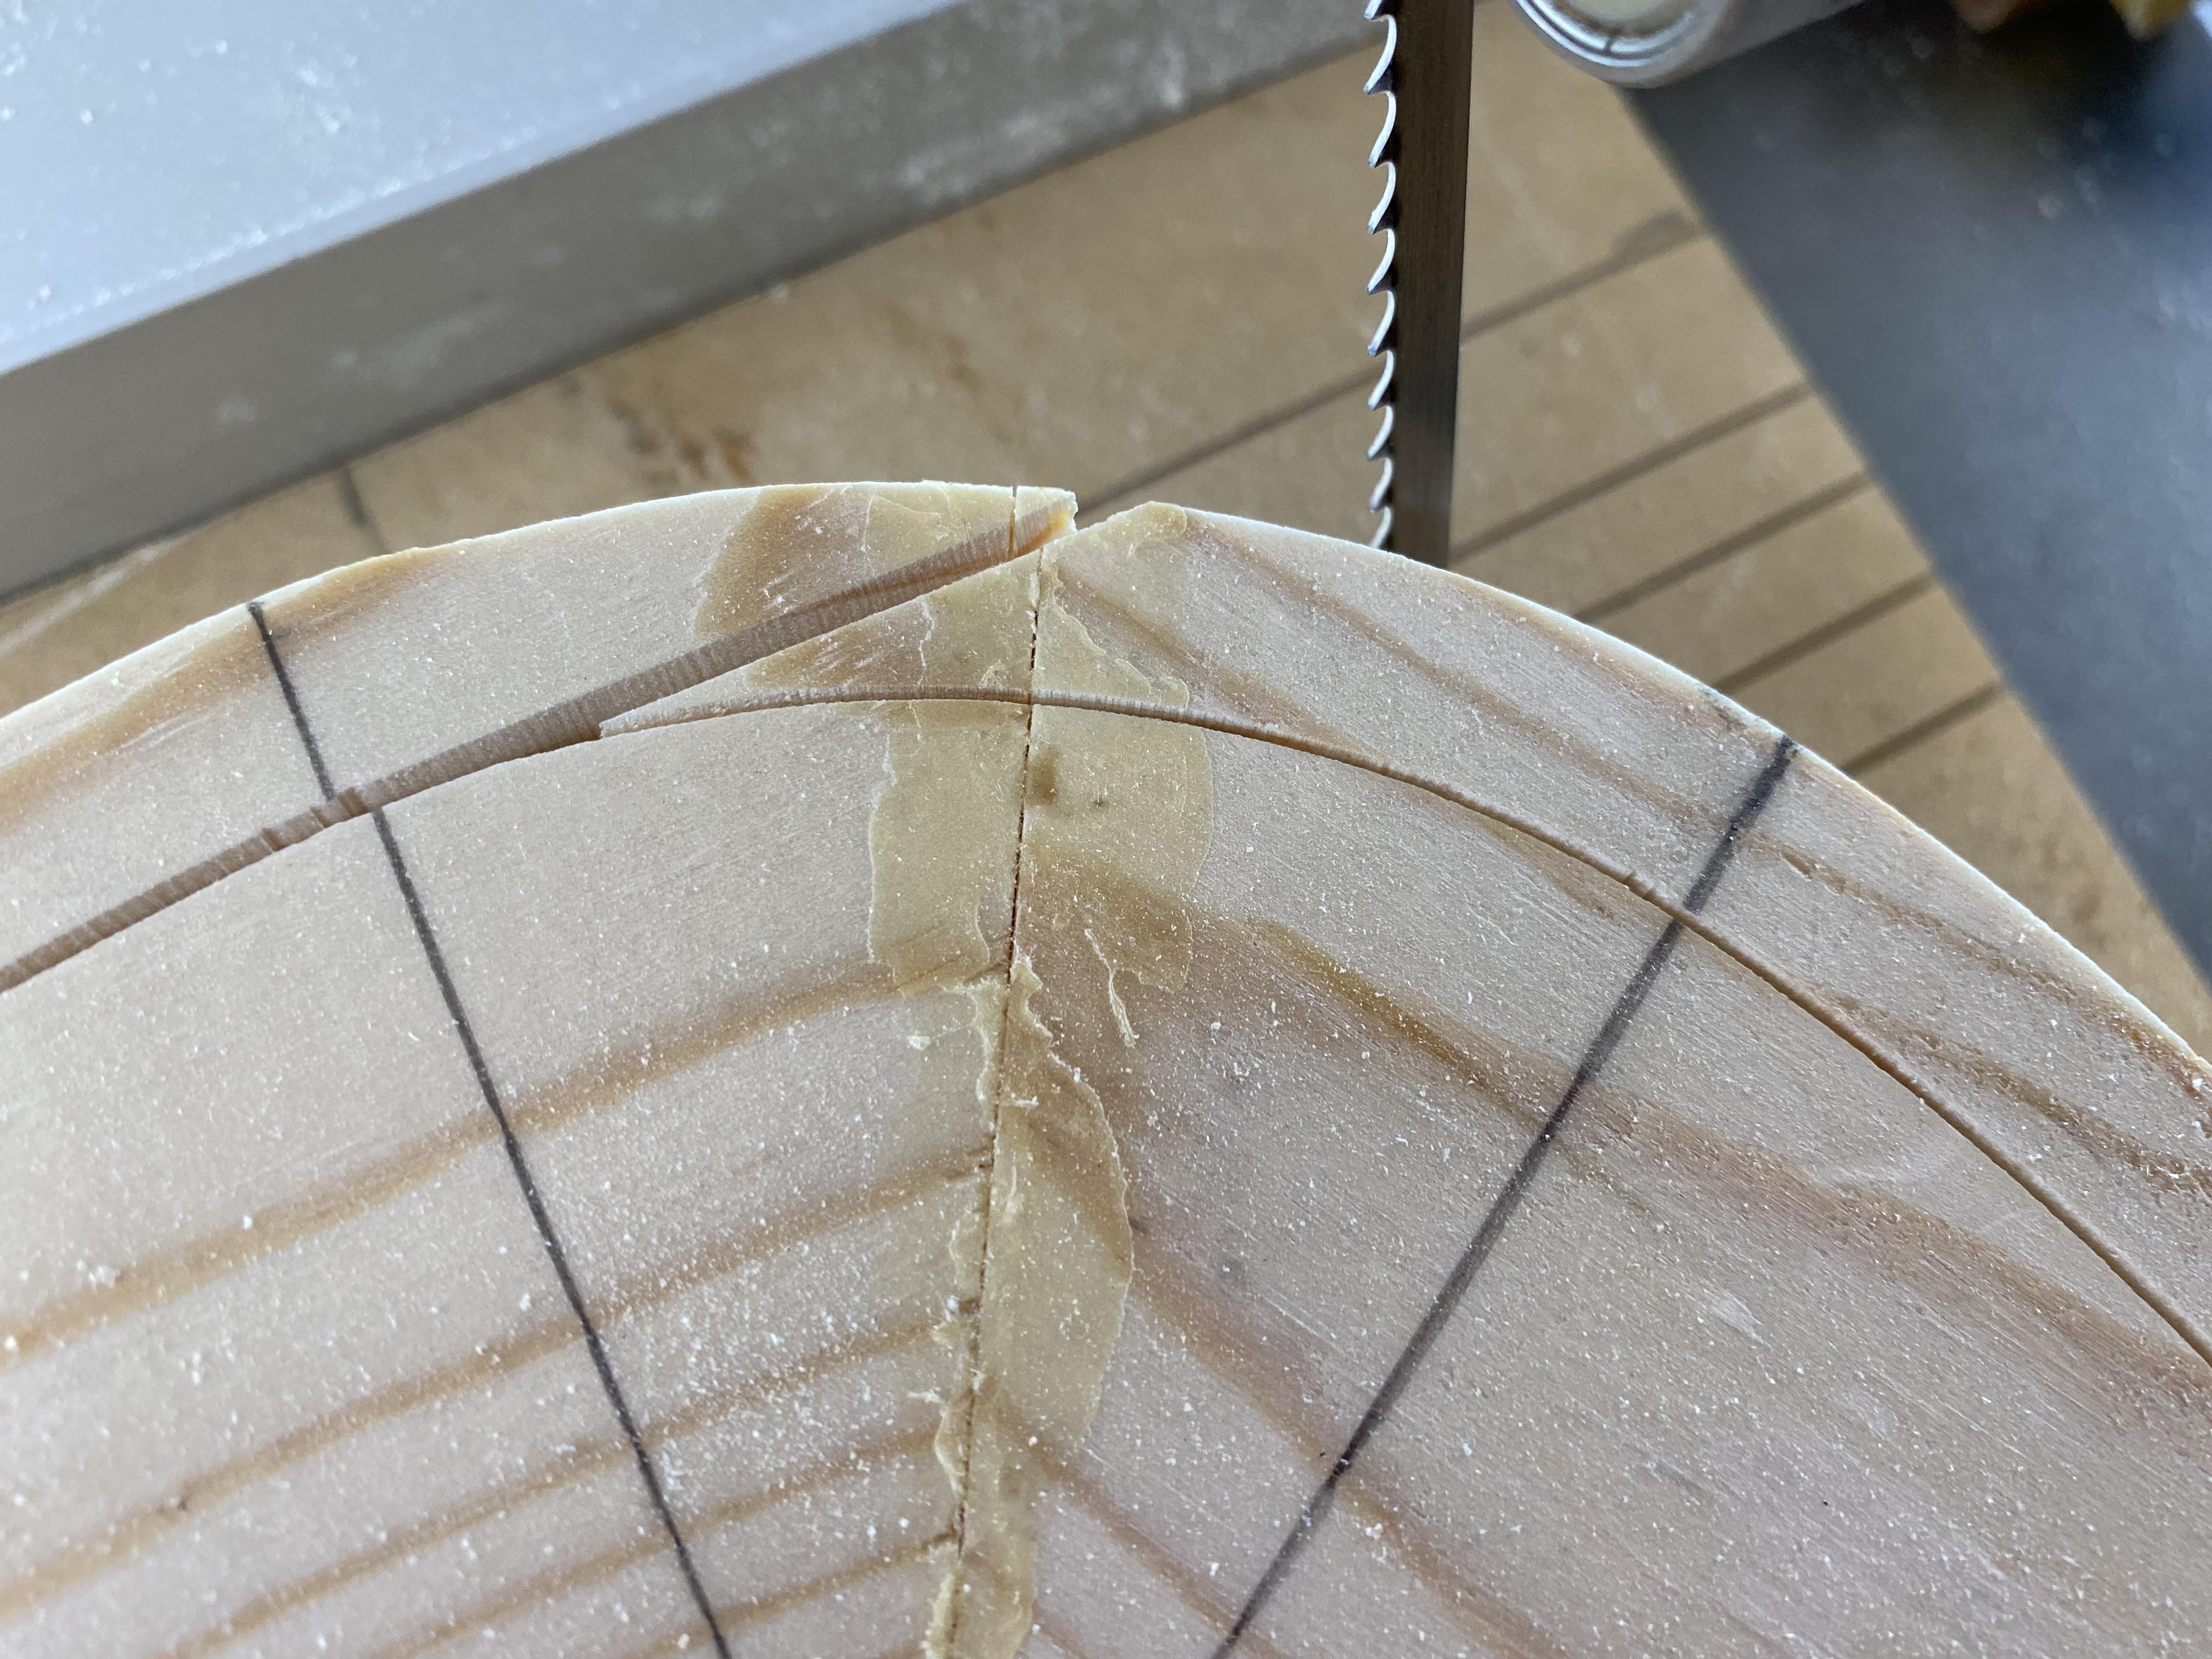
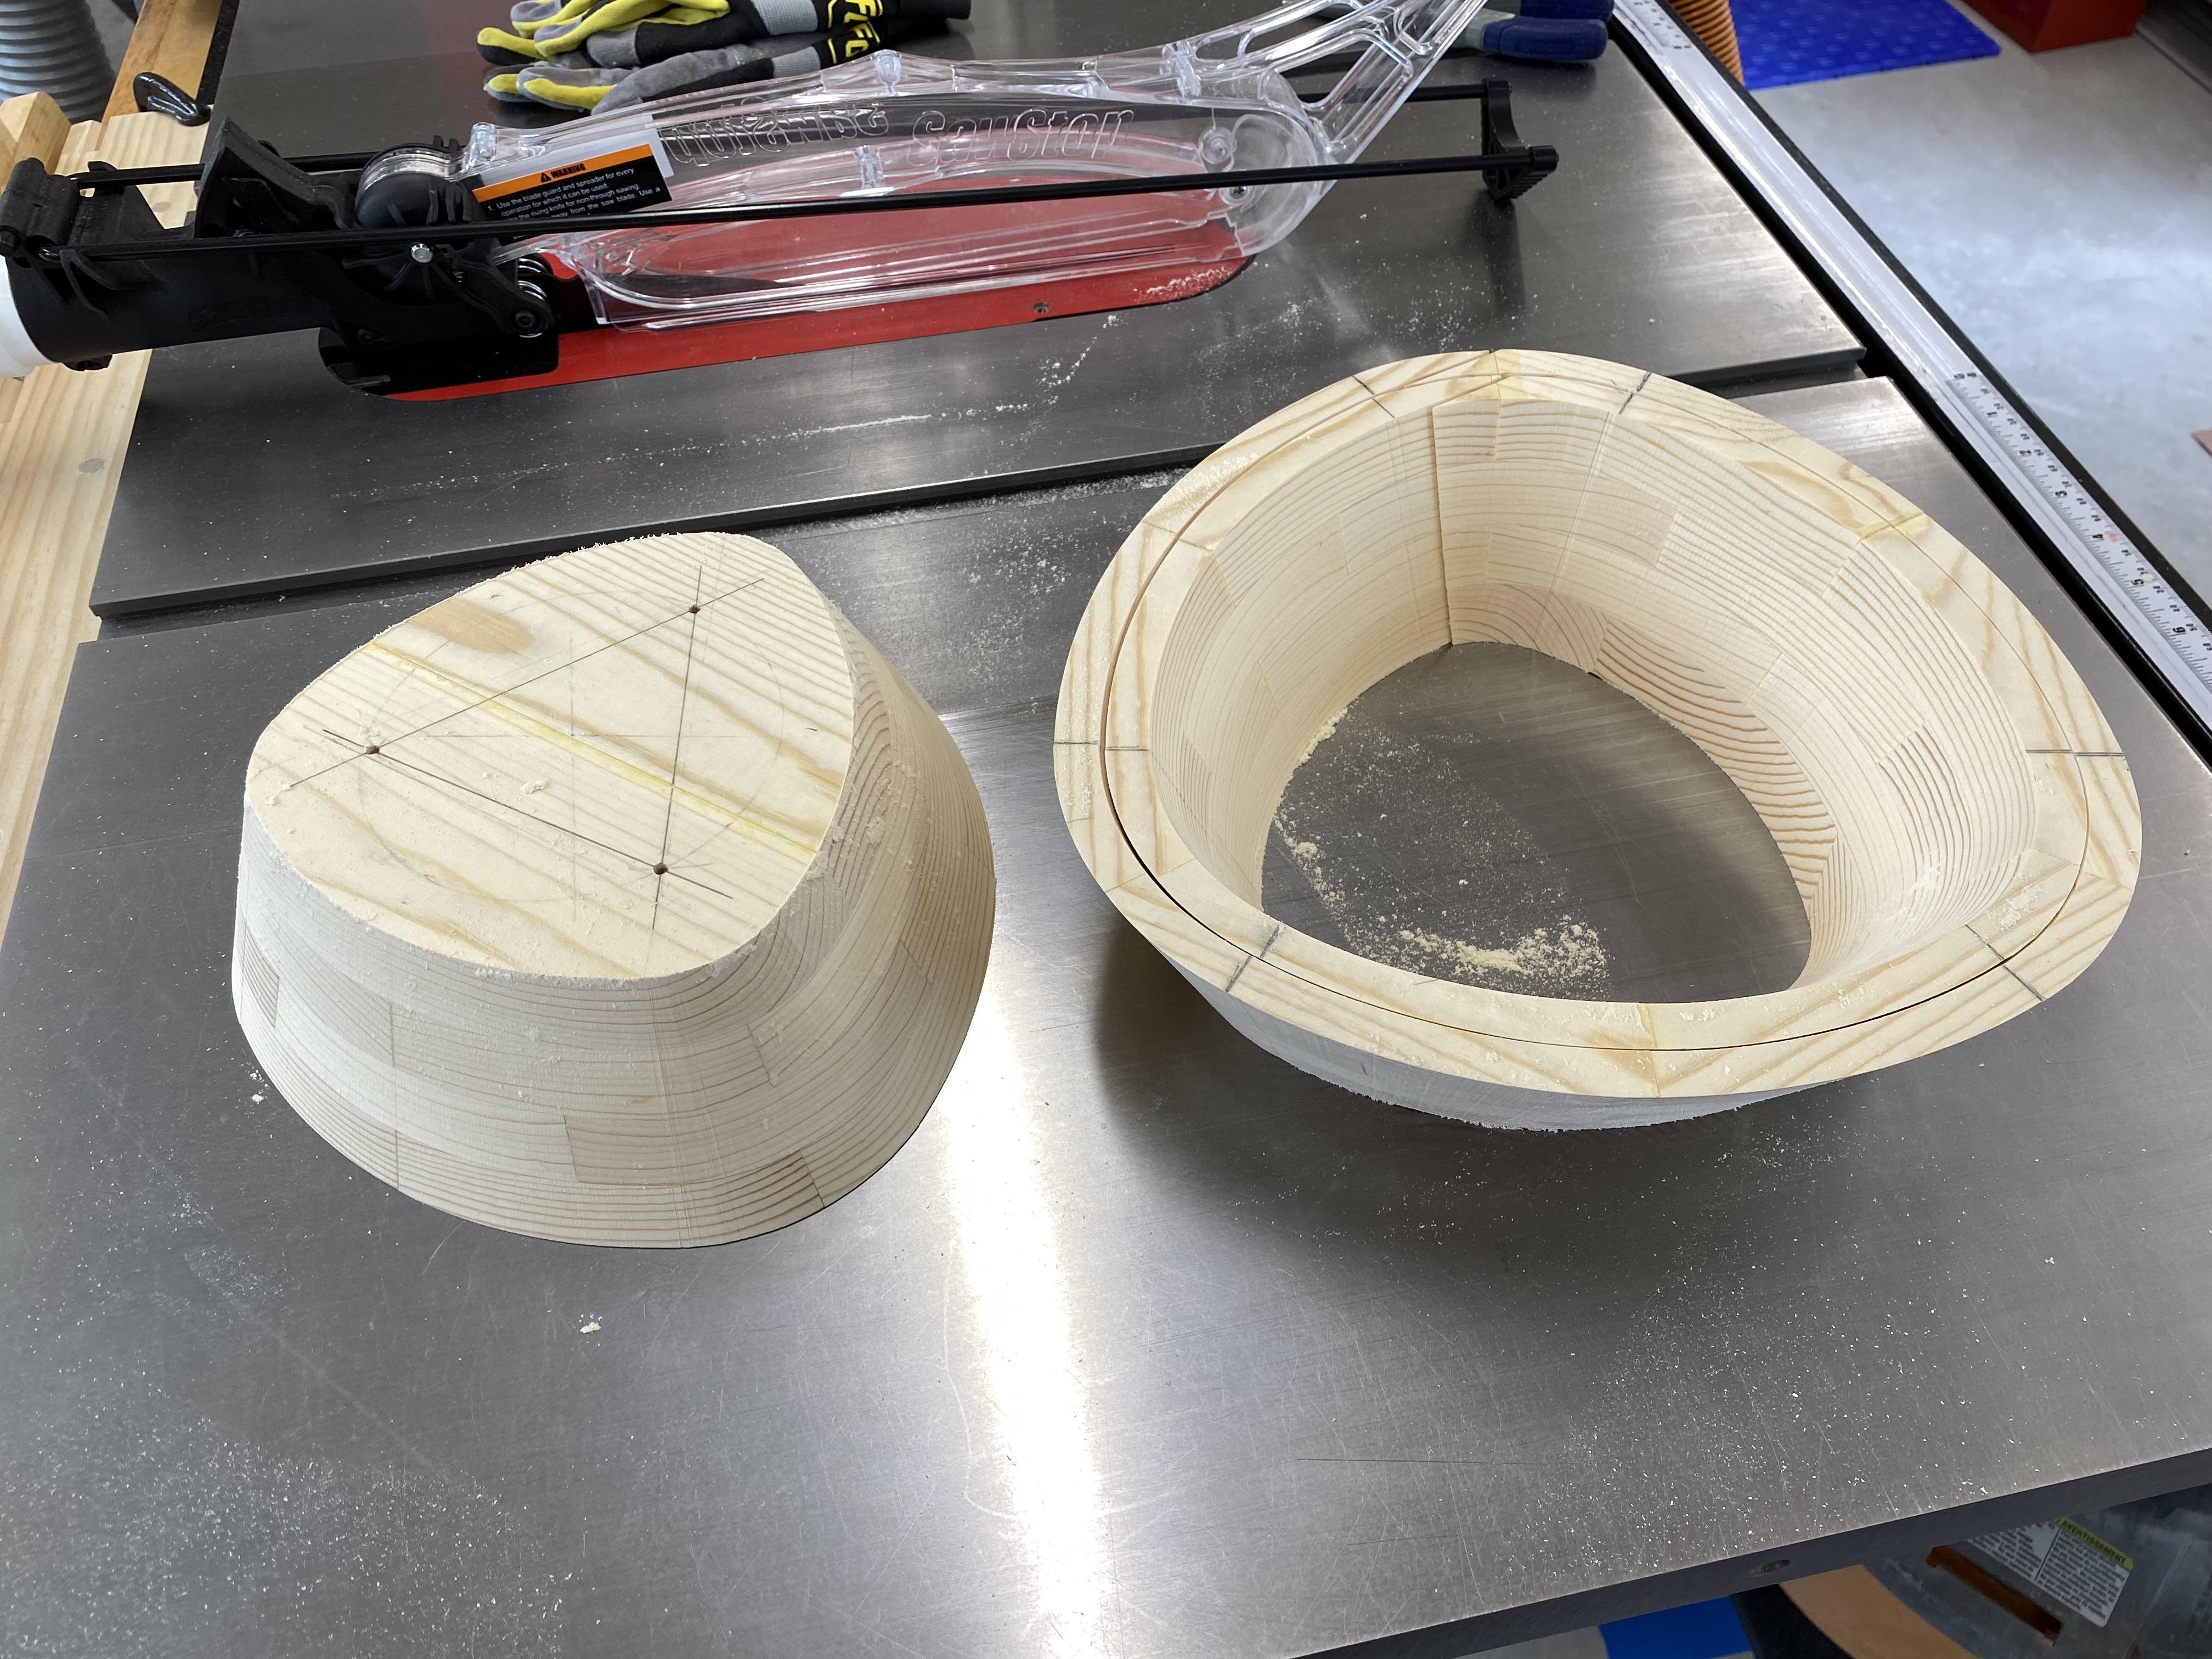
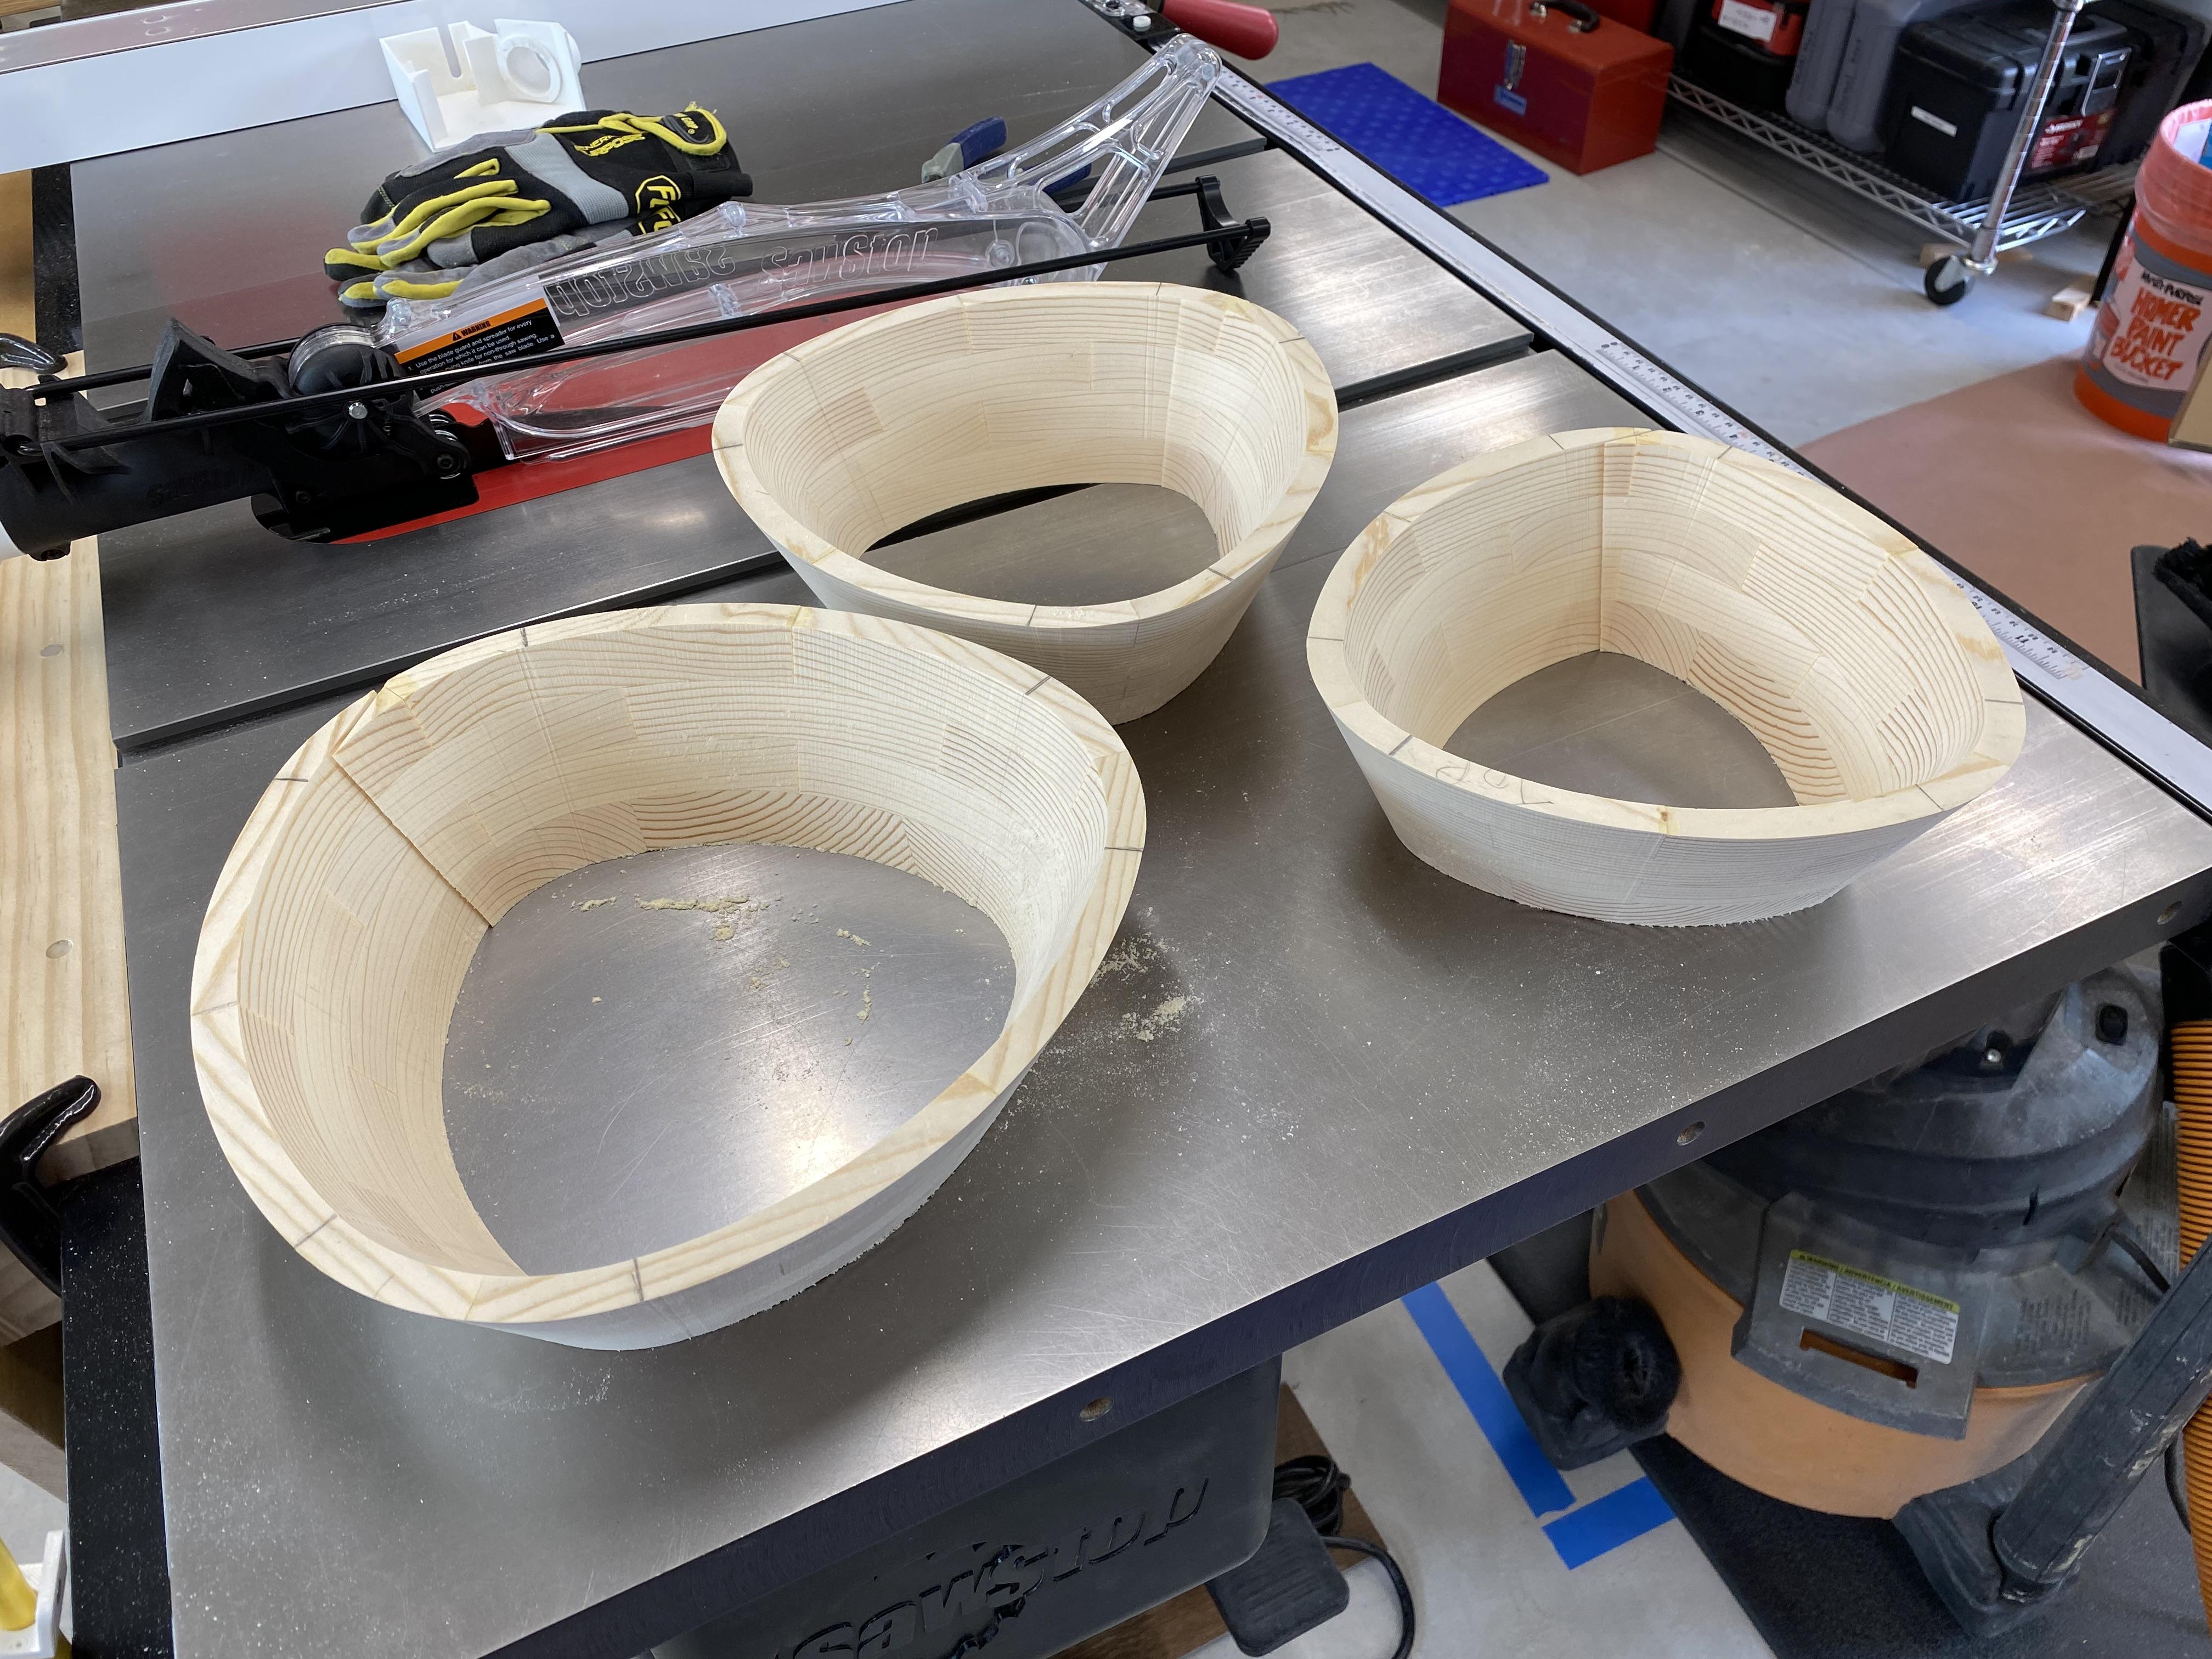
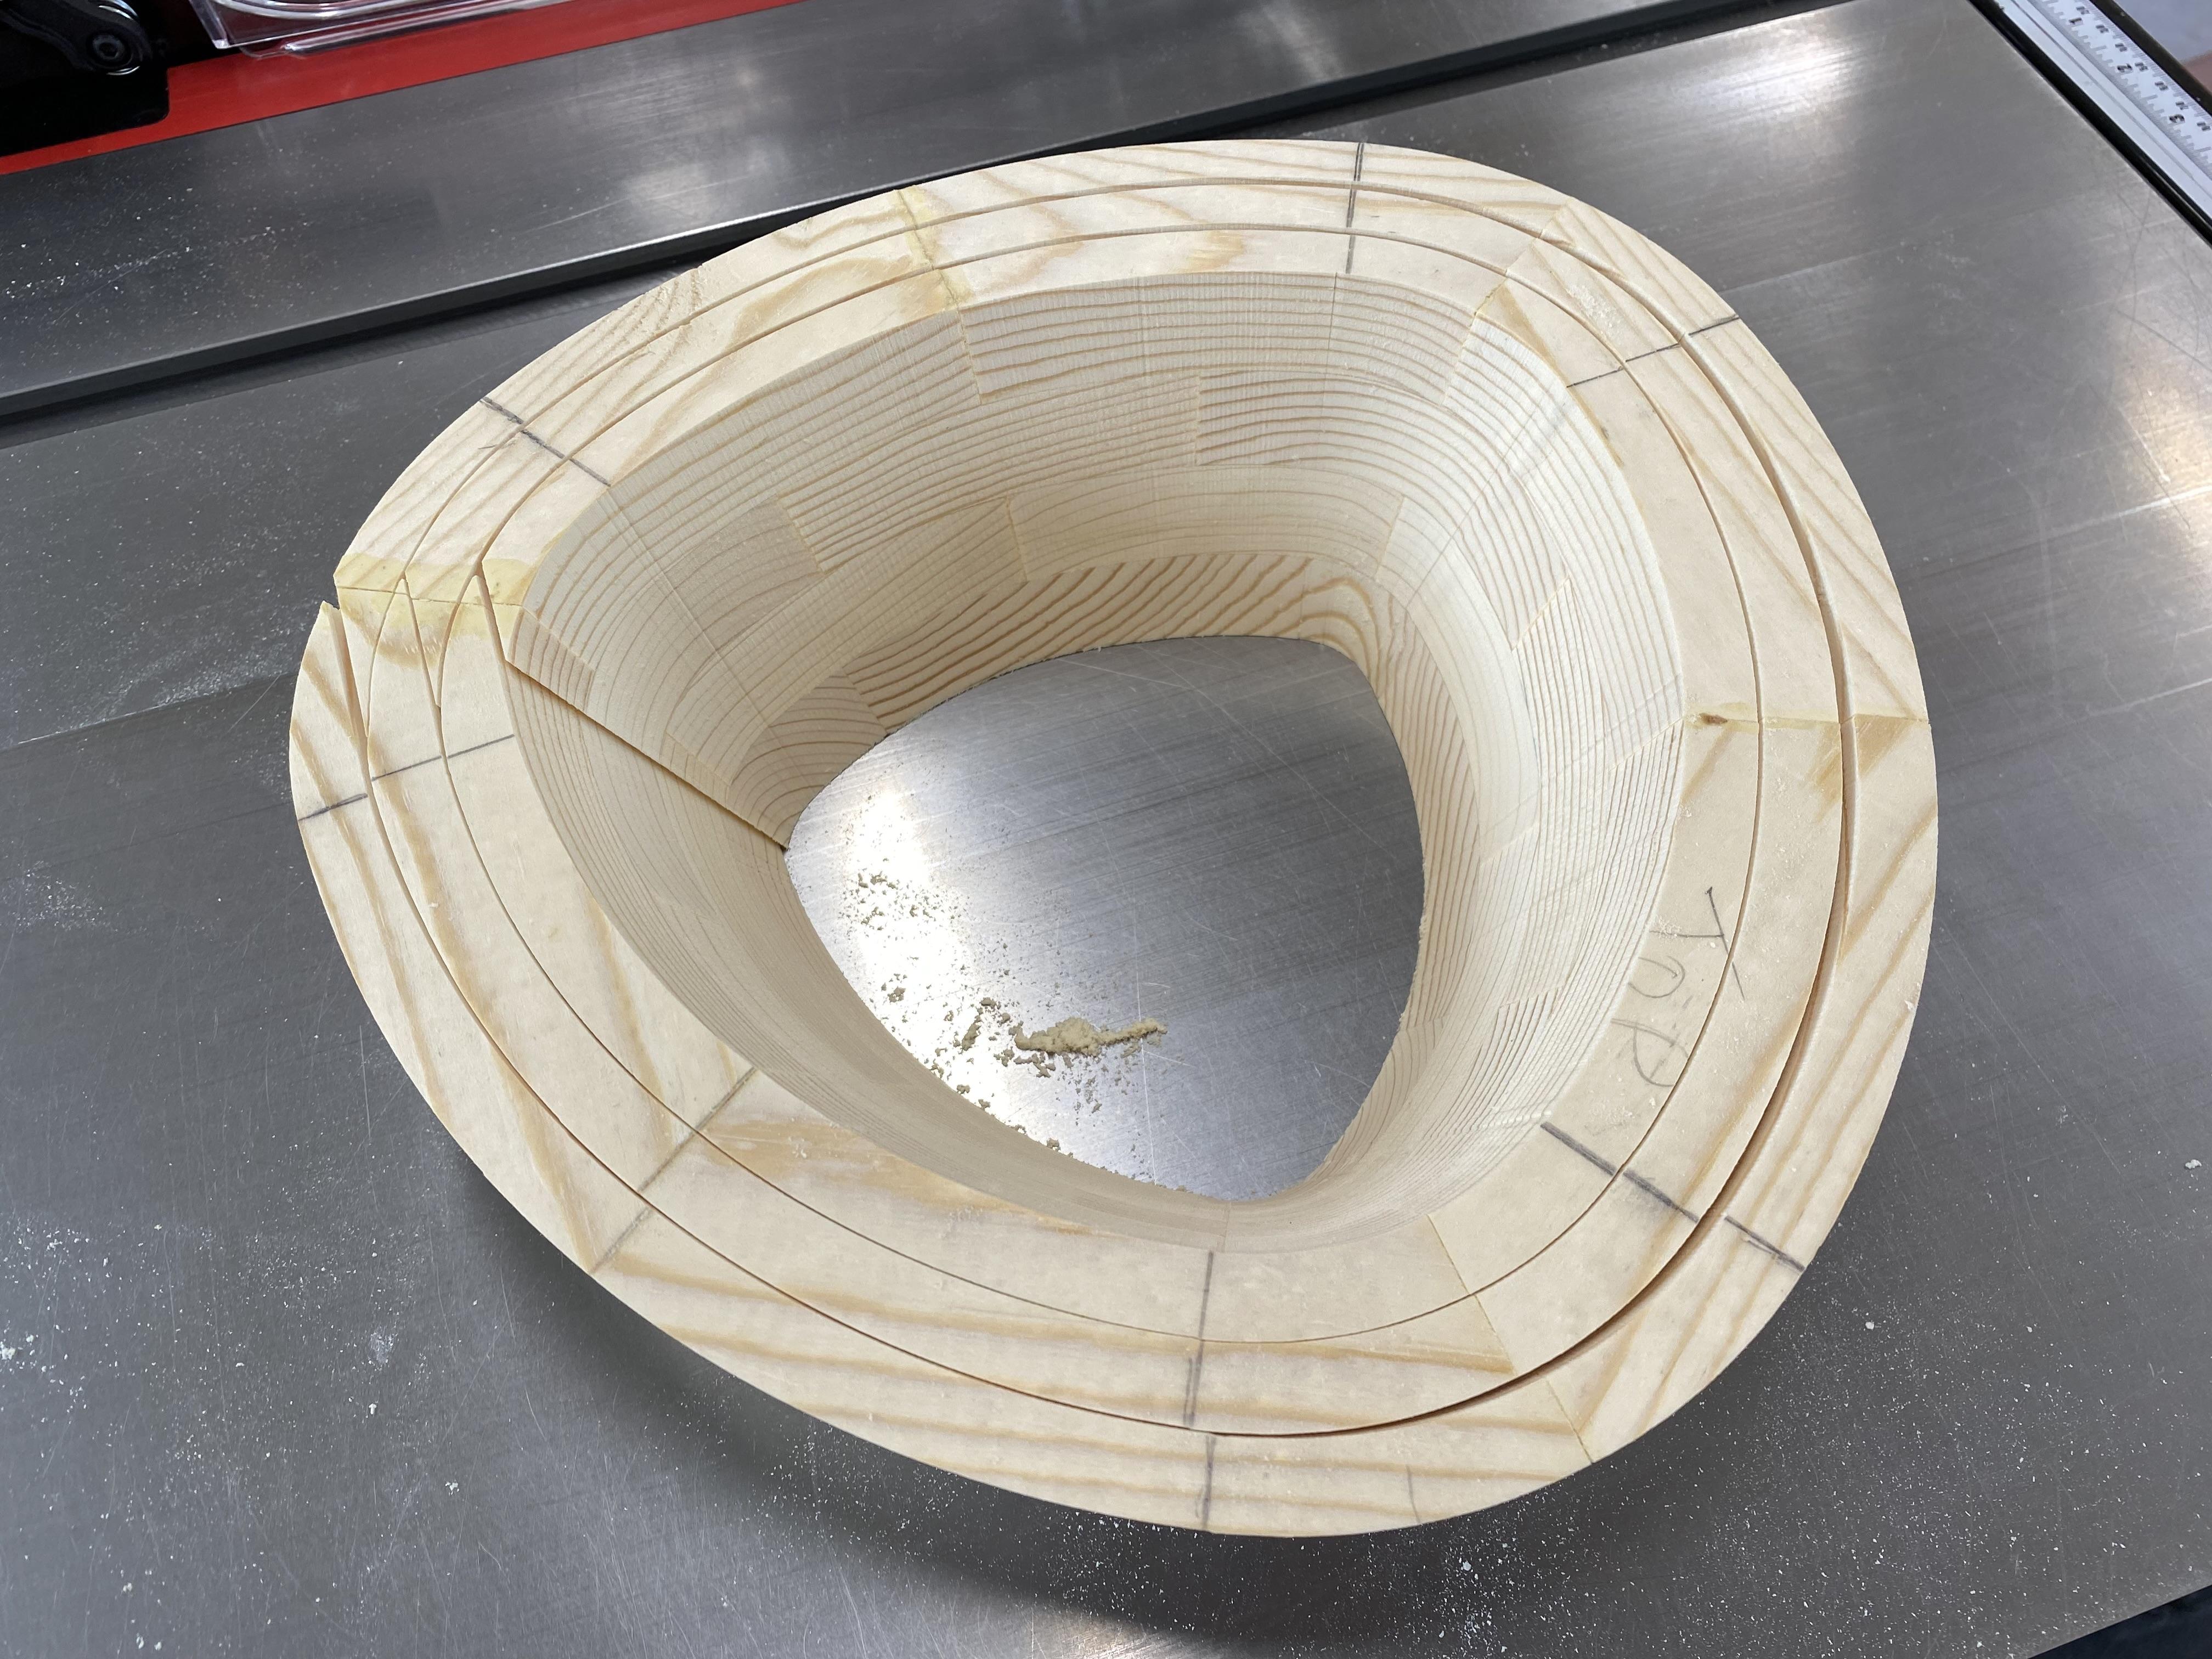
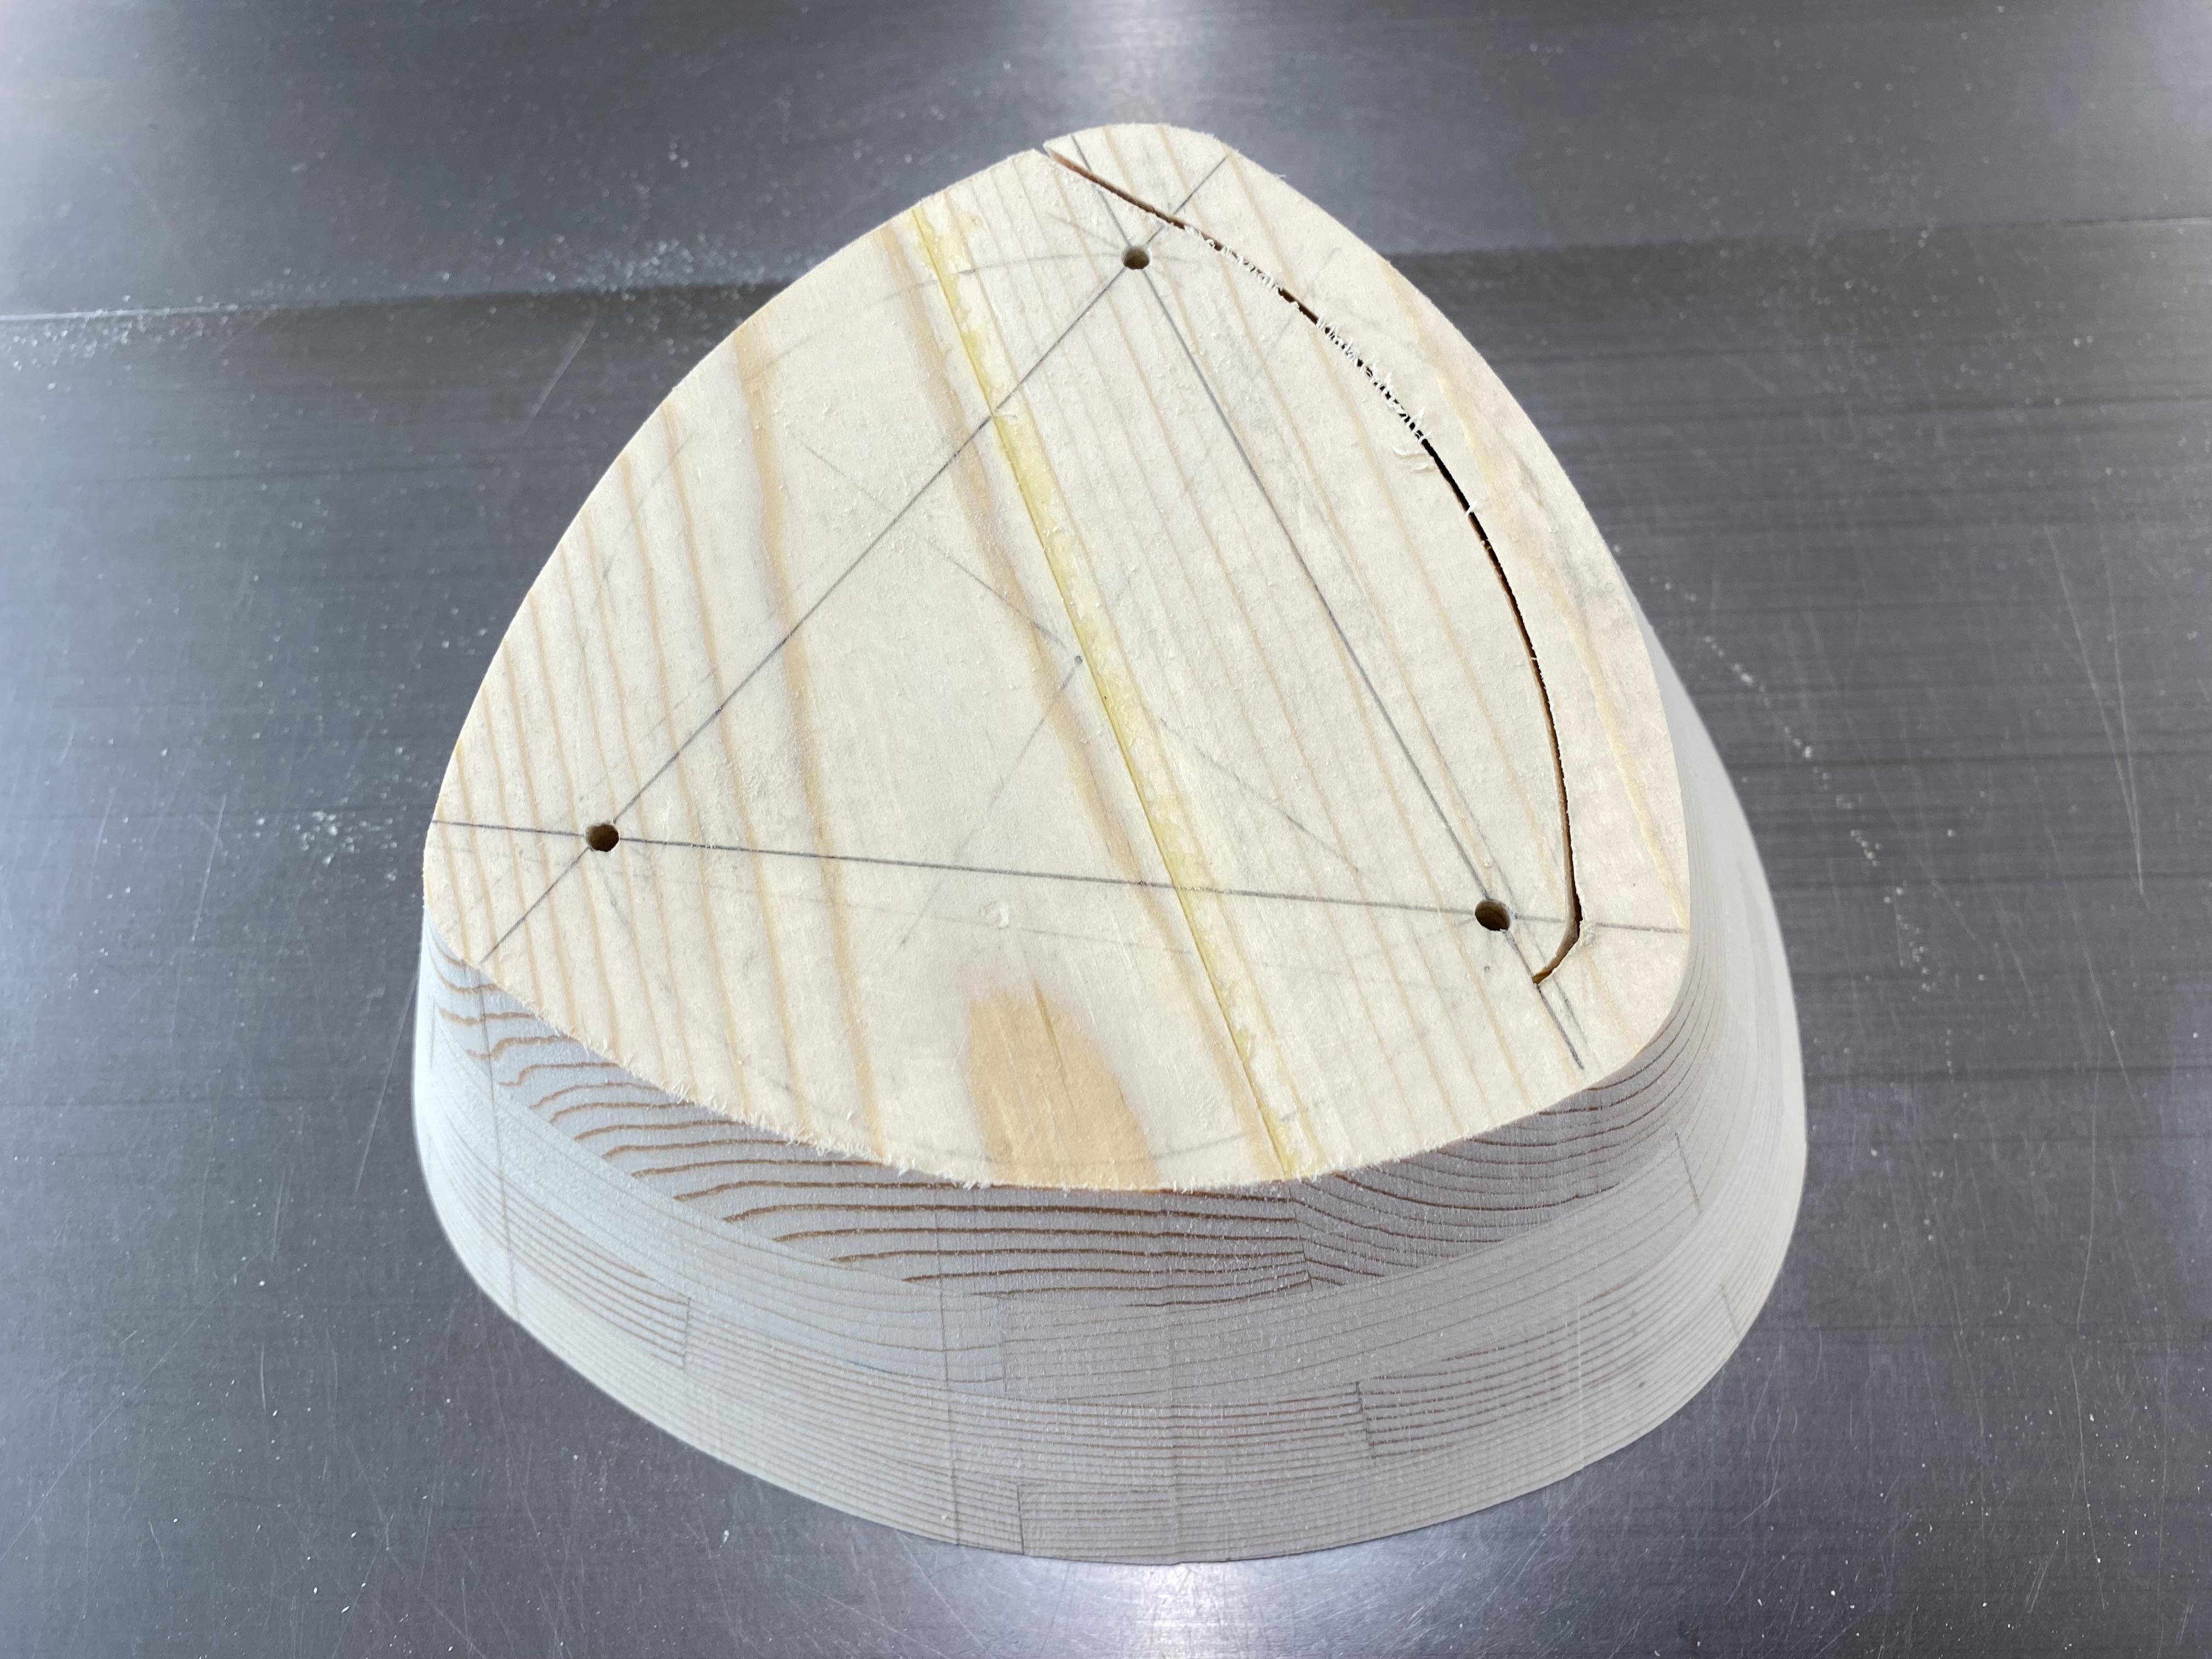
The video animation shows how the trircle cutting technique works.
Place the bowl blank on the jig so that you can insert two pins (8d nails work well) through holes A and B into the holes in the jig. You are ready to cut the perimeter of the first bowl.
Turn on the band saw and run the jig against the fence up to the stop block/centerline. This will make a tangential cut into the bowl blank. Turn off the bandsaw. Clamp the jig to the band saw table so it won’t move or slide off, or hold it in place. Then remove the pin from hole A (closest to the blade), turn on the band saw, and slowly rotate the bowl blank clockwise to continue the cut. You pivot around point B. Stop when hole C lines up with the open hole in the jig, i.e. at 60 degree rotation. You completed the first large arc cut. Turn off the band saw.
Insert a pin through hole C into the jig, remove the pin in hole B, and make the next 60 degree cut until hole A lines up with the open hole in the jig. As you pivot around point C you make your first small arc cut.
Then repeat the same procedure making 60 degree large/small cuts until you made it all the way around. Turn off the band saw and unclamp the jig. Carefully back the jig out from the blade and discard the outer waste piece.
The technique works by cutting consecutive arcs at 60 degrees each. A large diameter arc is followed by a small diameter arc, large diameter arc, small diameter arc, etc. The transition from large to small to large is perfectly smooth.
Again, check out the "Cutting a Trircle Animation" at: https://youtu.be/-F7vzGYhPi4
Move the fence to the left by about 1/2” (12 mm). This determines the wall thickness of the bowl. Then repeat the same procedure as above. When you are done you will have the first trircle shaped wall-ring. There is a tangential split (entry cut) at the start of the ring that you will have to glue back together. I have found that with careful cutting/glueing the split is nearly invisible in your final bowl.
Continue cutting wall-rings until you run out of wood towards the center, or until the blade gets too close to the pivot points and can't cut the small arc. The last picture above shows the bottom of the bowl blank where I was unable to cut the very small radius around the pivot.
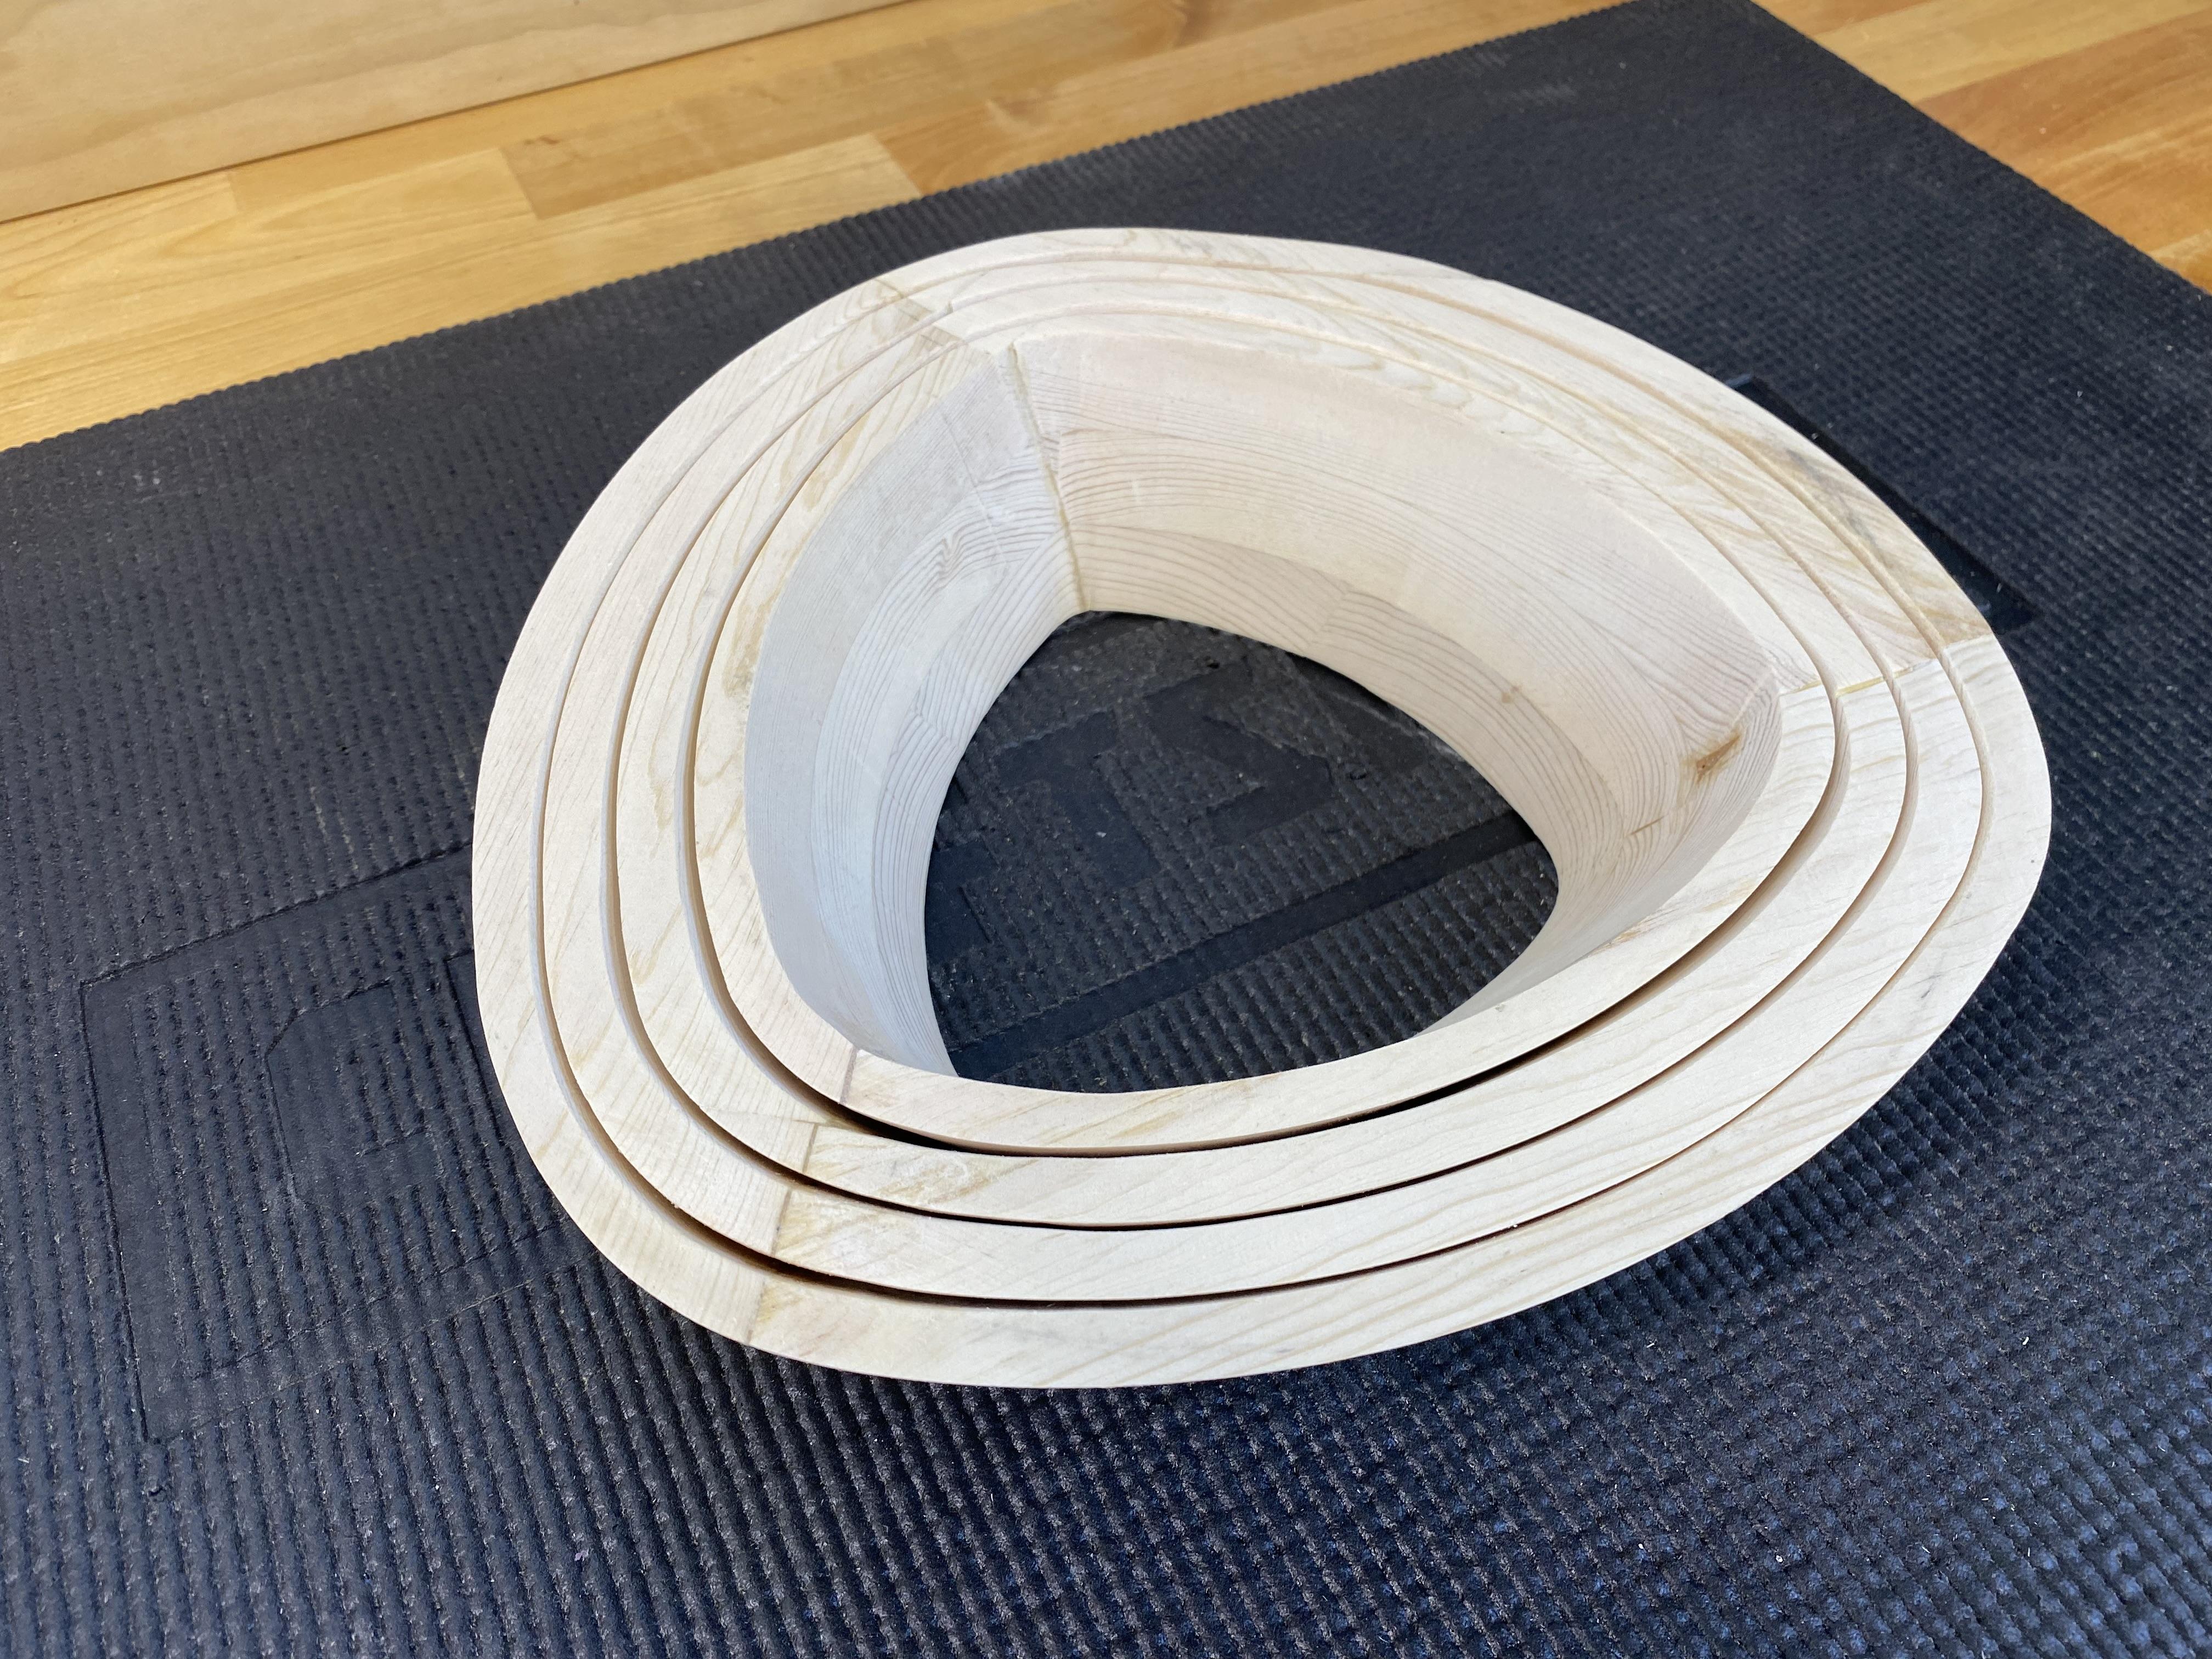
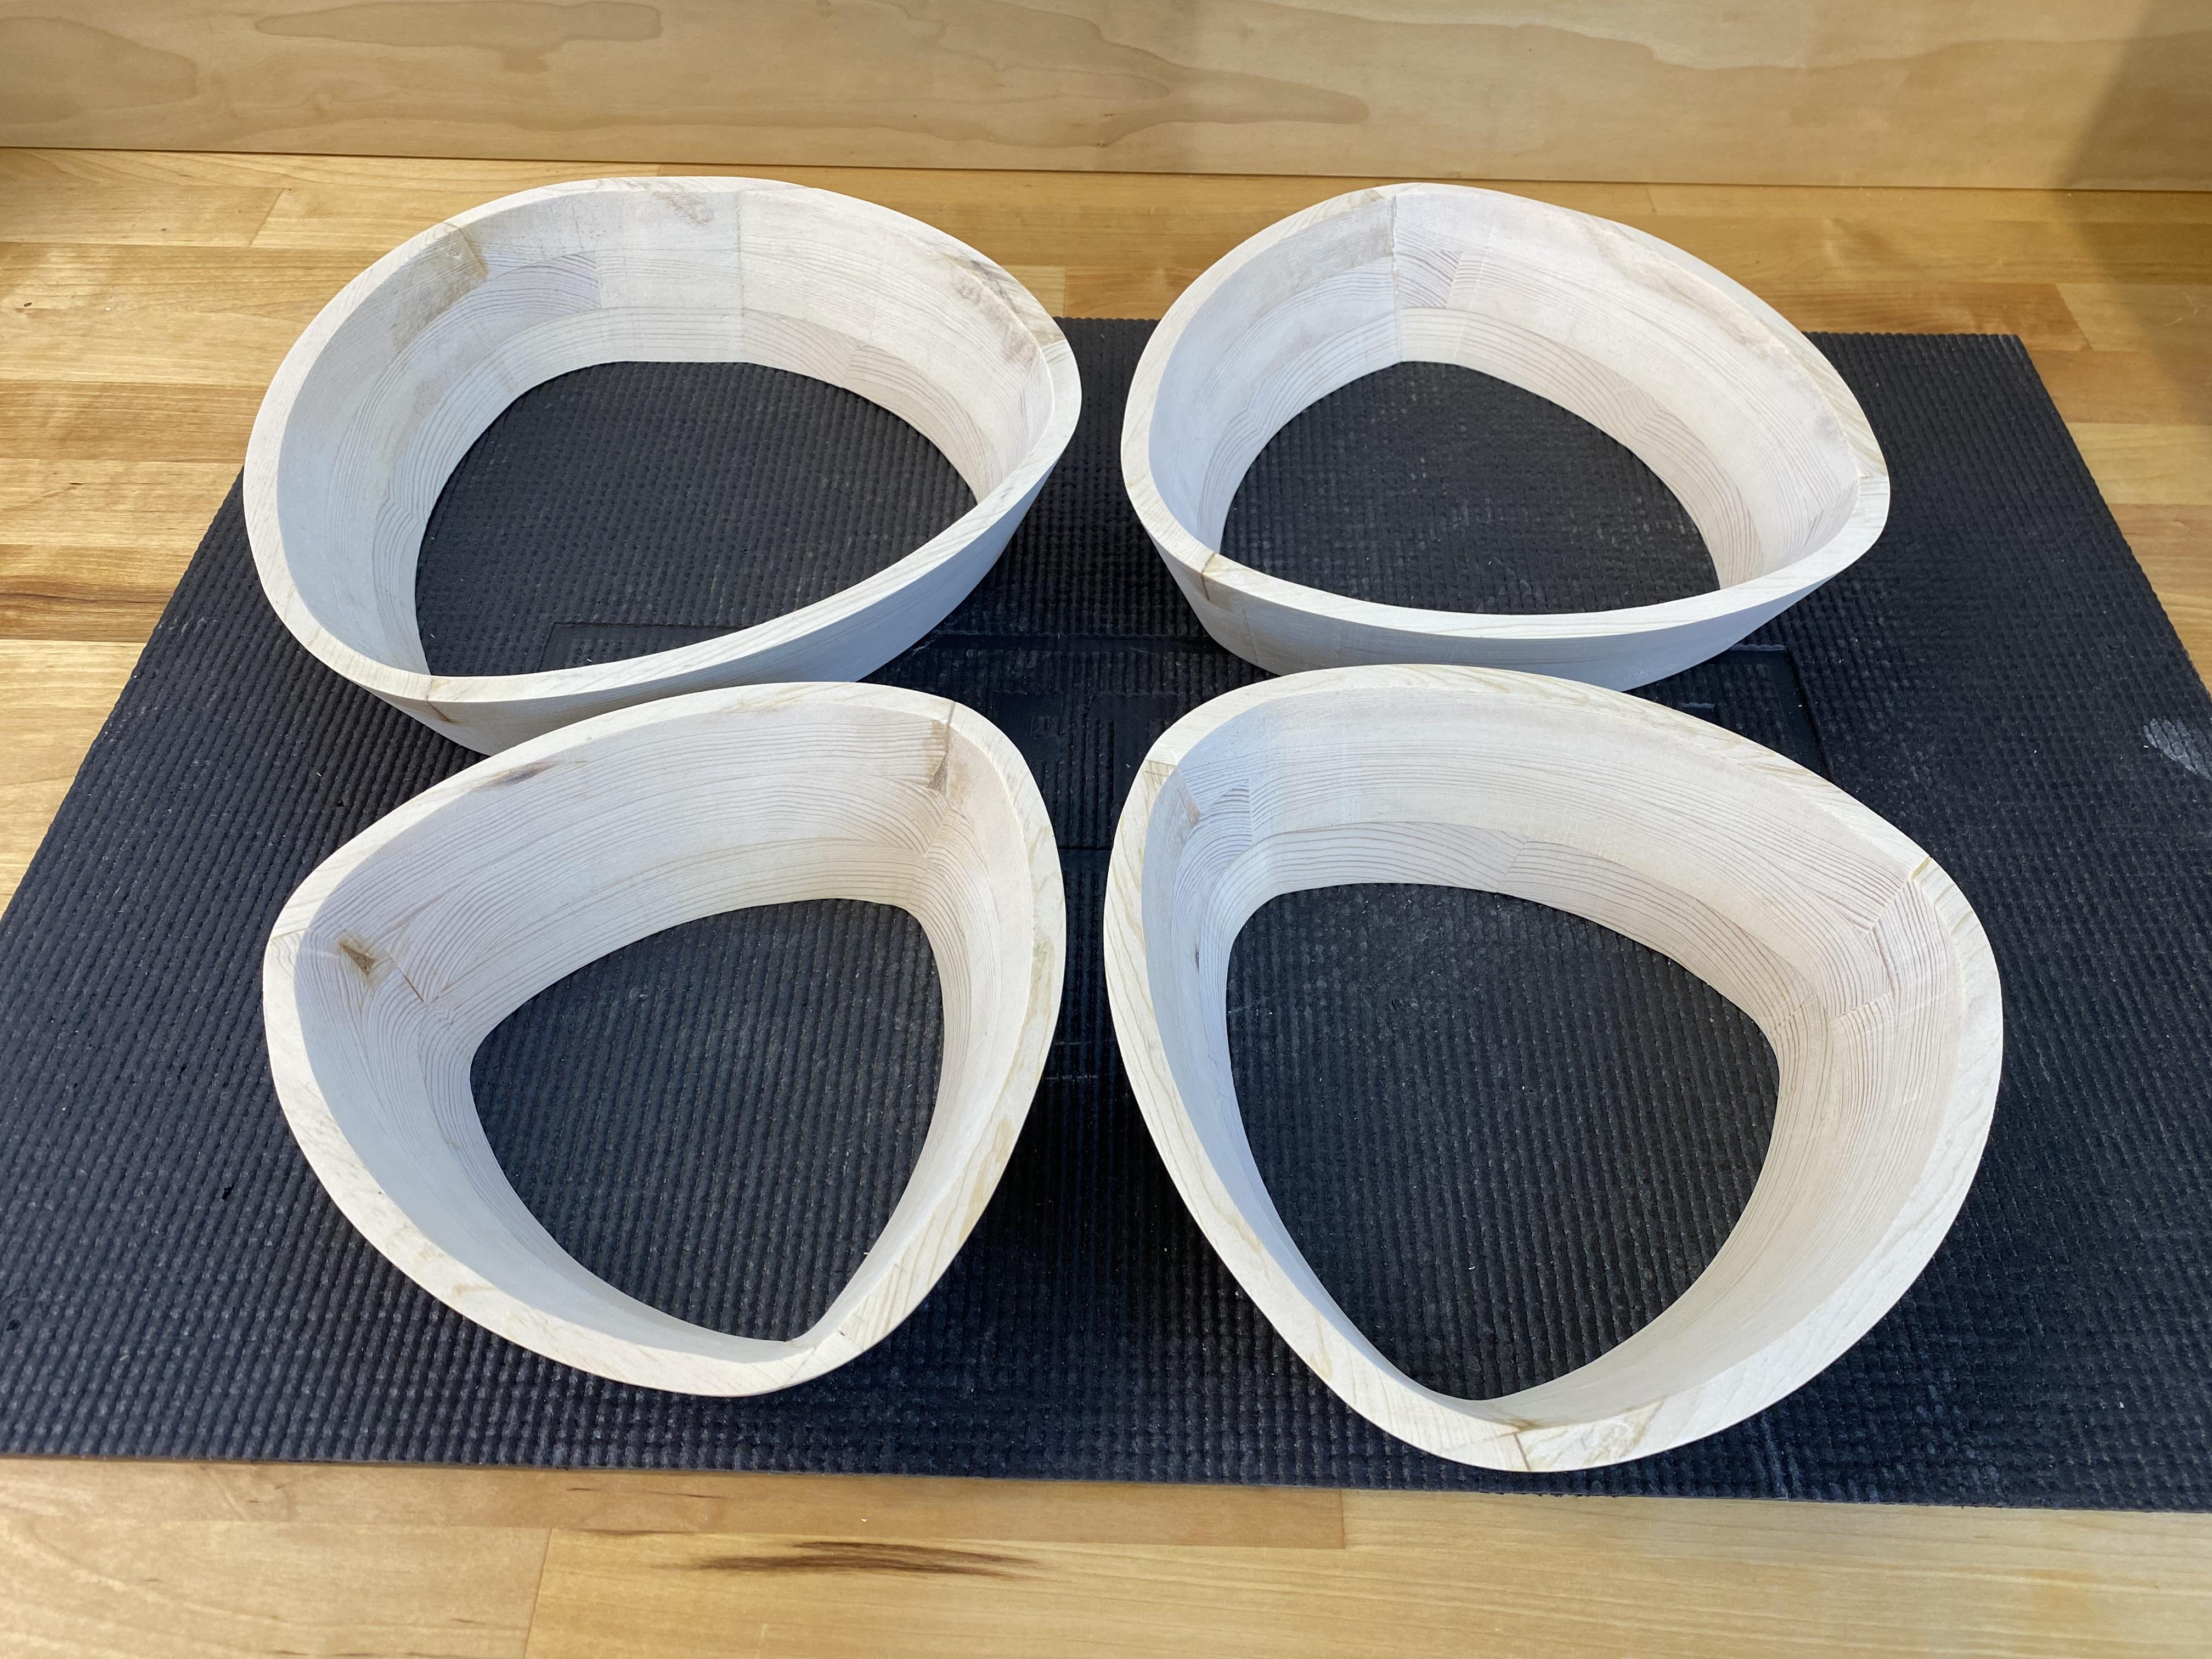
The resulting bowls will nest nicely into each other. Depending on your glued-up blank and angle you may get from two to four nested bowls.
Alternative Glue-up
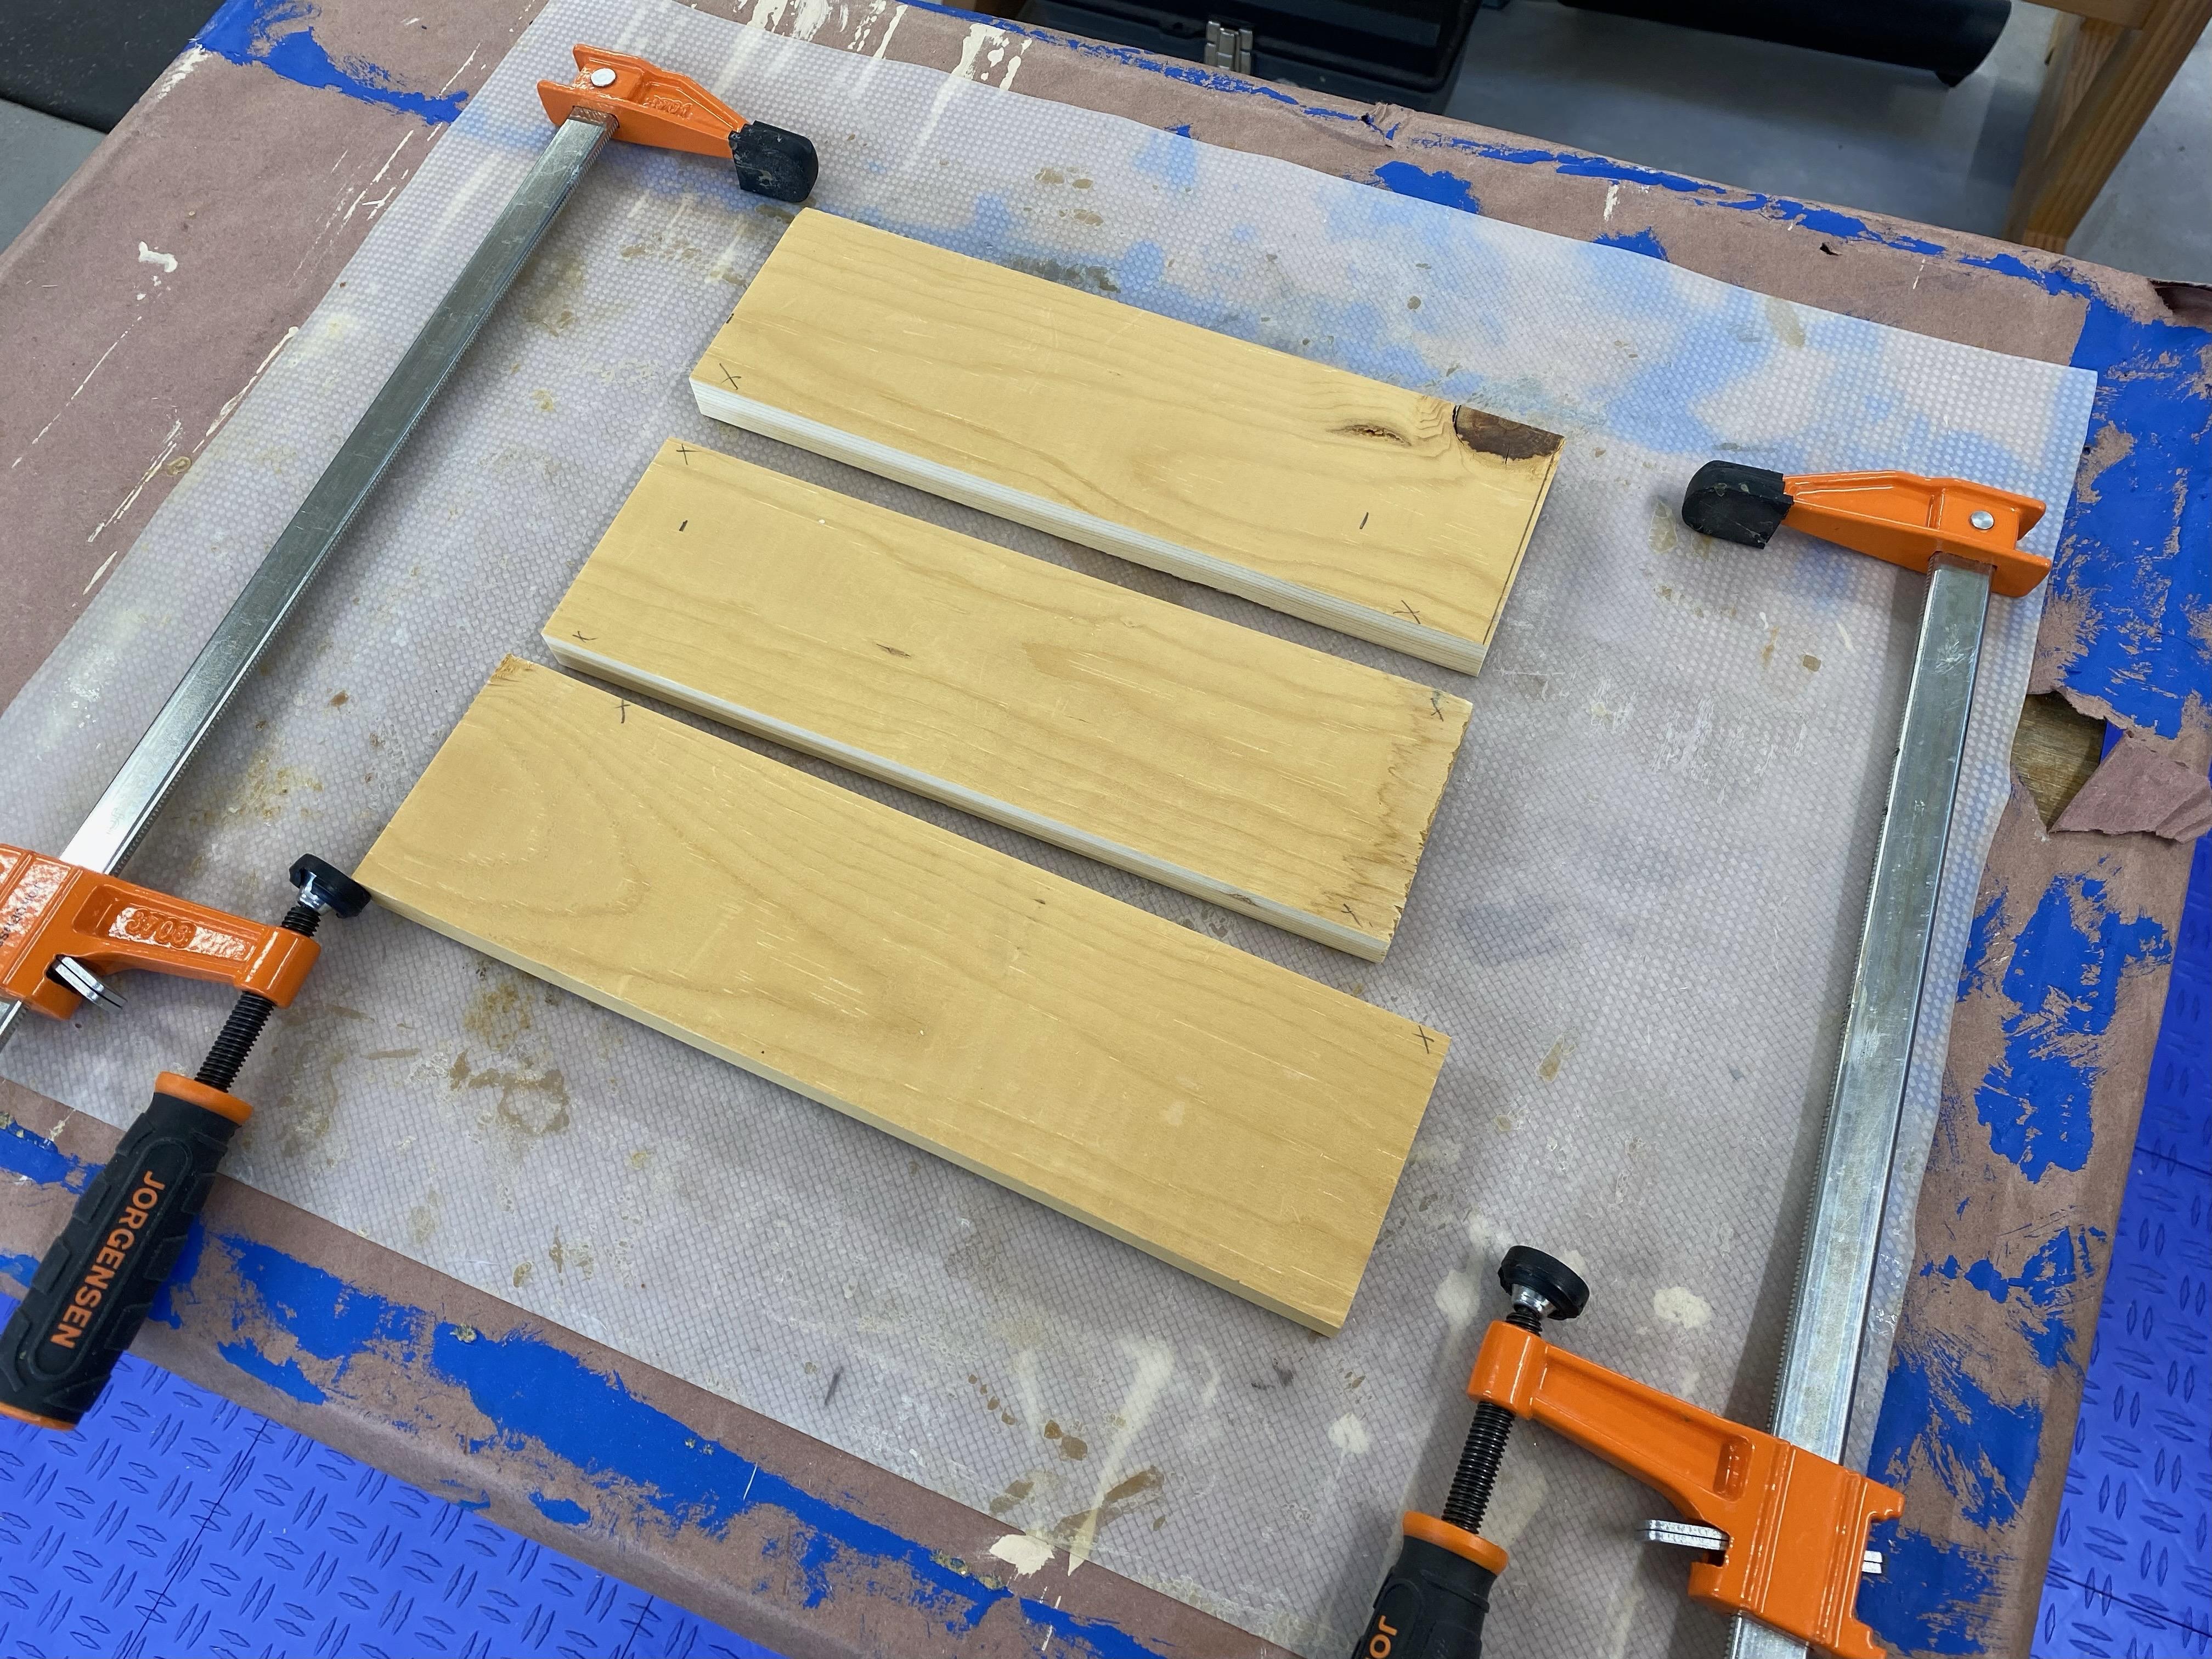
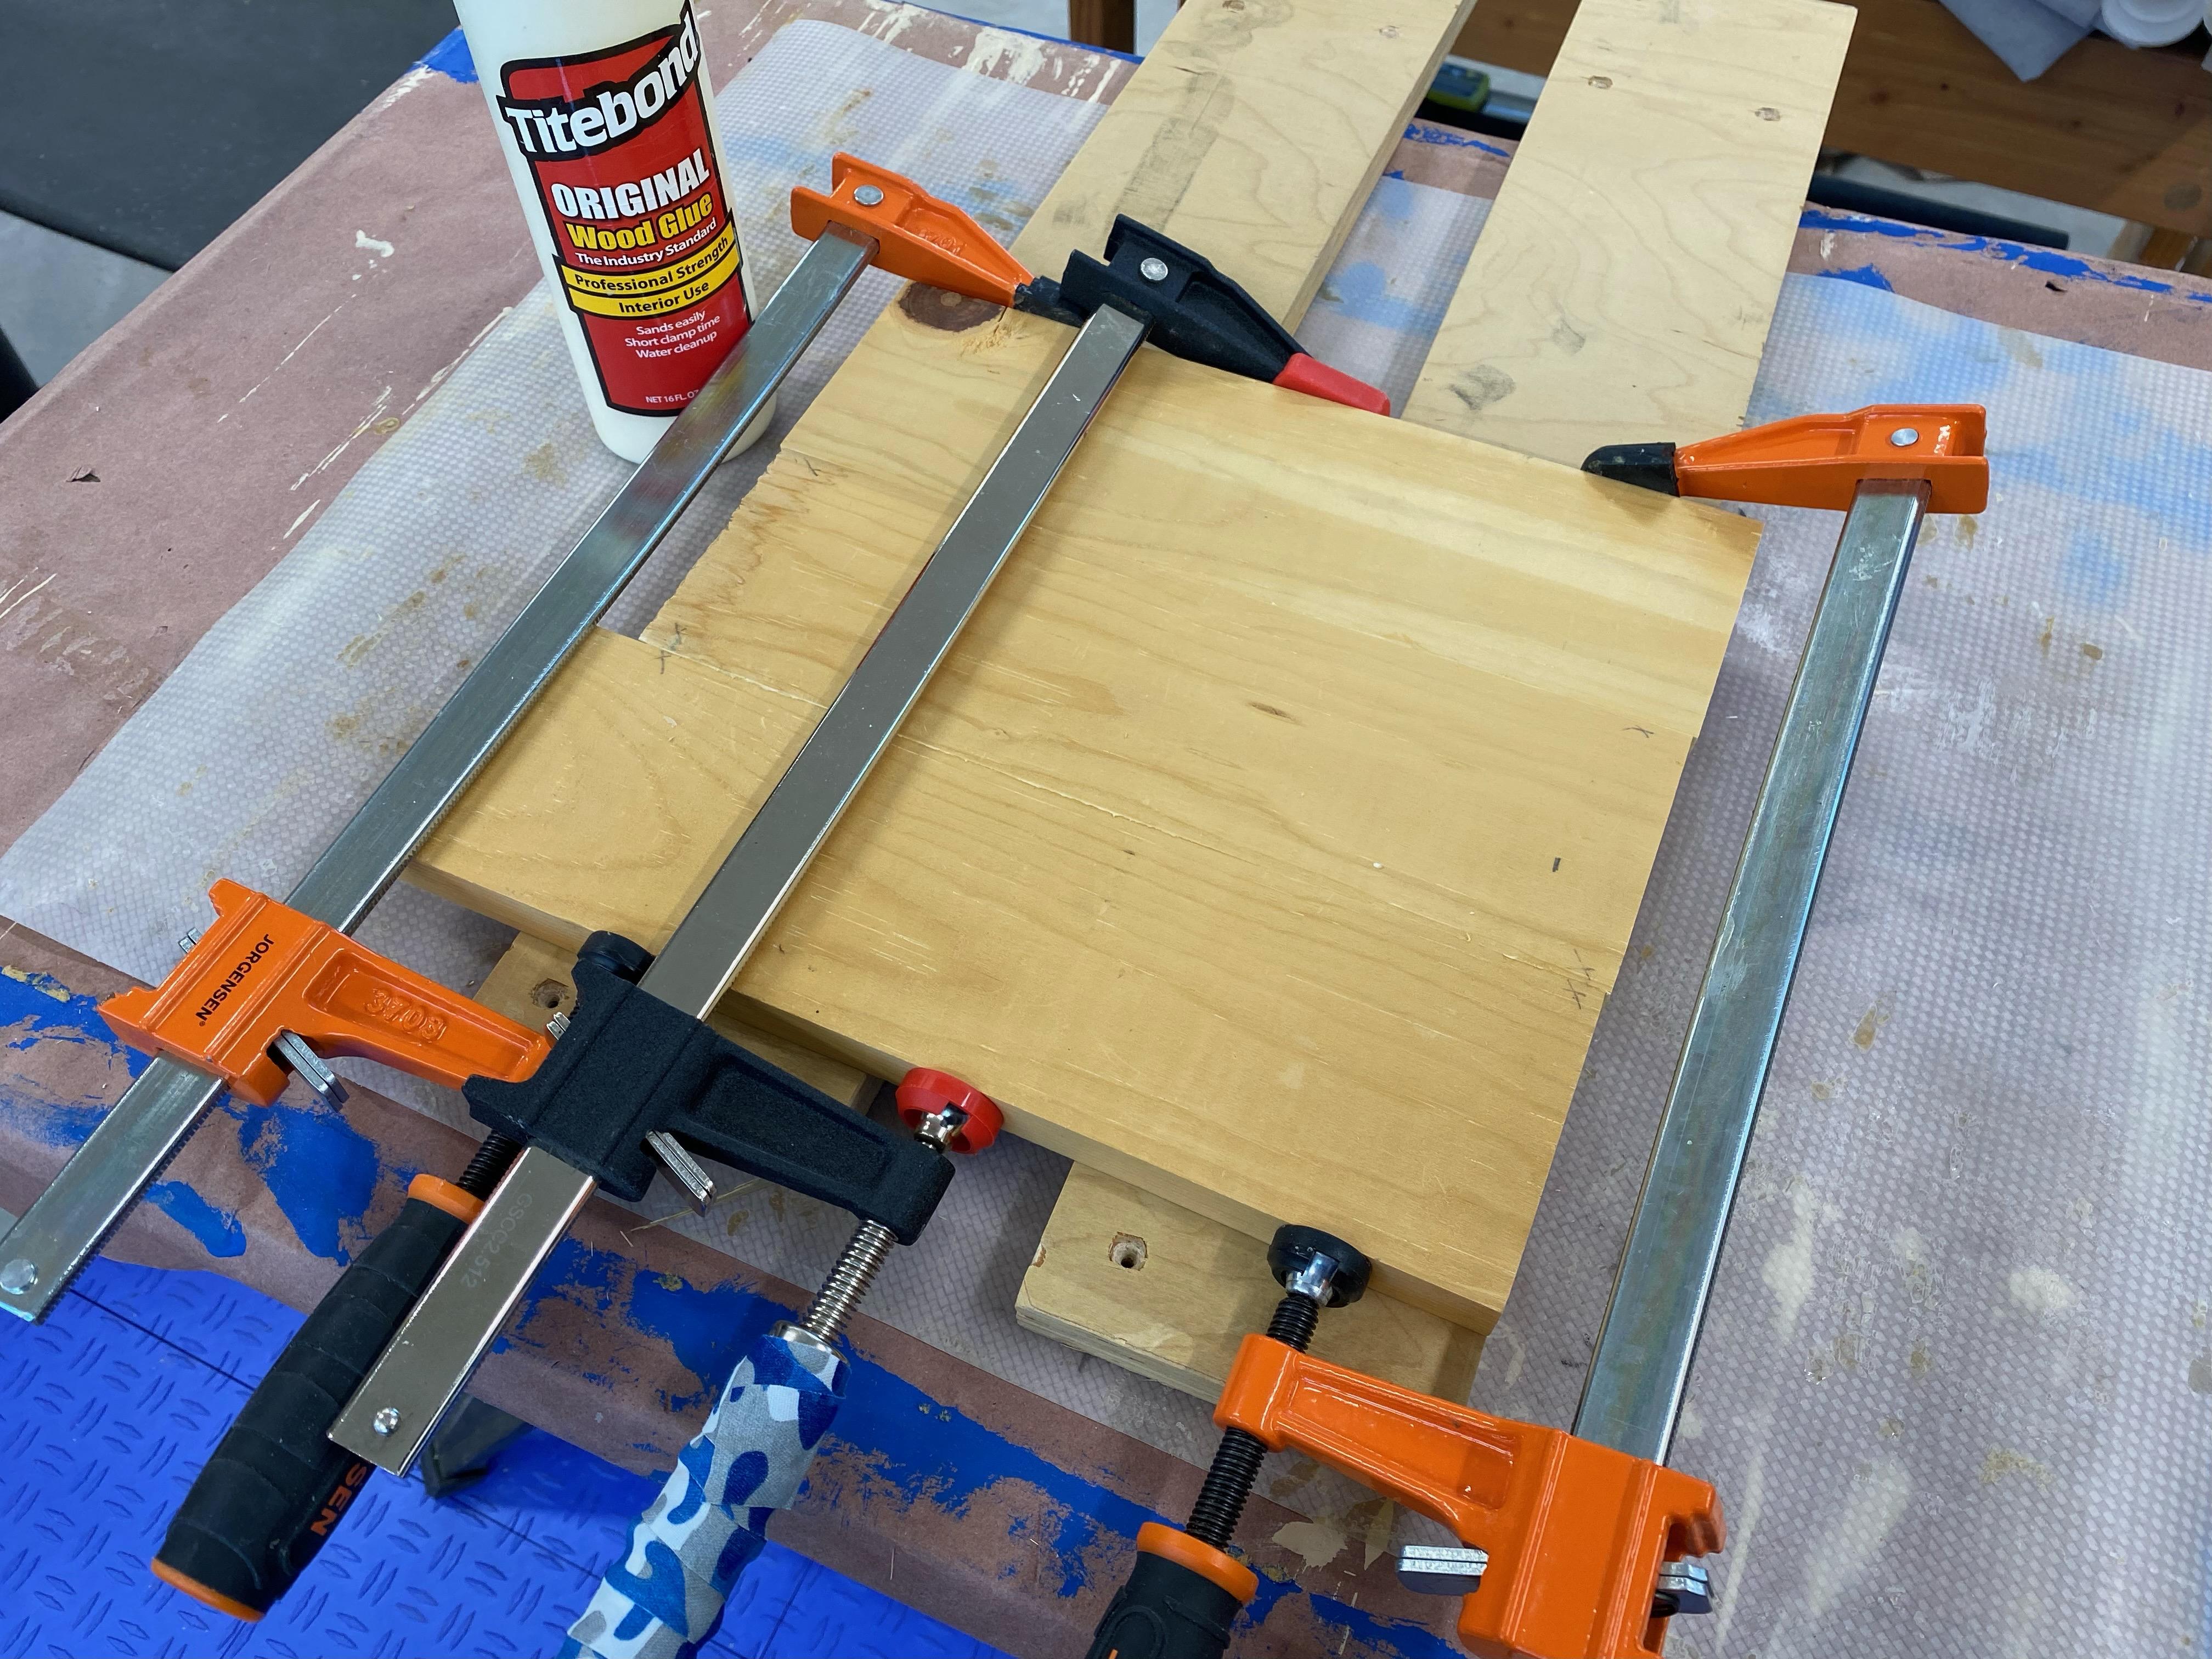
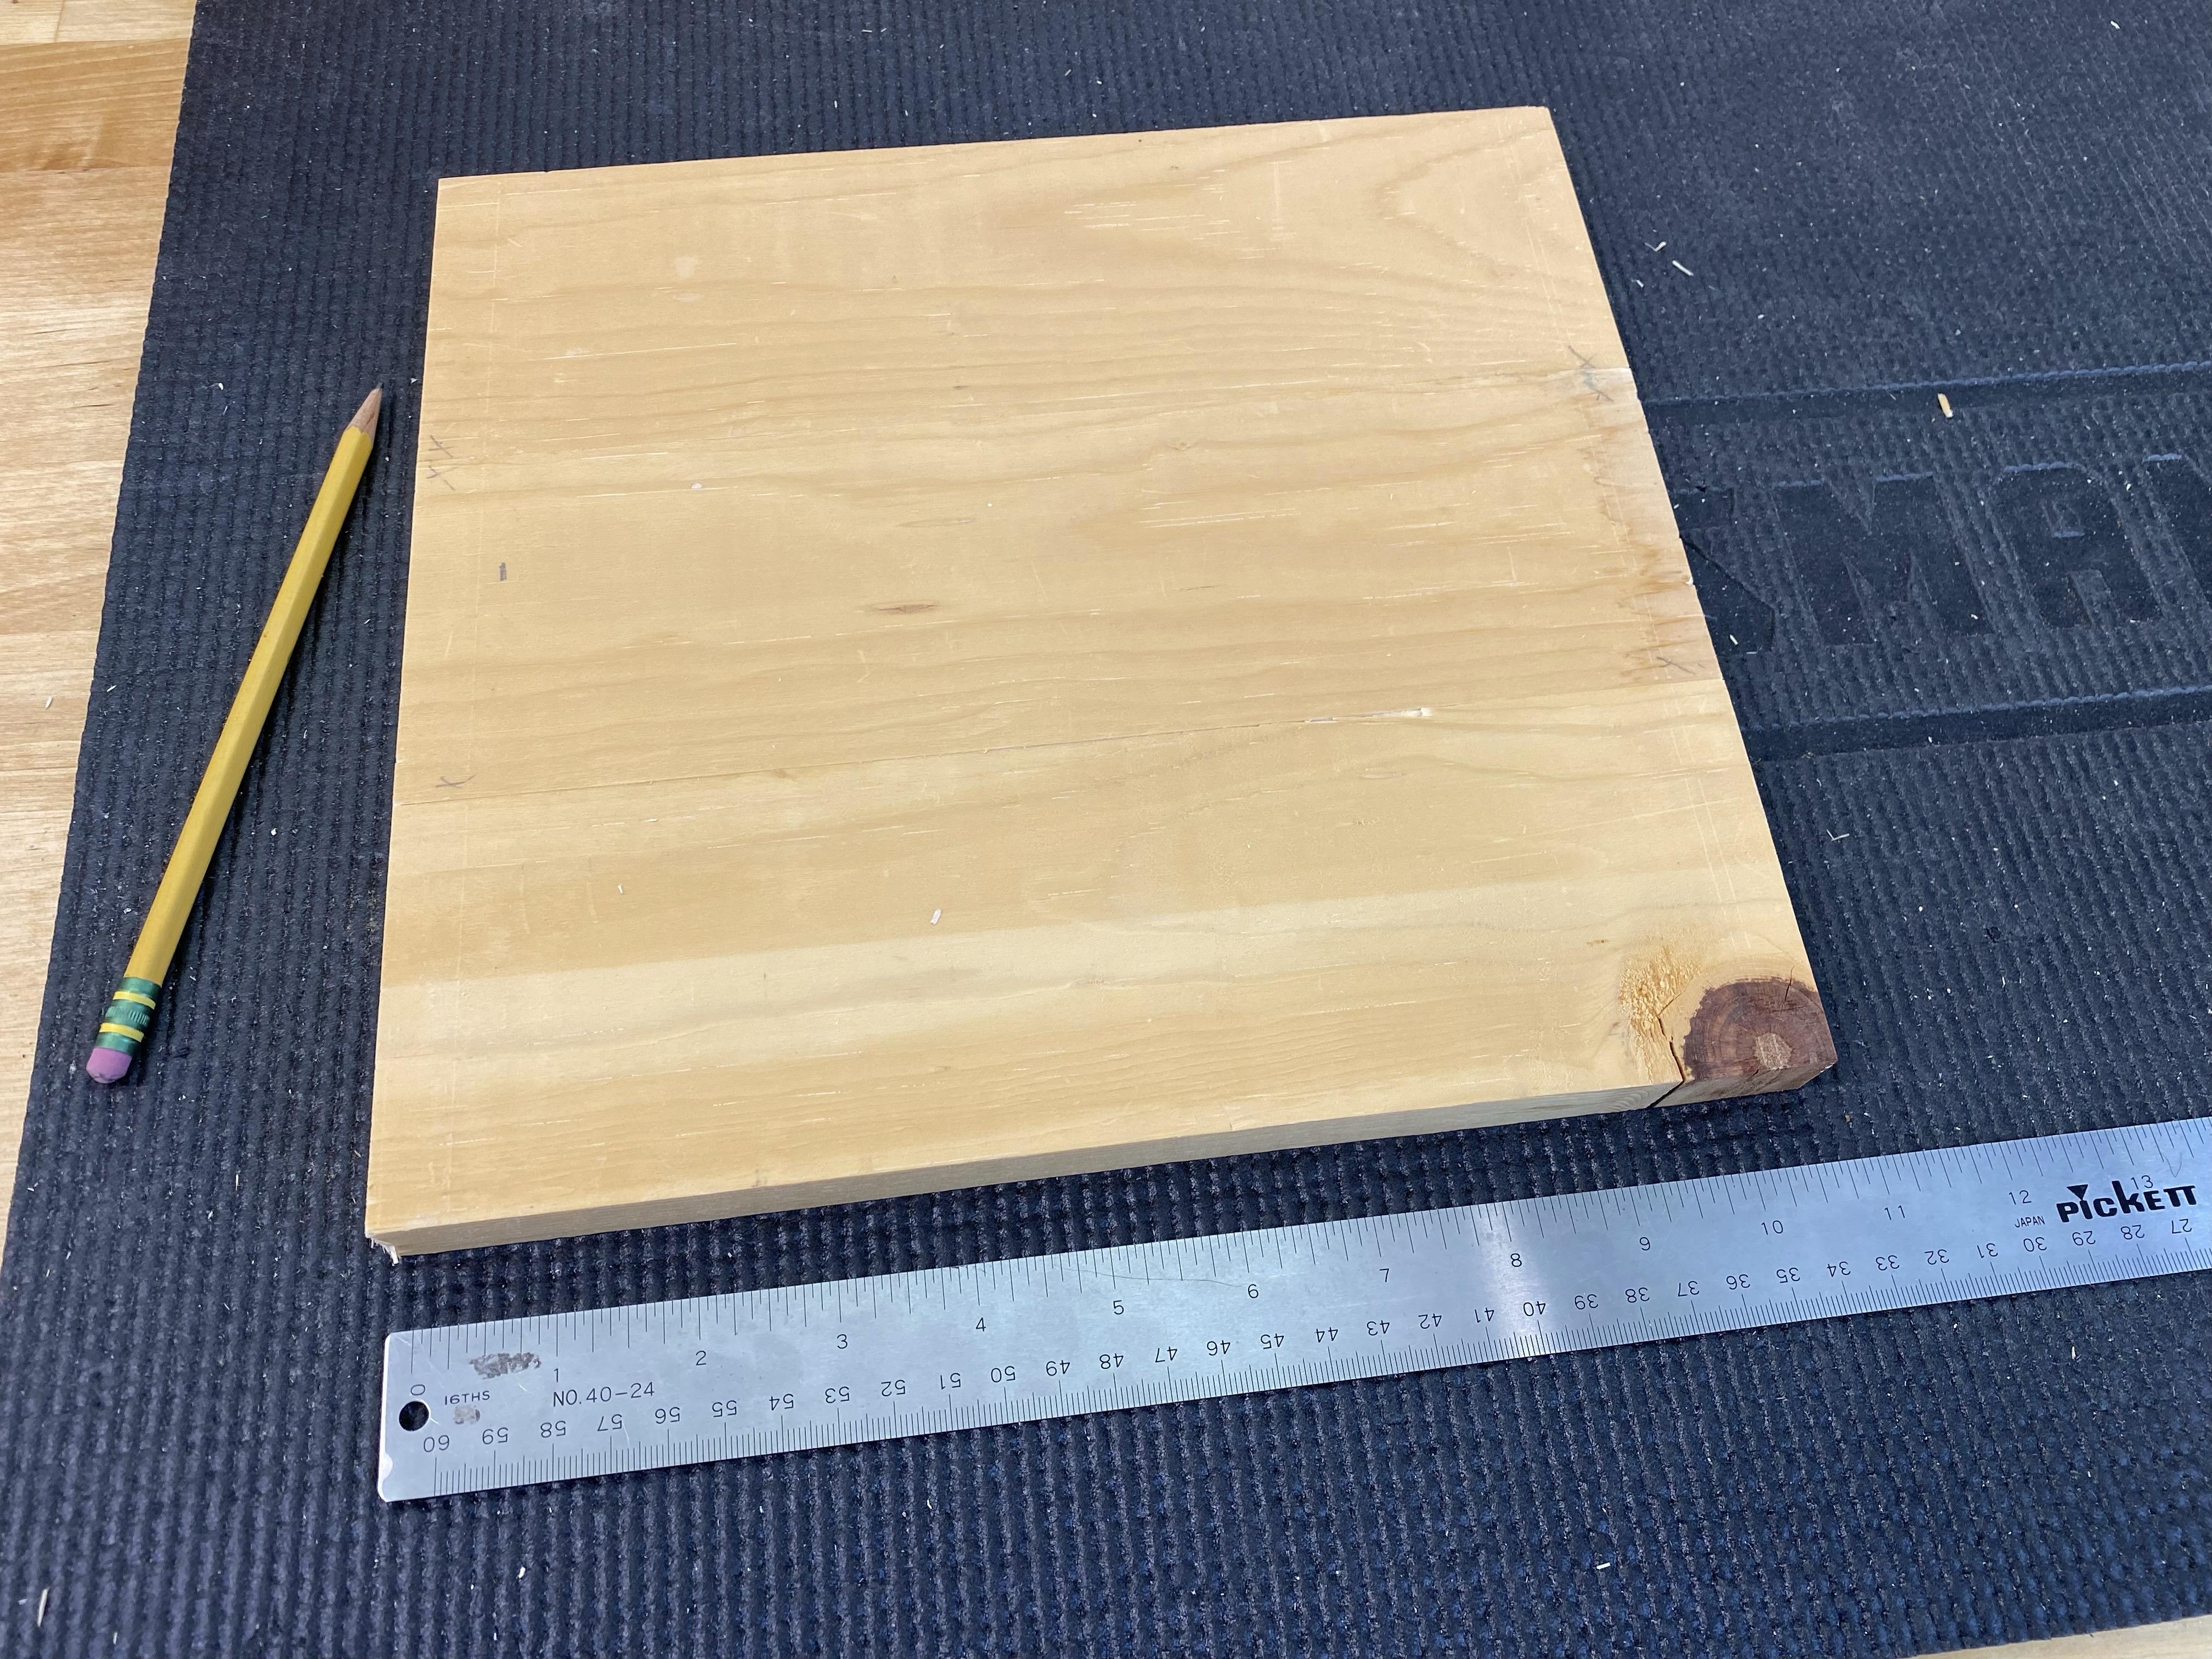
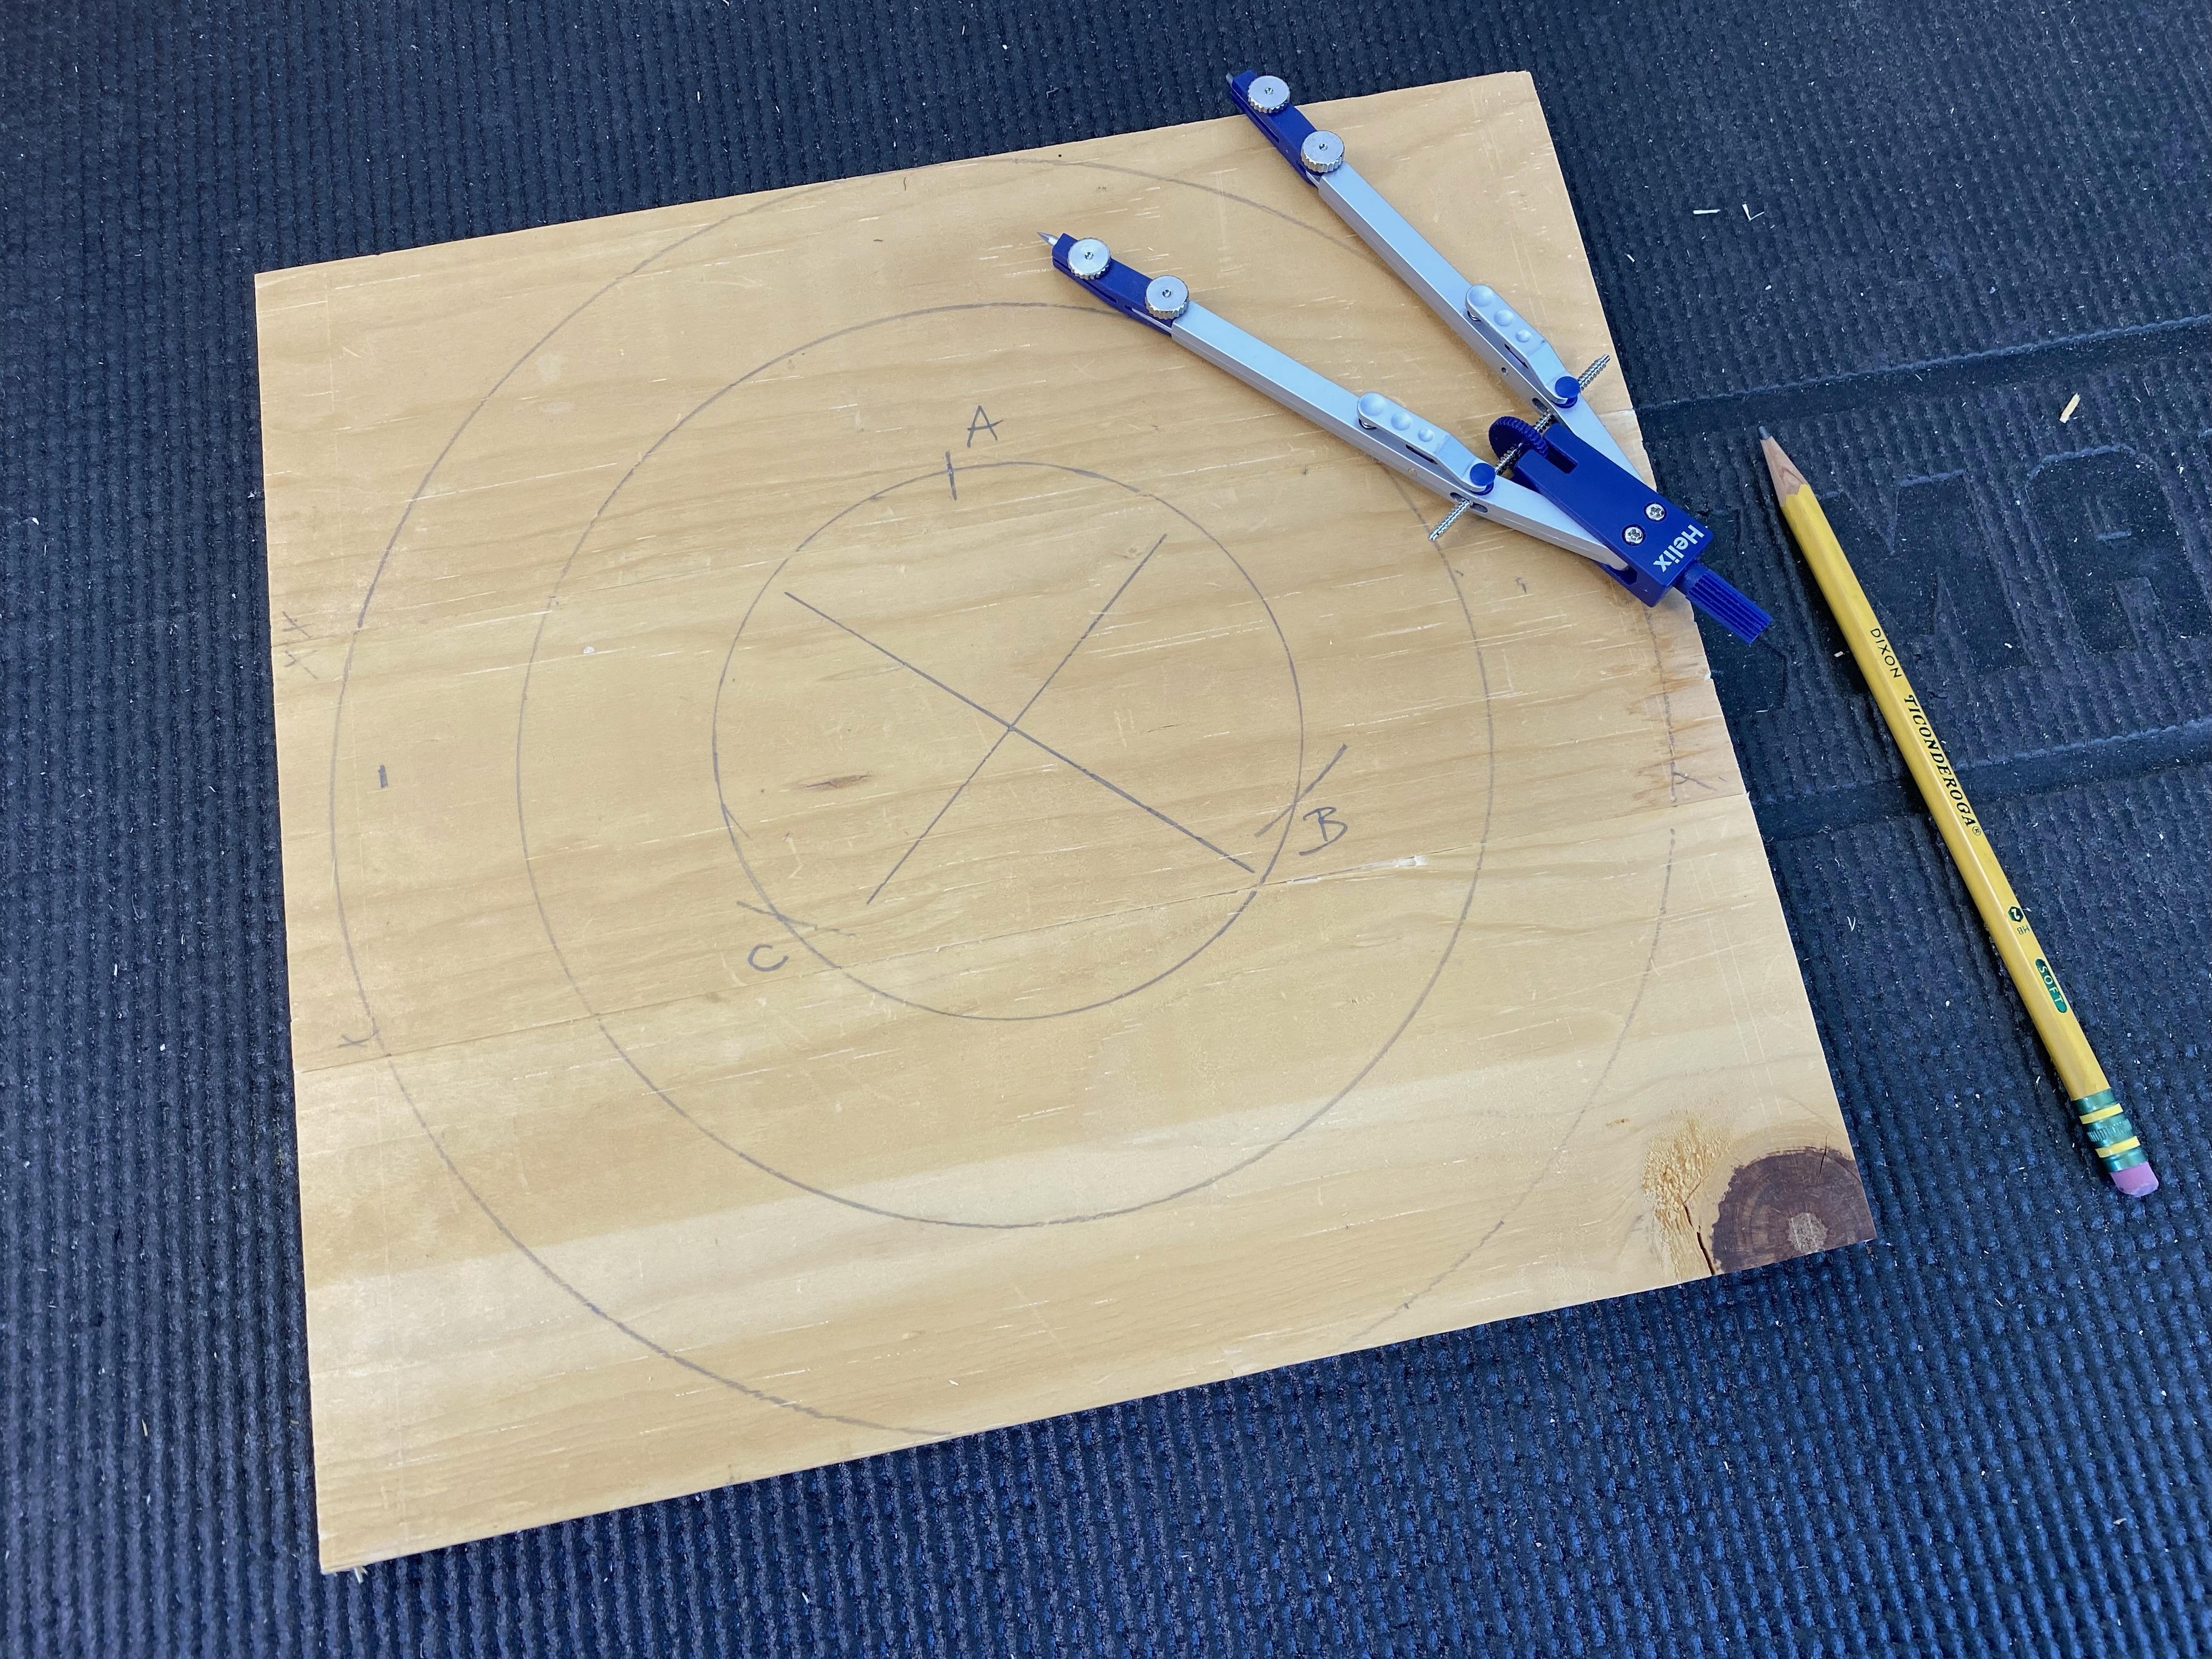
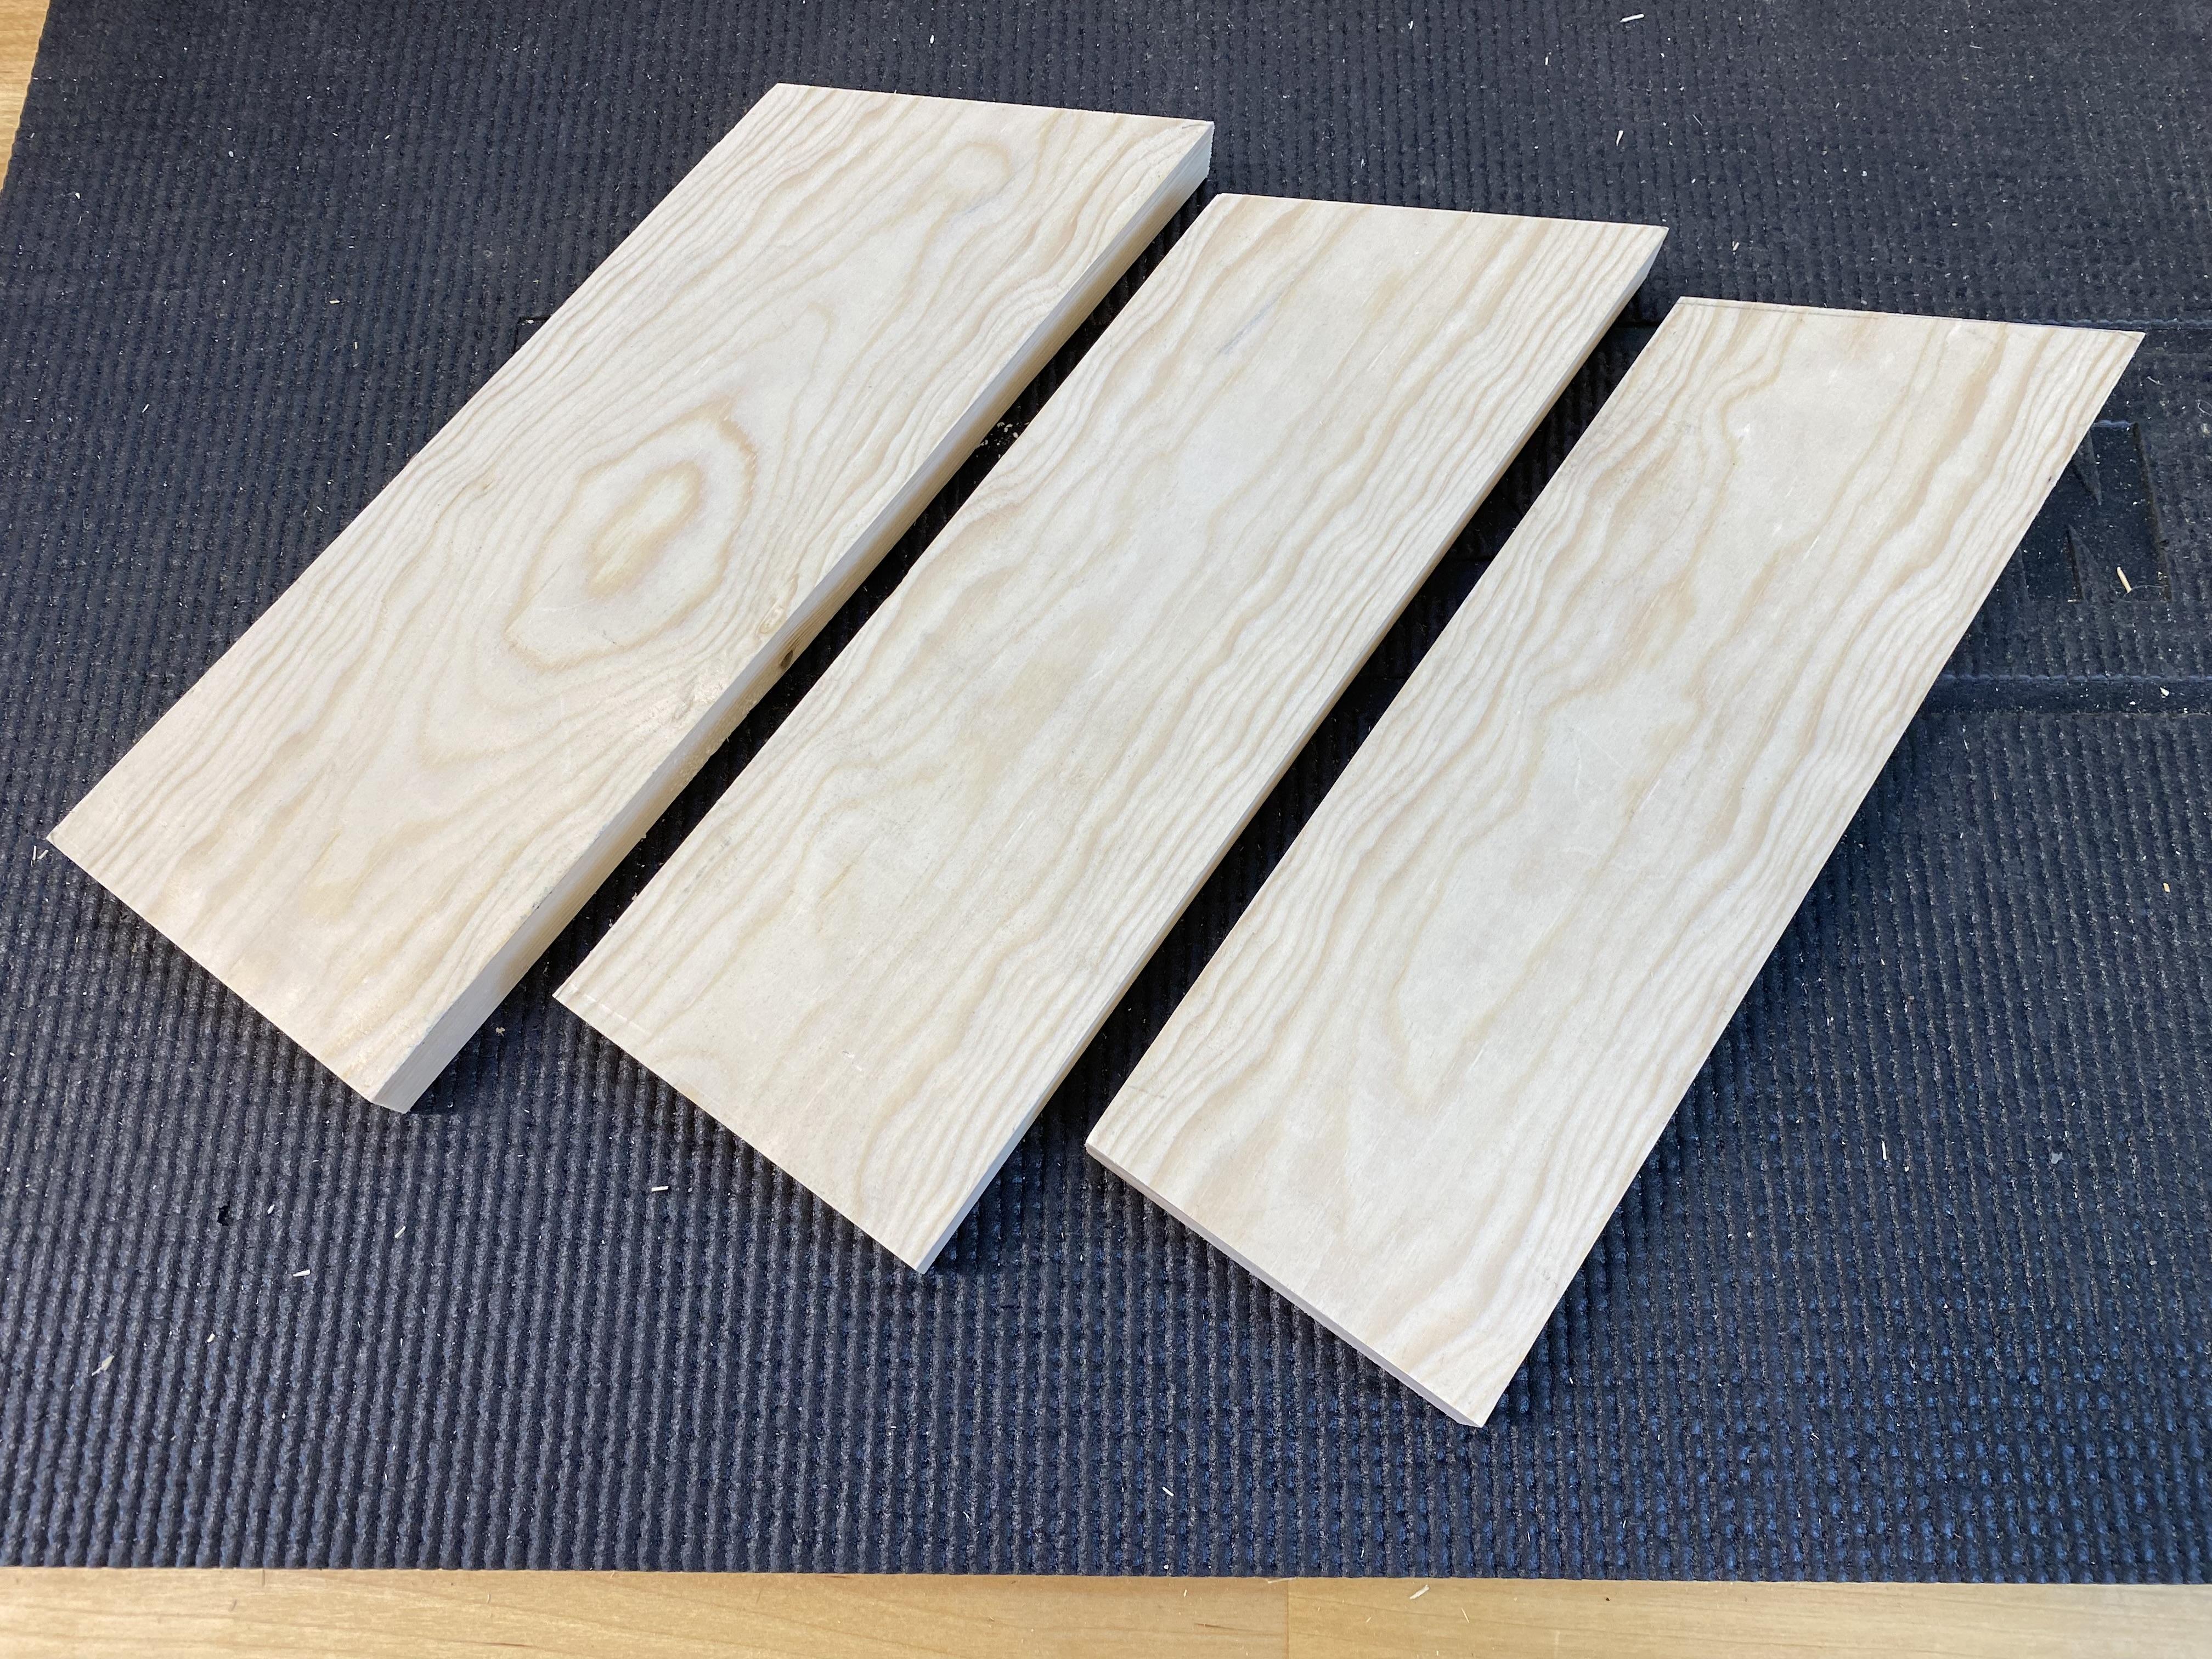
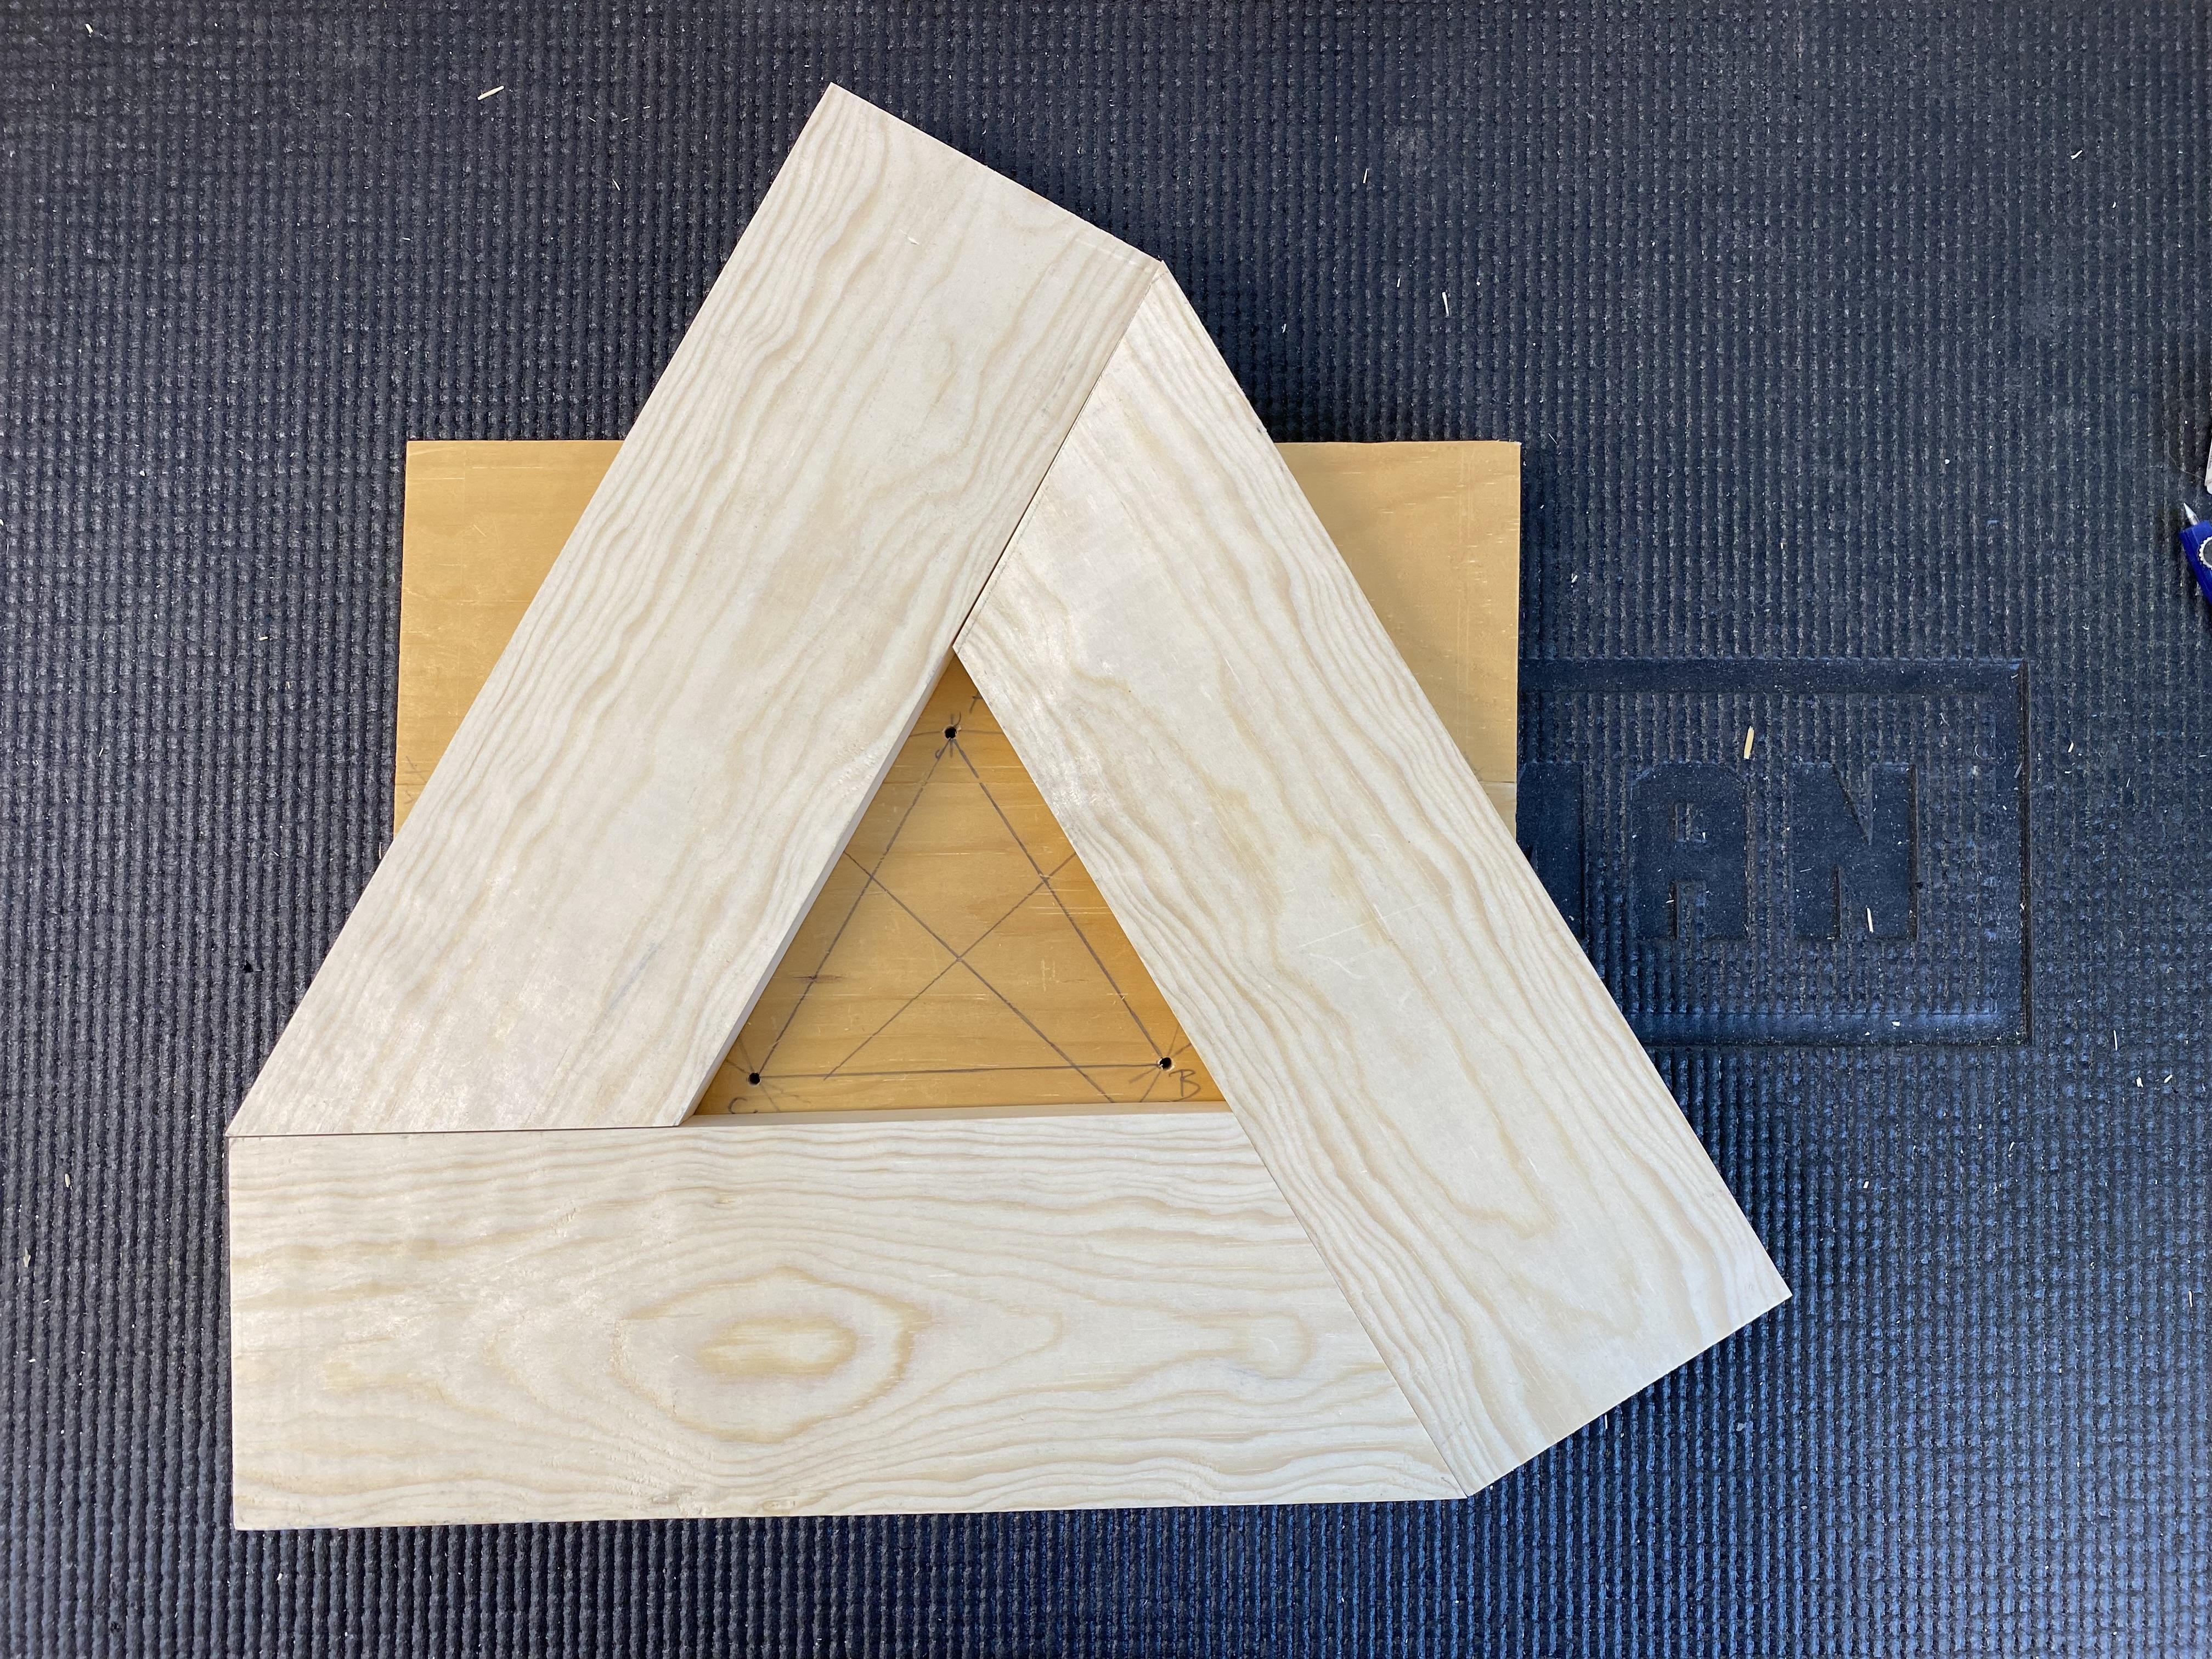
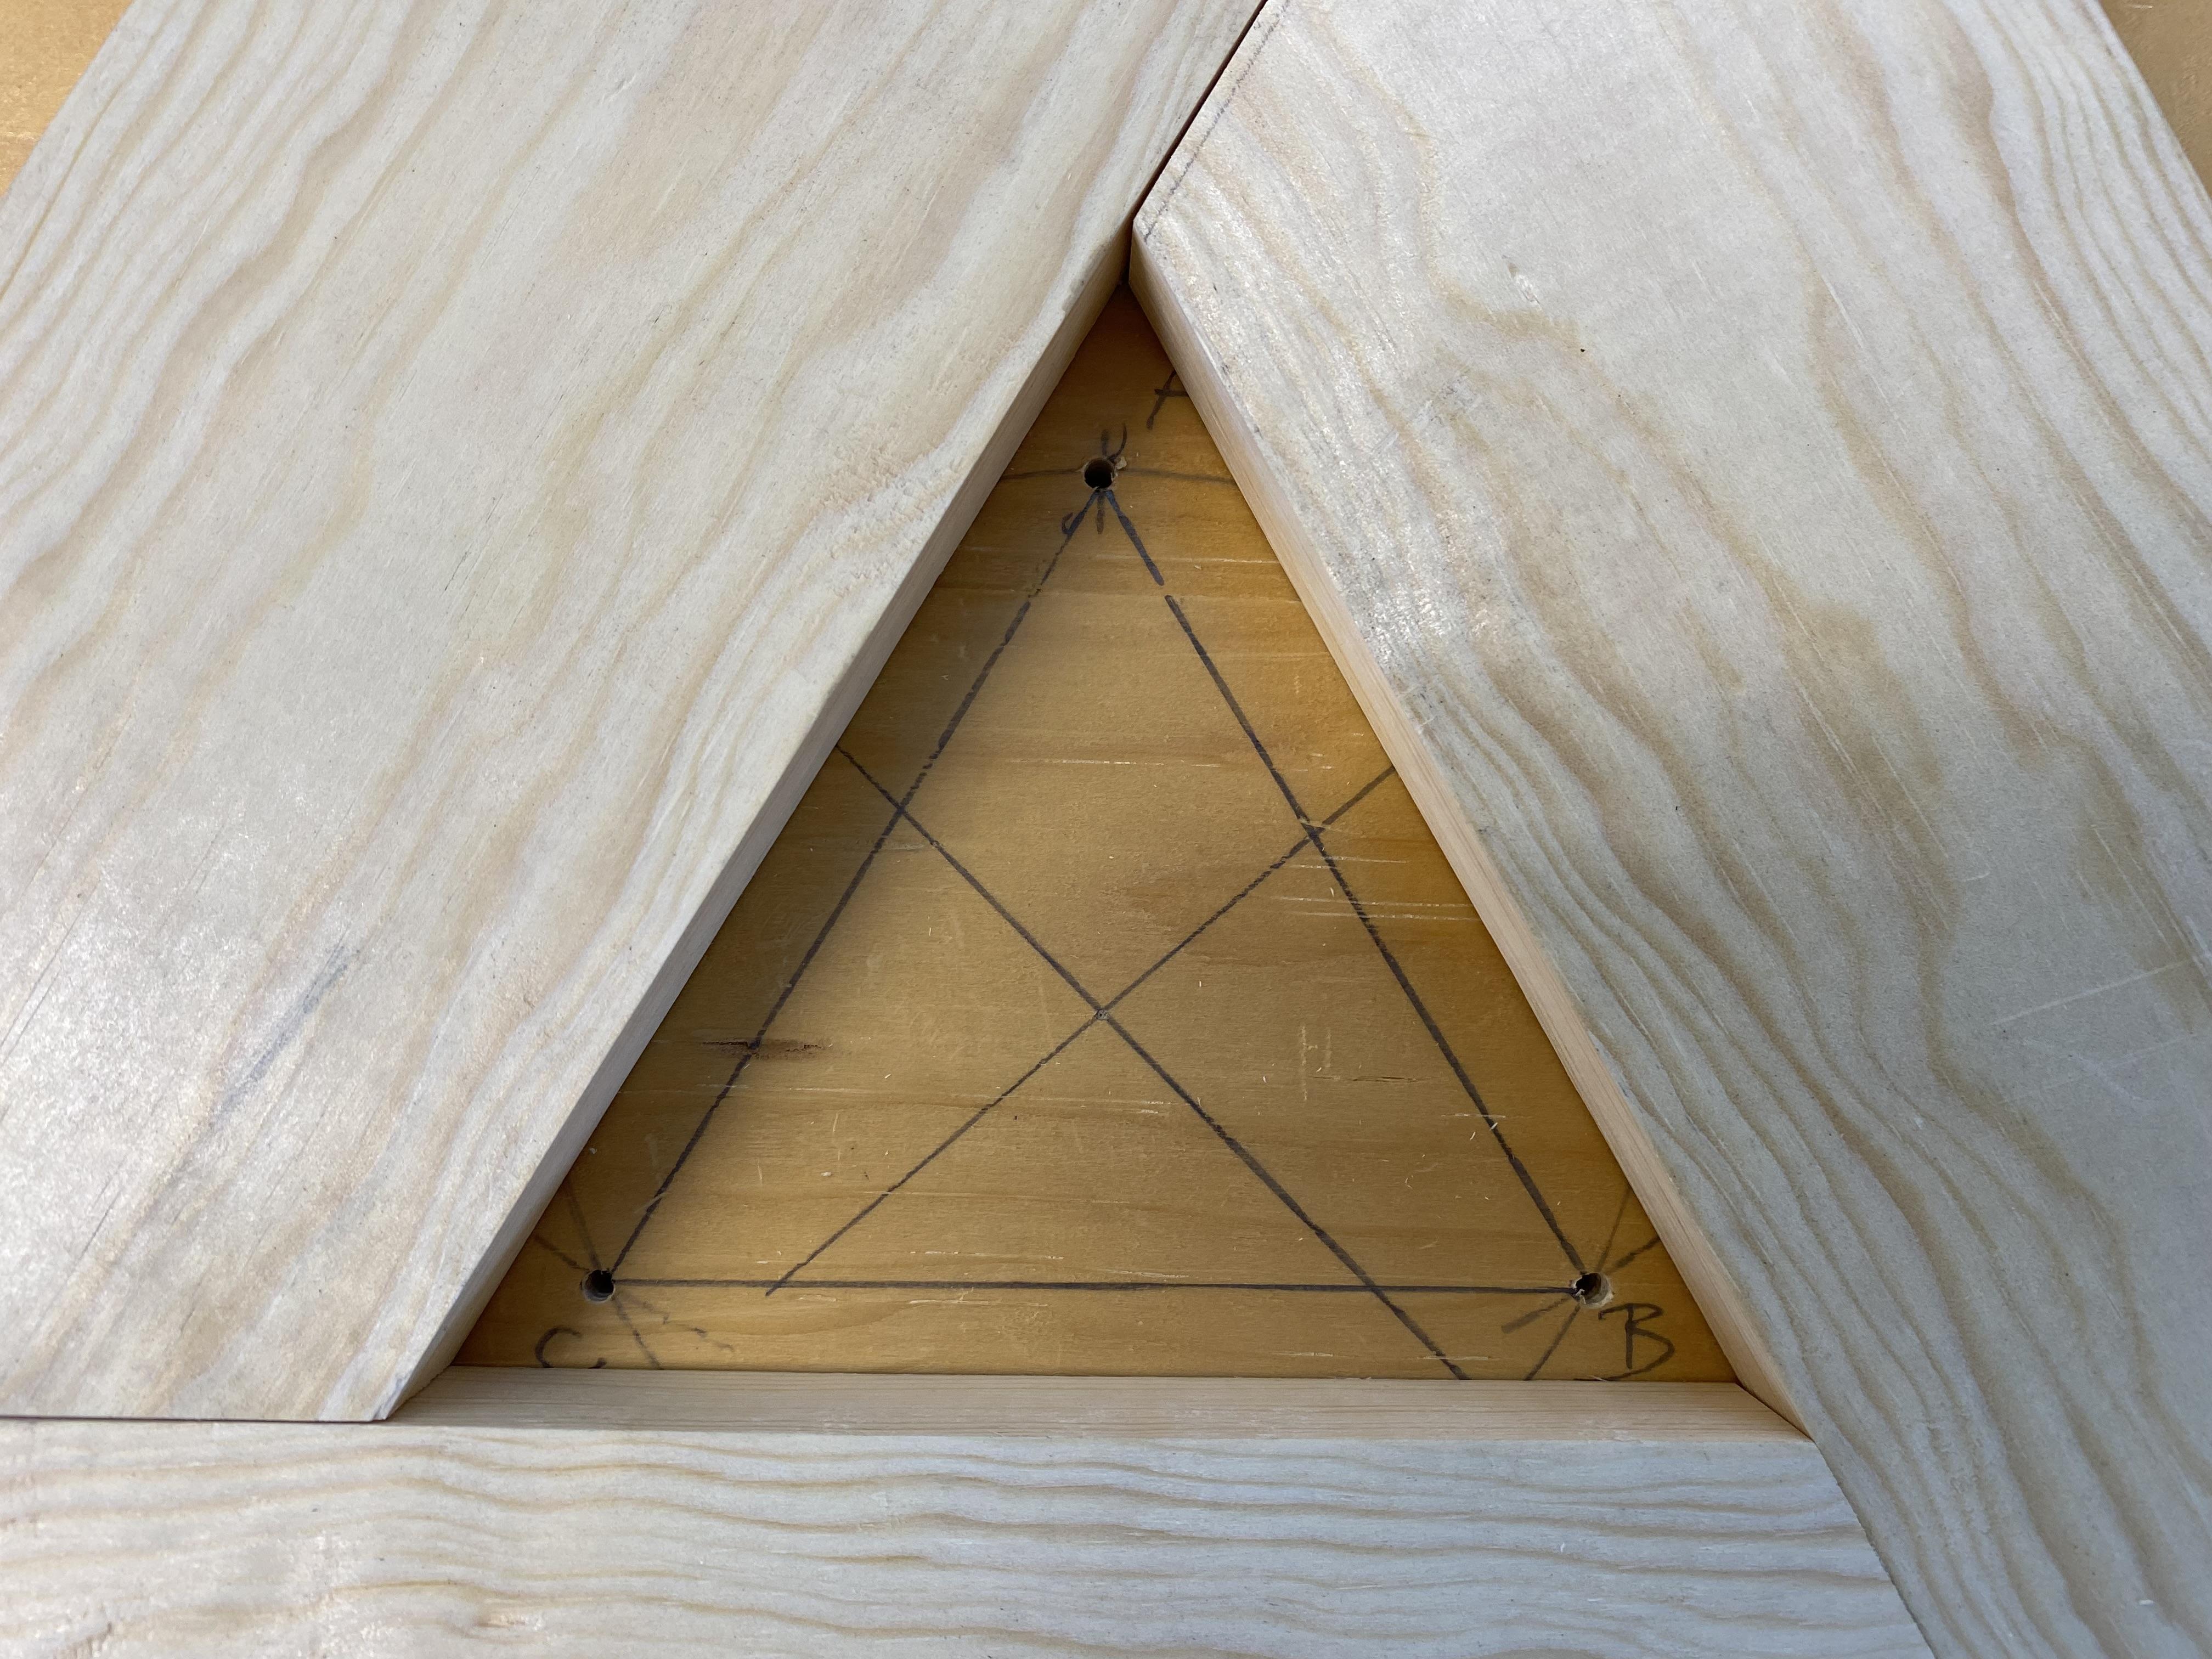
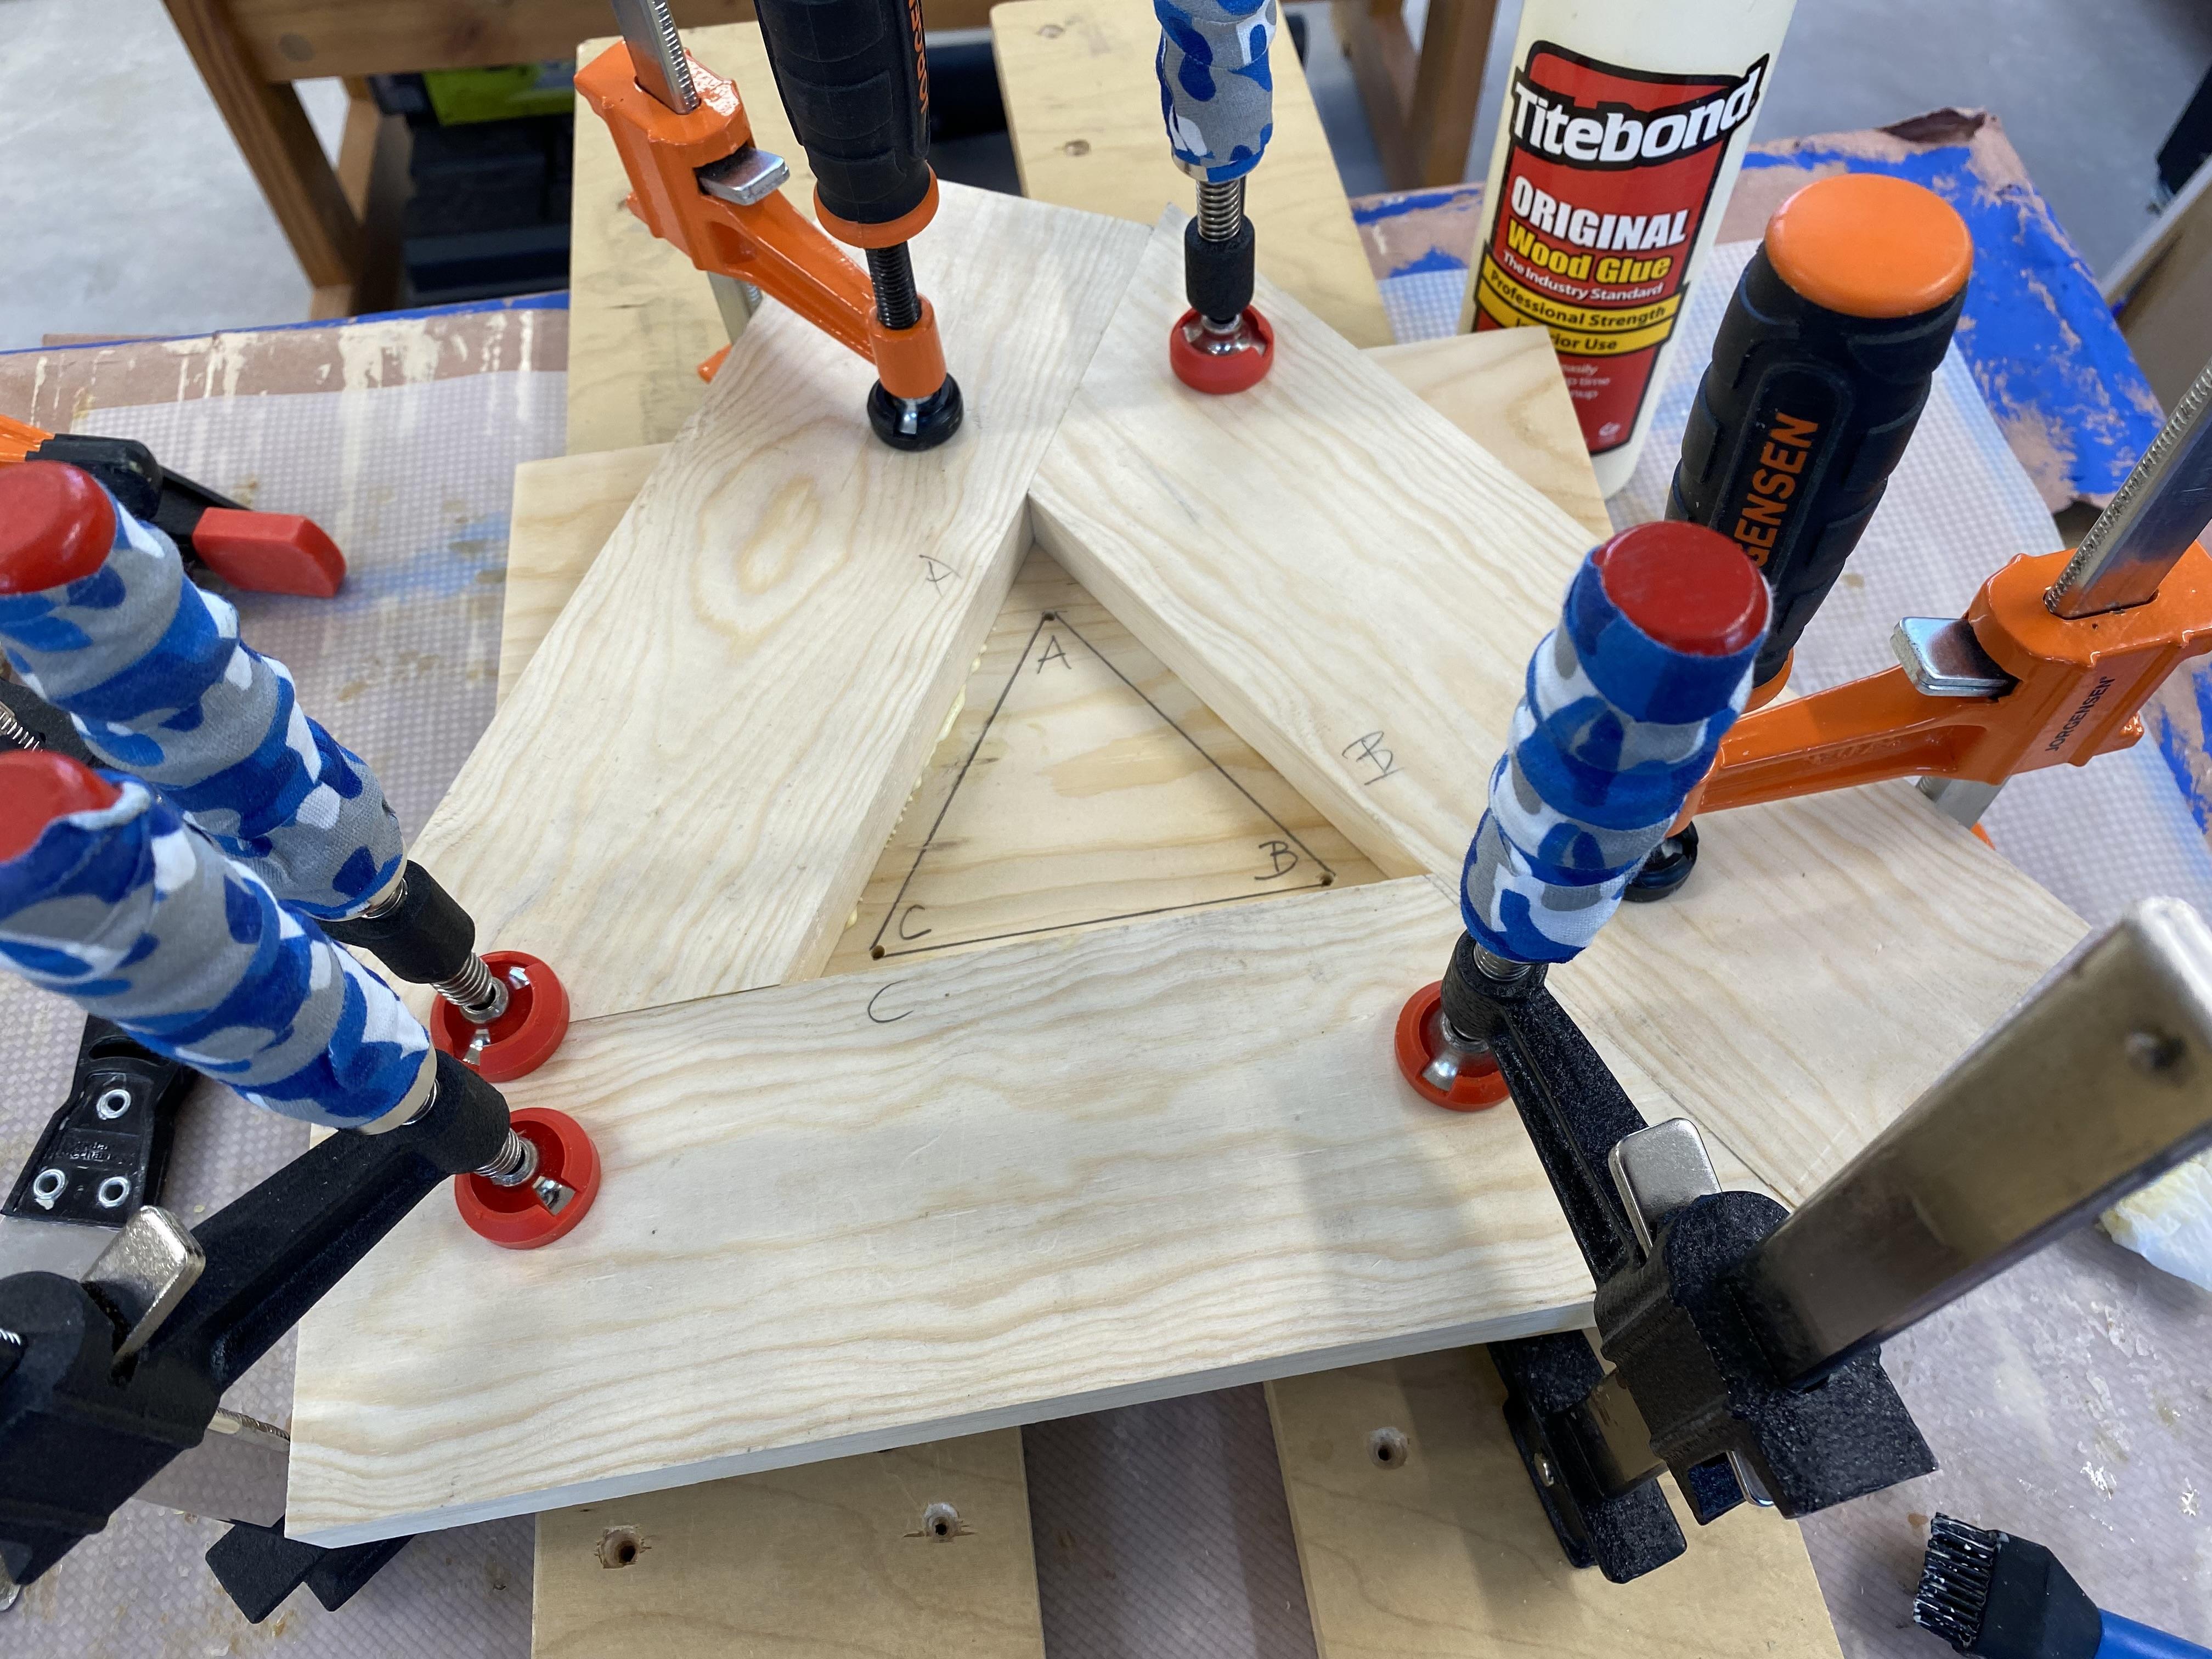
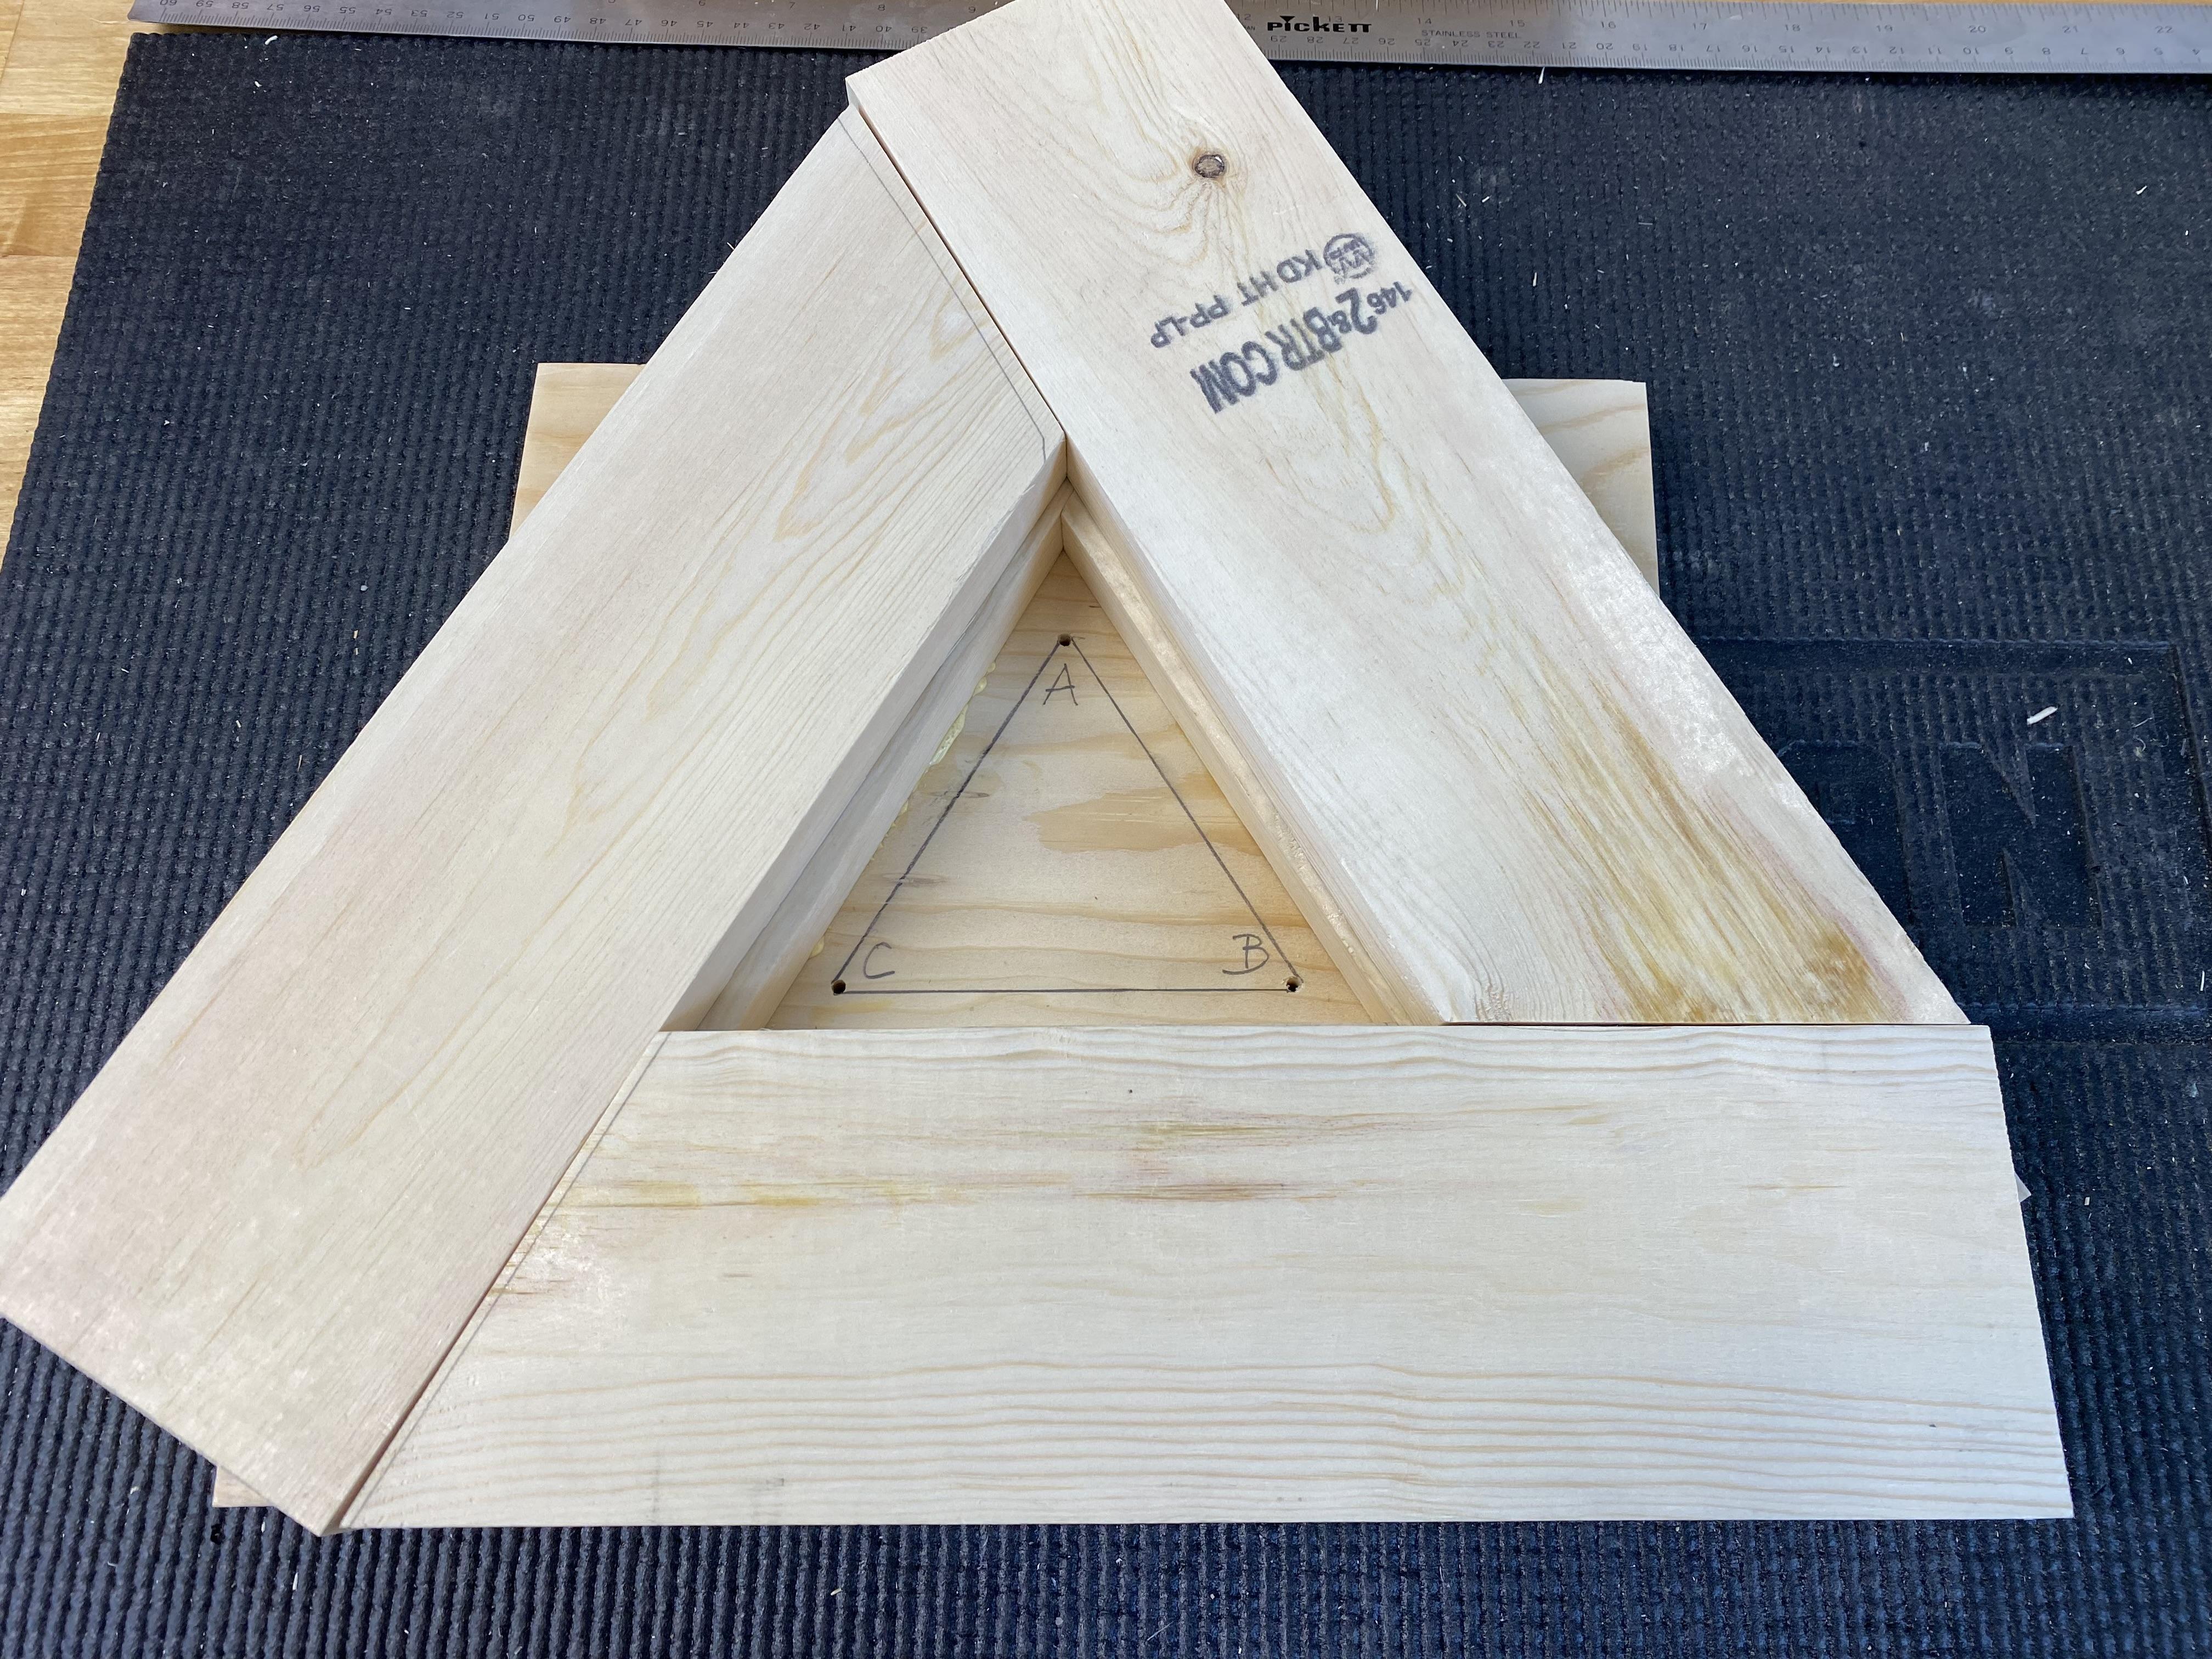
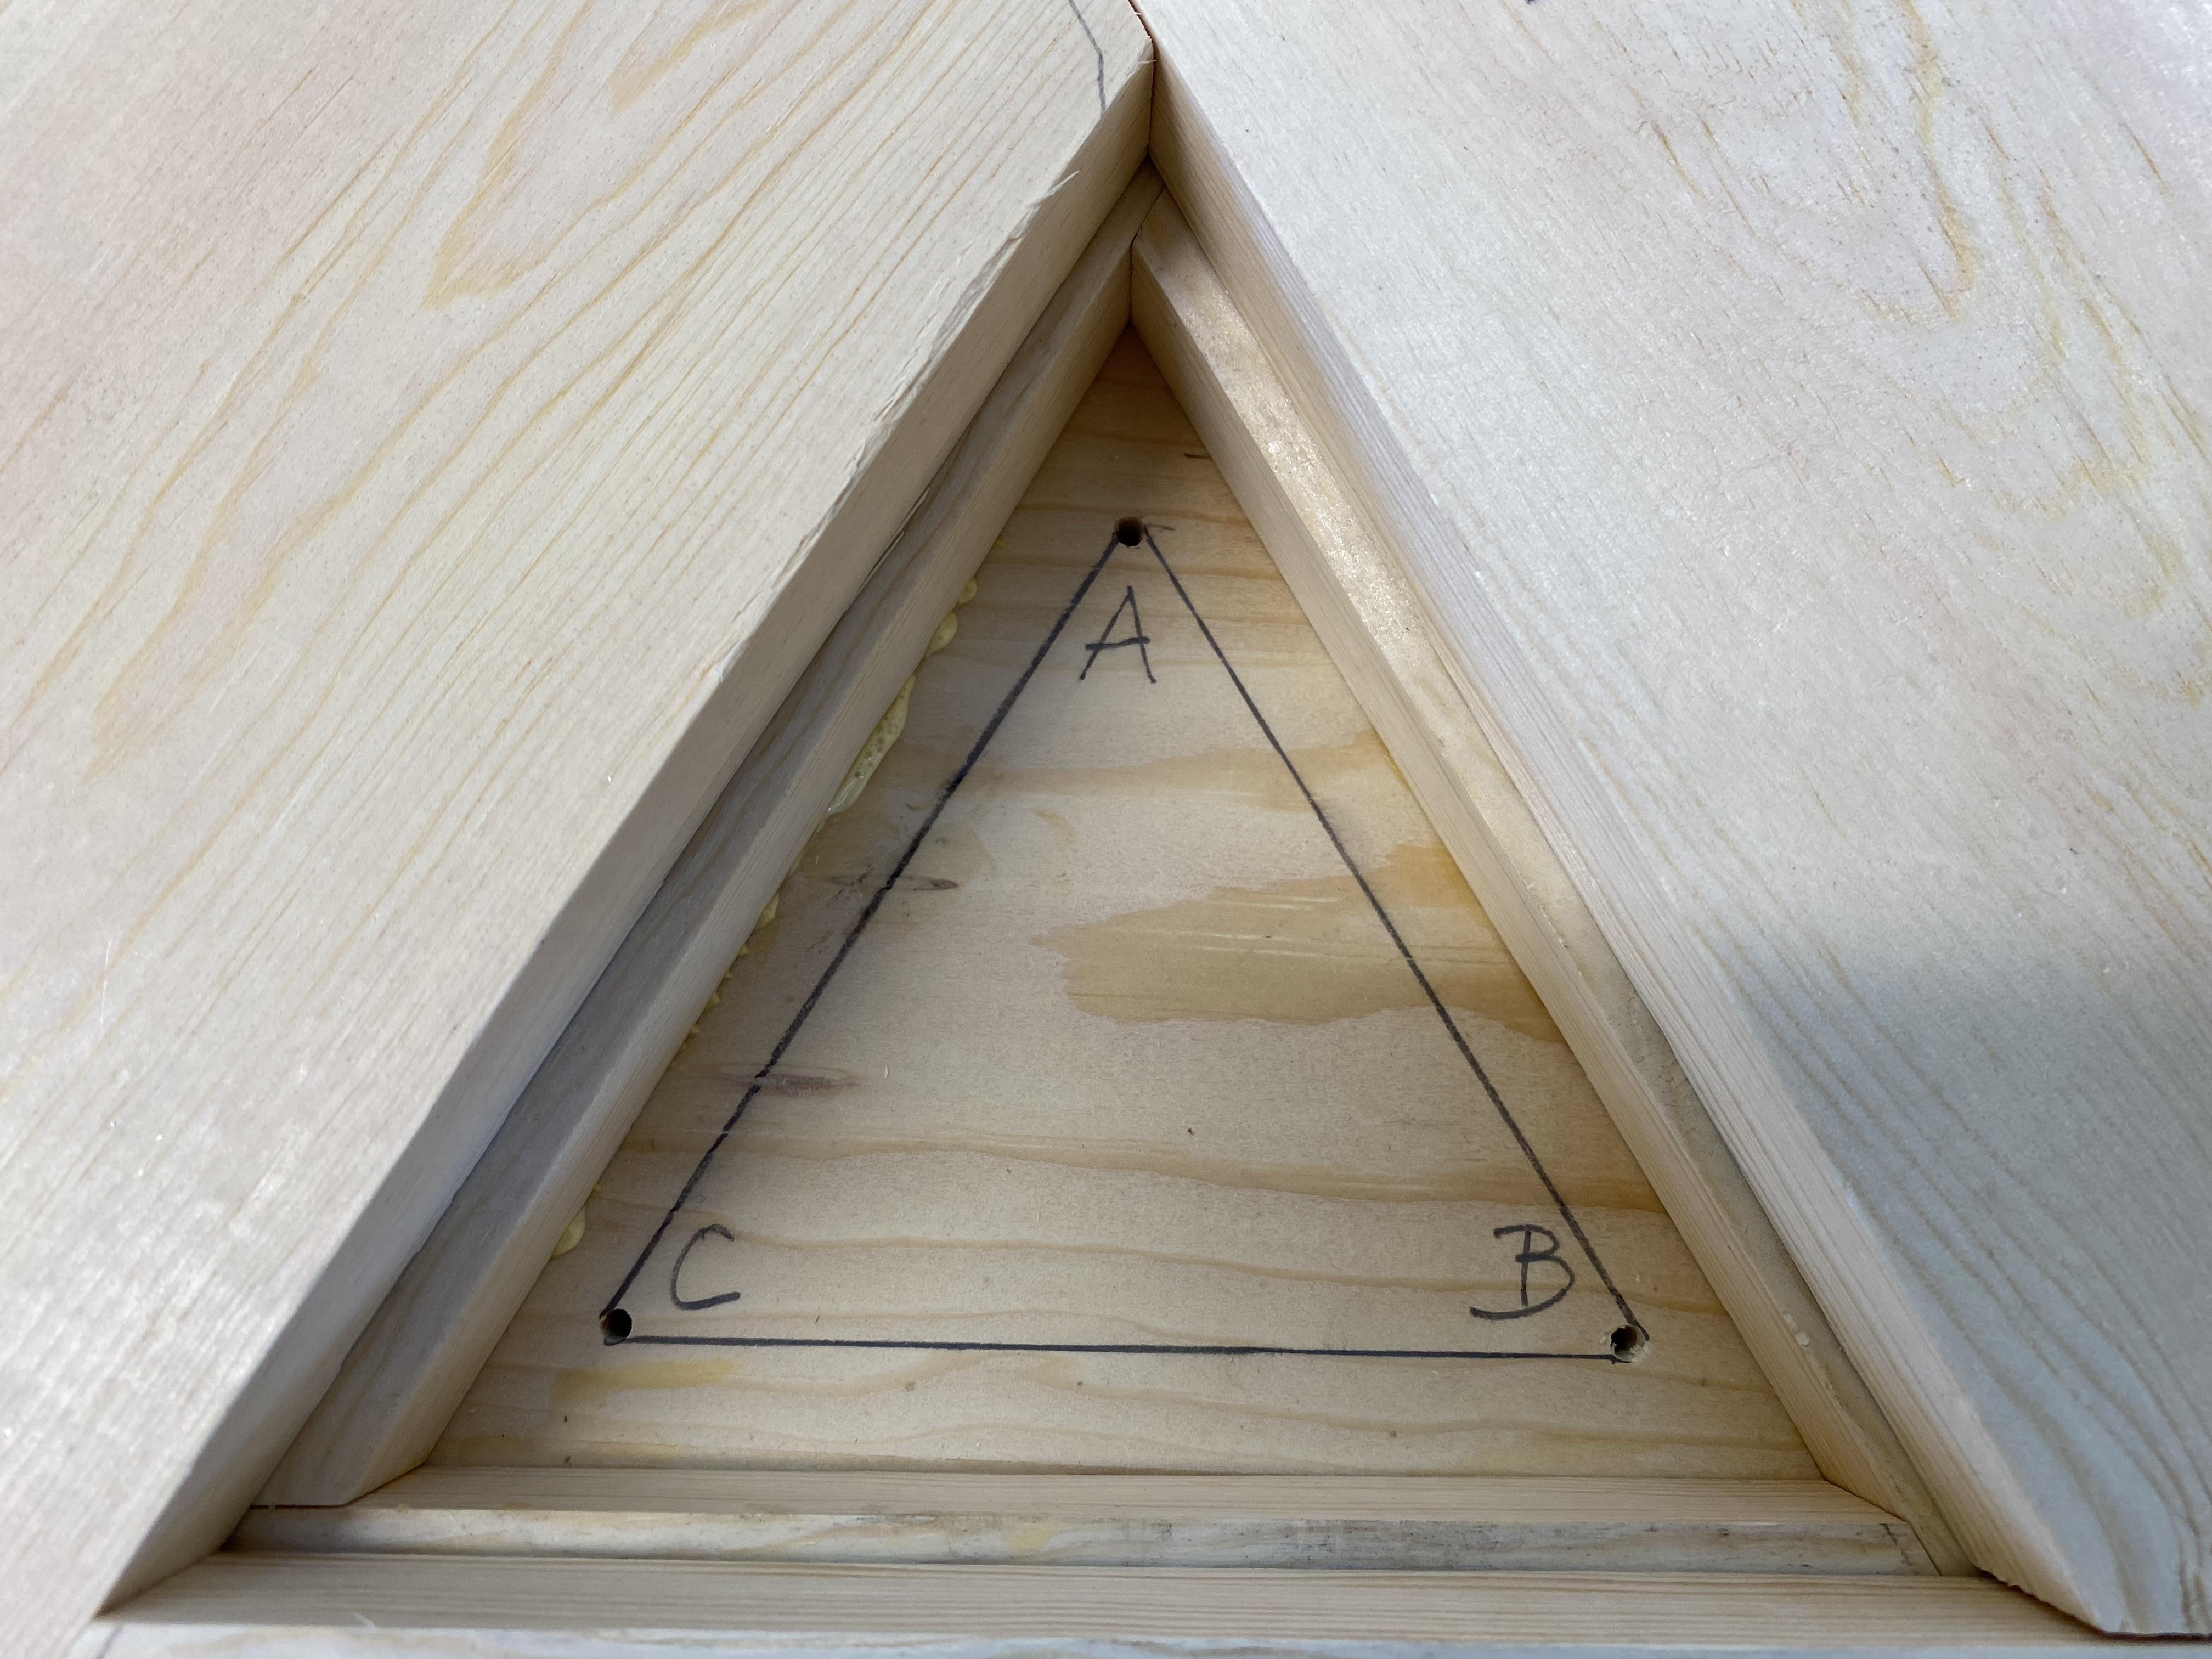
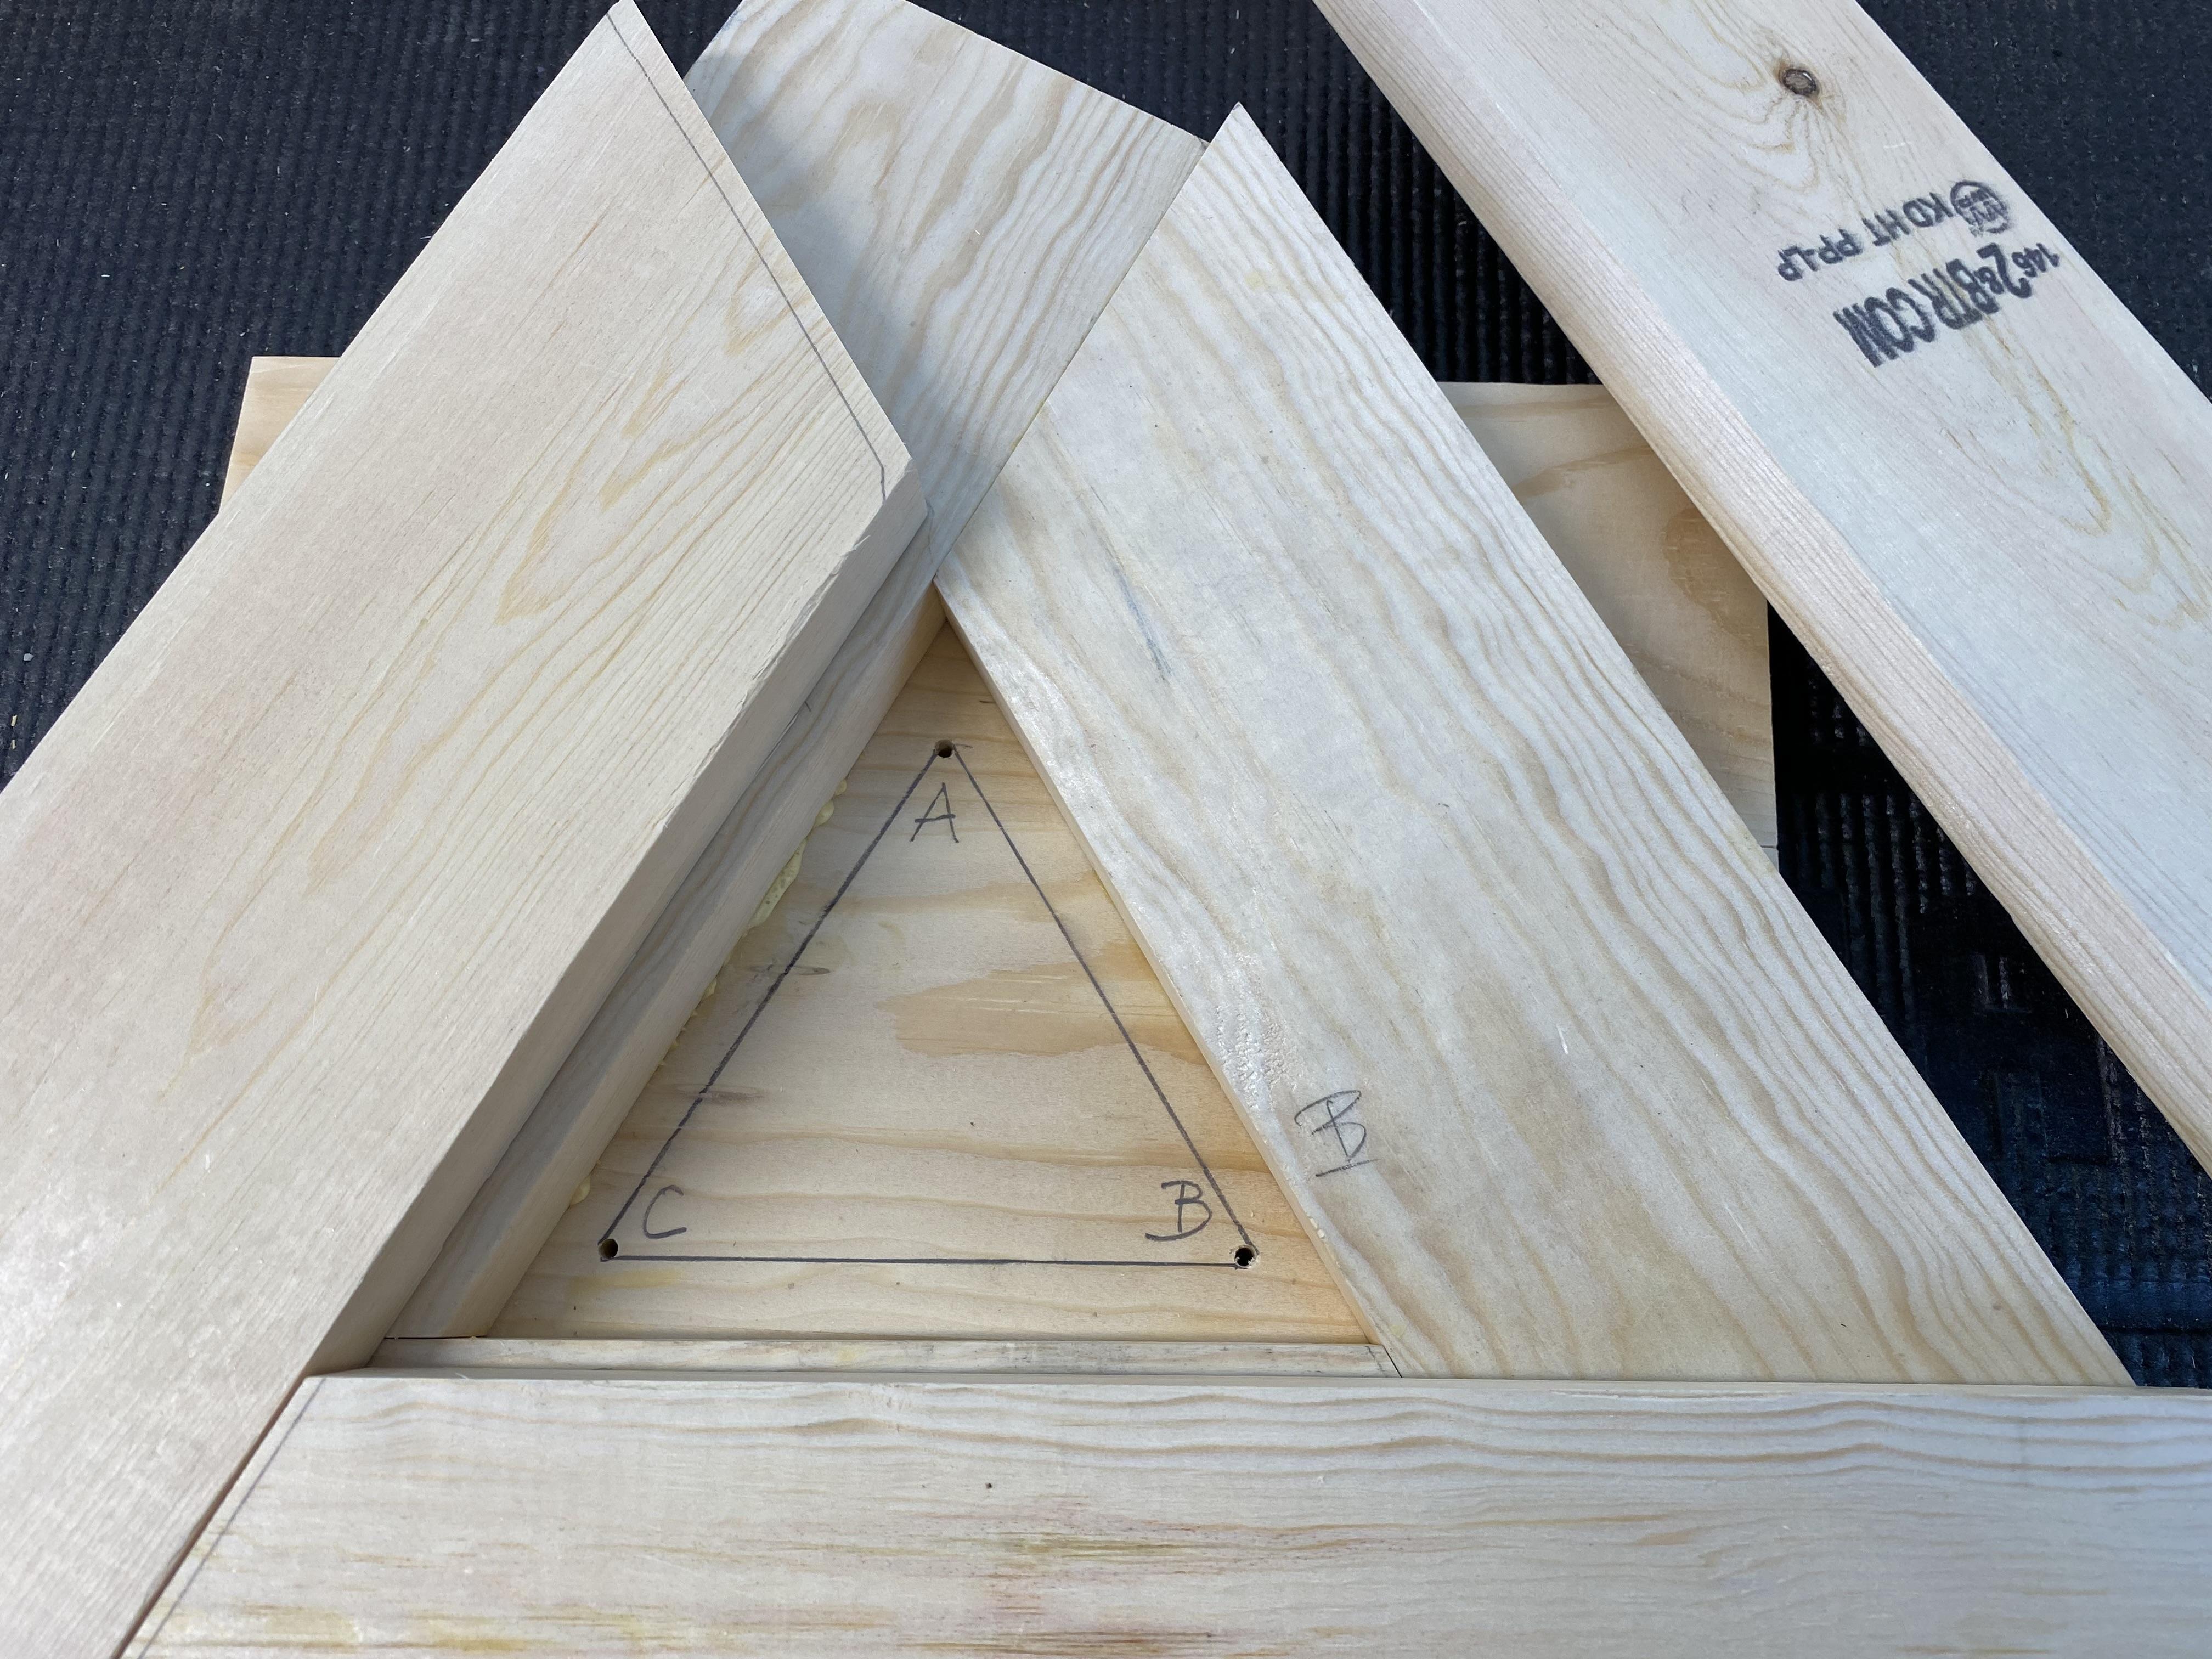
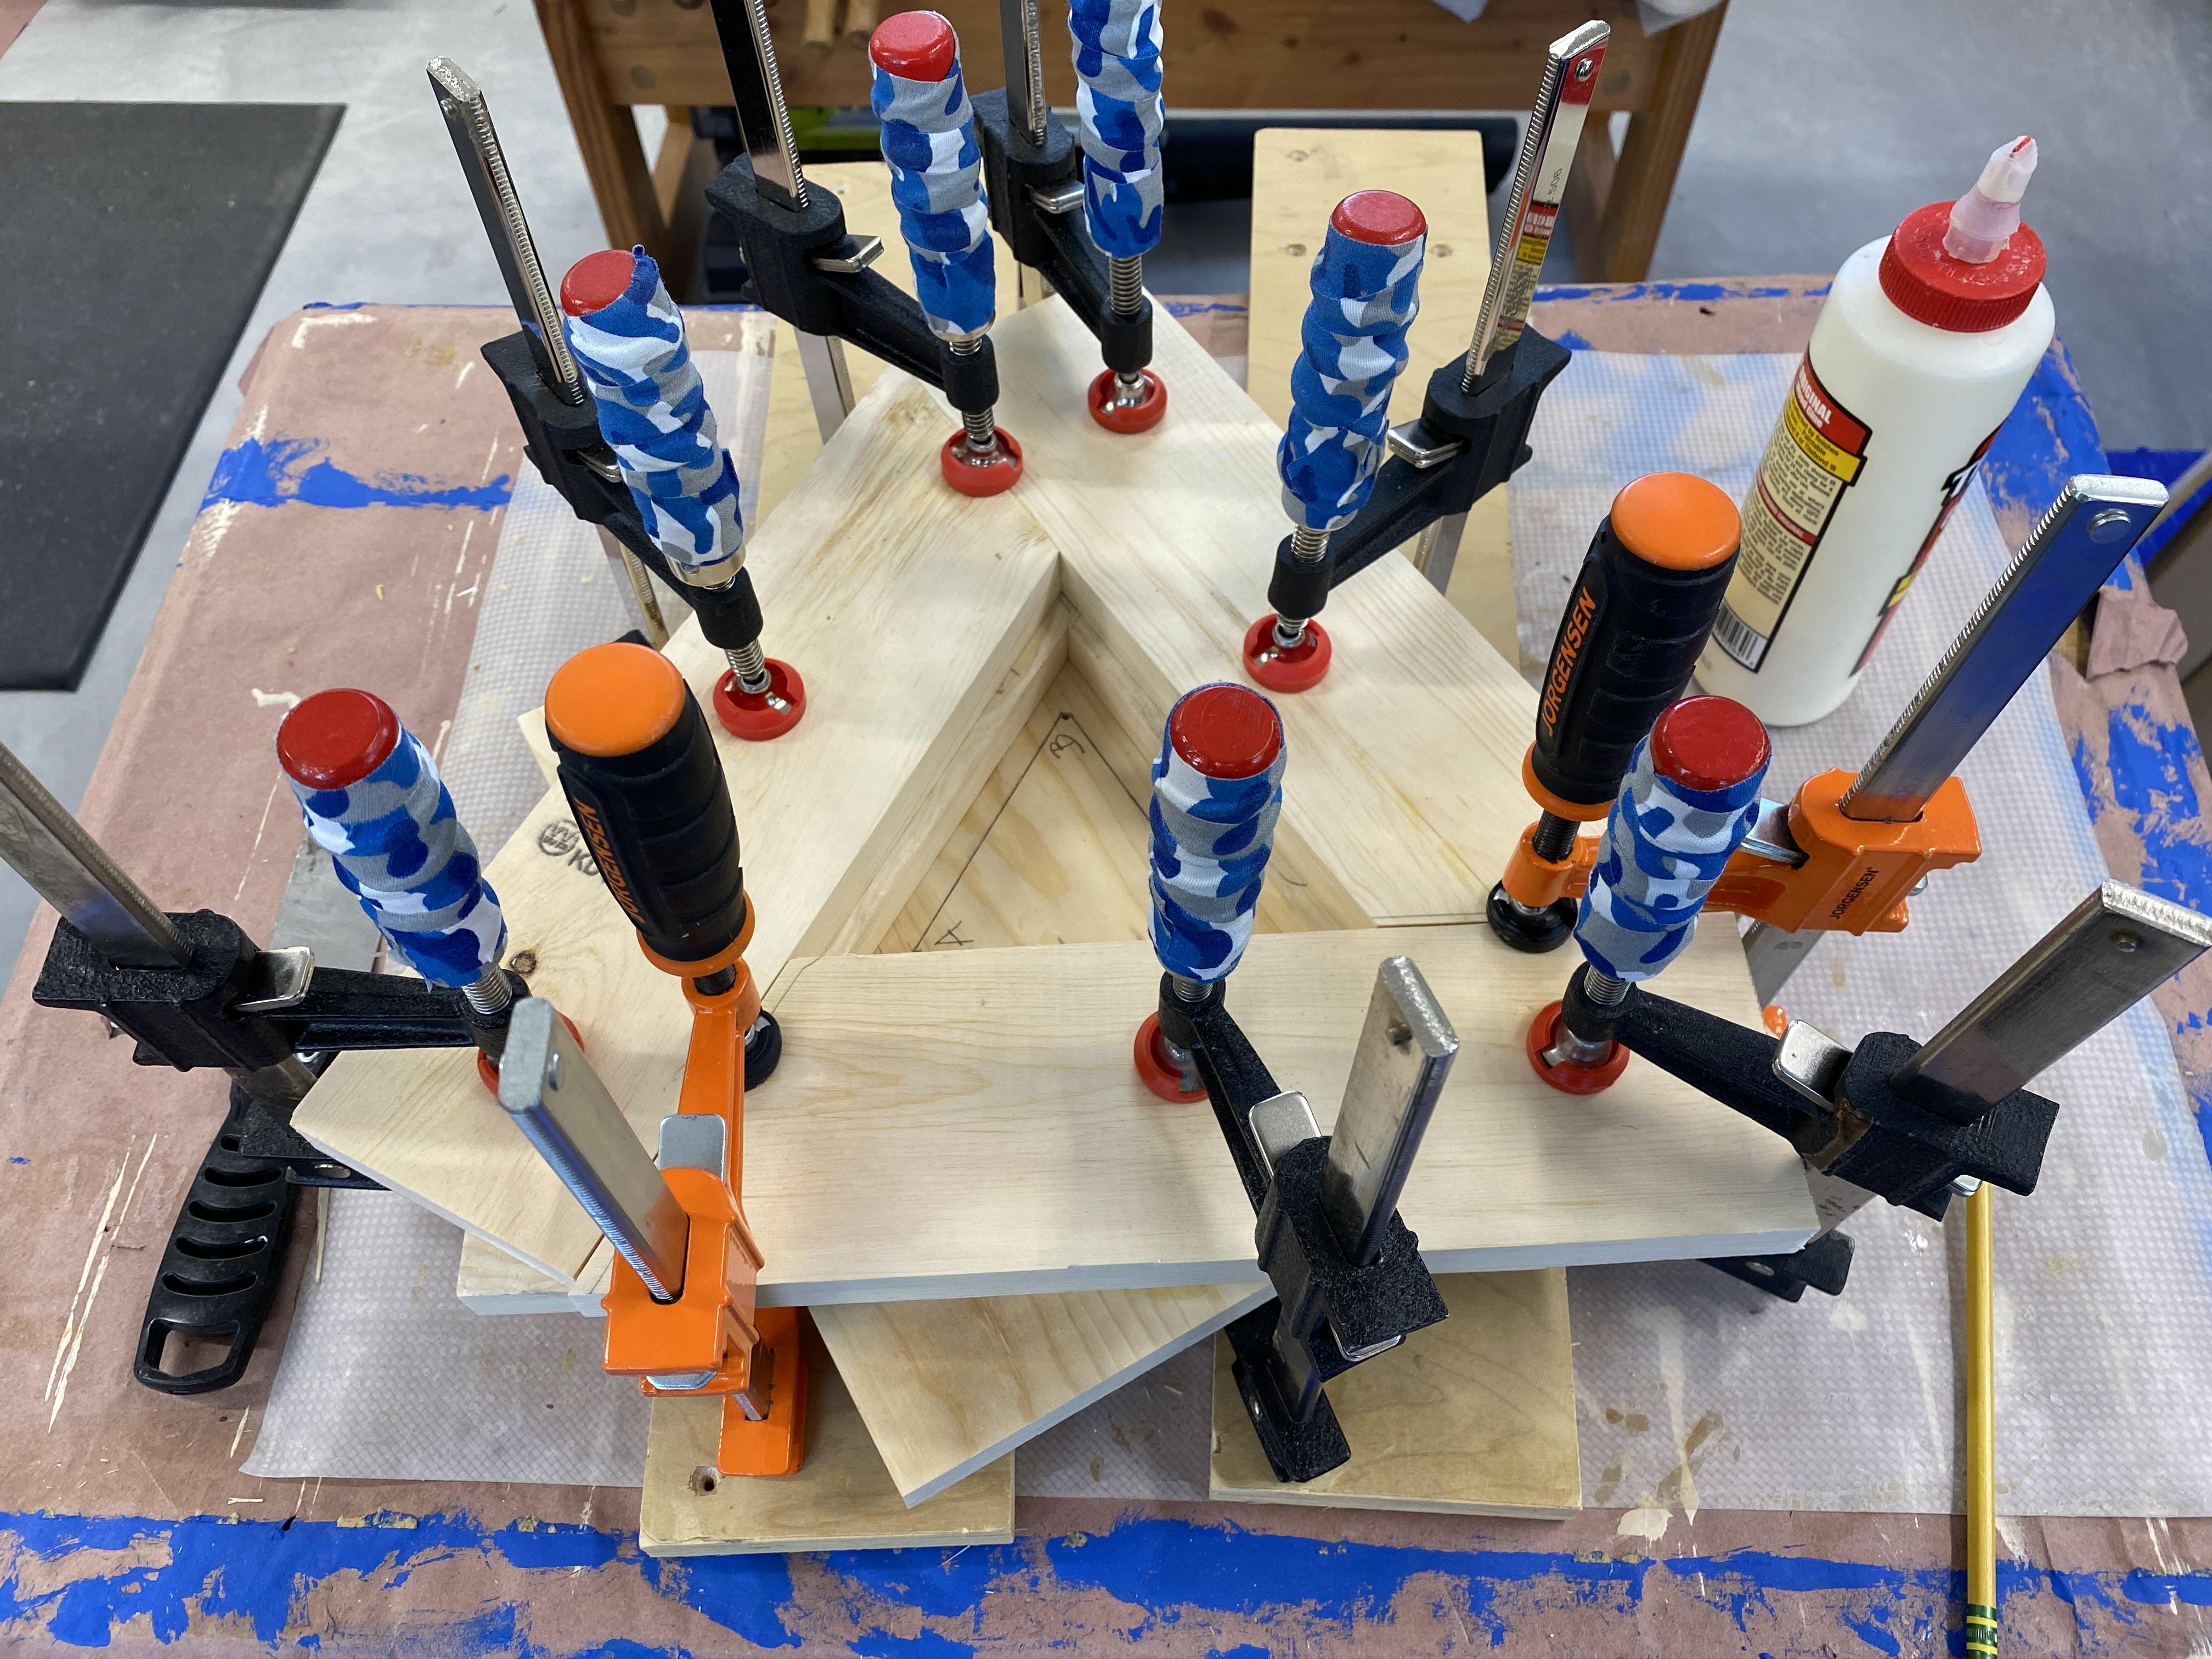
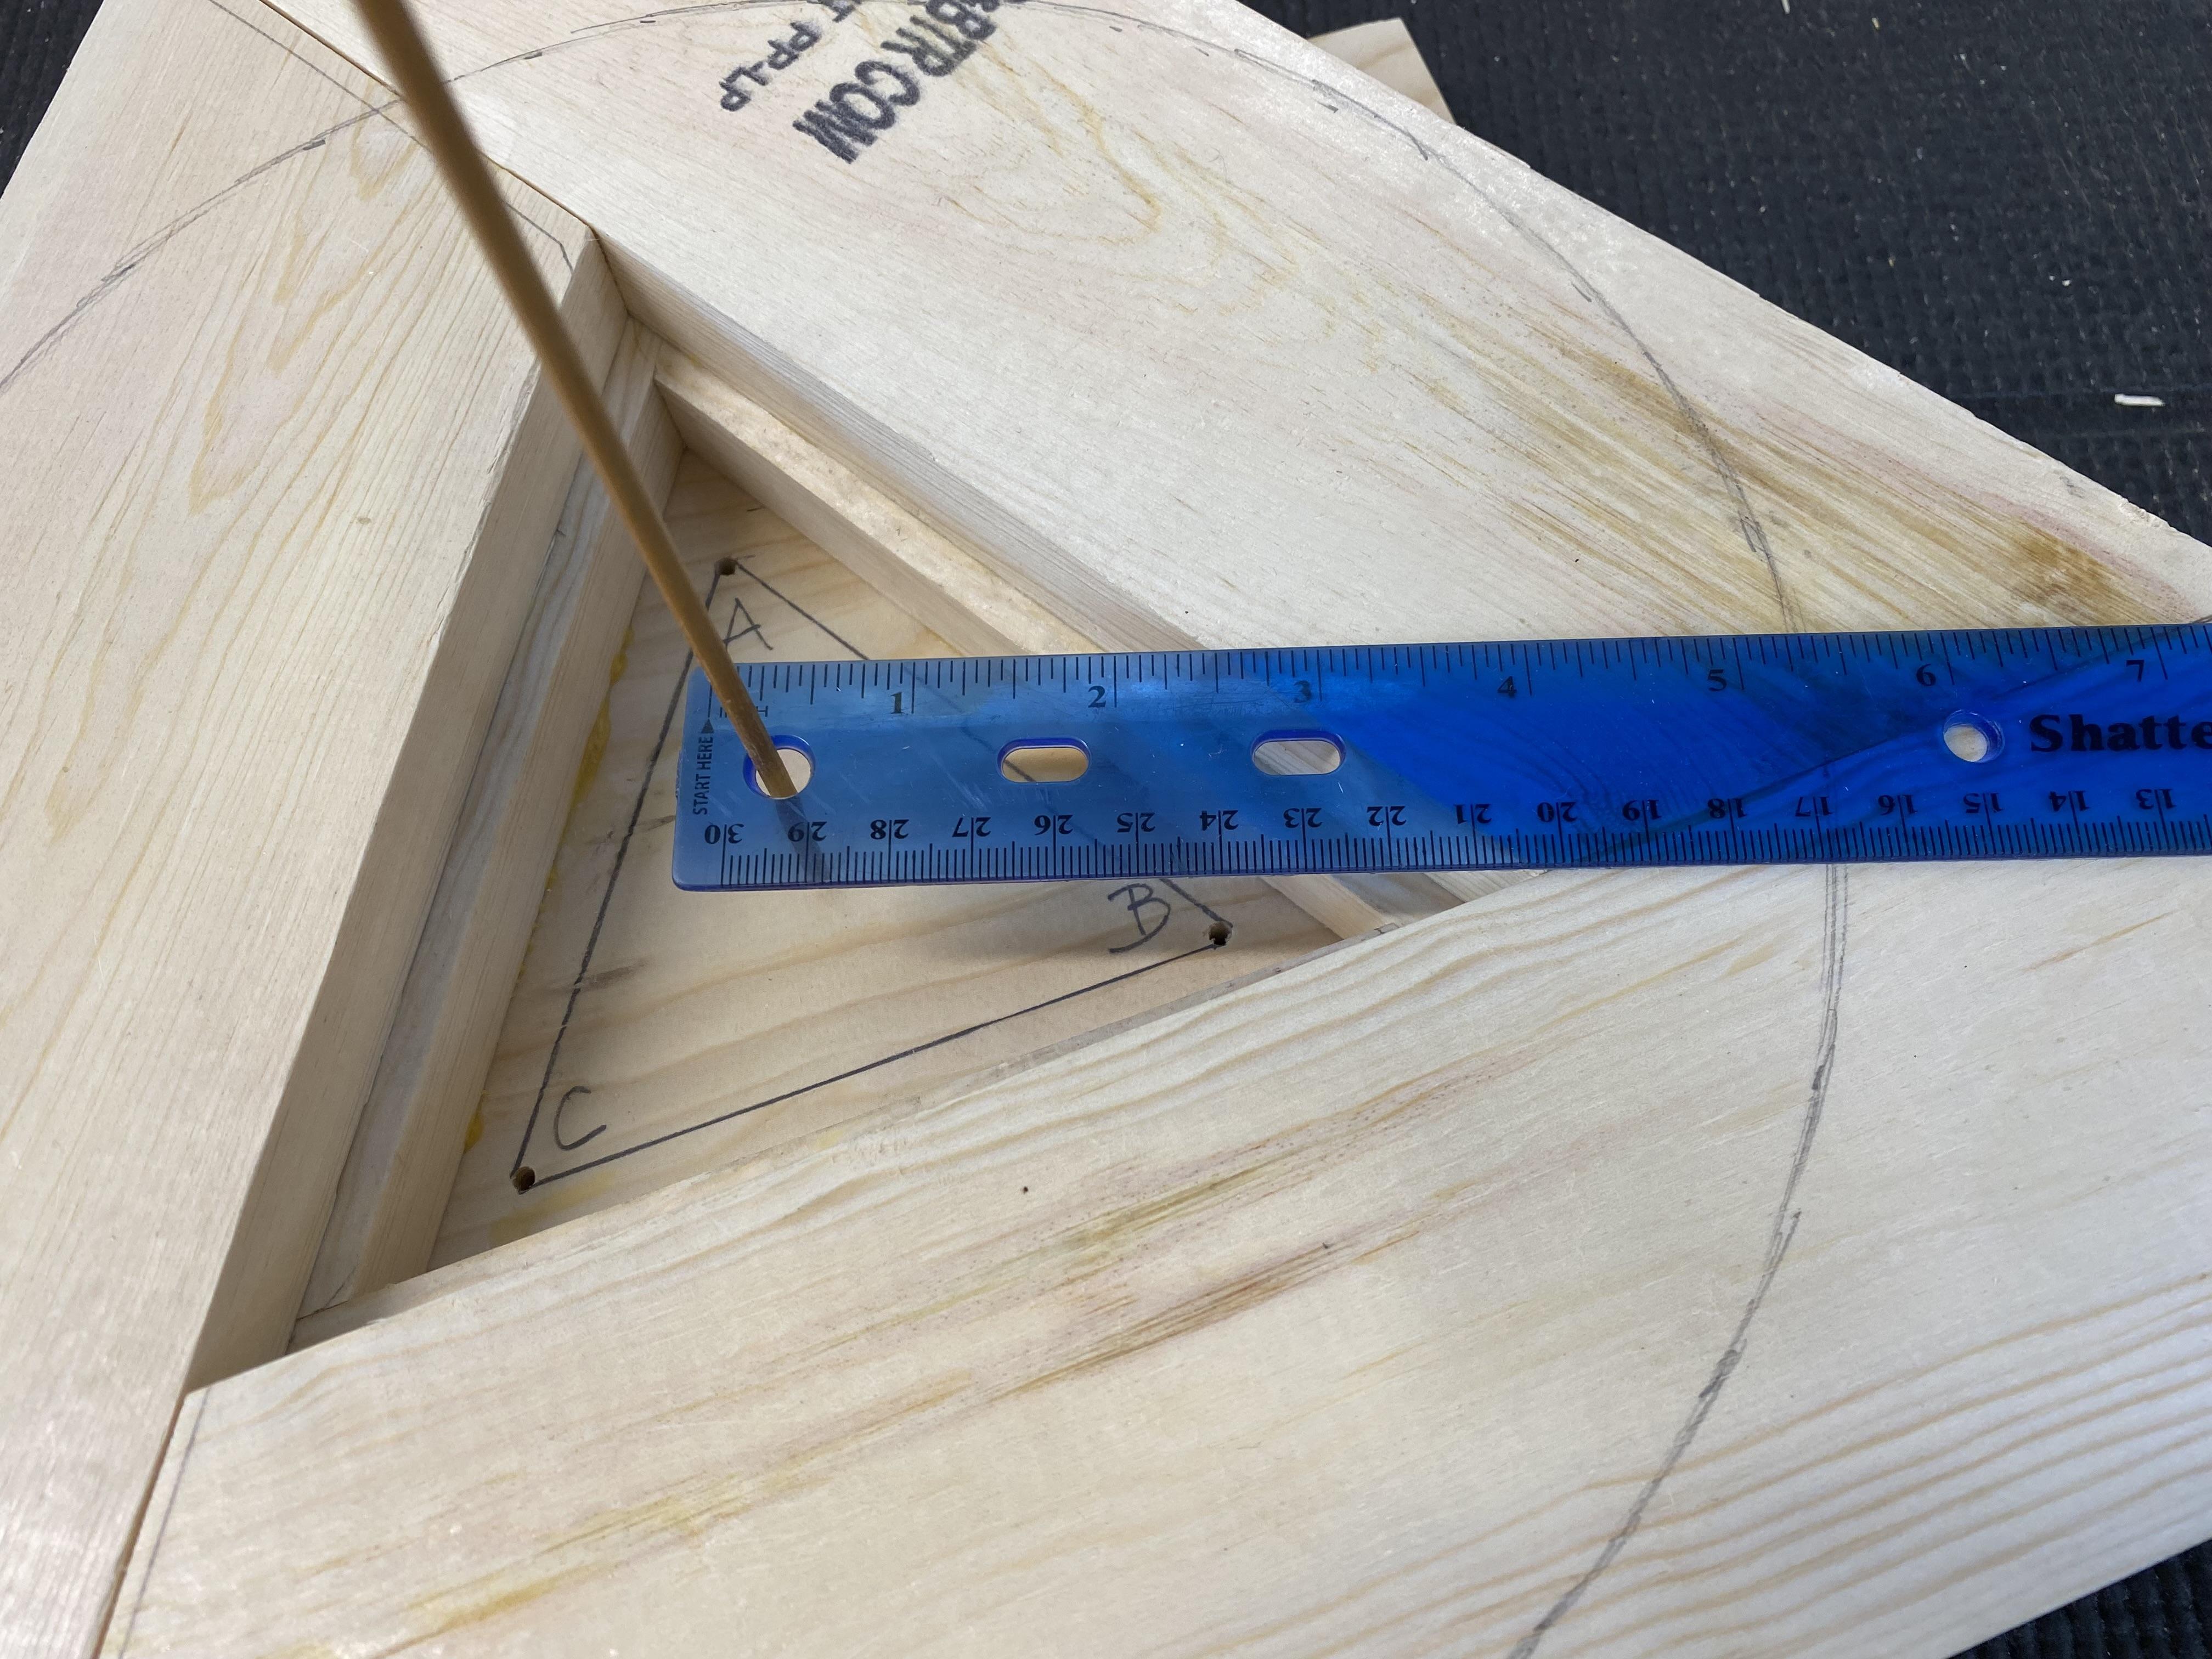
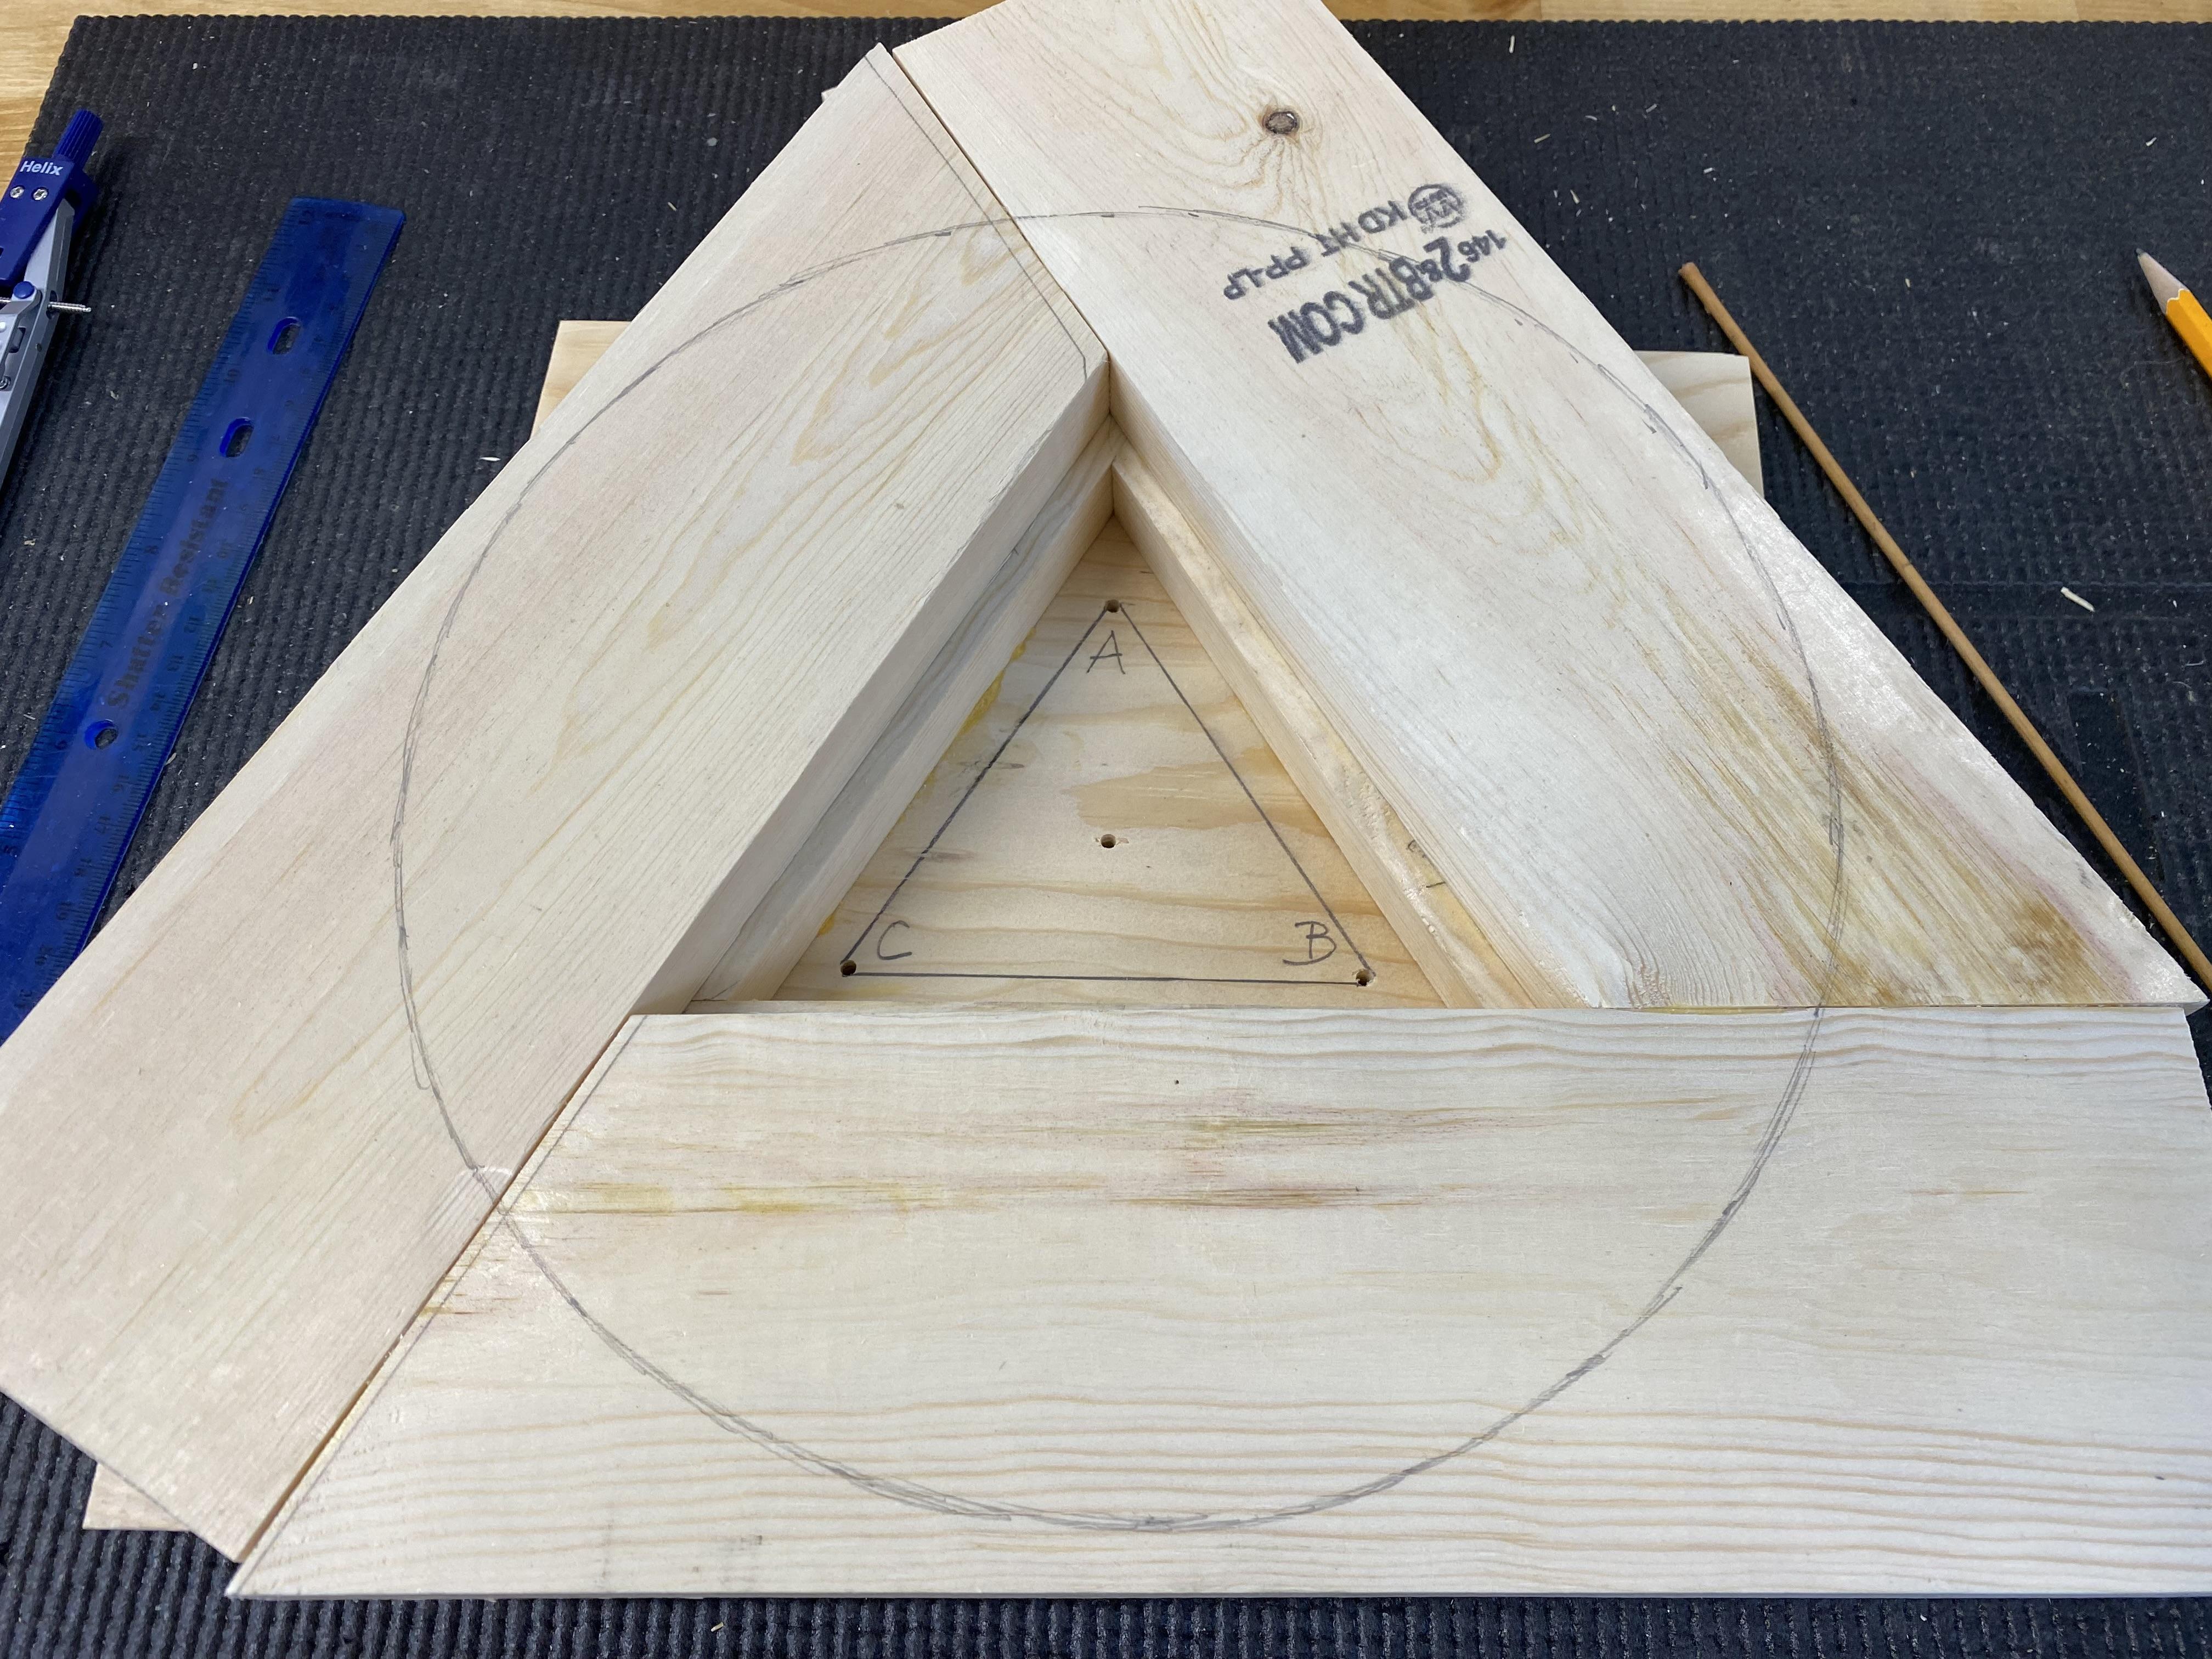
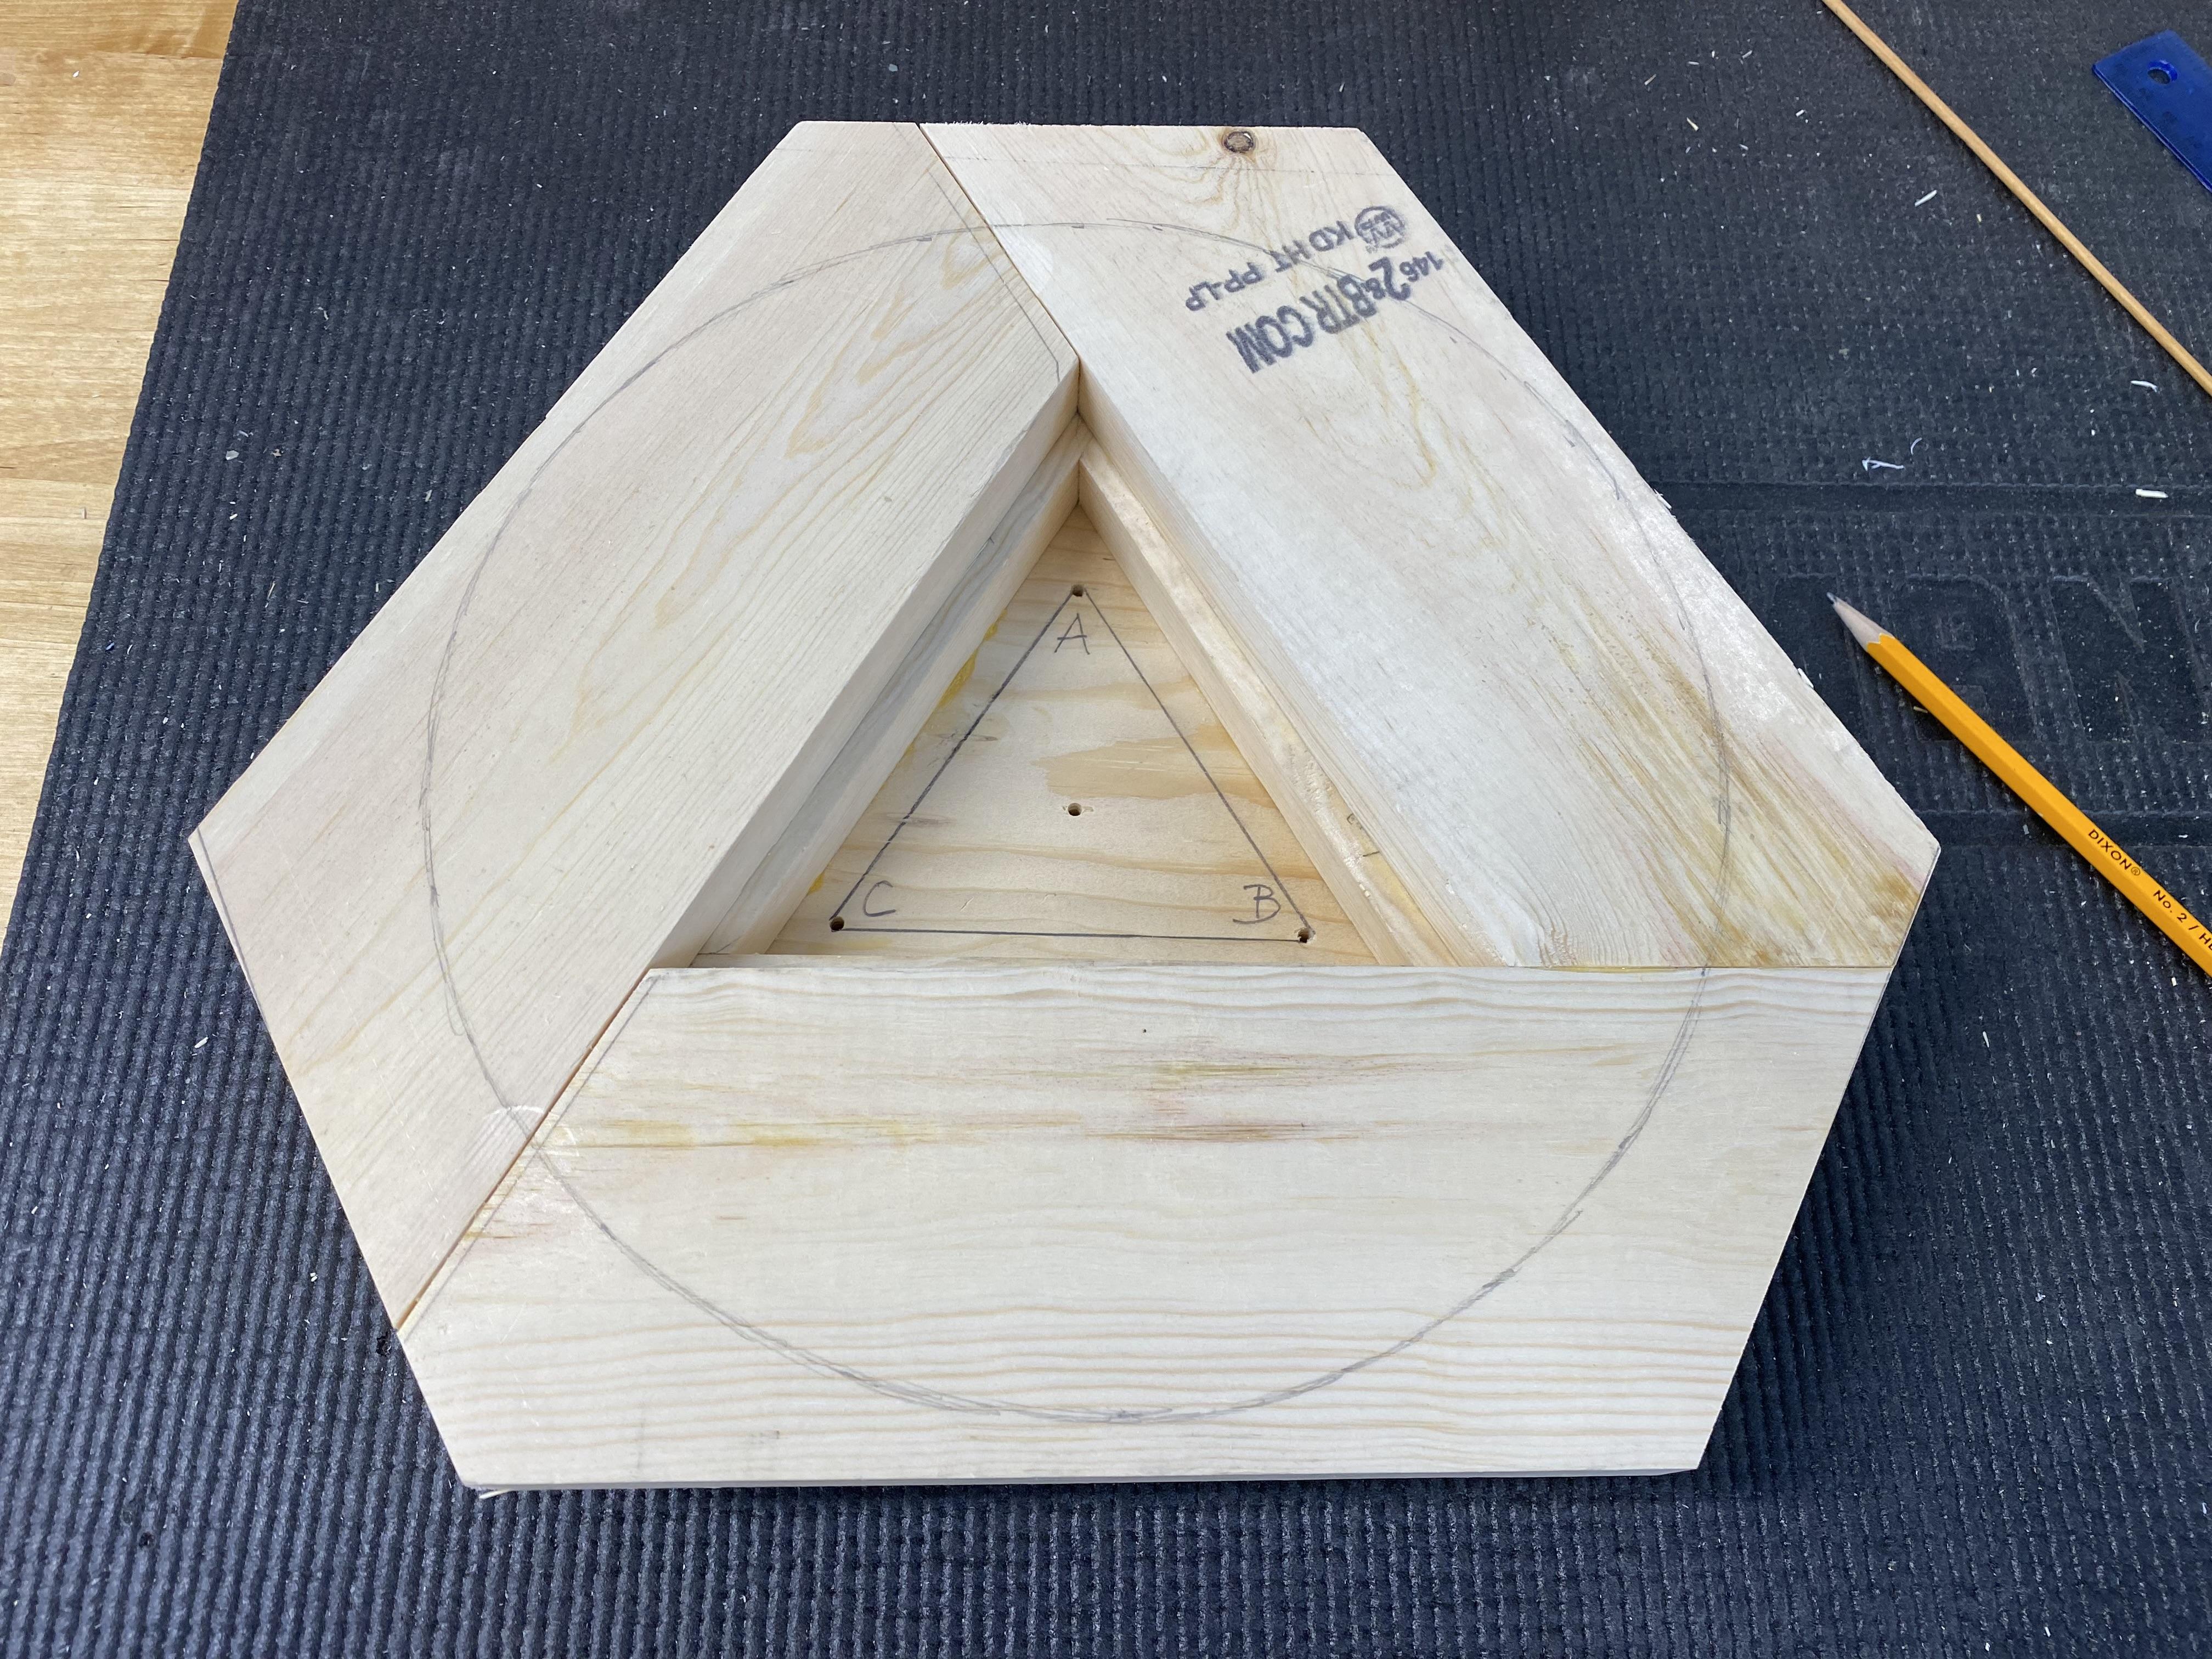
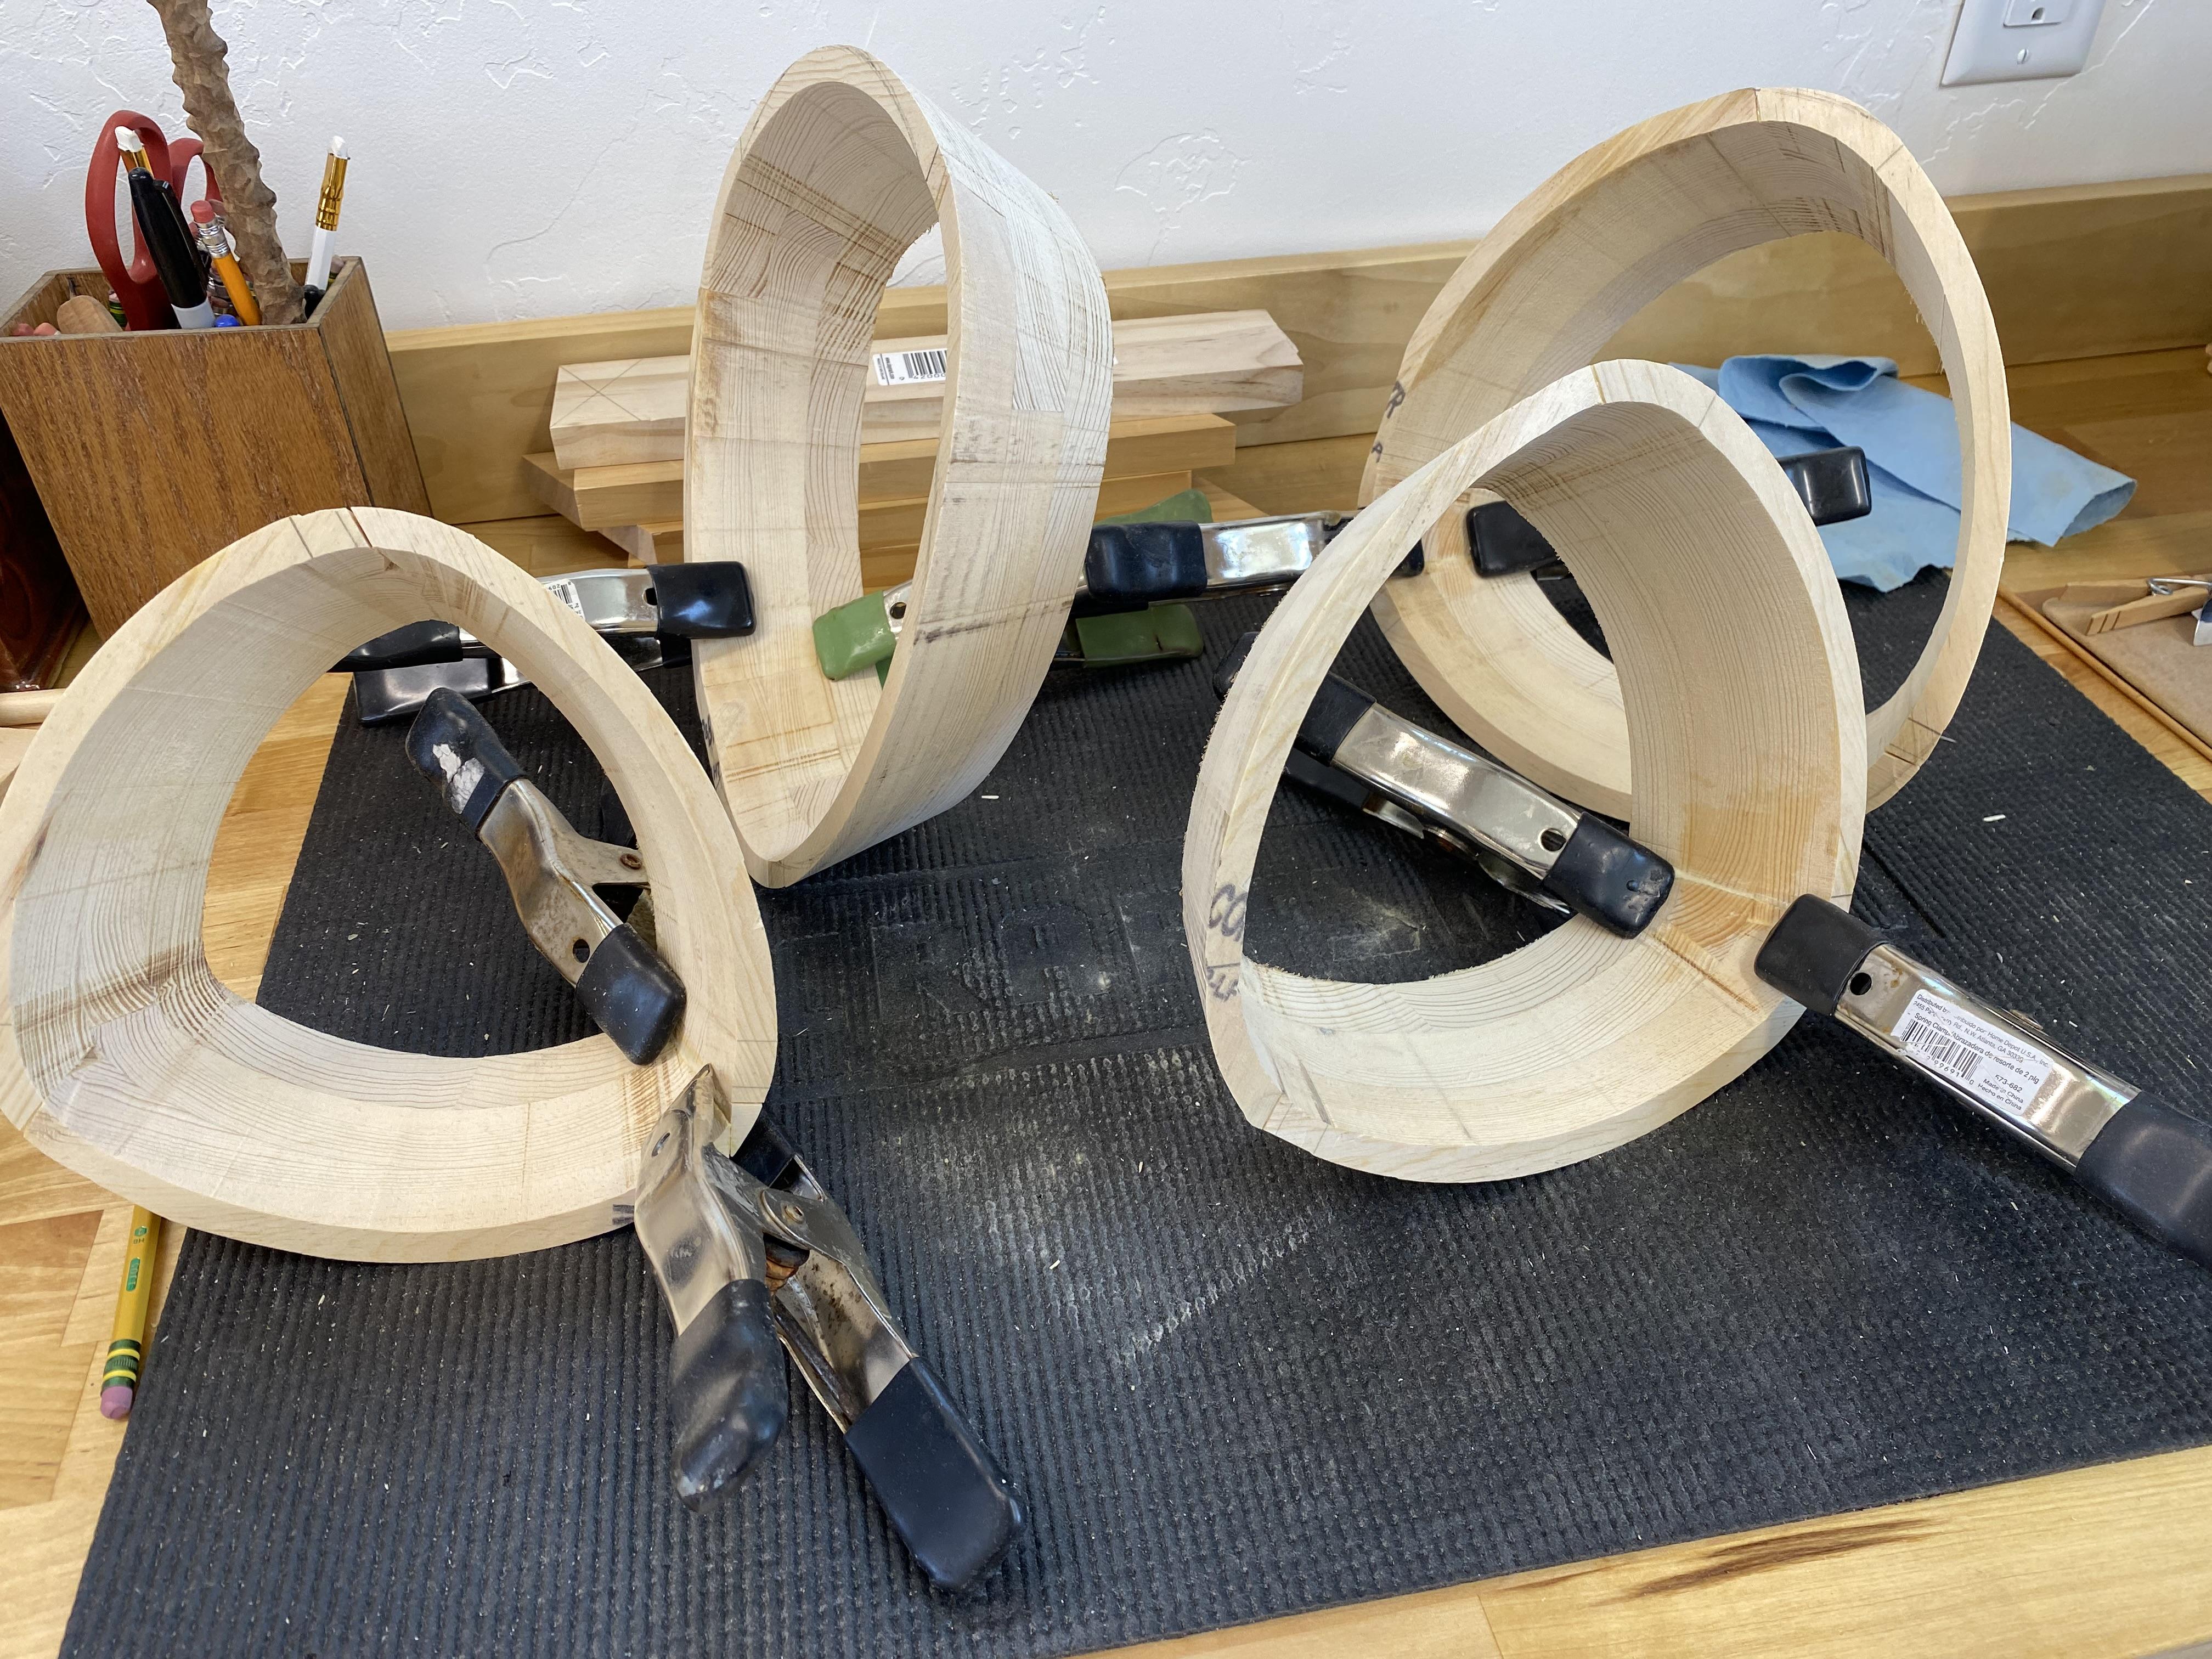
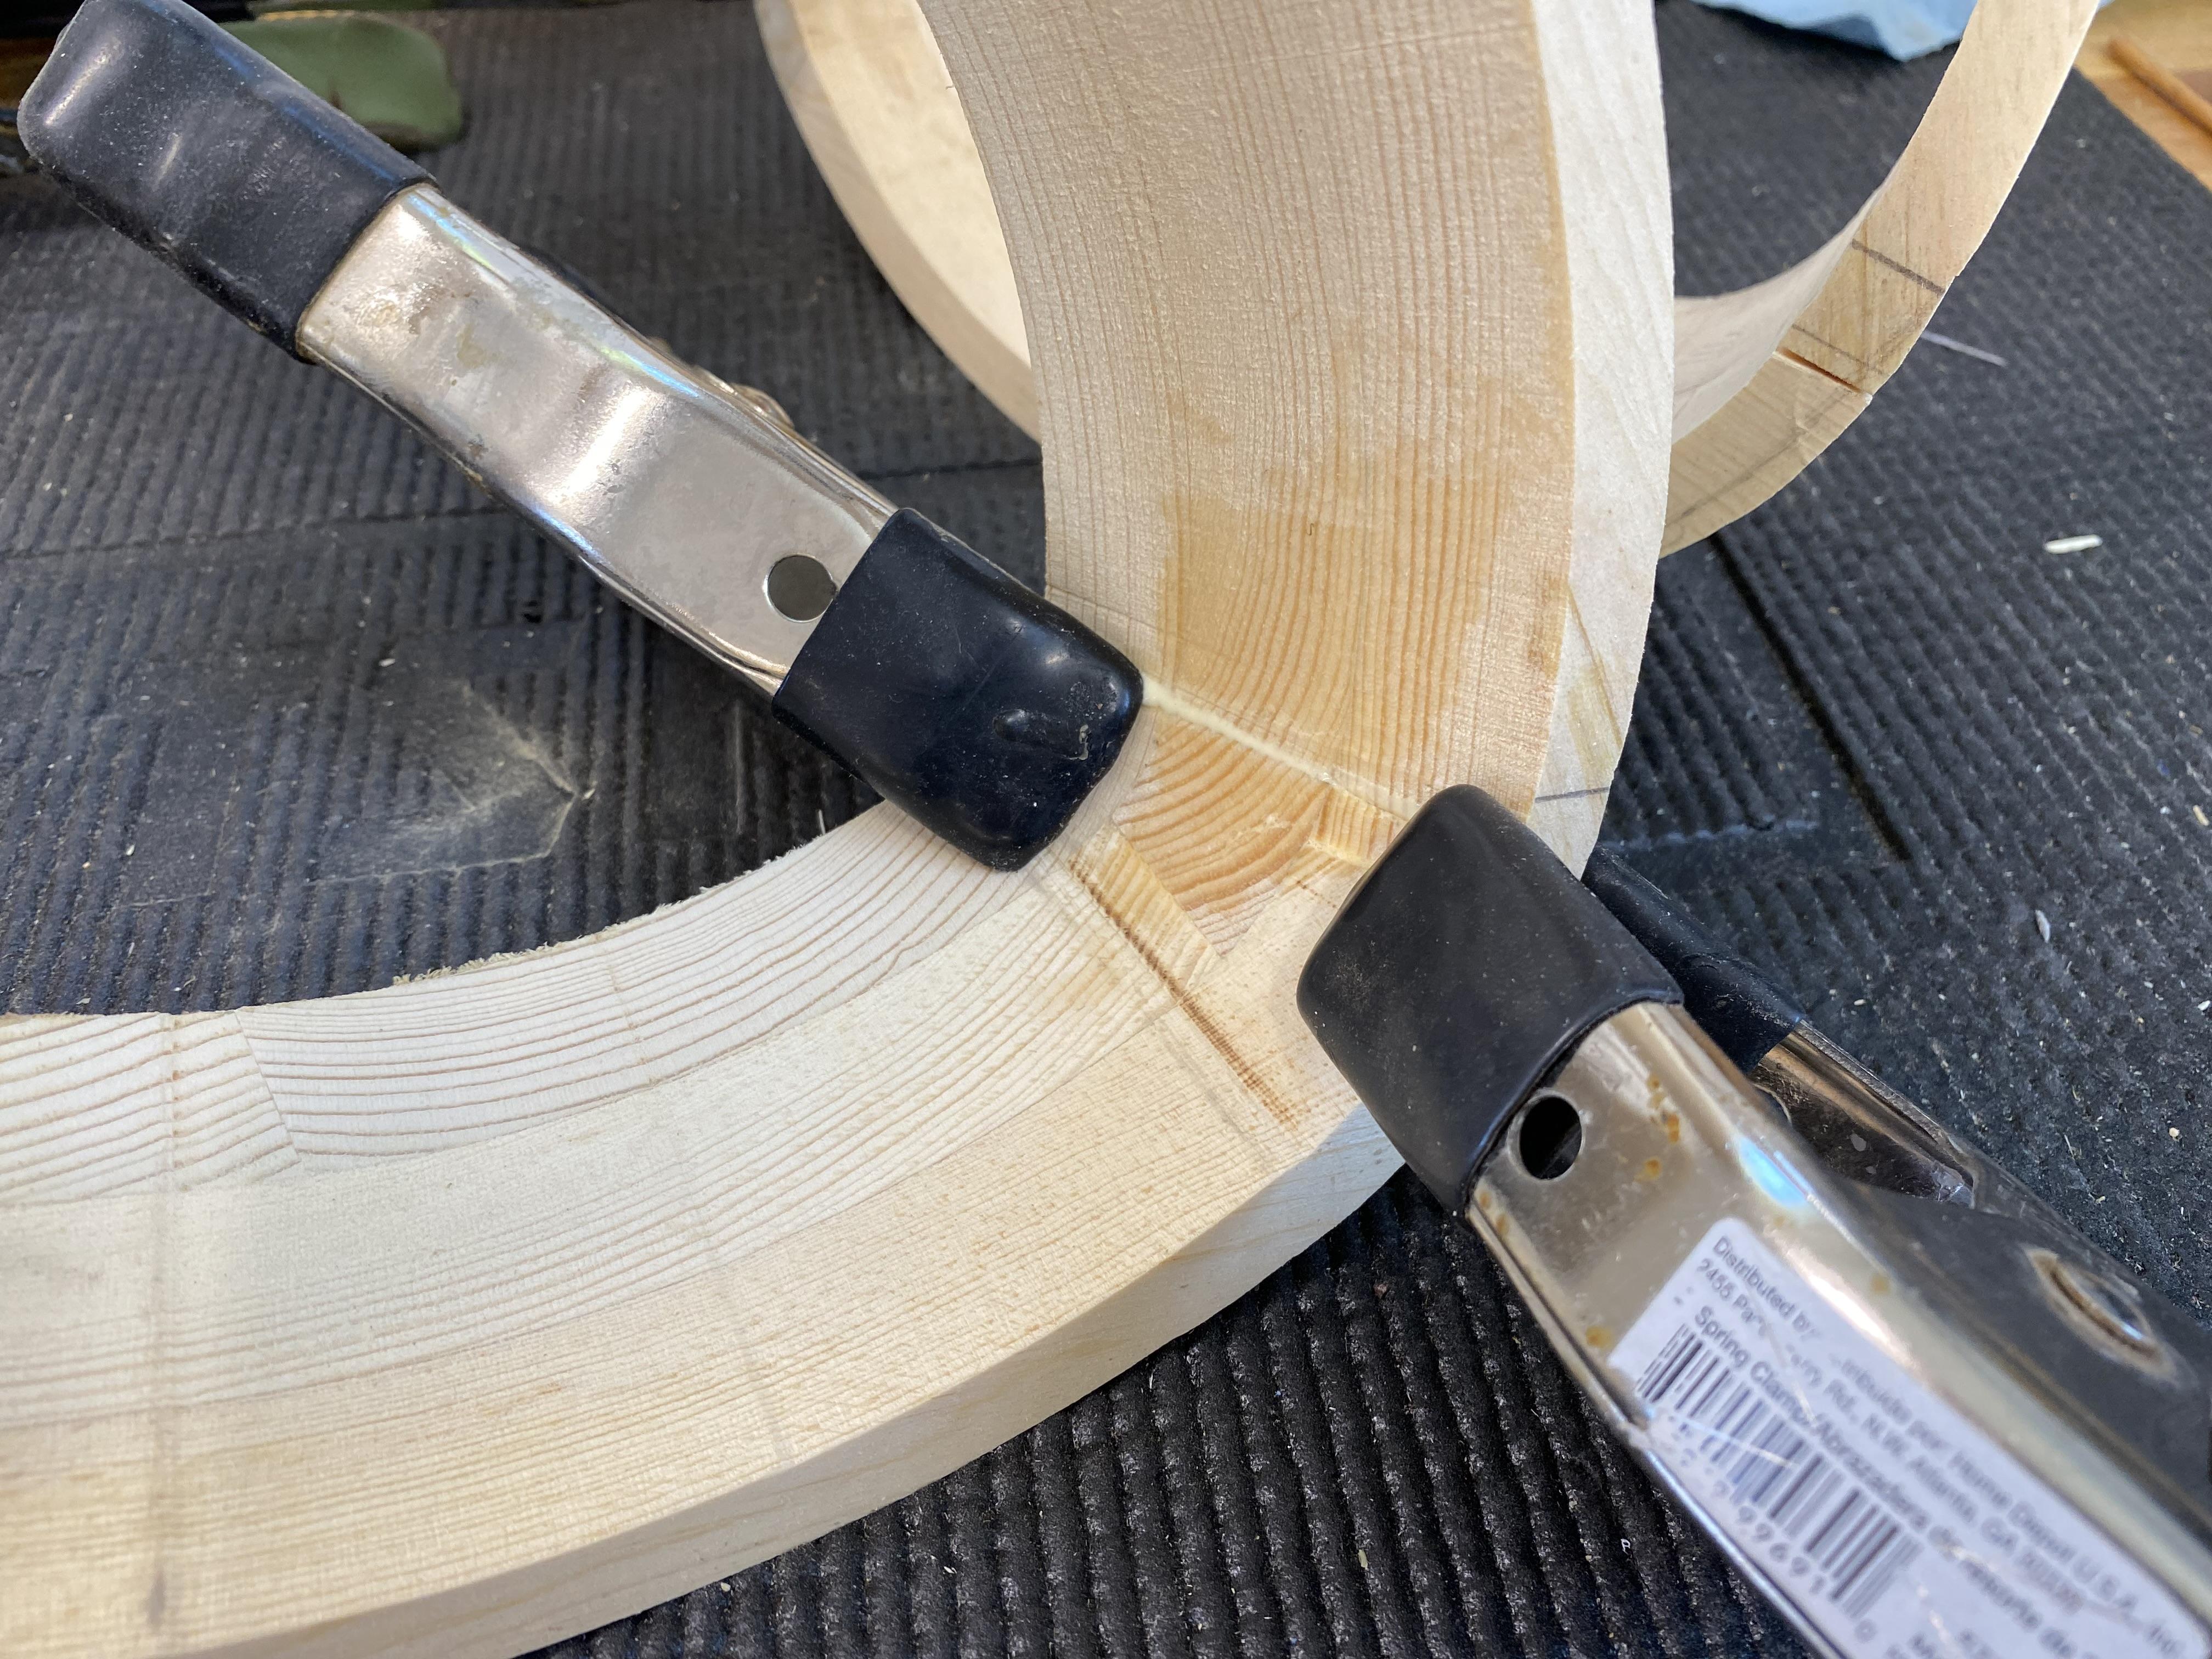
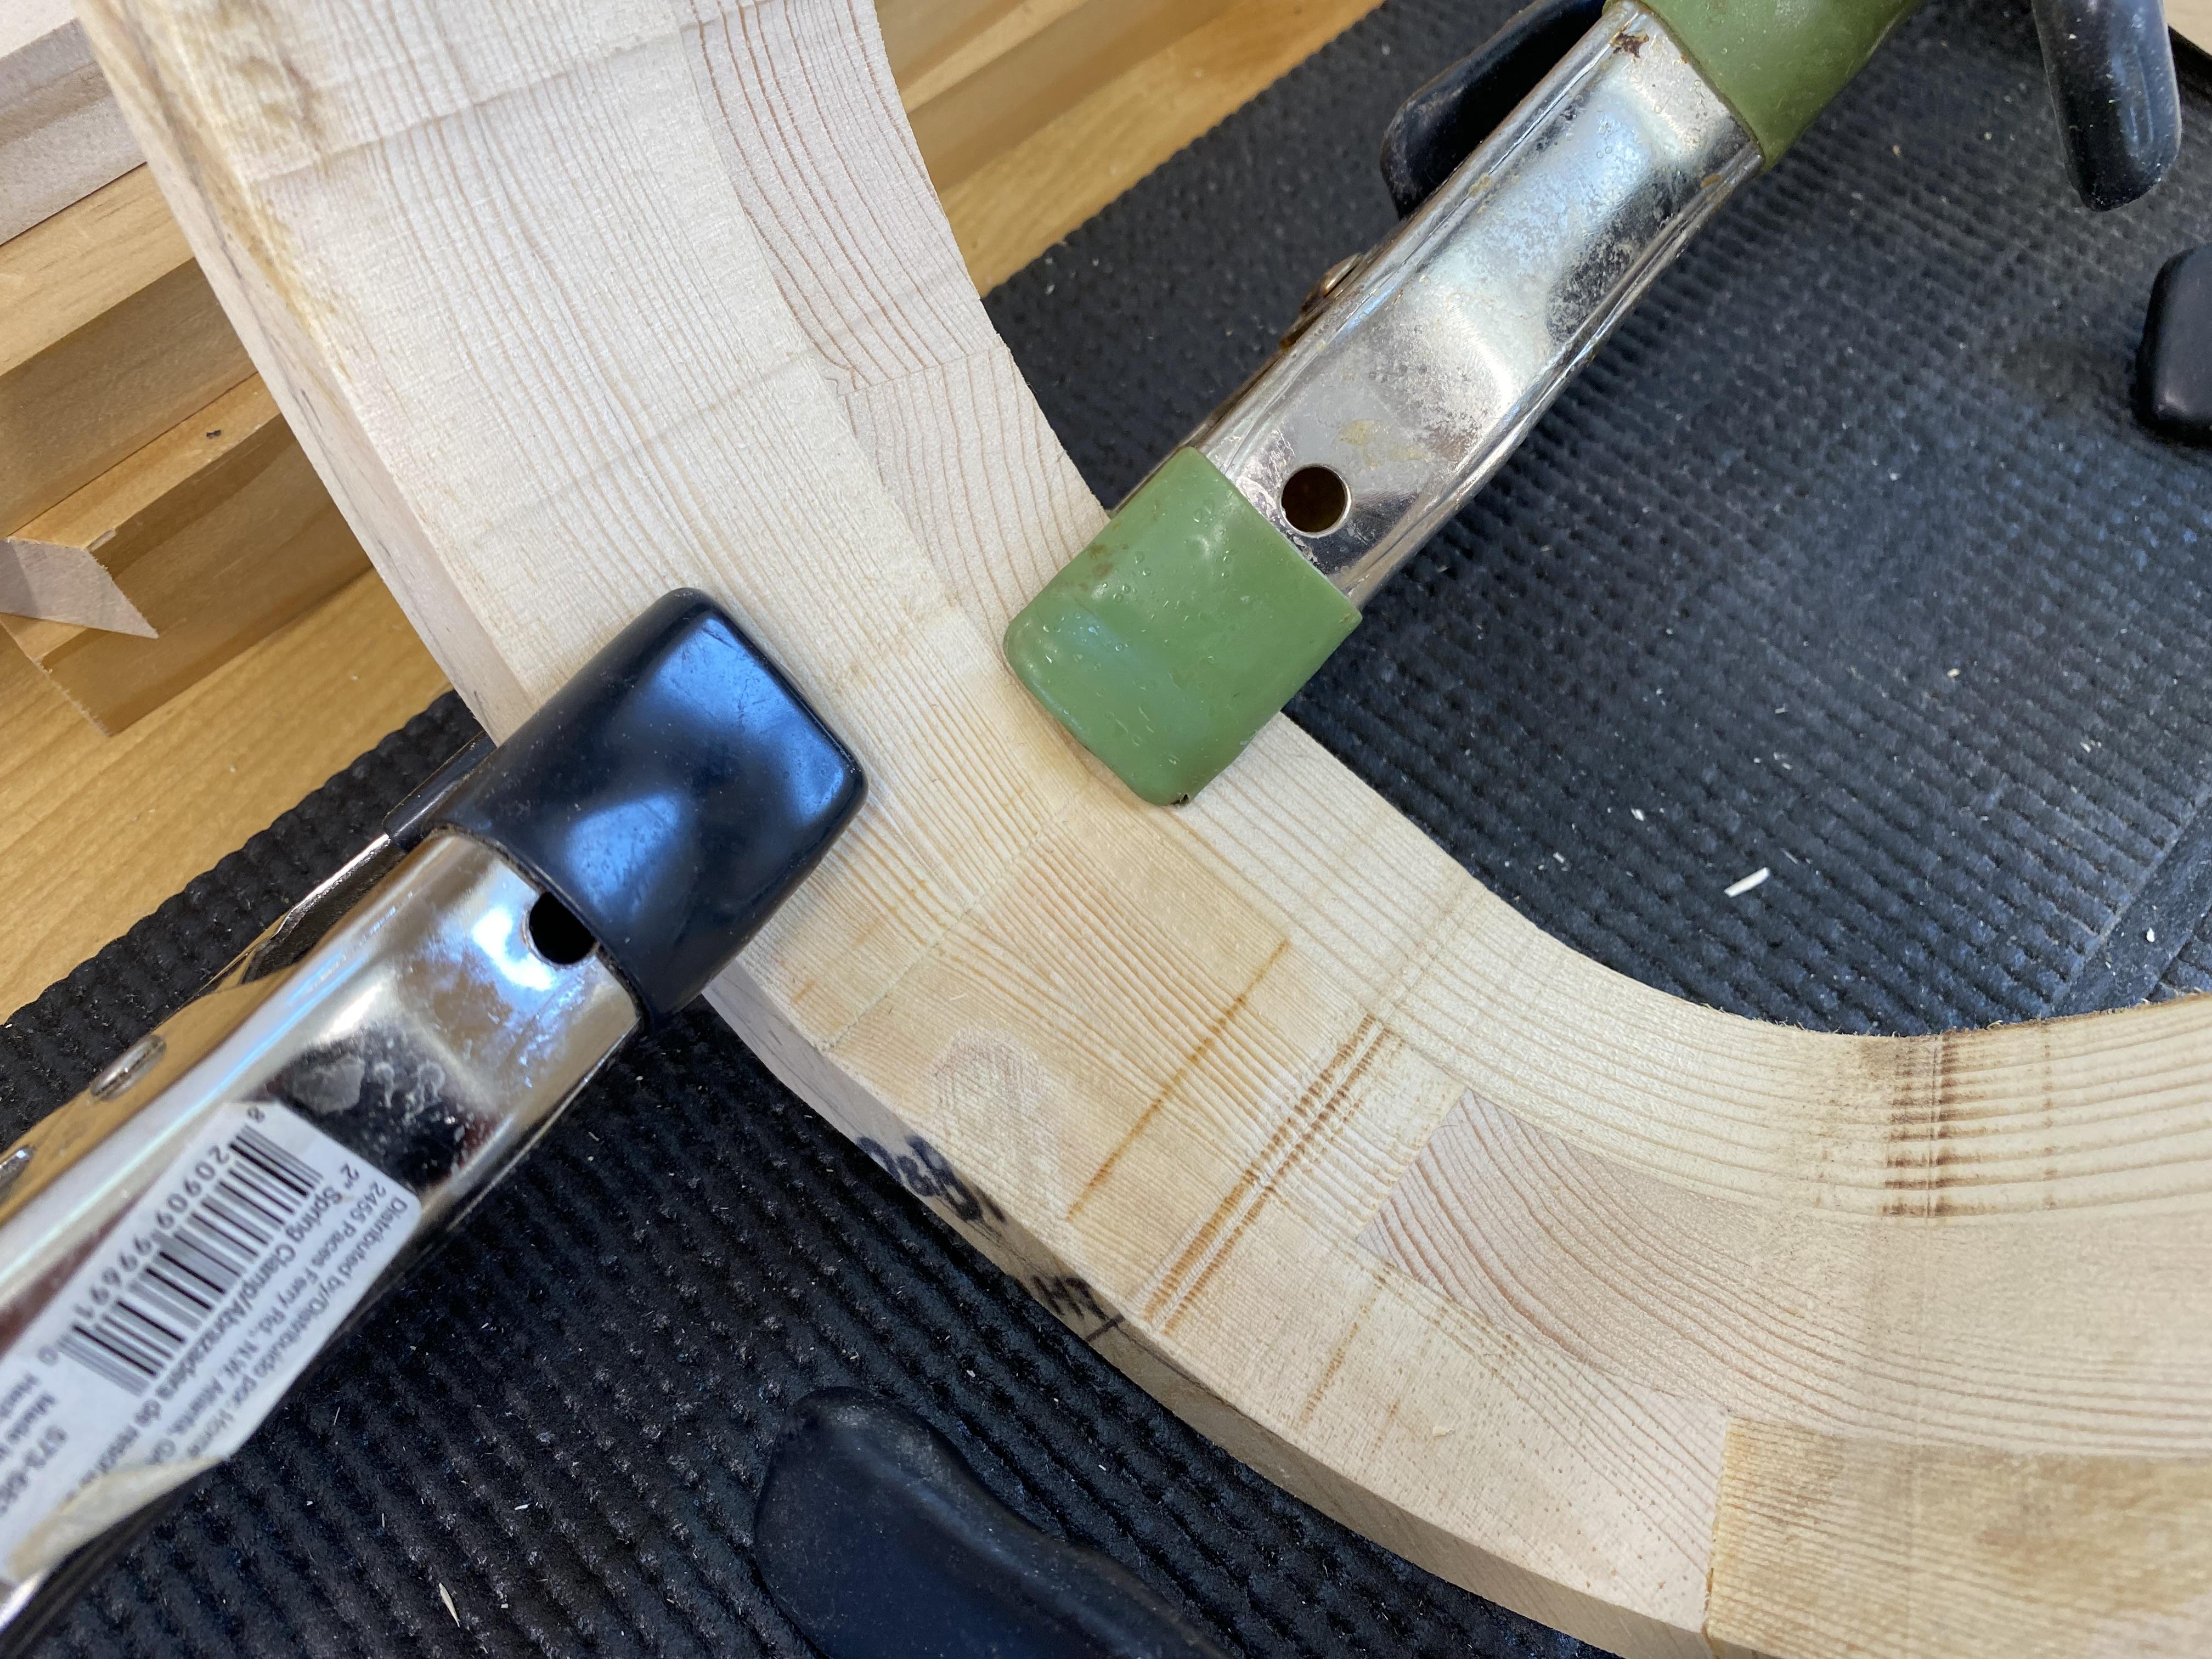
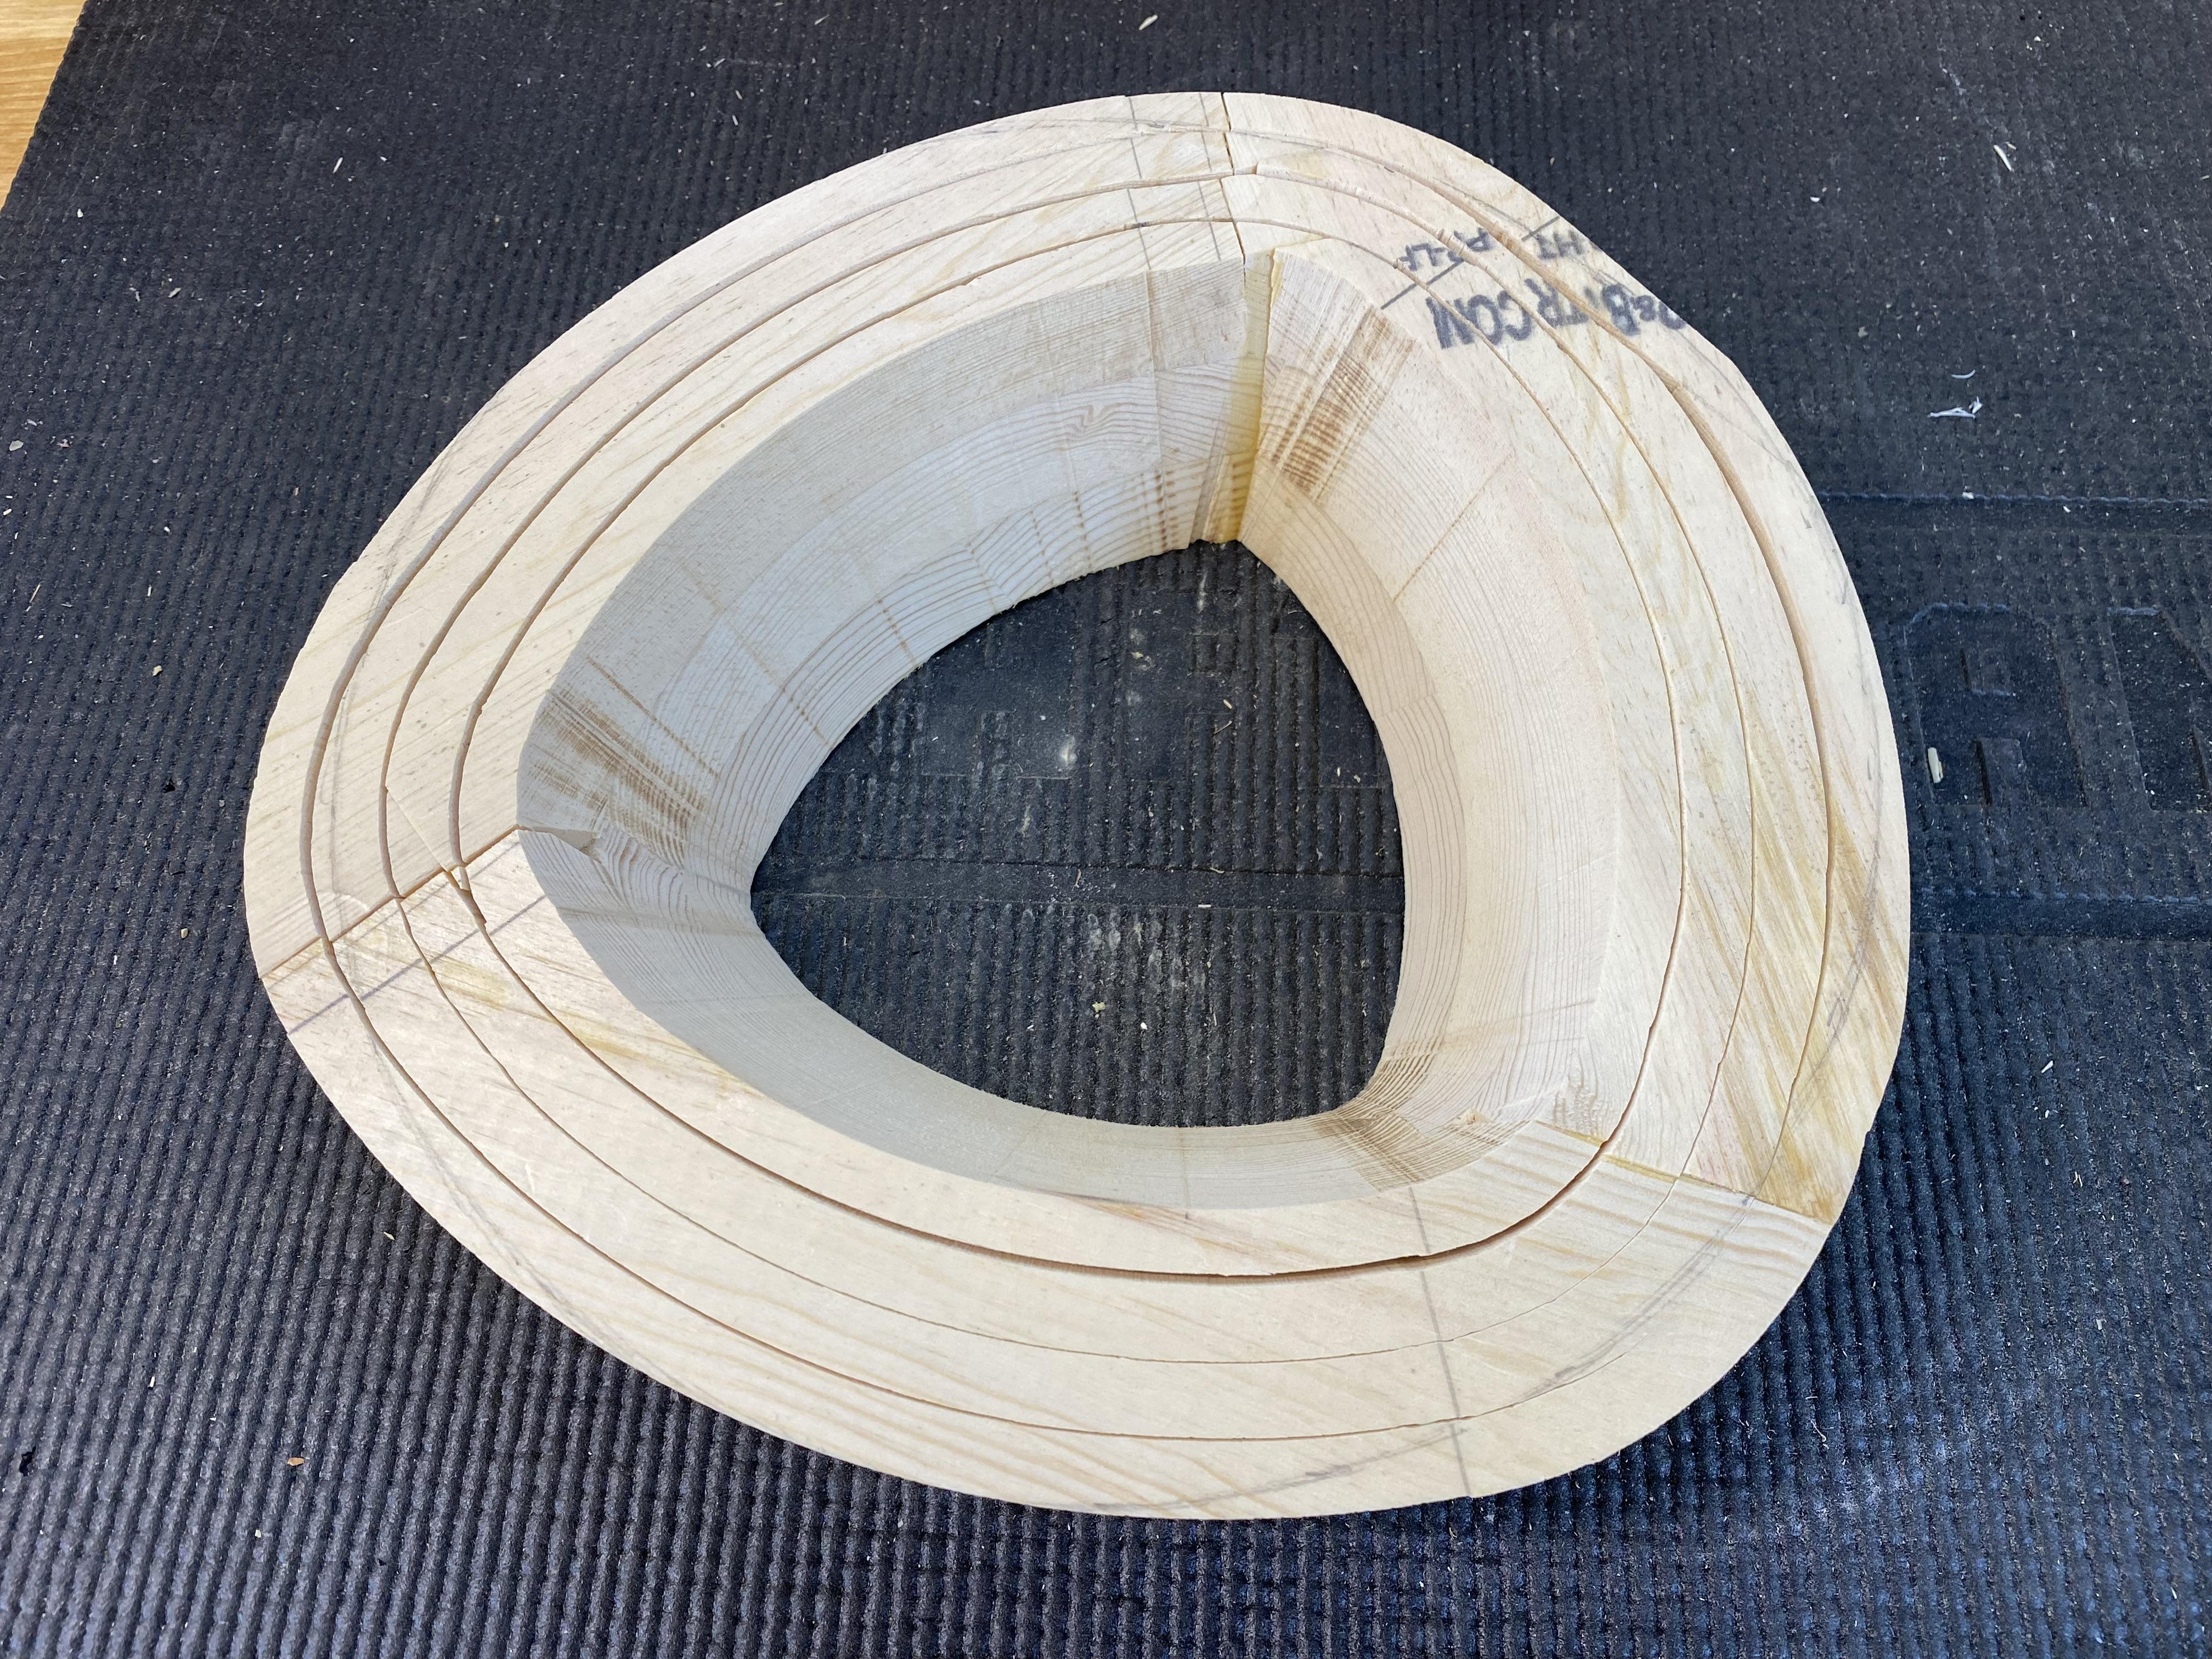
I prepared a different bowl blank that may be easier to make; but not as good looking. It is also a little more difficult to cut the wall-rings cleanly as the bandsaw blade tends to follow the long-grain. Pictures only!
Finish the Trircle Bowls
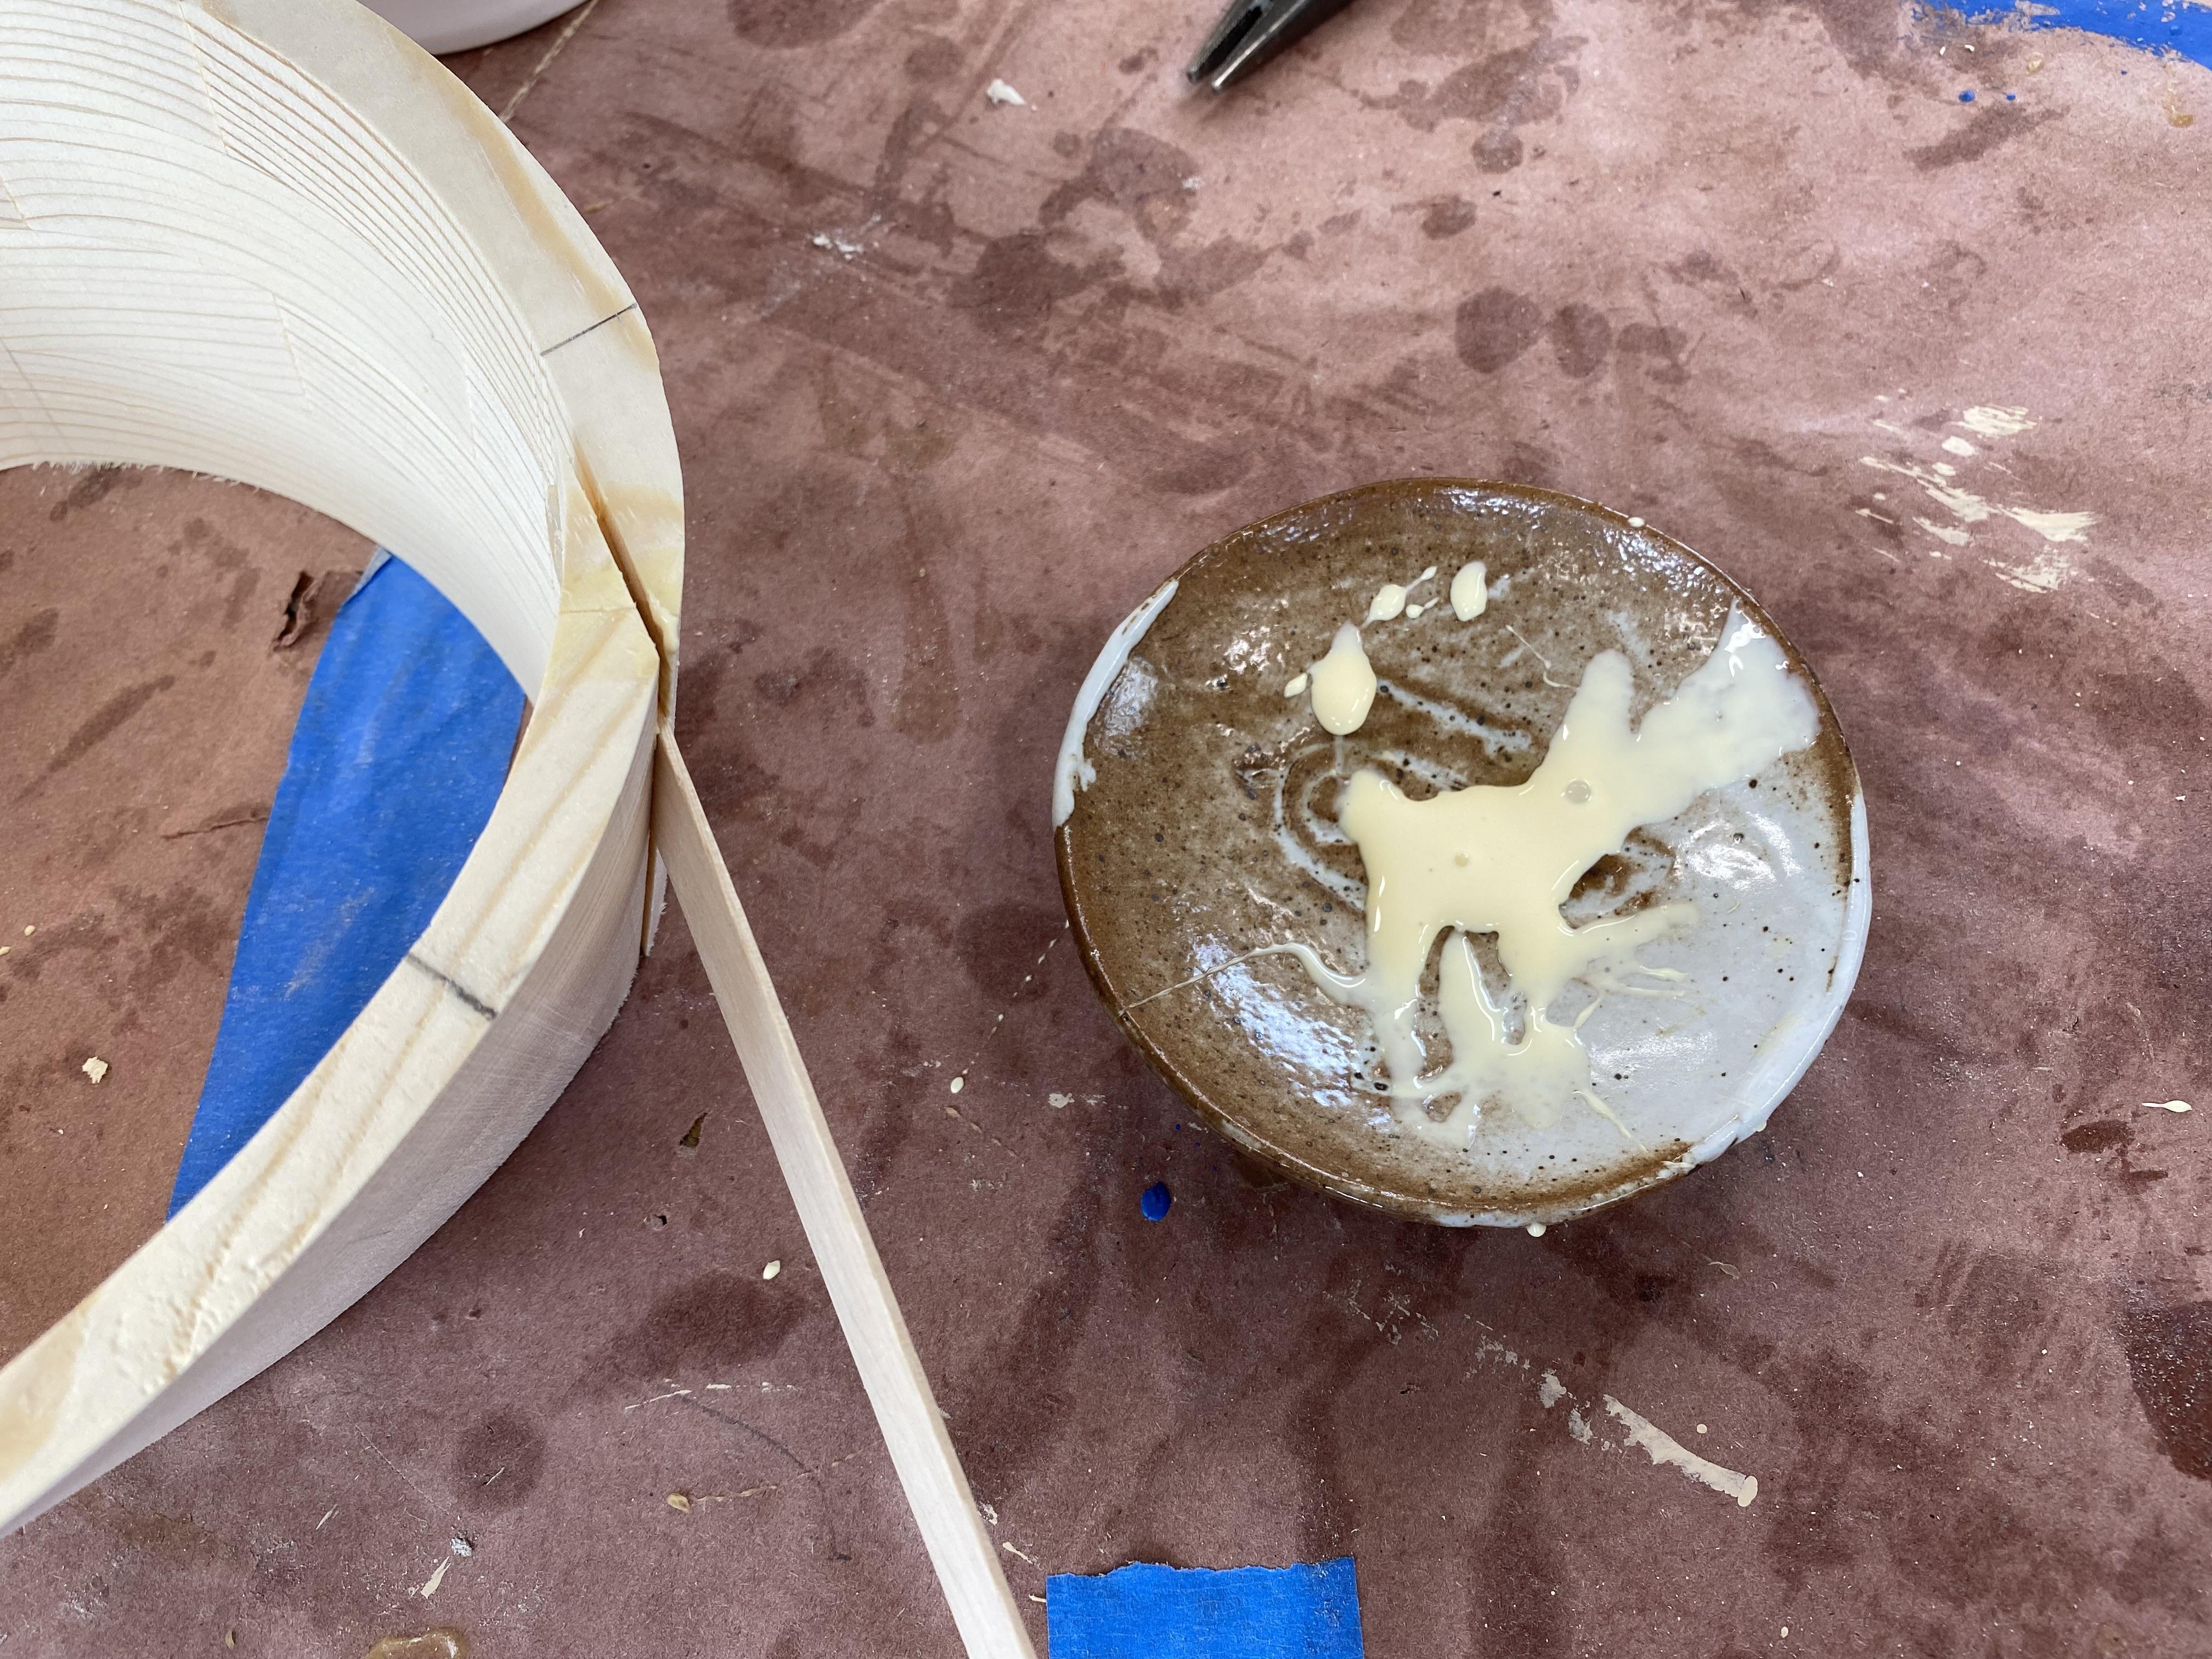
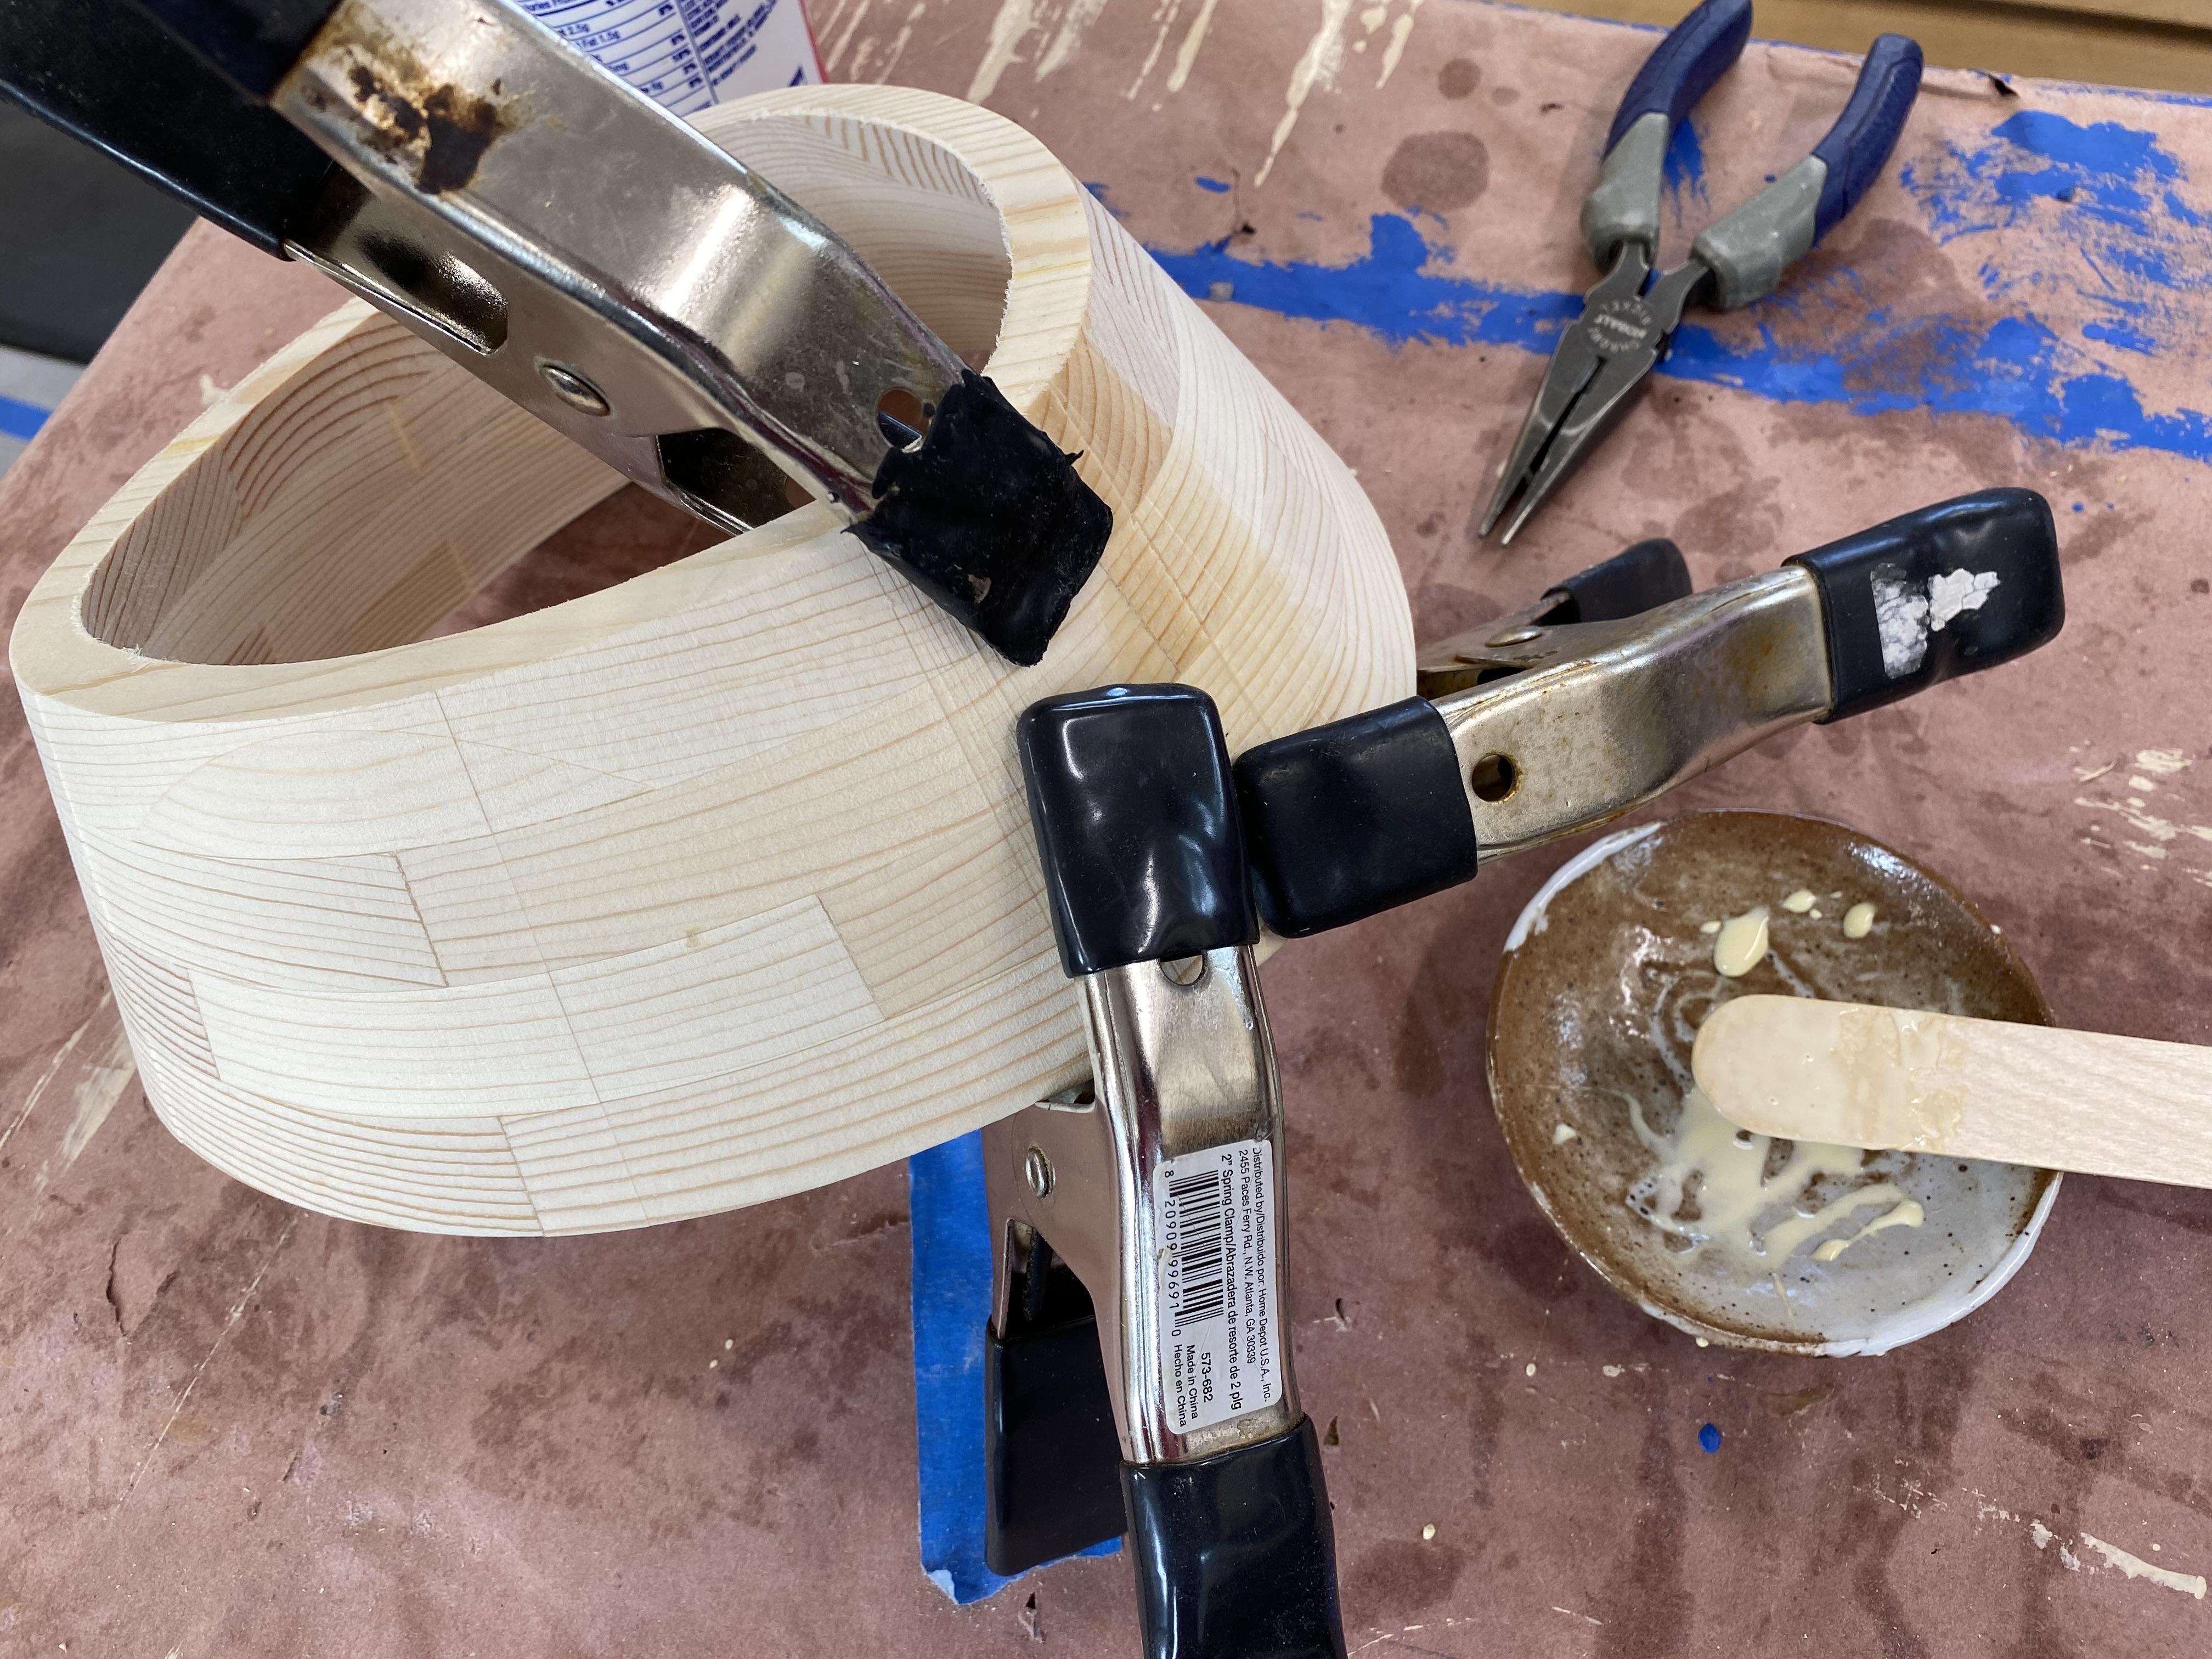
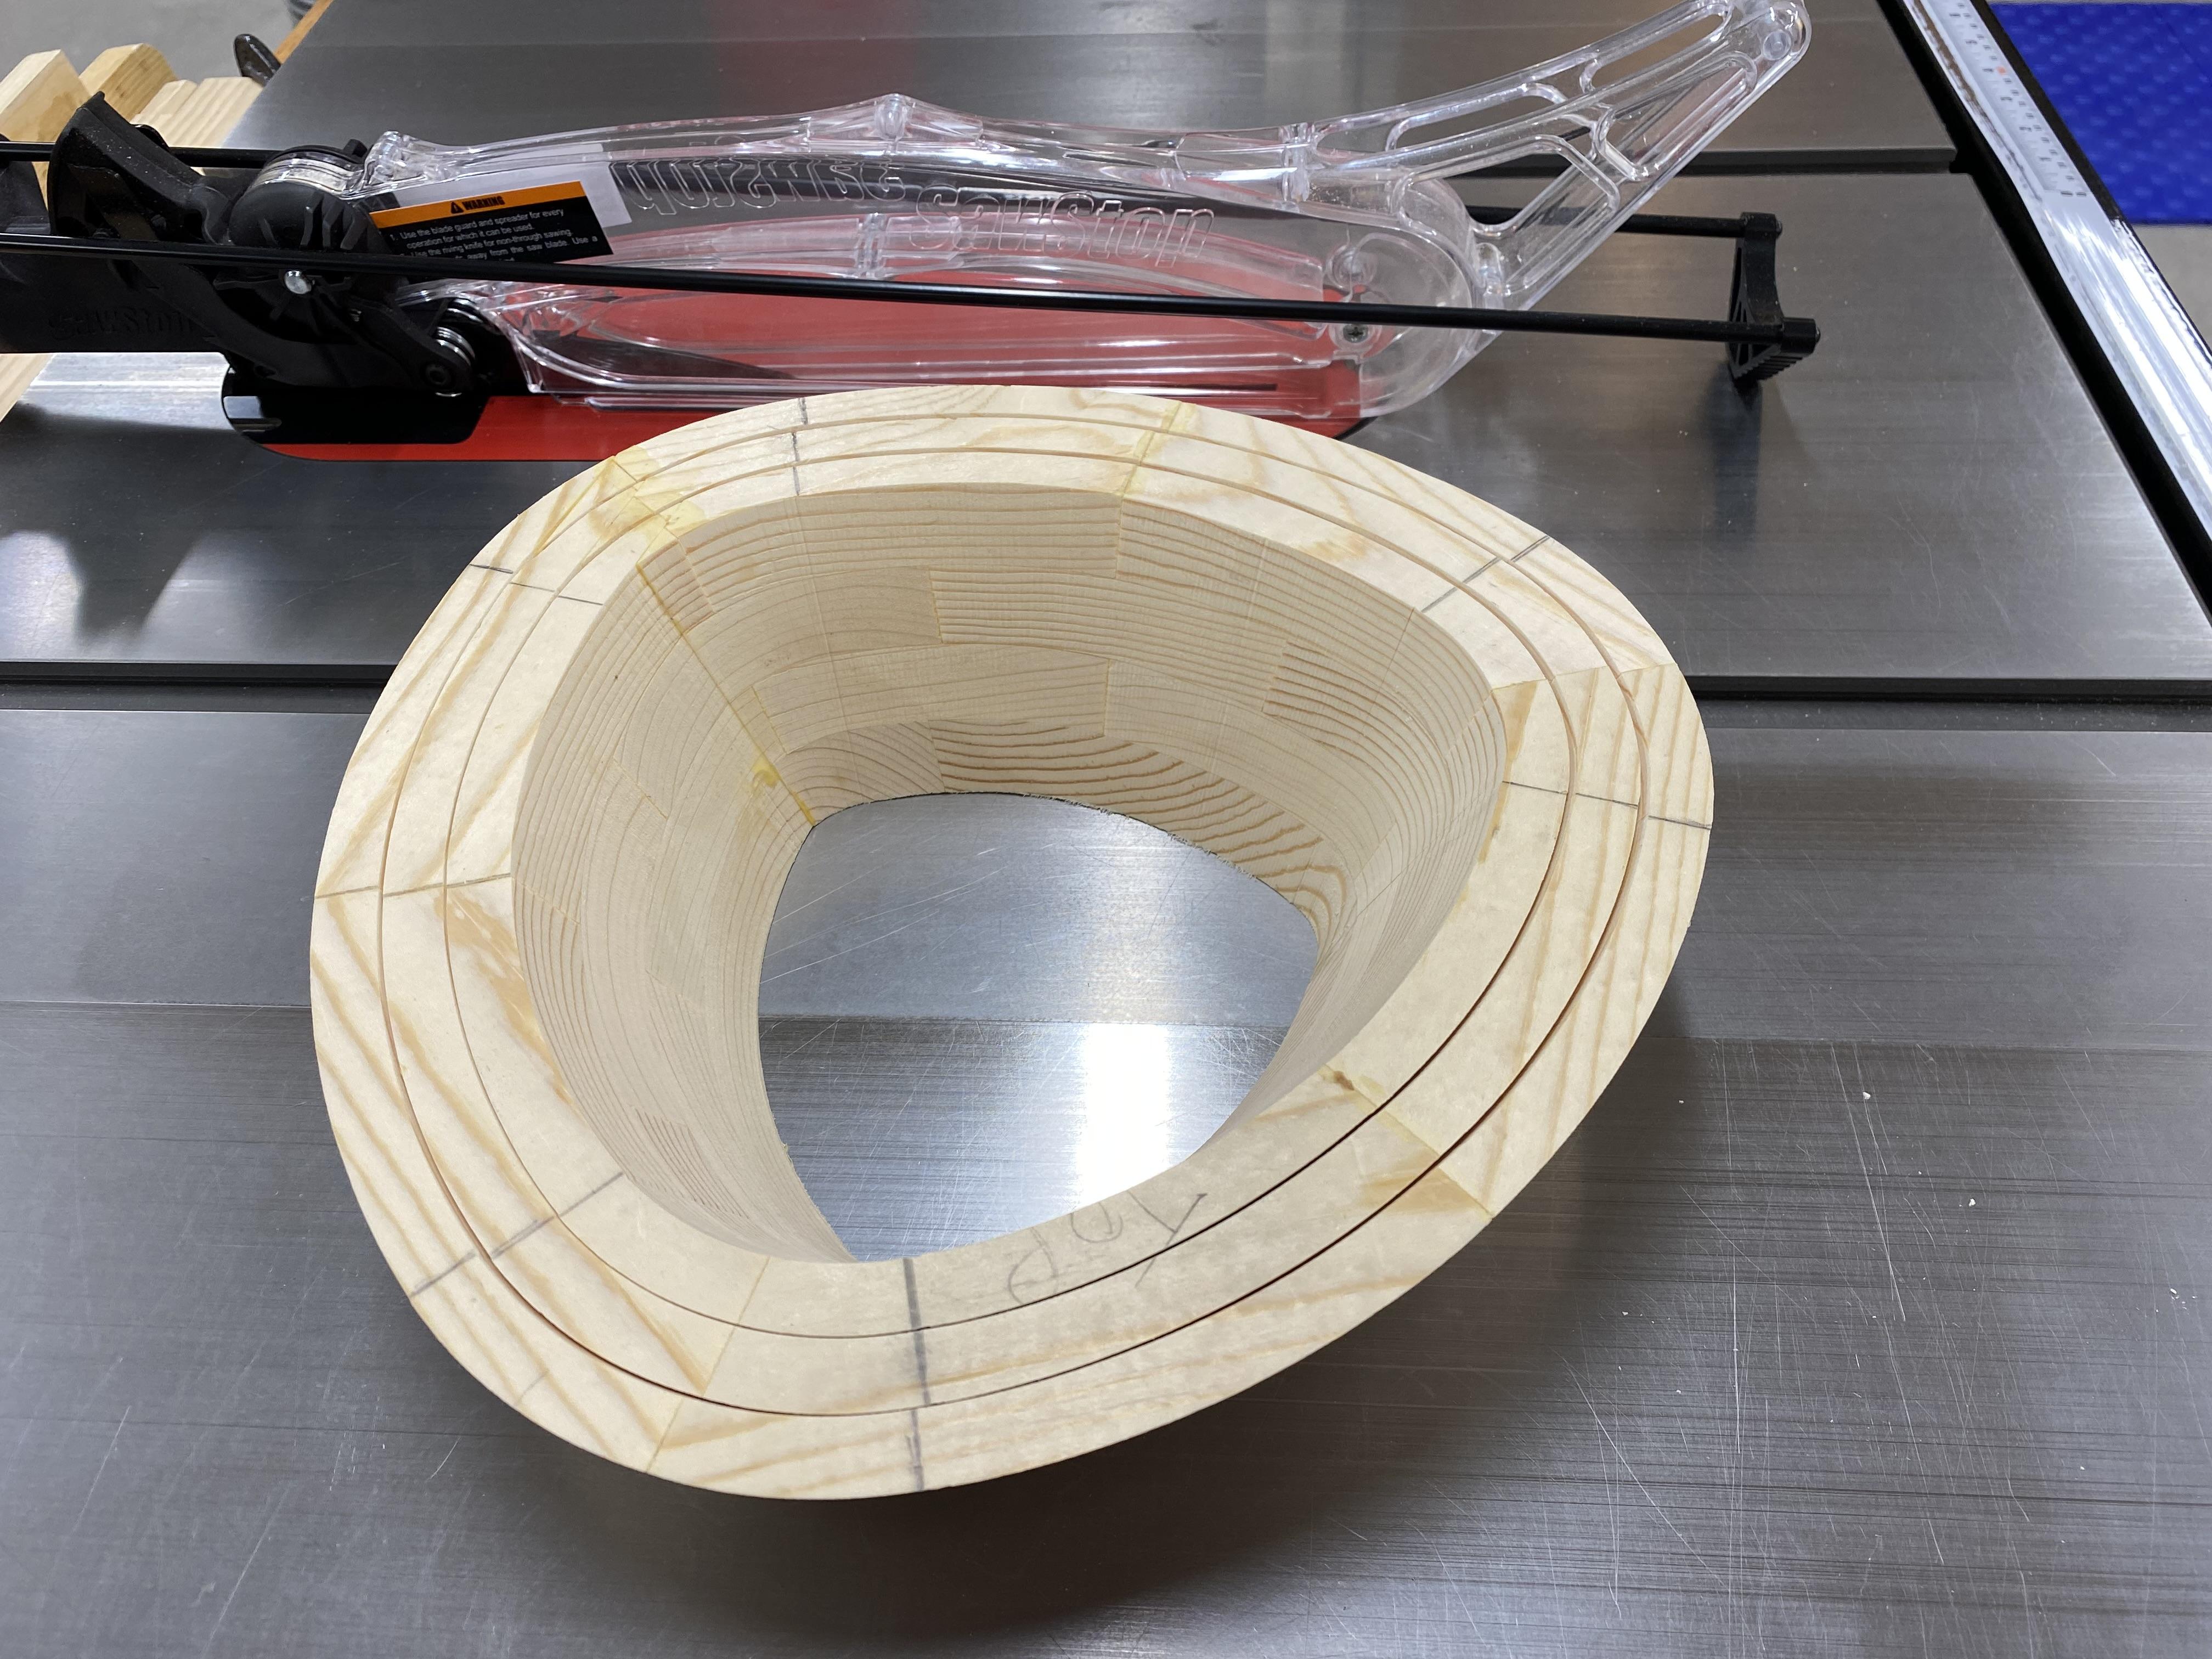
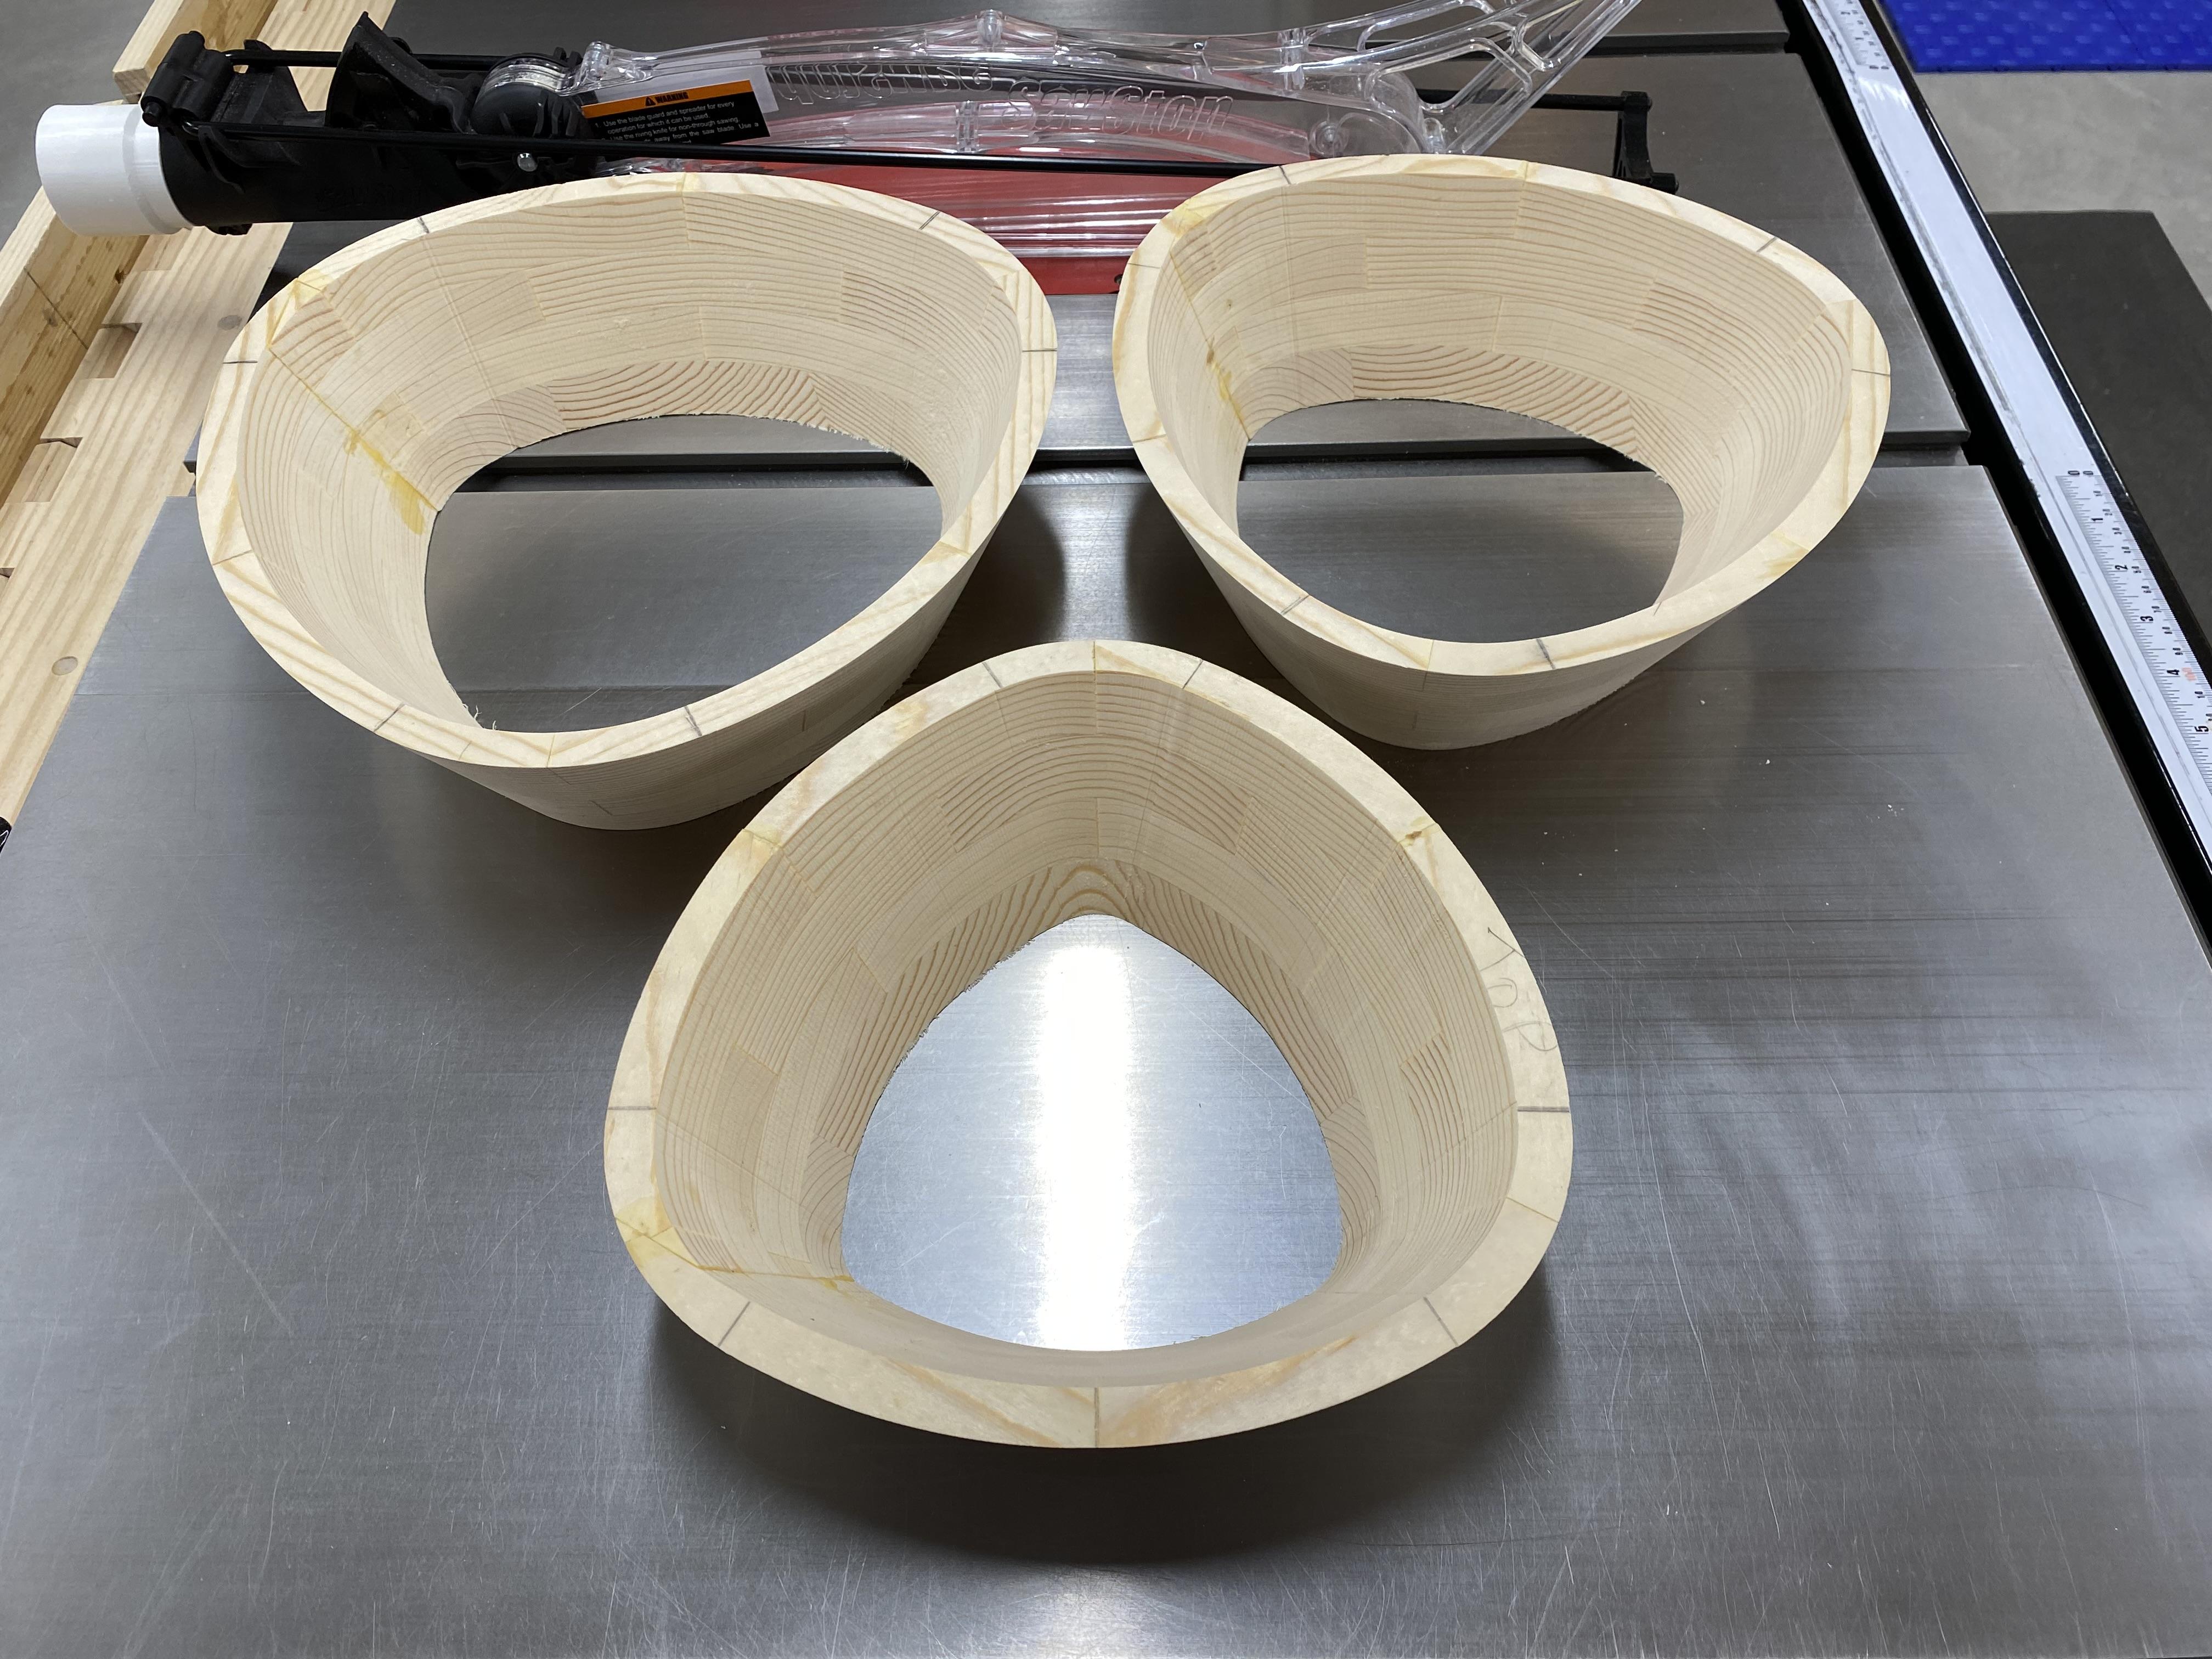
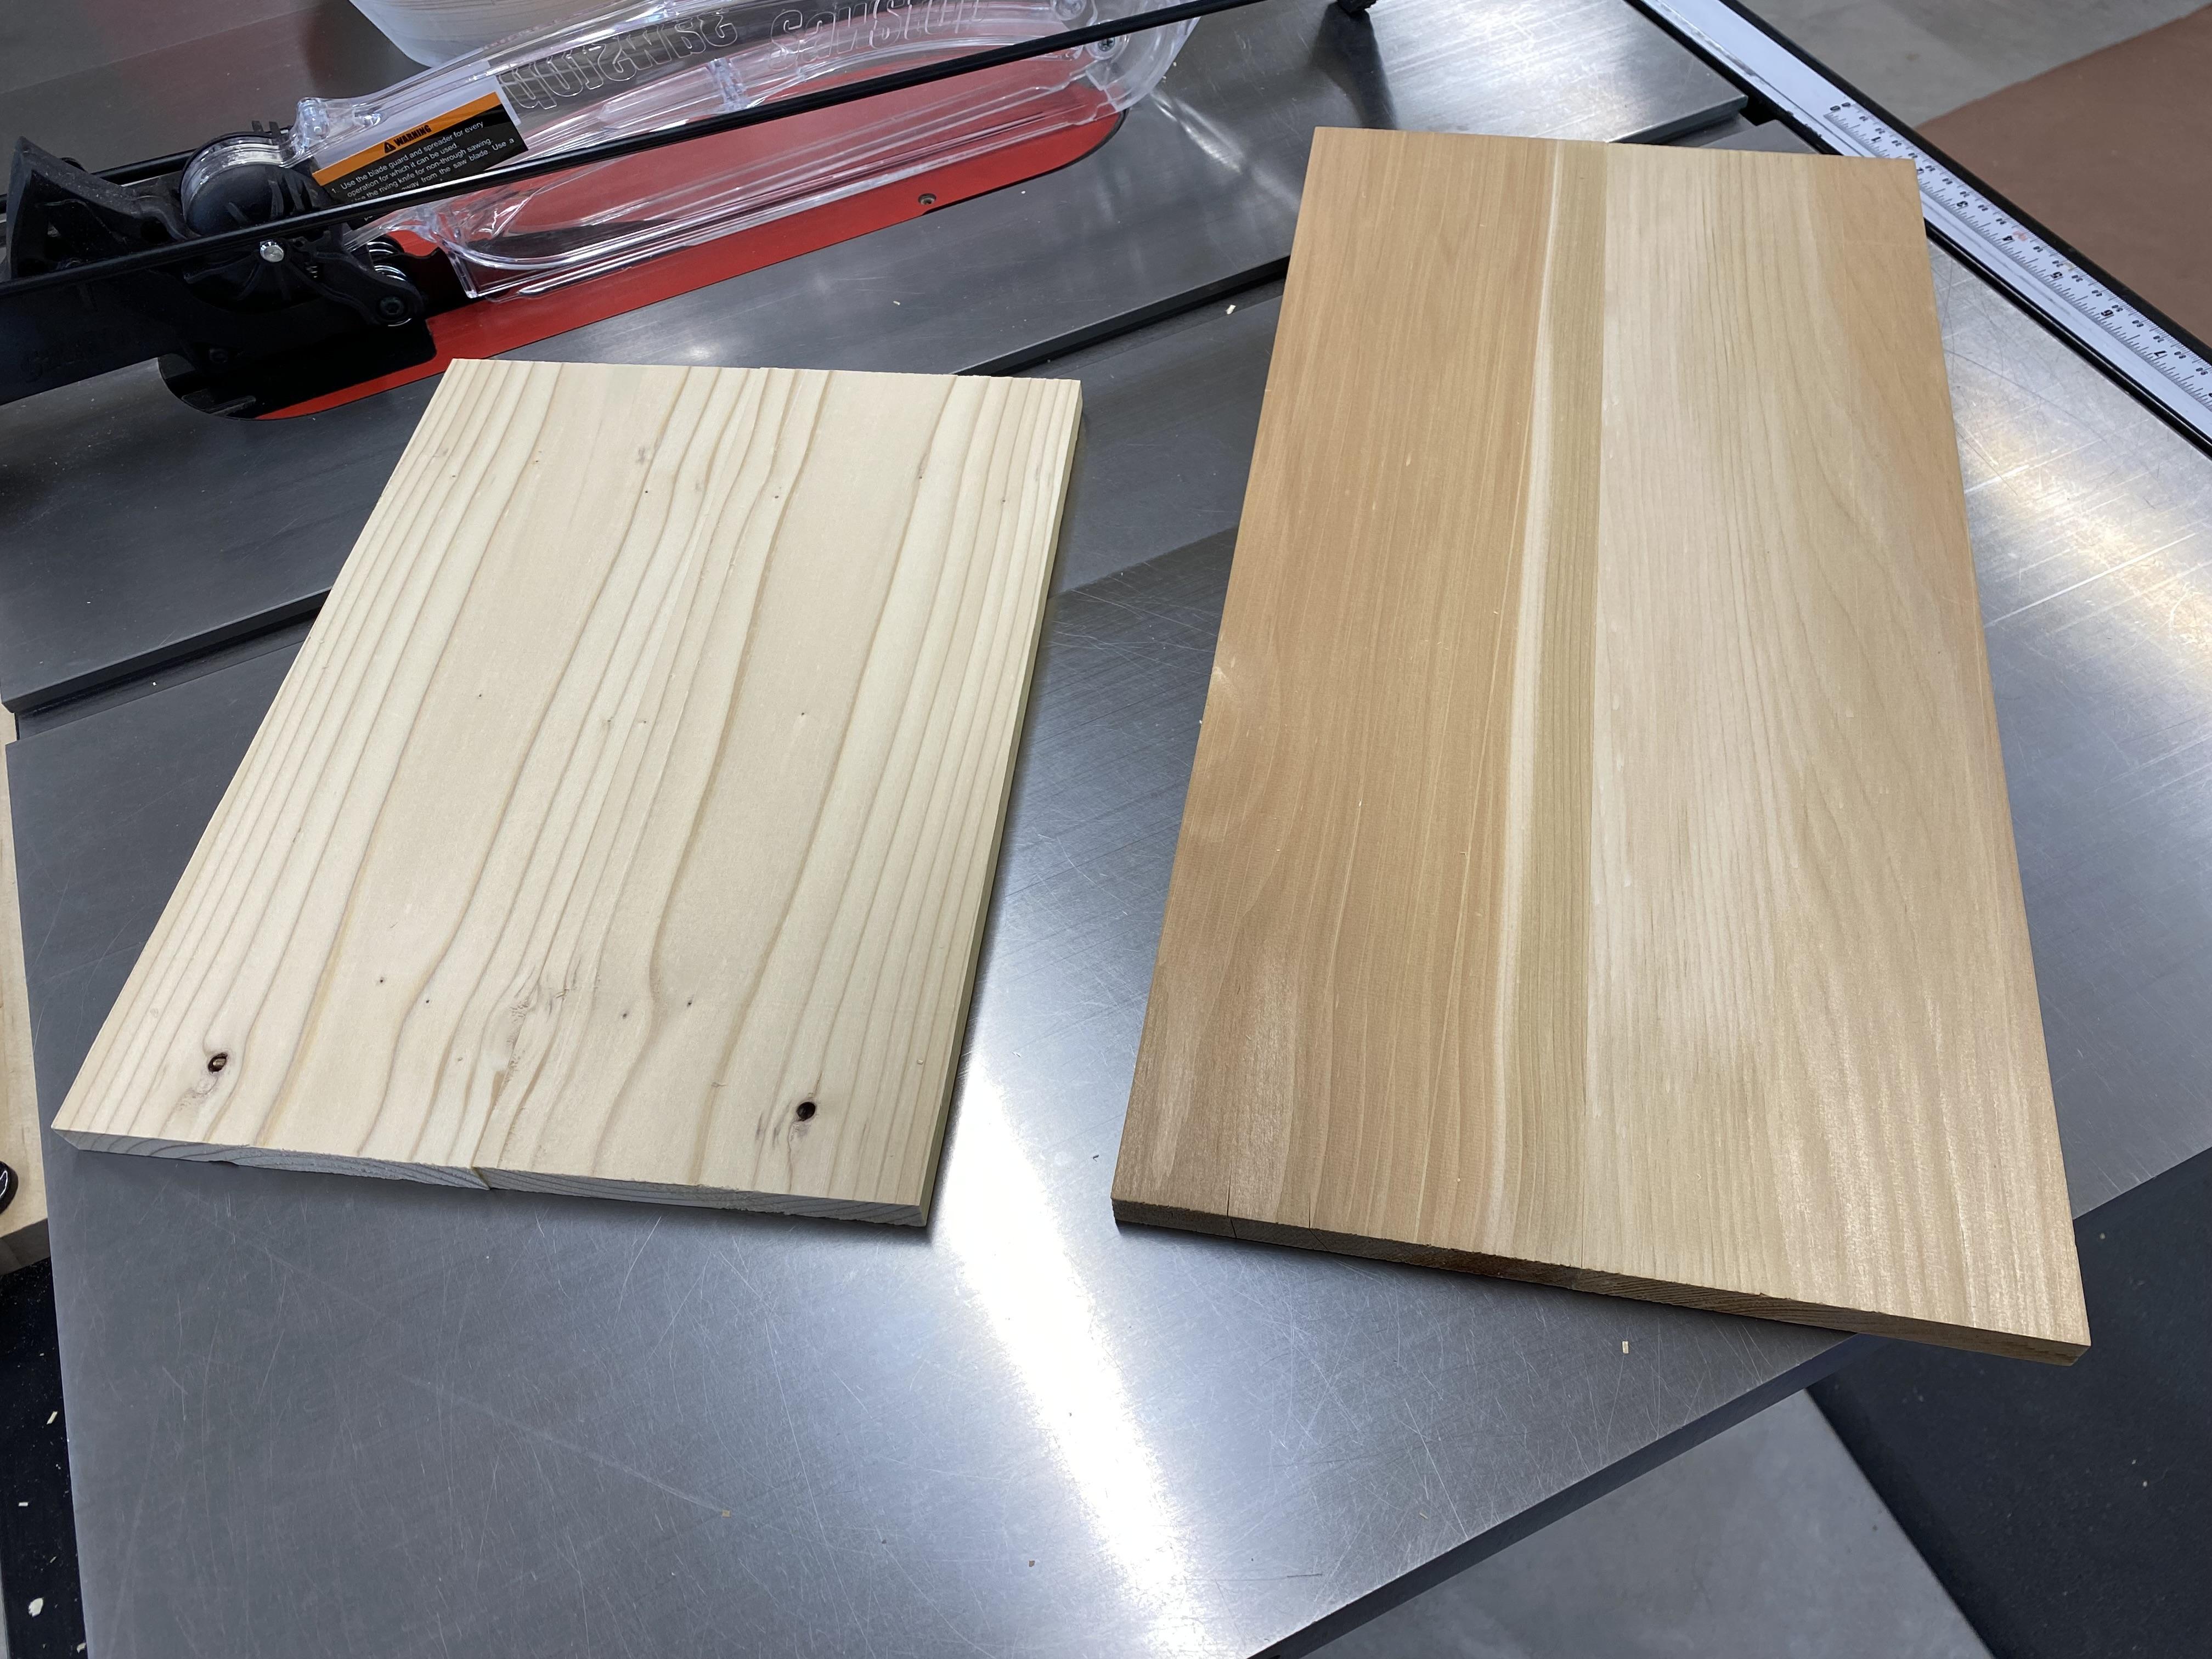
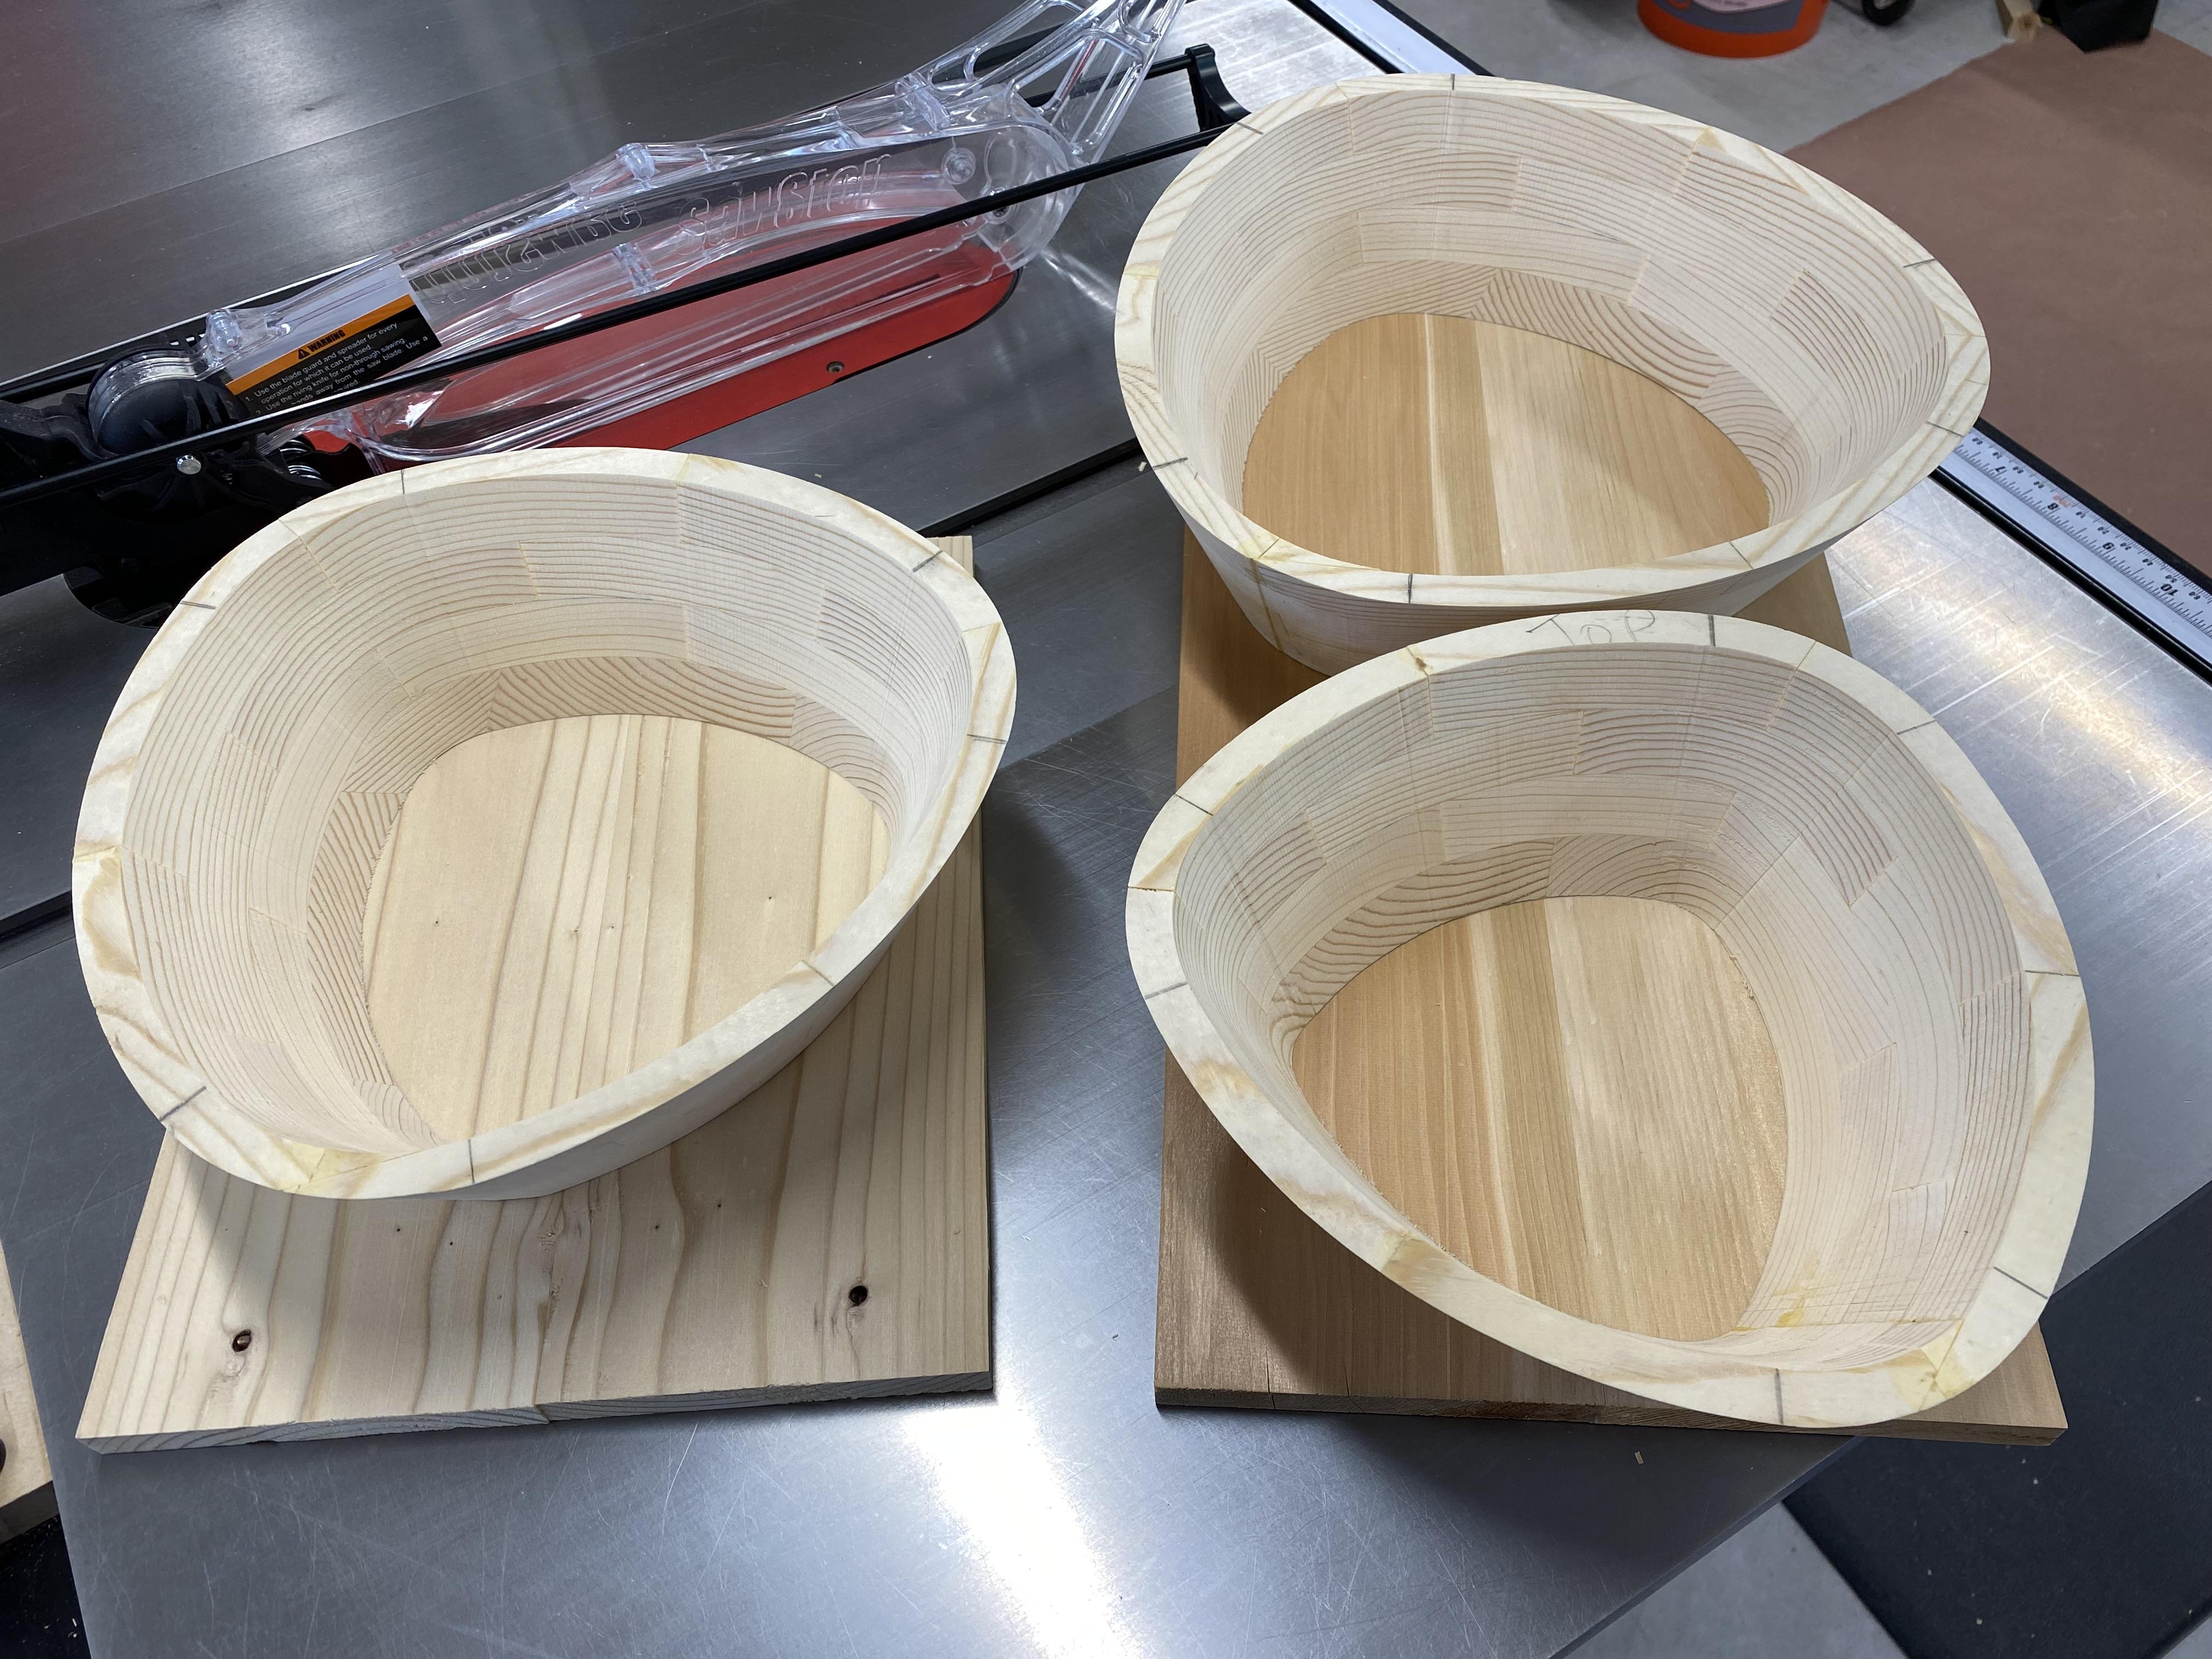
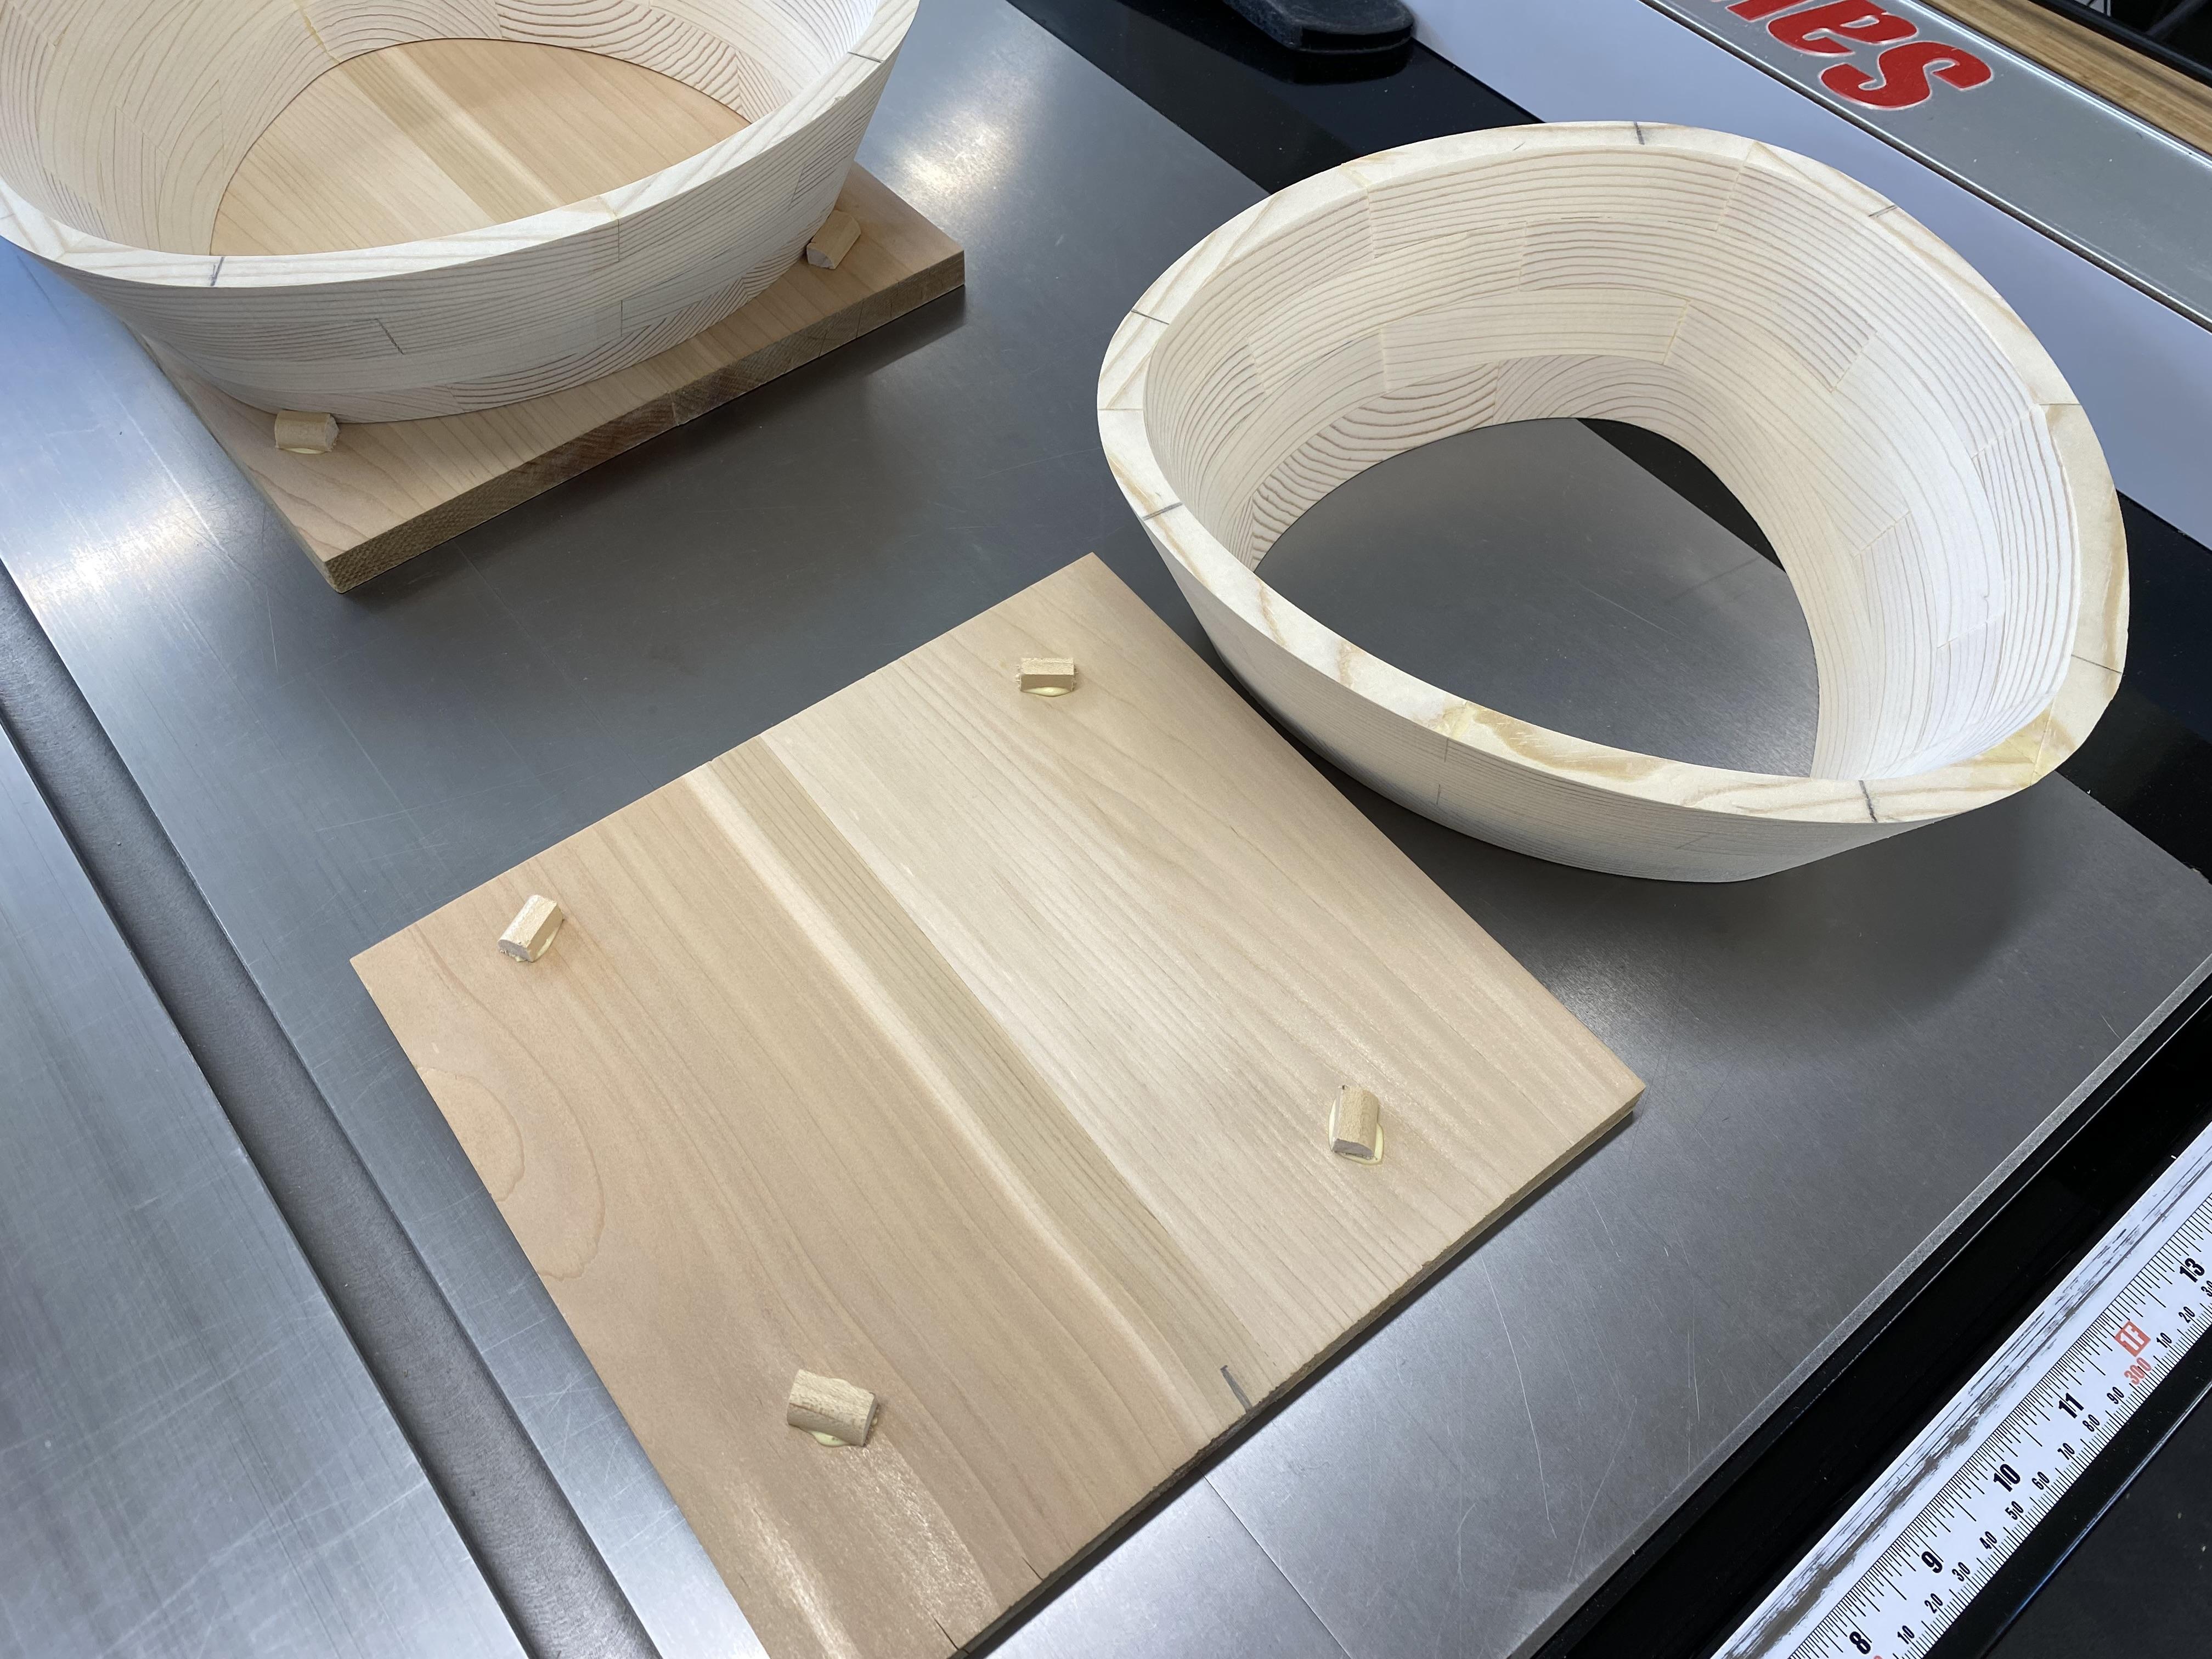
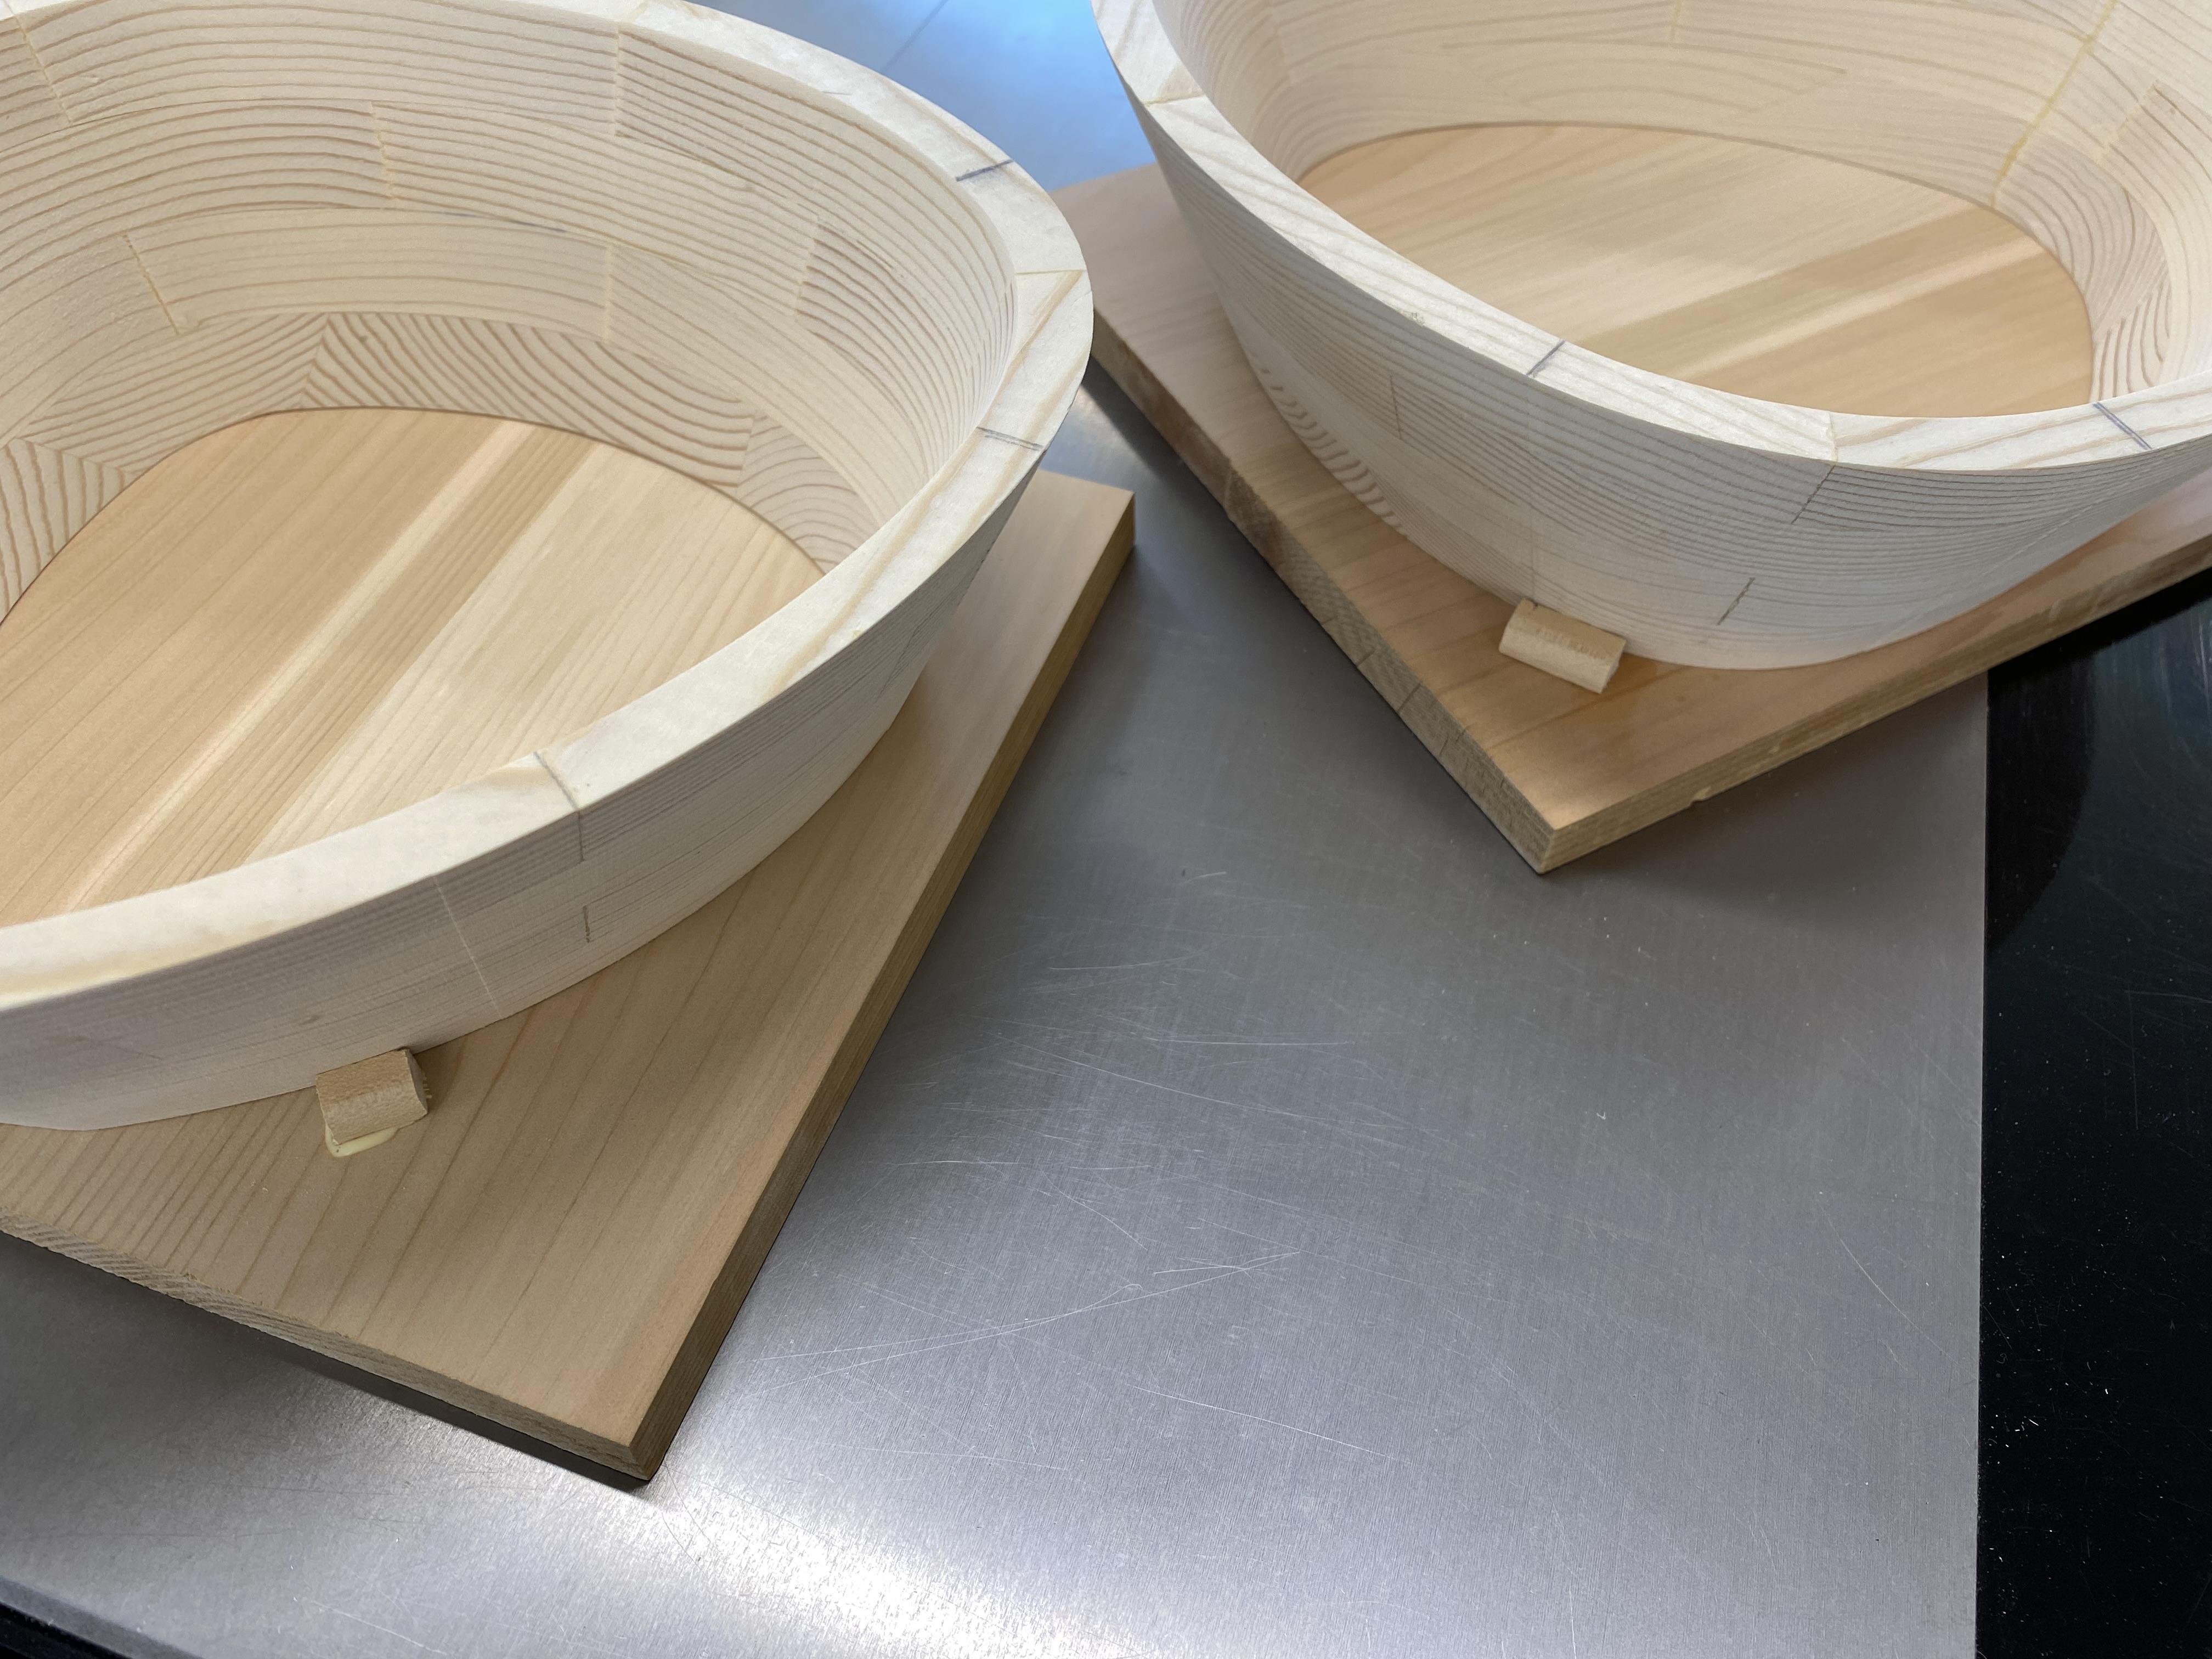
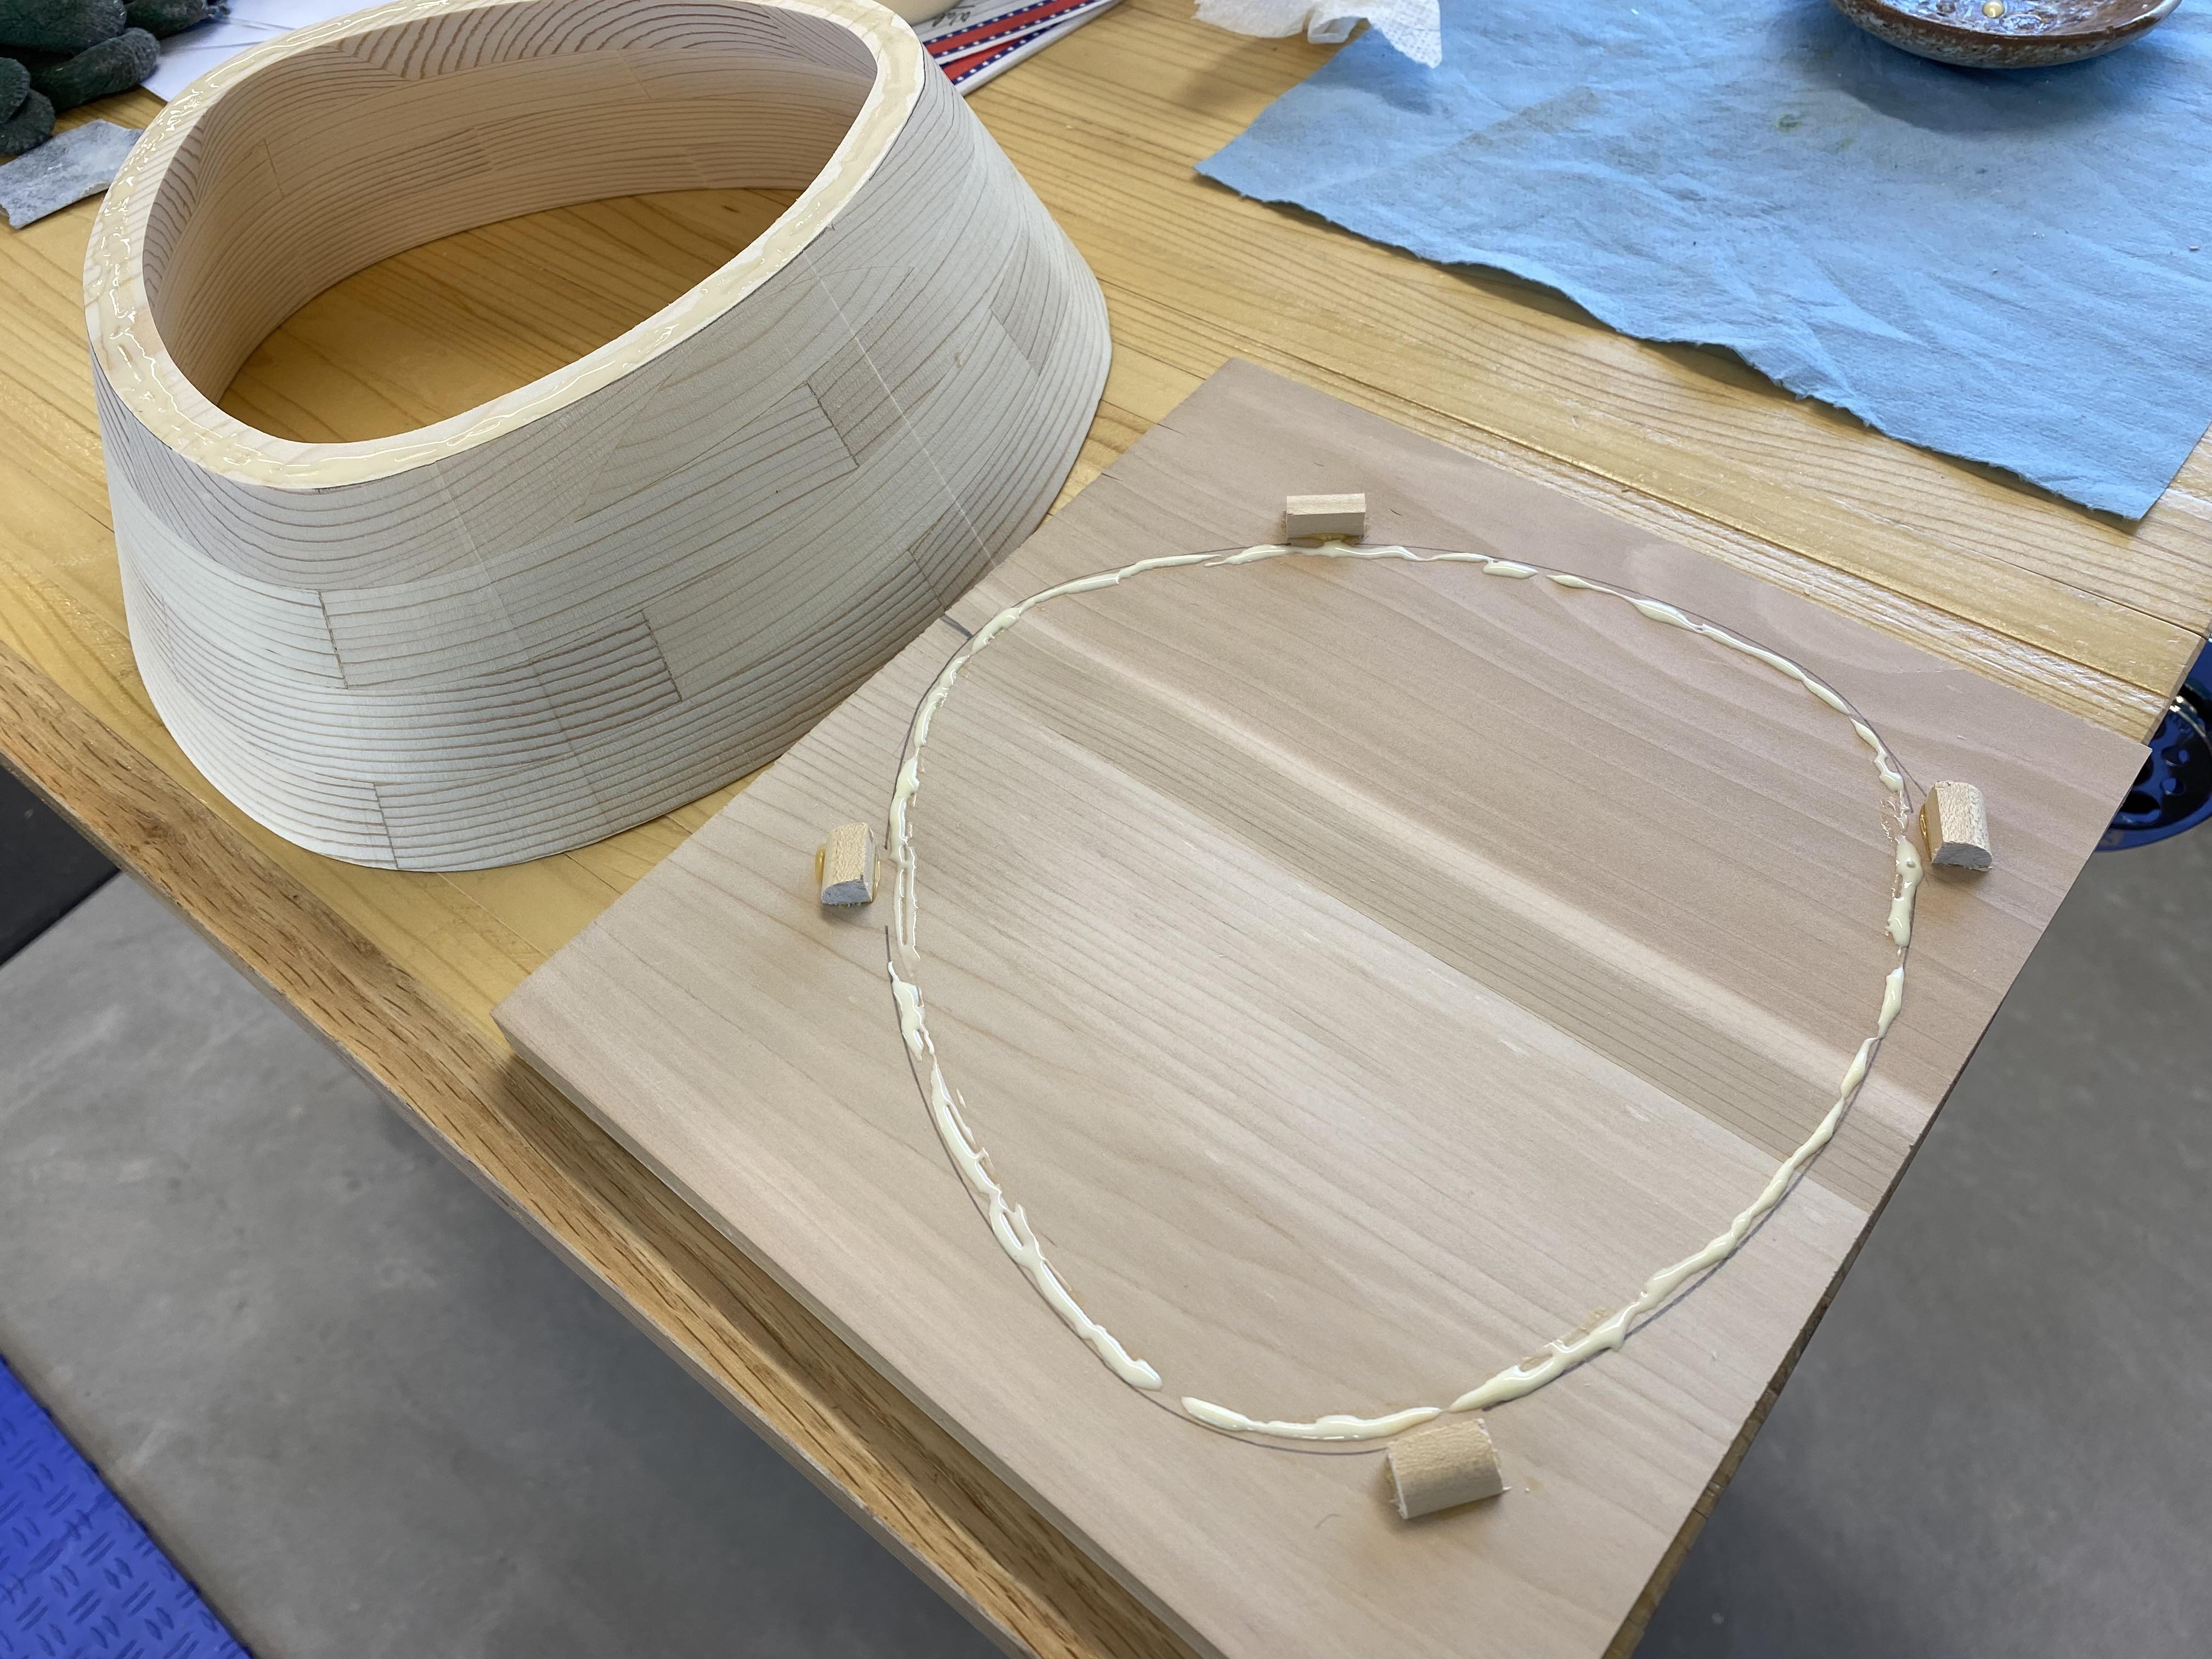
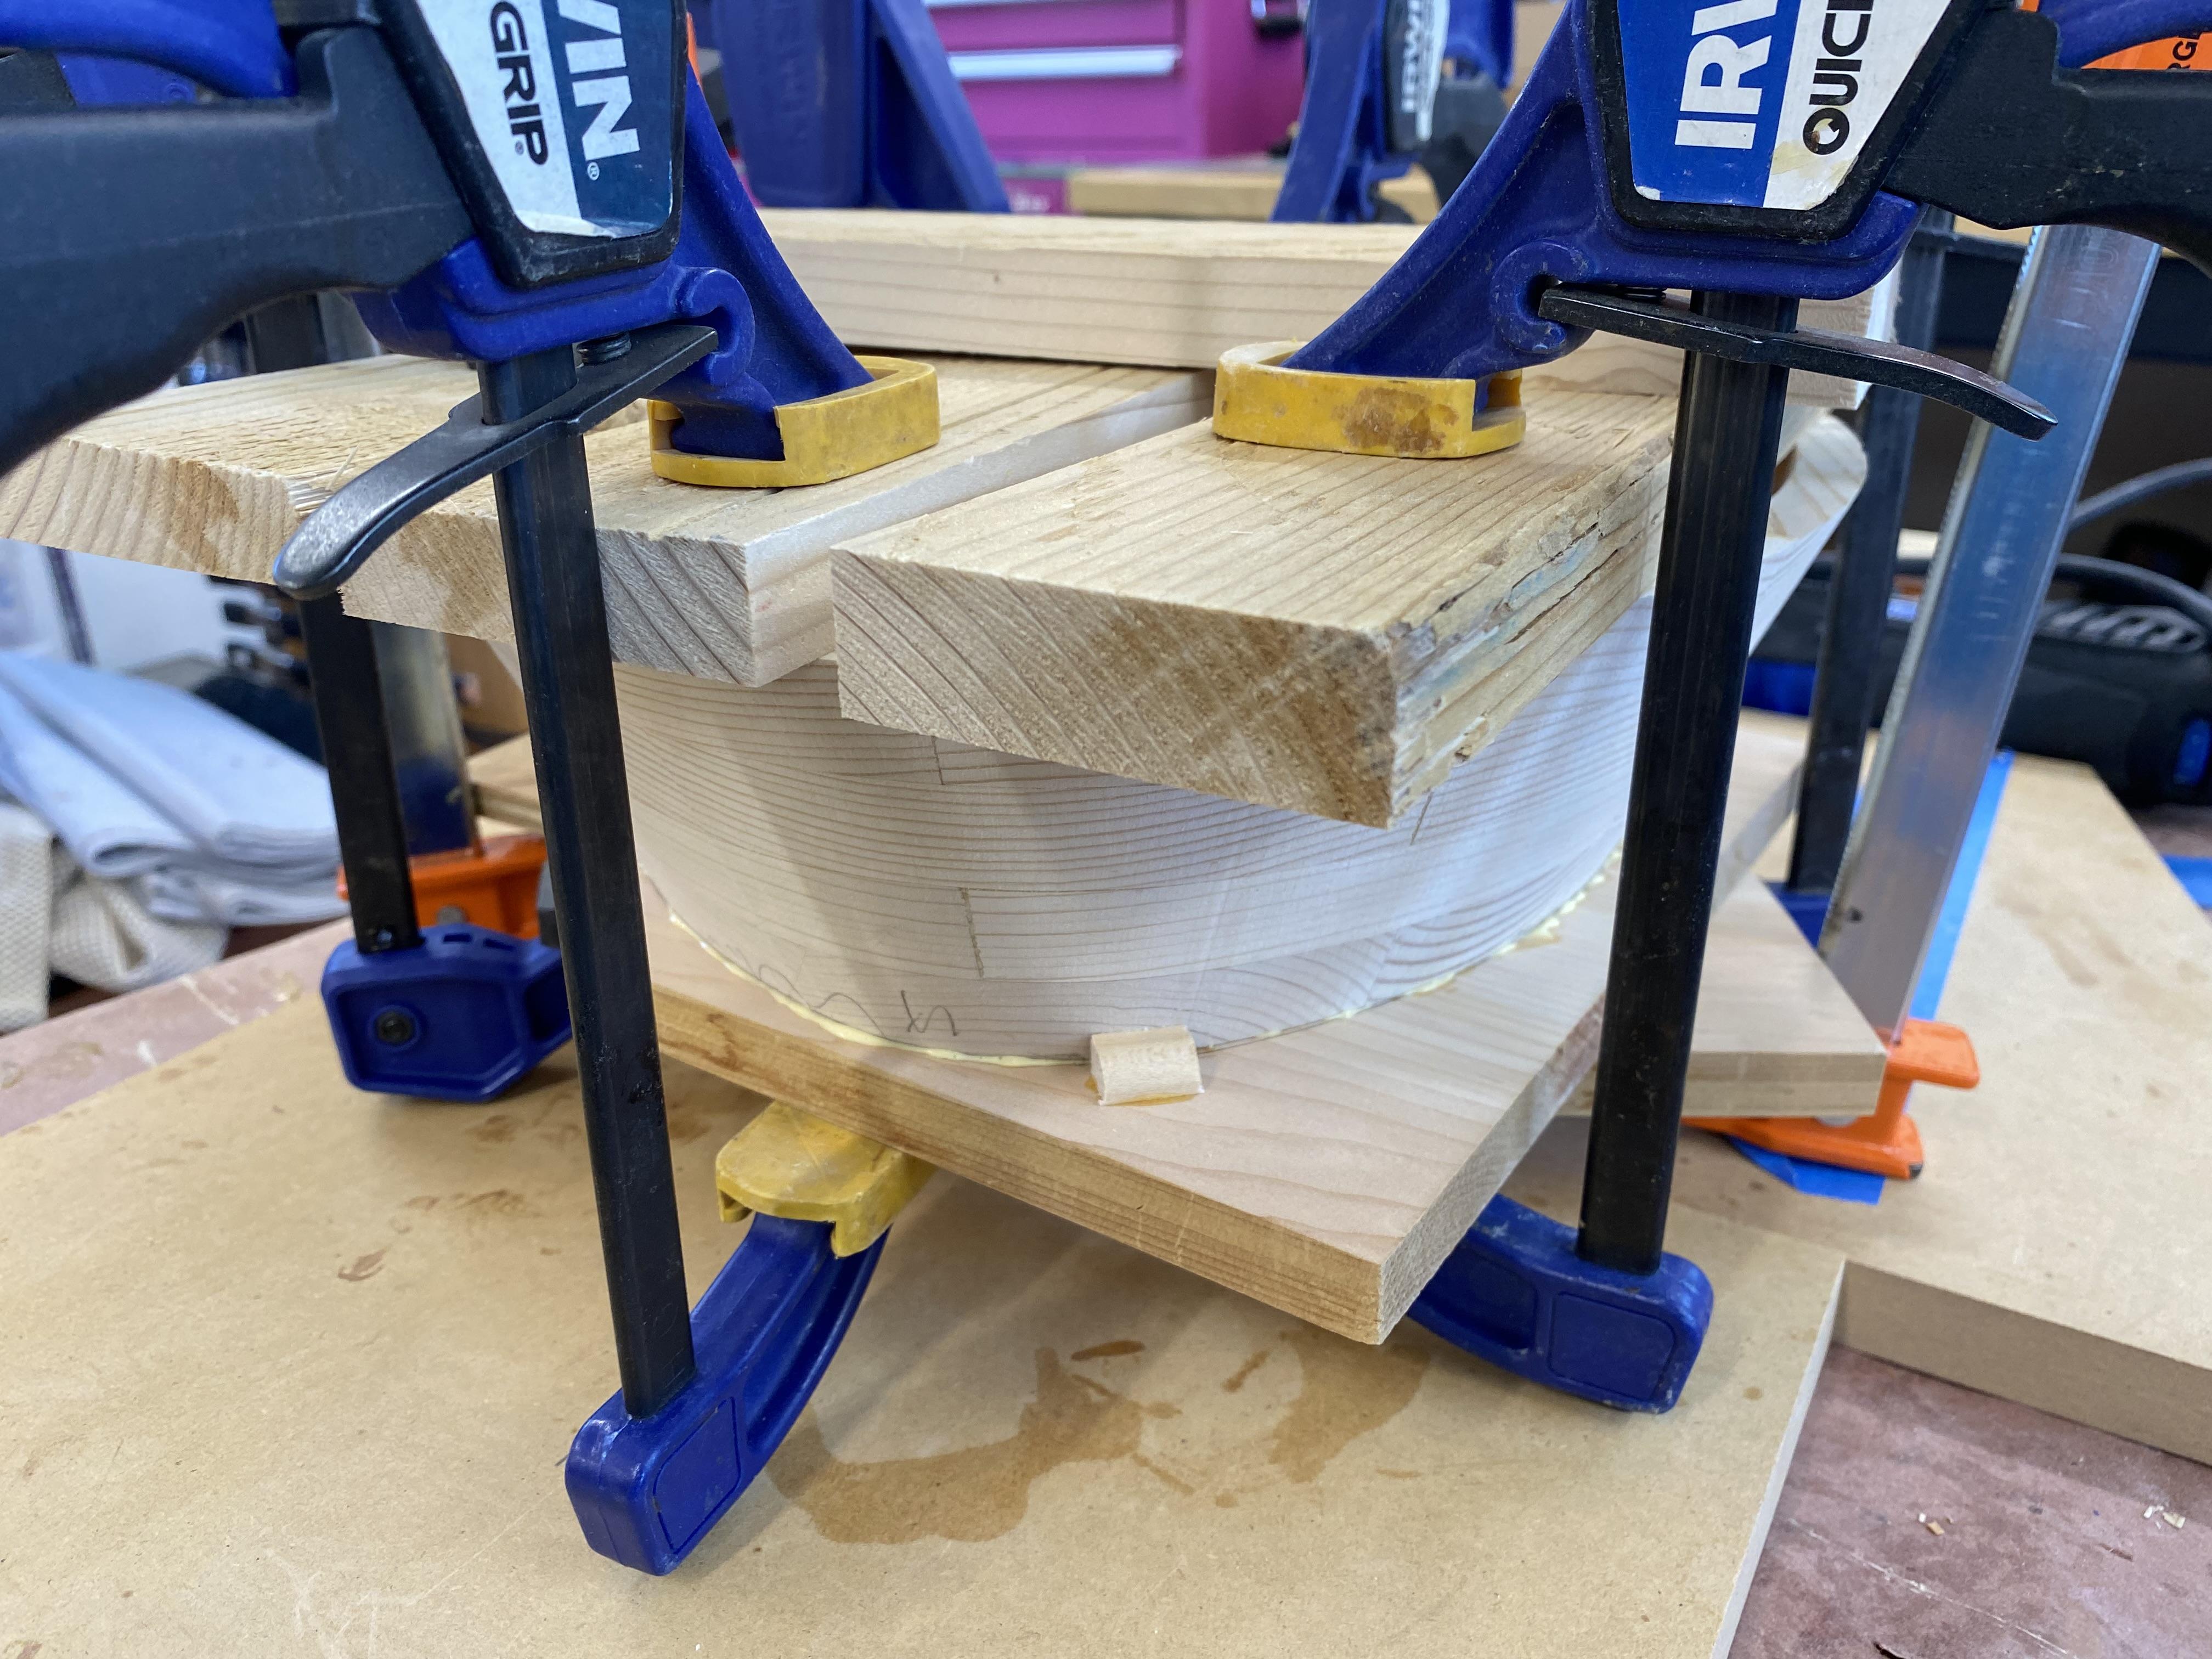
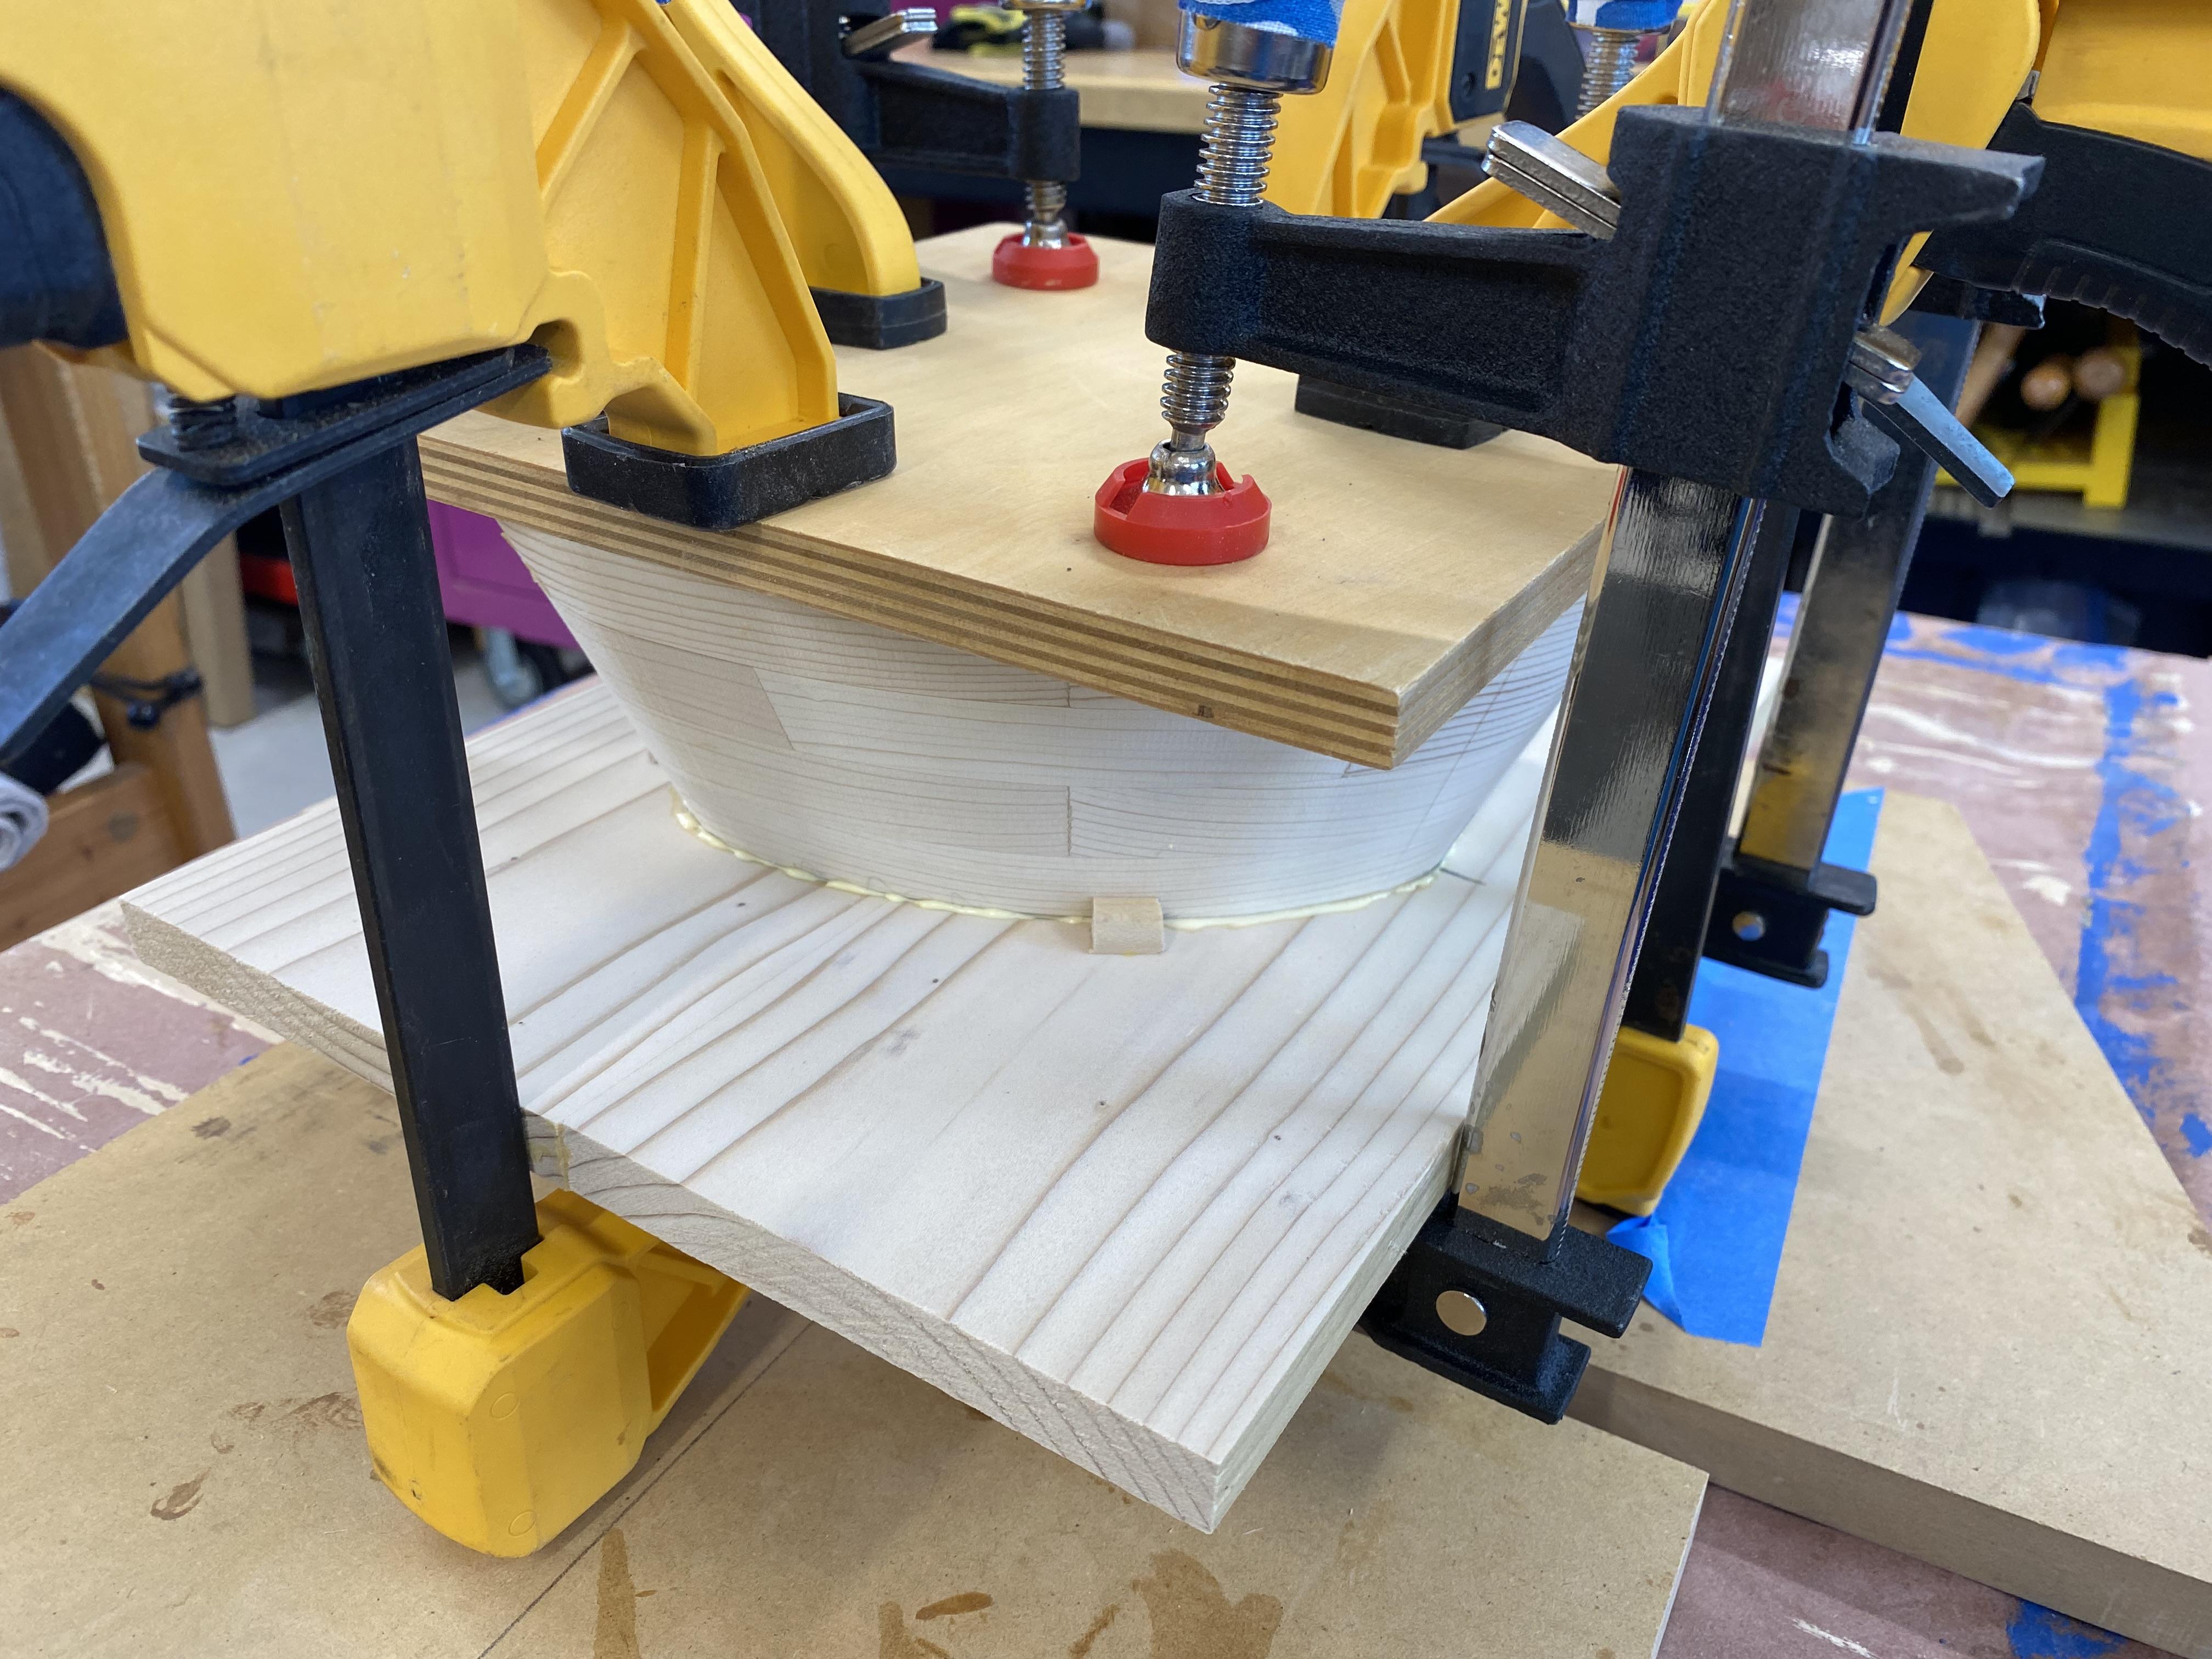
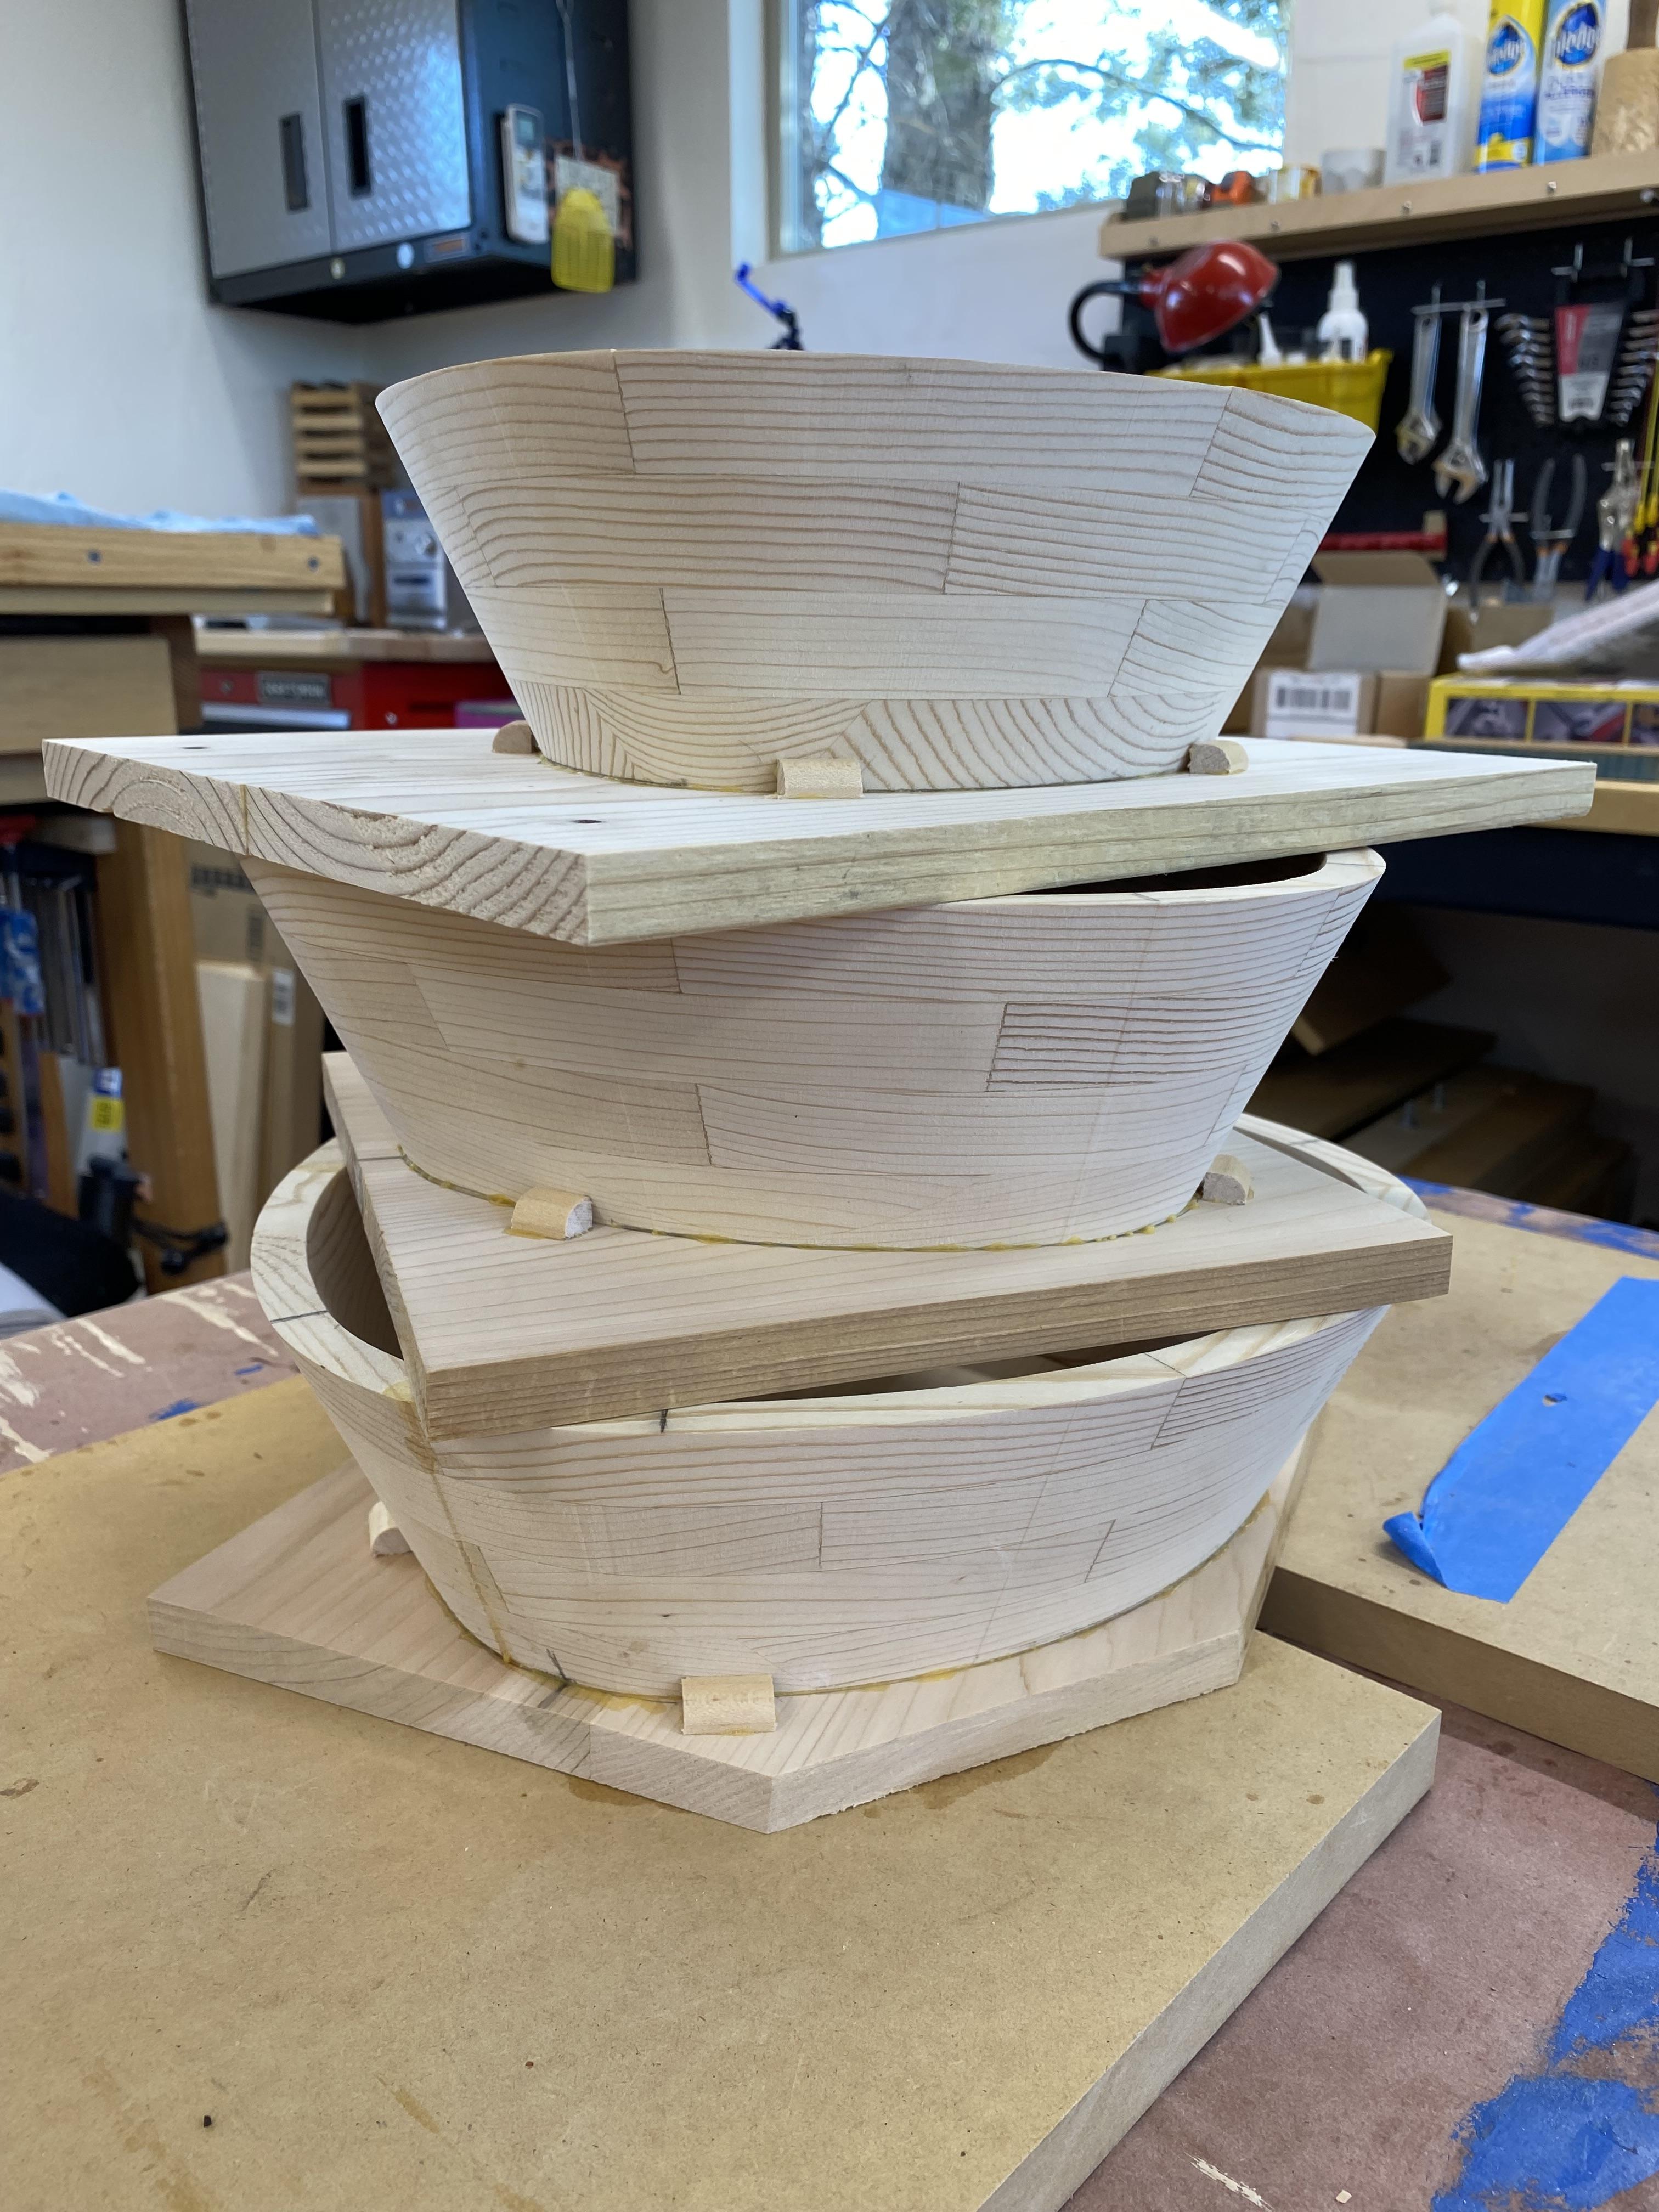
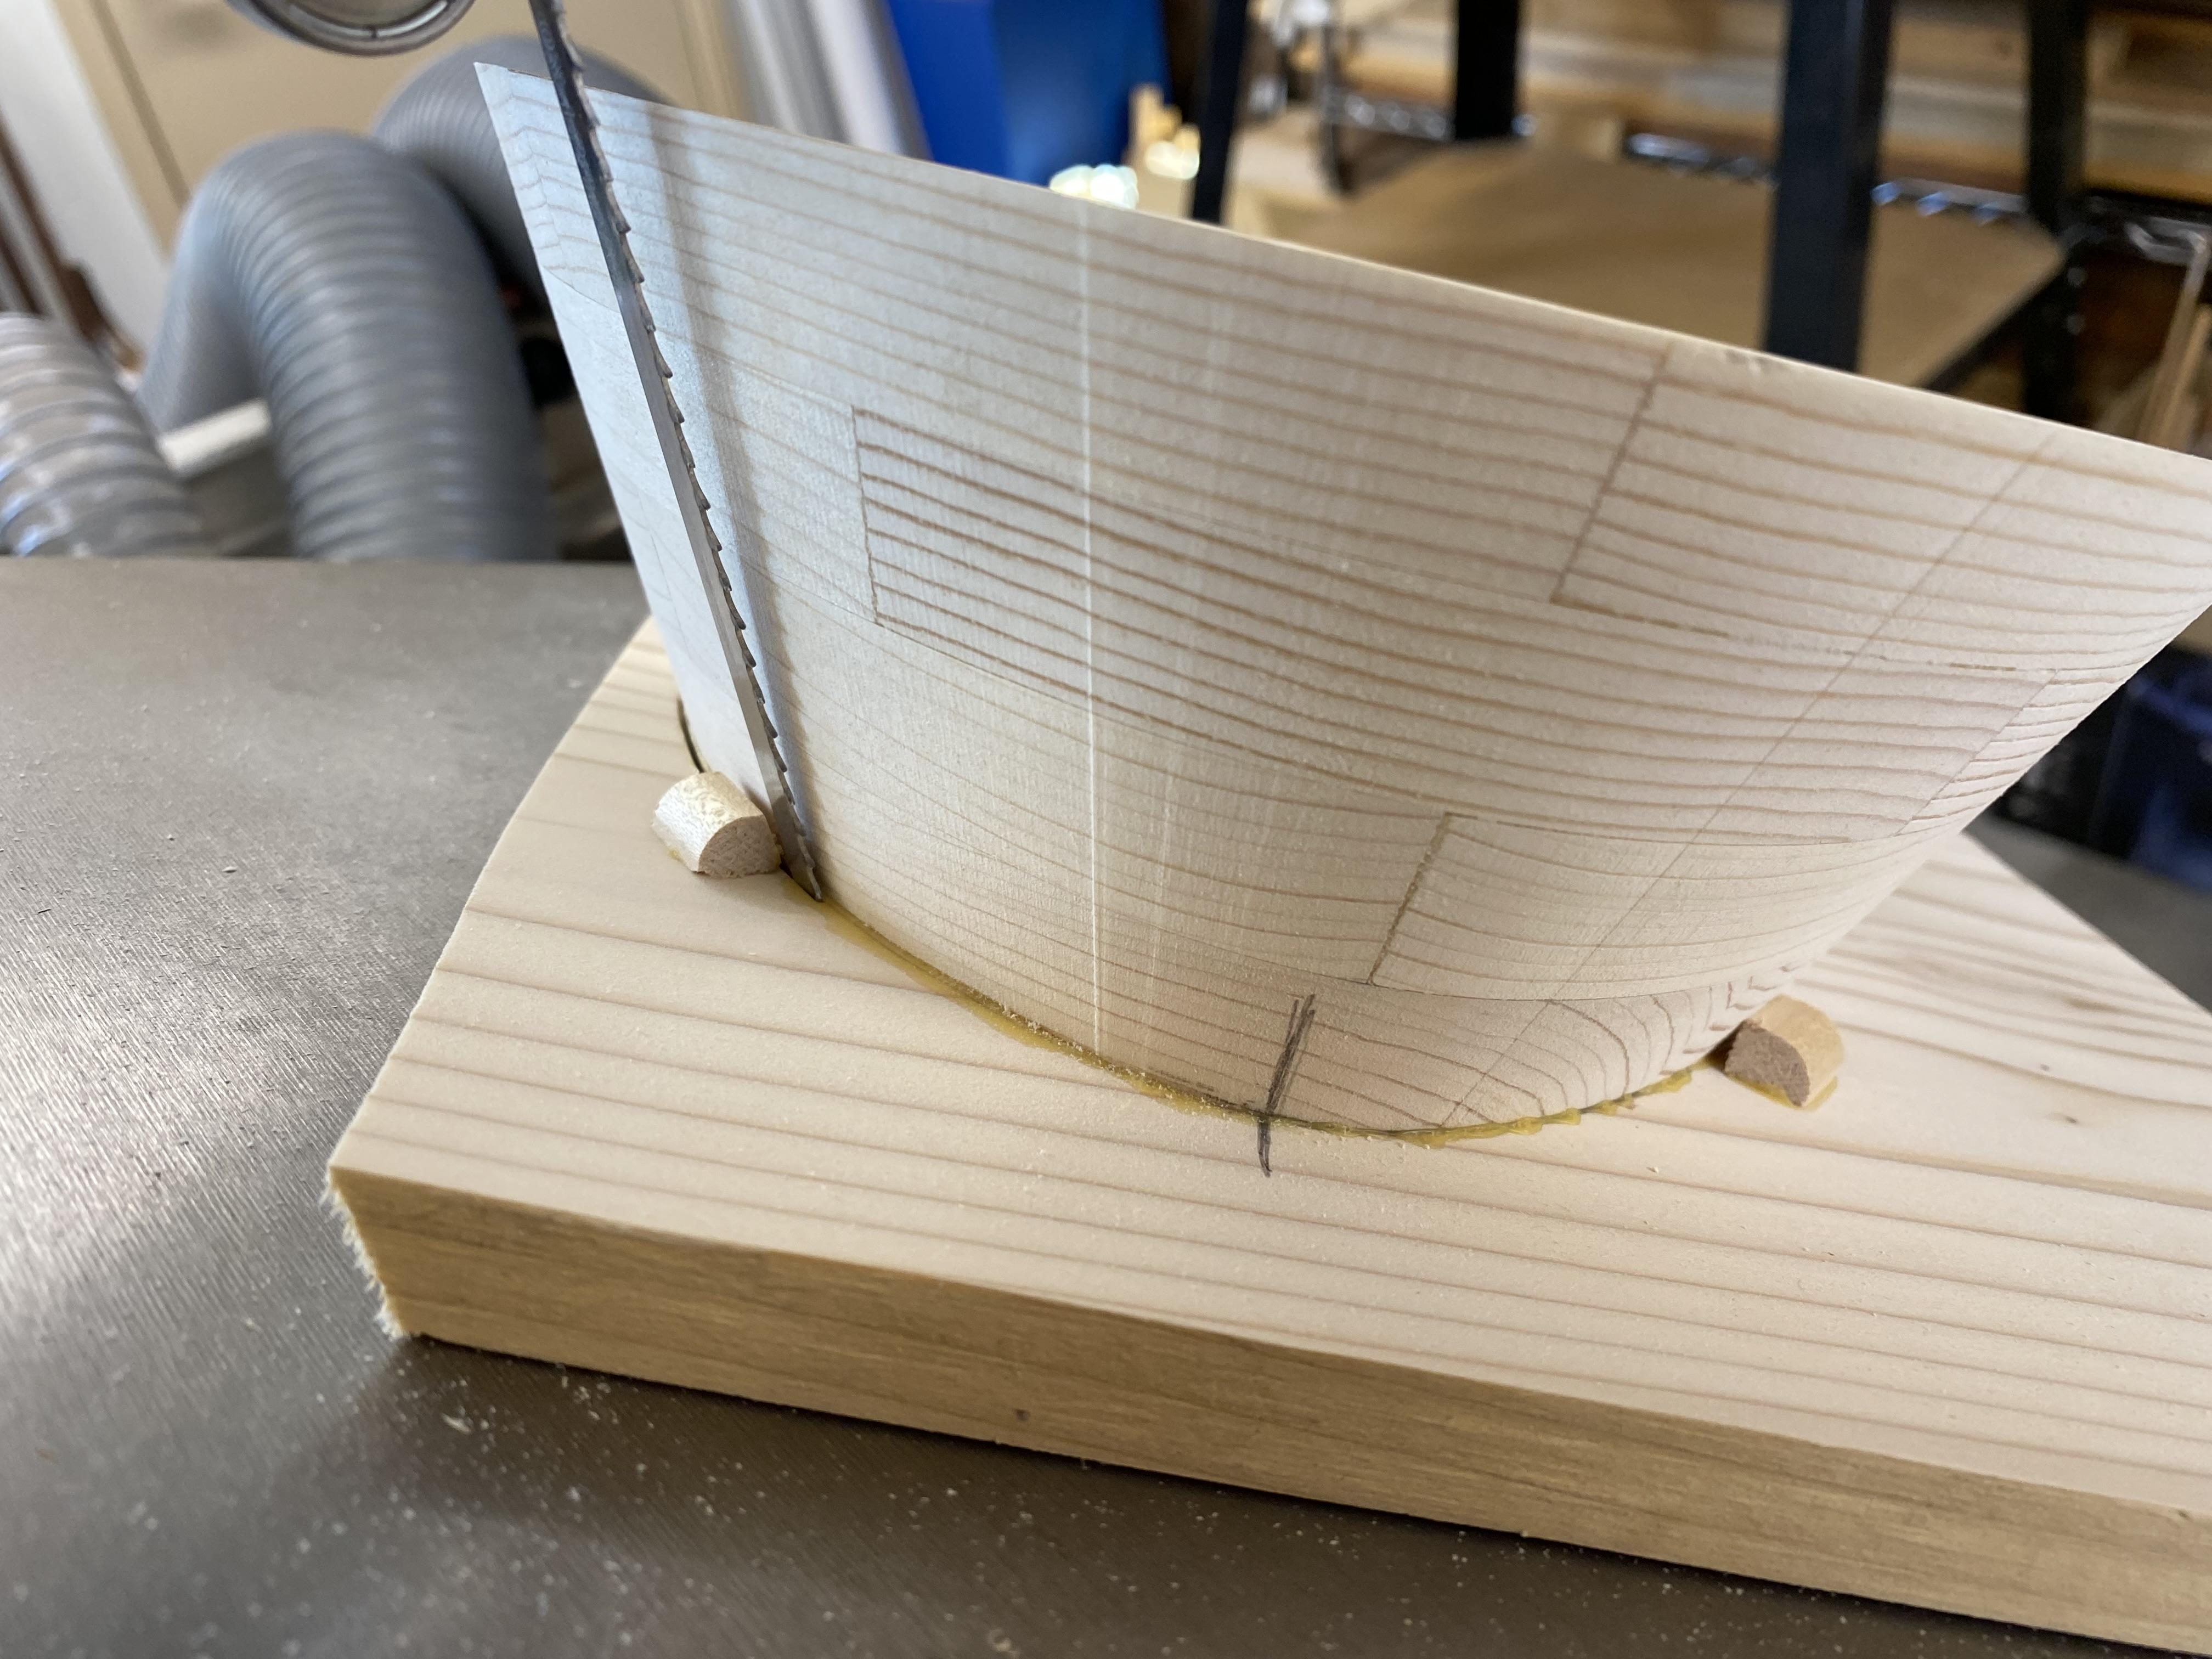
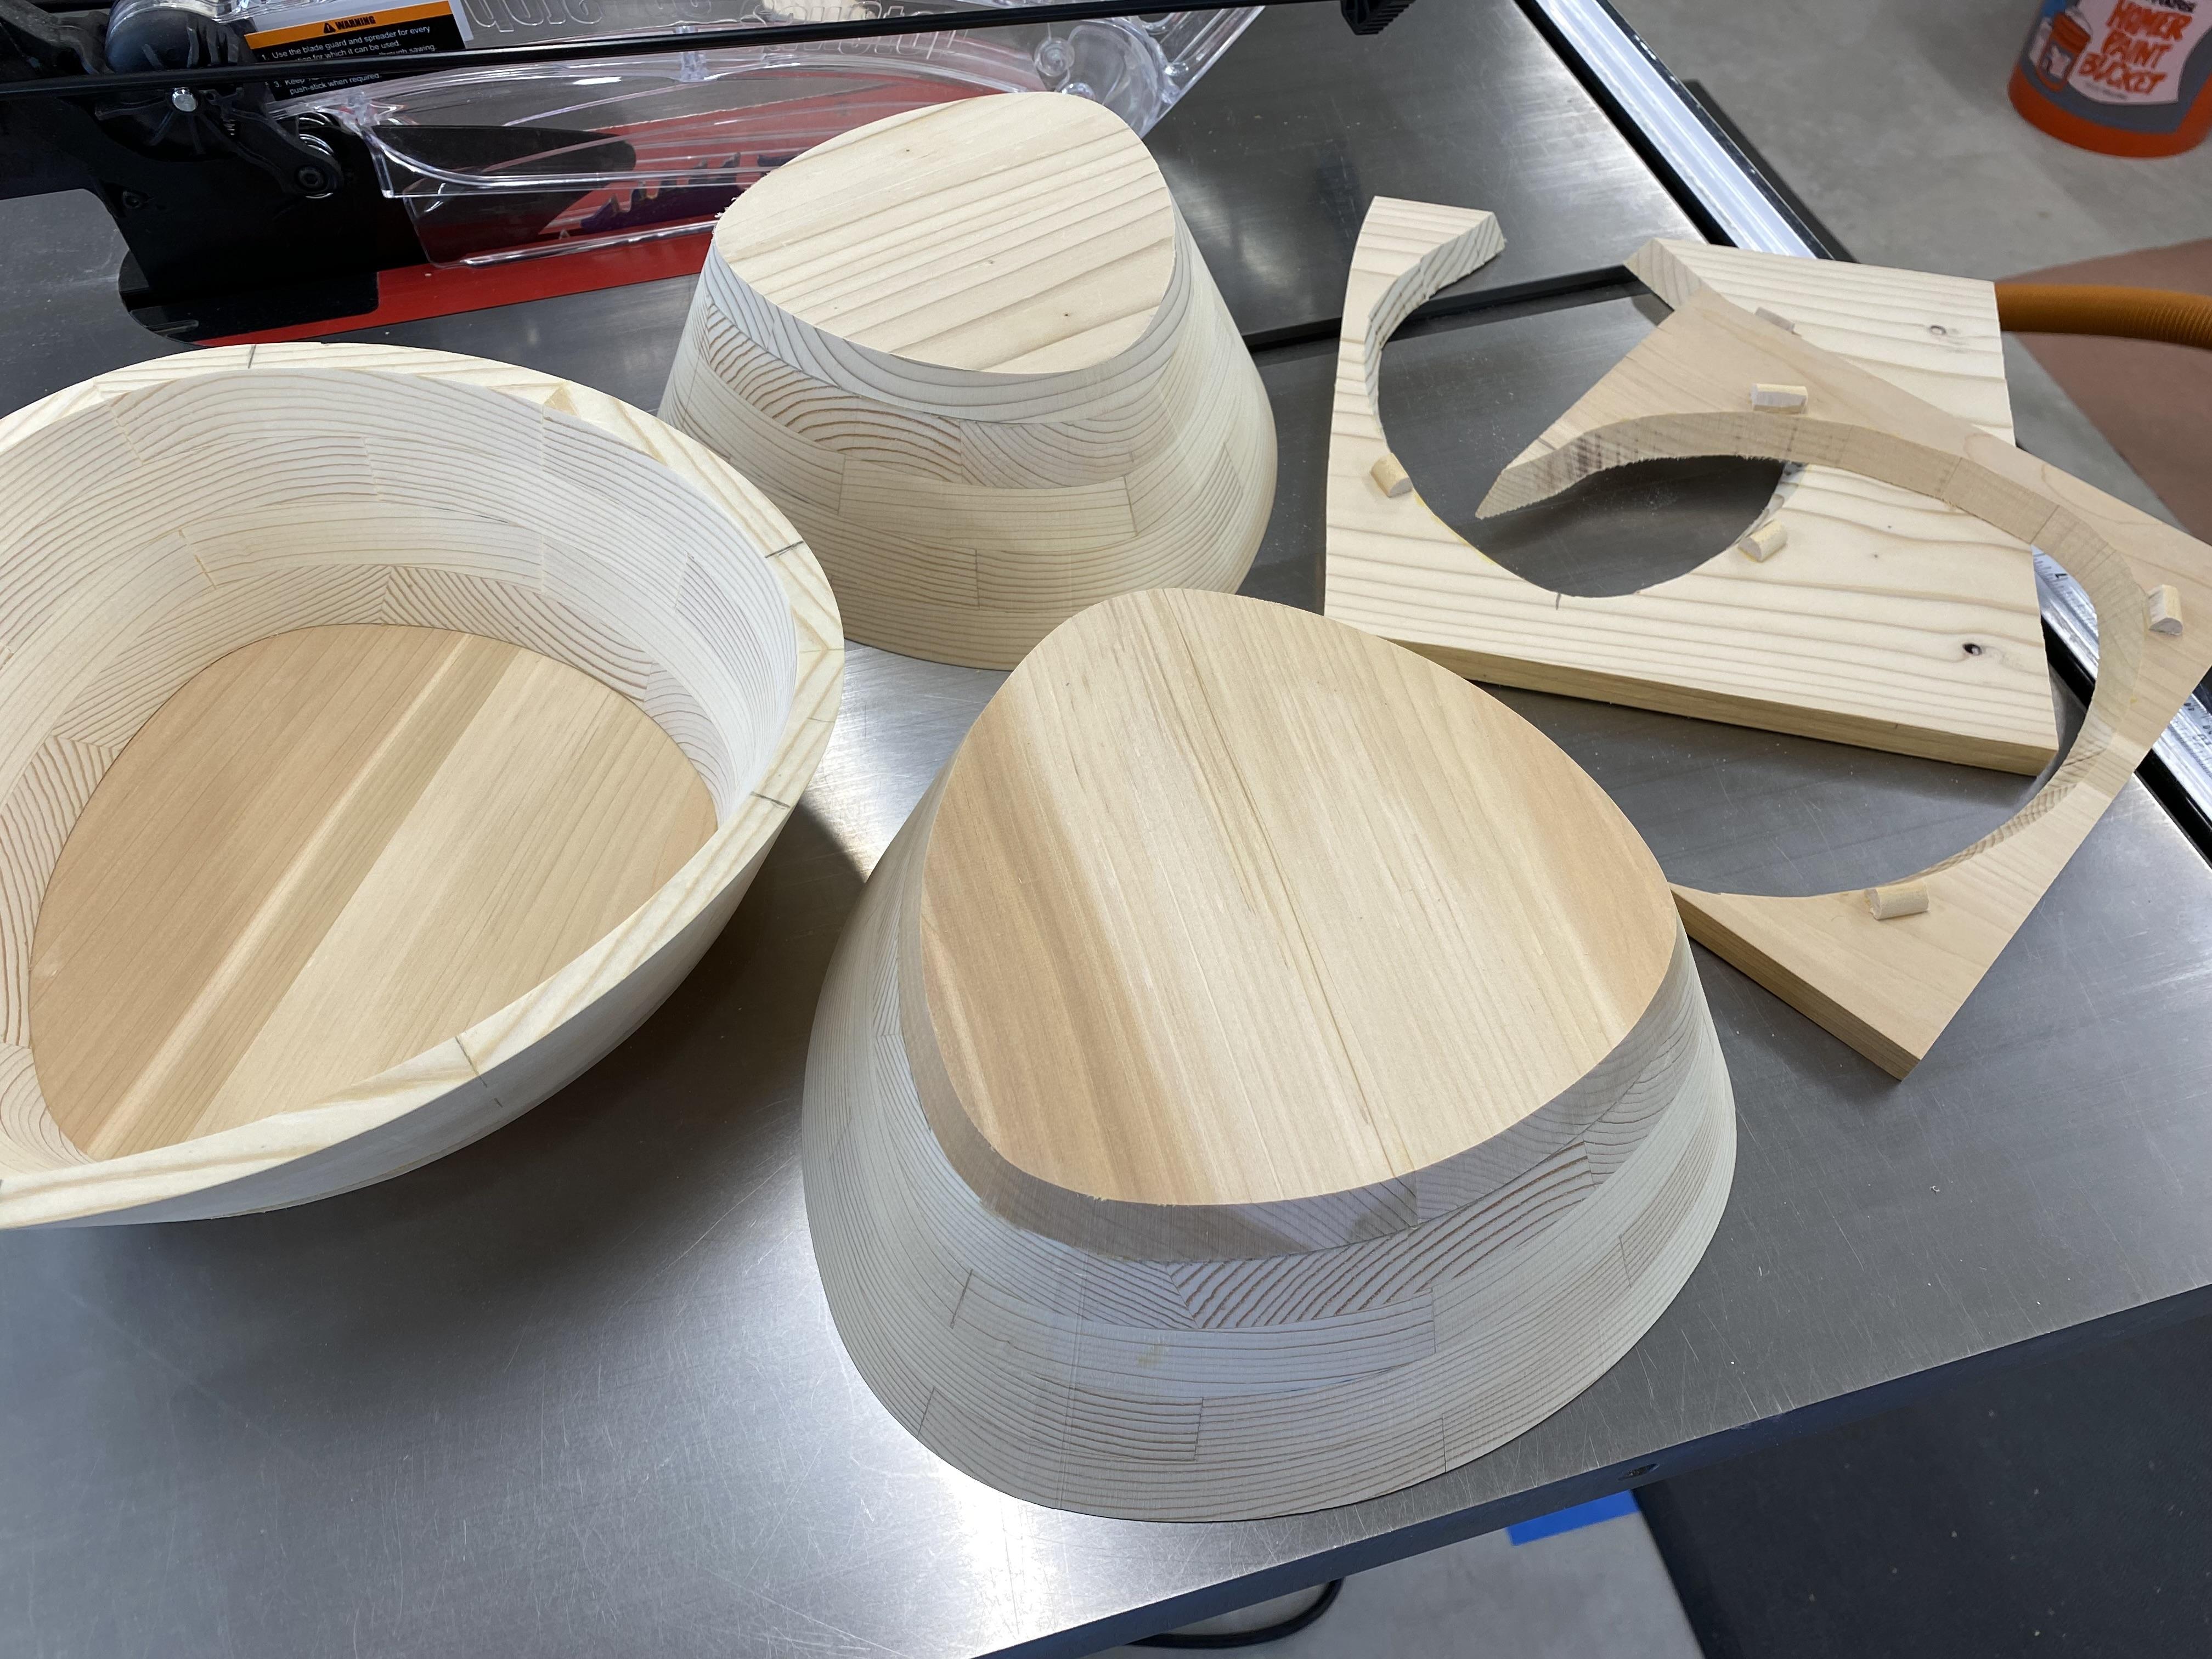
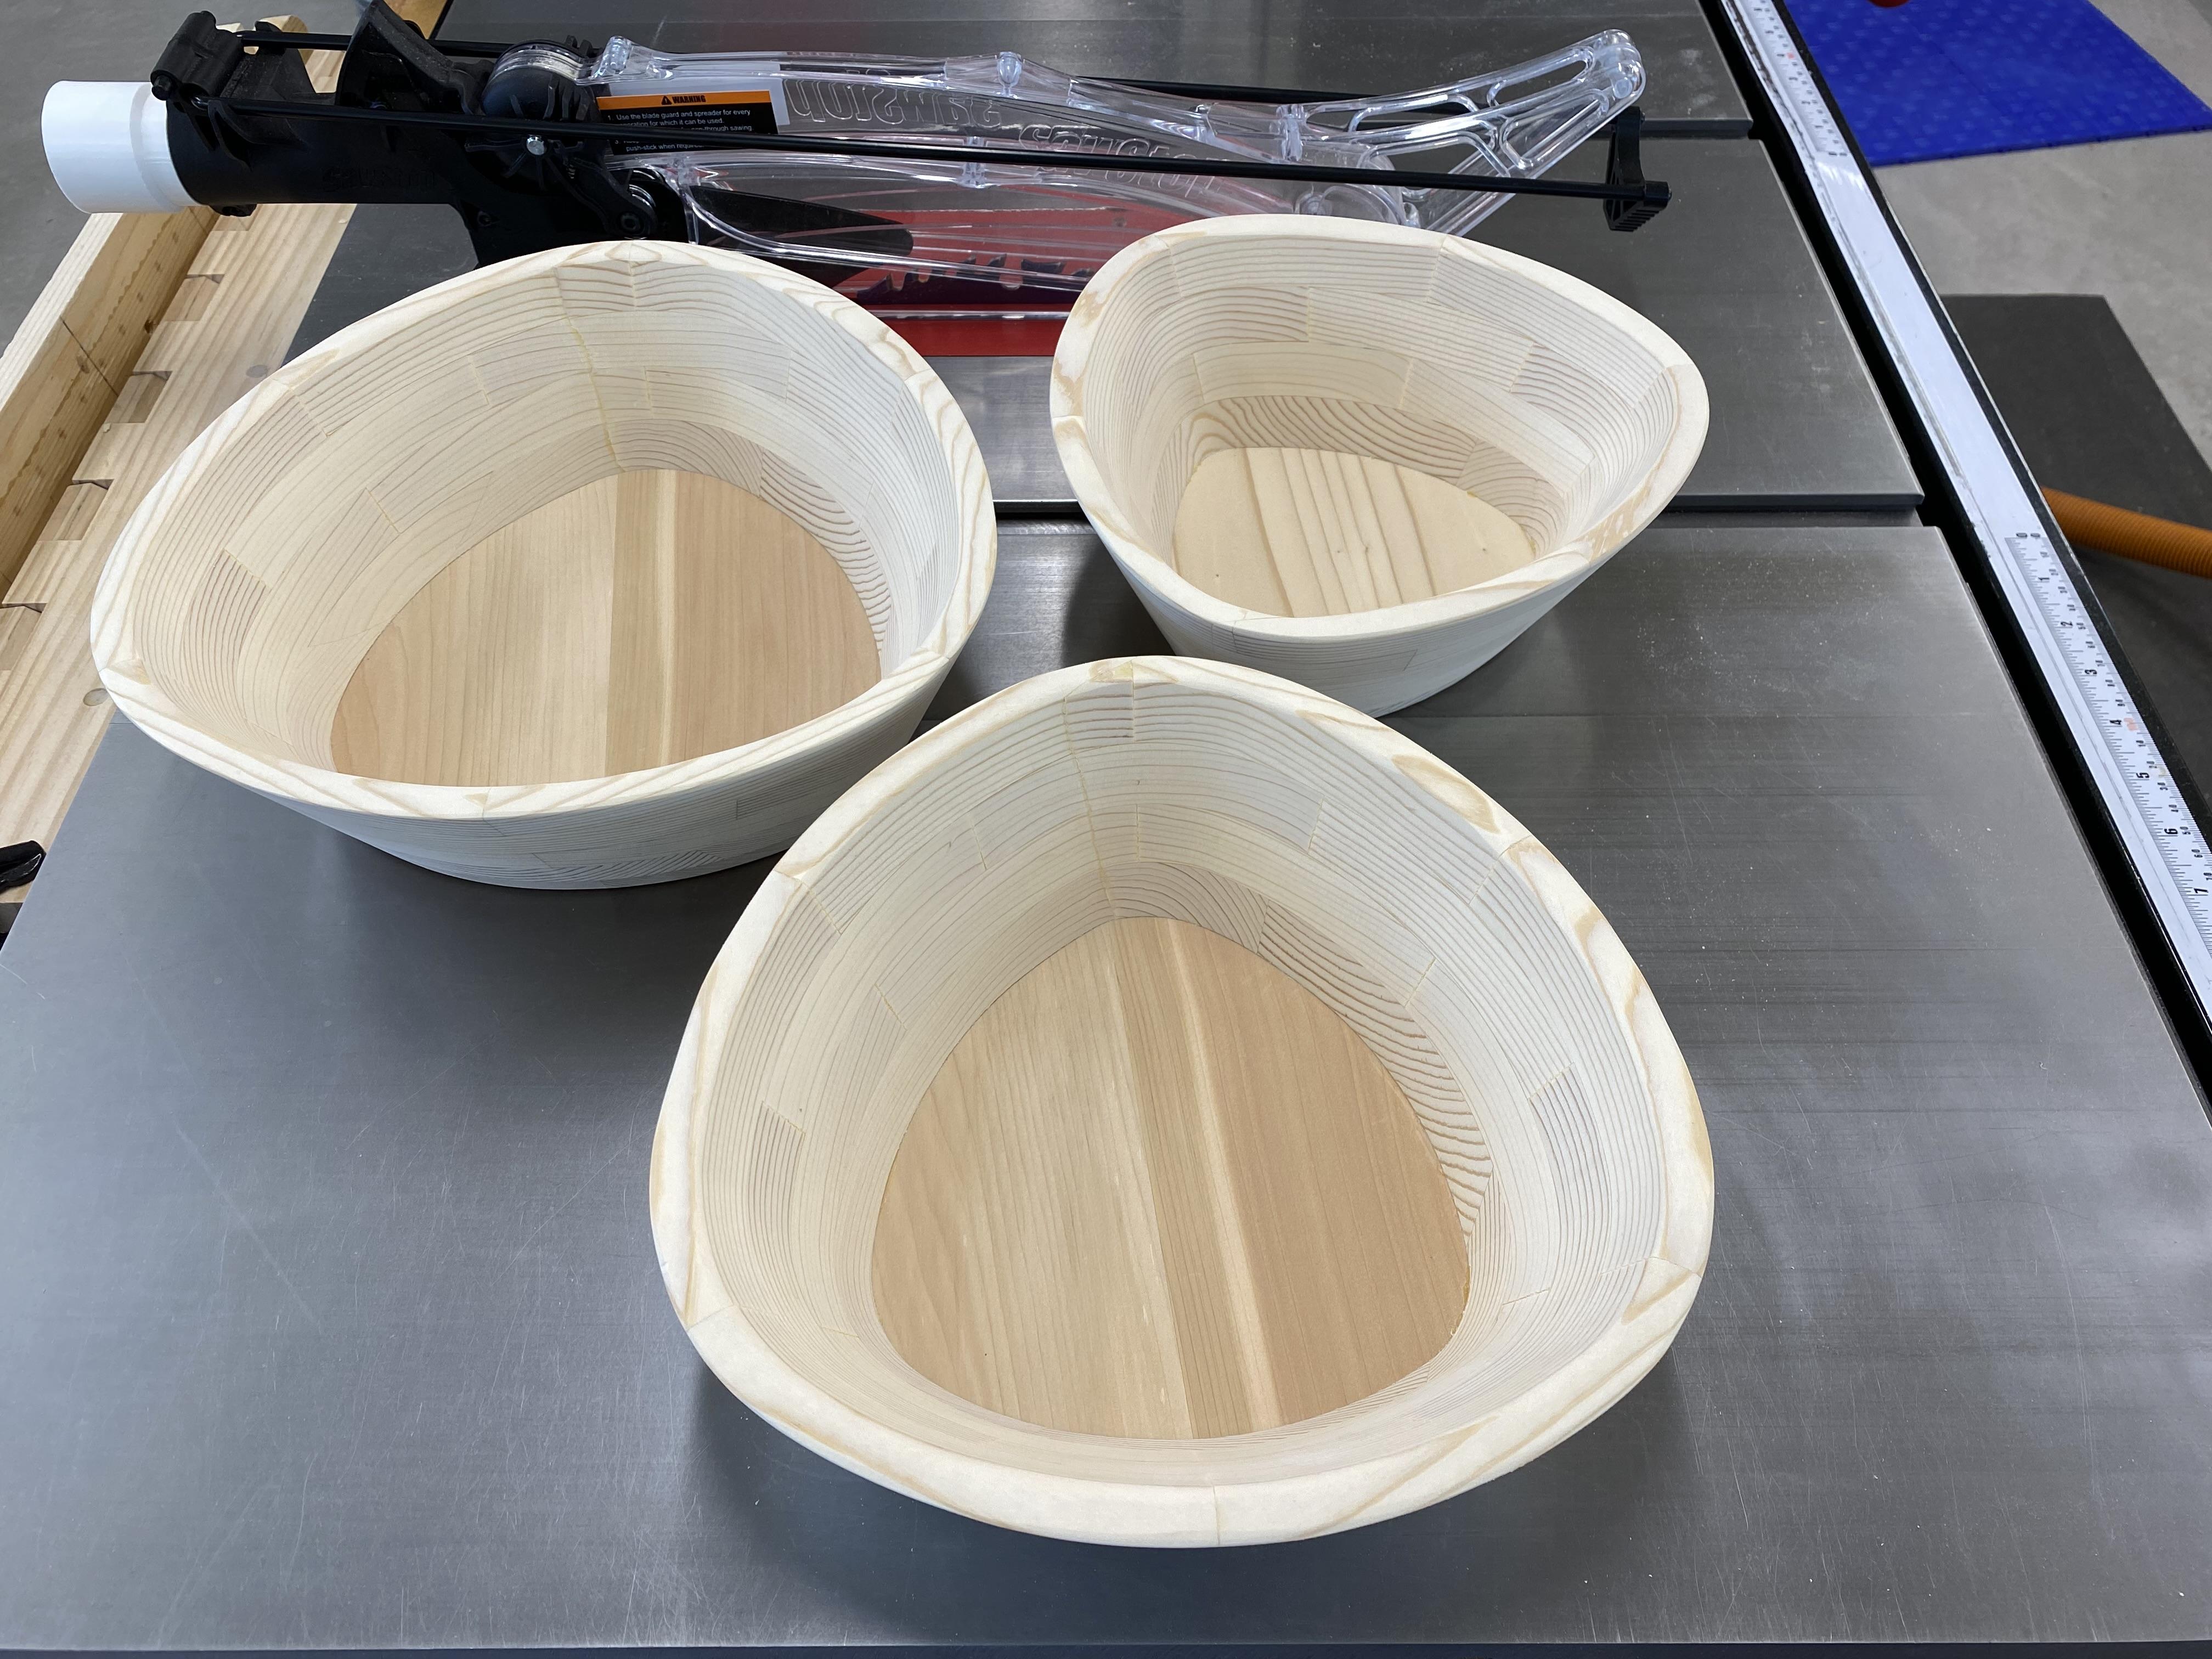
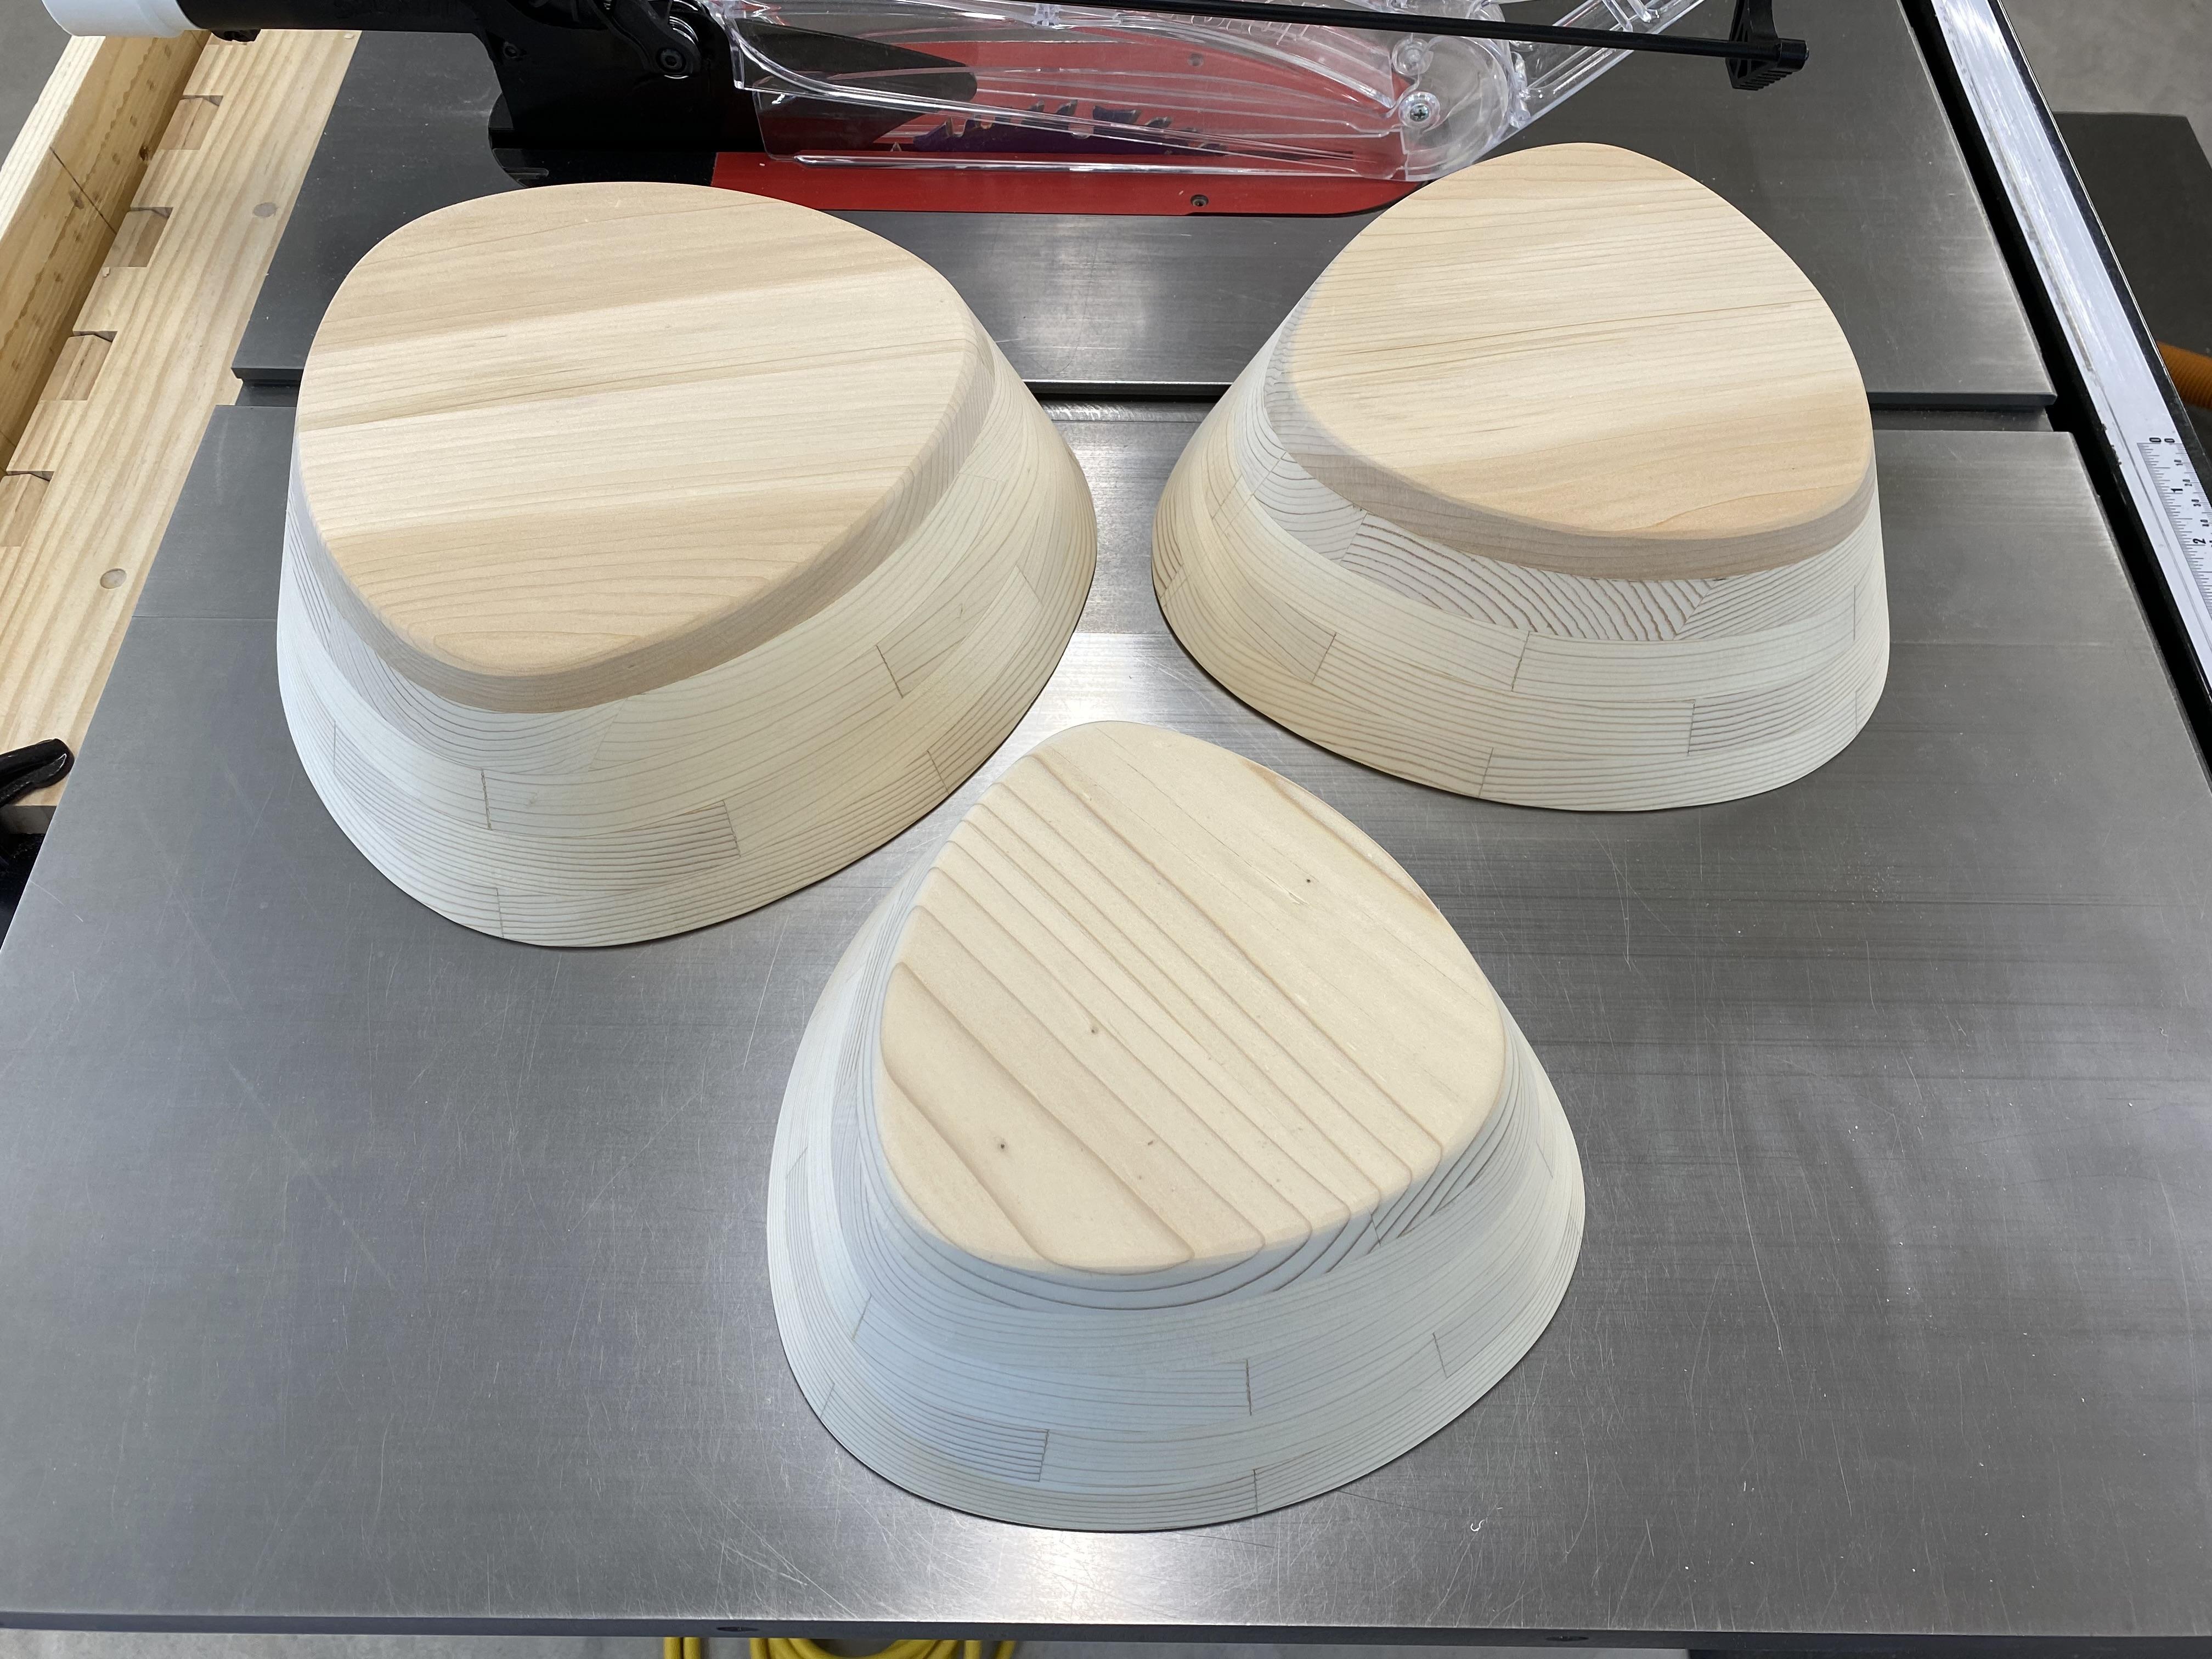
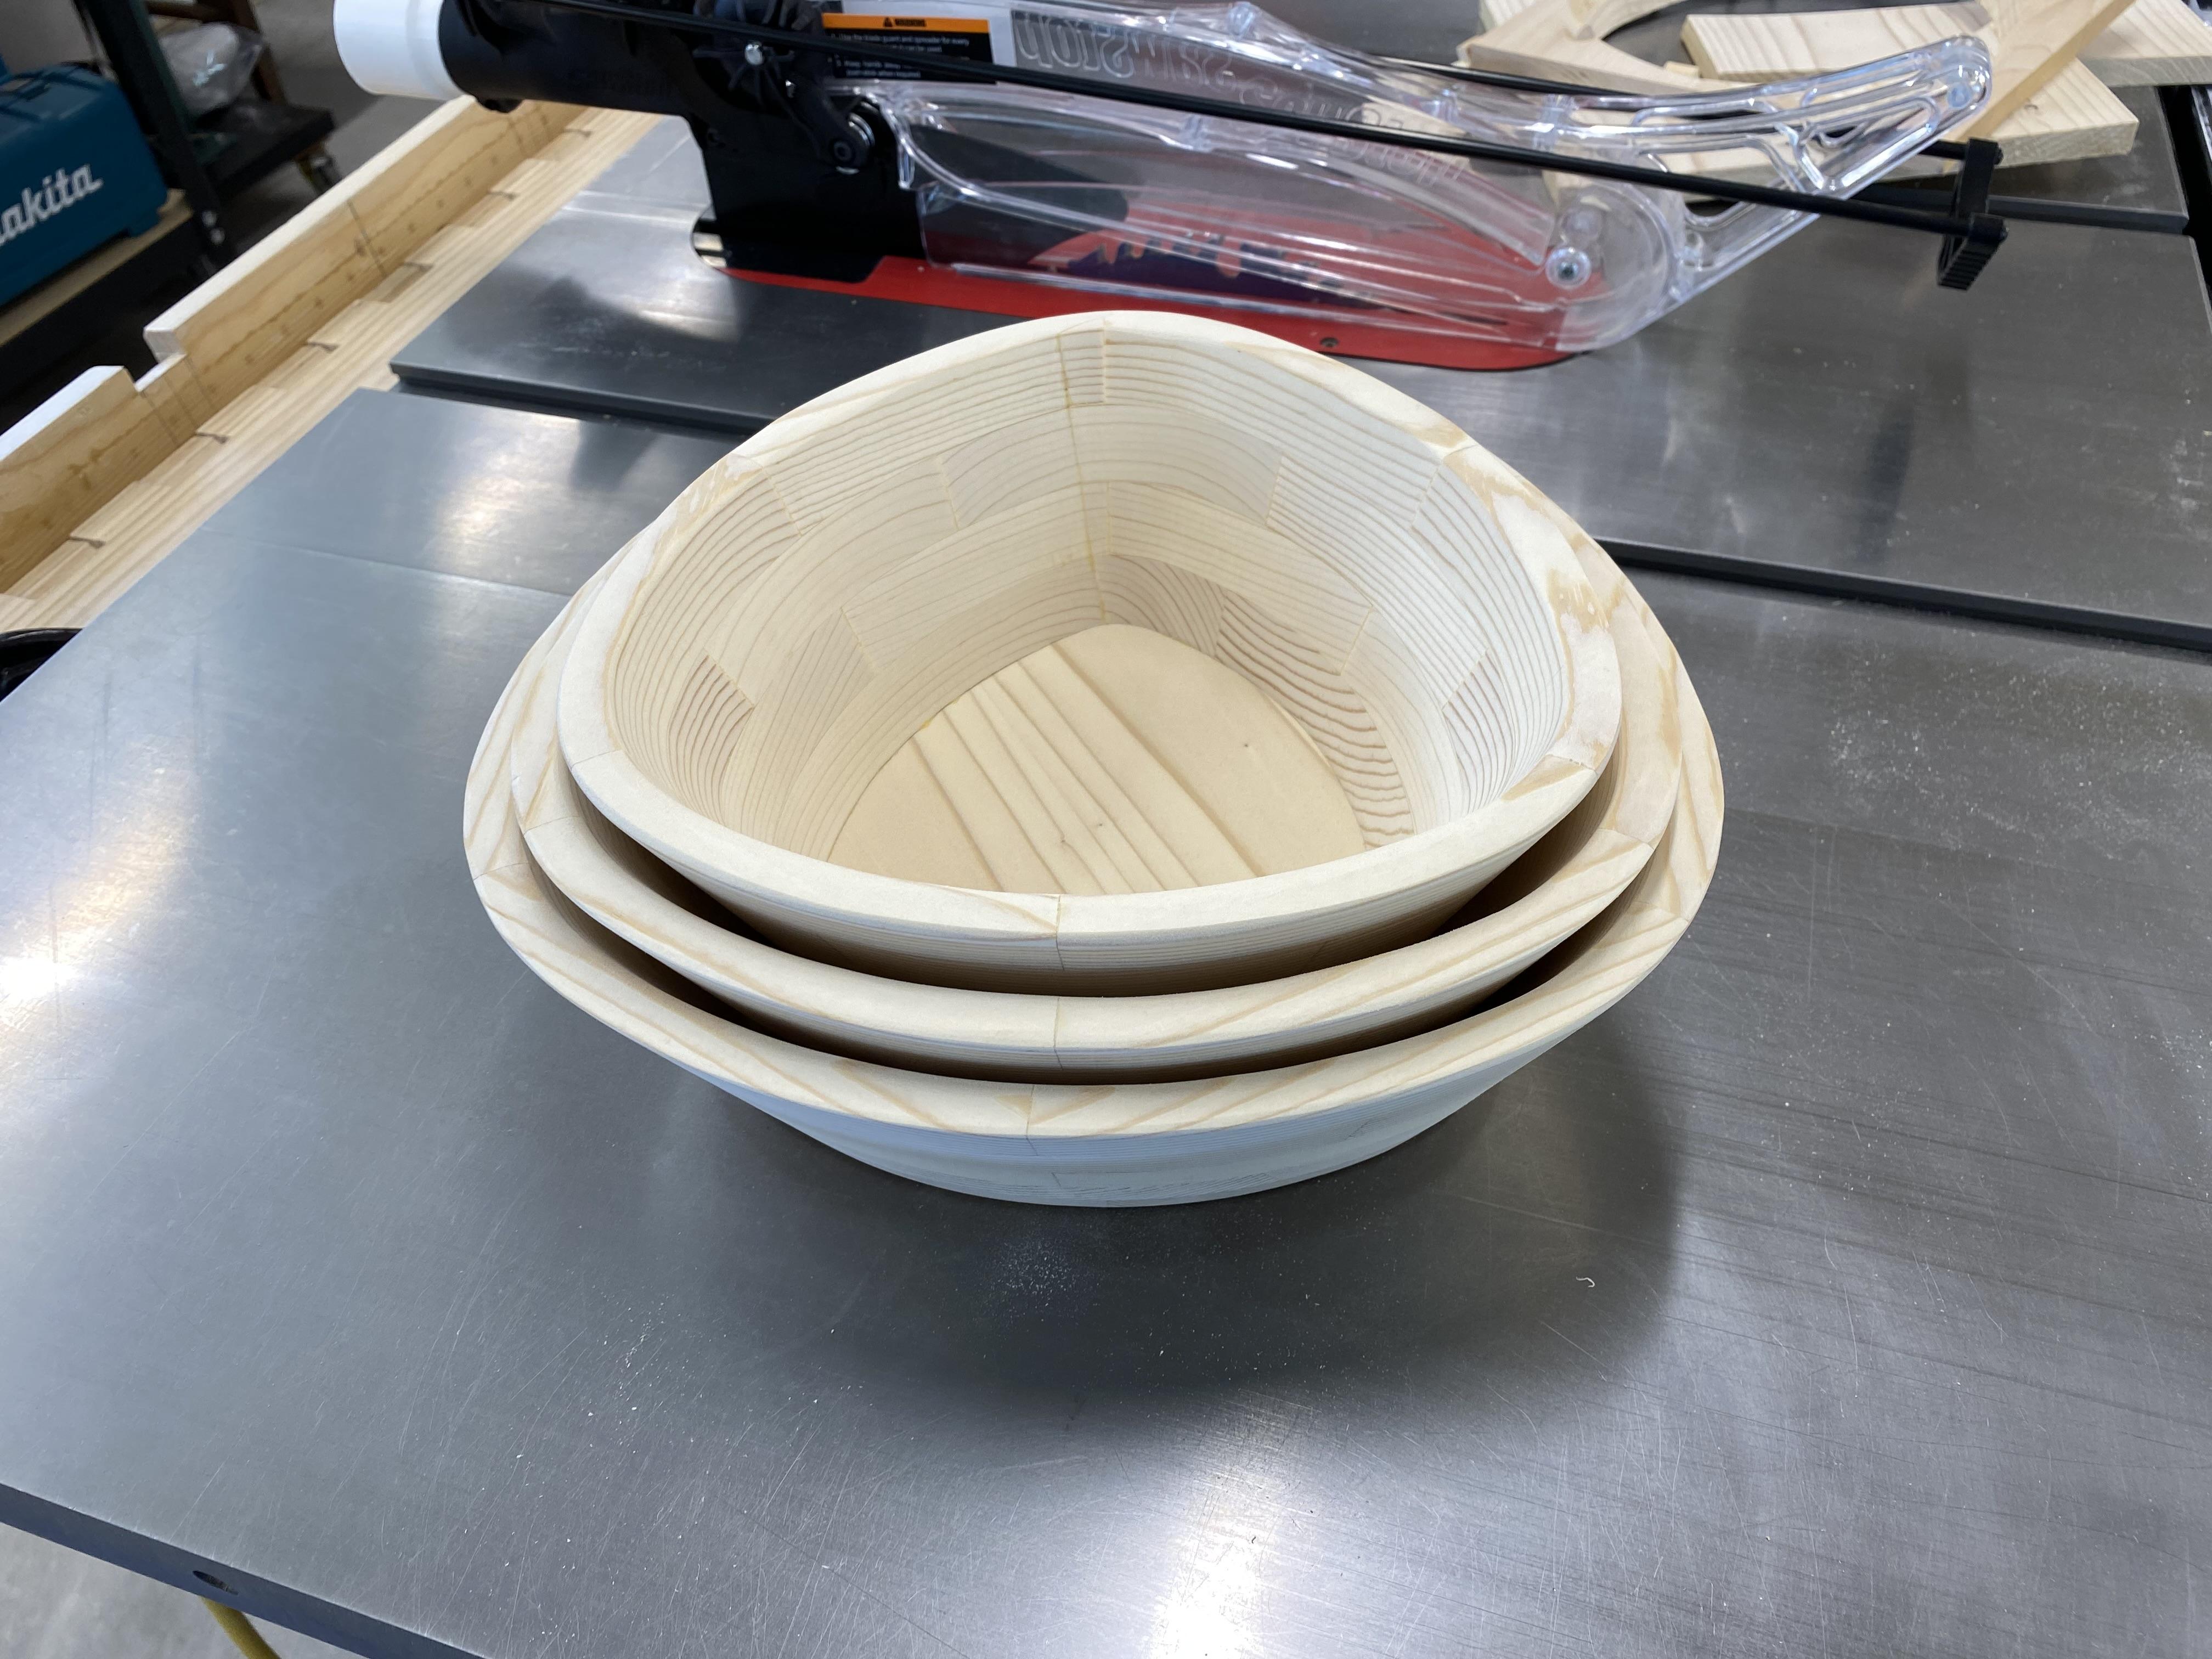
After gluing the split in each wall-ring together you need to sand the inside faces smooth to your liking. Do this before attaching a bottom. Then prepare some boards, 1/4” to 1/2” thick for the bottoms. Cut them a little larger than the bowl bottoms. Glue four small spacers to the bottom around the outside of the bowl like shown. This will keep the wall-ring from sliding around when you glue it to the bottom. Carefully glue the wall-rings to the bottom, and trim flush after everything is dry. Sand the outsides, and apply food safe finish of your choice.
Wait, There Is More!
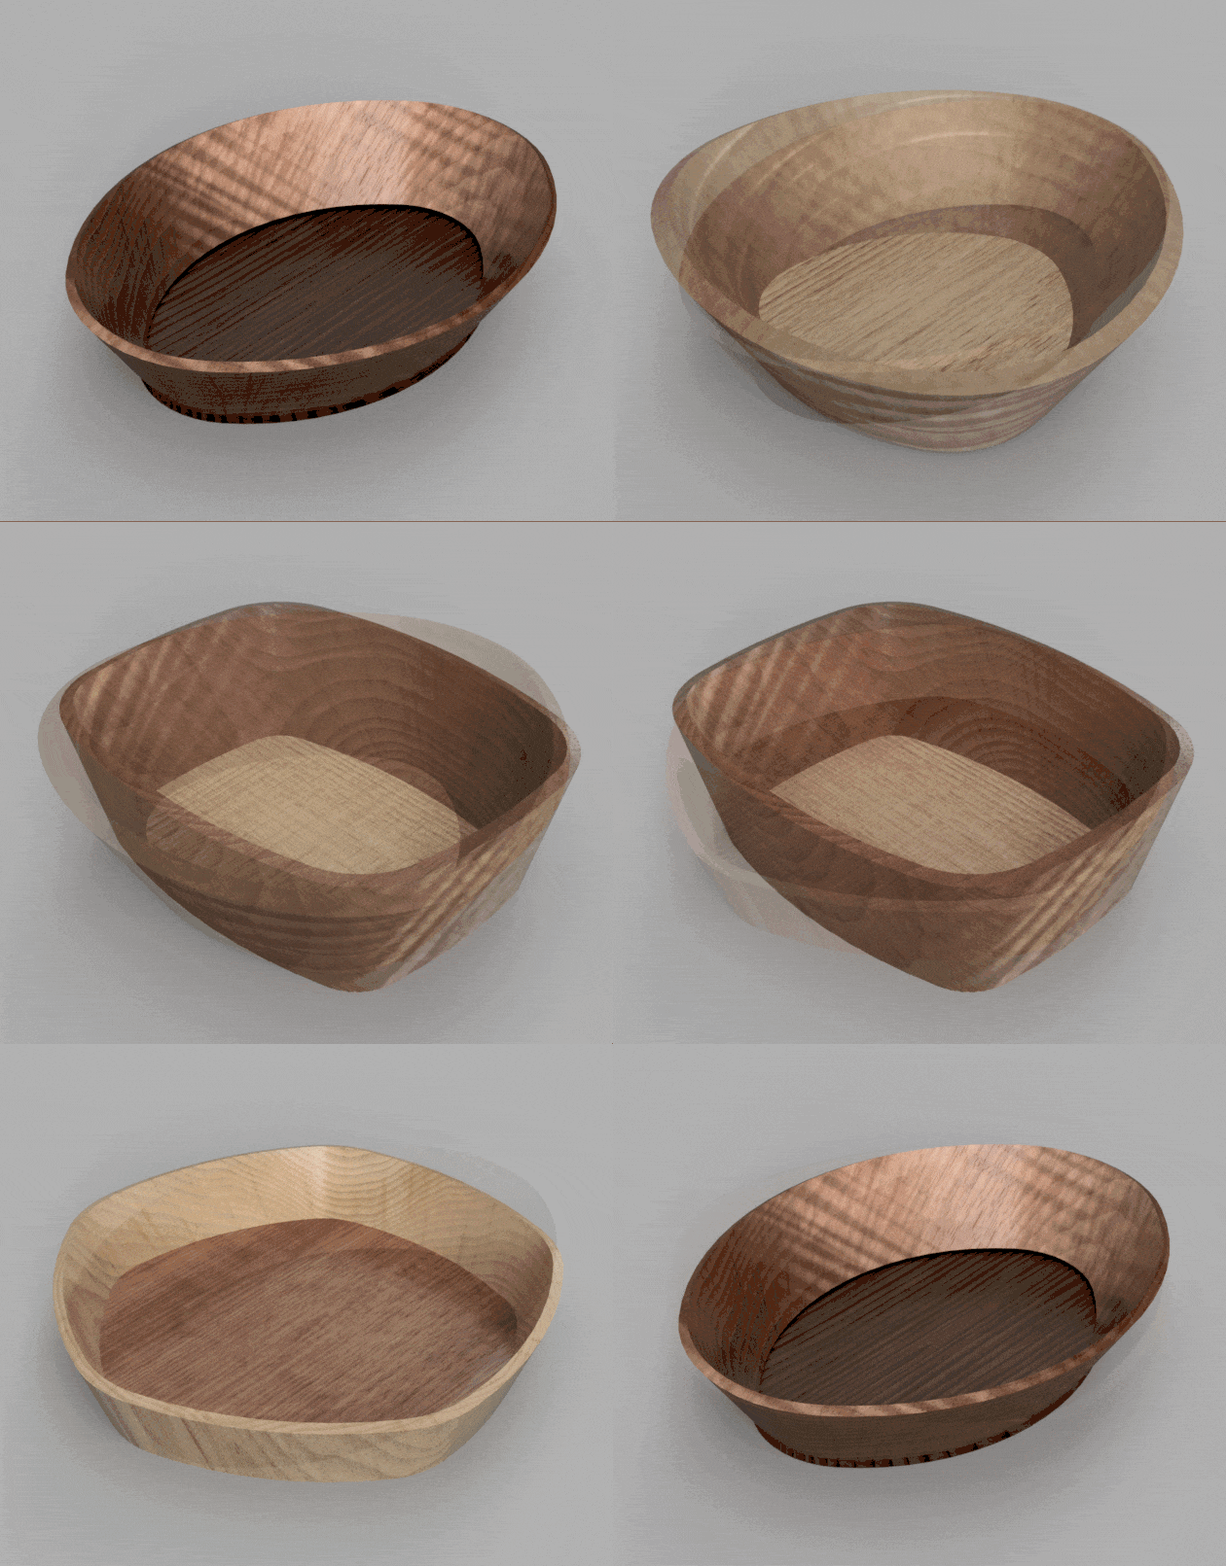
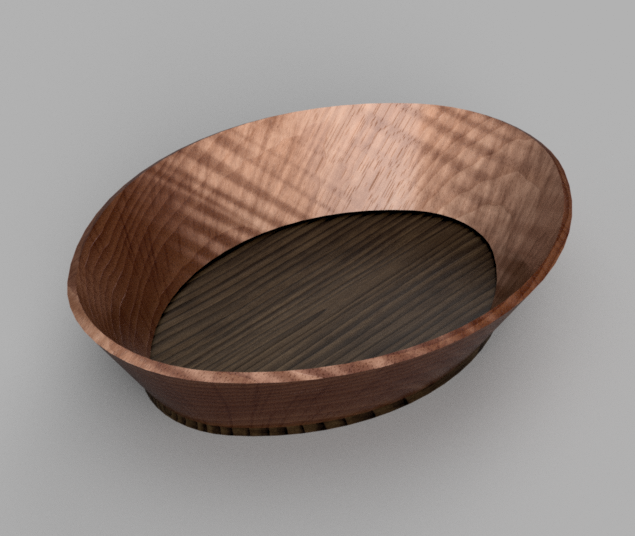
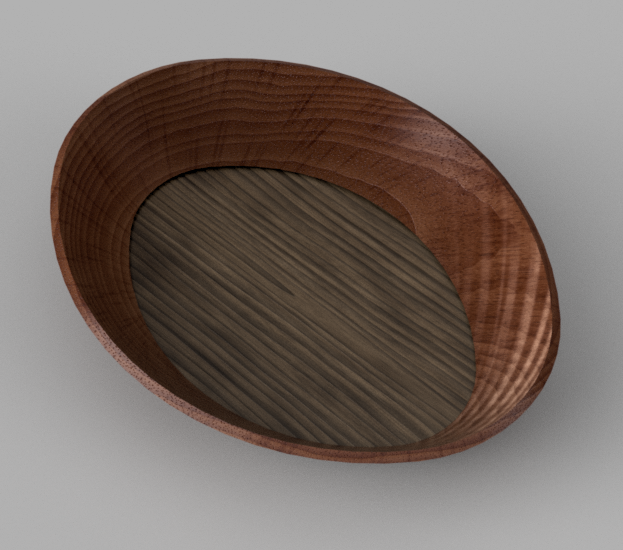
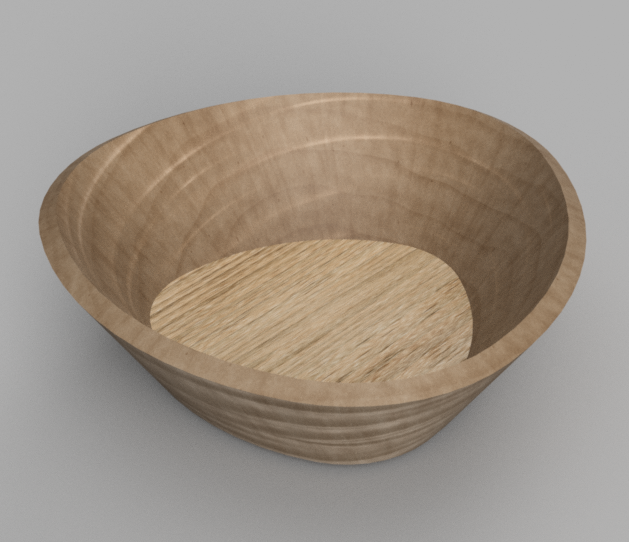
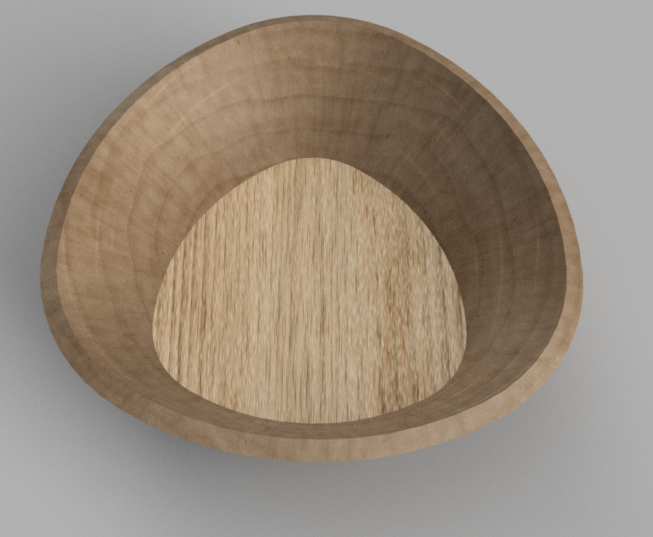
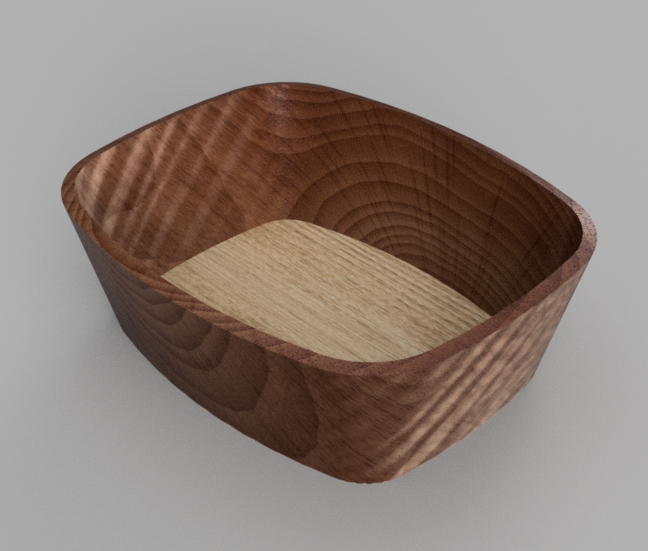
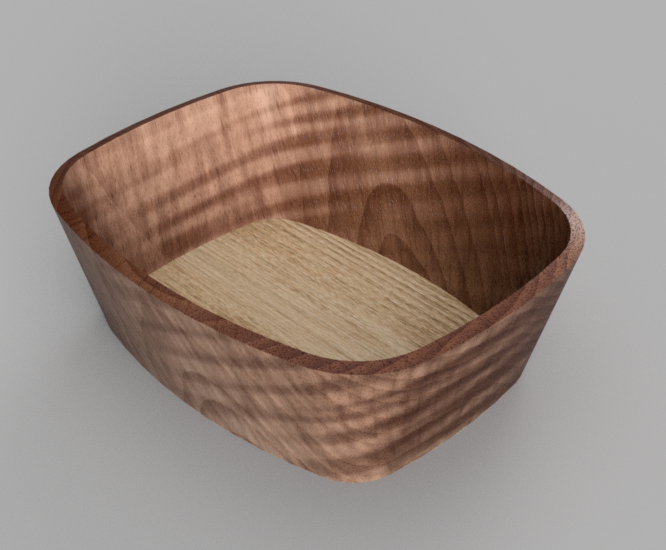
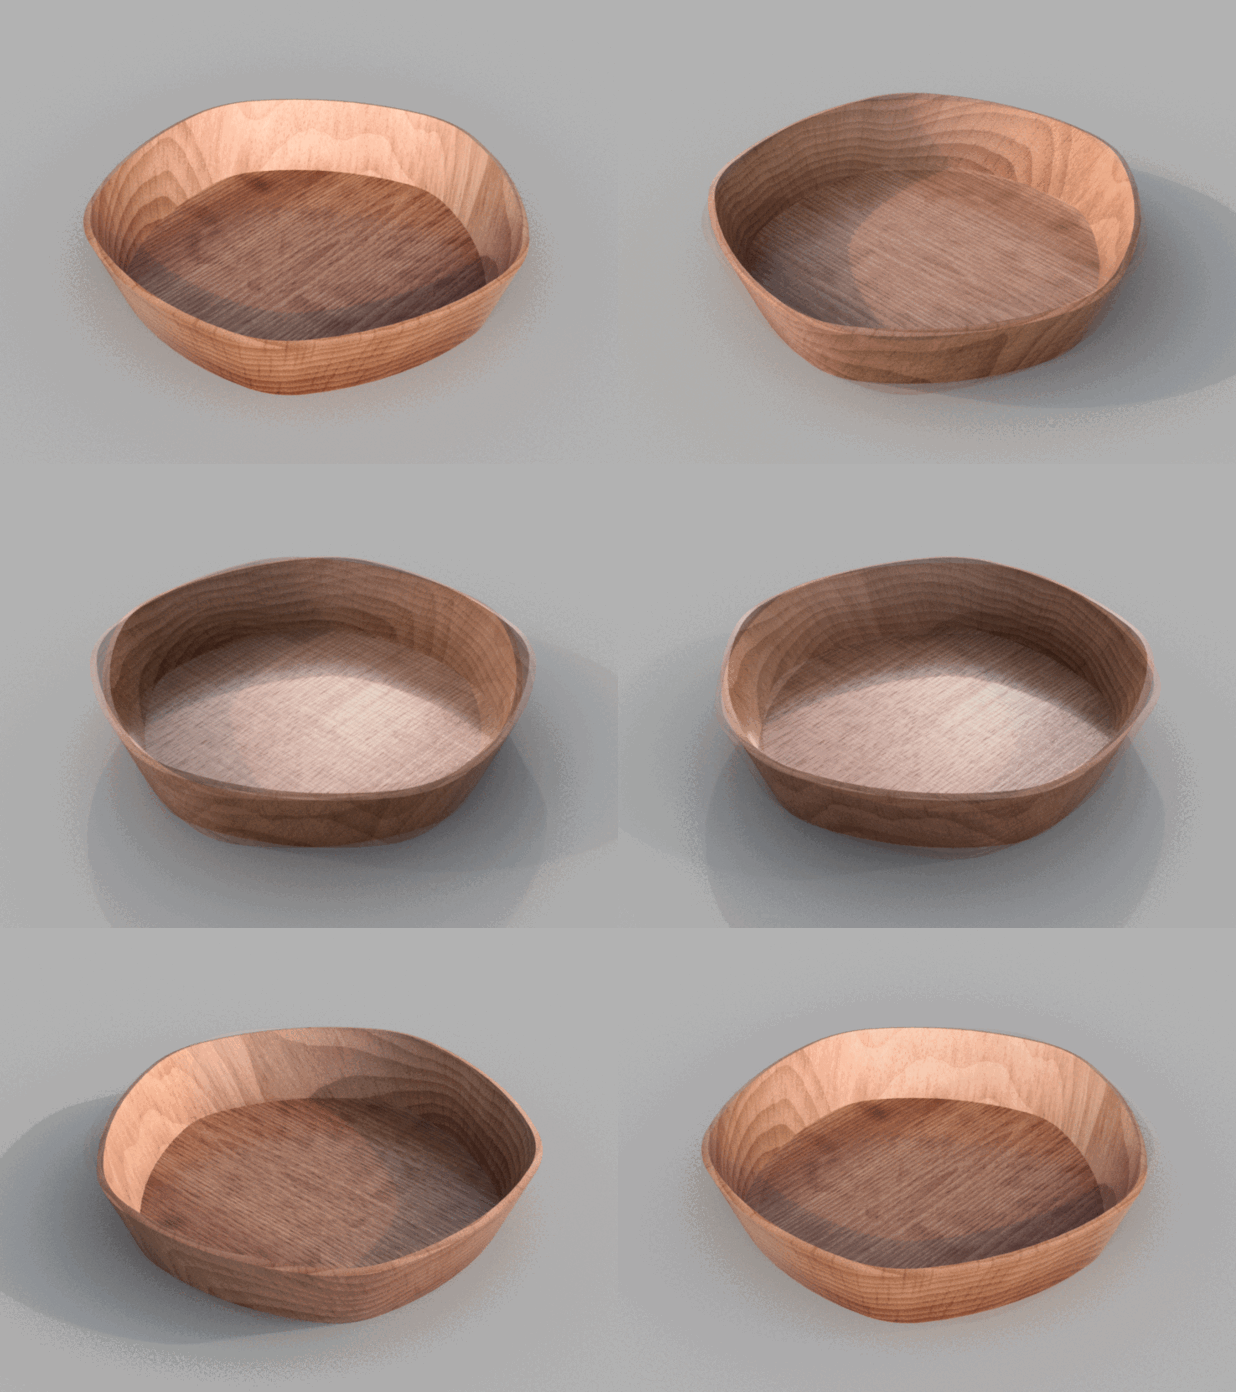
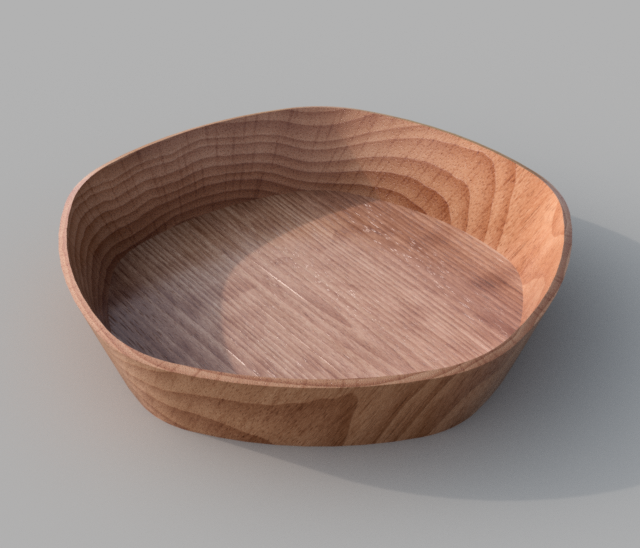
You don’t have to stop at trircle bowls. The same approach can be used for oval, rounded square/rectangle, five-sided pentagon shaped bowls, and even higher polynominal shapes.
Ovals: use four pivot points, and e.g. 38 degree and (180 - 38) = 142 degree arcs (angles vary with design)
Trircle: use three pivot points as shown in this Instructable, and 60 degree arcs
Rounded rectangle: use four pivot points and three different arcs
Pentagon: use five pivot points and 36 degree arcs
Fusion 360 model renderings are shown, but I should mention that I haven’t made these in my shop yet. If you do please share with the Instructable community! I can share my parametric Fusion 360 files for these designs if there is interest.
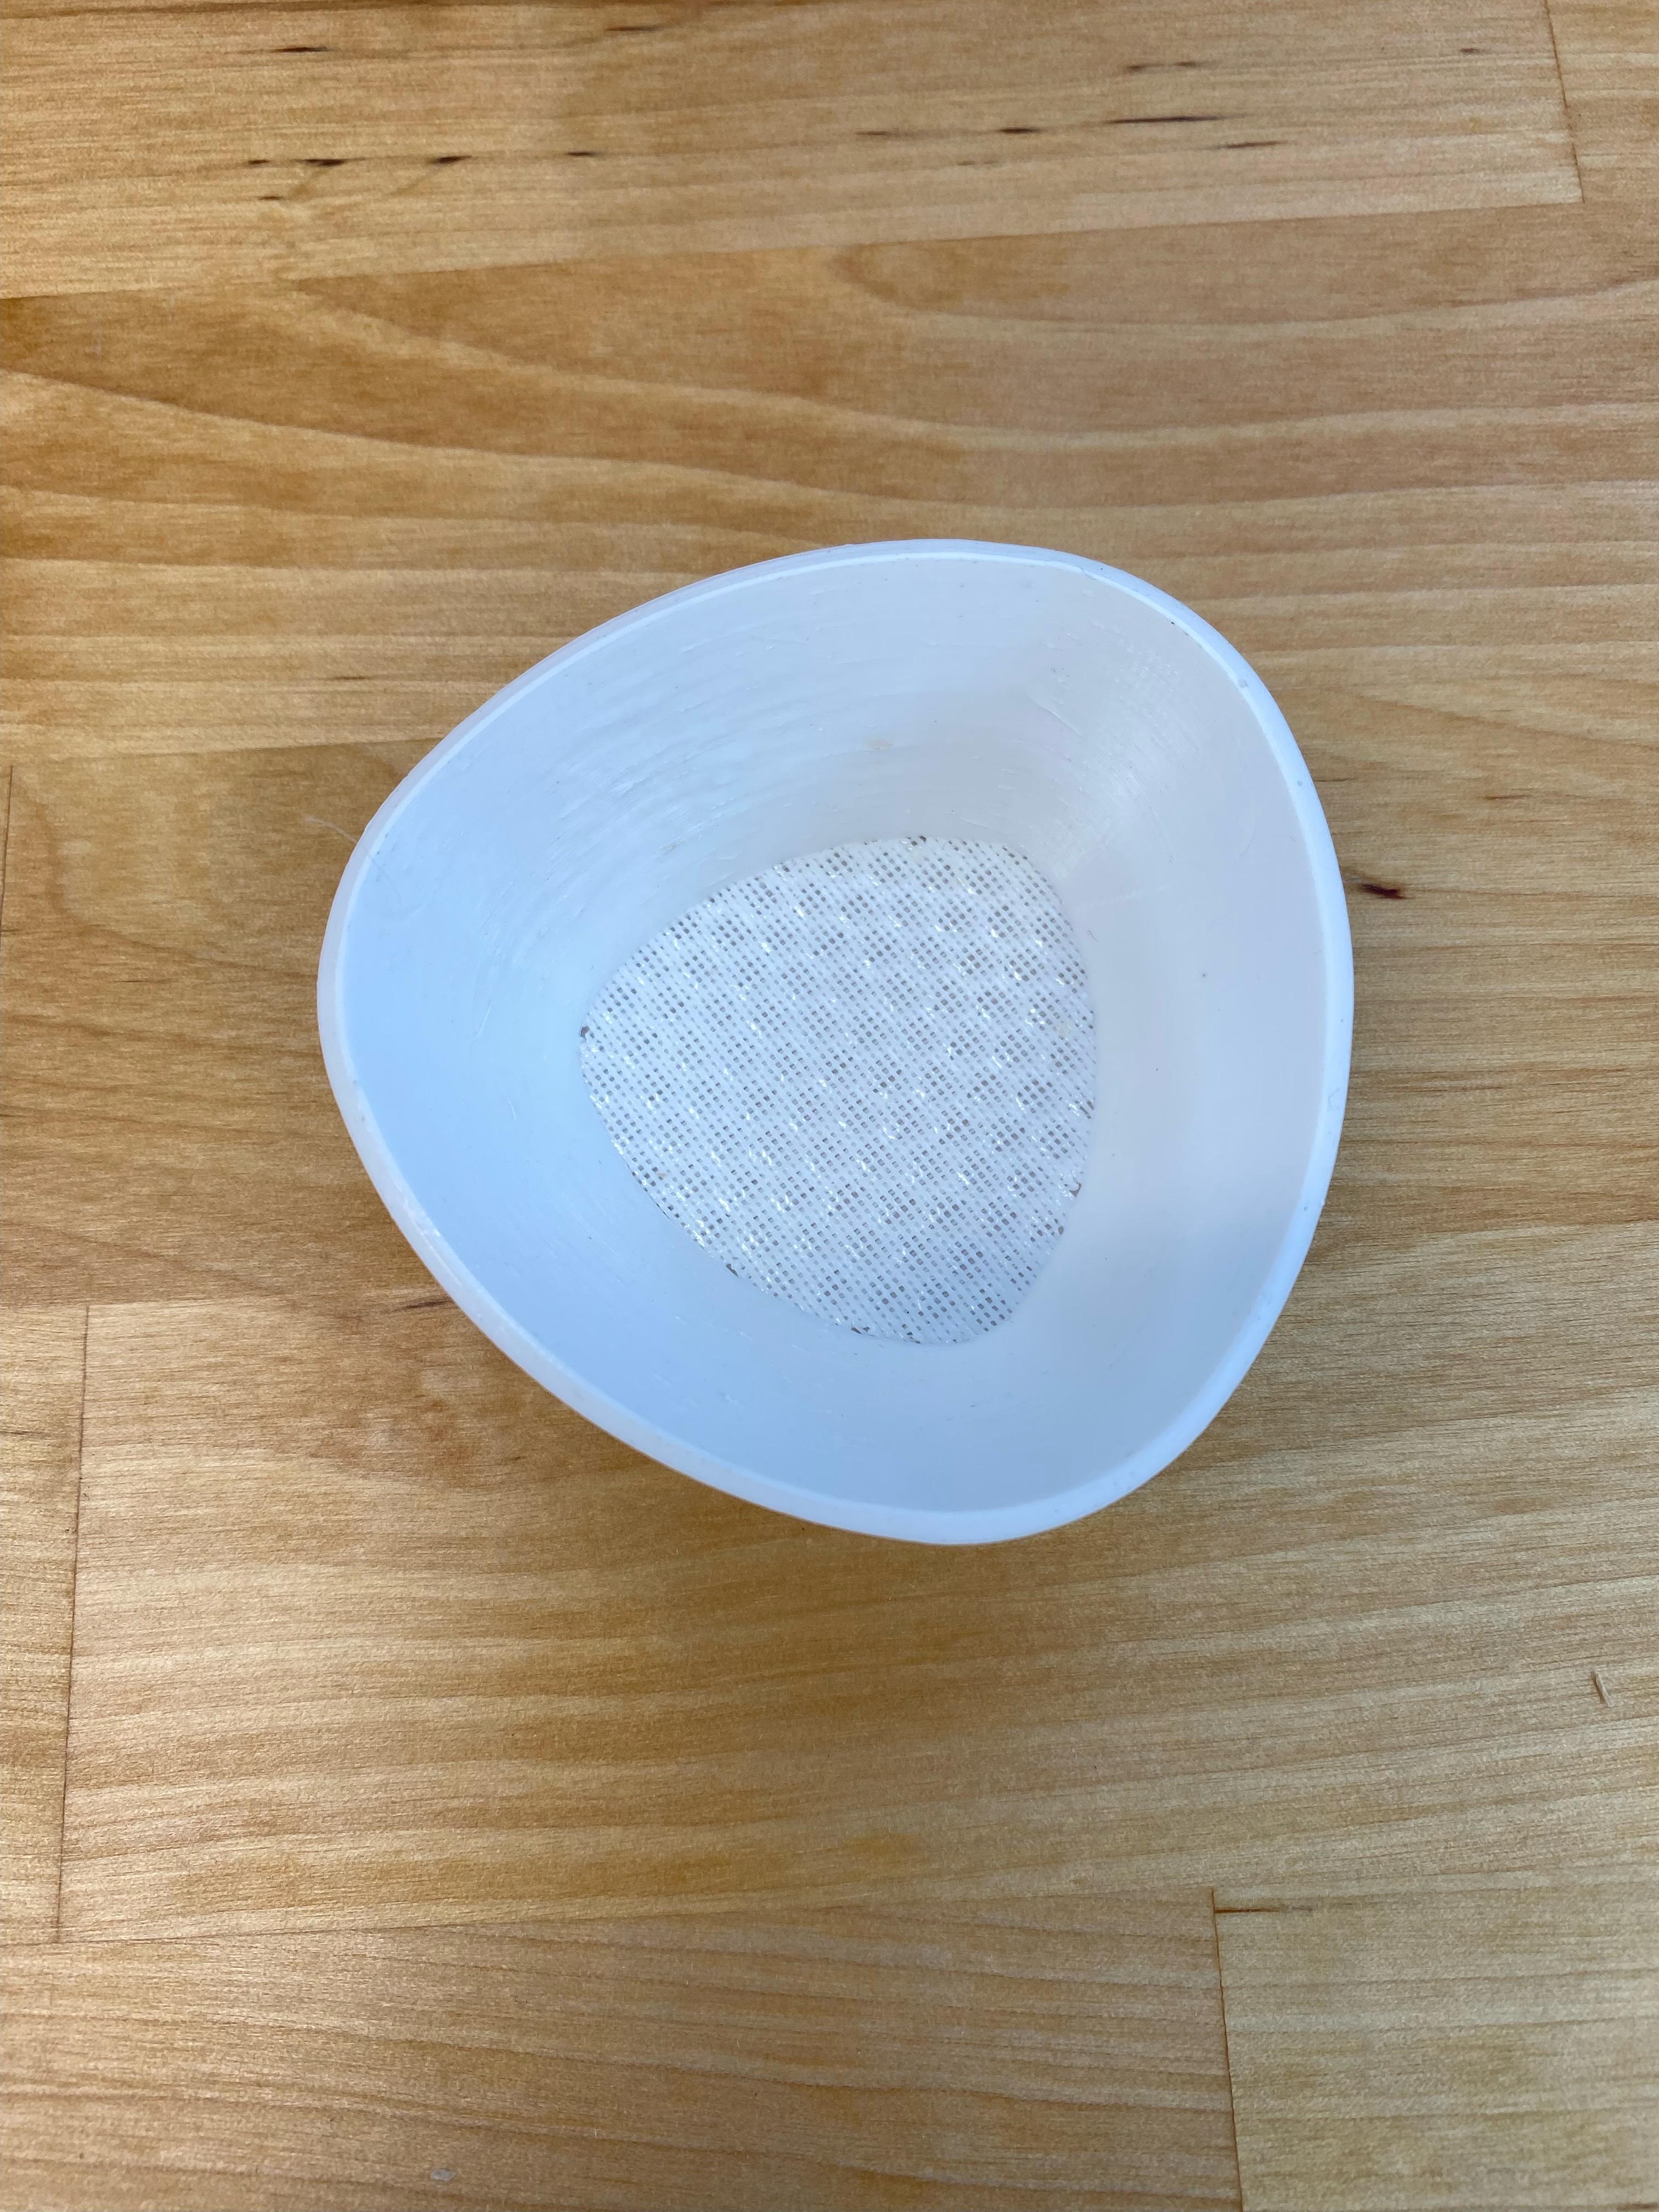
Of course you can also 3d print the bowls from the Fusion 360 mesh files! I’m showing one small trircle bowl, just for fun!
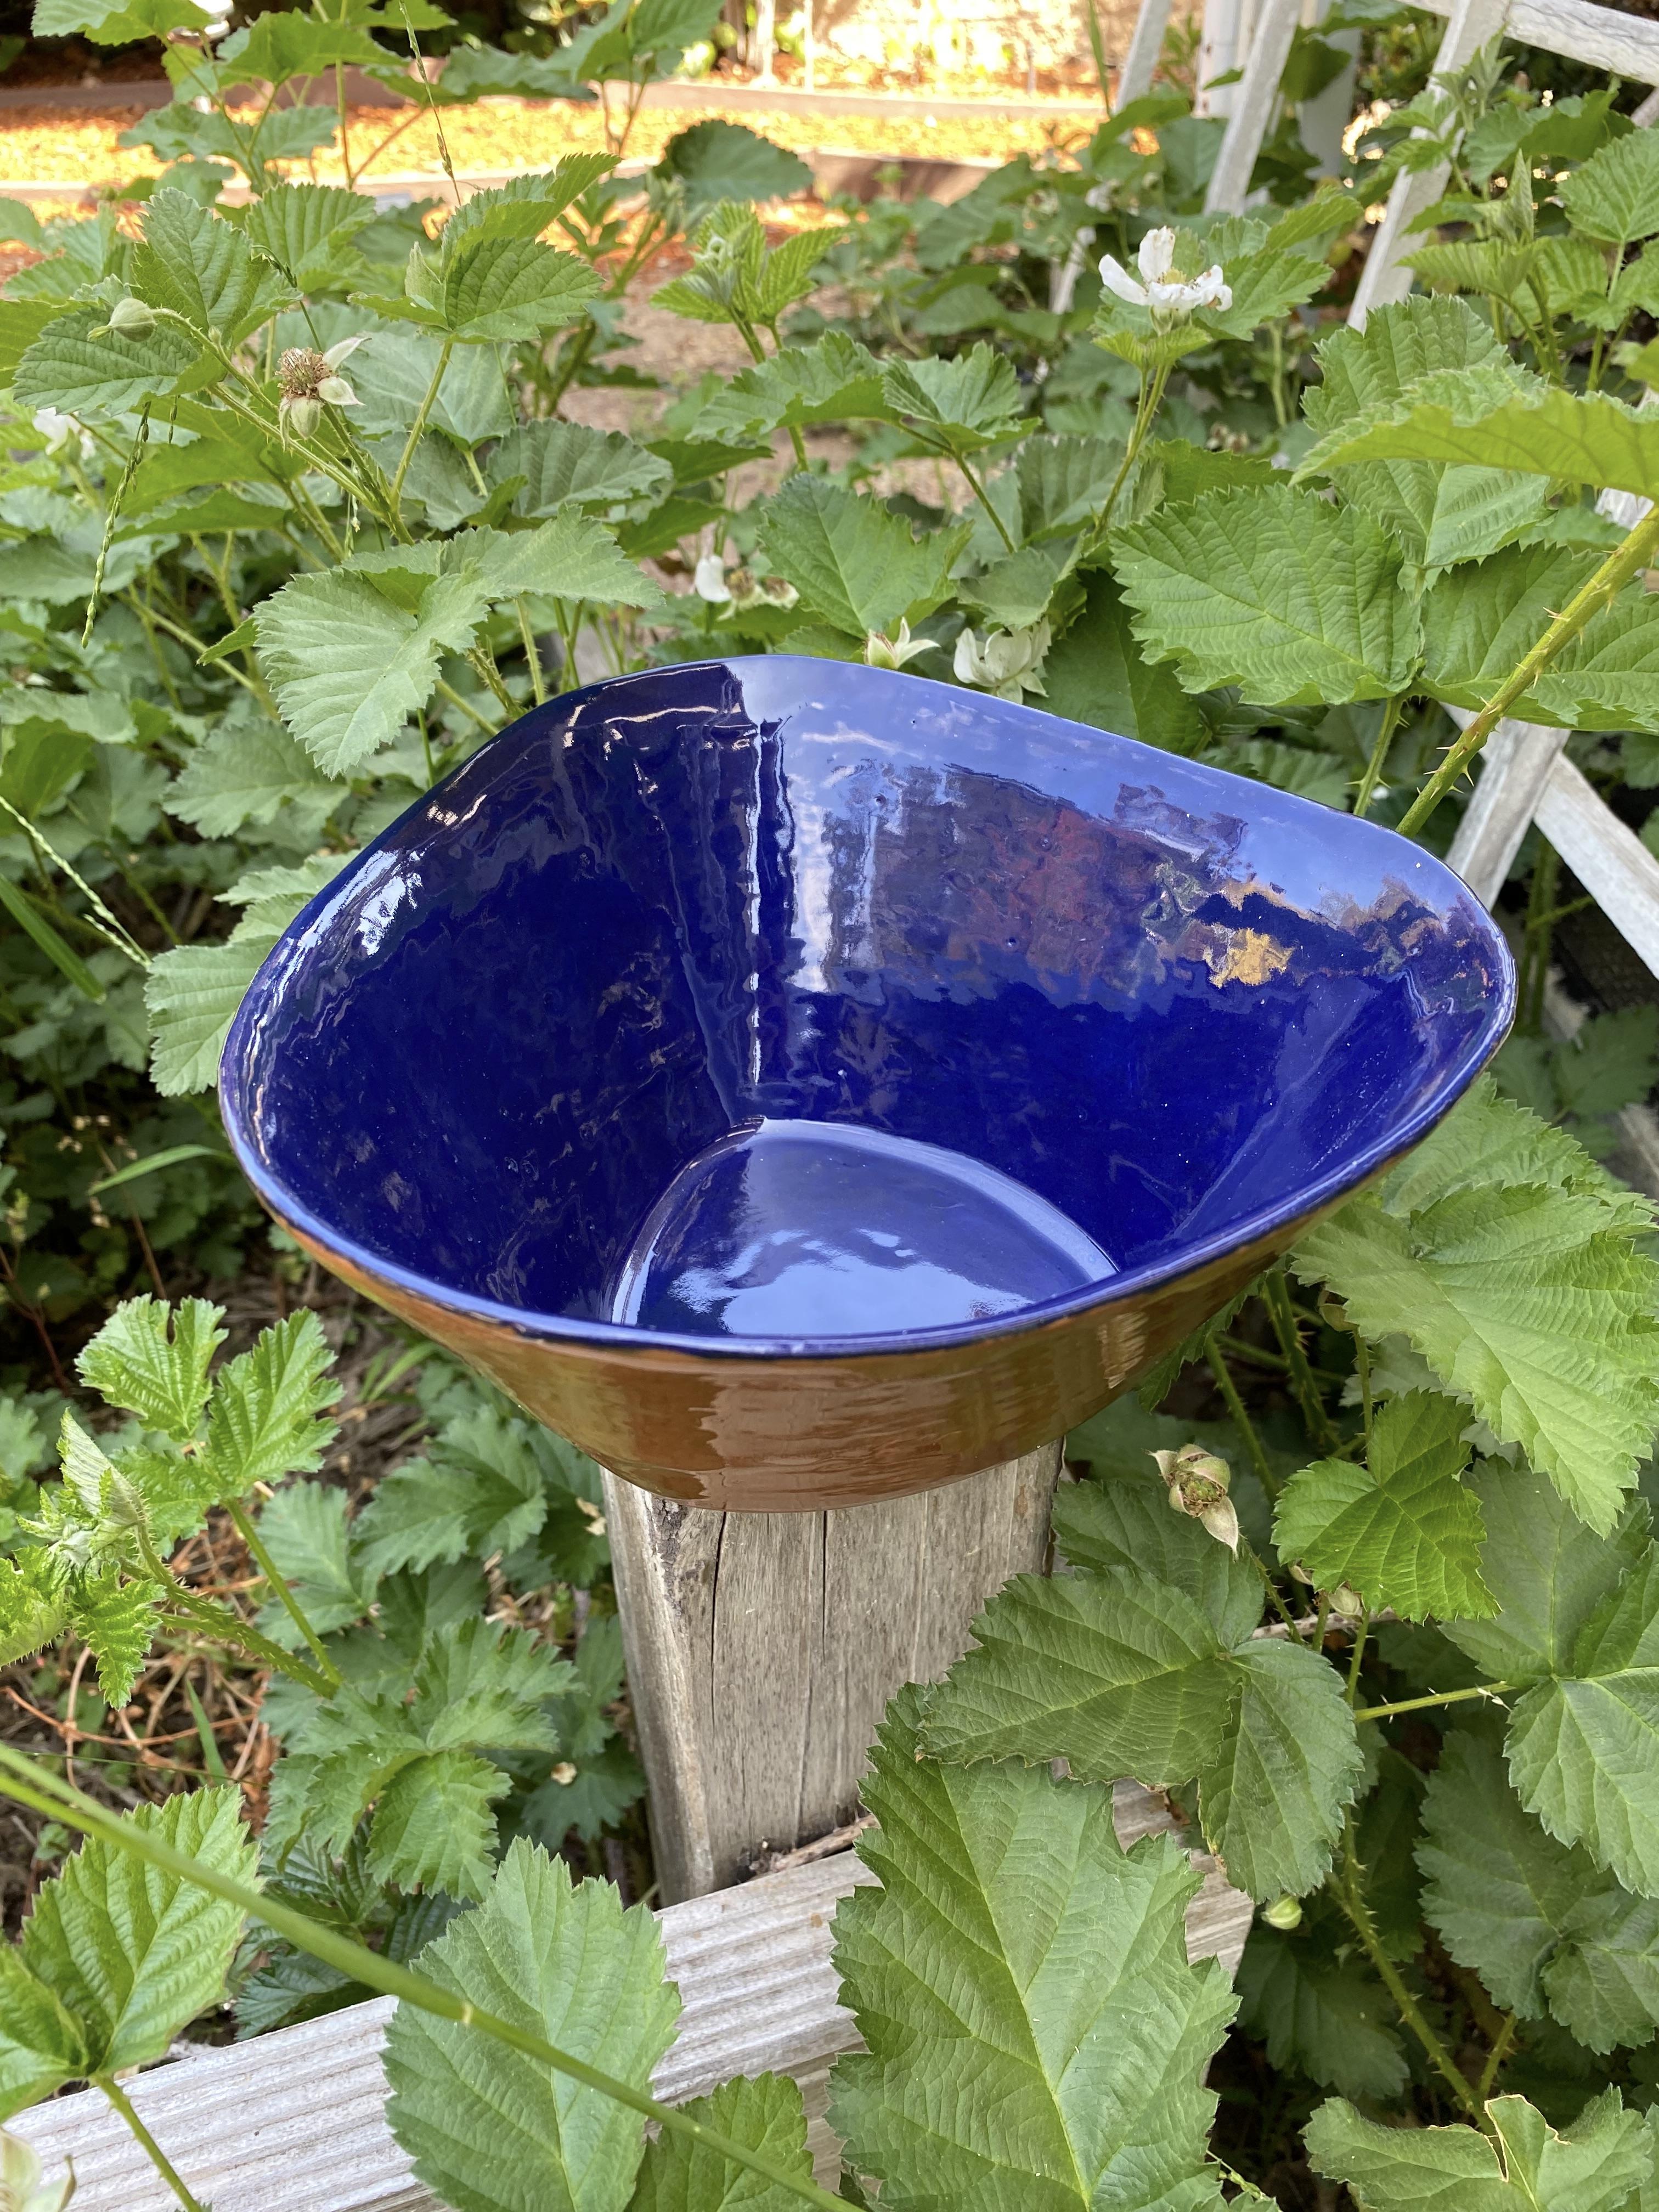
And the last picture is a ceramic bowl made with the help of a wooden trircle mold.