Tribal Print Design
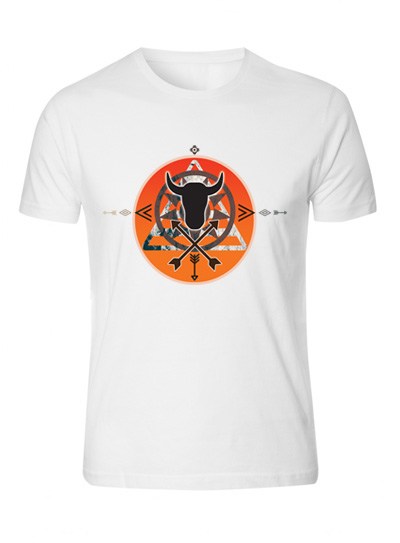
Interested in Tribal Art?
Wanna create a cool T-shirt to sport your love for tribal print?
Here's how you can make a funky t-shirt in 15 simple steps.
All you are gonna need is Photoshop and Illustrator software and some inspiration.
Let's get started.
Downloading Free Goods From the Creative Market
Download the Tribal Icon Set and Shirt Design Texture Pack from the creative market here, for free.
On unzipping the folder Tribal Icon Set, you will find Tribal-Icon-Set-Brown.ai and Tribal-Icon-Set-Tan.ai. Open them.
Creating a New File
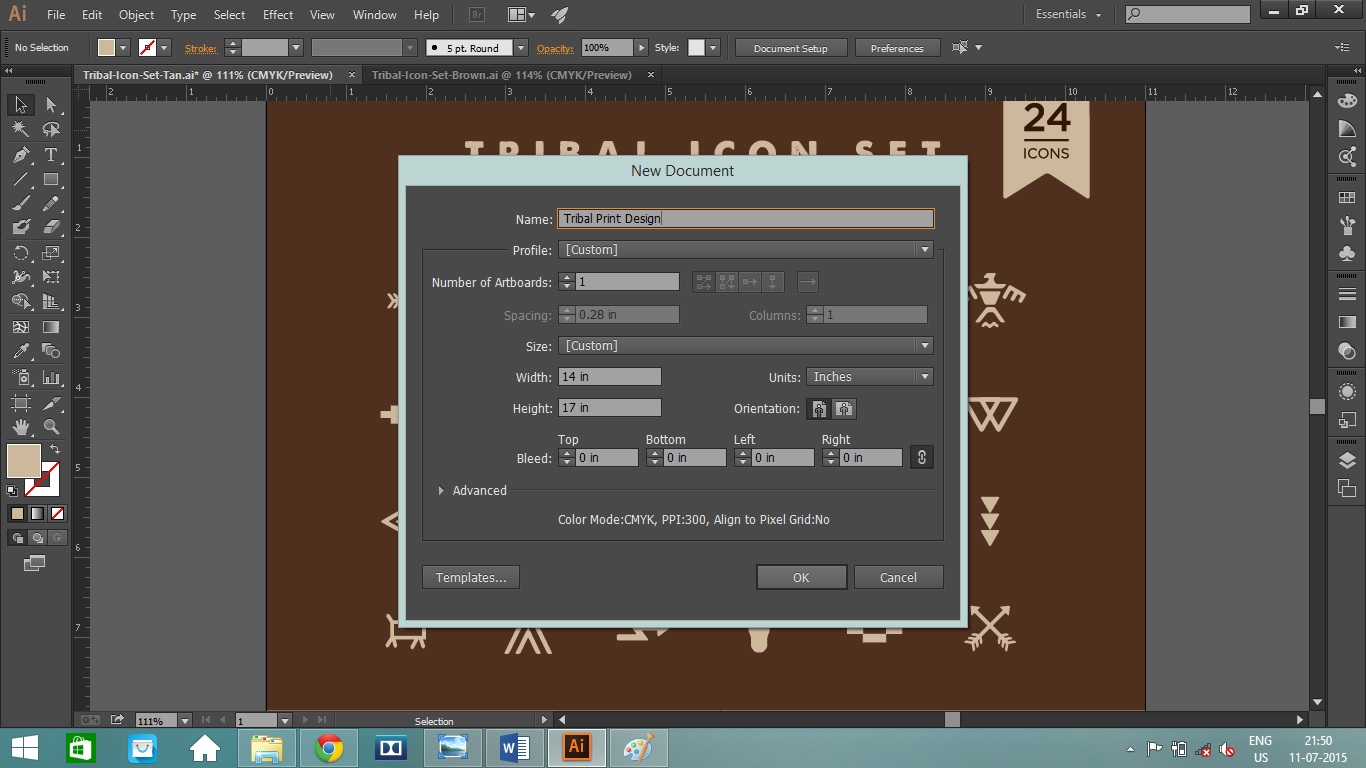
Create a new Illustrator file with 14in x 17in at 300dpi as the file size. This size serves well for a t-shirt print.
Setting Up the File
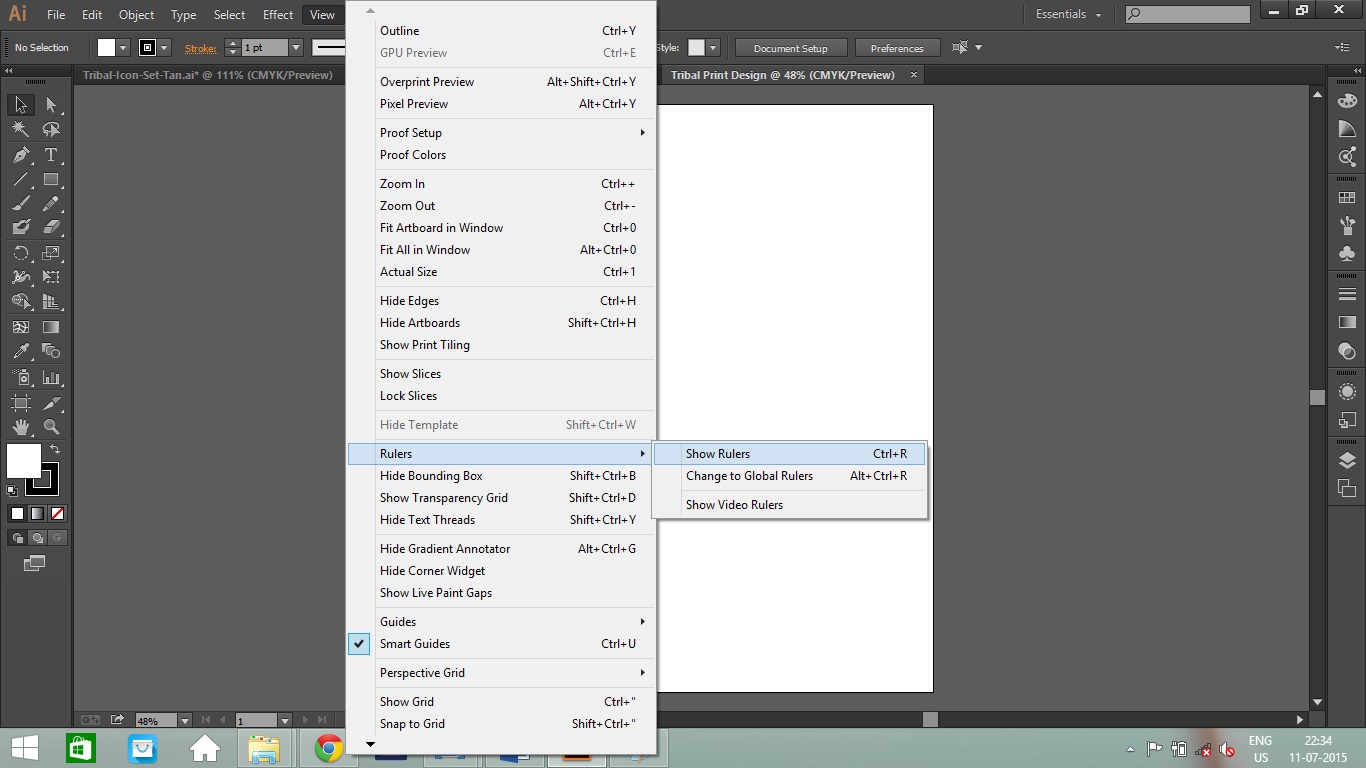
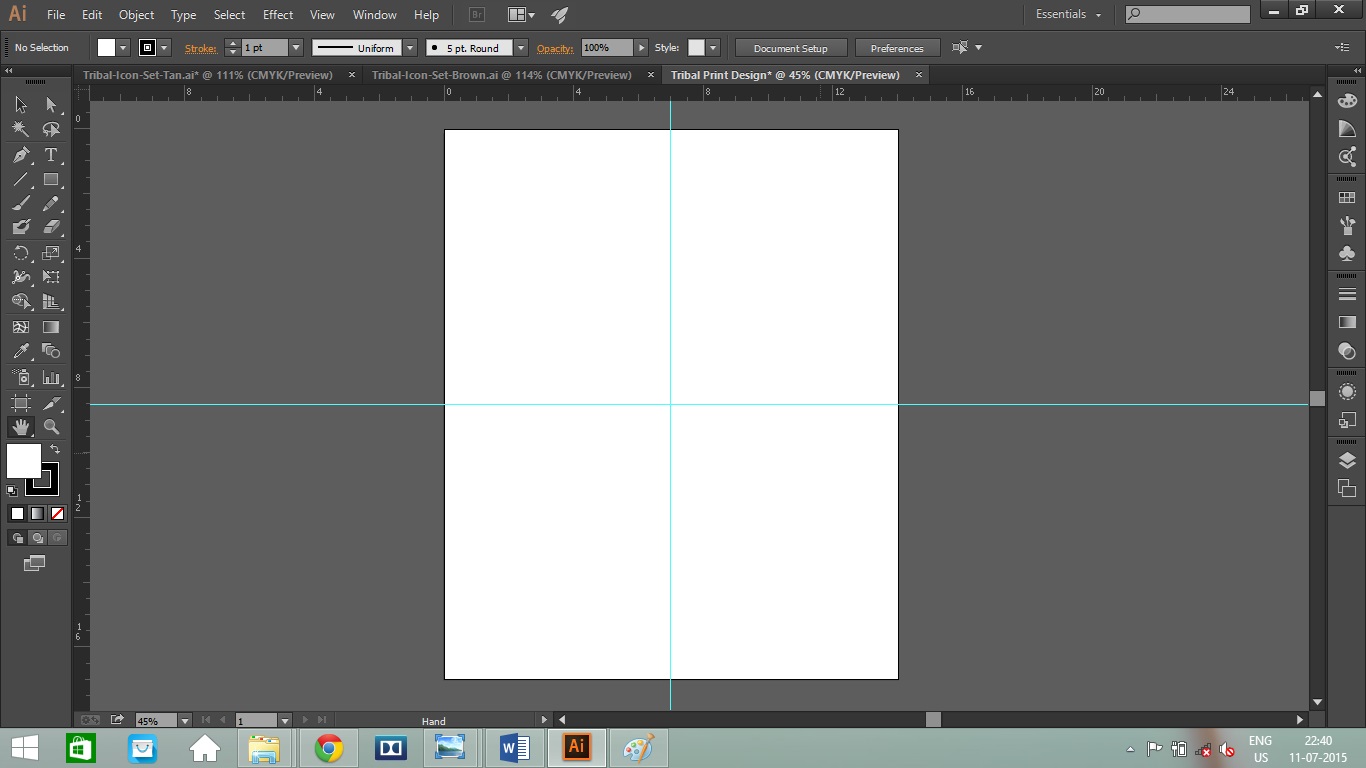
Using the free vector tribal designs, we will create a unique tribal print. Go to the new file you have just created. I like my designs to be exactly in place, thus I recommend using Guides. If the Ruler is not visible in your workspace, go to View – Rulers – Show Rulers. Hover your mouse over the vertical ruler and drag out a guide, leave it at 7 inches. Similarly hover over the horizontal ruler and drag out a guide at 8.5 inches. Also ensure that your Smart Guides is turned on (Ctrl+U).
Starting Your Design
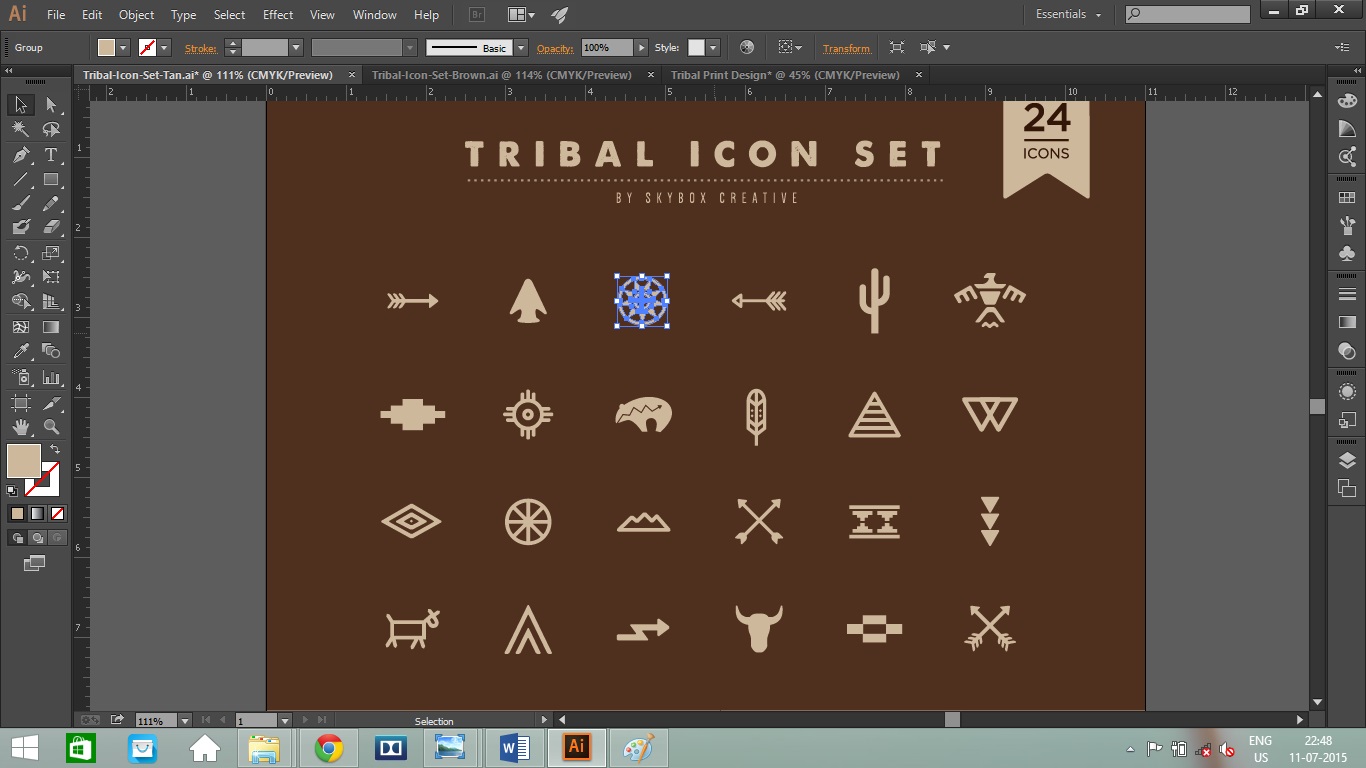
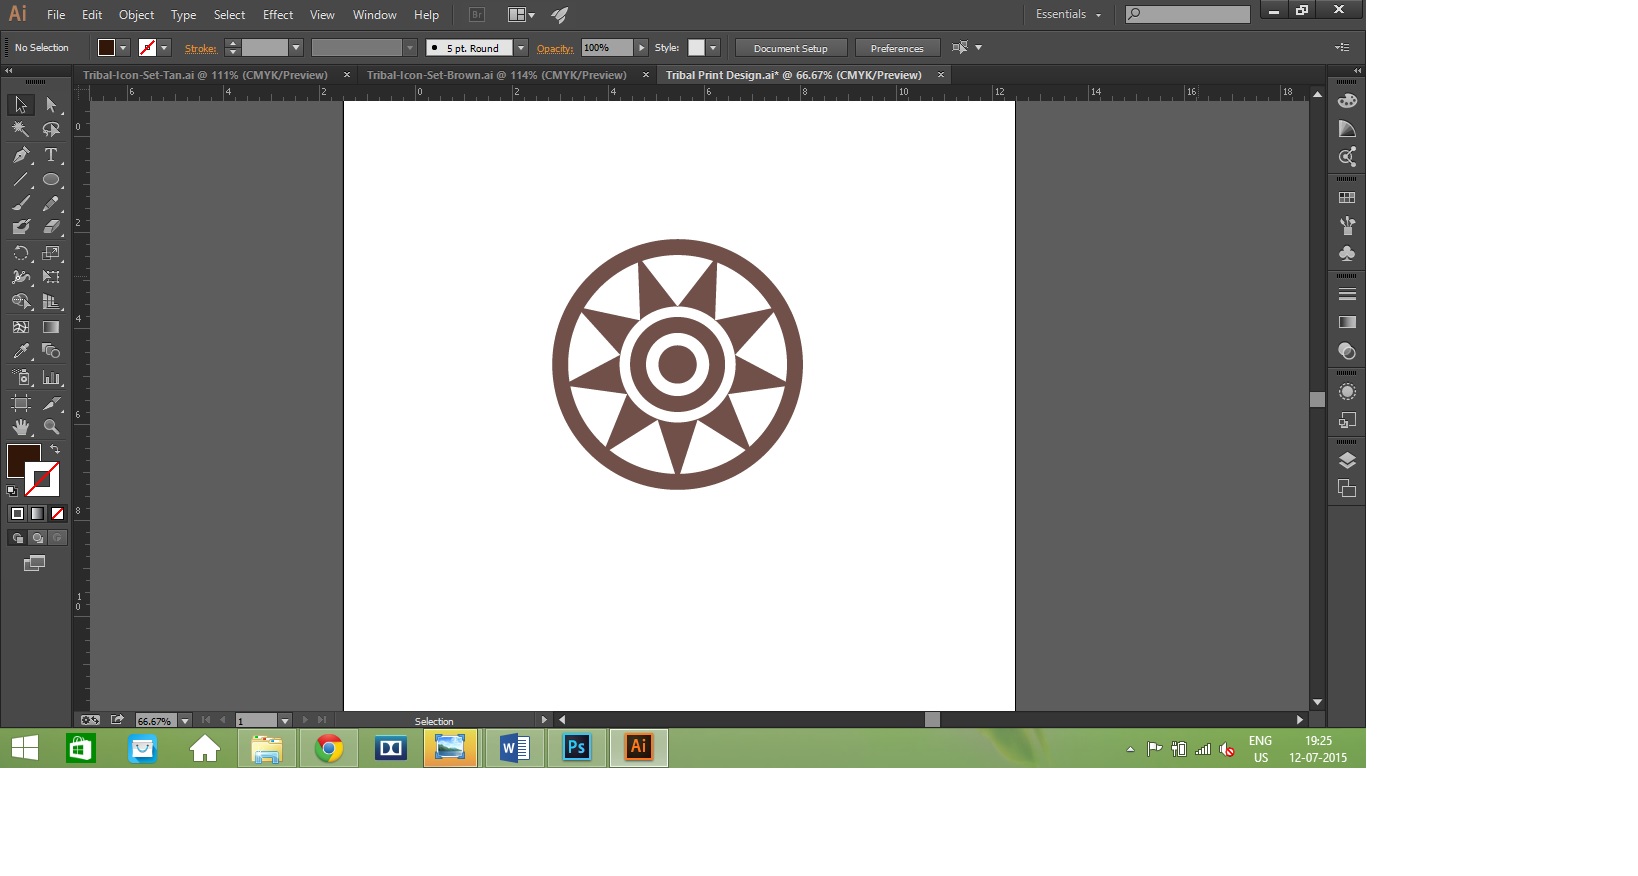
Now the real job starts. Go to Tribal-Icon-Set-Brown.ai and using the Selection tool (shortcut-V), click on the third icon and press Ctrl+C to copy. Then go to your Illustrator file Tribal Print Design and press Ctrl+V to paste. To resize, drag one of the corners of the bounding box while holding down shift to maintain the proportion and avoid distortion. Click and drag anywhere over the design to reposition.
Organising and Adding Details
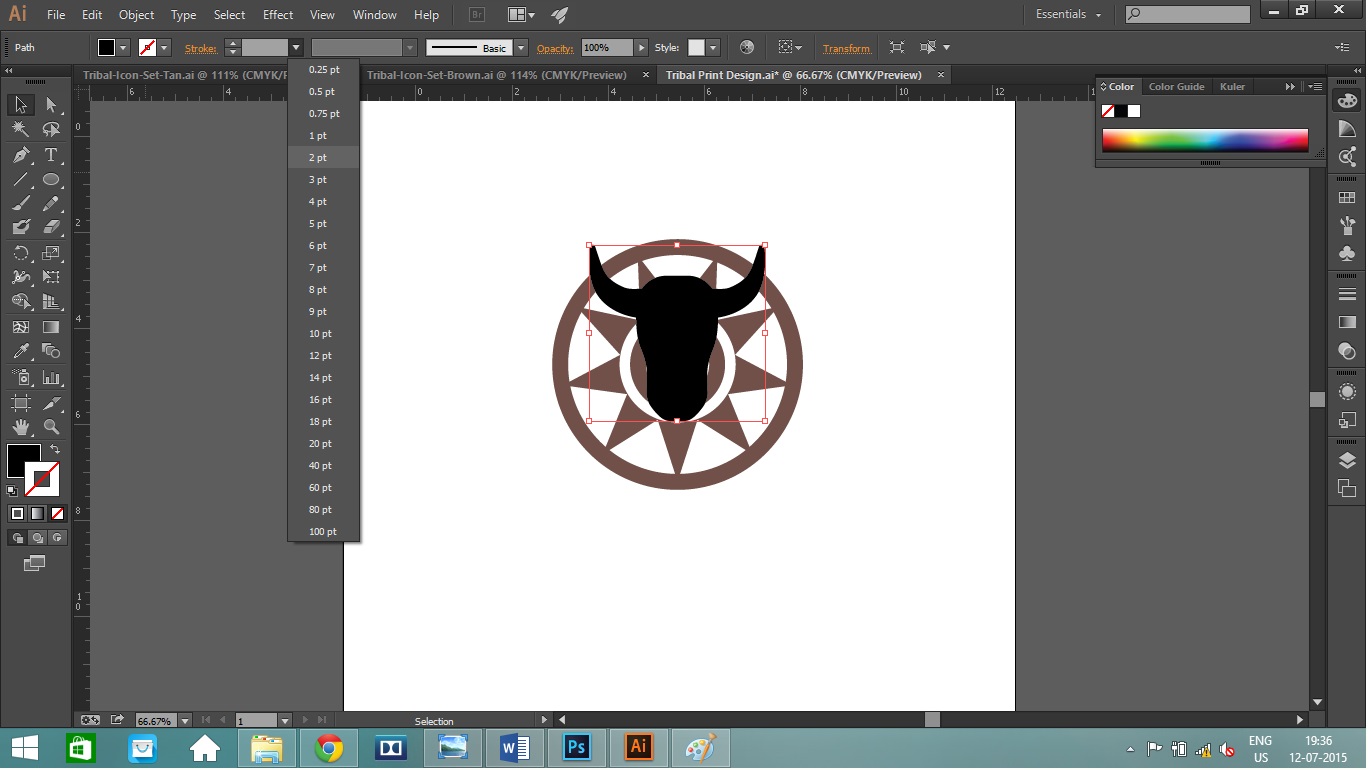
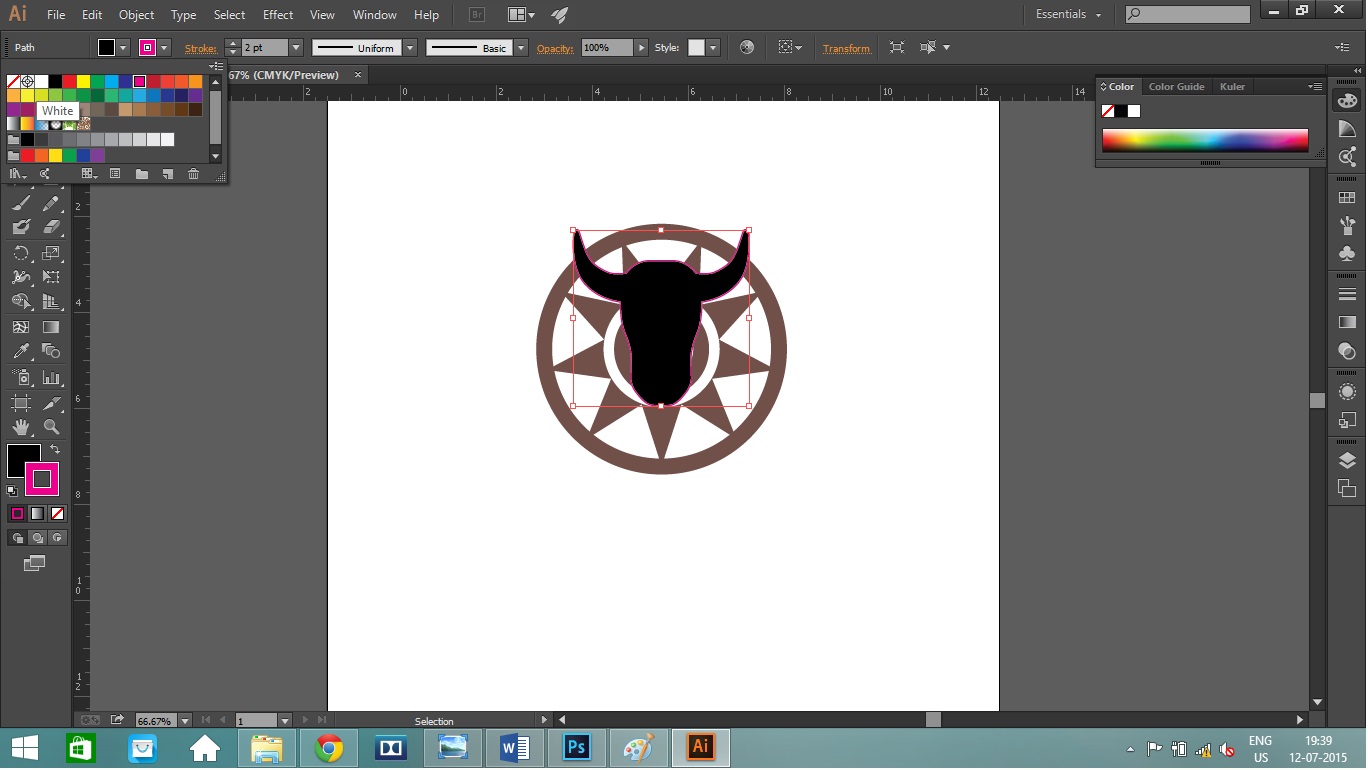
Create a new layer. I would suggest to keep all the different icons on a separate layer so that editing is easier. Also rename them for convenience. Using the same way as previously mentioned, copy and paste the buffalo icon on your file. Resize it to about 2/3rd of the circle and place it at the centre or as desired. I added a white ‘Stroke’ of thickness 2 point to the buffalo. To do this, first Select your object, then click on the Stroke icon box beneath the colour box on the left hand side panel. Then go to the panel under the menu bar and change the Stroke Width to two point. And the colour to white.
Towards the Next Step
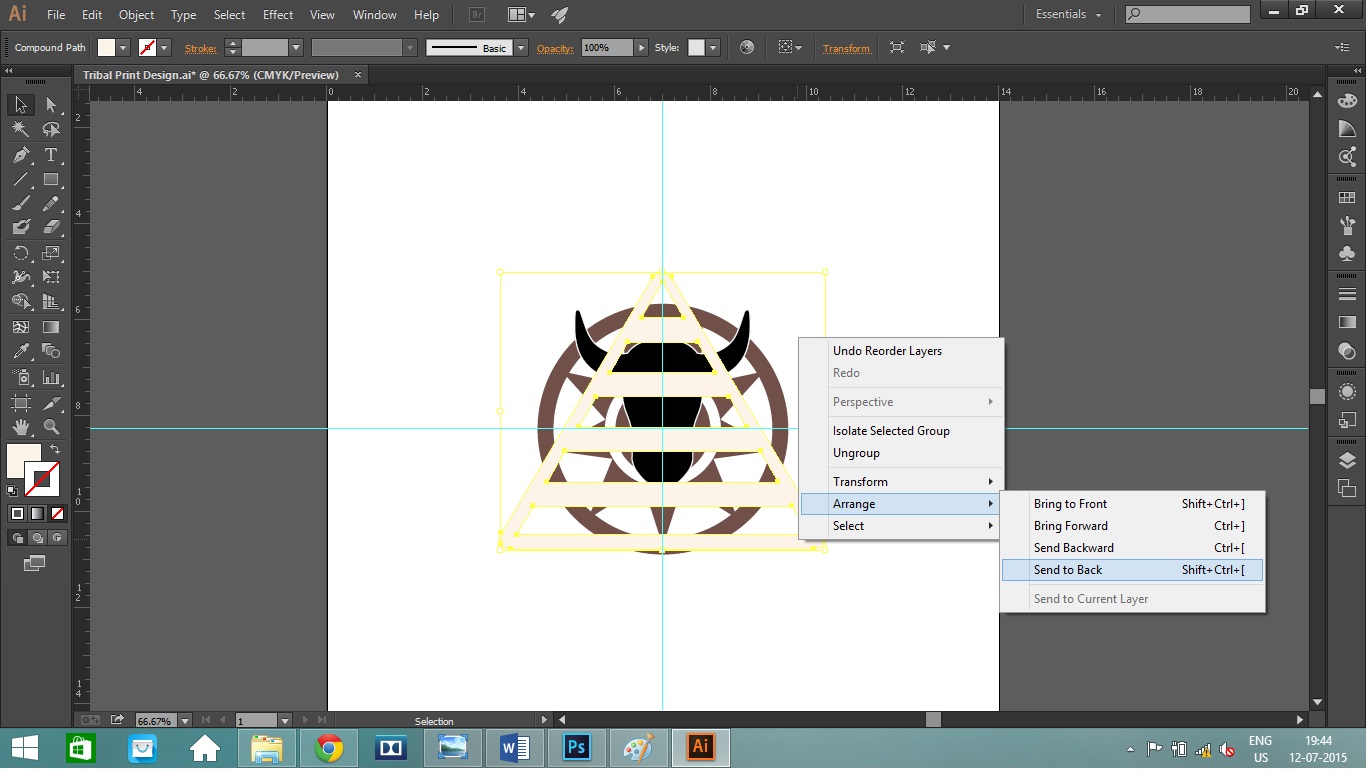
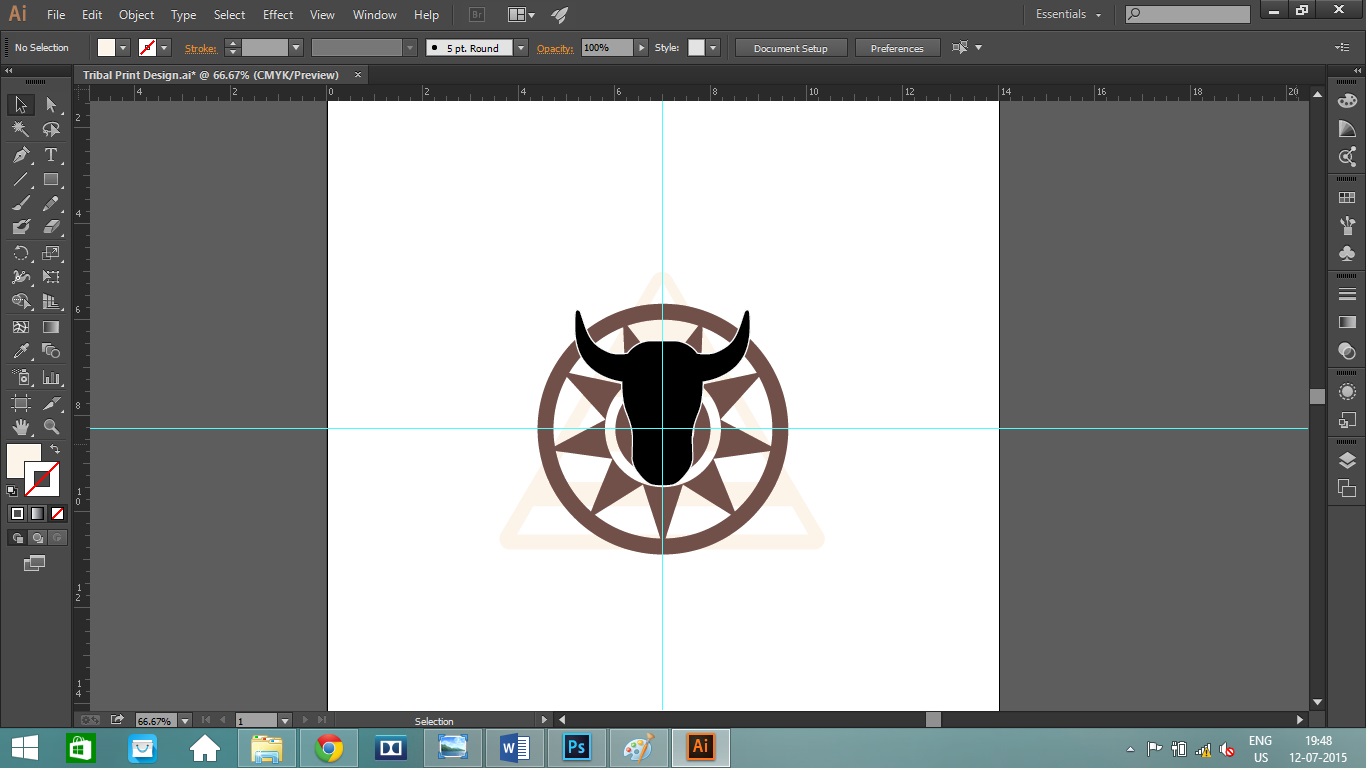
To make the triangle behind the bull, copy and paste the fifth icon in the second row from the Tribal-Icon-Set-Tan.ai file and resize. Now double click on the icon, this will allow you to manipulate the different parts of this icon. Drag the outer border inside to make it smaller. To send the triangle behind the circle, right click on the icon, choose Arrange, then choose Send to back. You can also do so by putting the layer under the two layers.
Almost There
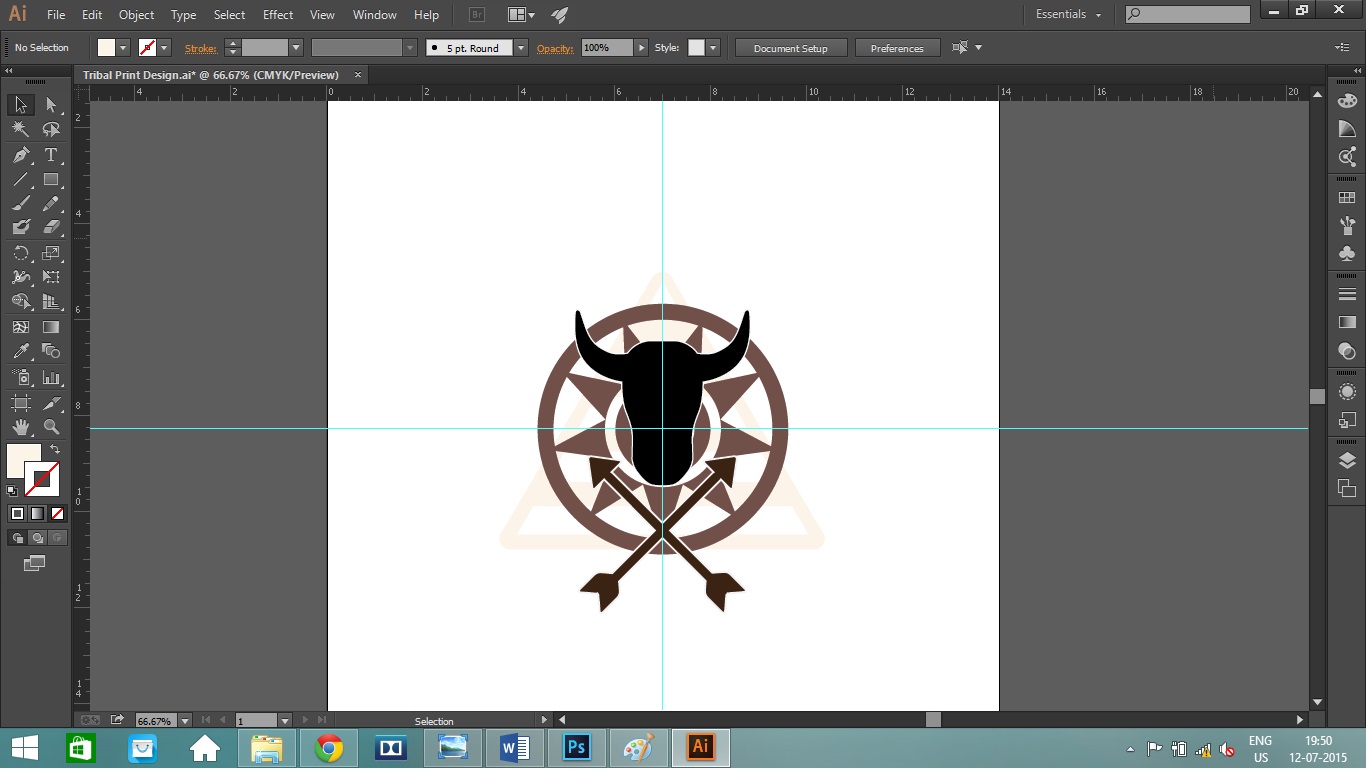
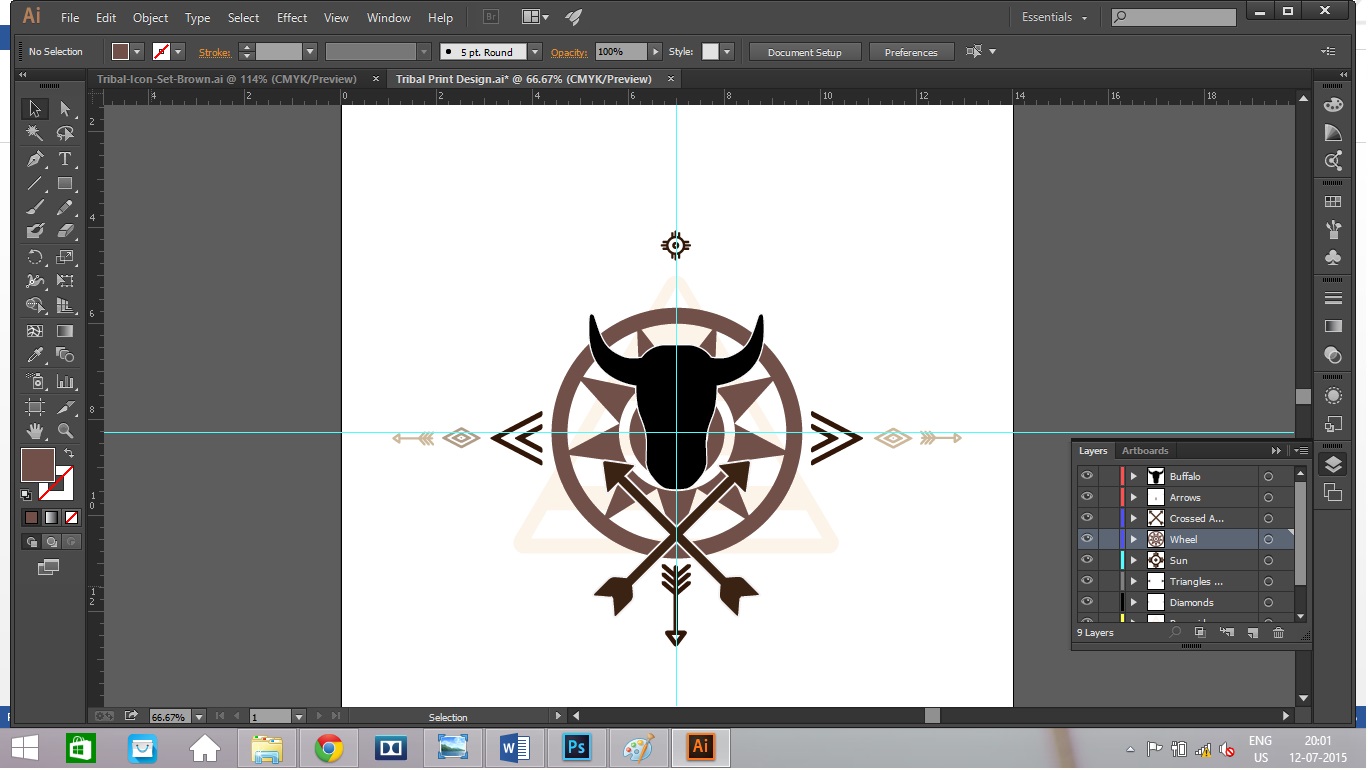
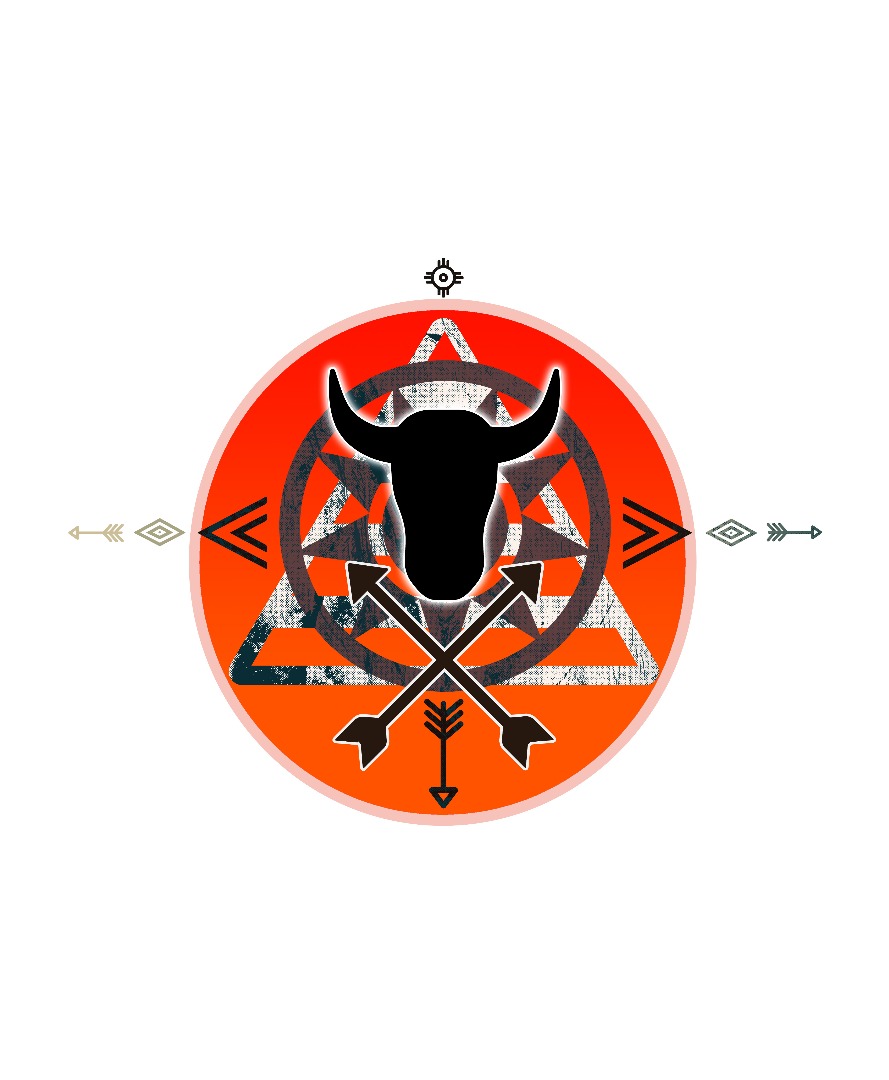
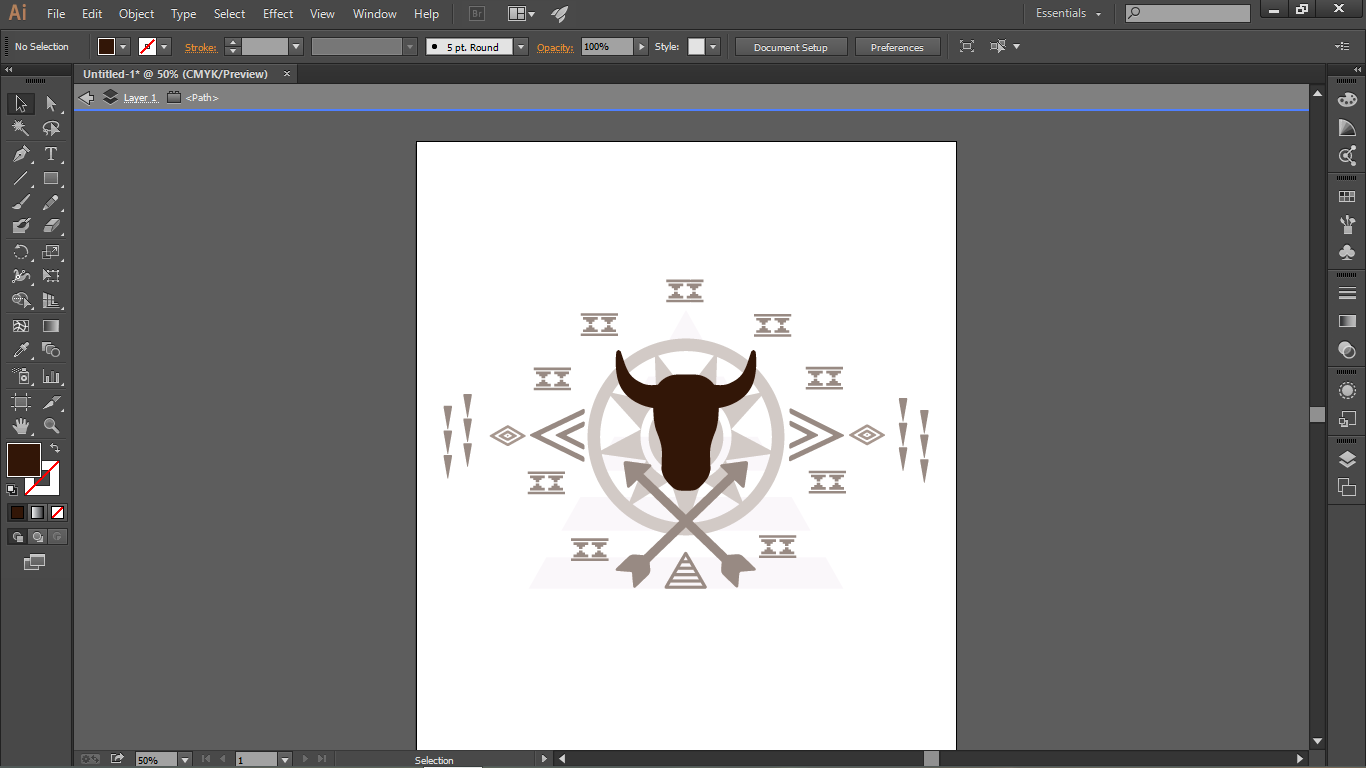
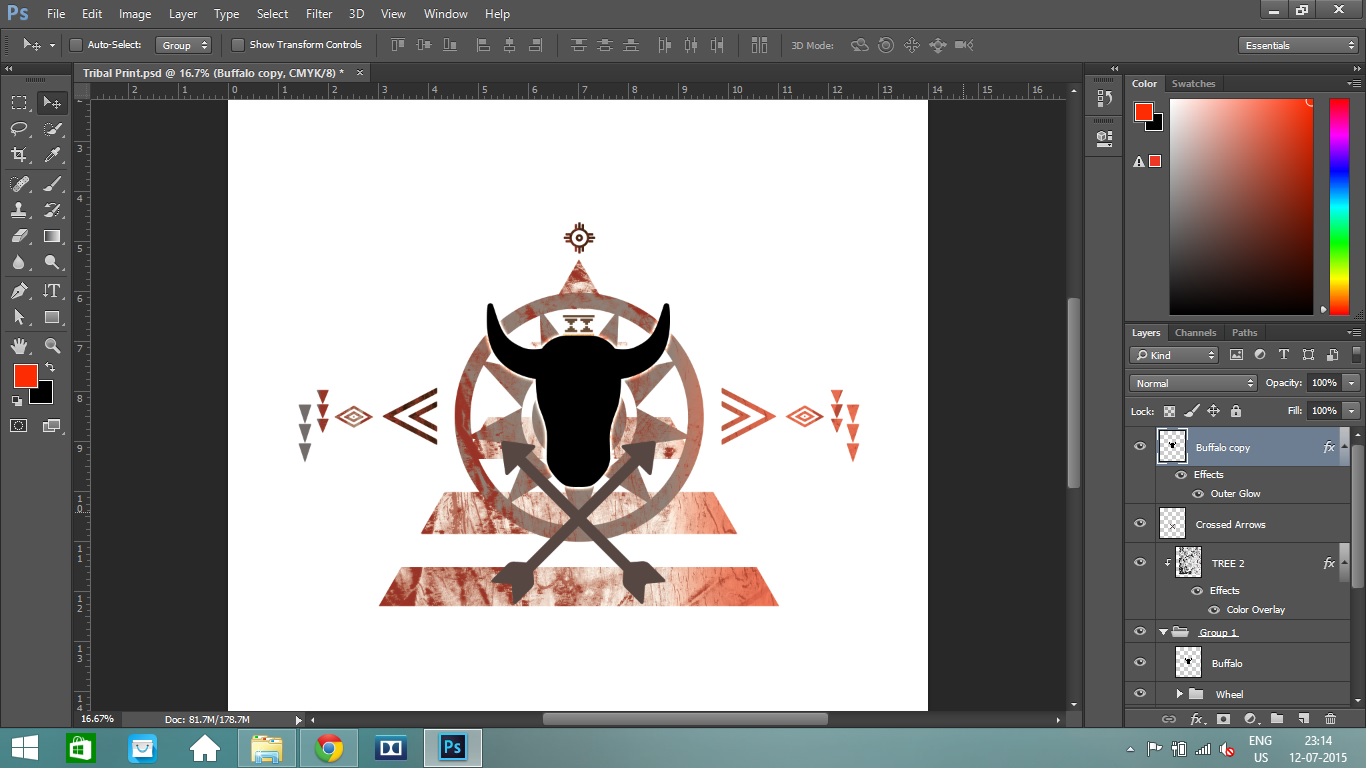
In the same way, add the crossed arrows and add a white stroke to it. Next copy the second icon in the last row. I pasted it twice and rotated it by 90 degrees I opposite direction. I added the diamond shape design beside it. I did the same with the arrows and made it point in different directions by rotation. I completed my design by adding the second icon from the second row at the top. In the picture attached, you can see how I have added the different icons on different layers.
Complete Your Design
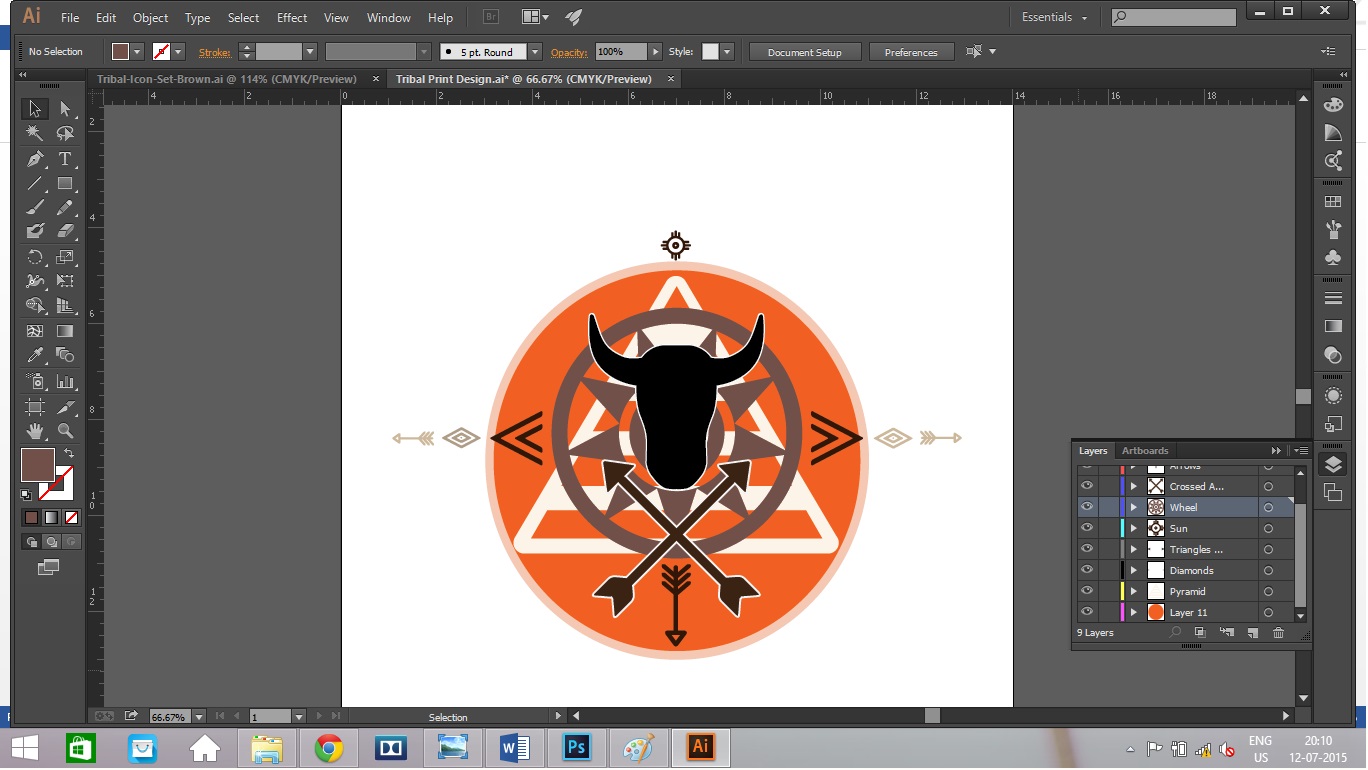
I created two circles to complete my design. To make them, select the Ellipse tool from the tool box on the left panel by right clicking on the rectangle icon in the second column. Then holding down Shift and Ctrl drag a circle of the appropriate size. Reposition and change its colour. Voilà! Your basic design is ready. You may design it the same way I did, or create your own version. Also, You can choose to get this printed or you can define it further by adding some texture.
My design has the buffalo at the centre which symbolises abundance, strength and stability, while the circle around it depicts hope. Containing these powerful qualities is the Teepee, meaning home; it is the triangle icon at the base of the design. The crossed arrows are the symbol of friendship. The two upturned V shapes represent Thunderbird track or bright prospects and the diamond shape symbolises wisdom. The arrow pointing to the left means warding off evil, pointing to the right means protection and the arrow pointing down signifies peace. The Sun at the top completes the design and is a symbol of happiness.
Exporting the File to Photoshop
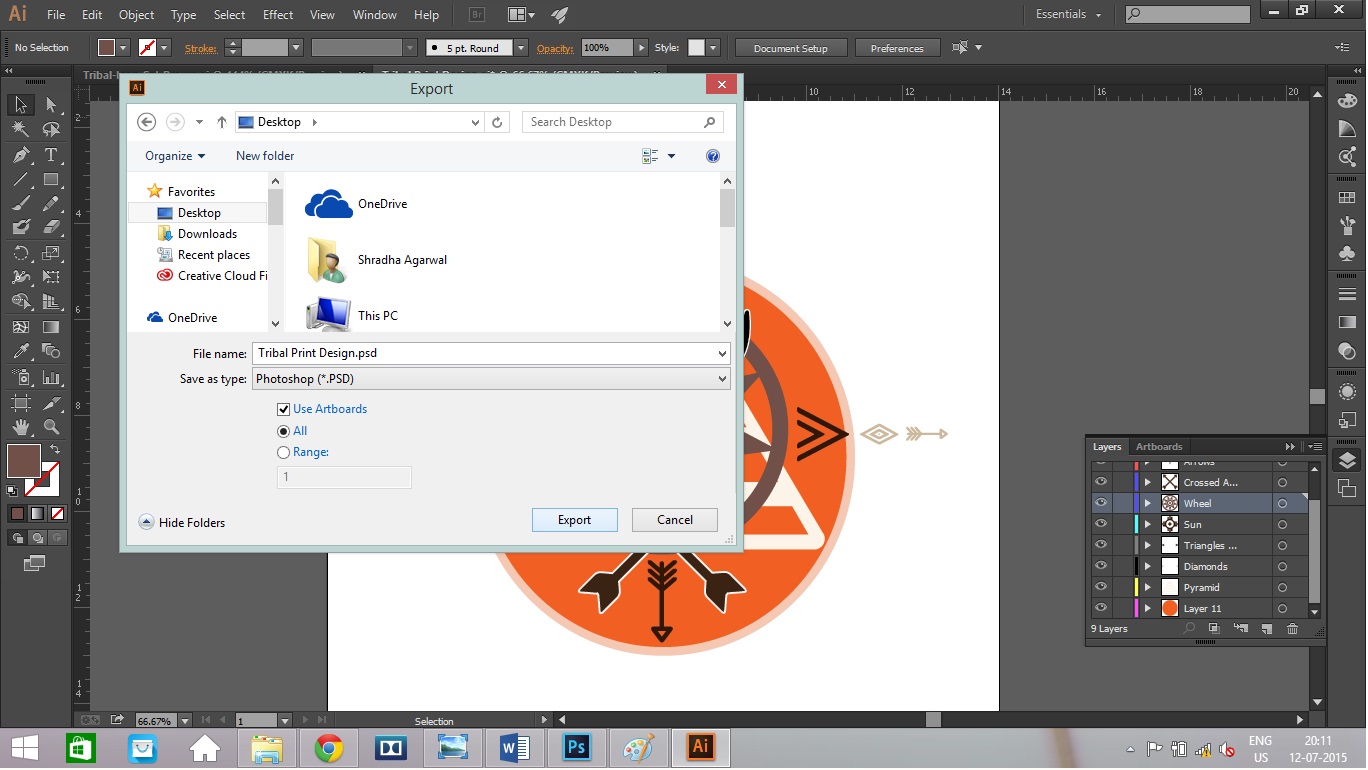
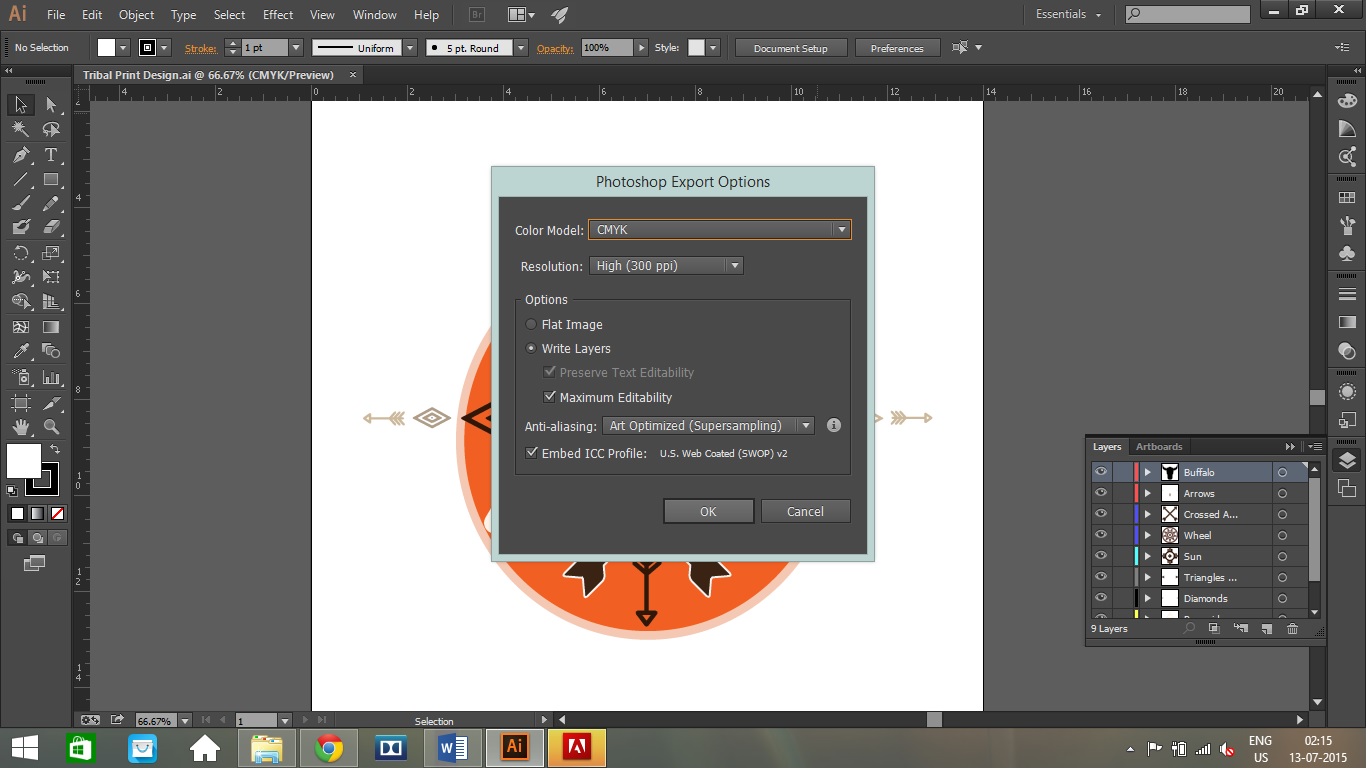
Next step is to export this file to Photoshop while retaining these layers. To do so, go to File – Export. A dialog box will appear. Choose your location and add a file name. Under the Save as category, select Photoshop and check Use Artboards, then click on Export. A Photoshop Export Options dialog box will appear. Select Write layers with Maximum Editability and Anti-aliasing as Art Optimised. Click Okay. Your file will be exported at the specified location.
Choosing Your Texture
Open your Photoshop file. Also open TylernuTextures.psd from Shirt Design Texture Pack. Hide the Turn off Layer to see the textures by clicking on the 'eye' on the left side of each layer tab. You will see many textures in the Layer panel. Hide all but one to see each texture. Choose the one you like. I like Ice and Tree 2.
Designing and Merging Layers
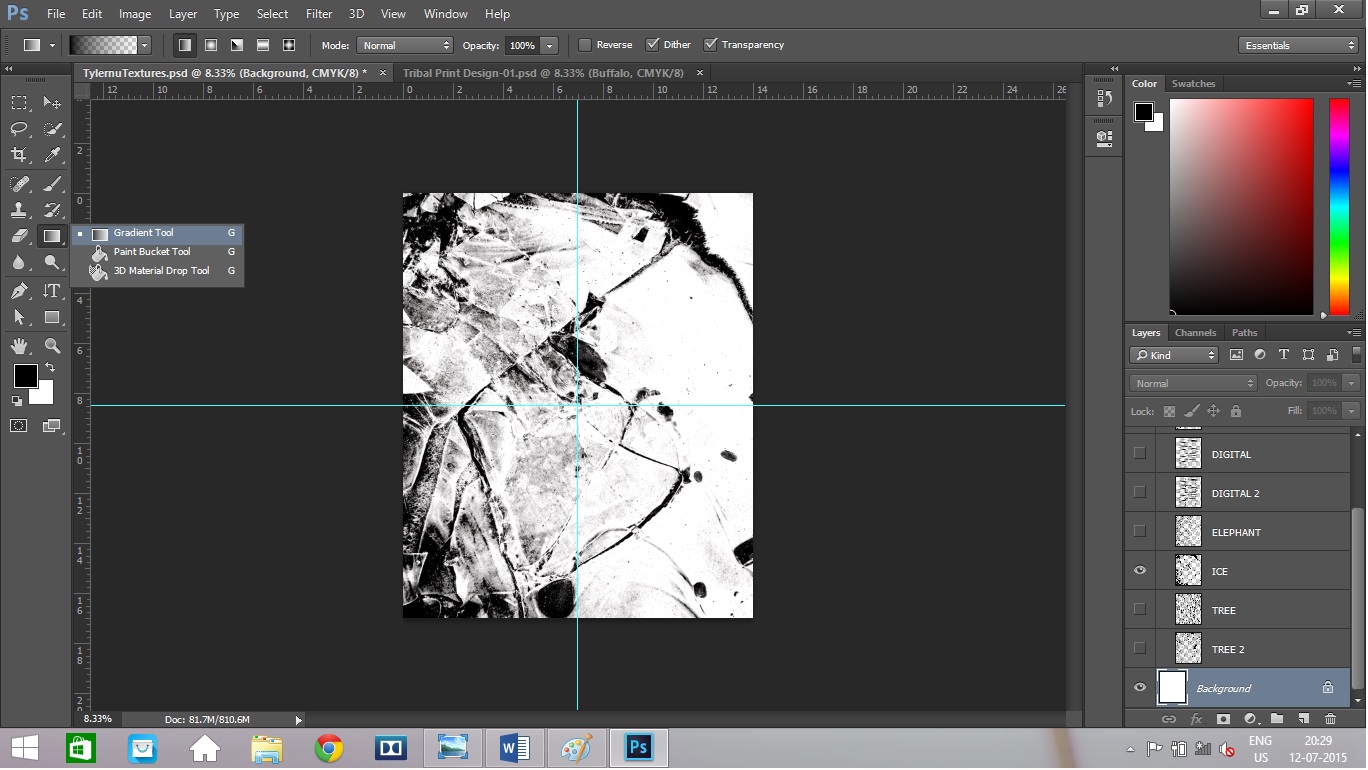
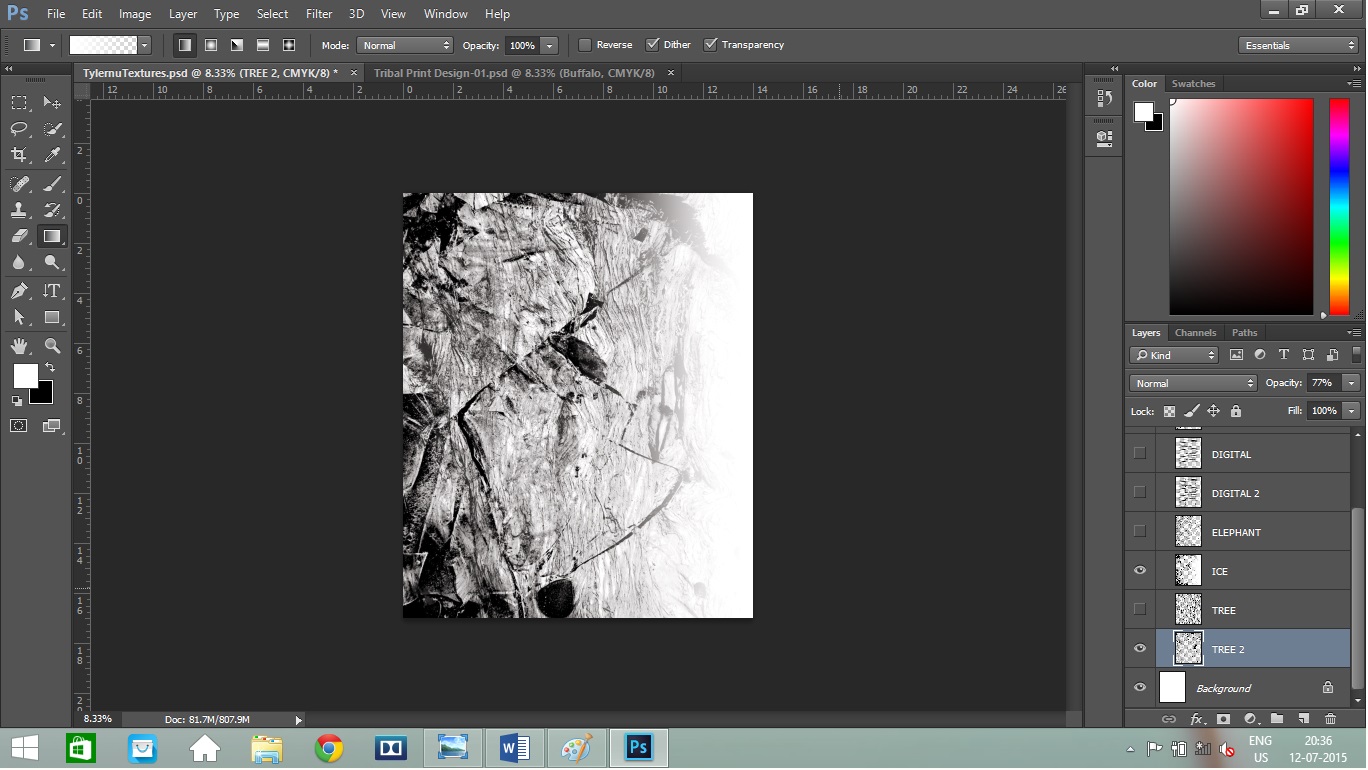
Select the Ice layer. Then choose the Gradient tool from the tool box on the left hand side. (Right click the 6th tool in the second column to choose). Make sure the gradient style is white to transparent (visible at the top under the Menu bar). Then click and drag from the right side of the image till the centre. Press shift while doing so to make the gradient straight. Repeat twice or thrice until you are happy. Turn on the tree 2 layer and reduce its Opacity to 77%. Your texture is ready. Delete the rest of the layers and merge these two. You can save a different copy of the file if you wish to use other parts of it later.
Using Clipping Mask
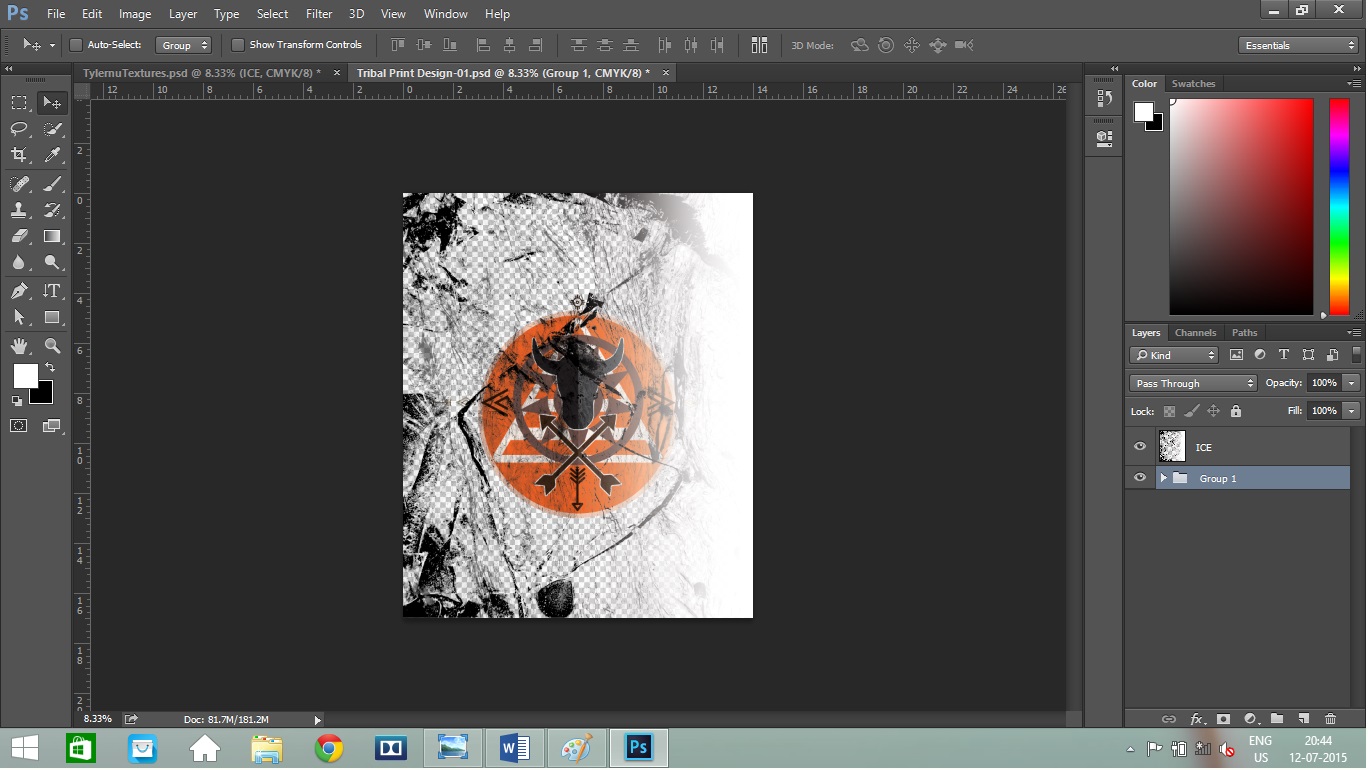
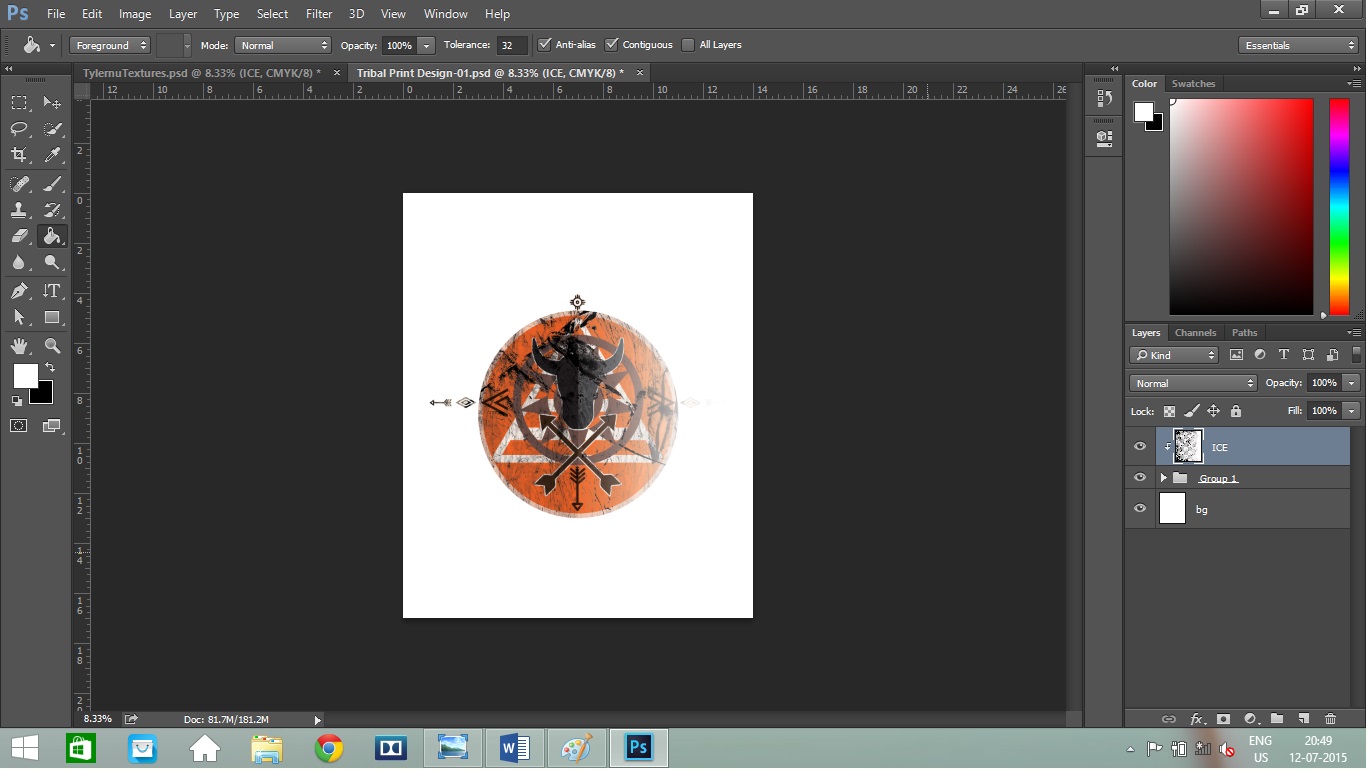
Press V. Using the Move tool select this layer and drag it on to your Tribal Print Design Photoshop file. Place it properly. Select all the layers except the Ice layer you just imported and press Ctrl+G. This will group them. Create a white background layer and put it under the two layers. With the Ice layer selected and the Group with your design right under it, press Alt+Ctrl+G. This creates a Clipping Mask and will show the texture only on the parts where your design is.
Removing the Texture From Selected Few Icons
I don’t quite like the texture on the buffalo, crossed arrow and the orange circle, so I will drag them out of the group to make them exist independently. This removes the texture from them. I placed the buffalo and crossed arrow on top of all layers and the circle under all except for the background in the order they were to be.
Minor Details
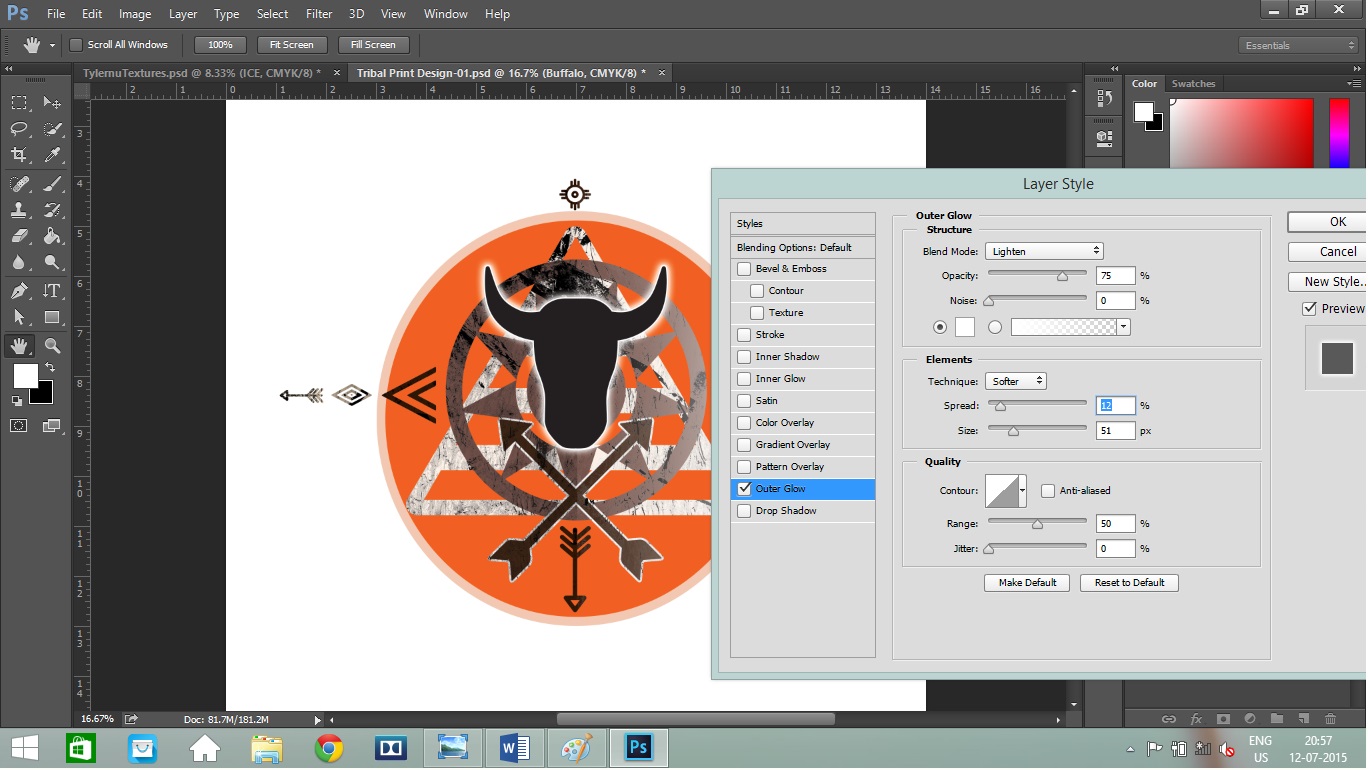
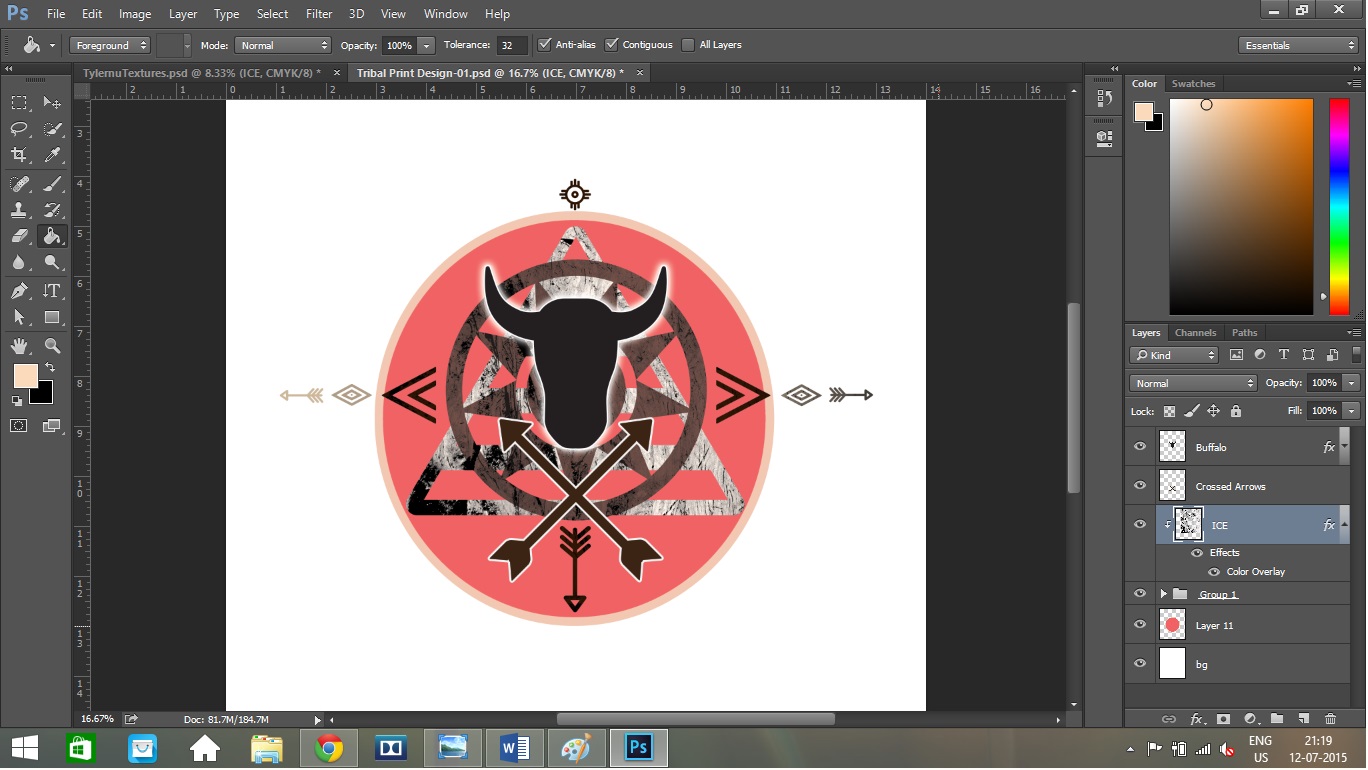
Double-click on the buffalo layer and select Outer Glow tab. Change the settings as indicated in the picture and click on Okay. You can drag the texture layer around to see the different variations. Settle on one. Now you can basically play around with what you like and what you don’t. I did not quite like the orange colour so I changed it to a darker peach colour. You can even hide the circle layer if you wish.
Final Step
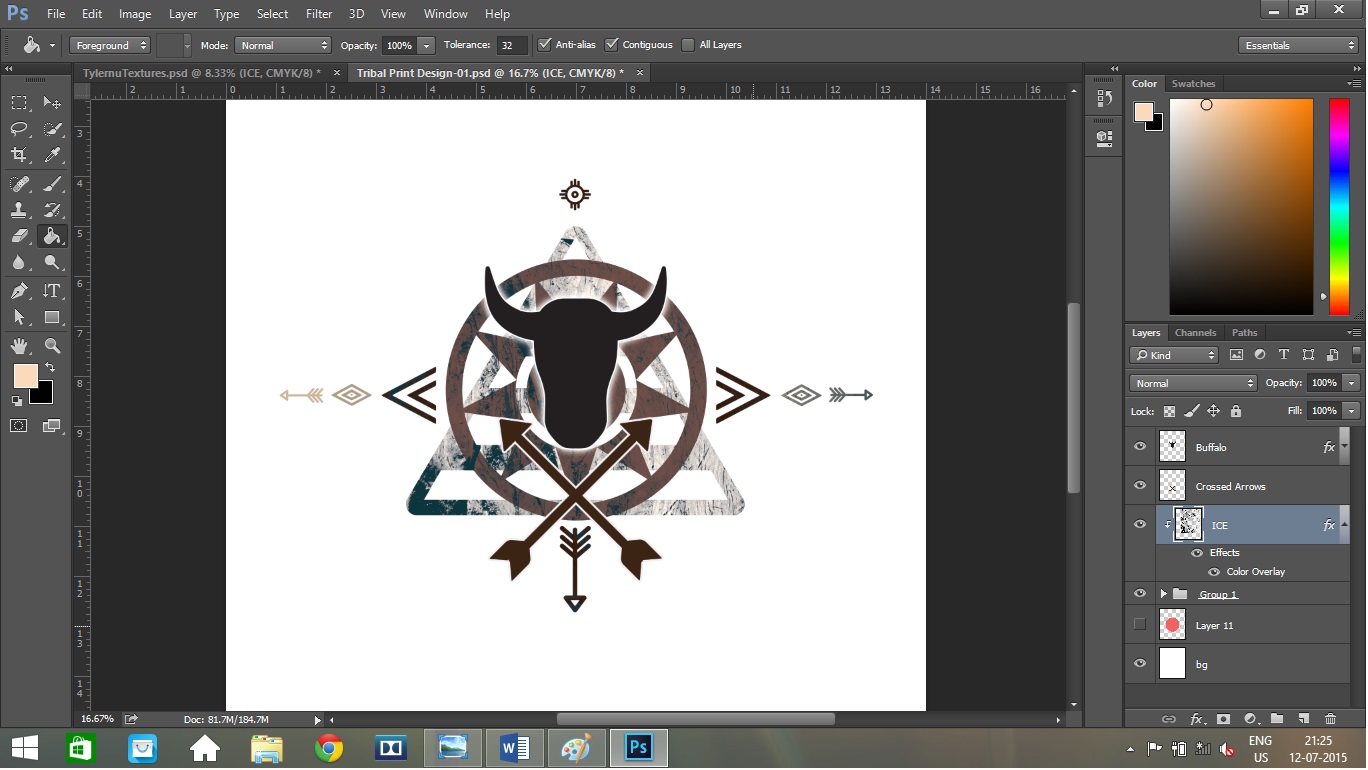
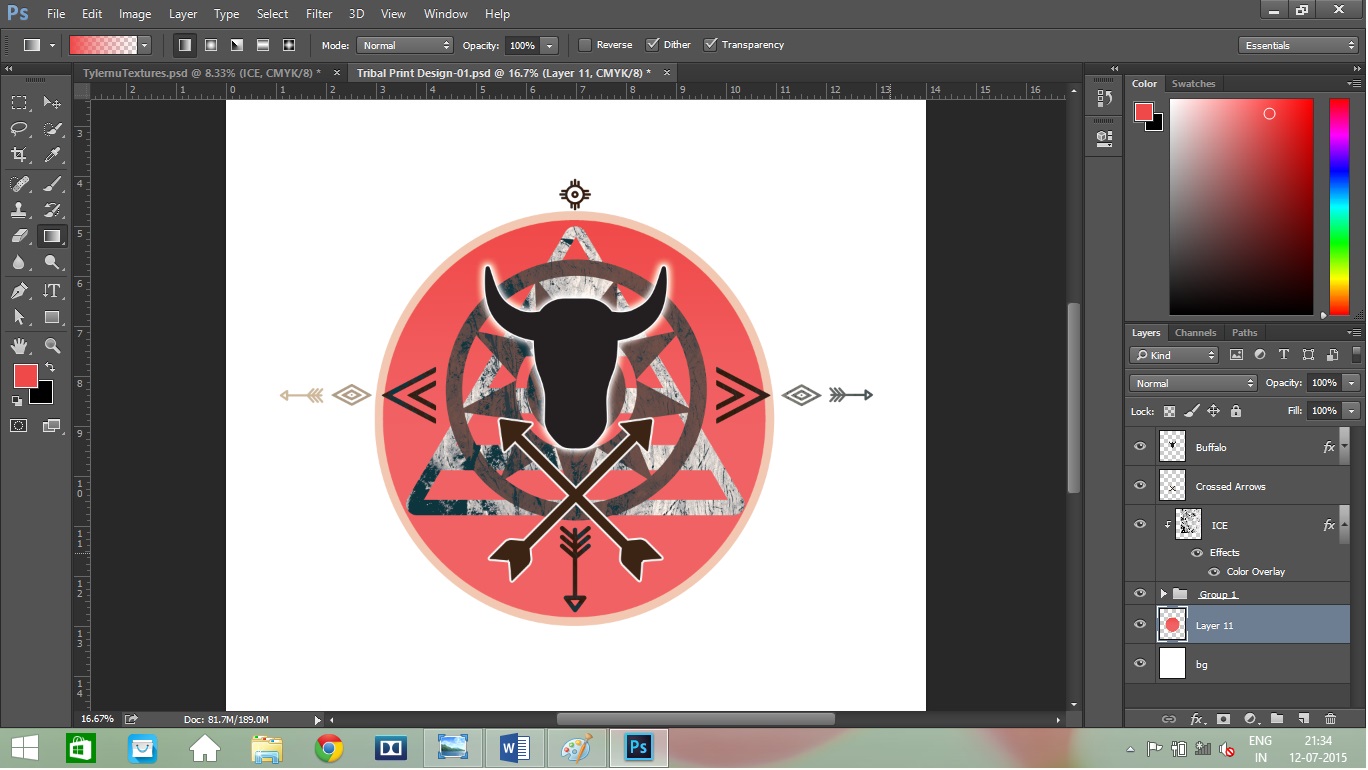
The last thing to do is change the colour of the texture we added. Double-click on the texture layer and select the Colour Overlay tab. Double click on the colour box and select the colour you like. You may even match it to the t-shirt colour you are going to get it printed on. I chose a shade of blue.
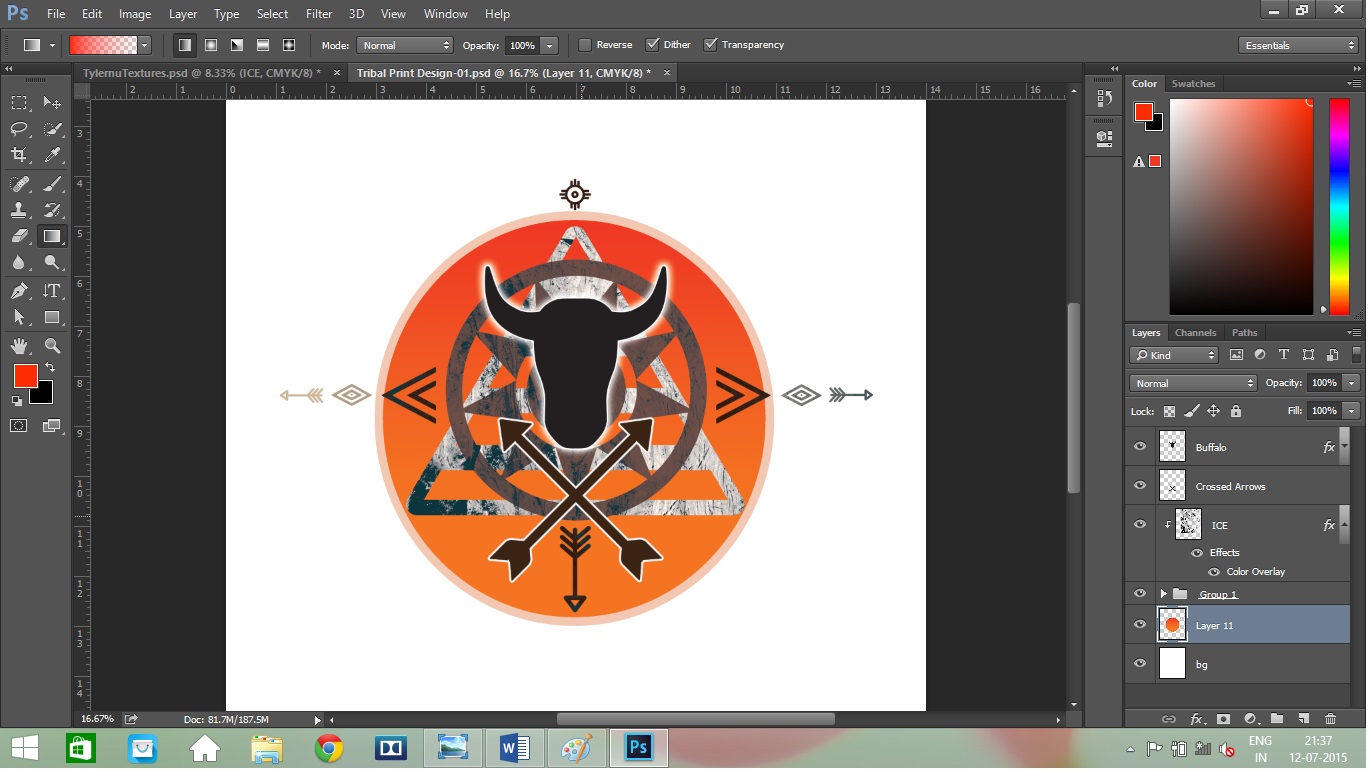
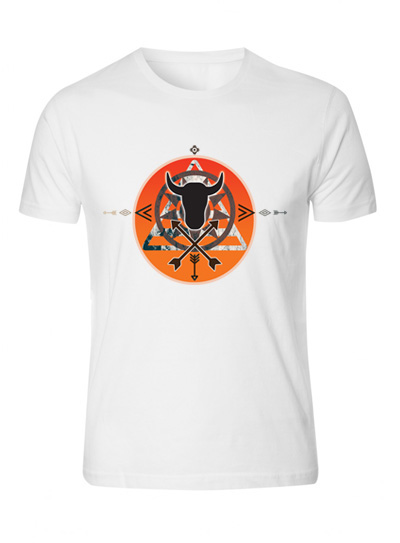
I also added a gradient to the circle. Ctrl+Click on the little icon on the Circle Layer. This will select the circle. Choose the Gradient tool and change the colour to a darker shade. Then starting from the top, drag the cursor down. You will have a shaded circle. I have also attached copies of other similar designs I have made.
Experiment! And Good Luck! :D