Tribal Mask Using Air Dry Clay

.jpeg)

Heyy everyone! Today I have made a tribal mask out of air-dry clay and now I am here to show you how it's done. It's a fairly simple and straightforward process and I hope that after seeing this tutorial you will be able to make your very own mask!!😊😀
Supplies


- 500 g of air-dry clay, acrylic paints
- a cutter
- newspapers and cloth for the base
- masking tape
- fork or spoon
Making the Base

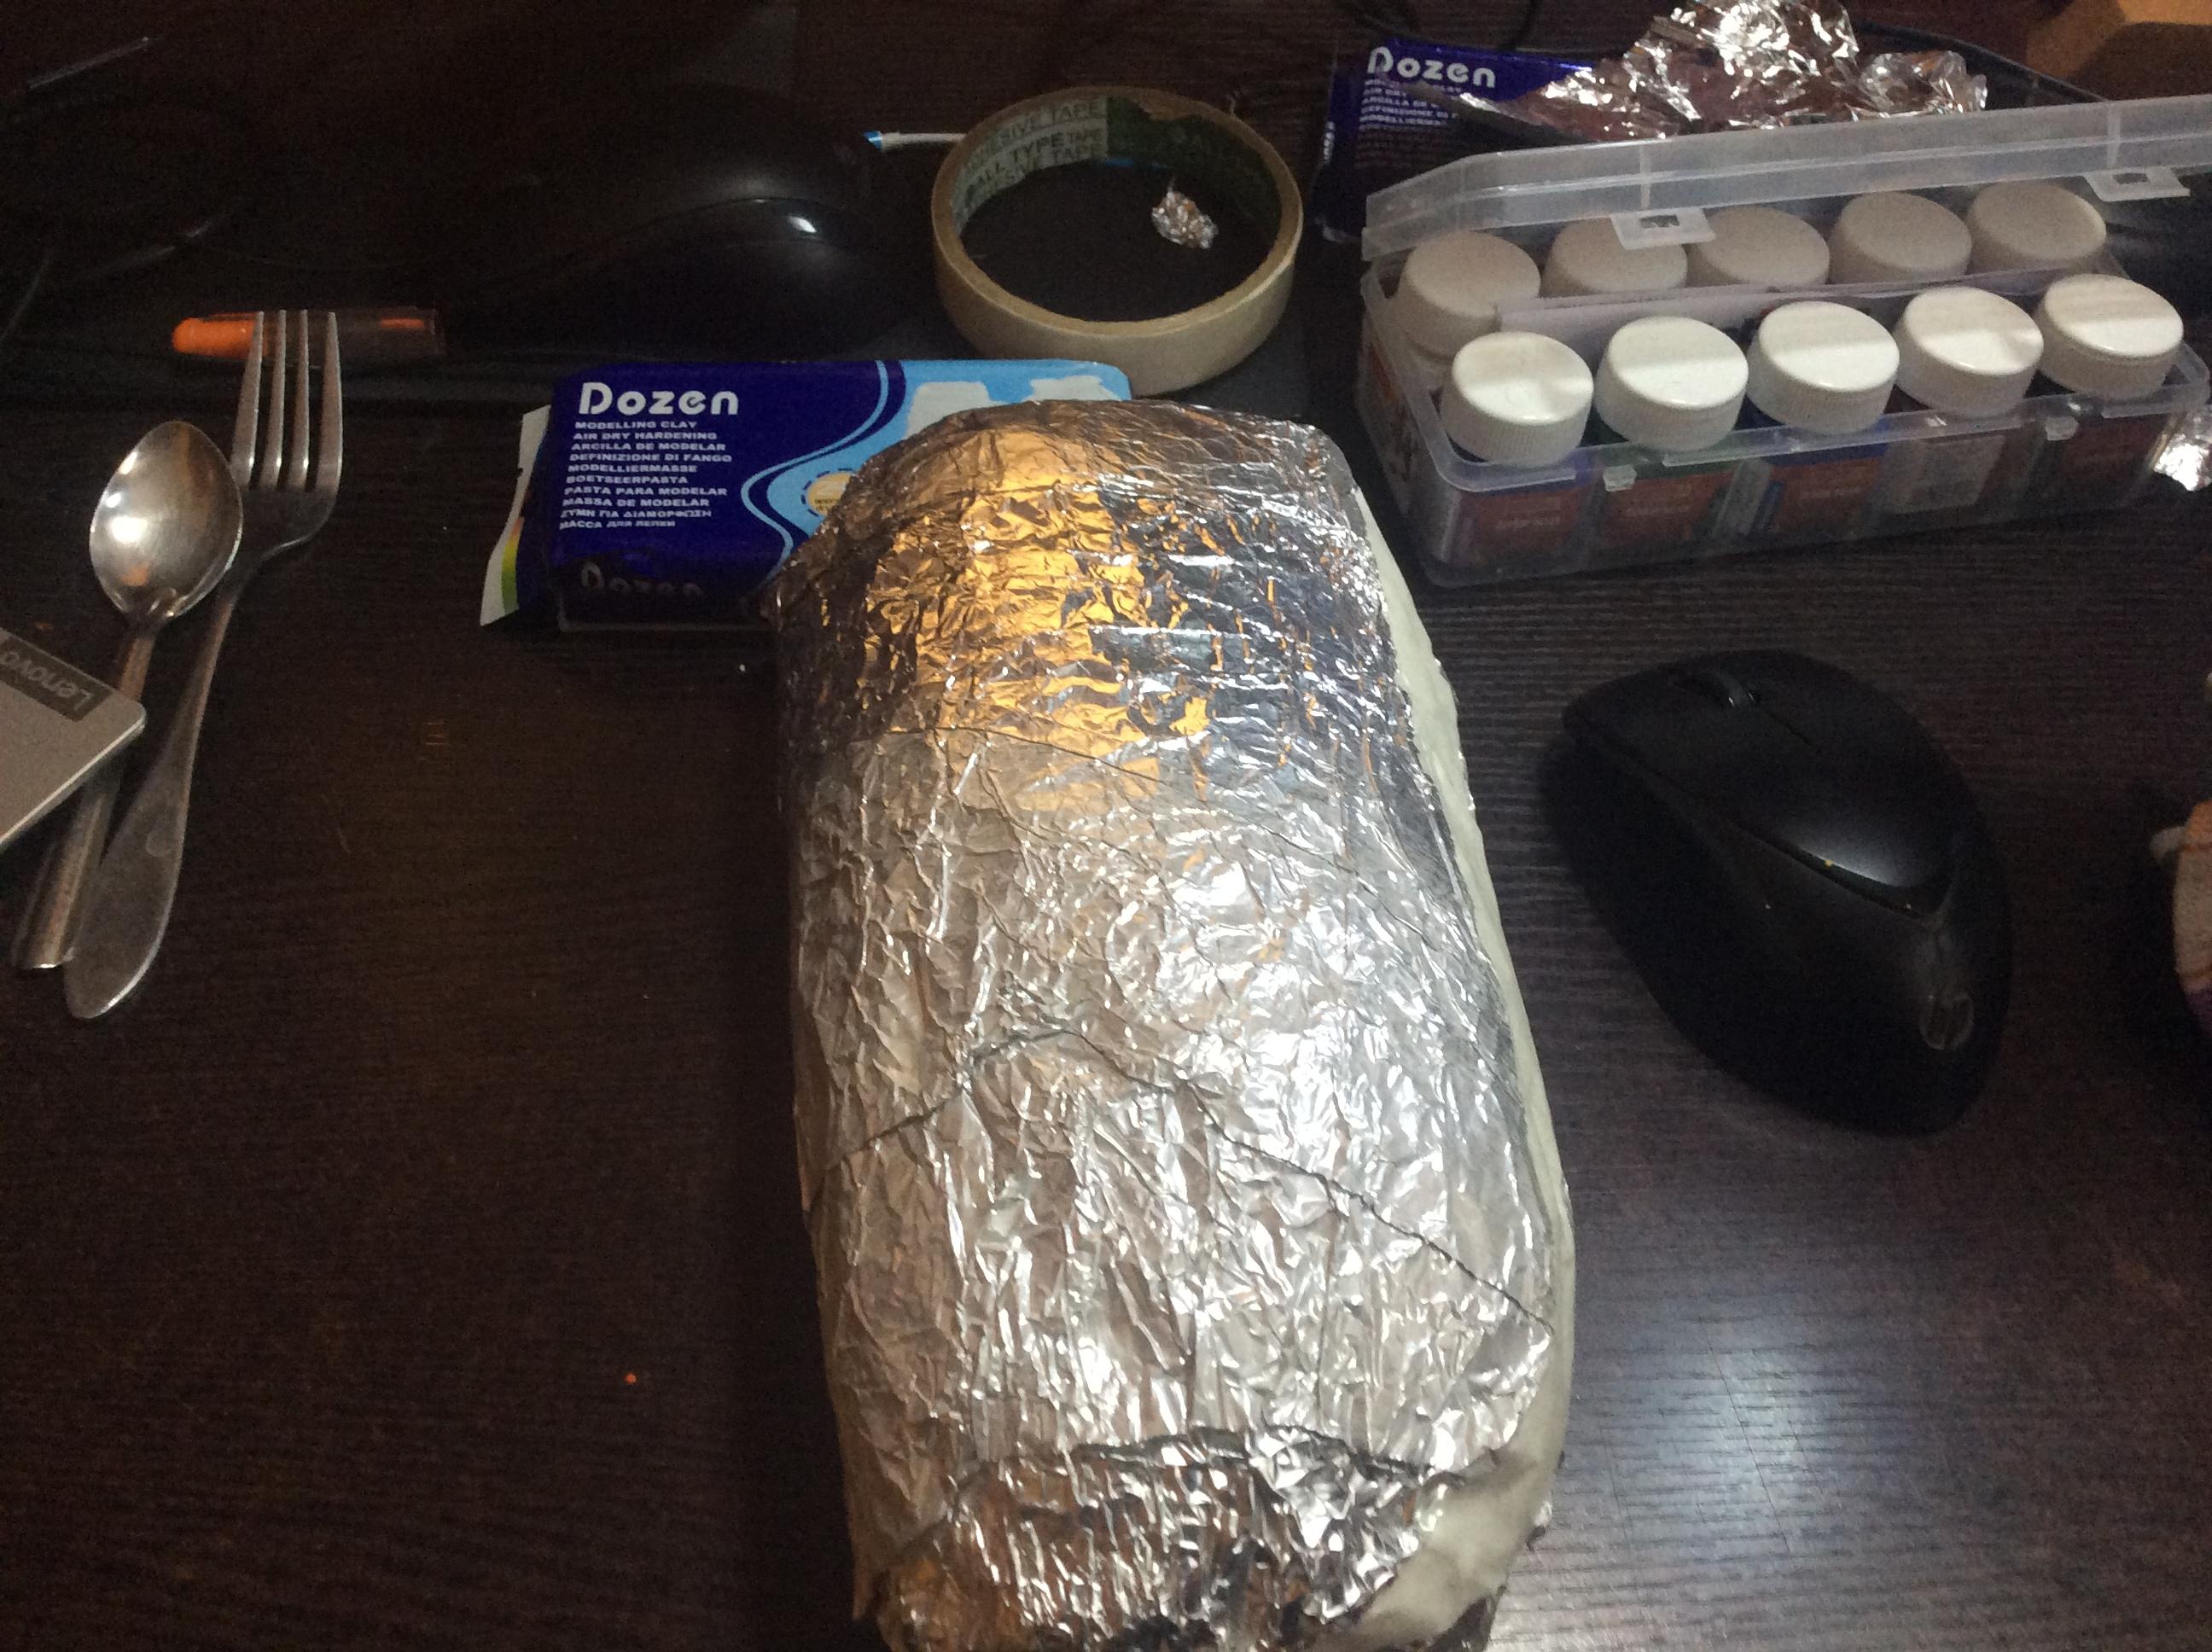


First, we're going to be making a base on which we can mould the clay into the shape that we want. Take some newspapers and some cloth and make it into a tight ball, you can use aluminum foil also if you would like. Use some tape to fix them in place and to keep the newspapers together. Try to make it of a hemispherical shape so then the mask will not be flat.
Moulding the Clay


Take about half of the total clay that you have and place it between 2 plastic sheets and press it. Make it as flat as you would want the mask to be (around 4 mm is good). Put this piece on the base and press on it. Using the cutter remove the excess parts so that you get the shape of a face.
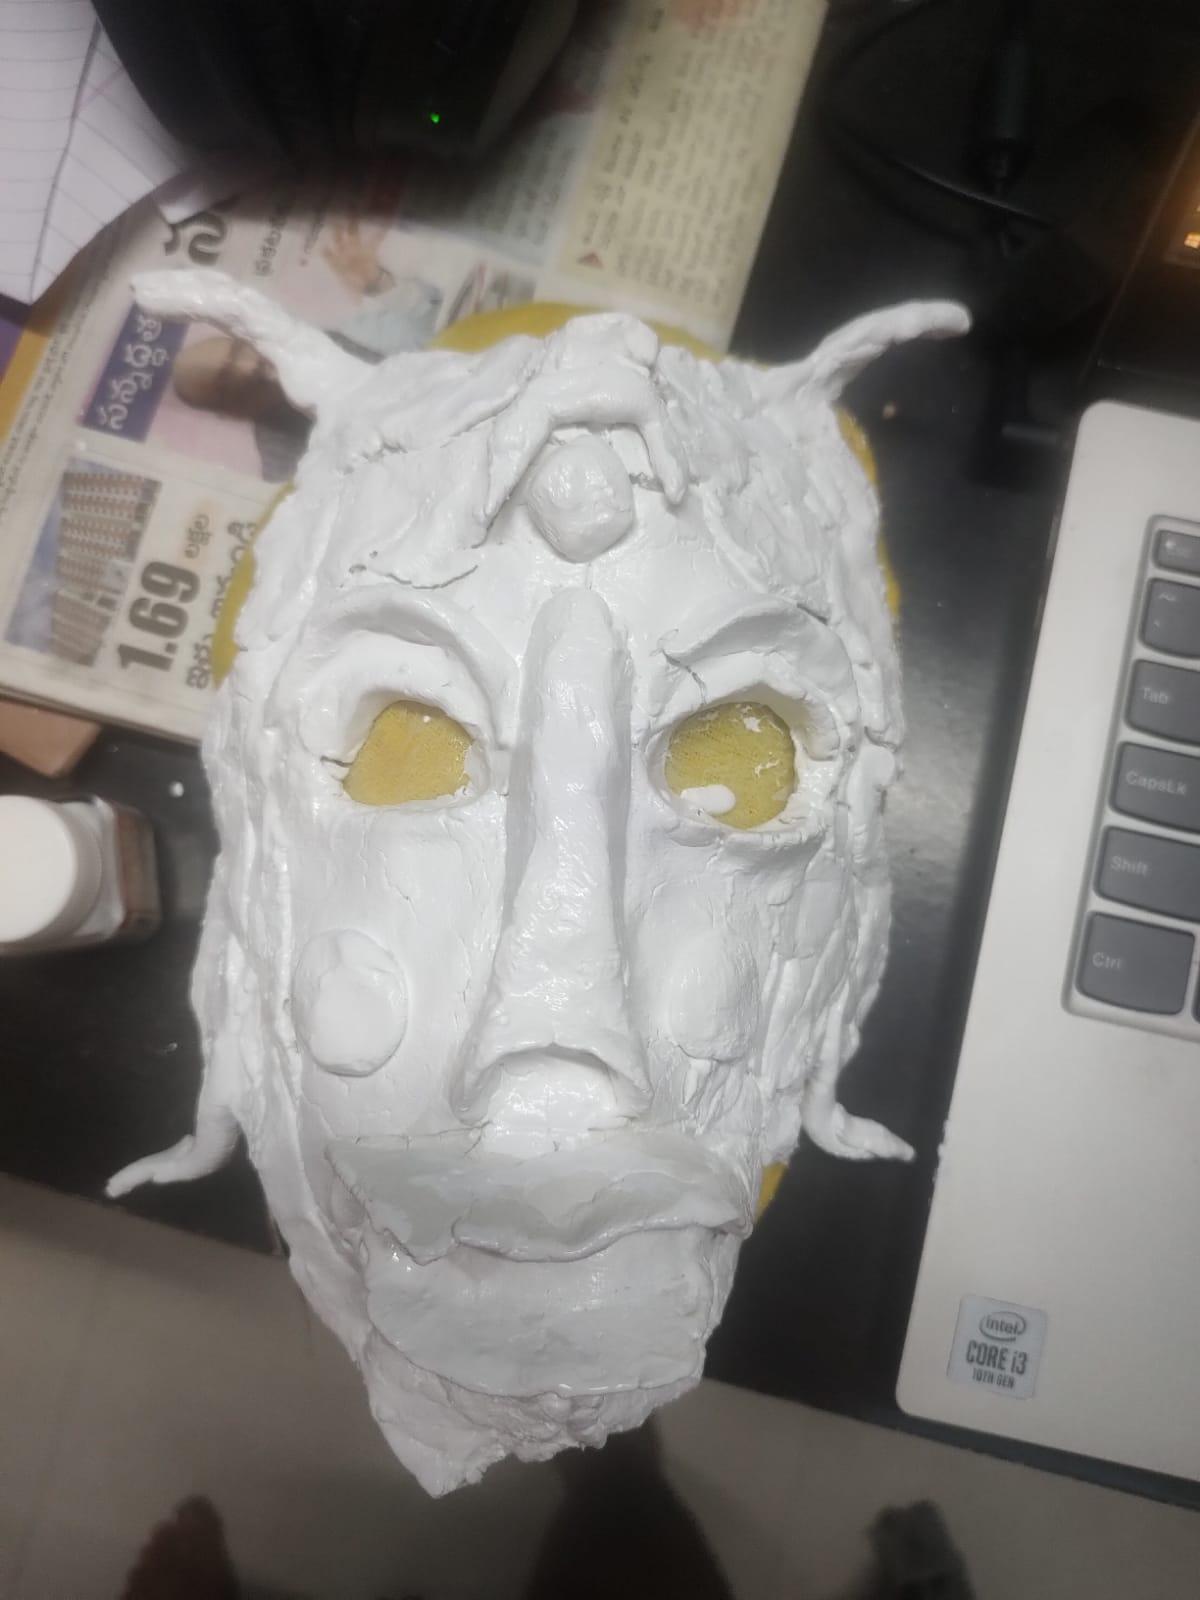
Adding Facial Features

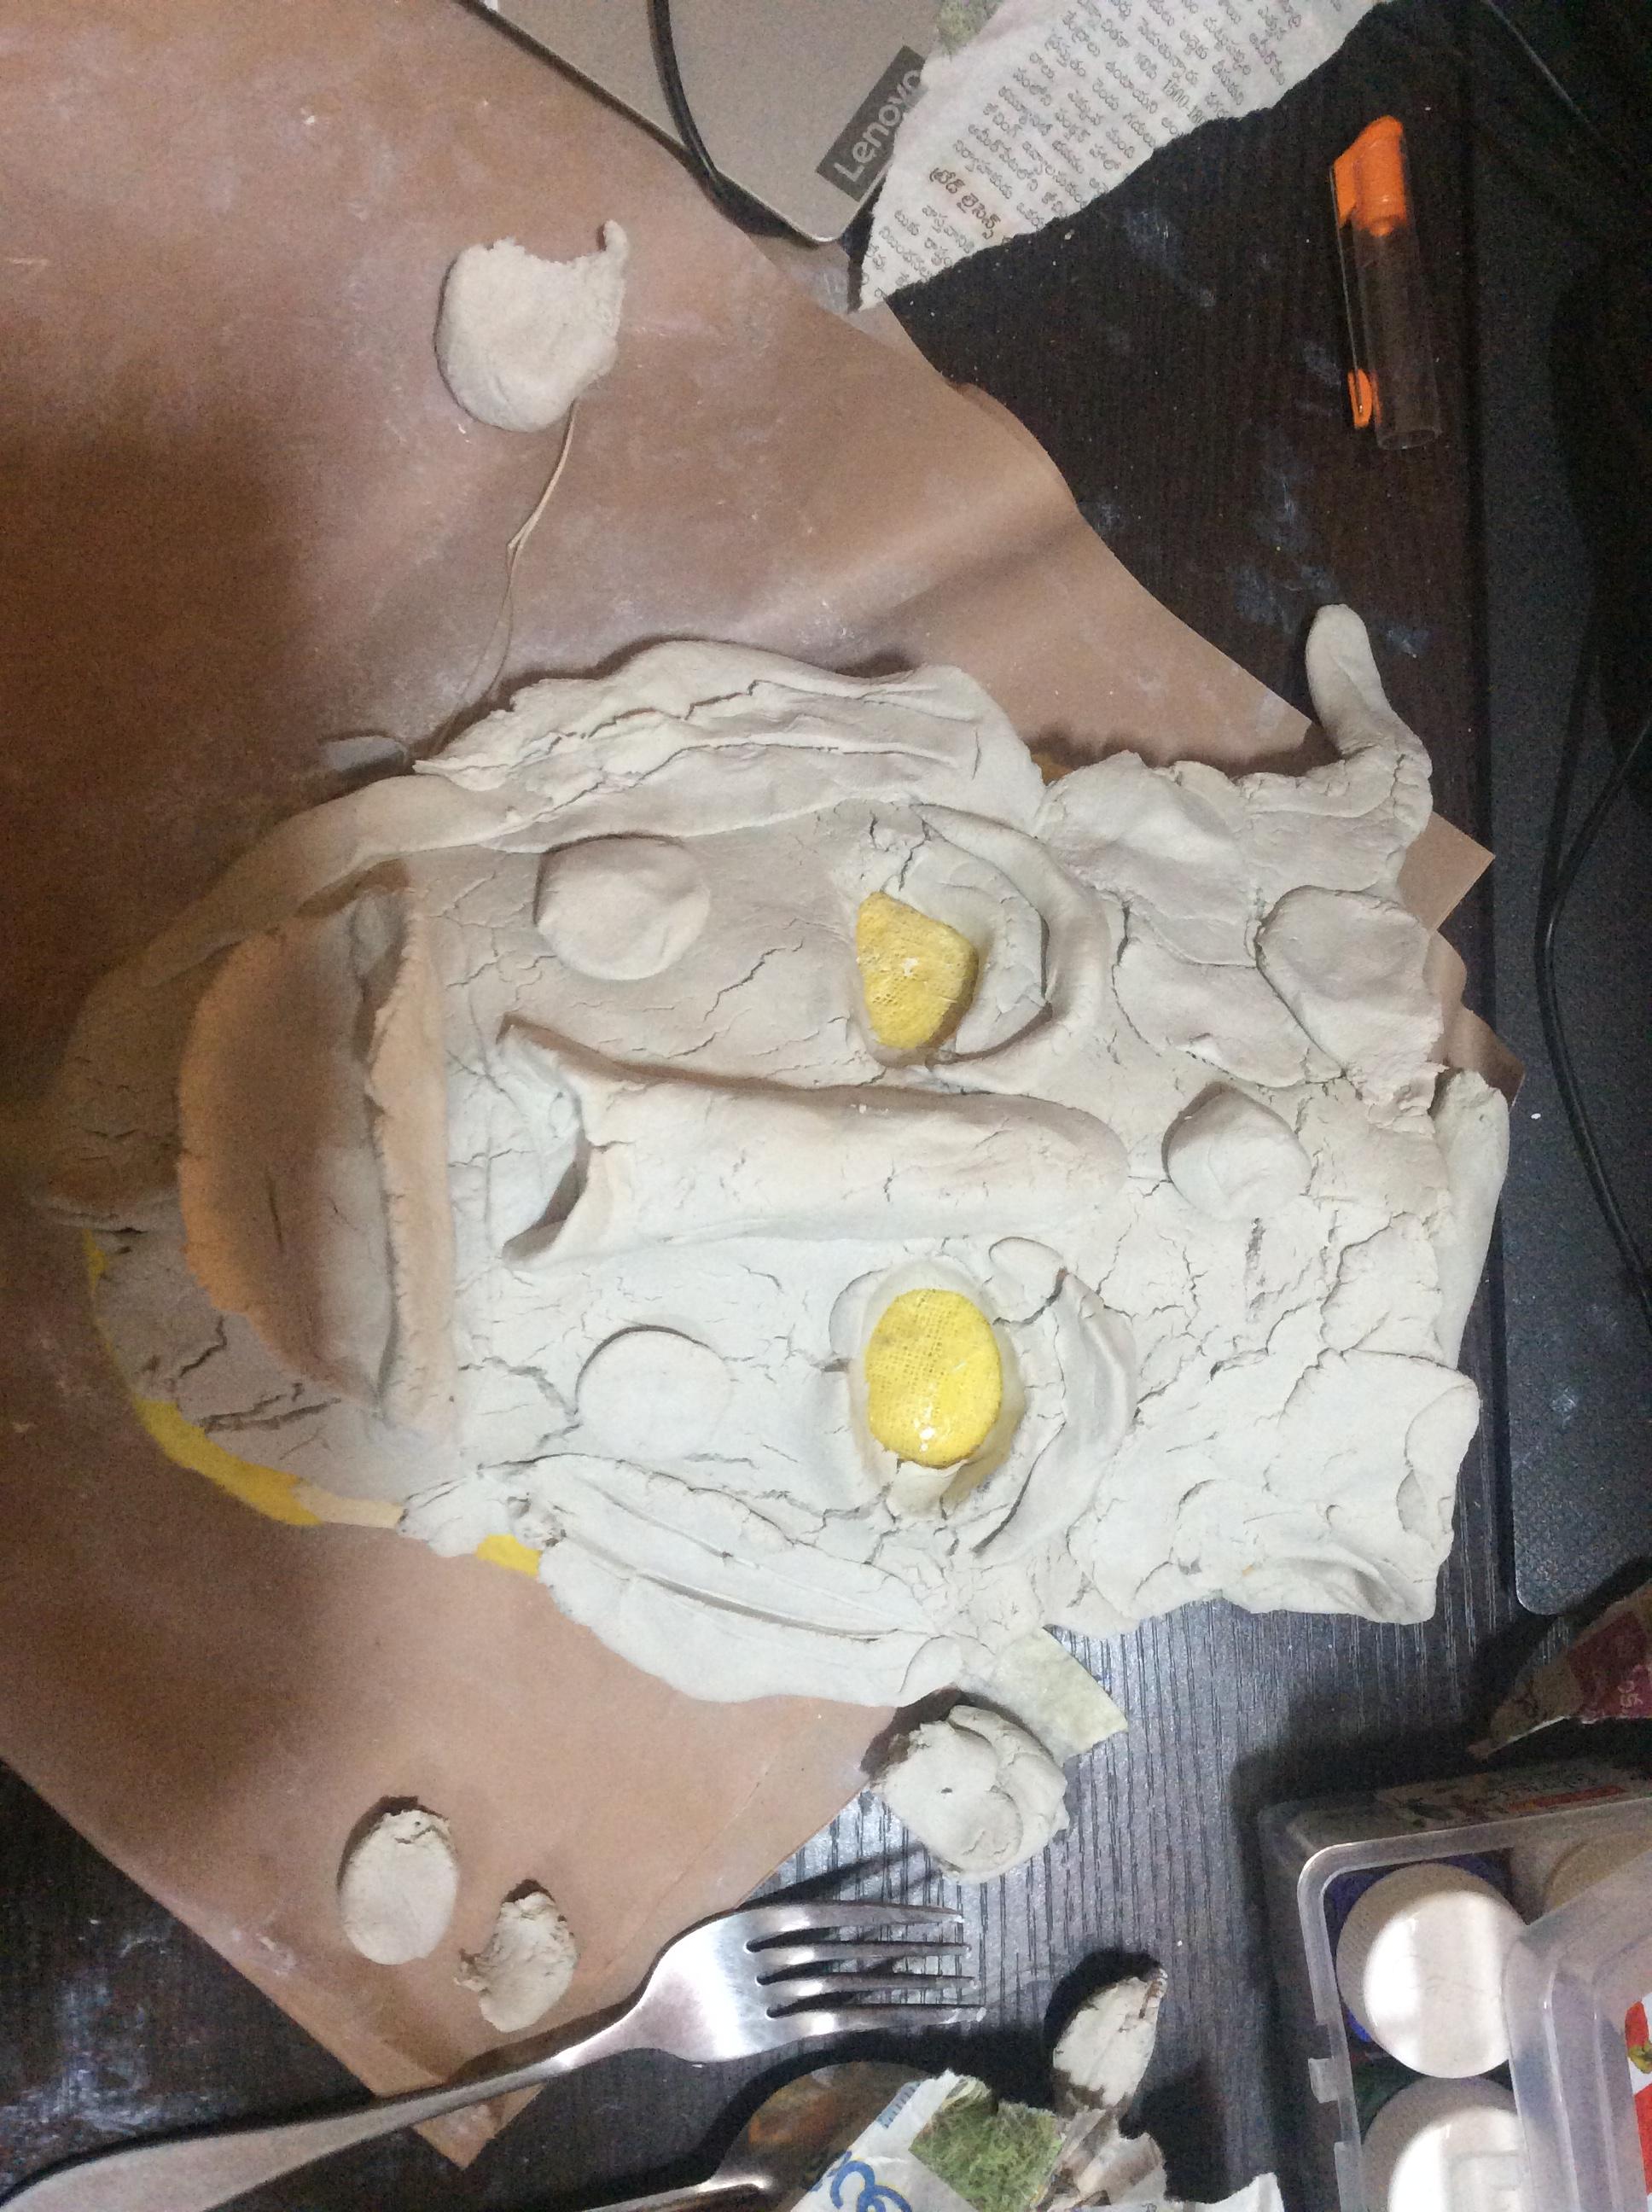

Draw a line vertically through the middle and also 2 horizontally (one near where the eyes would be and one near the mouth for reference) using a fork or any other pointy tool. These lines are just for reference and should be marked lightly.
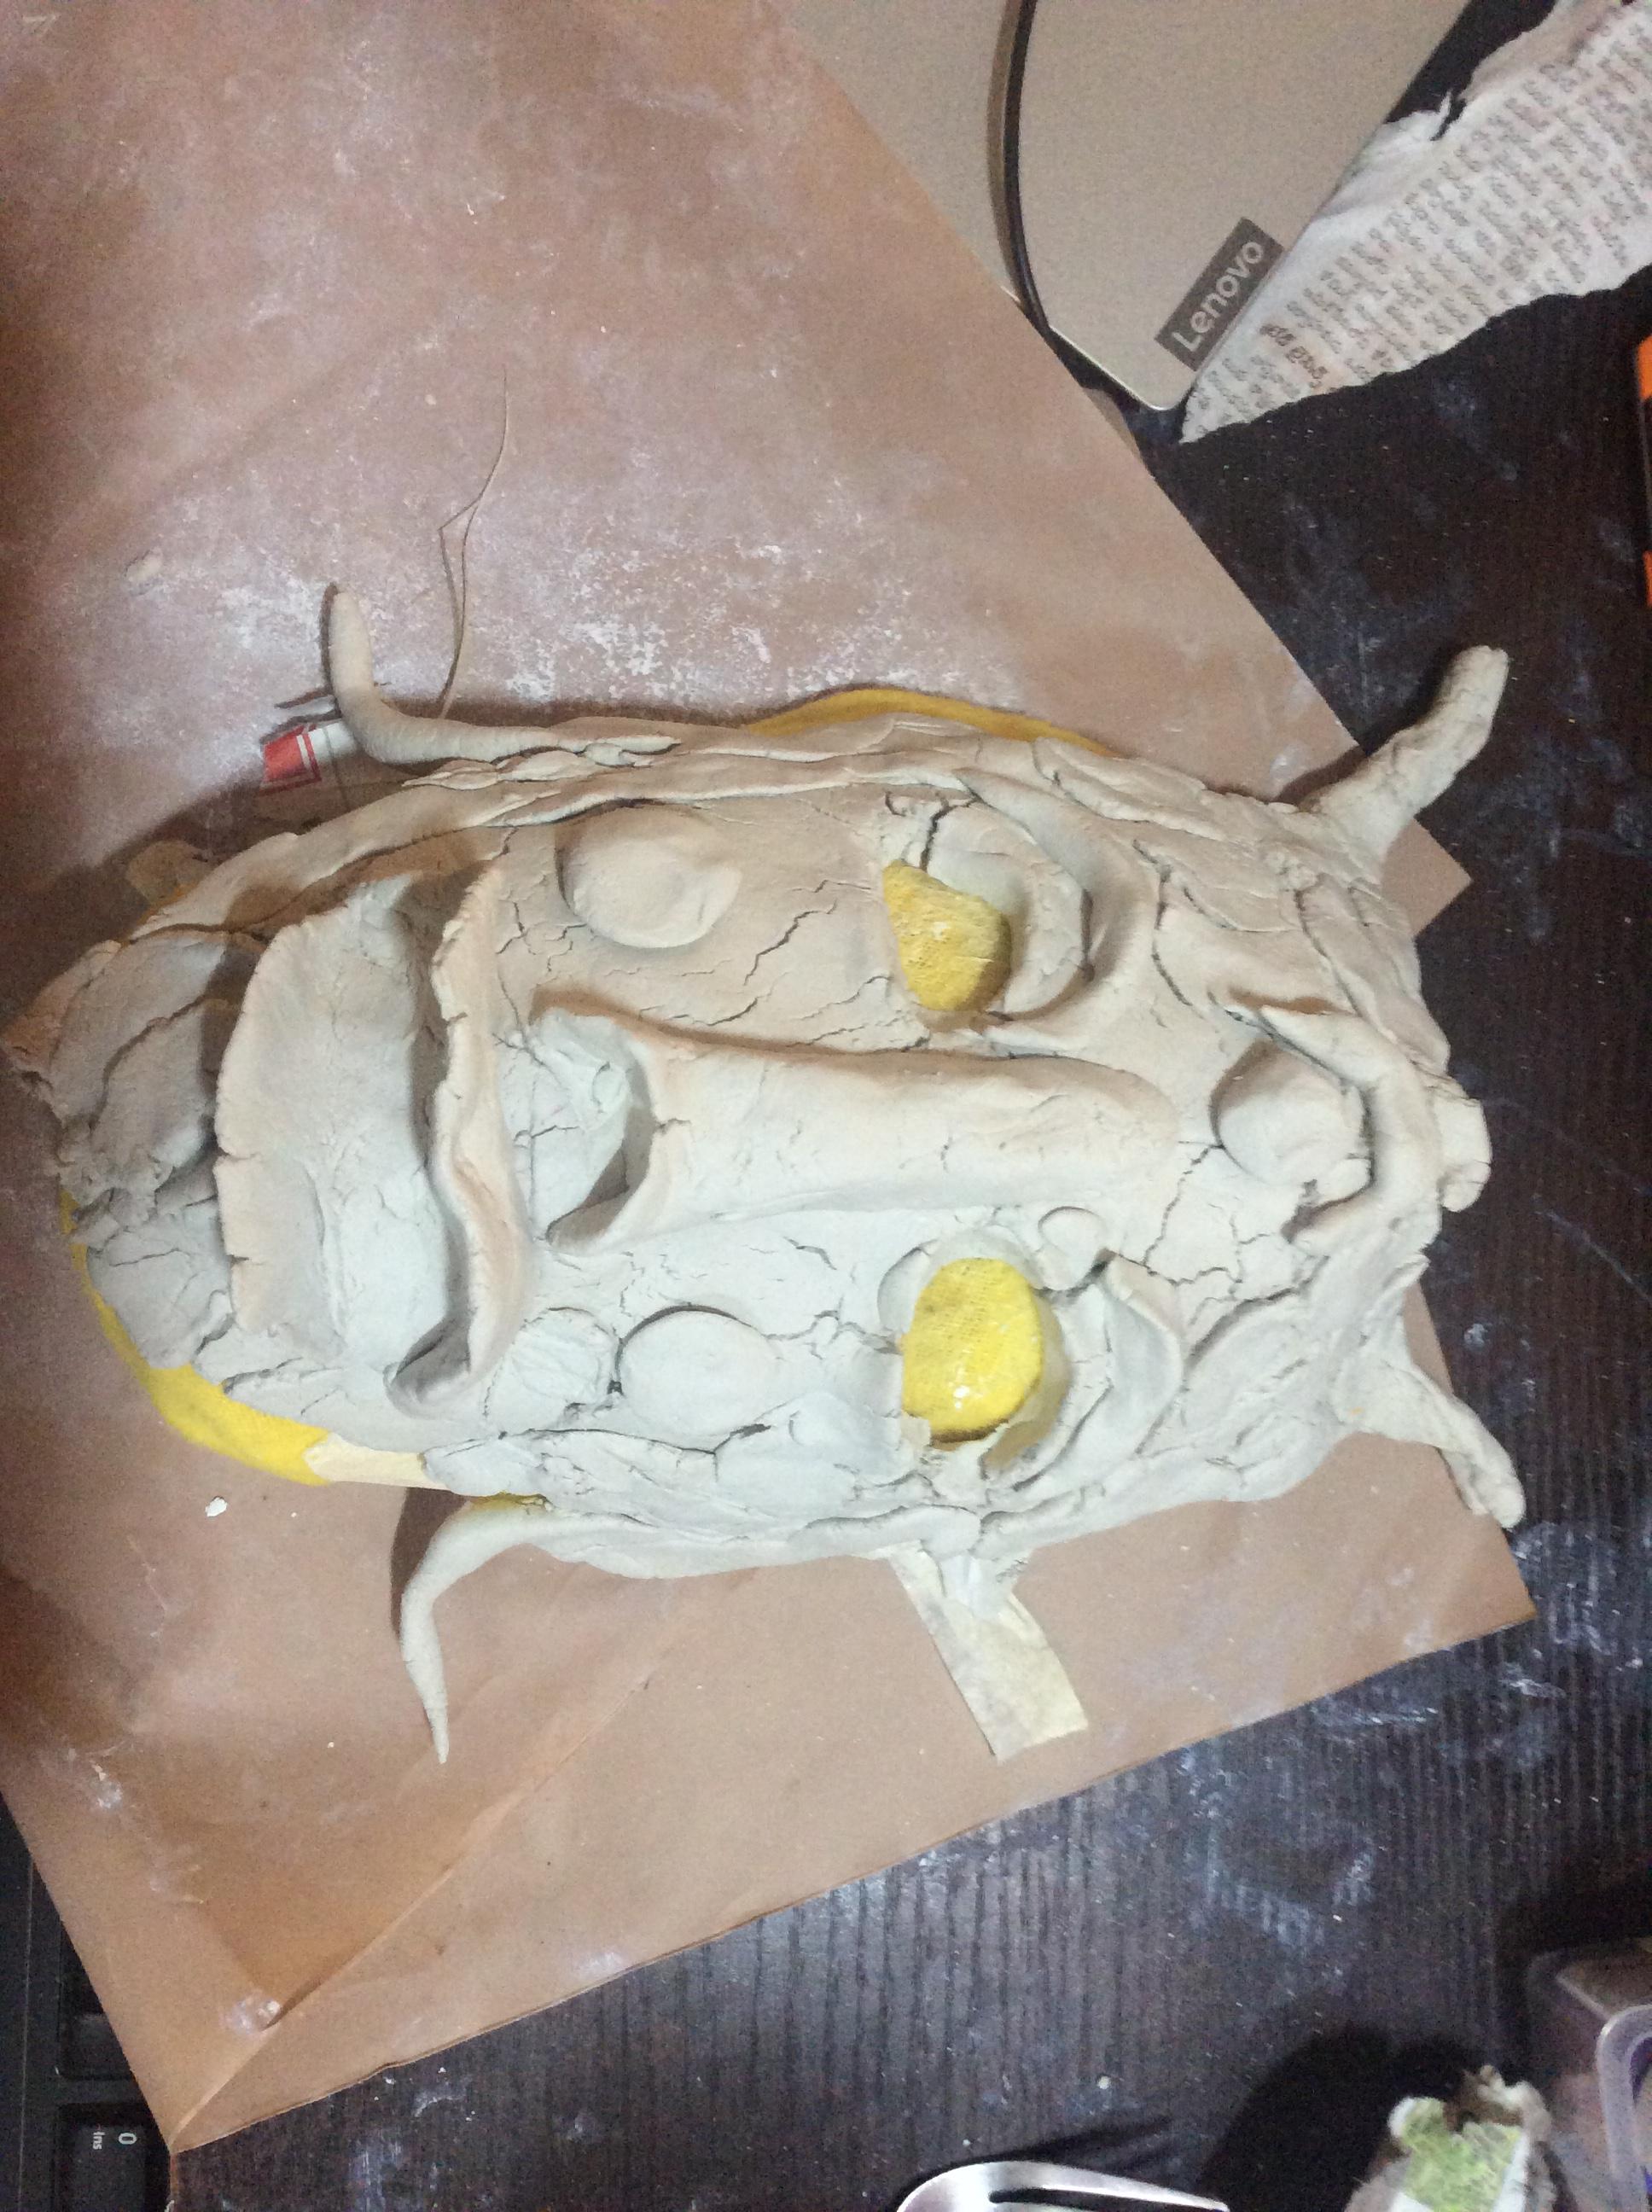
- First, we'll start with the eyes. Draw the outline of how you want them to look using a fork and then using a spoon or any other similar tool scoop out the clay from the outlined part.
- For the eyebrows, I have used two small pieces of clay, rolled them into cylinder-like shapes being thin at the ends, and placed them over the eyes.
- Next for the nose, take a small piece of clay and roll it into a cylinder, place it in the center and join it with the face. Make dents in the bottom to show nostrils.
- The mouth can be made in many different ways I have made a U-like shape with some clay and then attached it to the face.
- Next for decoration you can make small bead-like pieces and attach them at various locations.
- I have also made horns using 2 thin cylindrical pieces of clay and attached them at the top.
Drying
Cover the made face with a wet cloth and leave it to dry for approximately 25-30 hours.
Painting
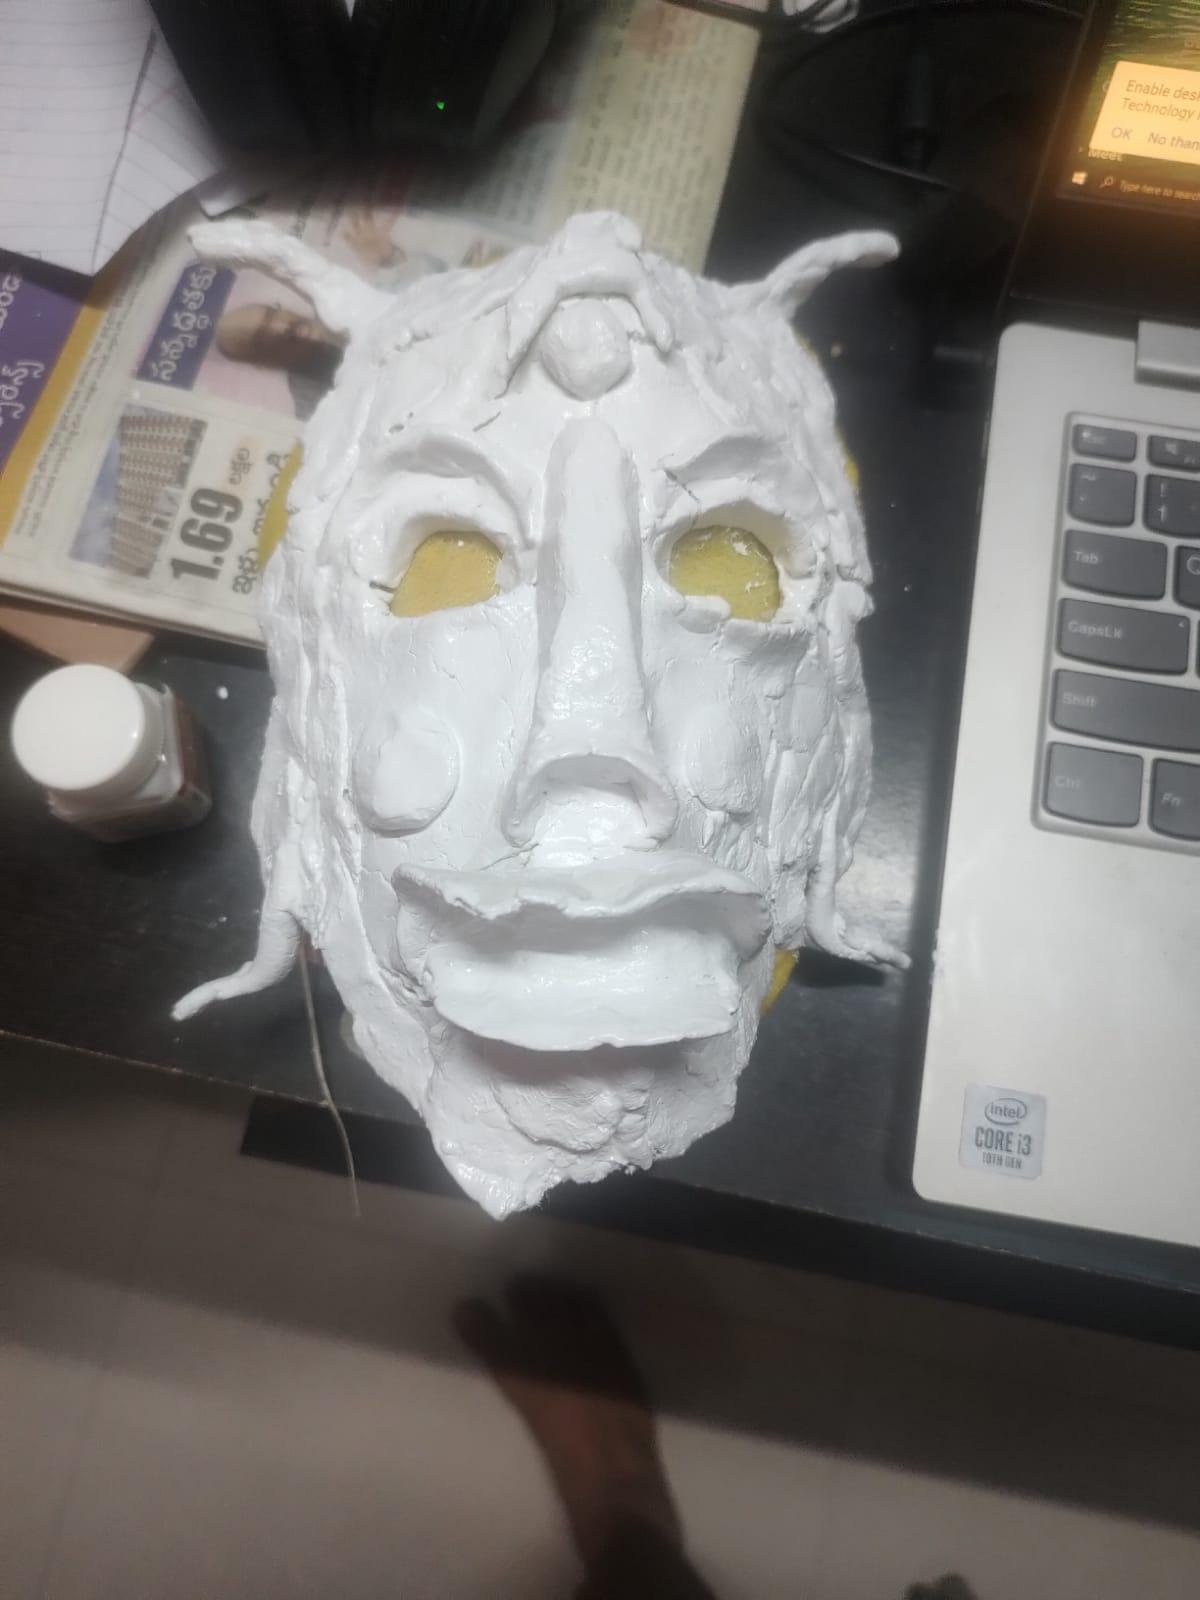


Once the clay has dried completely, you can now paint it.
I would recommend to first paint over the surface with a layer of primer or else white colour. This will fill the cracks and make it smooth.
After this layer has dried you can now paint over it using any colour that you wish..Remember to be creative!😊
Hanging It on the Wall
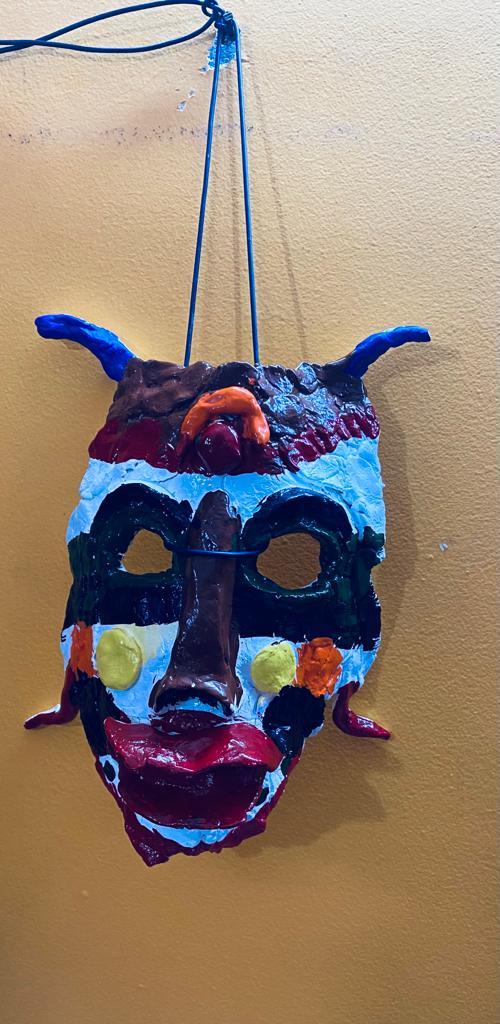
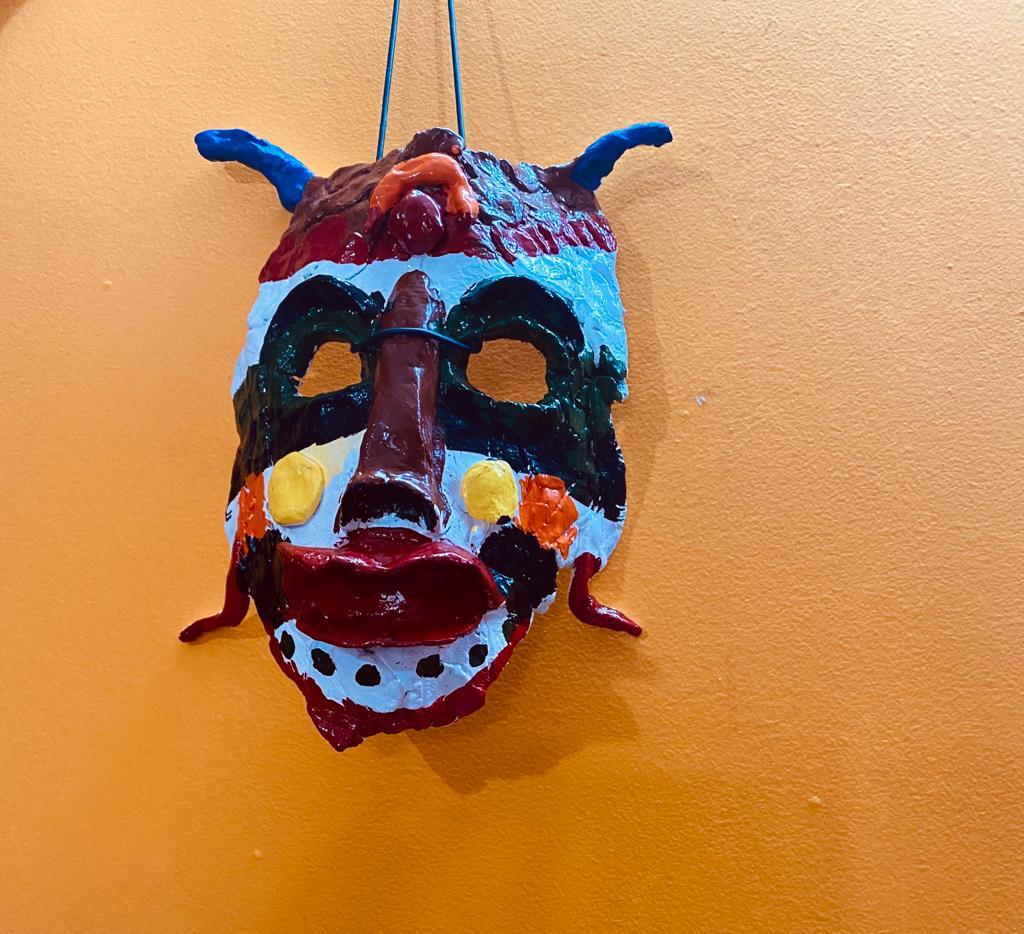
To make our mask wall hangable we're going to need so some metal wire. Make 2 small holes near the top of the mask and loop the wire around them. Now you can hang the mask on a screw in the wall. Congratulations. you have successfully made a tribal mask!😄😊