Tree Shaped Jewellery Holder
by megumi.iwata in Living > Organizing
1583 Views, 14 Favorites, 0 Comments
Tree Shaped Jewellery Holder
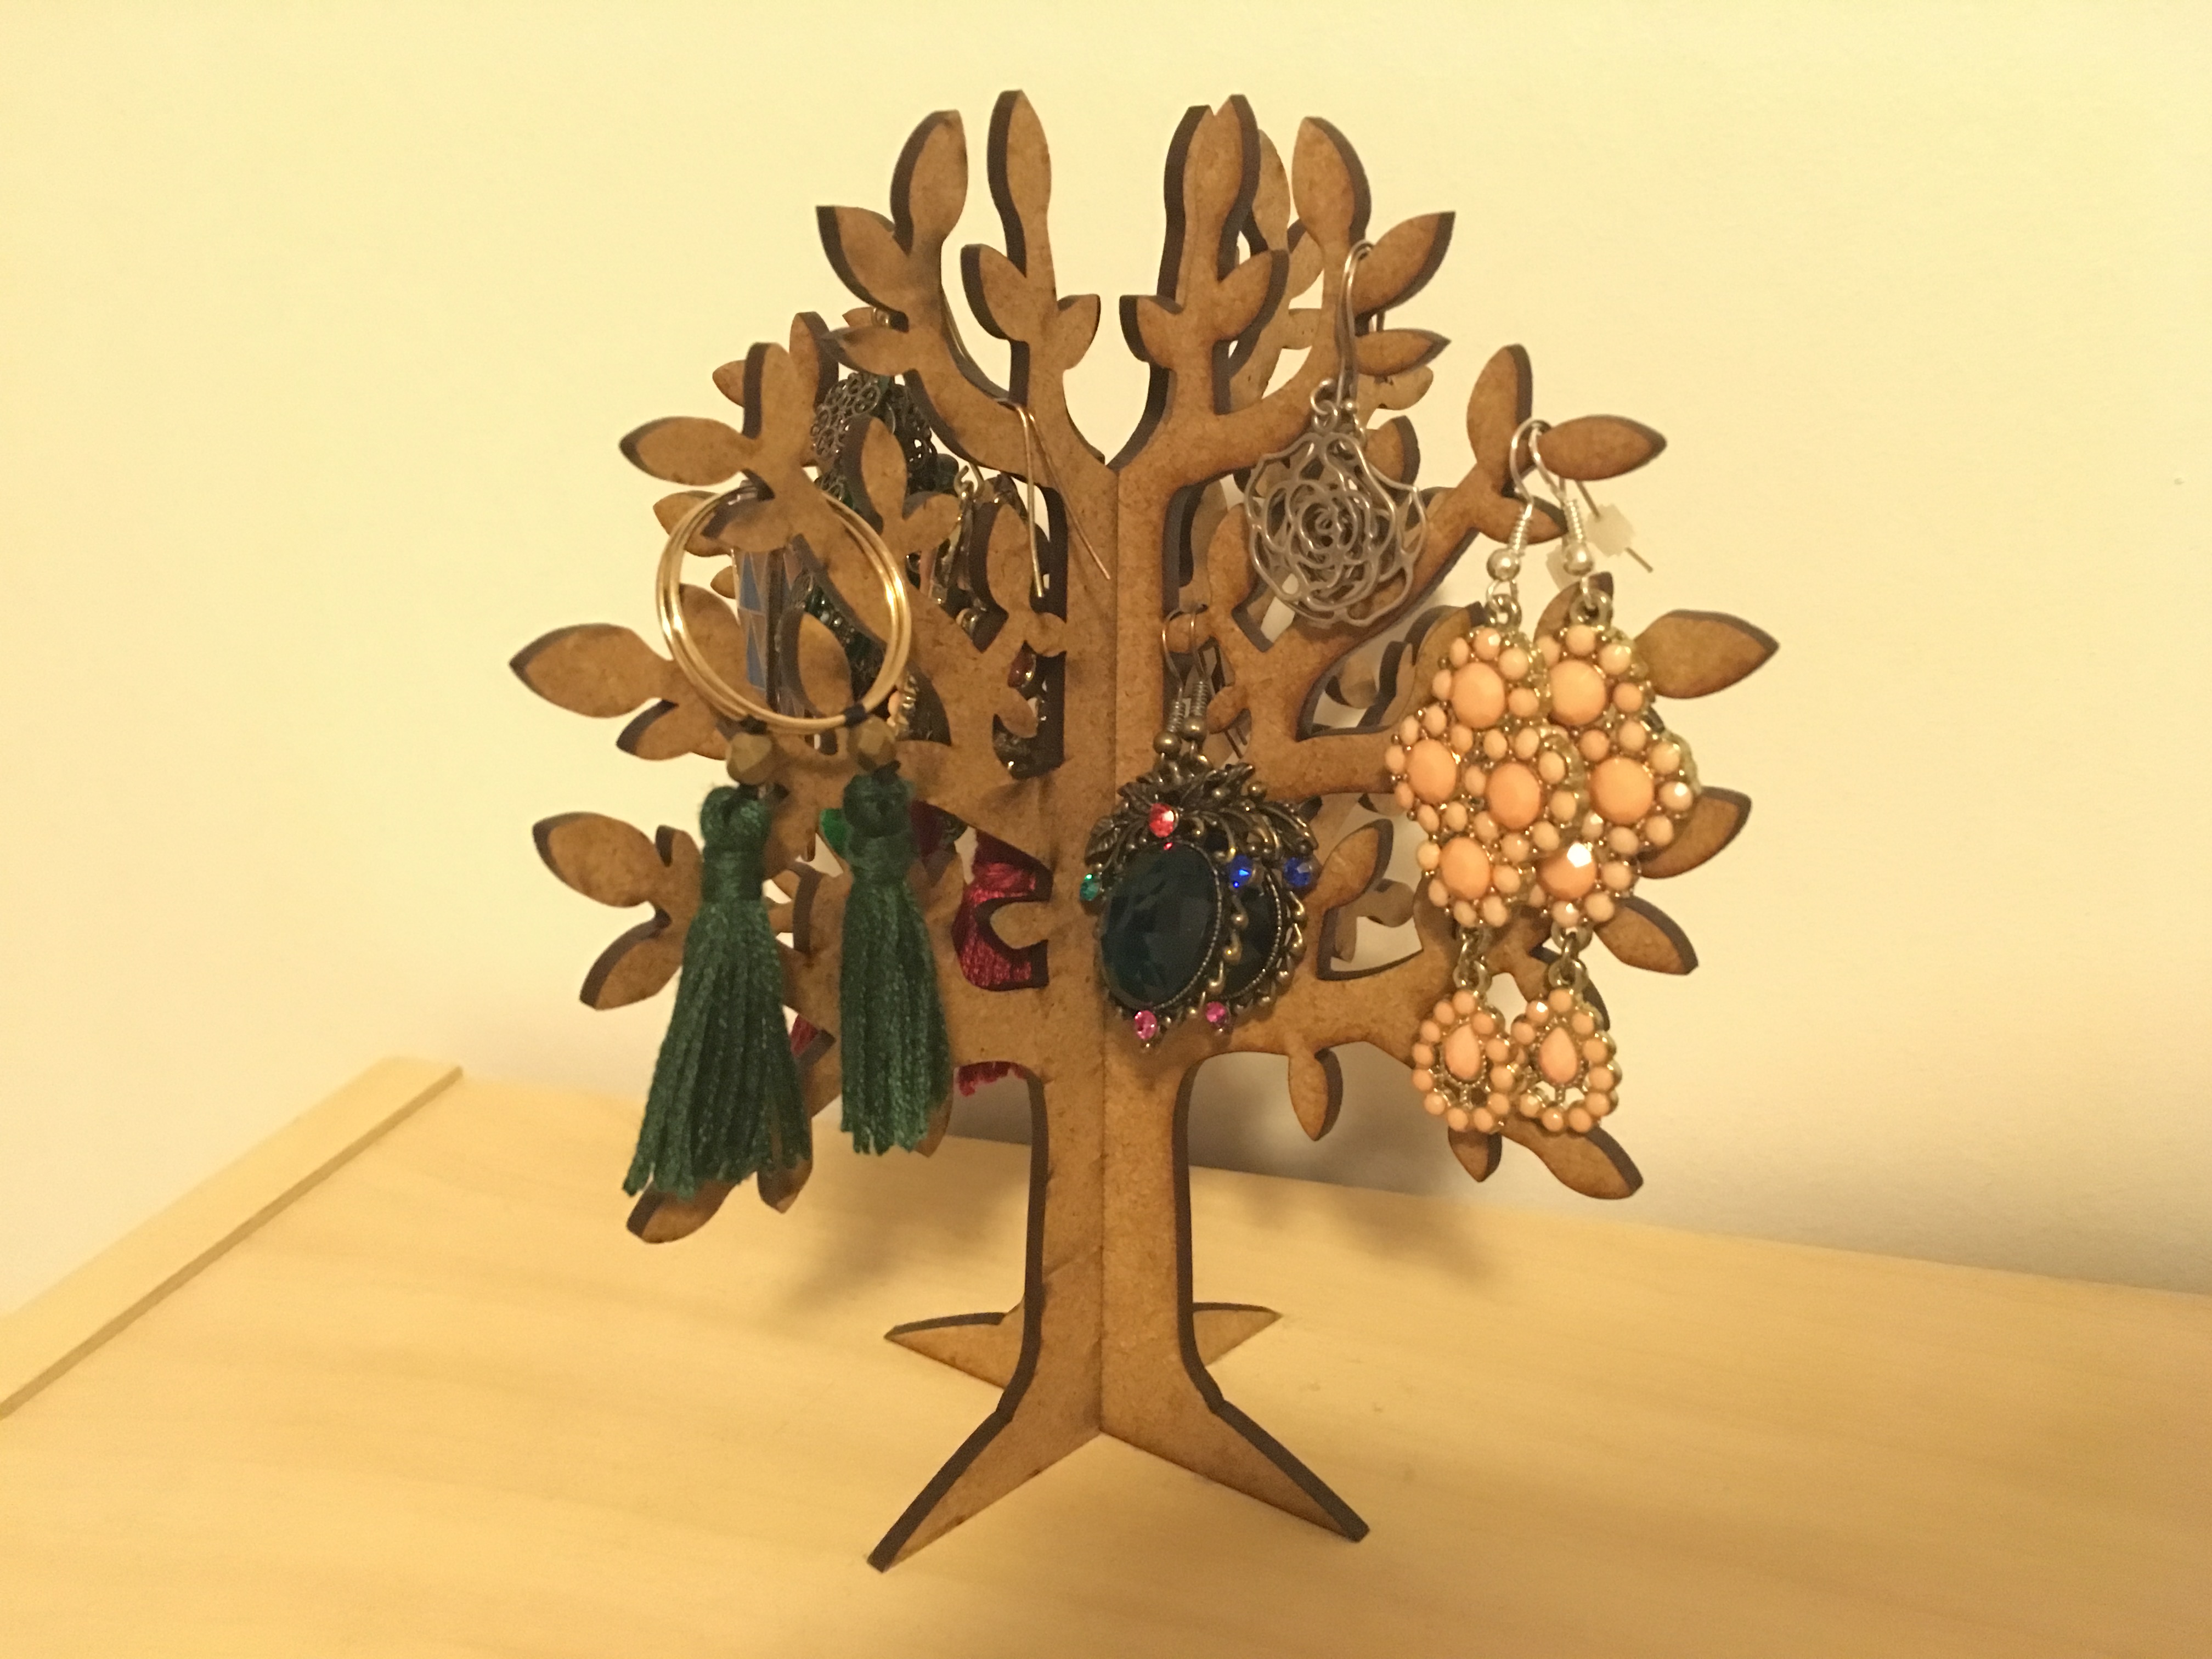
I wanted a jewellery holder to hang my earrings so I decided to make it by myself.
Here are the instructions!
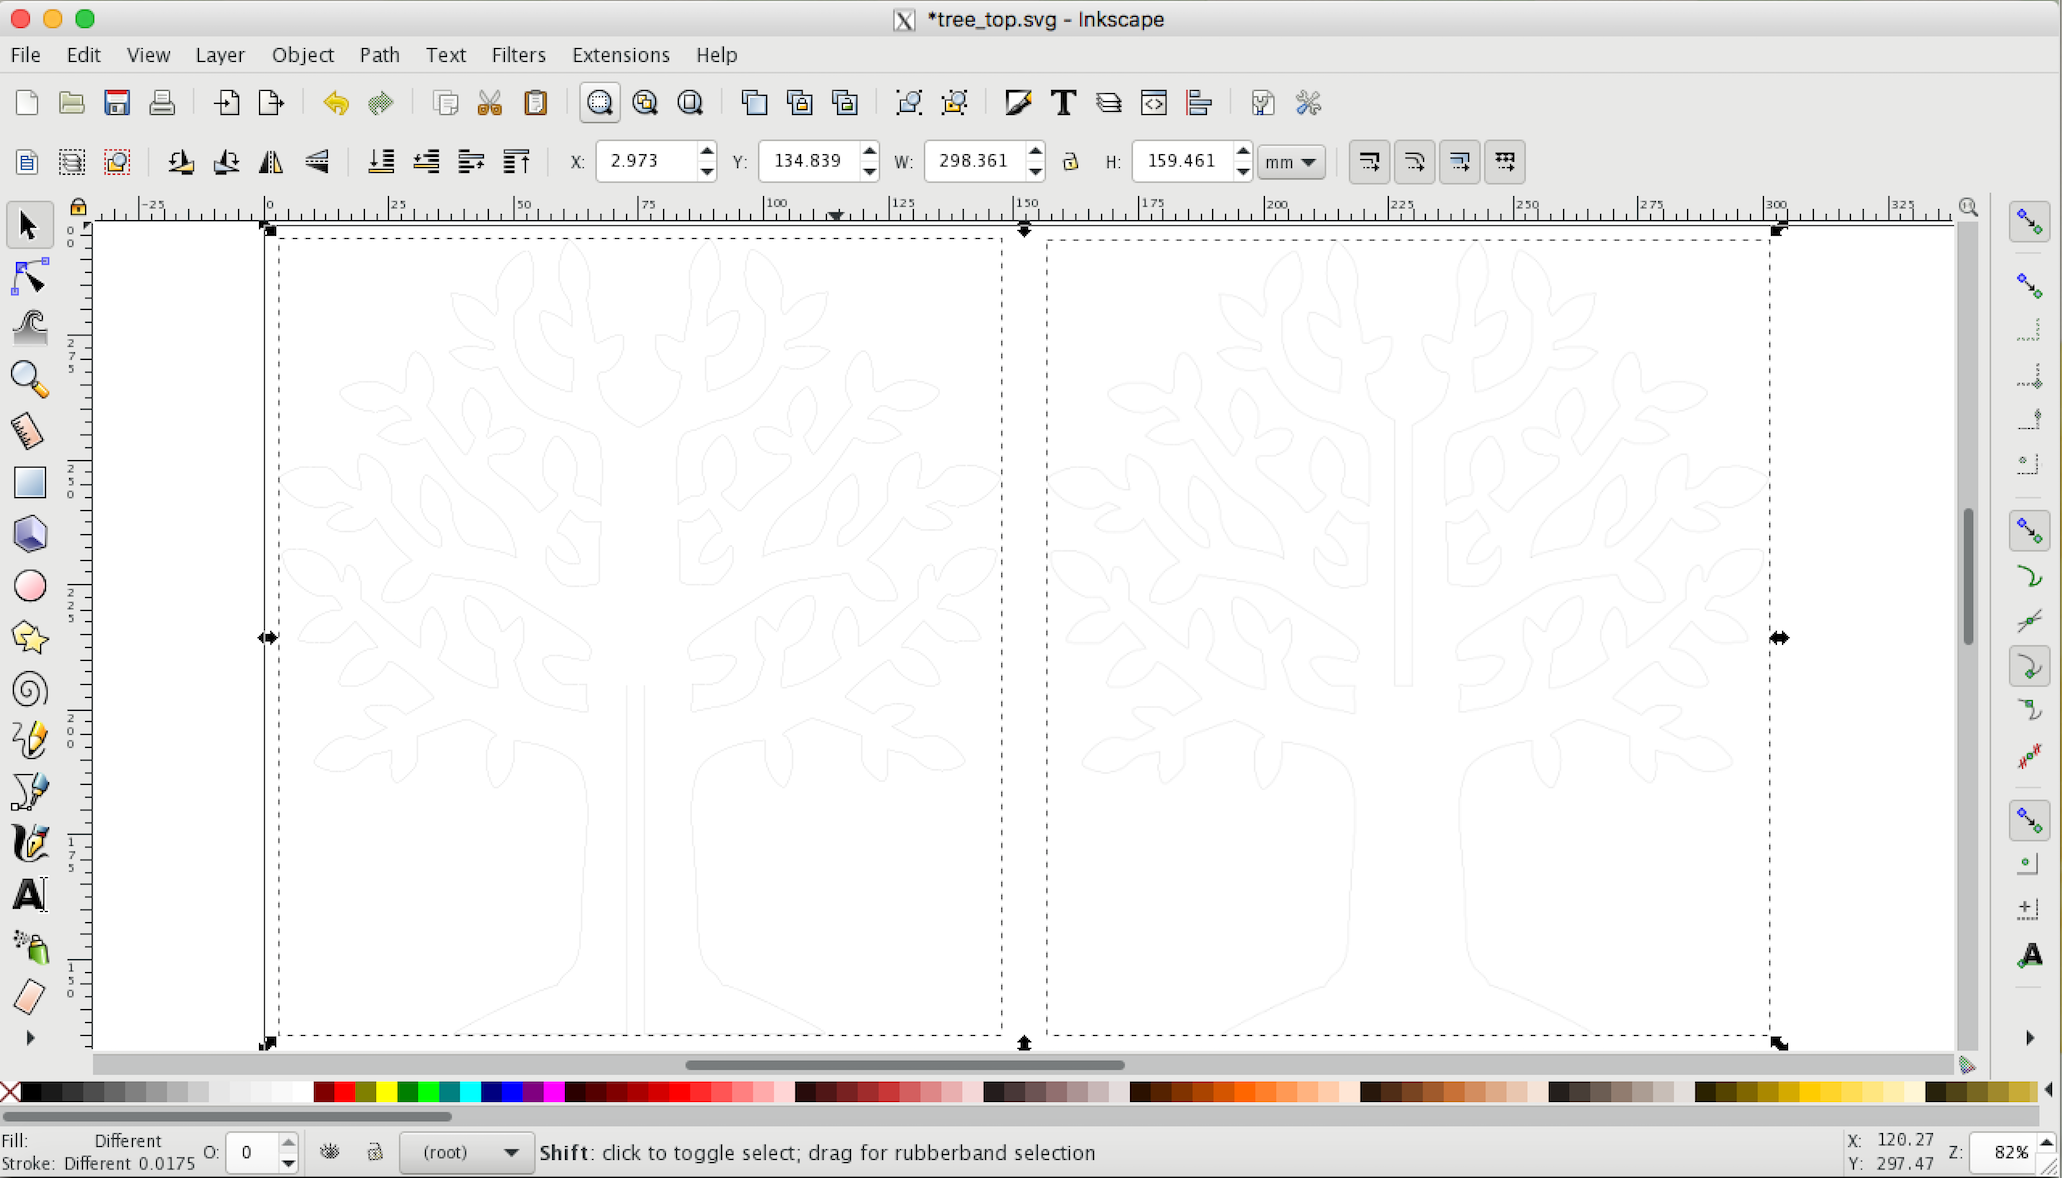
Design Symmetry Tree Shape
To make this jewellery holder, we need two tree shaped boards which have slits in the centre.
First, design one symmetry tree.
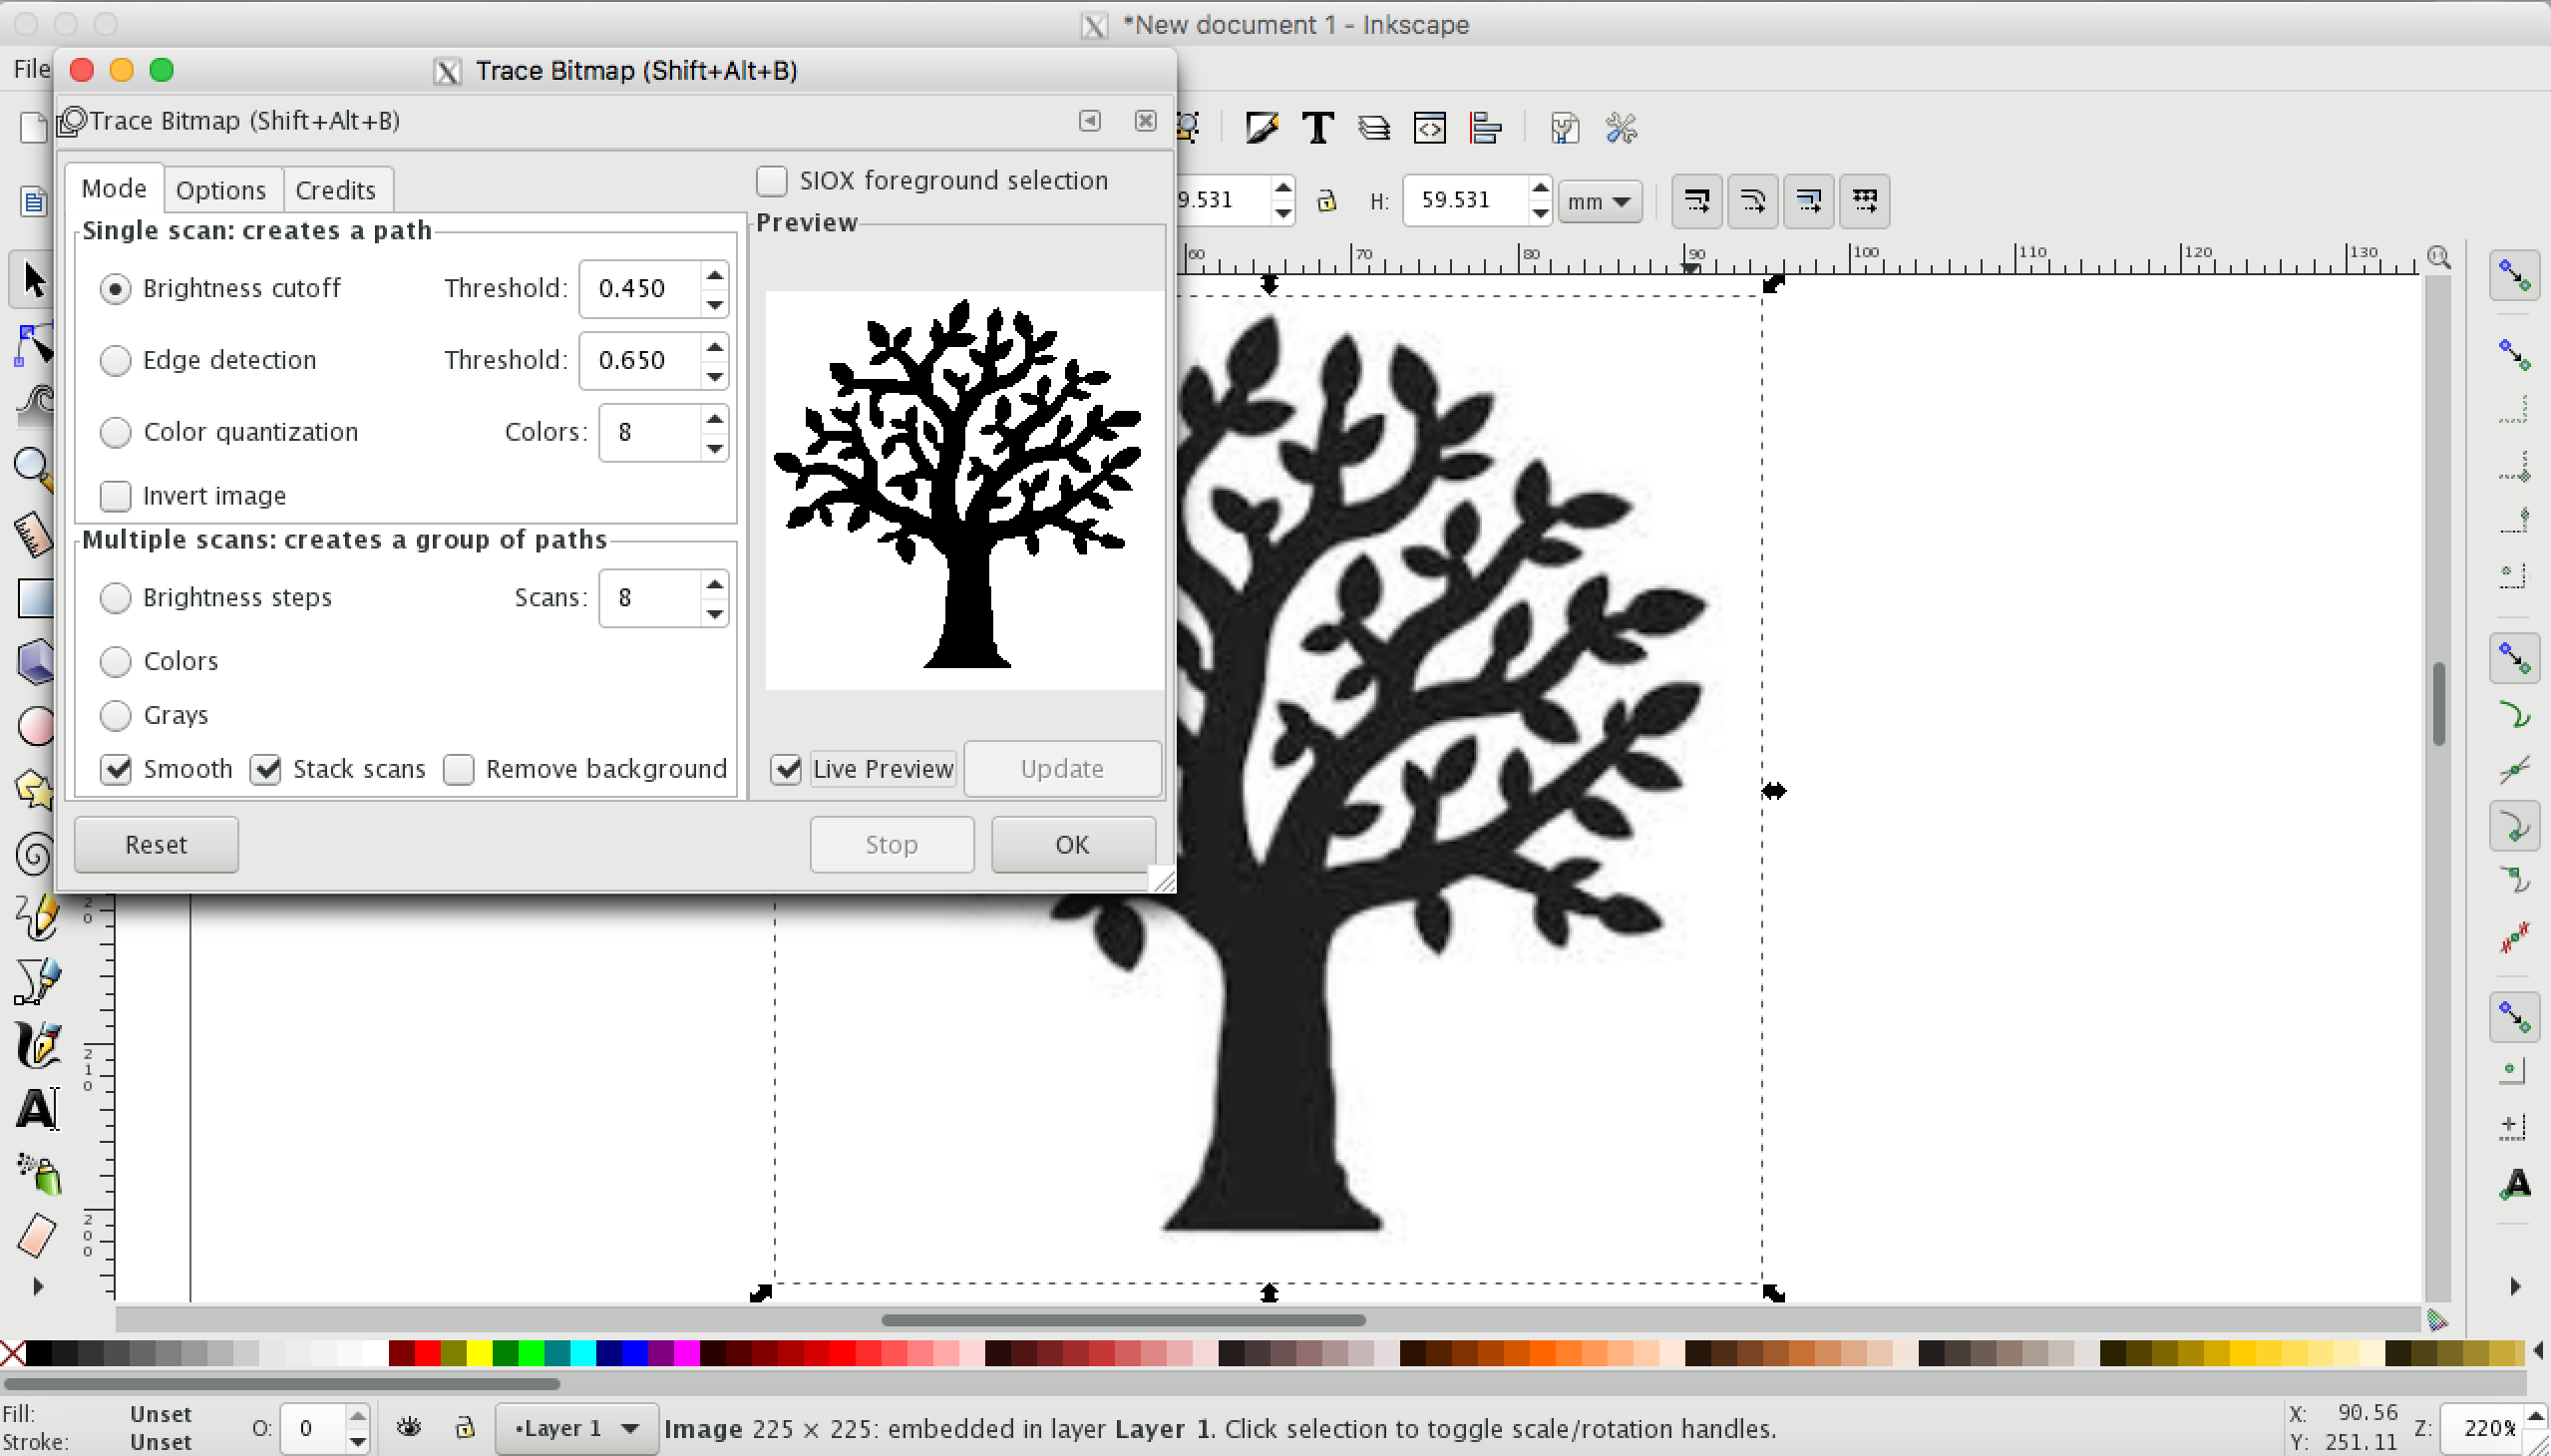
1. Import tree shape image.
2. Use Trace Bitmap (Path > Trace Bitmap) to create a vector from the image.
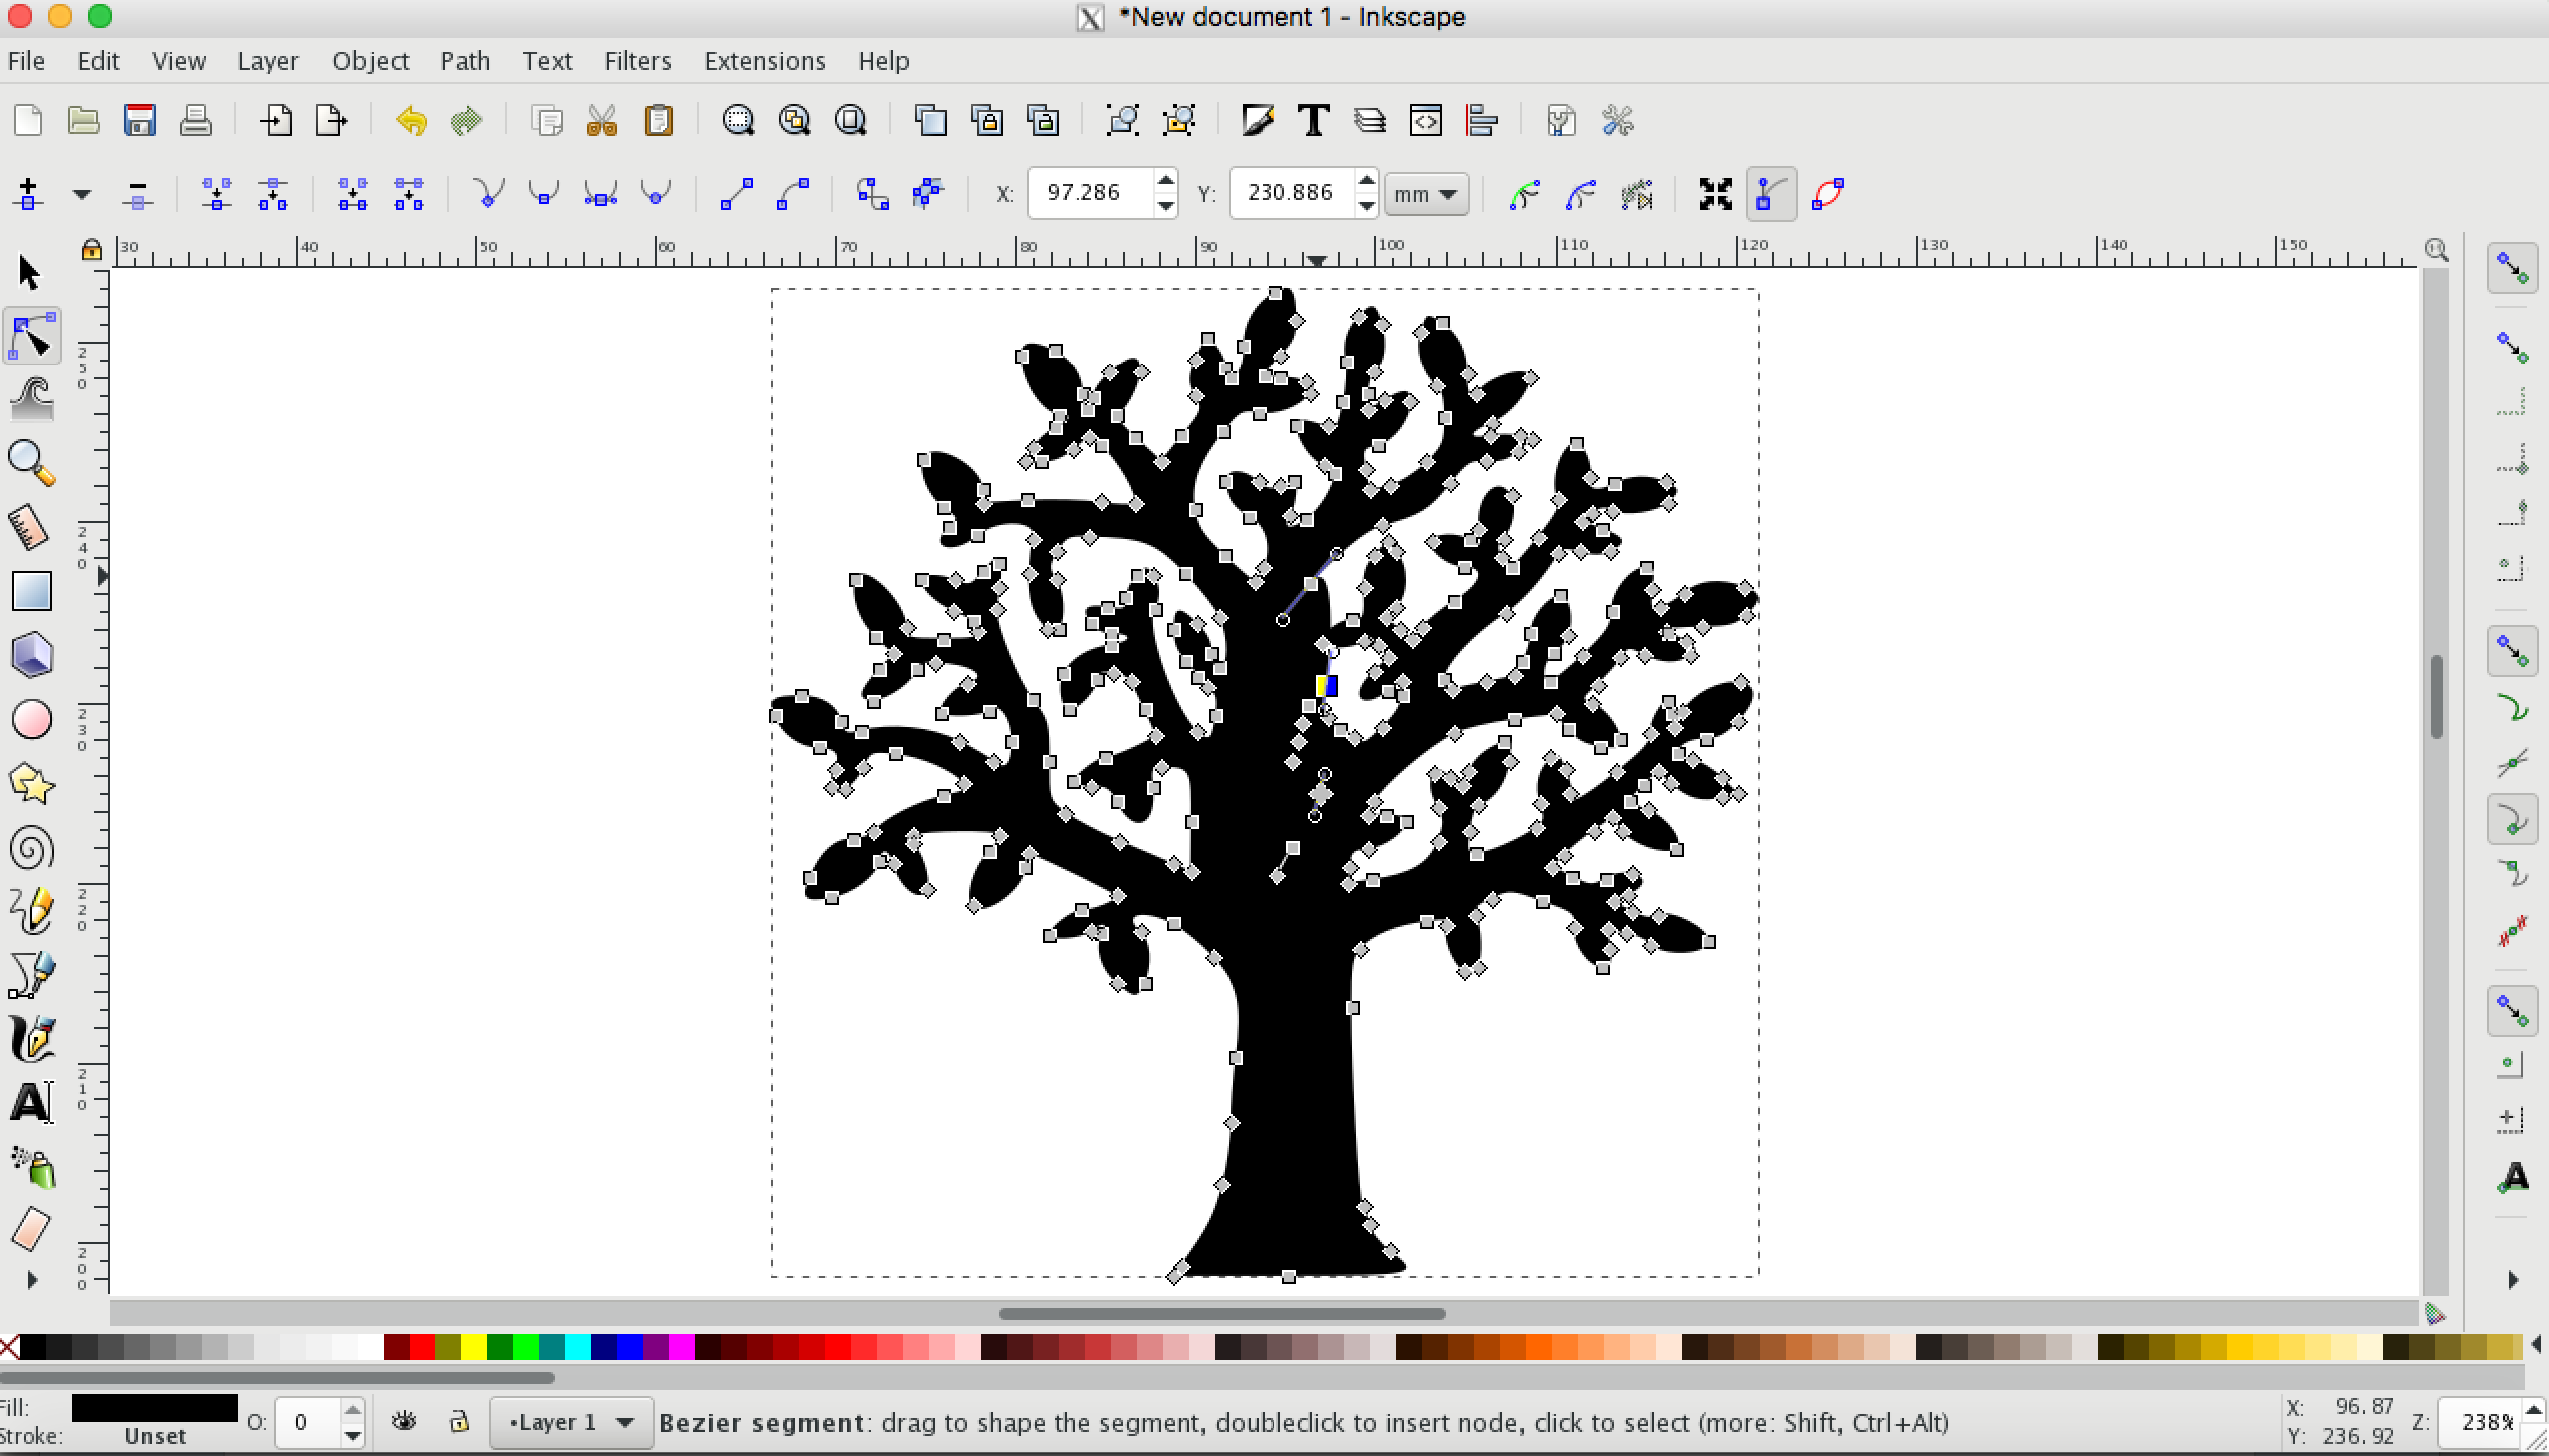
3. Edit the the path of the tree by nodes (in the left bar), so that you can make a slit in the centre of the tree.
4. Cut tree into half by using a rectangle and Difference (Path > Difference).
5. Duplicated the half tree and flipped it horizontally.
6. Use Union (Path > Union) to weld two half trees.
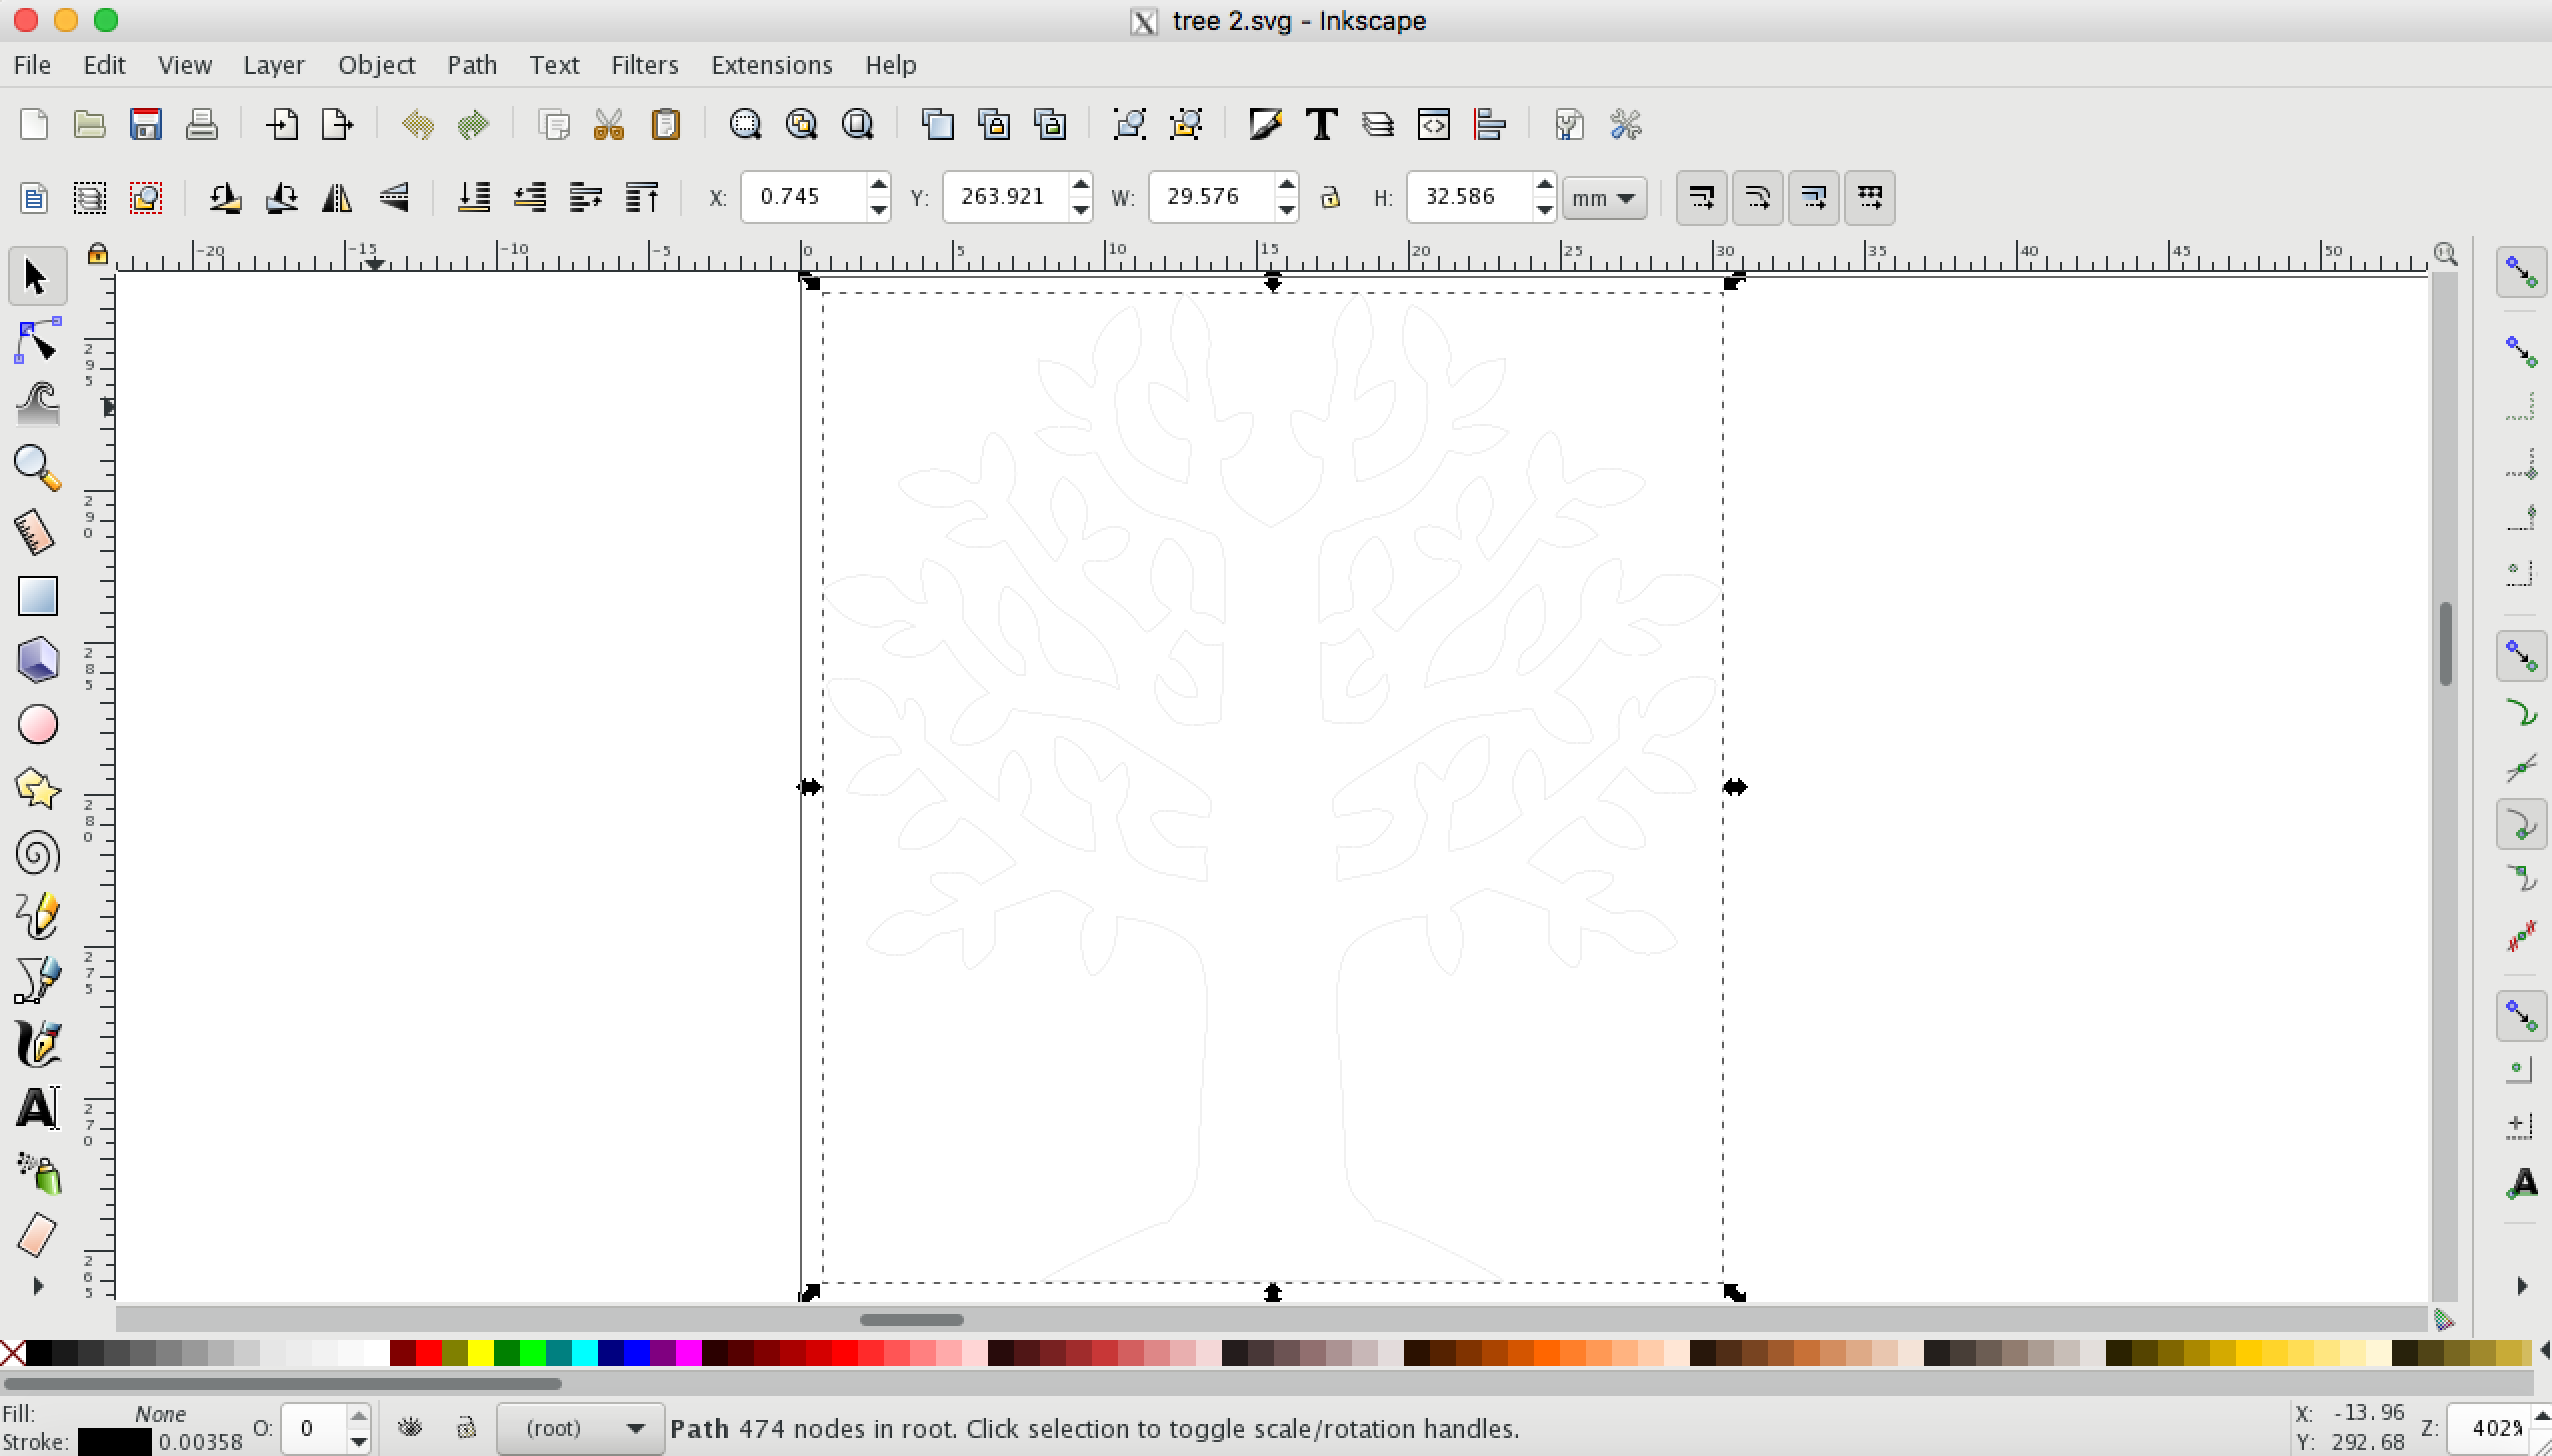
7. Edit Fill and Stroke (Object > Fill and Stroke) as no fill, stroke as 0.02 mm.
Make Slits on the Tree
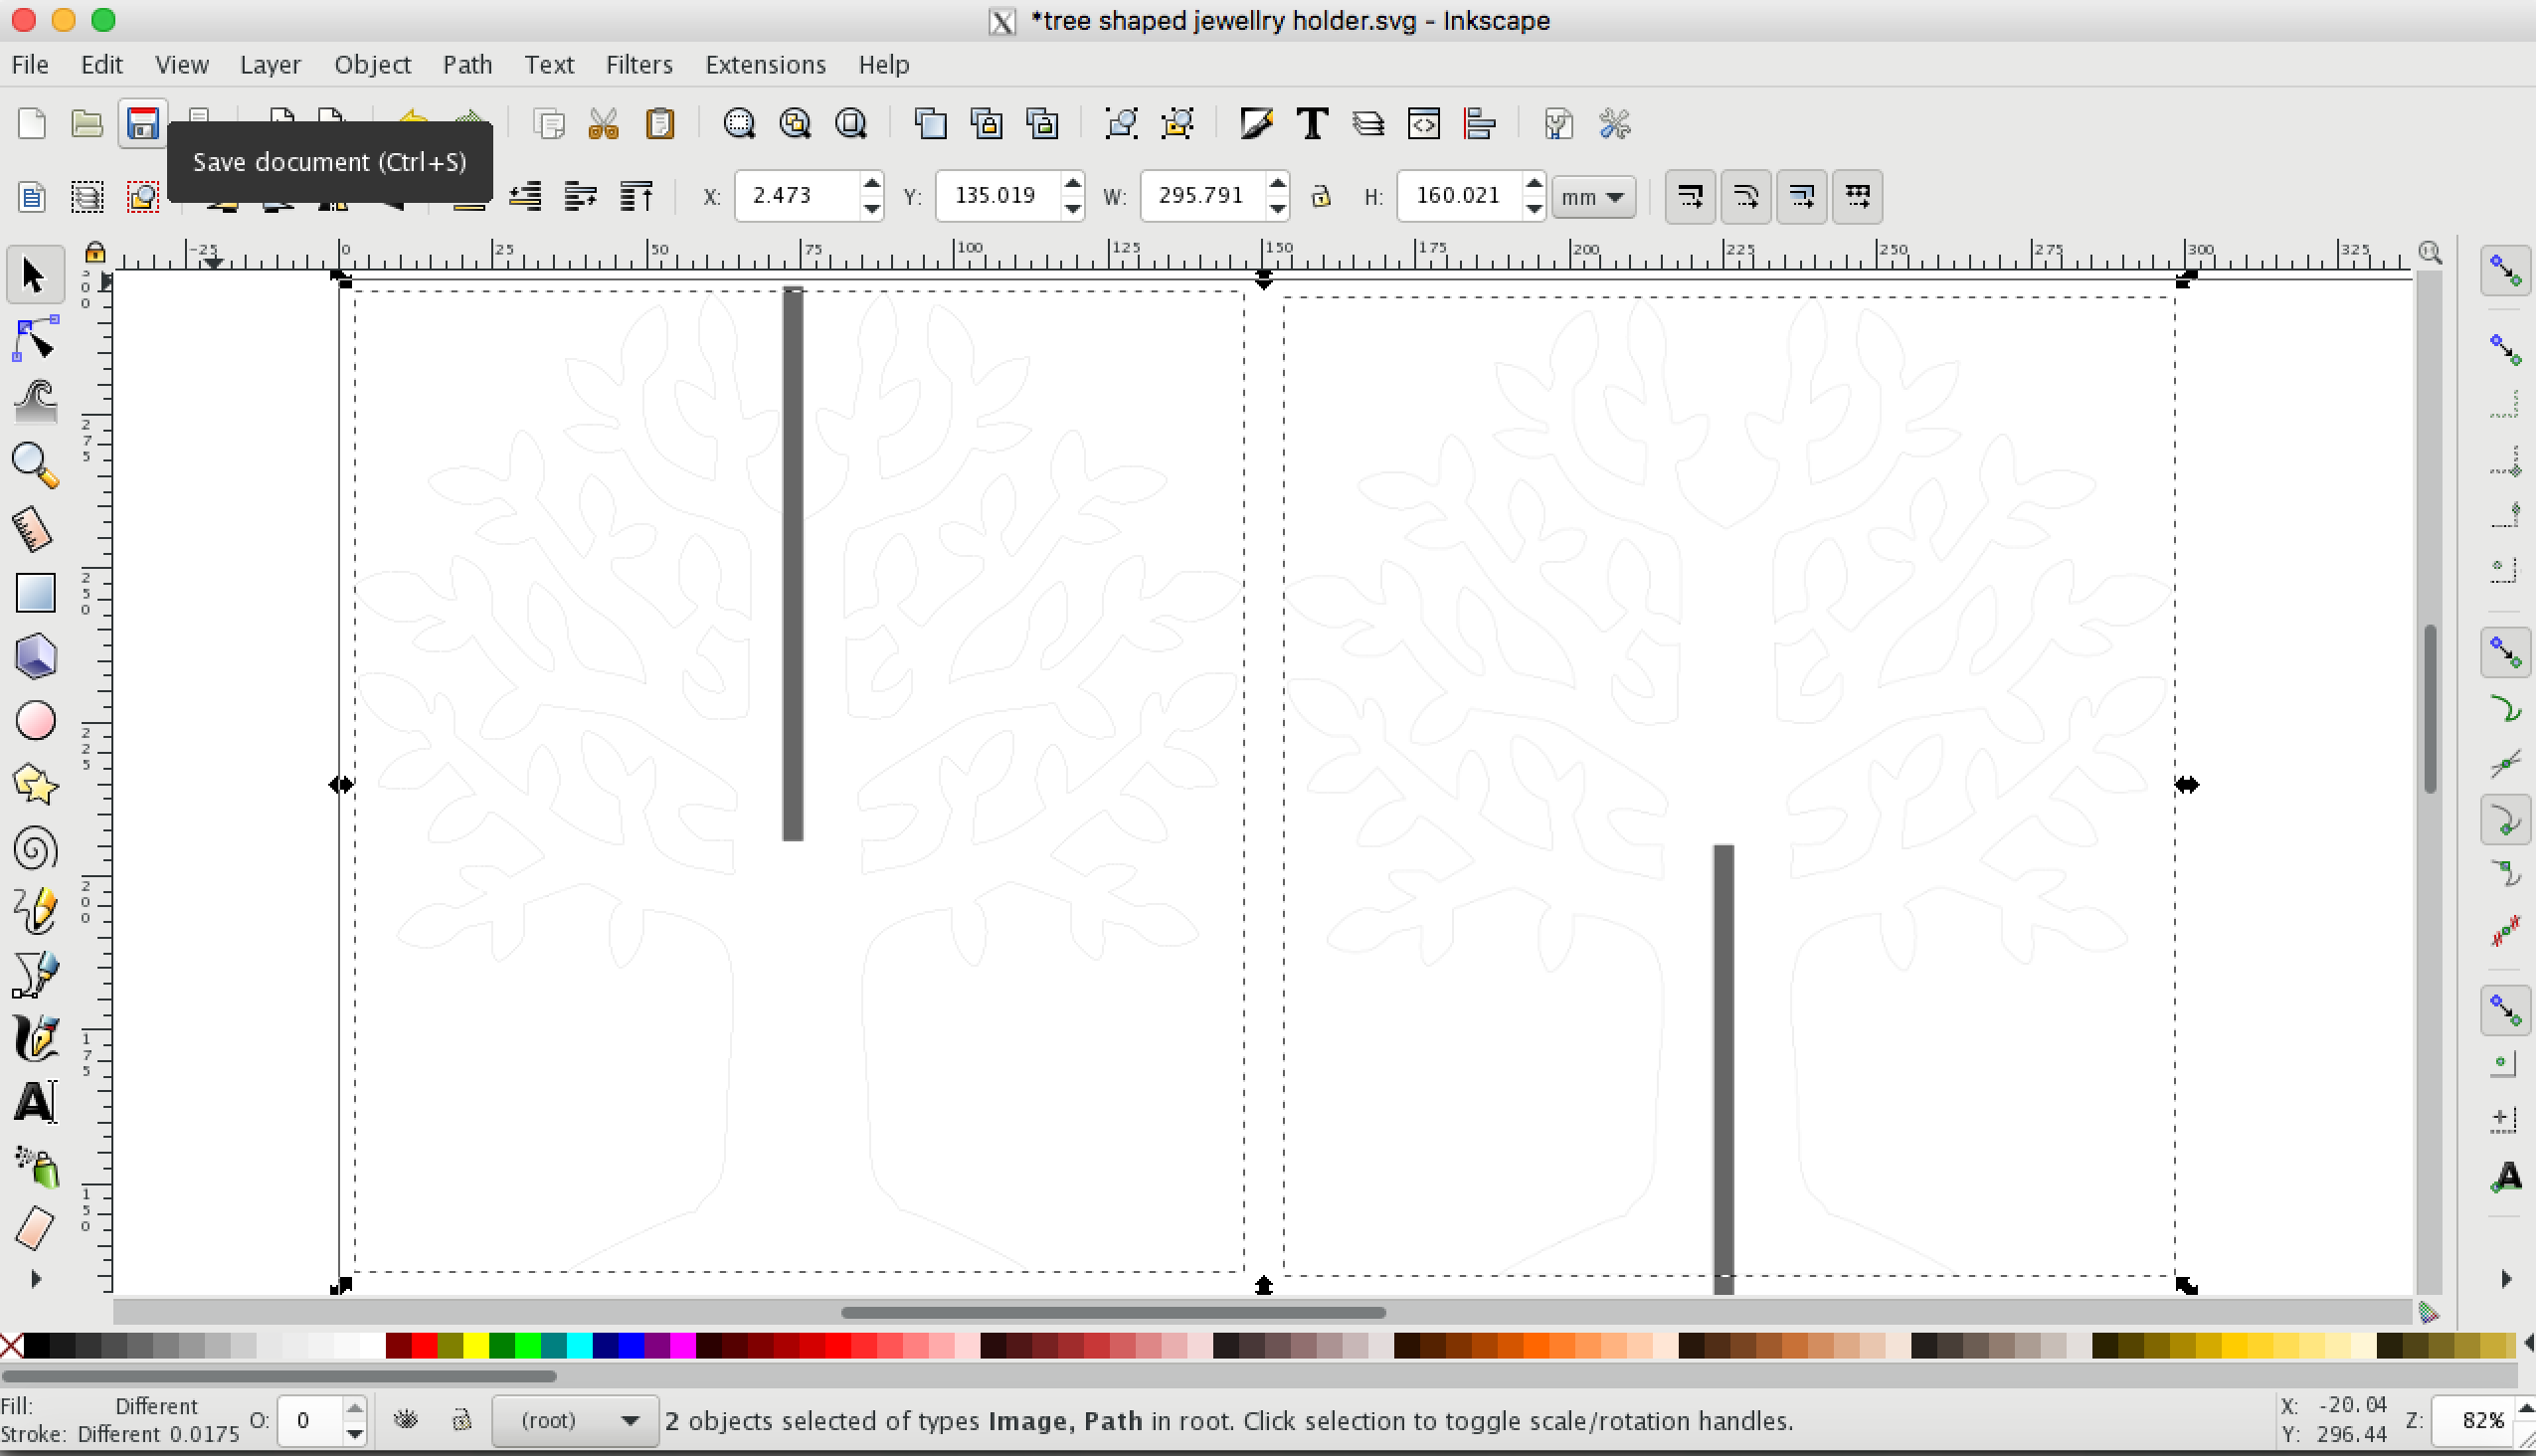
Make a slit on the tree to make 3D stand tree.
1. Duplicate the tree and decide the size of tree as you want.
2. Create a rectangle to make a slit.
The width of the slit depends on the material you use.
I used 3 mm MDF board, I set width as 3.3mm.
The height is half of the tree's height.
* It is better to use grid to make sure each slit comes to the centre of the tree.
3. Place centre of the tree, one rectangle on the top half, and another one on the bottom half.
4. Use Difference (Path > Difference) to remove the rectangle shape and make a slit.
Laser Cutting

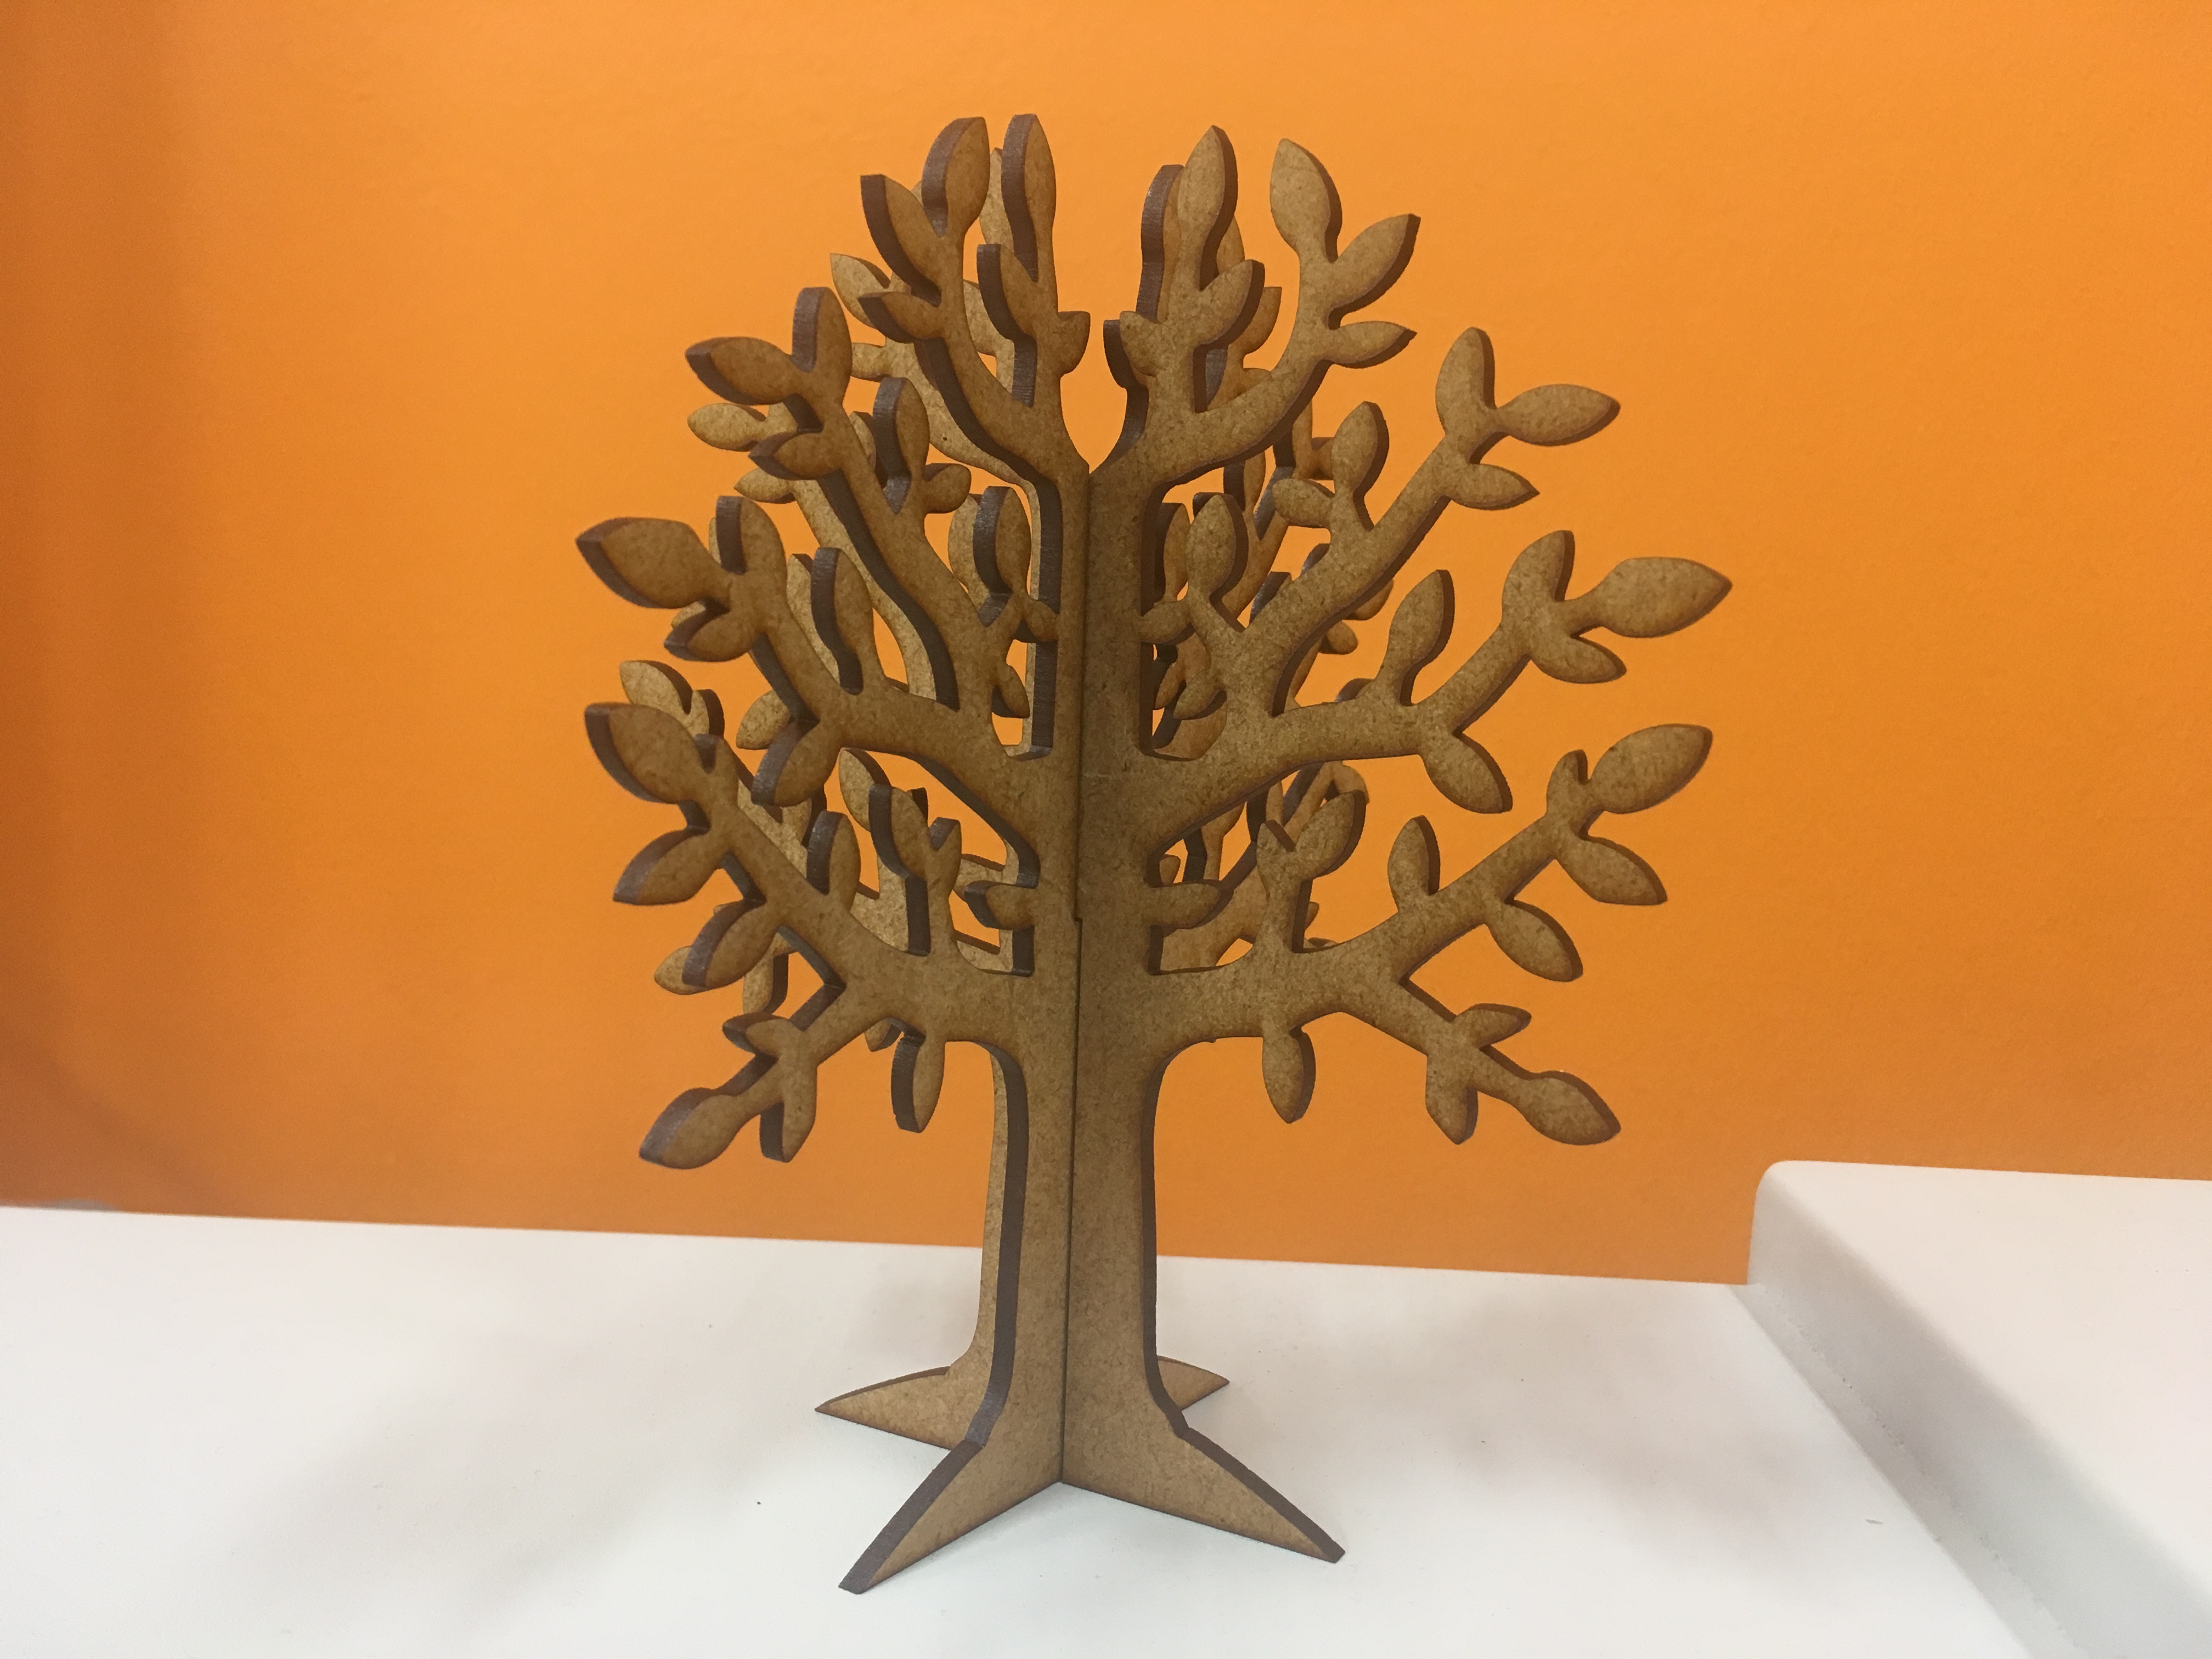
Final step!
1. Cut the trees by laser cutter.
2. Interlock two pieces using slits.
Finish! :D
I put my design file here. Size is about 15 cm.