Tree House
When thinking about turning a small space into a living space, my first thought was utilizing a tree and turning it into a house. The reason I chose a treehouse is because it saves space in the wilderness and doesn't harm the ecosystem as much as it would when creating a residential neighborhood.
Supplies
When constructing this project, I used Autodesk Revit, and Autodesk Inventor, a 3D printer, a Laser Engraving machine, and a Hot Glue gun
Modeling the House
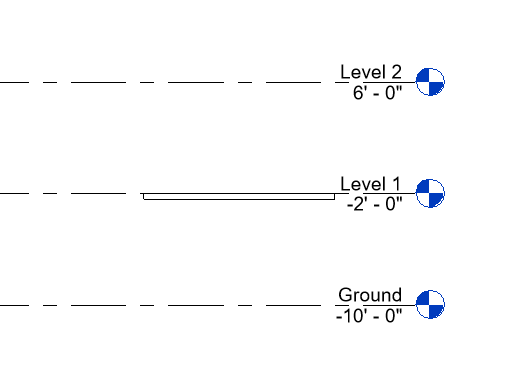
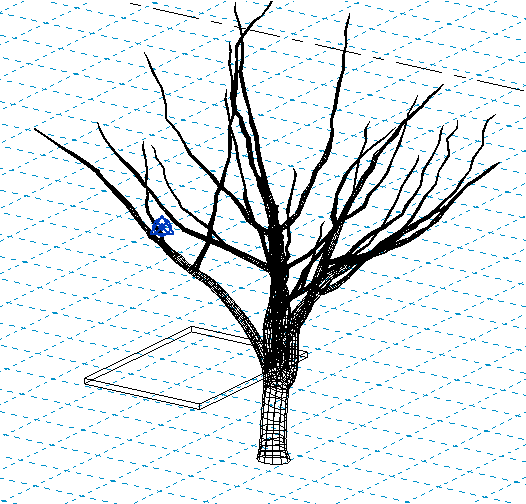
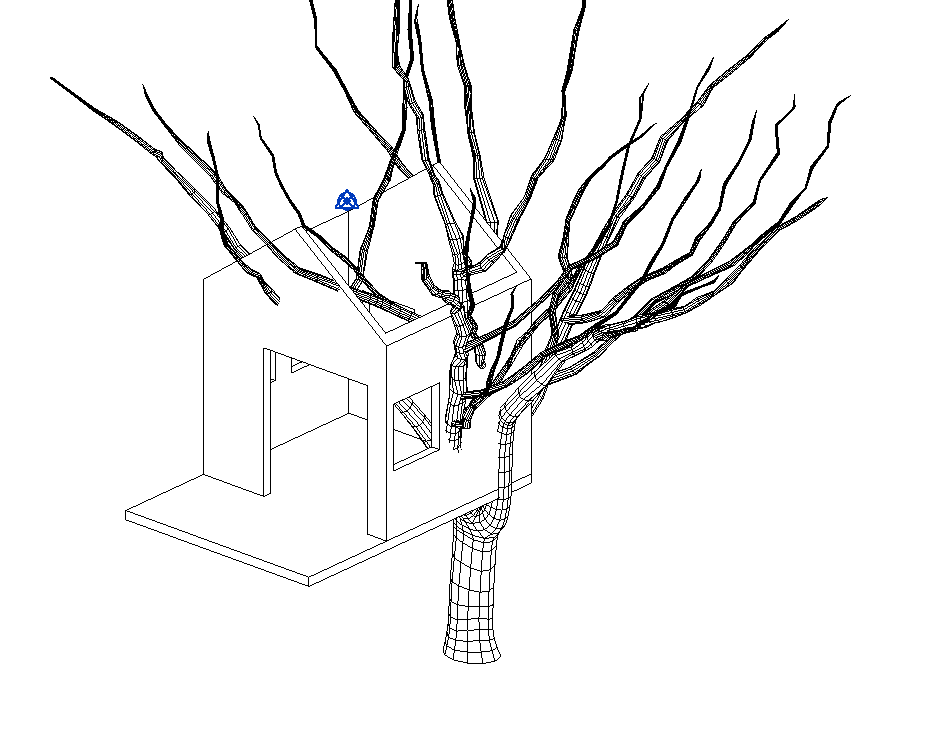

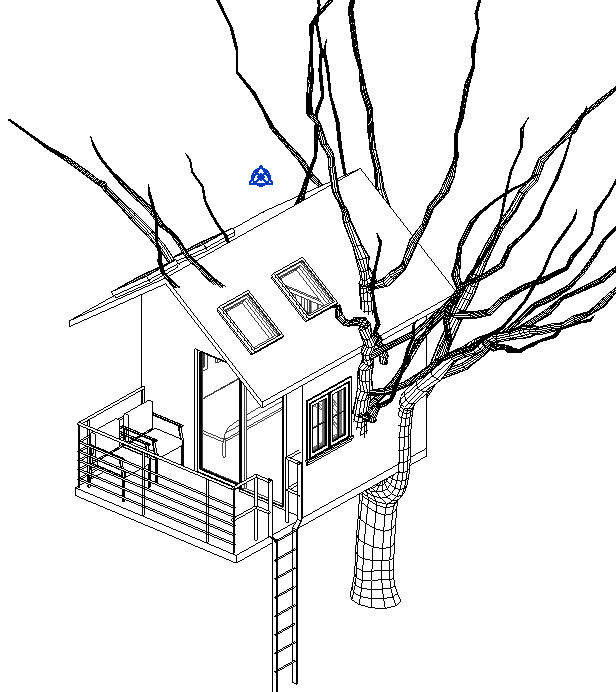
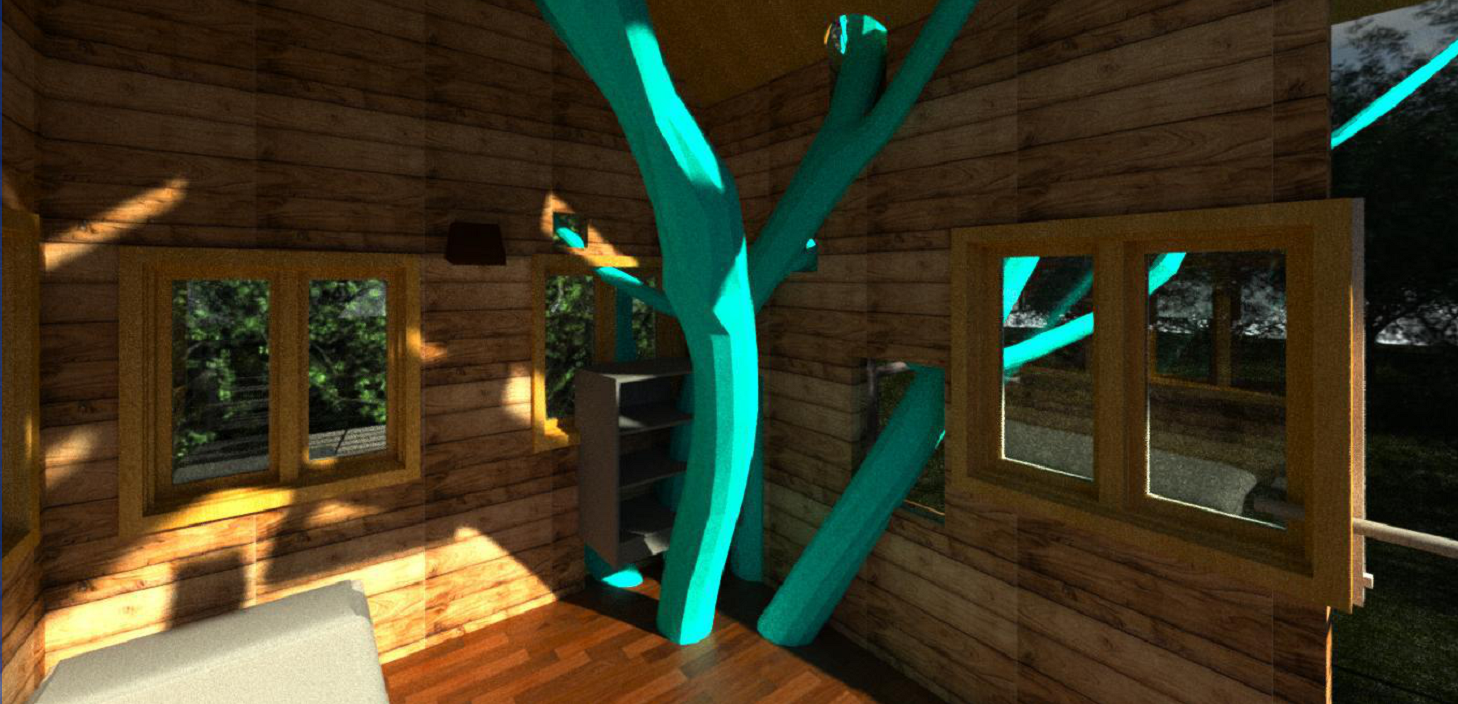
In order to start the construction of the tree house, I had to create a new level to work on. When I finished the basic floor, I added a tree to model. Then I constructed the exterior walls and other parts of the house around the model of the tree. I then started to add details like windows and doors. After finished the bigger details, I constructed the roof and balcony on the outside of the house.
Downloads
Modeling the Site
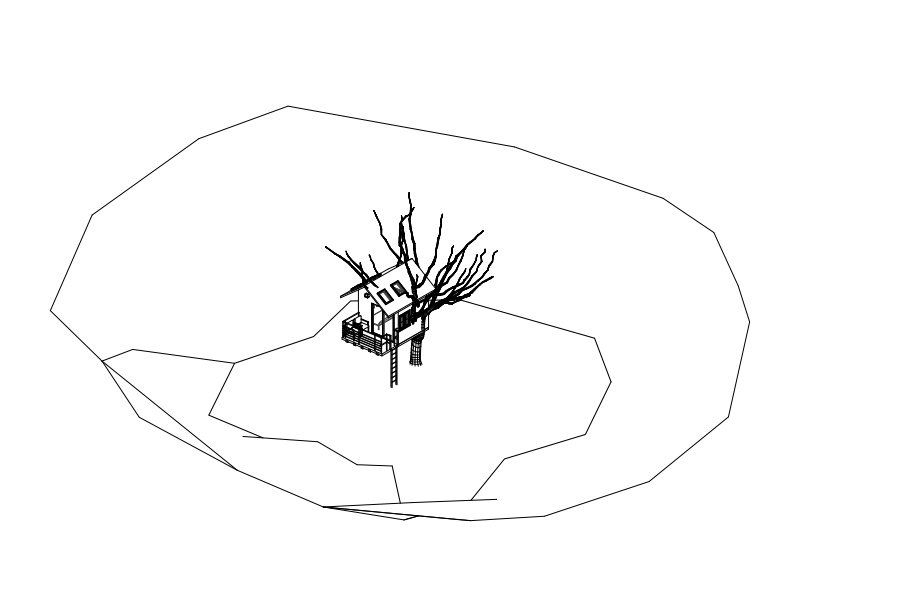
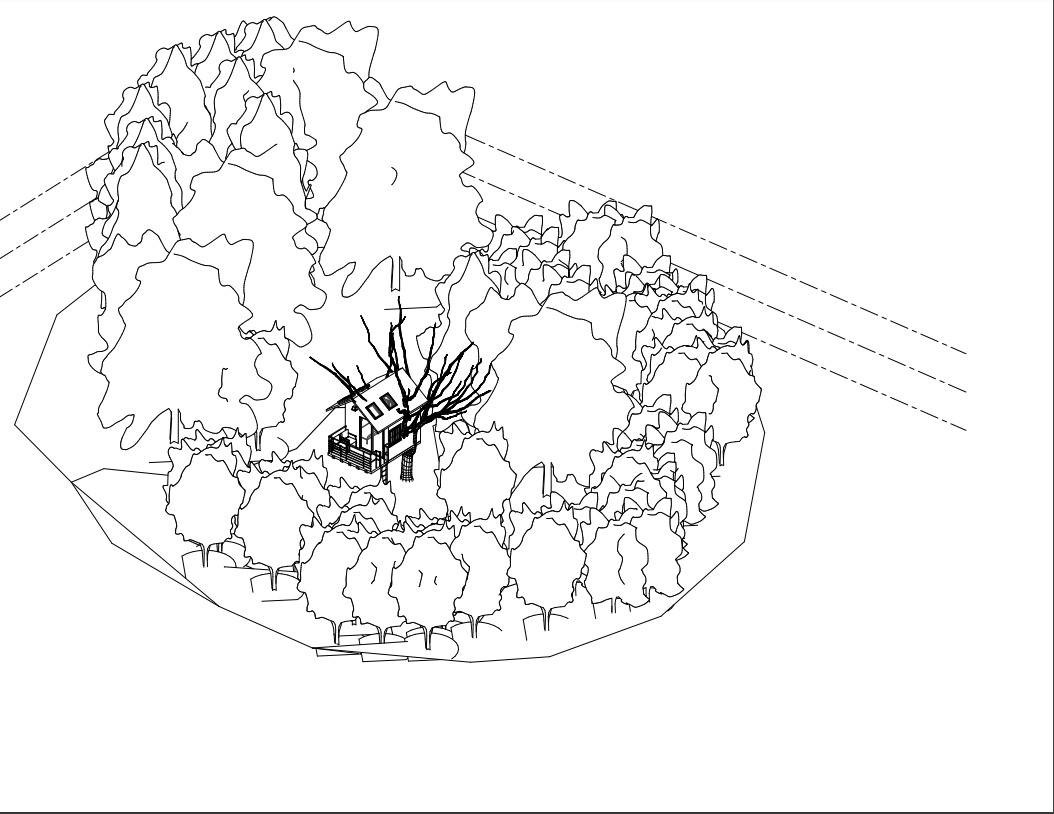
Once I completed the construction of the Tree house, I needed a site to work on. When creating the site, I needed to use the topo surface command, after I had a basic layout for the site I used elevations to change the layout and orientation of the site. After the site was complete, I added trees around my creation to add an effect of being in the woods
Downloads
Rendering
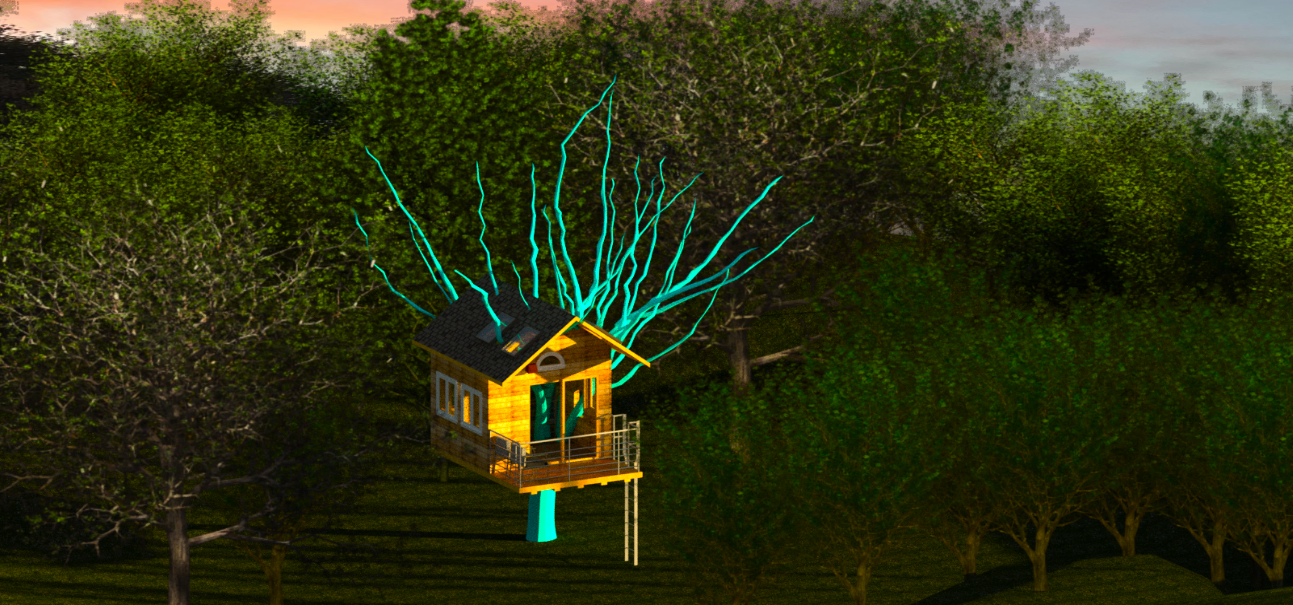
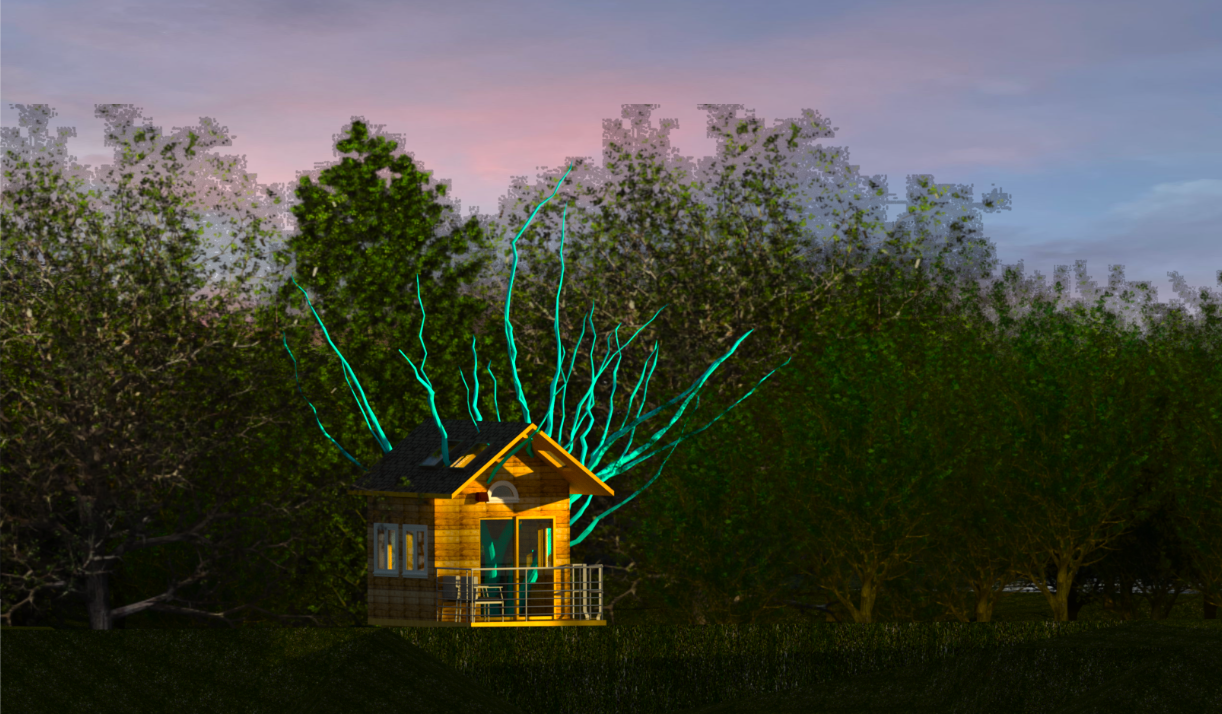
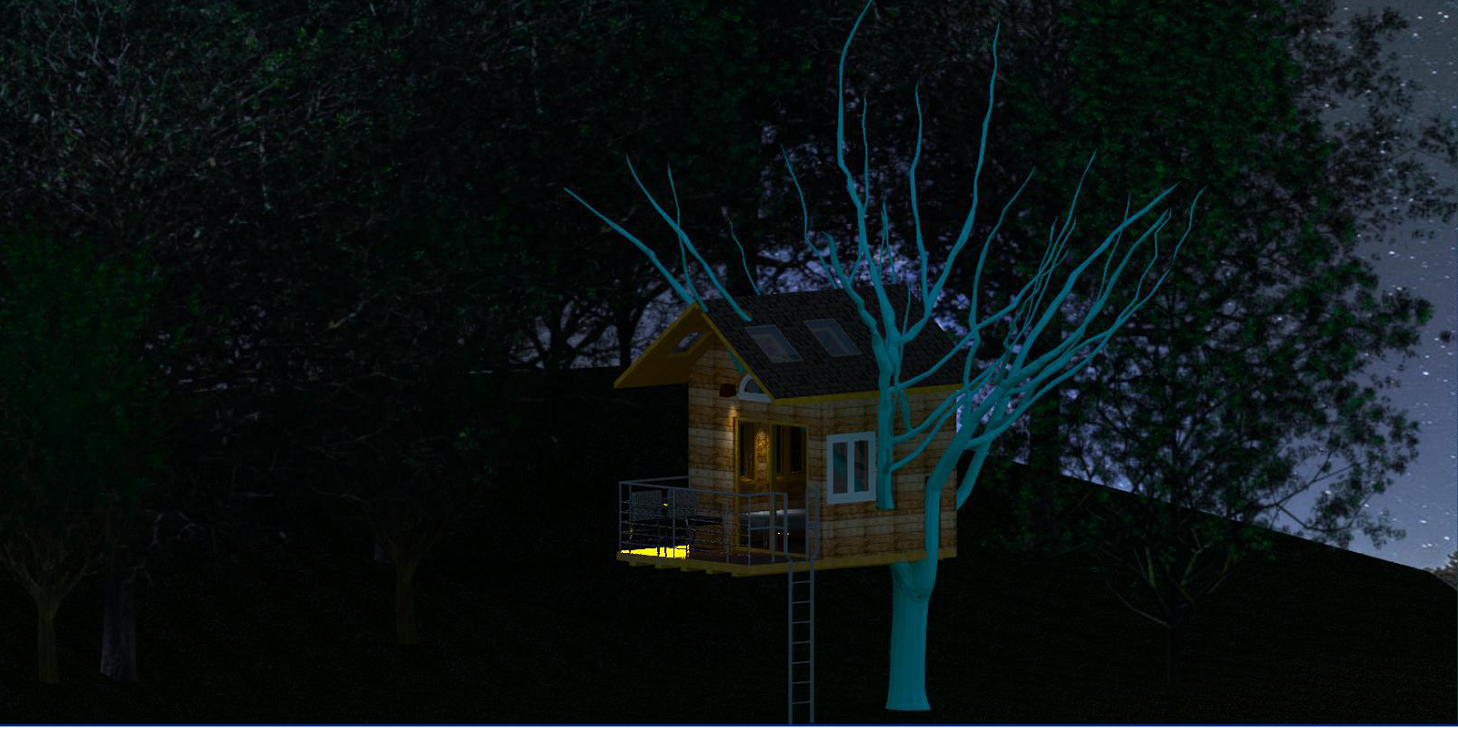
After my project was complete, I now decided to work on the rendering aspect of it. I utilized the commands provided to me in Autodesk Revit and changed the graphics manually.
Realistic Modeling
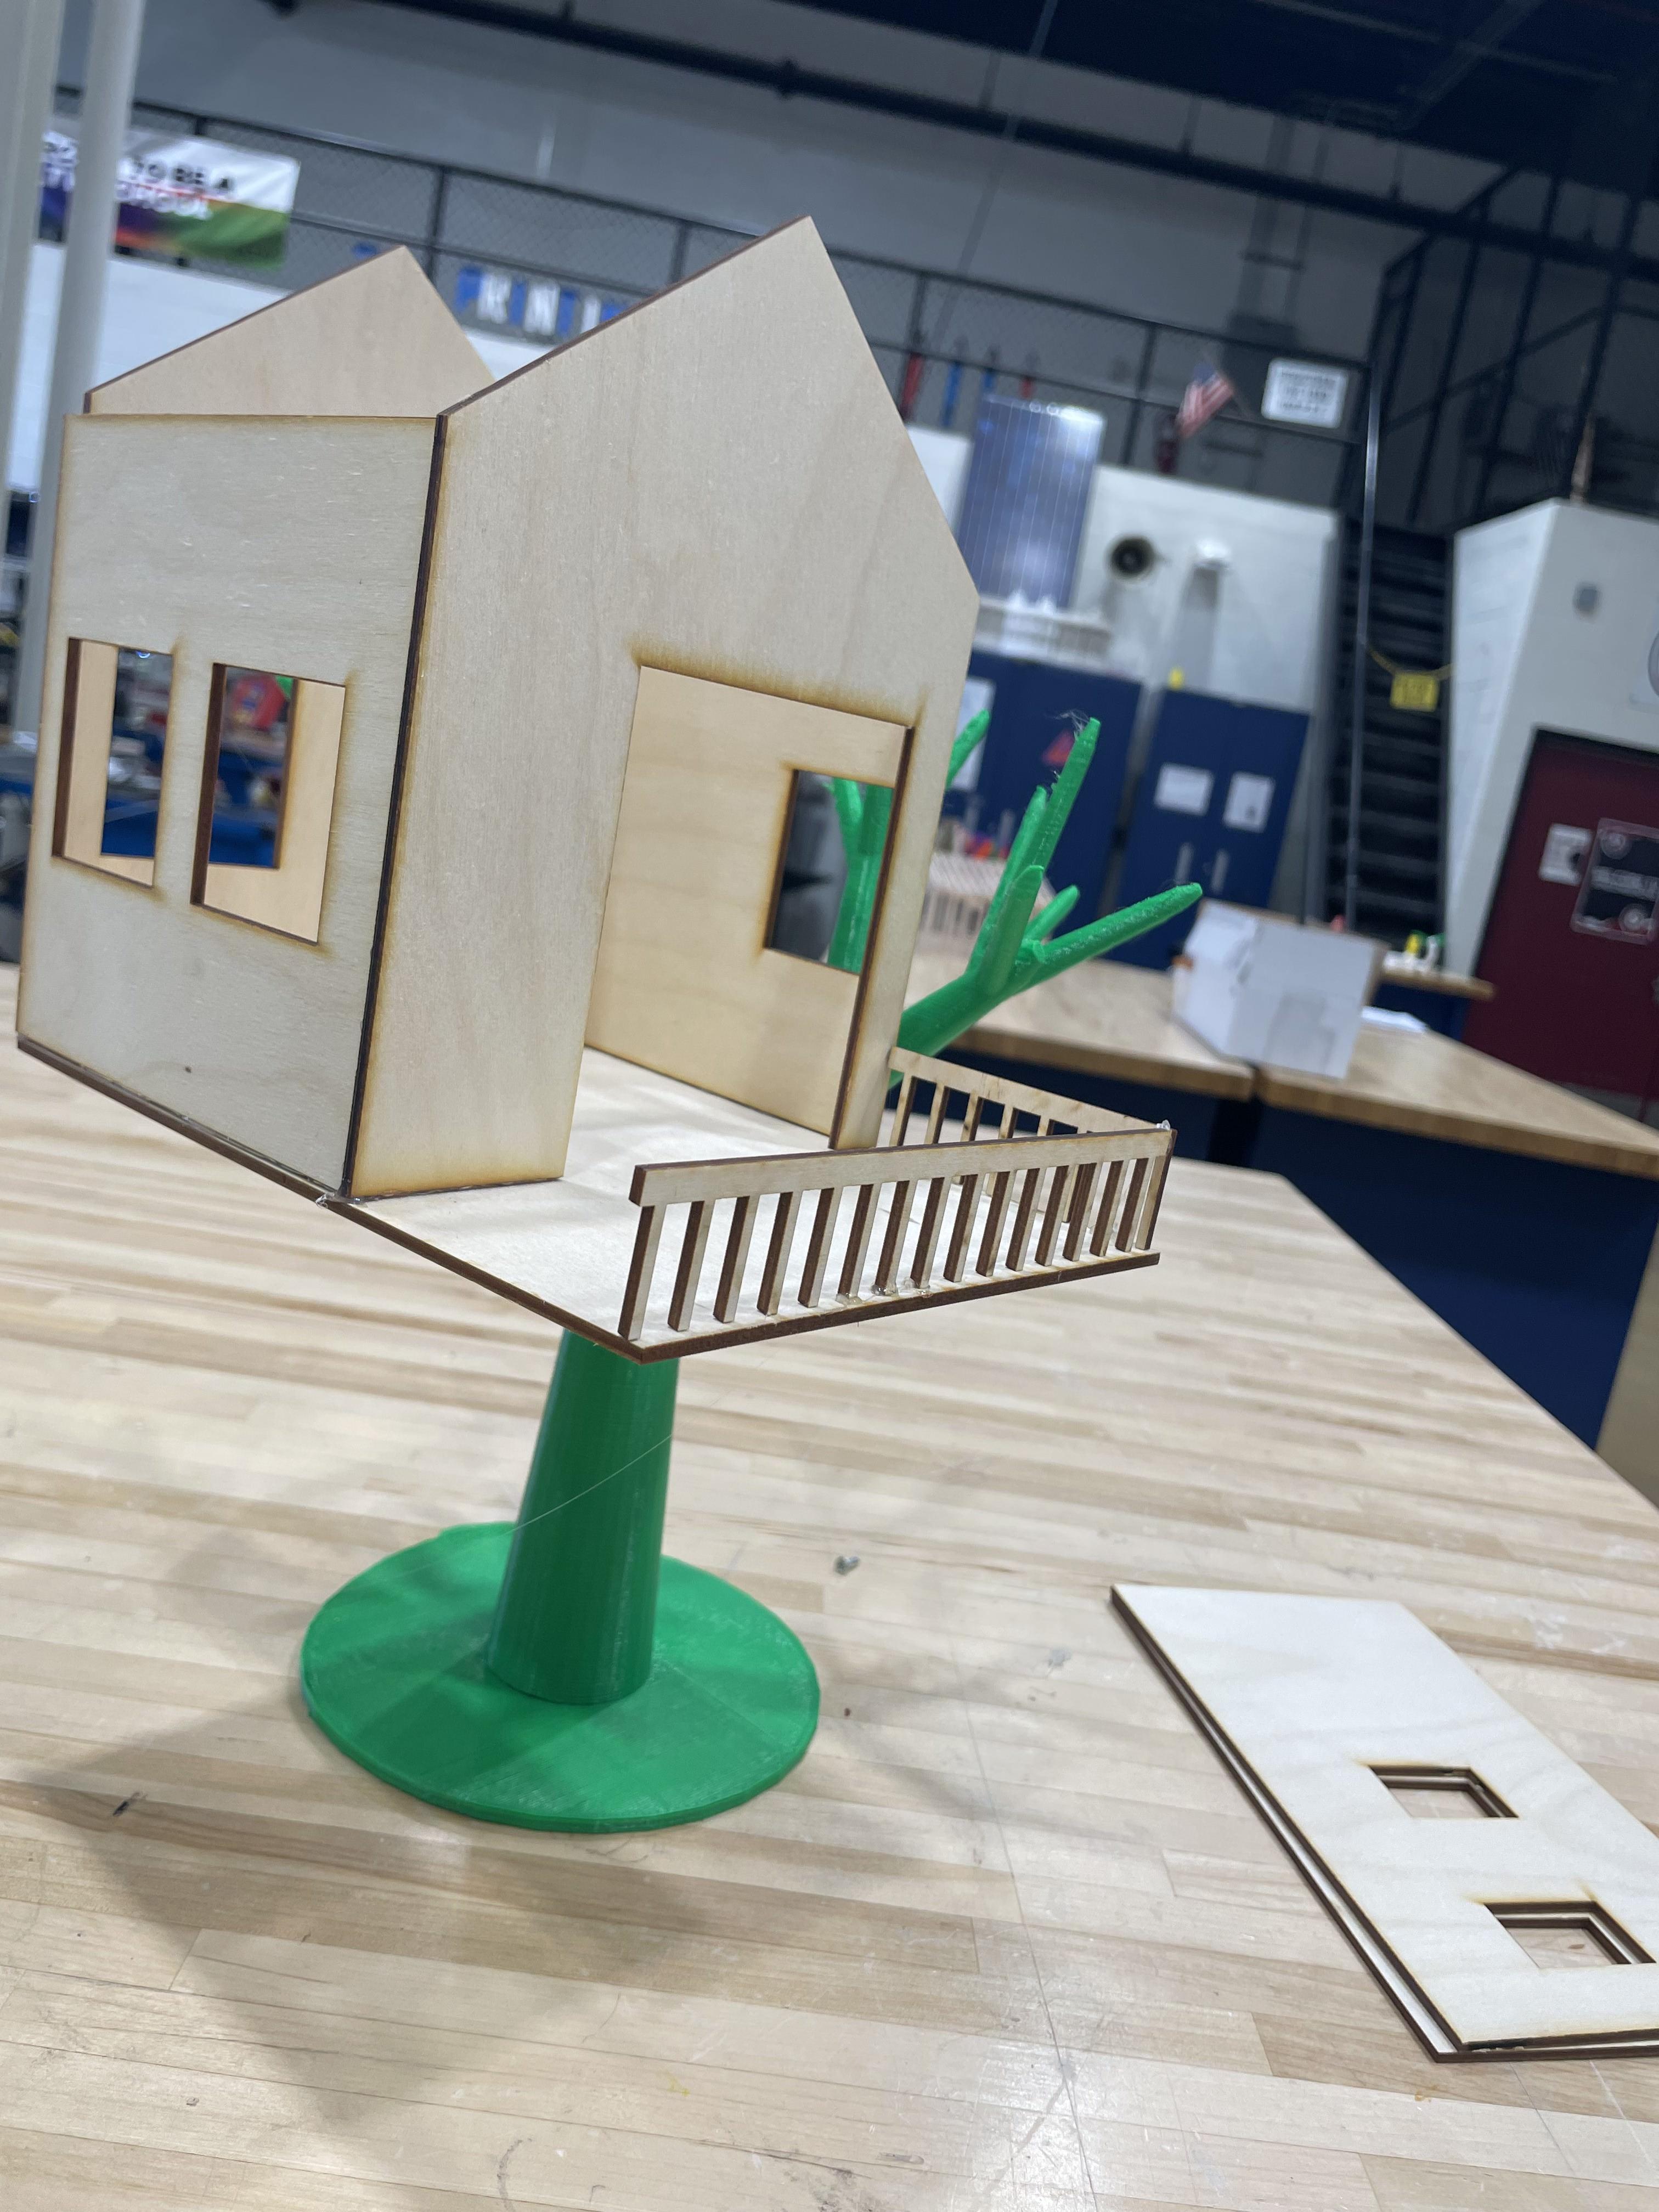
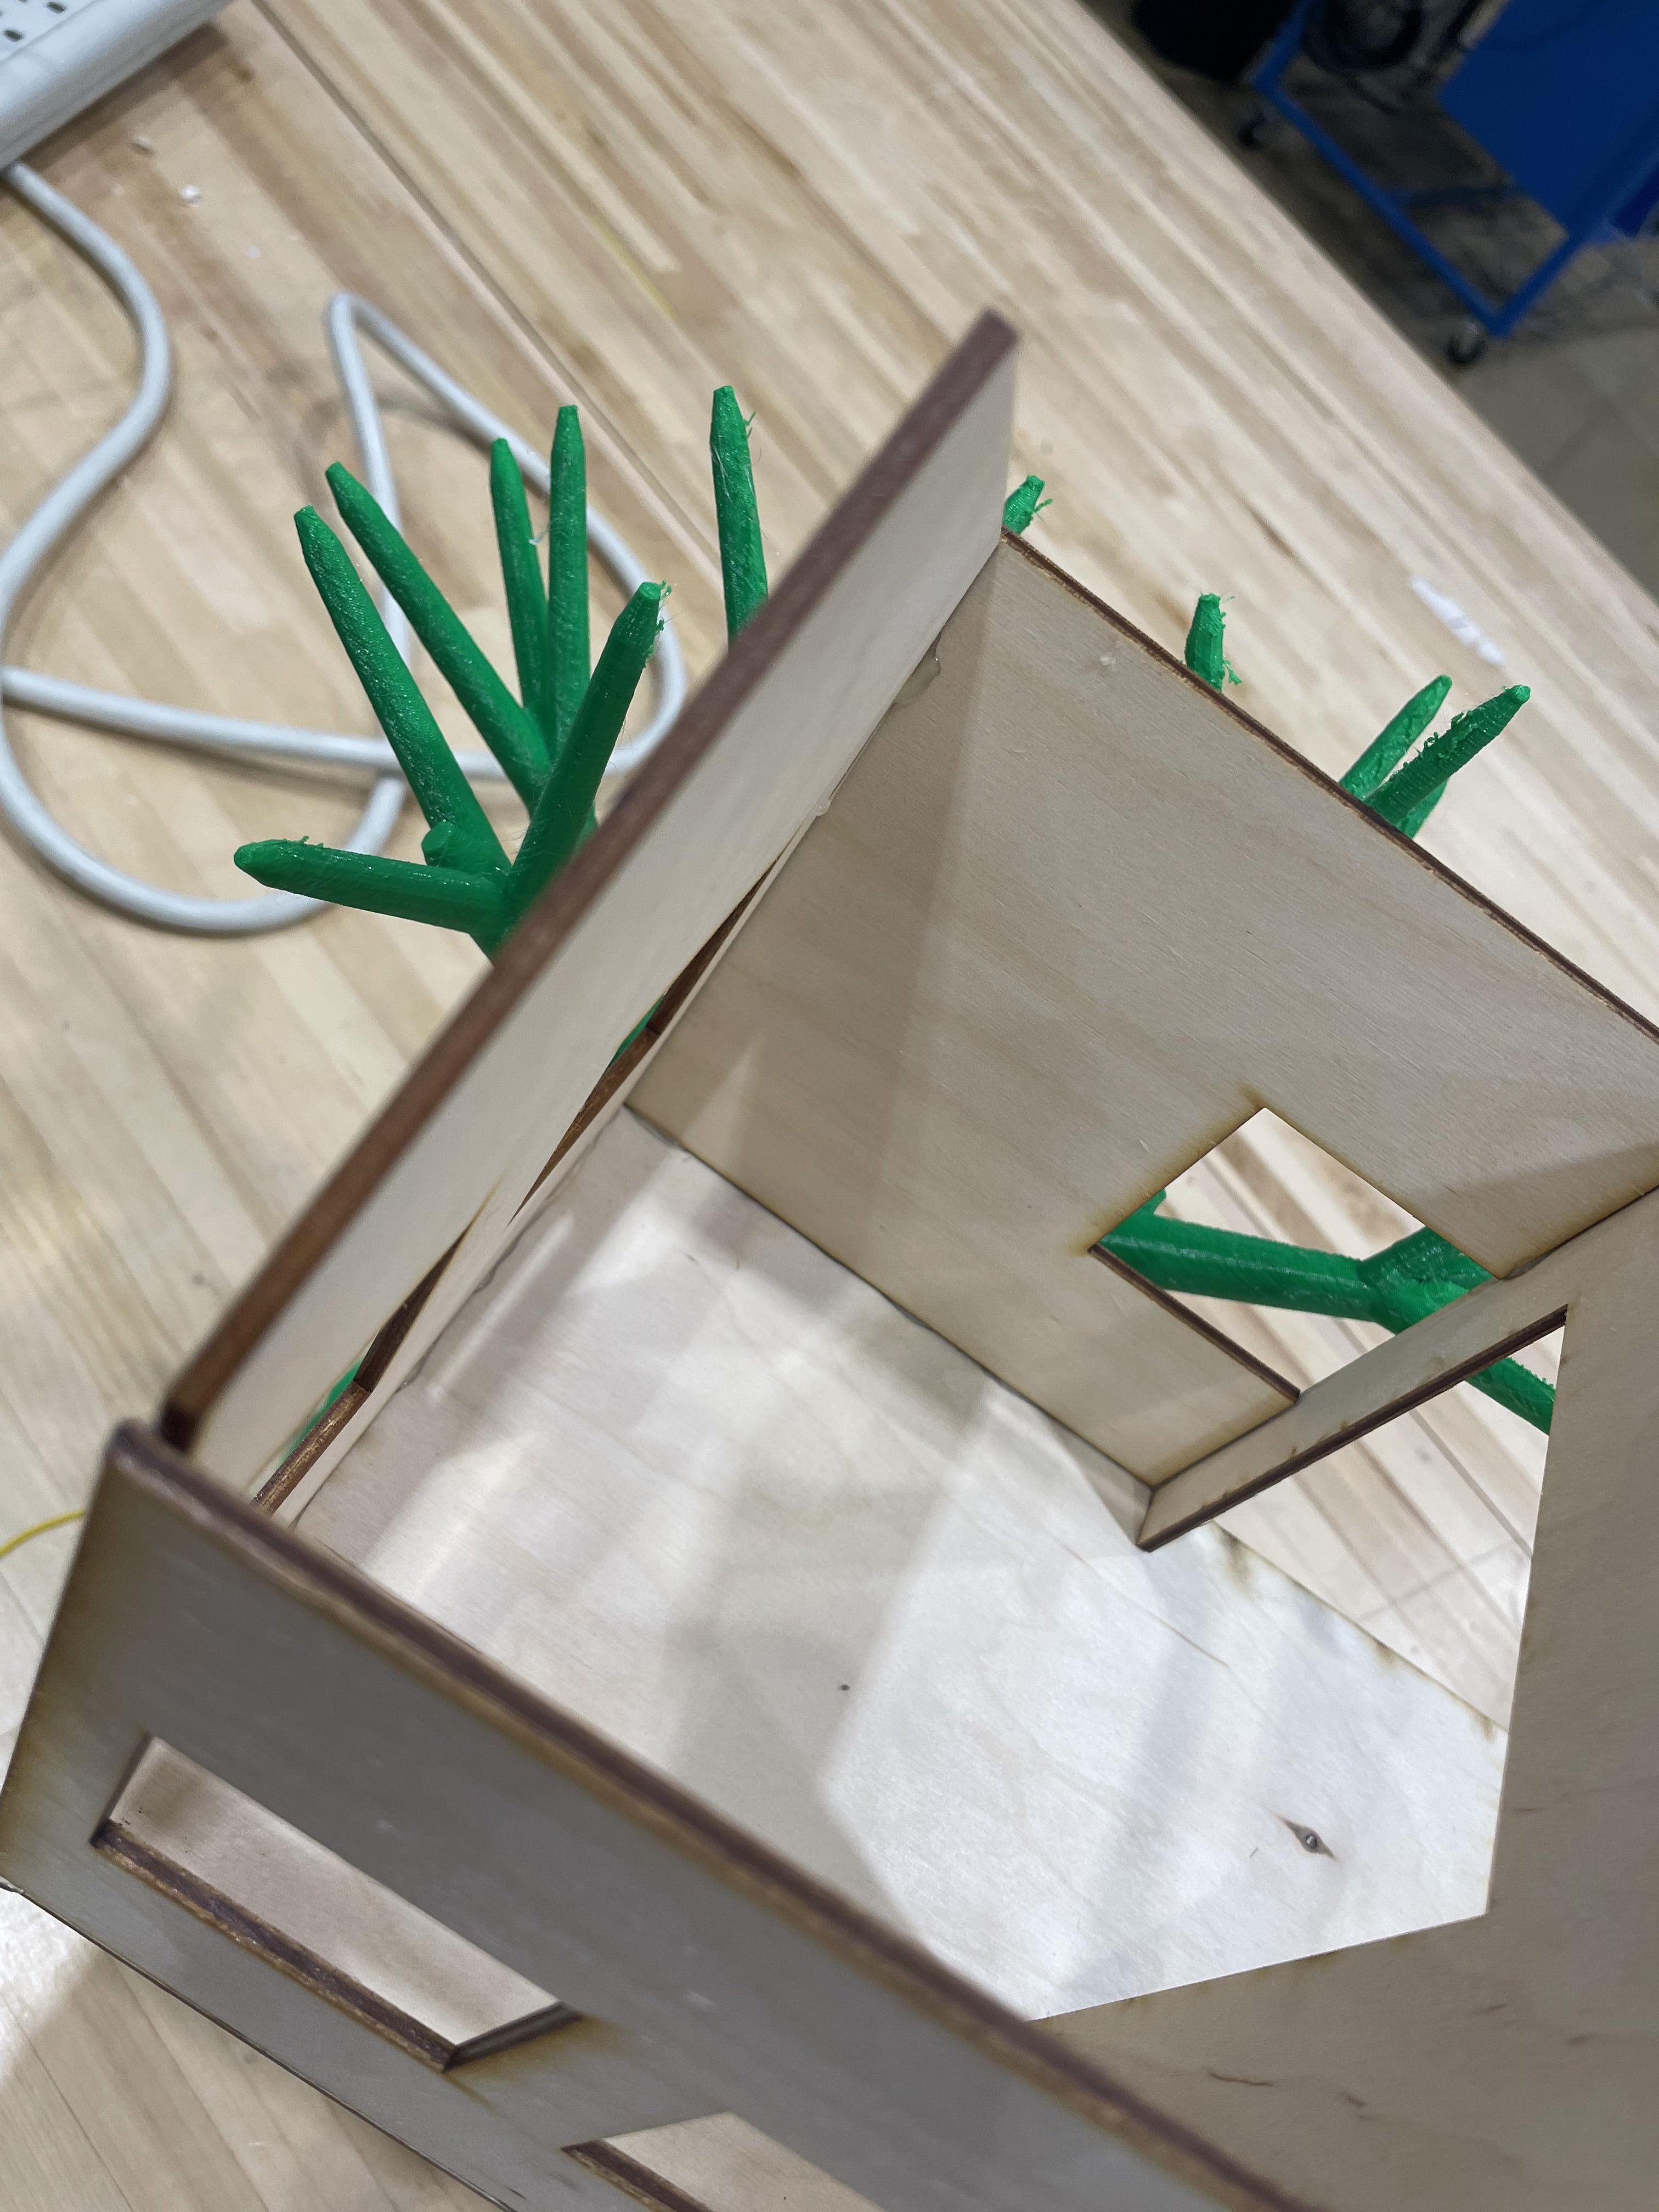
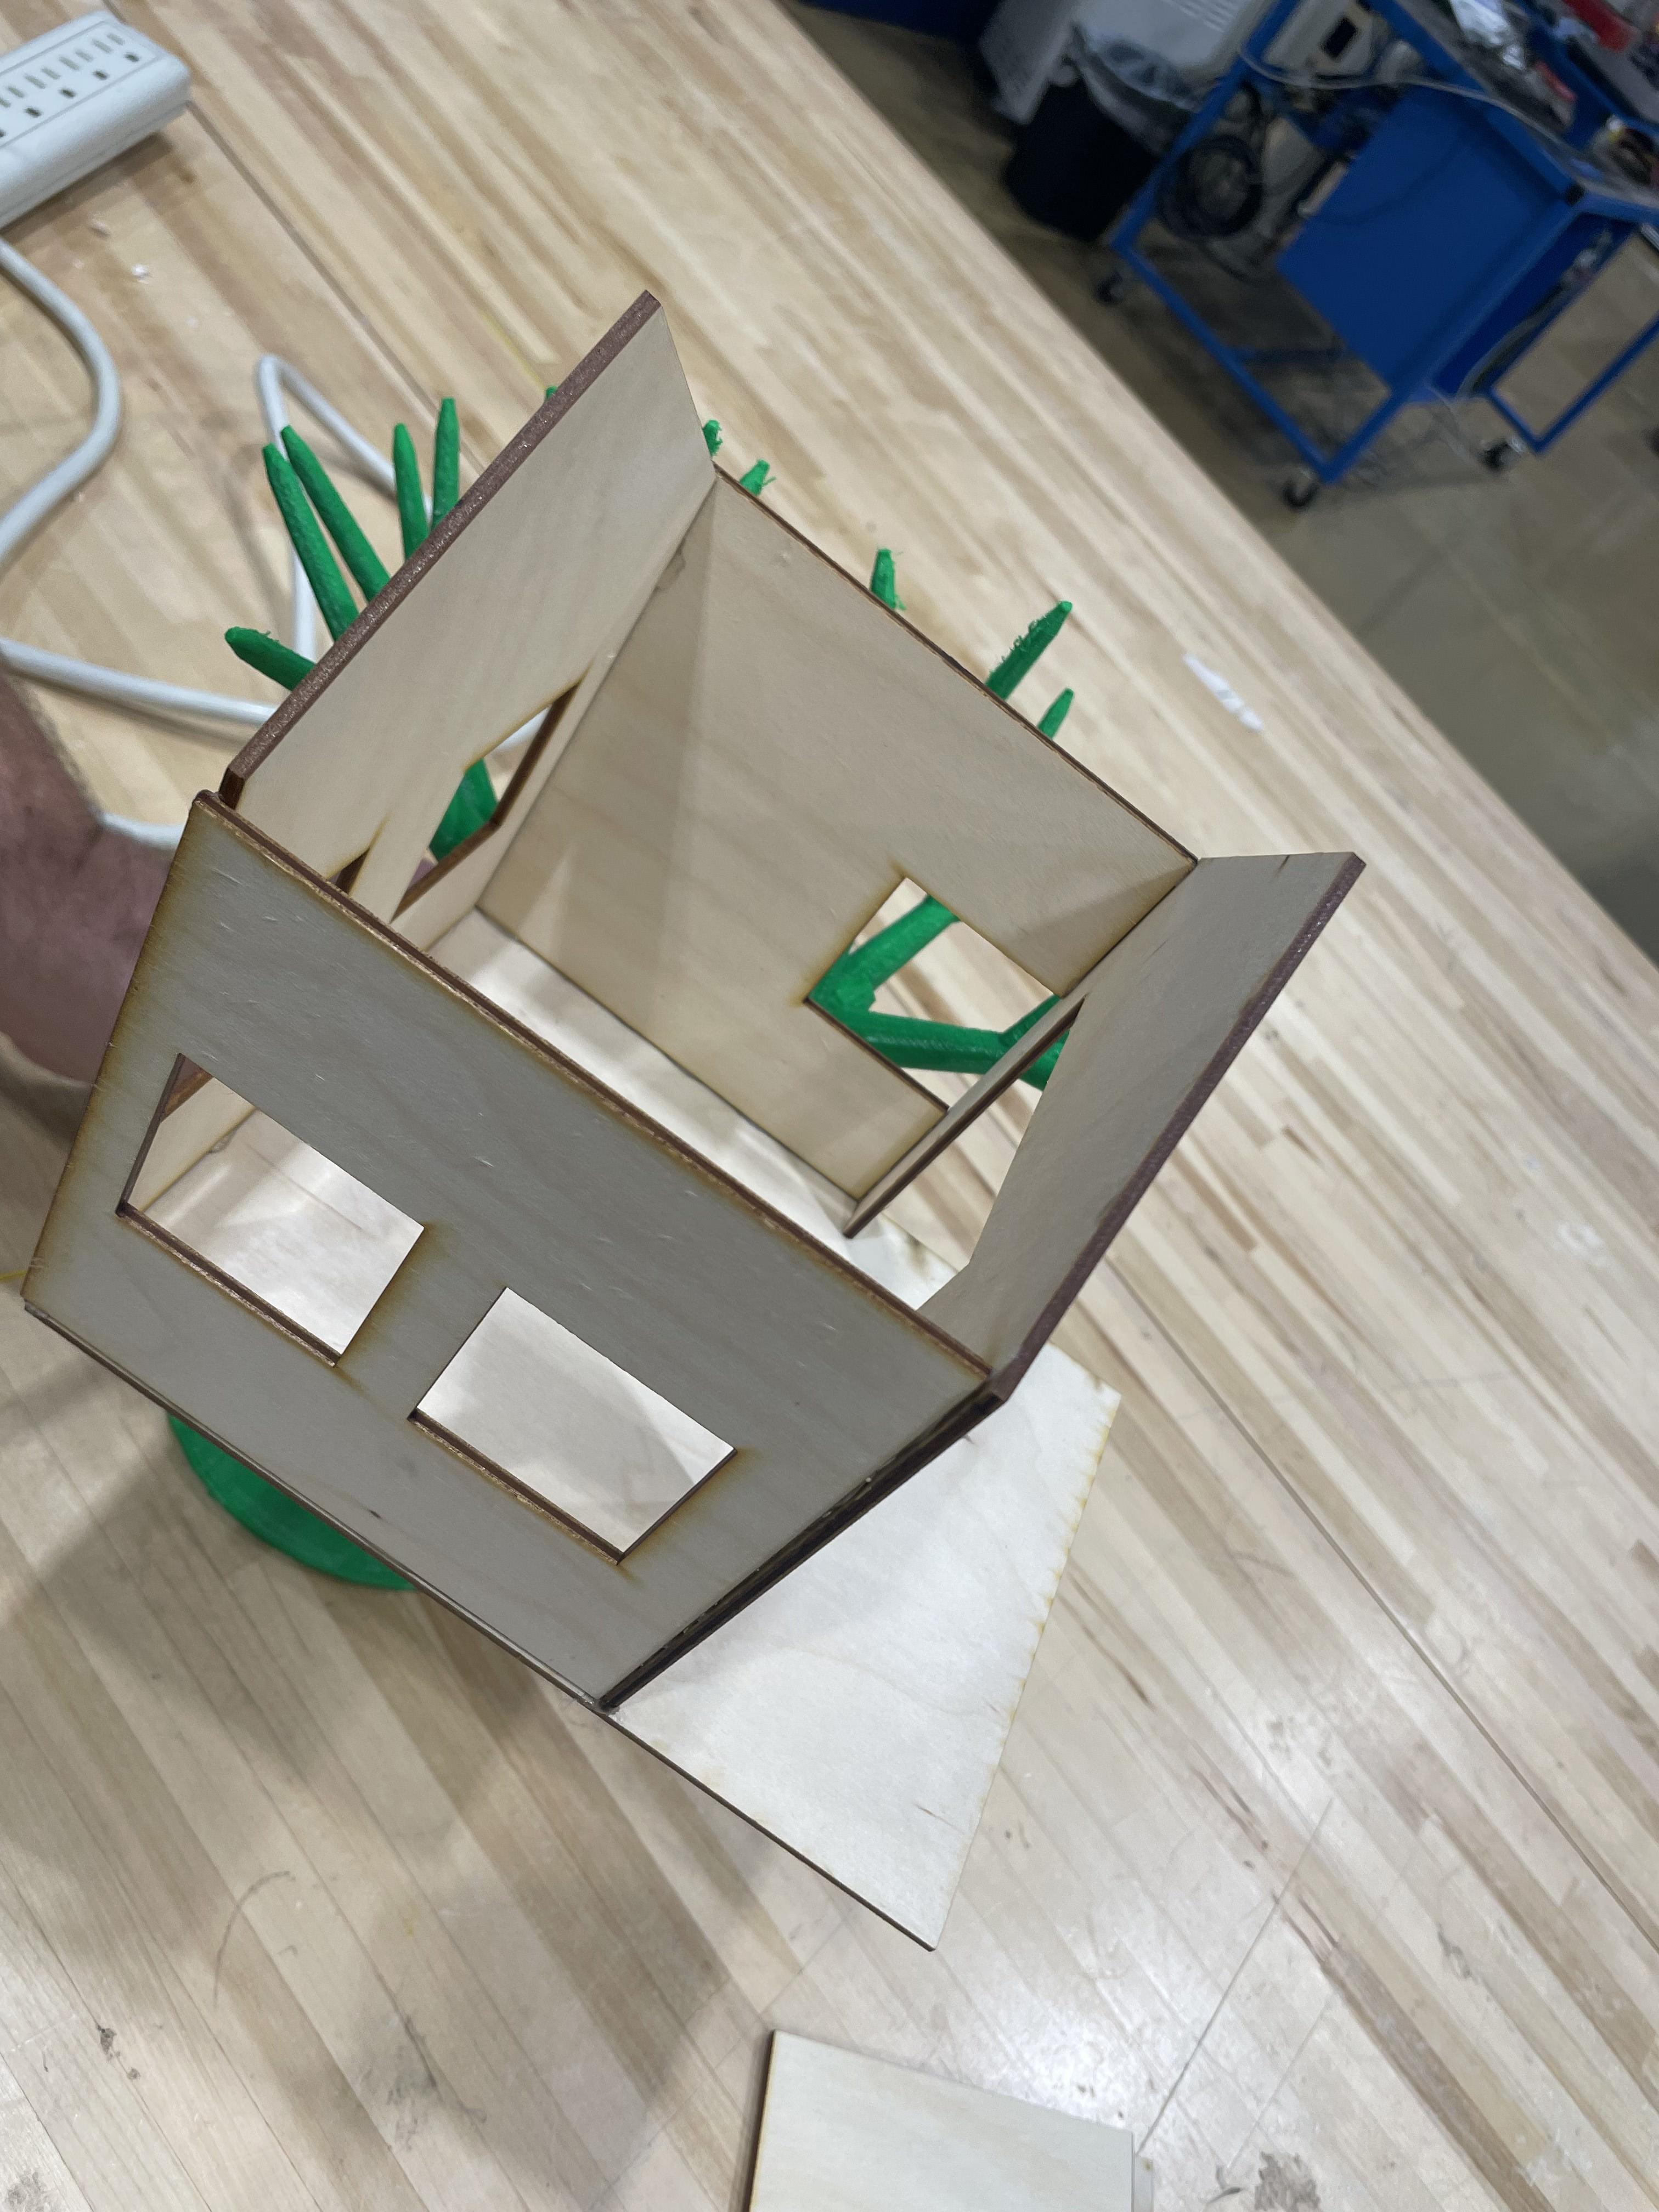
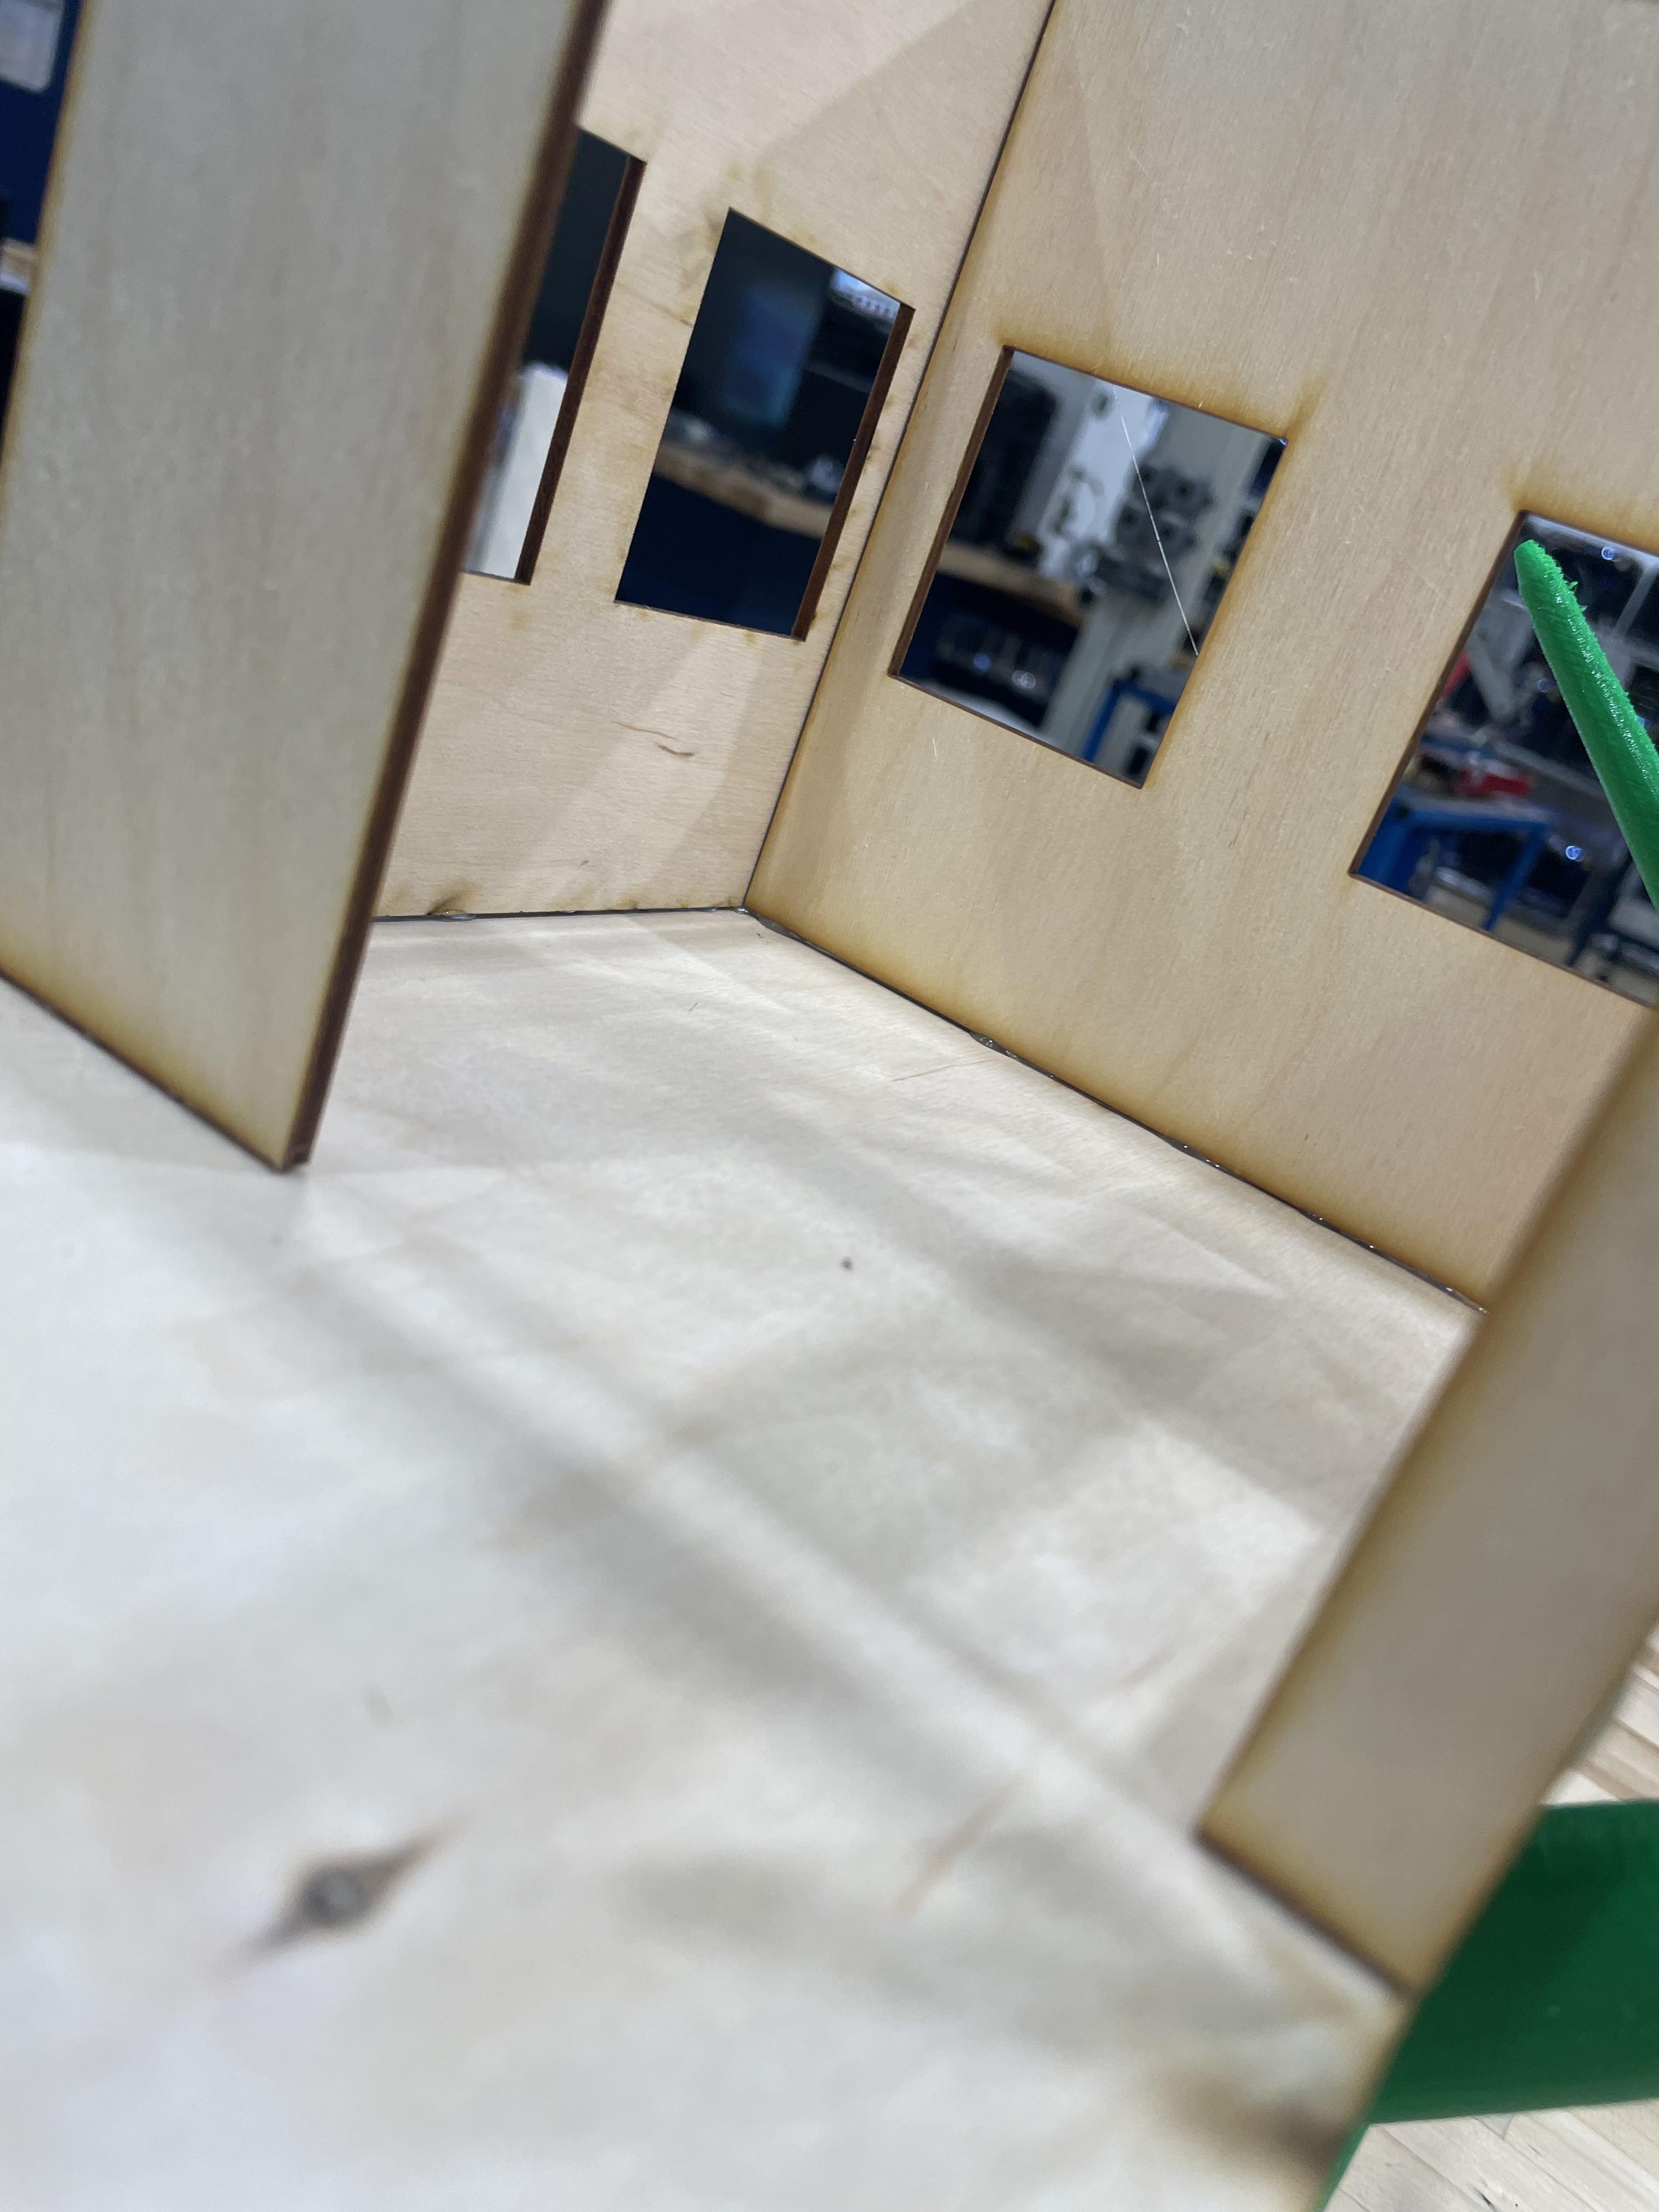
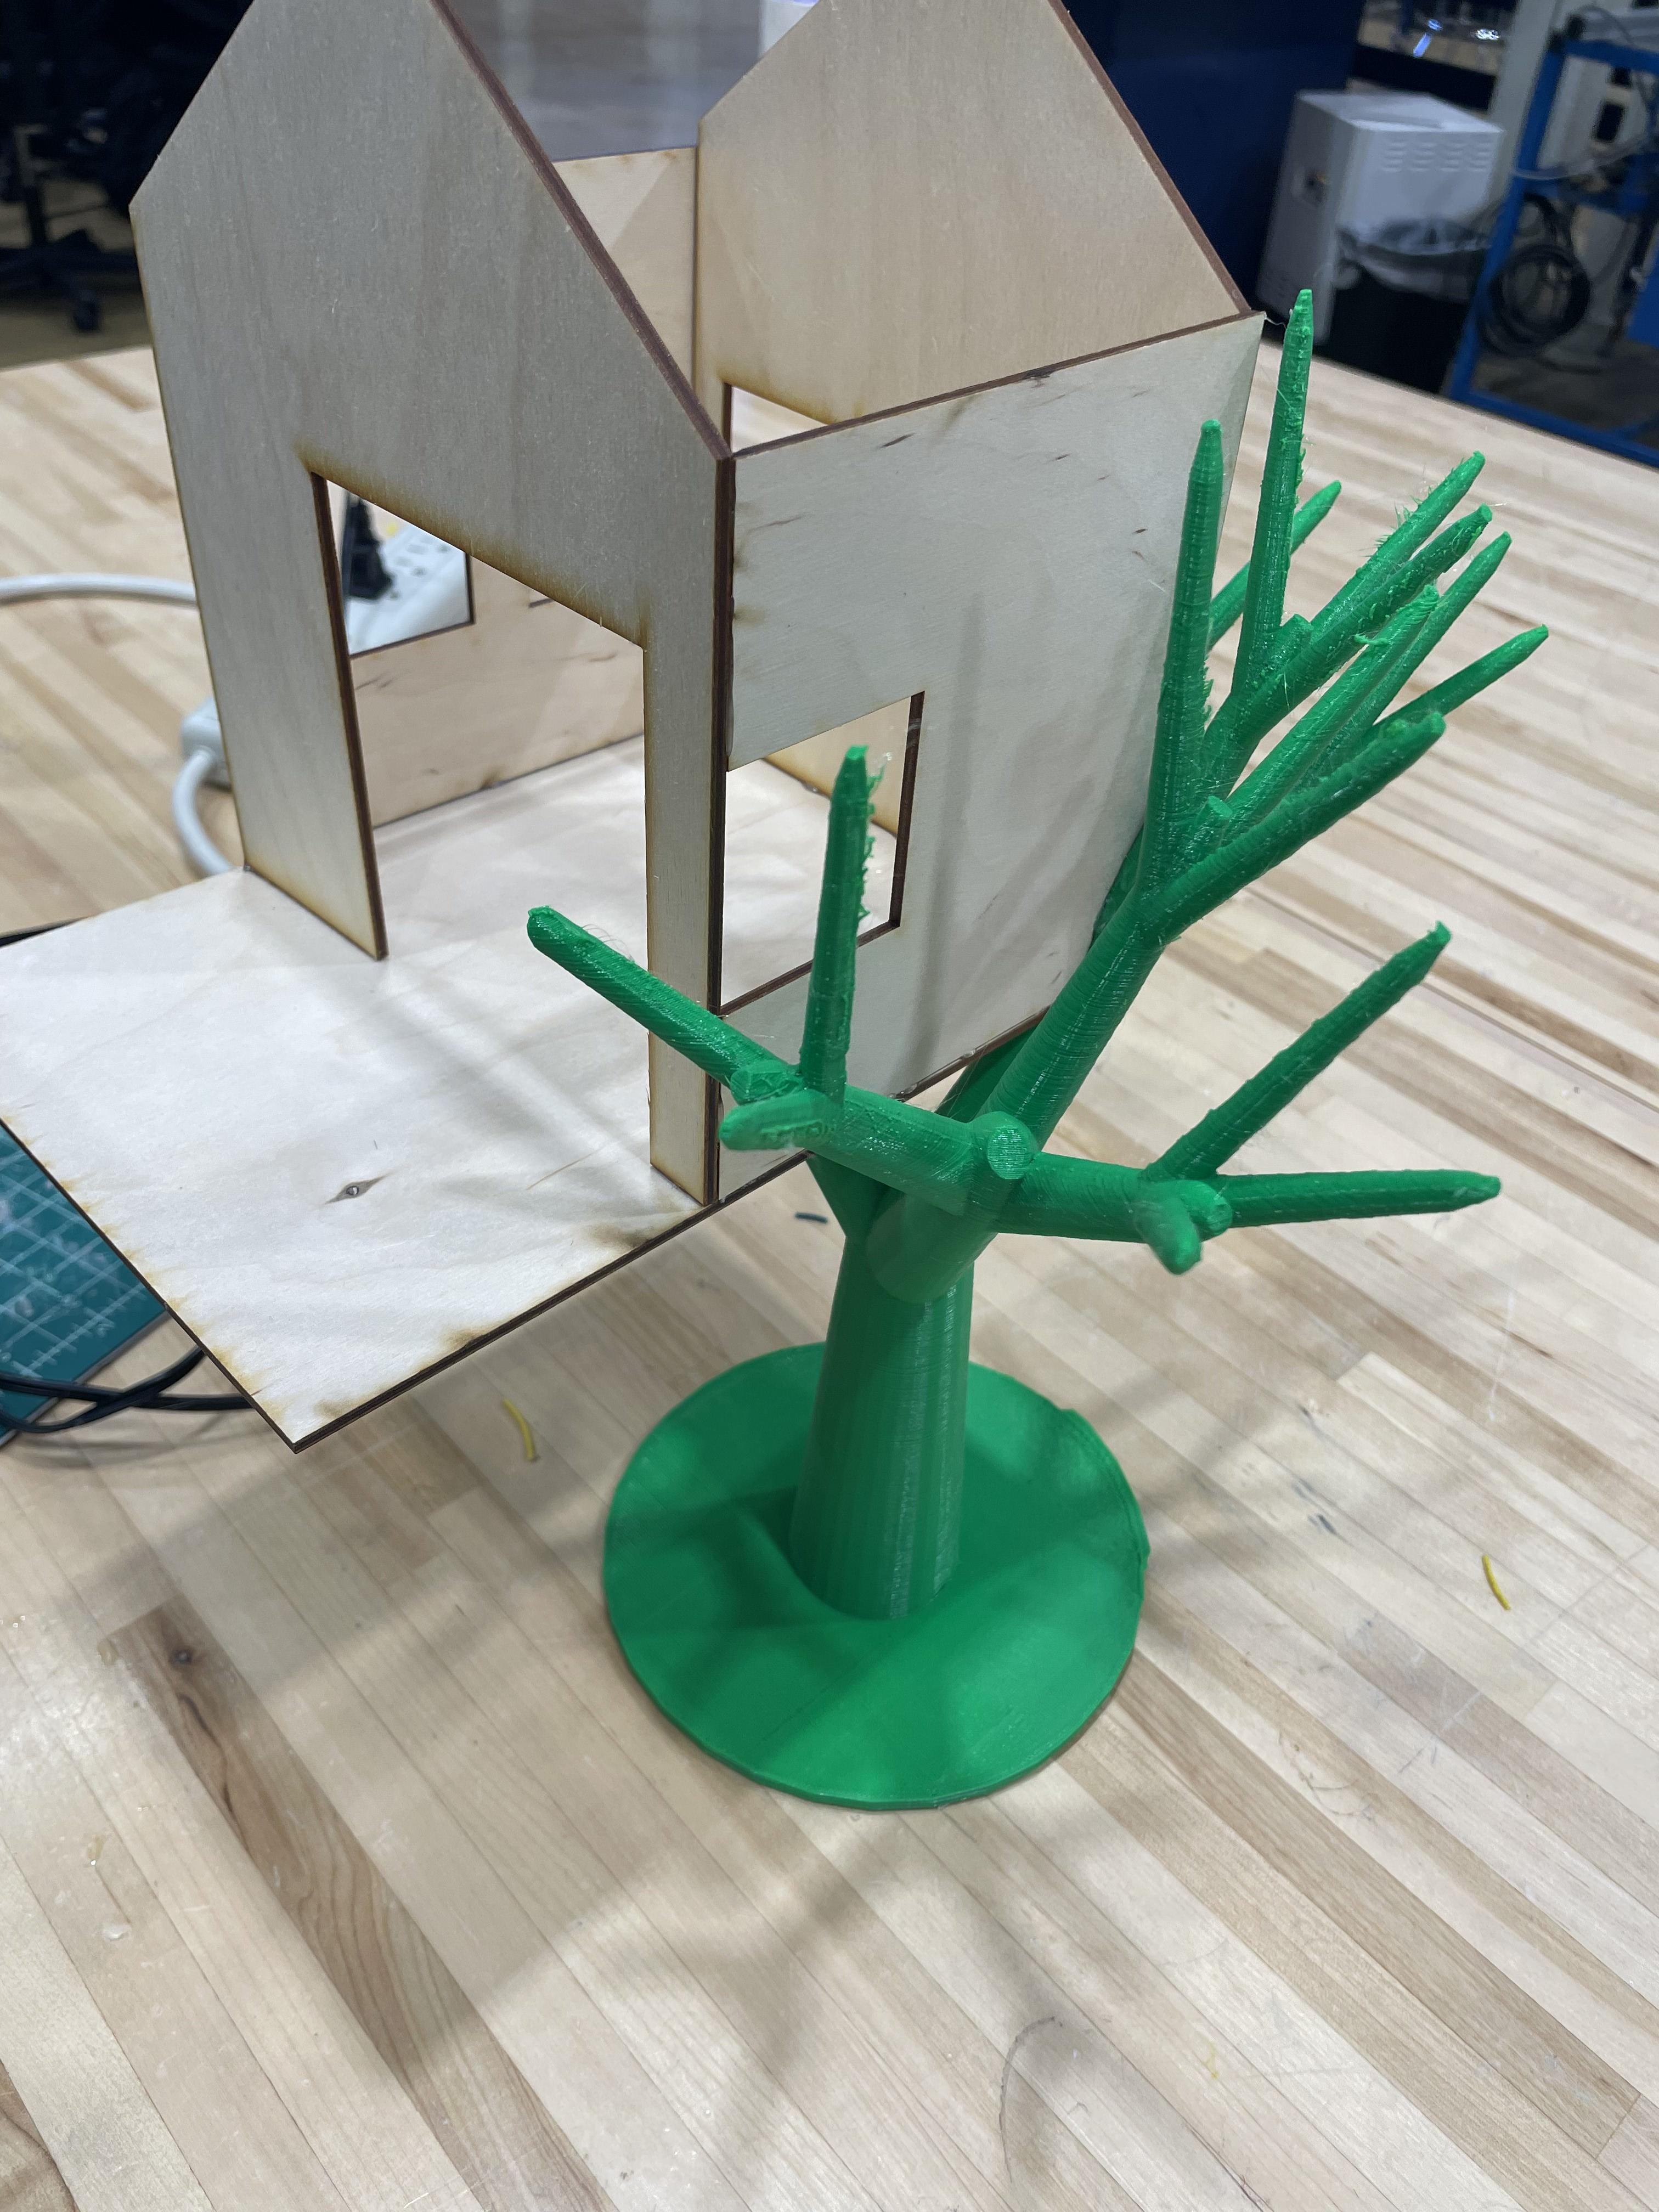
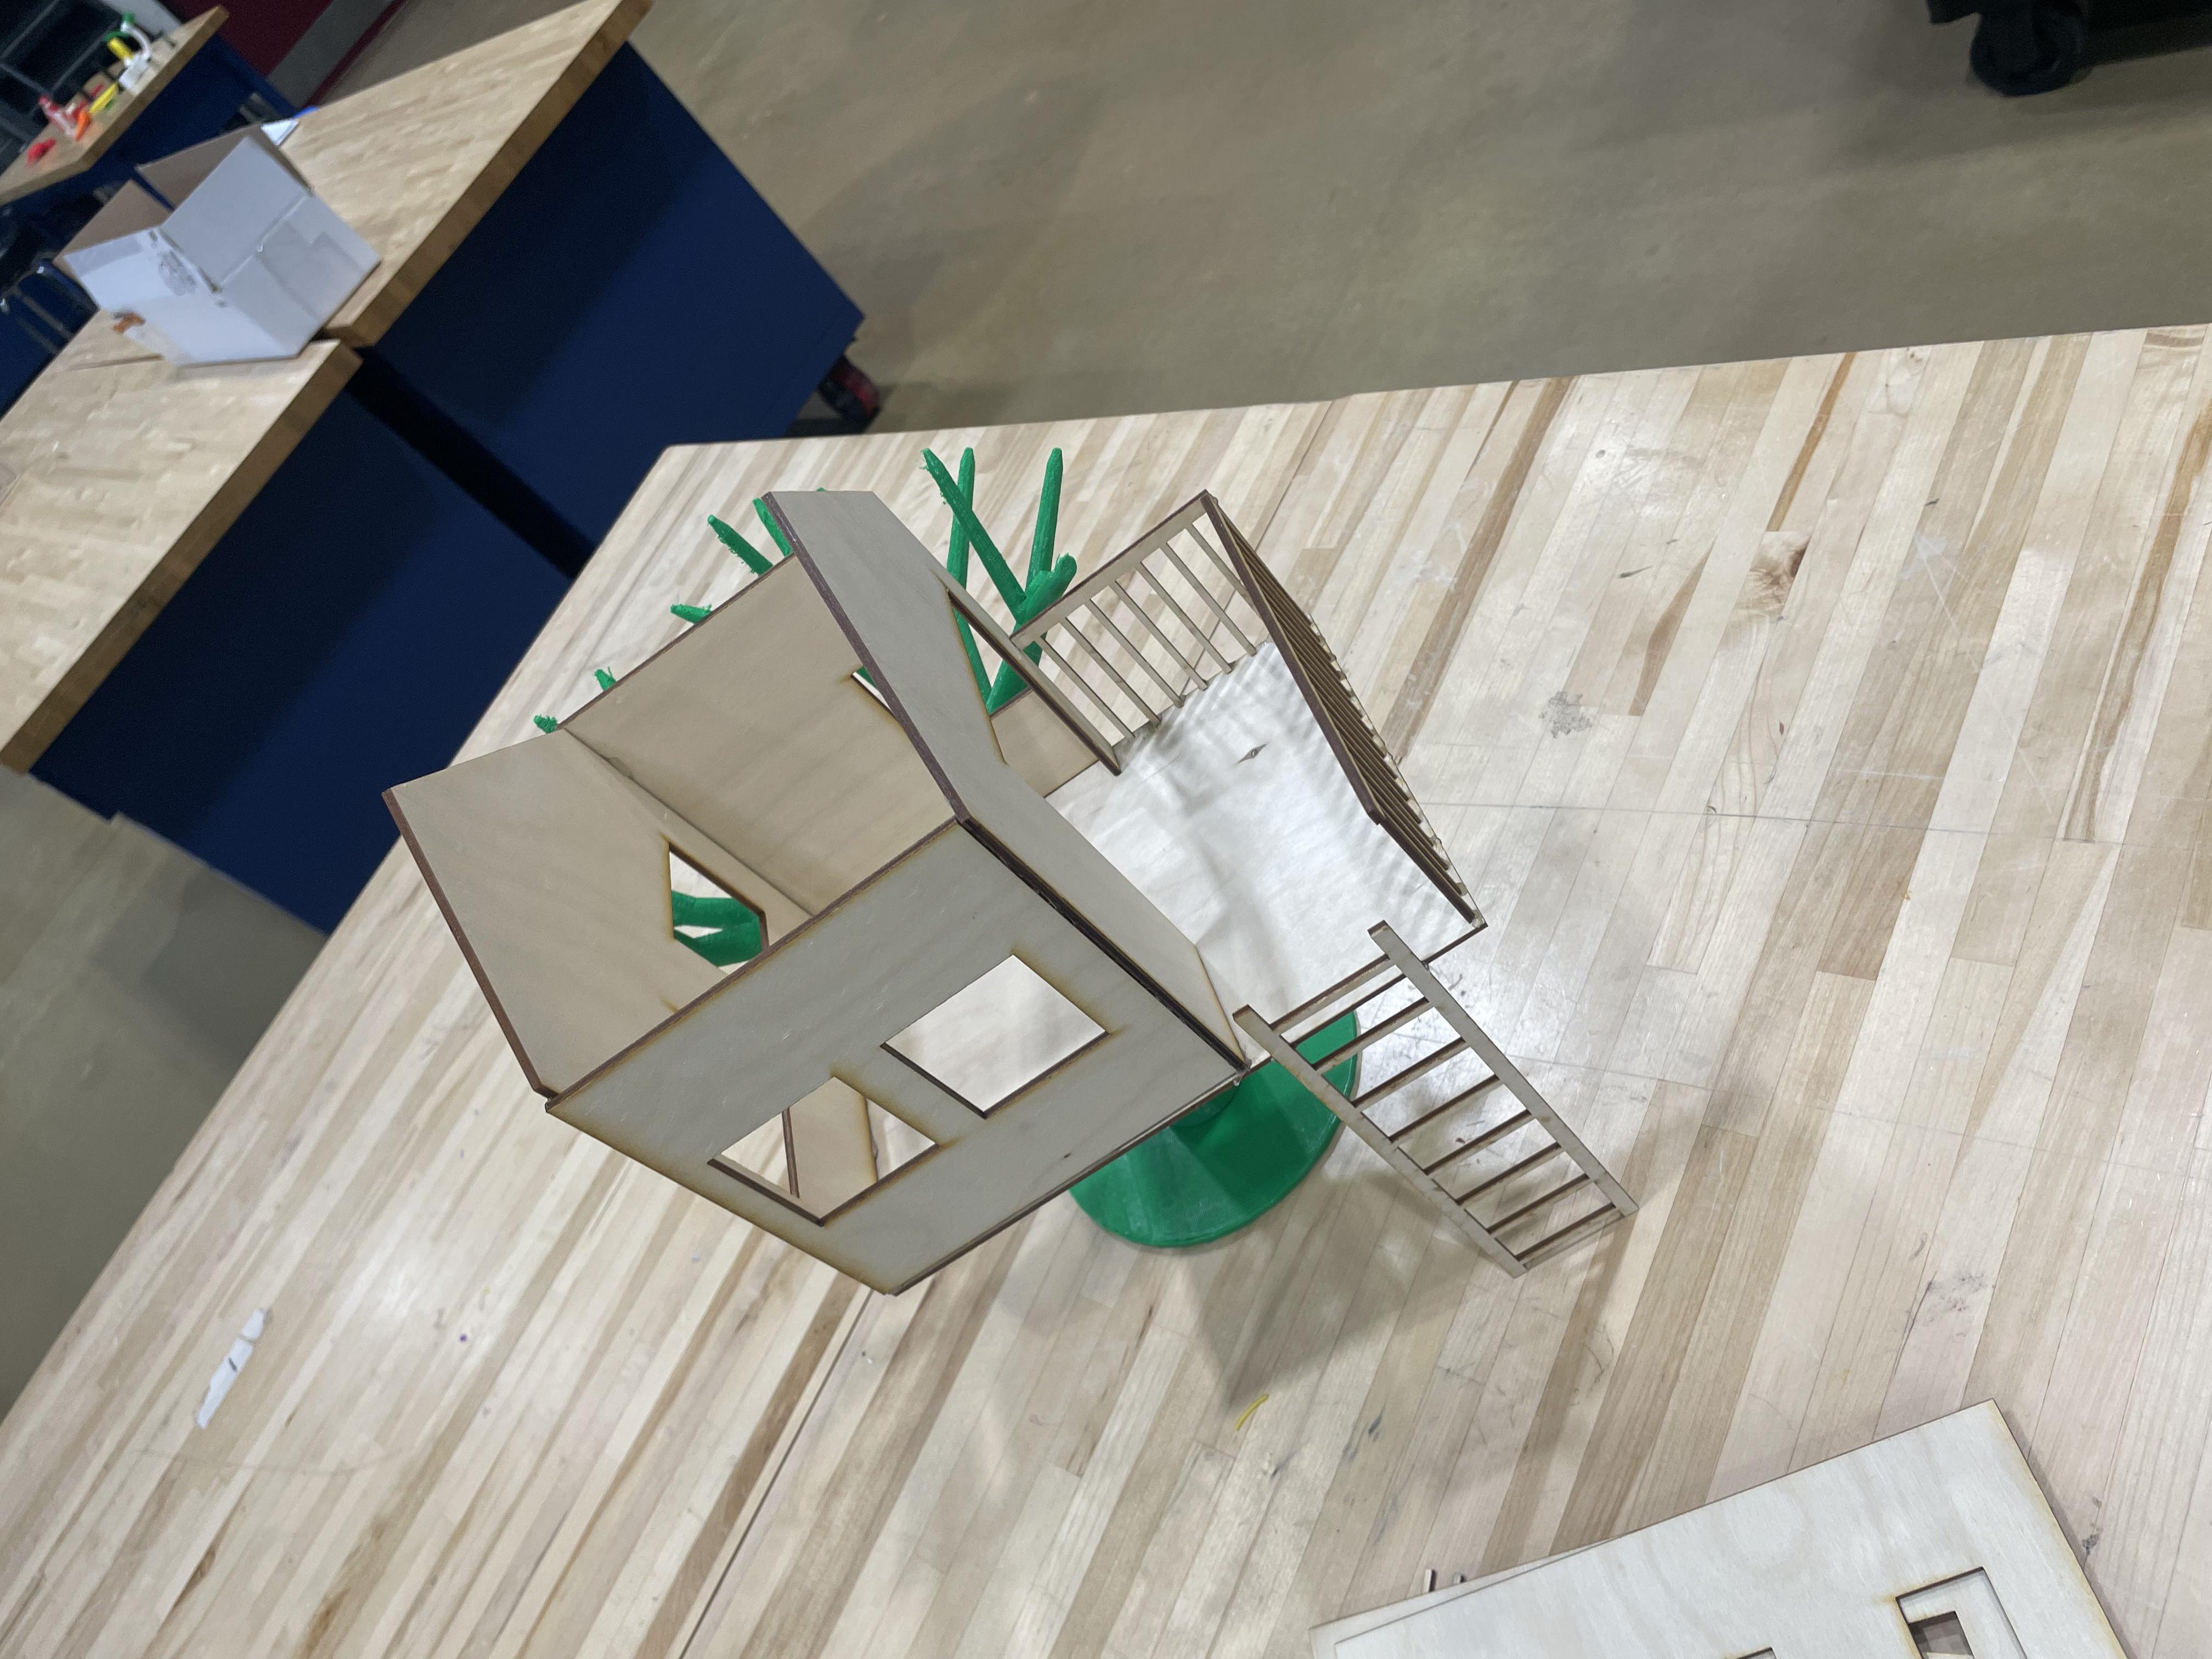
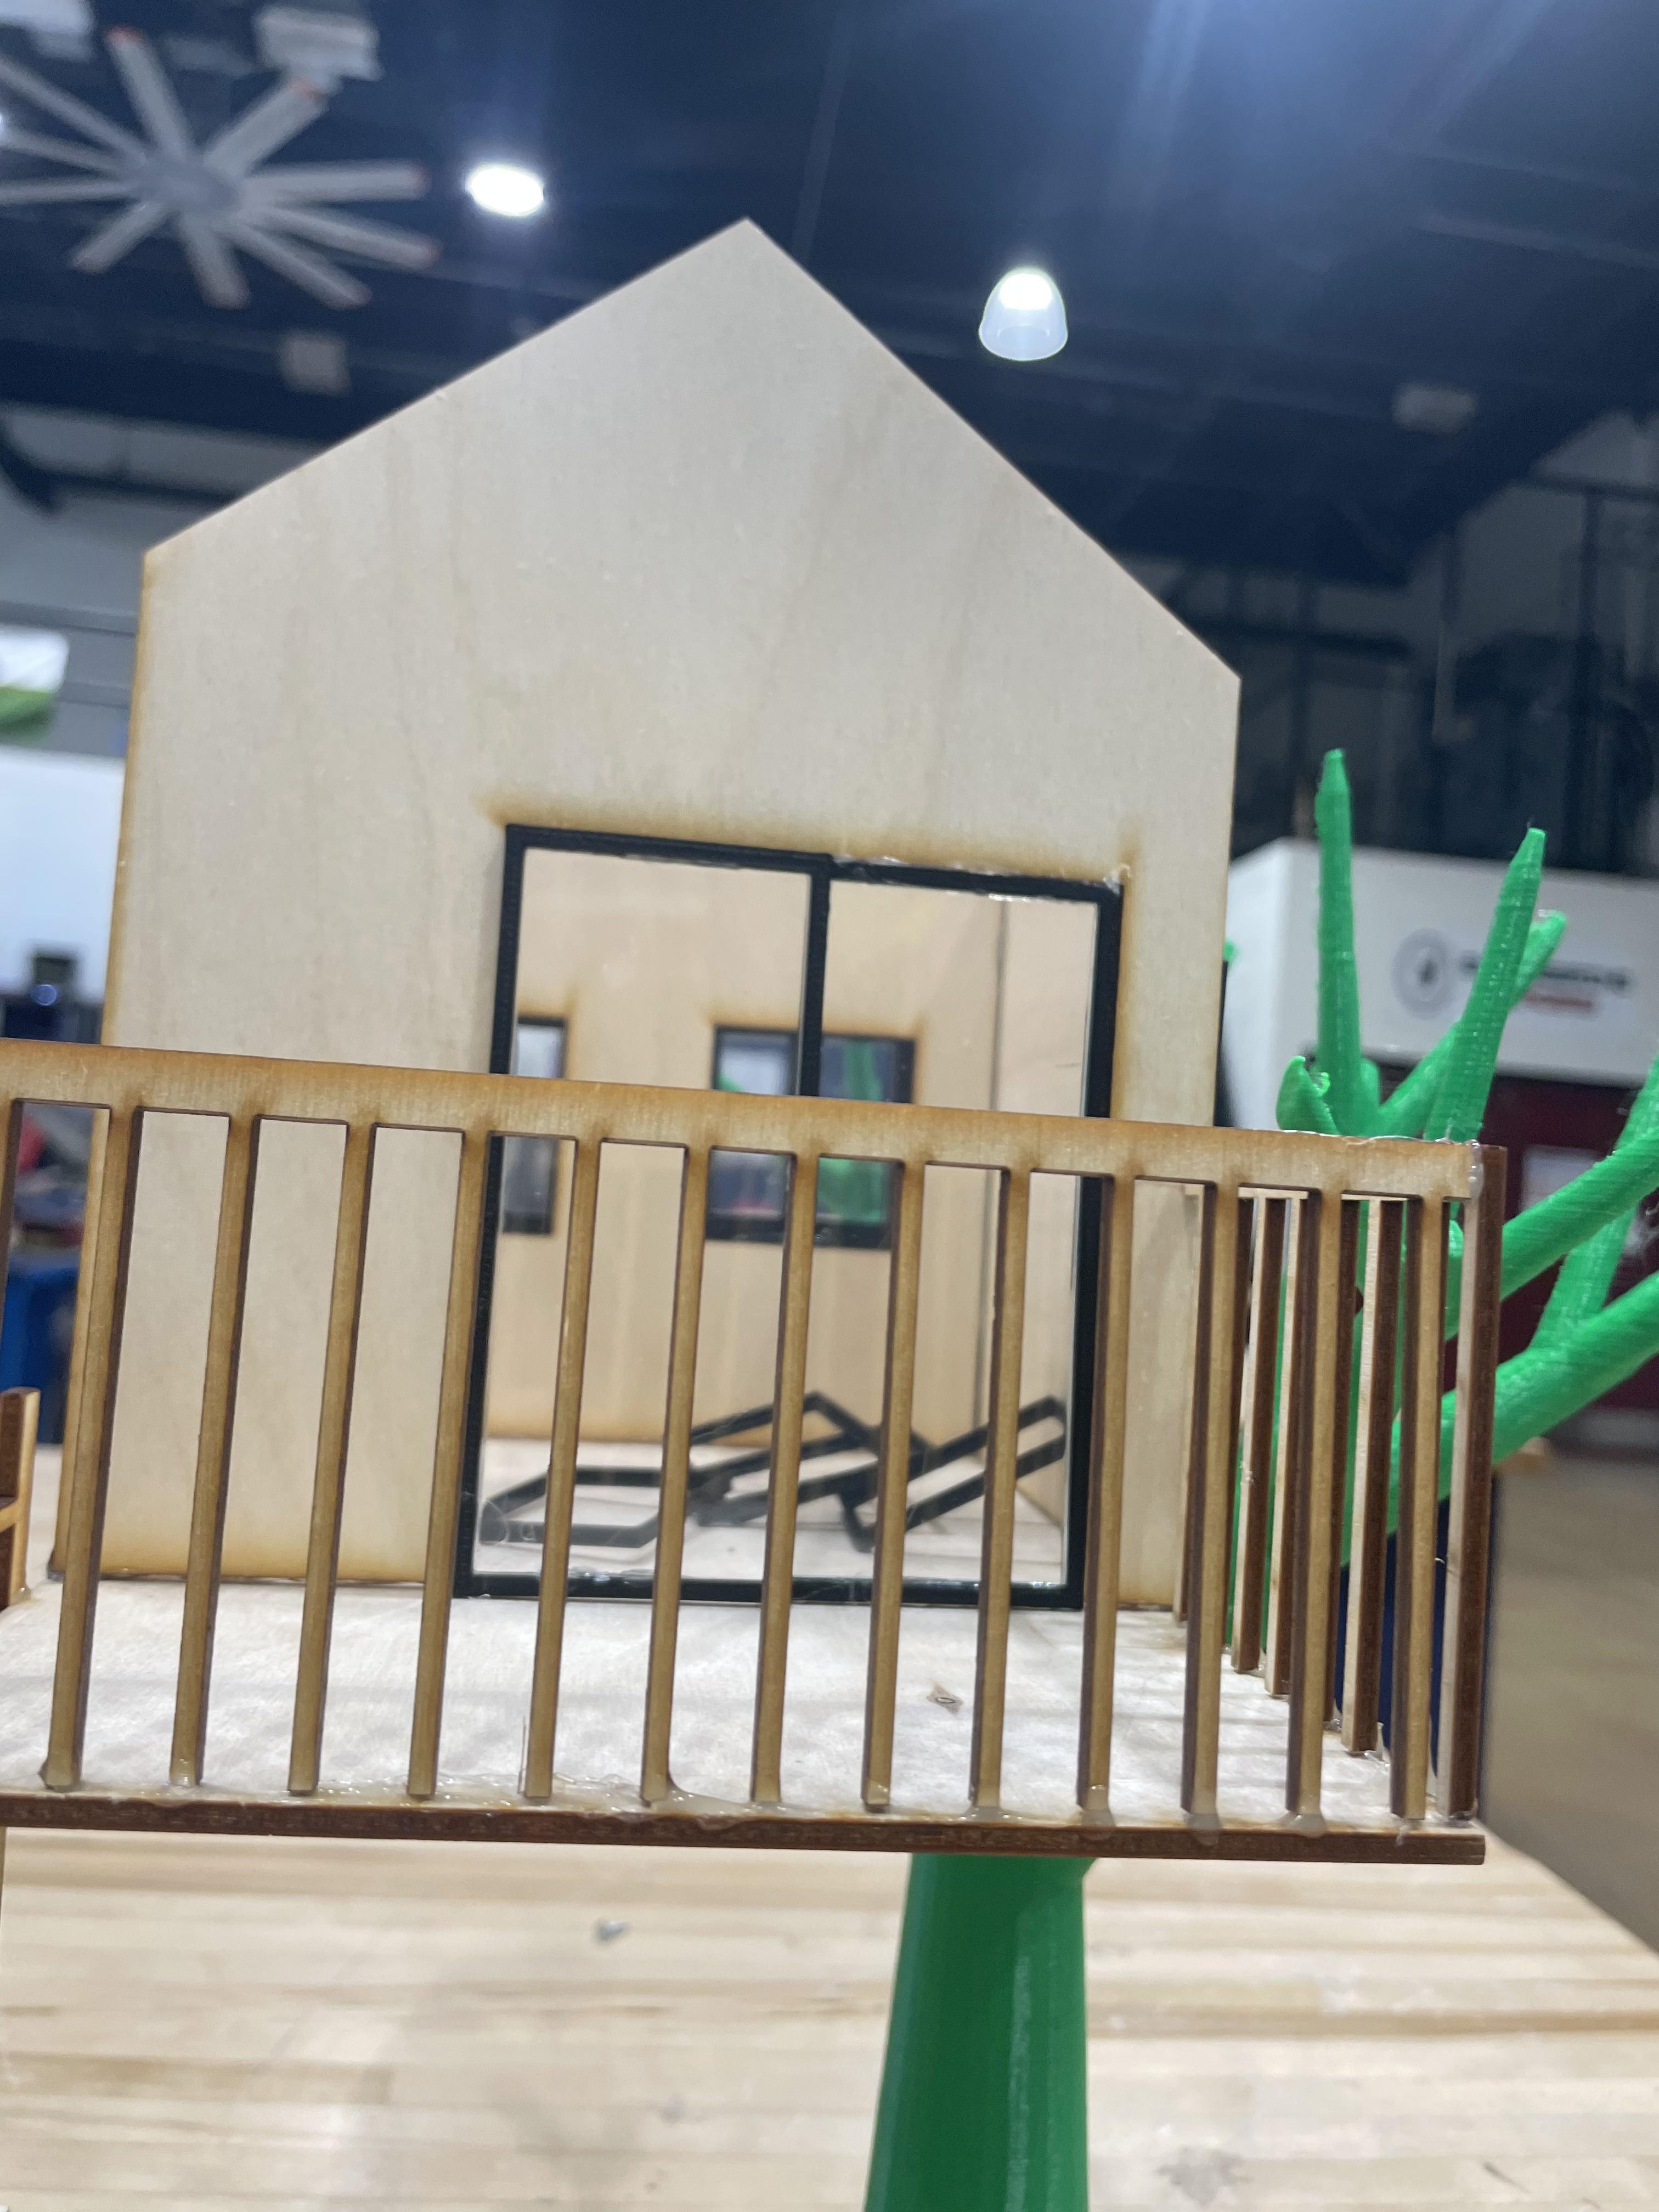
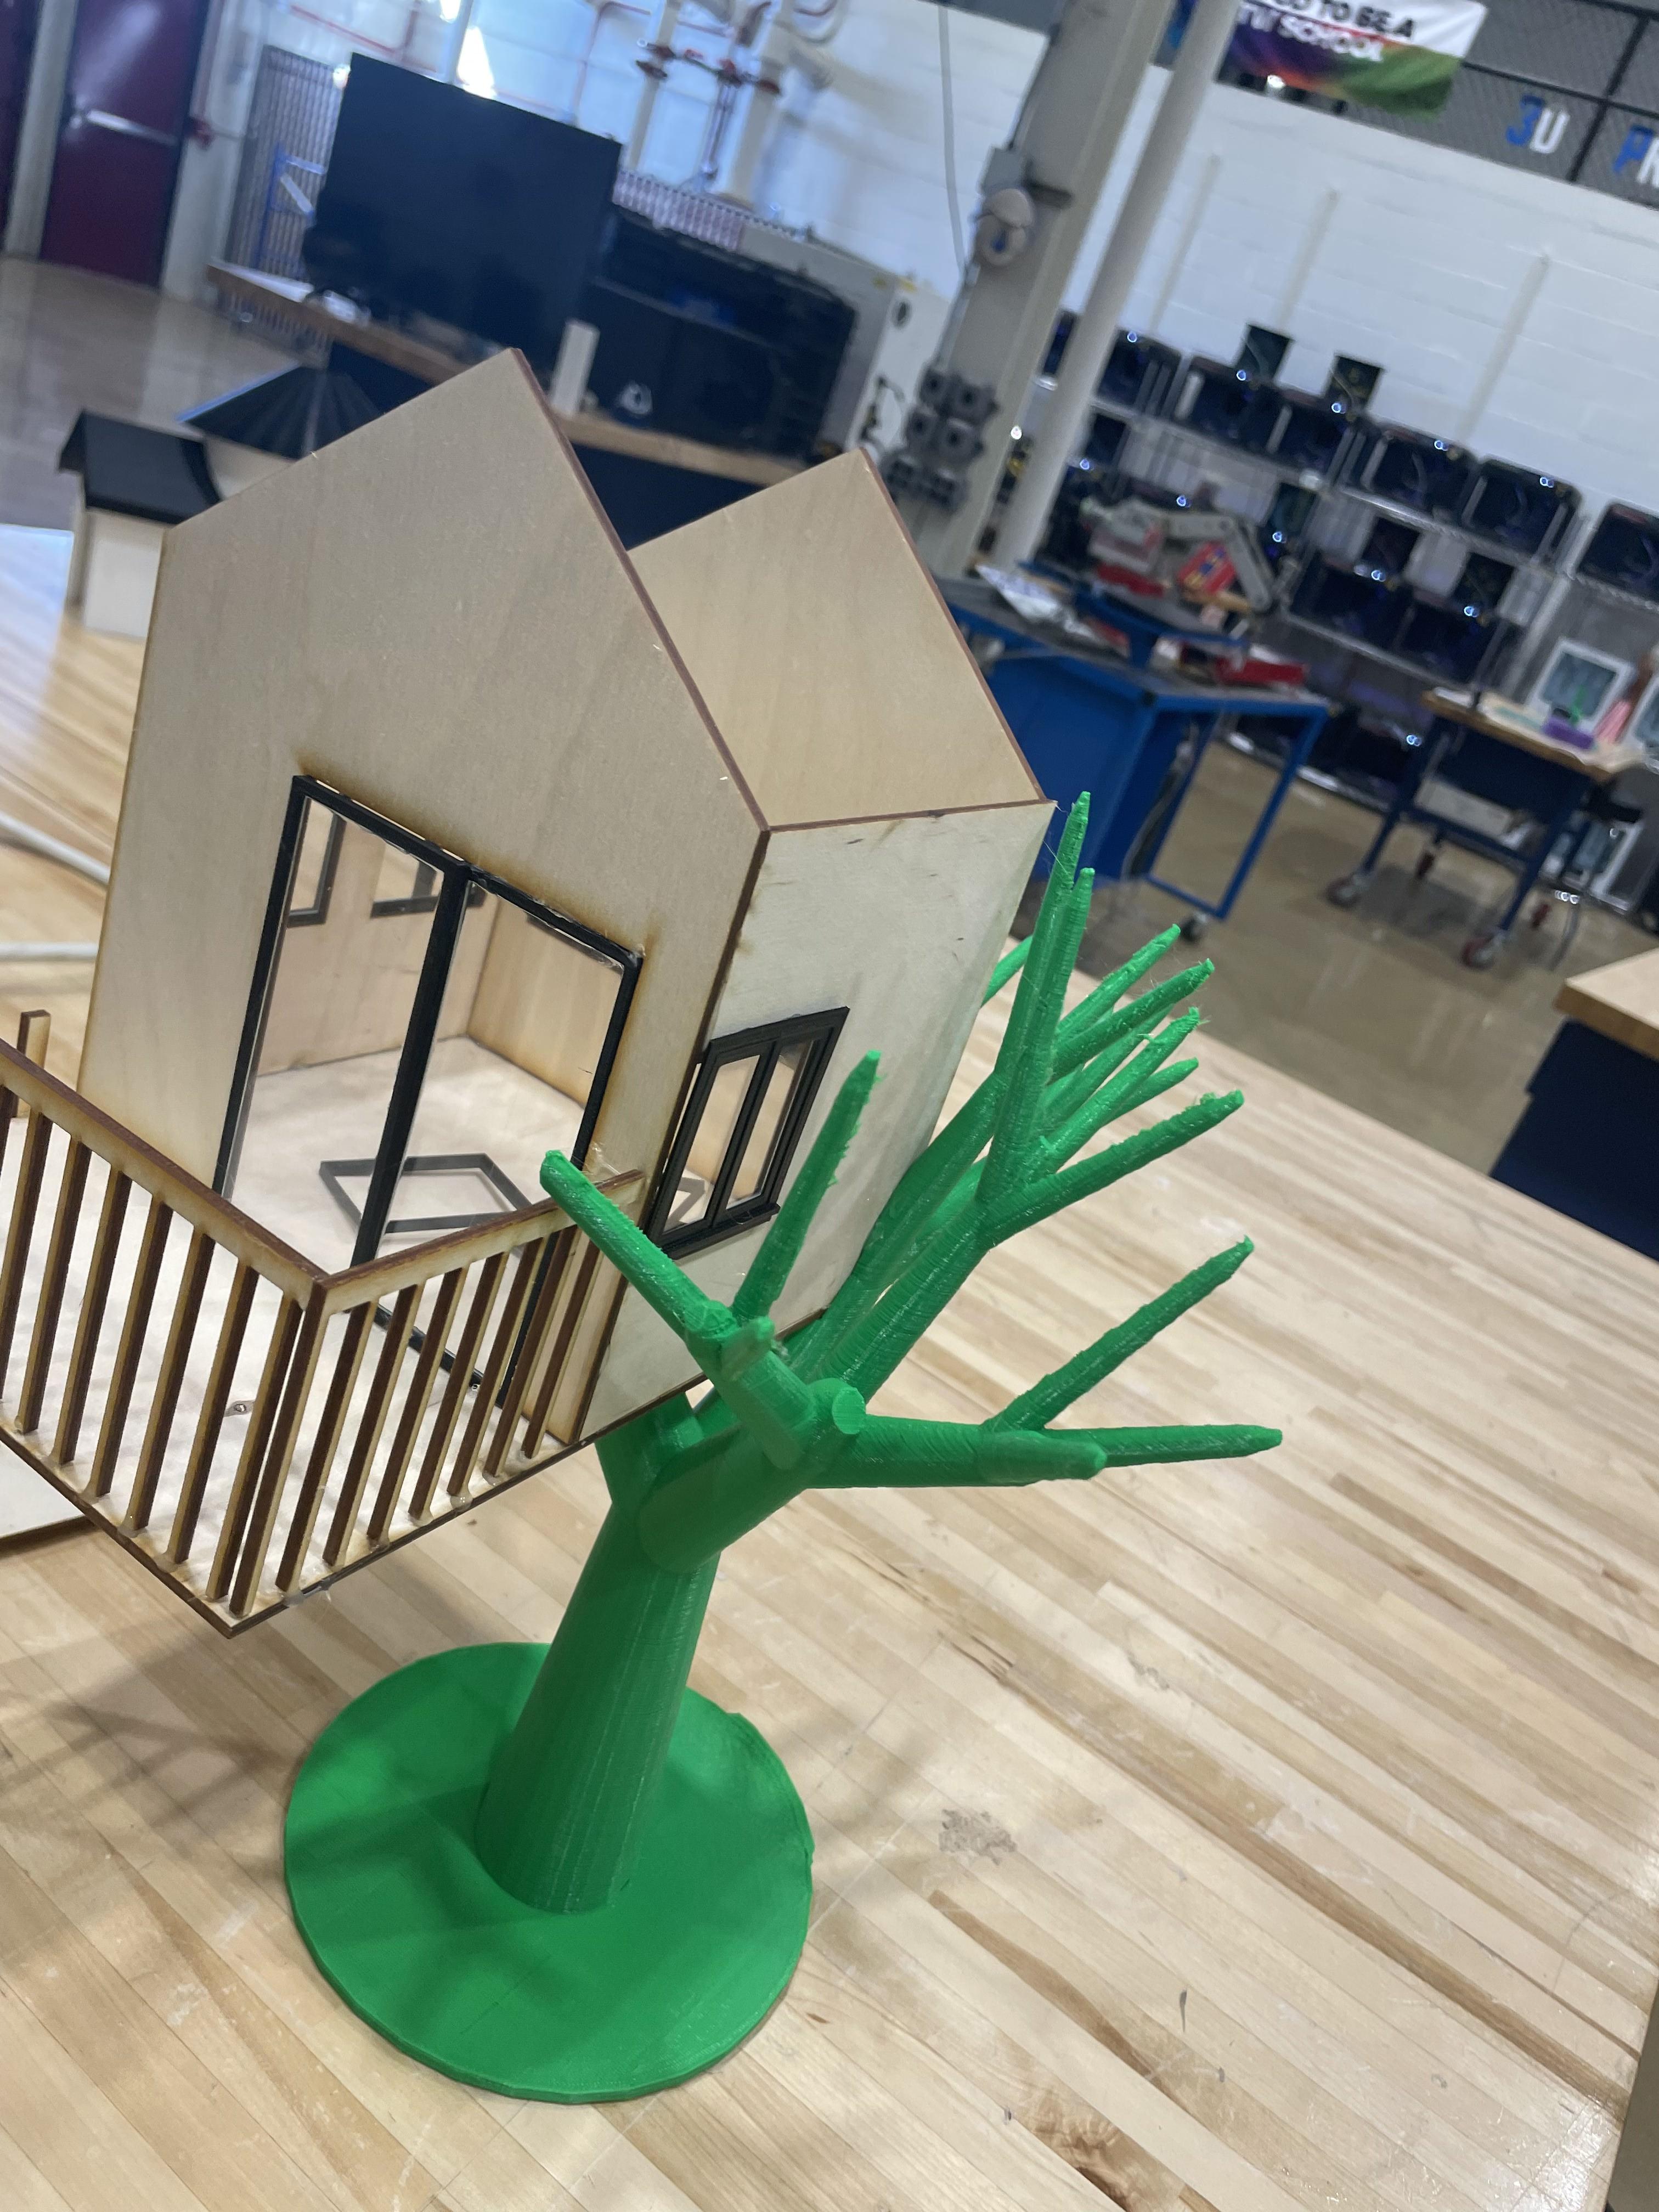
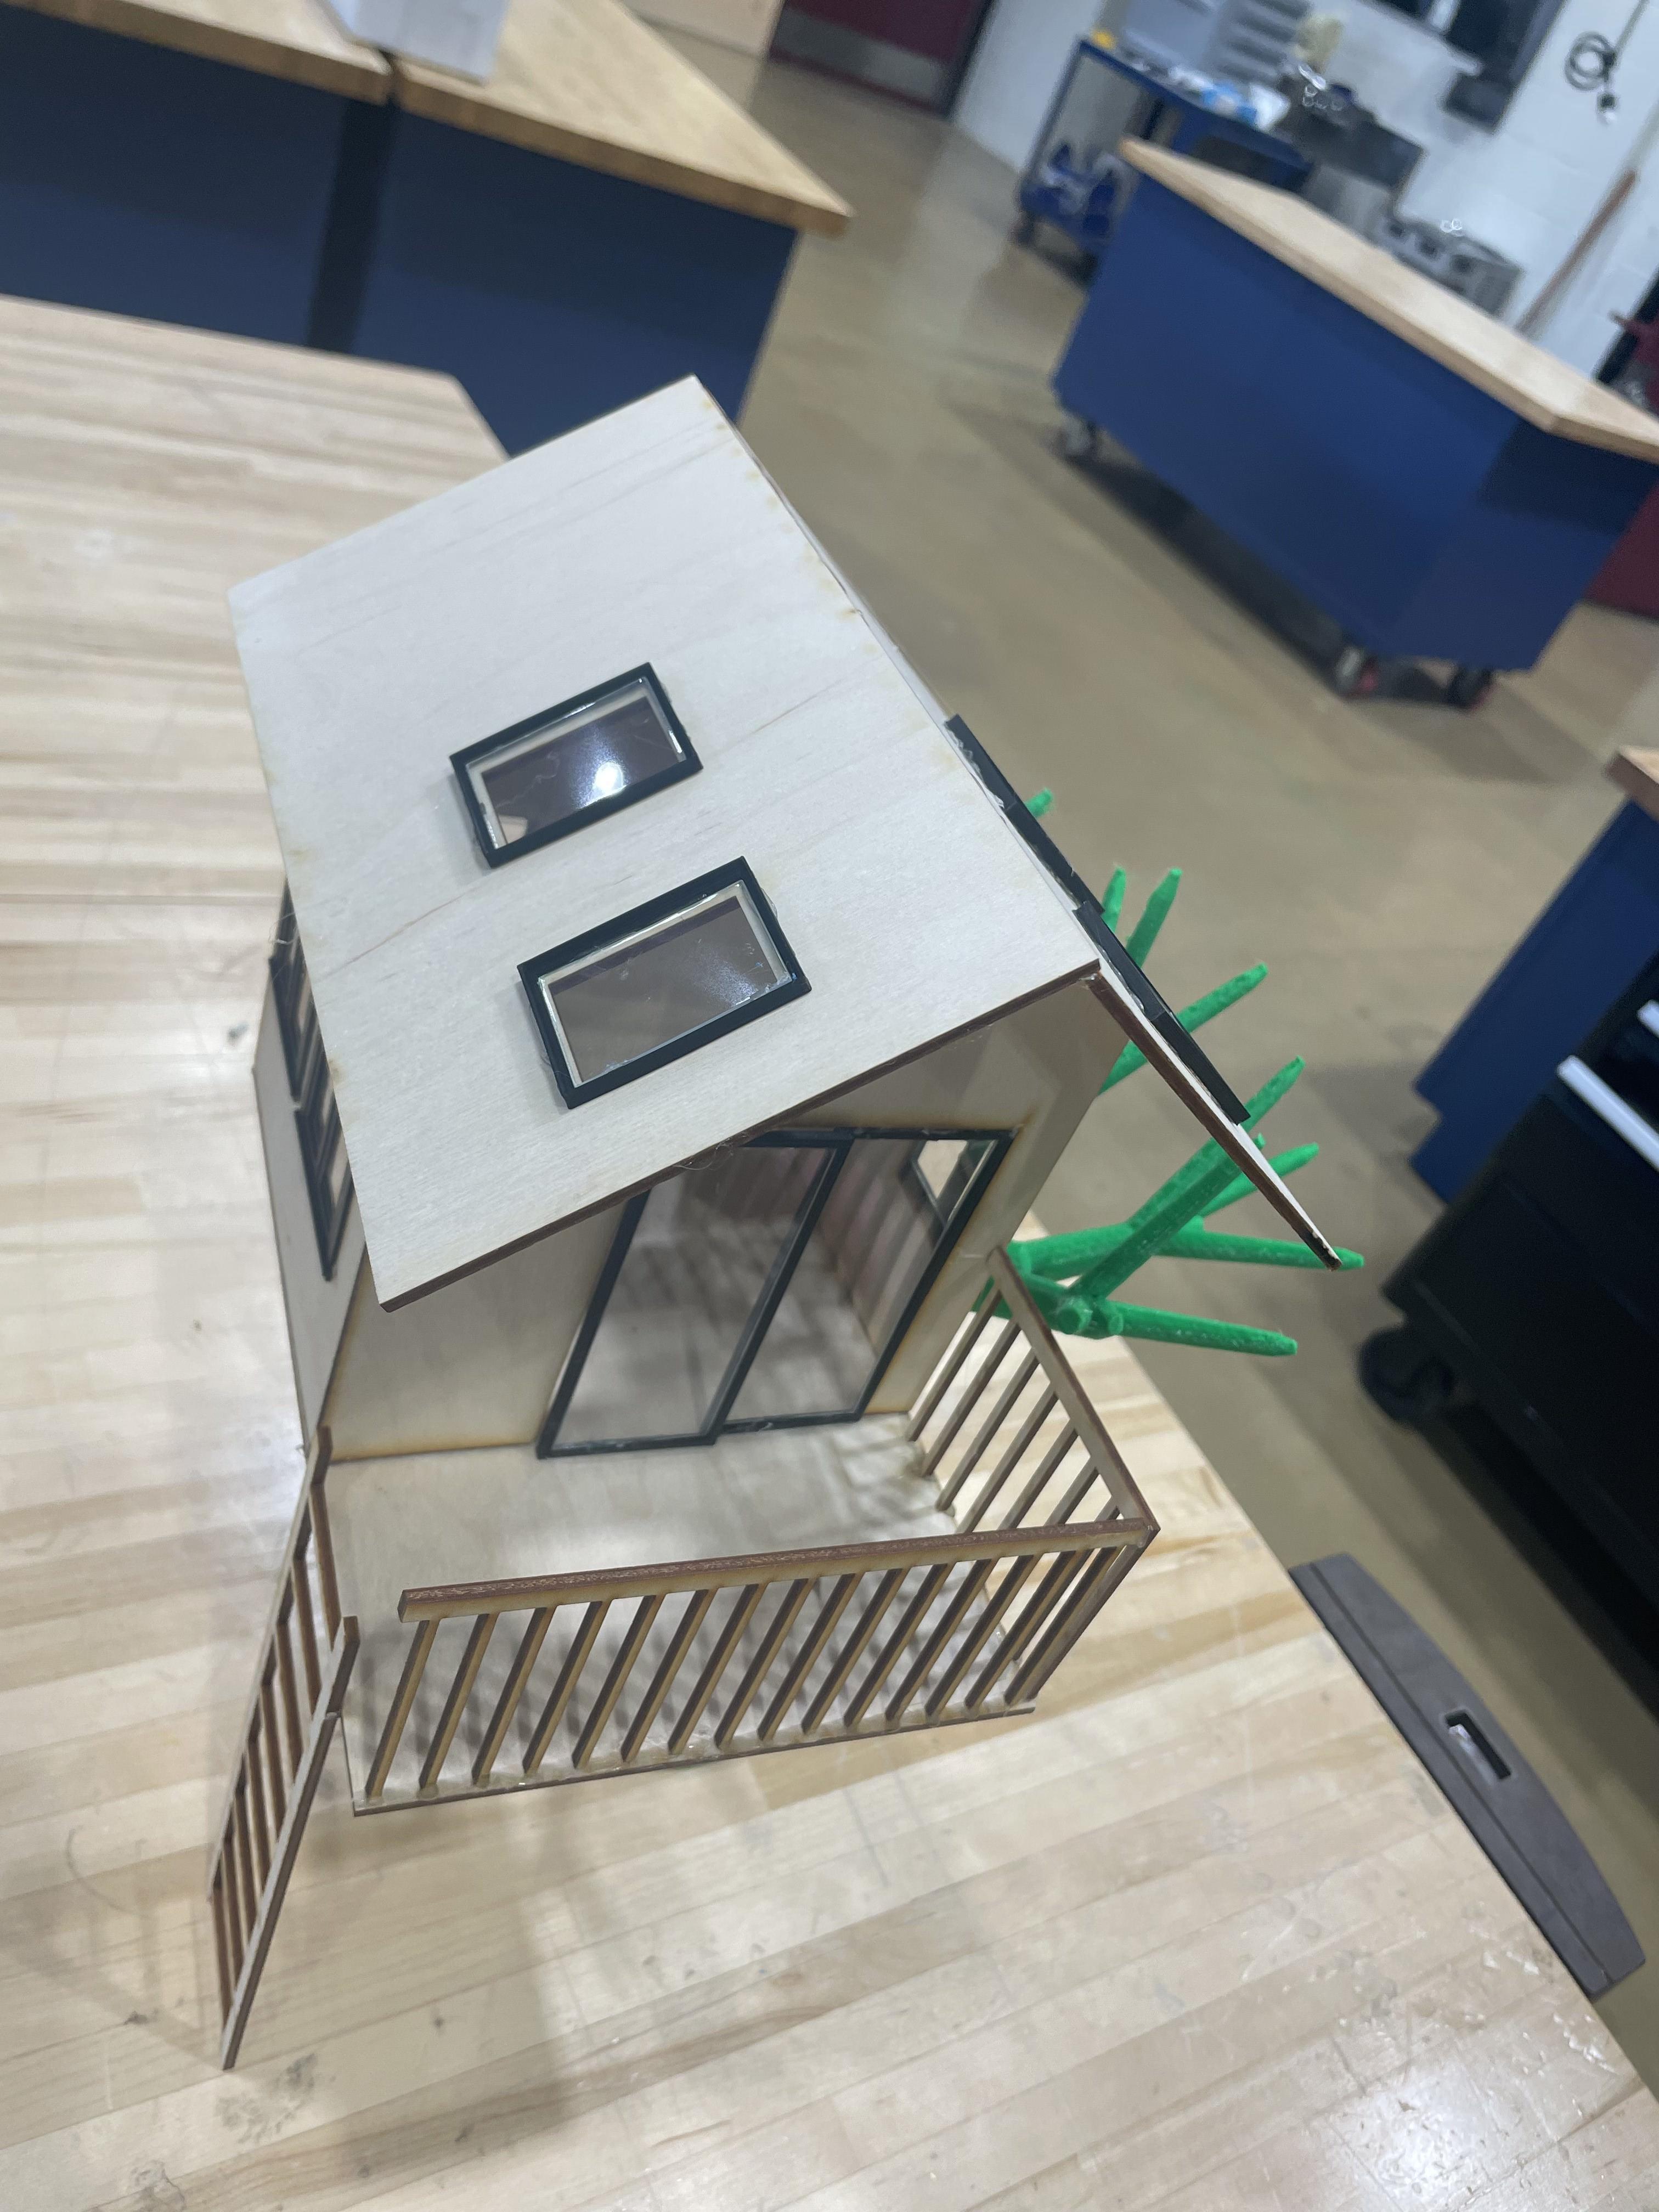
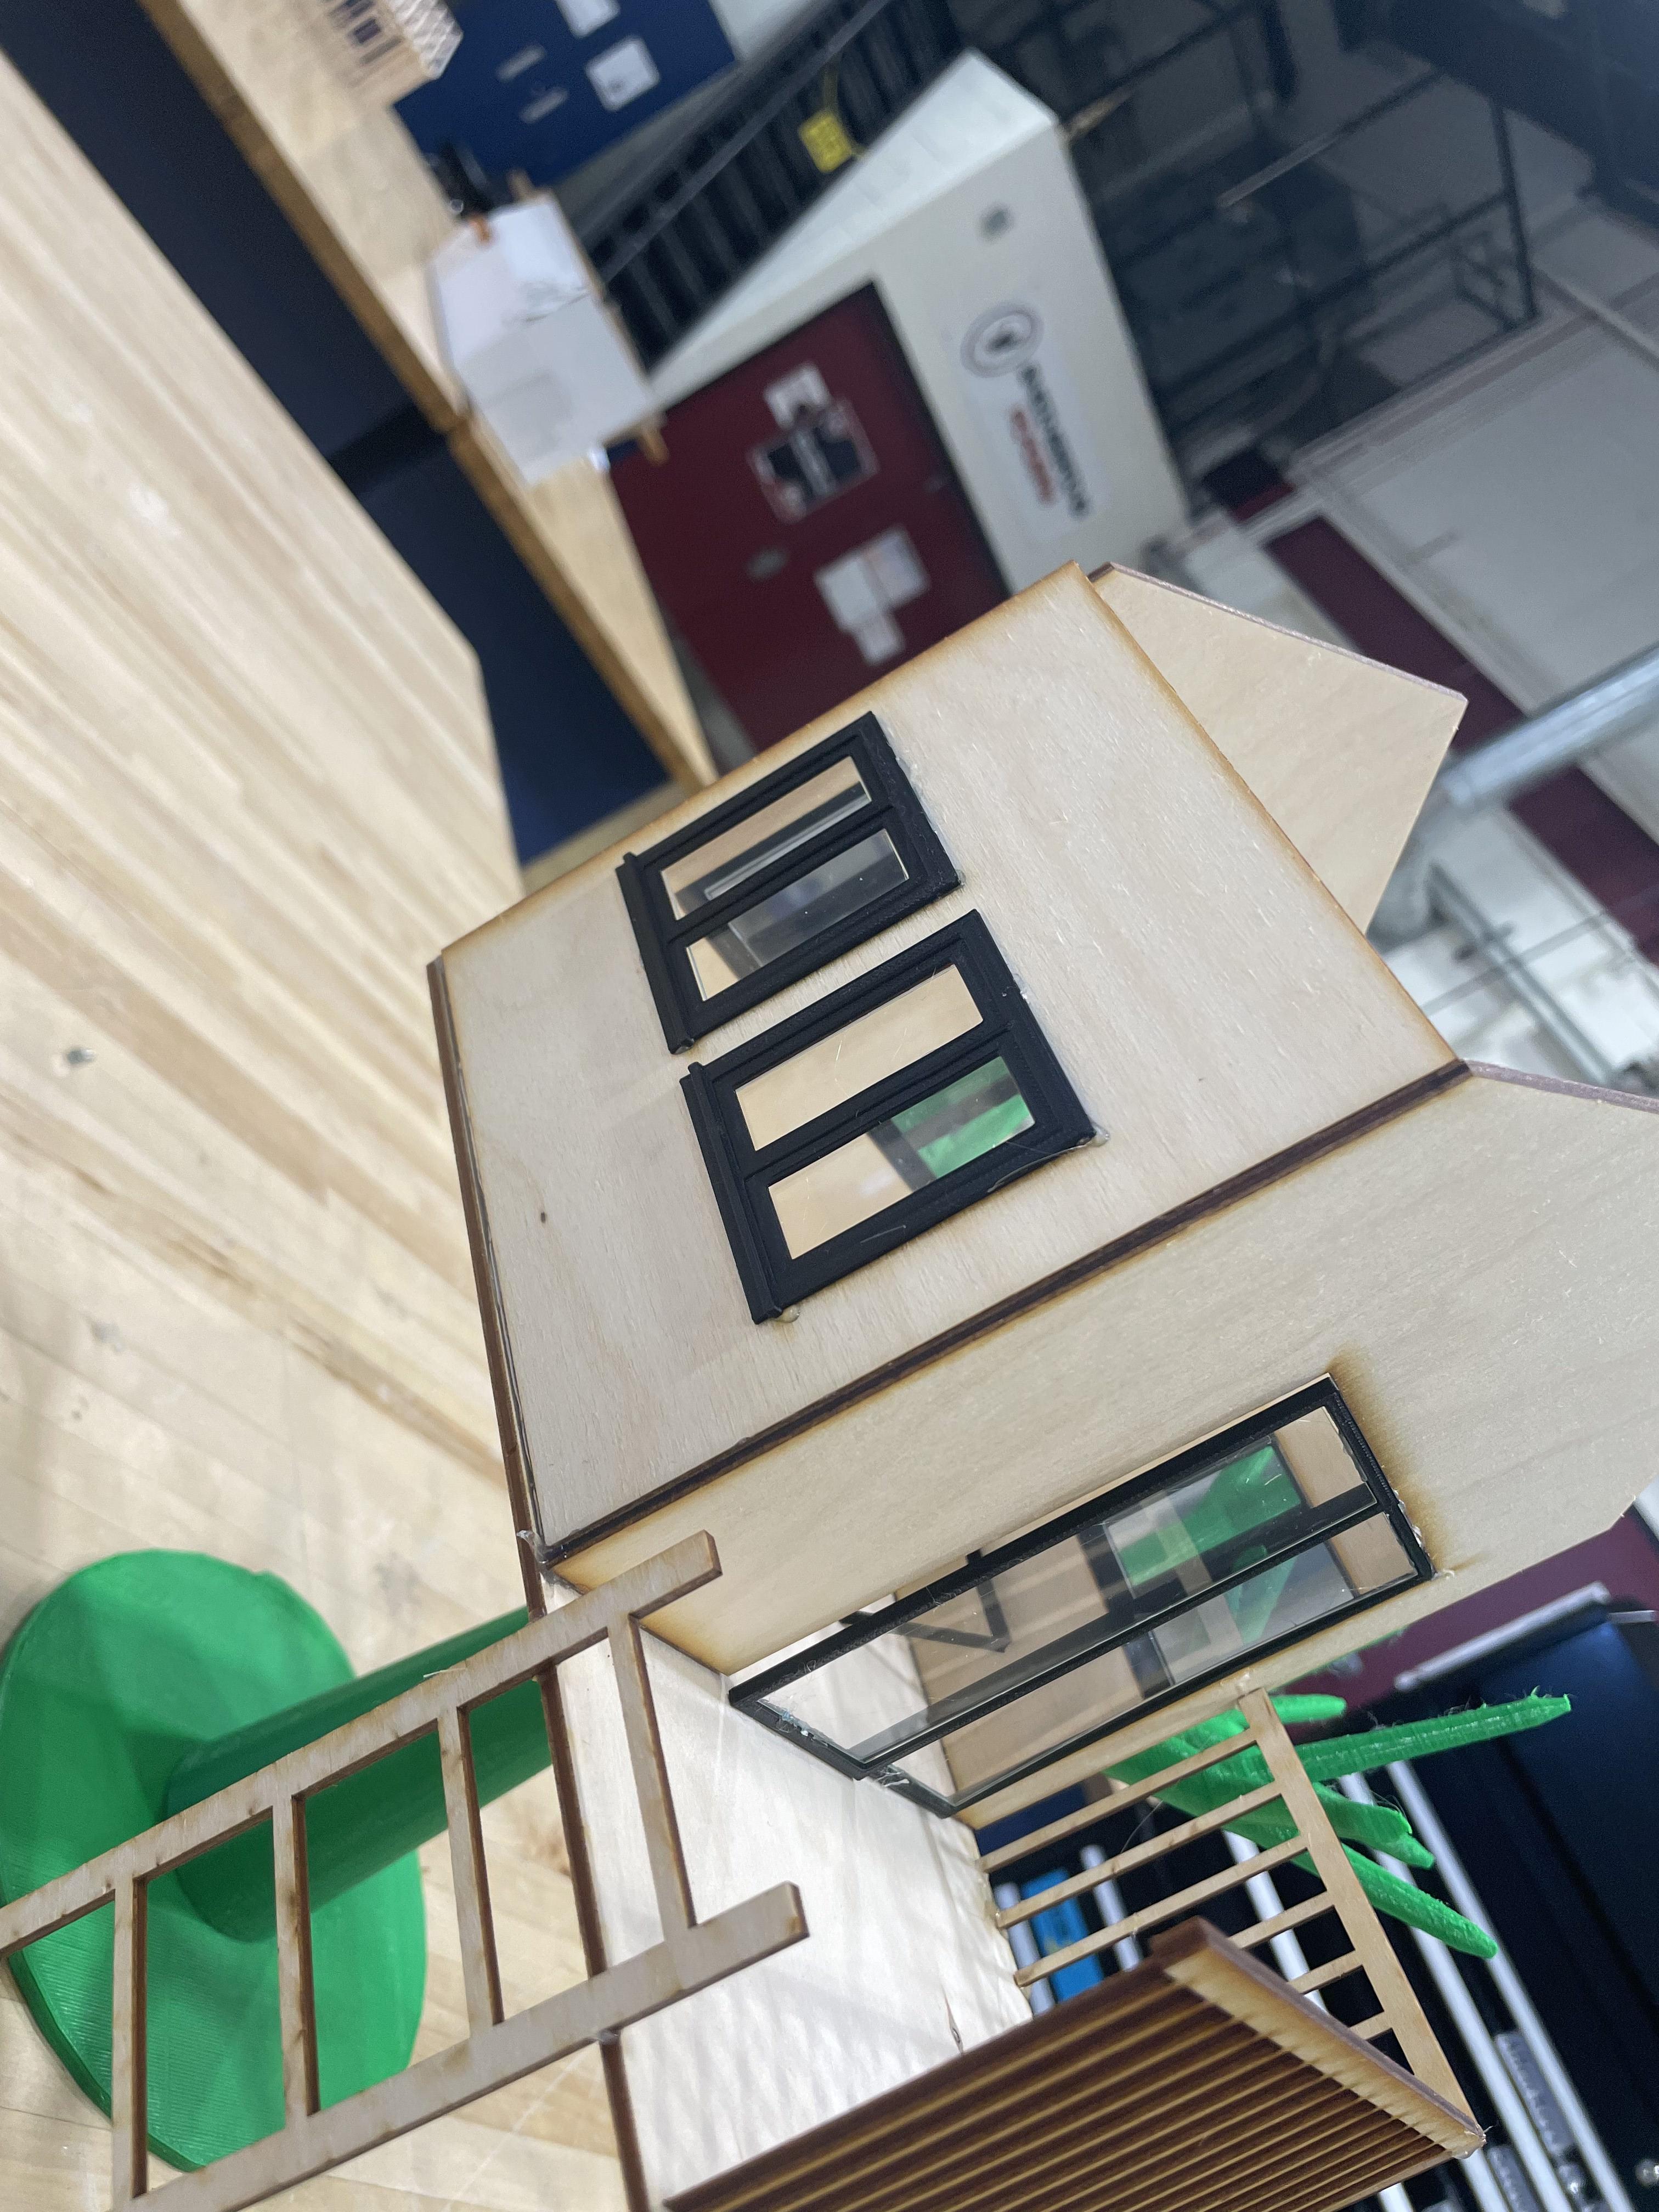
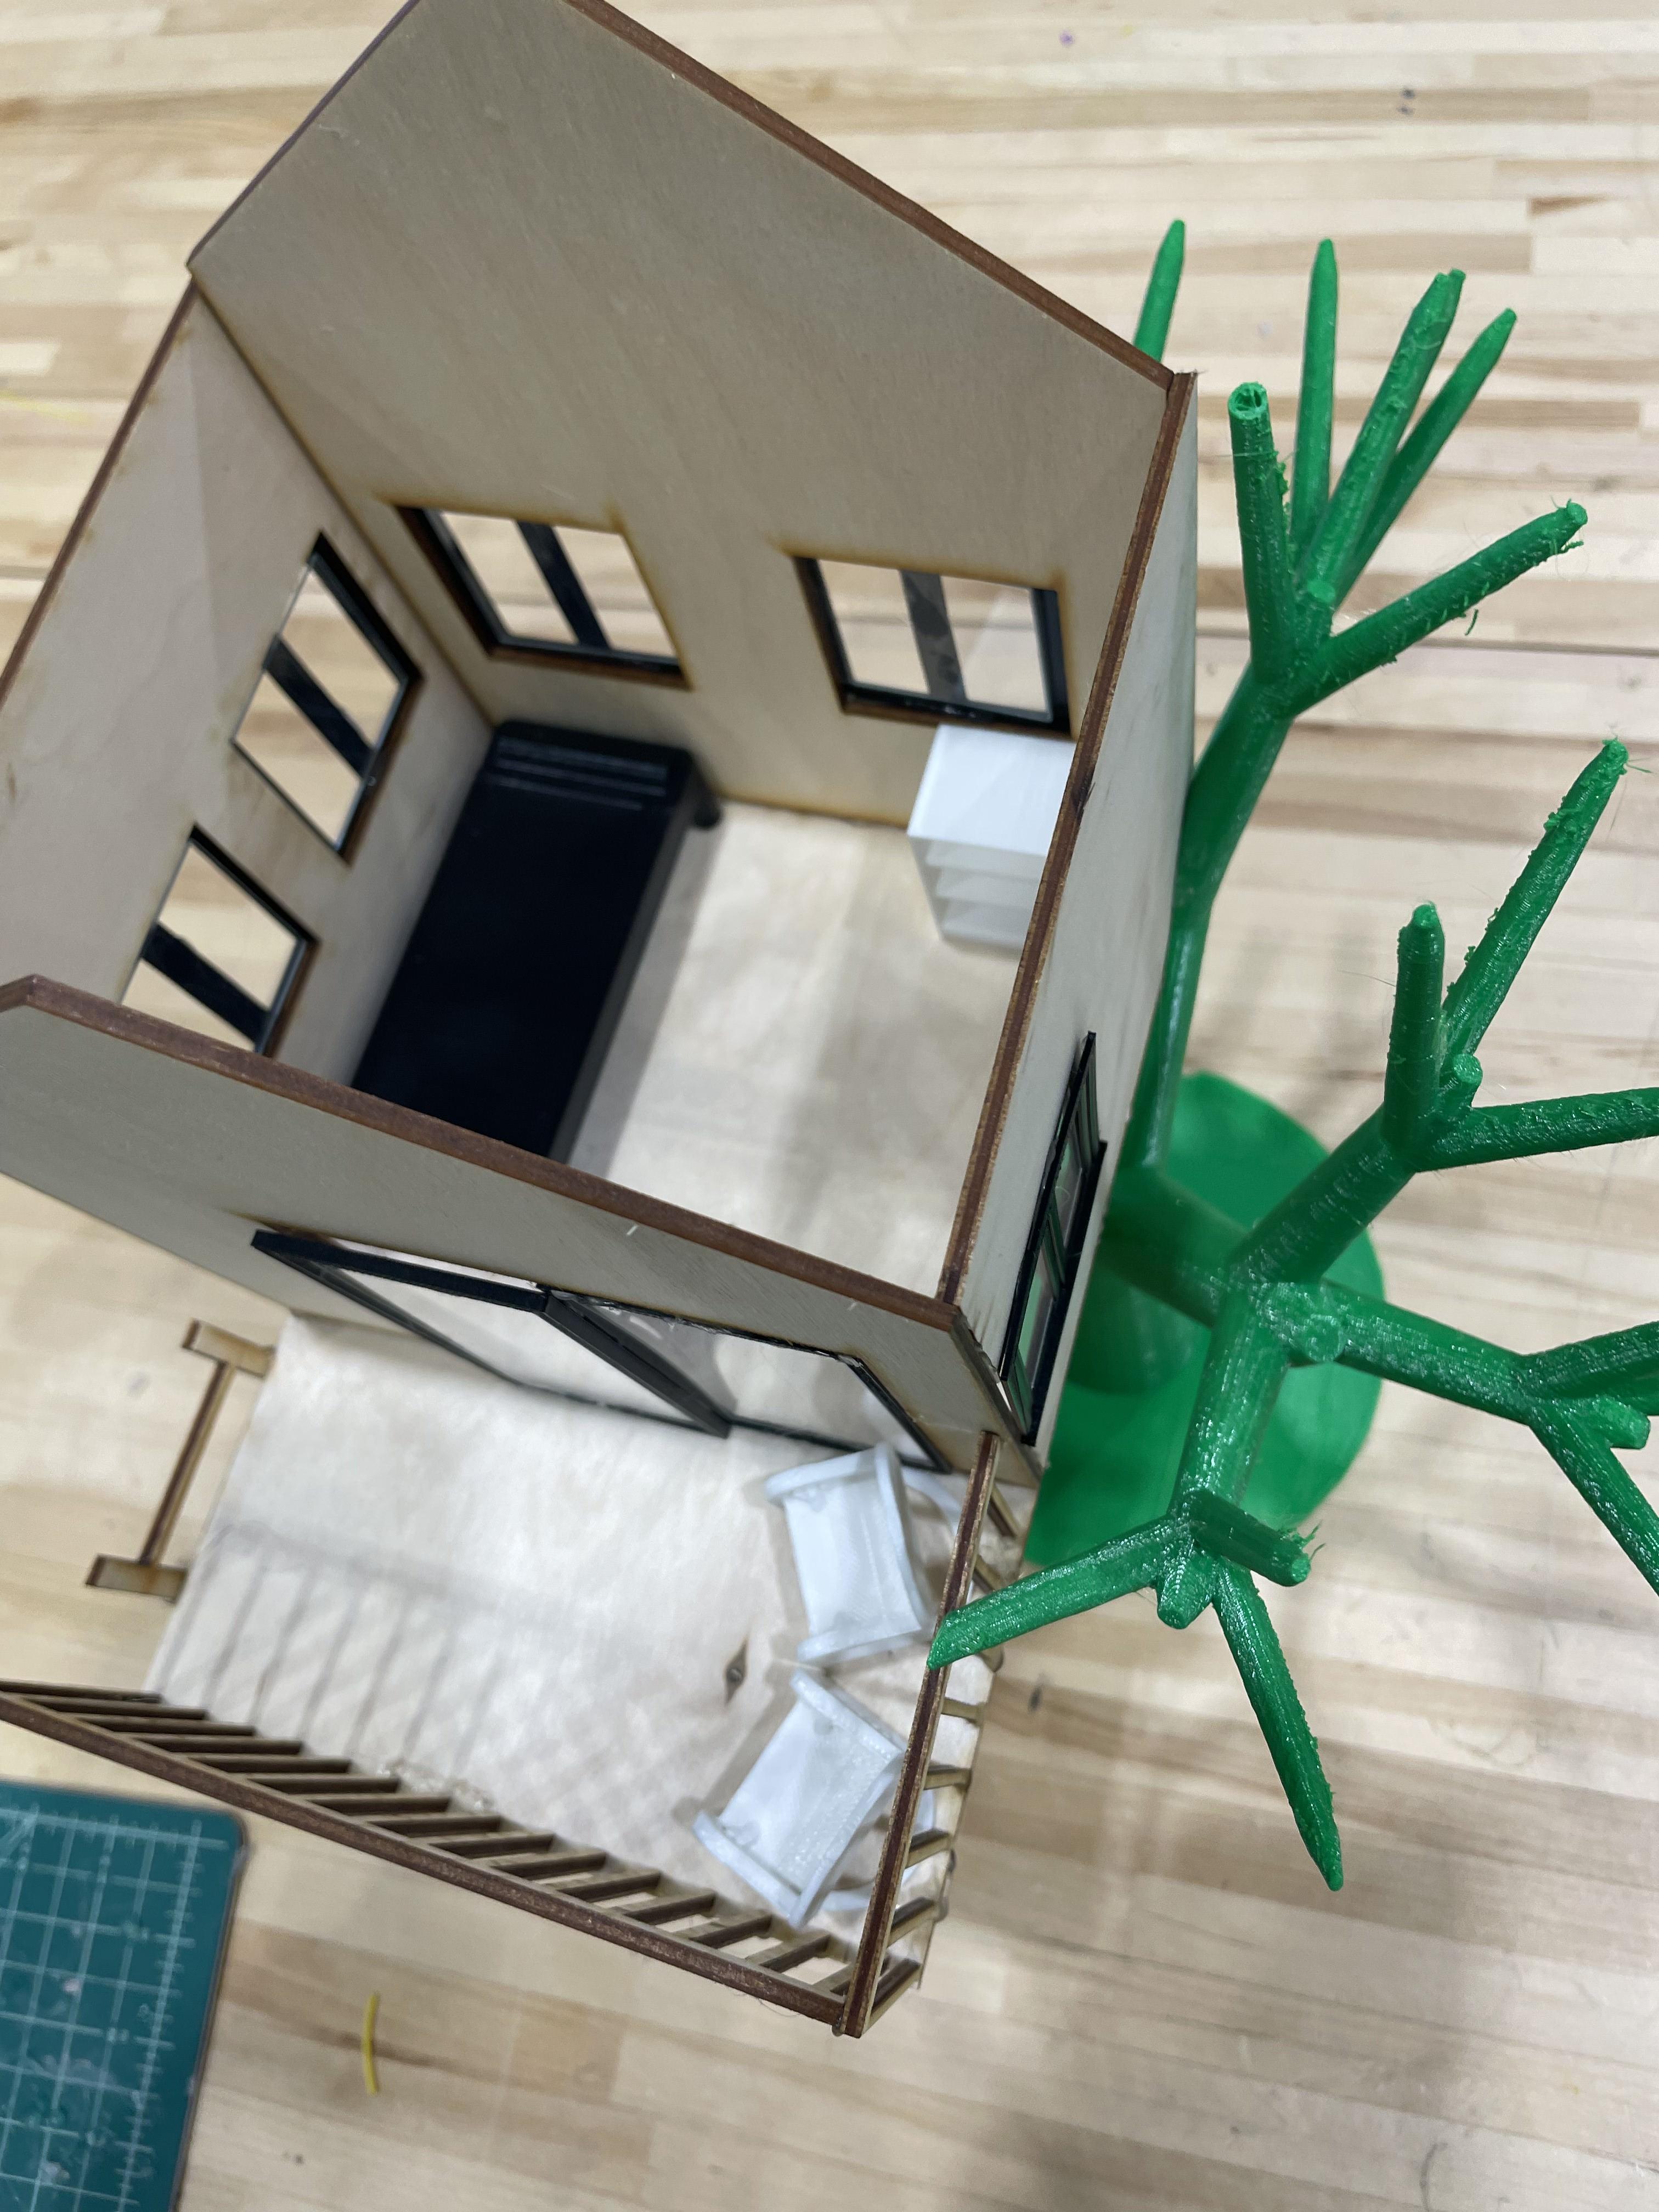
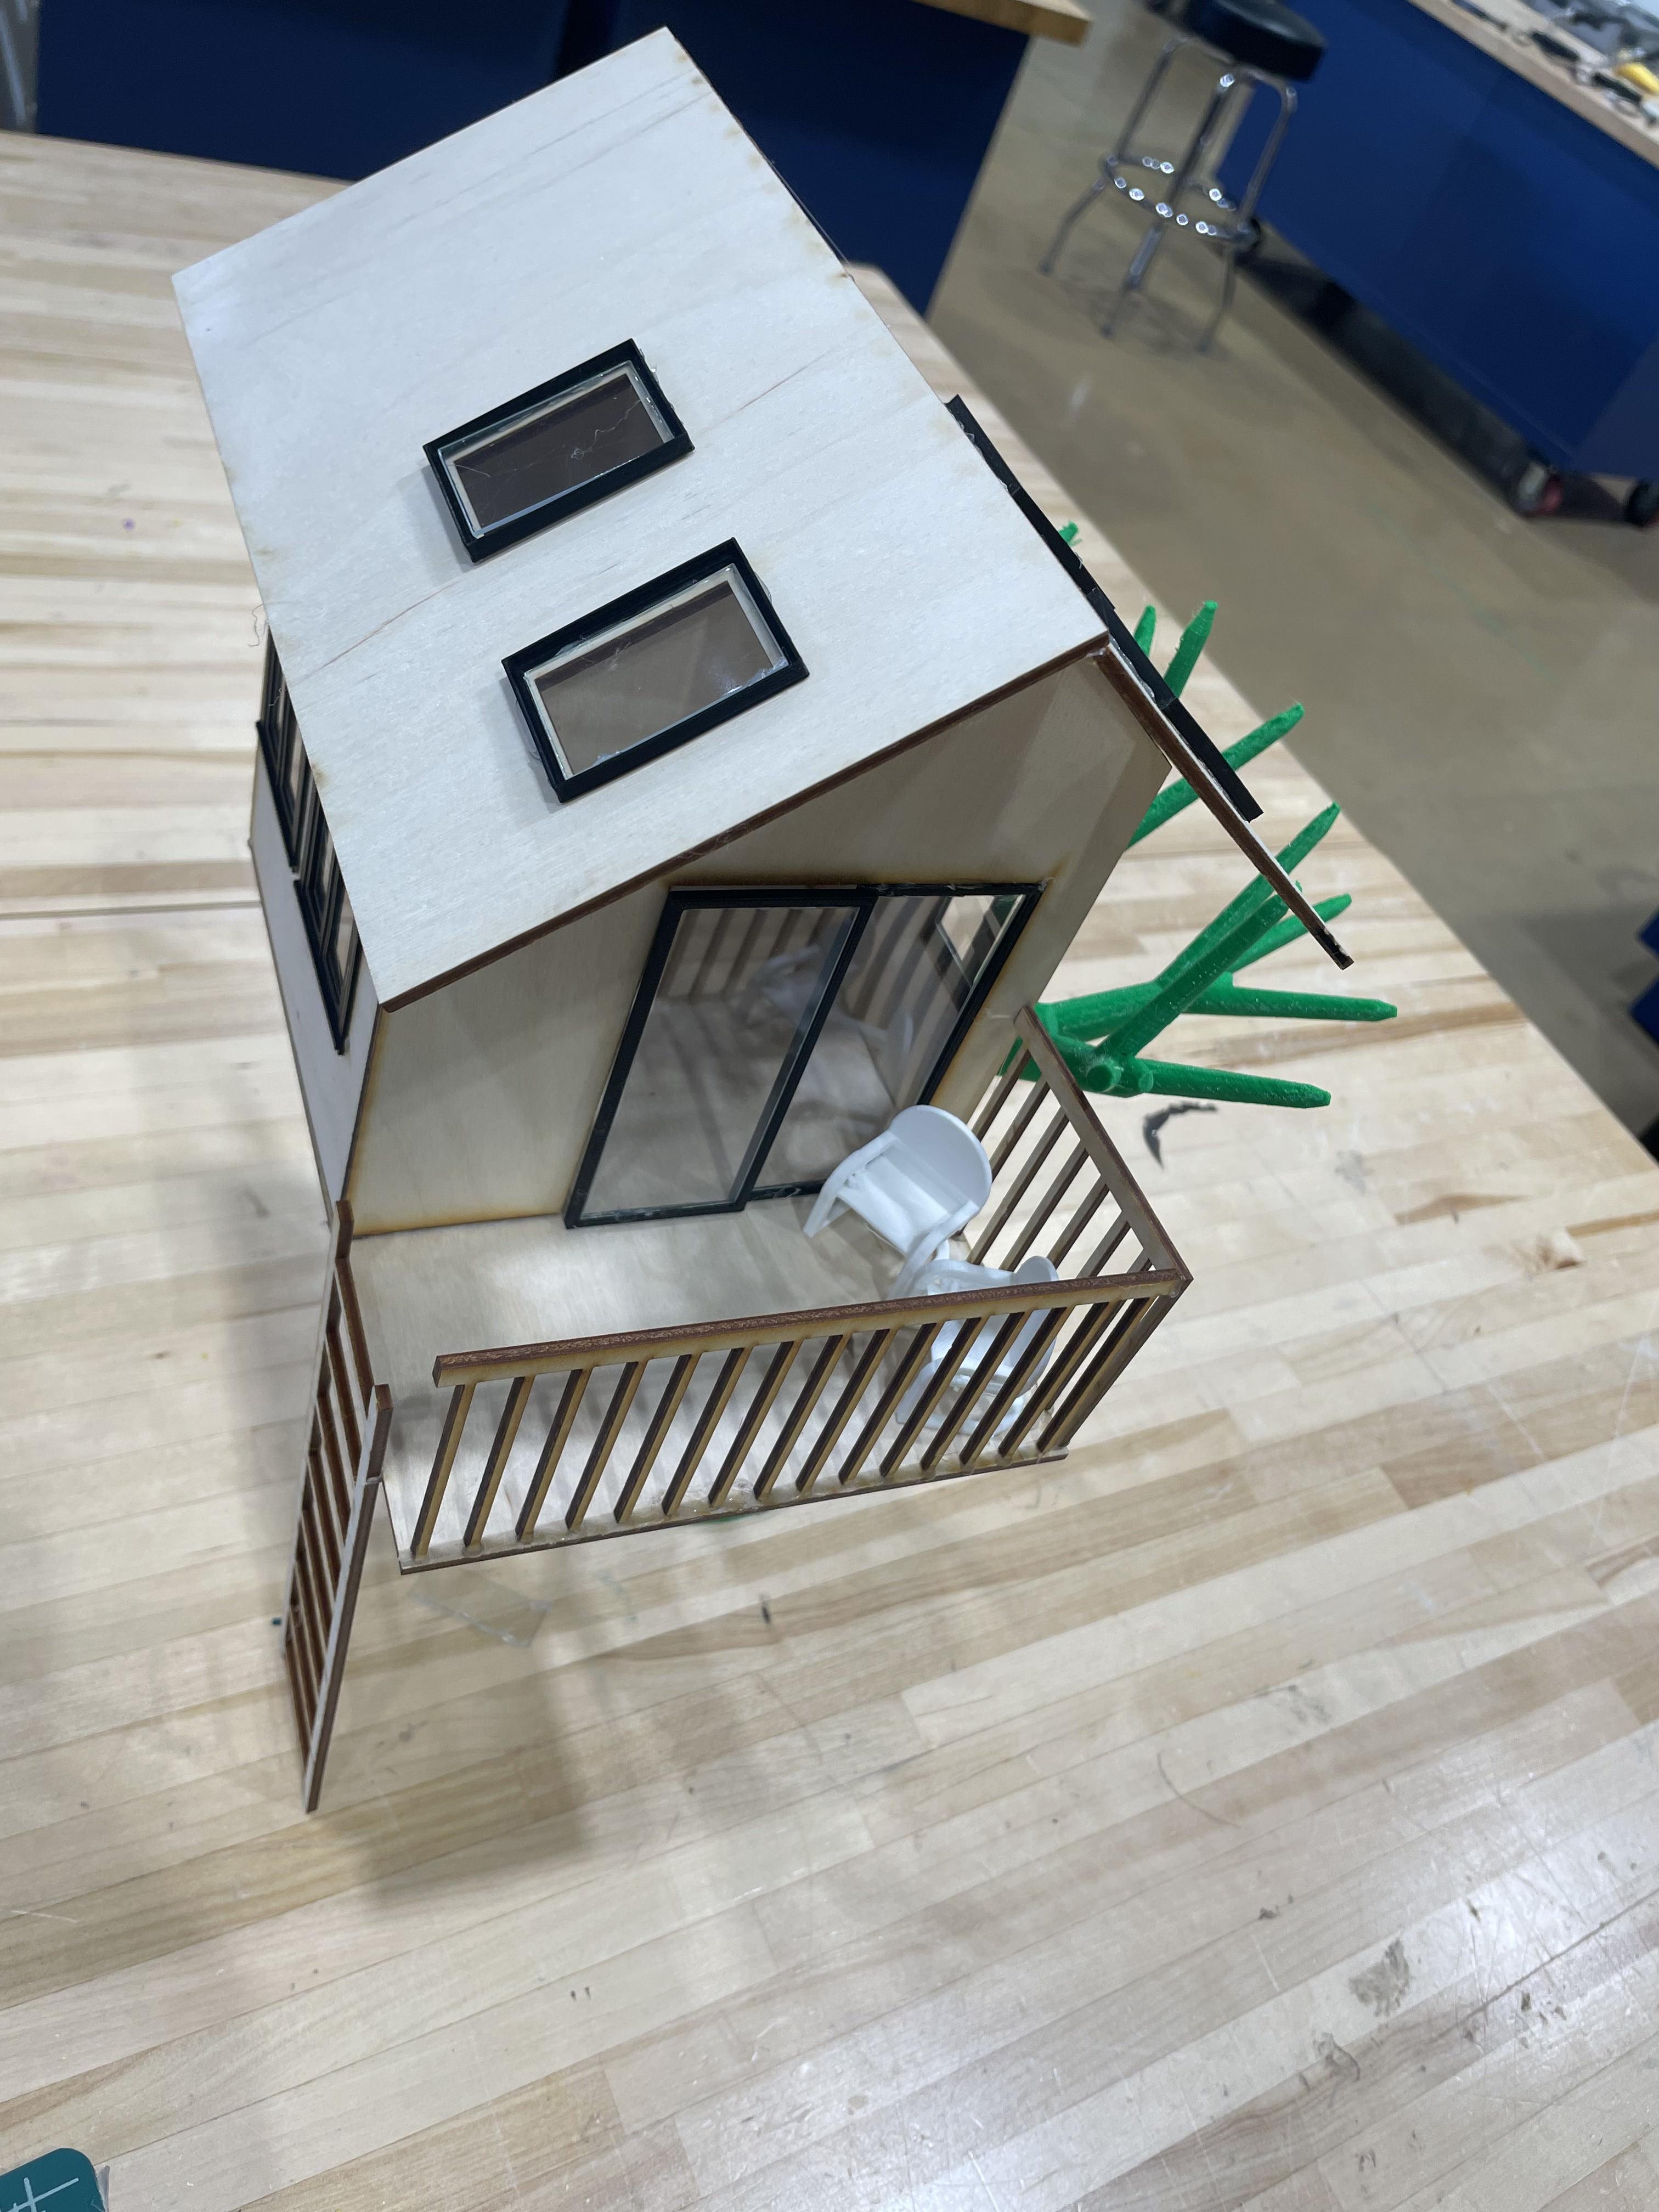
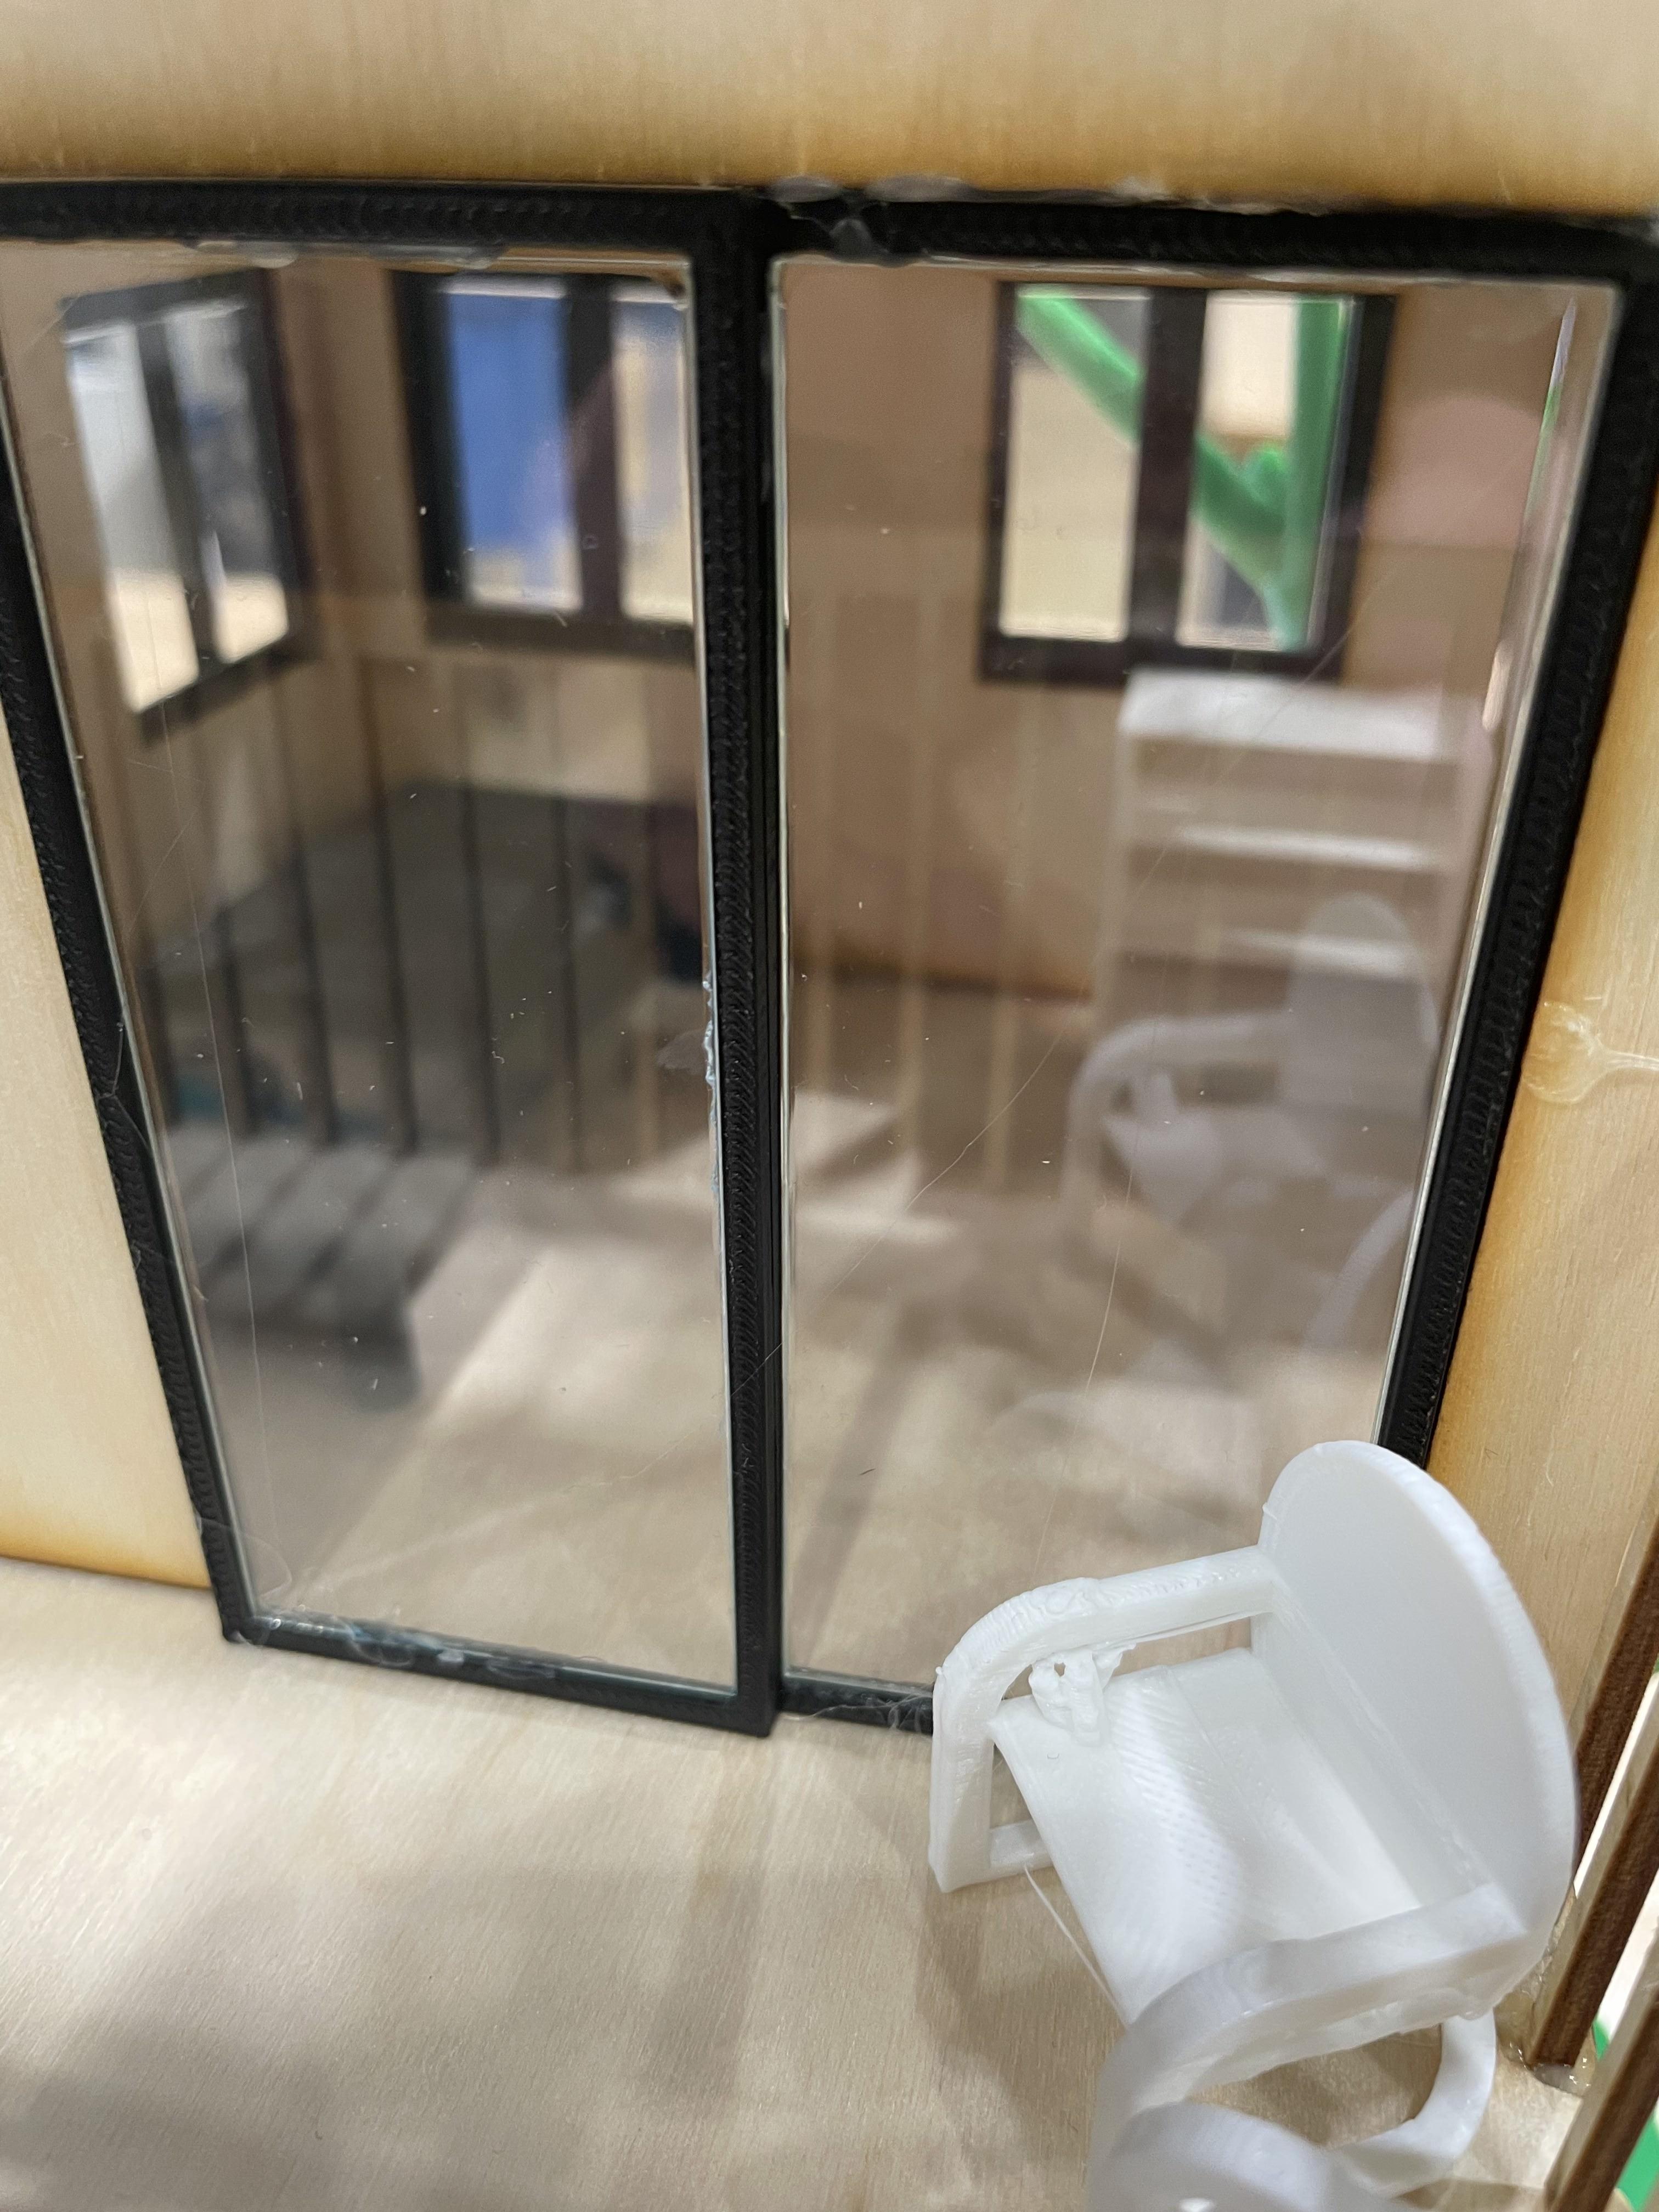
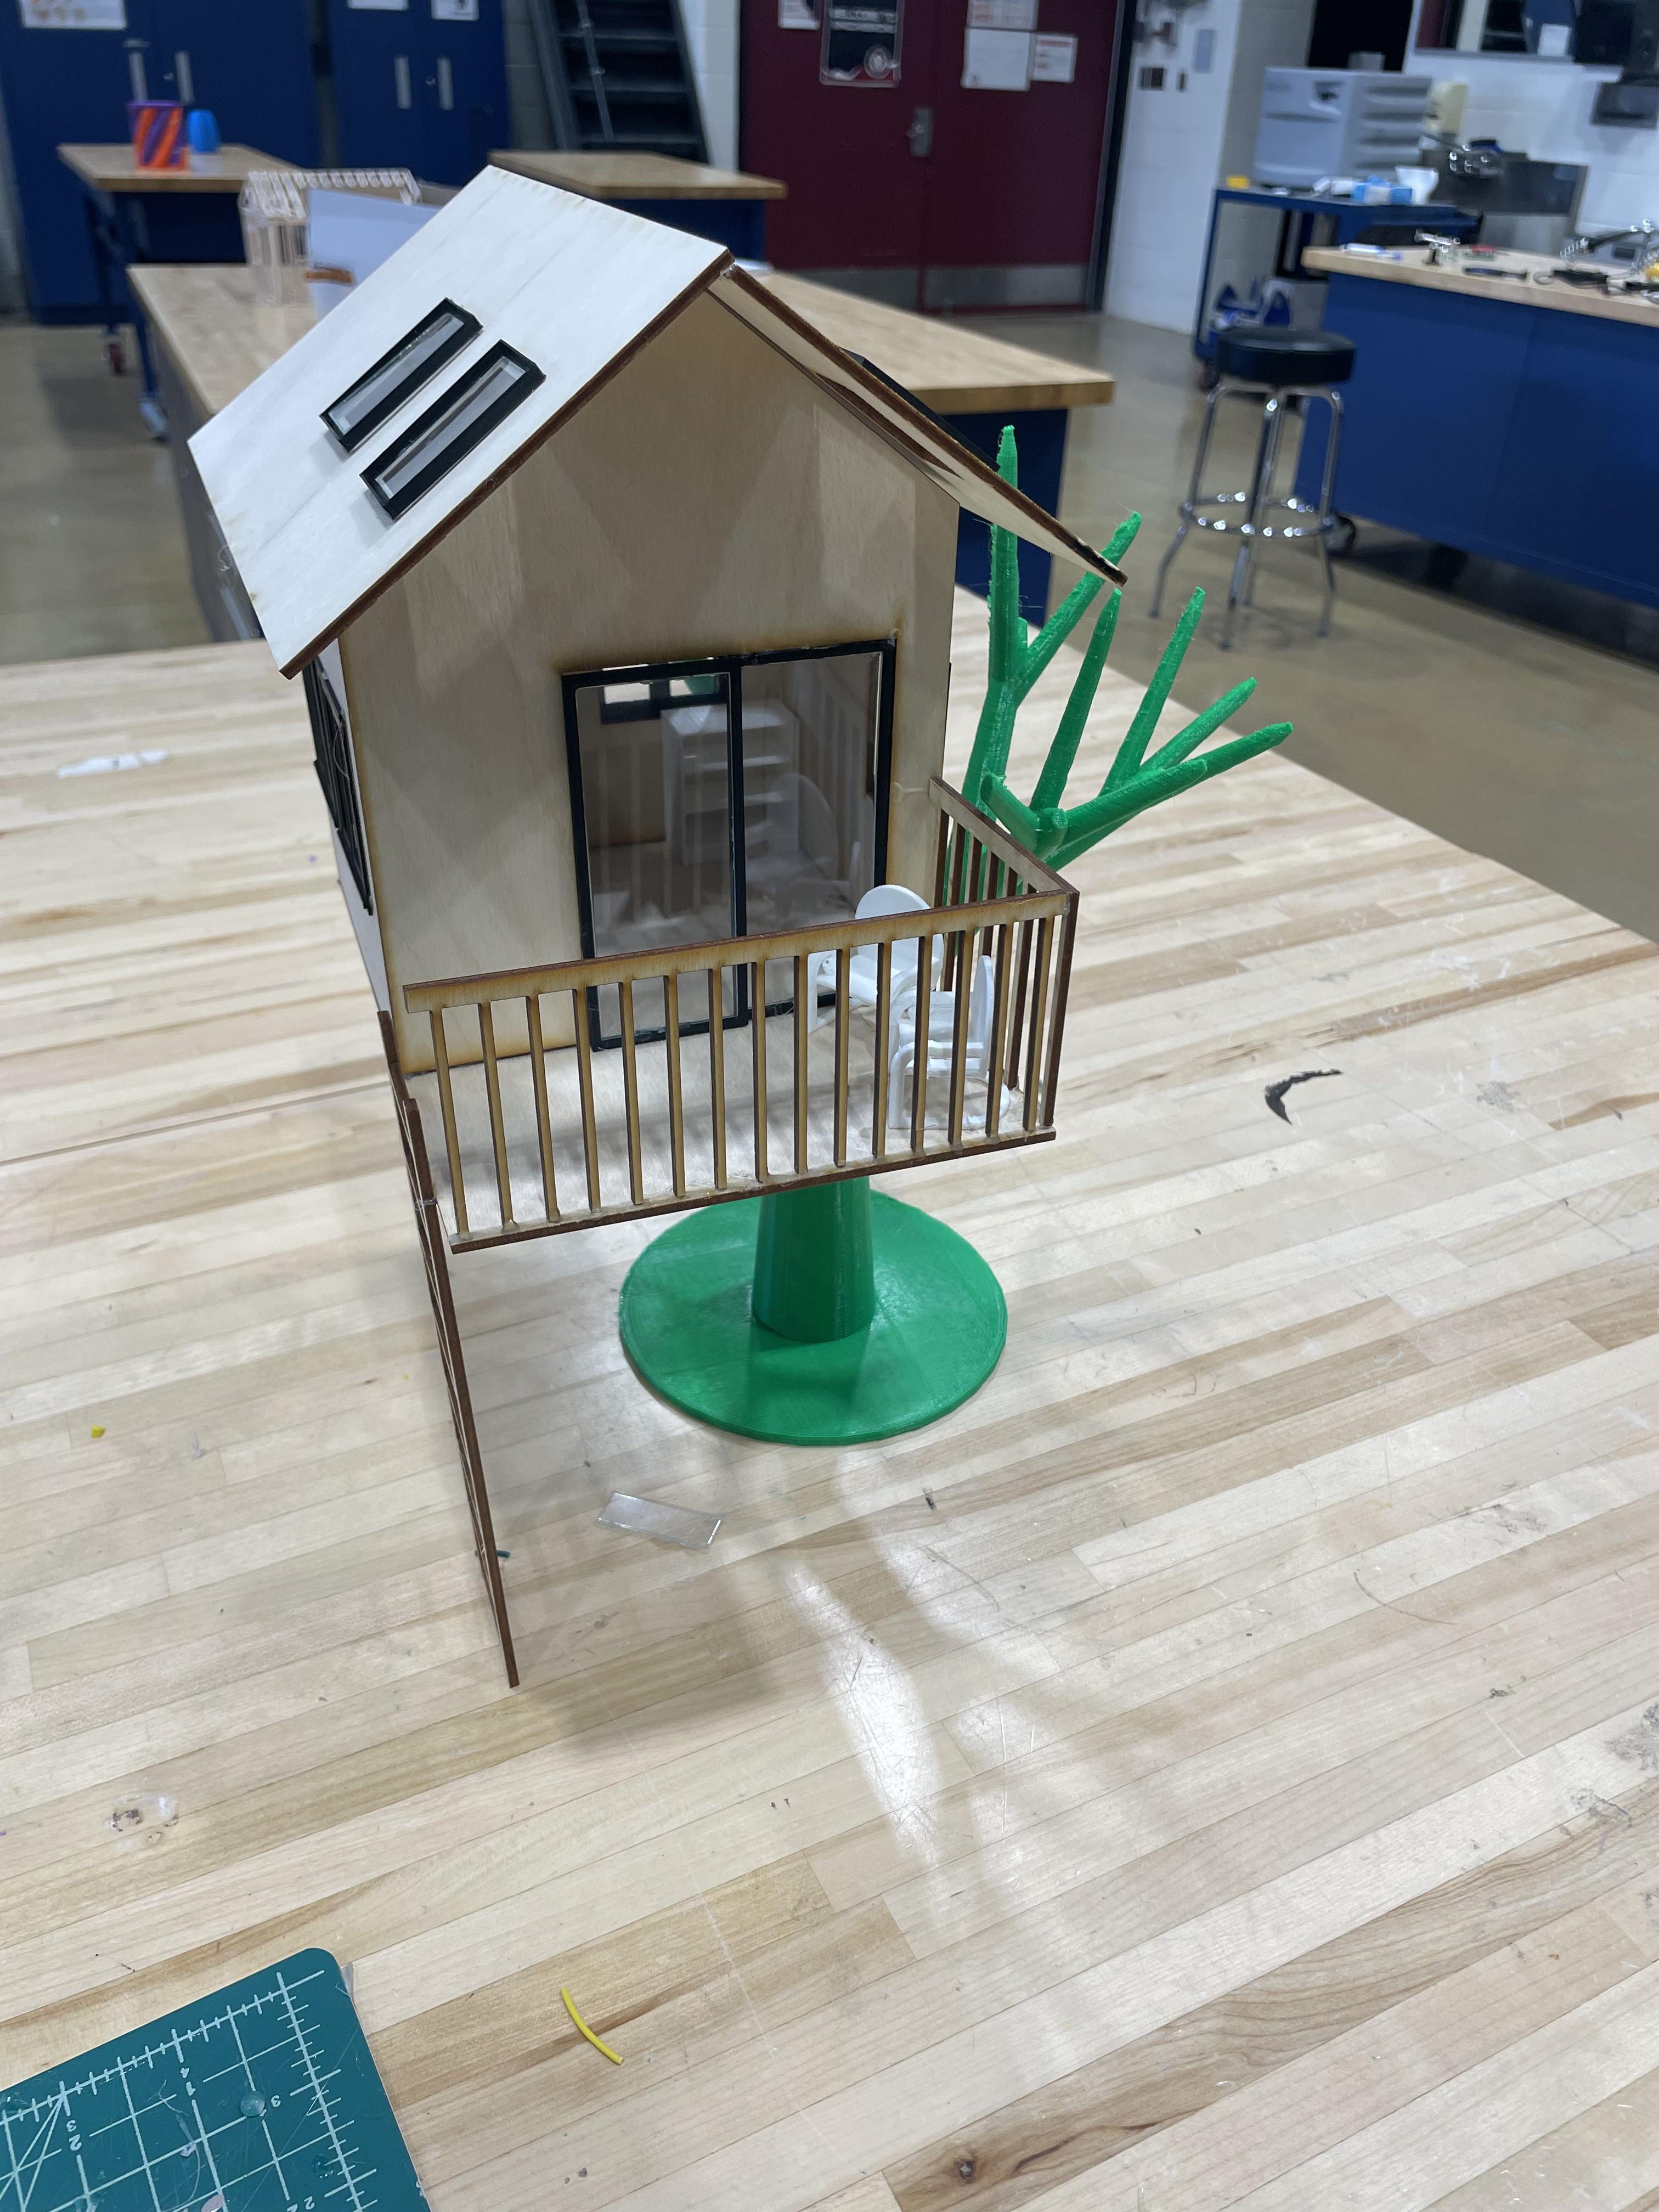
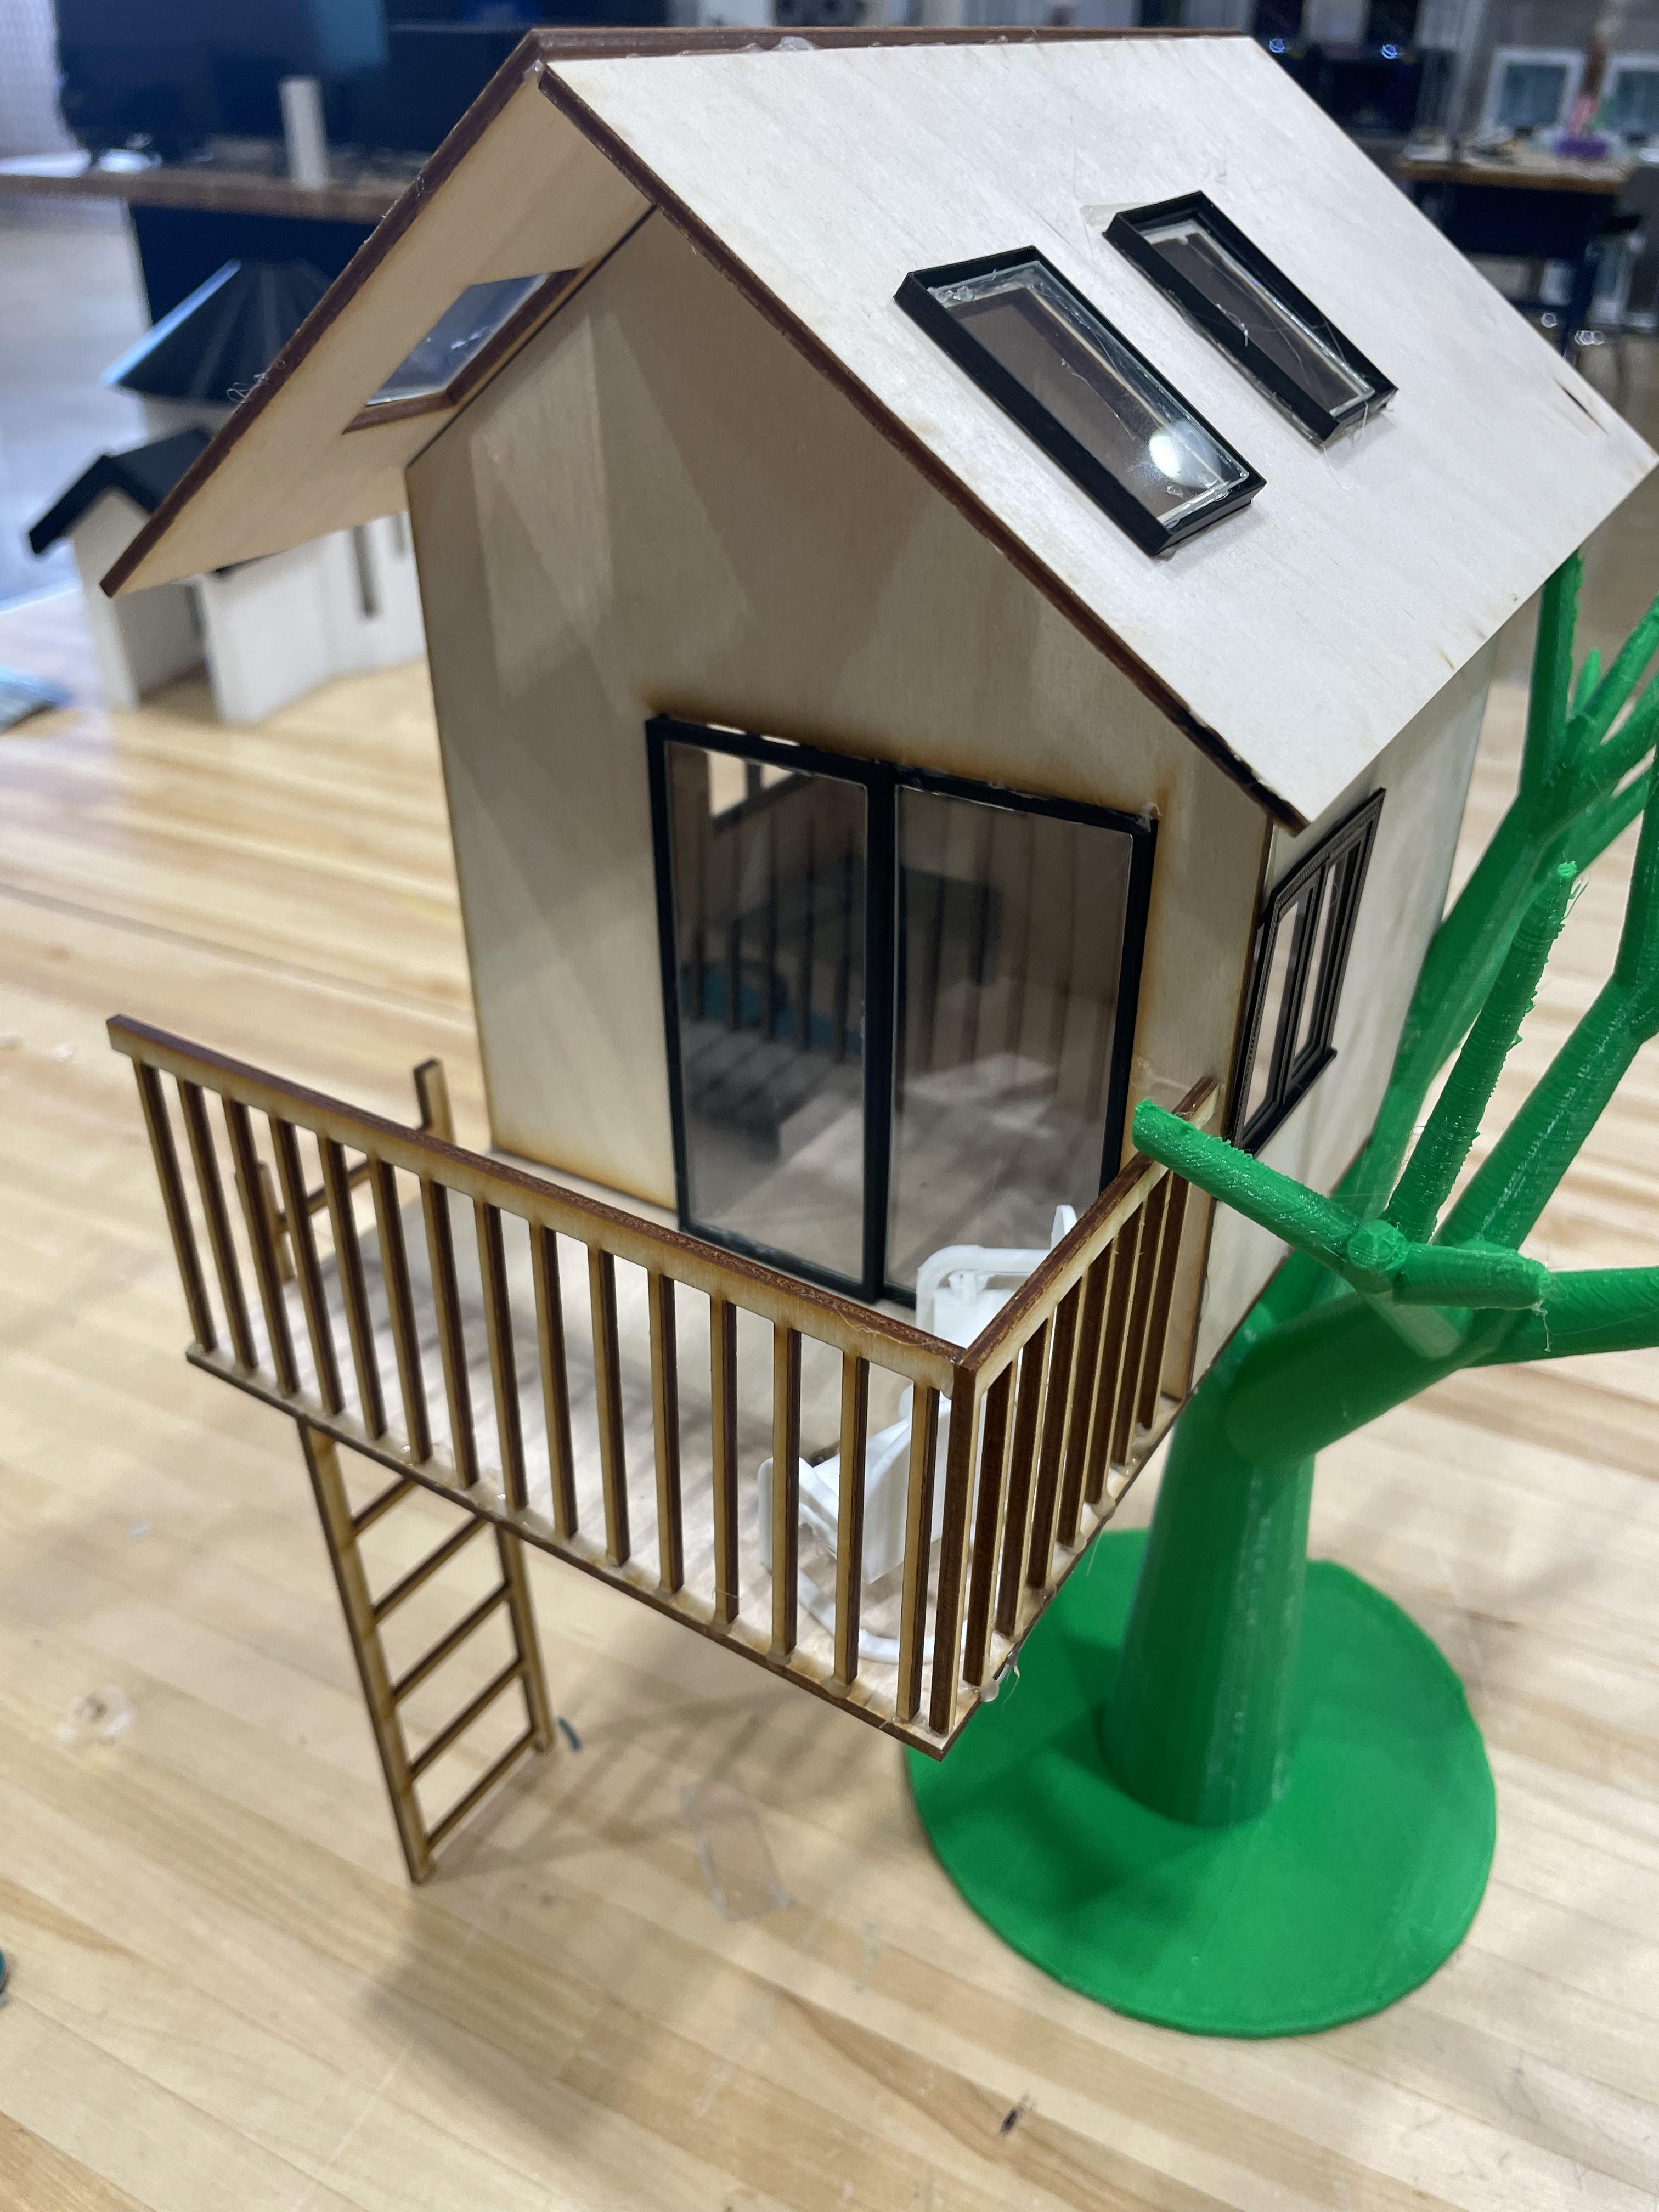
Now that the project was virtually complete, I figured it was time to make it real. The start of the 3D creation process started with finding a suitable tree STL file. While the tree was printing, I used the Laser engraving machine to cut out Walls, Floor, Railing, and Ladder made out of Birch Wooden pallets. Now the basic part of my project was created, I to decided to make the smaller little details with Windows, Doors, and Furniture.
Reflection
I think the process of this project was very easy and wasn't as difficult as I initially thought it would be. The main stress part of this project was trying to figure out the inspiration for the small space. I enjoyed constructing this because it created a smaller bit of inspiration for me to use.
I chose a tree for this project because, it saves some space on the ground for where a normal home would go and still allows for people to have a suitable living space.