Travel Inspired Gift Tags and Tag Holders
1058 Views, 10 Favorites, 0 Comments
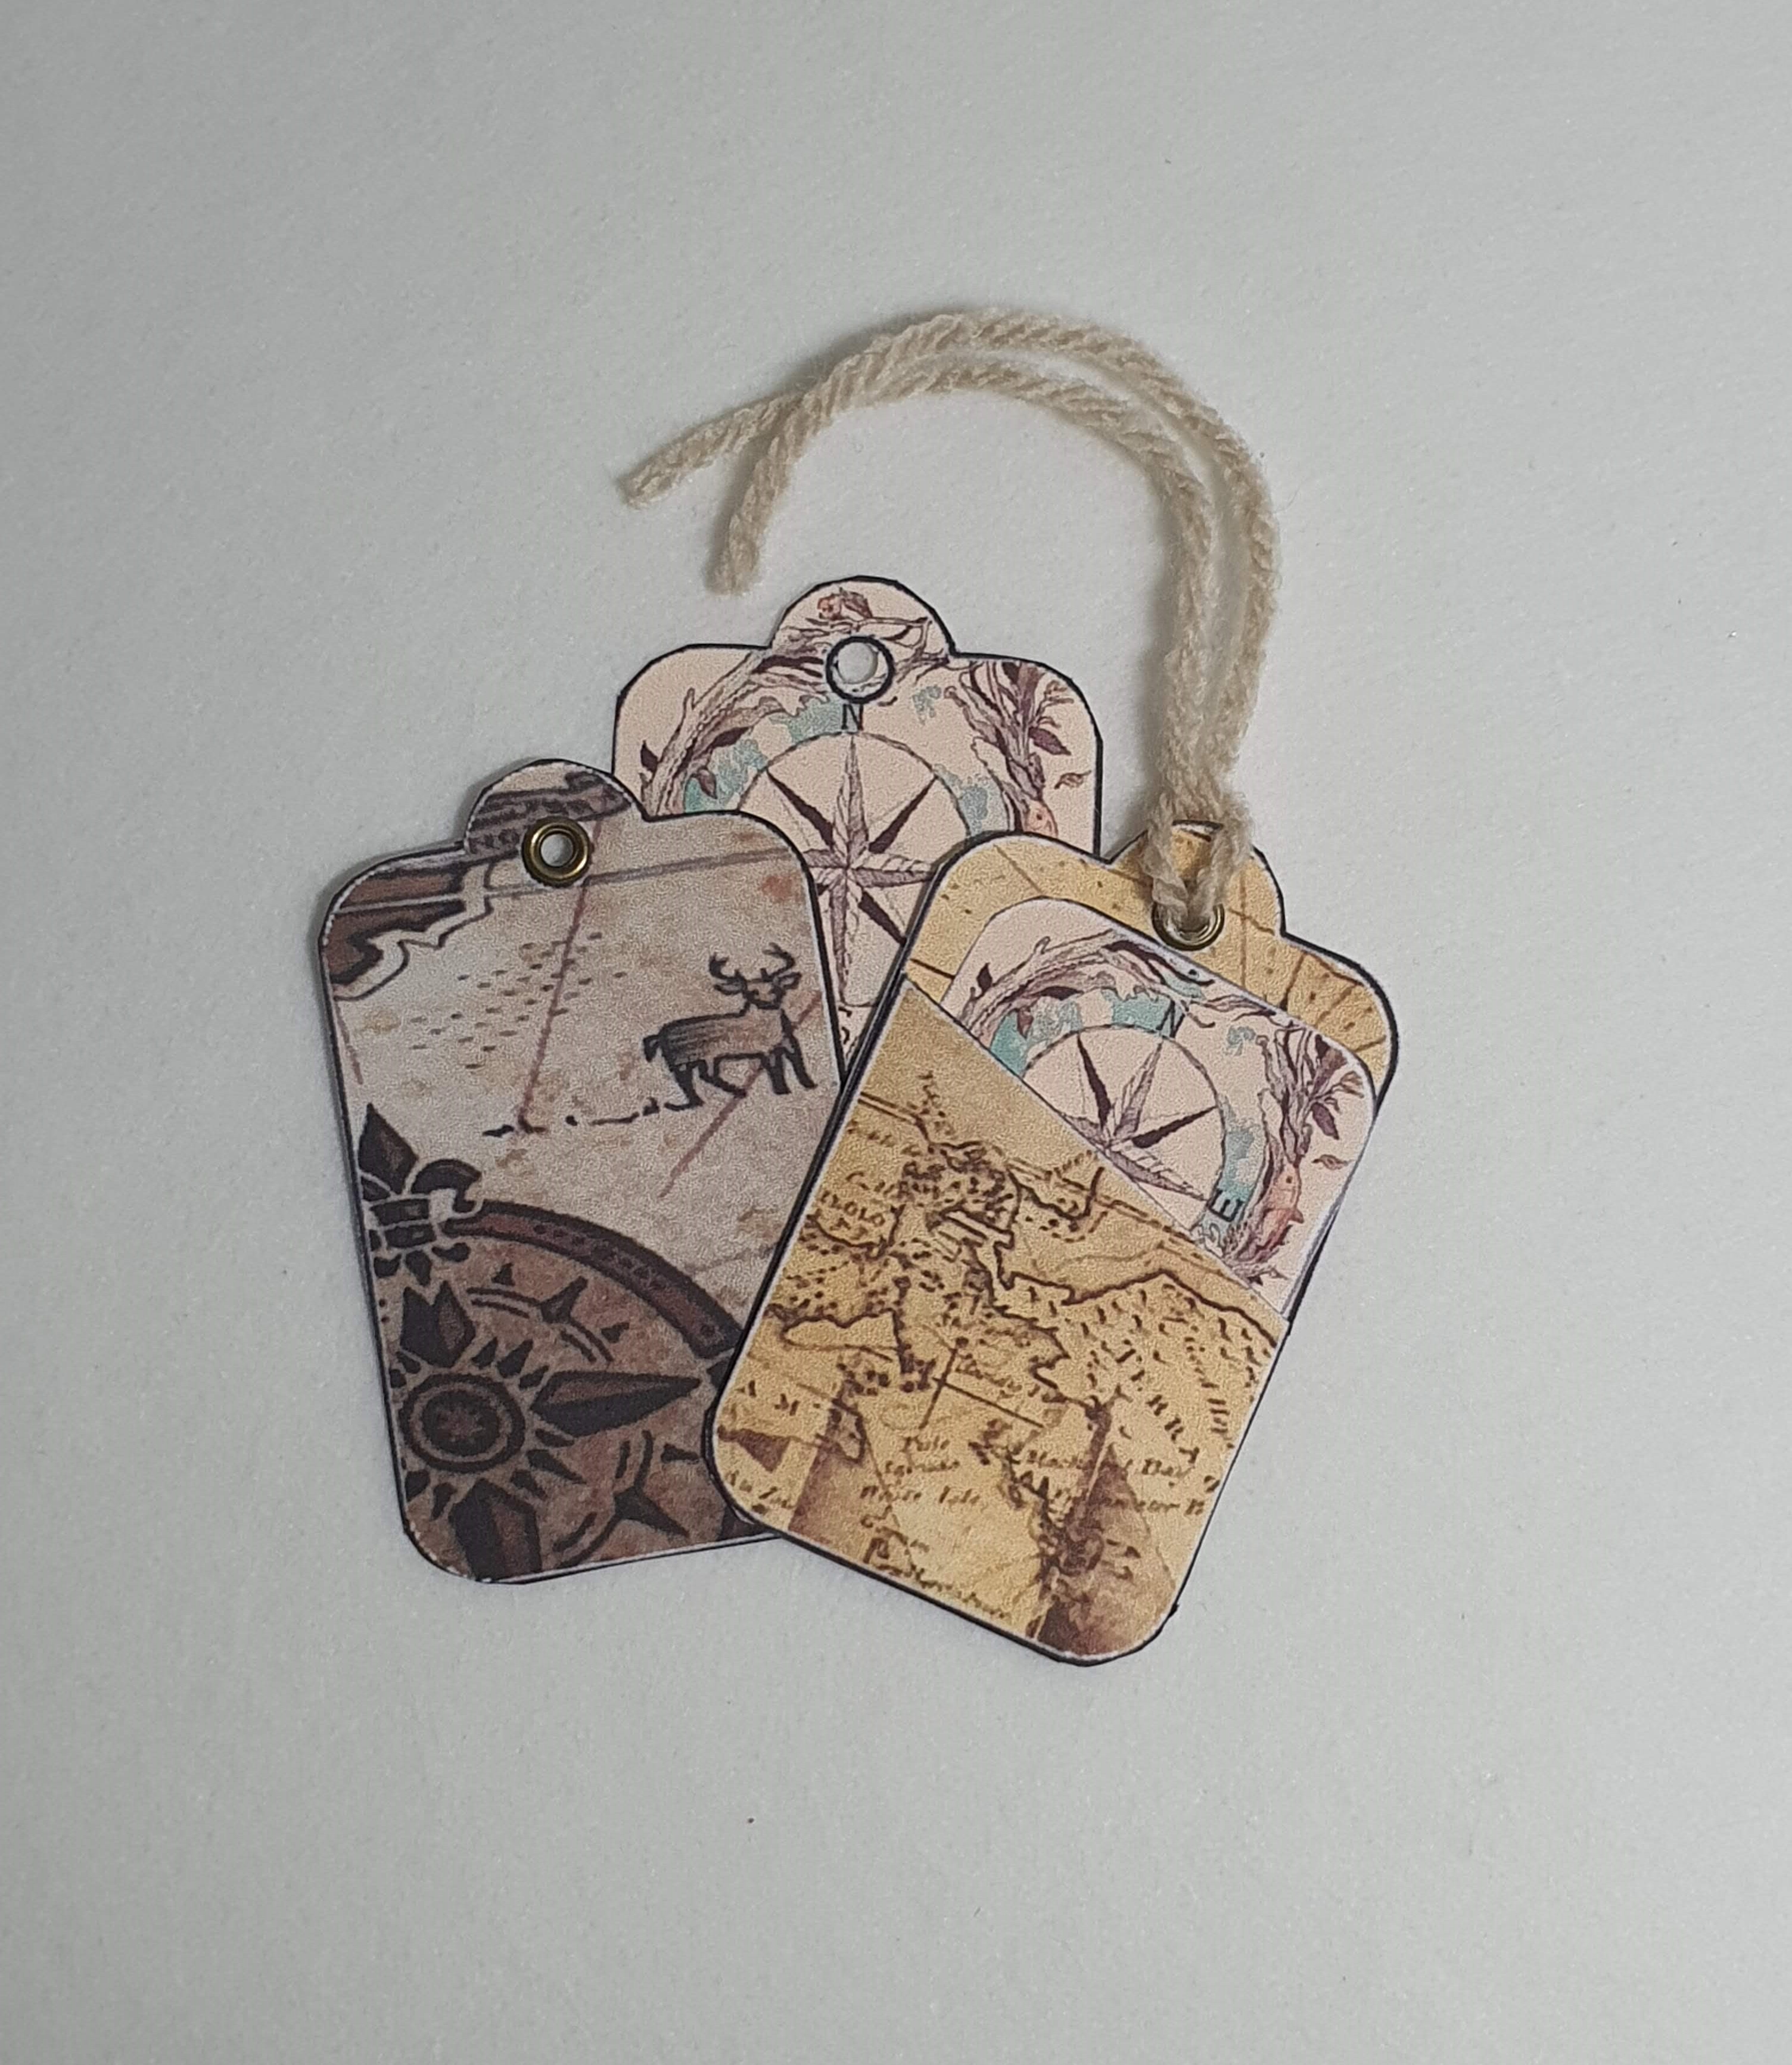
Travel Inspired Gift Tags and Tag Holders
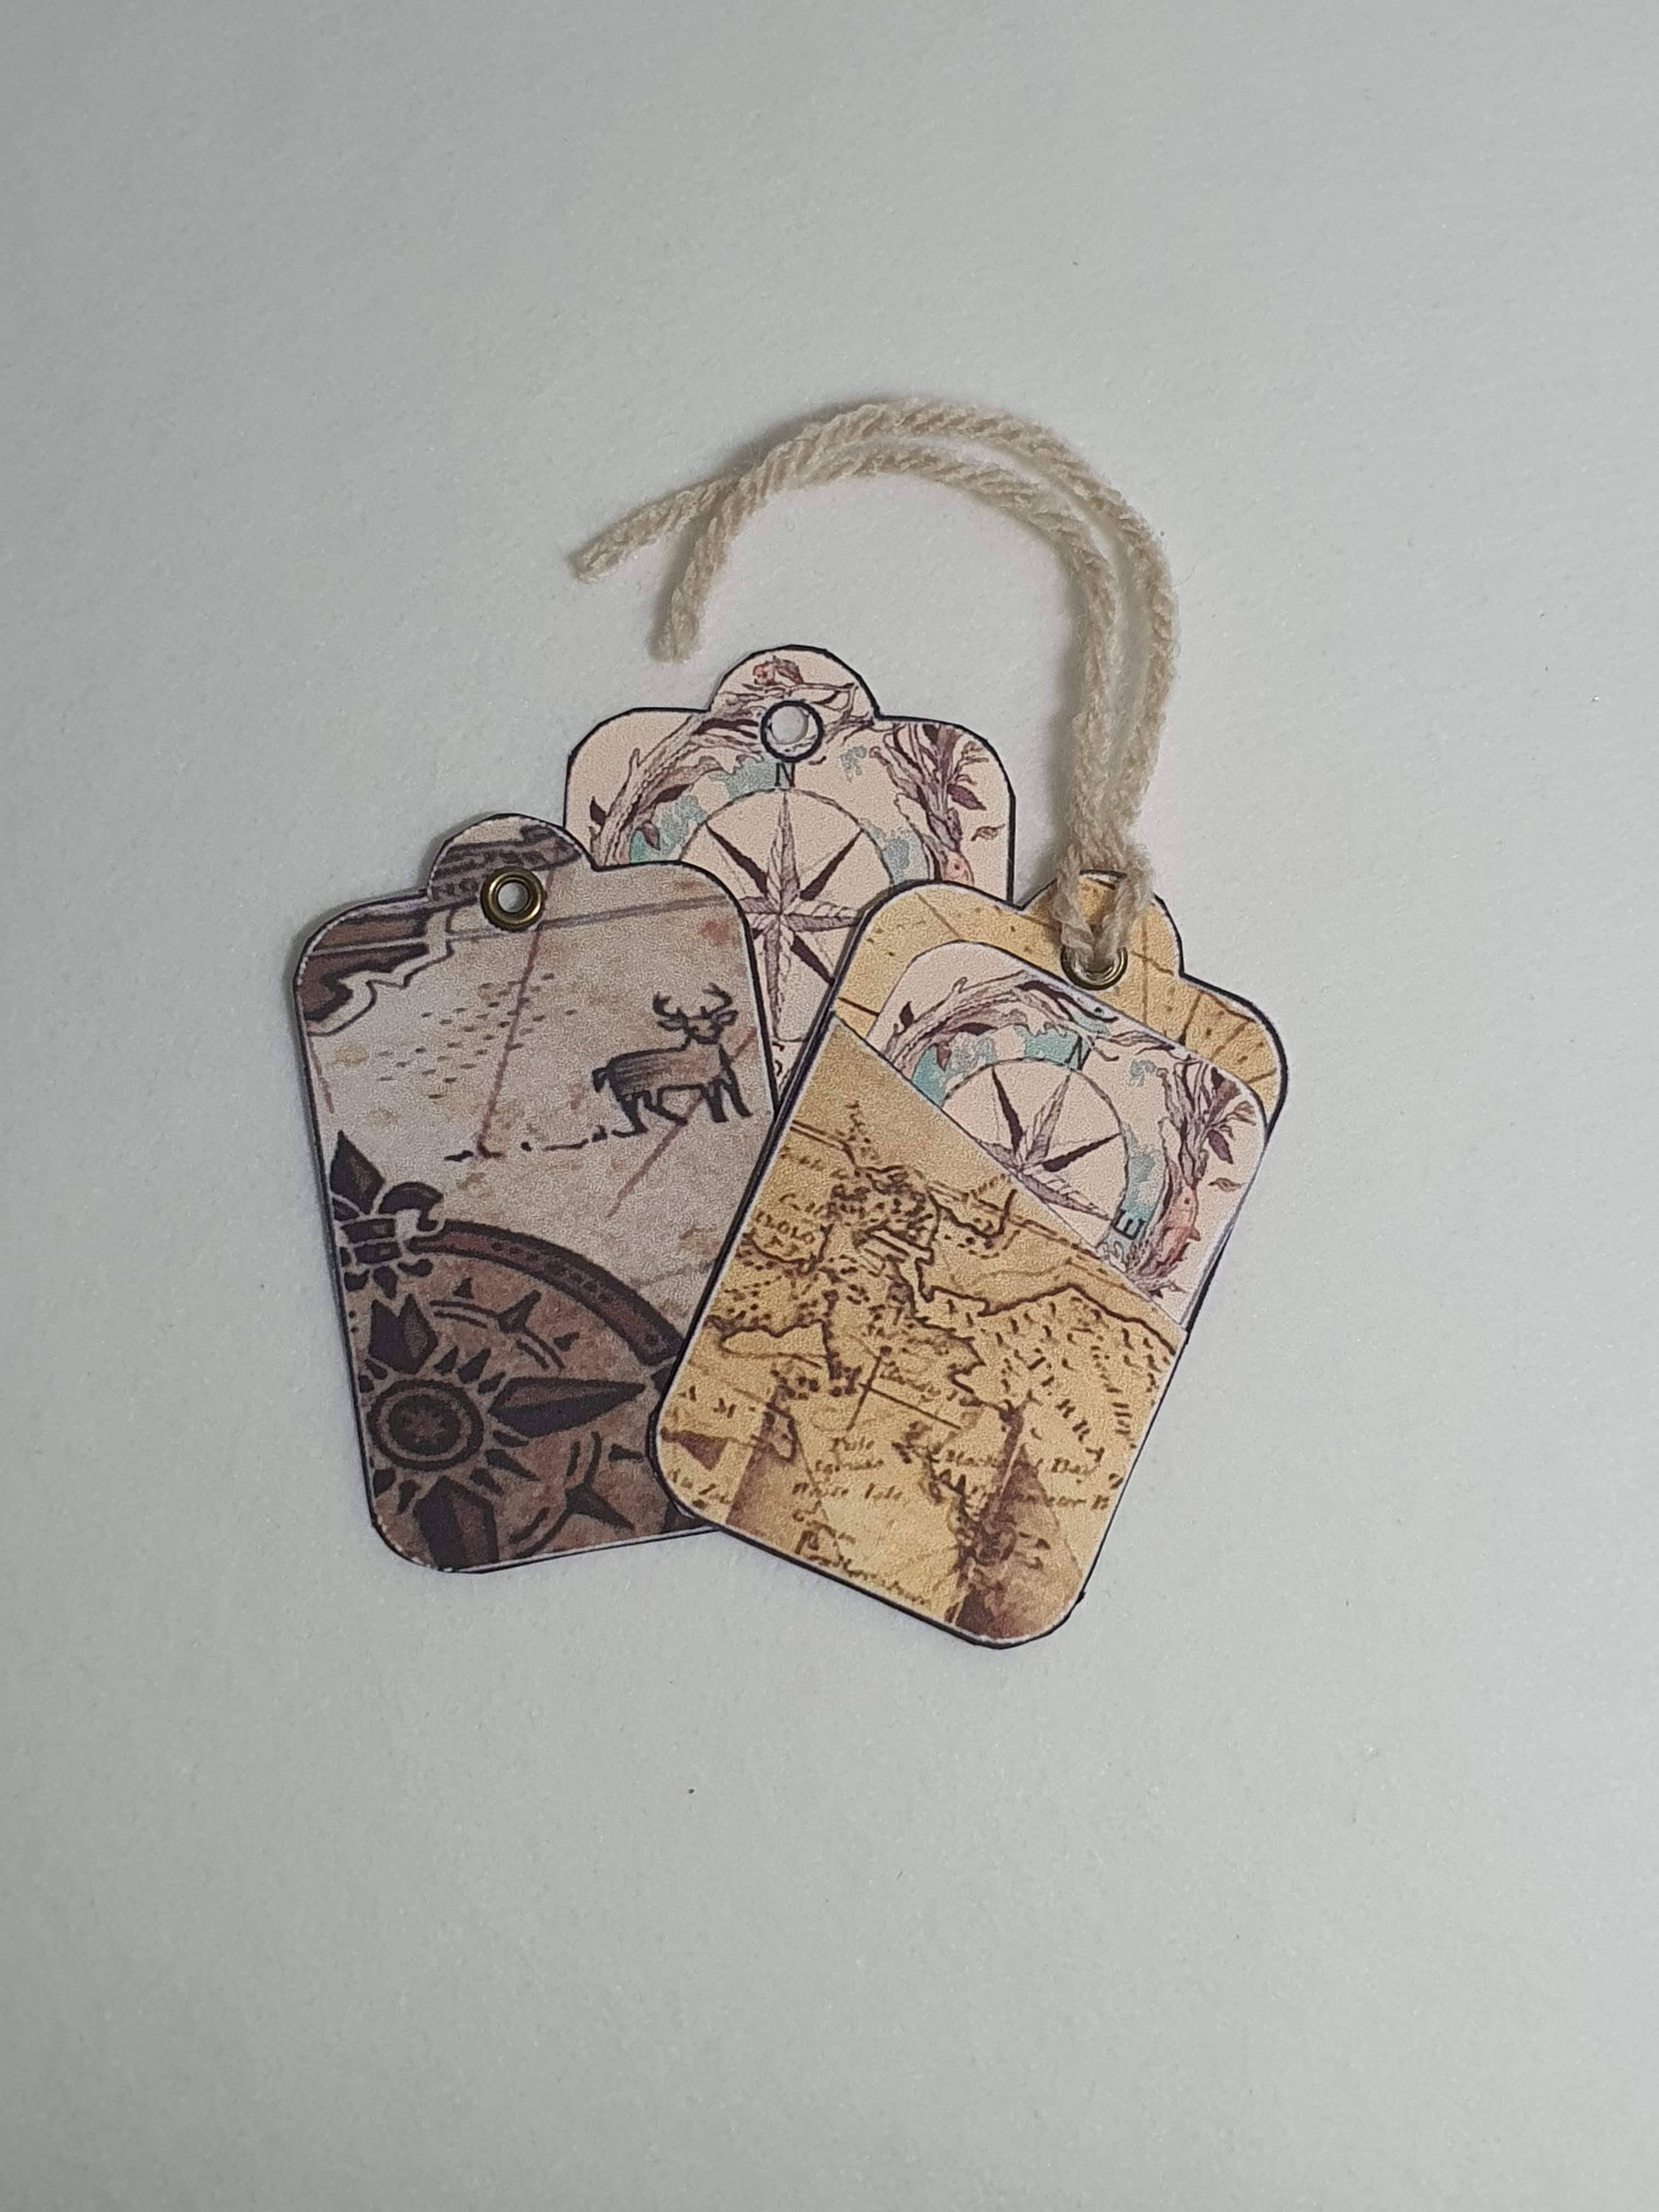
This Instructable will show you how to create the perfect Map and Travel Themed Gift Tags that will encapture the essence of your dreamy Wanderlust Aesthetic.
To create my tags I have used Microsoft Word Only and Paint.net. You can use just Microsoft word if you do not have access to Paint.net (which is a free program to download and use) but it makes the creation of your own custom tags and tag holders easier.
To cut the tags out you can use scissors, or if you have access to one a Brother Scan N Cut, Silhouette Cameo or a Cricut cutting machine will make the job easier and neater.
The Images use came from a quick Google search for copyright-free High Definition Old Map images, and free gift tag template.
Supplies
- Computer and Printer
- Card or thick paper
- Scissors
- Glue
- Hole Punch/ Eyelet Punch
- Cord or Yarn
- Eyelets (Optional)
Creating the Gift Tag Template
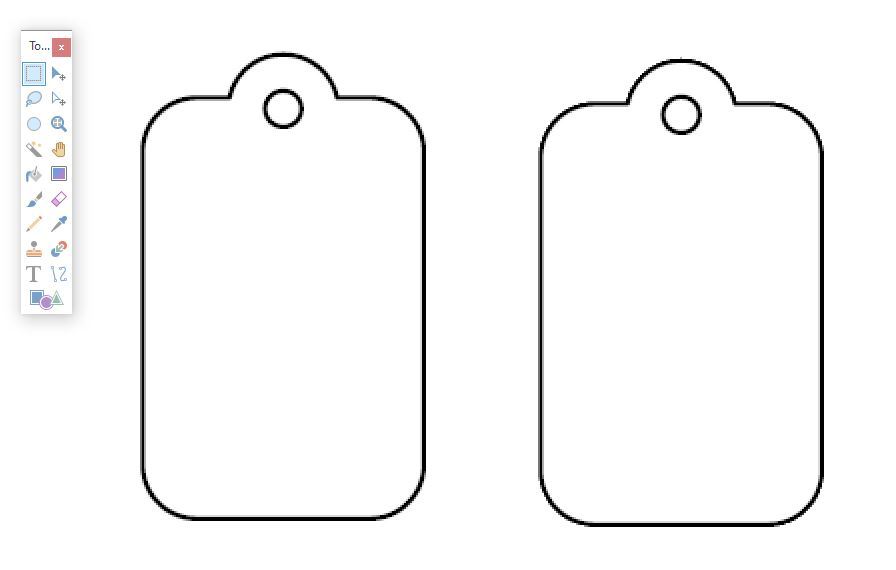

The Tags and Tag Holder templates are created in Paint.net, (how to listed below) and are created to layer over an image in Word, that when printed will give you a precise outline to cut around- leaving you with a neat custom tag and holder.
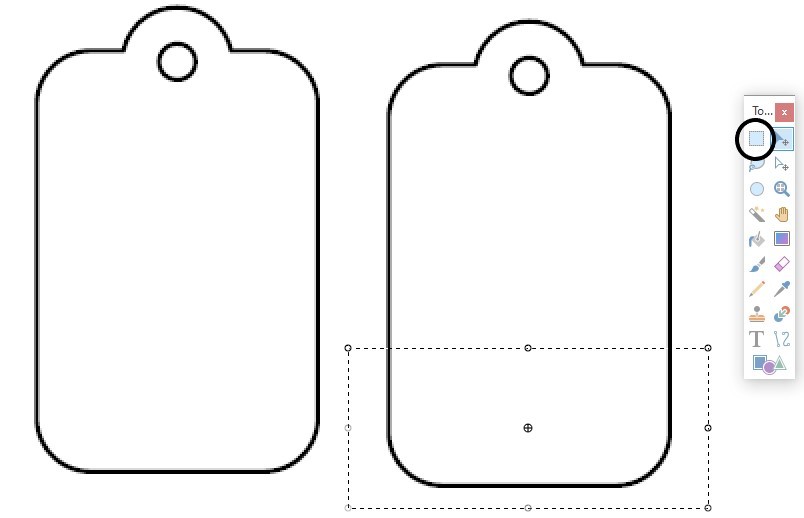
To create the Tag Holder find a free gift tag template online and copy it twice into Paint.net or a photo editing software of your choice.
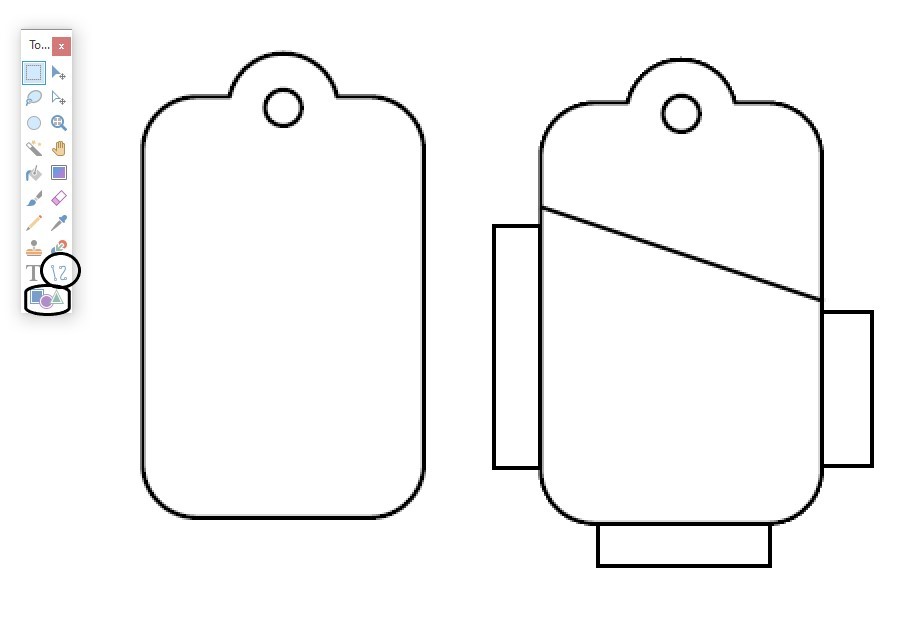
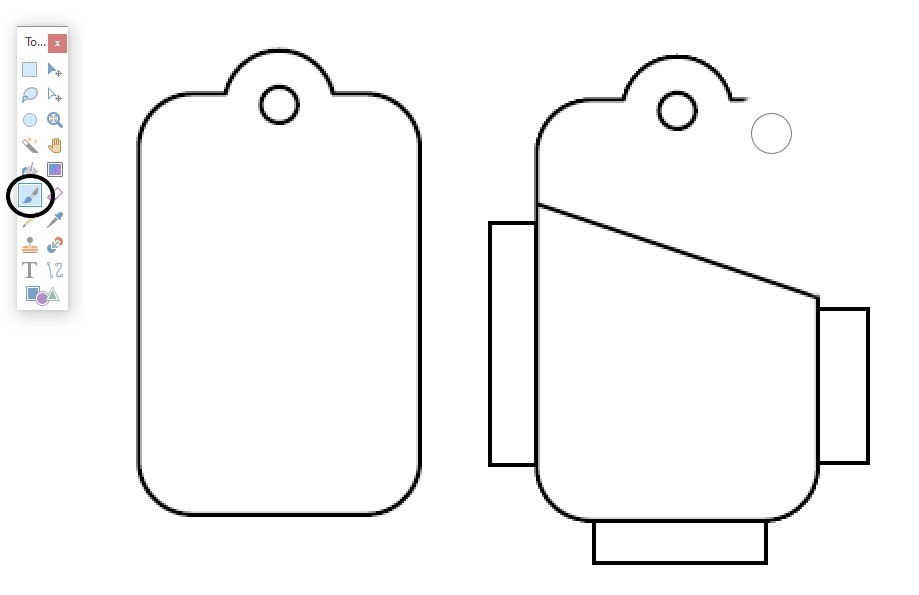
Using the Line Tool draw a line diagonally across one of the tags. Use the Shapes Tool draw three rectangles around the outside of that same tag- this will create the tabs.The tabs are created so that they can be folded back and glued onto the first tag to create a pocket in which you can place a Name Card.
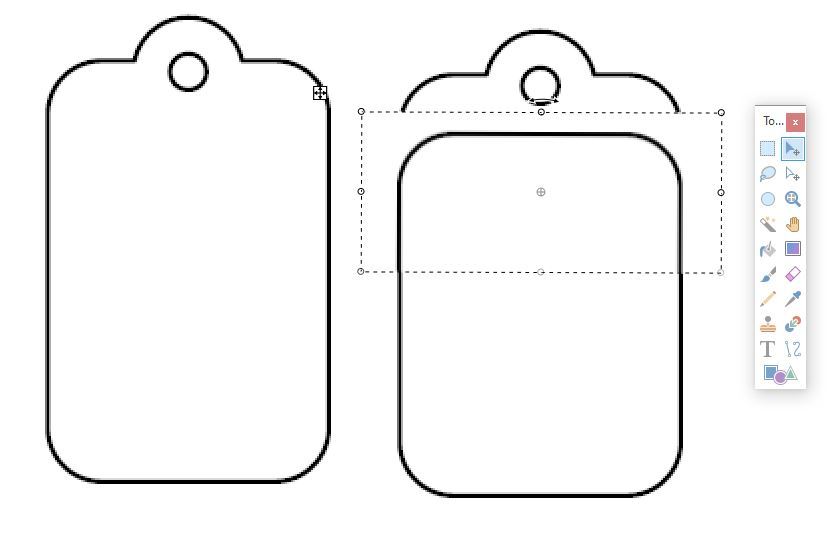
Using the Paint Brush Tool use white to erase the top of the tag and remove everything that appears above the diagonal line.
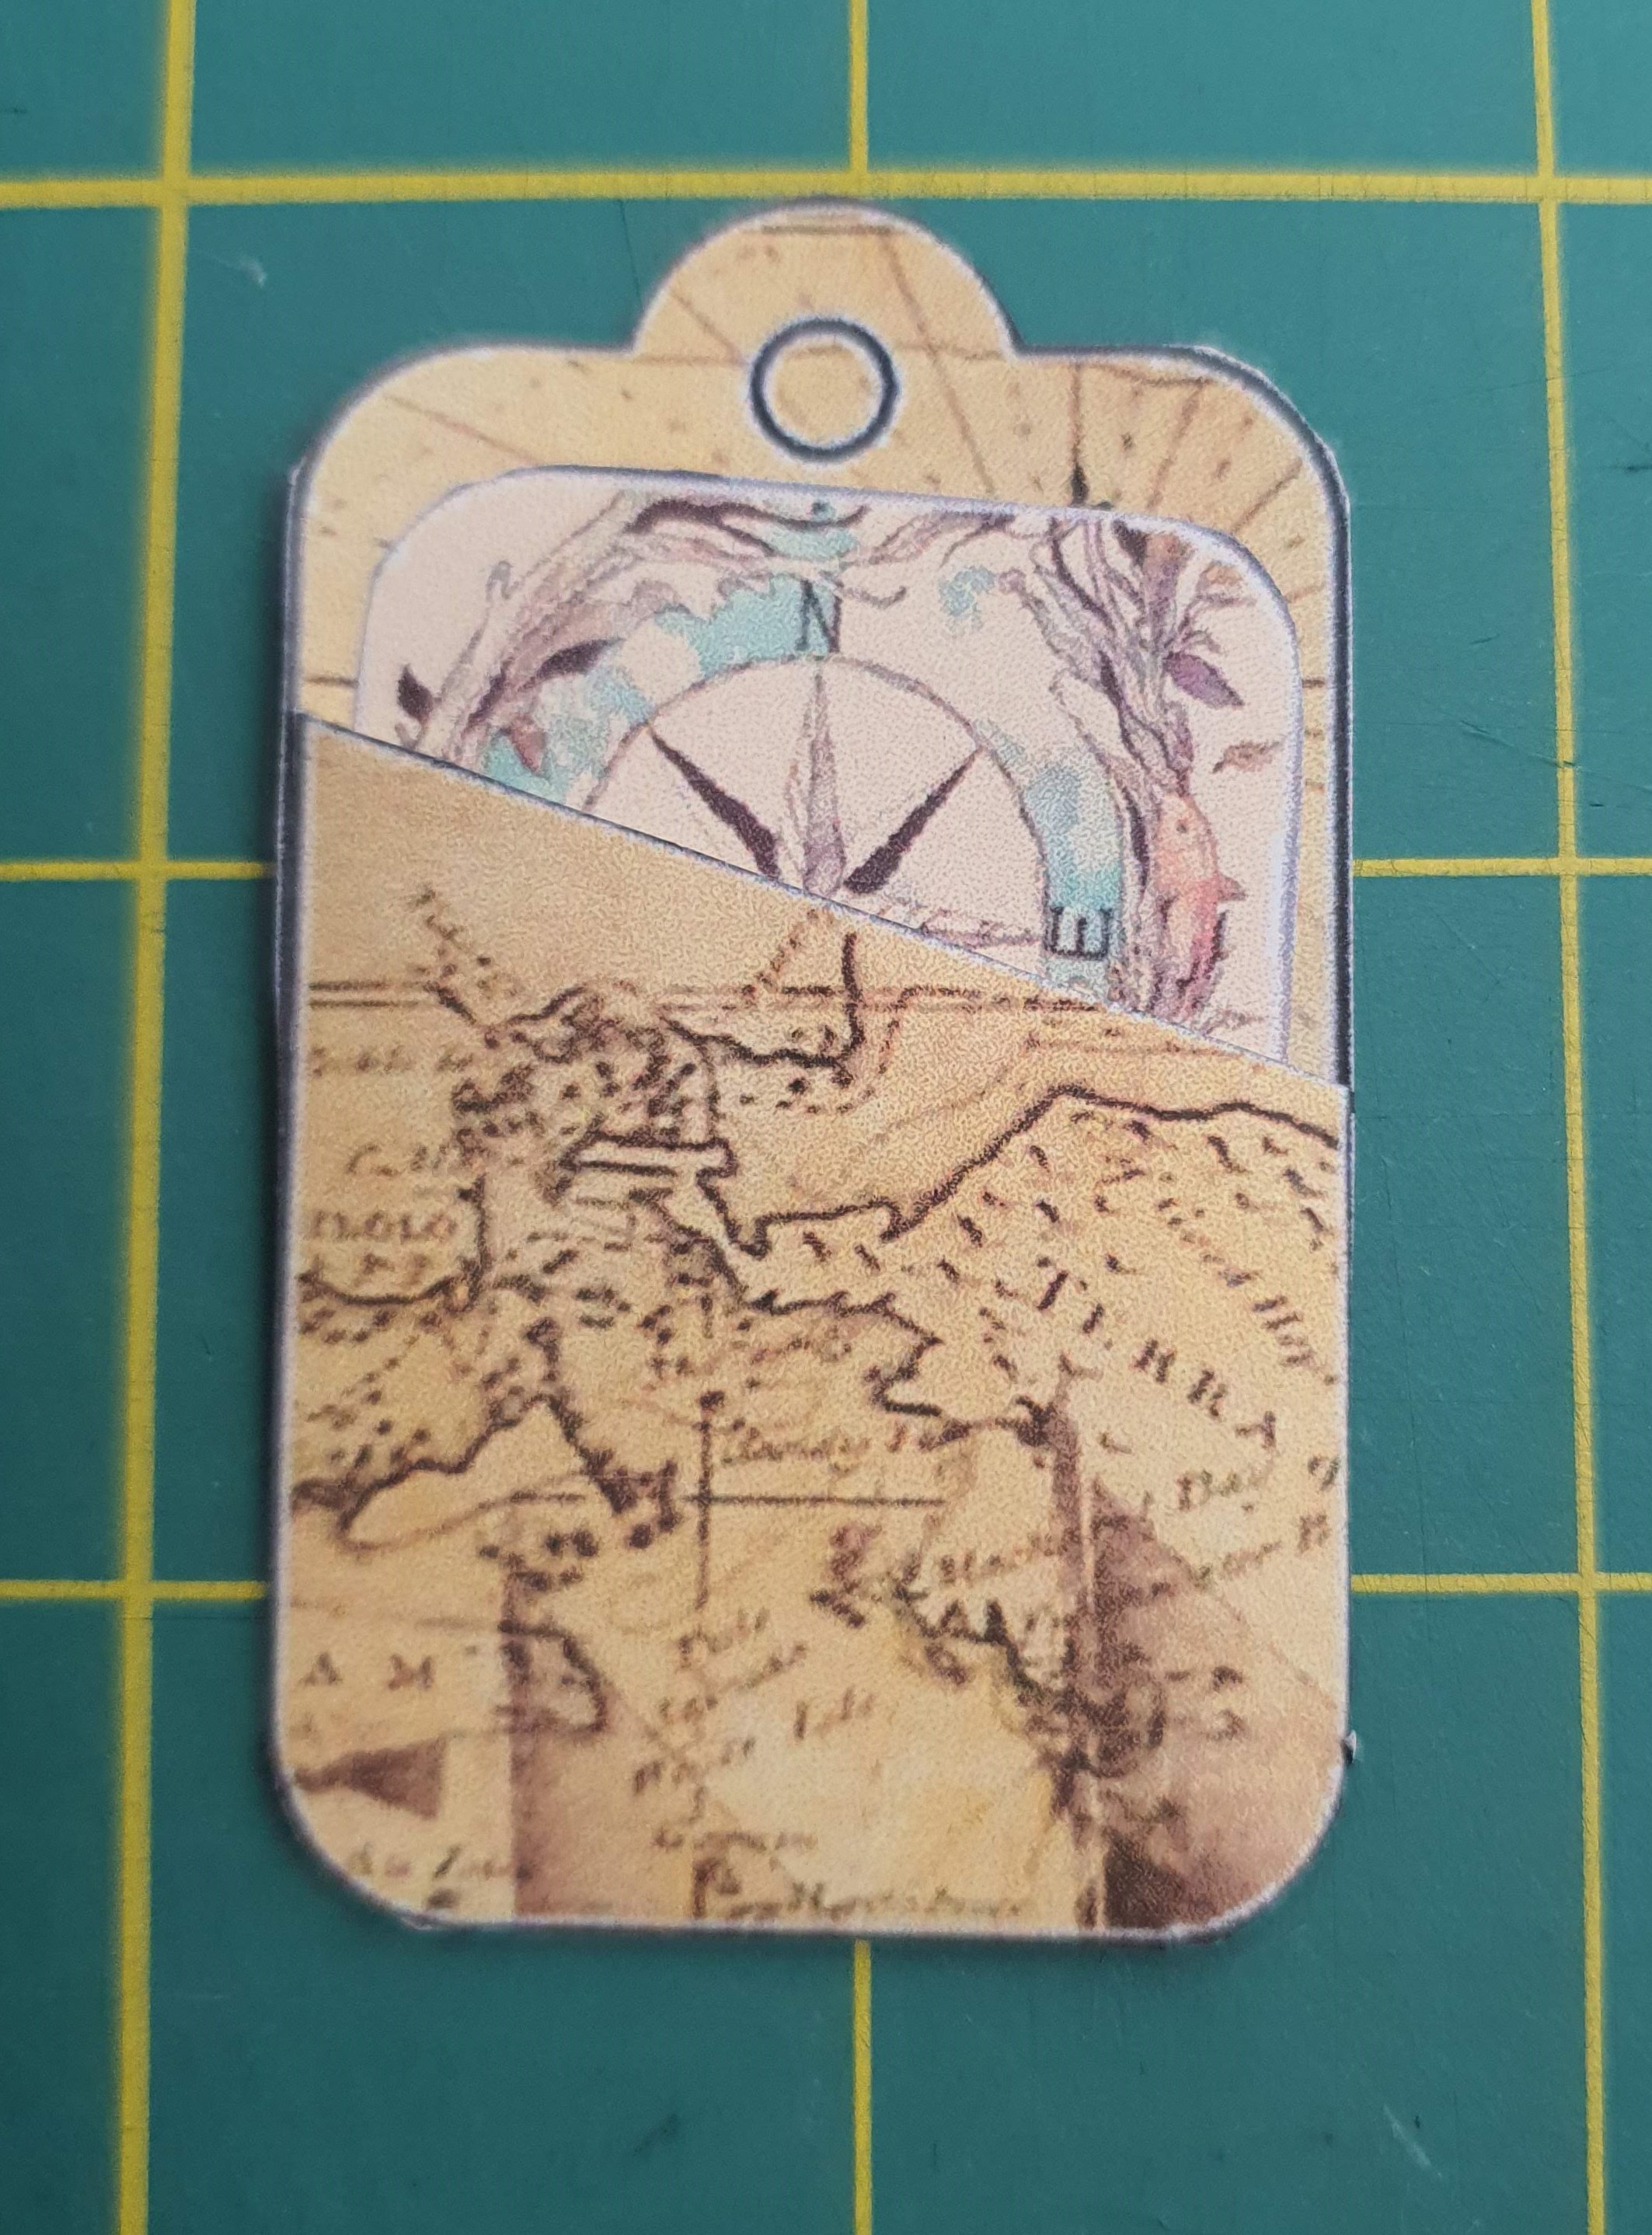
To create a card insert for the holder simply copy the tag again and use the Rectangle Select to highlight the bottom third. Copy and Paste this selection and drag the new piece you have created up to the top of the second tag. Rotate and use it to cover the edges of the square. This will create a rectangle with rounded edges that exactly match the curves on the tag holder. Use the Paint Tool to erase any remaining lines.
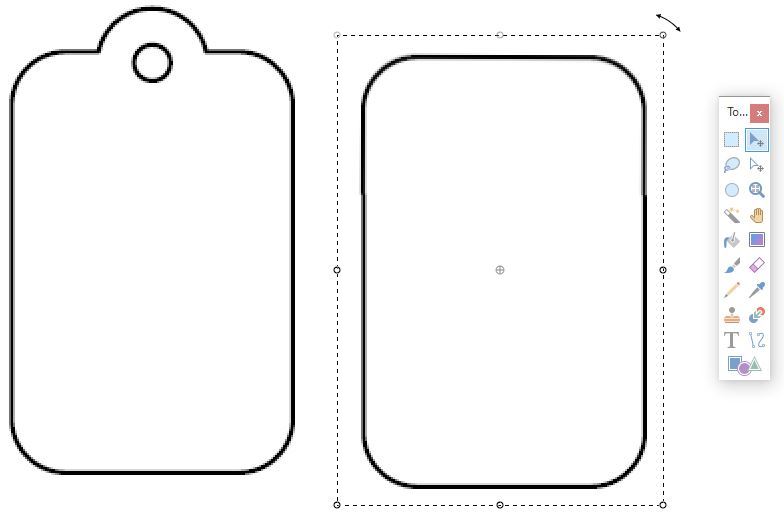
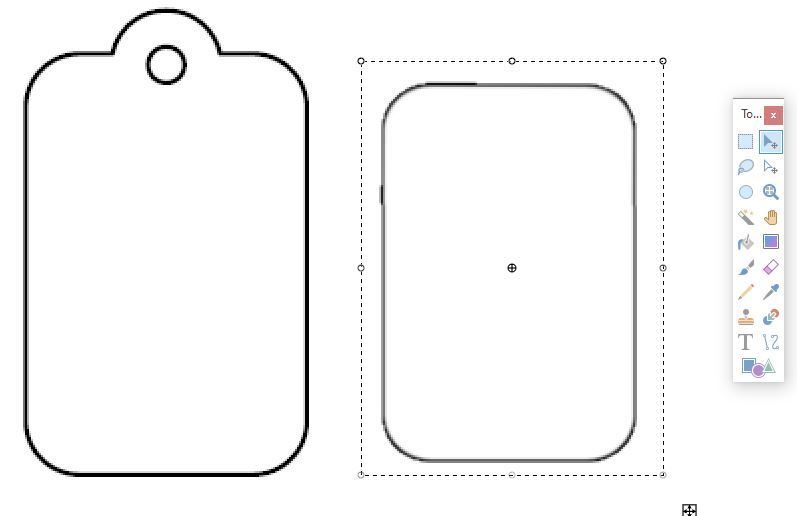
Select the entire rectangle and shrink it. The goal here is to create a template that when cut out will easily fit inside the pocket of the card holder.
Printing Your Tags
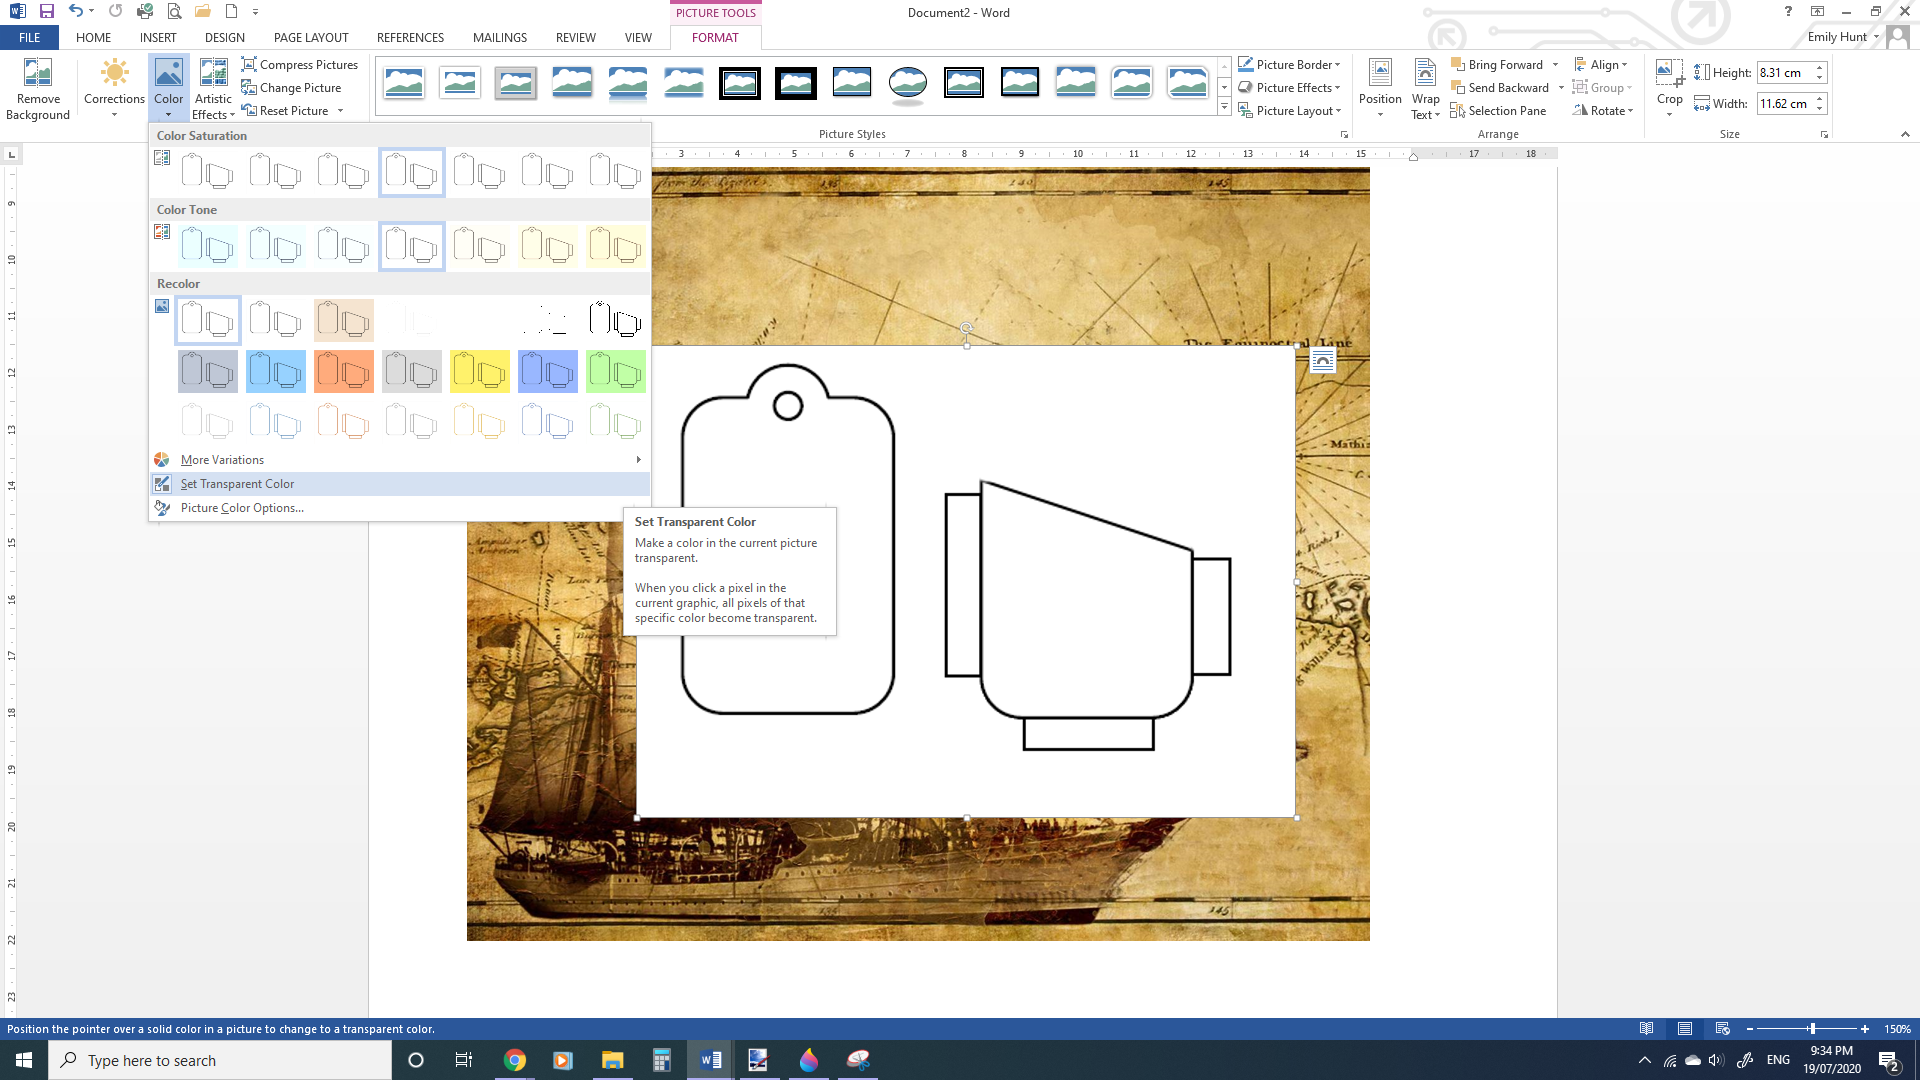

Once you have found an appropriate image to use, paste it into Word and use the Insert Photo function to insert the Tag Holder Templates.
Use the Set Transparent Colour Tool which is located under Colour to remove any background your template may have so that you can see your map image beneath it. This will leave you with a visible outline of the tag that when printed you can cut around. Resize your tag template now if required.
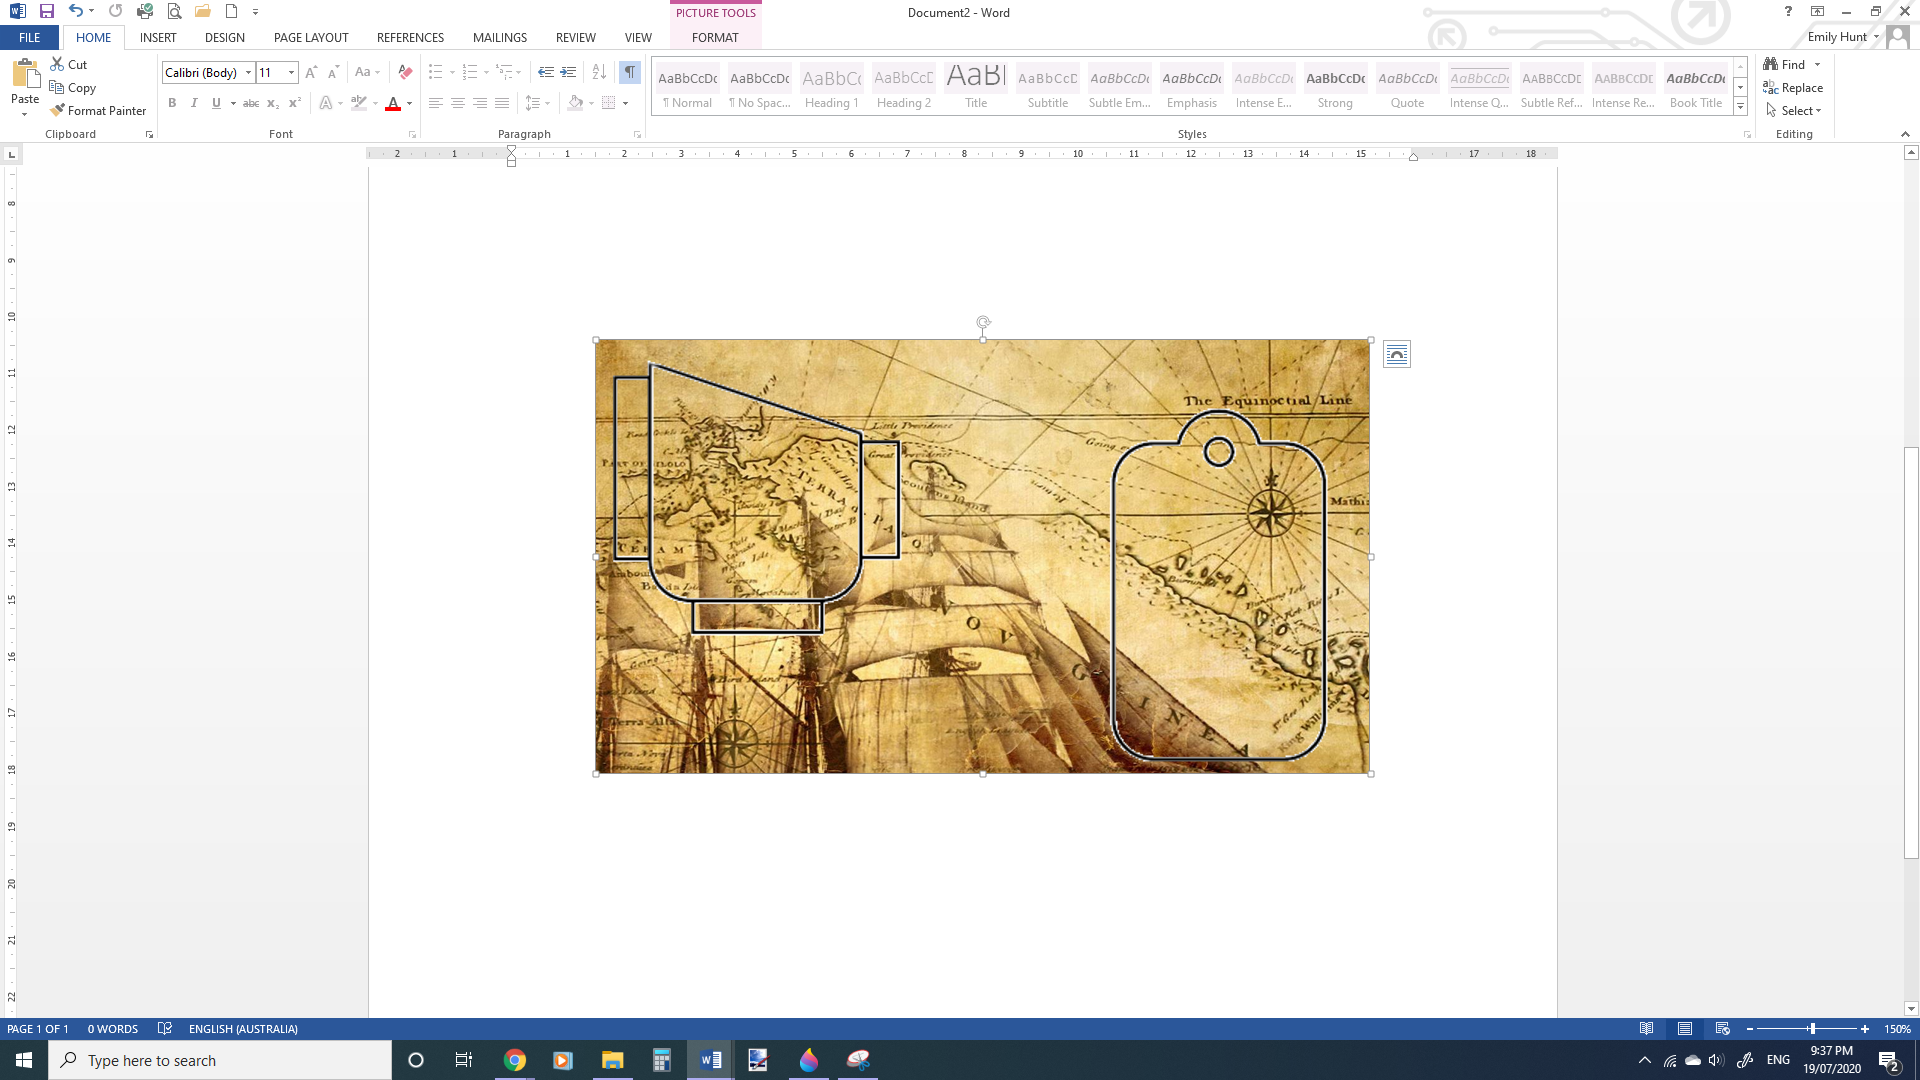
To make your Tag Holder parts move independently of each other create two copies, and use the Crop tool to remove everything around the first half of the tag on one image, and then everything around the second piece of the tag on the second image. It's important not to resize any of the actual pieces of your template if they have been separated.
Position your tag pieces over the map, and once they are in the best looking spots Crop the map image to remove any excess that extends outside of the tag placements. This will stop you from wasting ink on parts of the images that will just be cut away later.
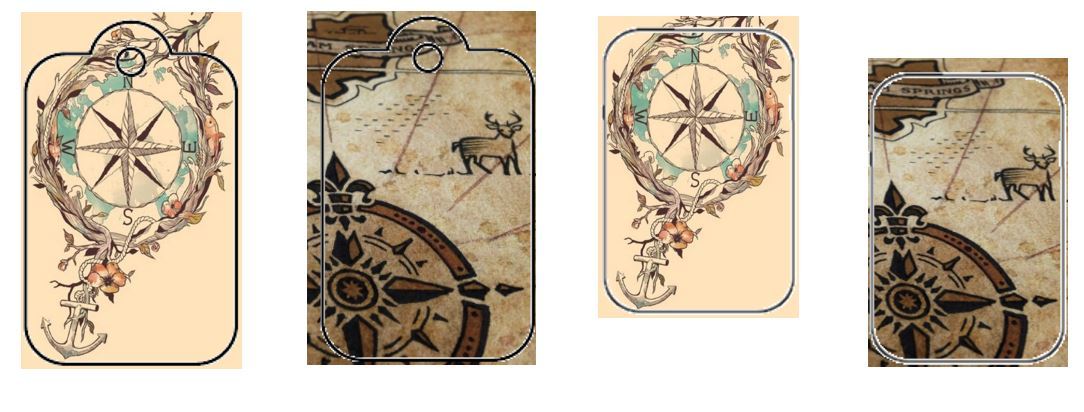
Insert and crop your Tag Insert Template to make the tag inserts as well and position them over any other images you may want to use.
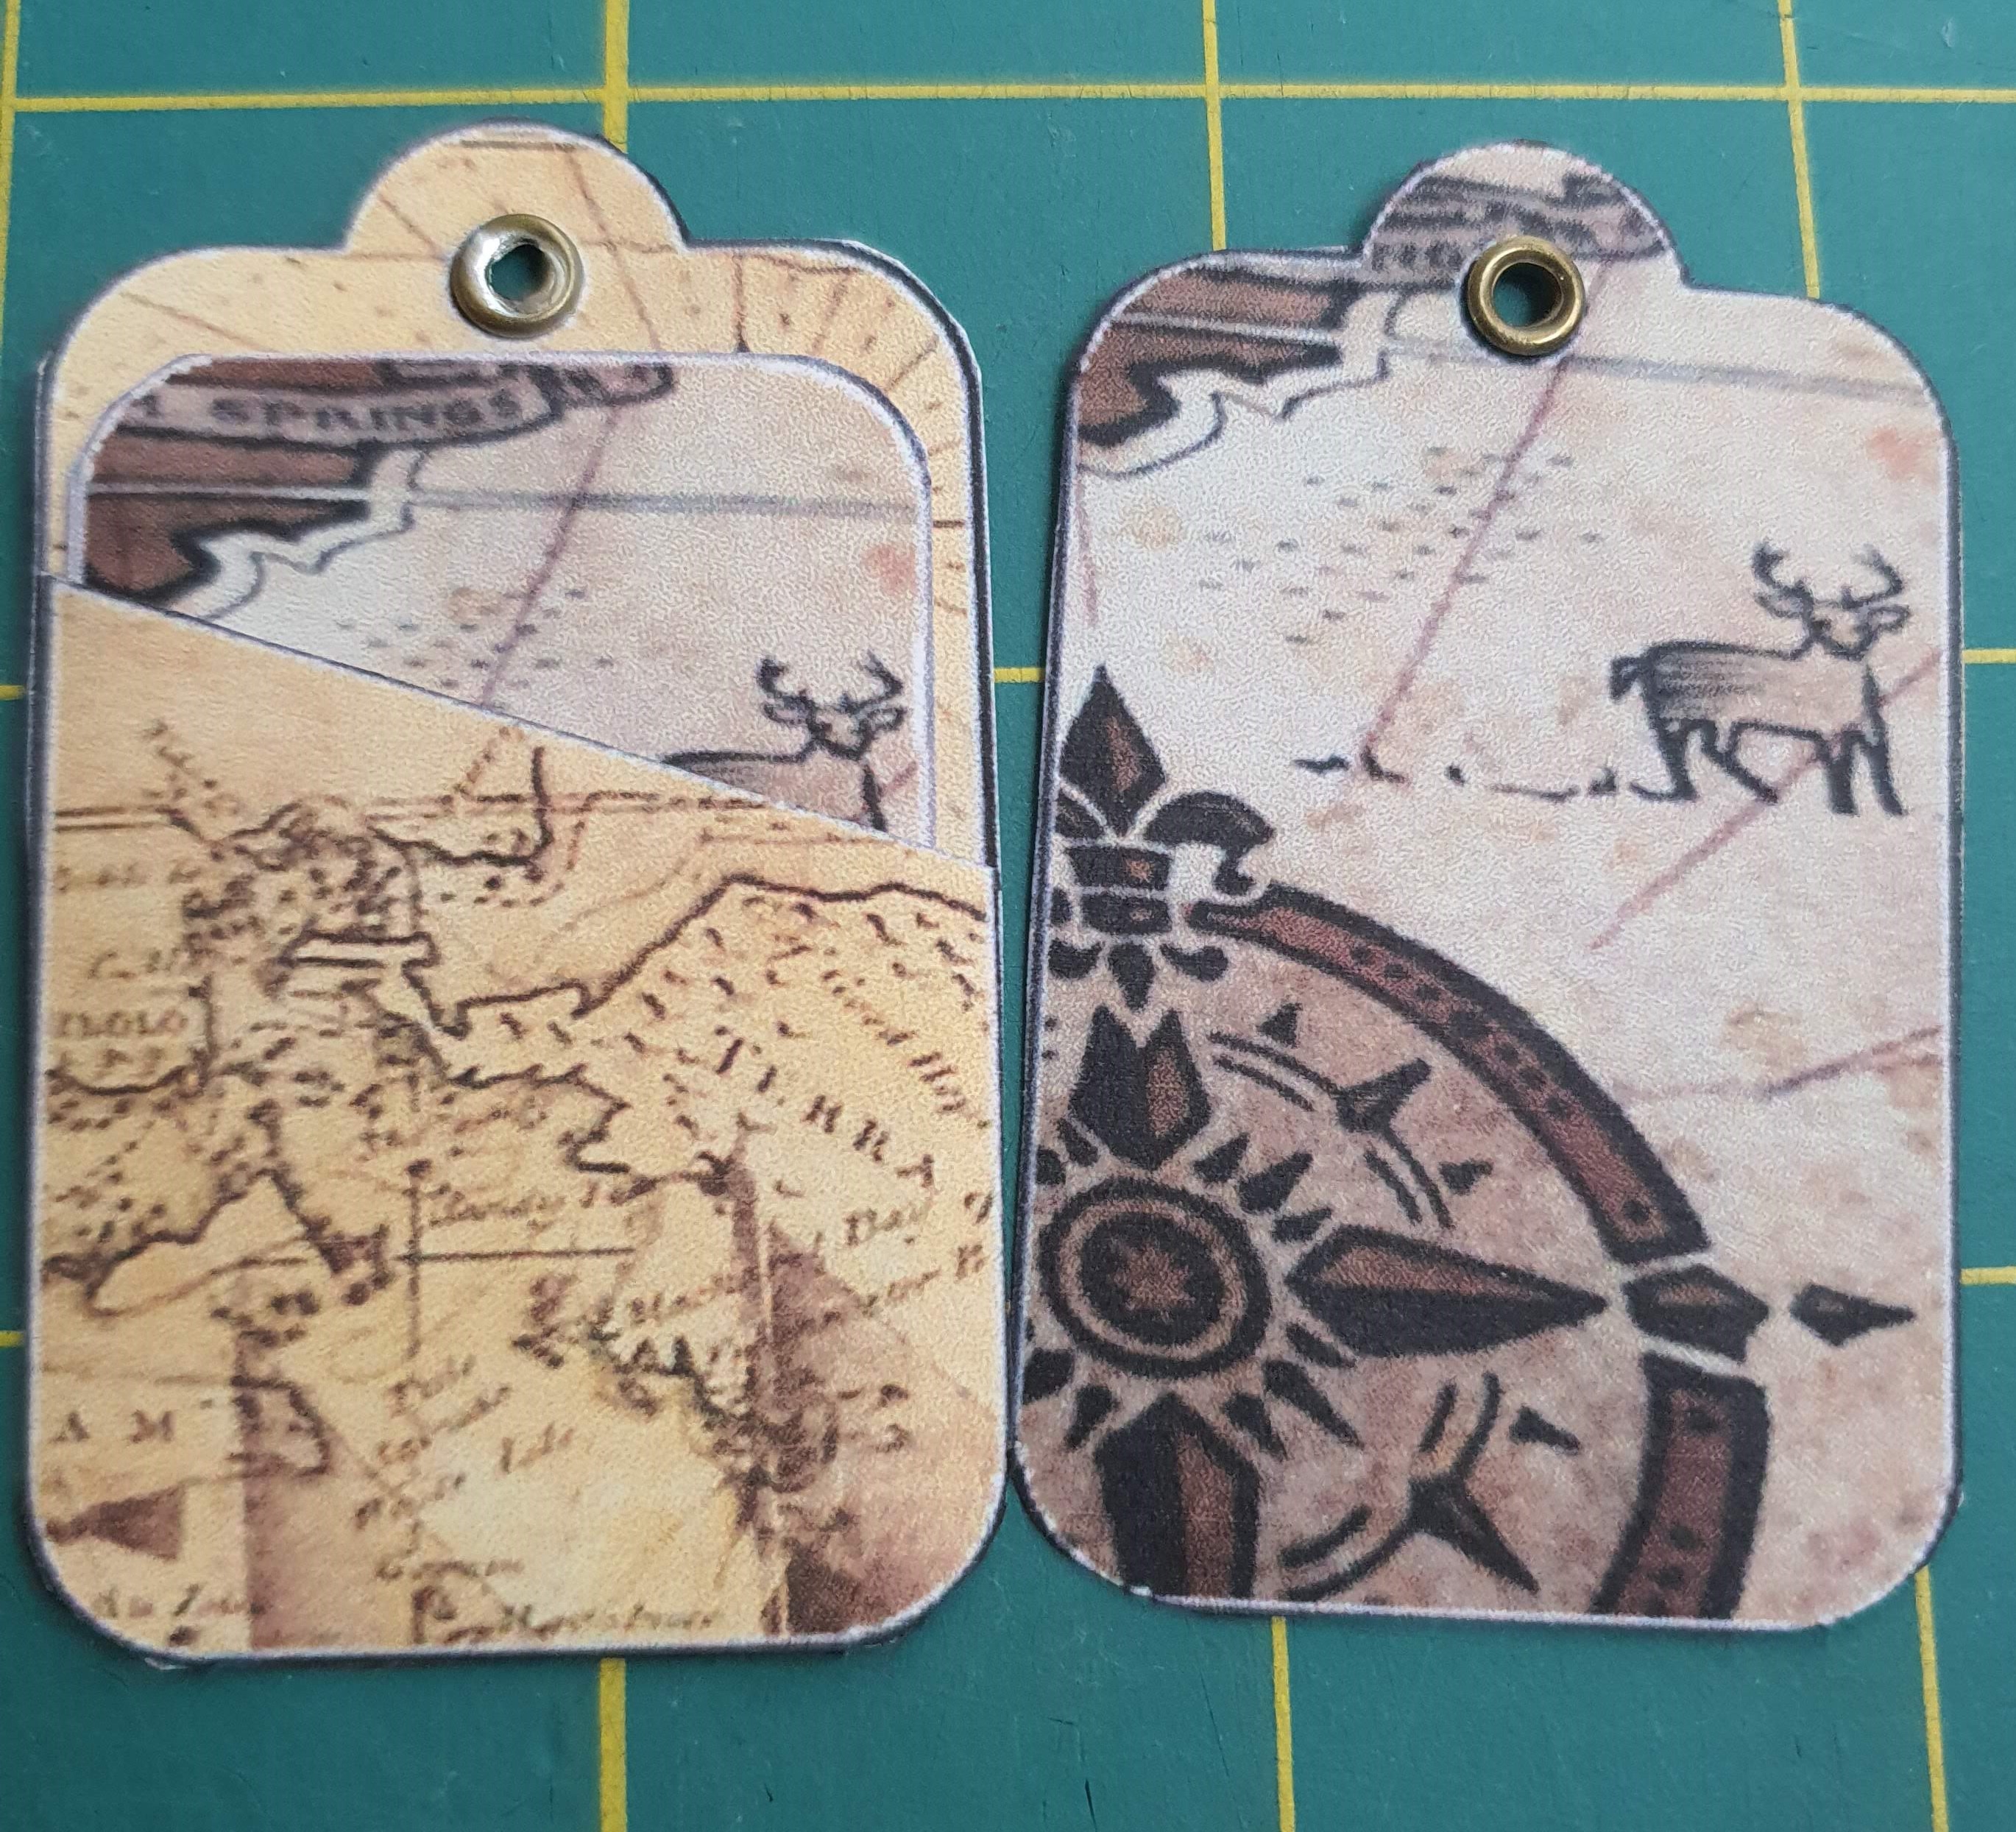
You can also use the back piece of the tag holder by itself to create tags.
Cutting and Assembling the Tag Holder
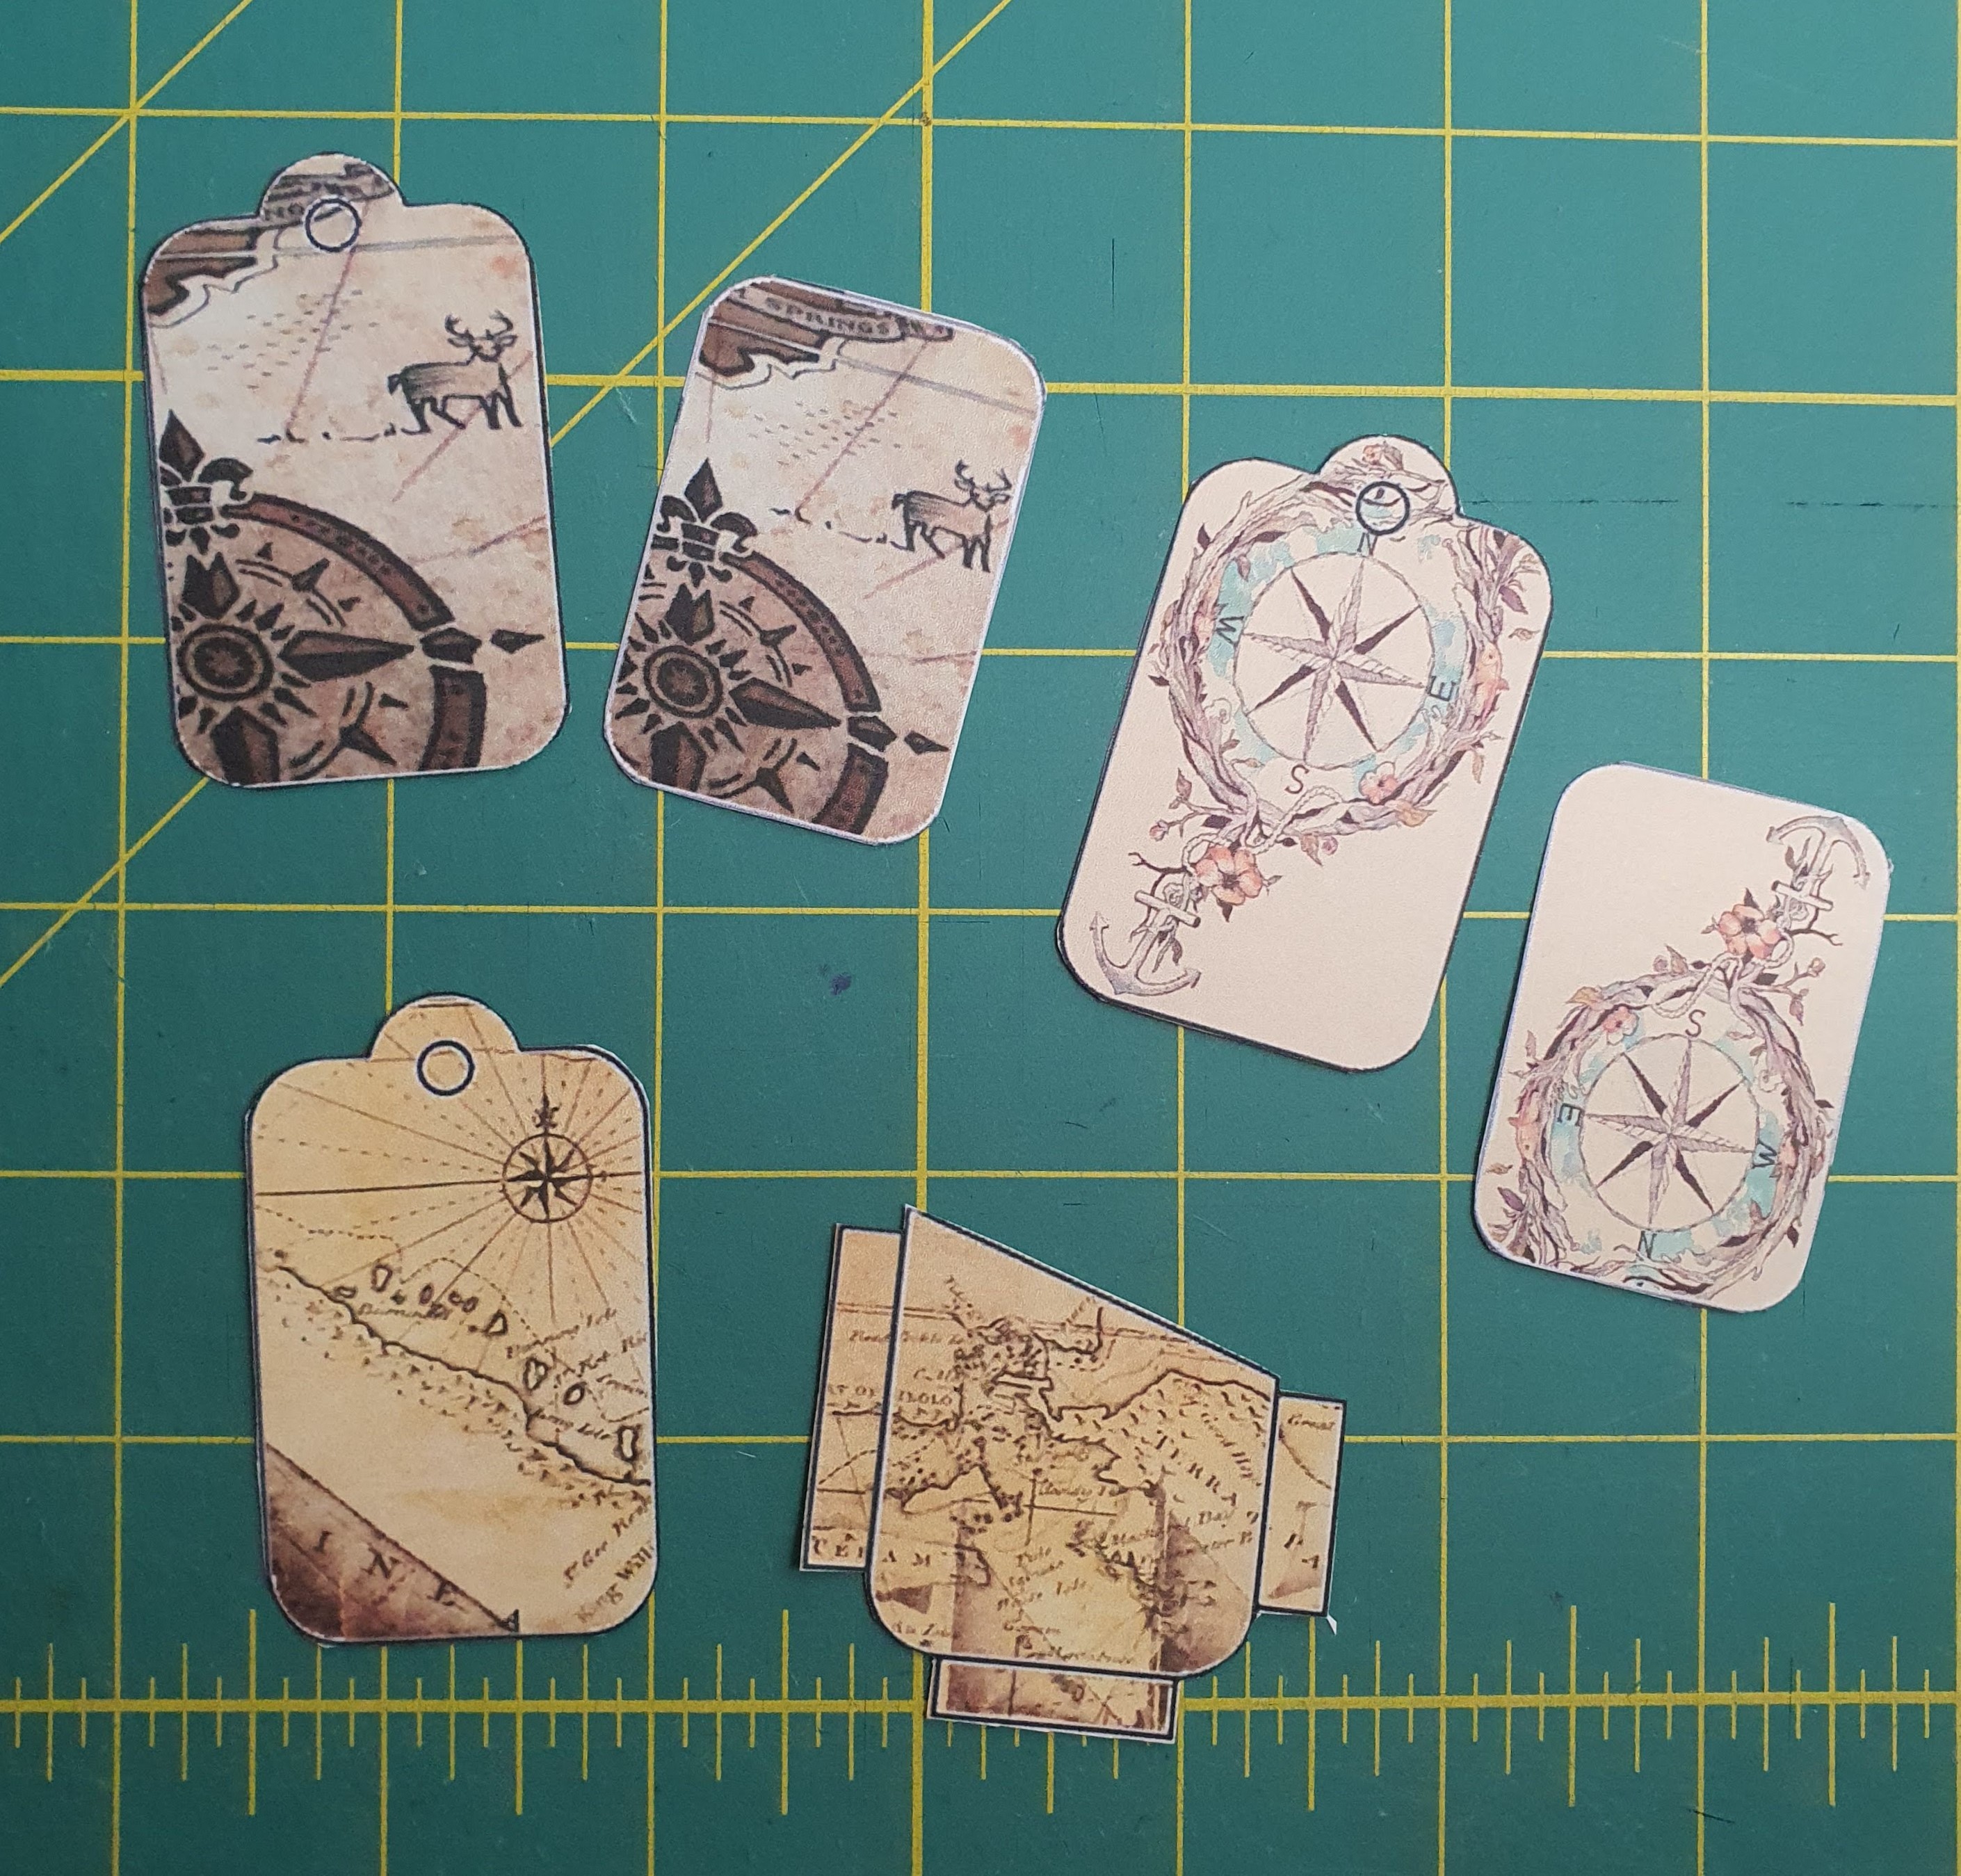
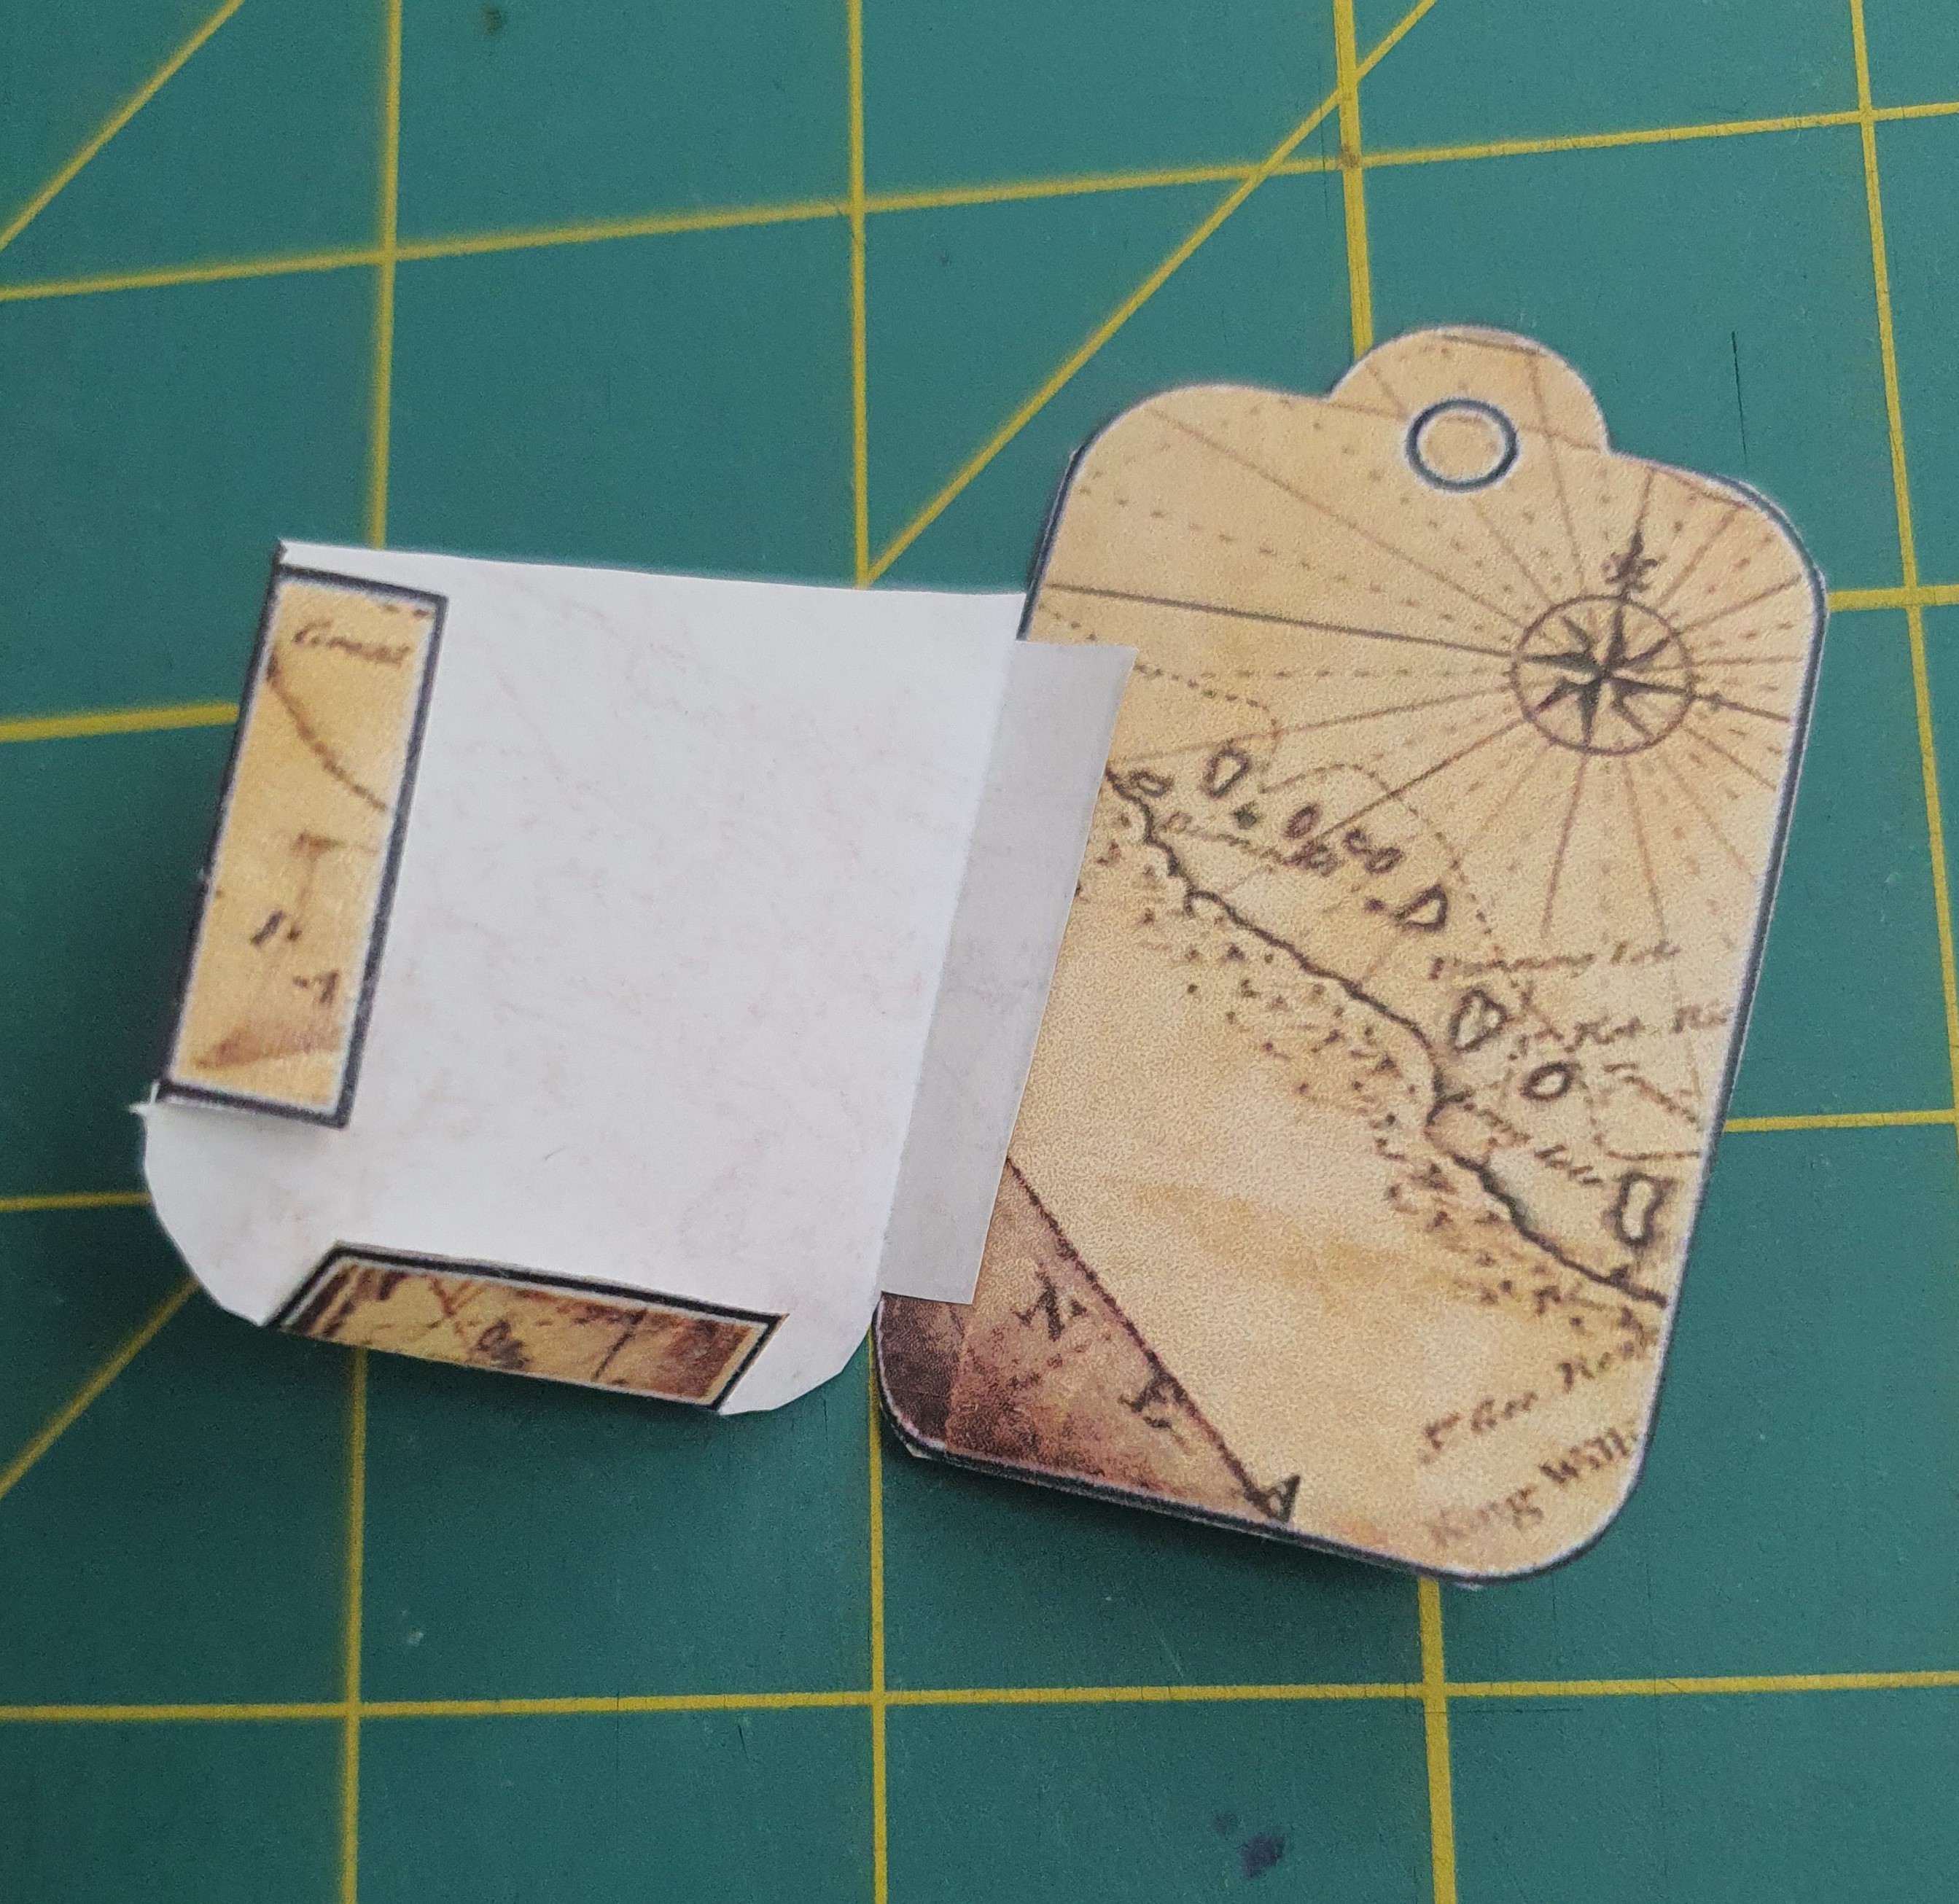
Print your Word document using stiff card or thick paper, and cut around the outline. Trim a little closer than what is shown in the images here to completely remove the black outline.
Fold back the tabs you made on the front piece of the card holder, and add glue onto the tabs. Be careful not to get glue on the back of the piece. Press the front of the tag holder onto the main piece, press firmly and allow it to dry. Once the glue has dried open up the holder and you will now be able to slip a smaller tag inside.
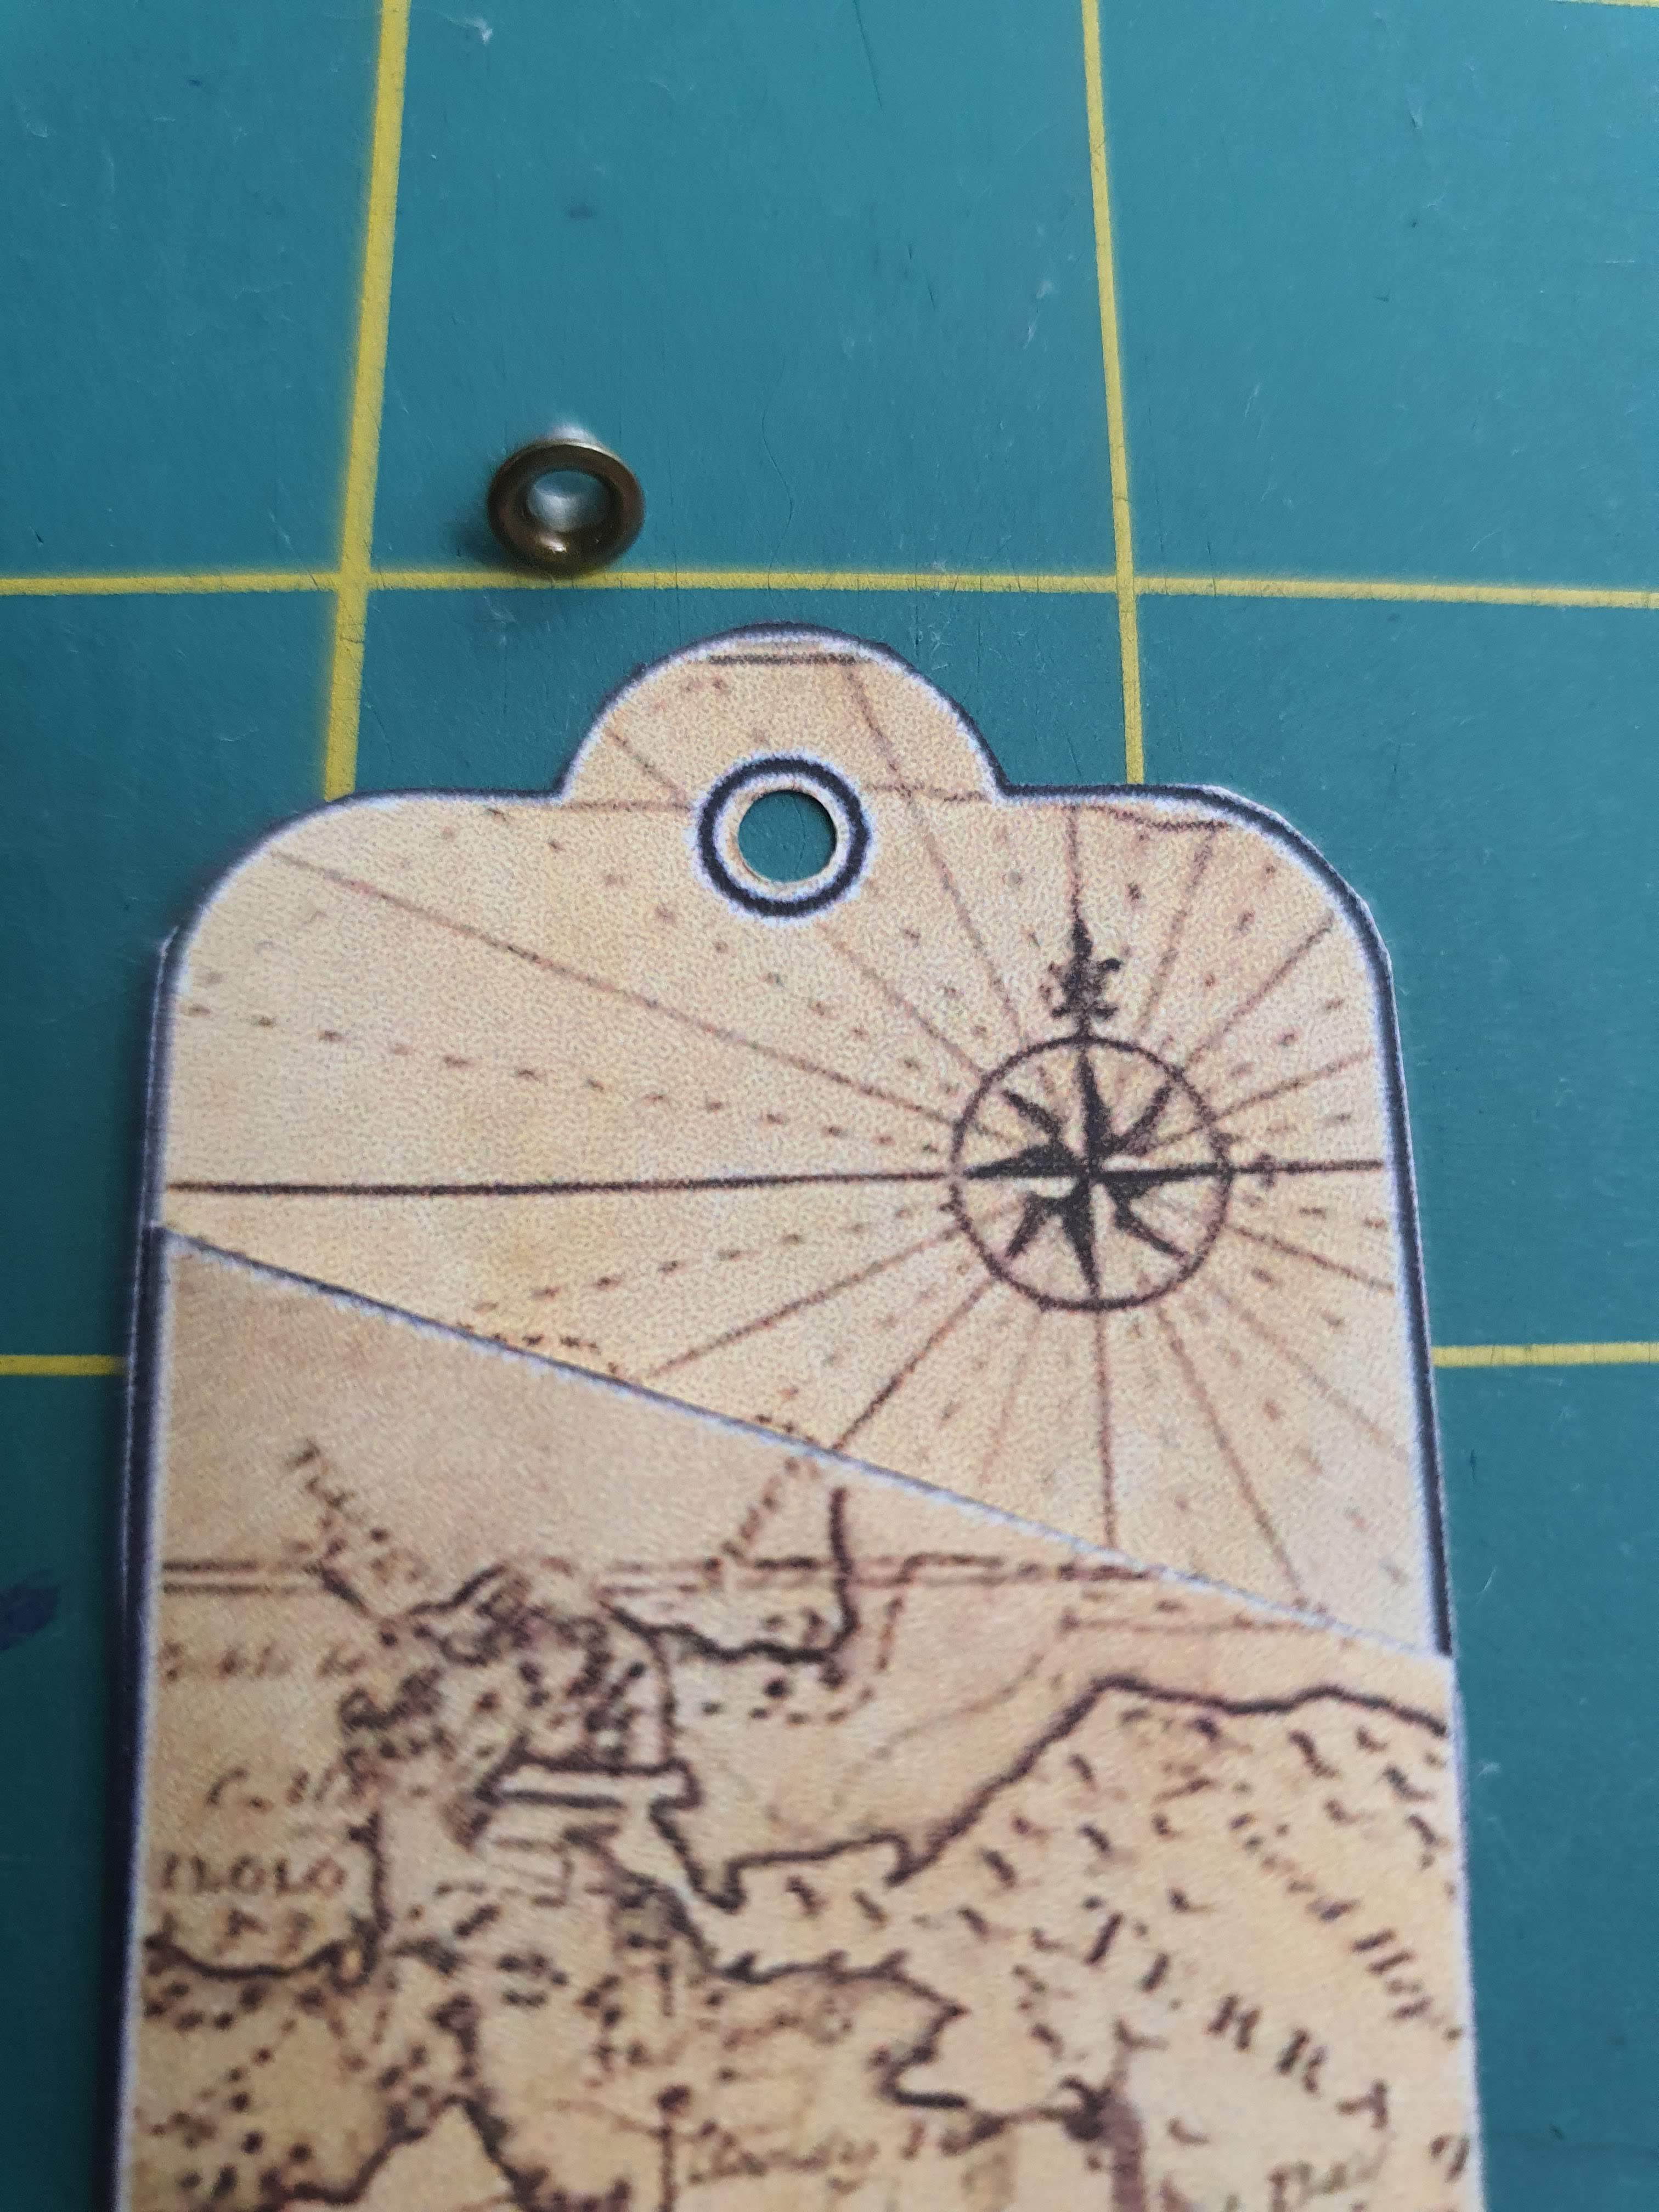
Using a hole punch make a hole in the top of the tag holder and any tags you made. Optionally, you can add an eyelet to this hole. Thread a piece of yarn through the hole/ eyelet.
Write the recipients name on the Gift Tags or the insertable Card.
Congratulations, you have finished.