Transforming a Vintage Suitcase Into a Wall Art Display for Your Travel Memories - Like the National Parks
by mbrooks555 in Craft > Reuse
786 Views, 8 Favorites, 0 Comments
Transforming a Vintage Suitcase Into a Wall Art Display for Your Travel Memories - Like the National Parks
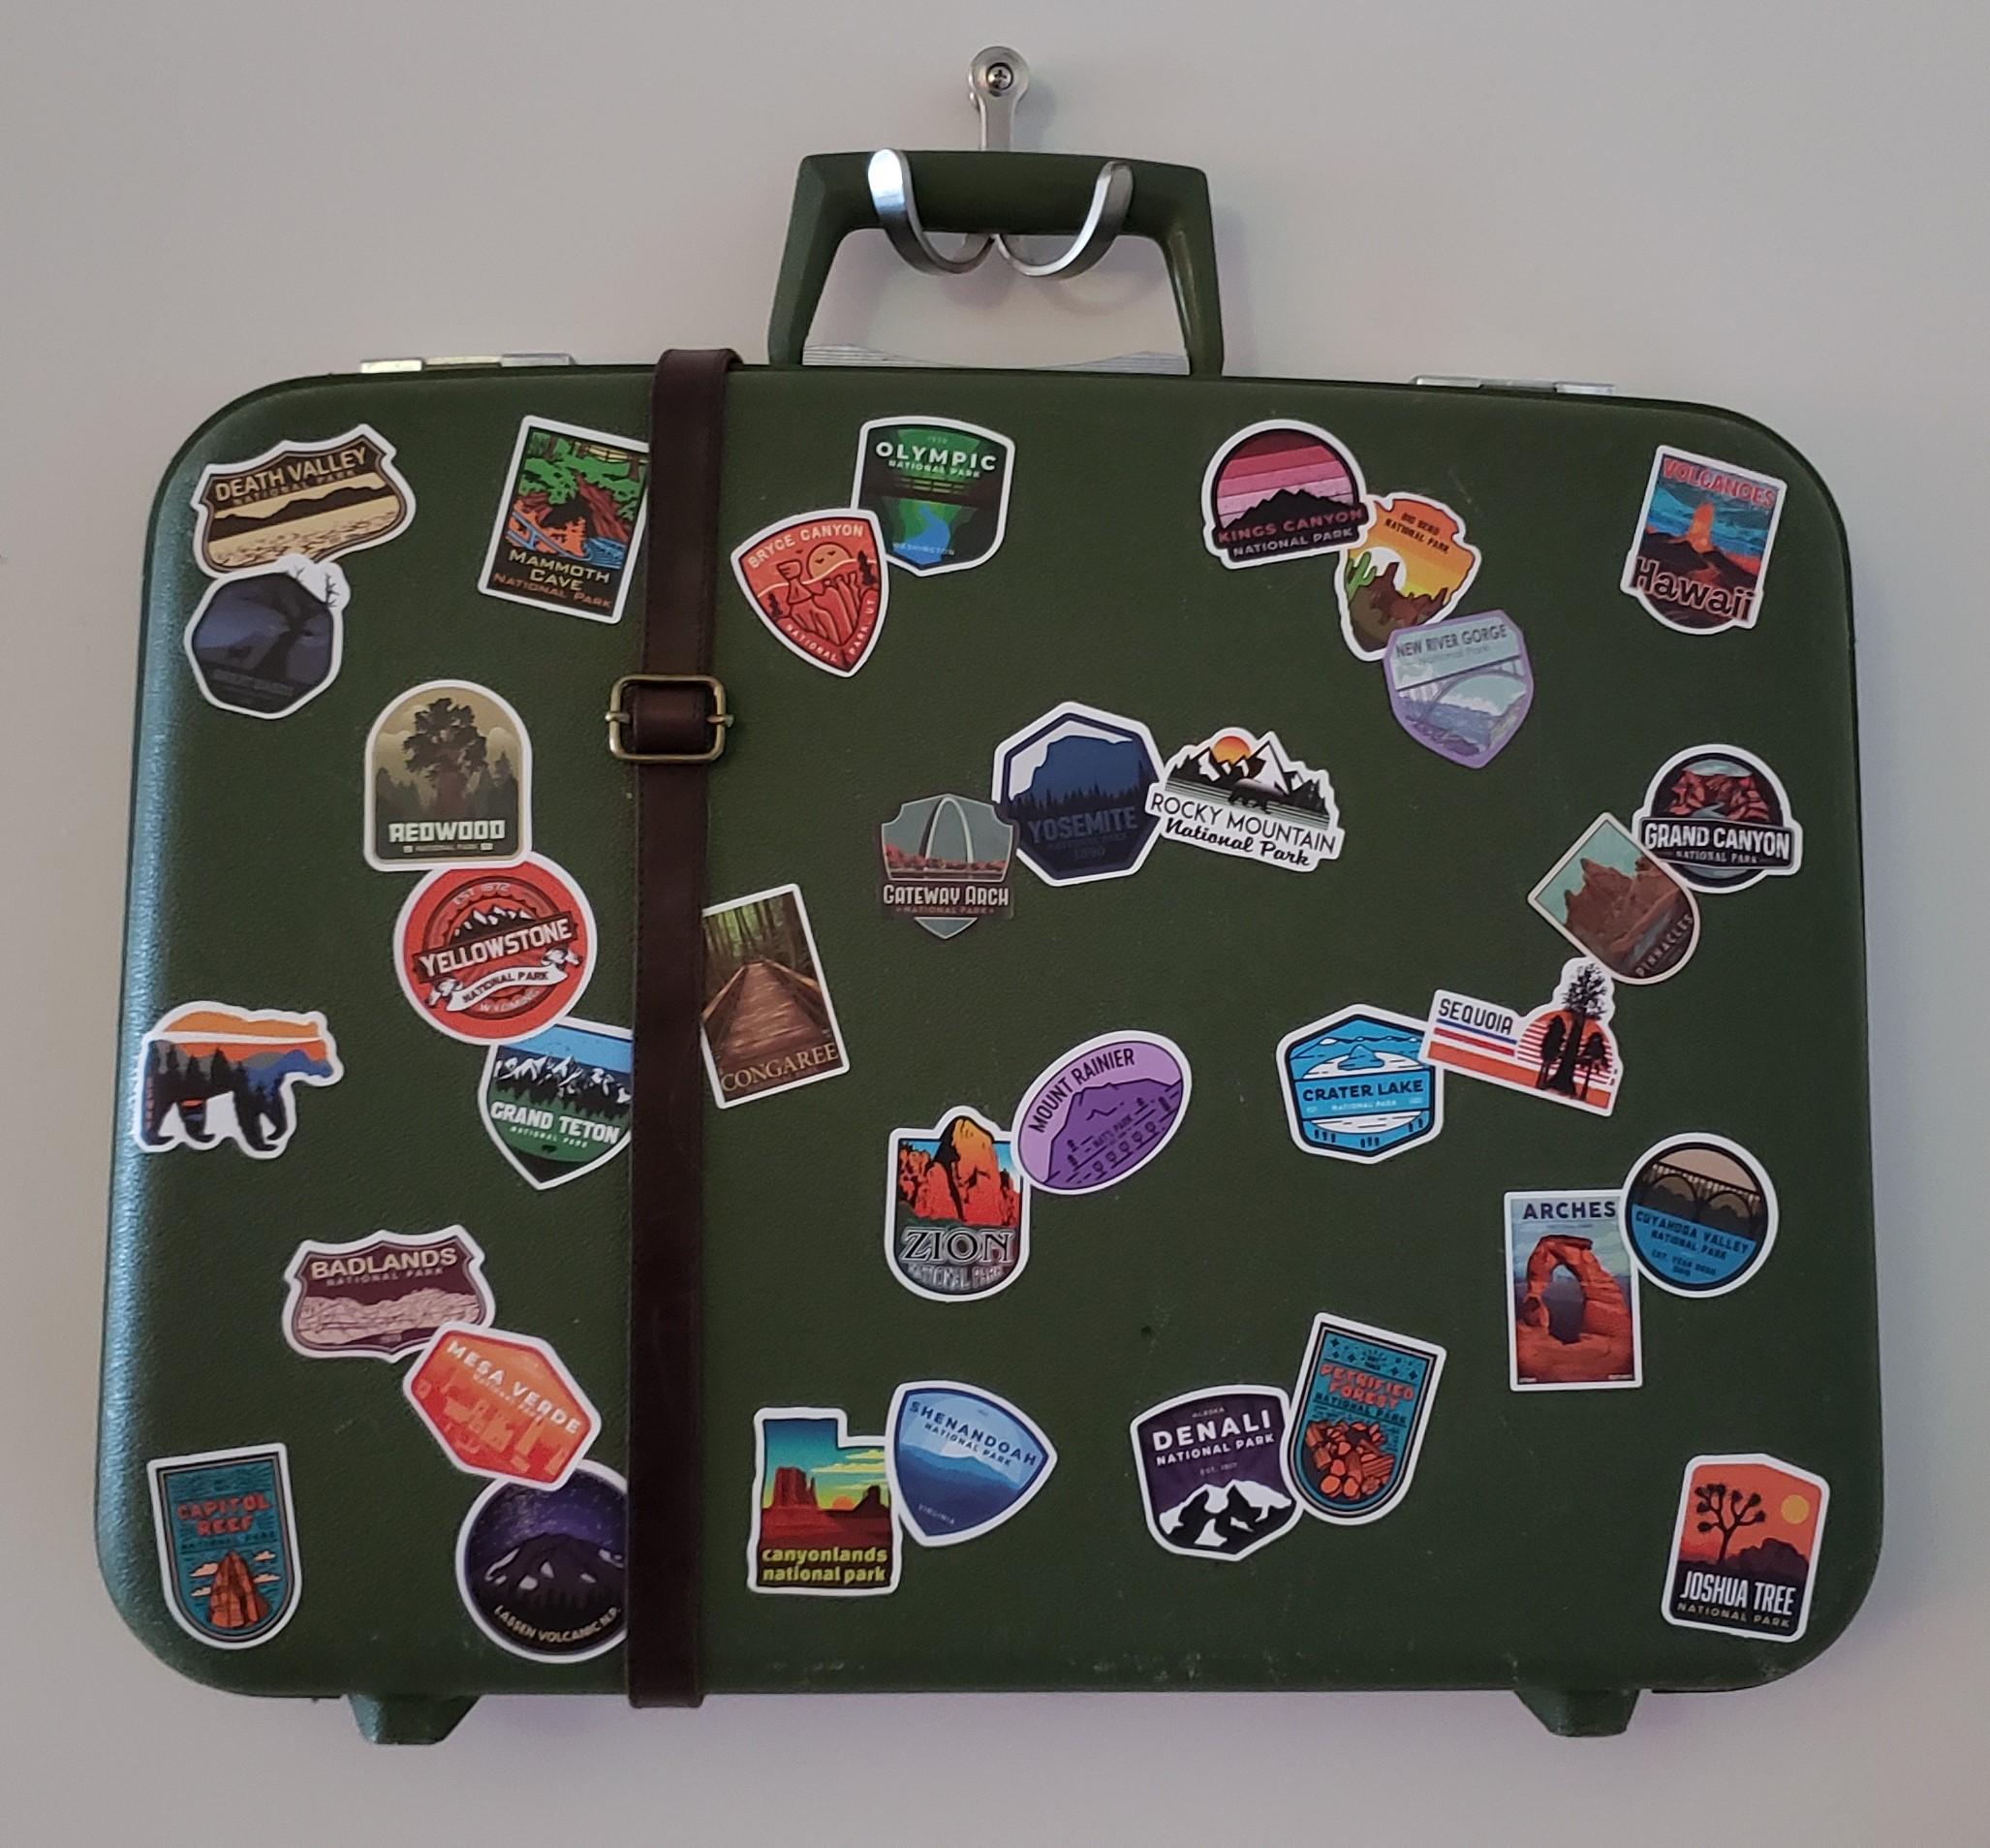
I'm a National Park geek.
People usually know this about me. Or will learn pretty fast.
I'm also a creative person. But I often depend on other people's ideas to help inspire my creativity.
And that's what happened here.
Searching online for creative ways to "display your National Park stickers" resulted in the usual suspects popping-up: Maps, travel mugs, water bottles, scrapbooks, suitcases, laptops, cars, travel coolers. But these were mostly things that could get worn out, faded, broken, or discarded over time.
And then there was the frame idea. It was the impetus for my project. I showed an image of someone's stickers in a frame to my kids. Someone really tried, and I do appreciate that.
But that image spurred me on to land on an idea that didn't show up in my online searches.
So I'm sharing my project idea, the process, and the results with you now!
This project is a unique way to "document" and remember your travel adventures in the form of wall art! Recycle and reuse a vintage suitcase to create a traveling memory that won't fade, rust, wear down, or break. Plus, you can add to it as your travels continue. Fantastic wall art piece and conversation starter, too.
Supplies
- National Park stickers: You can find these sold at National Parks, but also online in bundles.
- Hard-shell suitcase: You pick the style, size, and color. Found mine in an antique mall!
- WD-40: Or other lubricant for help removing the suitcase hinge pins, if you have them.
- Hammer, skinny nail, drill bit, pliers...patience: If your suitcase has hinges and pins, you'll need some tools like these to remove the pins.
- Belt, strap, buckle (optional): This could be an added element to the design, as it was for me.
- Hot glue gun and glue: Primarily for the belt or strap.
- Scissors: As needed for the inside of your suitcase, and for belt or strap.
- Duct tape (optional): To use as "markers" on the suitcase if laying out the belt or strap.
- Binder clips (optional): To help keep the belt or strap in place, if using.
- Wall area to hang the size suitcase you've chosen
- Wall hook and accessories: Depending on the hardware, you might also need a drill.
Find Your Canvas


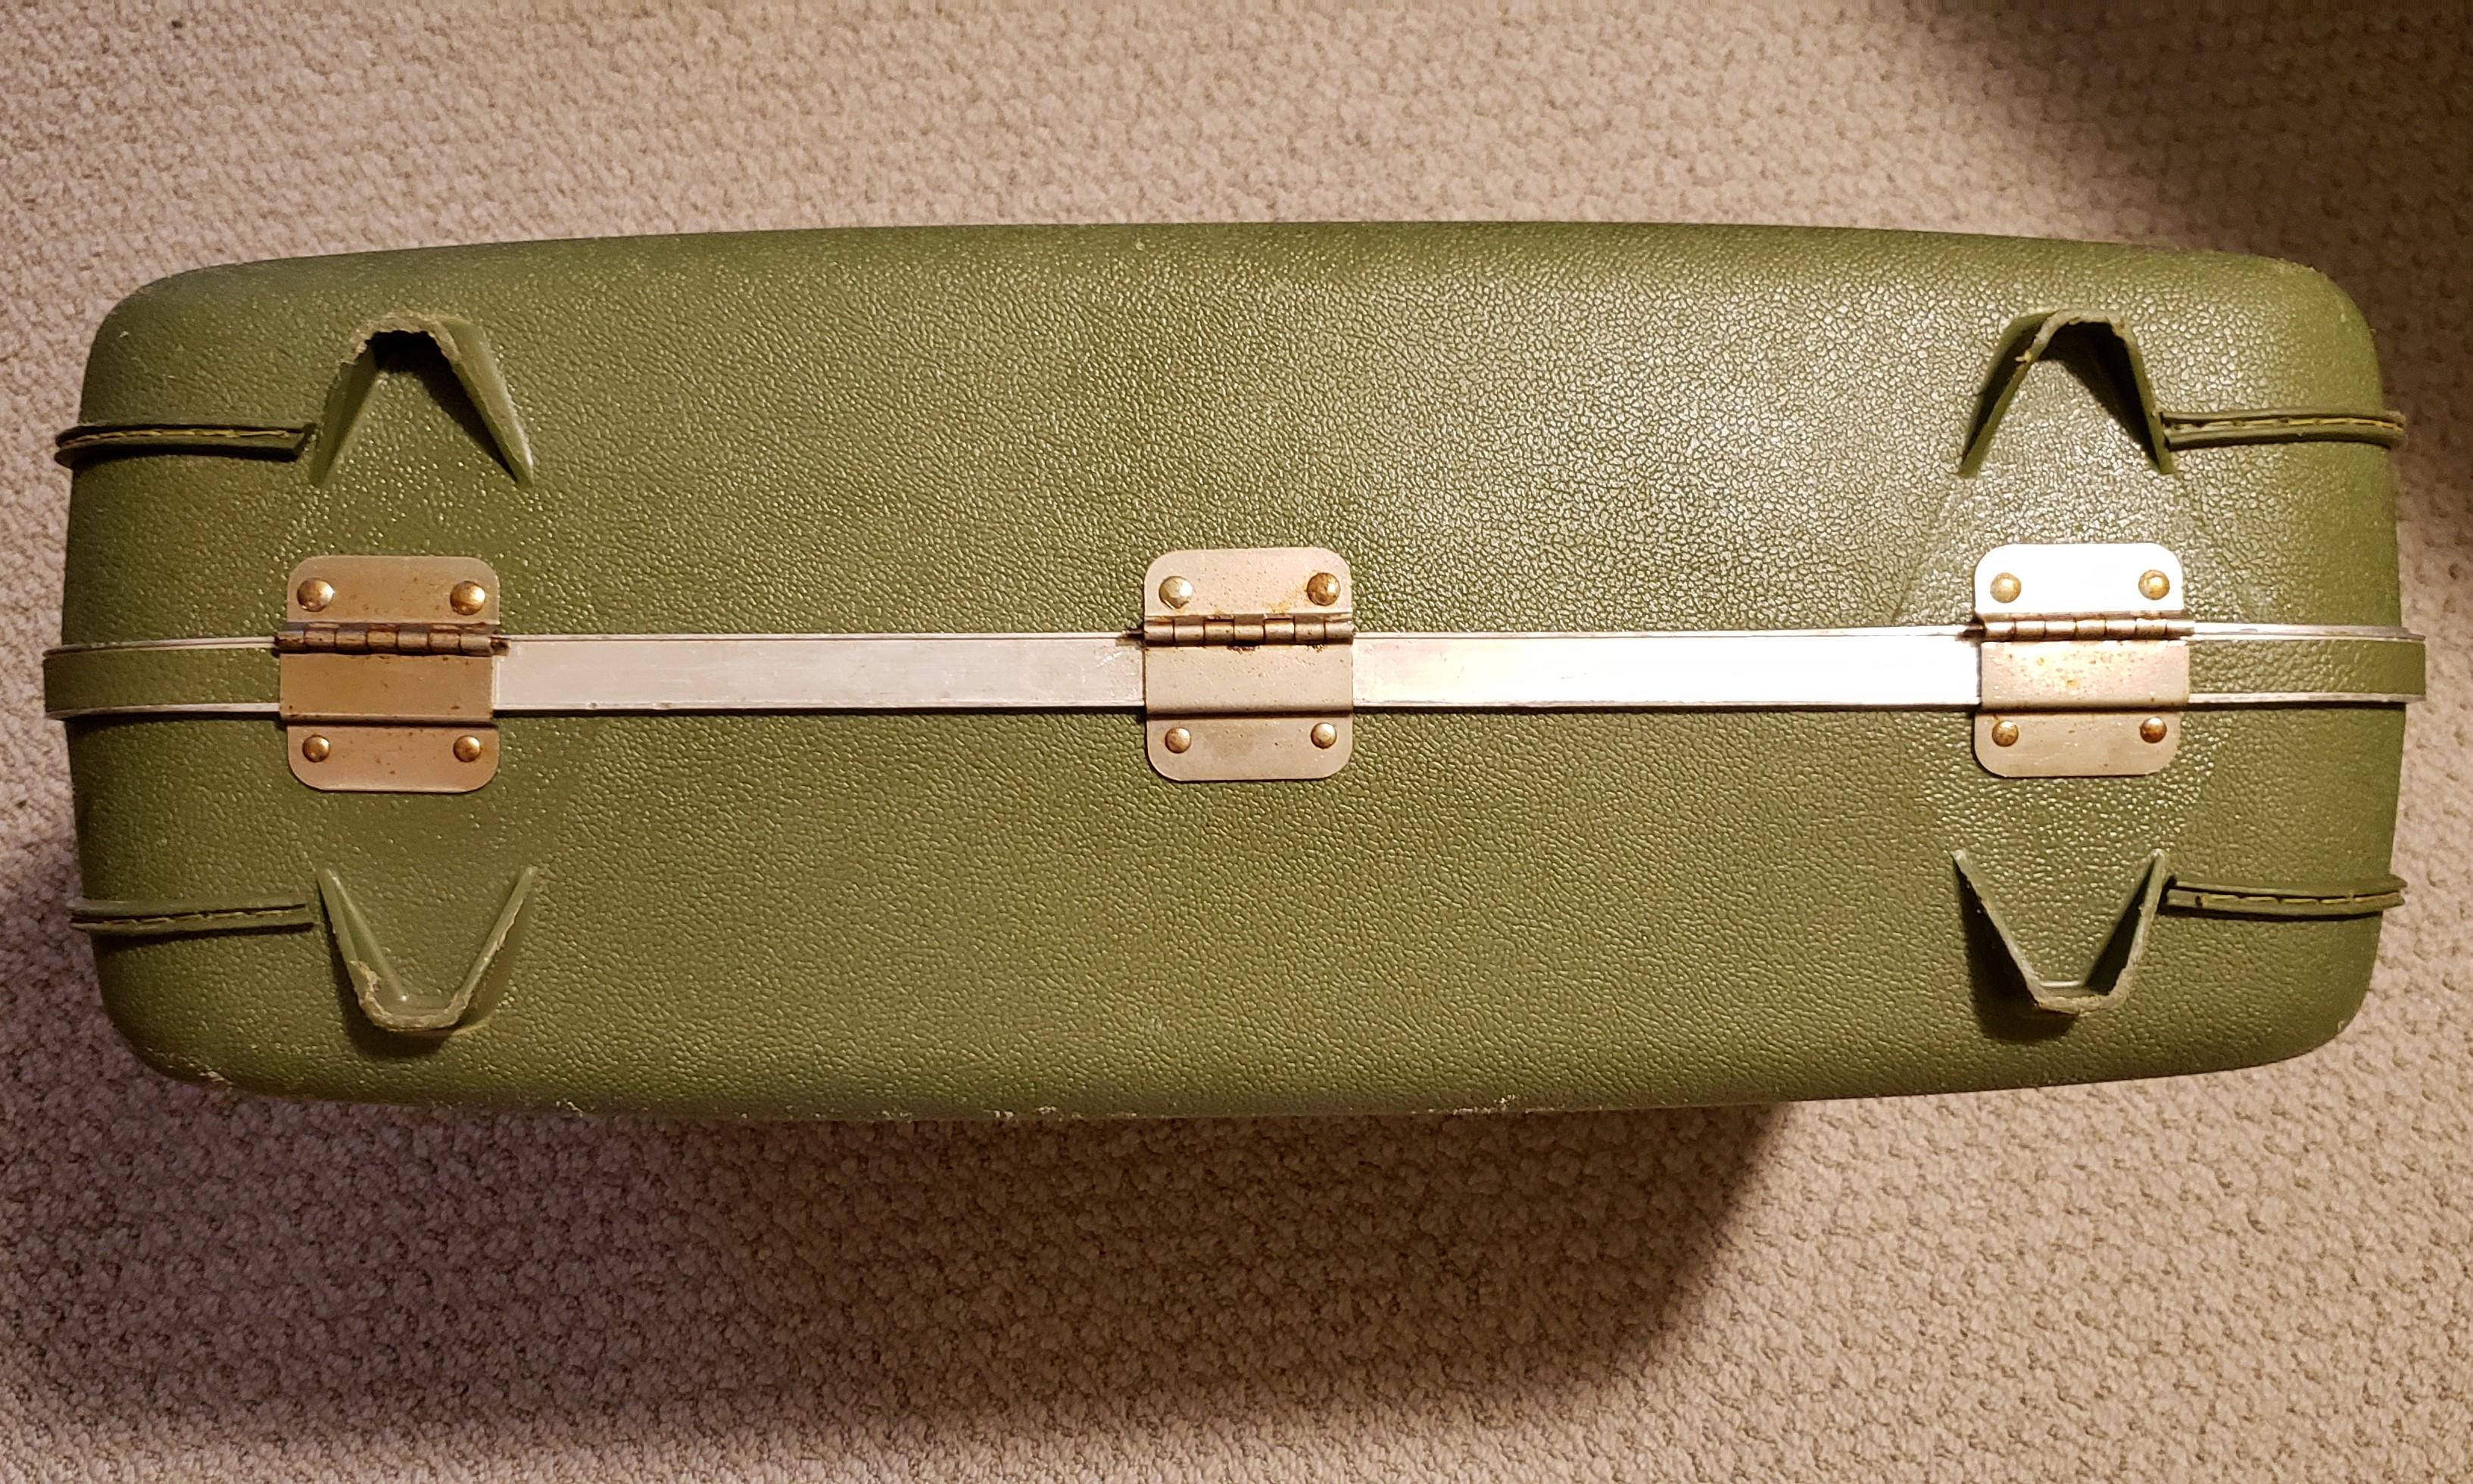
After visiting several antique malls and shops, and with input from my kids, selected this vintage hard-shell olive green Oshkosh suitcase, sized 21"x 16"x 4".
It had some scuffs on the front and back of it, but the inside was pretty clean and odor-free. Be sure to open the suitcases you're considering to assess its condition.
I also checked out the way the suitcase was built, knowing I'd need to disassemble one side from the other. This one had three hinges with pins that I'd need to remove.
Remove the Hinges

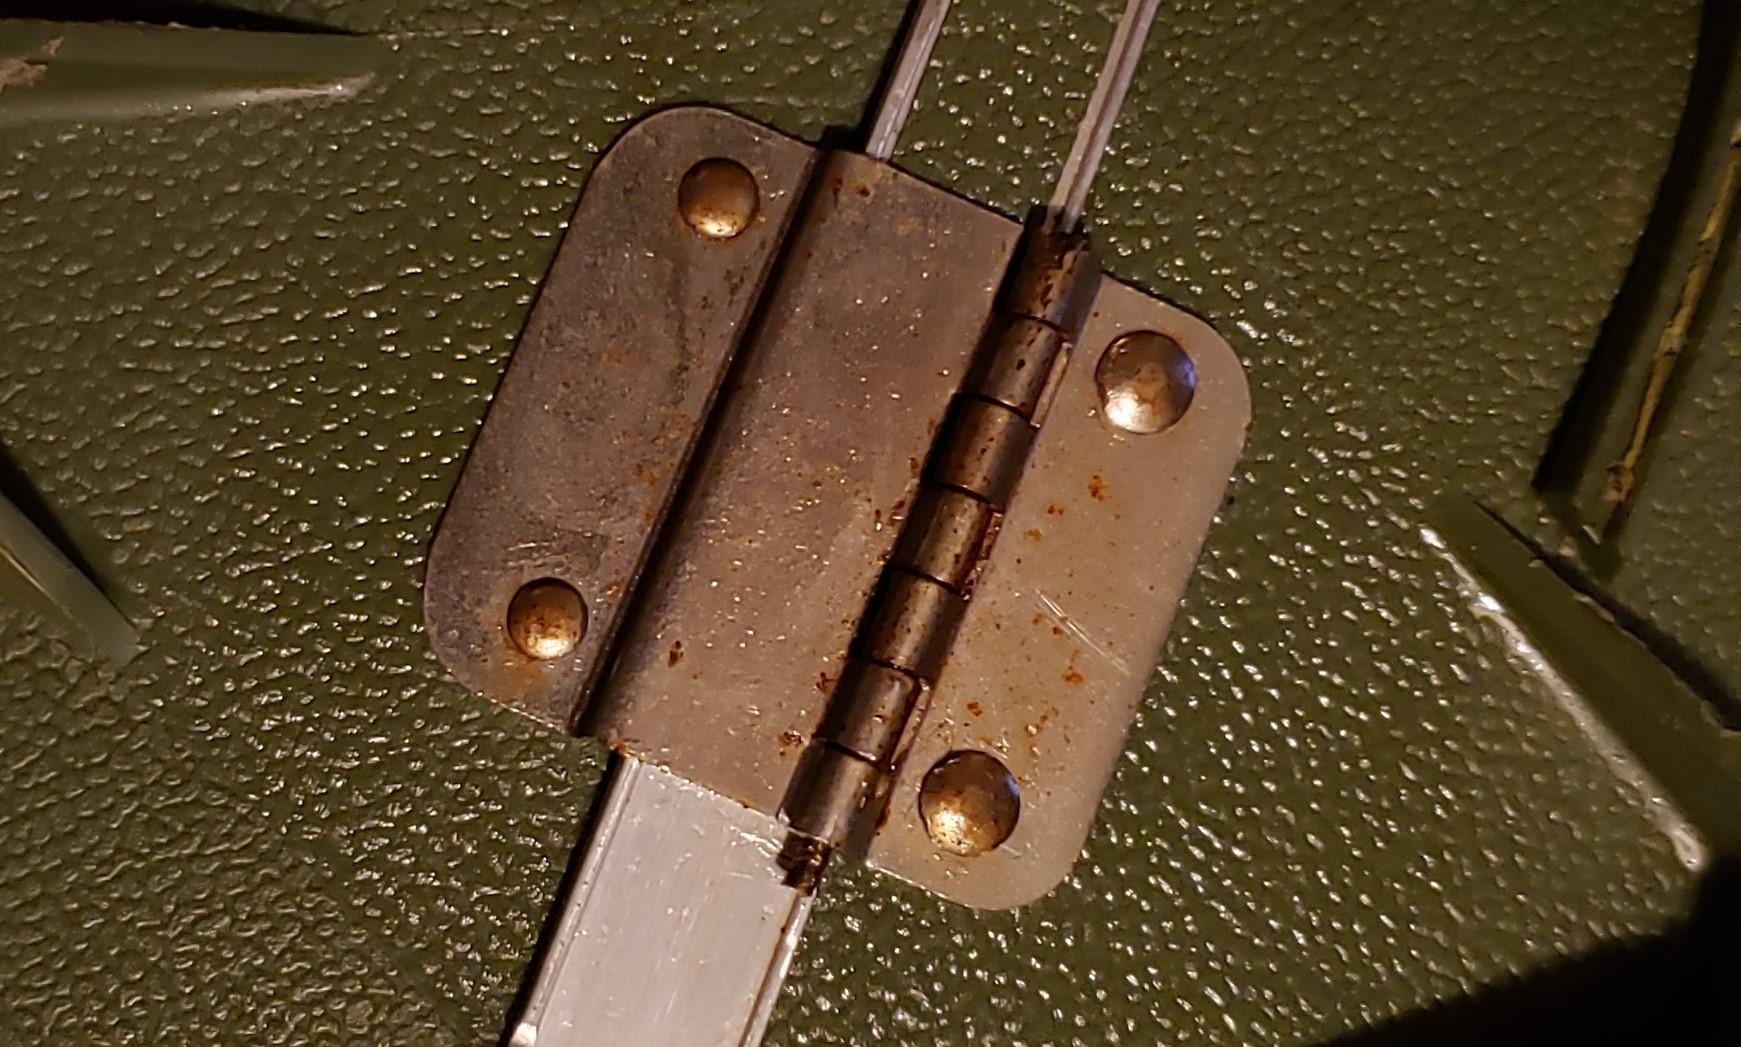
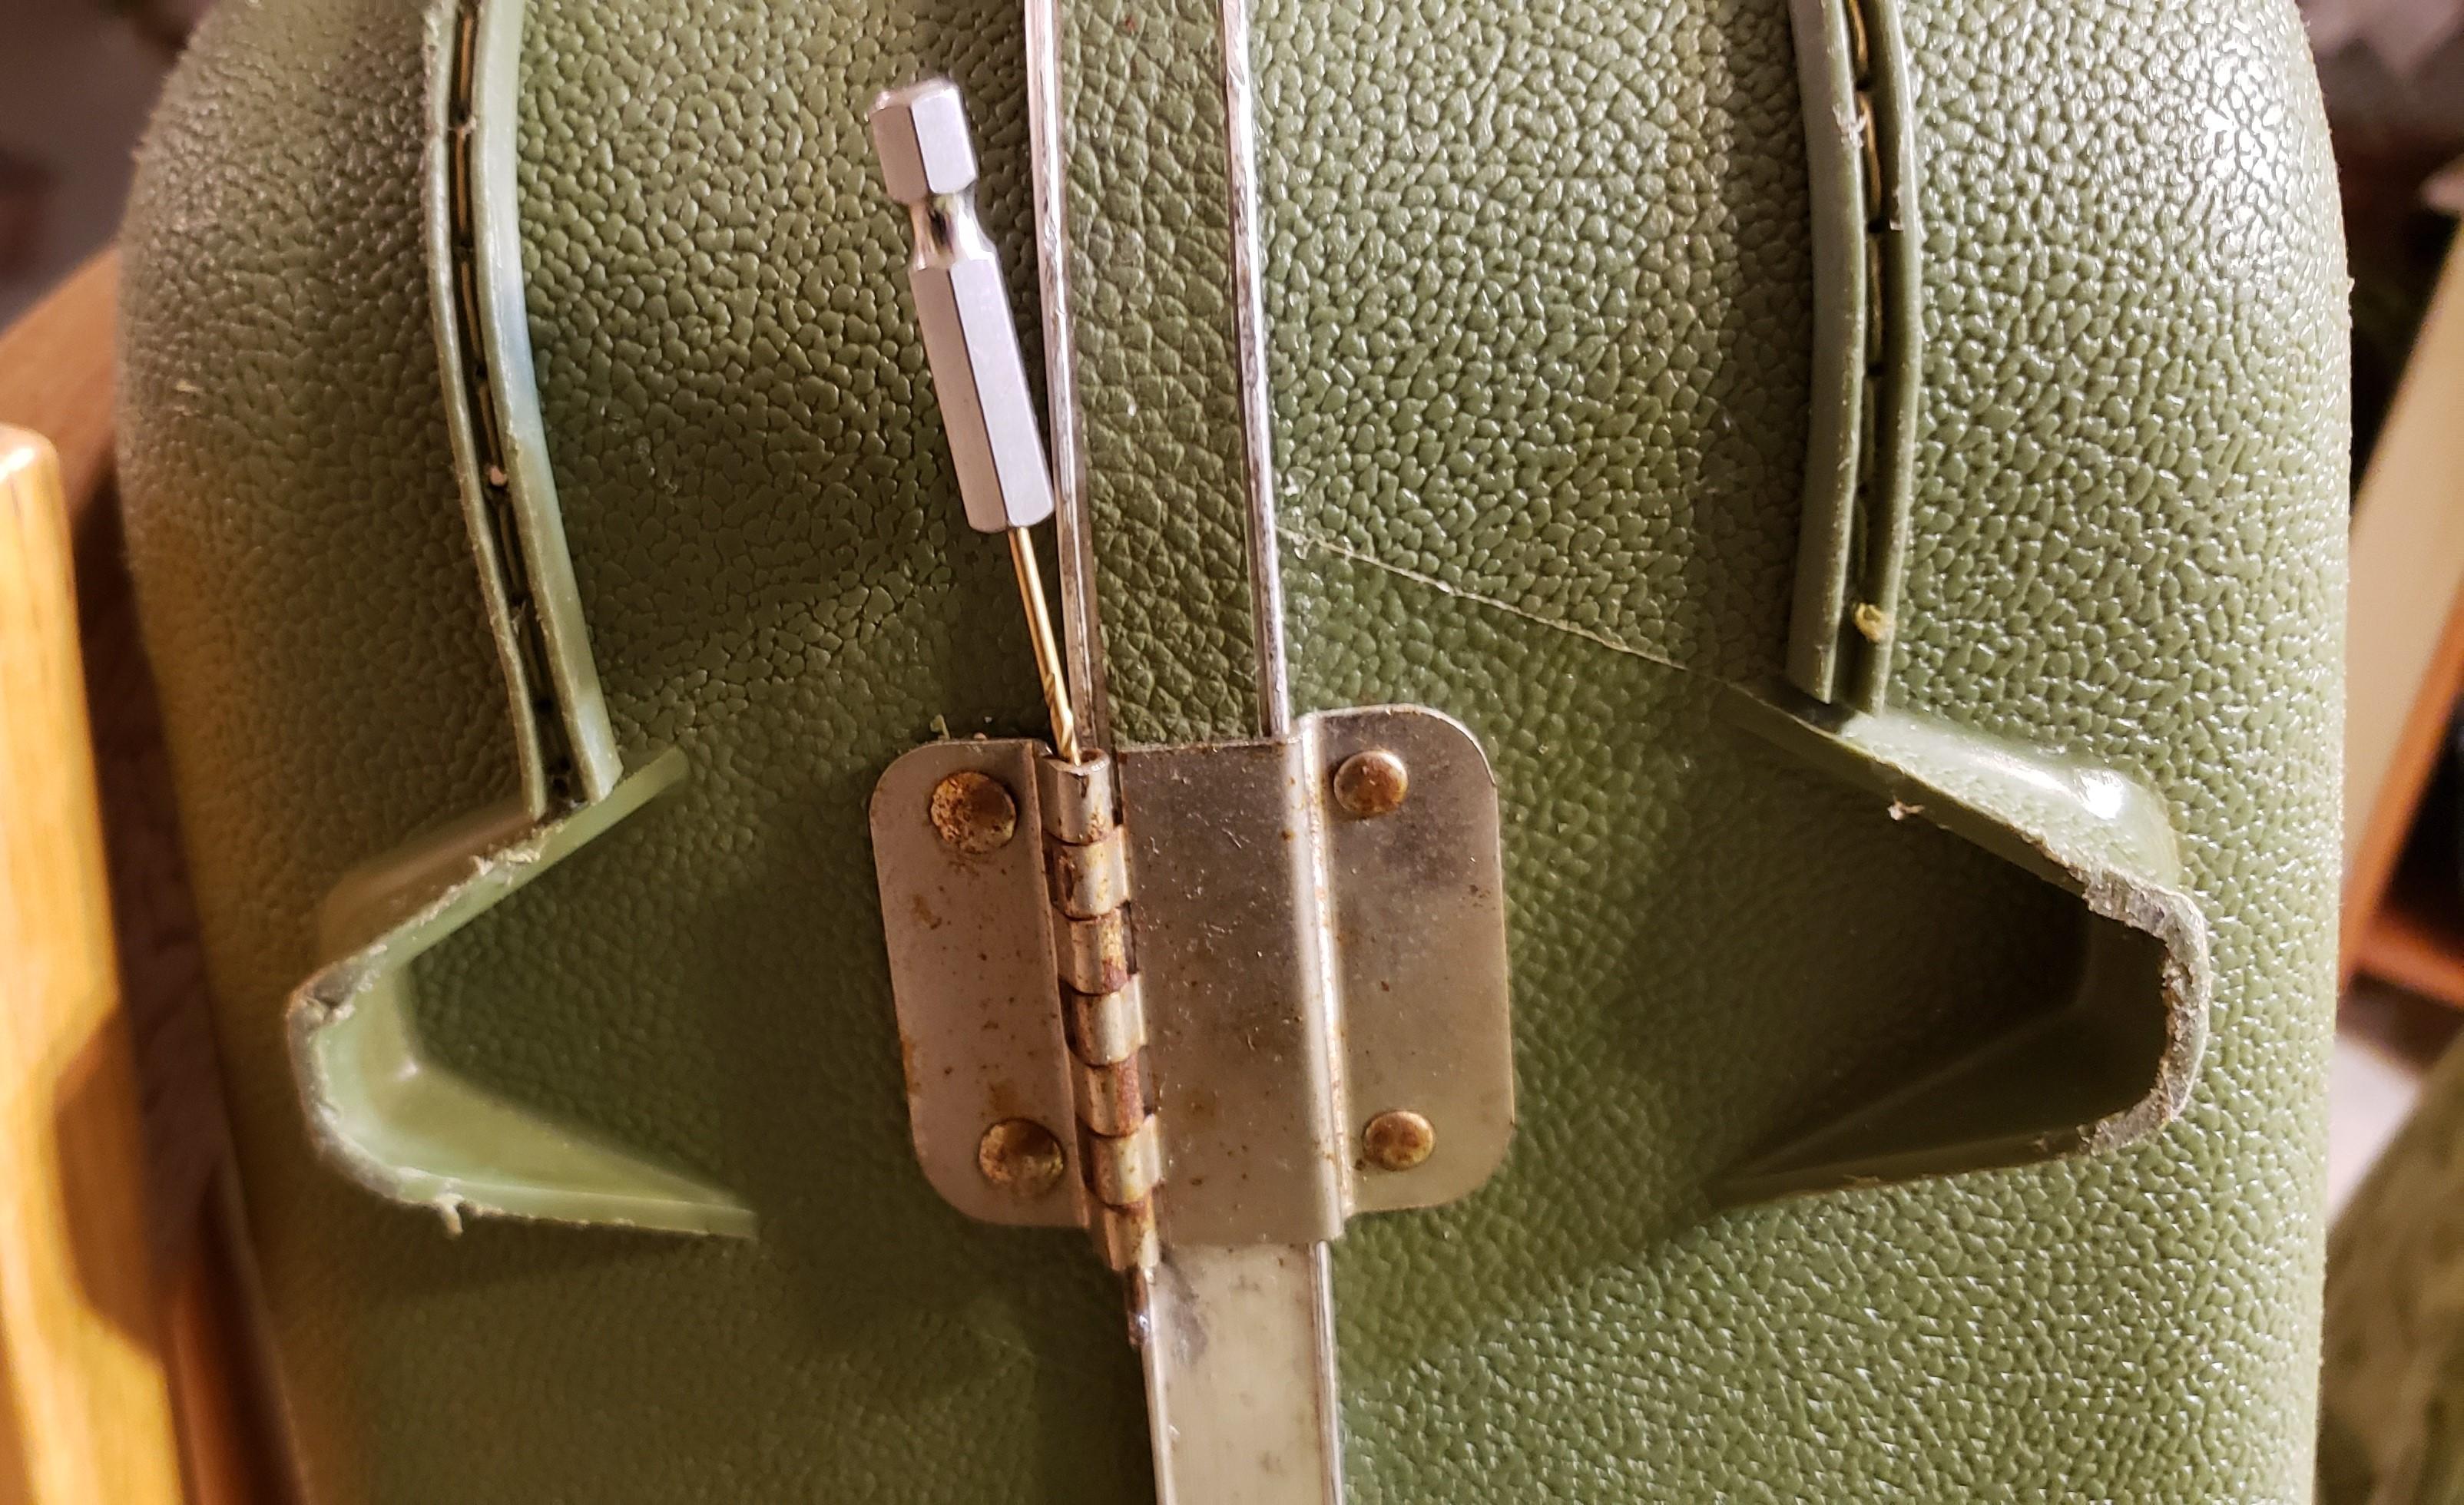
Upon closer look, it seemed that all I'd need to do was find a way to "push" the pin out of the hinges. I proceeded to spray each hinge with WD-40 before removing the pins.
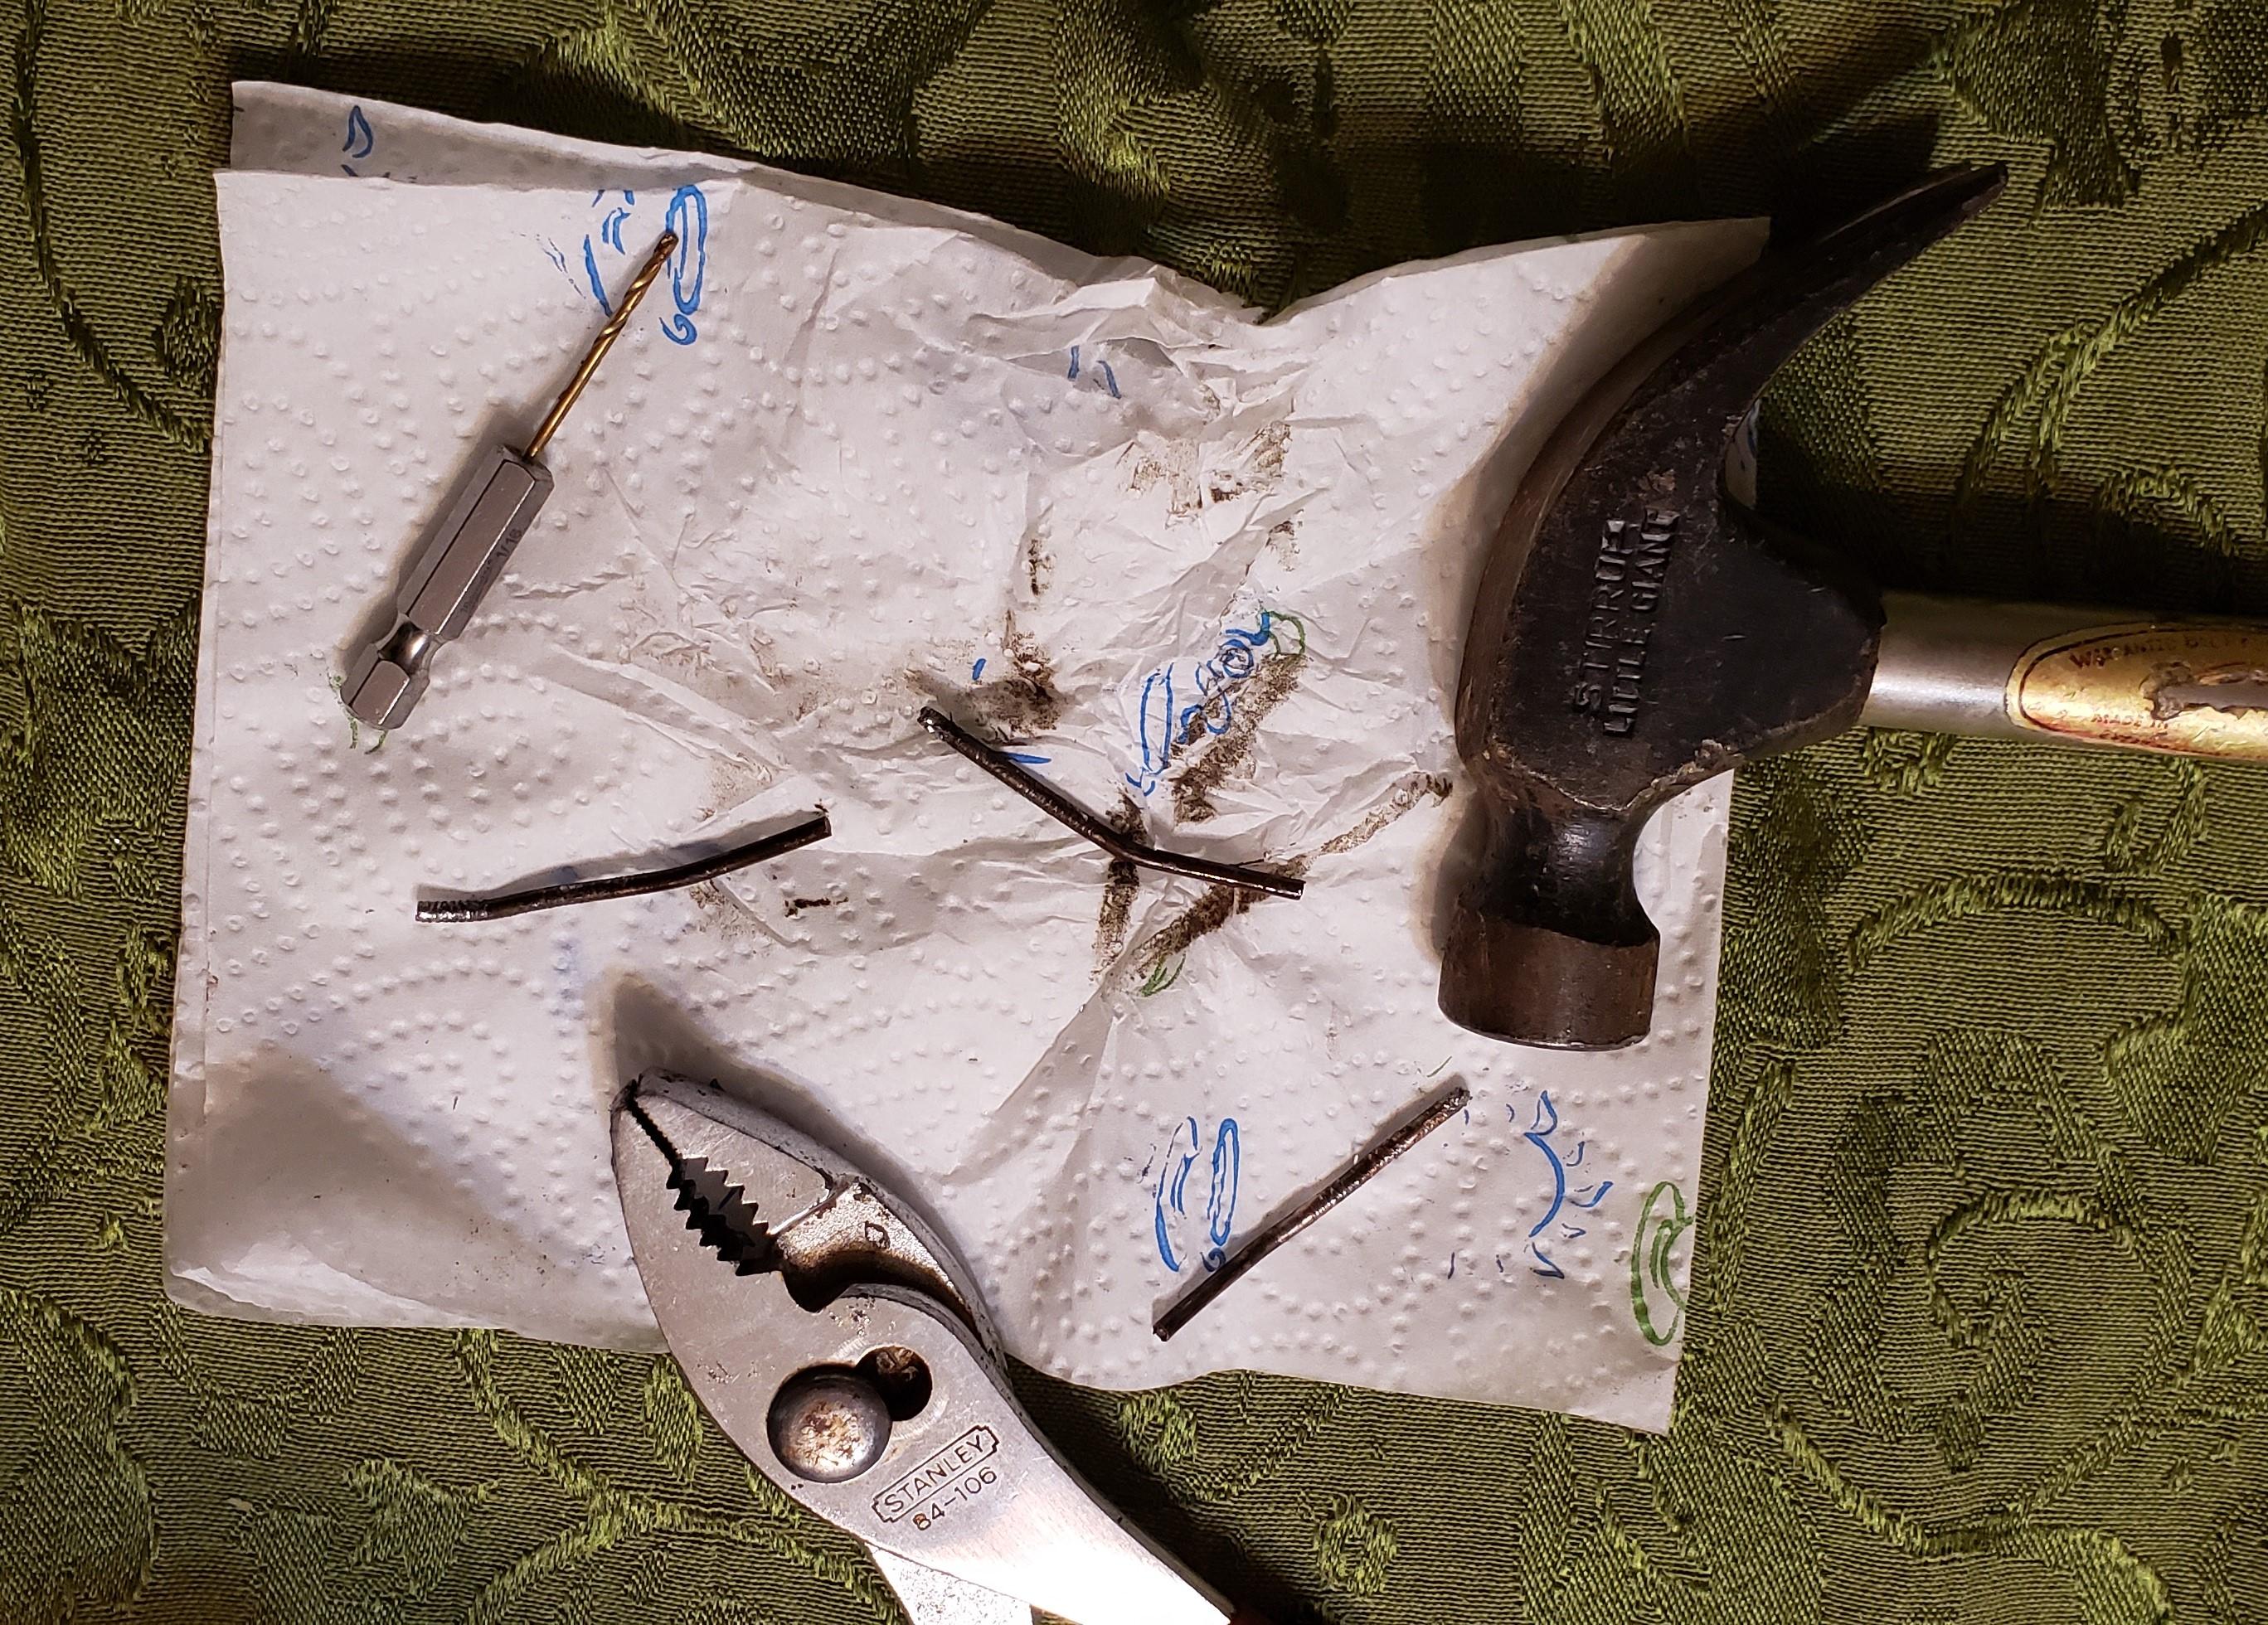
This became the hardest part of the project. I was able to use a very skinny nail to hammer the pins out, but the nail was only so long, so it didn't get me too far. I tried using pliers, too, to pull the pins out.
After lots of trial and error, I ended up finding a drill bit that was long enough and had a large head to hammer the pins out. Once I figured this out, it was a breeze! I just think this depends on the age and condition of the suitcase.
Here's the remnants of the hinge pins removal process. Those are the three hinge pins that were eventually removed. You can see how some of them bent, too!
Separate the Suitcase

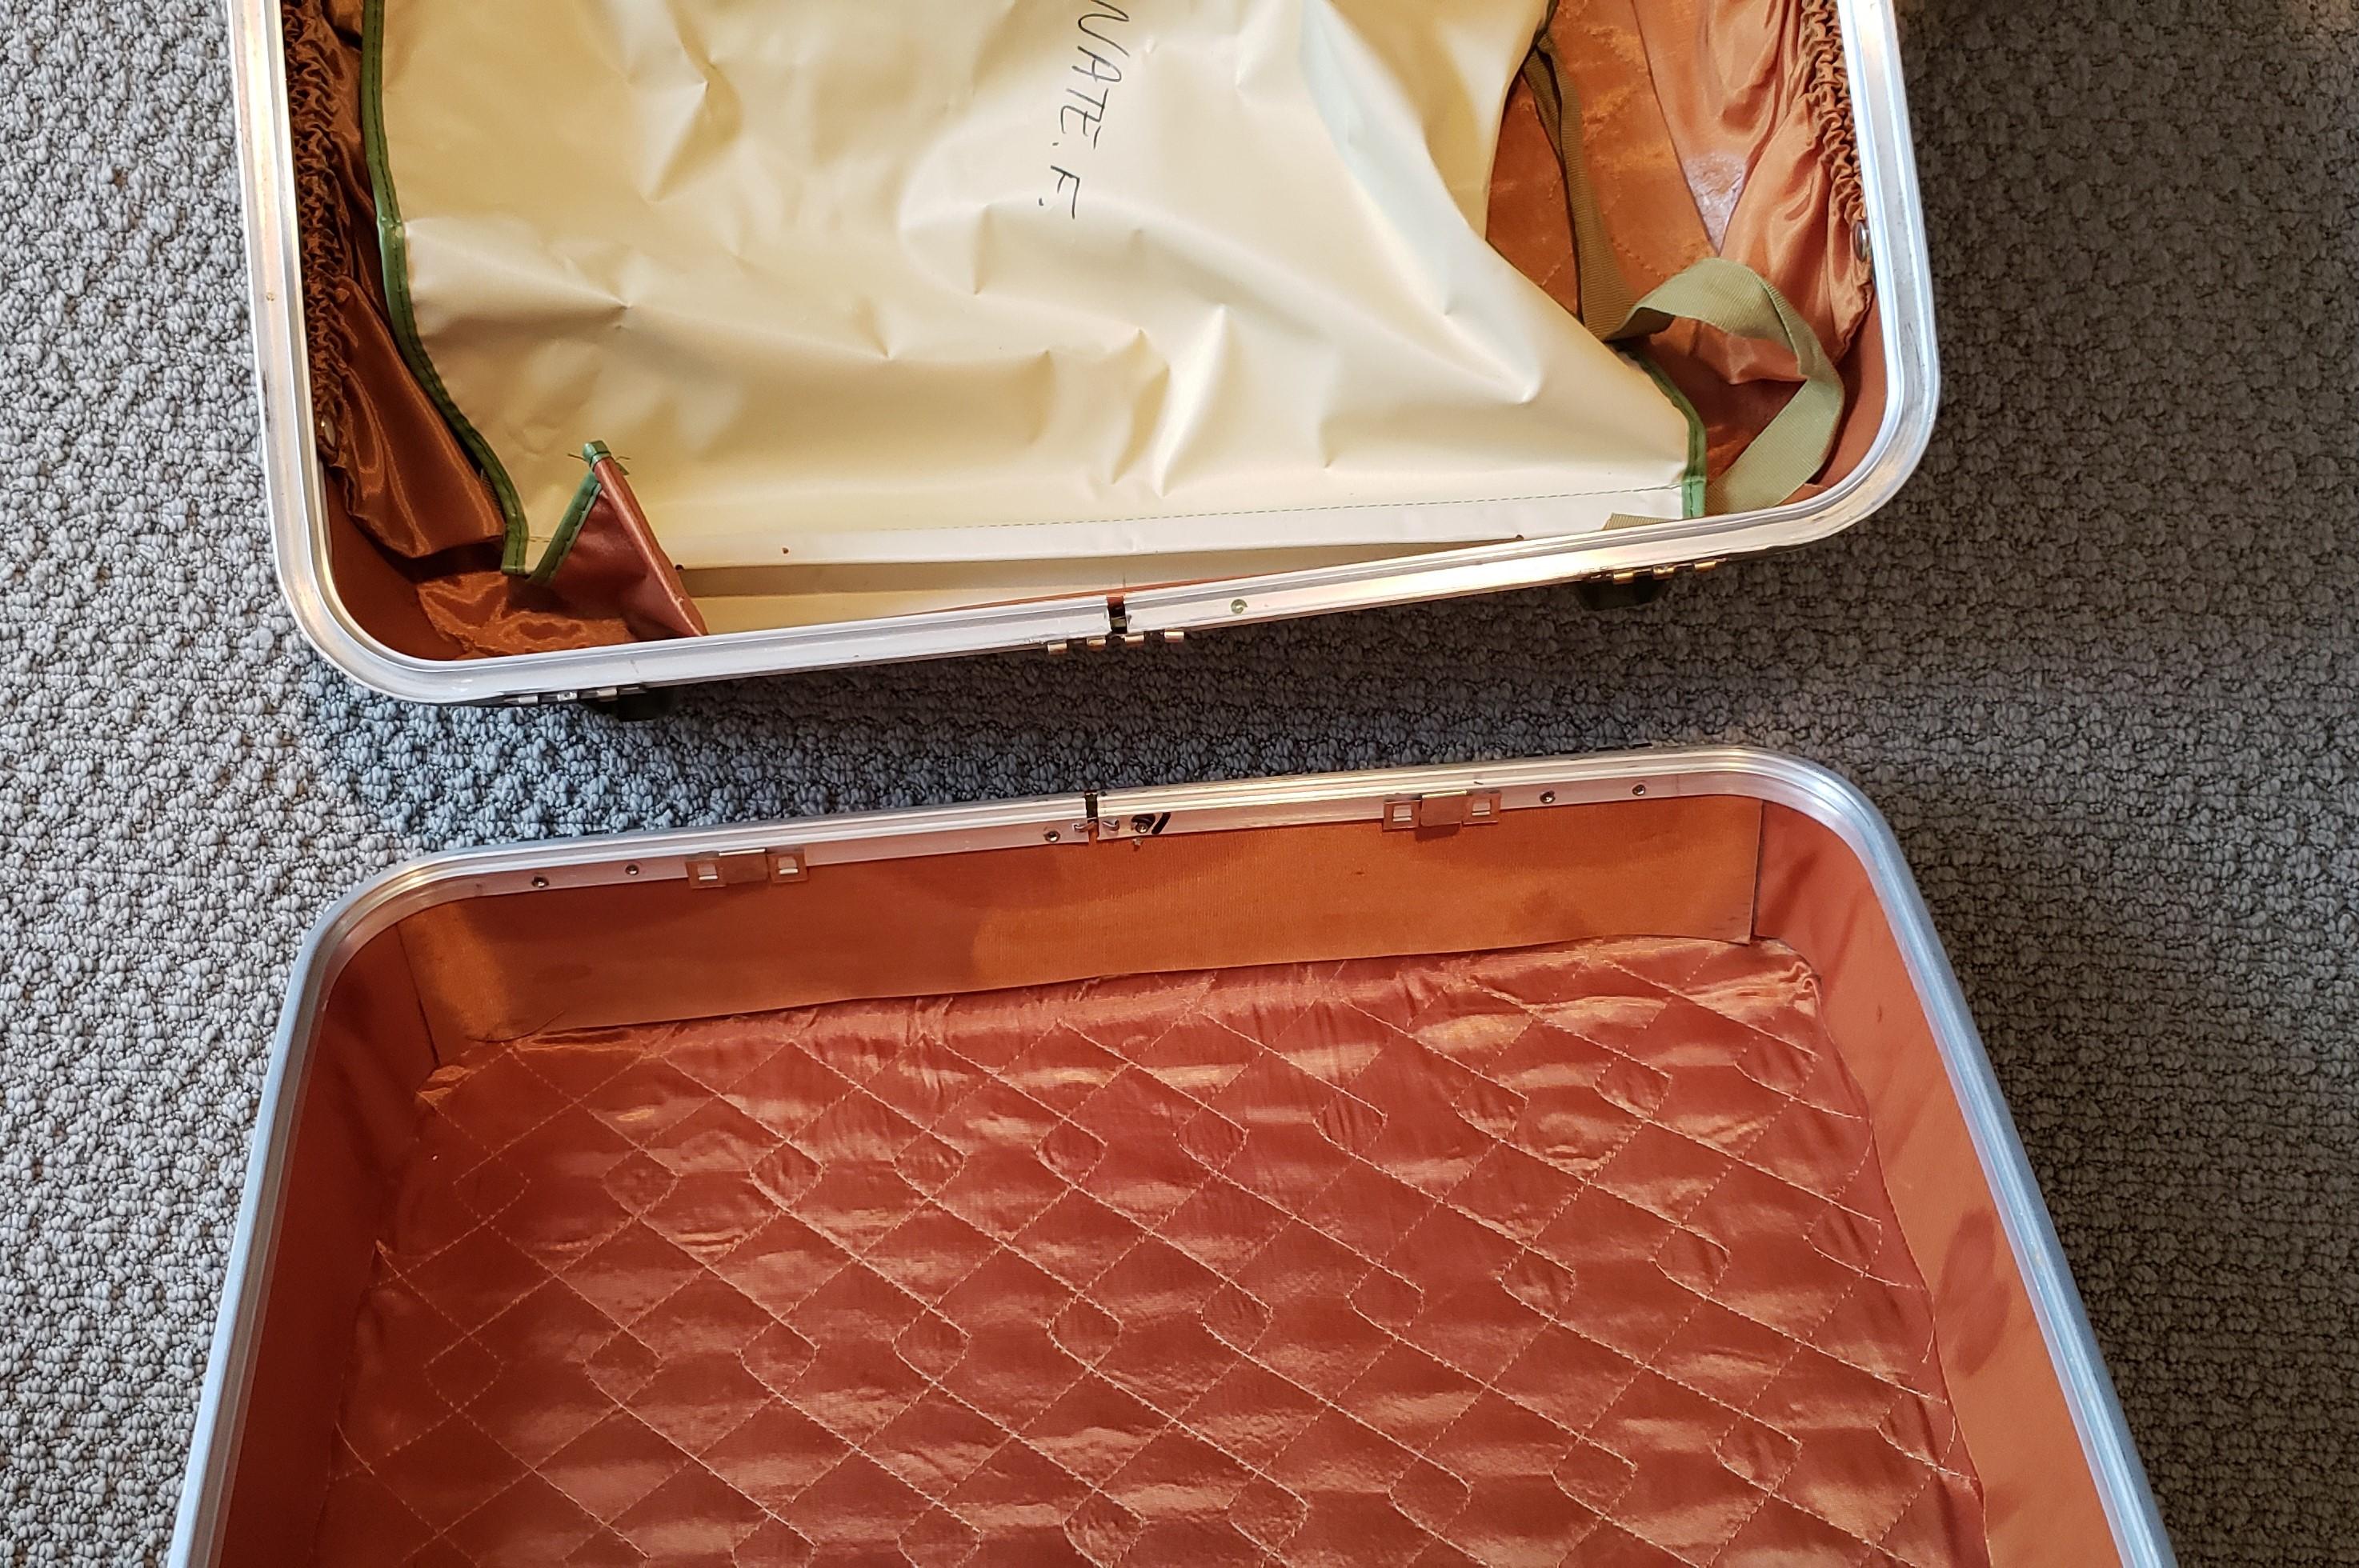

Once the pins were removed, the two parts of the suitcase were finally separated. This is the bottom of the suitcase.
It was such a relief and joy, really, to finally have the pin hinges removed so the next part of the process could begin.
I contemplated removing the hinges all together, but based on how challenging it was to just get the pins out, decided to keep the hinges in tact on the suitcase.
Prep the Suitcase Side You're Using


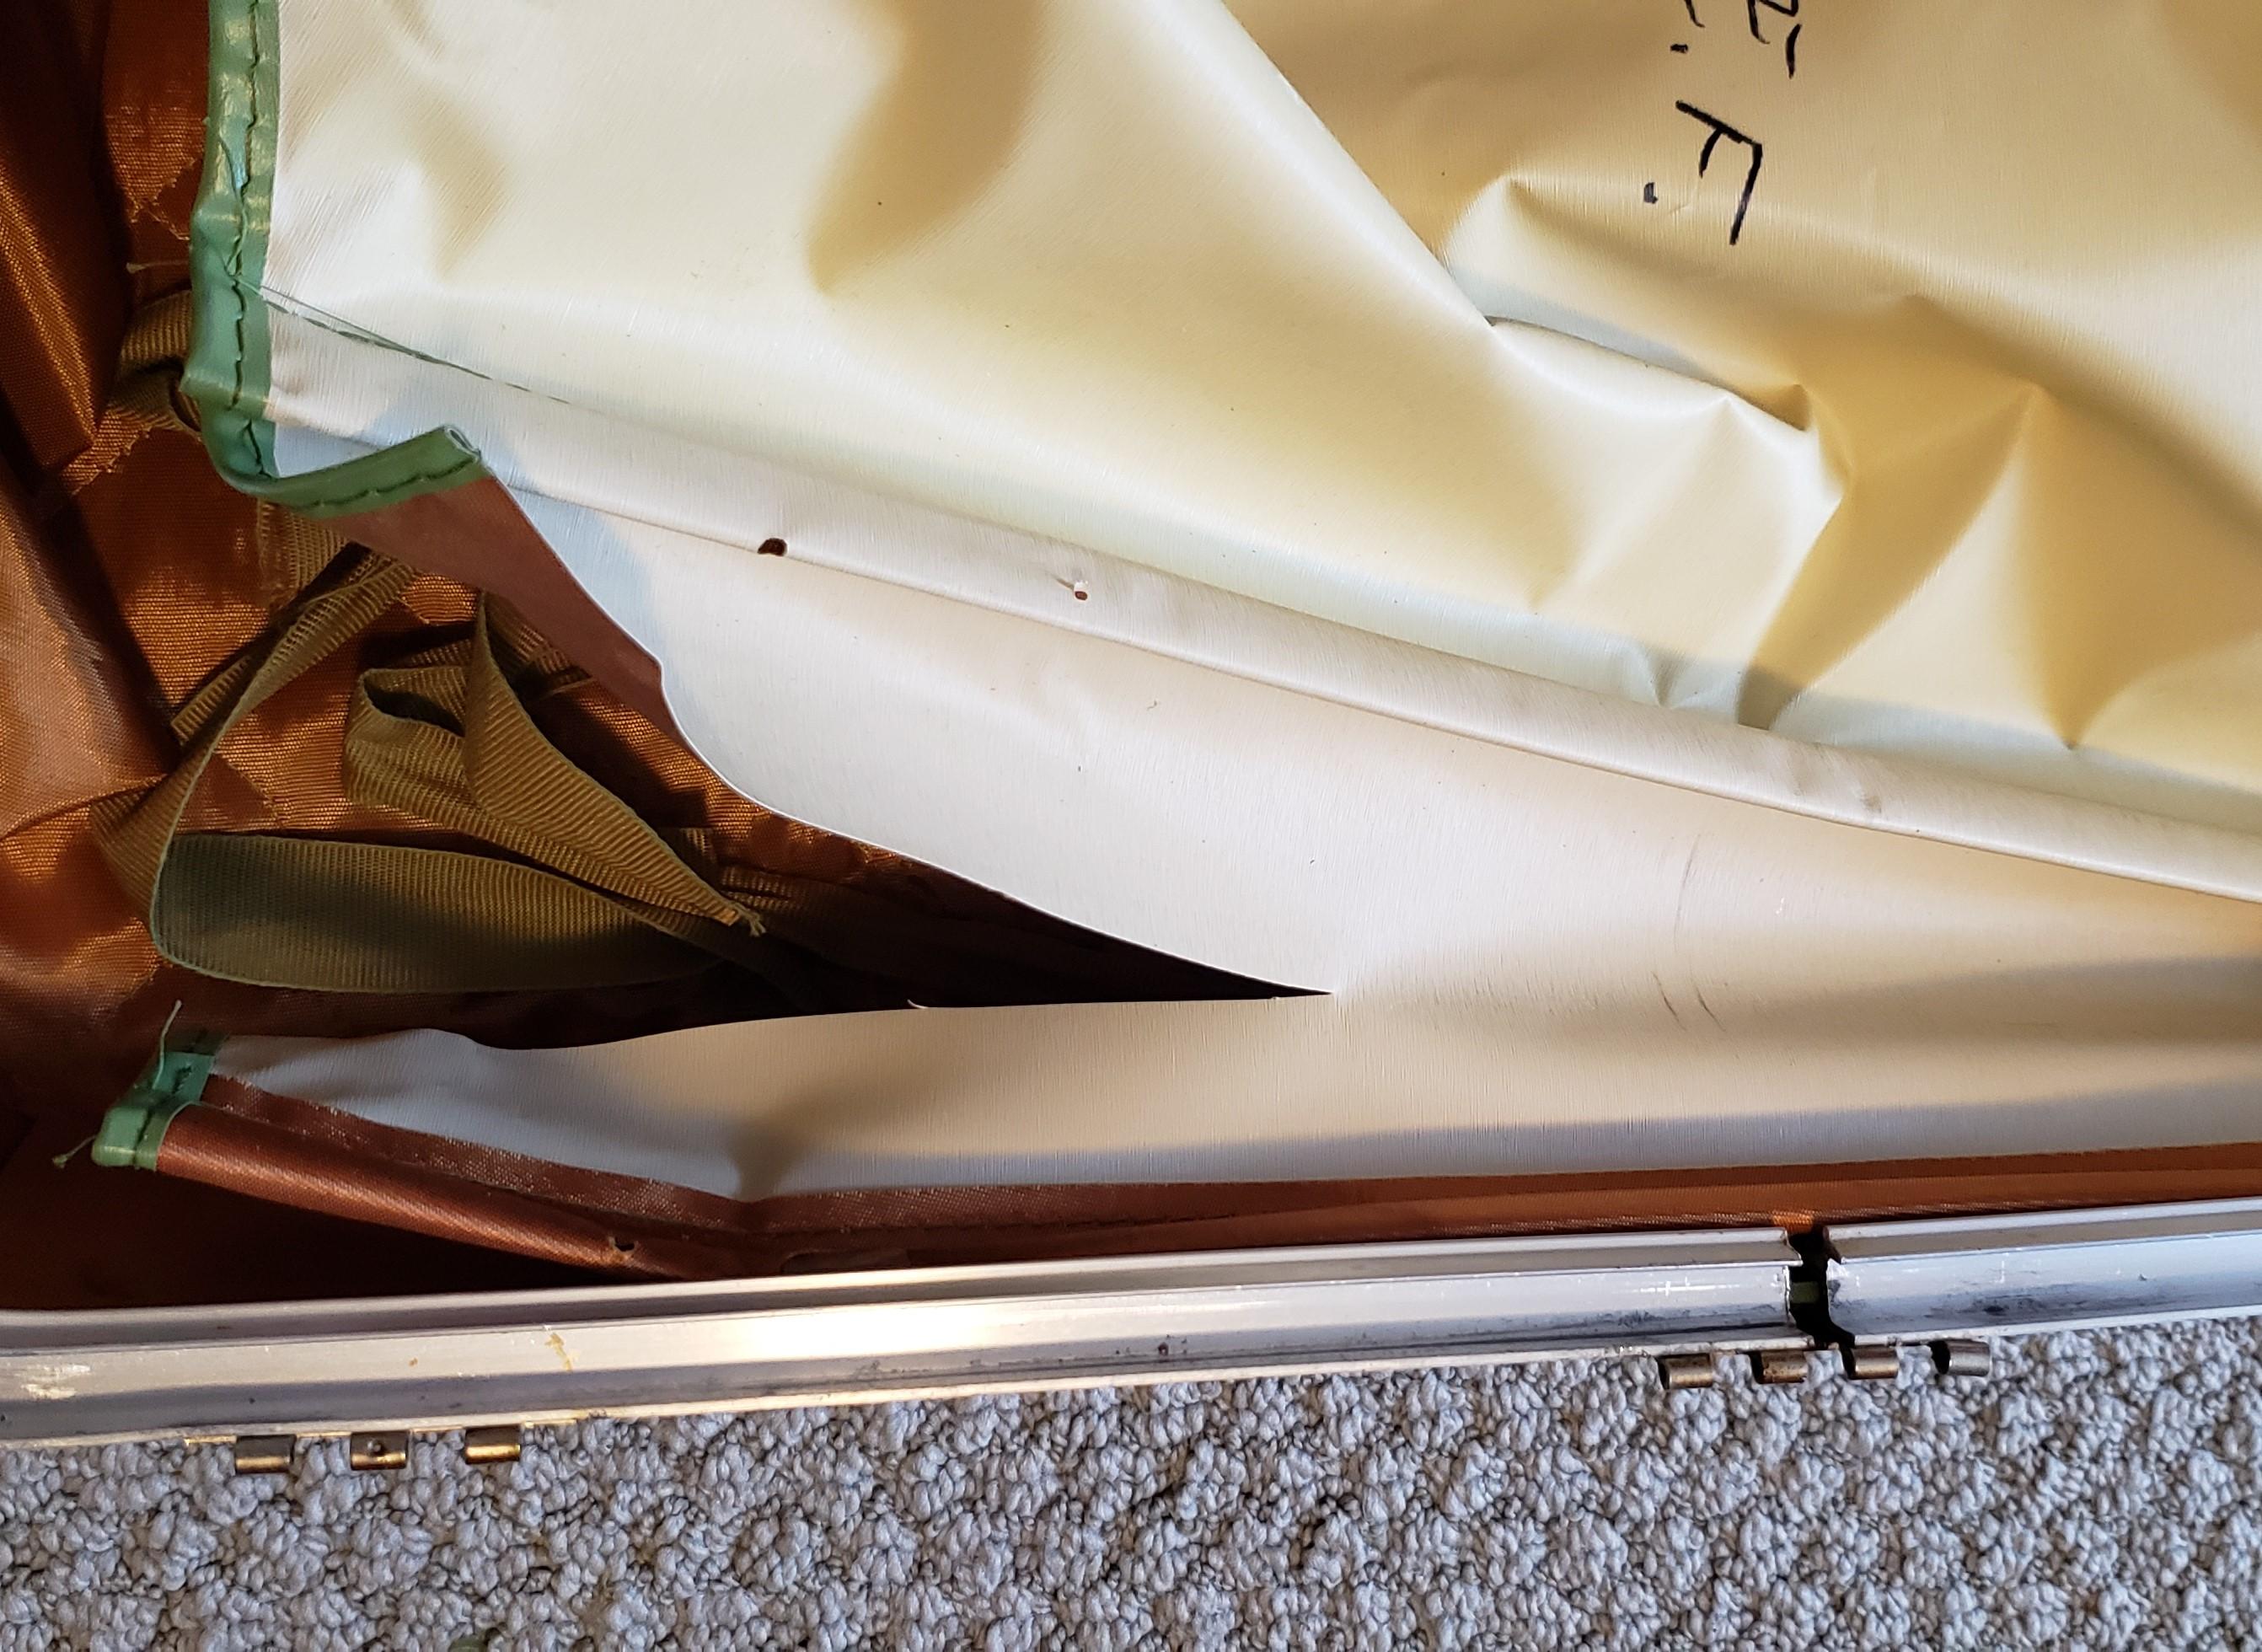
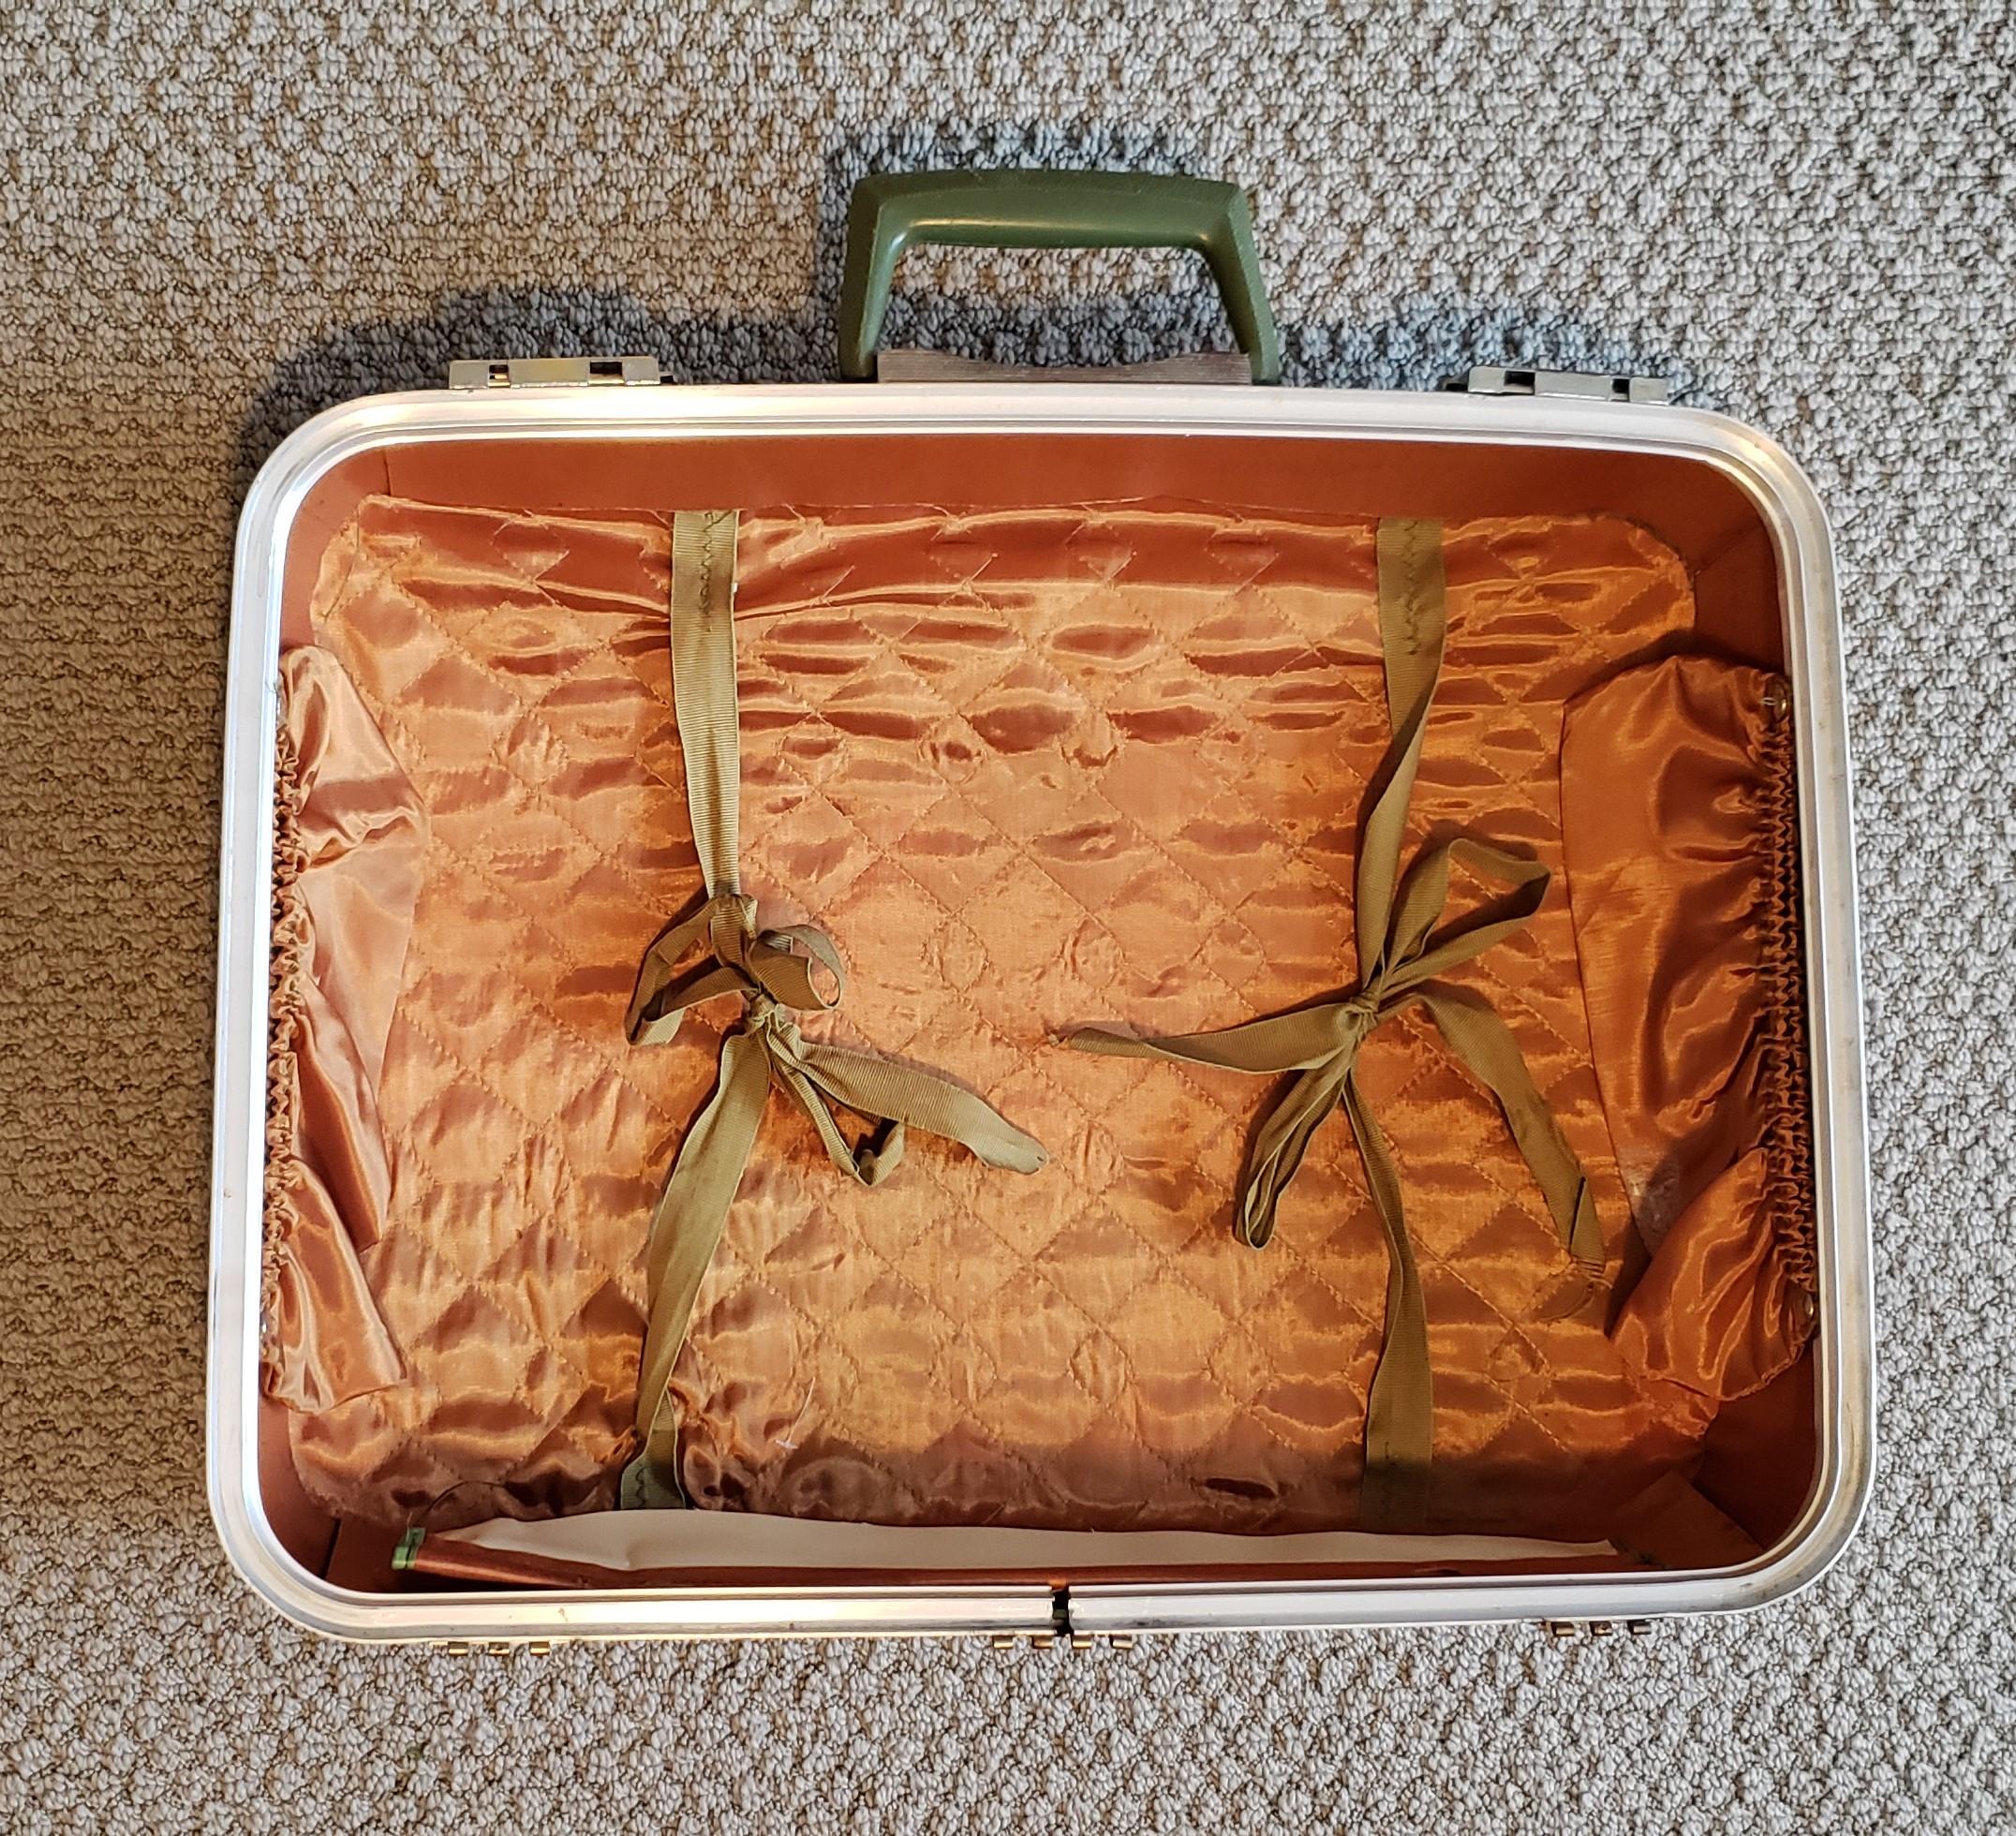
The part of the suitcase being kept for the project is the side with the handle. The will allow the half-shell of the case to easily hang on the wall. This is a good time to clean the outside of the suitcase. Mine wasn't bad at all, so I just used a rag and water to lightly go over the outside surface.
On the part of the suitcase I'd be using, the inside had a paper/plastic-like divider attached to the spine of the case. Apparently, this suitcase once belonged to Nate F. 😀
Appreciated that Nate F. took such good care of the case, but the divider flap with his name on it needed to go. So I just used scissors to cut off most of the material.
Once removed, I then tied the two pairs of olive green lightweight straps on the inside together. You can tell here how nice the inside of this suitcase really is. If you have anything on the inside of your suitcase that needs to be removed, now's the time to do so!
Consider the Look
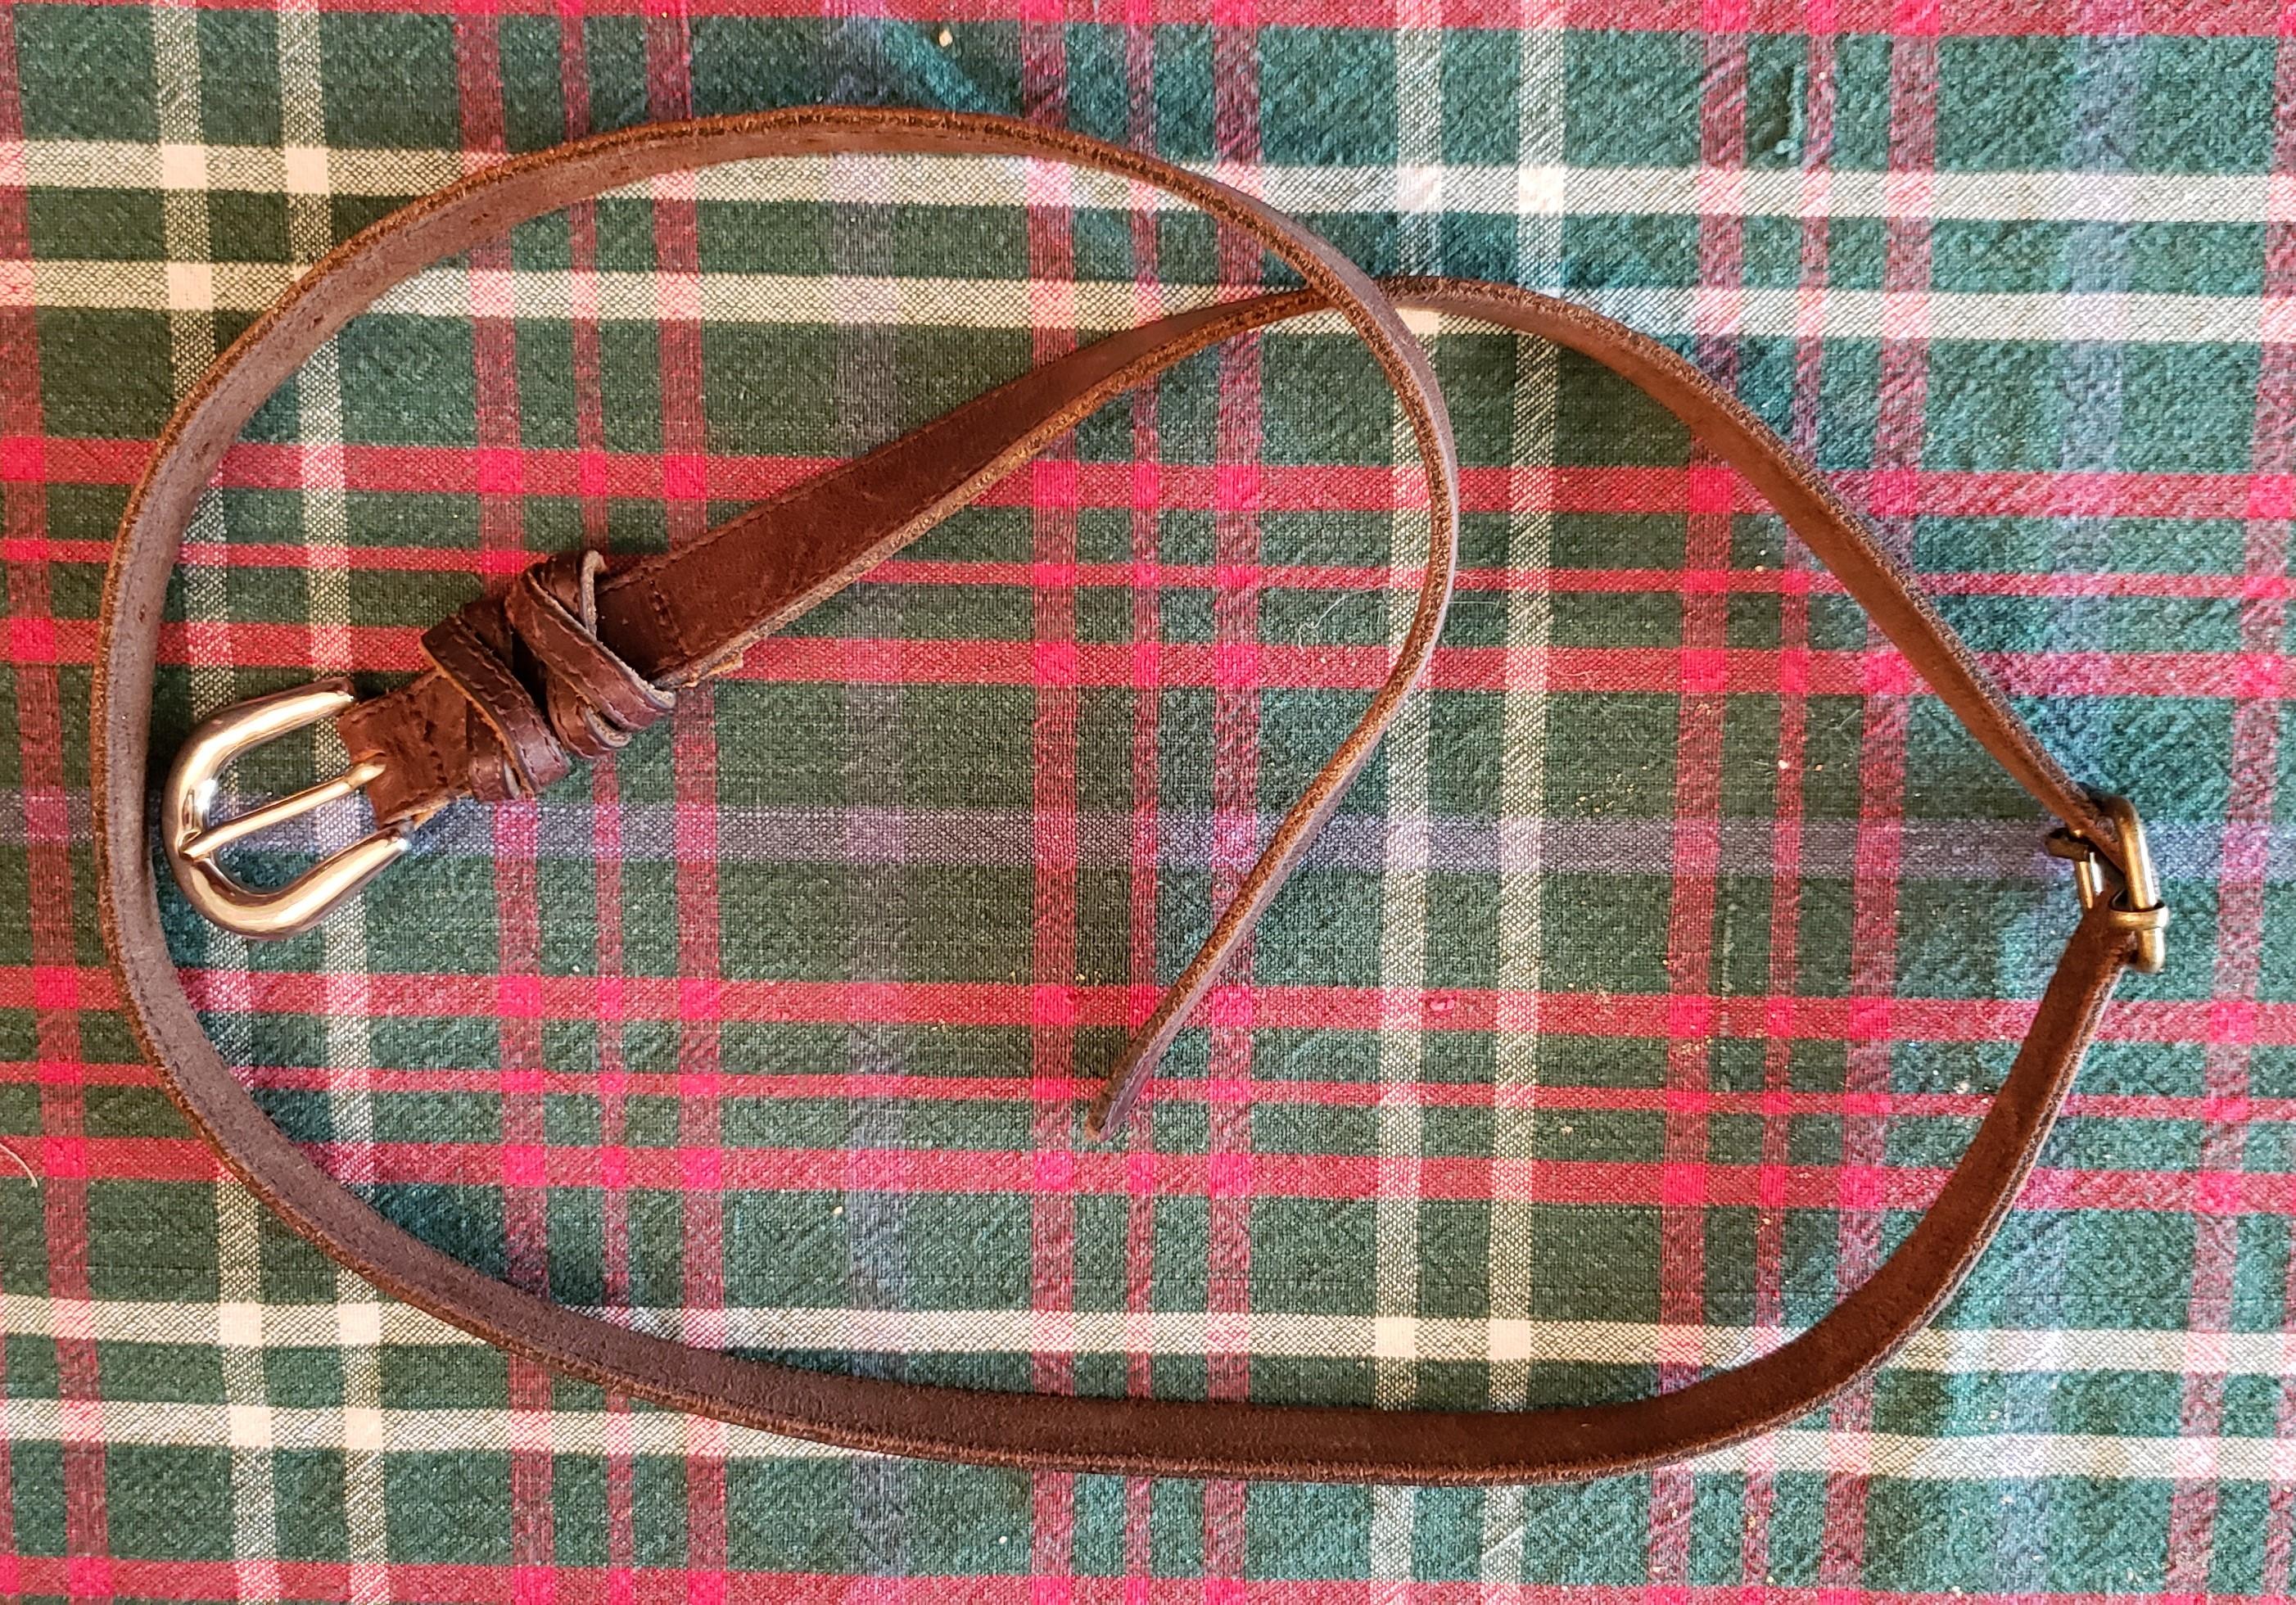


I tossed around the idea of adding a belt to the suitcase, just to give it a little more character and dimension and color. This simple leather belt from a local thrift store did the trick!
Using scissors, I cut off the end of the belt with the buckle. I didn't really like the buckle on this belt, so I ended-up finding a buckle to add to the belt later.
Taking the belt strap, I played around with different ways for it to be positioned on the suitcase.
Work Your Design


Next up was time to gather the National Park stickers! For my project, I'm only using stickers of the official National Parks. Not any of the National Historic Sites or Landmarks and such: Just the 63 (currently) major National Parks in the United States. But you can do whatever you please!
I'm also only placing stickers on the suitcase of the National Parks that I've visited in my lifetime. This will serve as a base of the project, and then I can add to it as I visit more National Parks! I sorted through the pile and chose the stickers for my suitcase.
Then I took the stickers (still adhered to their backings) and placed them in different formations on the suitcase, to get a sense of layouts and design. This took some time, along with using the belt, to find a design that looked appealing to me. Because the stickers are not being adhered to the suitcase yet, you can really take time to play with overlapping and groupings.
Commit to the Design

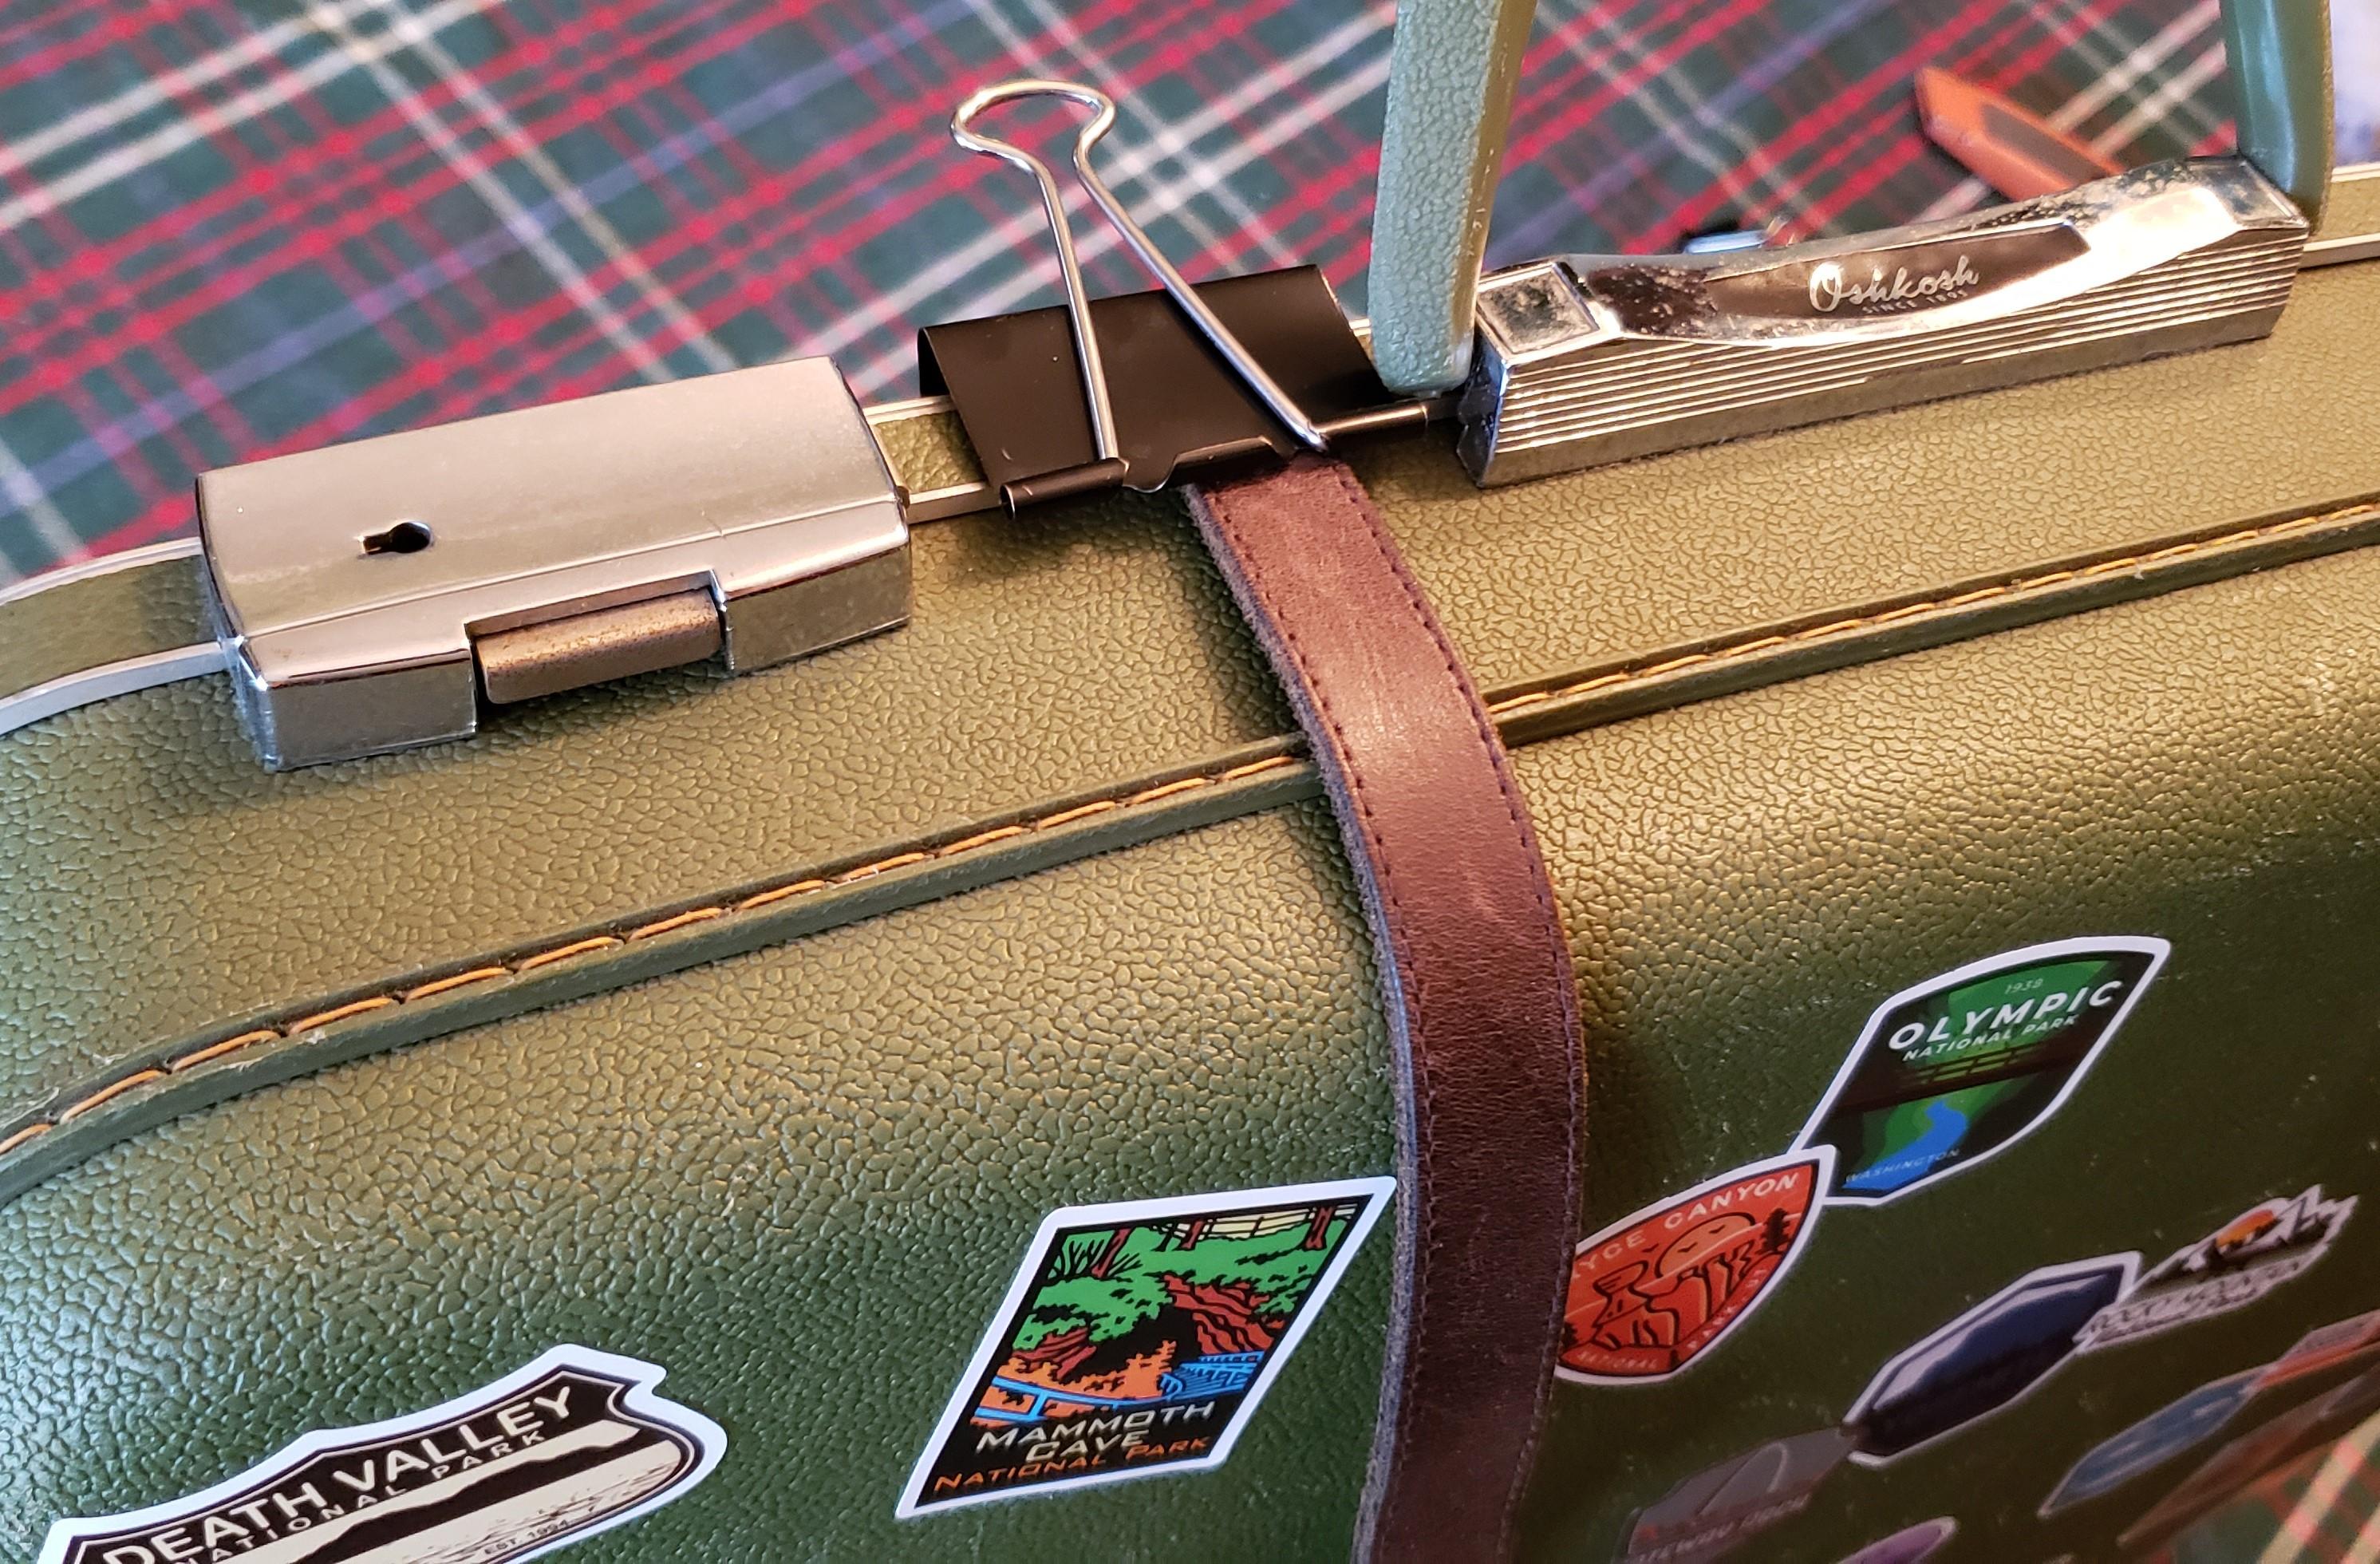
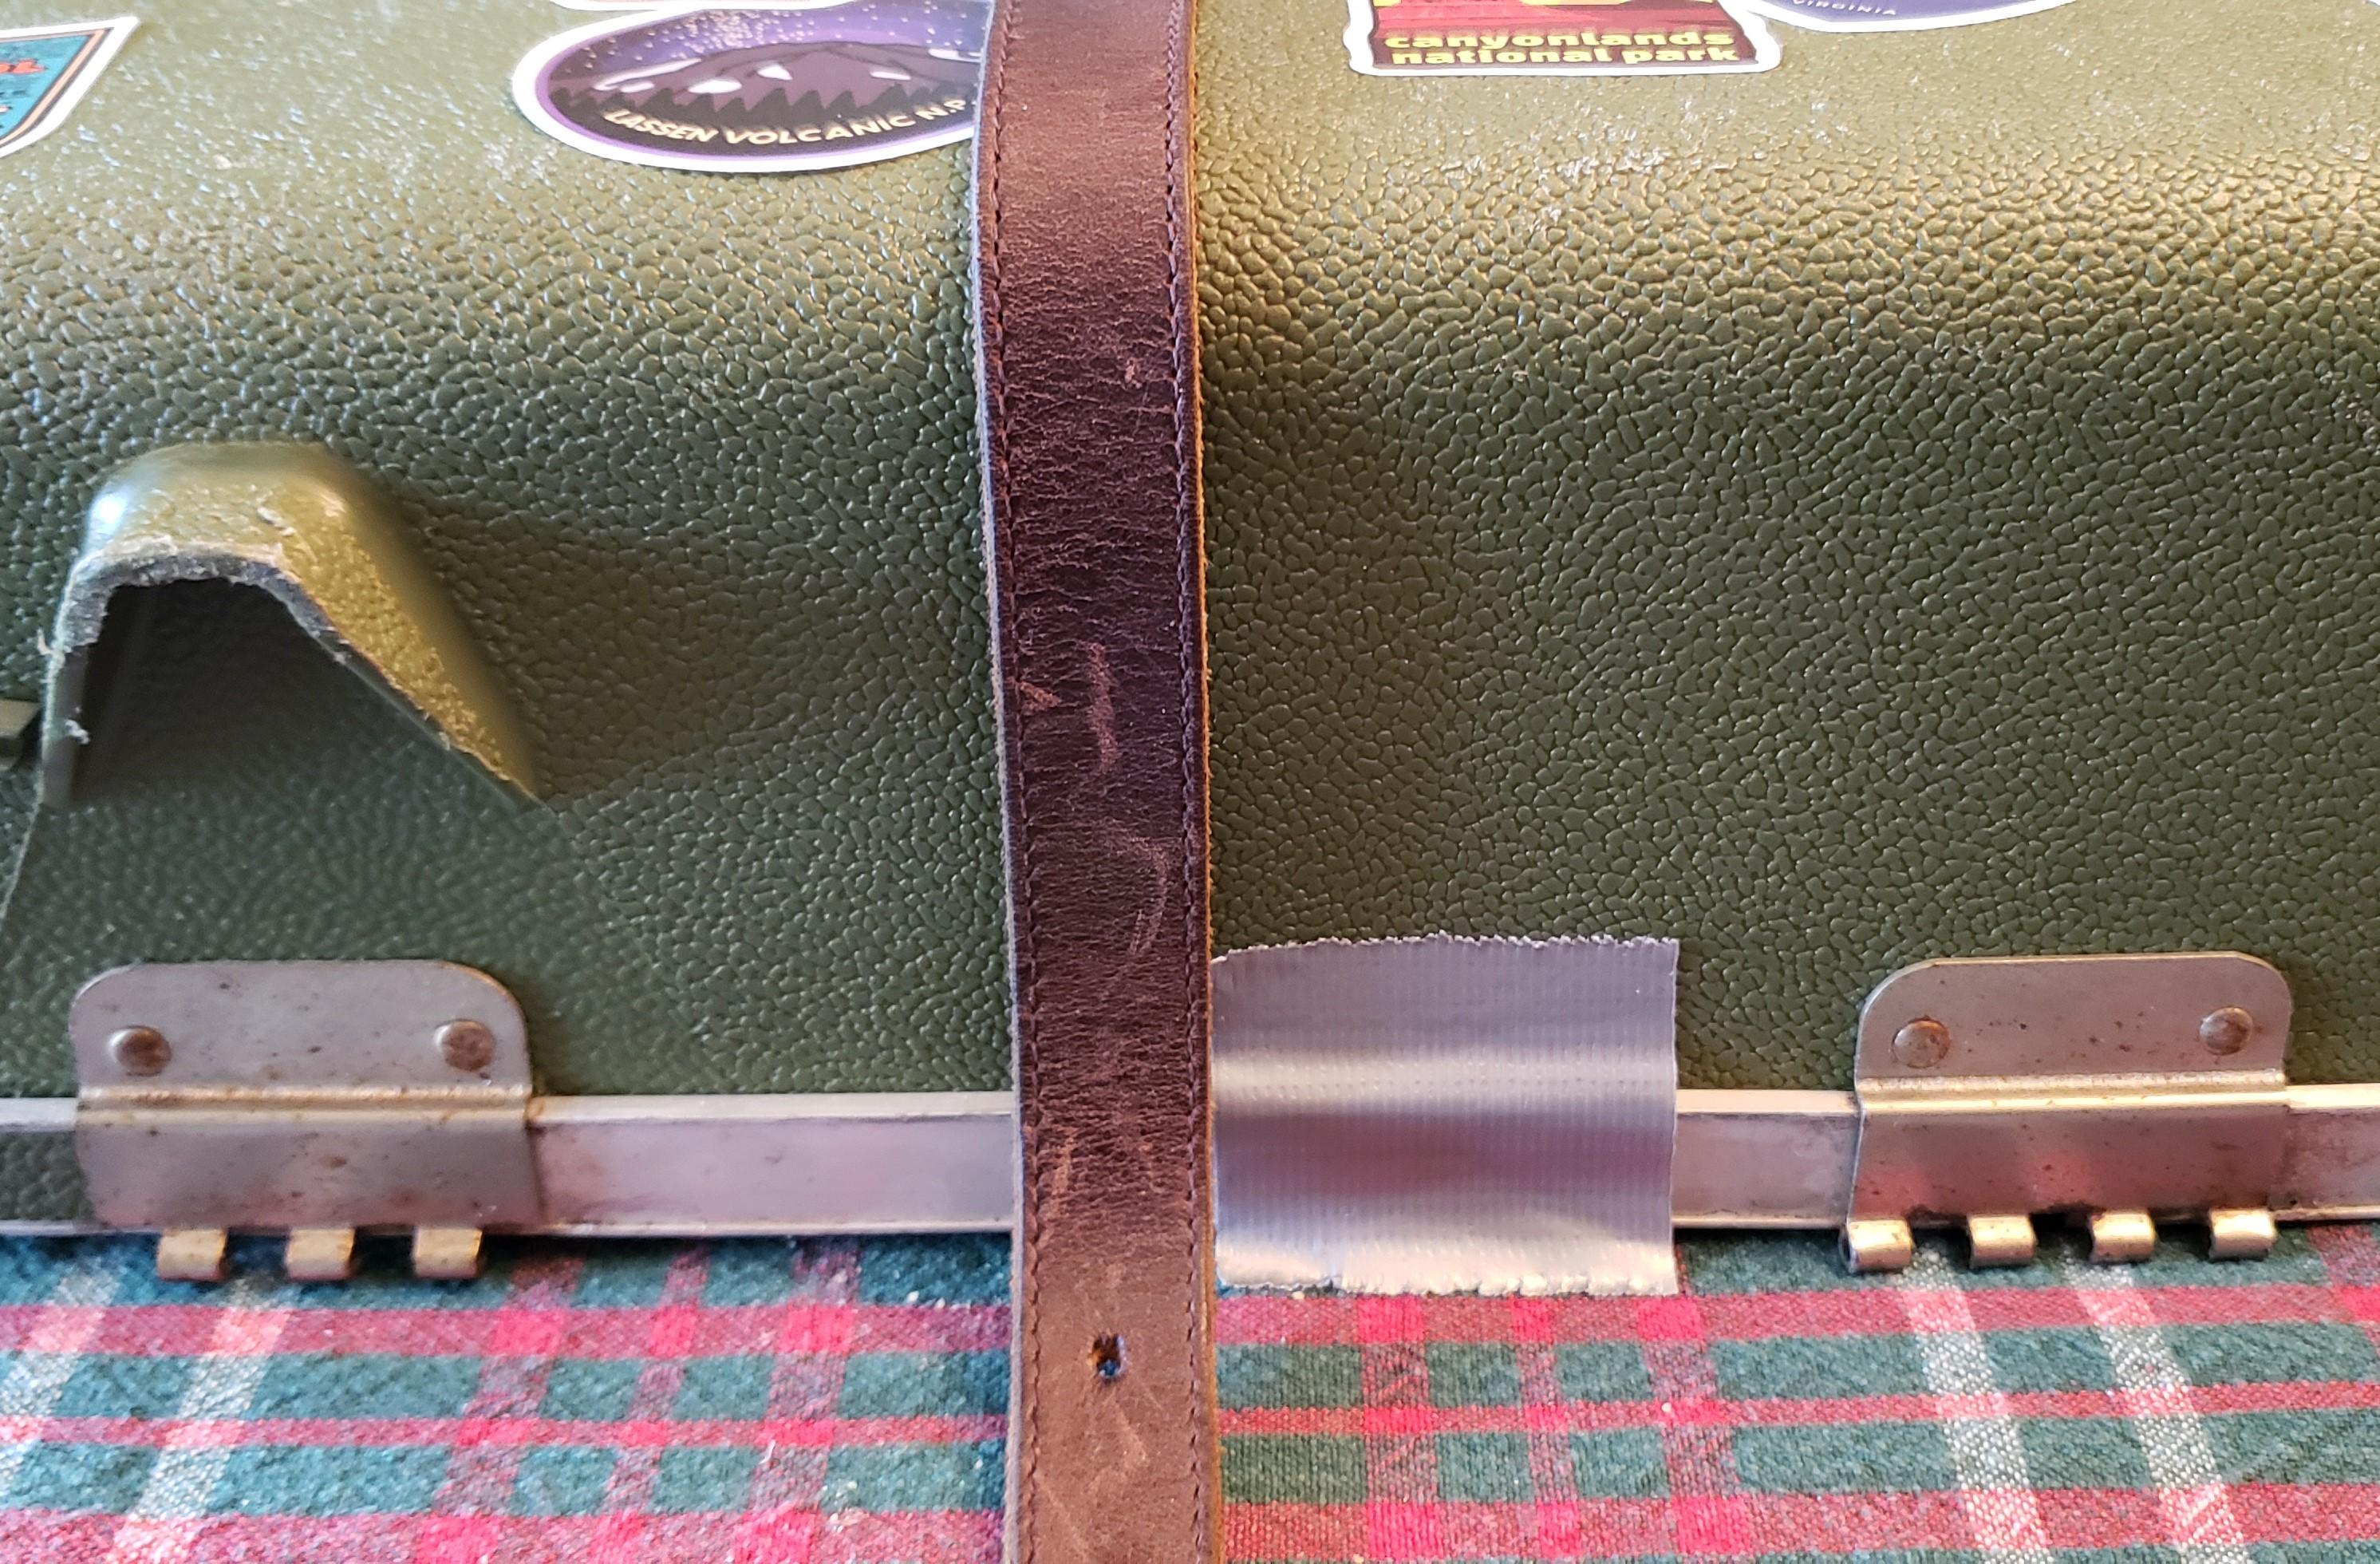
When I was settled on where the belt would be placed and the layout of the stickers, I began sticking each sticker onto the suitcase. This was such a fun moment!!
Once all the stickers were adhered, I used a binder clip to attach the belt to the top end only of the suitcase. The next step would be adhering the belt to the suitcase.
To help remember the placement of the belt for adhering, and because the bottom of the belt was not attached with a binder clip, I used duct tape as markings for where the edge of the belt would be laying across the suitcase.
Bring It All Together


To adhere the belt to the case, I used a hot glue gun. I started at the top of the case (where the binder clip was) and slowly, in sections, glued the belt to the suitcase.
After the entire belt was glued to the suitcase, I then used another binder clip for the bottom of the suitcase to keep it in place while drying. And I removed the duct tape.
The suitcase sat like this for a while, with the two binder clips holding the belt in place while drying.
After the belt on the outside of the suitcase was dry and set, I used hot glue again to adhere a portion of the belt on both ends to the inside of the suitcase. Once all was dry and set, the binder clips were removed.
Find the Perfect Spot


Knowing the size of my suitcase and the perfect spot in my home to hang it, I found a double hook wall fixture to hold the suitcase by its handle on the wall.
Take time to measure your suitcase's handle when looking for a way to hang it on the wall. This hook worked very well for the size of my suitcase.
That's a Wrap!


From the initial idea to the final product, this project has been such a fun journey!! I've enjoyed finding the perfect suitcase, adding my personal touches to it, designing the layout, and putting all the pieces together. And I can't wait to add more National Park stickers to my suitcase as time moves along!
Seeing this suitcase on the wall in my home, nestled between two small paintings, brings me joy and conjures up memories of my National Park travels so far. I walk past this every day and it causes me to pause for a moment to reflect upon the different Parks I've been blessed to experience.
Best of all, this special project - much like its original design - travels! I can easily take this suitcase with me as I might move to a new home. Or relocate it to another place I want to hang it in my home.
Thanks for following along! I hope my project experience inspires you to create something just as amazing and special as this is to me!
Bon voyage!
See It in Action

Here's a visual diary of the project!