Transformer Paper Plane
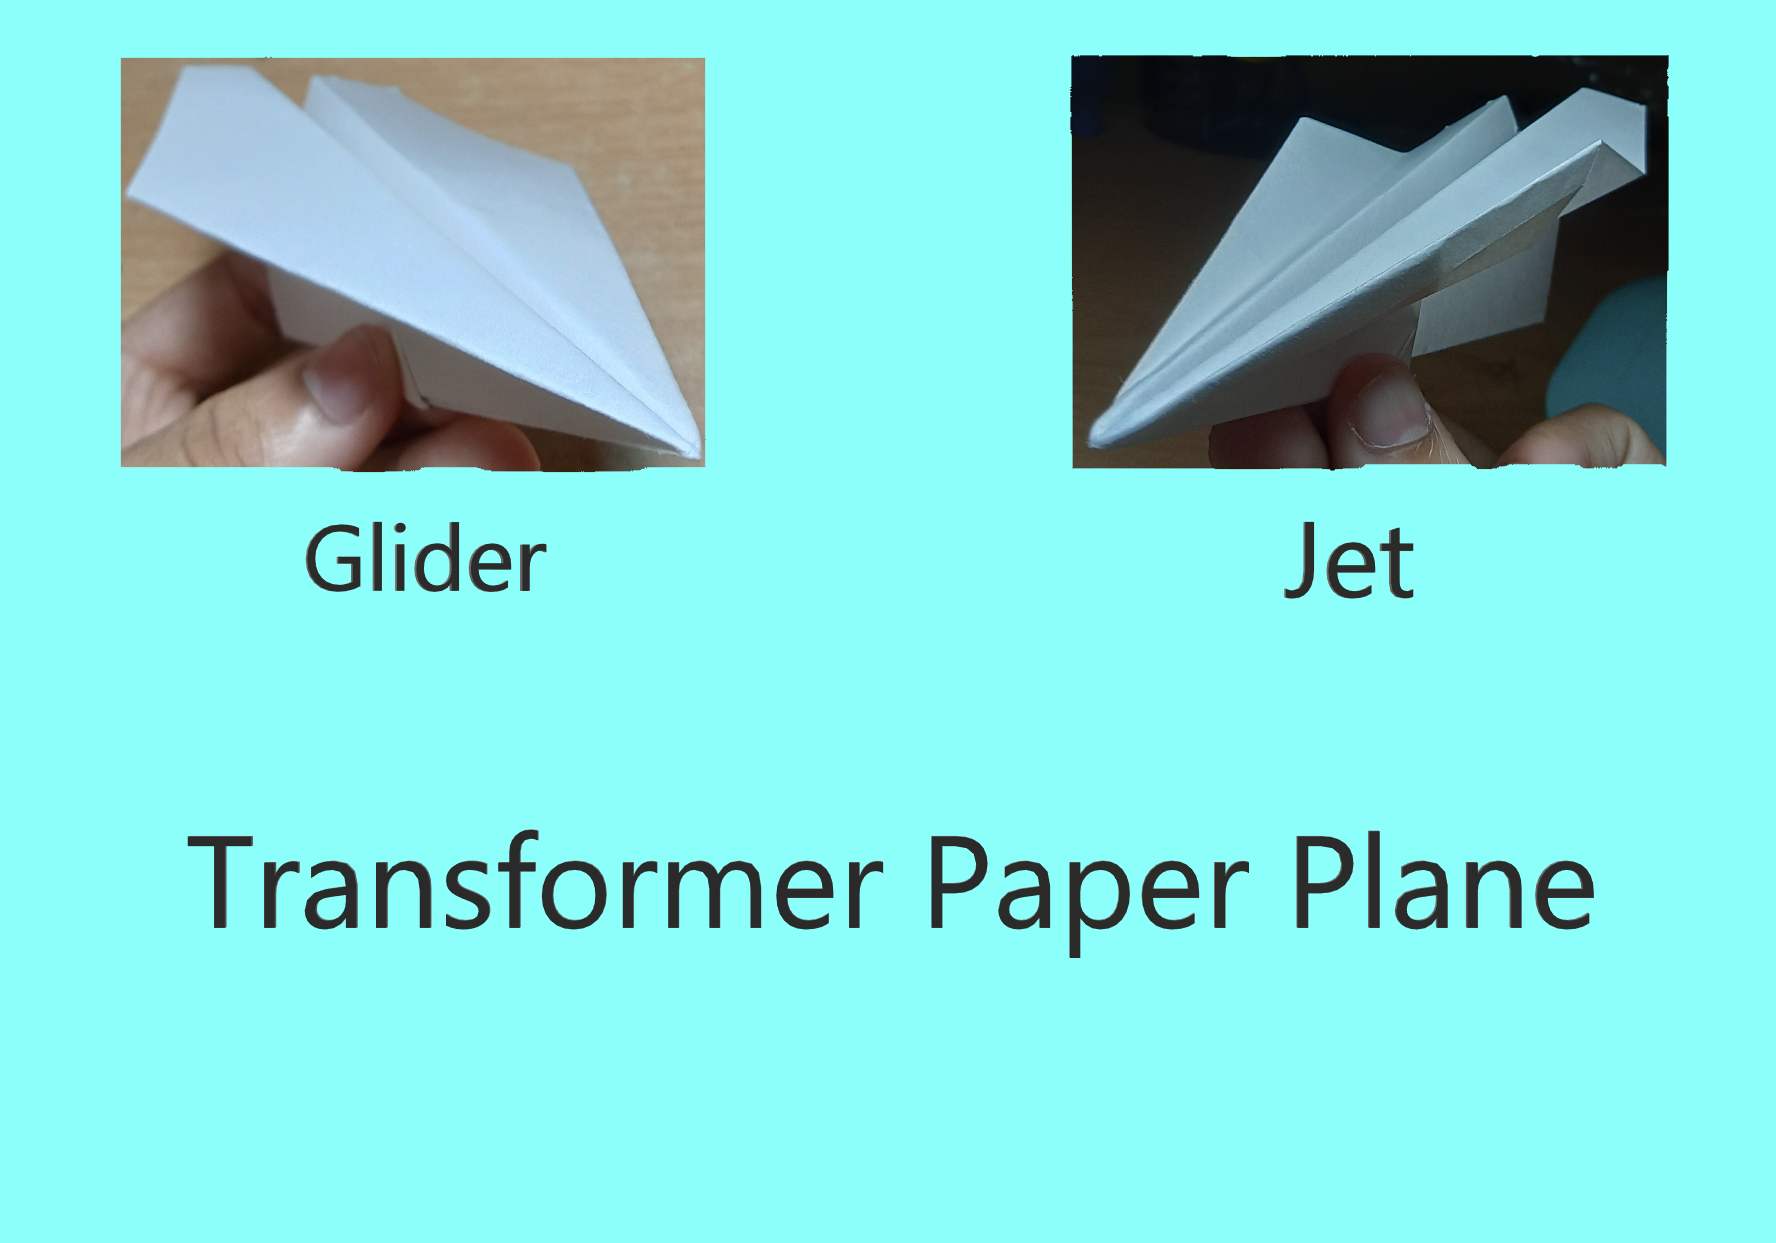
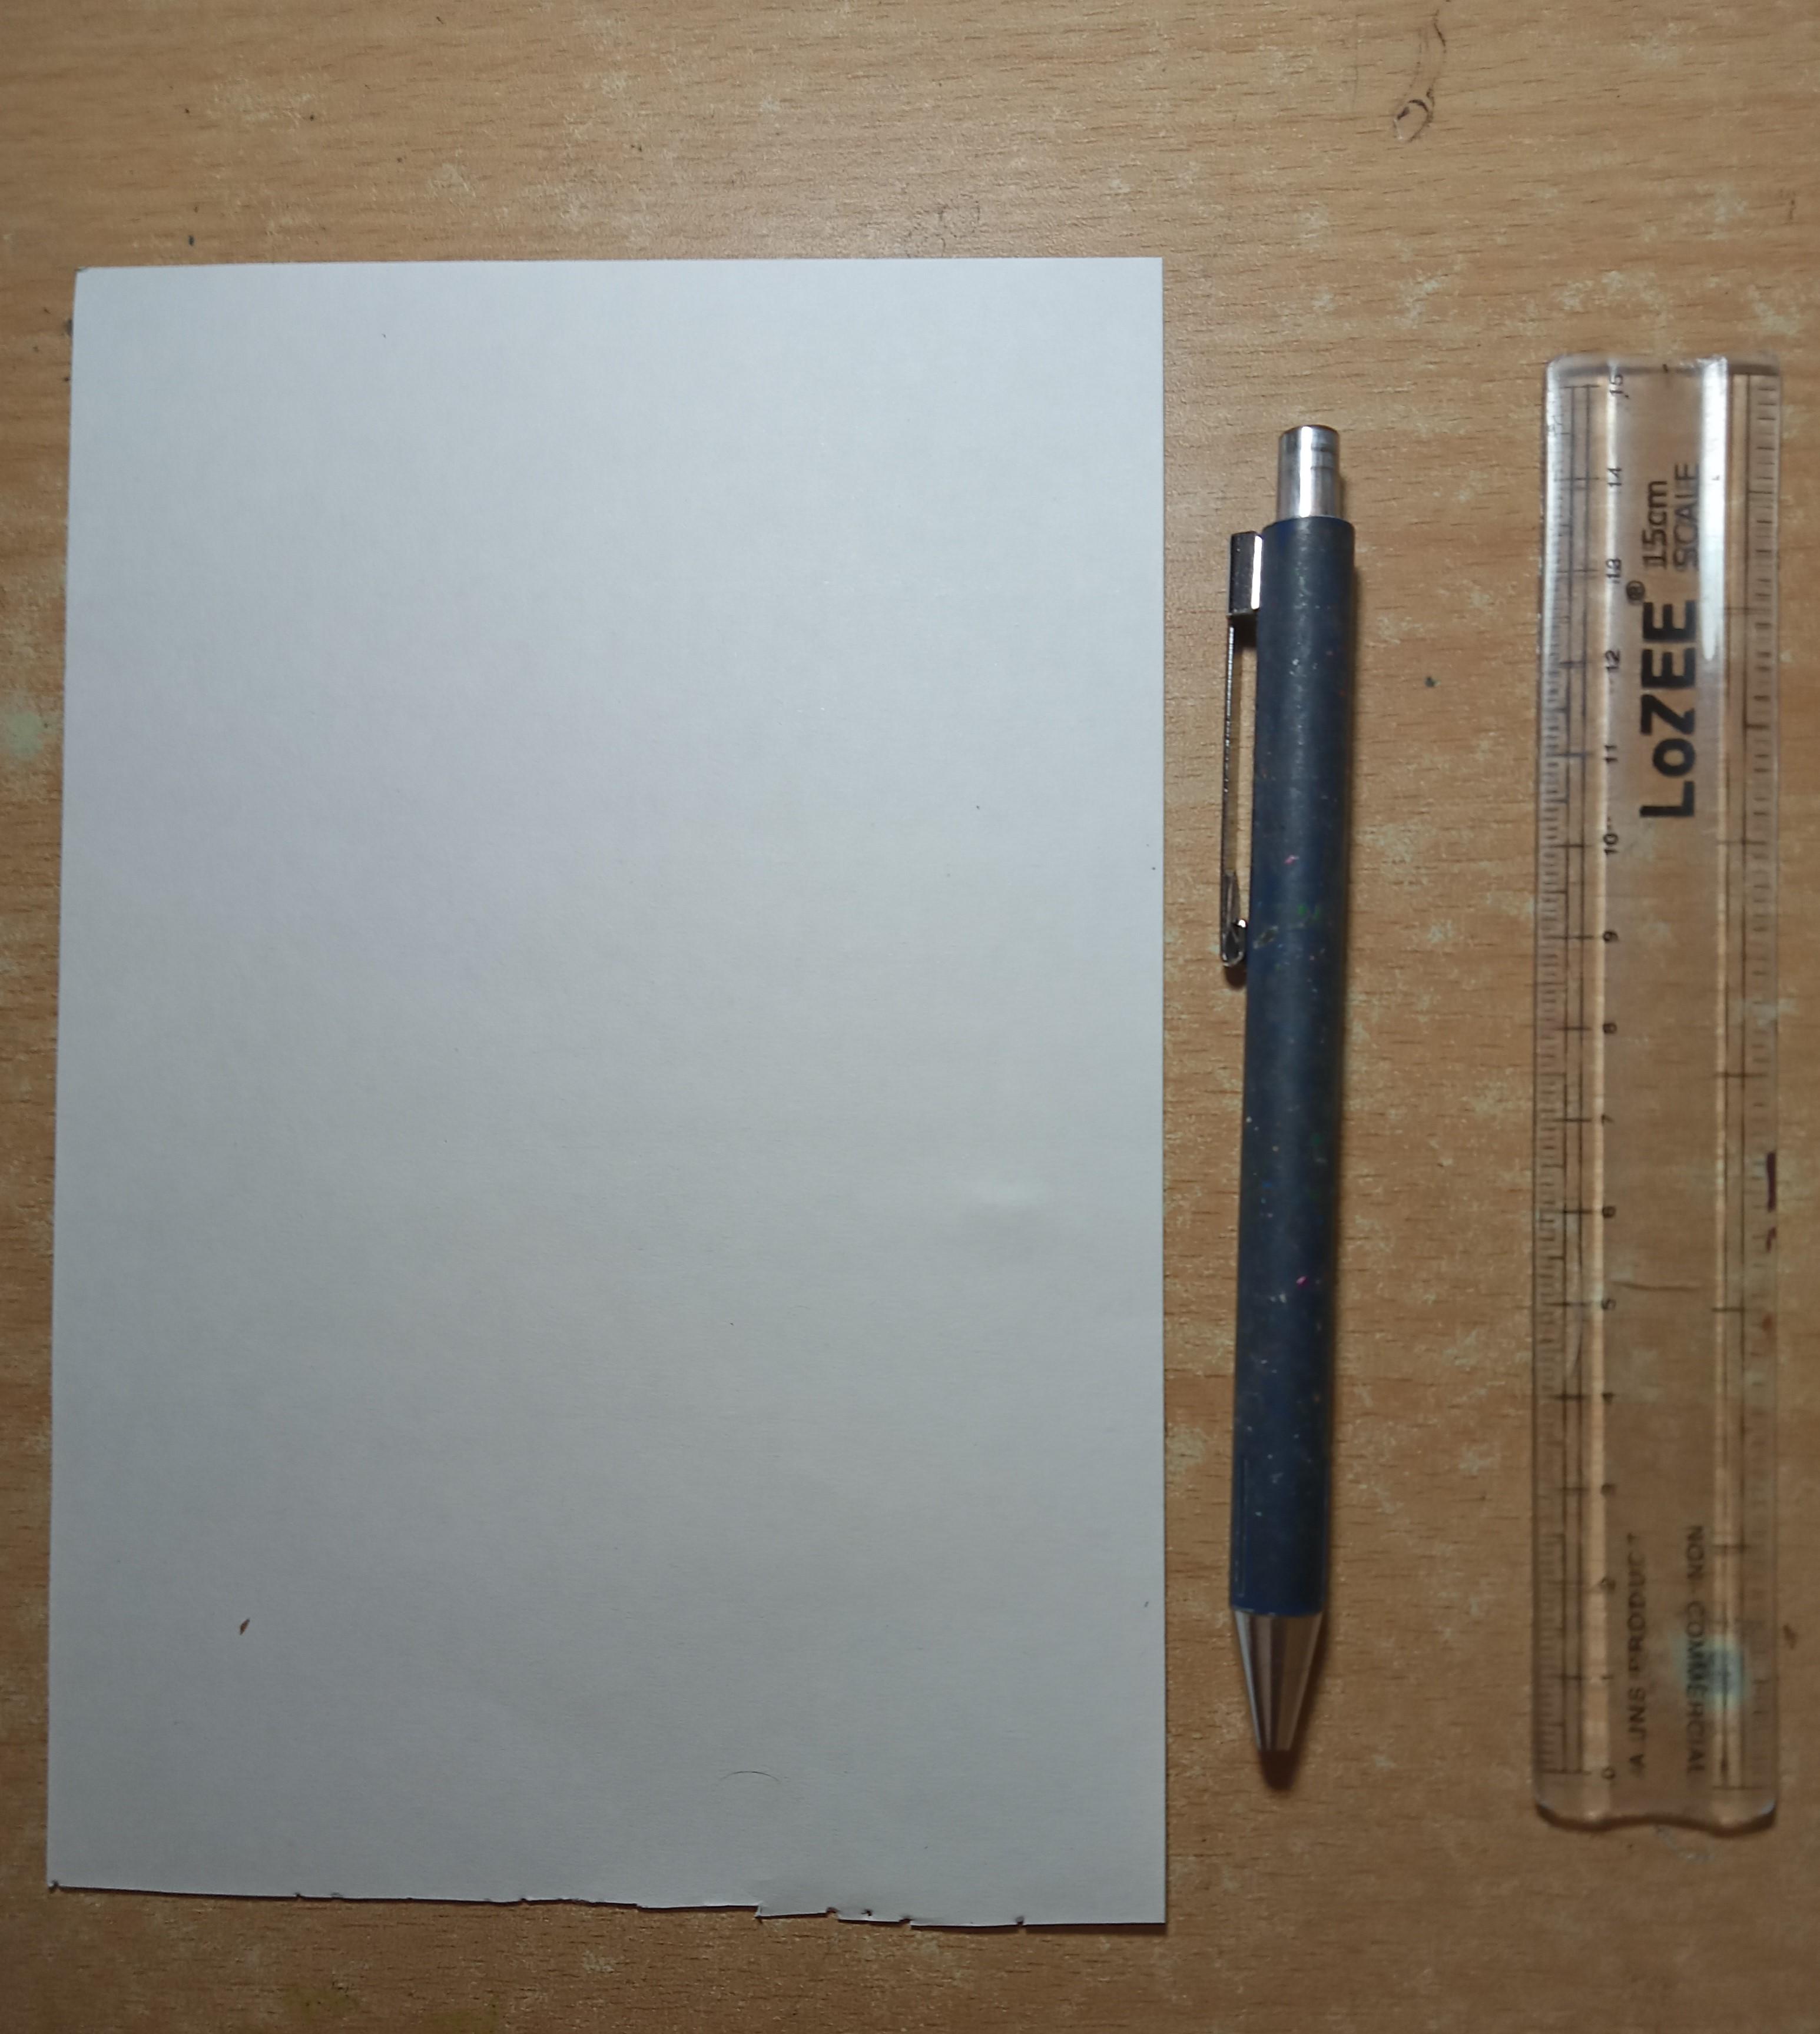
Hello ! In this instructable I will show you how to make a transformer paper plane. It is very easy to make and fun to play with ! All you need to do is gather a rectangular sheet of paper, a pen, a ruler and follow the steps correctly. Make sure that the paper is not too thick or too thin. For this tutorial, I will be using a white paper for your understanding. You may gather sheets by tearing off pages from used notebooks. Hence, don't waste white paper :)
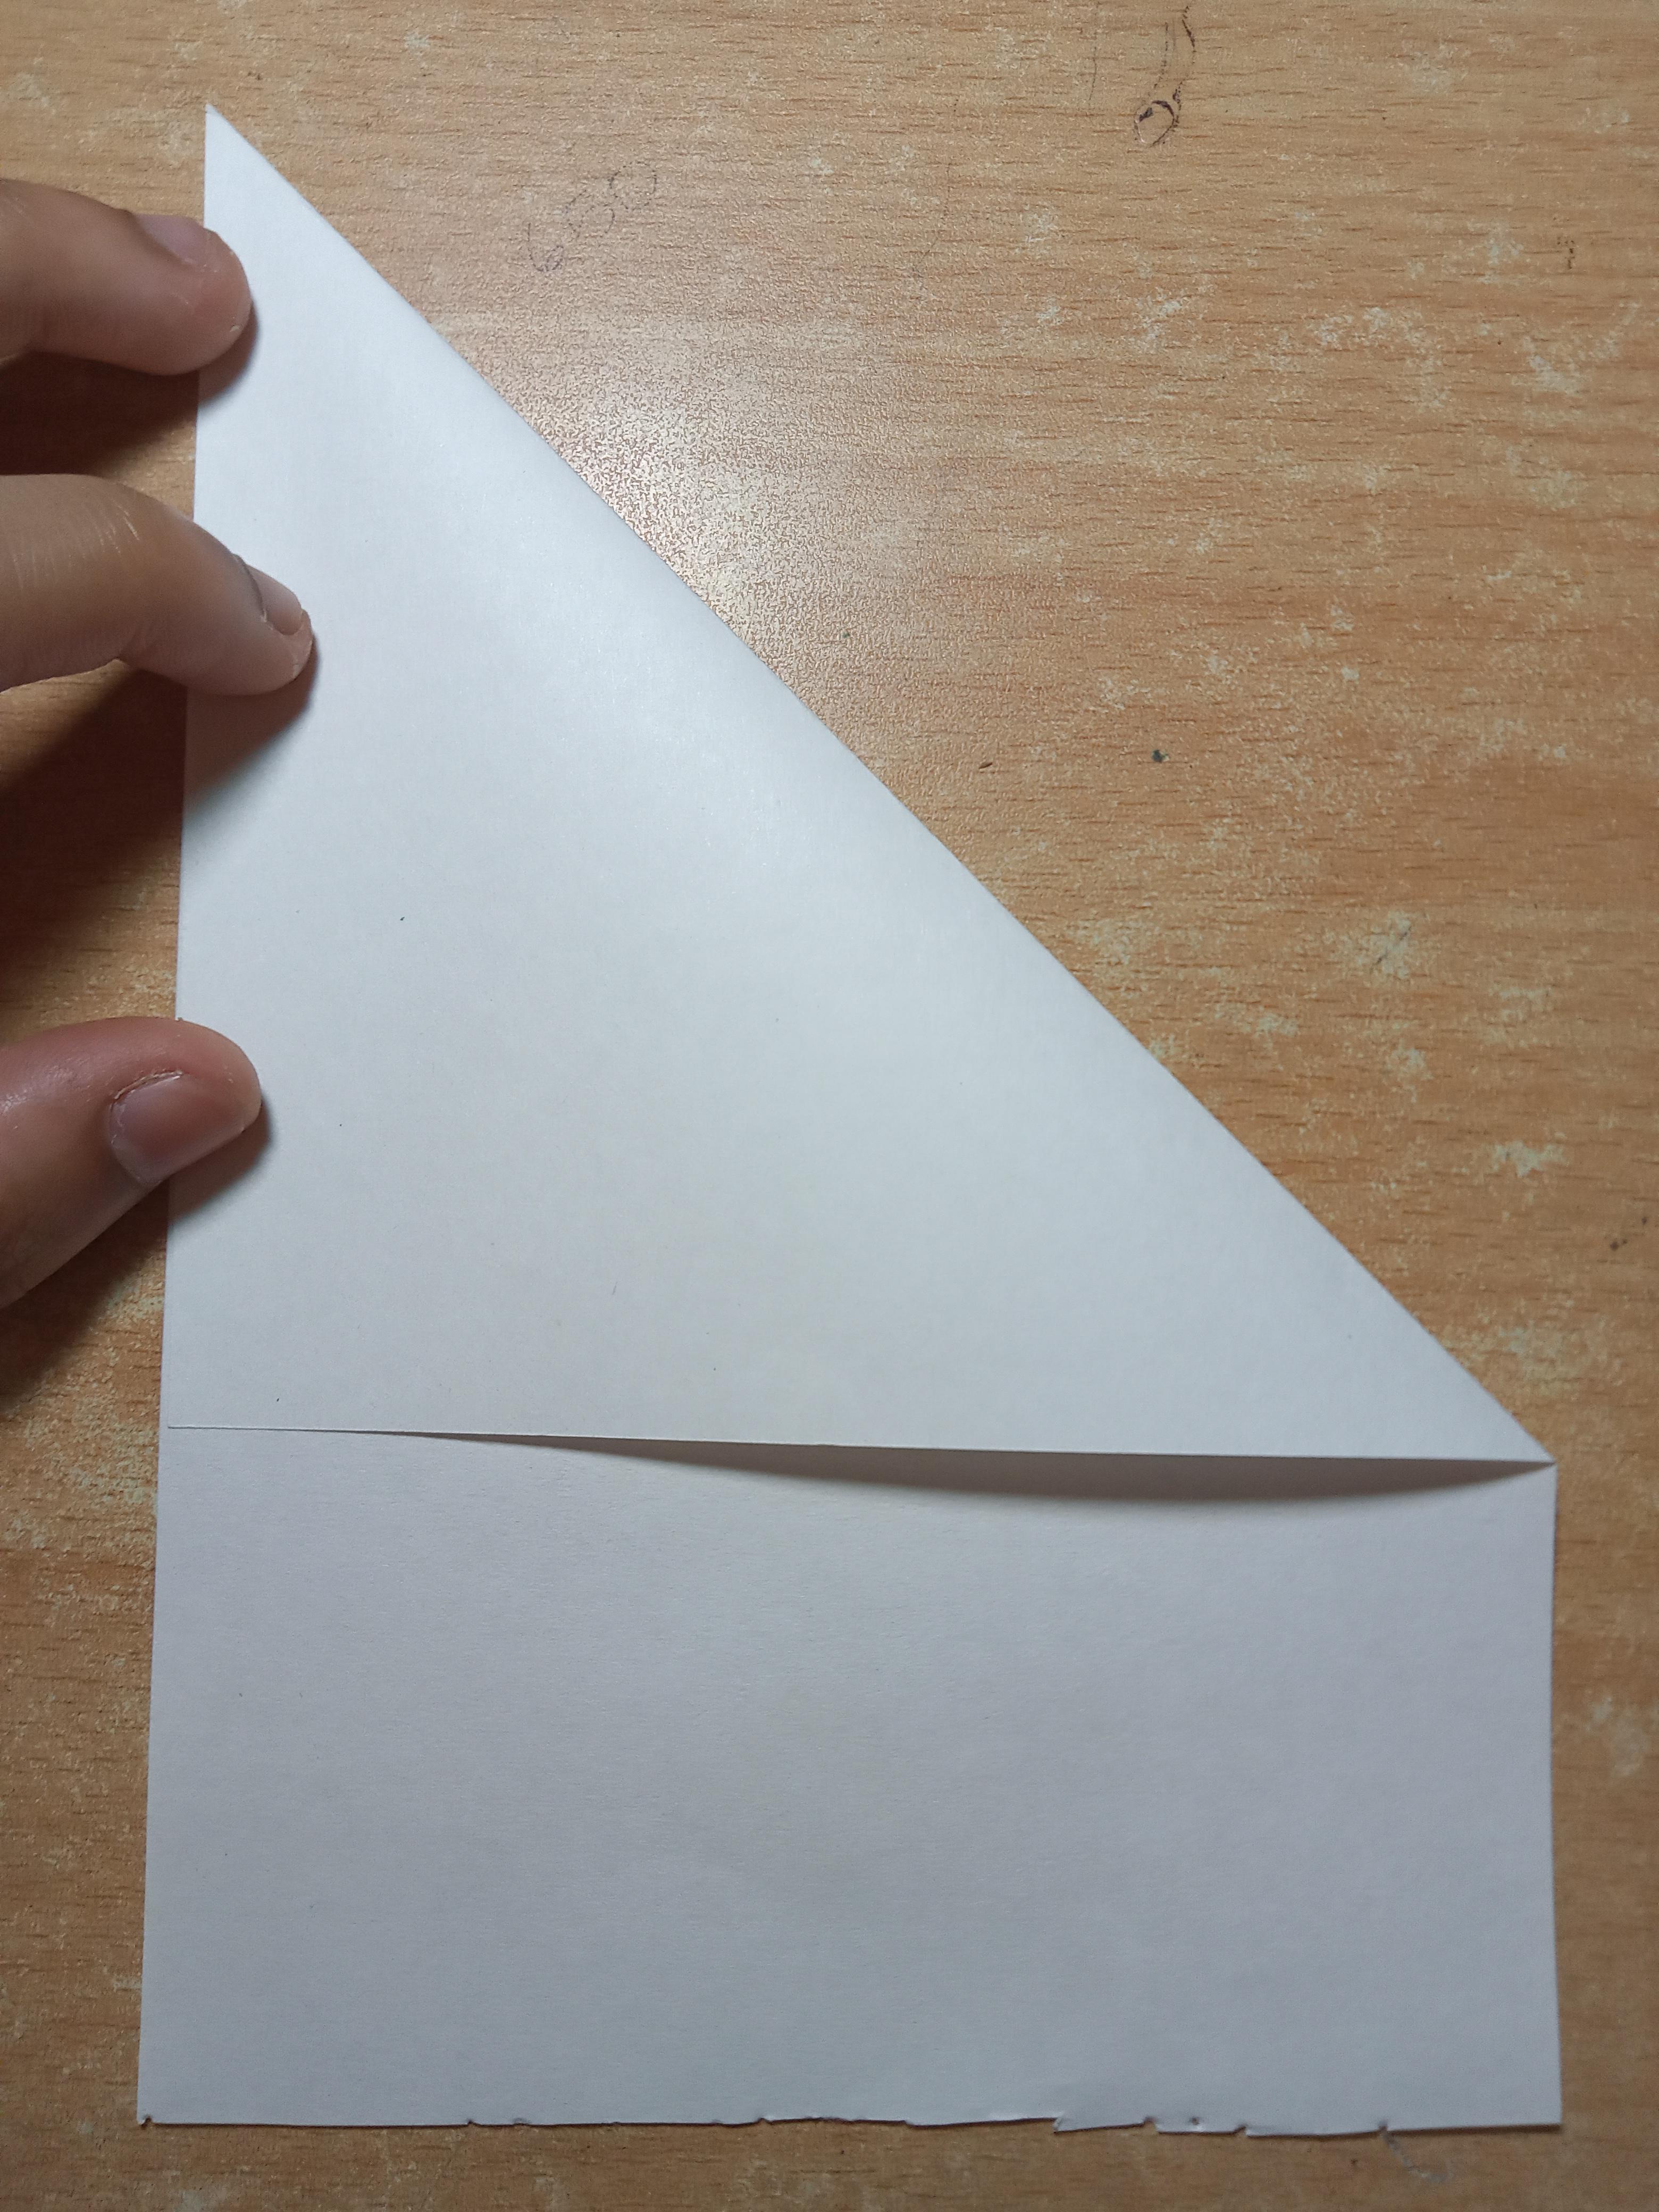
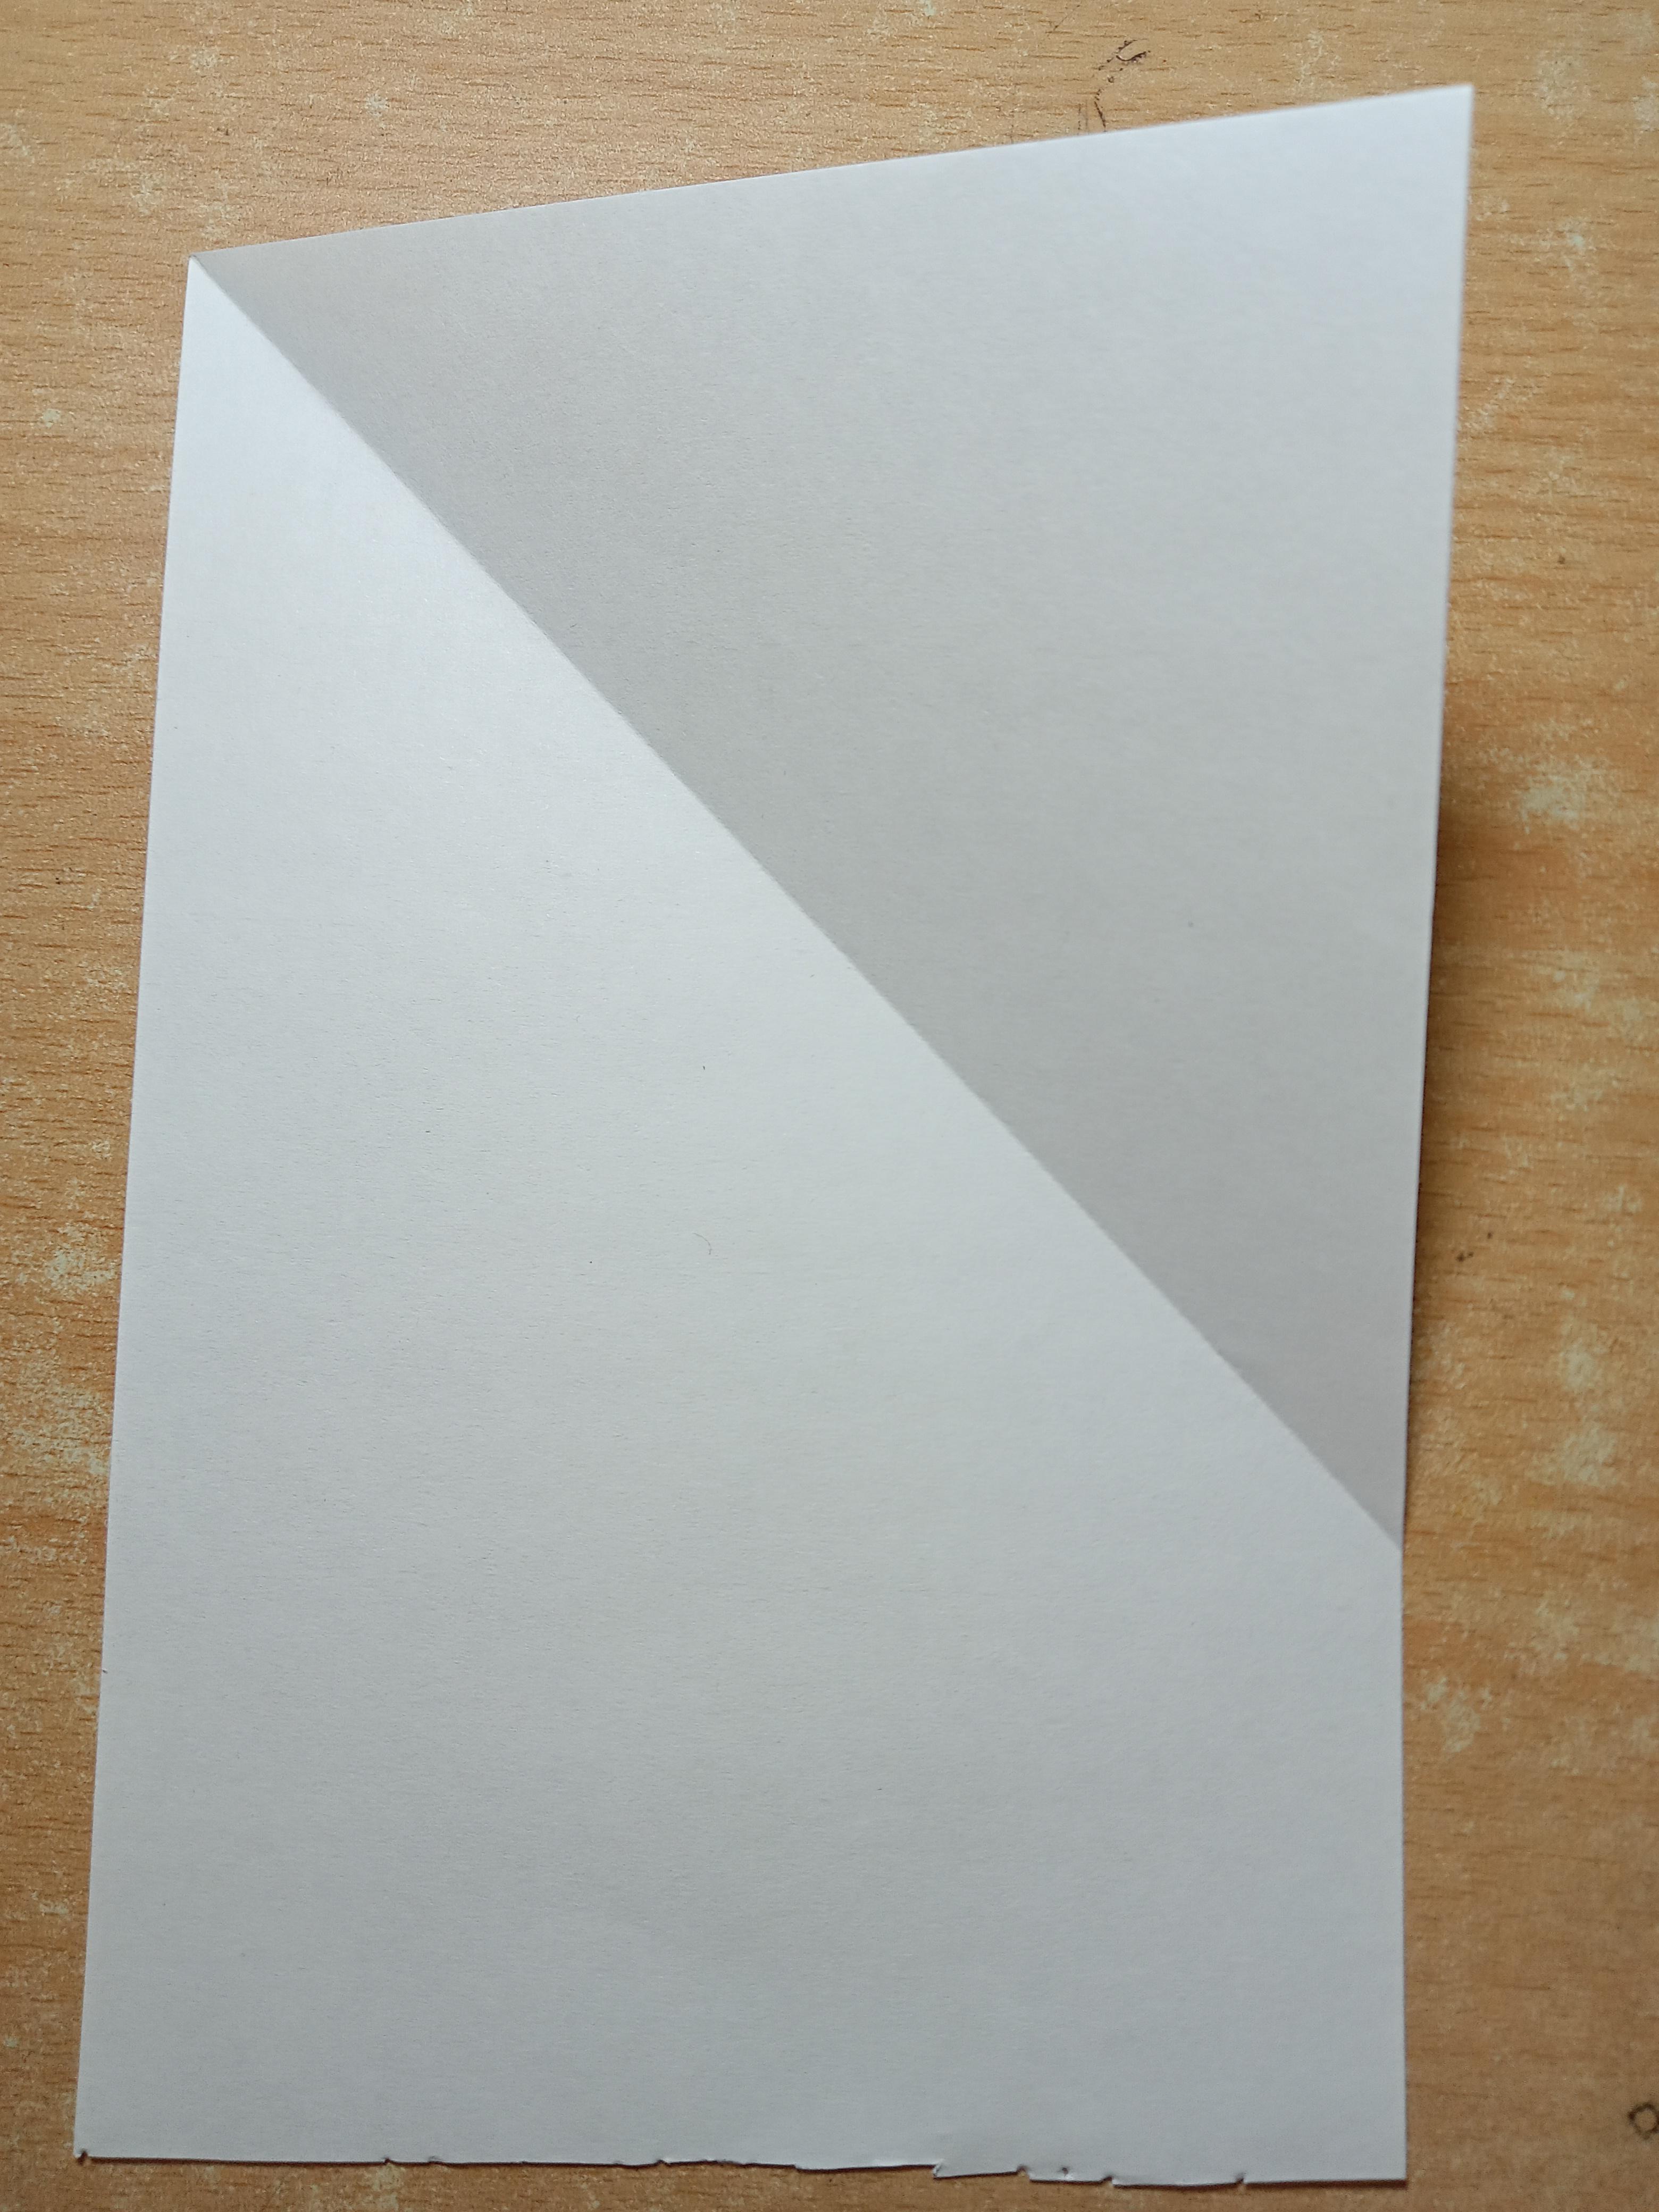
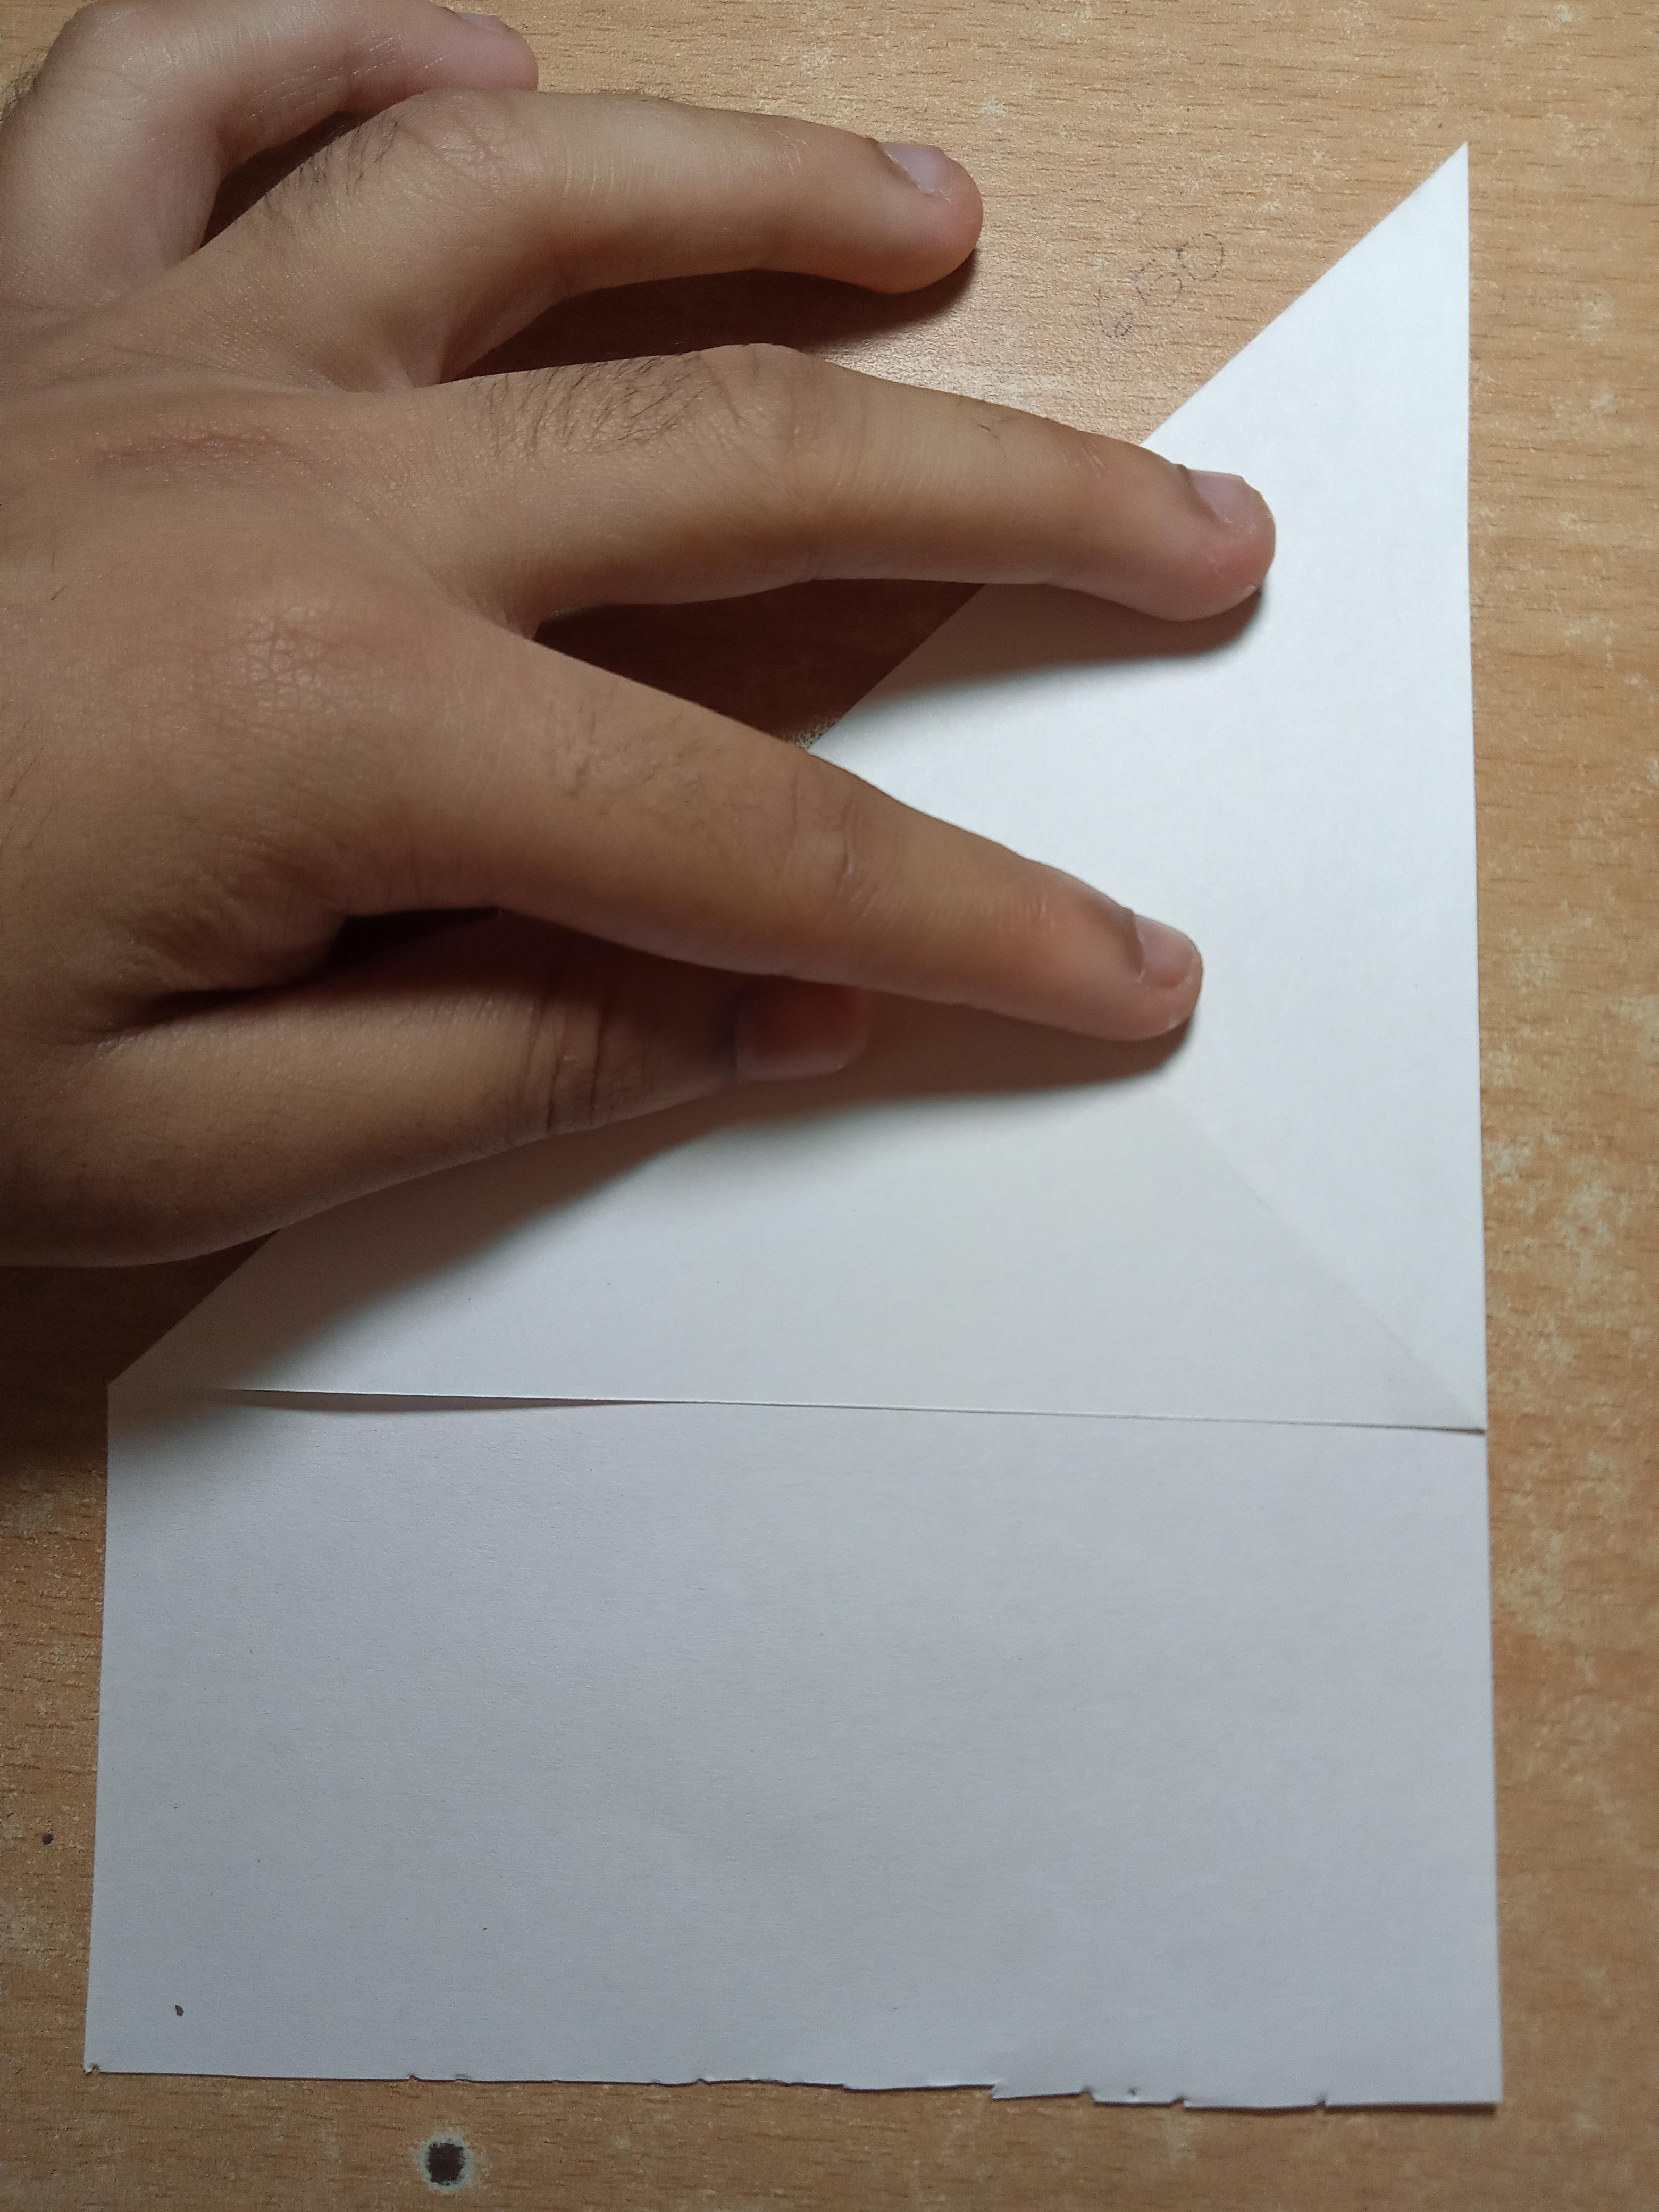
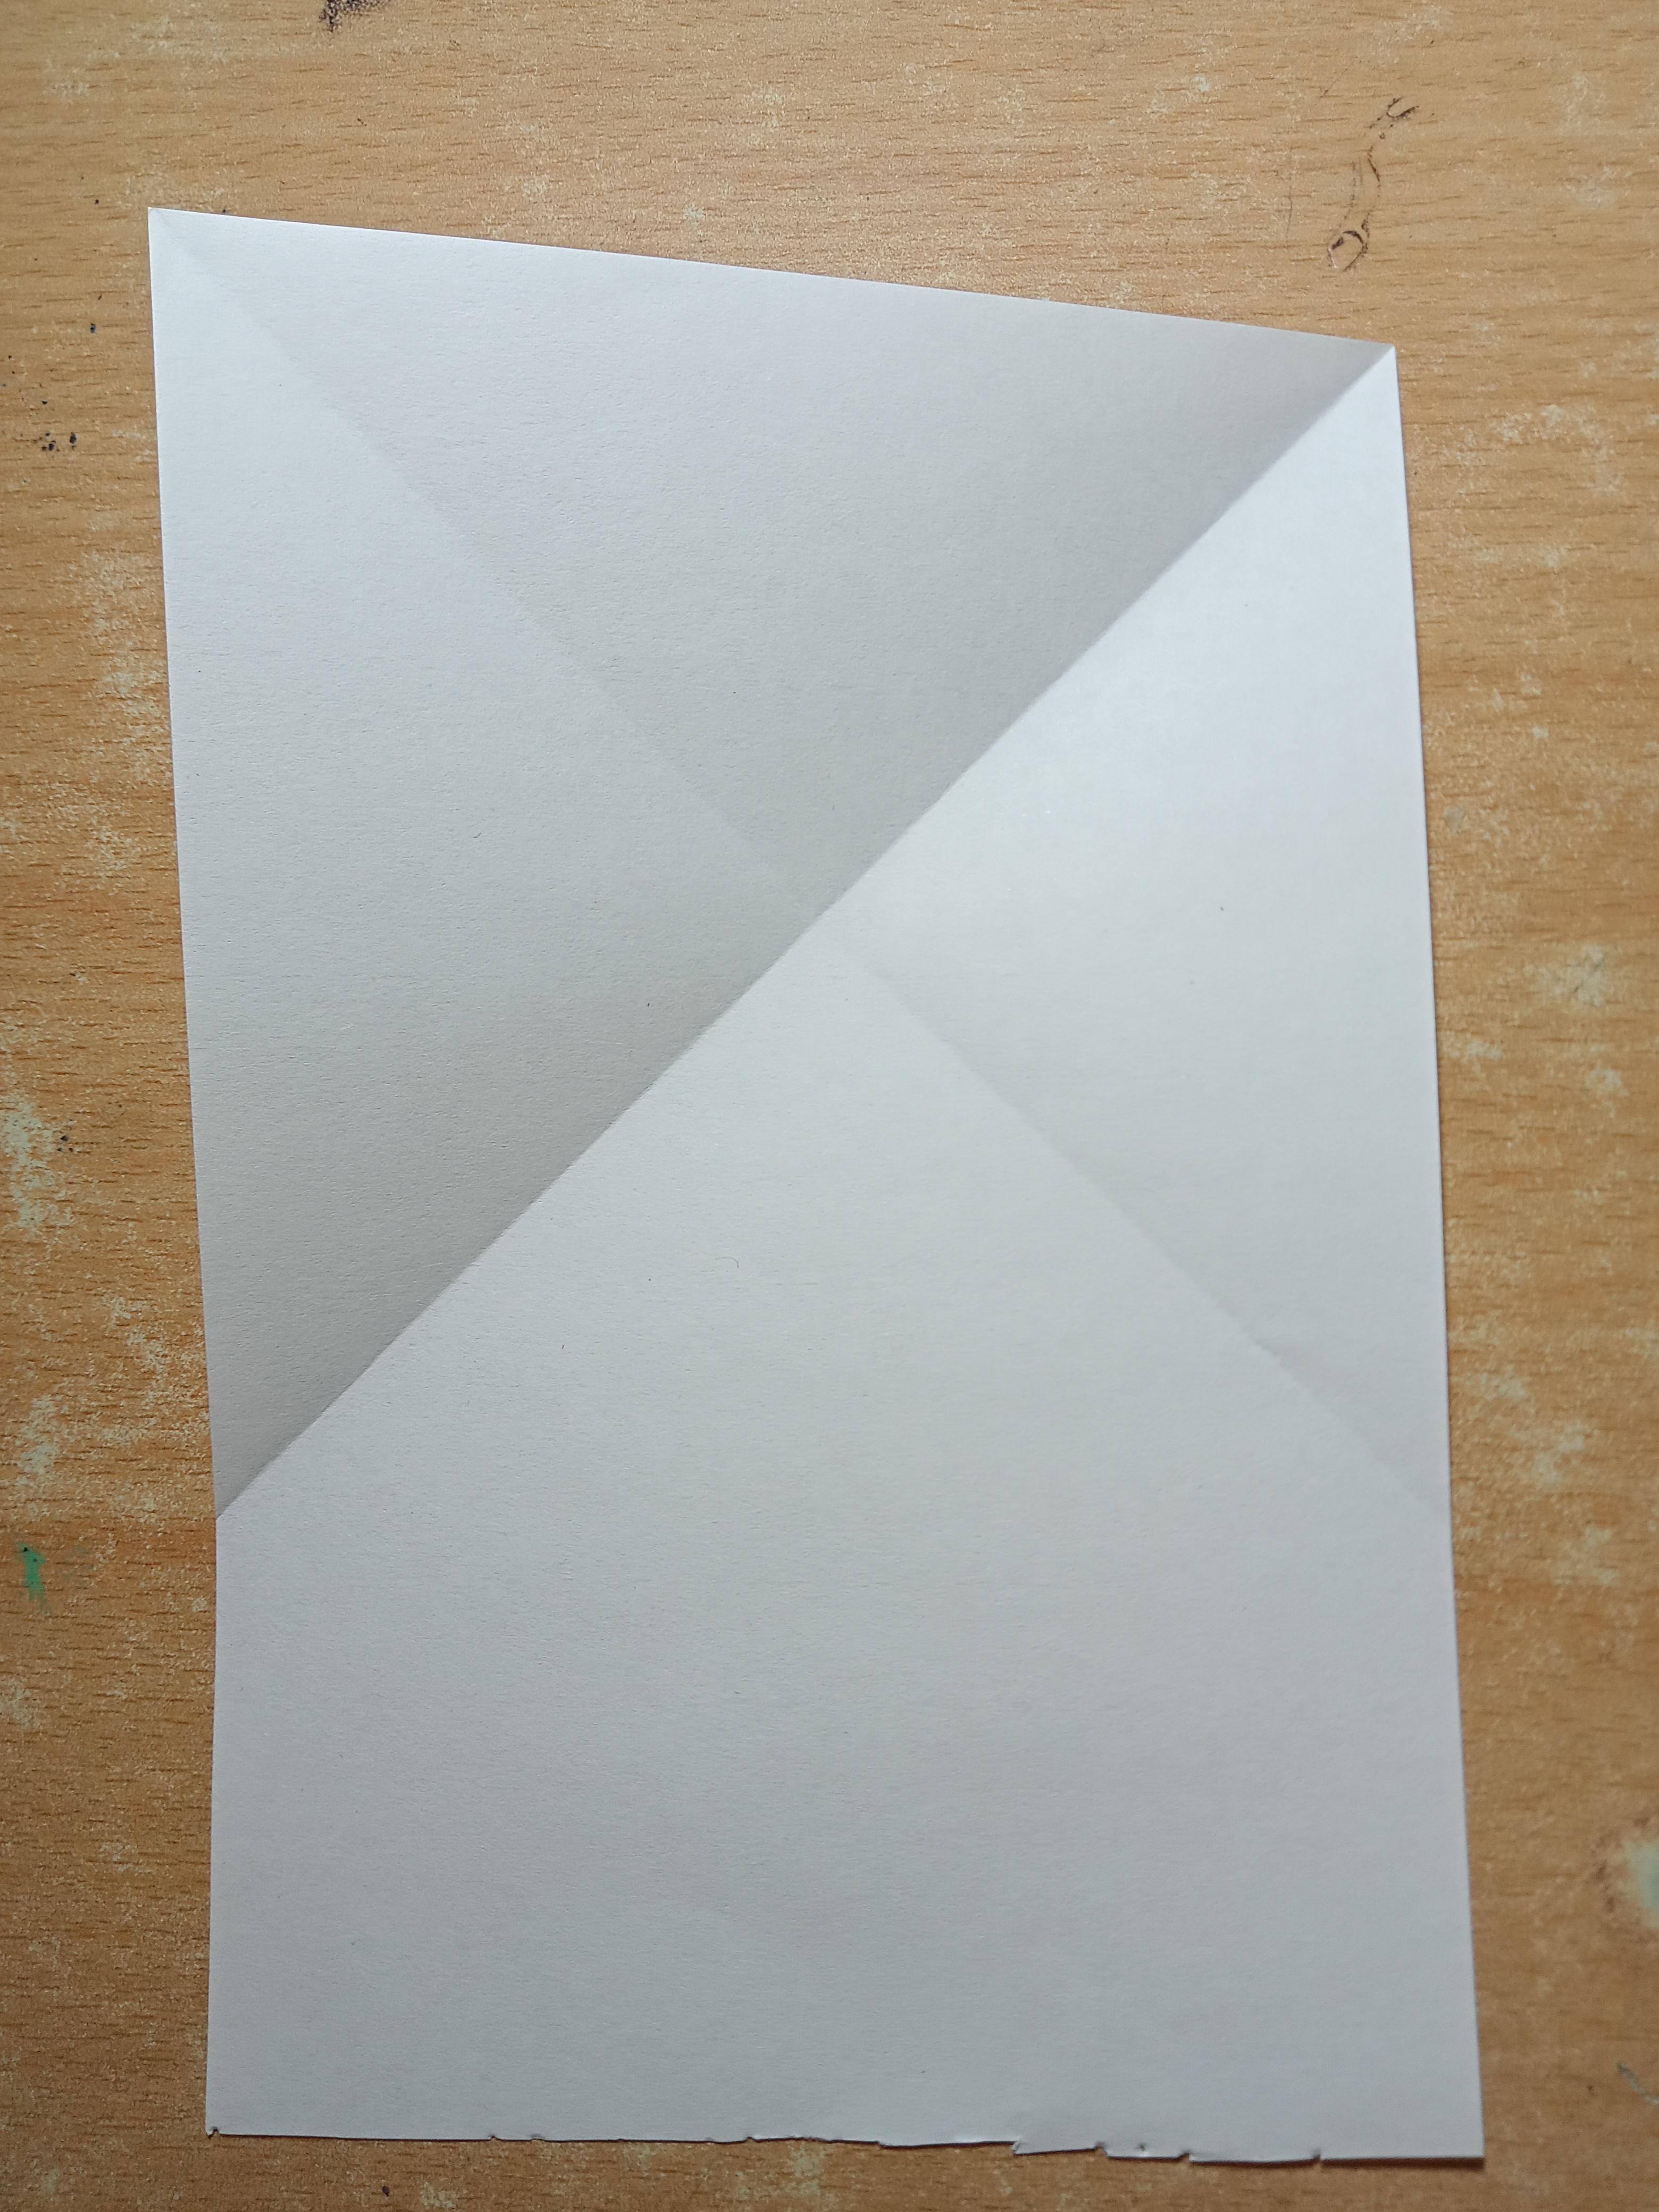
- Grab your rectangular sheet of paper.
- Now, hold the top-right corner of the sheet and fold it in such a way that the top - side of the paper meets with the left side of the sheet.
- Press down the fold such that when you unfold it, you will see a nice crease.
- Repeat the same for the other side.
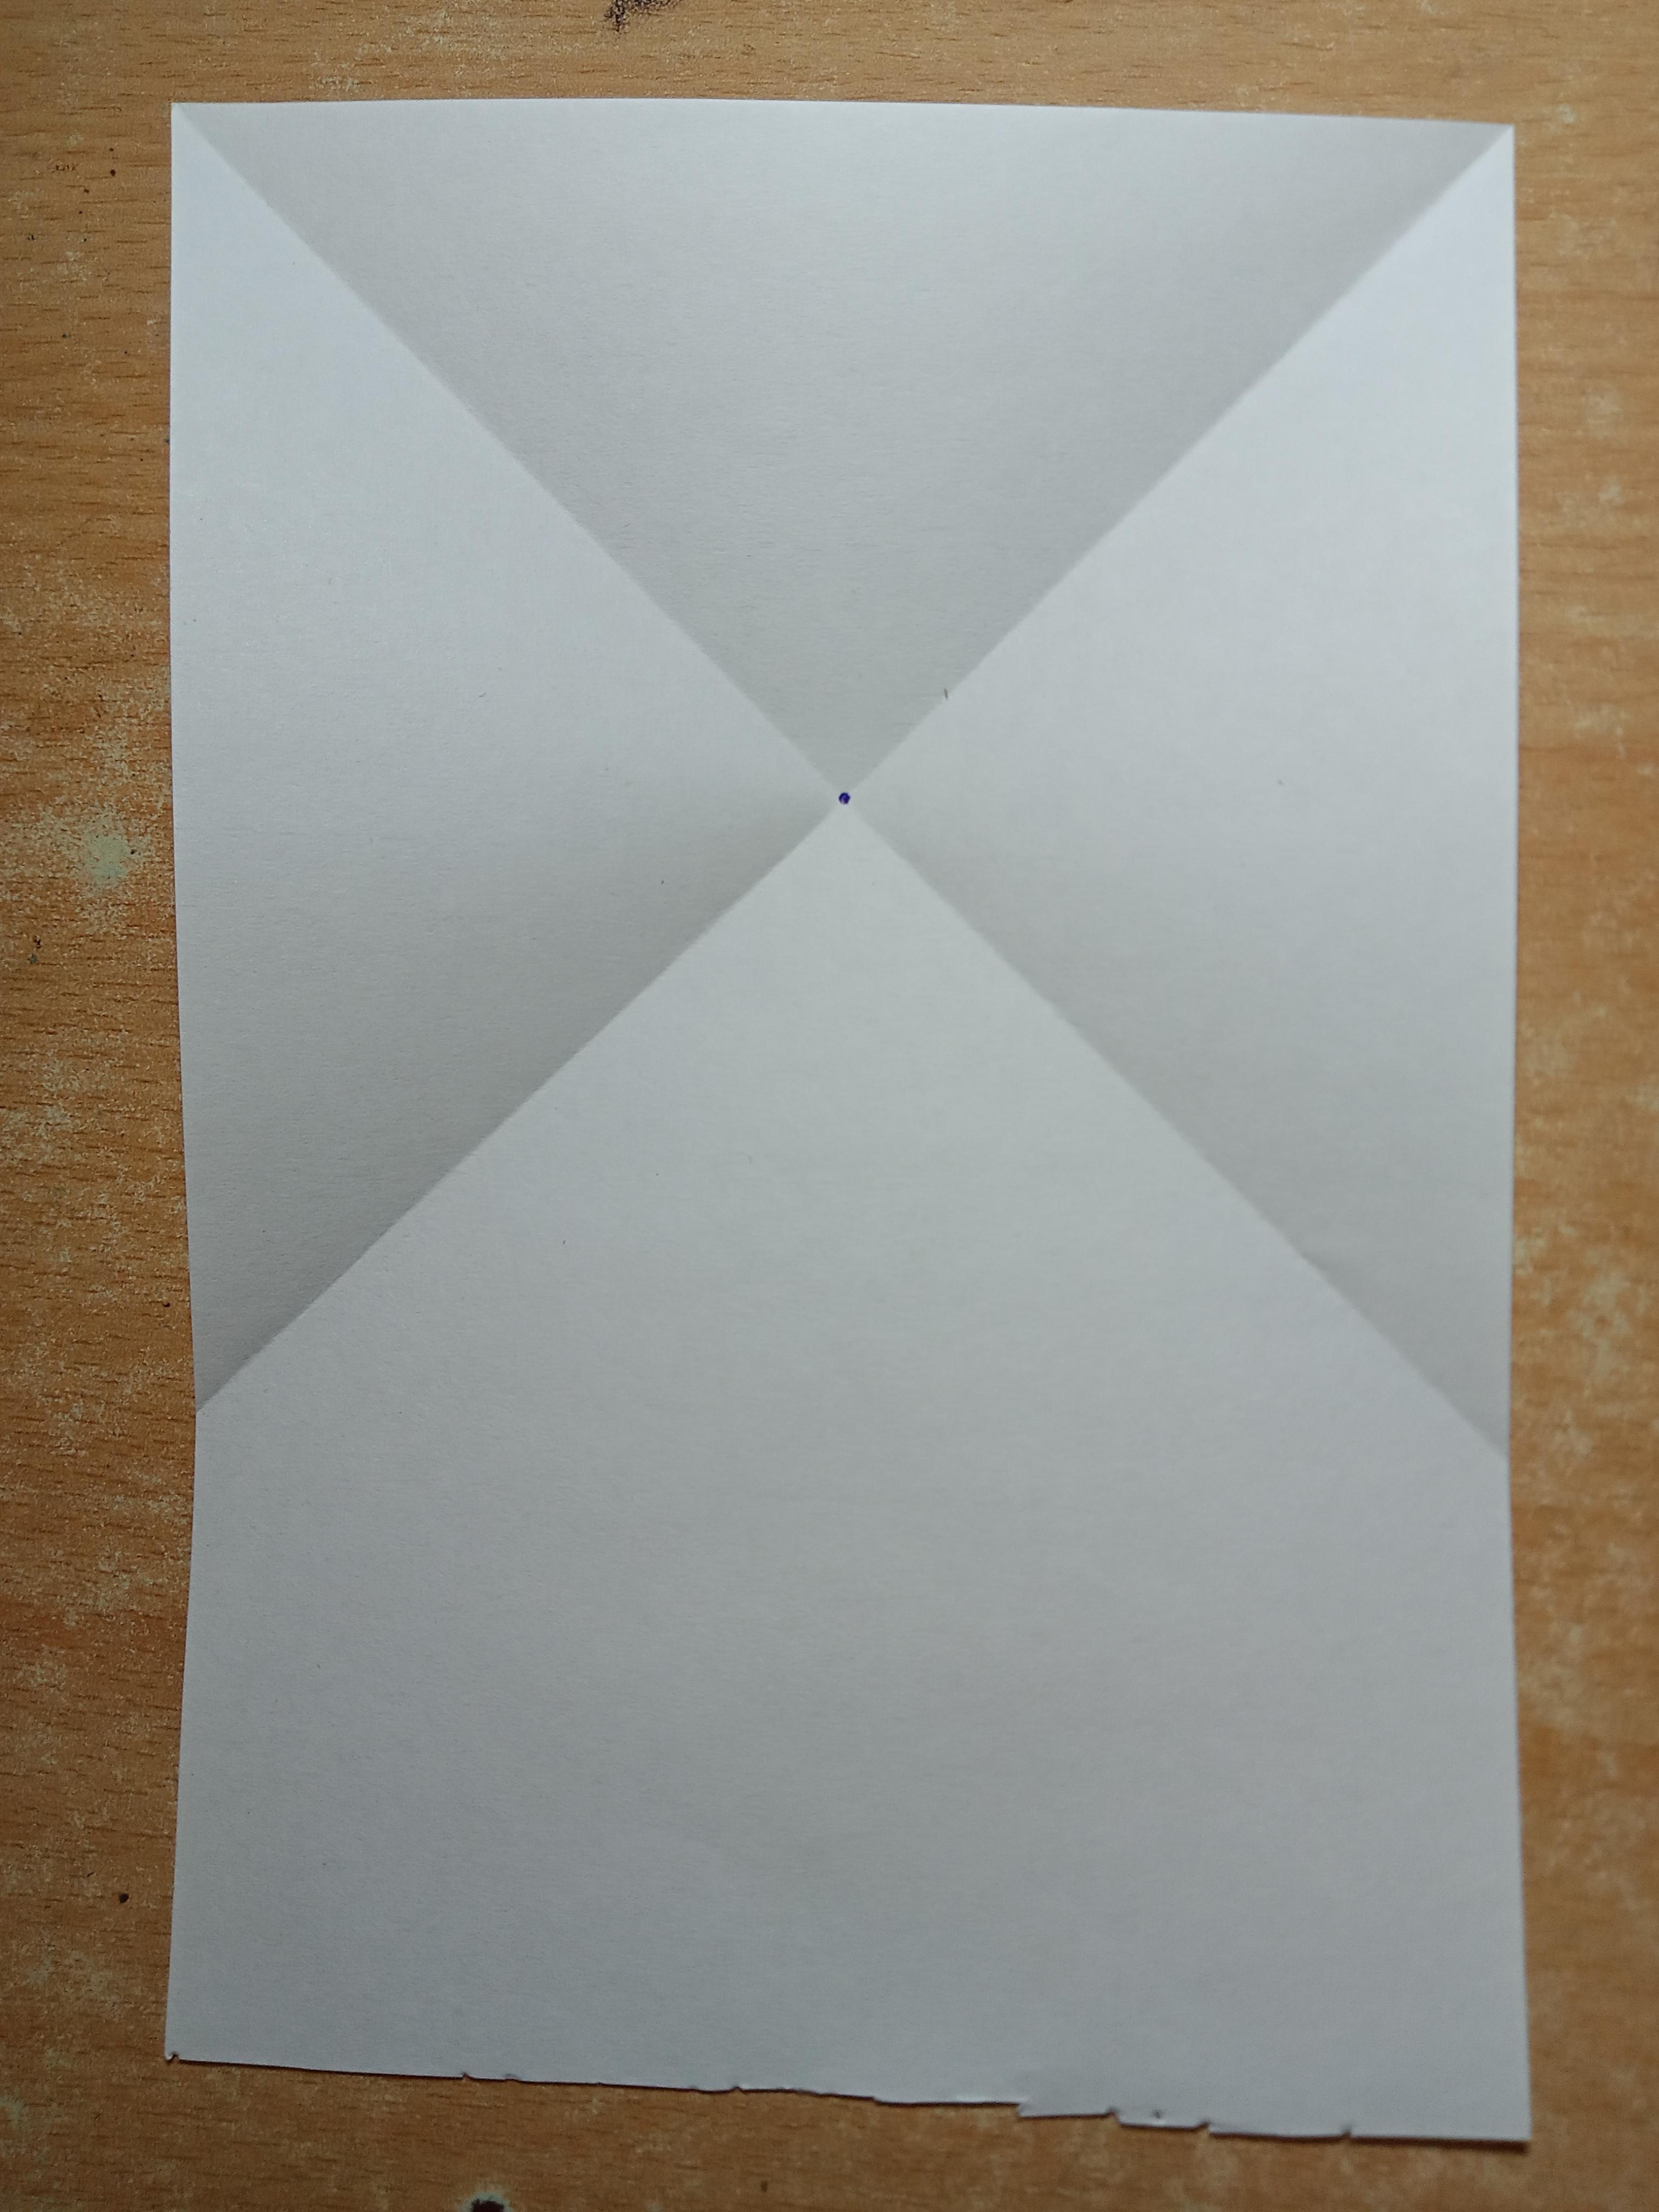
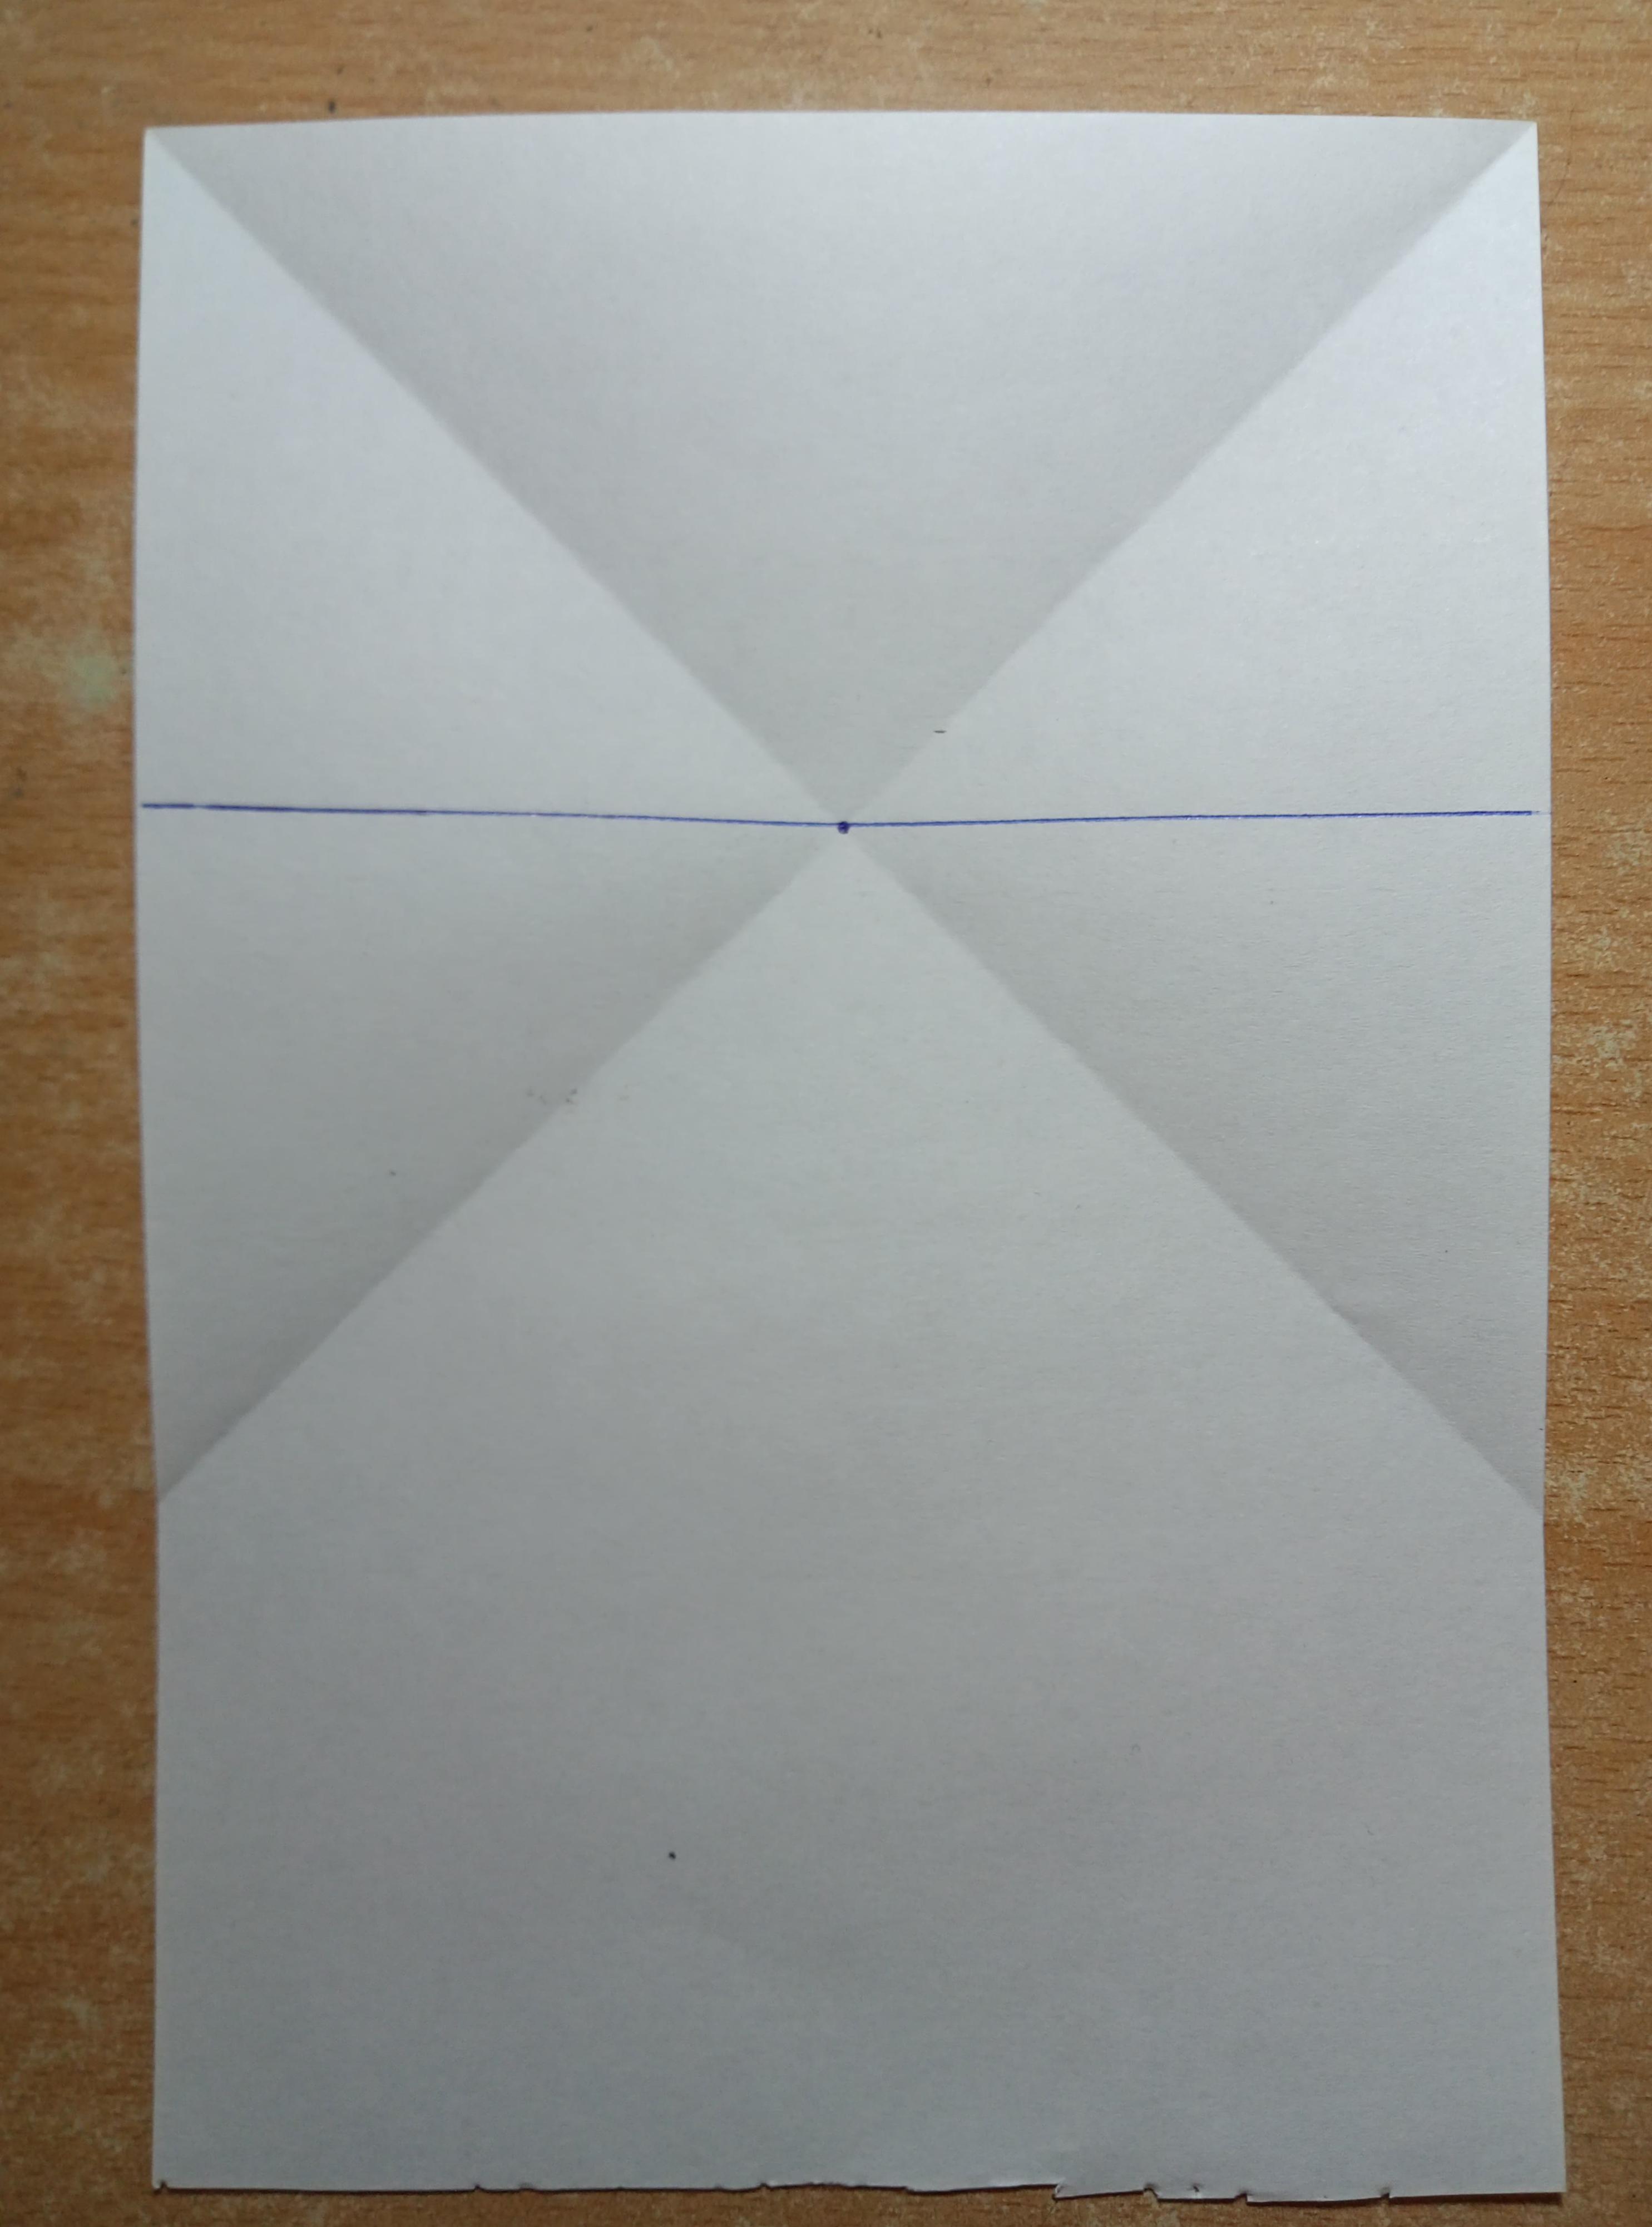
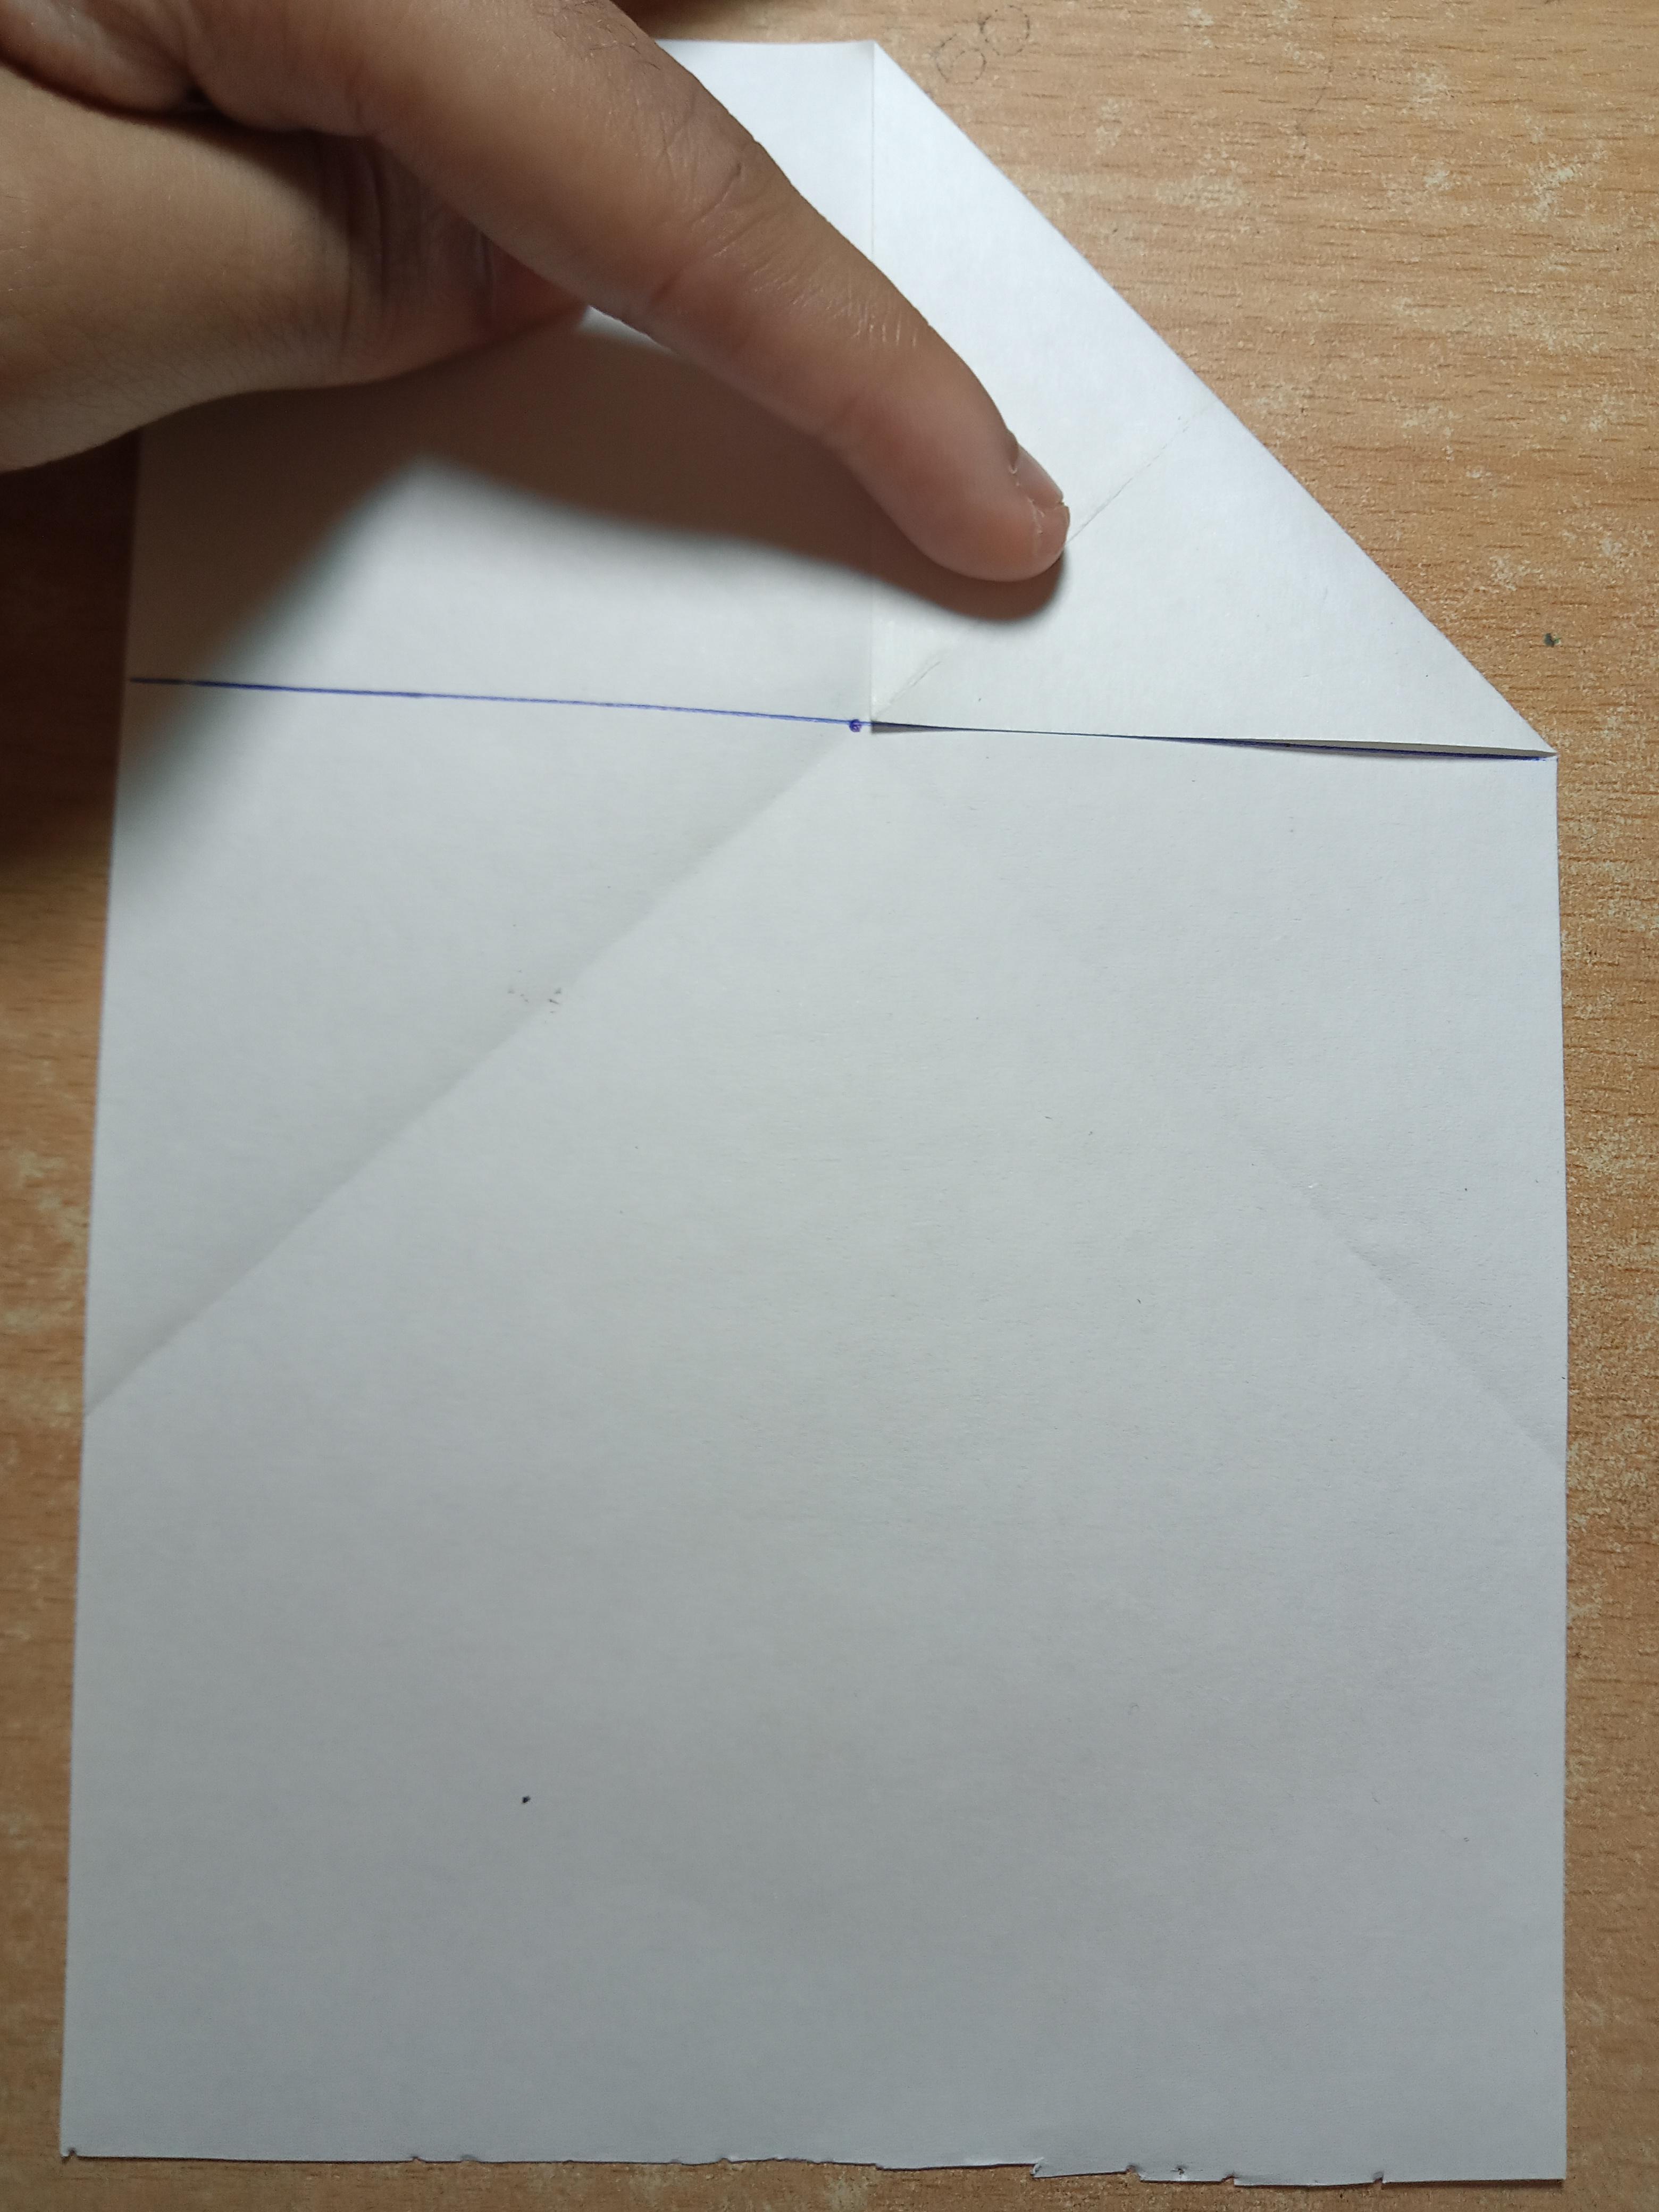
After the previous step, you will find that the two crease meet at a certain point.
- Take your pen and draw a horizontal line passing through this point.
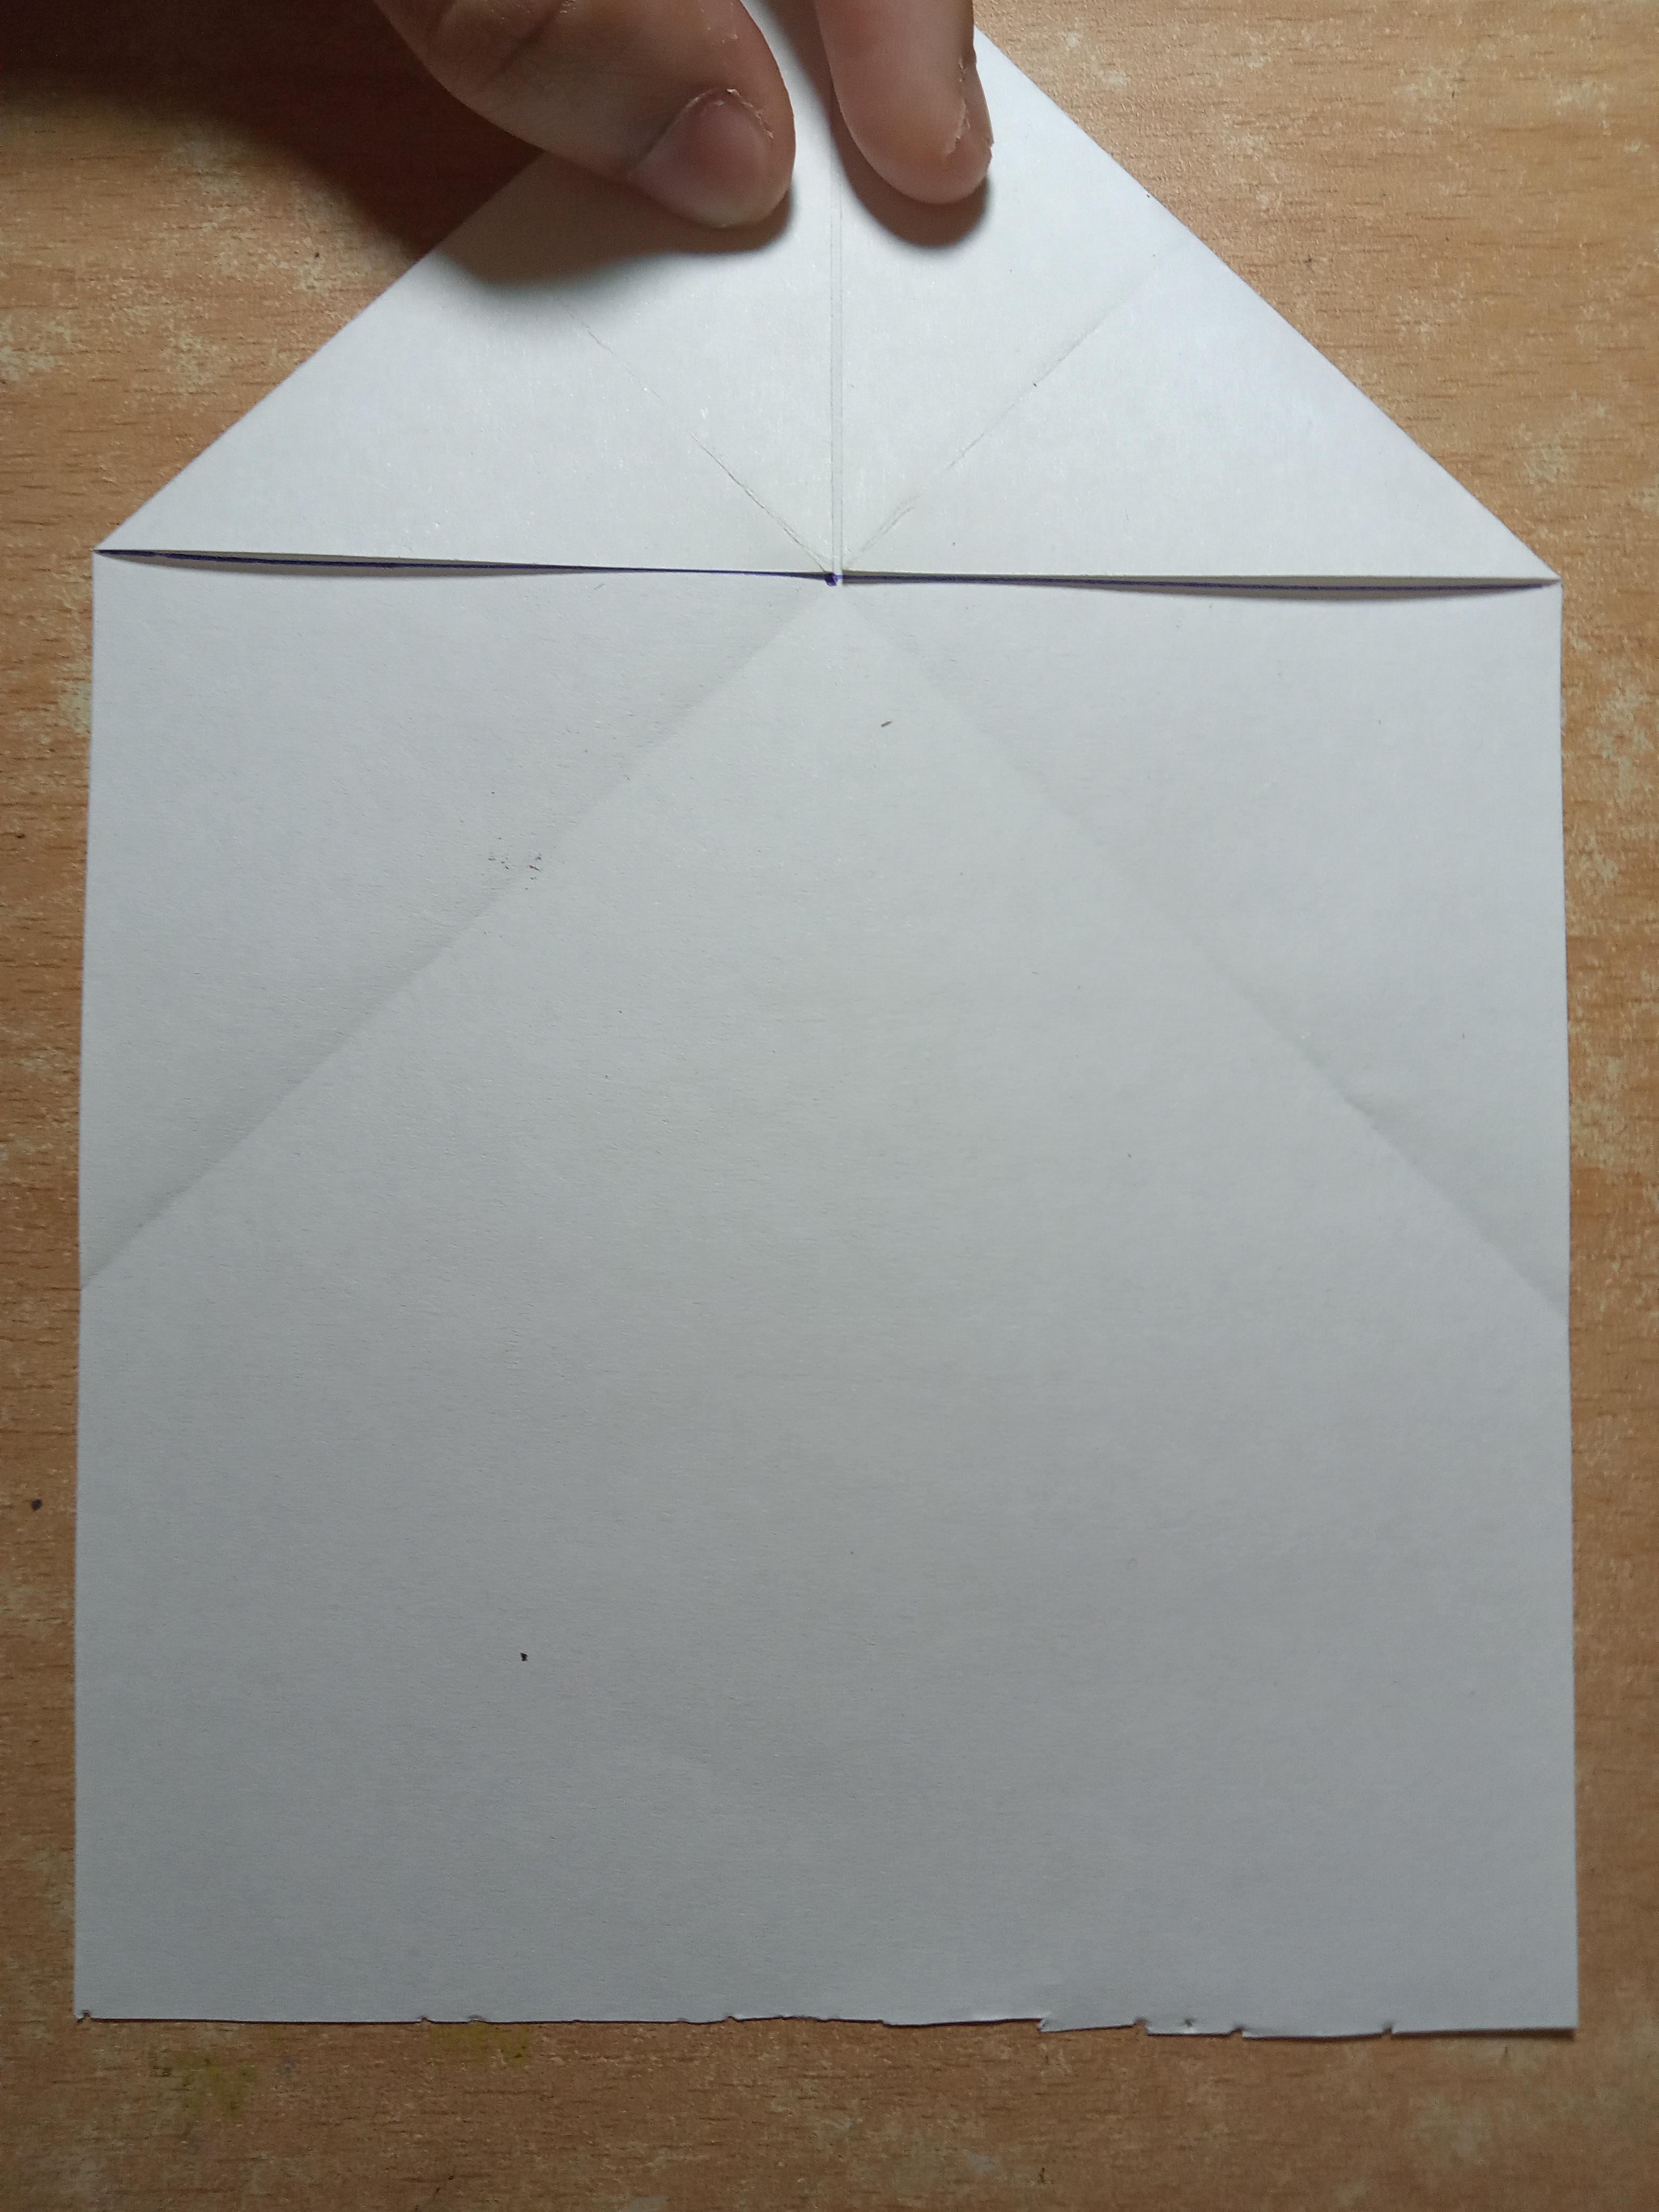
- Now, grab the top-right corner of your sheet and fold it in such a way that the corner meets the point of intersection of the two crease and the x-axis of the corner aligns through the horizontal line.
- Repeat the same for the top-left corner of the sheet.
If you have completed this step correctly, your sheet should look like a rocket as shown in the picture.
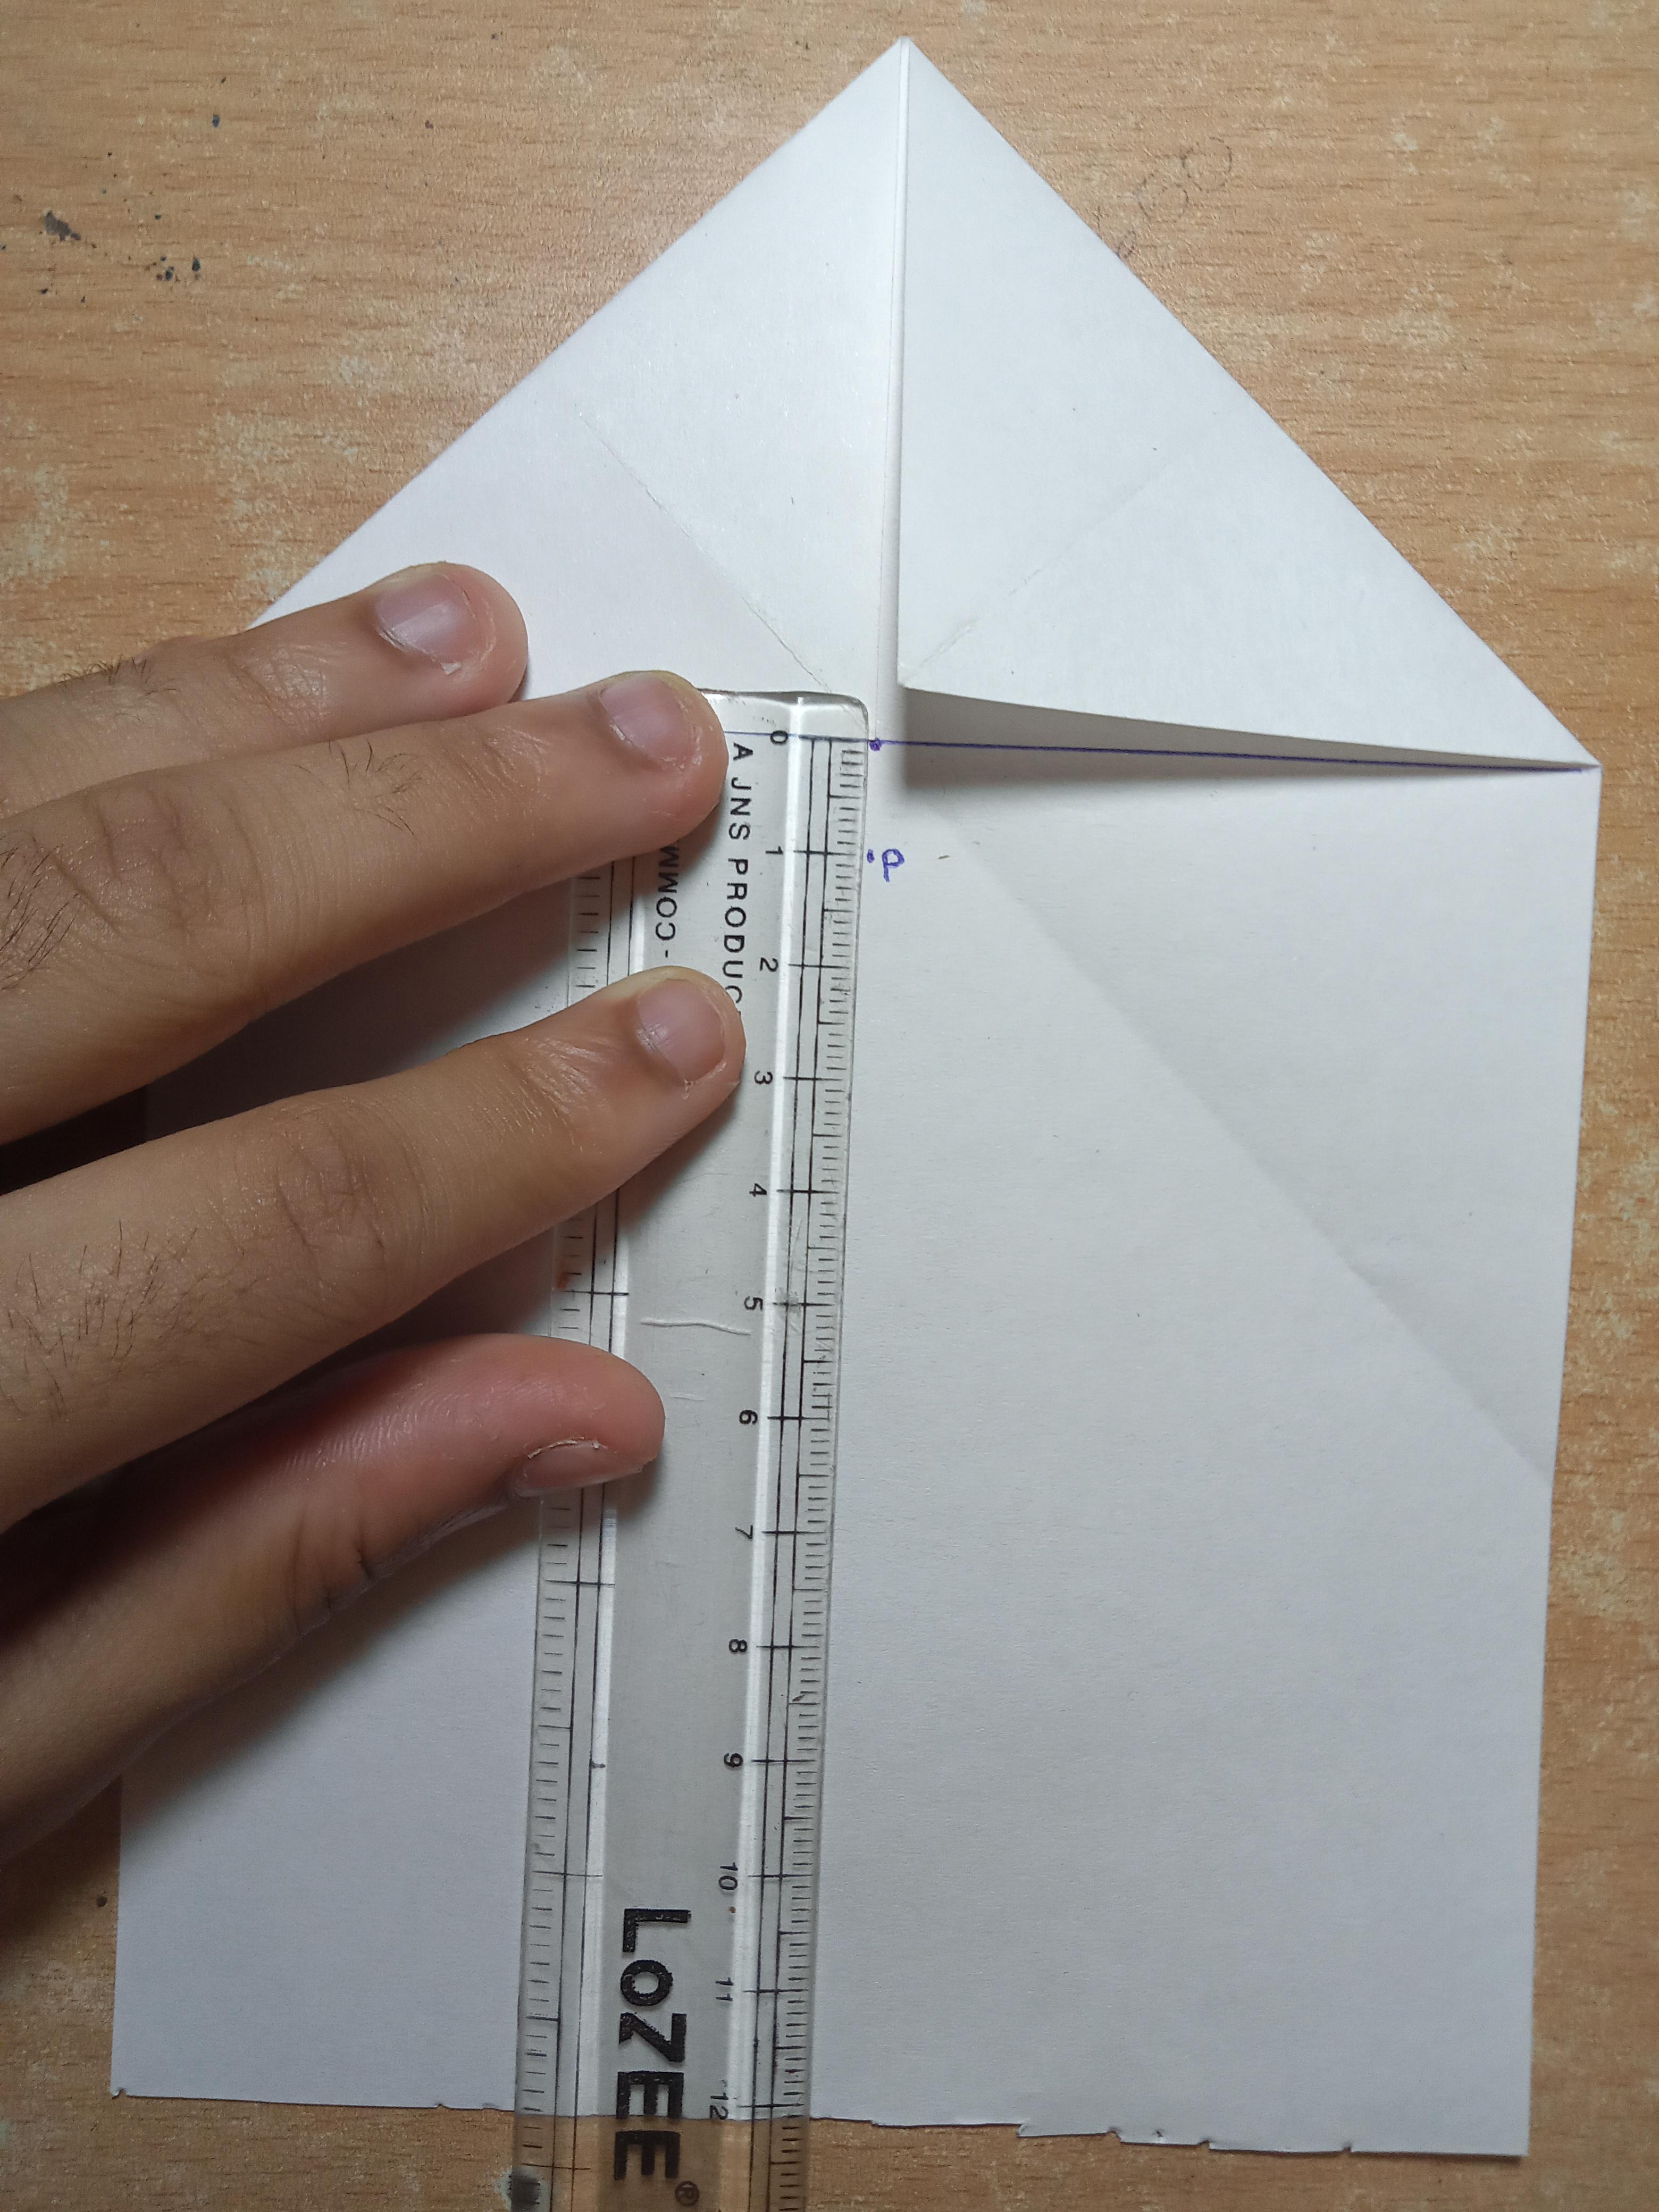
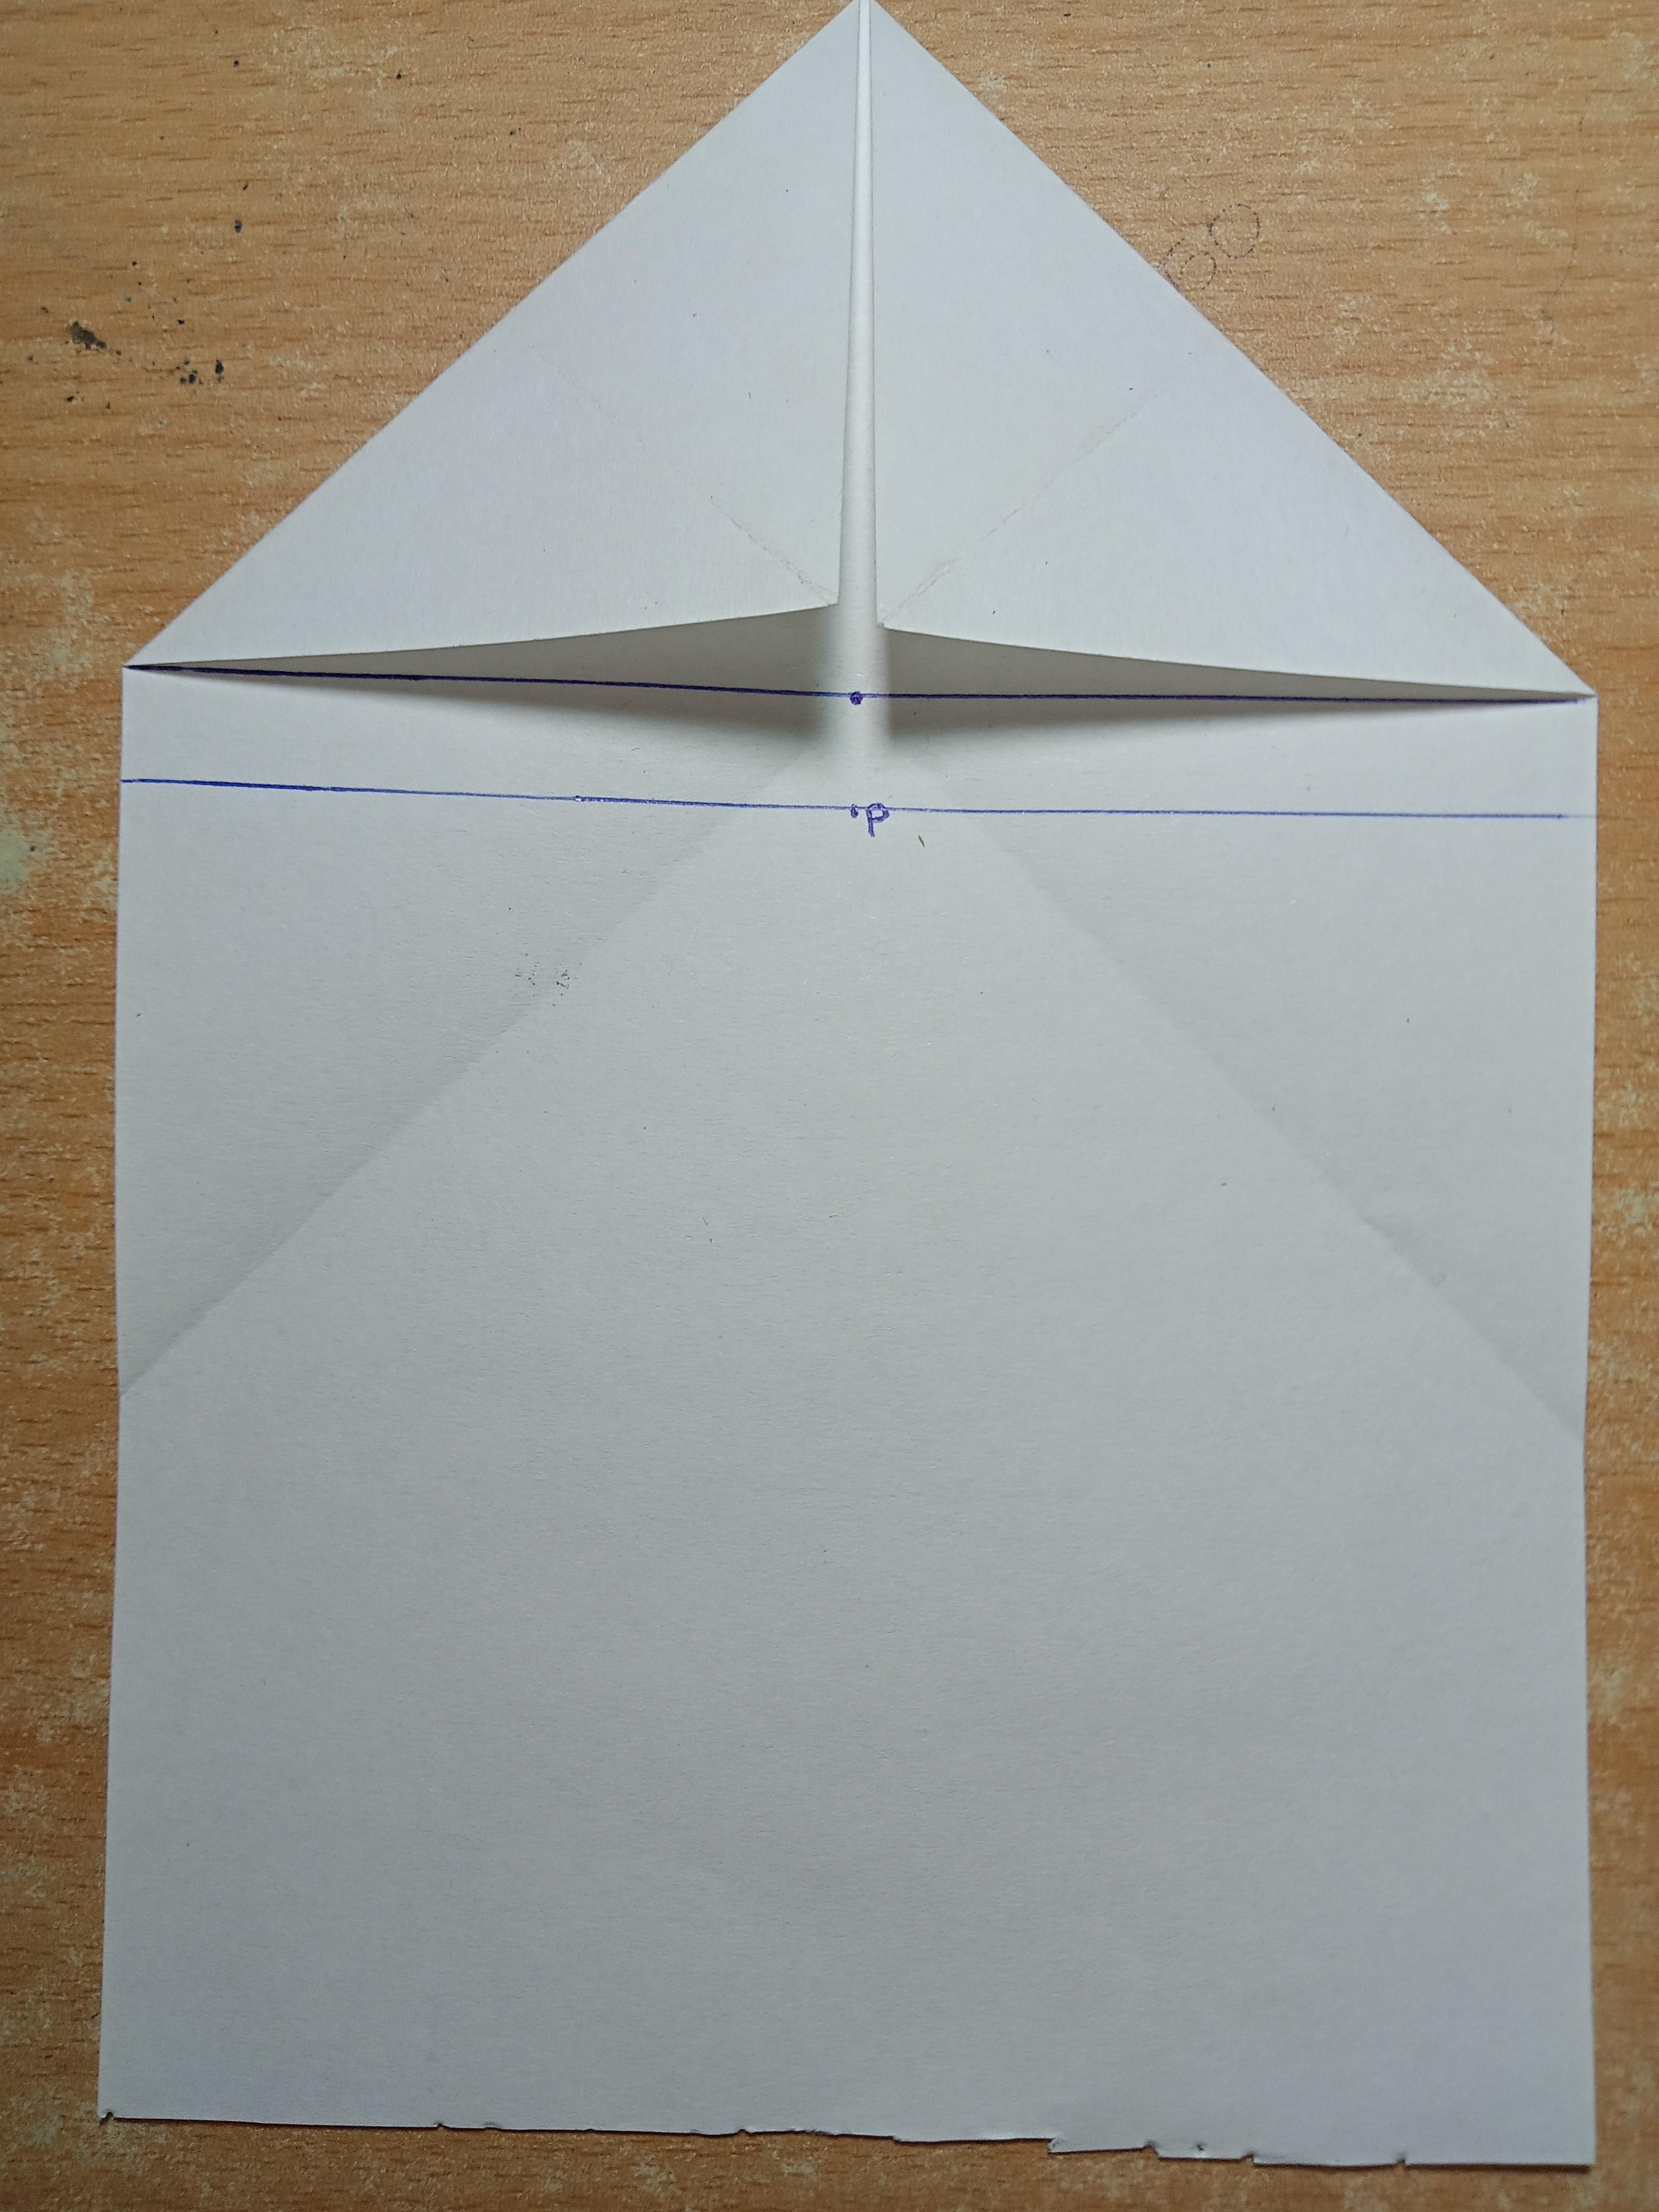
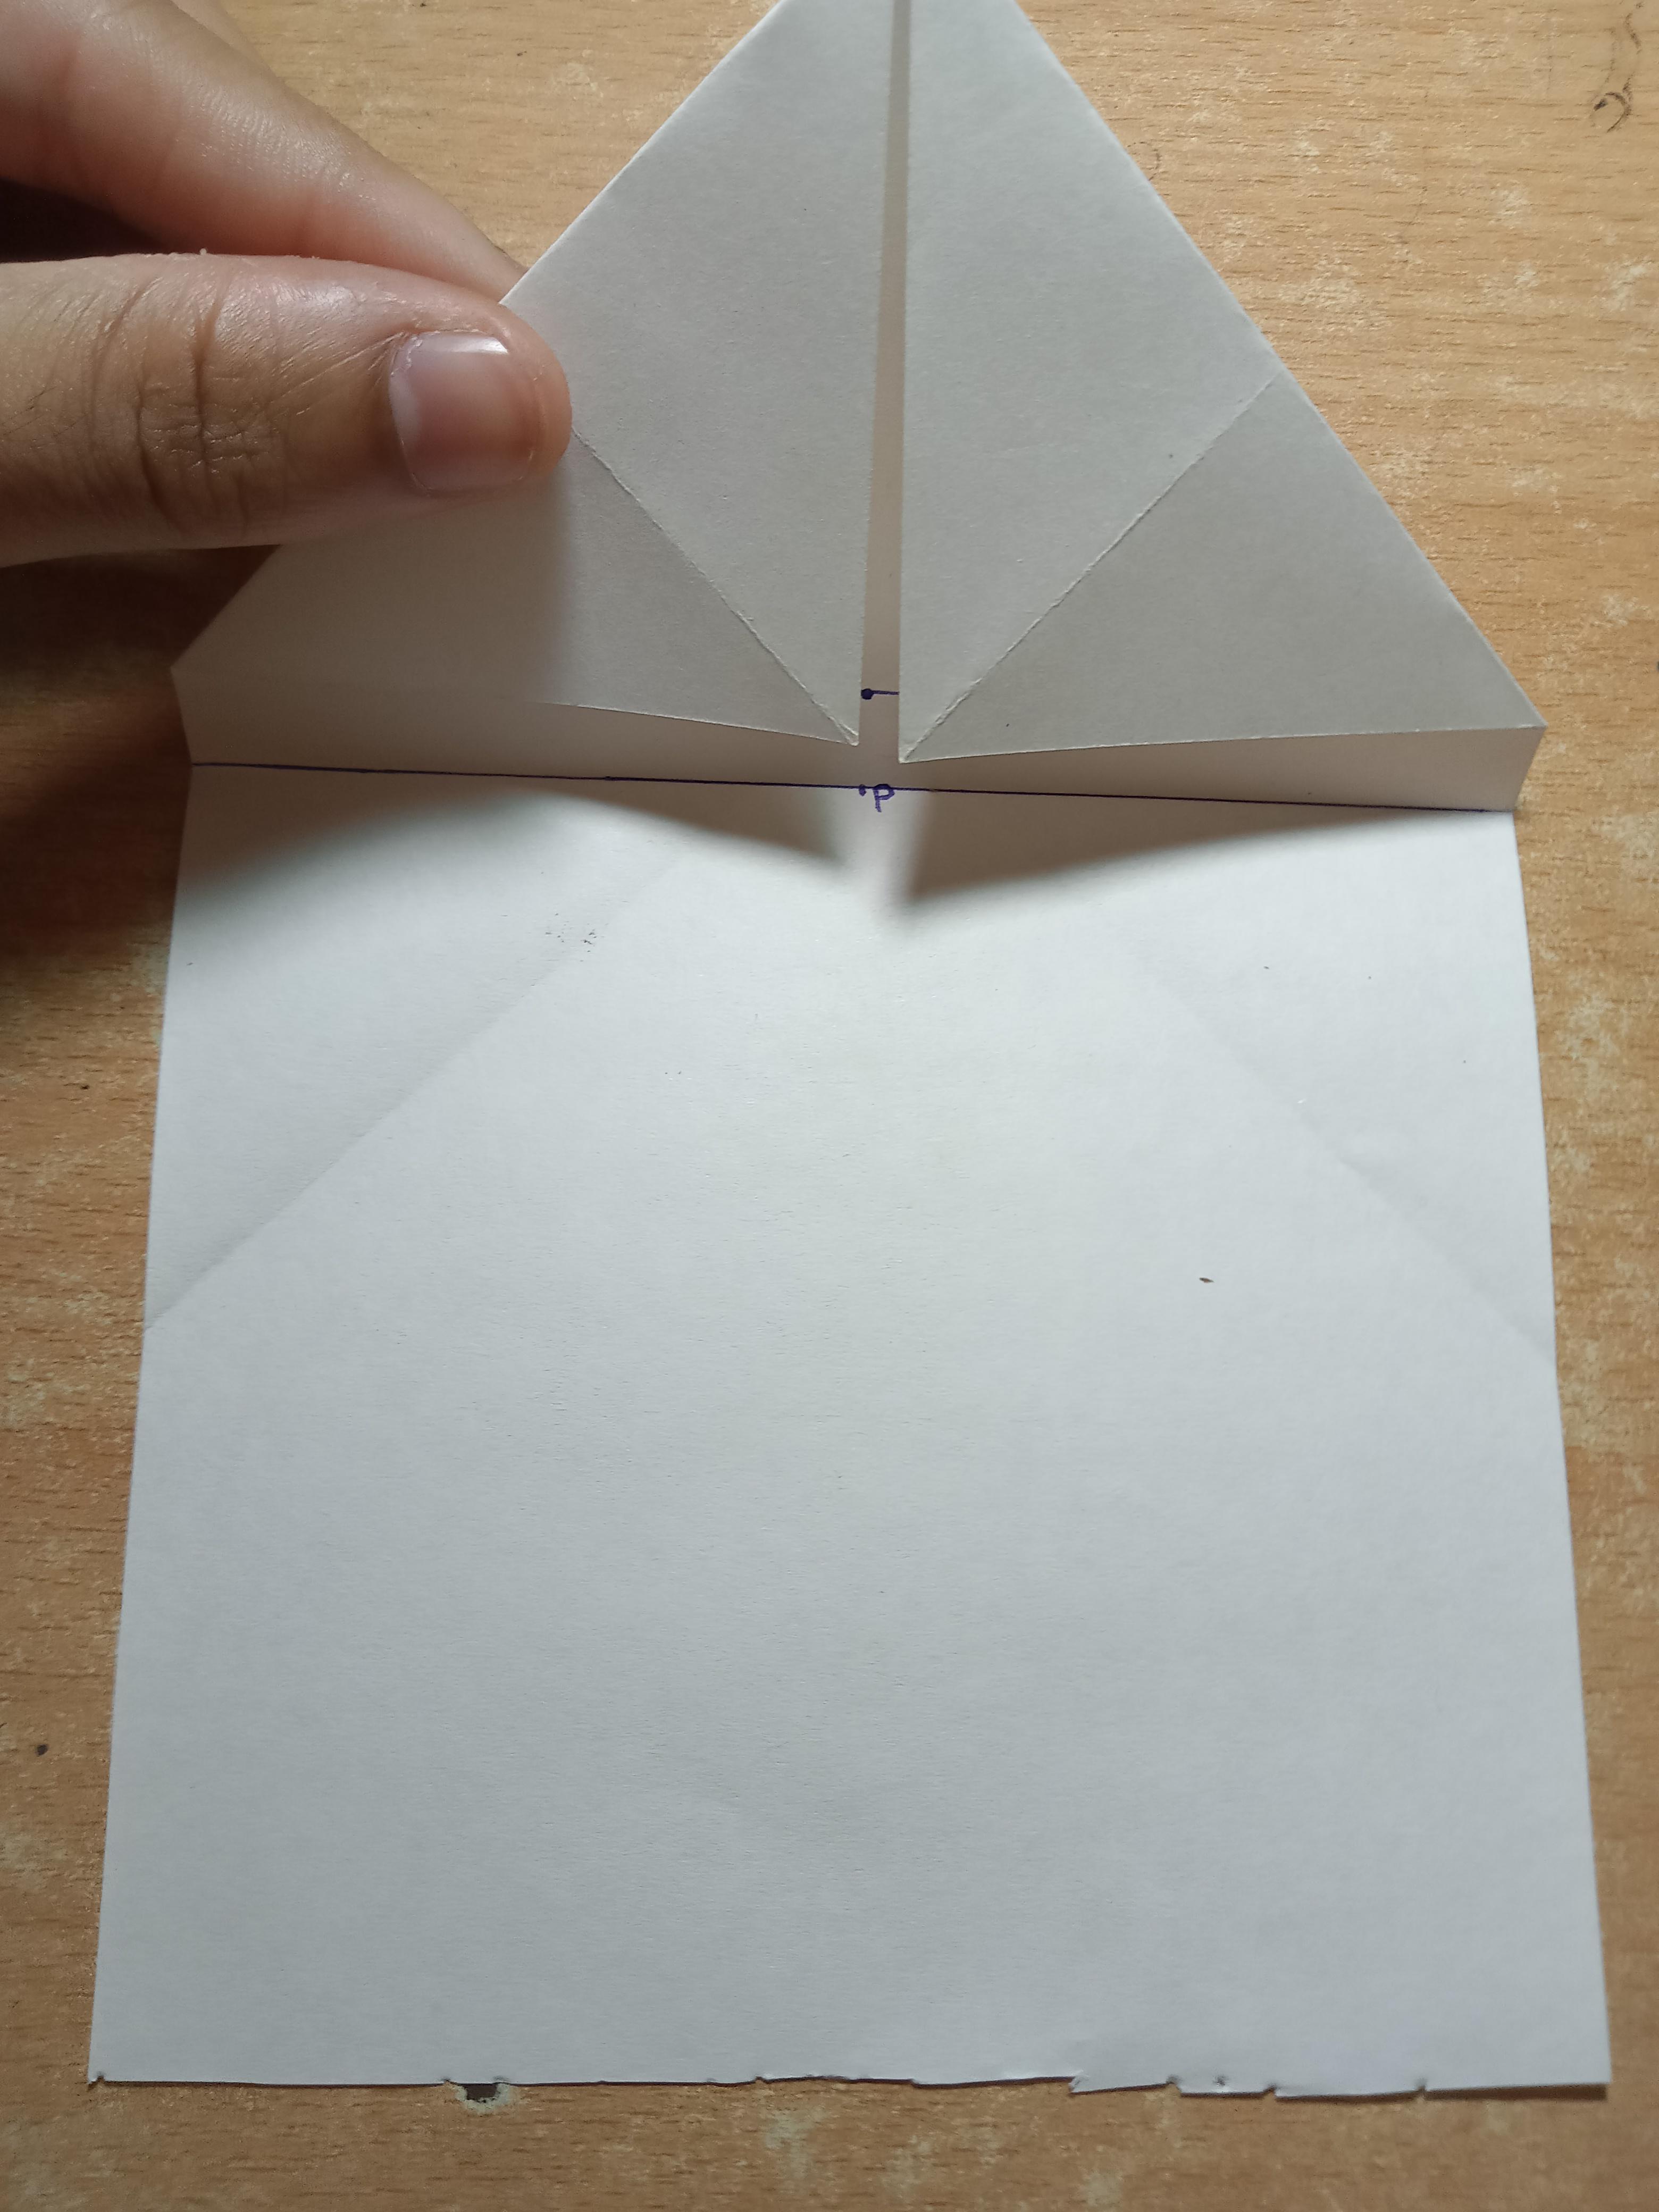
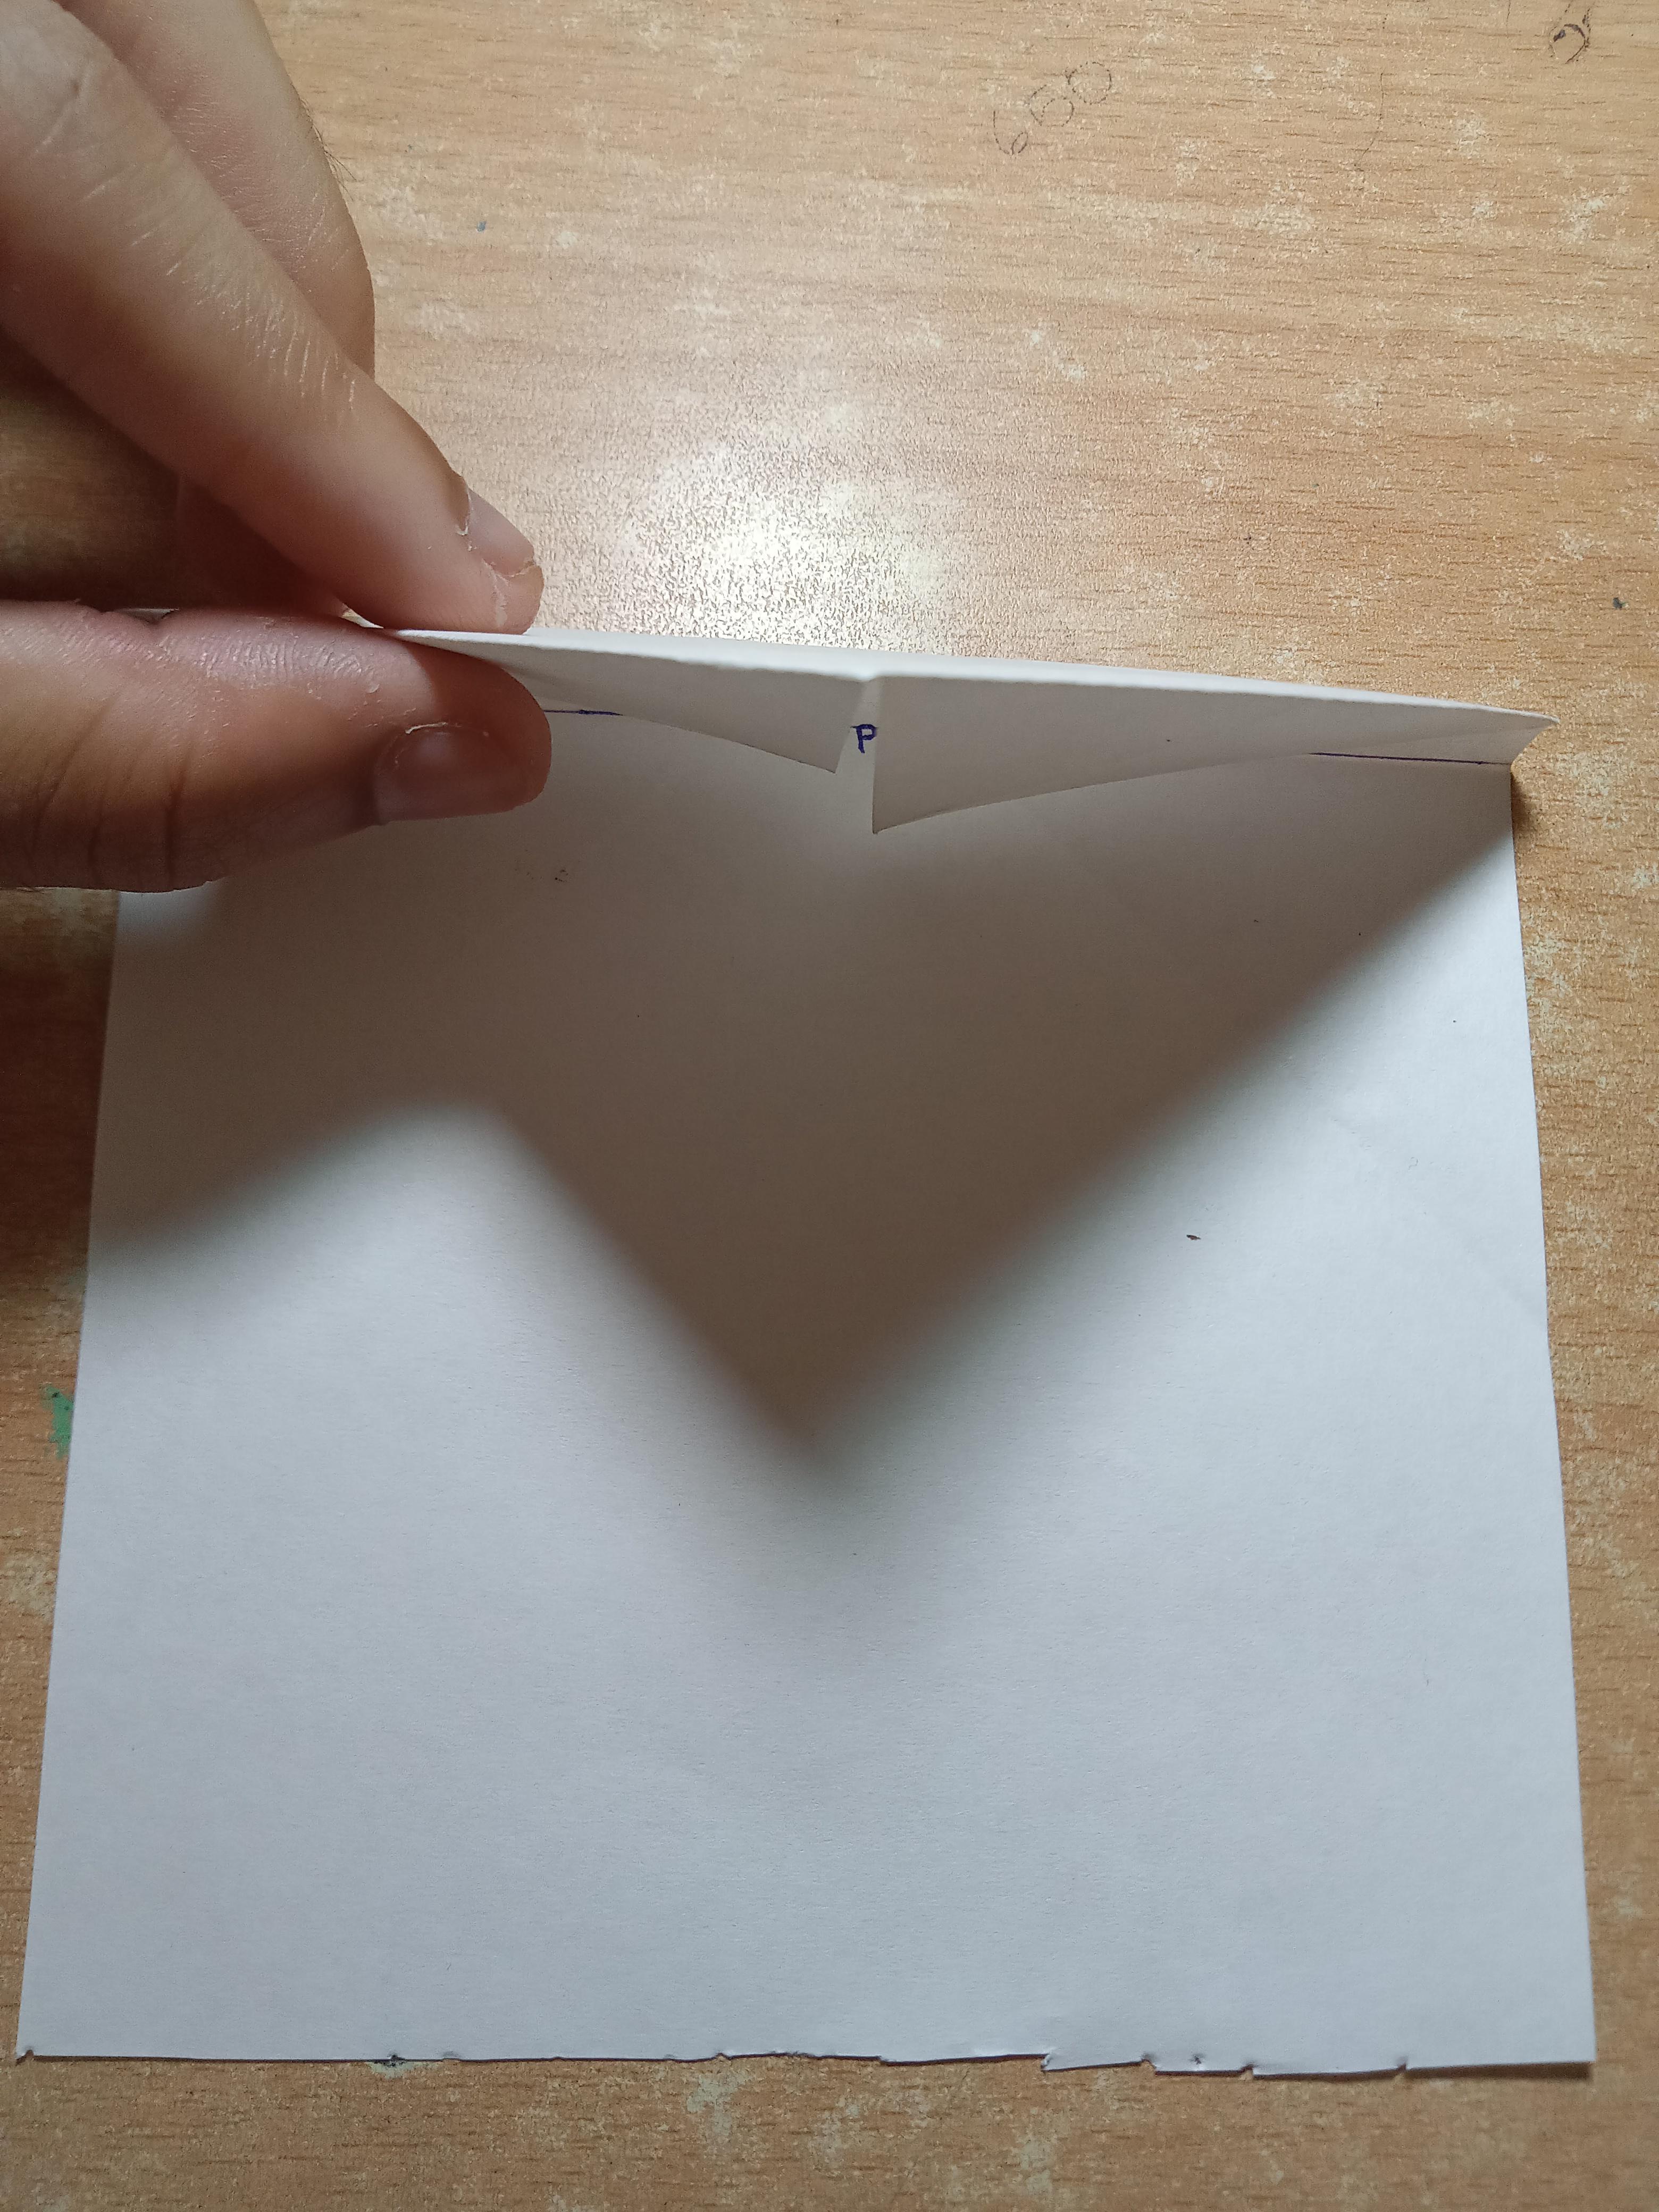
- Now, mark a point(p) a centimeter away from the point of intersection of the creases.
- Draw a horizontal line along this point(p).
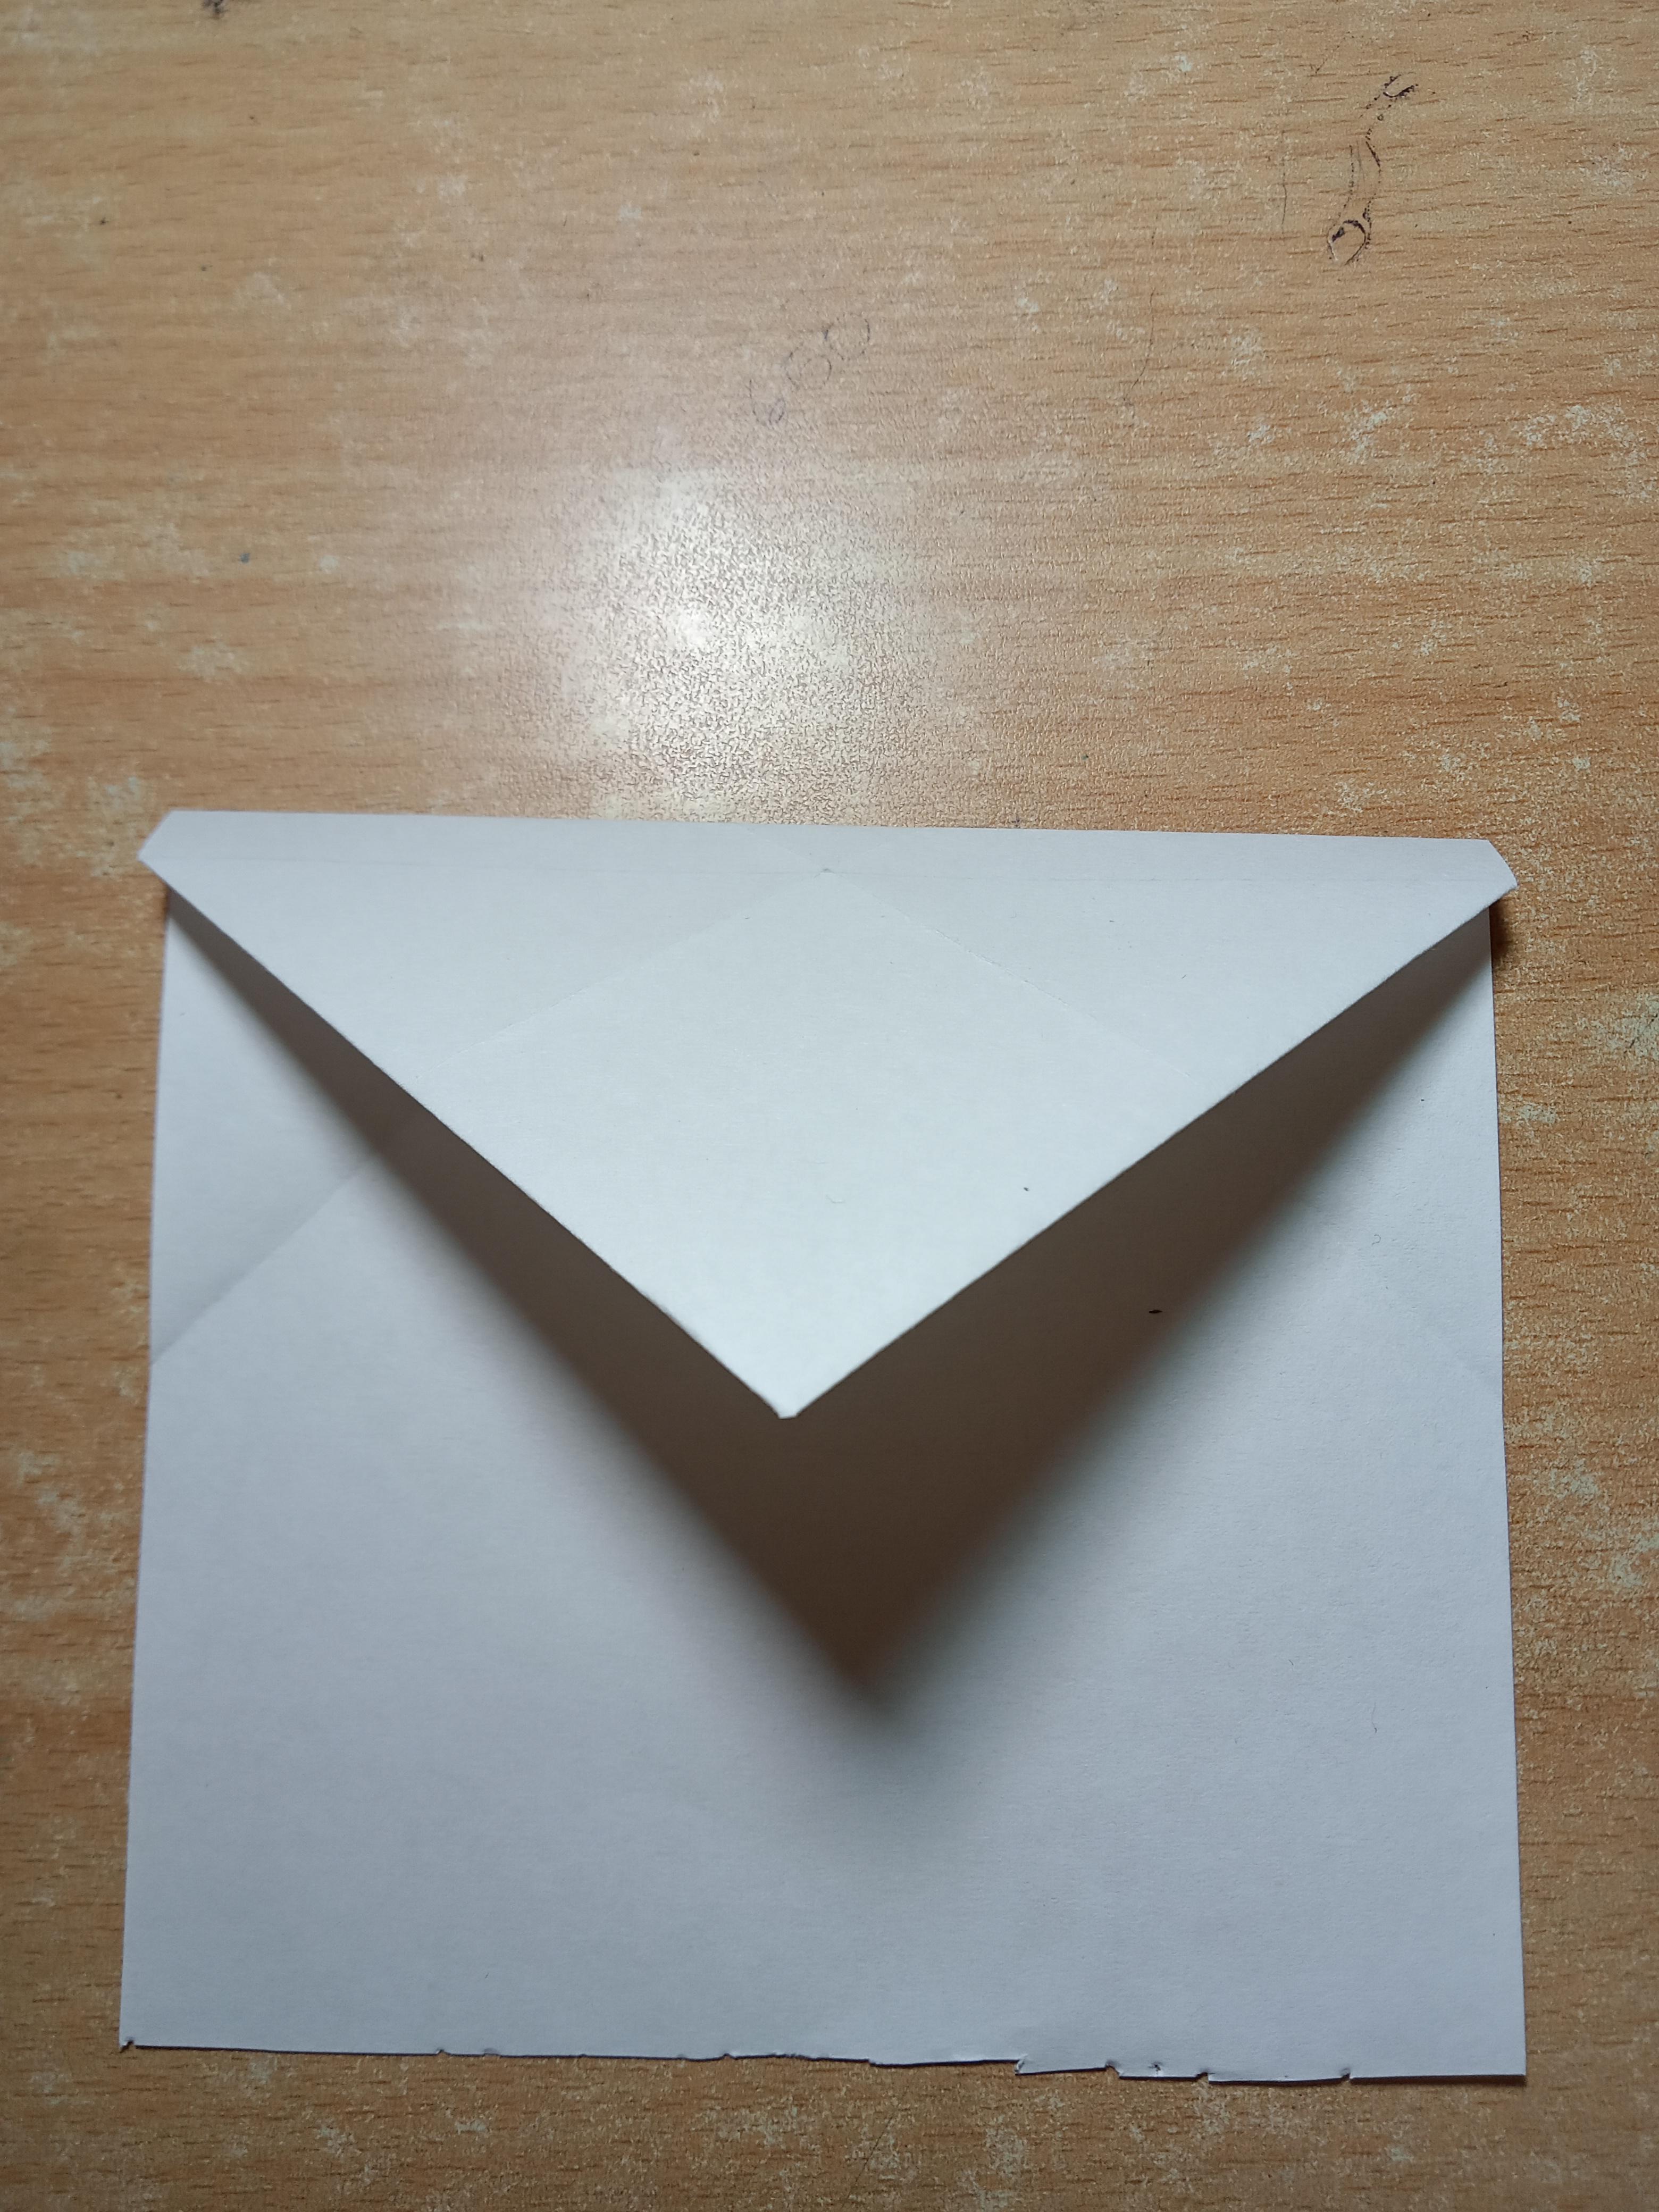
- Fold the sheet along this line towards yourself.
You may see the picture attached and check if your sheet looks similar to the one shown in the picture.
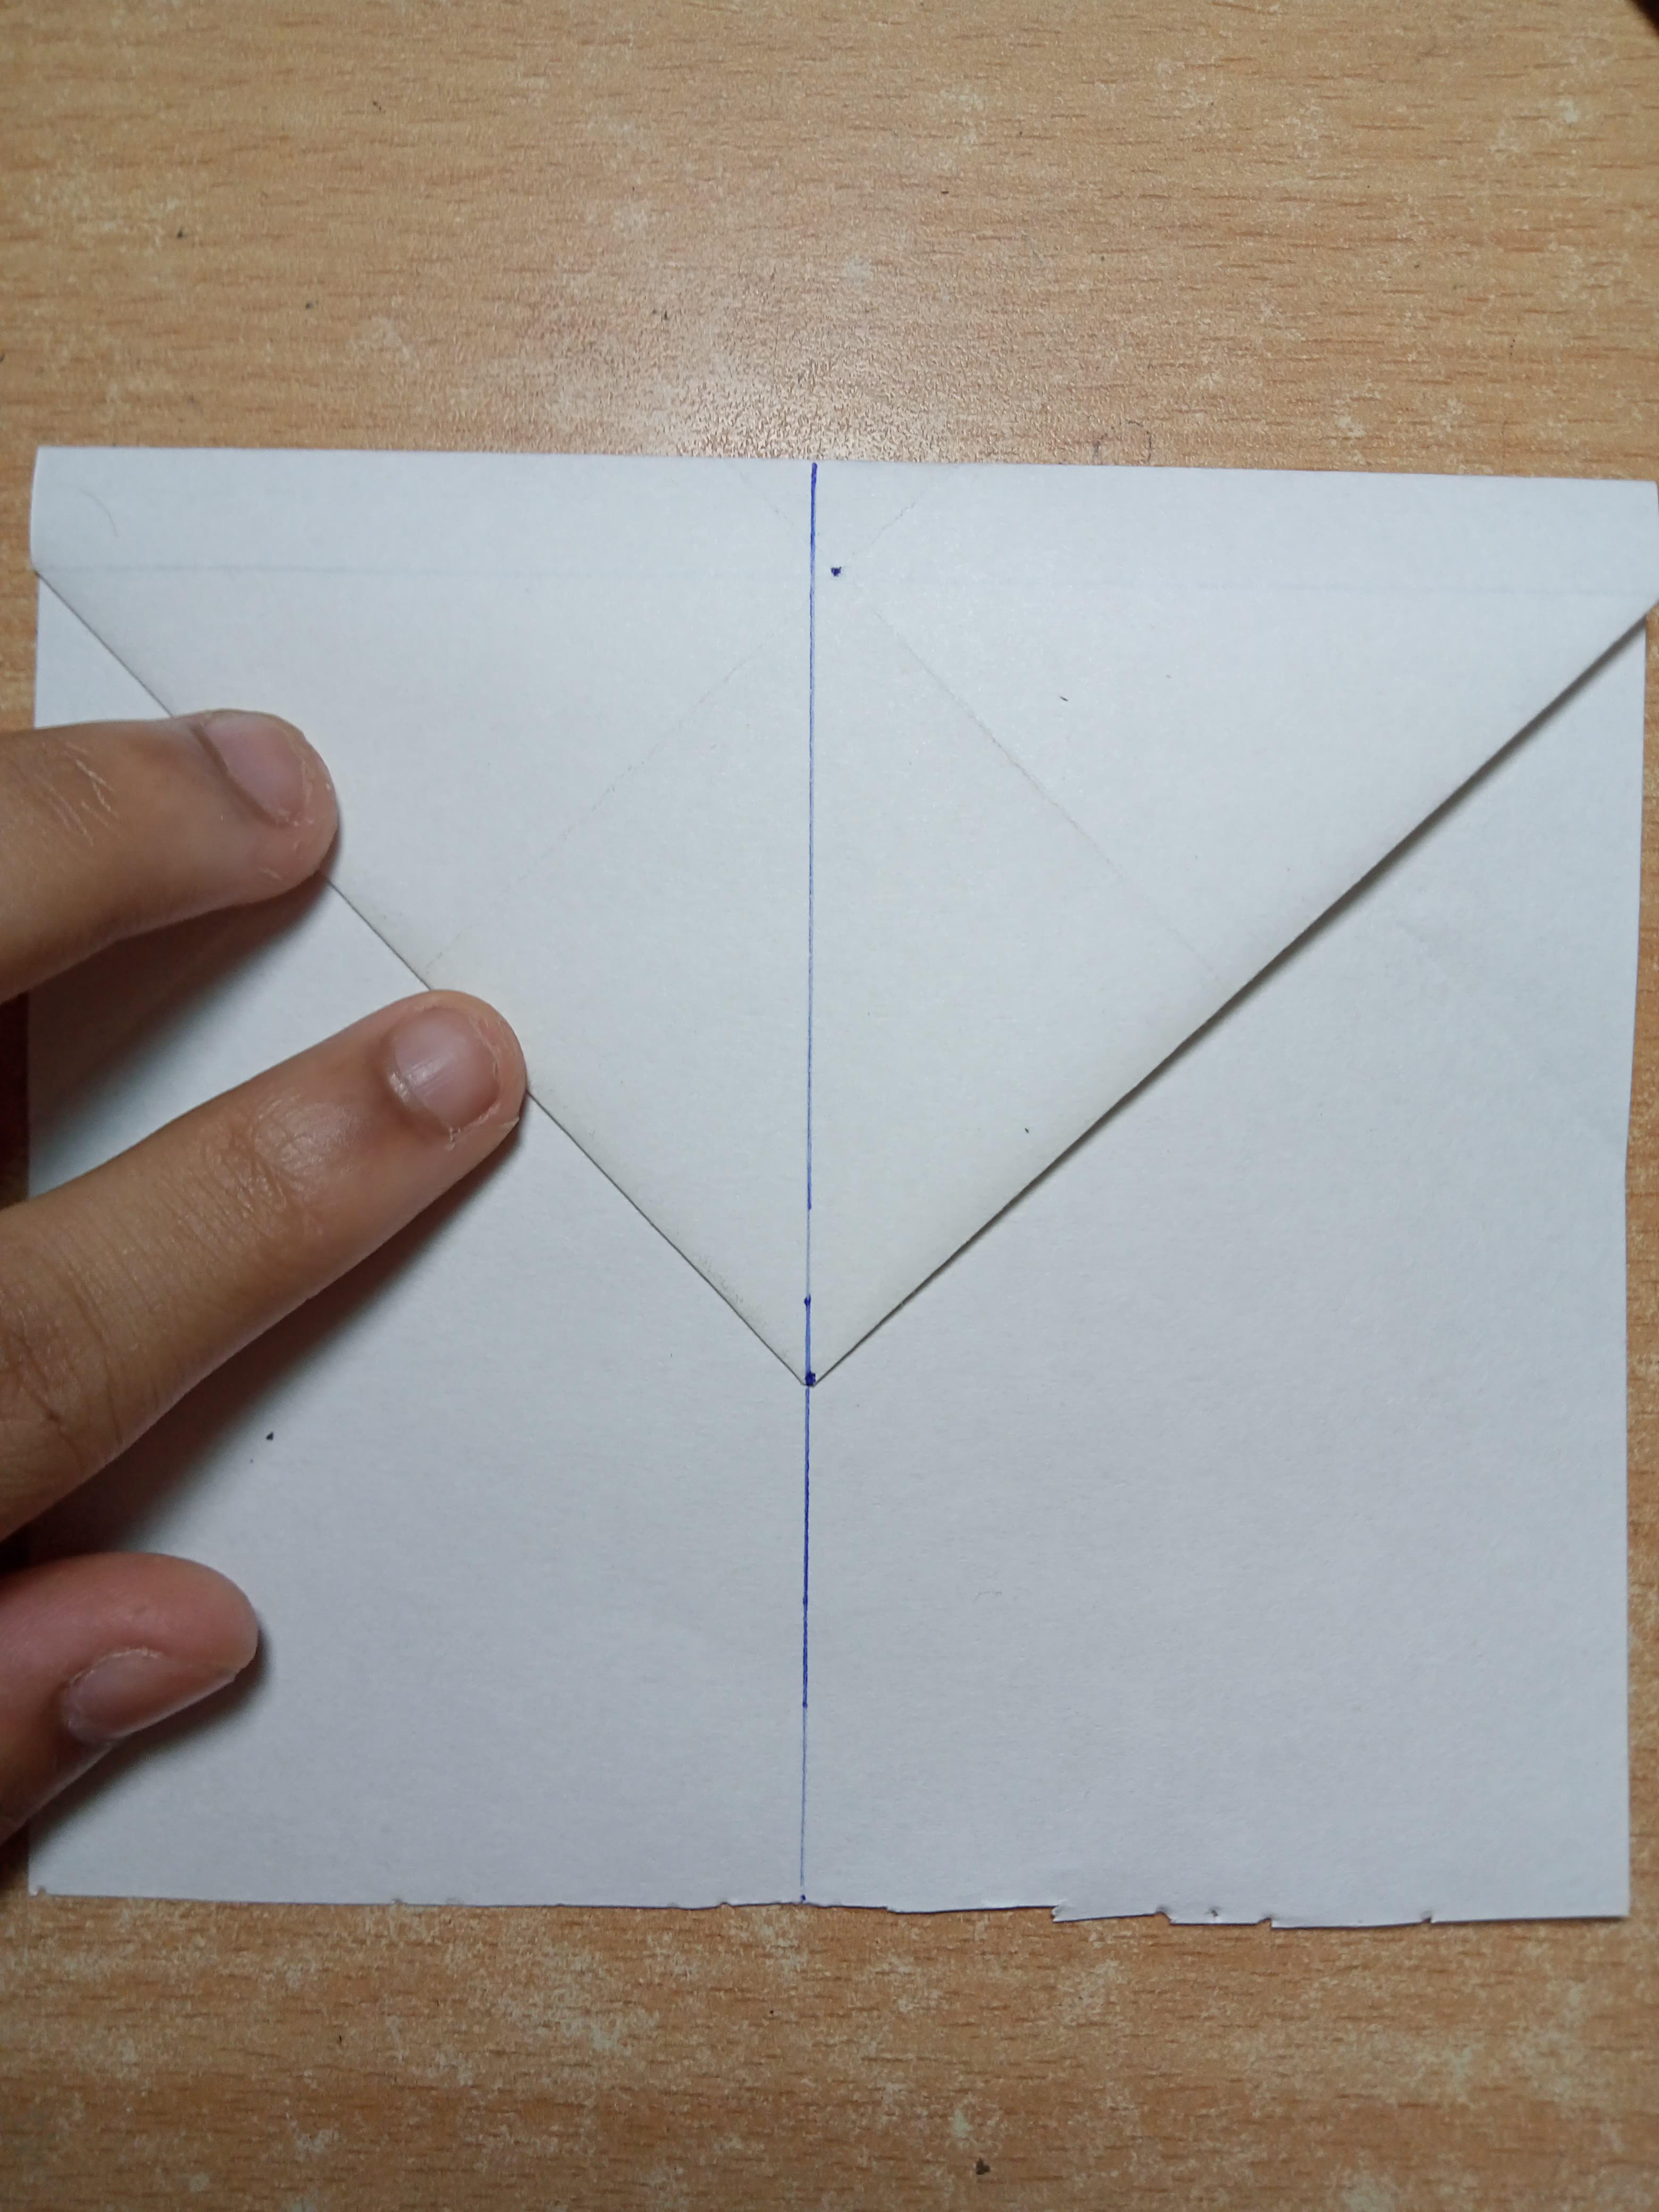
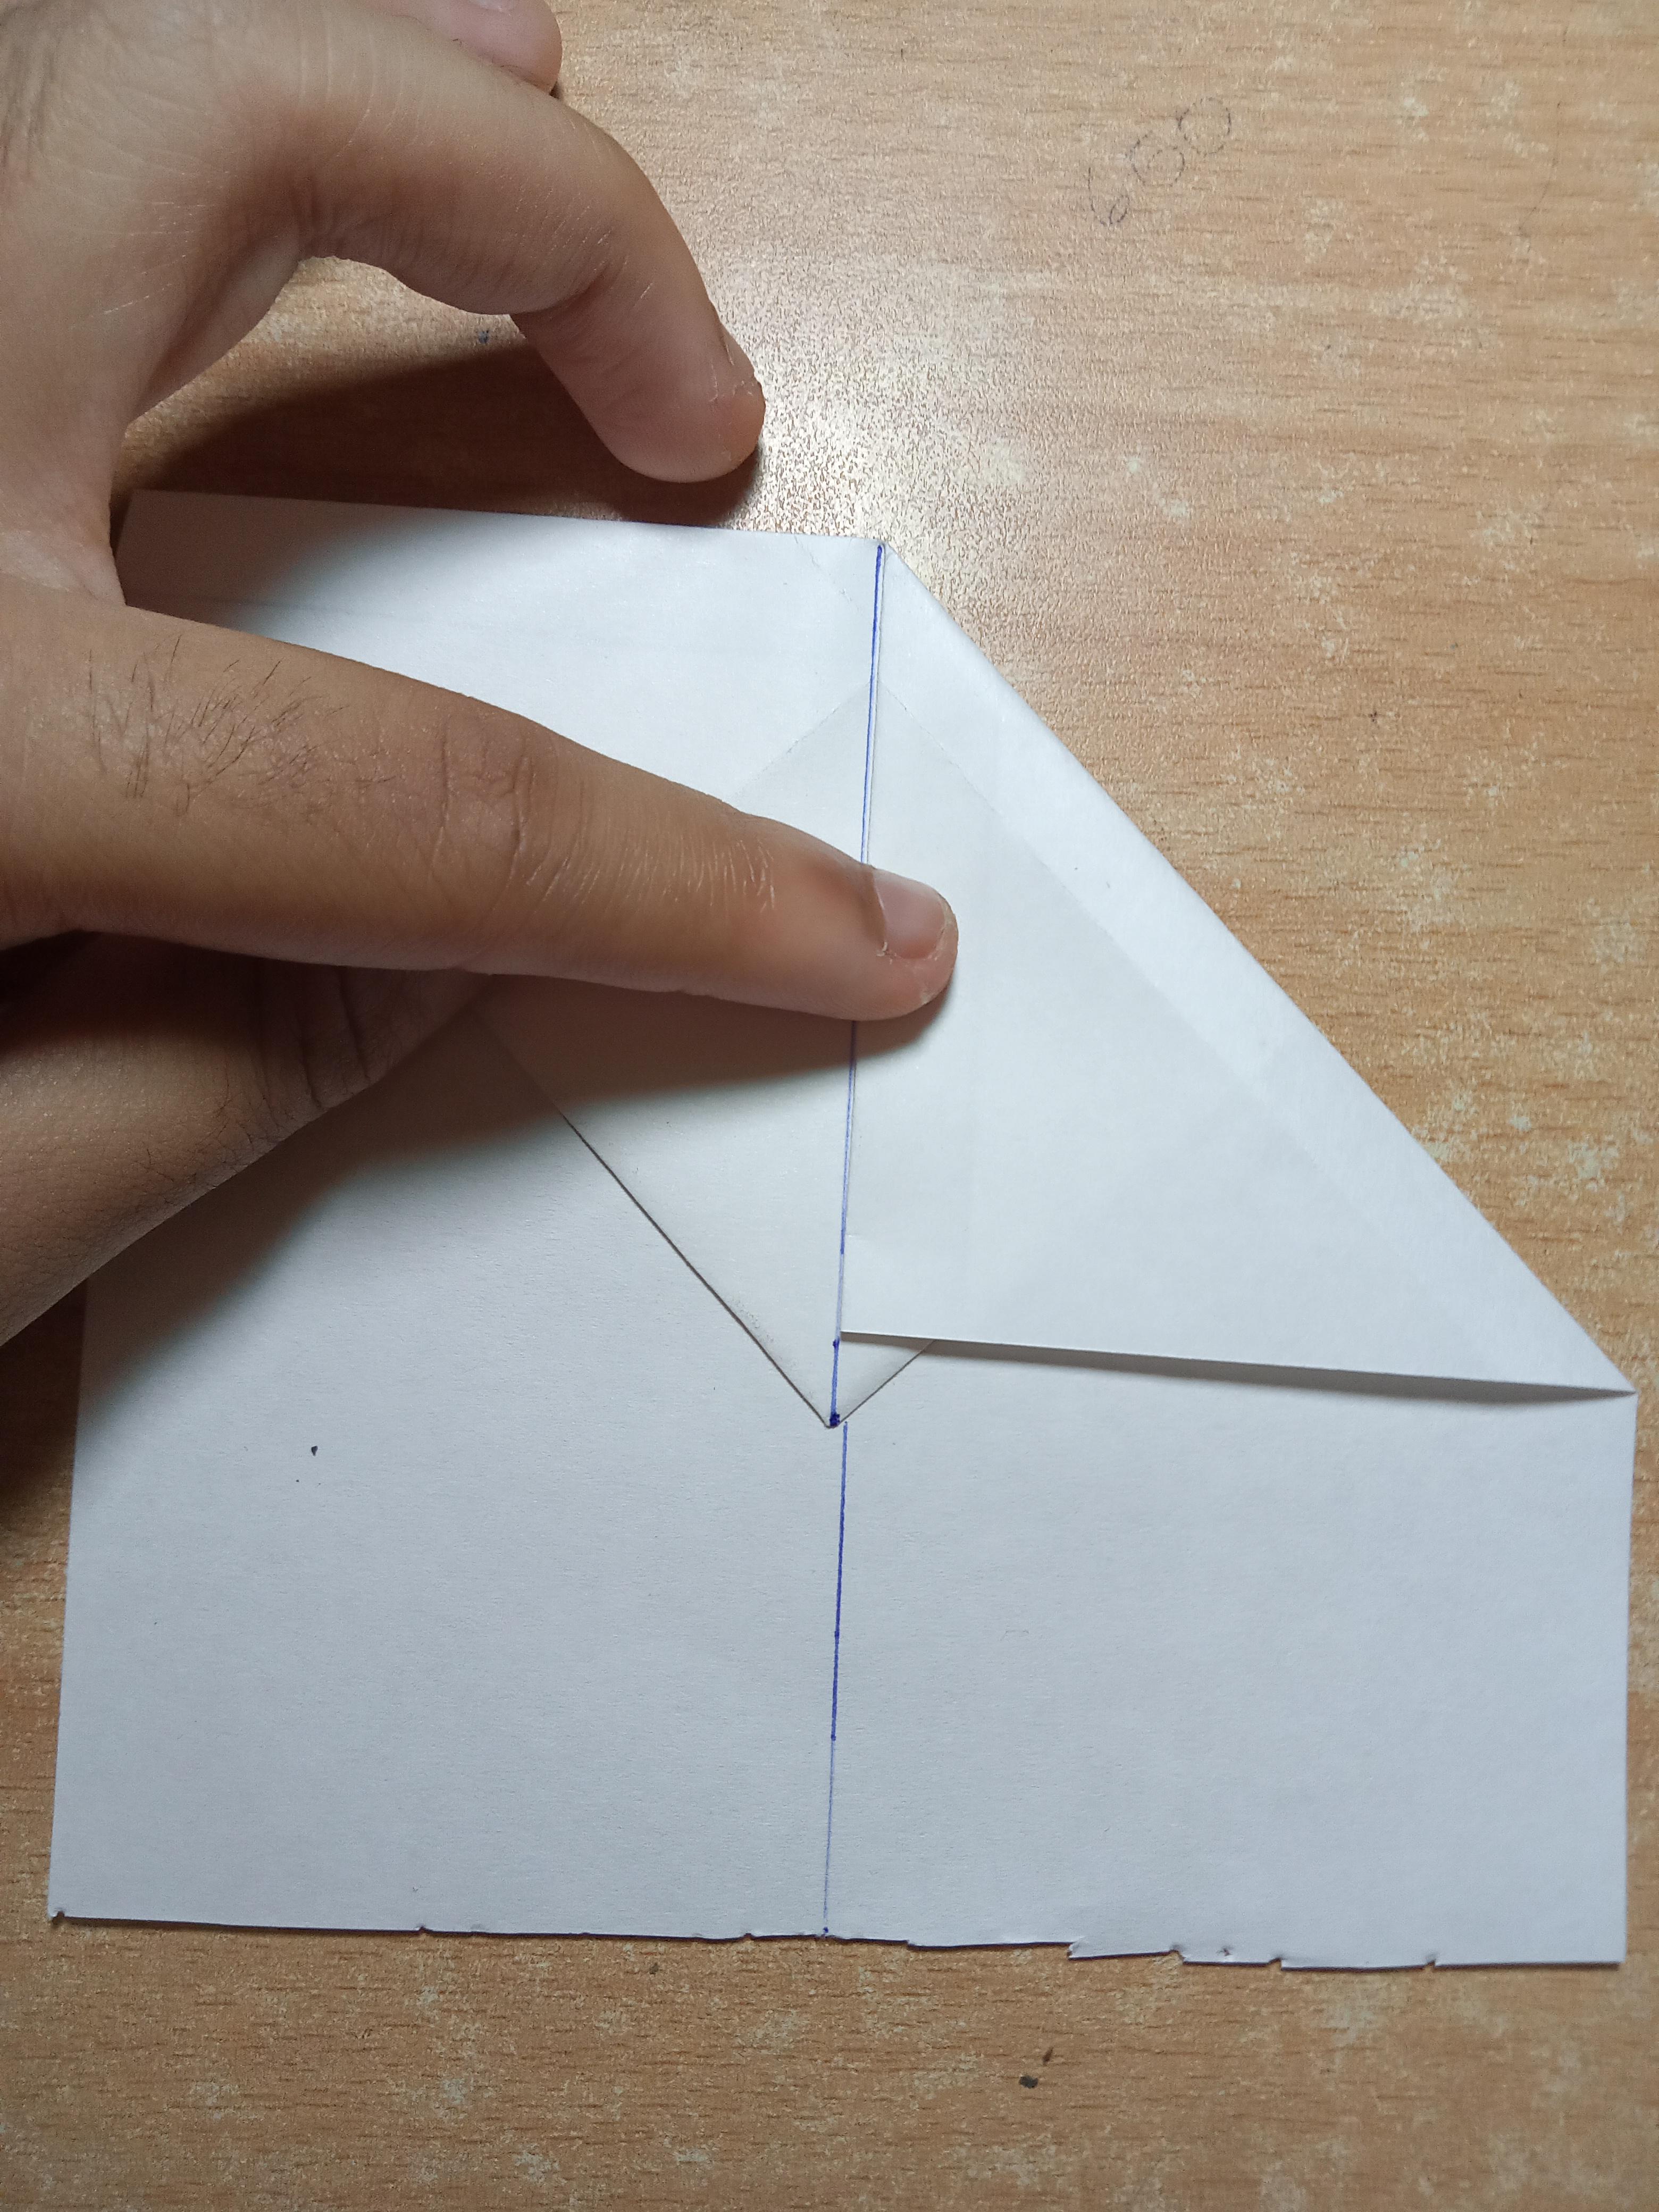
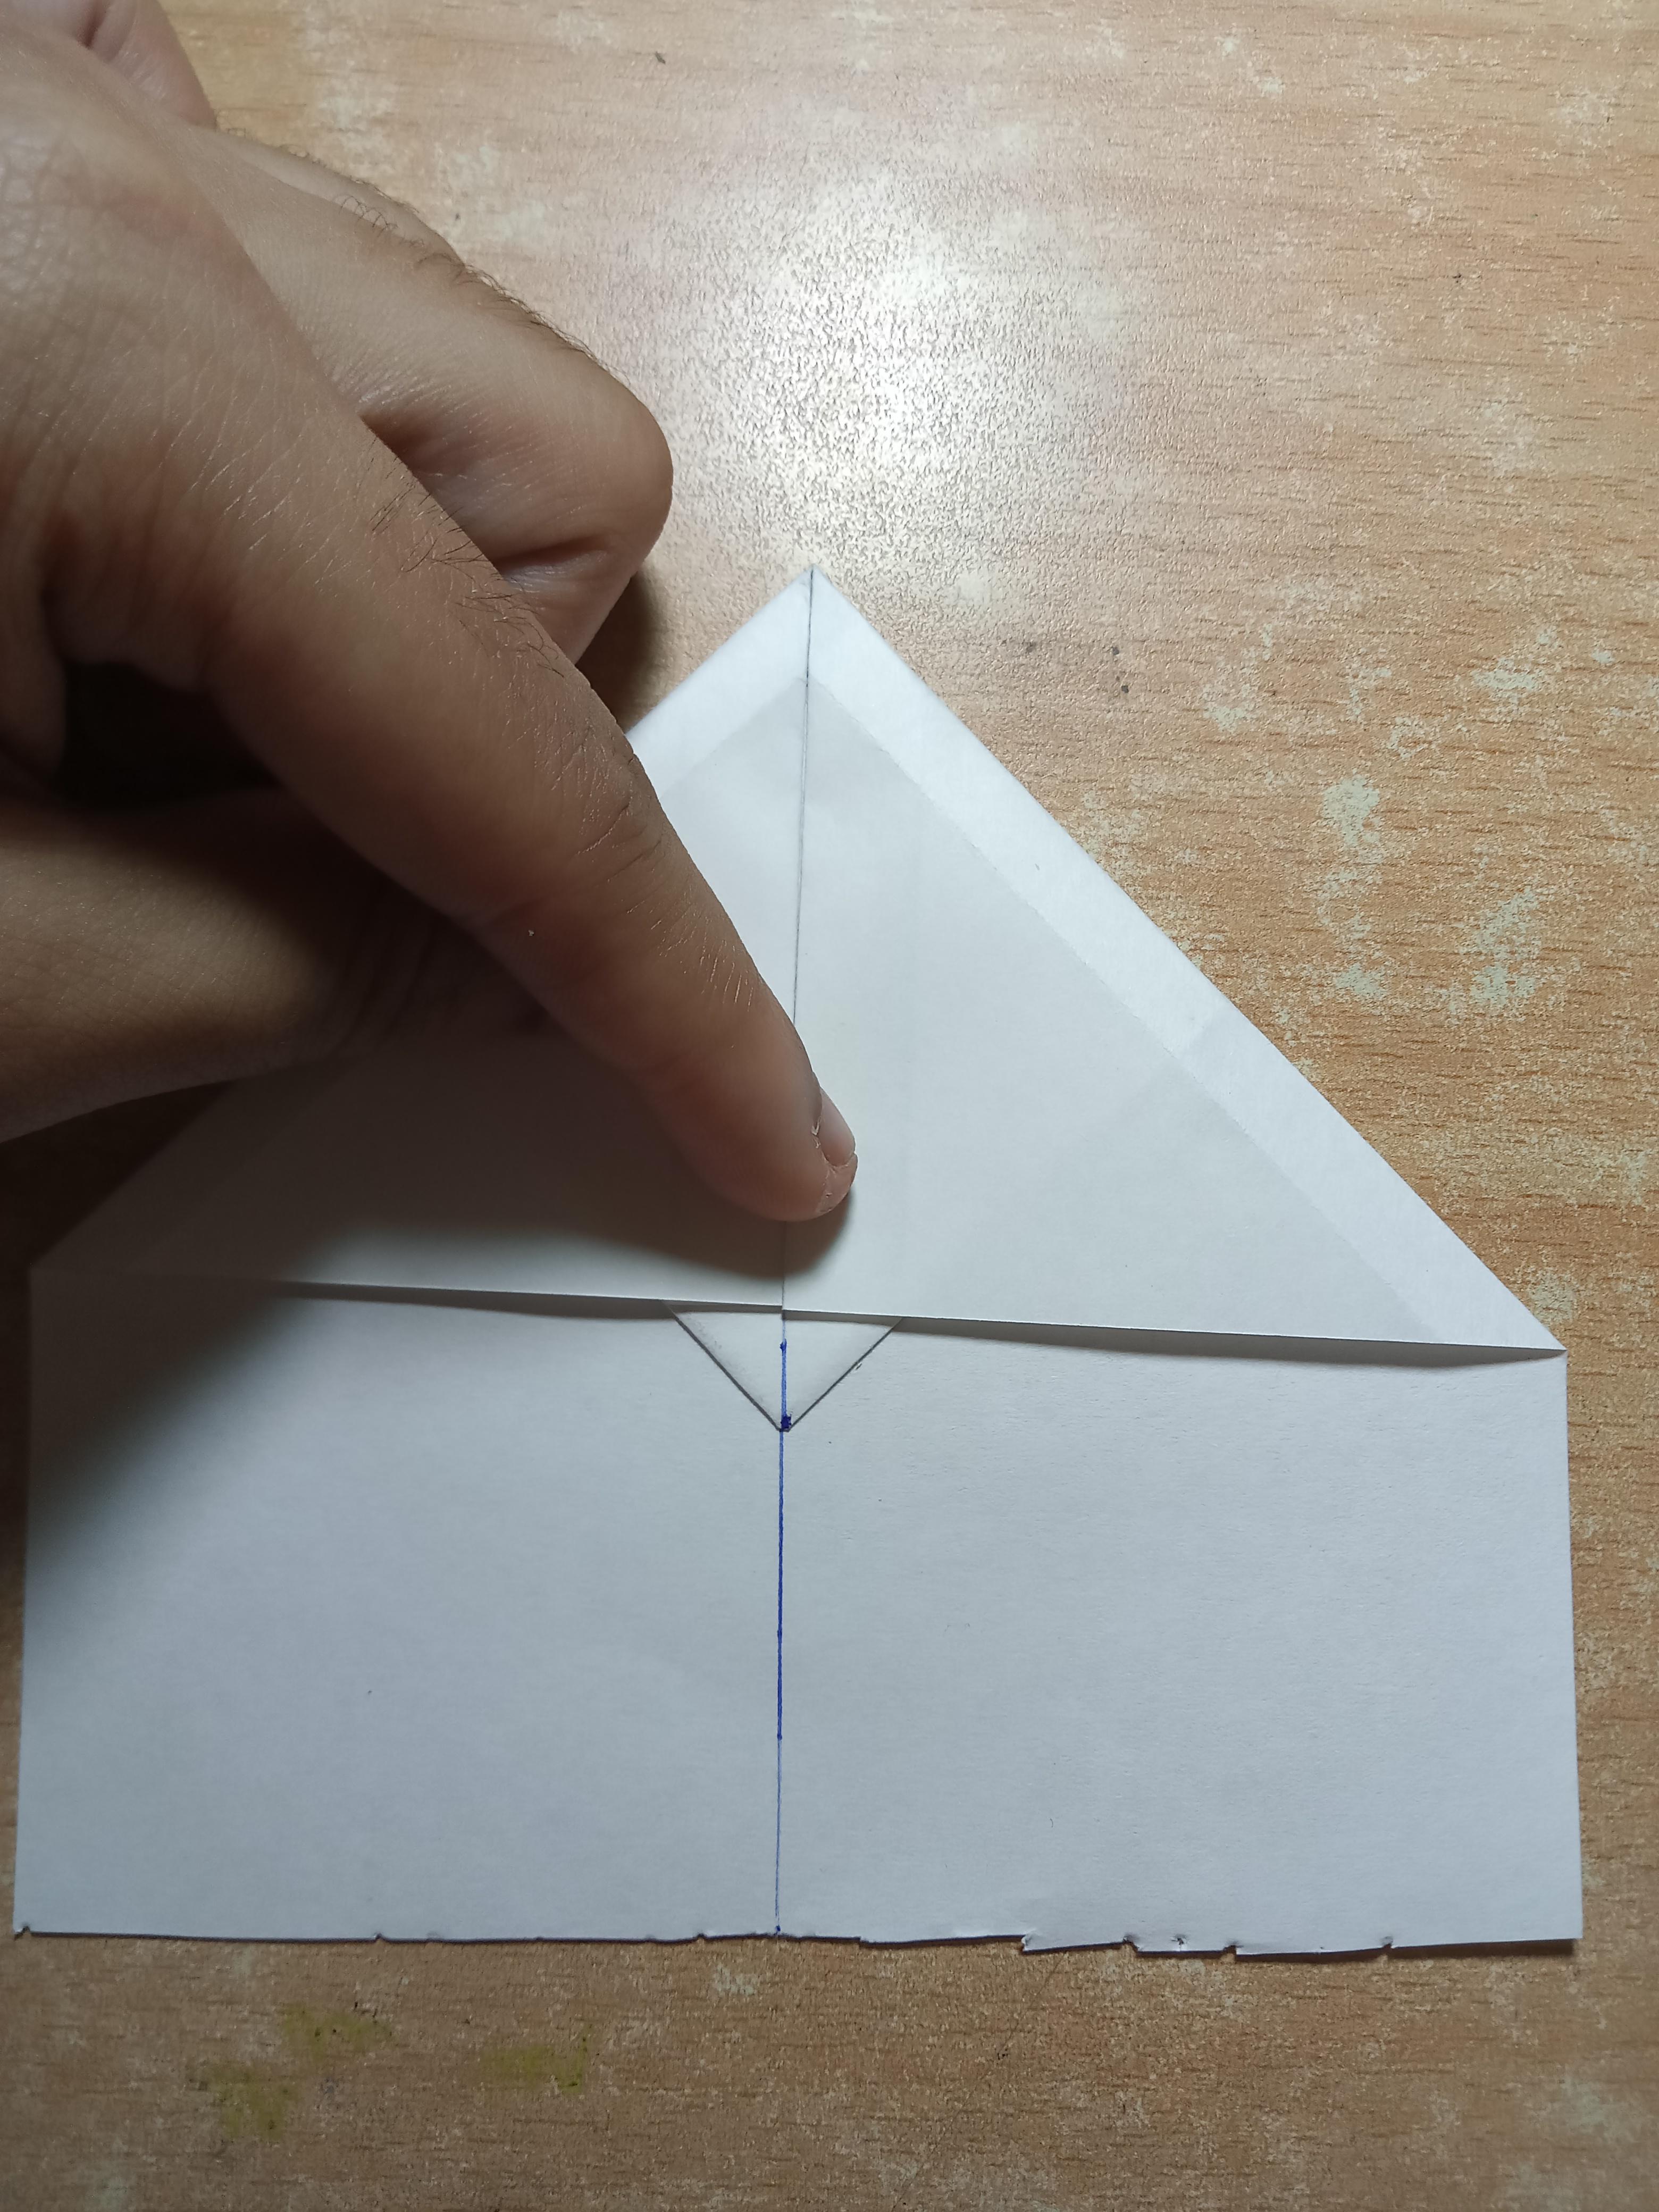
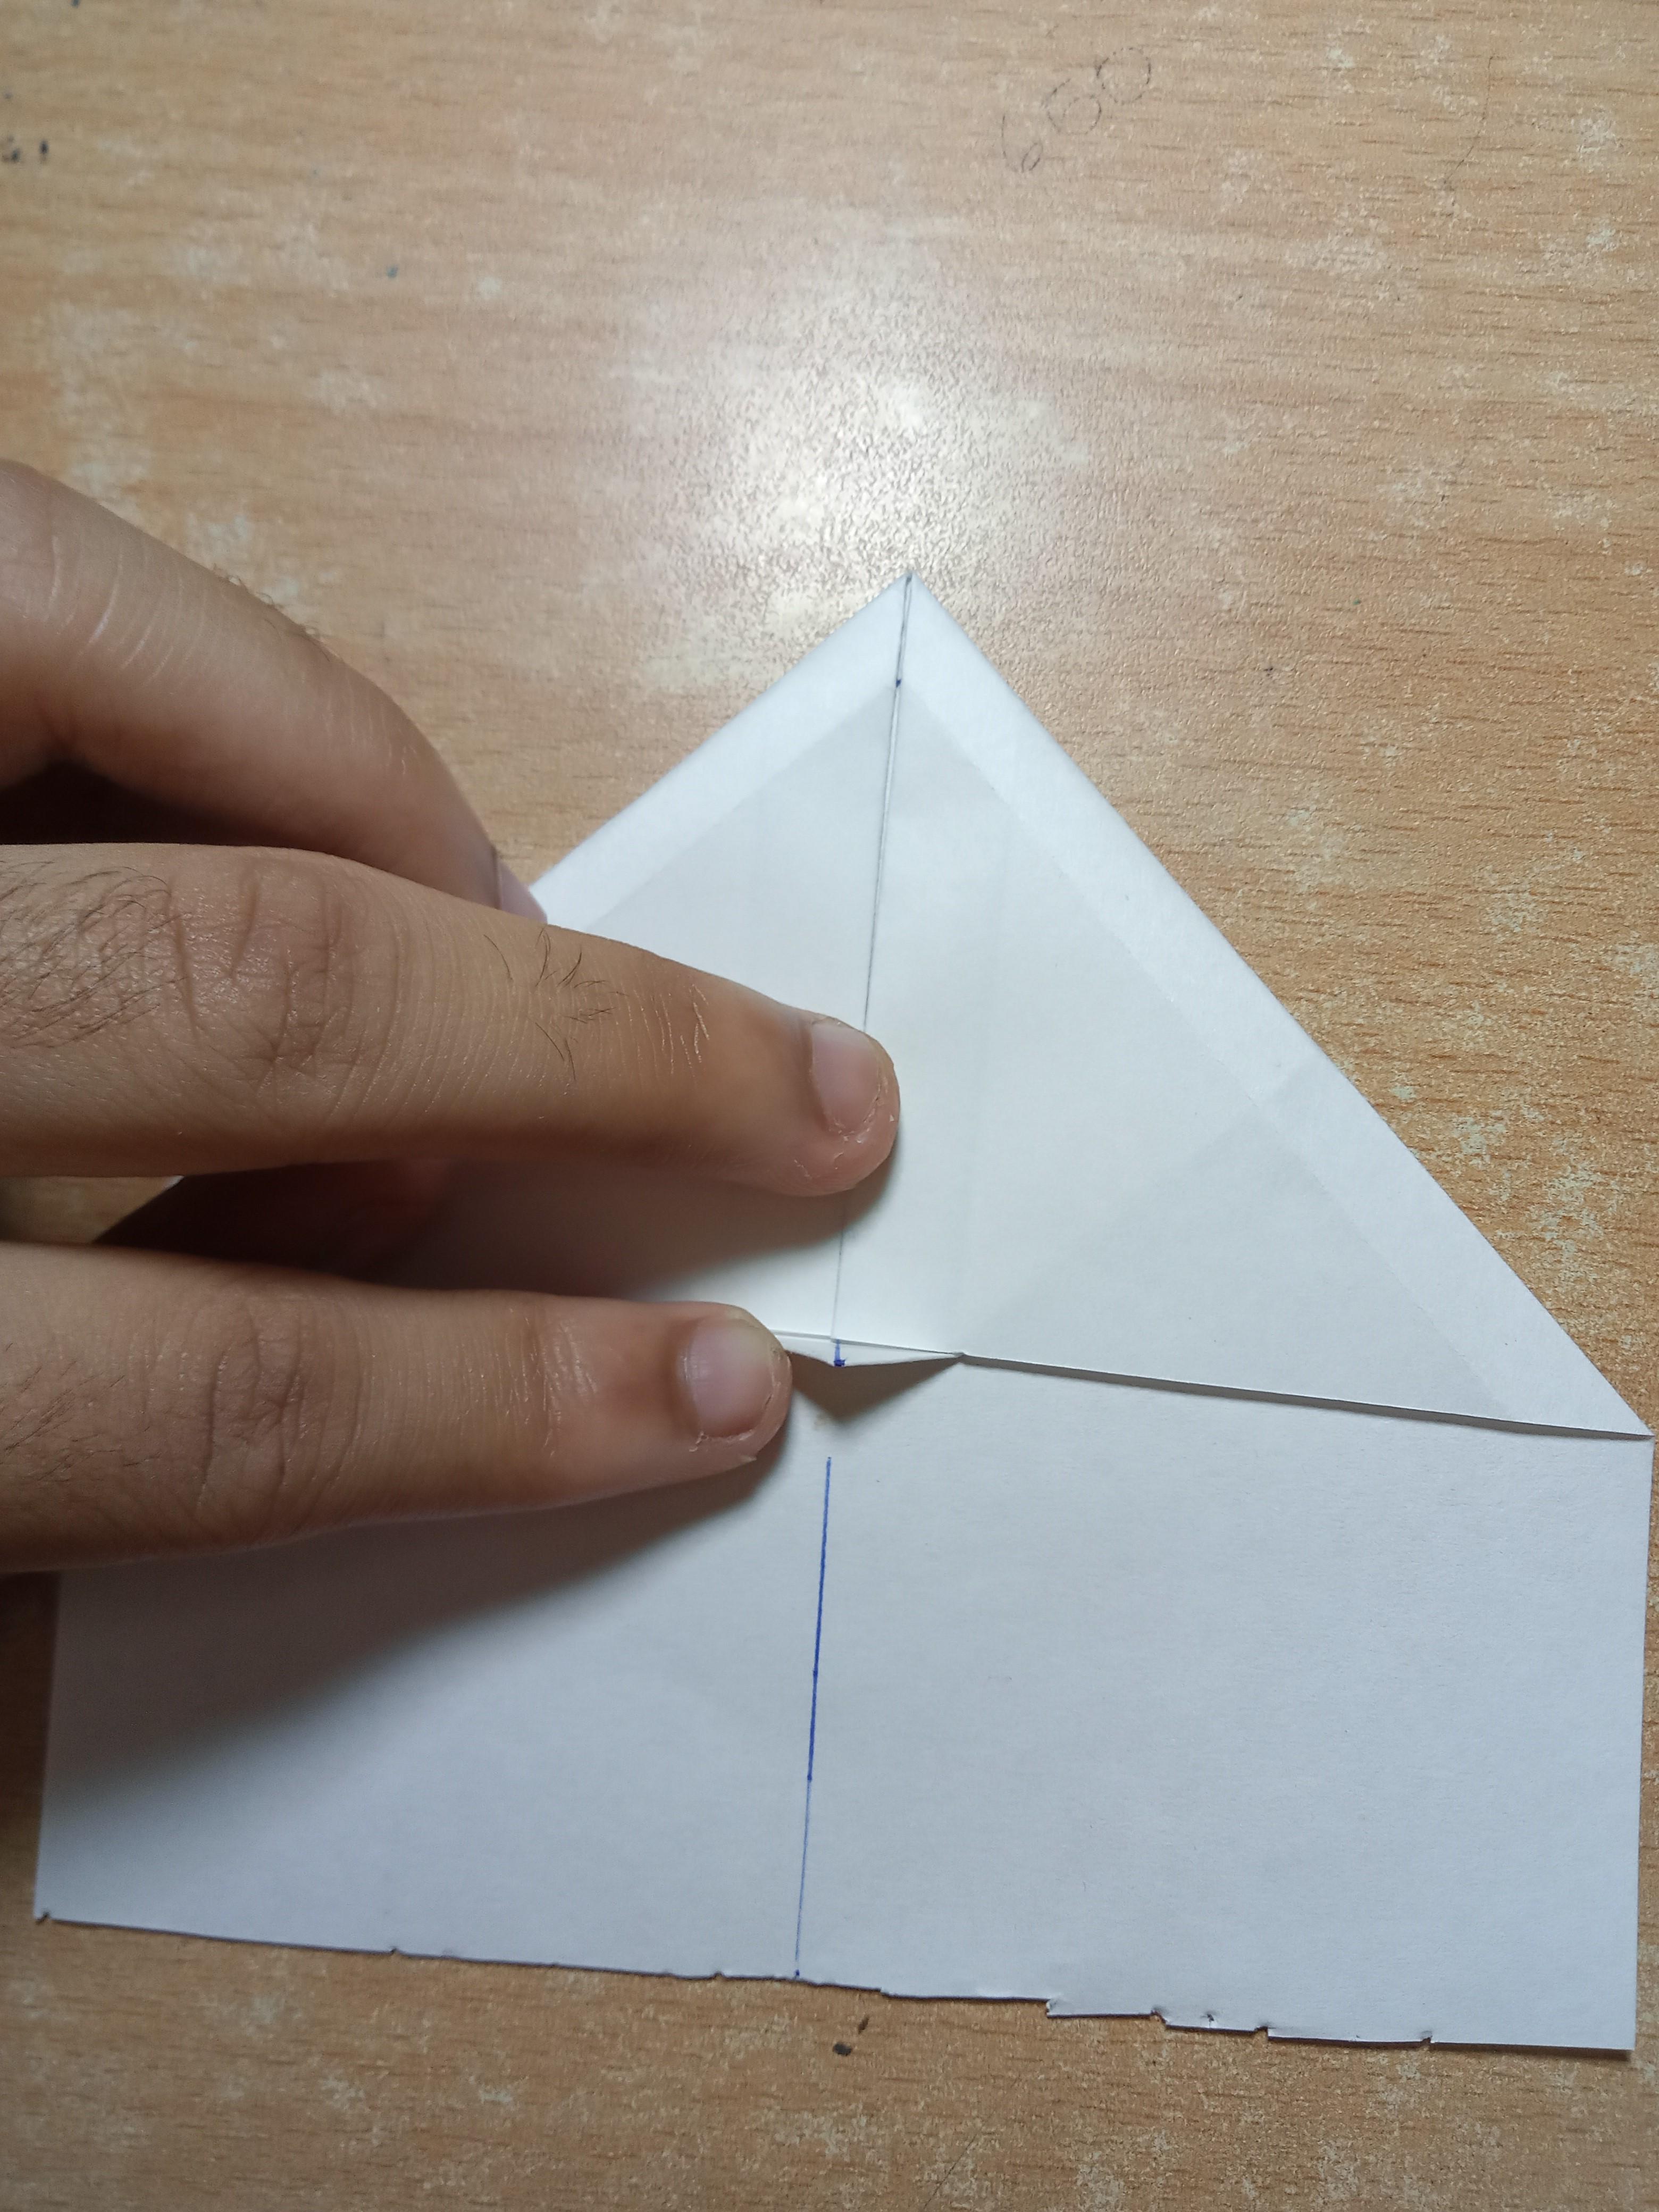
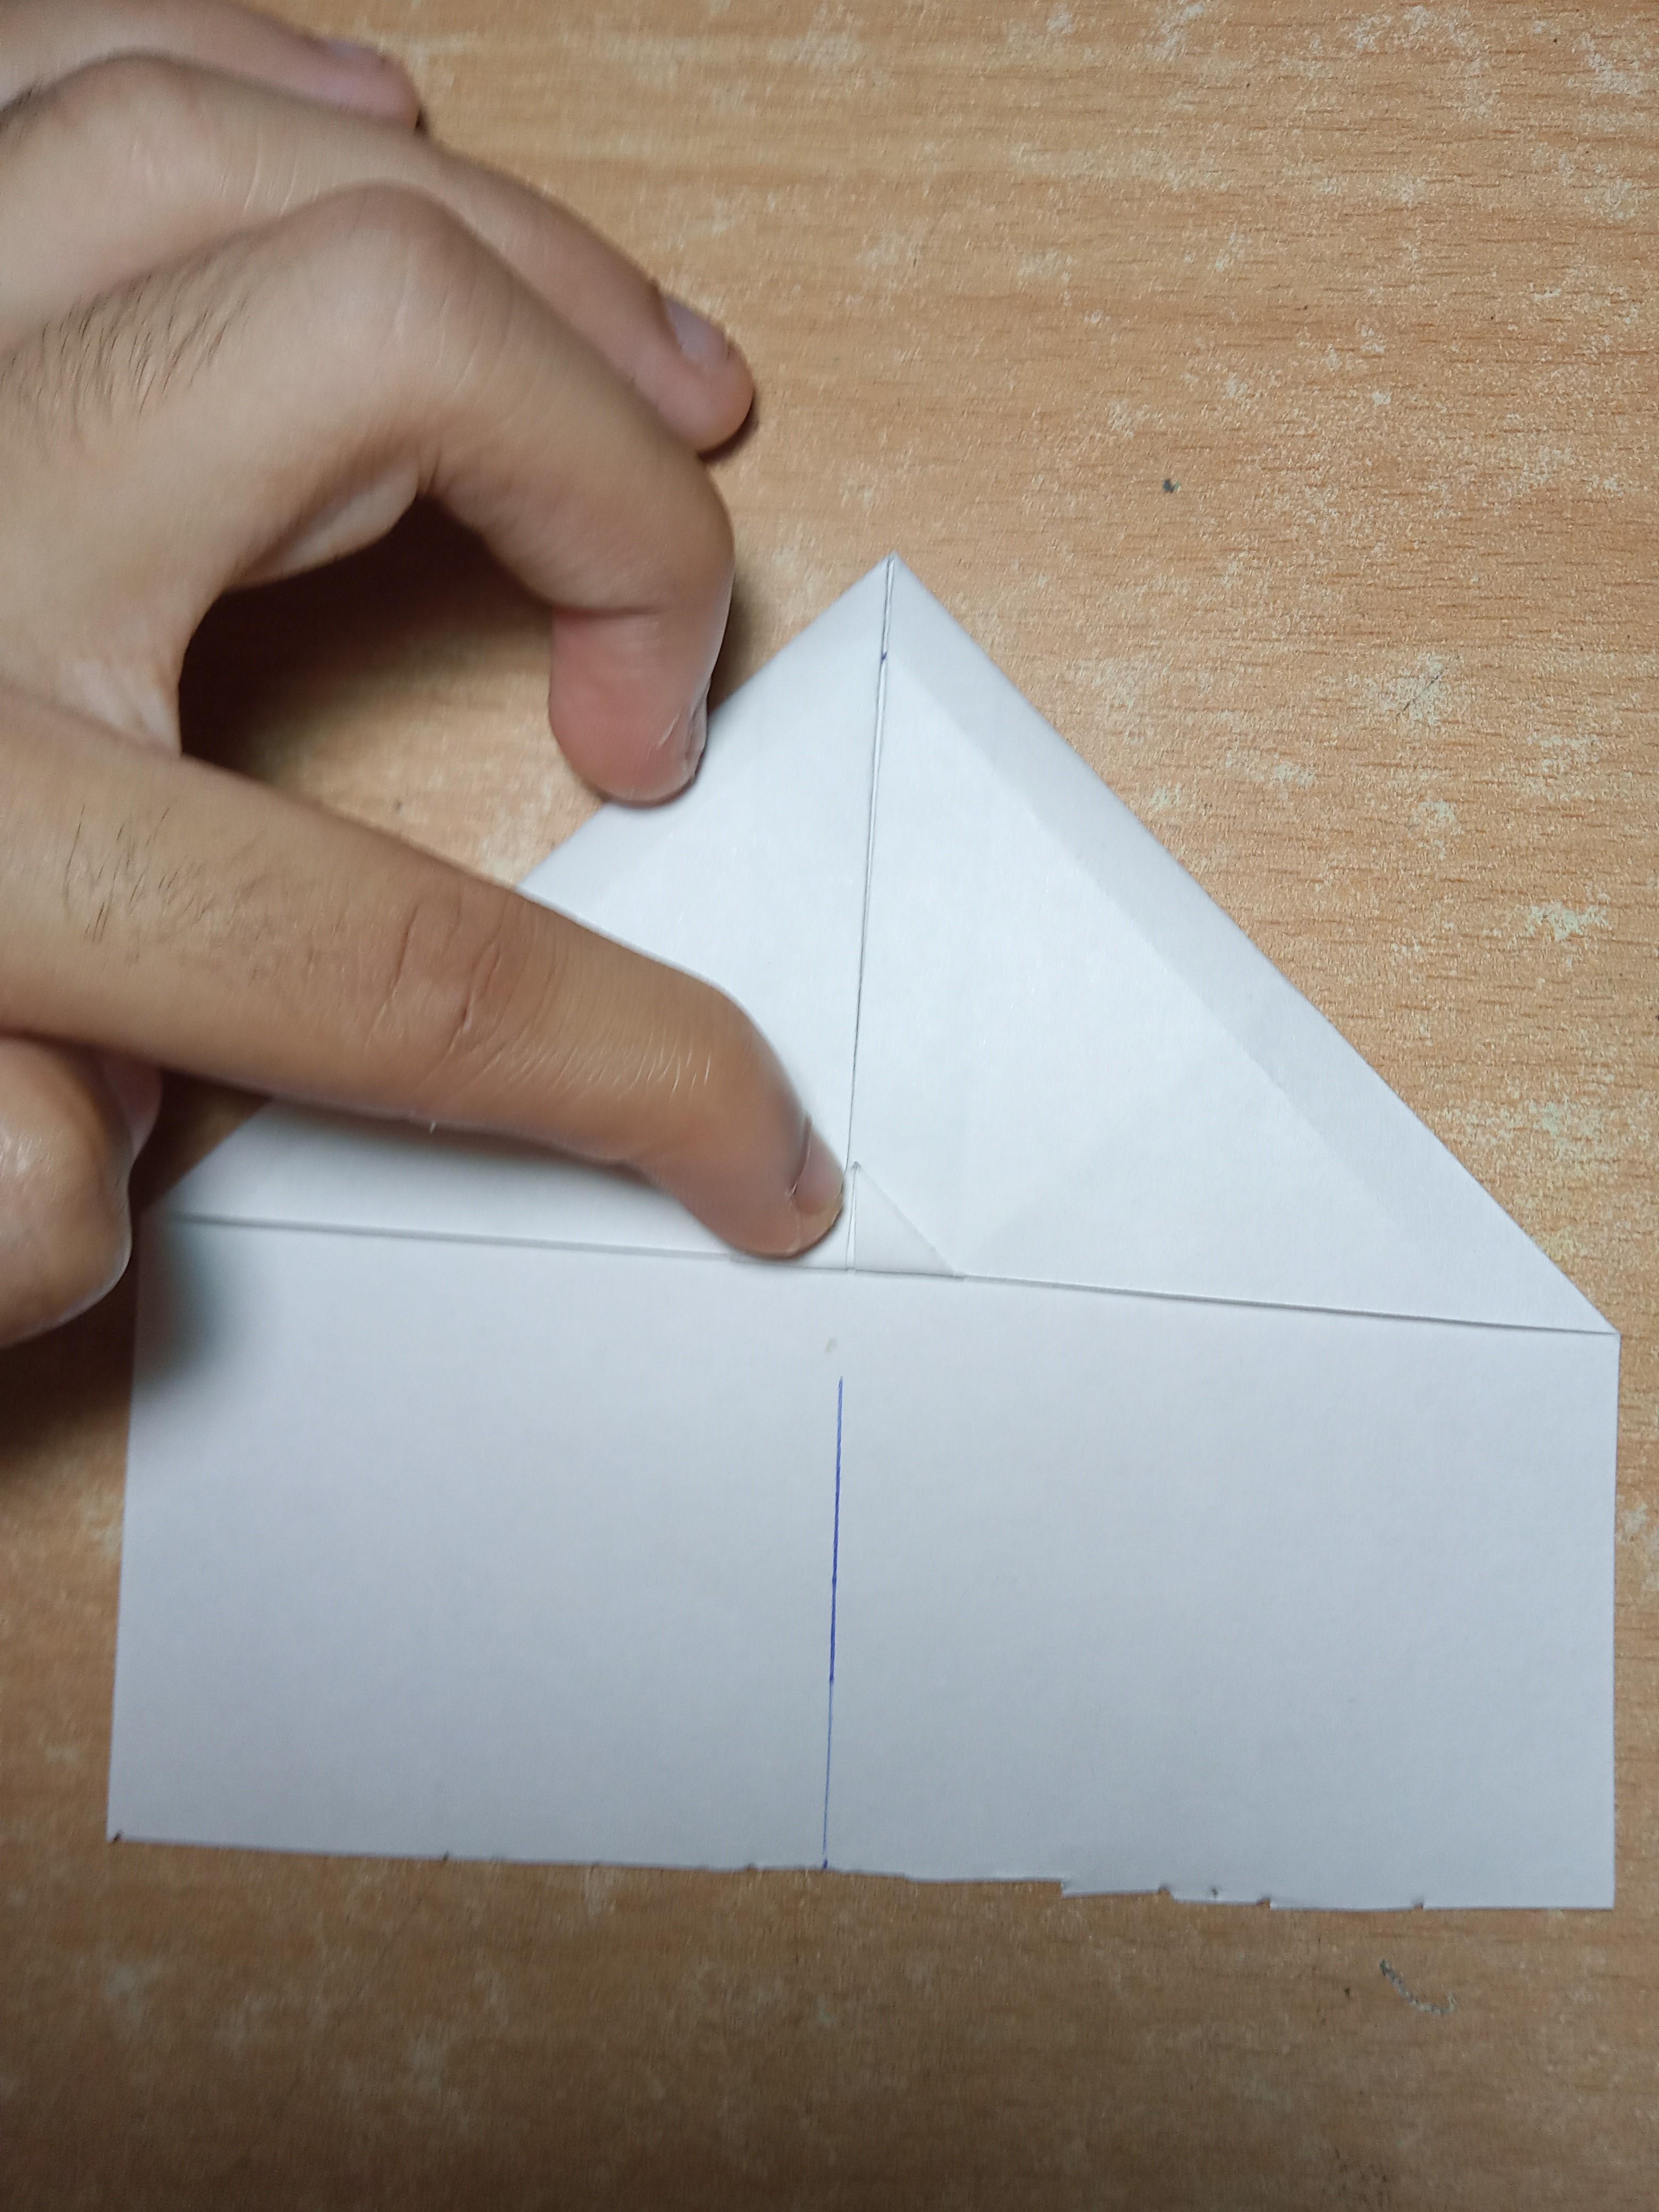
- Draw a vertical line from the middle of the sheet to the top.
- Grab the top-right corner of the sheet and fold it in such a way that the top right side of the sheet meets with the drawn line.
- Repeat the same for the left side.
- After completing the previous steps, you will find a small triangle peeping from the inside like a tongue. fold this tongue sorry...sorry . Fold this triangle . Make sure you fold it nicely as this tong..triangle will prevent the corners from separating.
You may see the attached pictures to check whether you did the steps correctly
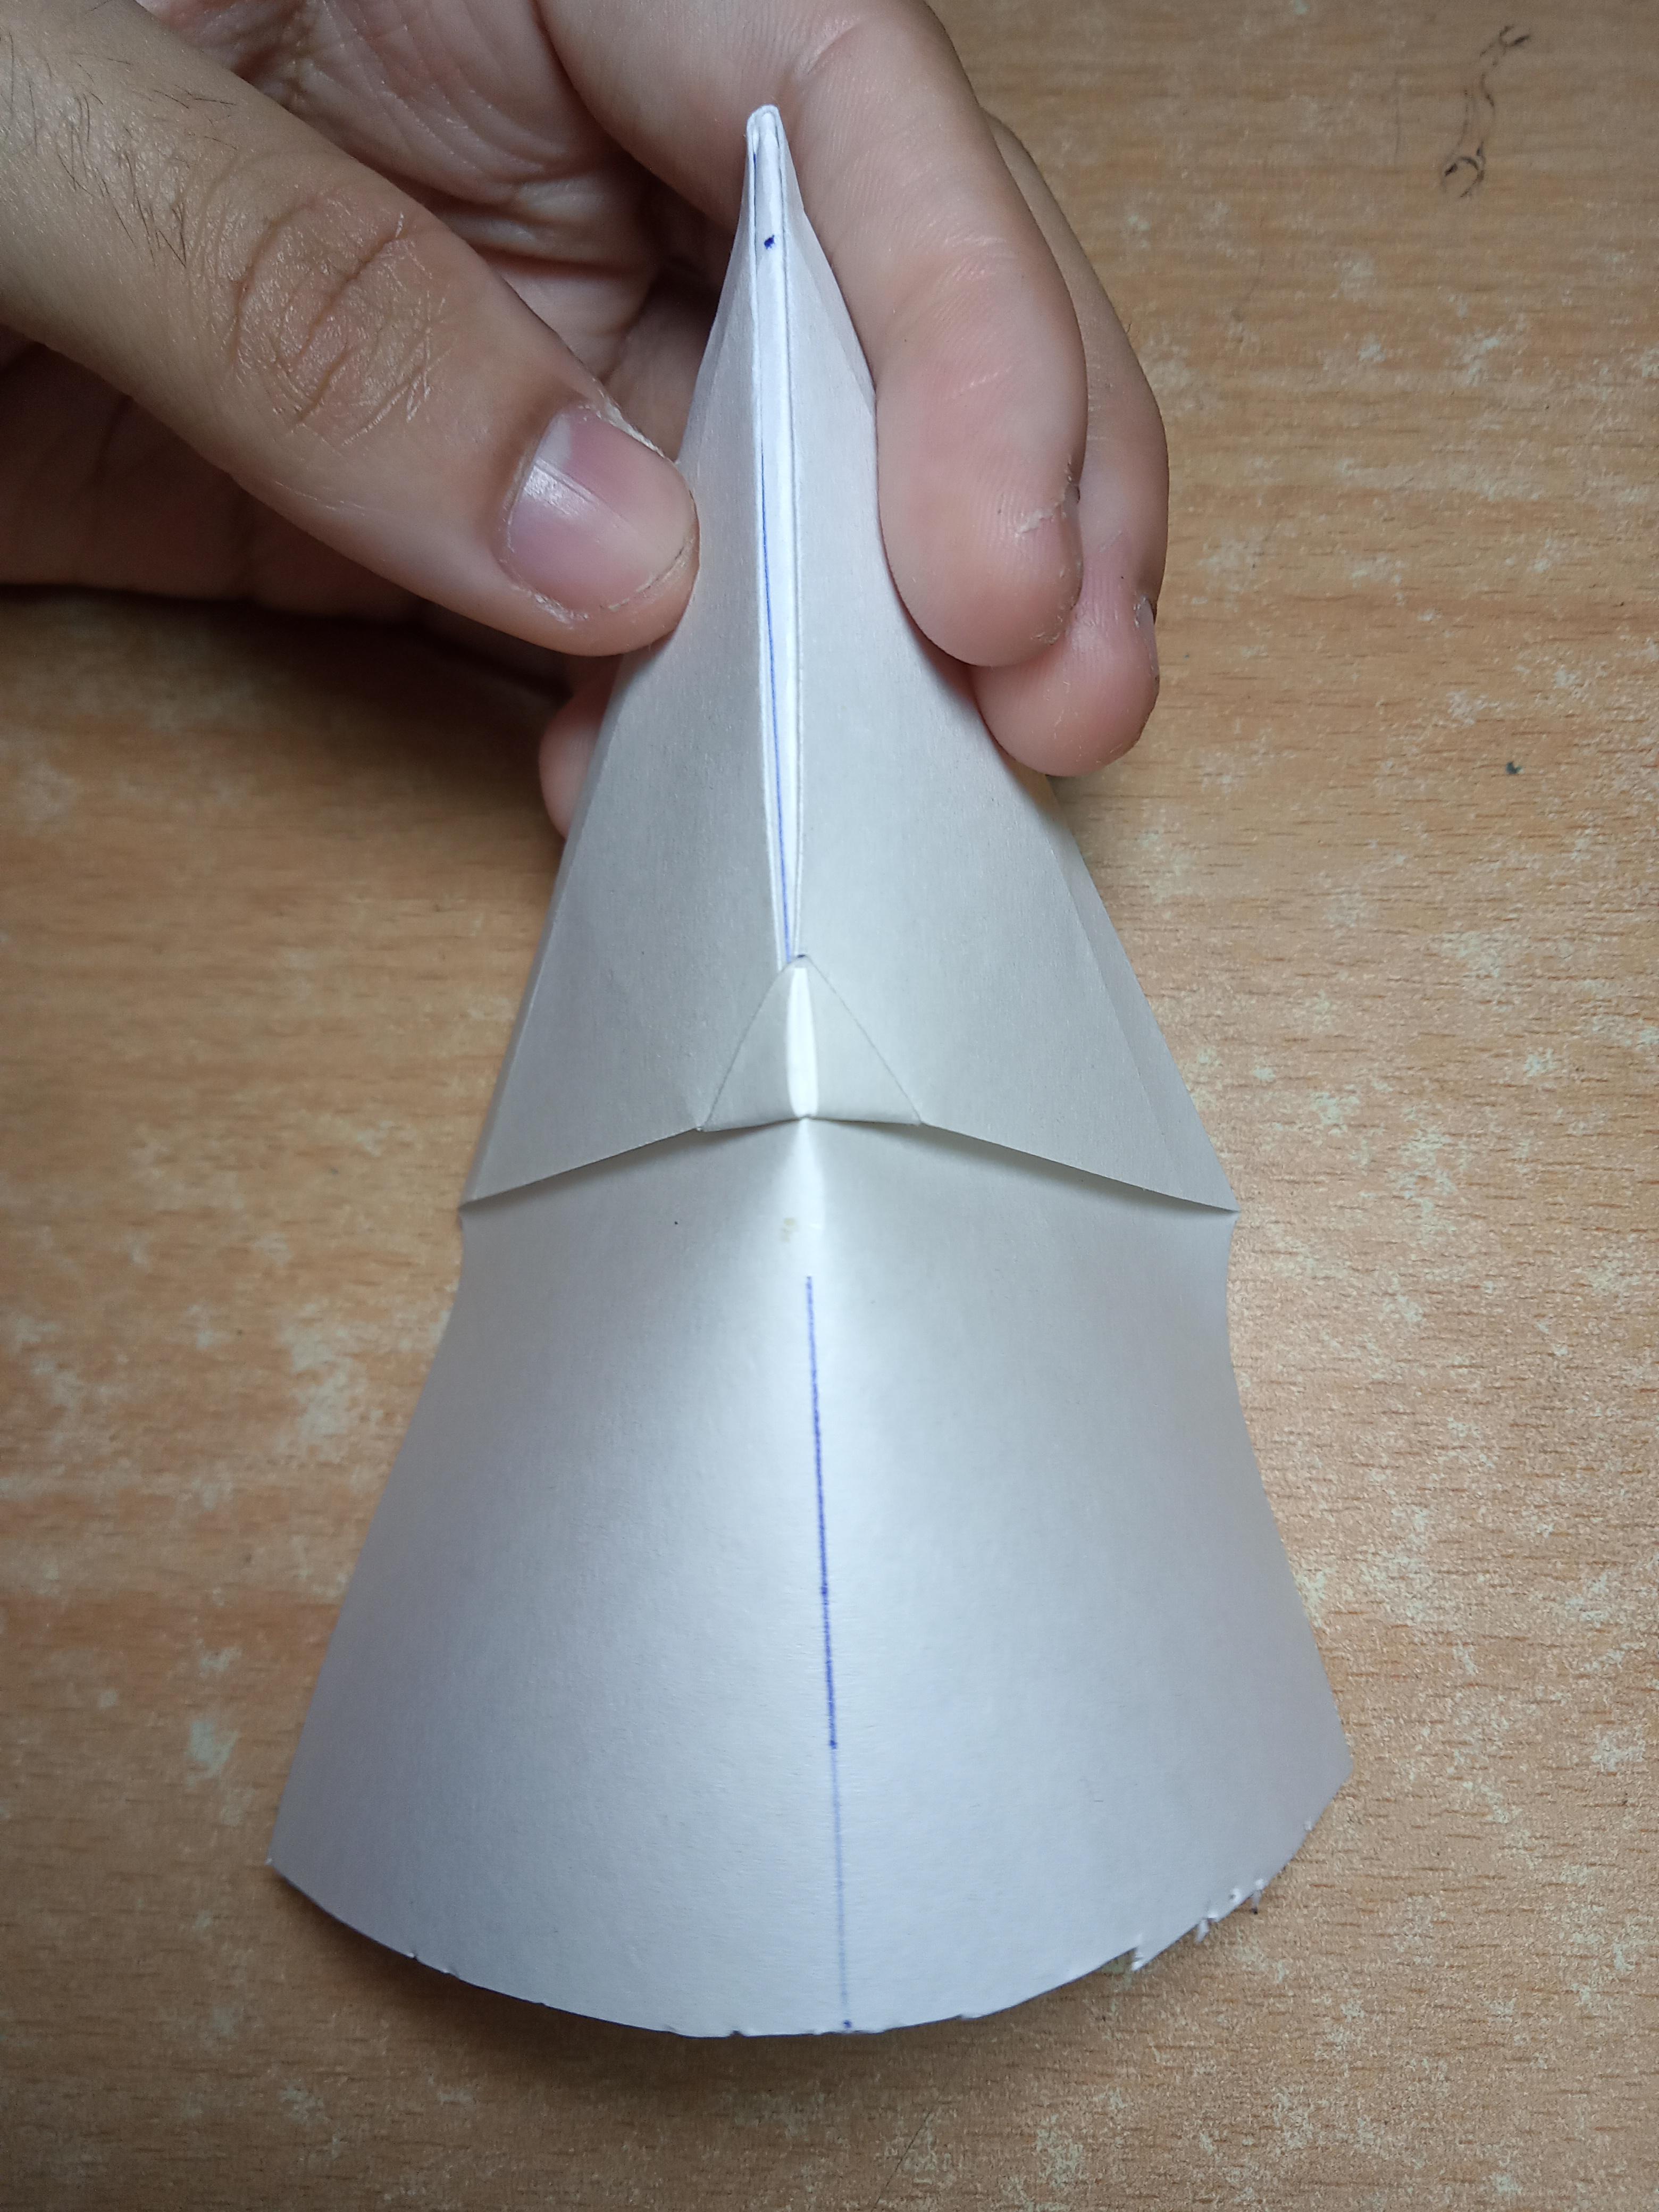
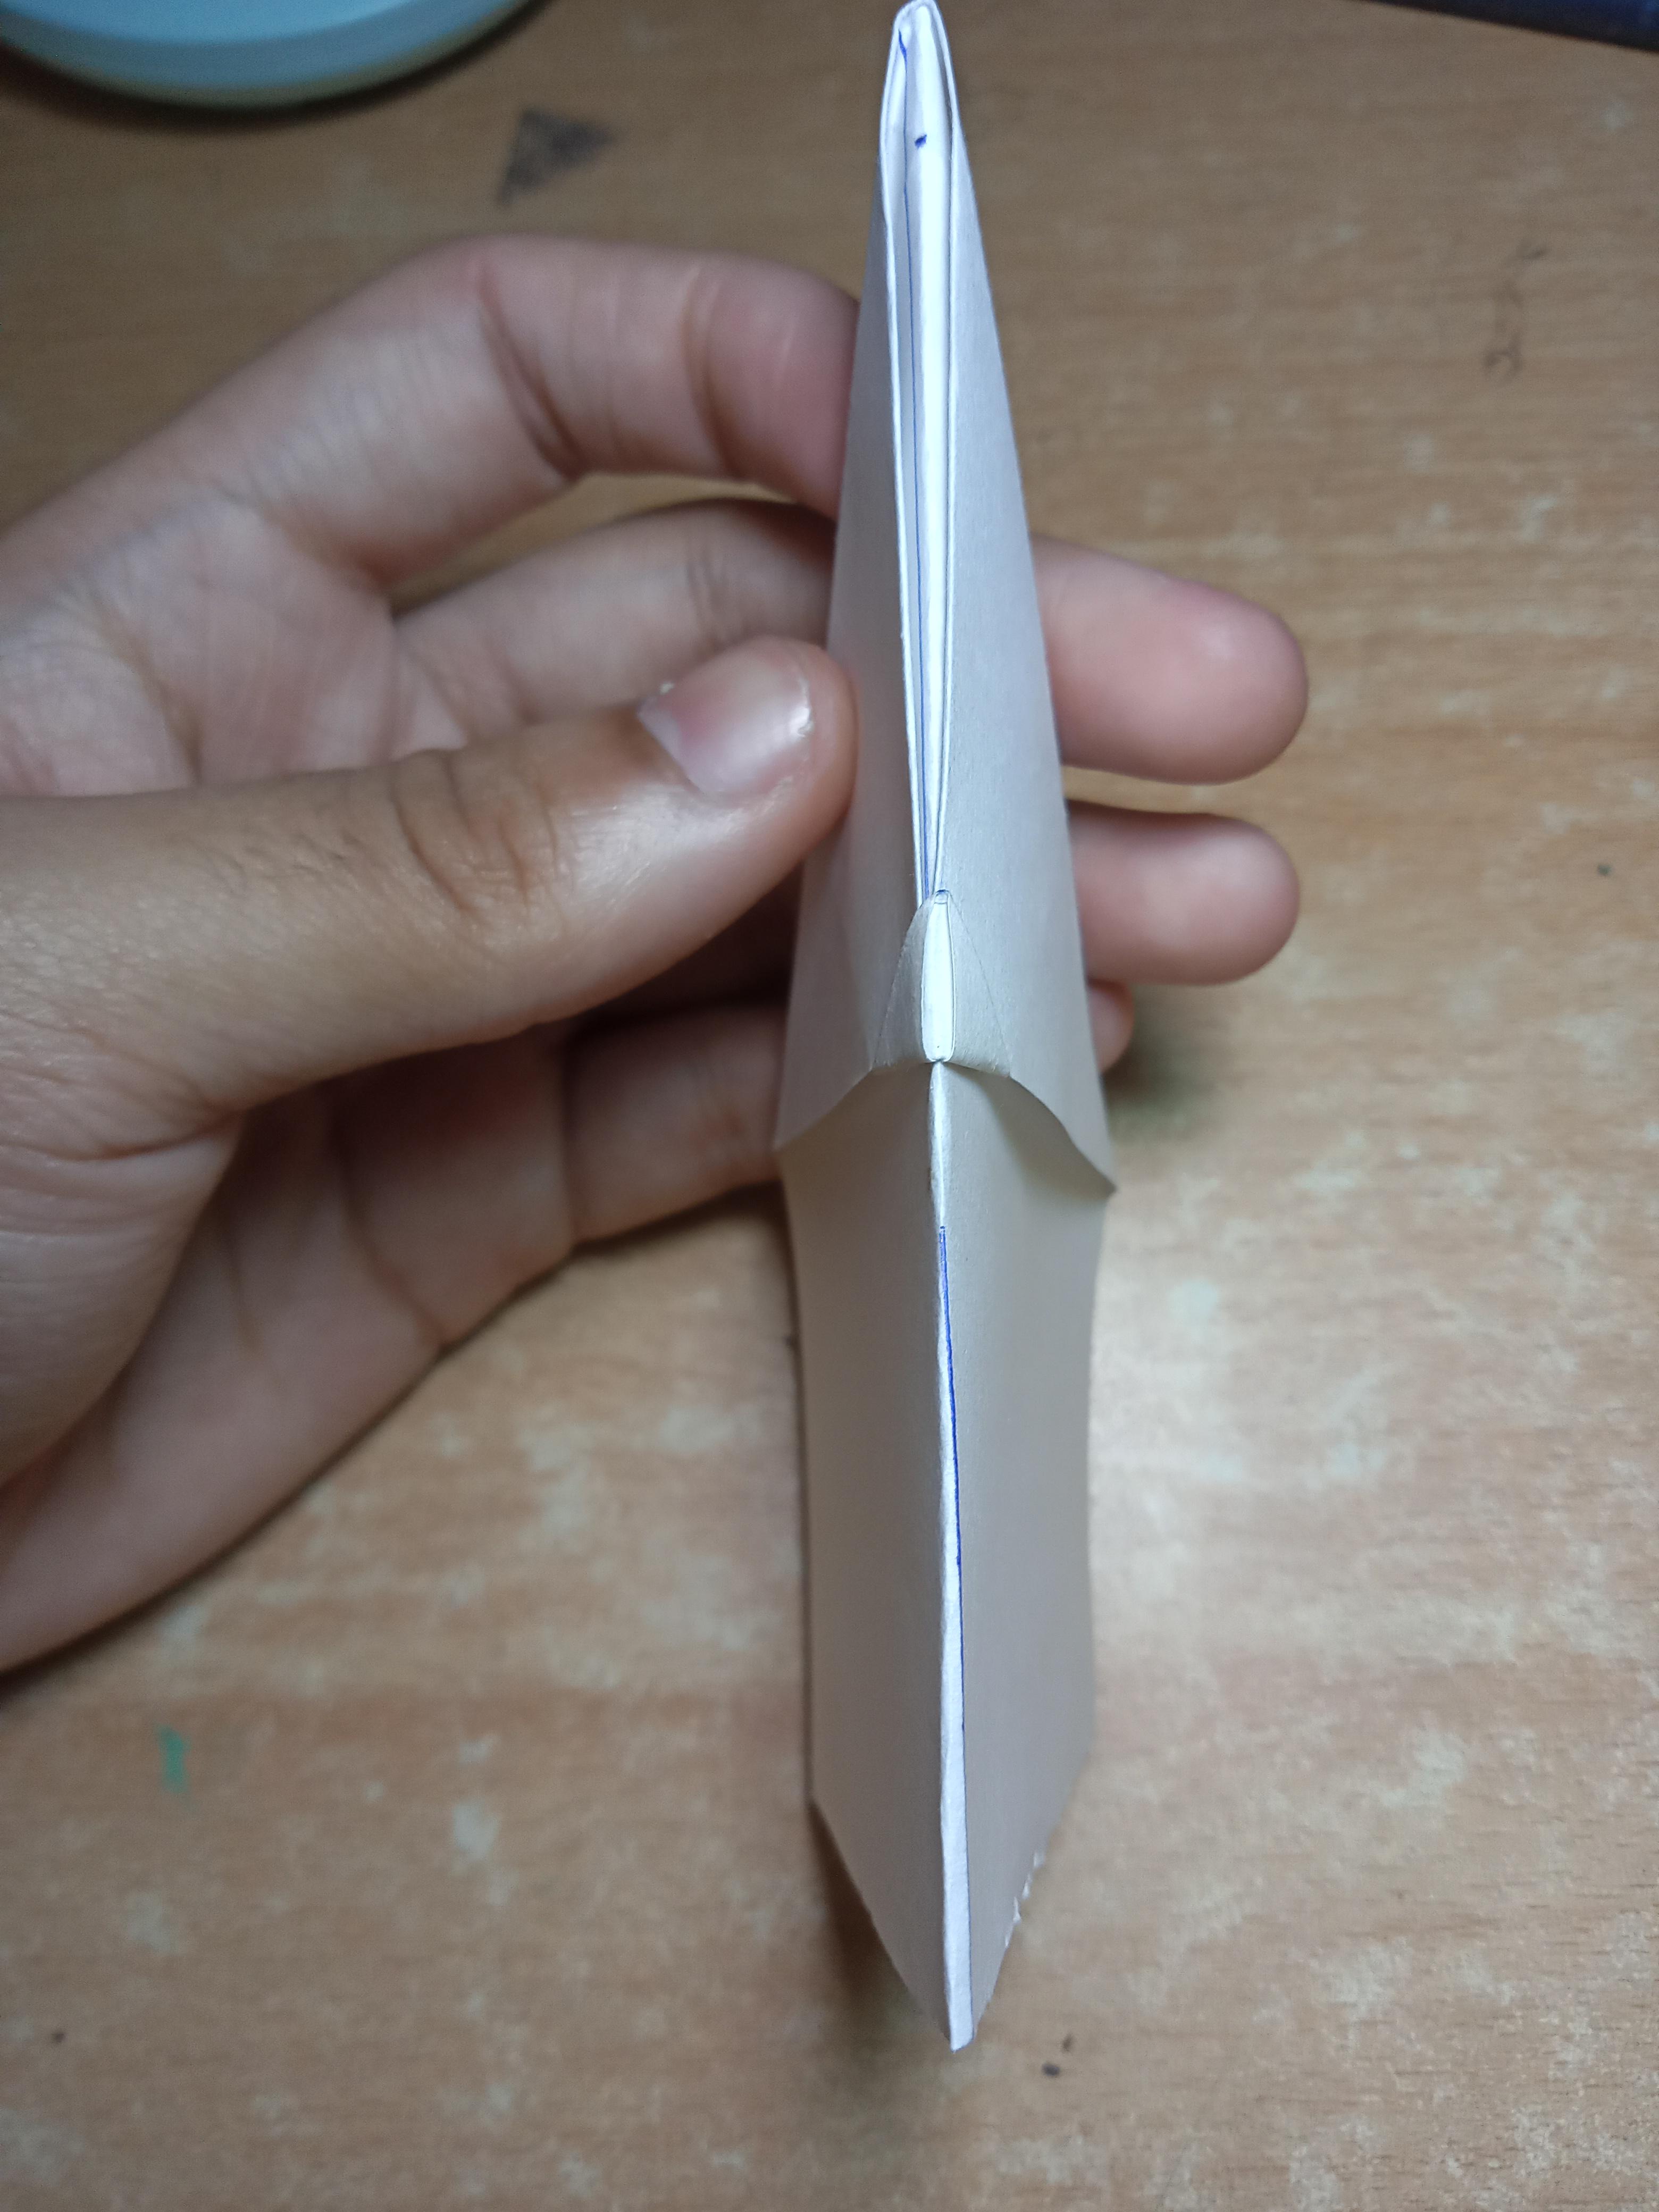
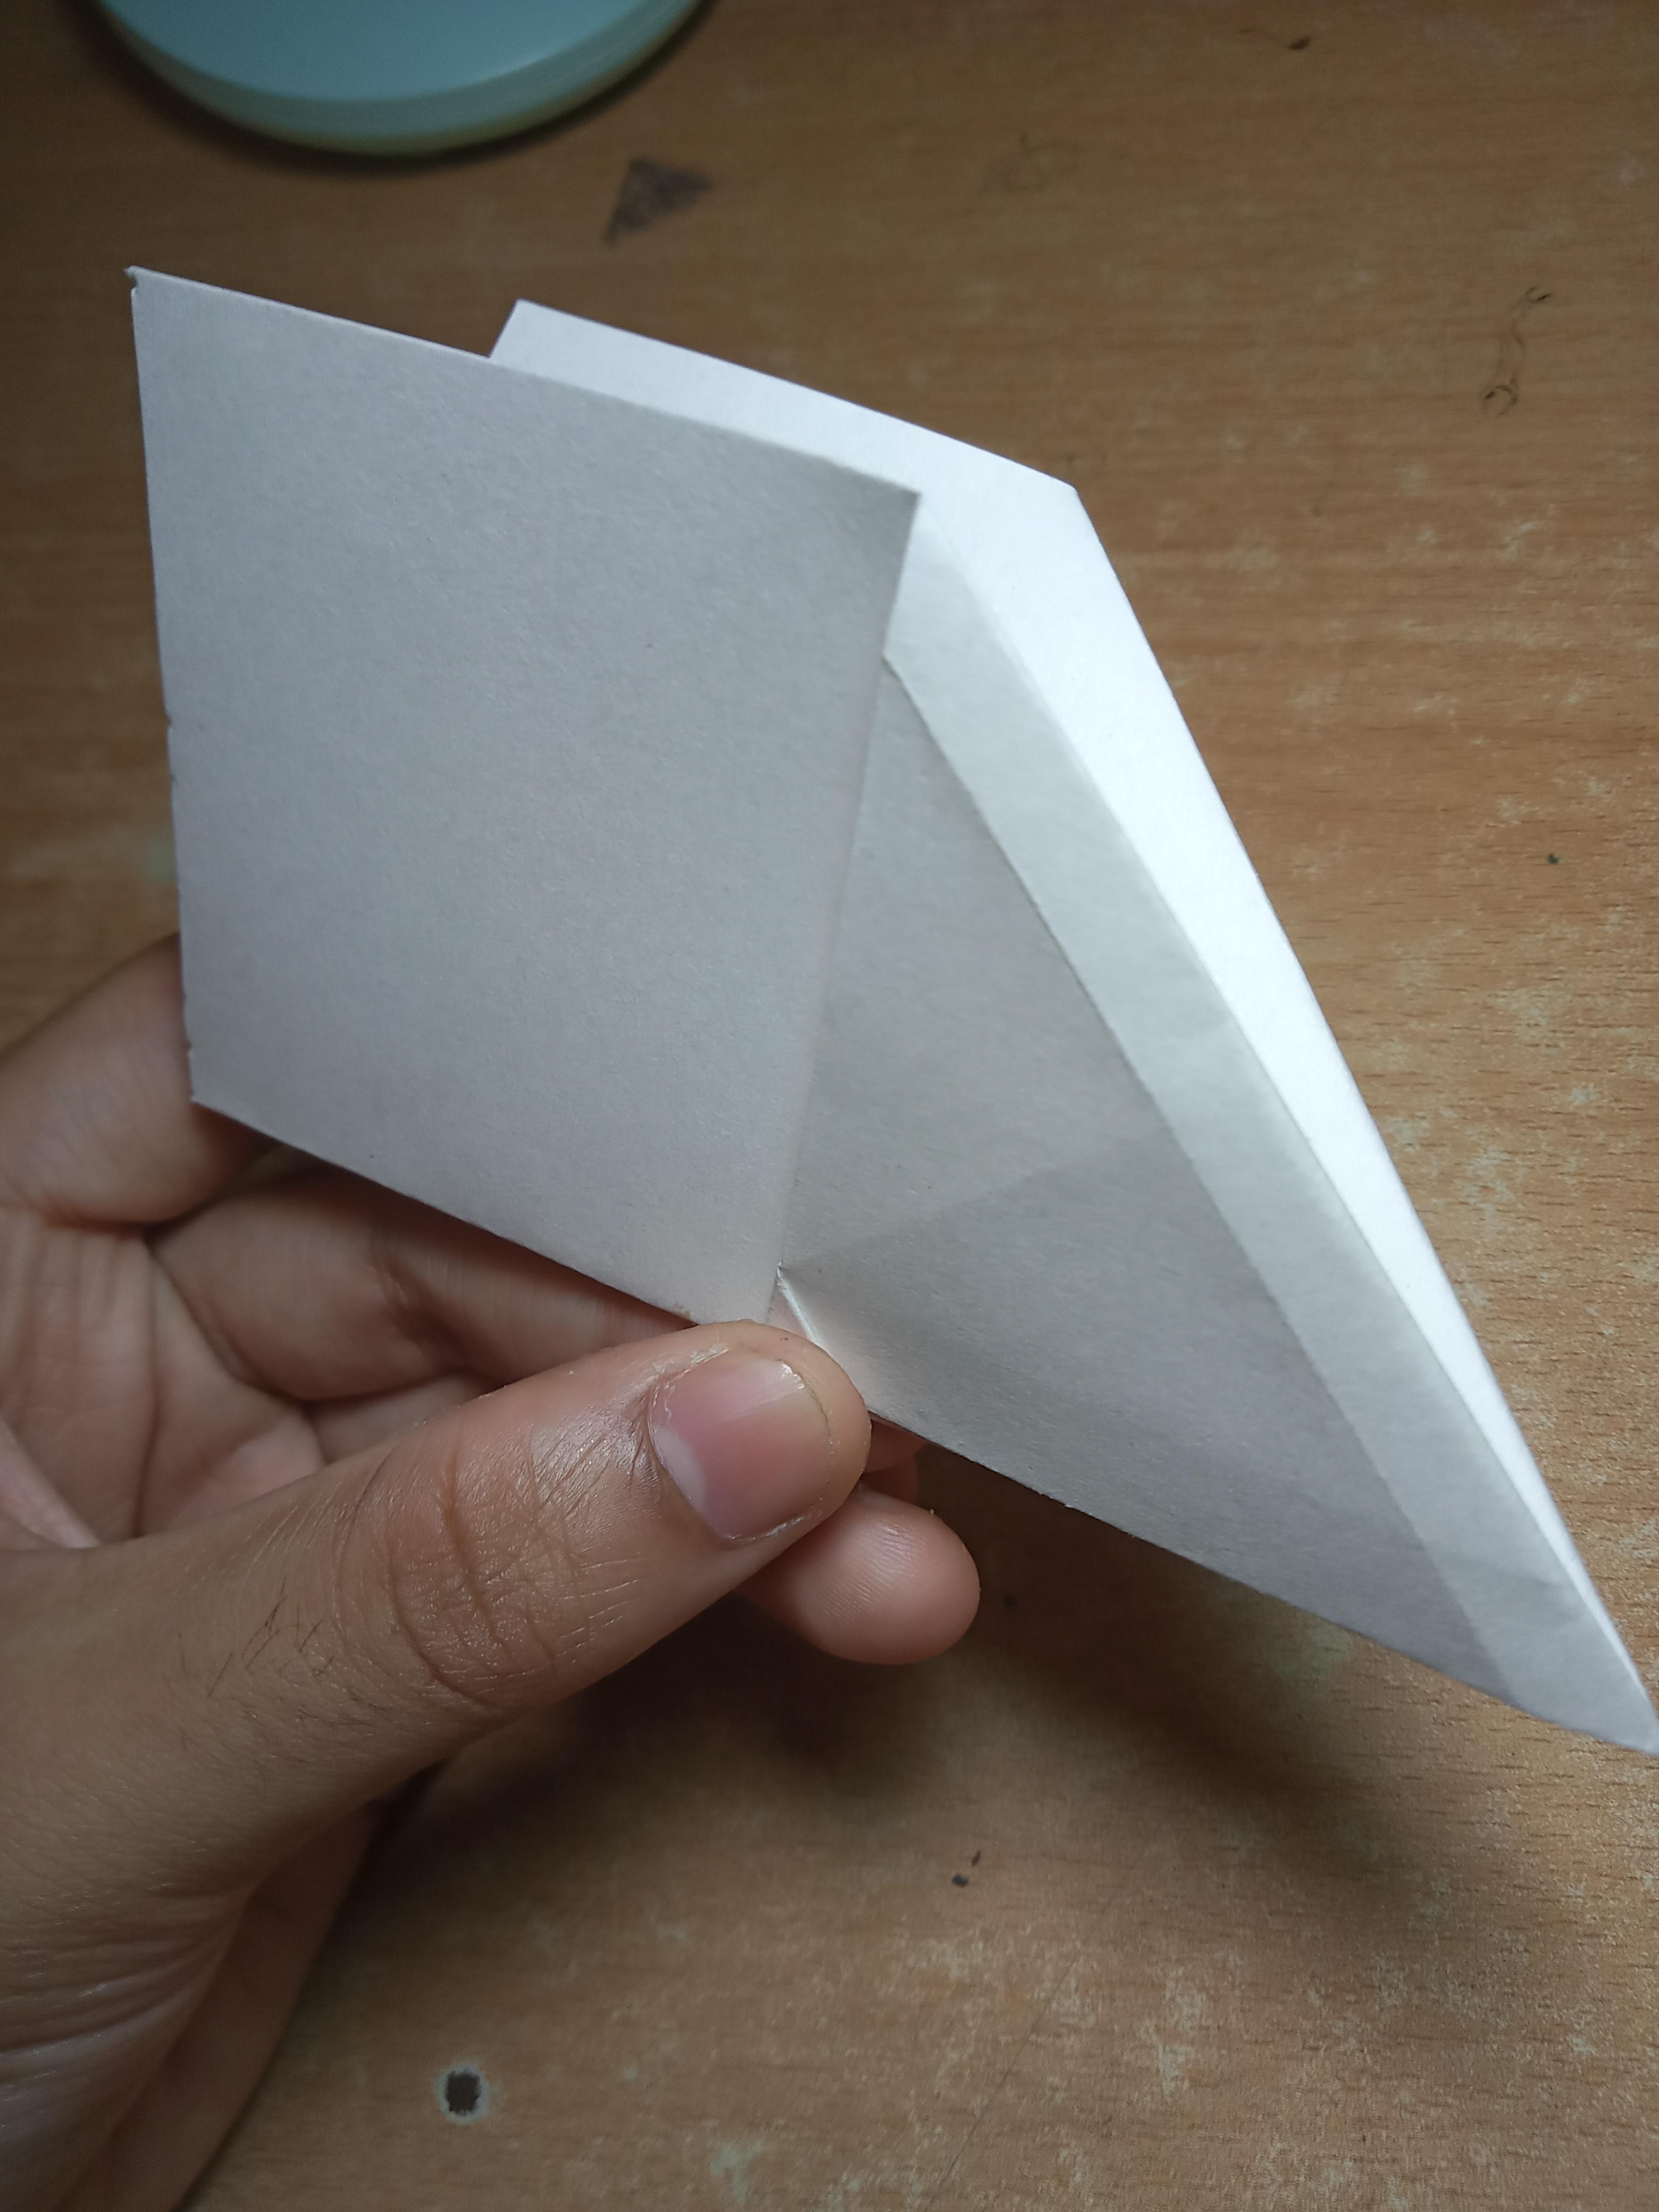
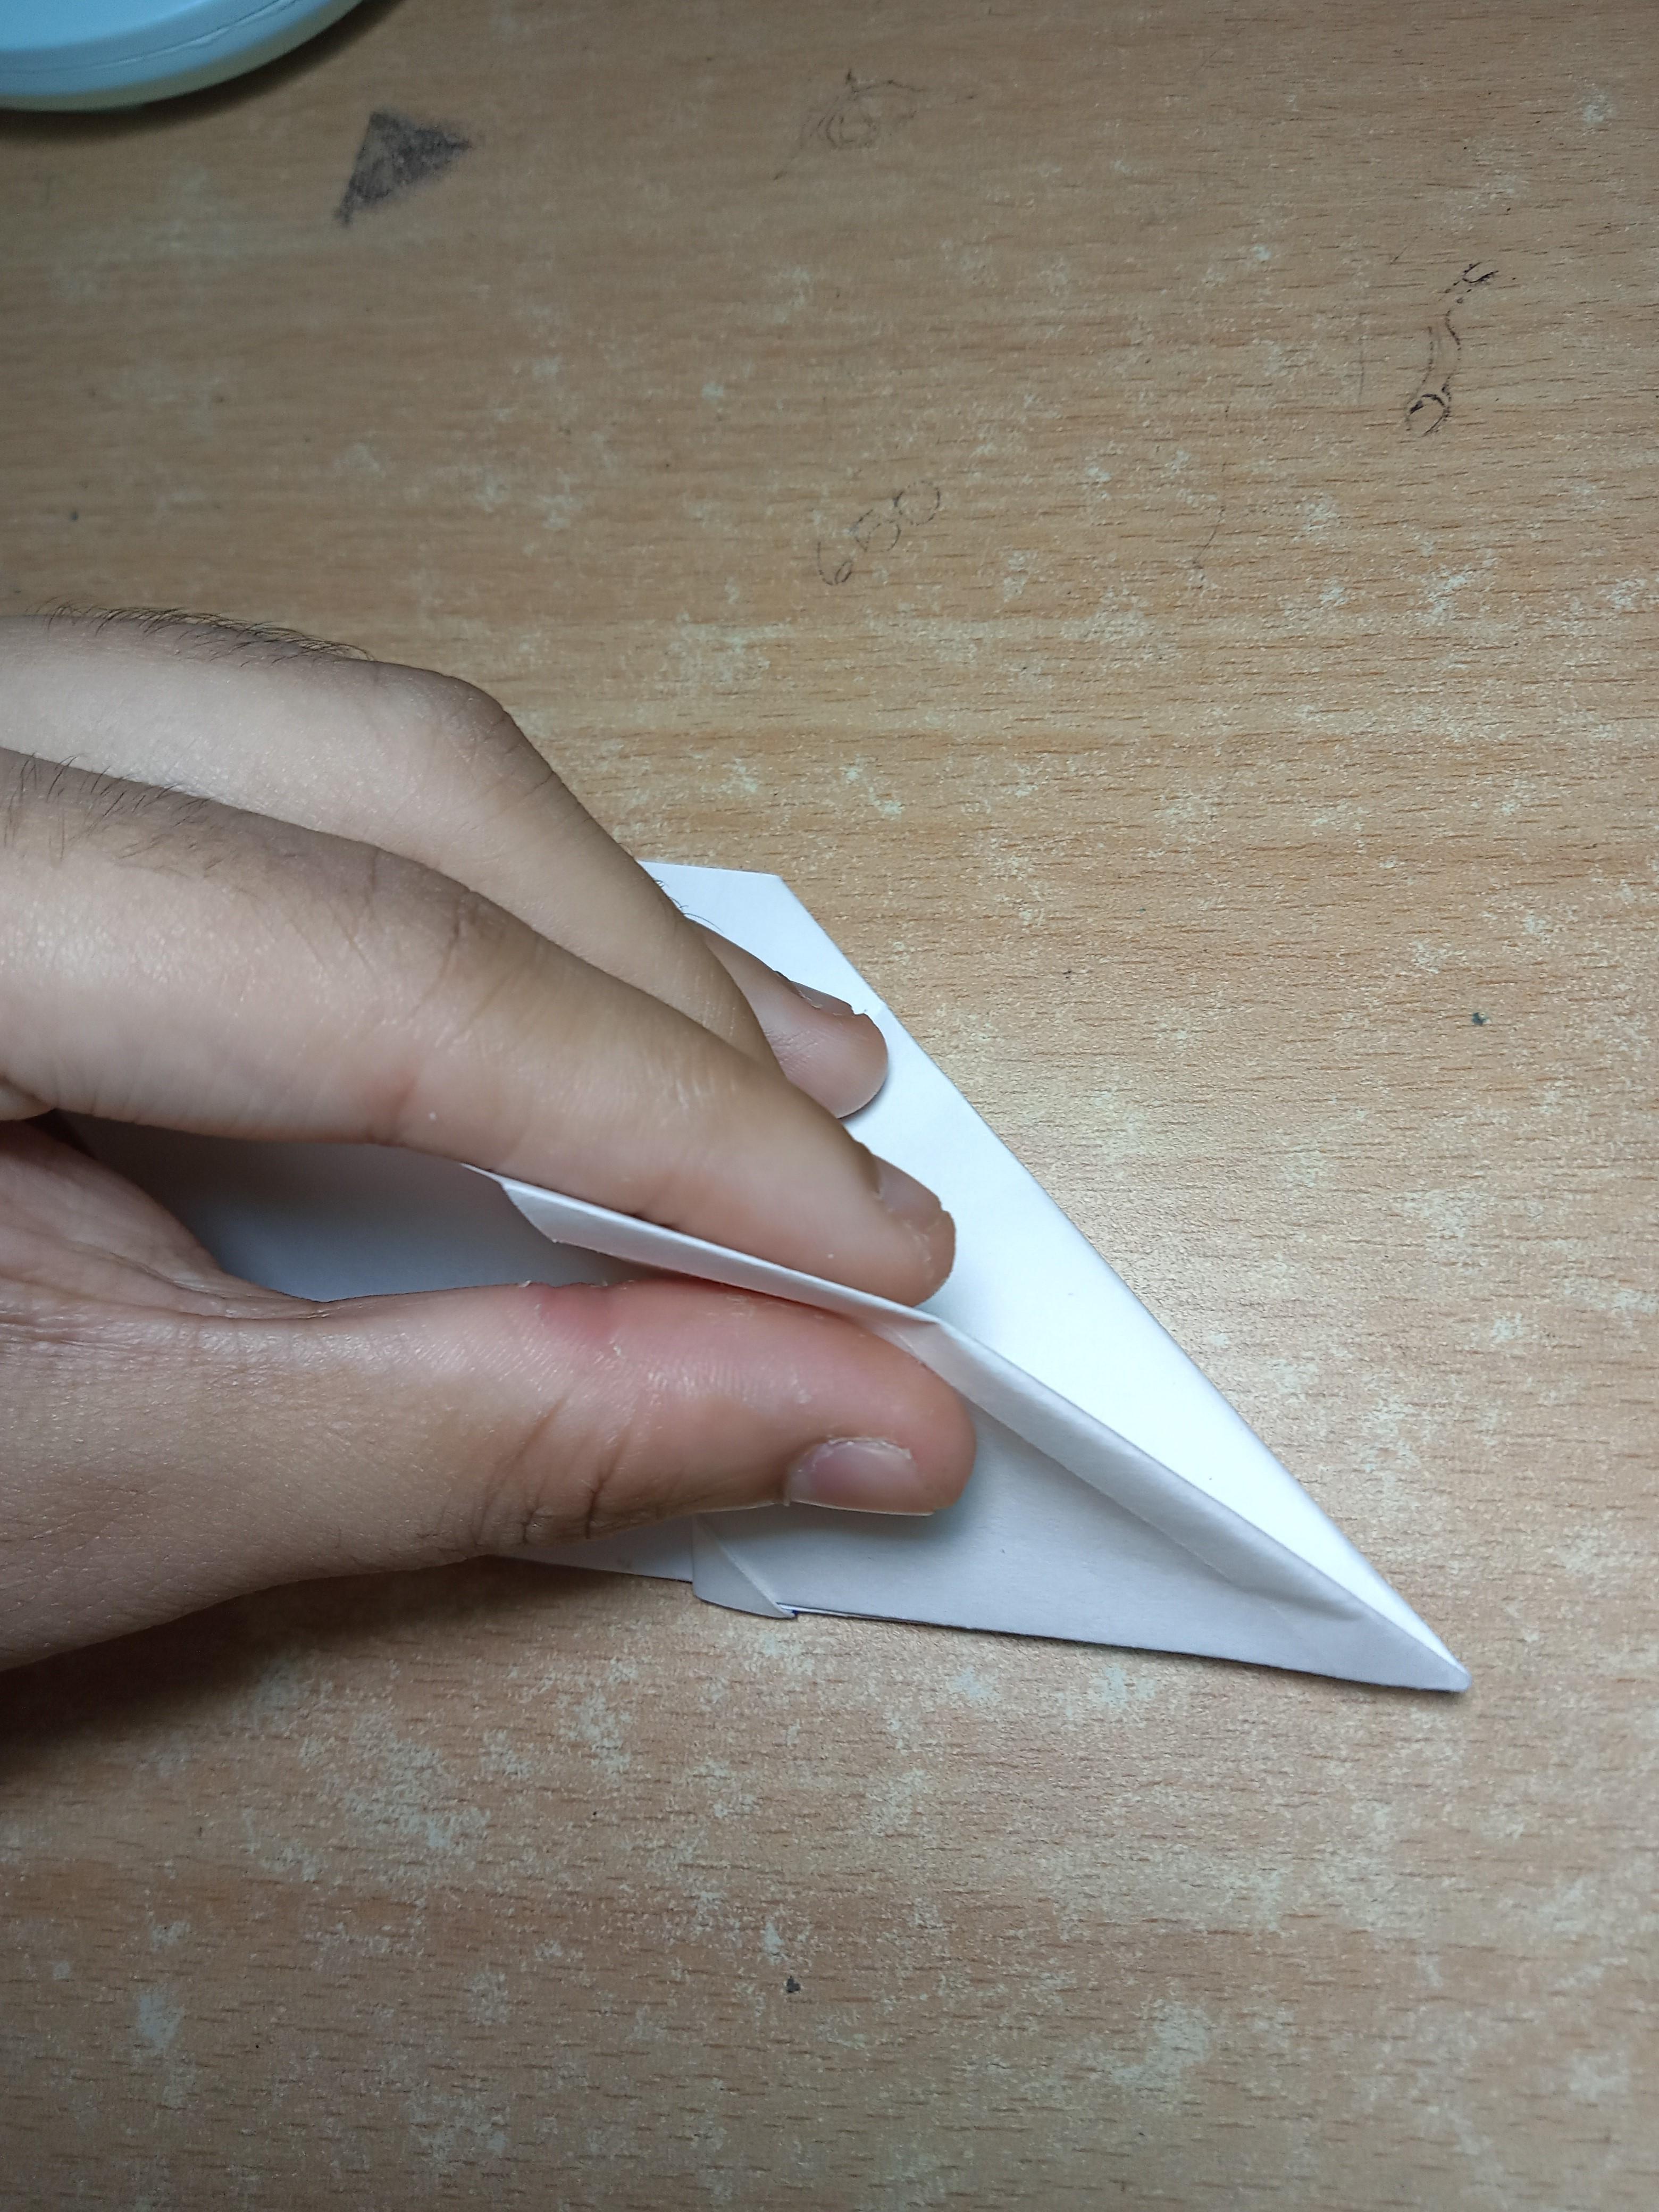
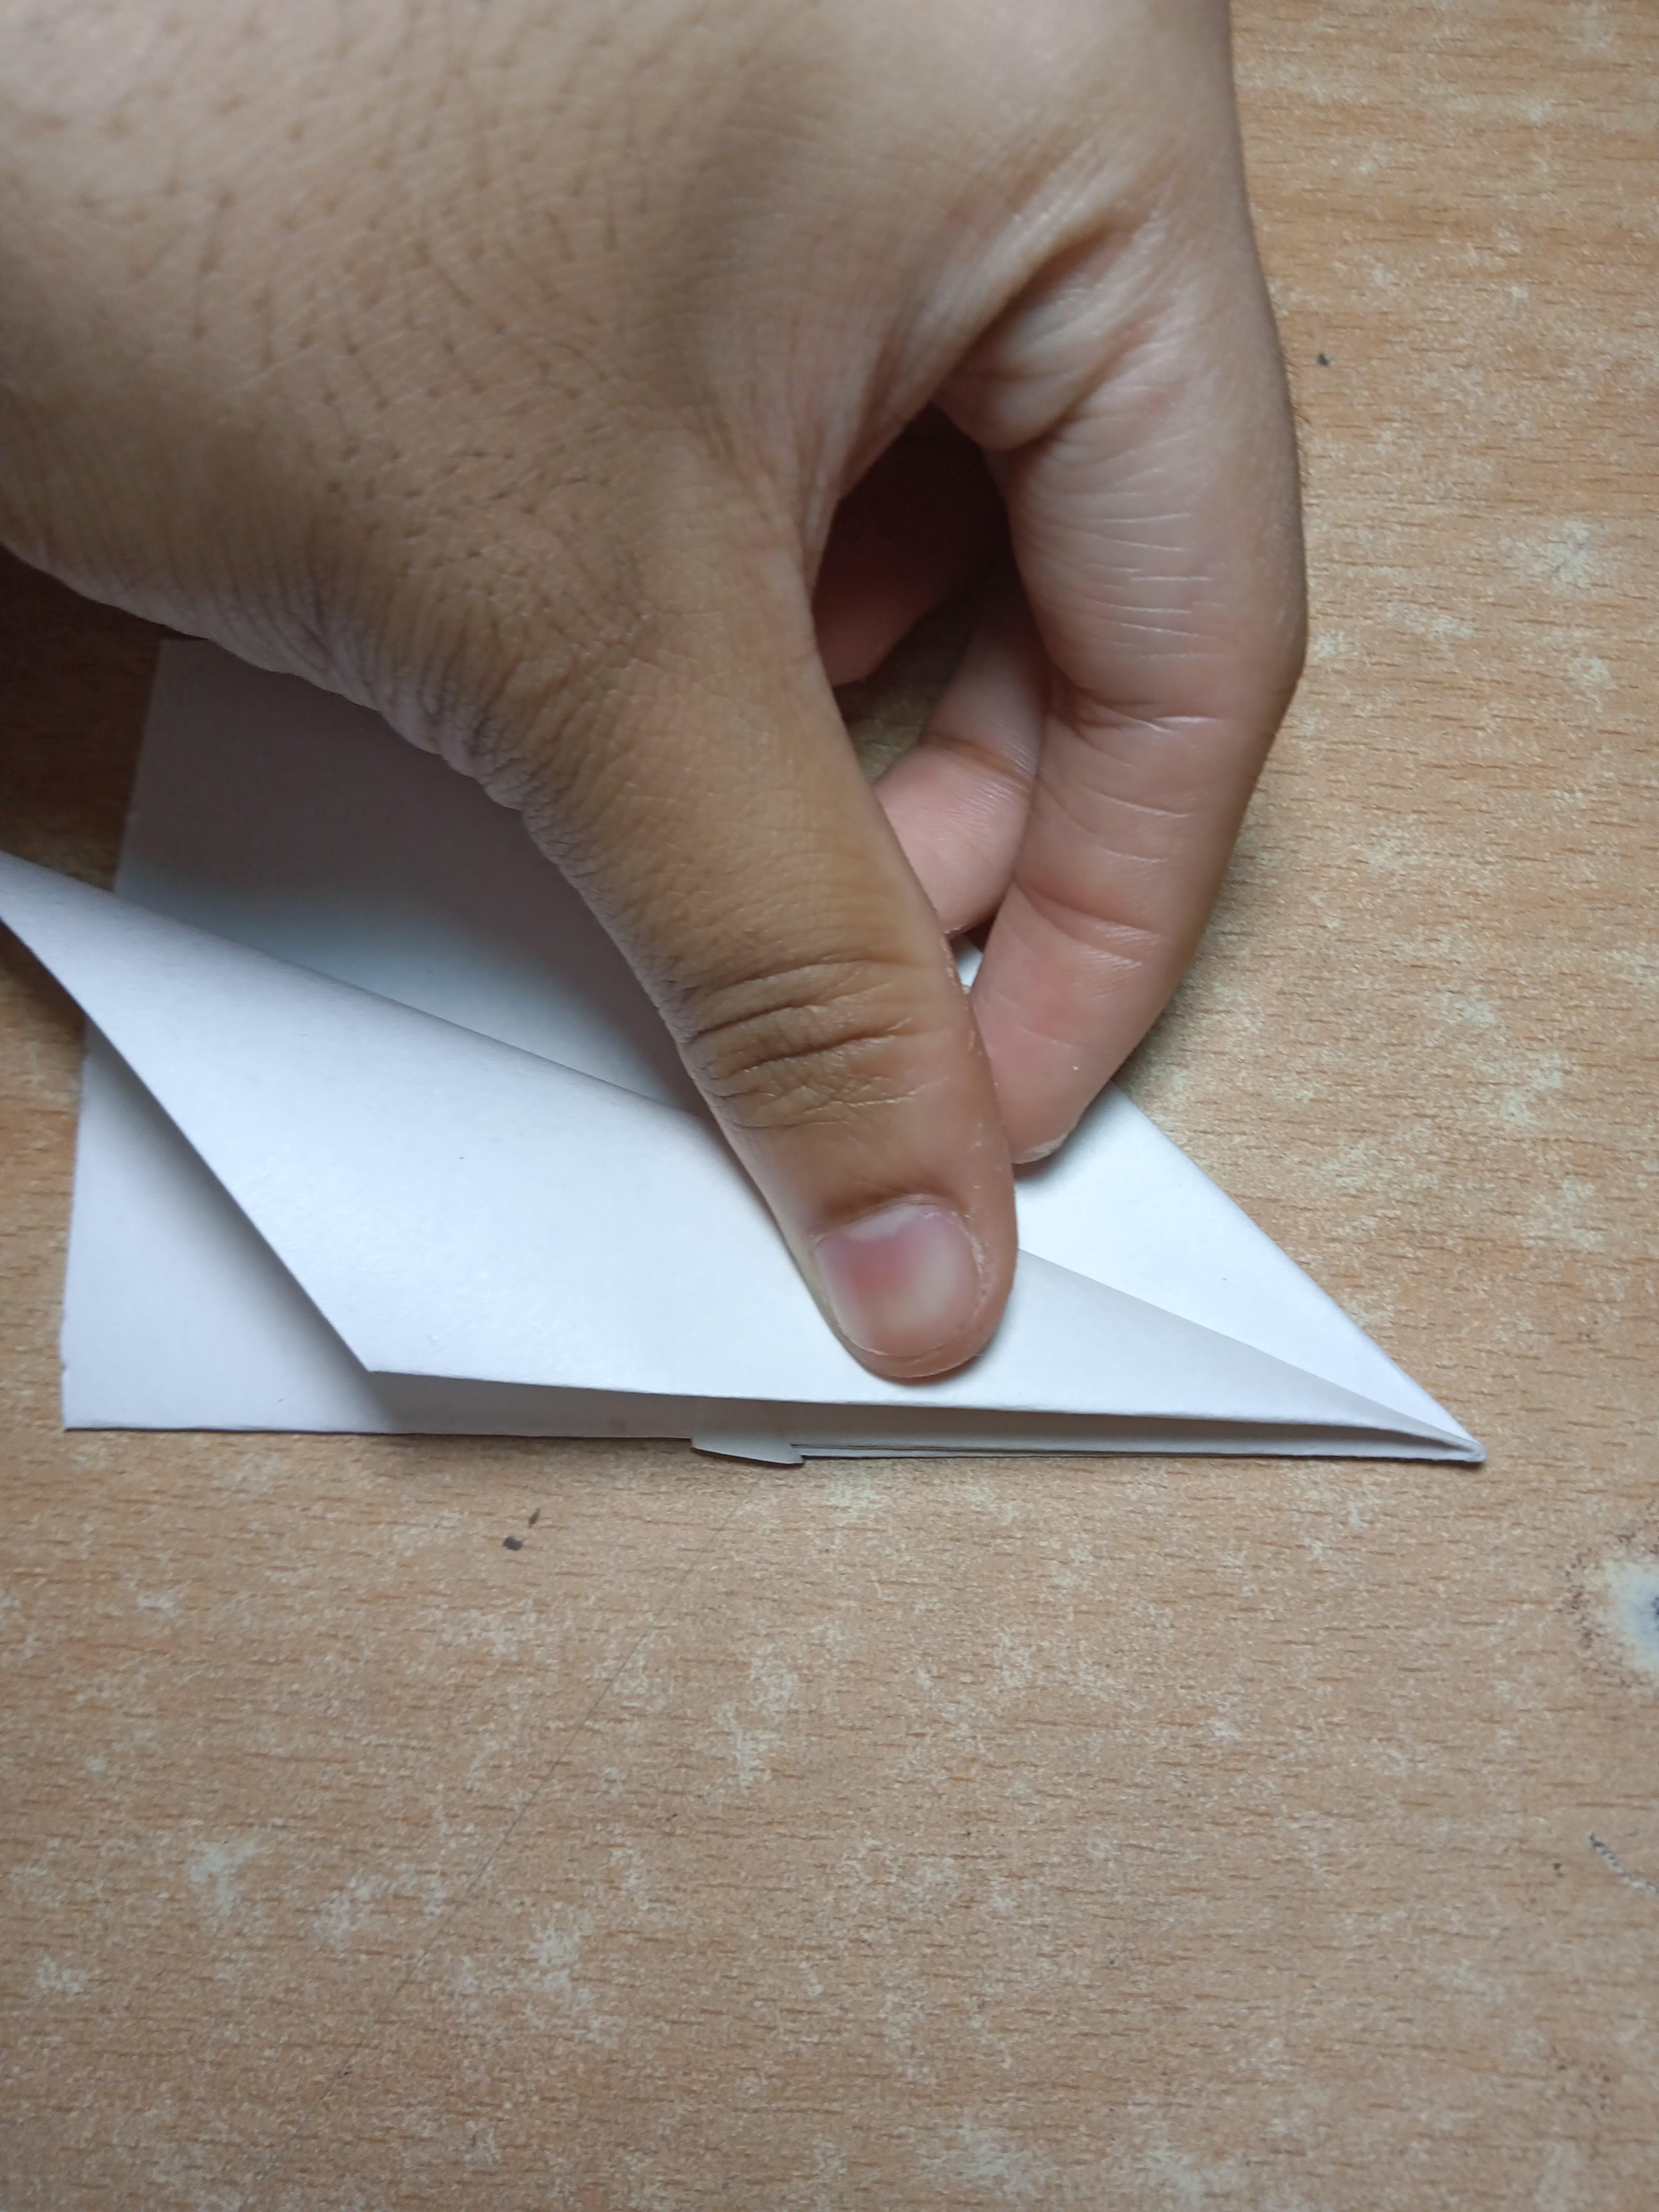
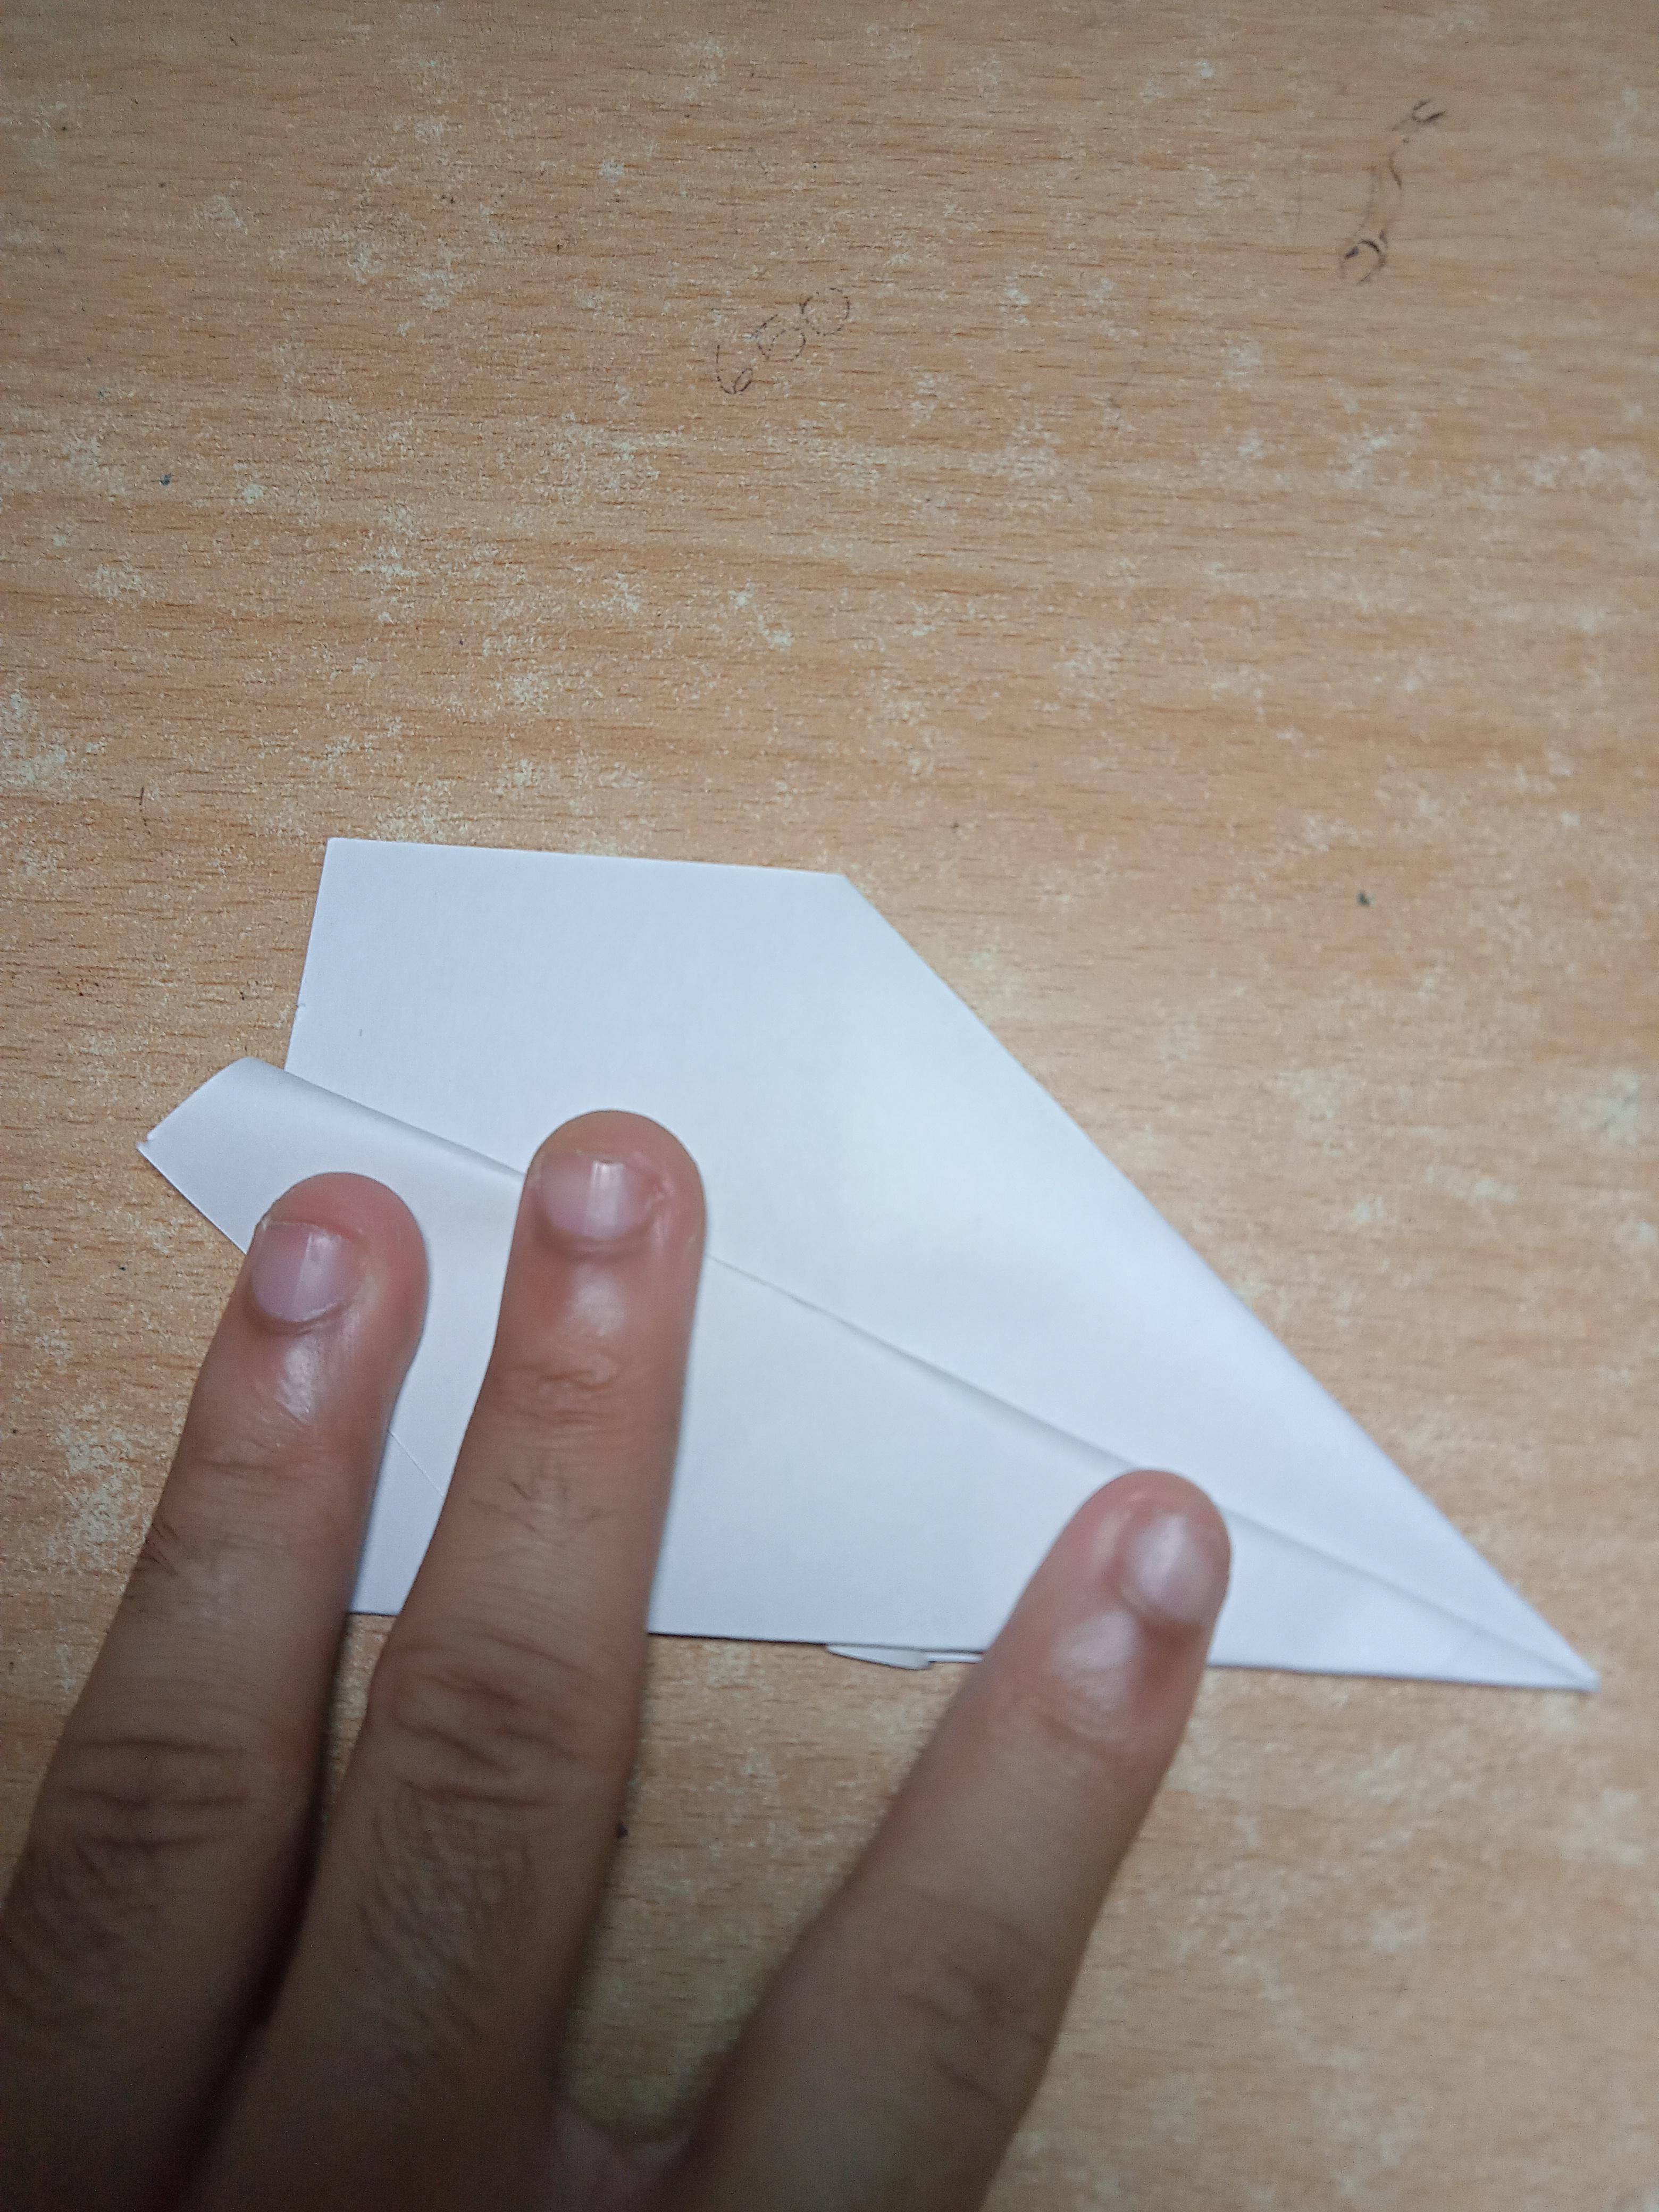
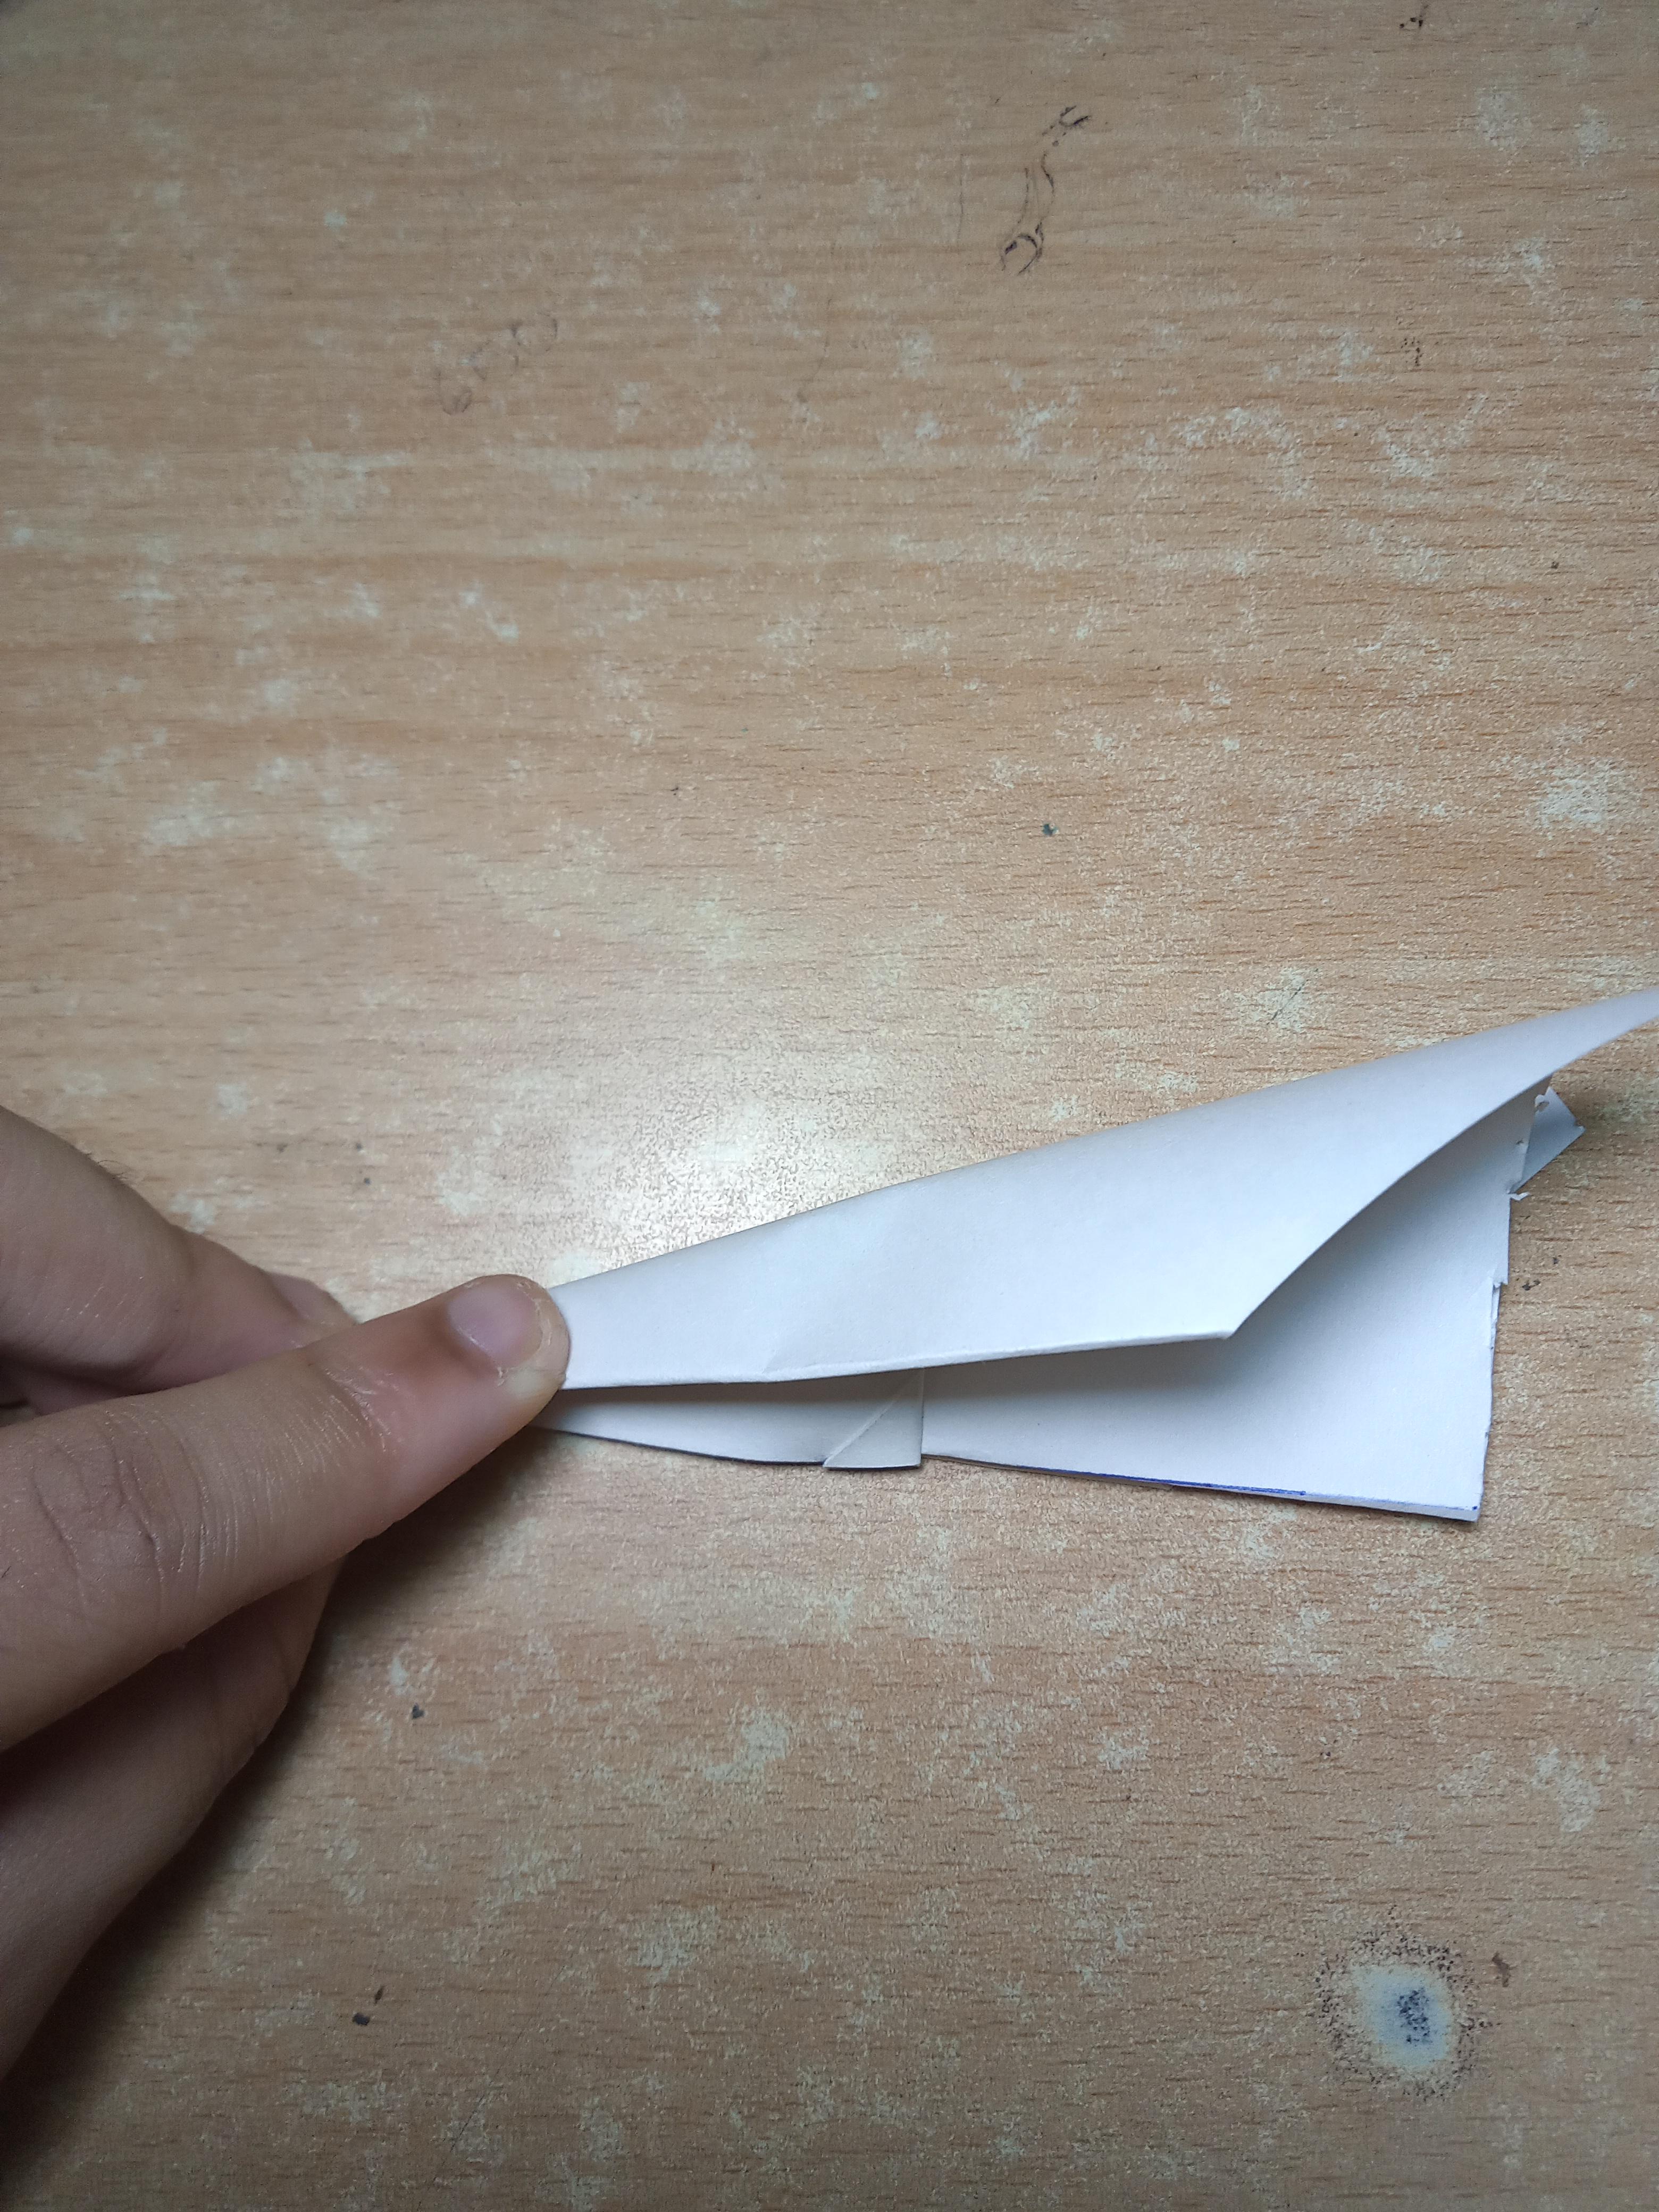
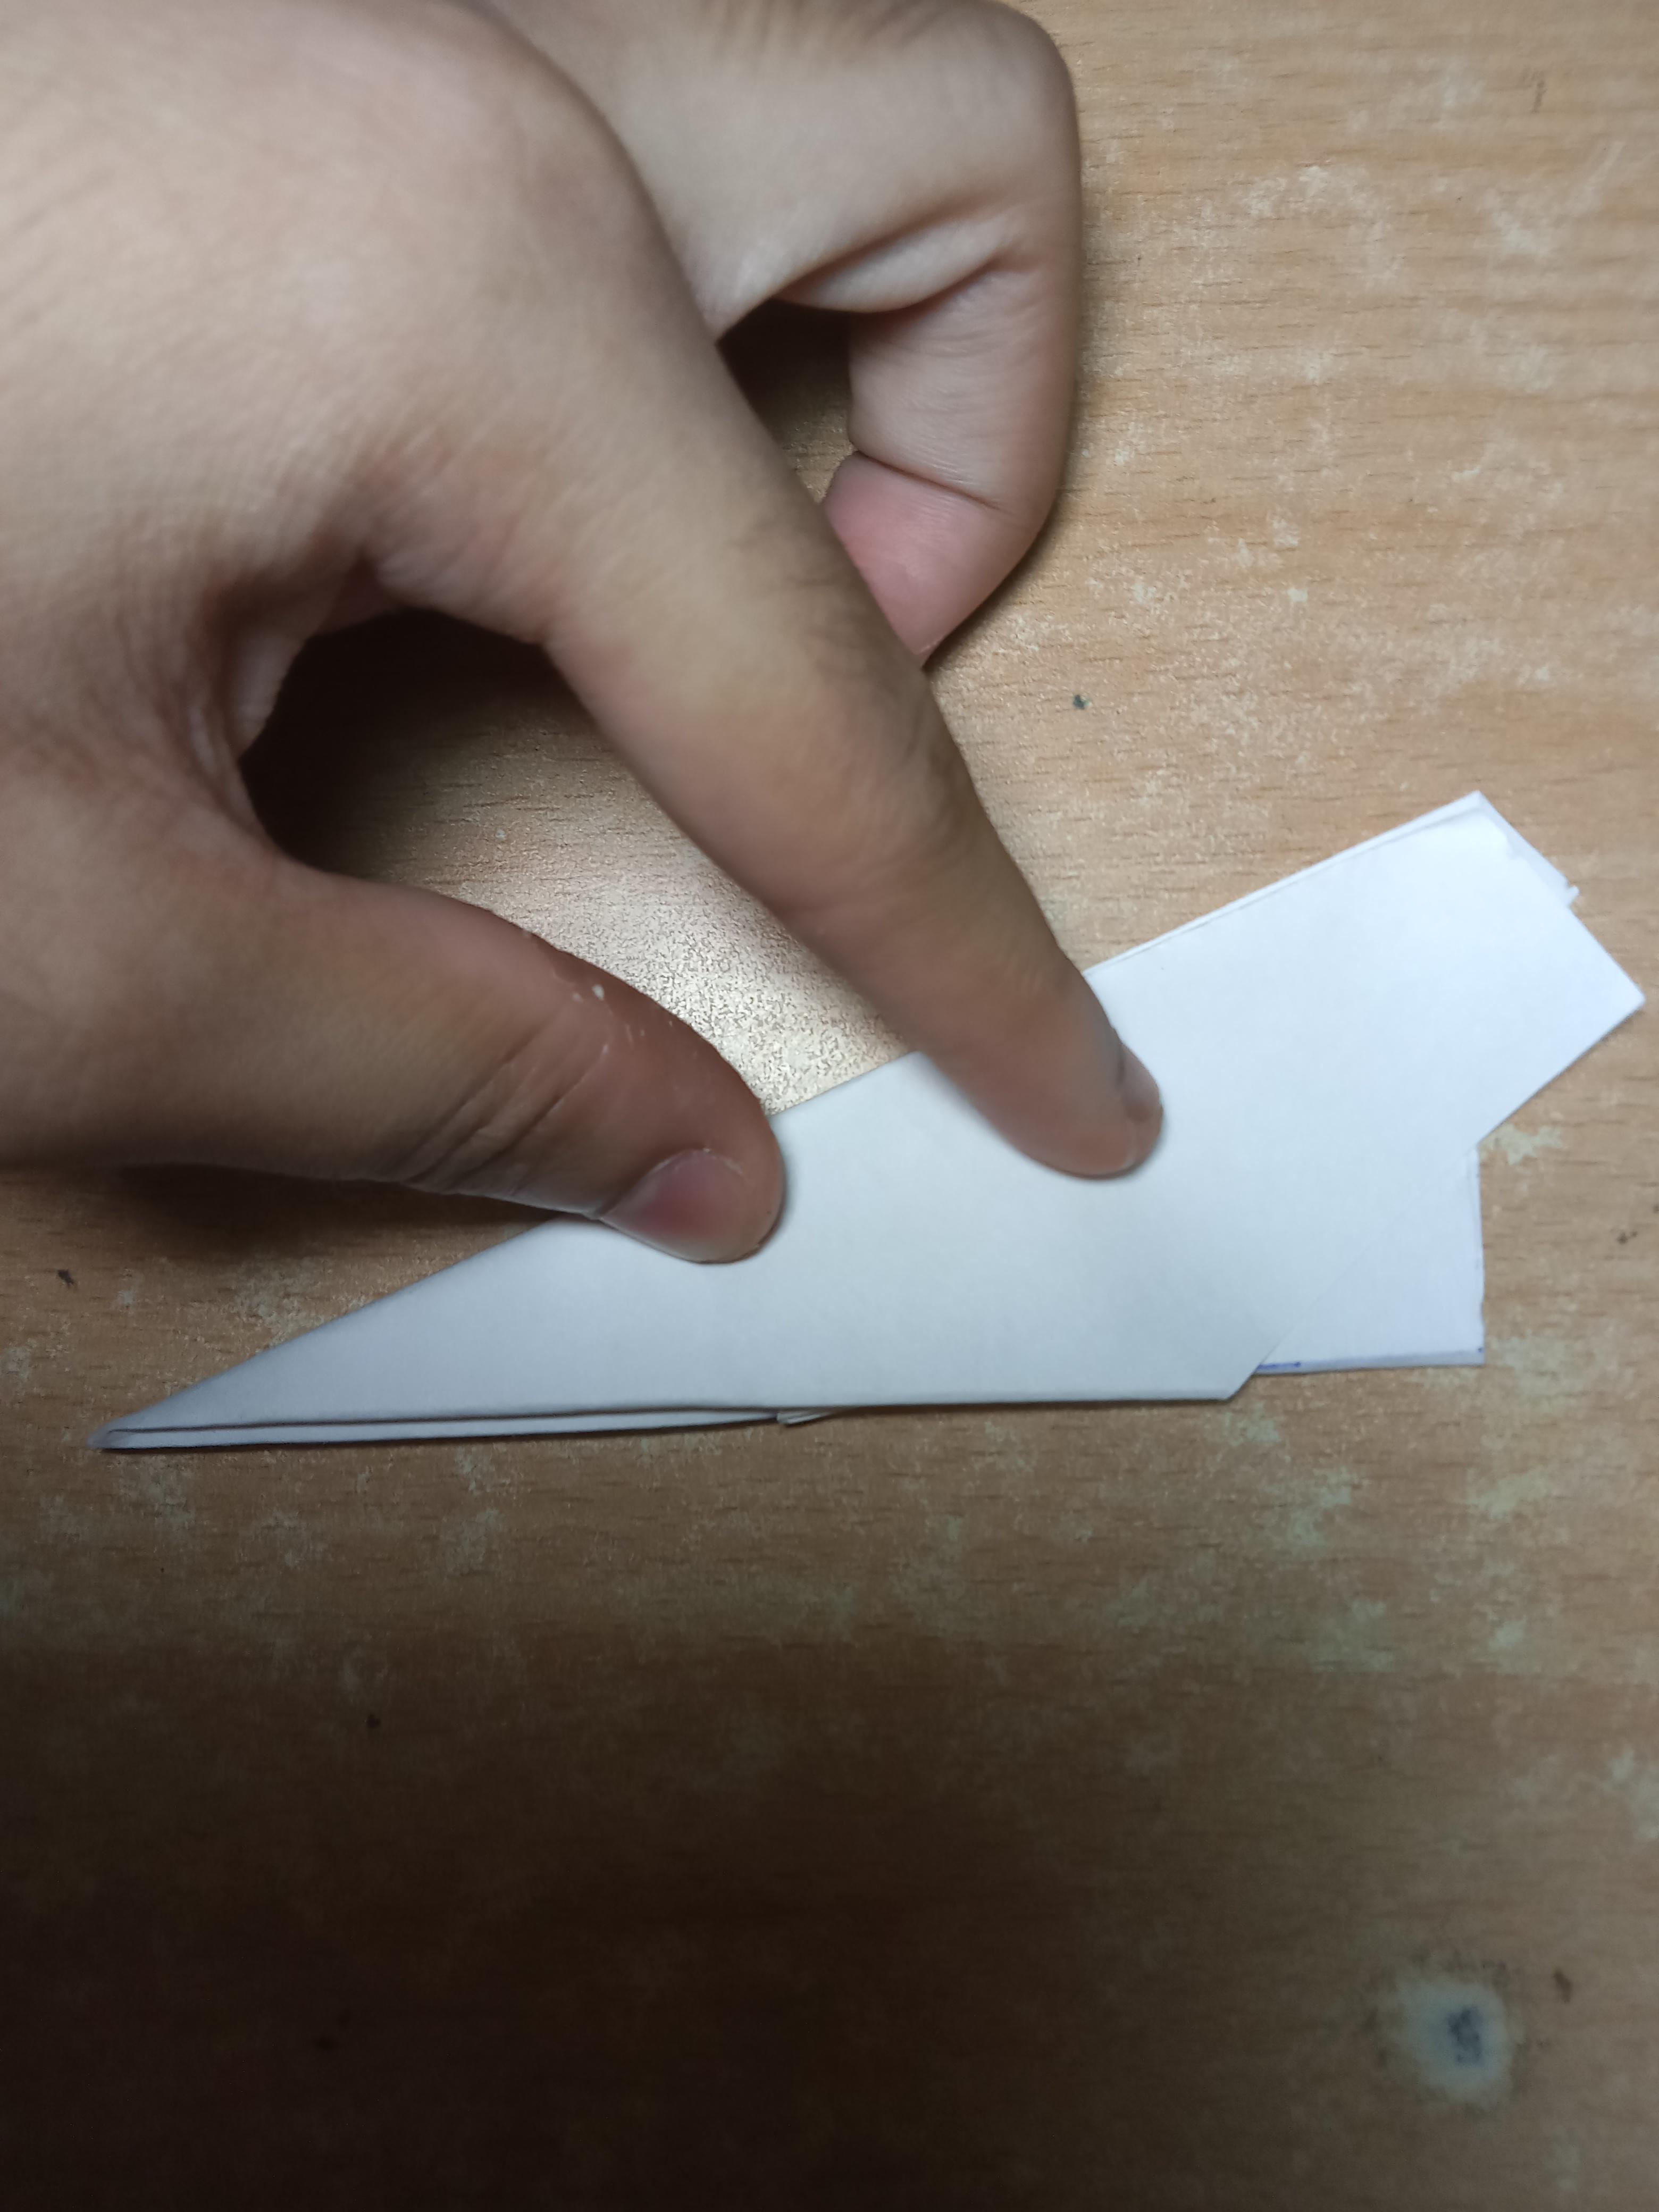
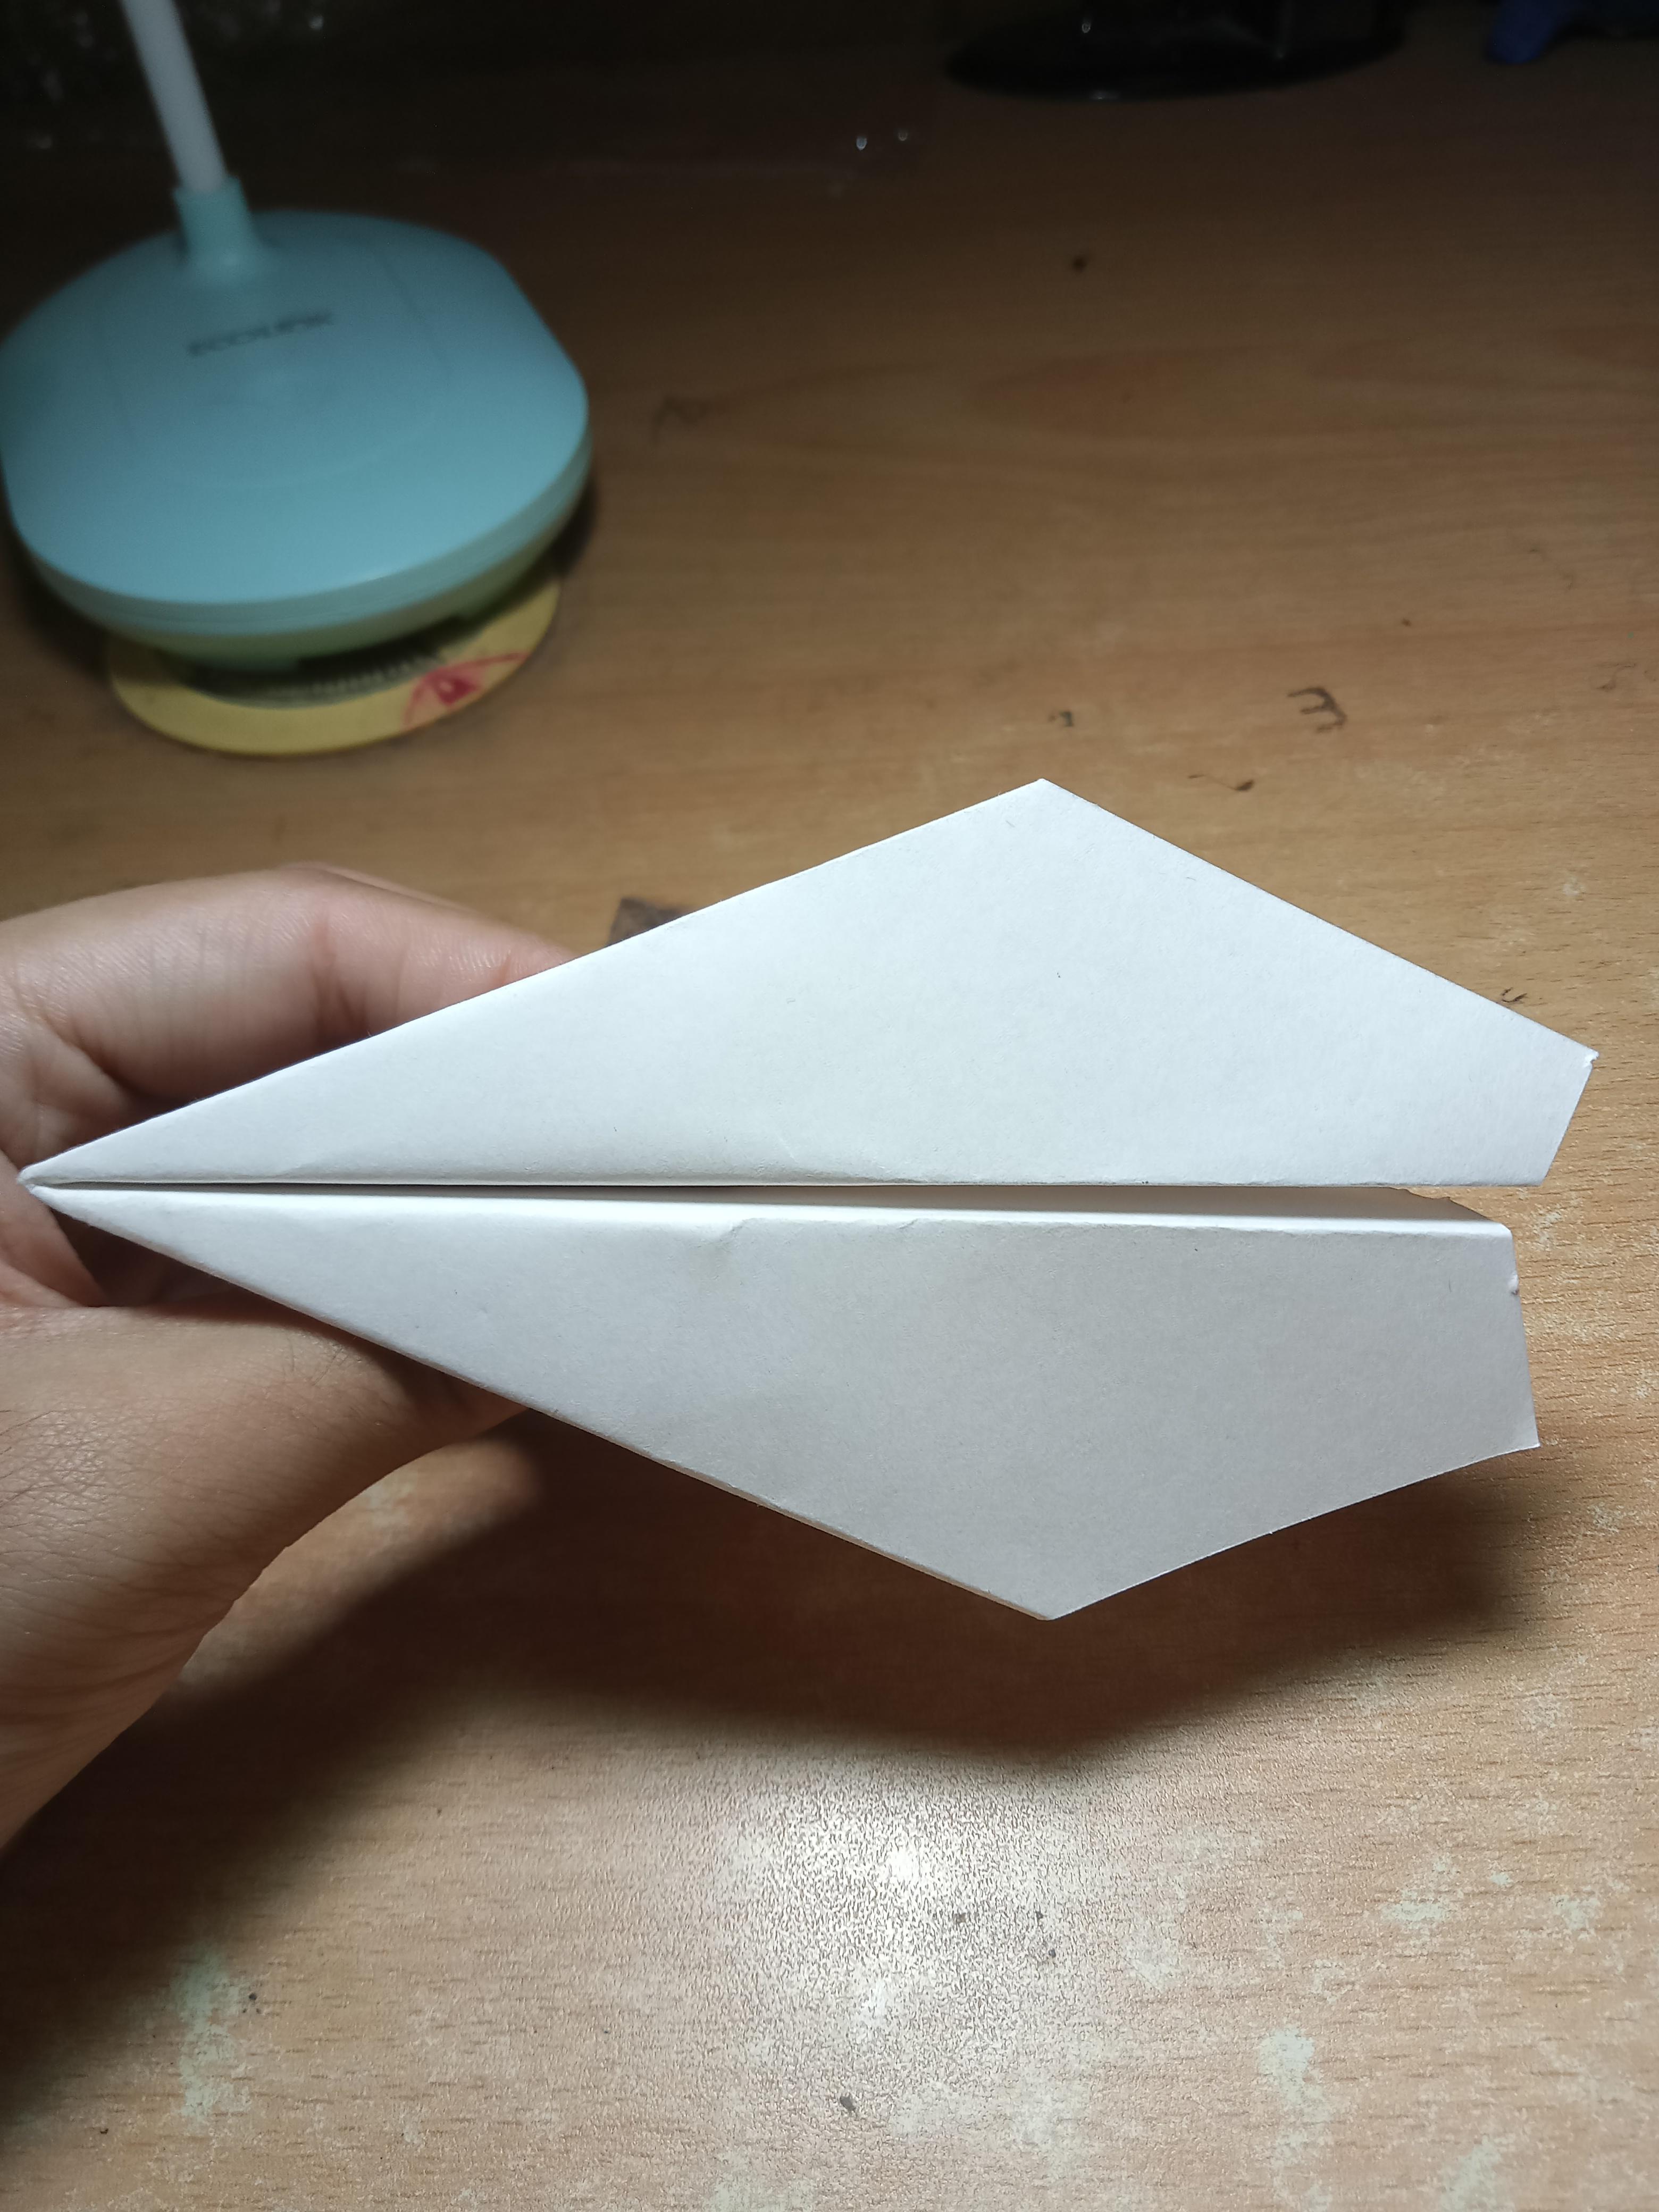
- Now, fold your sheet of paper(outwards) along the previously drawn vertical line in the middle of the sheet.
- Make sure to fold it very nicely such that the edges are sharp.
- After completion of the mentioned steps, you will see that two wing-like structures have been formed on either side. Each such structure has got a slope followed by a horizontal edge.
- Grab this slope and fold it in such a manner that the edge of the slope aligns completely with the edge of the base of the plane.
- Repeat the same for the other wing.
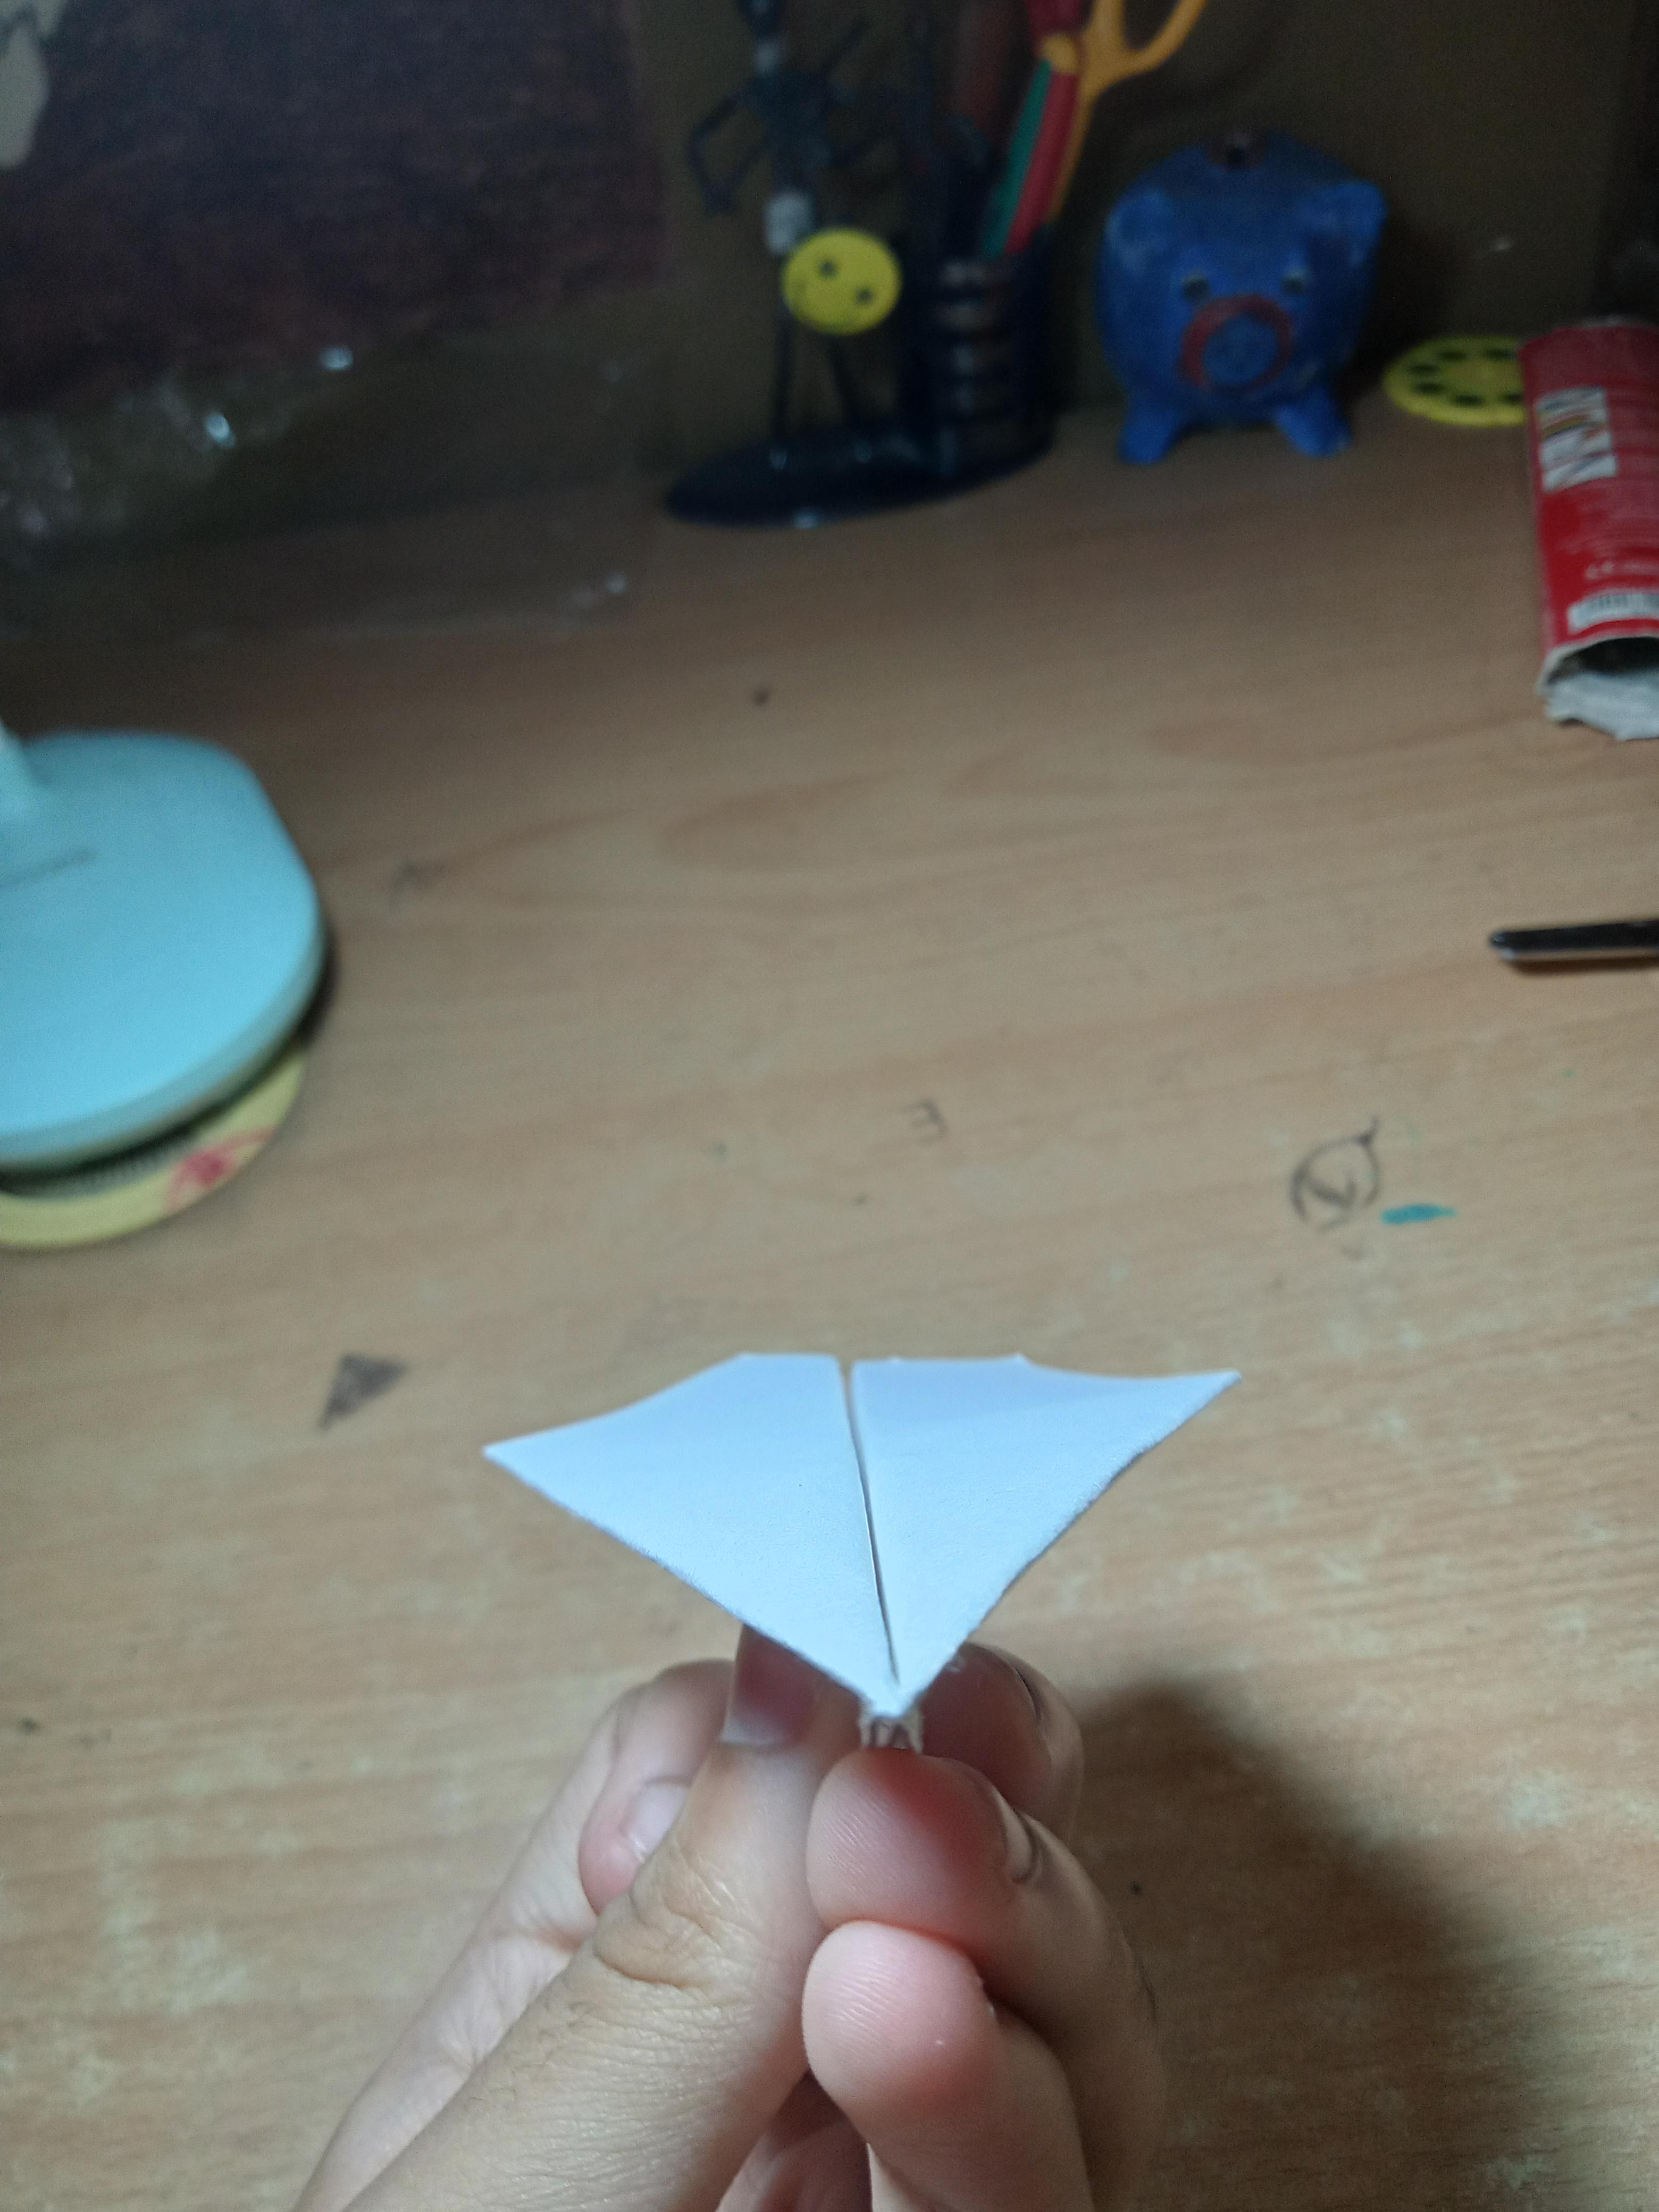
After completion of the previous steps, you will get a paper plane. This plane will be able to glide in air if you release it gently. However, the story doesn't end here ! If you want, you can also modify the gliding plane to a high-speed plane ! In some cases you need to fly your plane at high speed but in the glider mode, the air resistance disbalances the plane causes it to change directions. Here, the high speed mode saves the day ! By modifying the wings to high-speed mode, the plane will be able to fly at high-speed in a specific direction.
Follow the next step to see how you can transform this plane to a high-speed plane.
Modifying the Glider Into a Jet
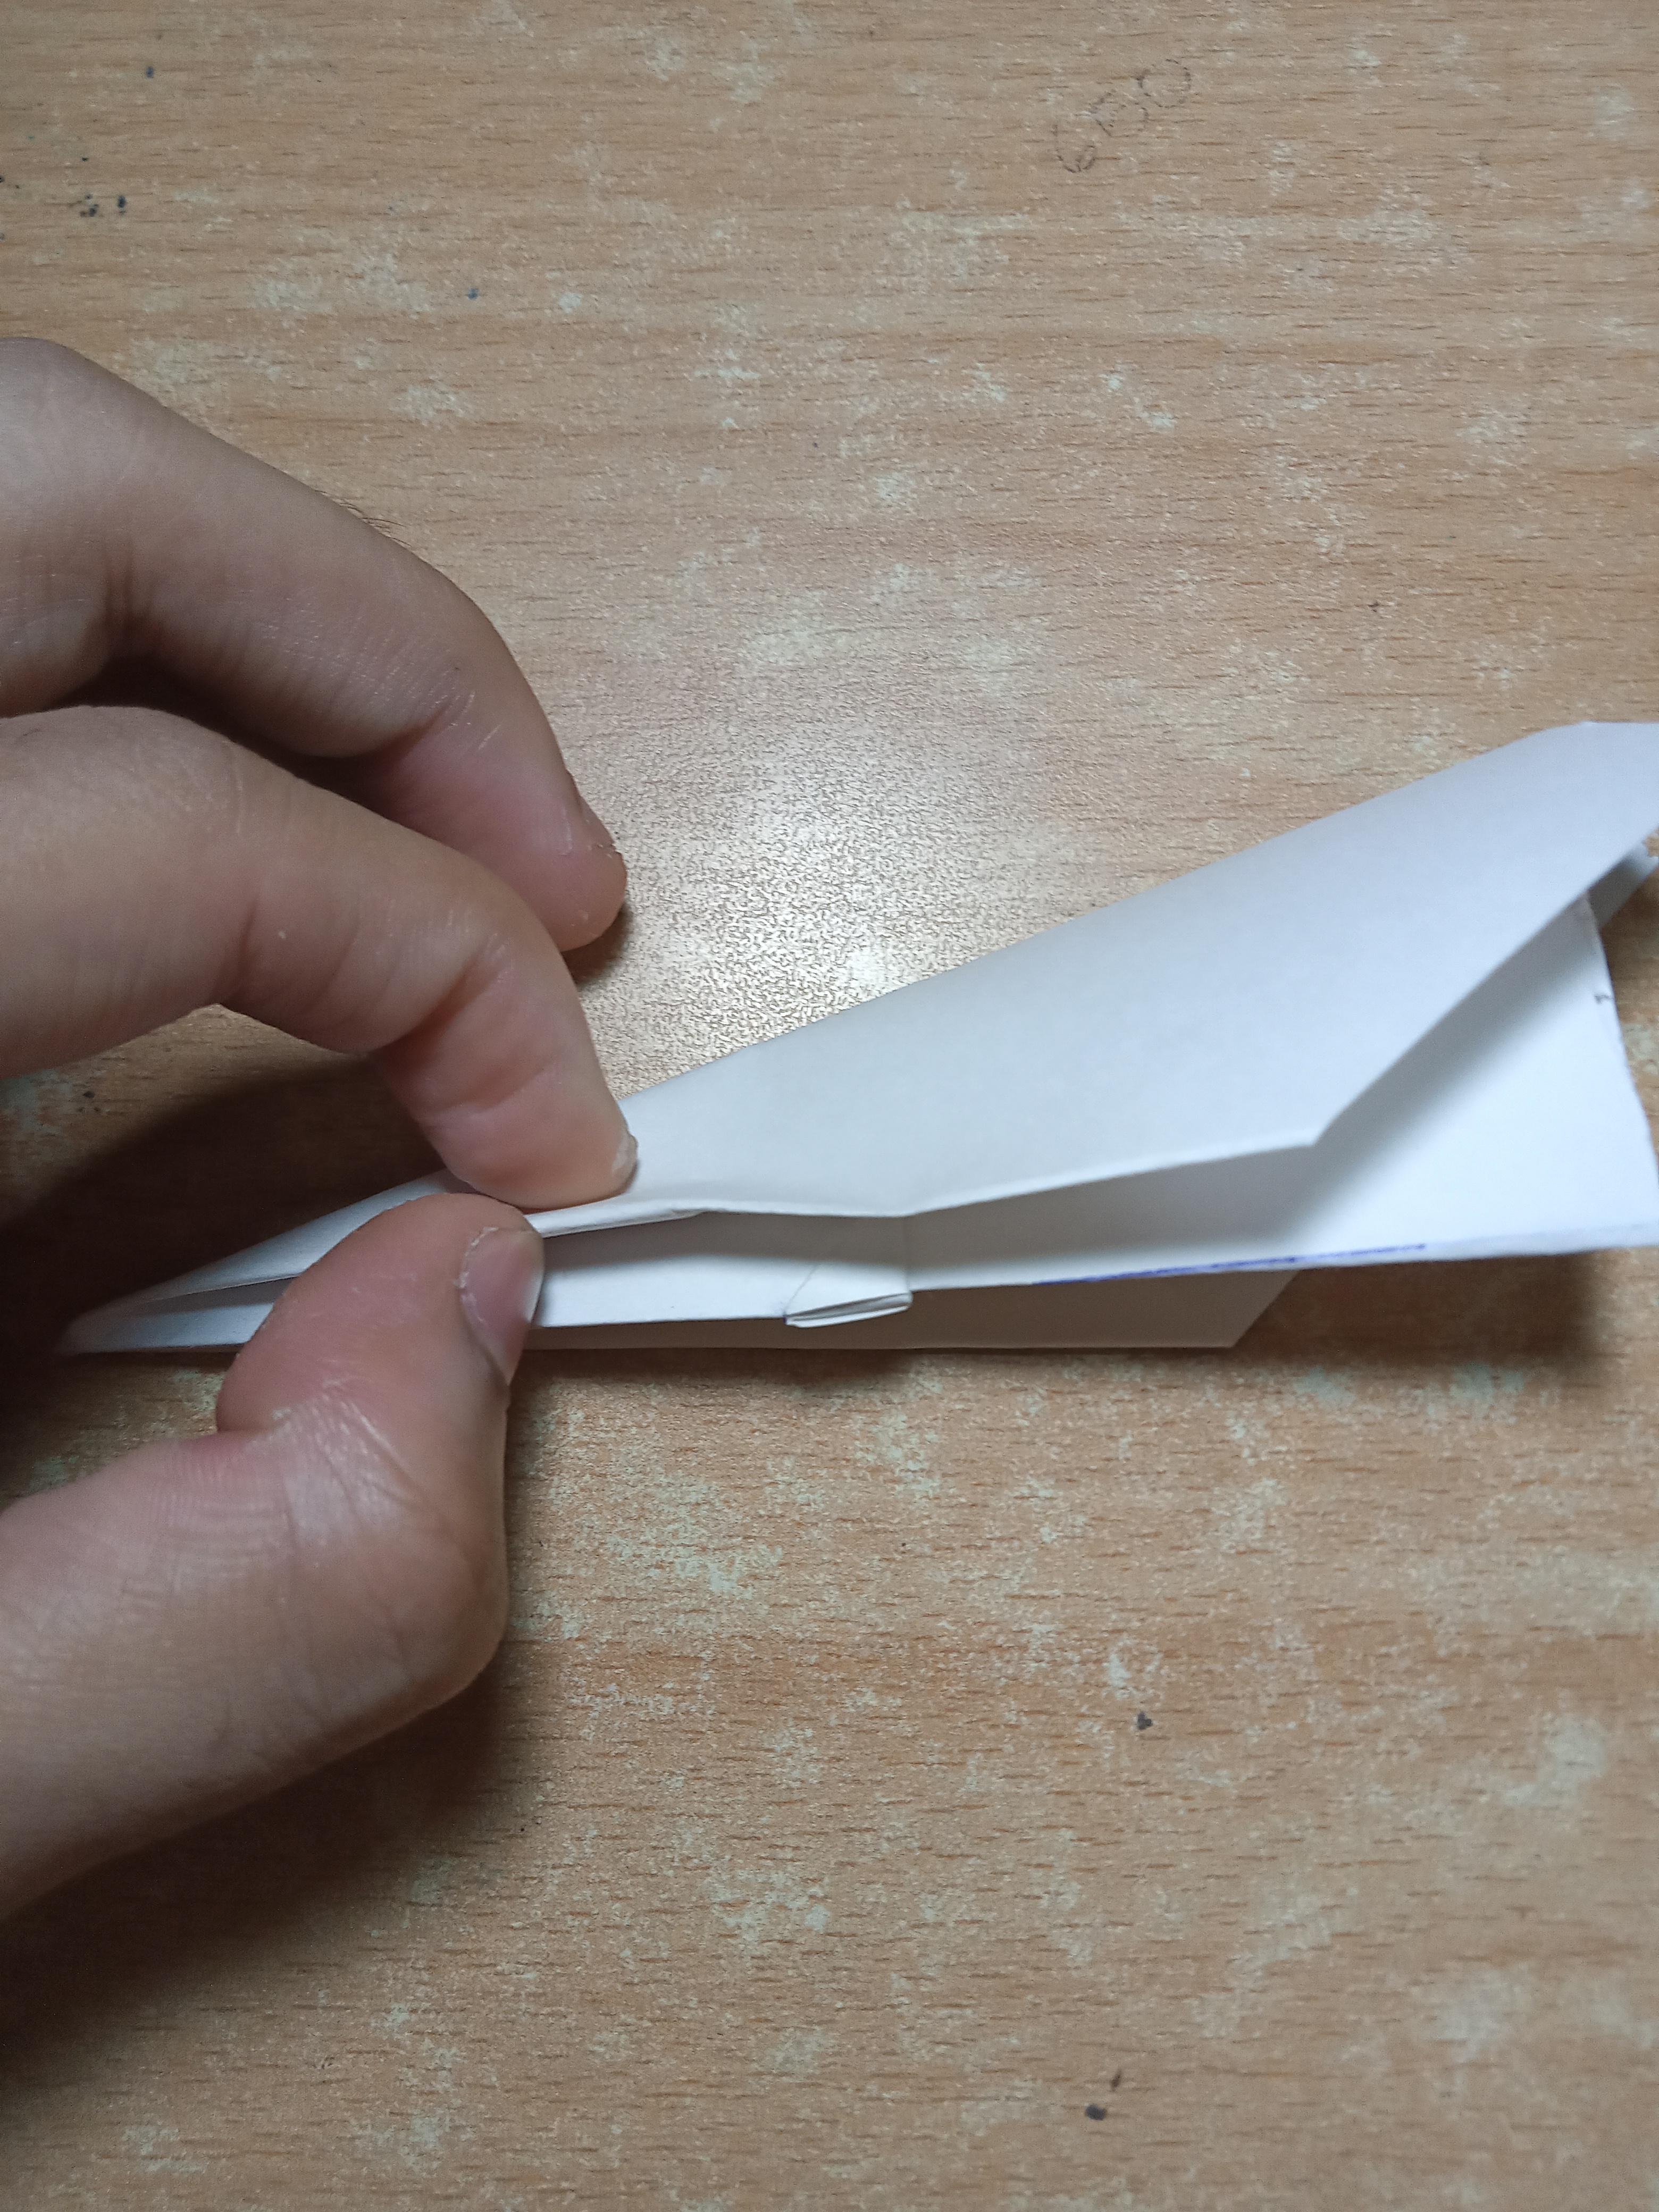
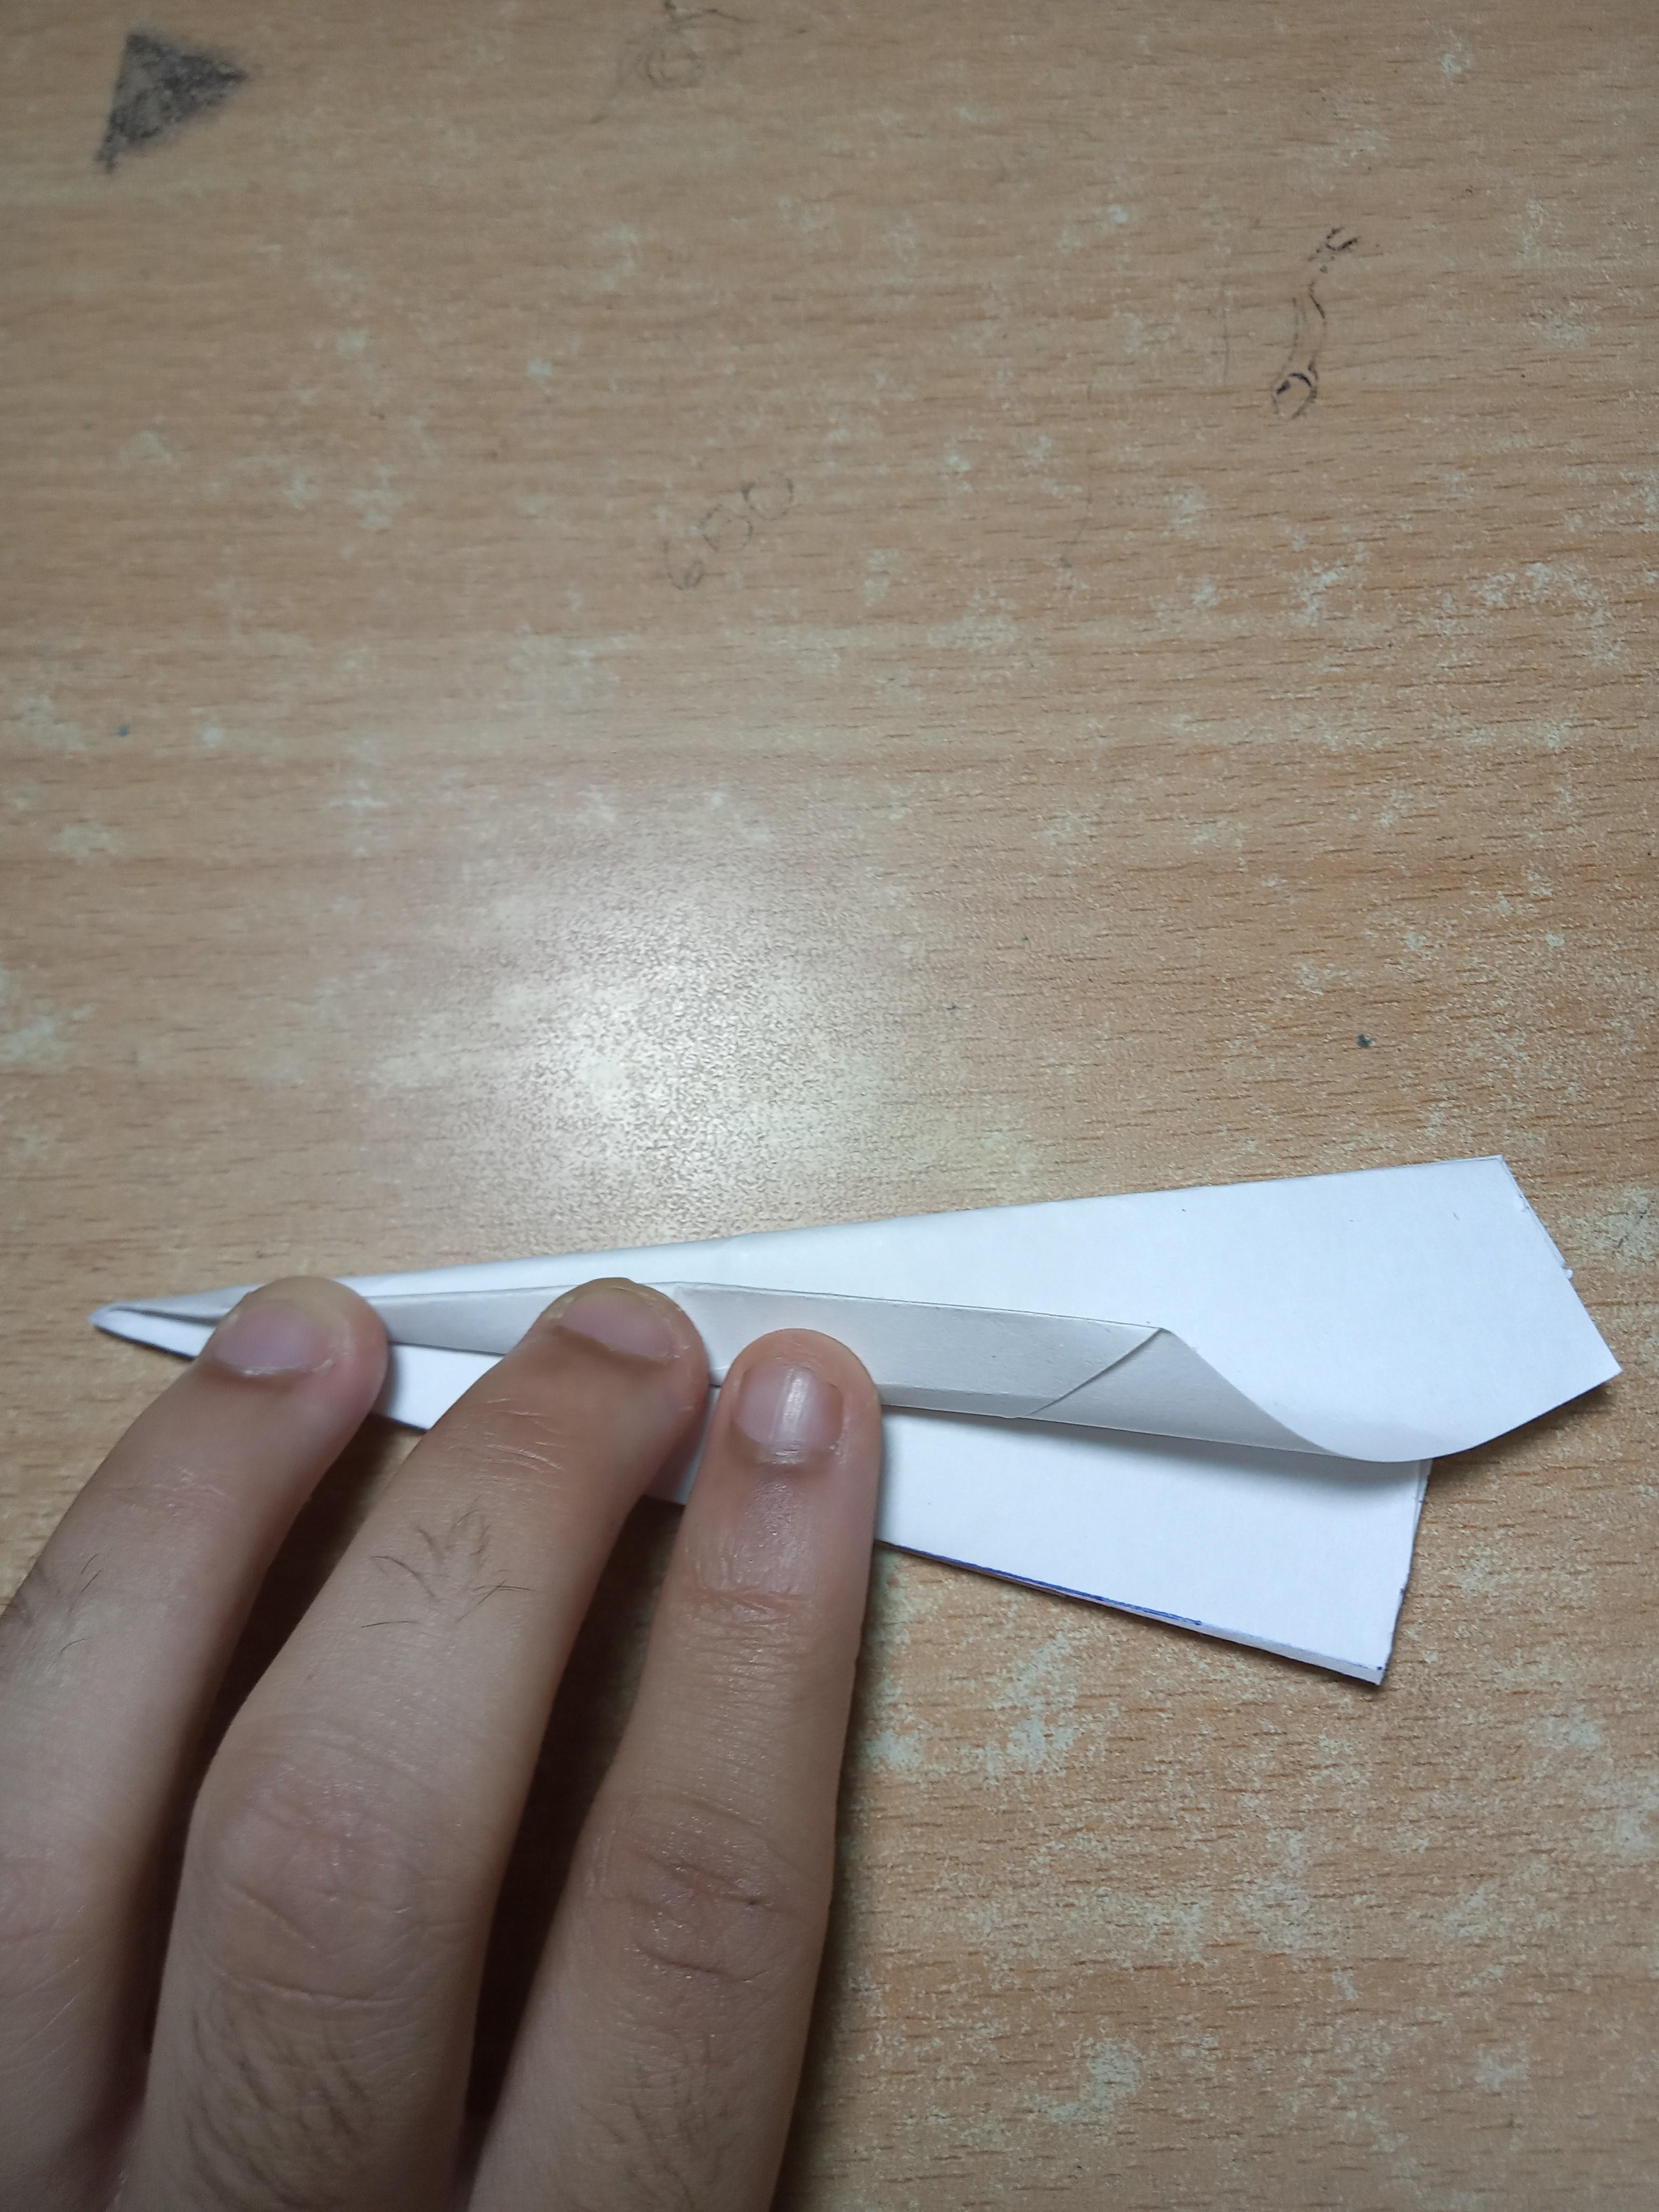
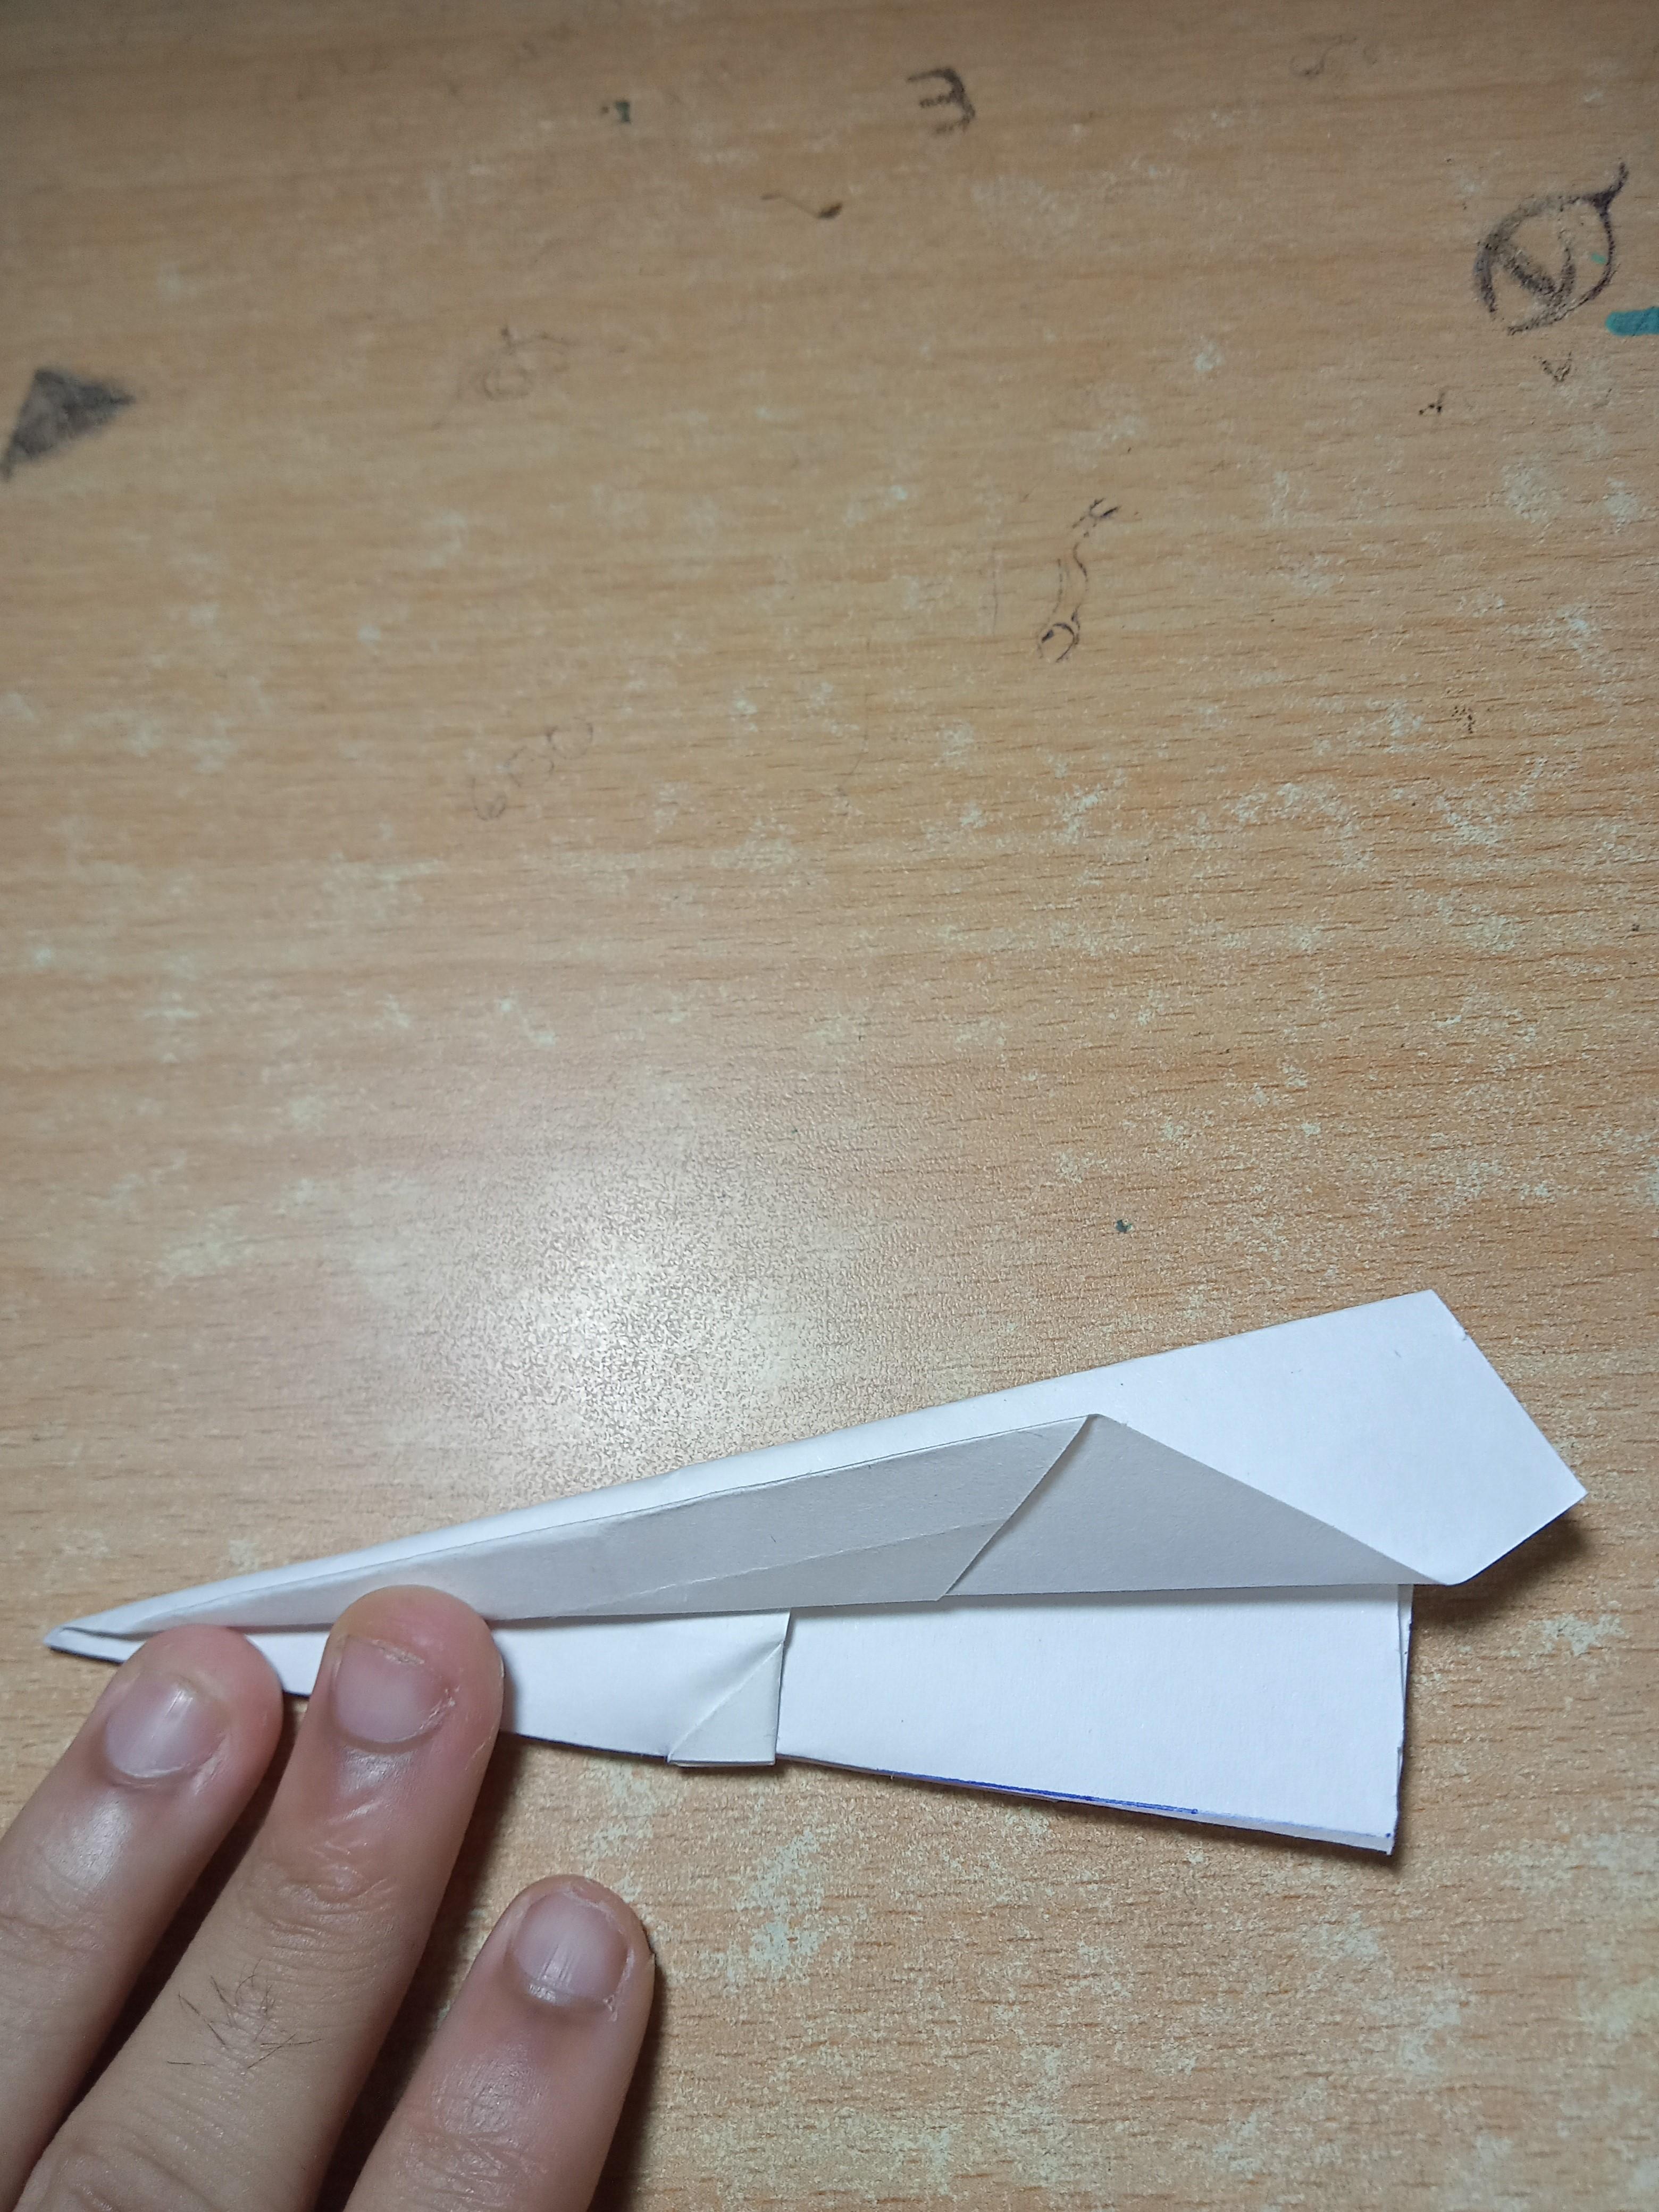
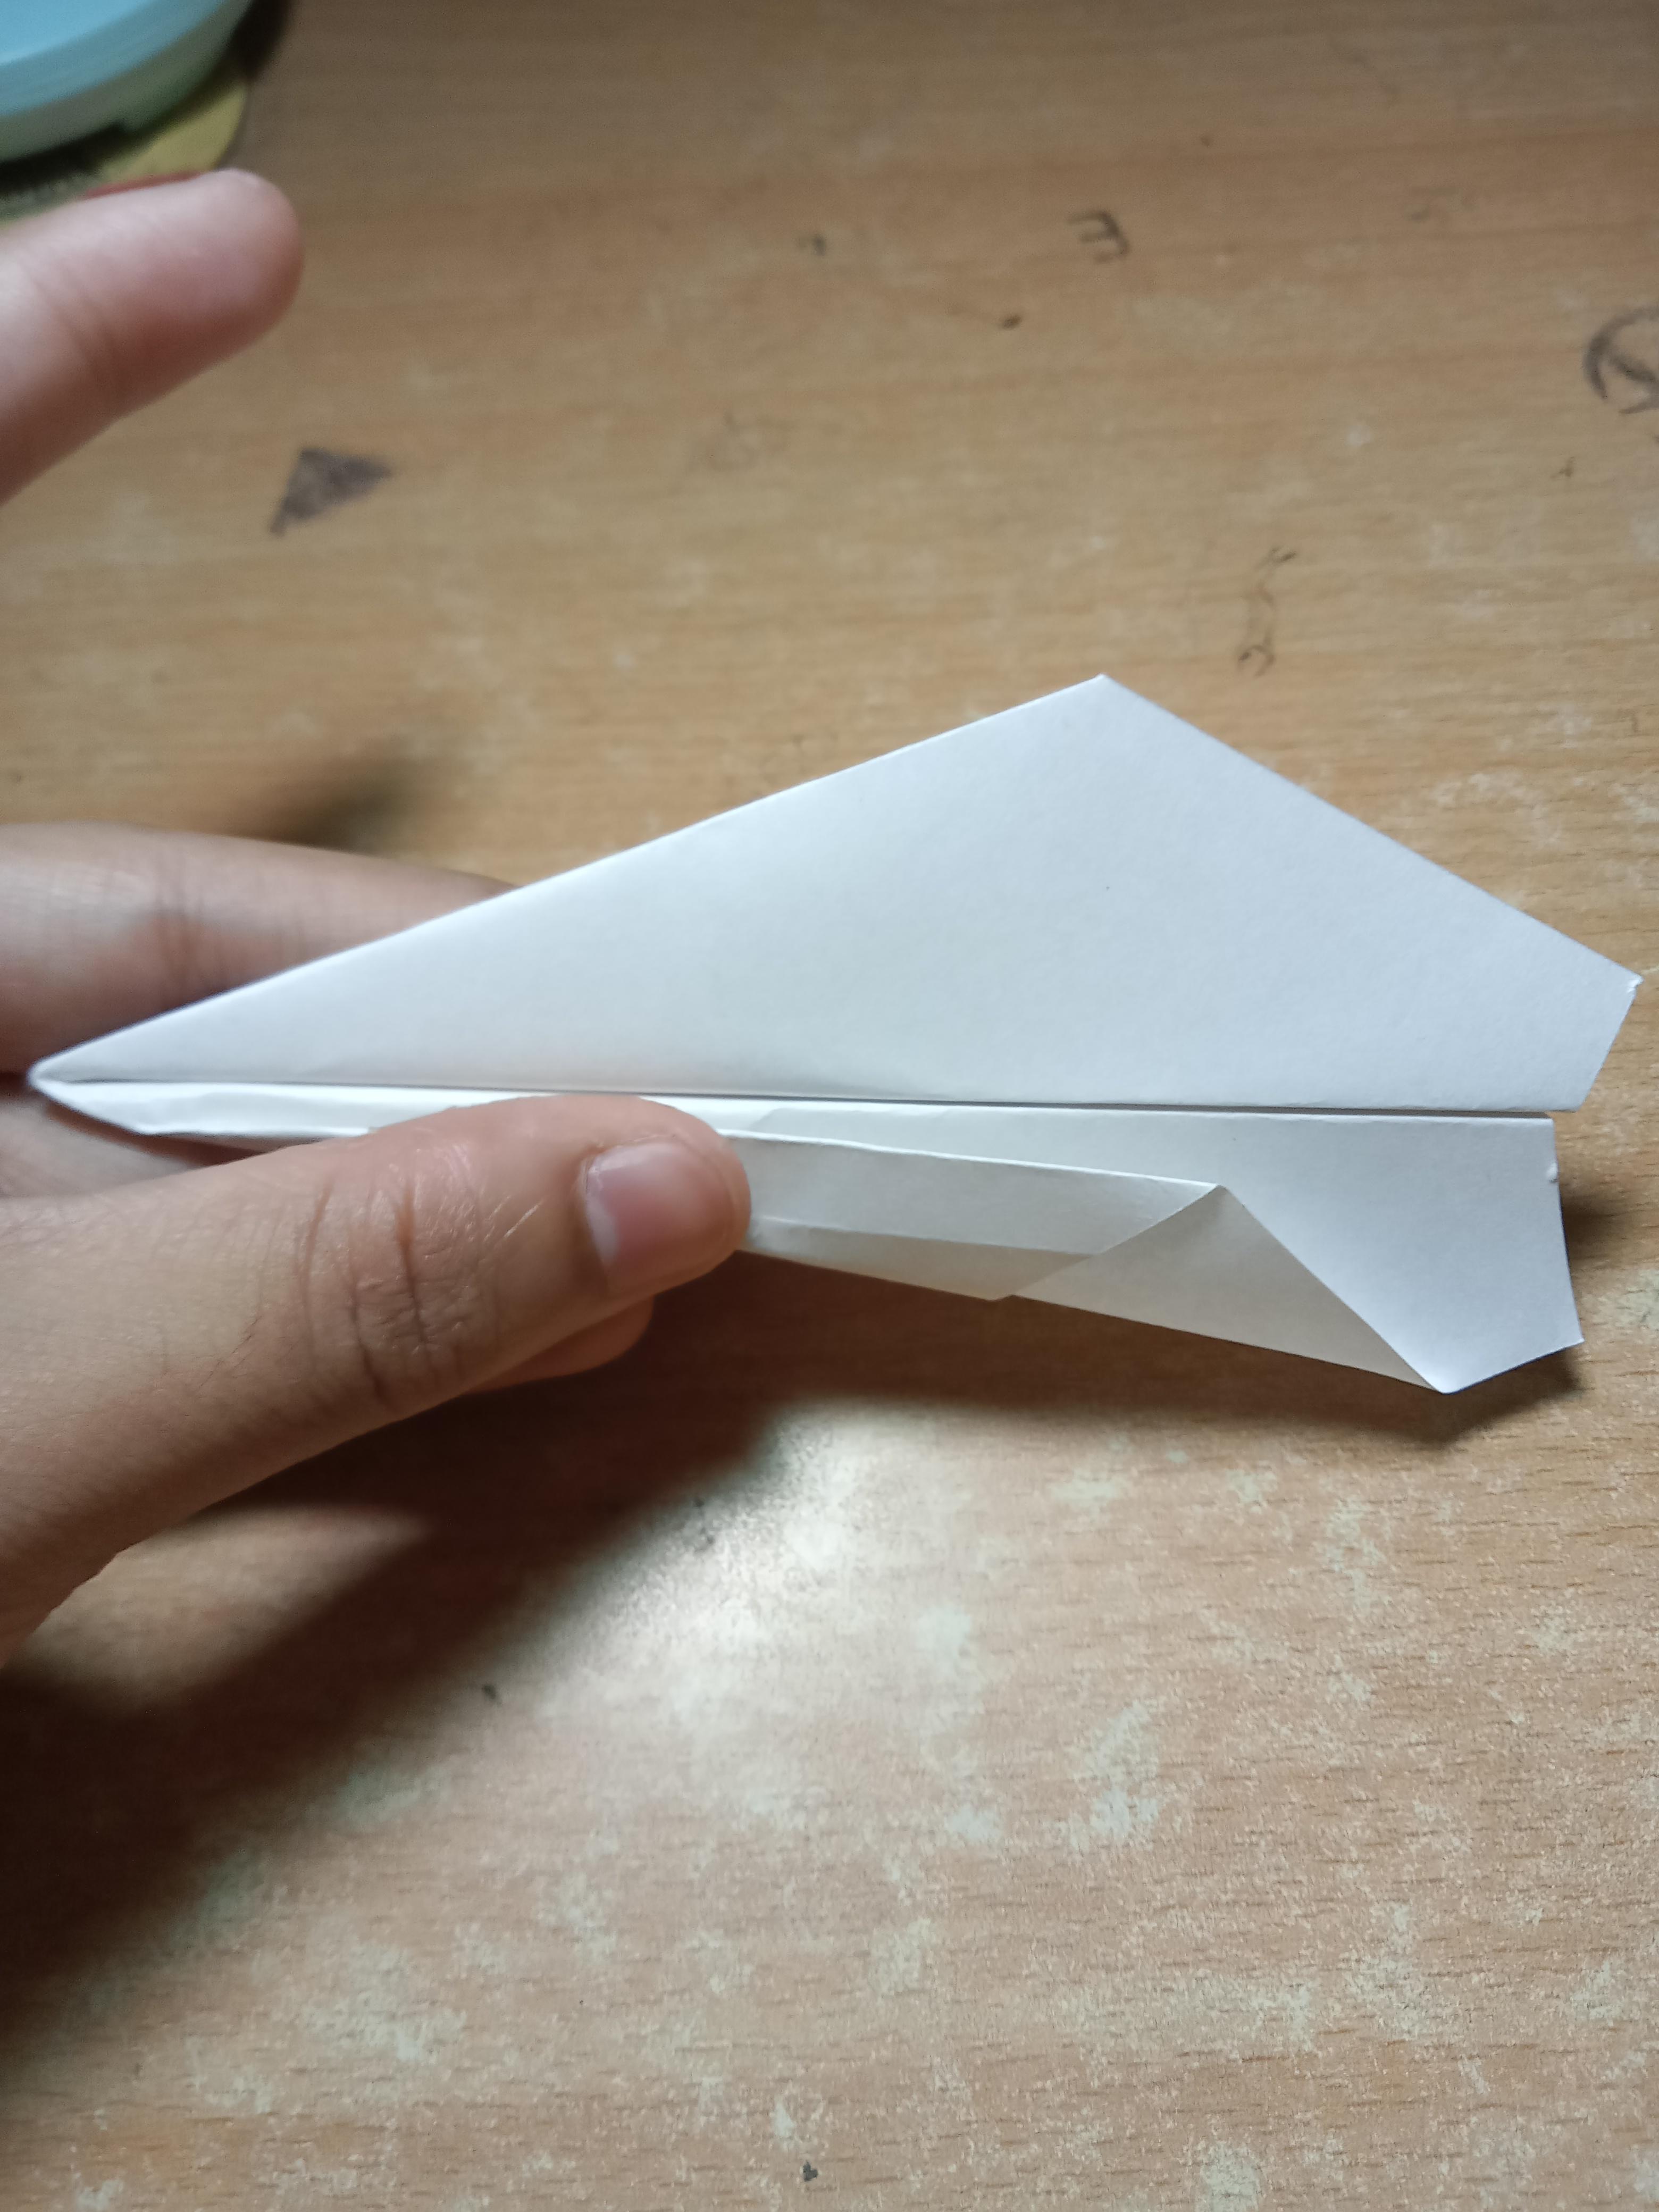
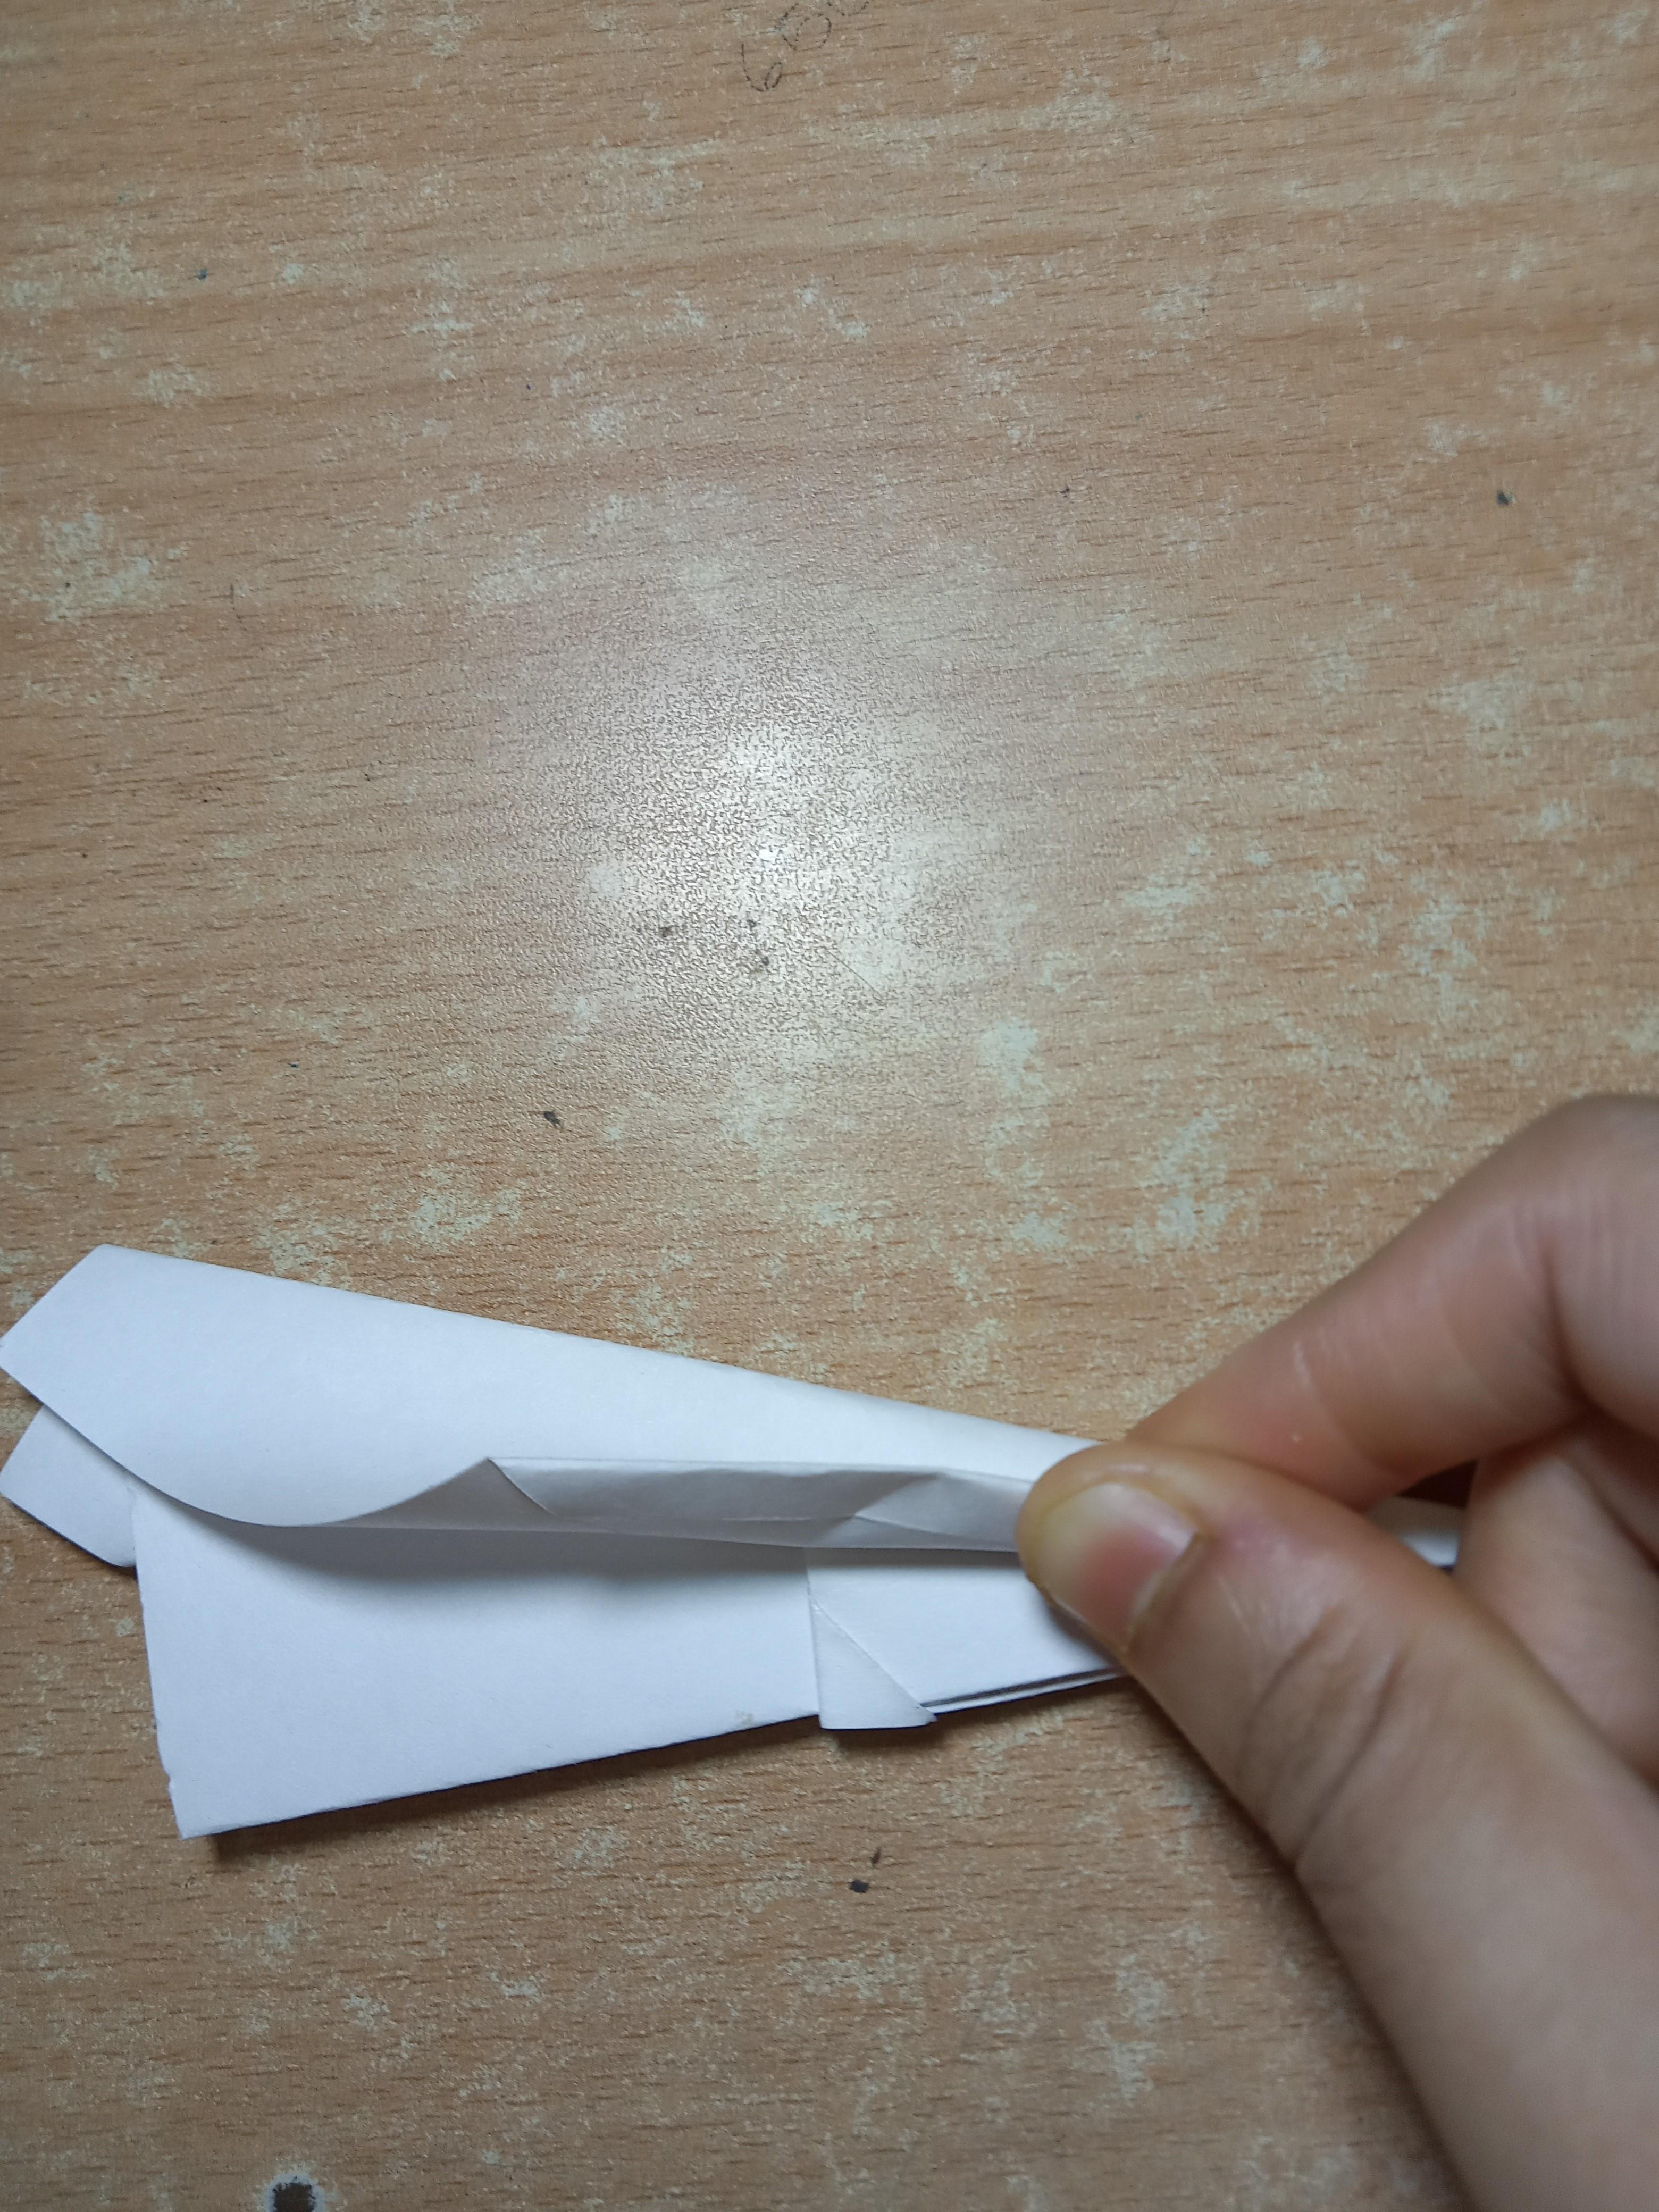
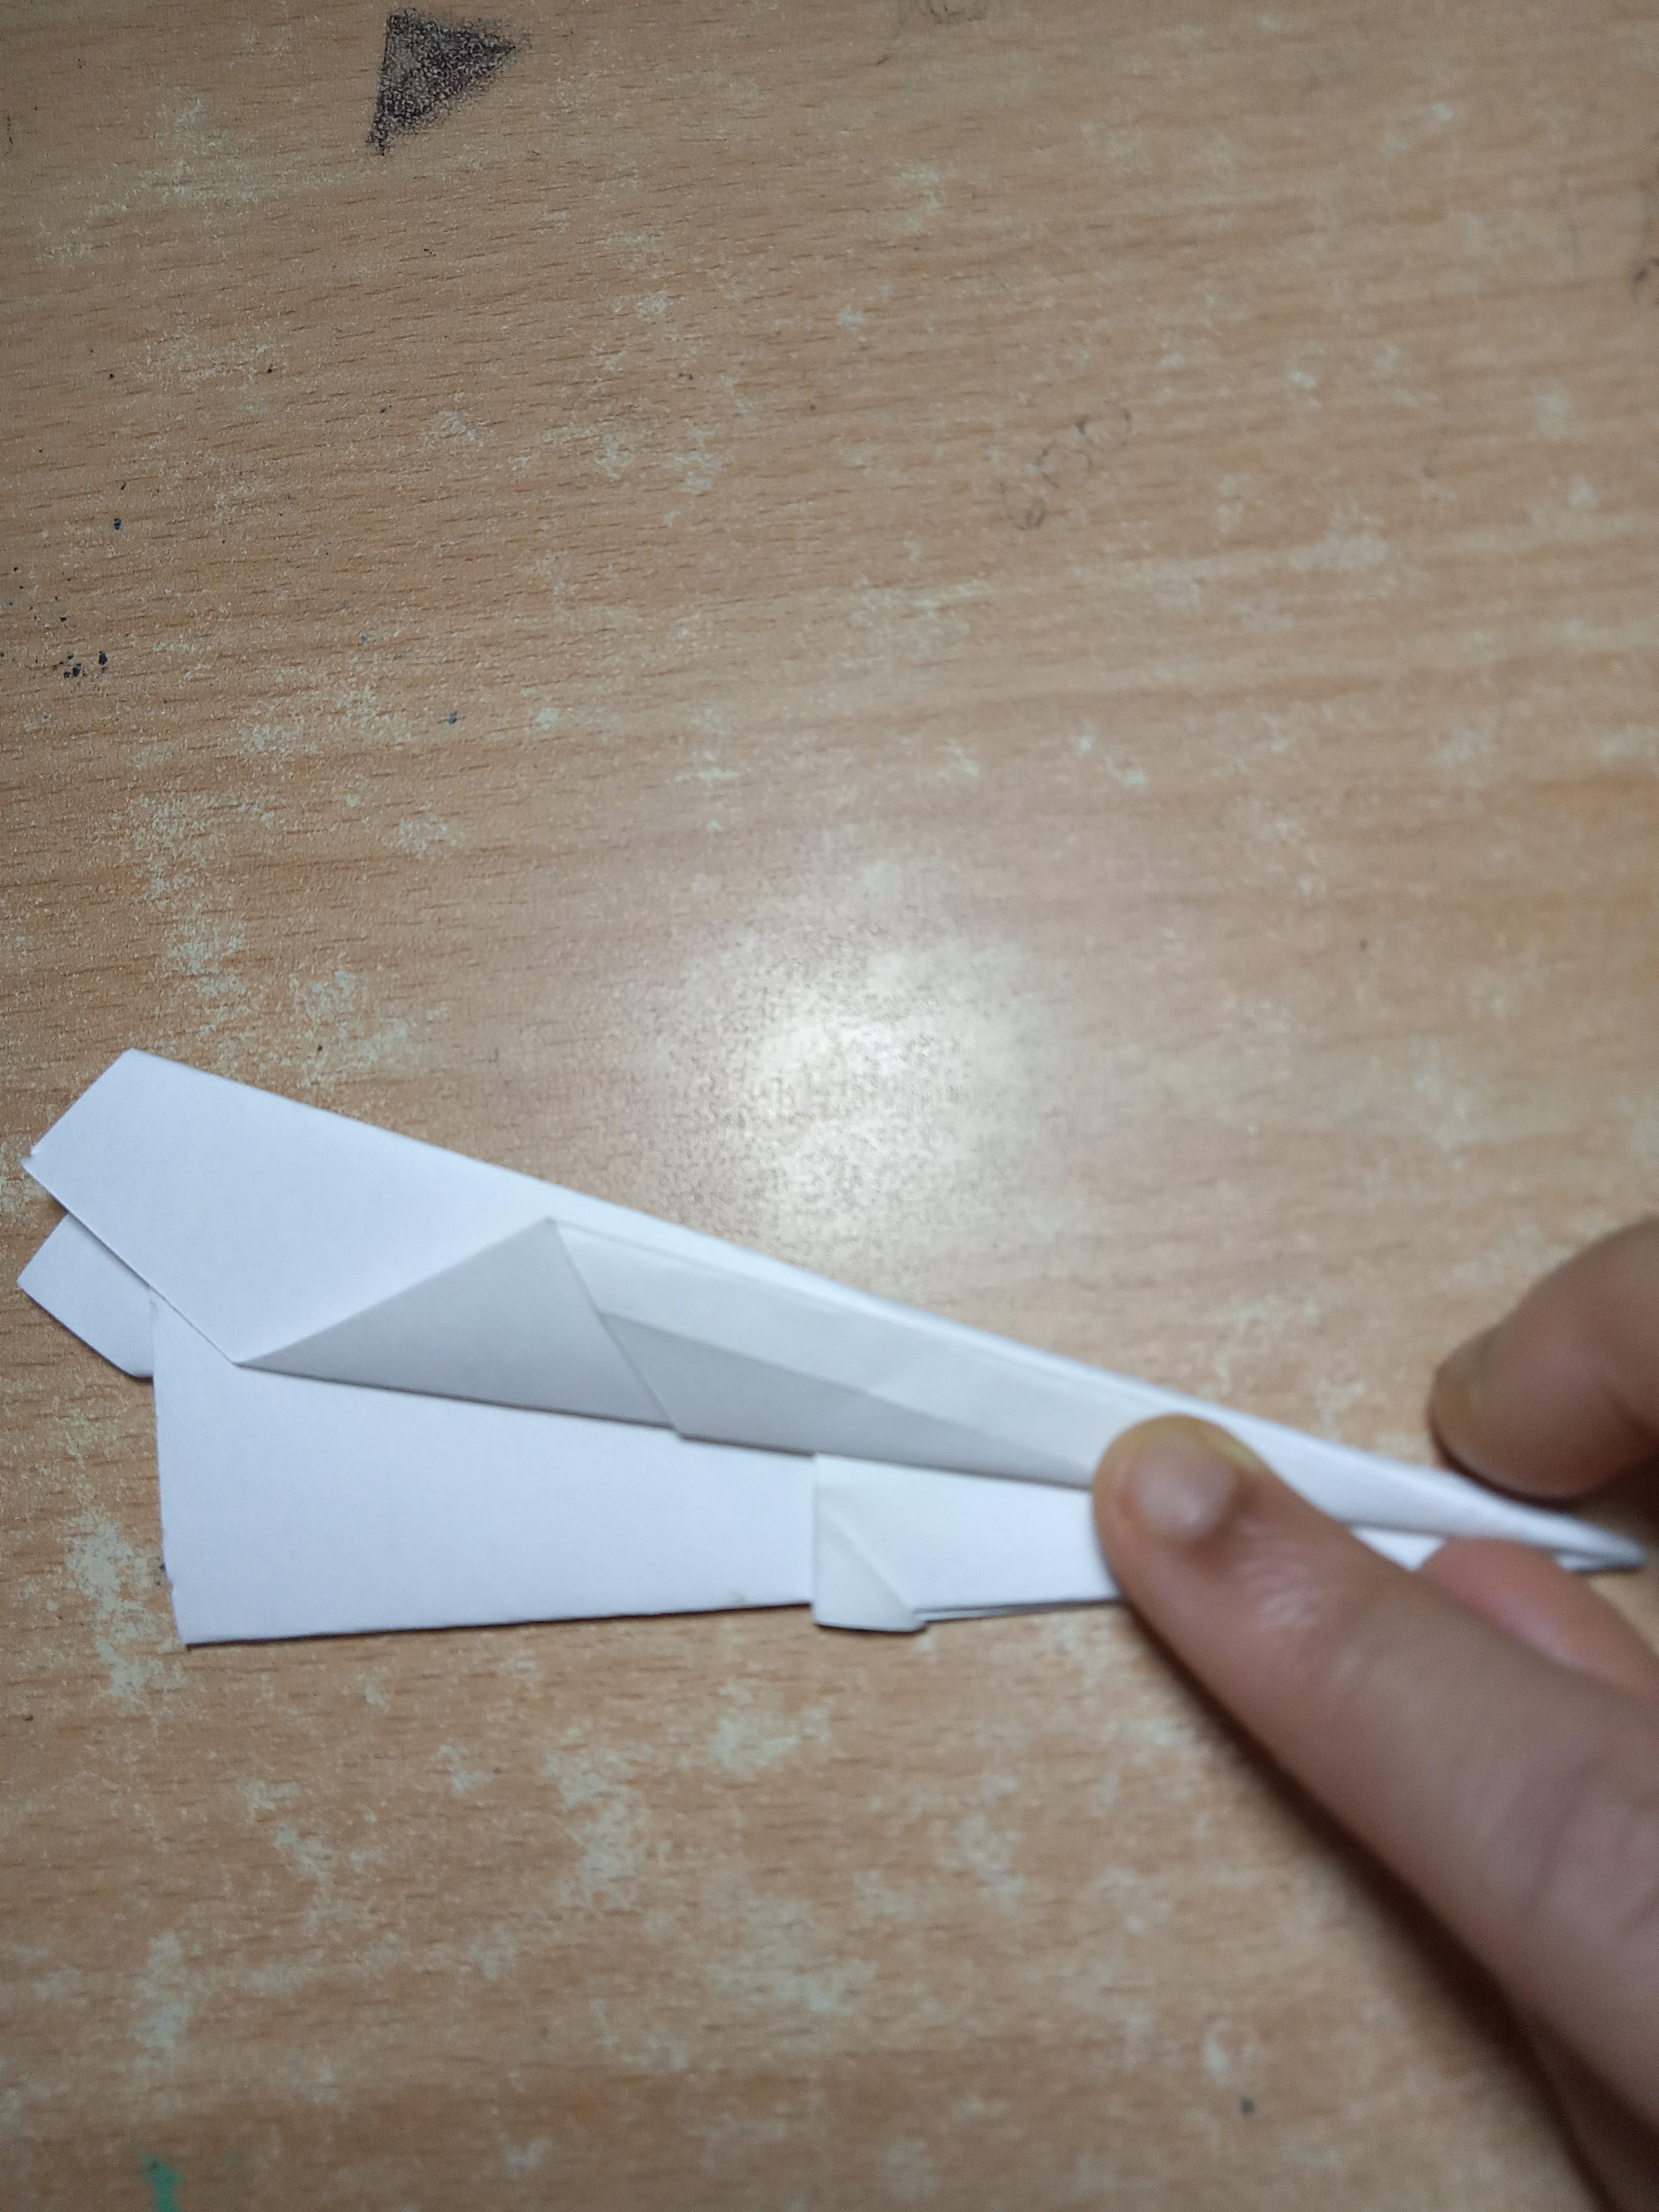
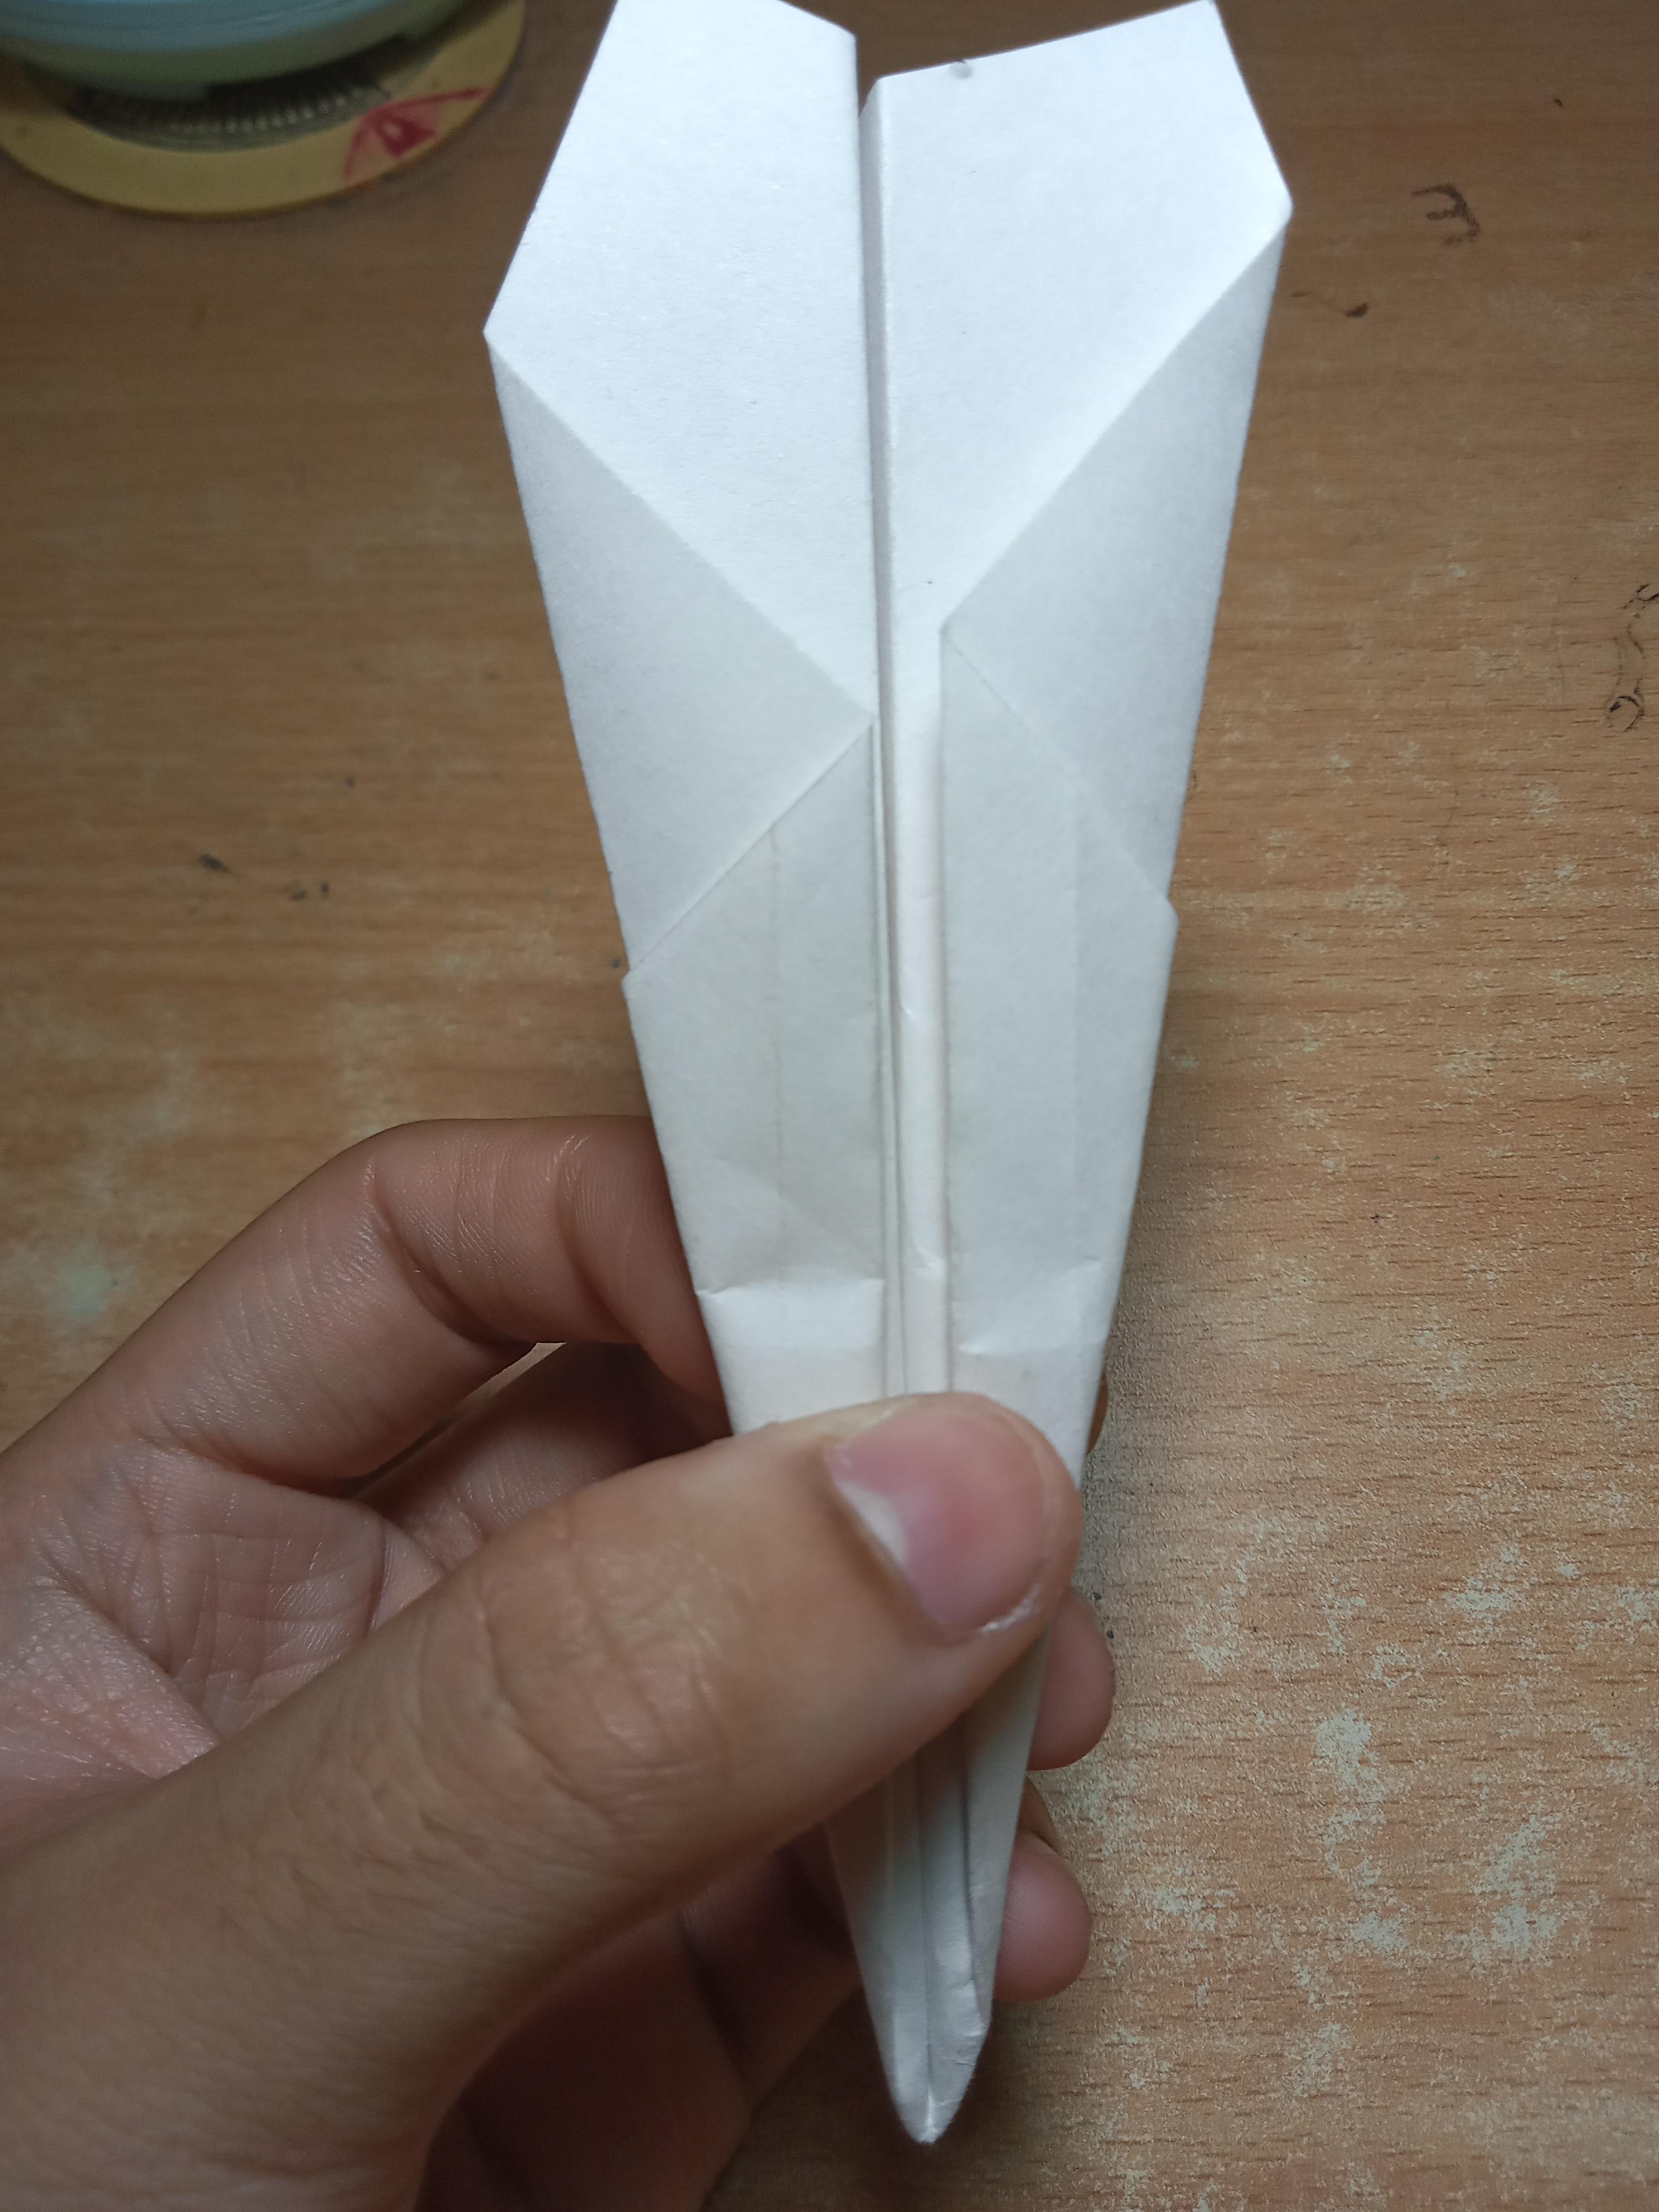
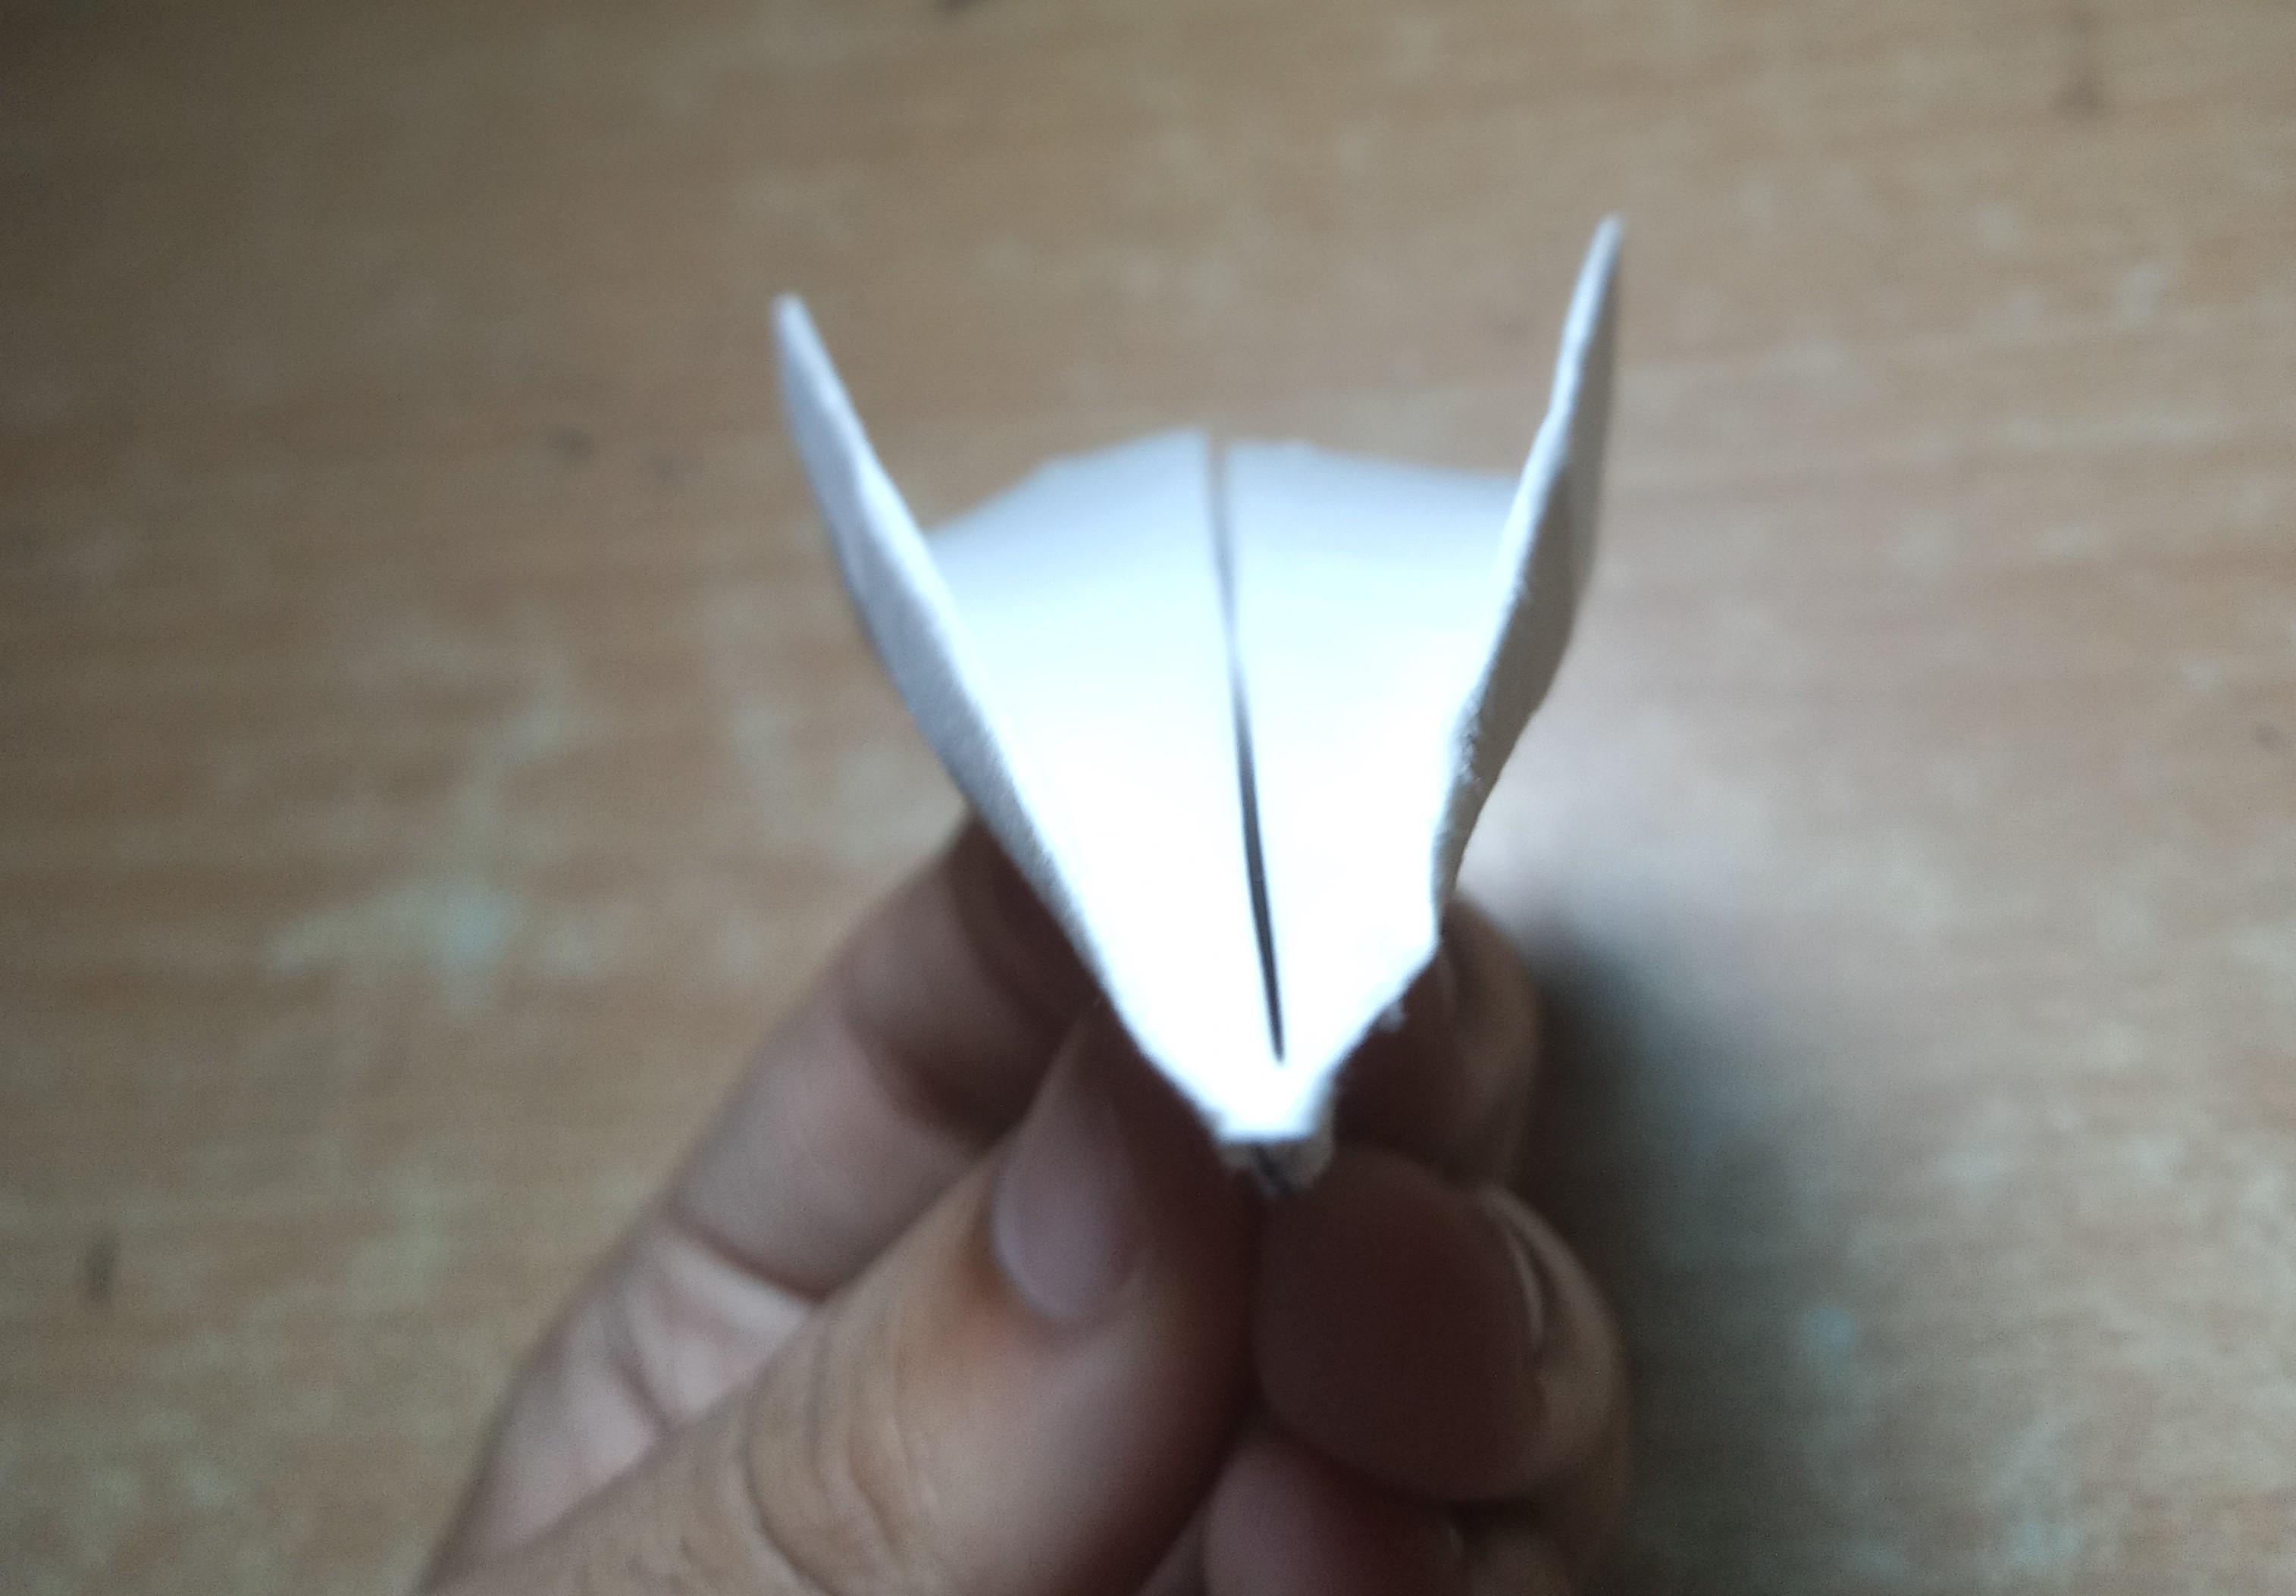
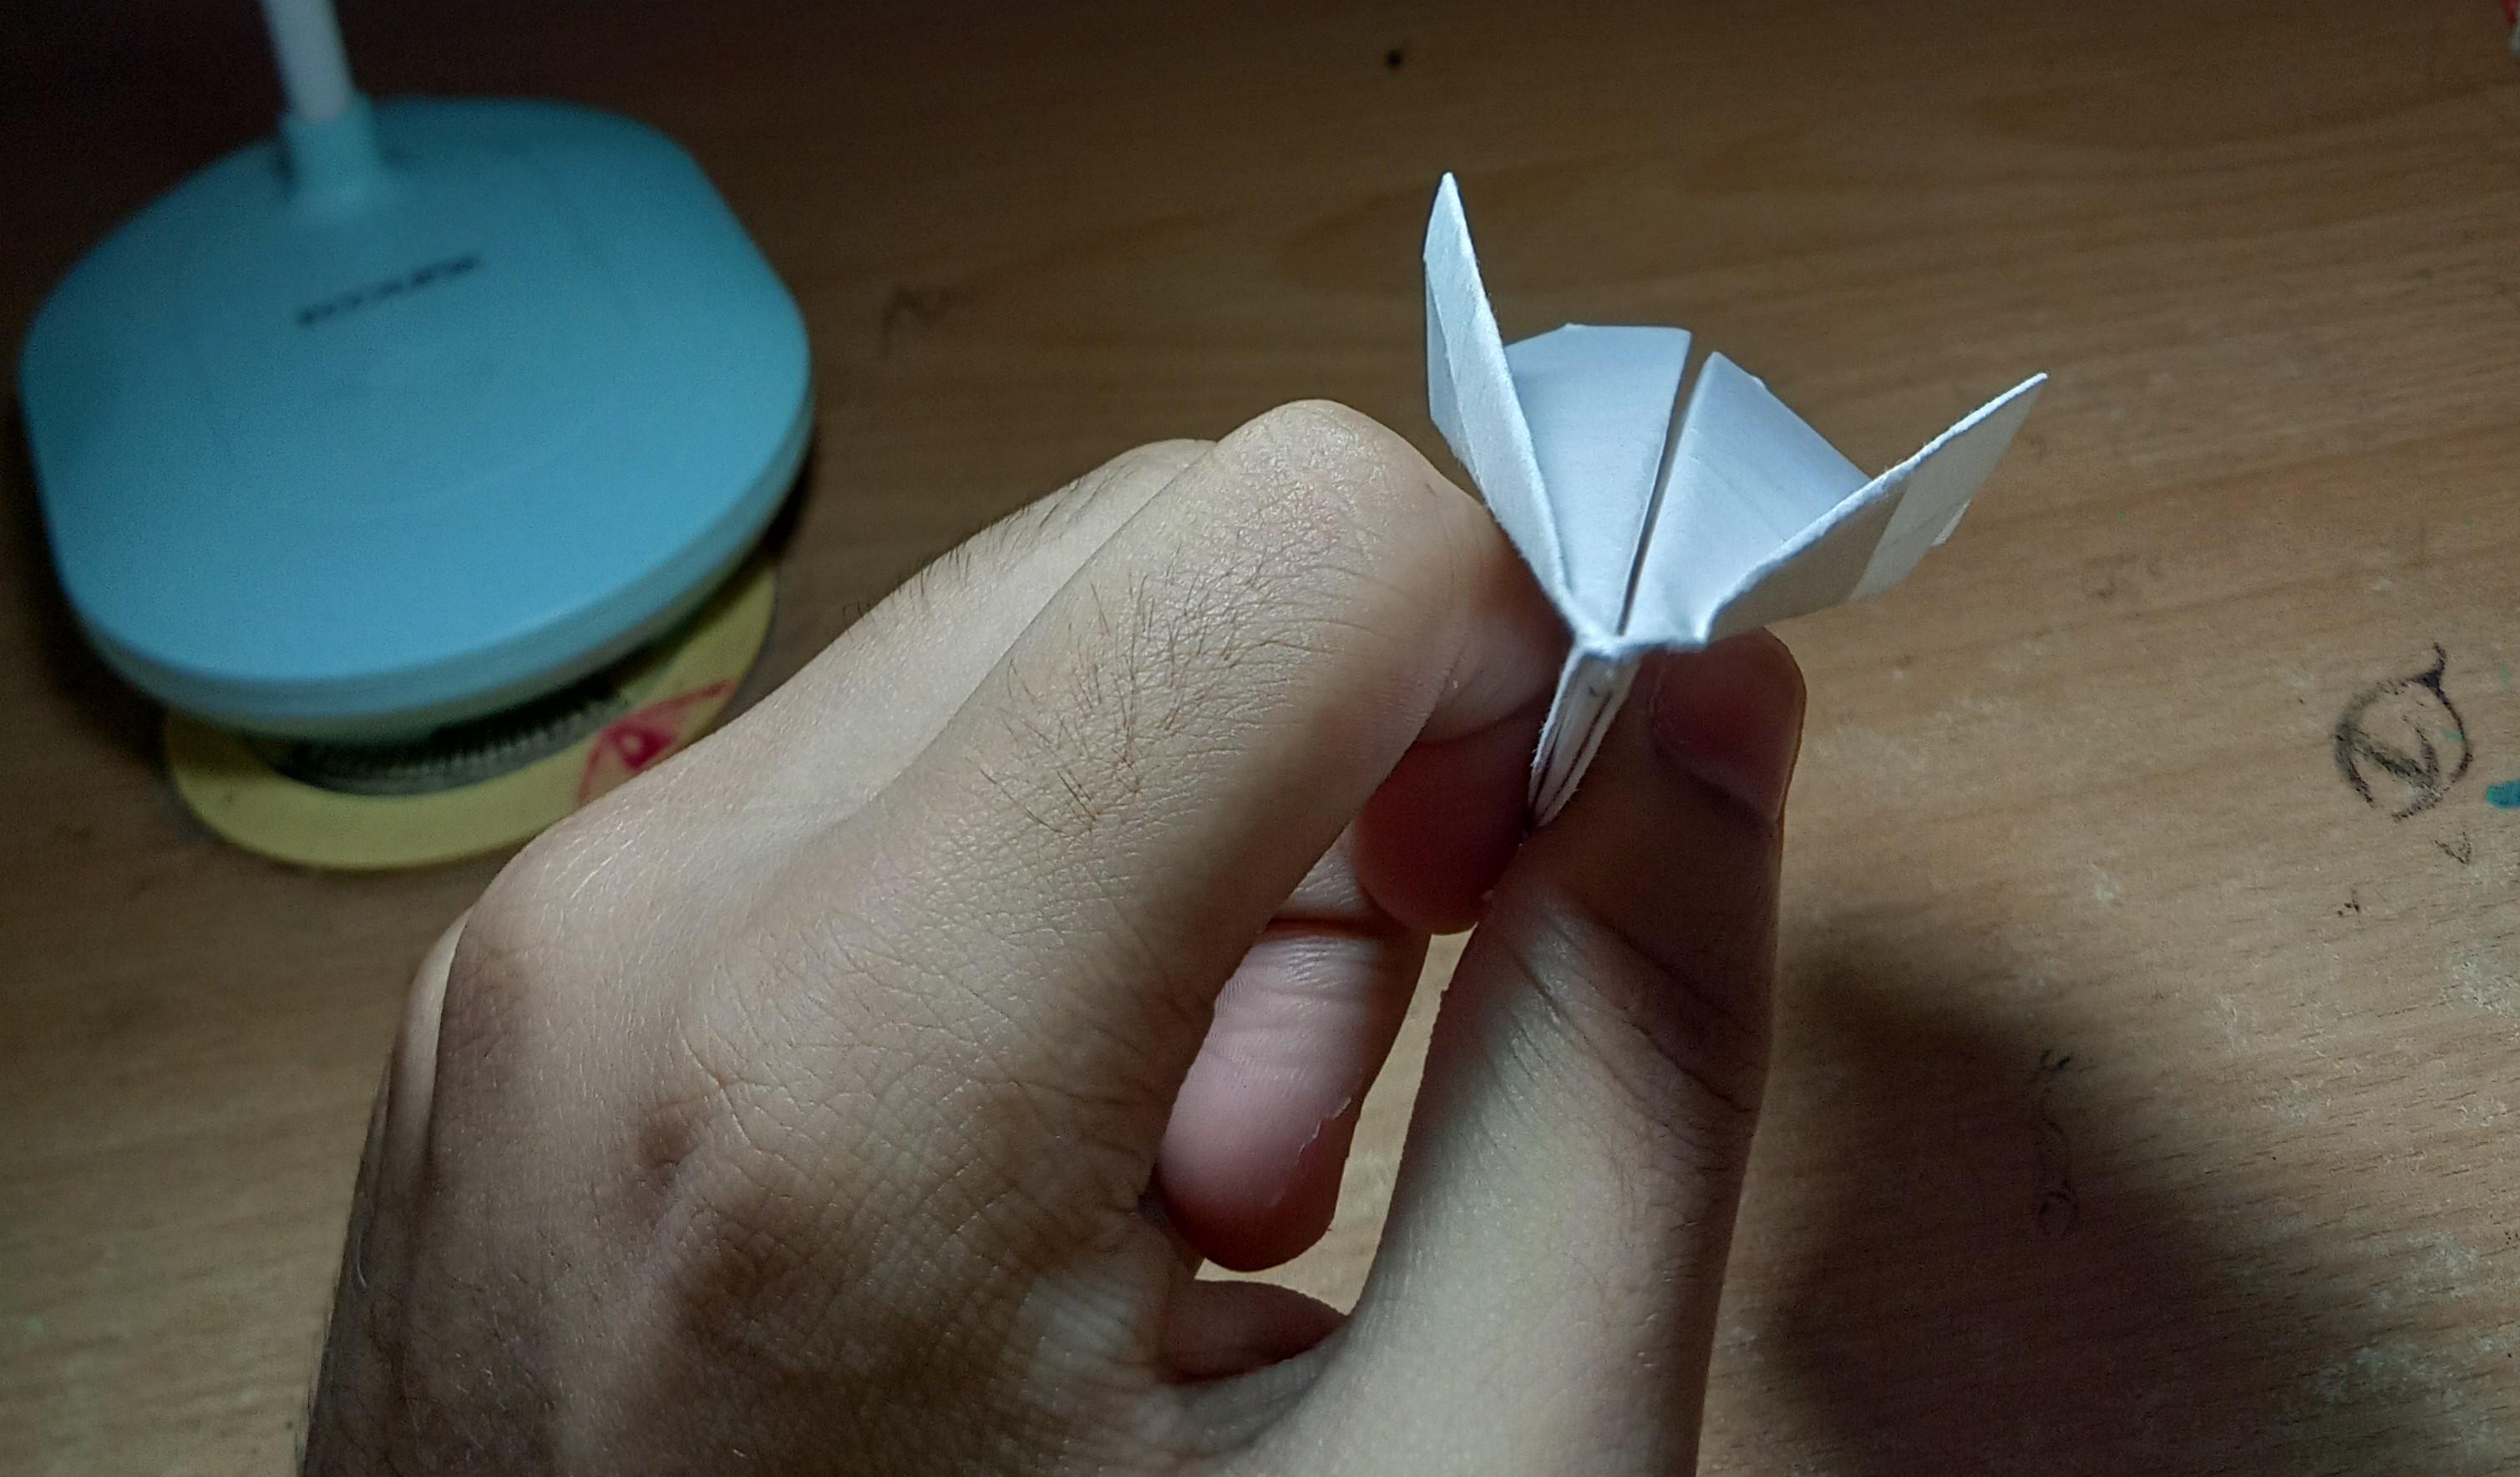
- Grab the wing of the plane and fold it in half such that the edge of the wing meets the fold of the entire wing.
- Repeat the same for the other wing.
By doing this, the plane will be able to cut through air smoothly and will be able to fly in a straight direction.
You may see the pictures attached if you are unable to understand.
End Result
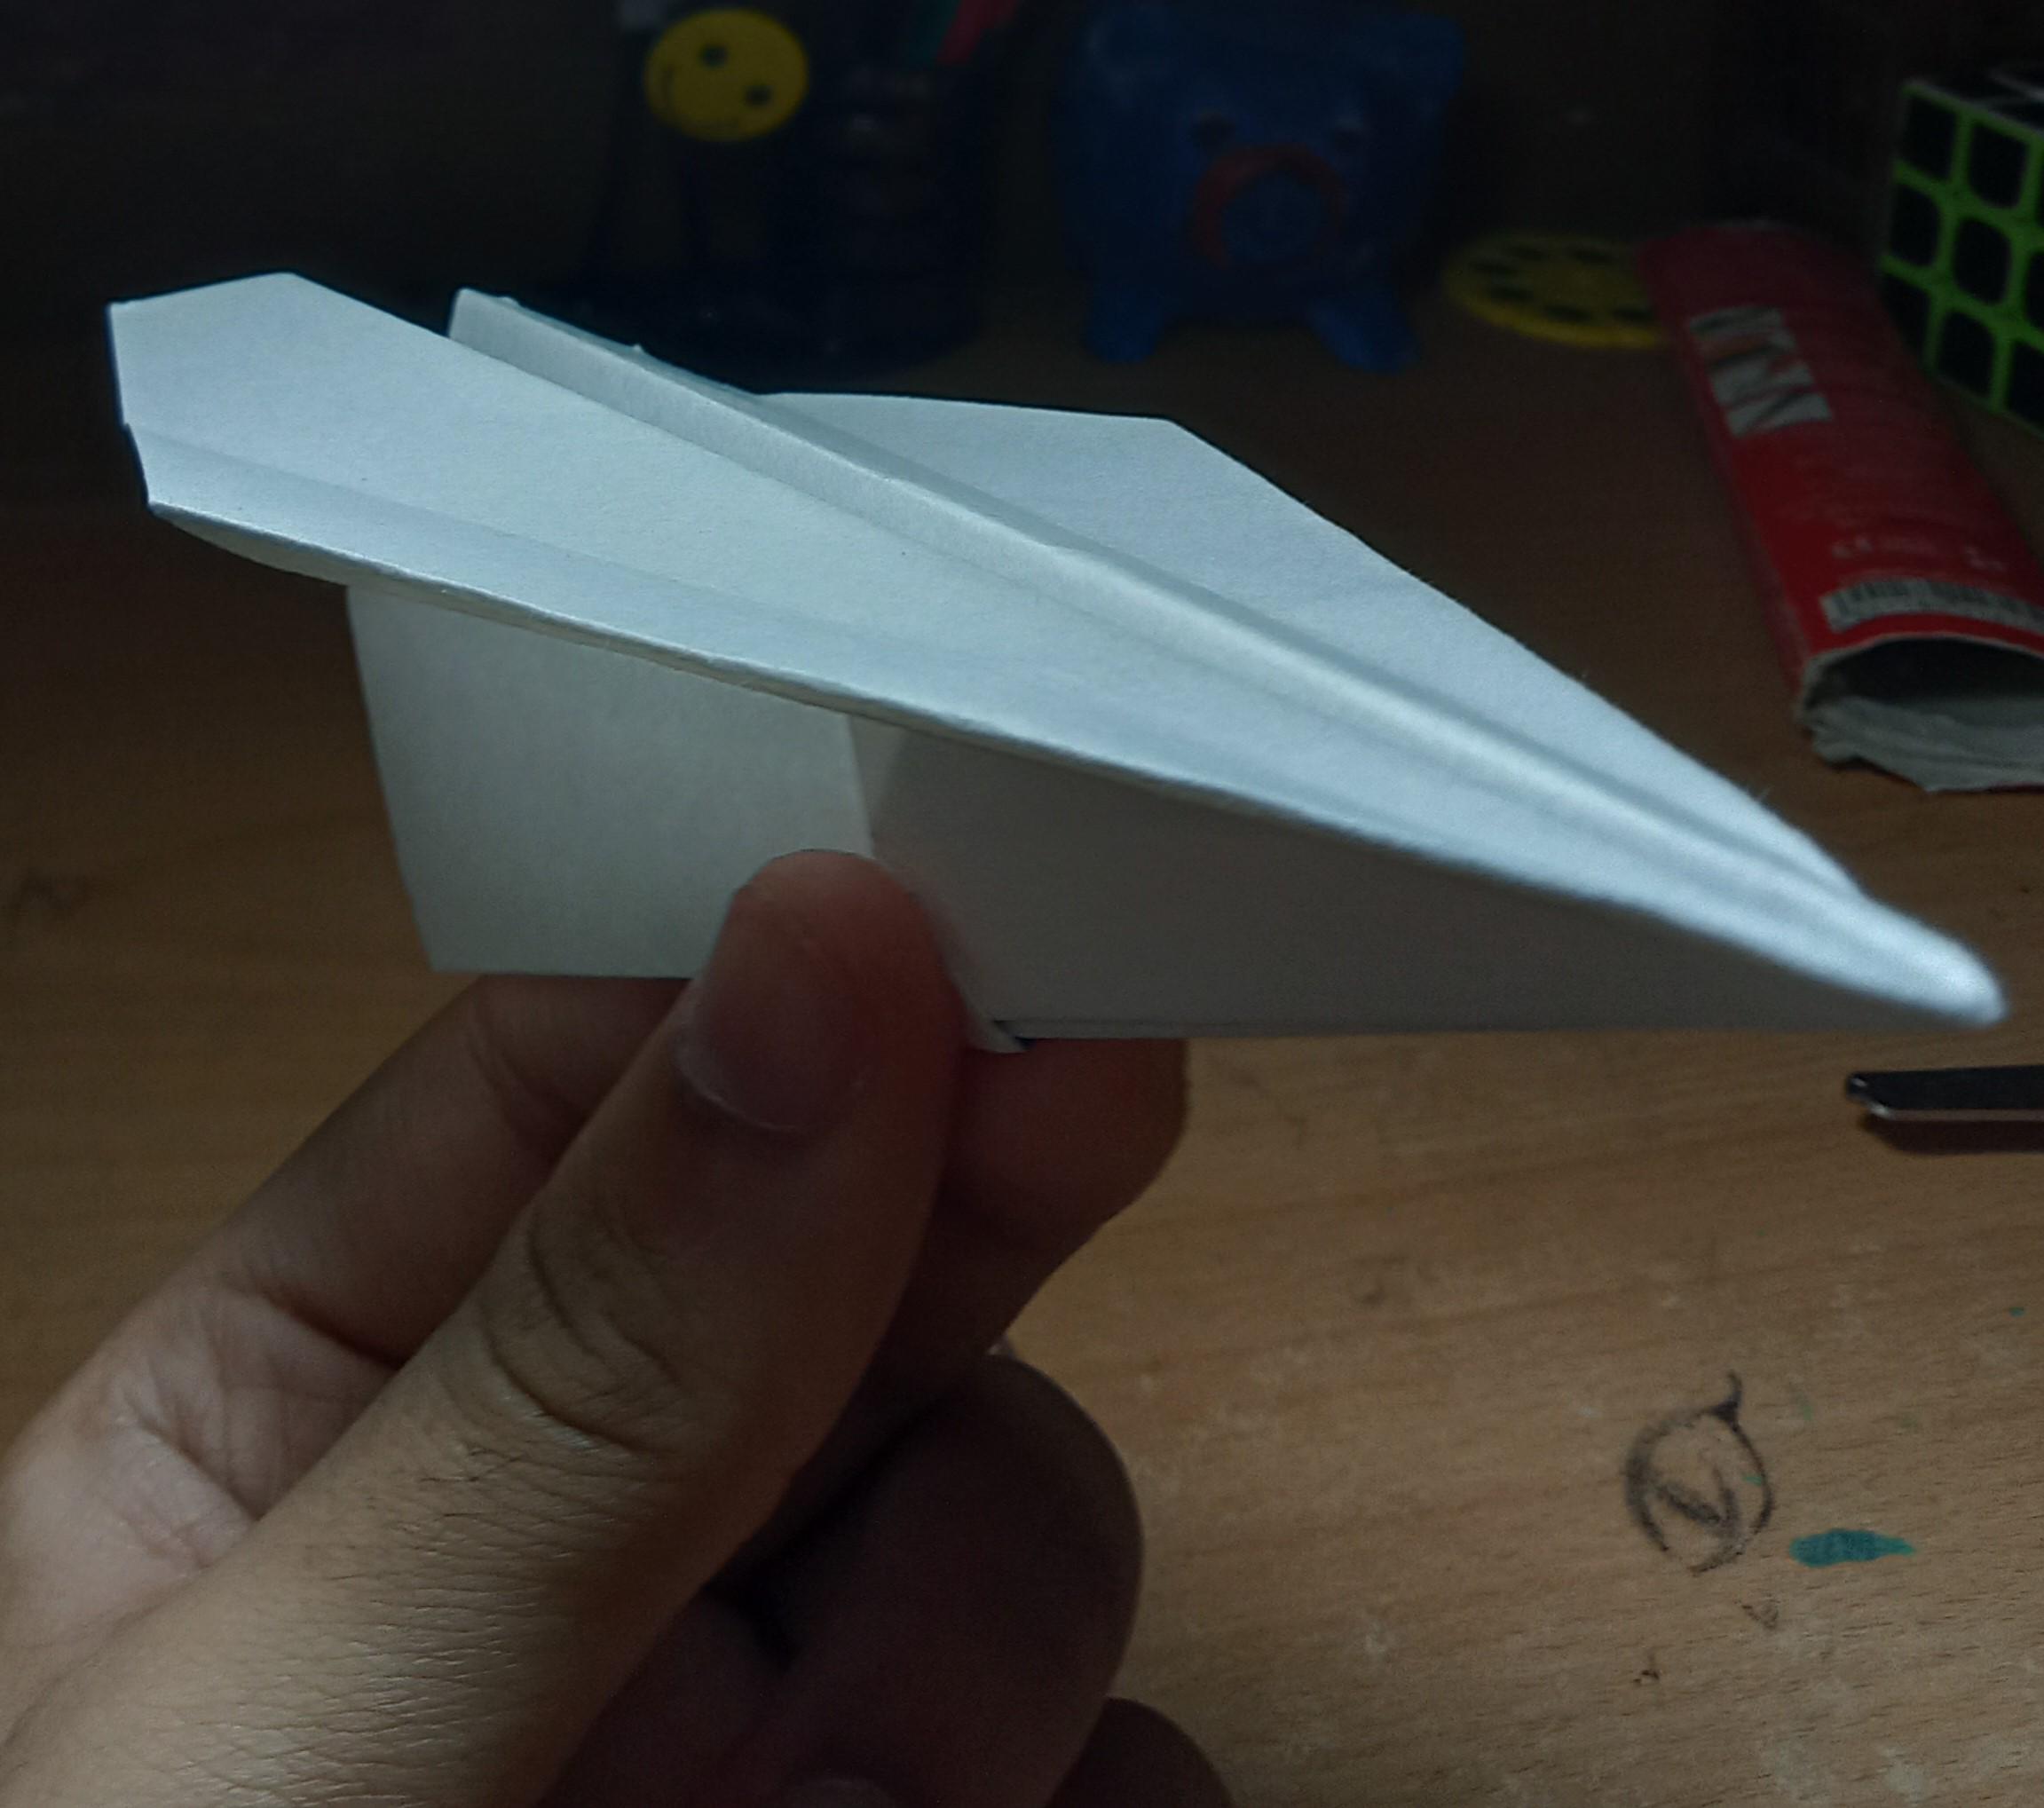
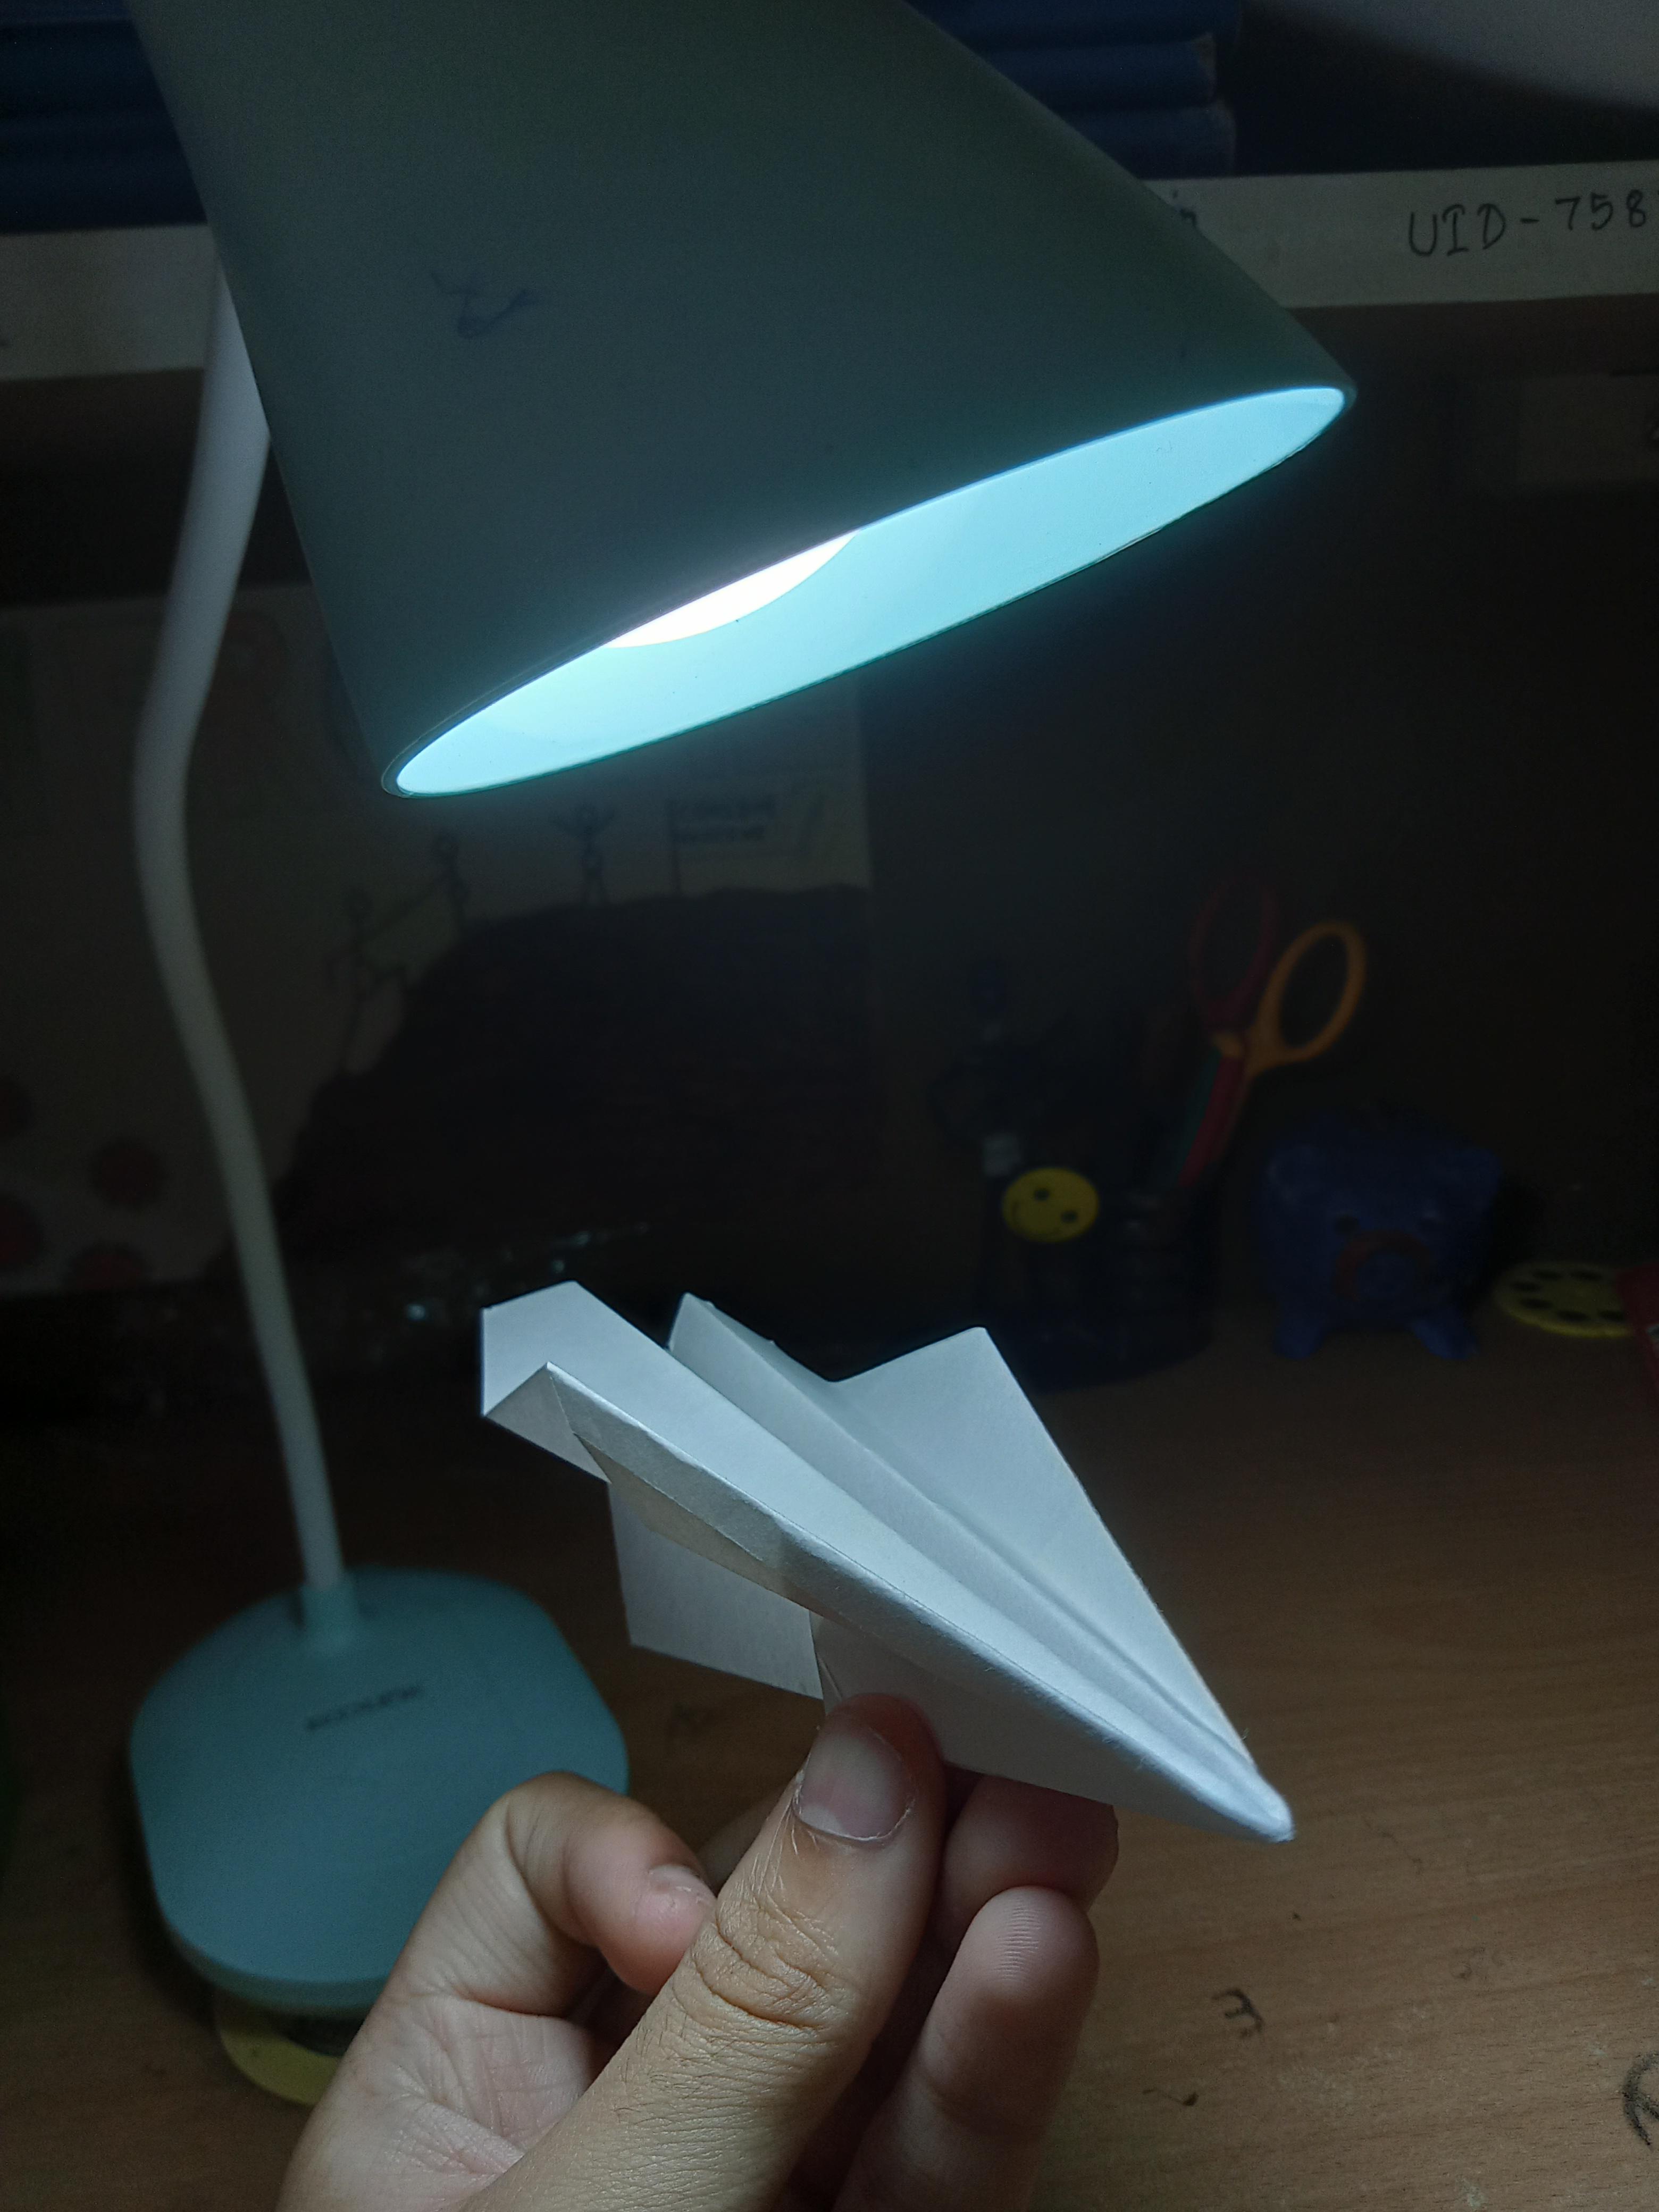
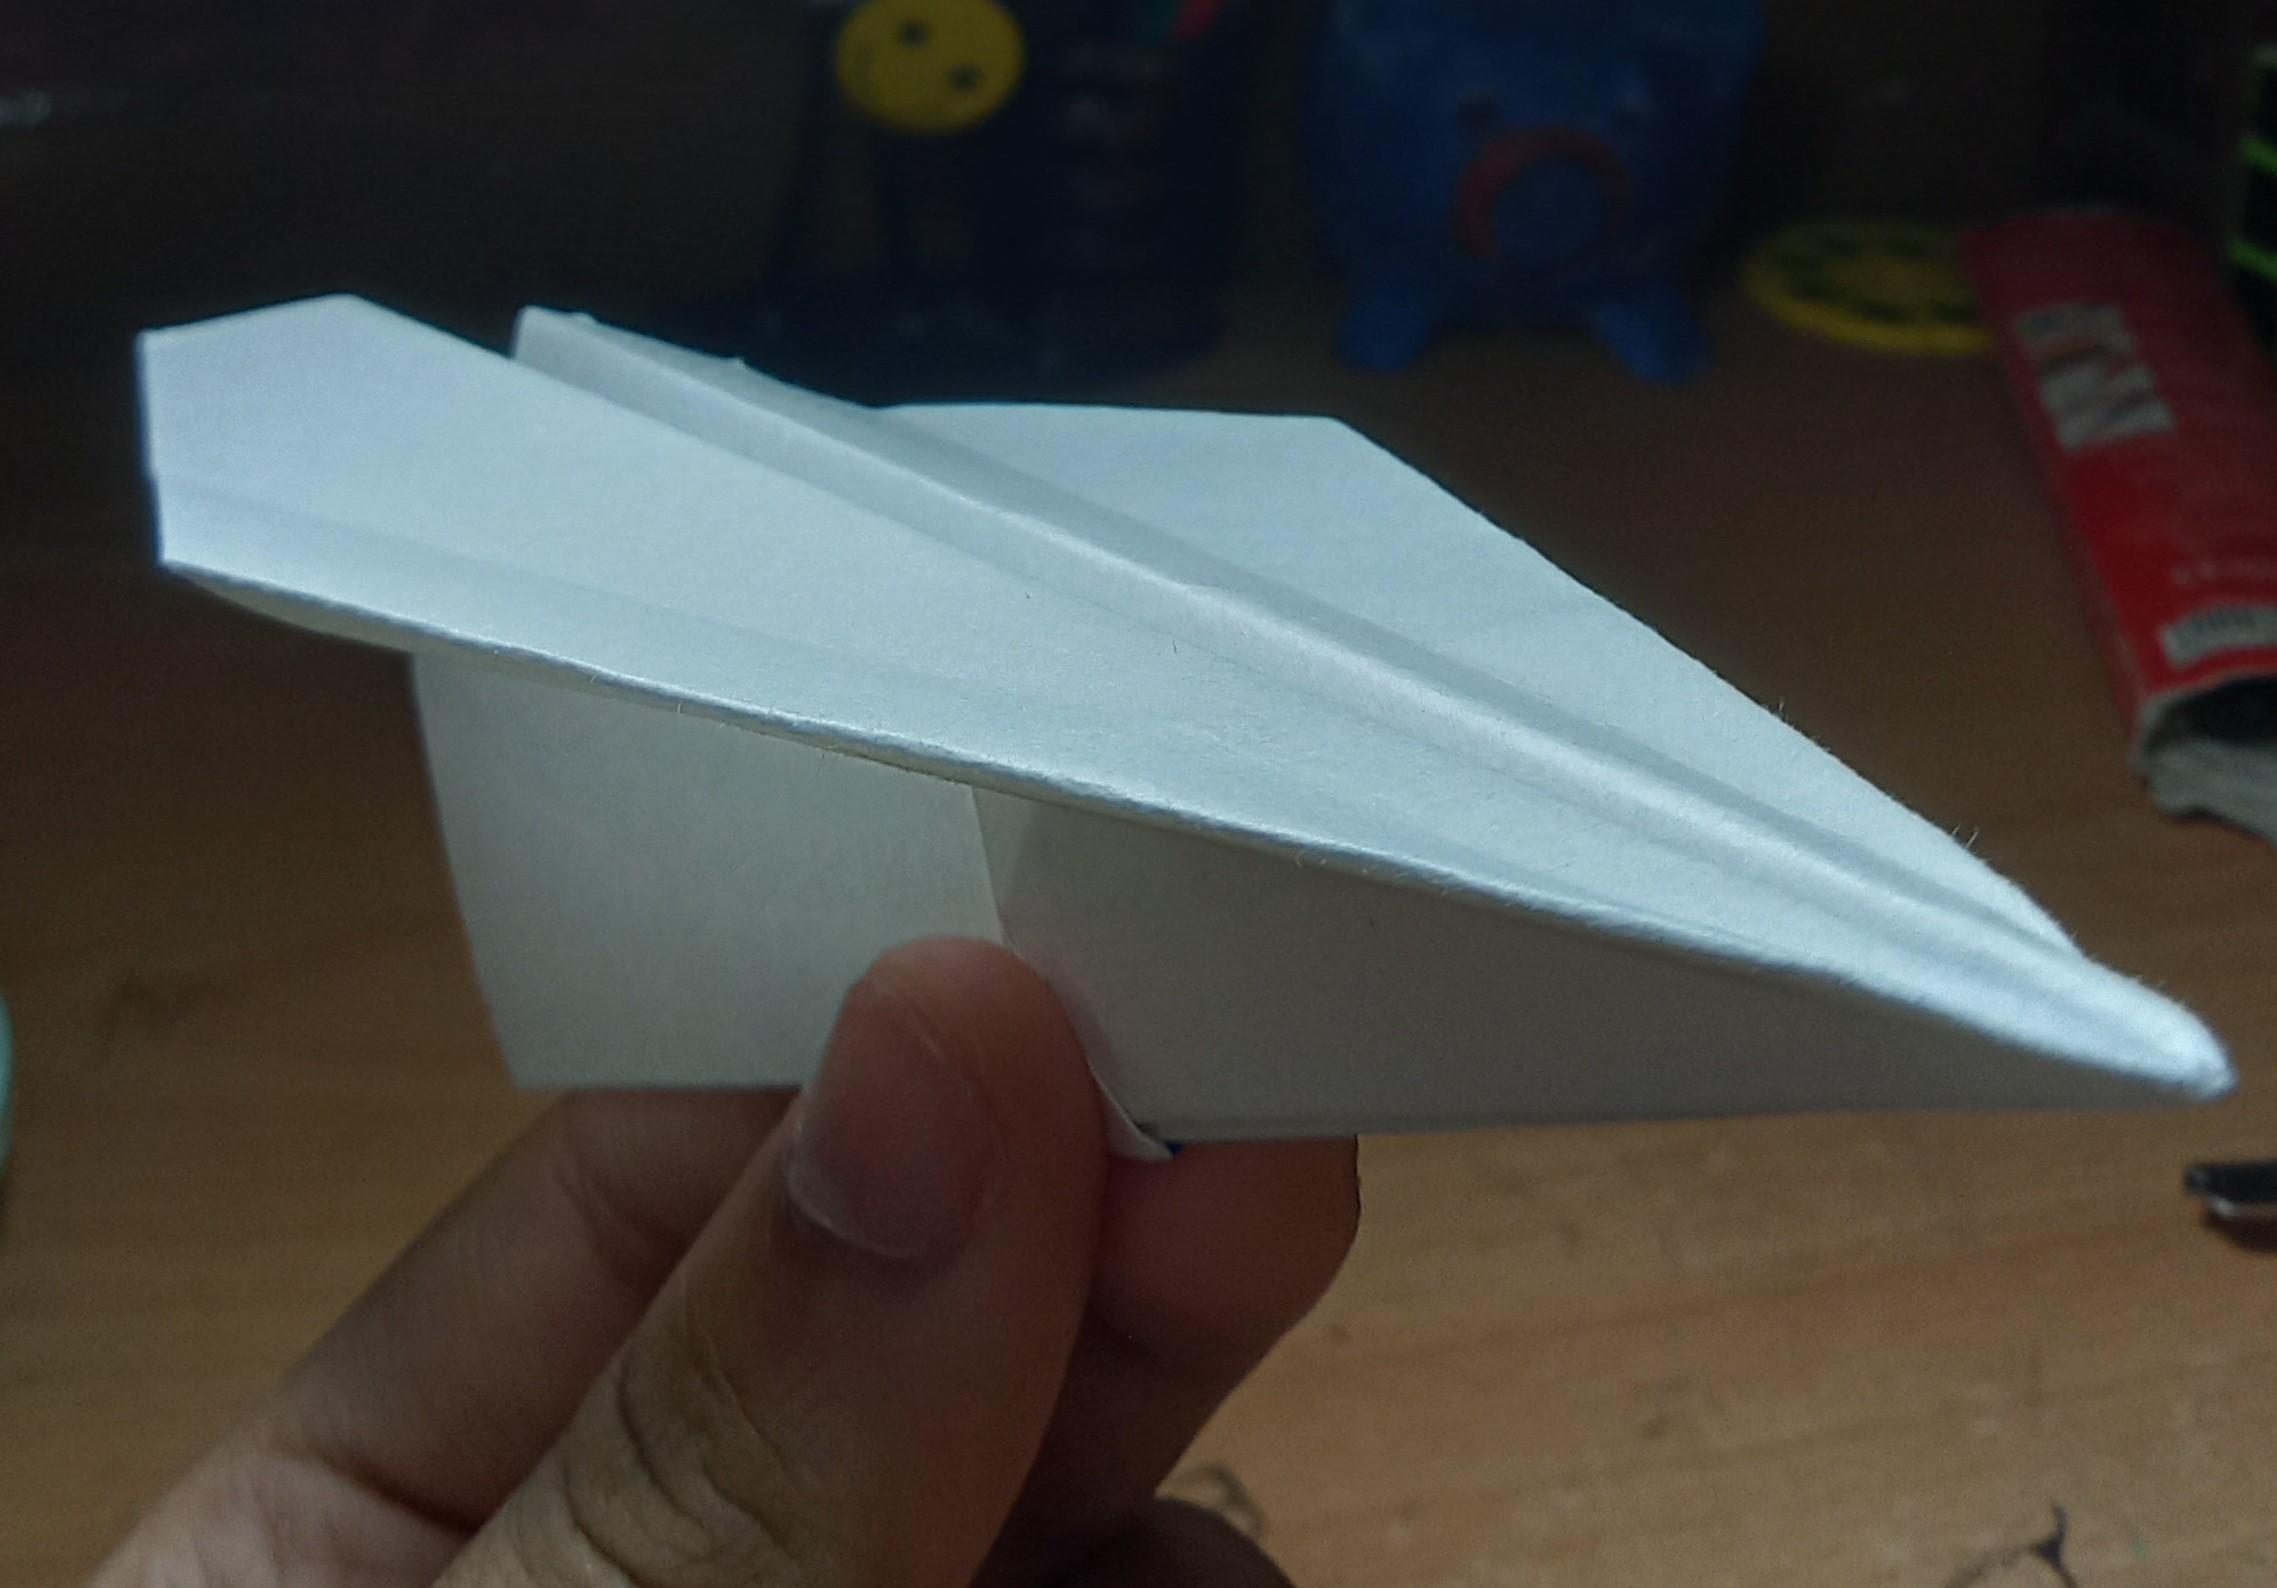
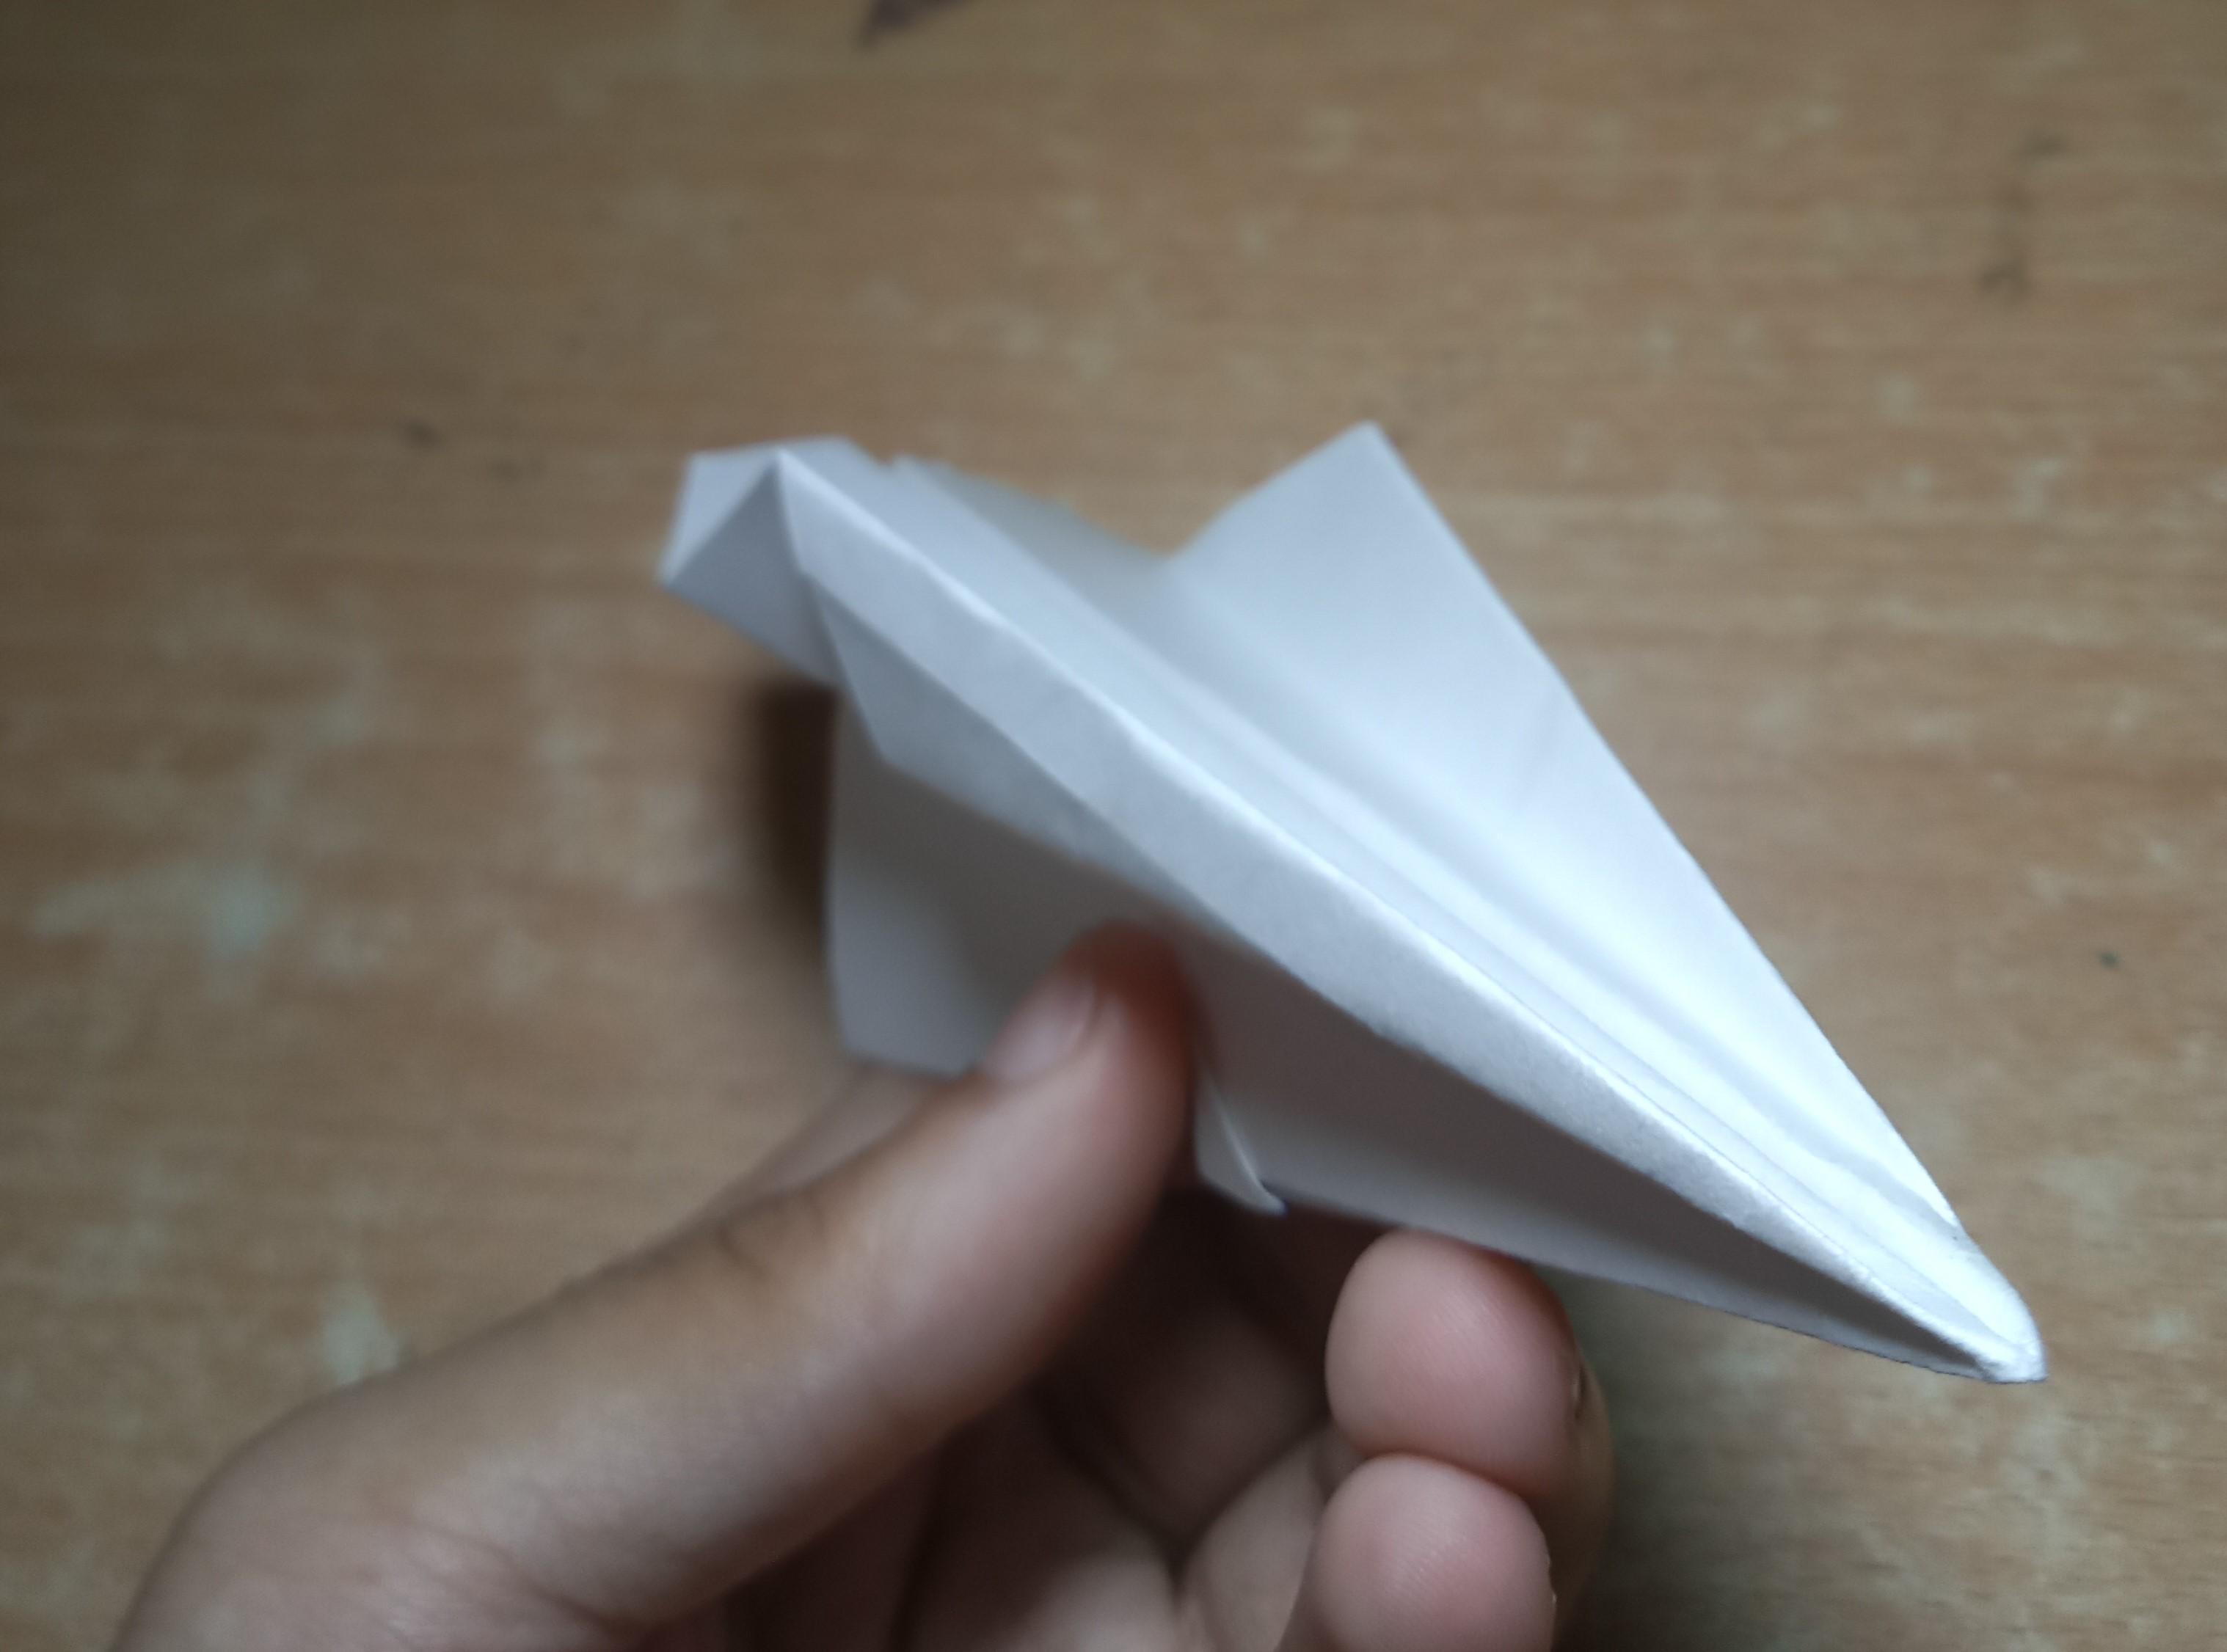
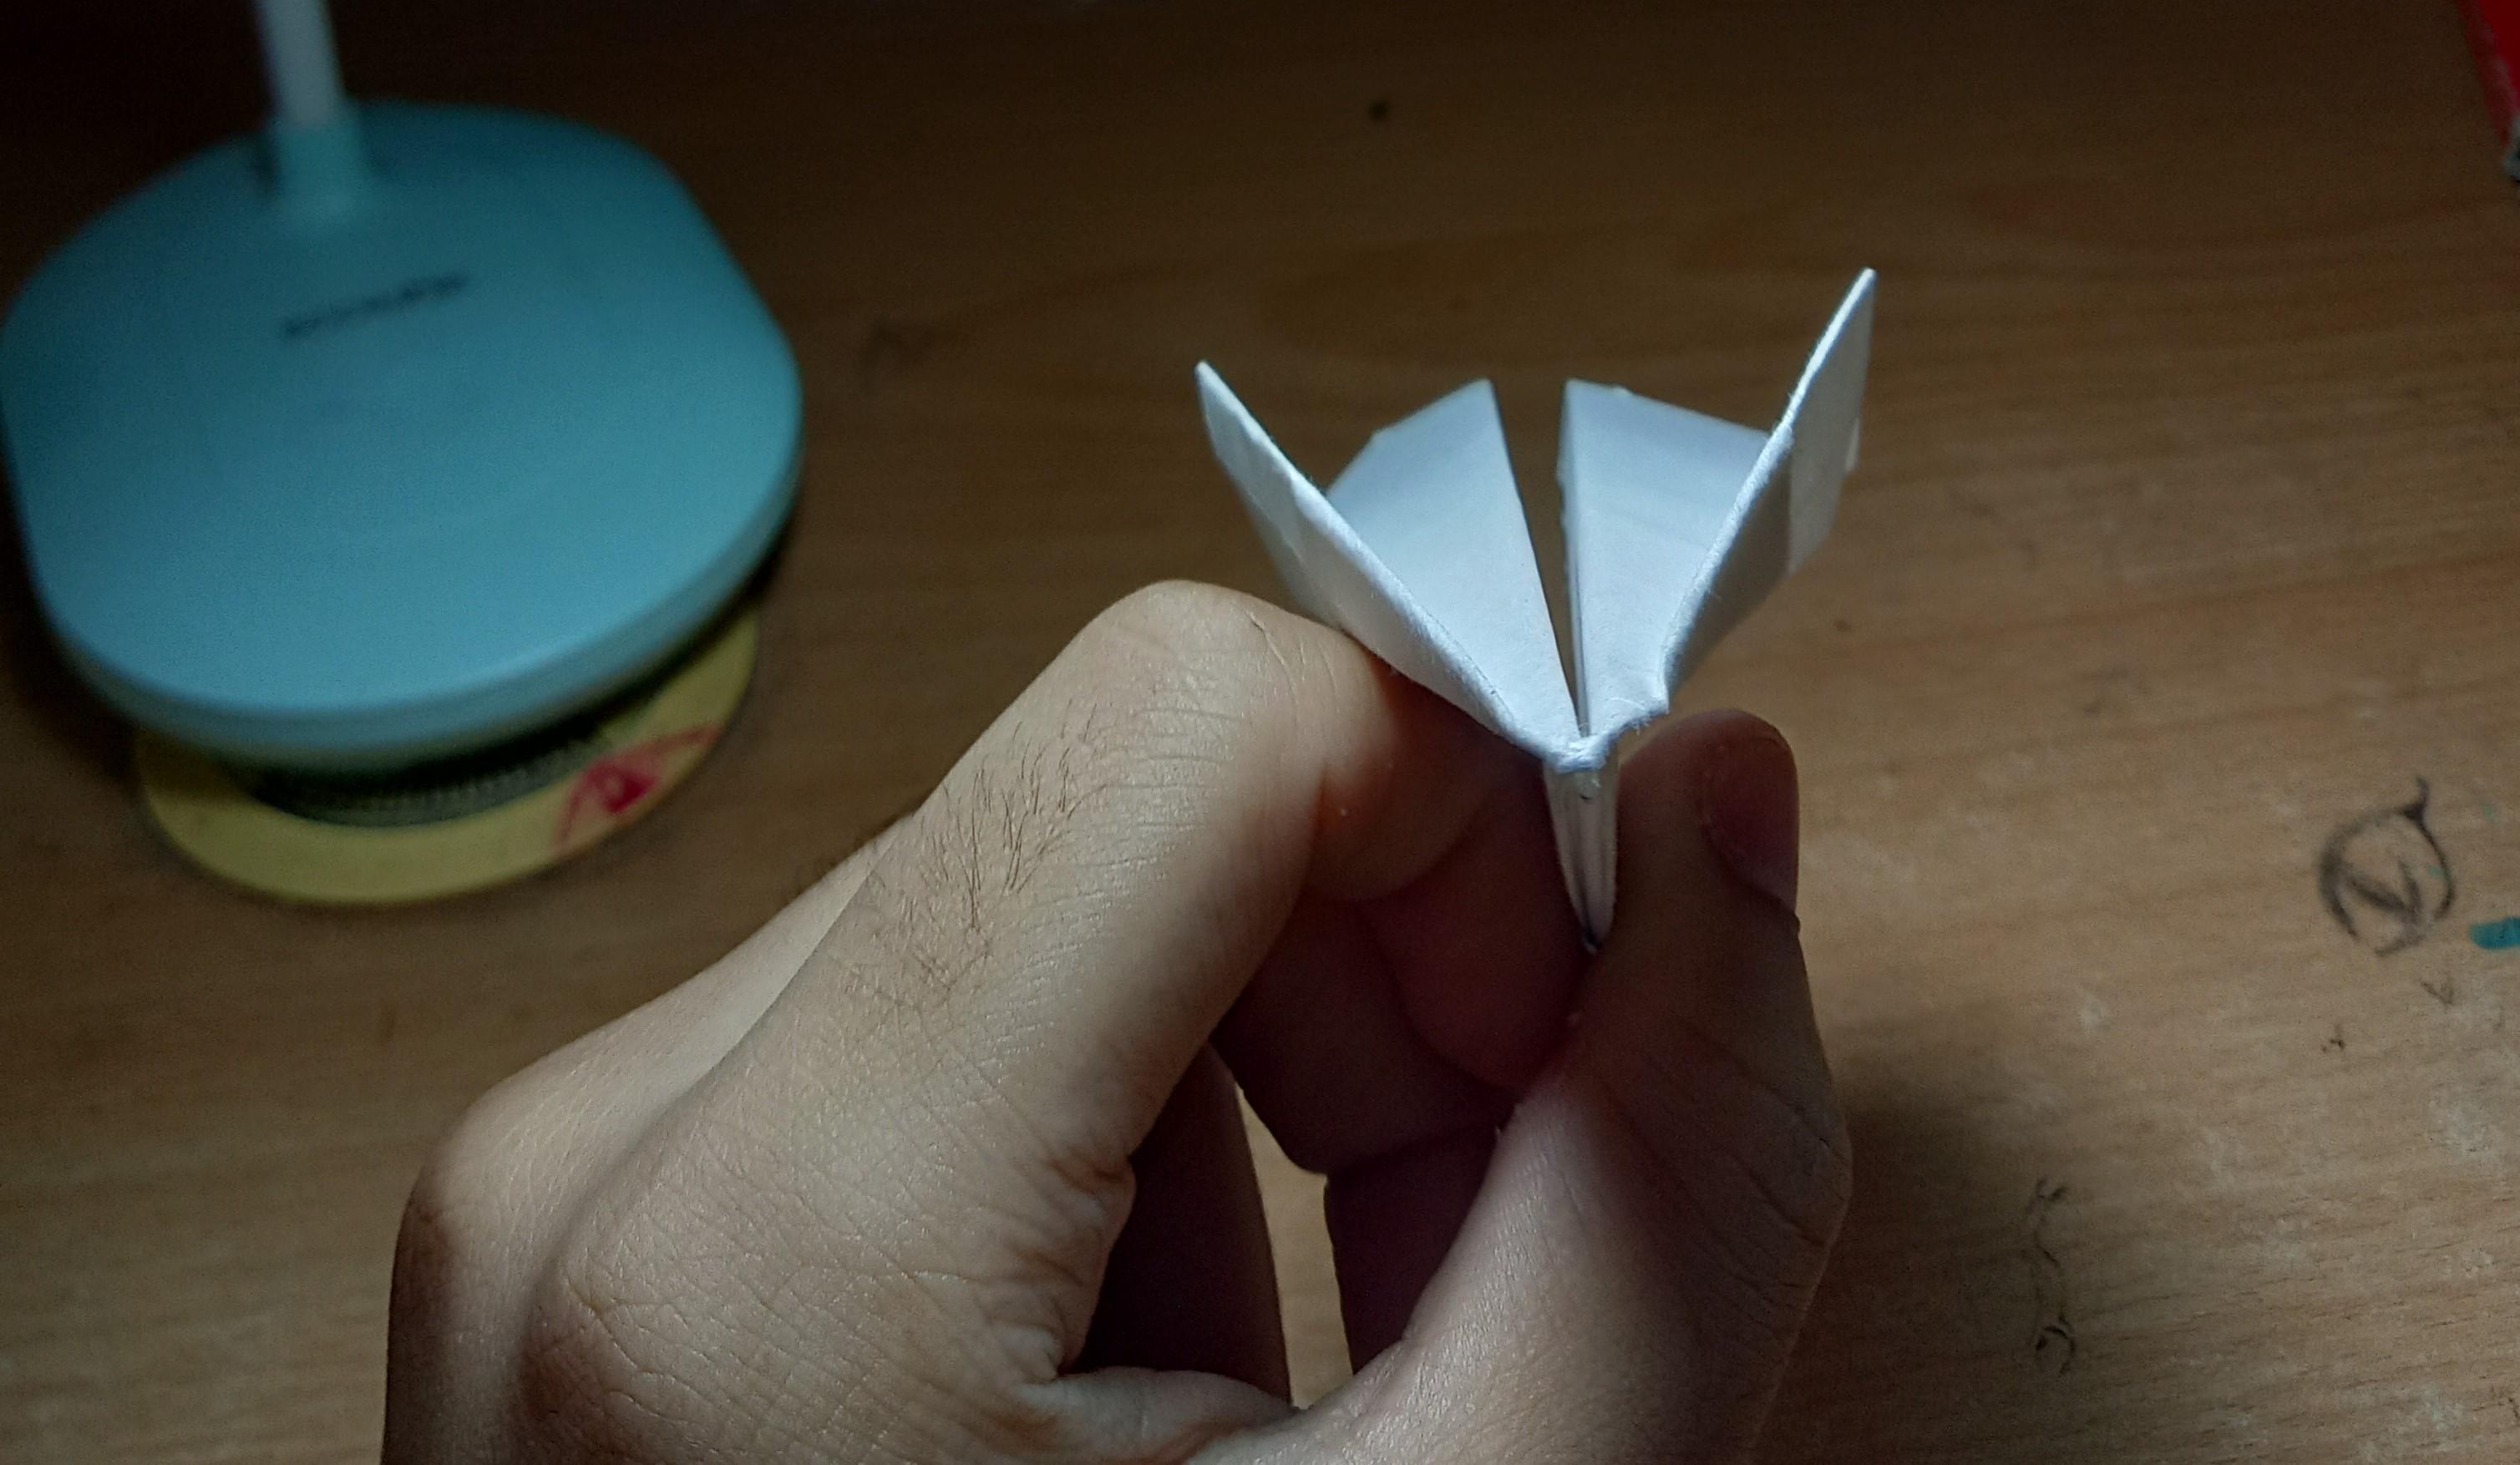
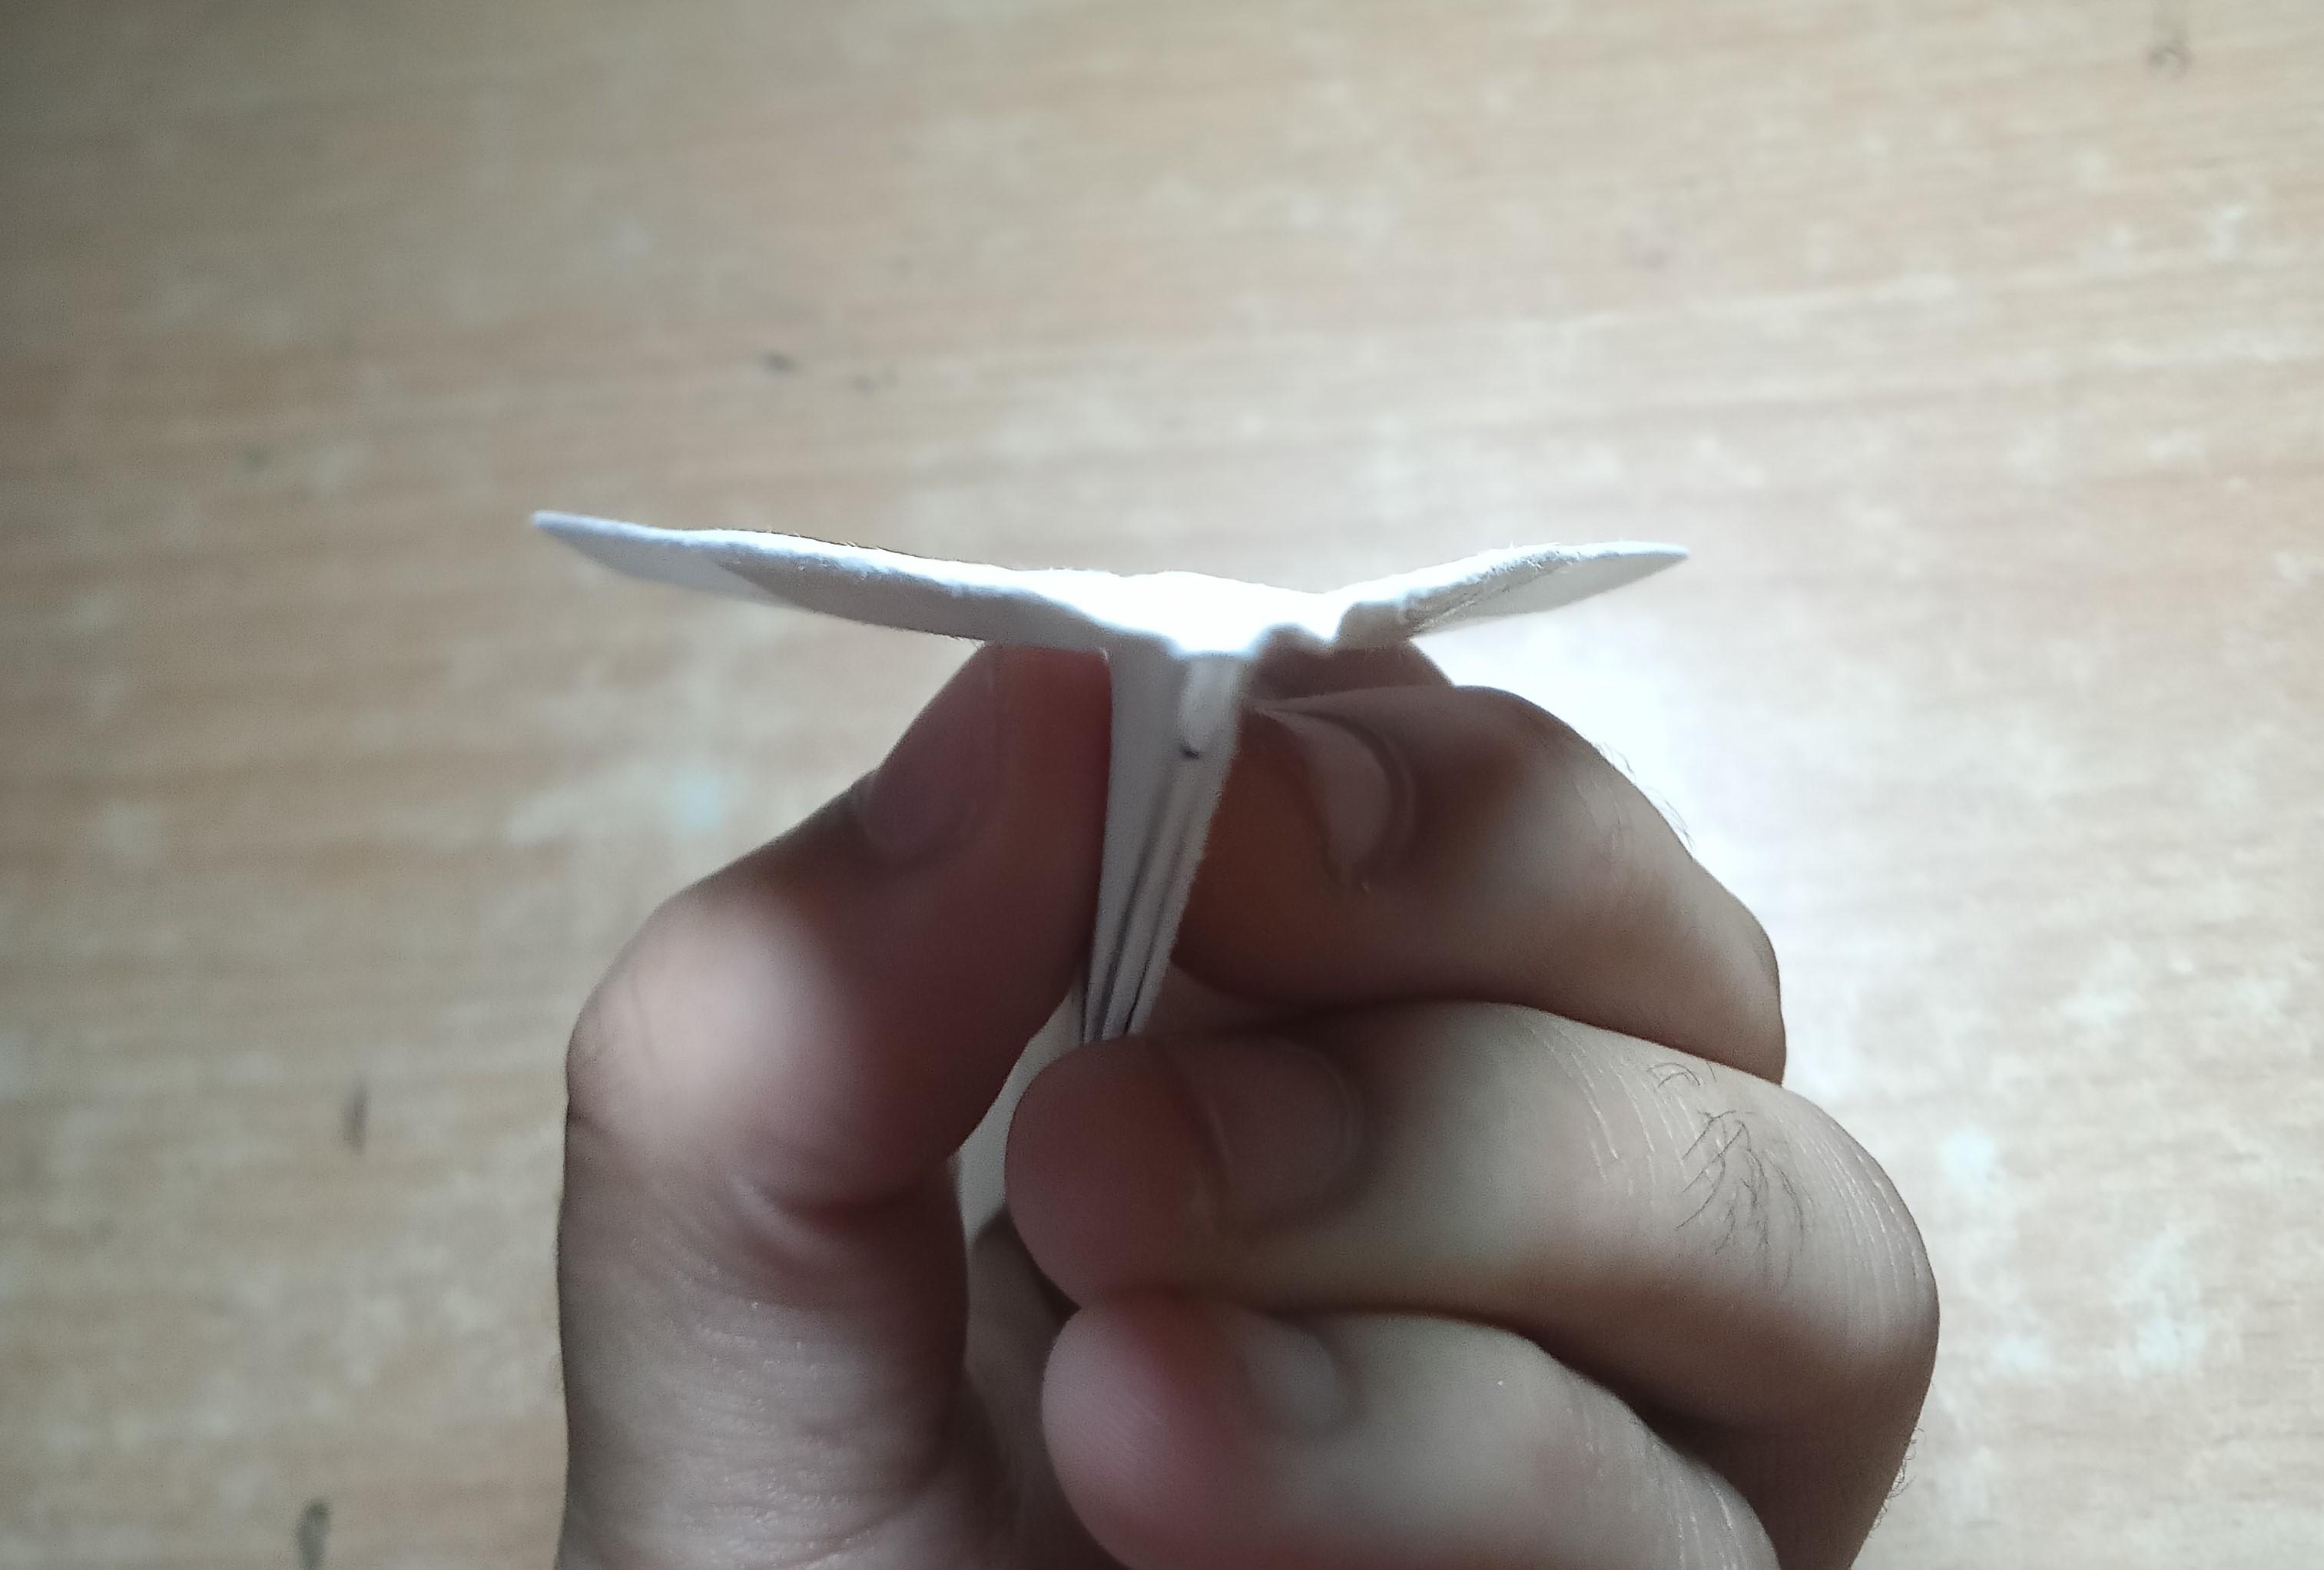
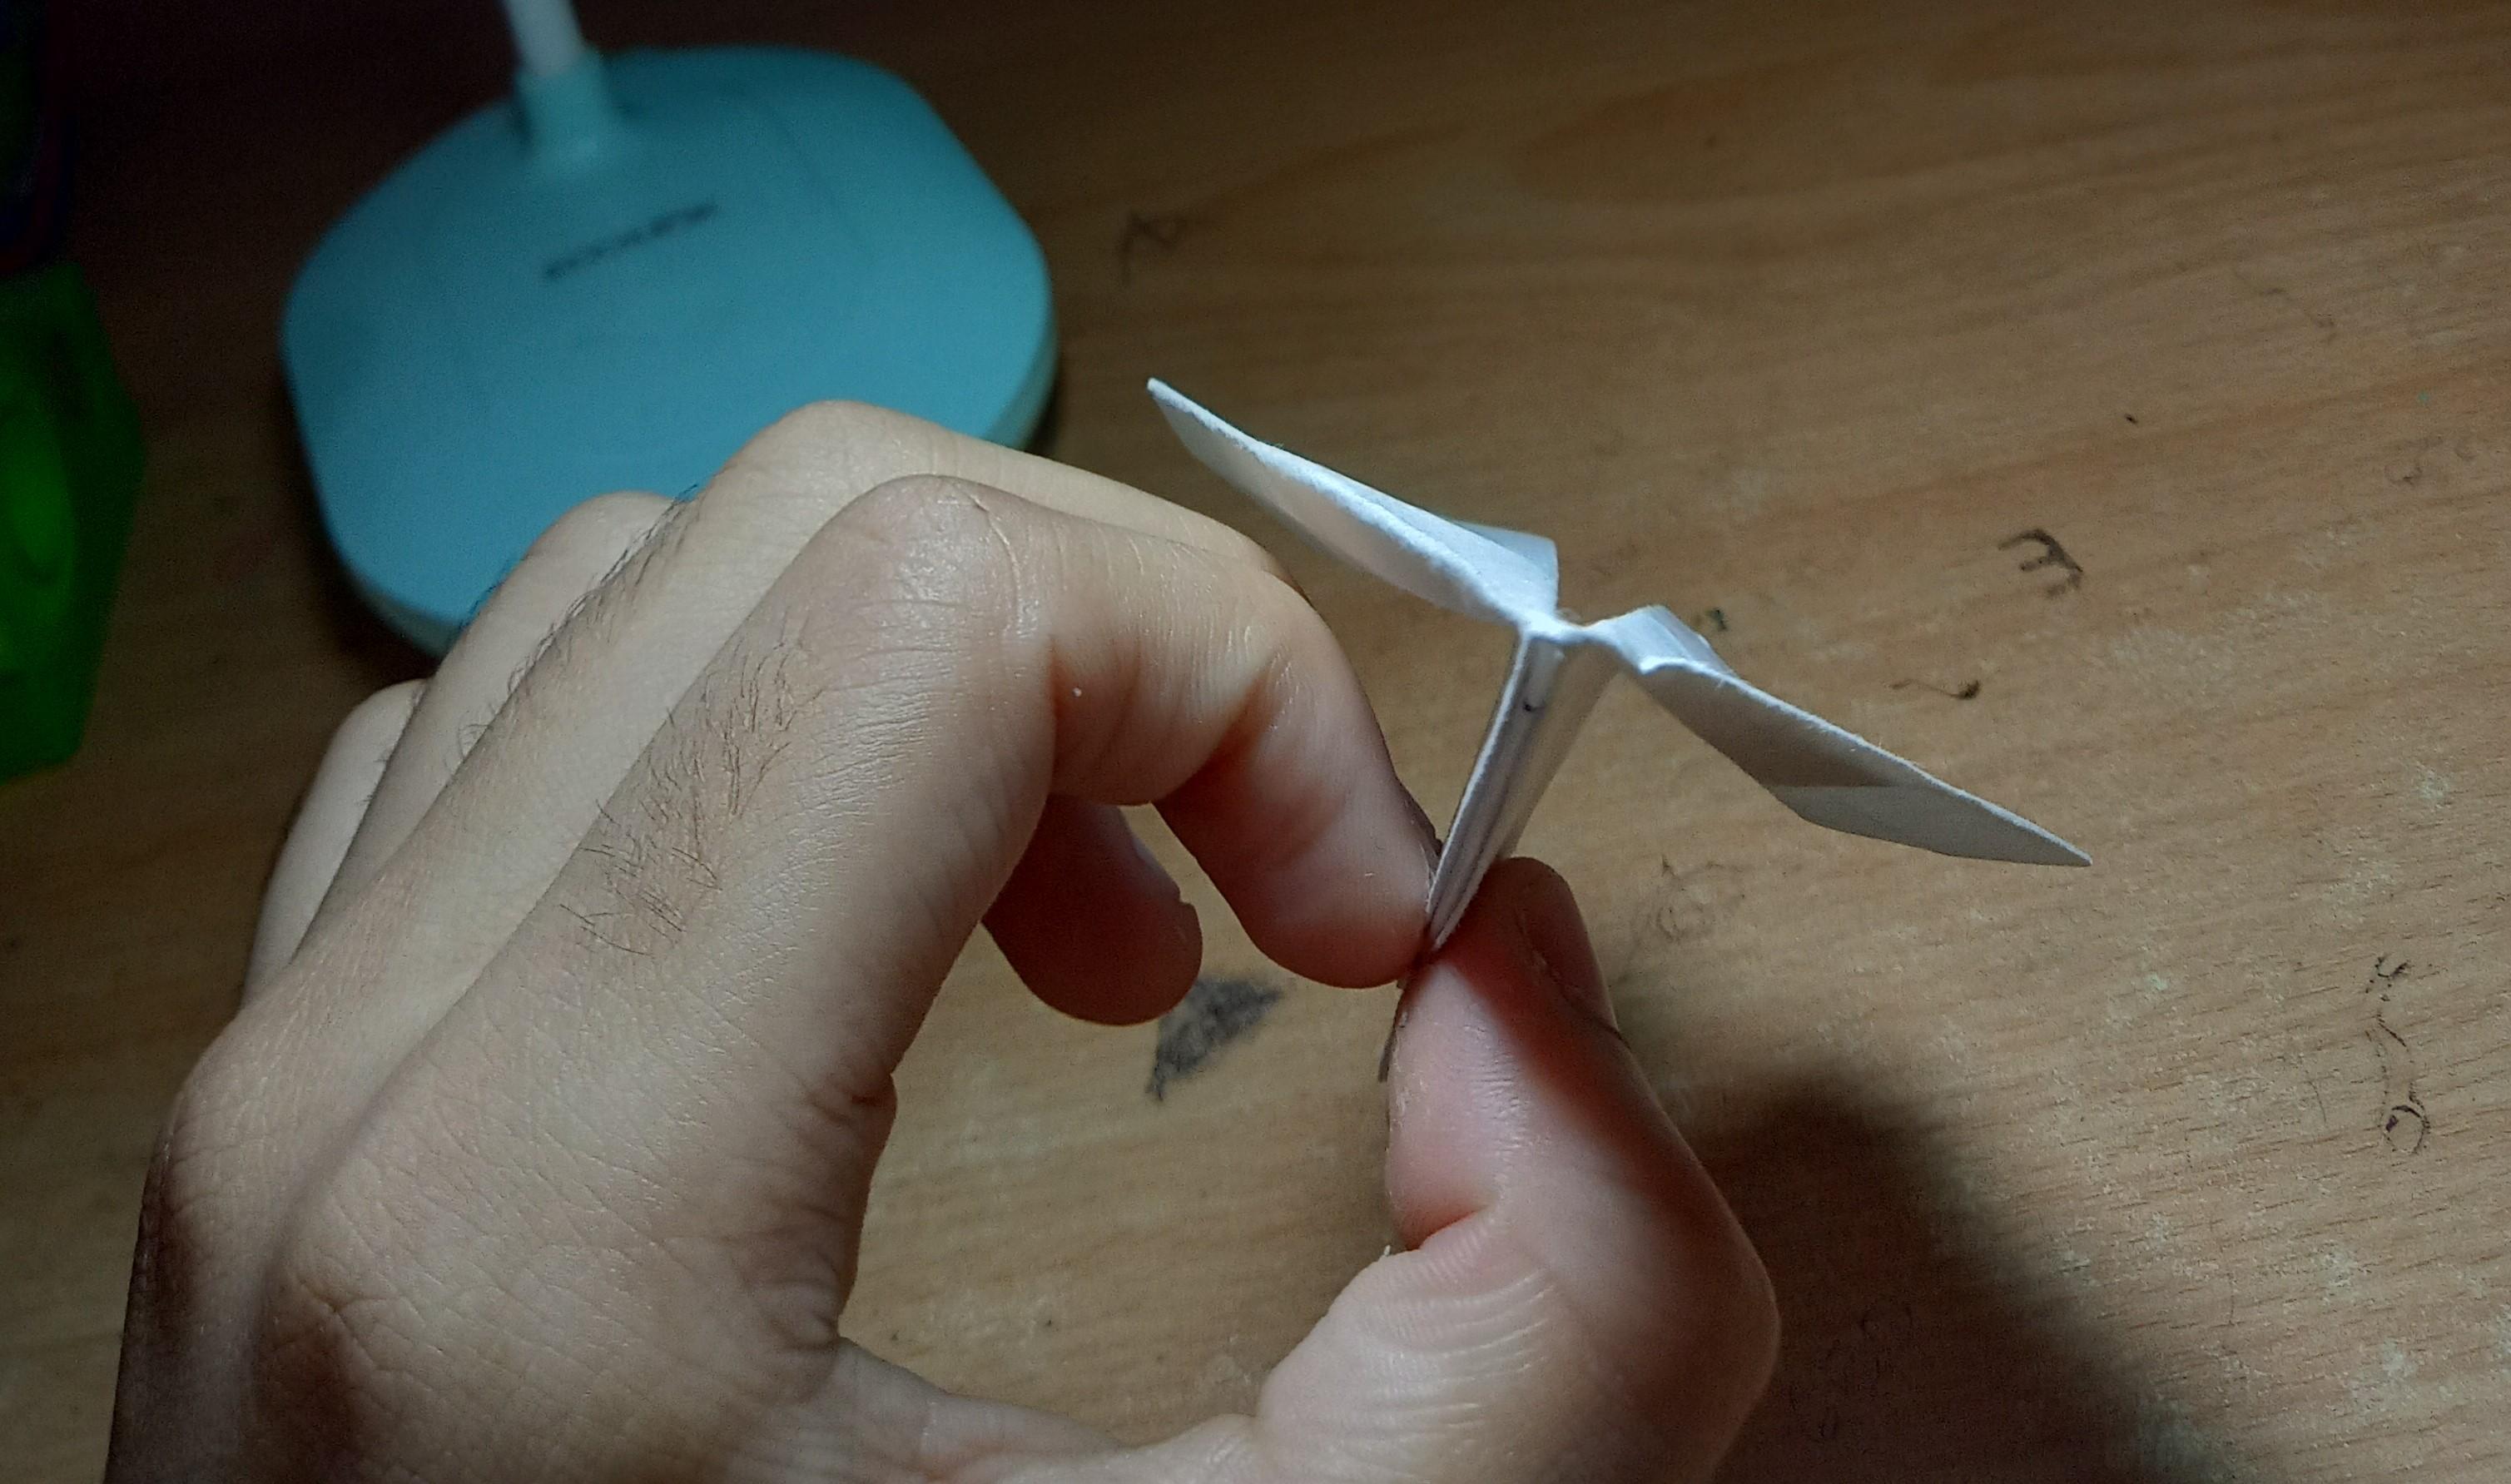
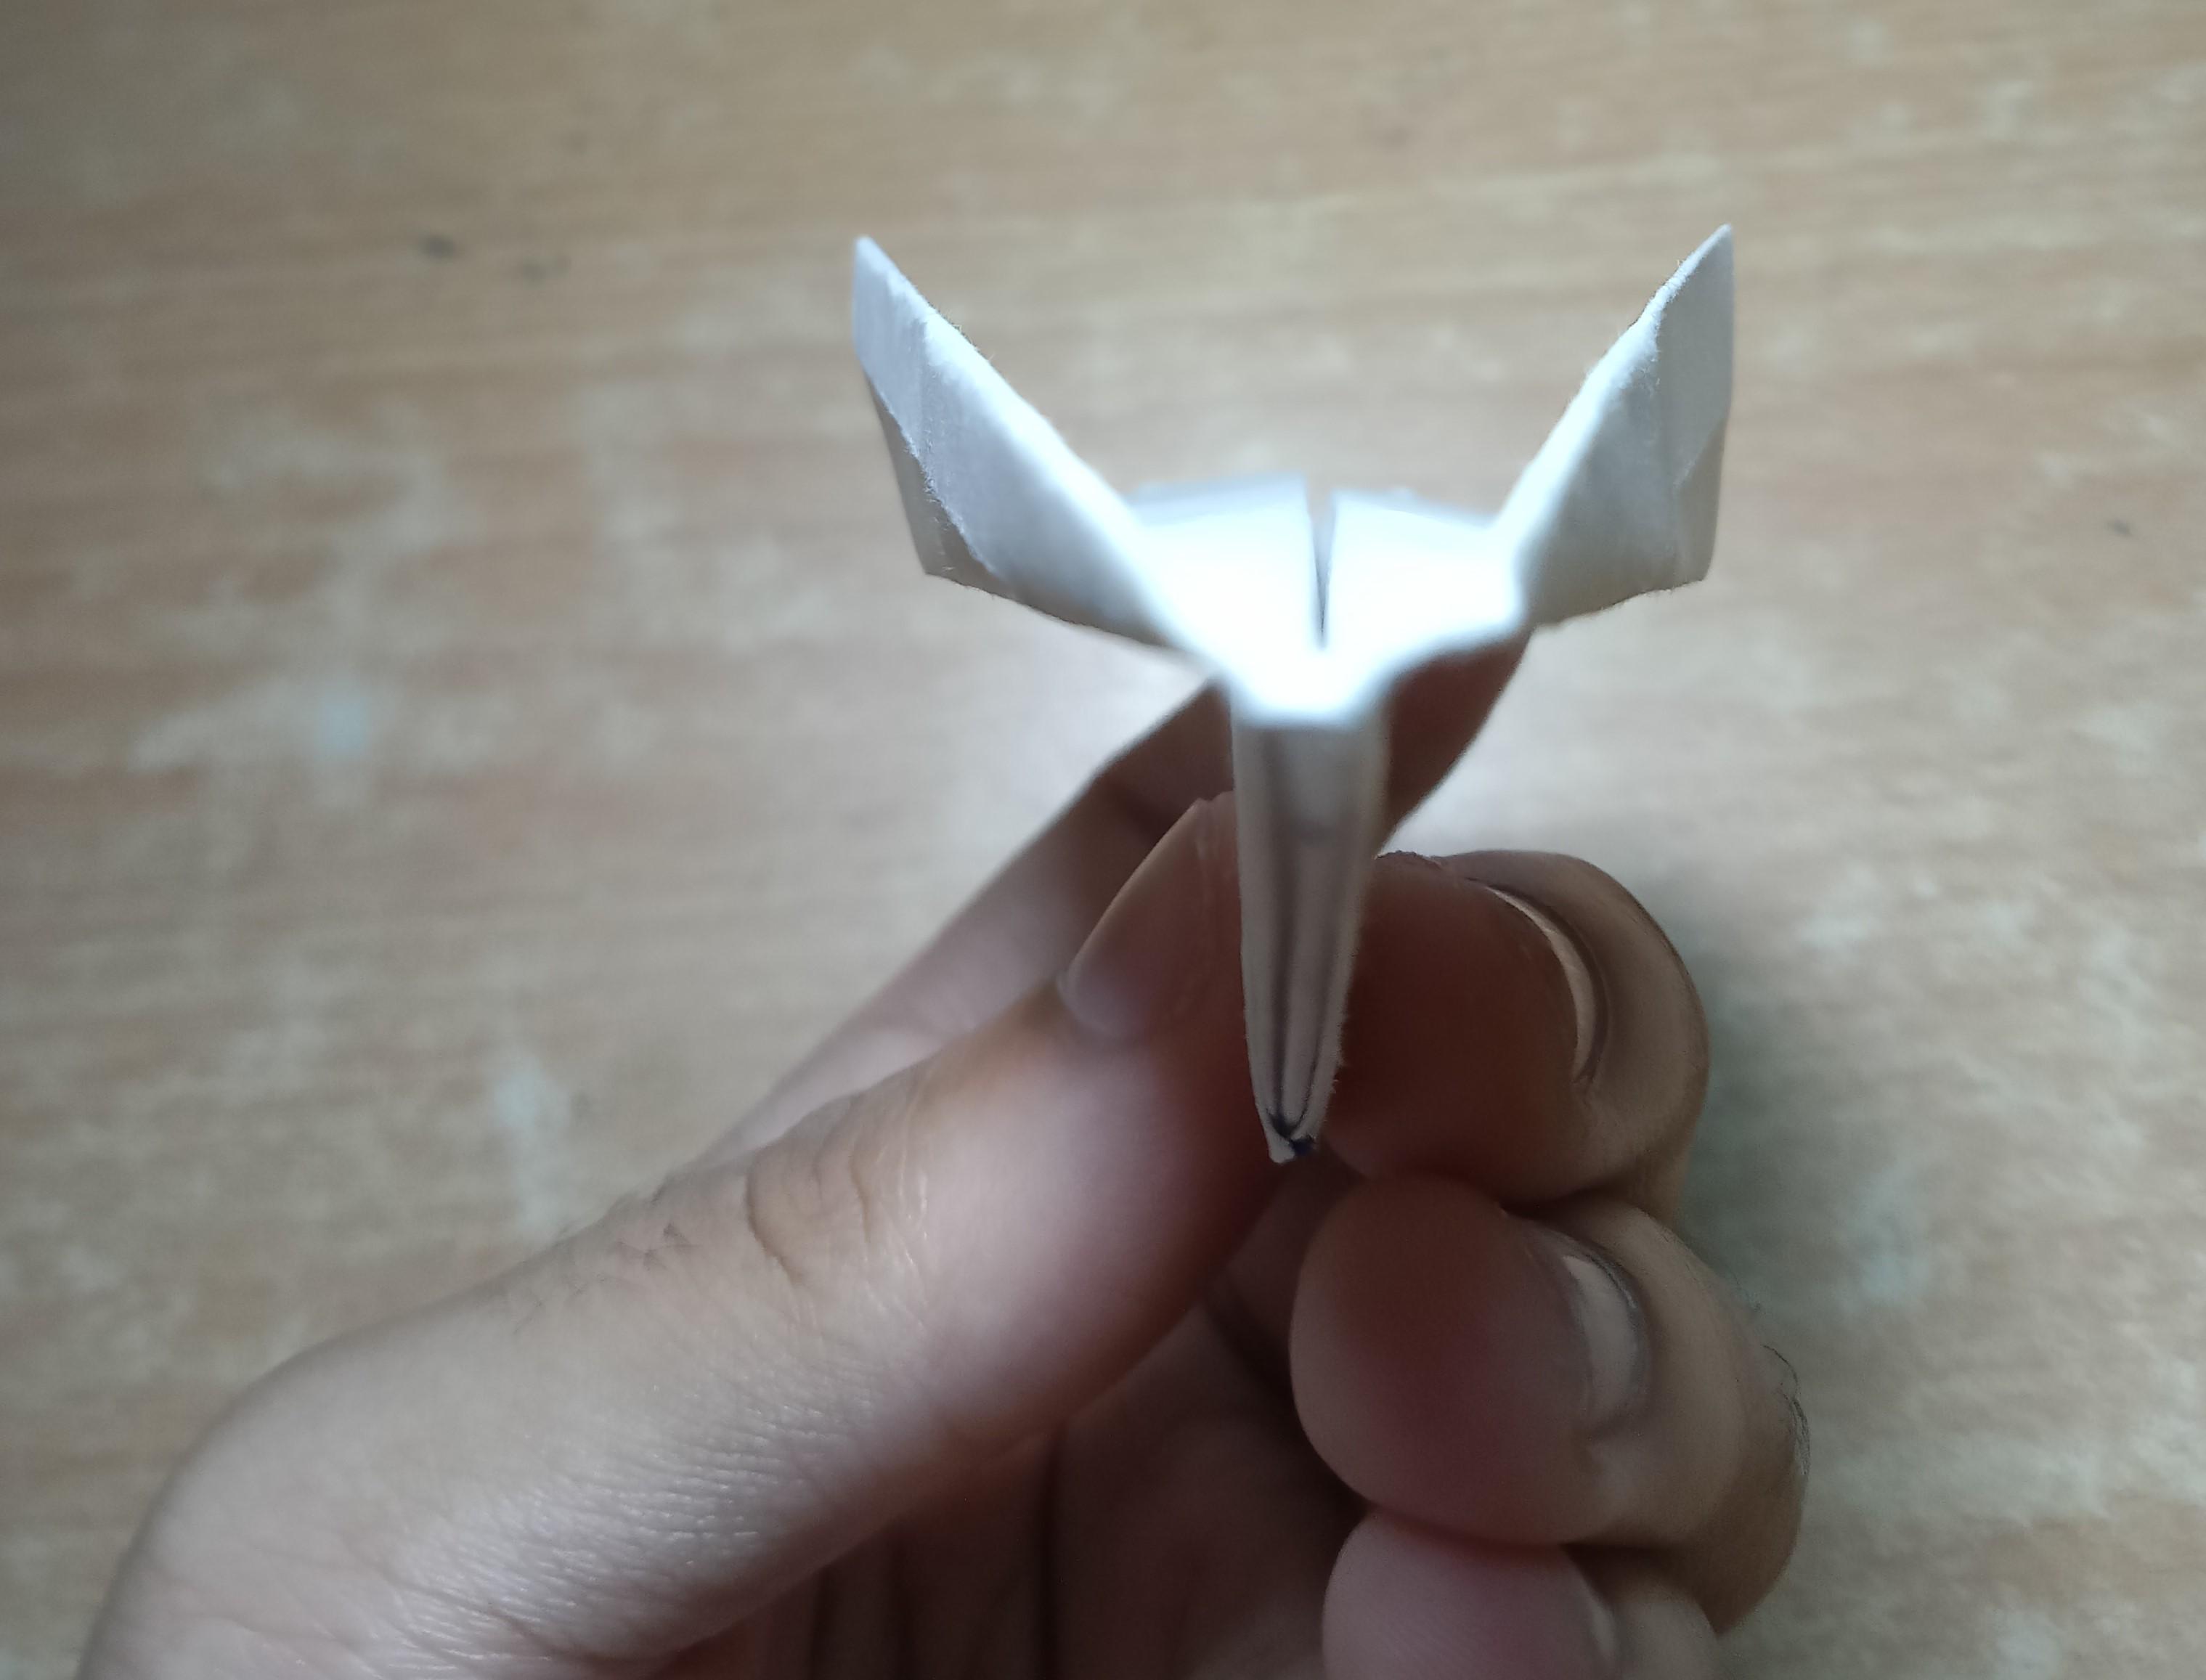
So, here you go ! Your own transformer paper plane. You can change the speed by modifying the wings of the plane. If you need to modify the plane to a high-speed plane, just follow the previous step. If you want it to be a glider, just unfold the wings back to its normal self (i.e. follow step 5).
Thank you for viewing this project :)) Have a safe flight !!