Transfer File From Computer to Raspberry Pi Using USB-Serial Cable
by mirza irwan osman in Circuits > Raspberry Pi
38313 Views, 30 Favorites, 0 Comments
Transfer File From Computer to Raspberry Pi Using USB-Serial Cable
Introduction
This short tutorial extends on Adafruit's excellent tutorial on using Serial Cable (also known as Serial Console) to remote control the Raspberry Pi (RPi). Adafruit's tutorial demonstrates how to connect the correct USB-Serial cable to the correct GPIO pins. However, the tutorial ended with no examples of what useful tasks you can do after login to RPi.
Scope
My contribution is to demonstrate a useful task that you can do after login to RPi:
How to transfer file from computer running Linux to a Headless, Keyboardless and Mouseless Raspberry Pi disconnected from the network.
Headless mean the RPi device has NO TV or computer display connected to it.
Keyboardless and Mouseless mean the RPi device has NO keyboard and mouse
Materials
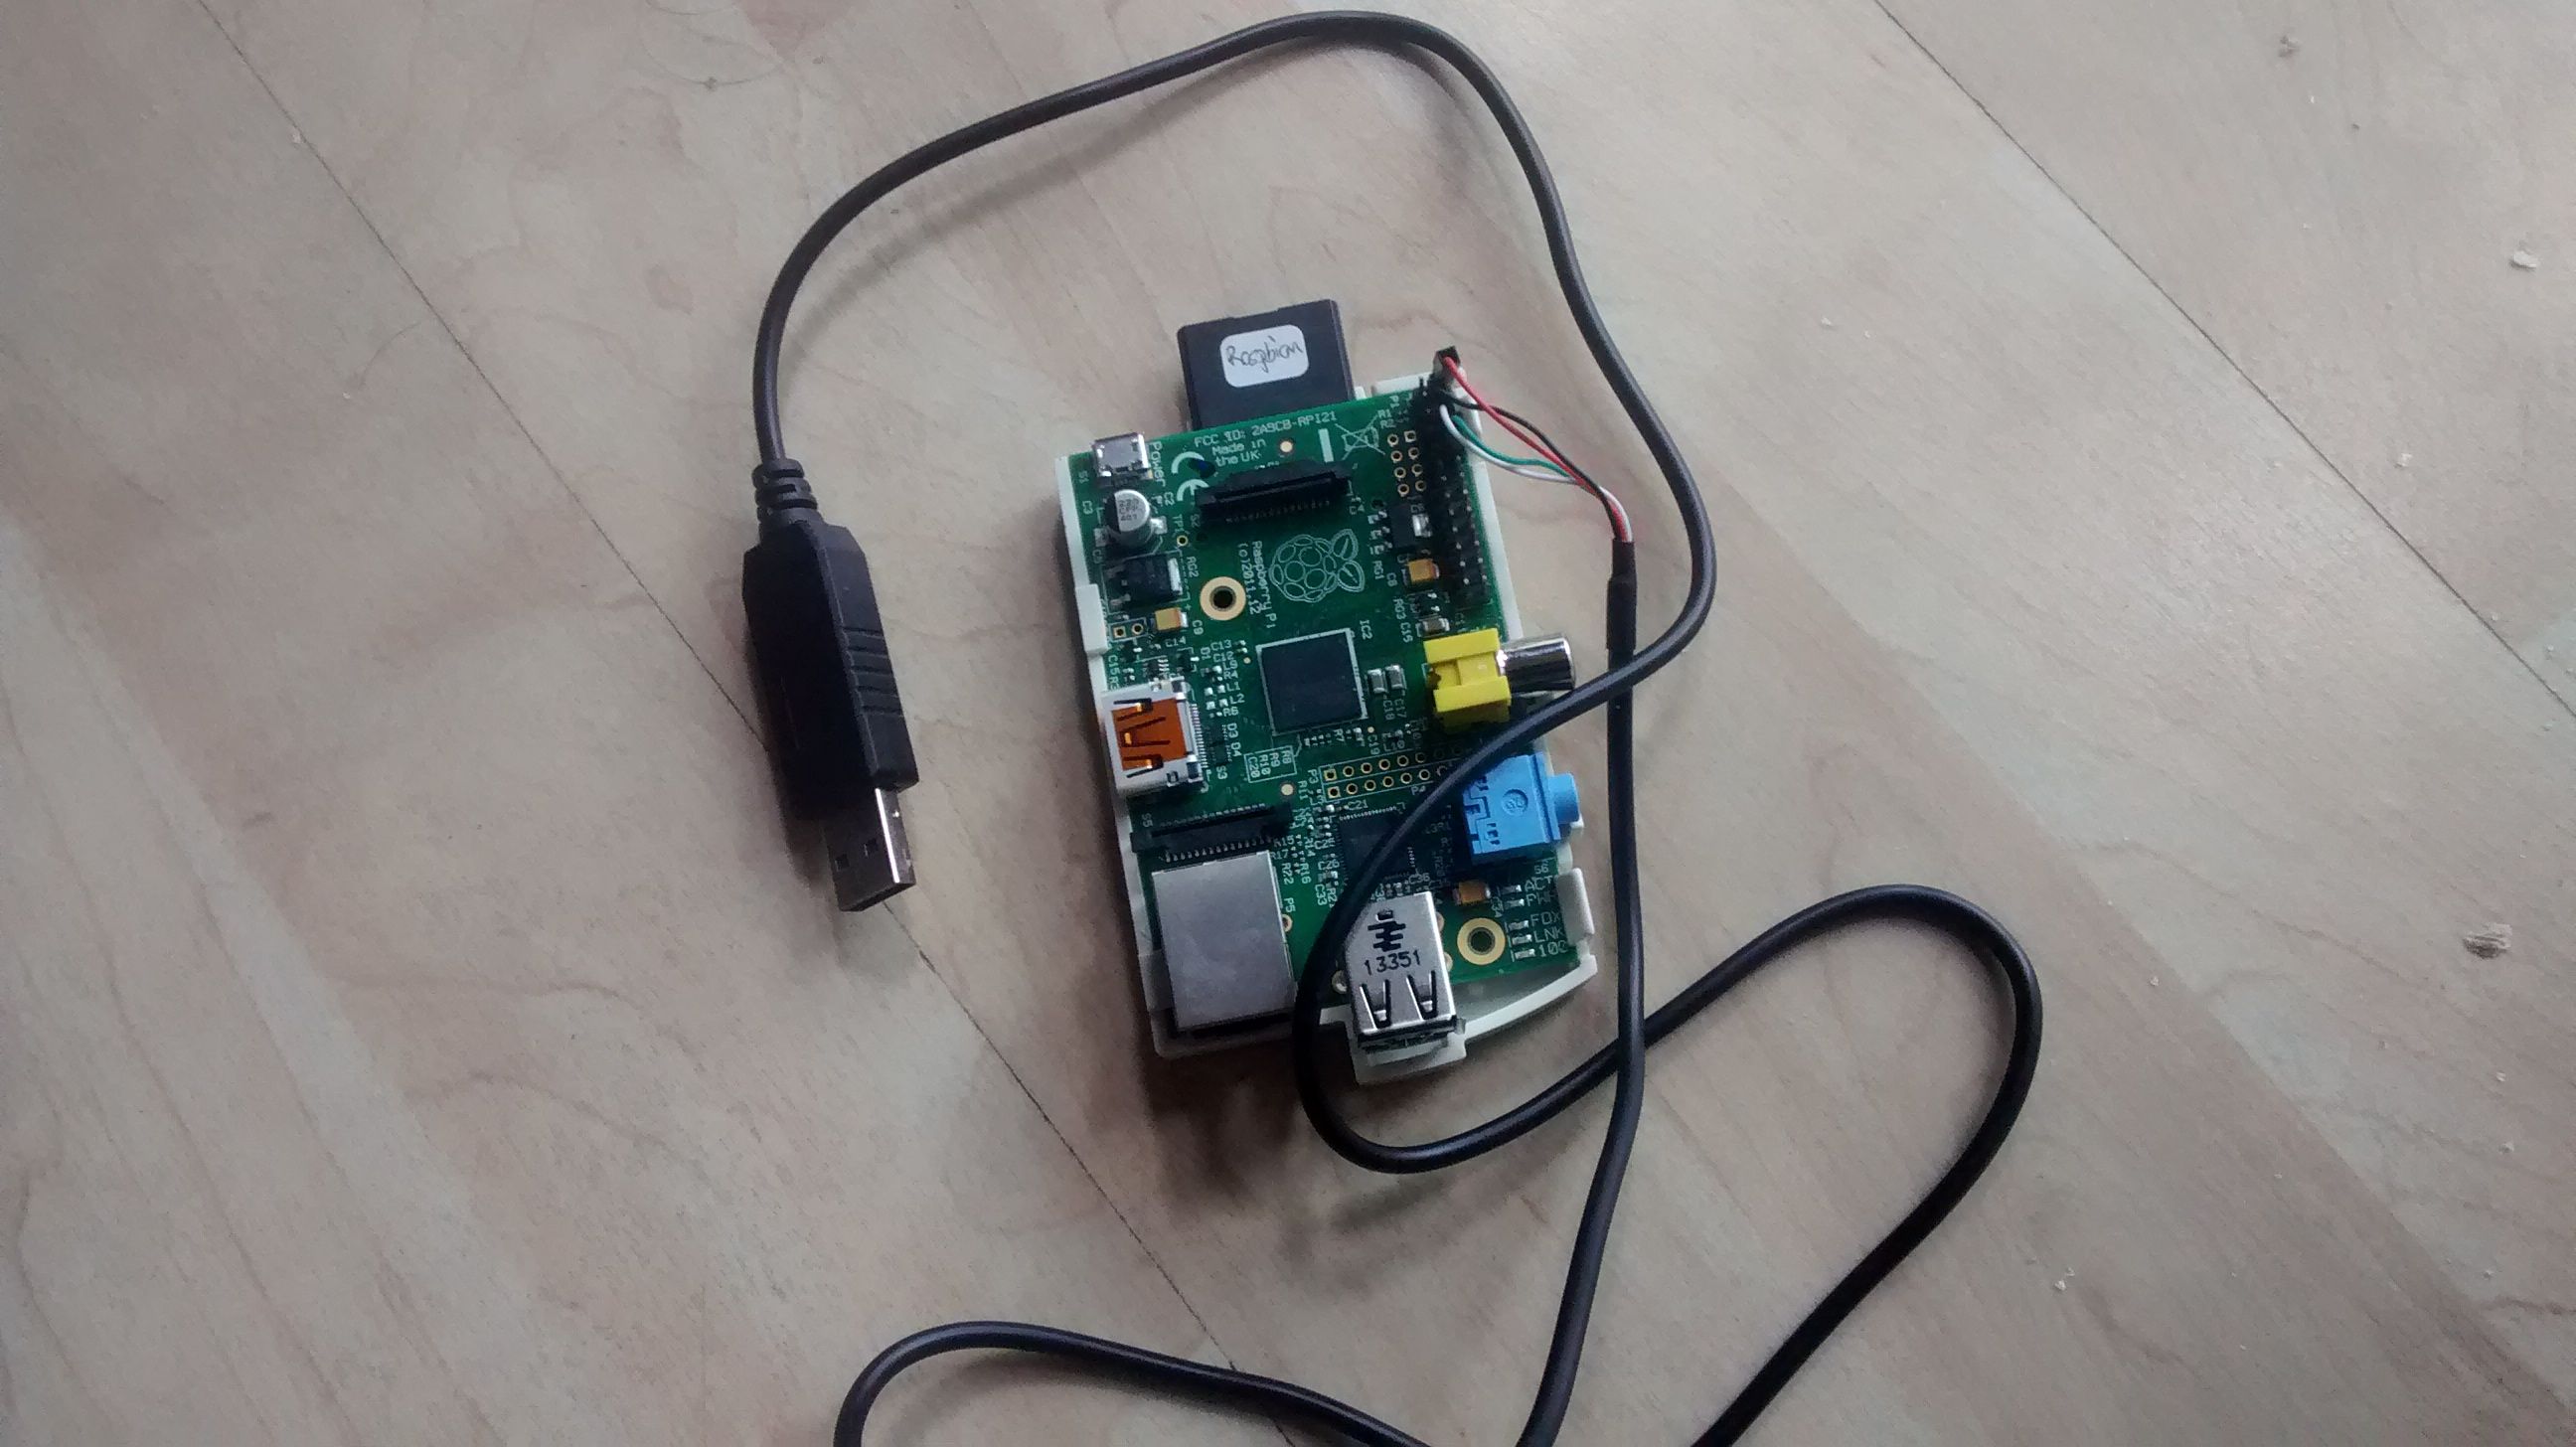
You need to purchase a USB-Serial cable suitable for RPi because RPi's RX and TX pins operate at 3.3V and NOT 5V. Using 5V logic level will damage the RPi device.
Environment
Computer running Centos 6
Raspberry Pi running Raspbian
Preparing an SD Card for Your Raspberry Pi
Complete the steps as demonstrated in Adafruit's tutorial but adhere to the following modifications:
- Choose Raspbian Distribution
- Skip Test and Configure
- Do NOT remove SD Card from SD Card Reader/Writer
- Do NOT connect power cable to RPi's microUSB jack
- Do NOT connect any network cable into RPi's ethernet jack
- Do NOT connect any USB device to RPi's USB jacks
Download a Unix Communication Package Onto SD Card
The following steps are Linux commands. You have to adapt them for Mac or Windows.
Complete the following steps:
- Download lrzsz package
- Save the lrzsz package using its original name: lrzsz_0.12.21-7_armhf.deb
- As root user, copy the package file to the SD card you prepared:
# cp path/to/lrzsz_0.12.21-7_armhf /path/to/your_sd_card/
- Unmount the SD Card:
#umount /path/to/your_sd_card - Remove the SD Card from the SD Card Reader/Writer
- Insert SD Card into Raspberry Pi
Install Minicom Package Onto PC
Note that minicom is needed to be installed on PC and NOT RPi.
minicom package has a dependency on lrzsz package. Usually, the package manager(yum, apt-get) will install the dependencies automatically
The following command is based on Redhat EnterpriseLinux/Fedora/Centos:
#yum install minicom
Using a Serial Cable

Complete the following steps:
- Connect the USB-Serial Cable leads as shown in Adafruit's tutorial but do not connect the red wire(power supply) to the GPIO of RPi
- Plug in the USB connector to the PC if you have NOT
- Configure minicom installed on PC by following the steps on this page
- Type minicom.
- Check that minicom display port as /dev/ttyUSB0. Different USB number is acceptable.
- The PC will display the above first image
- Plug in the red wire to the GPIO pin as shown in Adafruit's tutorial to power the RPi
- Observe minicom's screen
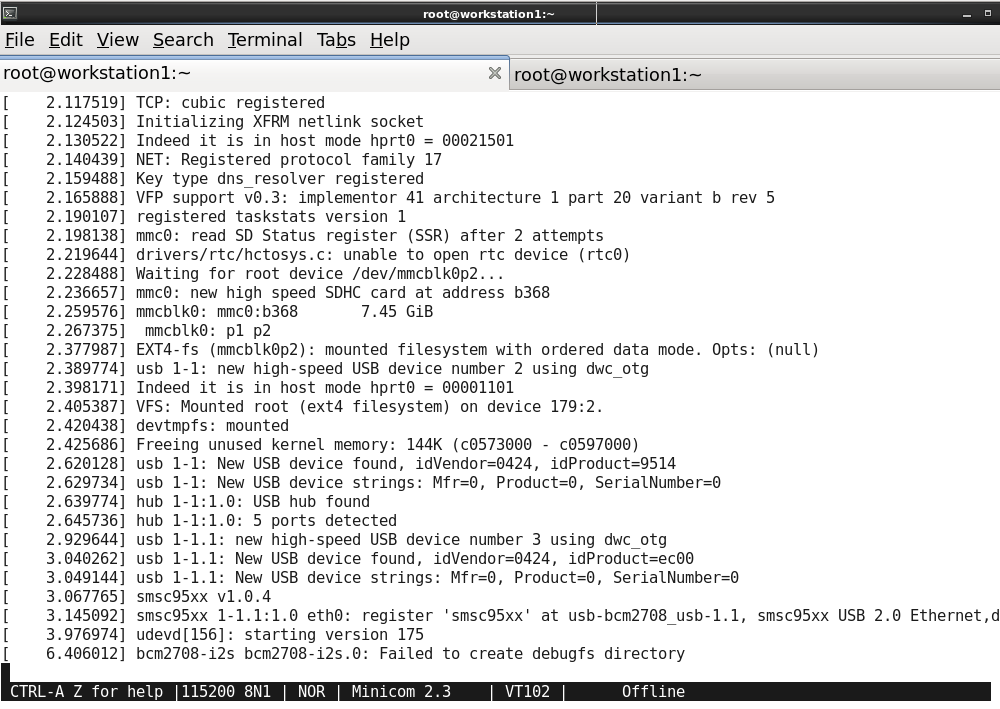
- The minicom will display kernel and boot messages sent from RPi over the serial cable as shown in the second picture
- Finally minicom will display login prompt
Install Lrzsz in RPi
Complete the following steps:
- In minicom, login to RPi as pi user if you have NOT.
- Install the lrzsz package that was previously copied:
#sudo dpkg -i /path/to/lrzsz_package
Send File From PC to RPi
Complete the following steps:
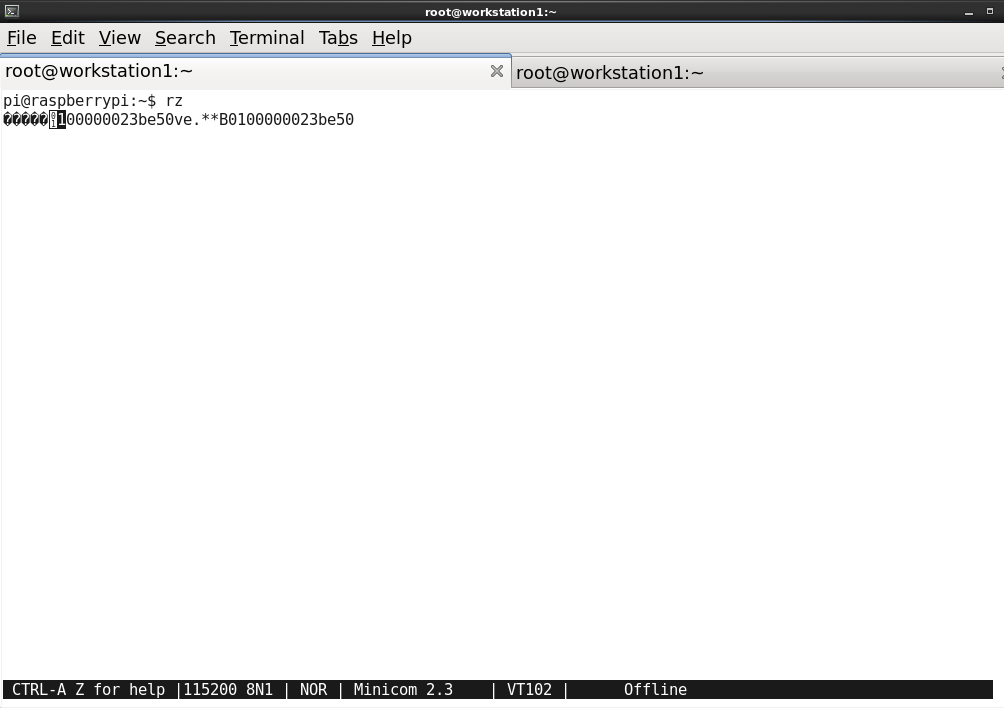
- Type rz and the minicom display status message as shown in picture
- Press these 2 buttons together: CTLR and A
- Press S
- Choose ZMODEM
- Choose file that you want to transfer in the dialog box by pressing space bar when minicom display File Dialog Box
-
Press Enter
-
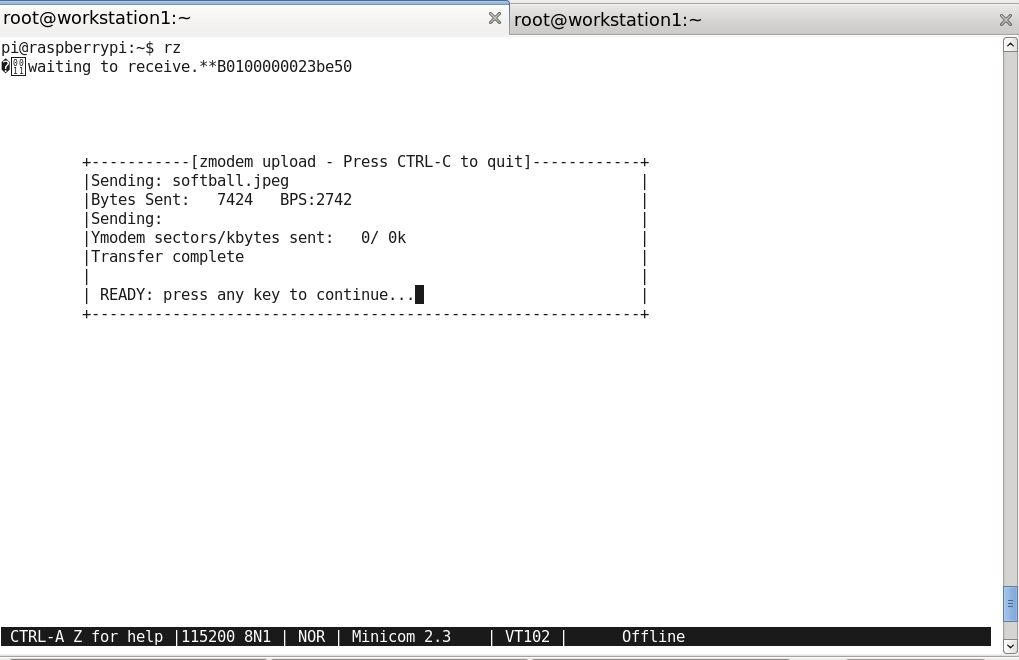
Observe Minicom displaying progress bar as show in the picture
You have successfully completed file transfer over serial cable