Trailers! How to Edit a Movie Promo
by arinchavali in Living > Education
87 Views, 1 Favorites, 0 Comments
Trailers! How to Edit a Movie Promo
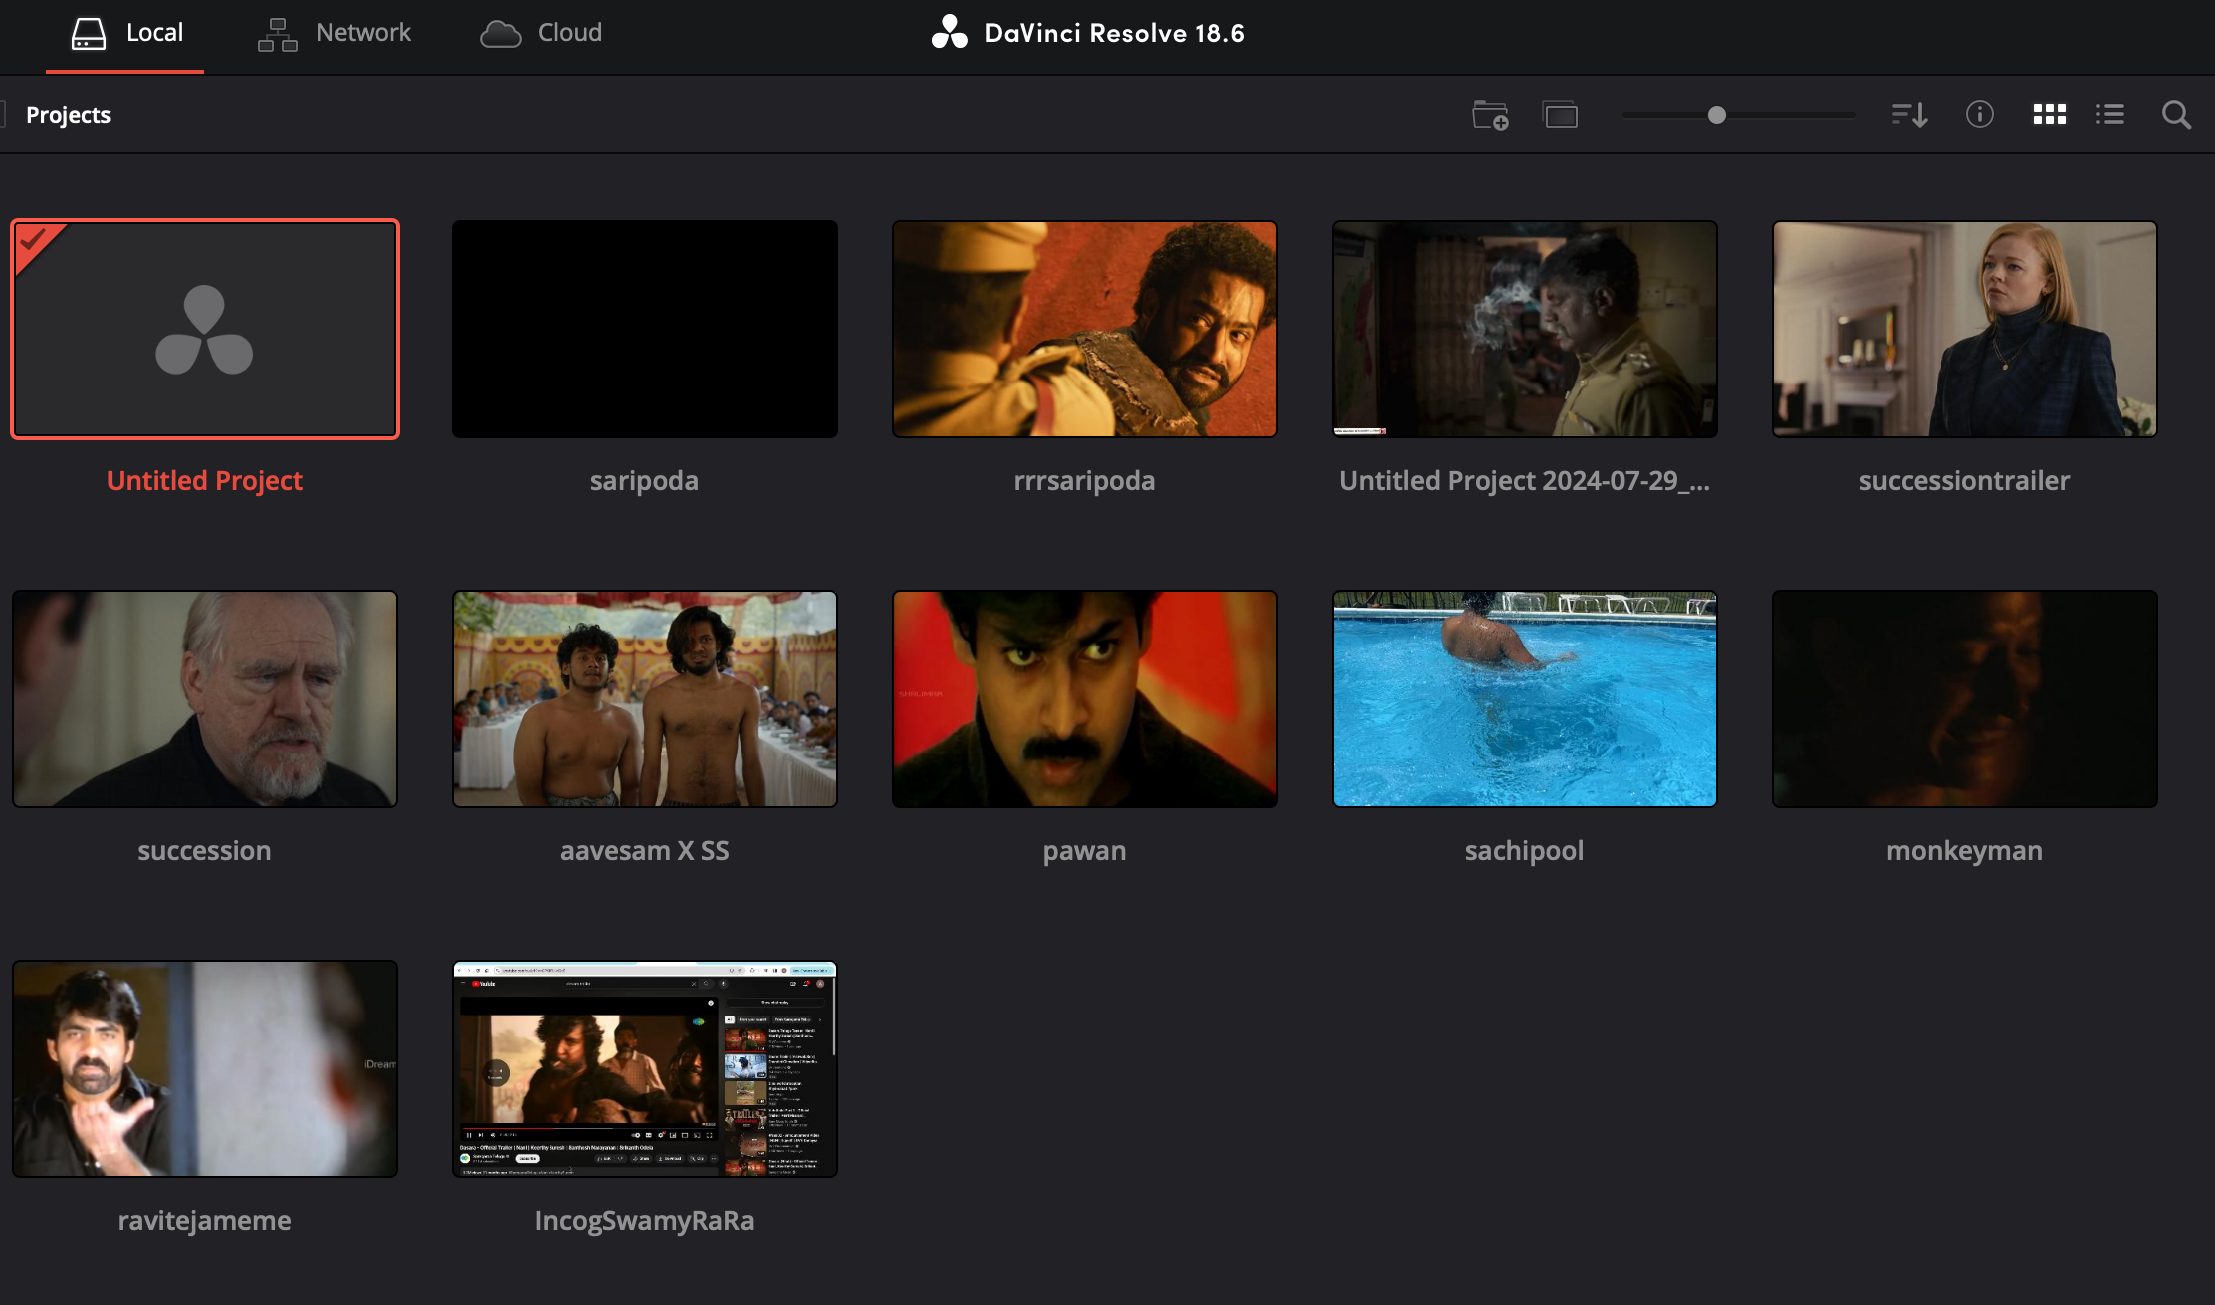
Editing movies is something I picked up as a hobby a couple years ago and since then I have been able to collaborate with theaters and creators in making trailers/teasers/promos. In this instructable, I plan to show you guys the process behind my final product. Editing is something I believe anyone can do if they have a vision in their head regarding what they want the final product to be!
Supplies

To make this edit you will need:
- A laptop
- Some type of editing software (DaVinci Resolve, Adobe Premier Pro, etc.)
- A piece of media to edit in mind
Get Started!
Log into the editing software of your choice to start editing!
Find the Files
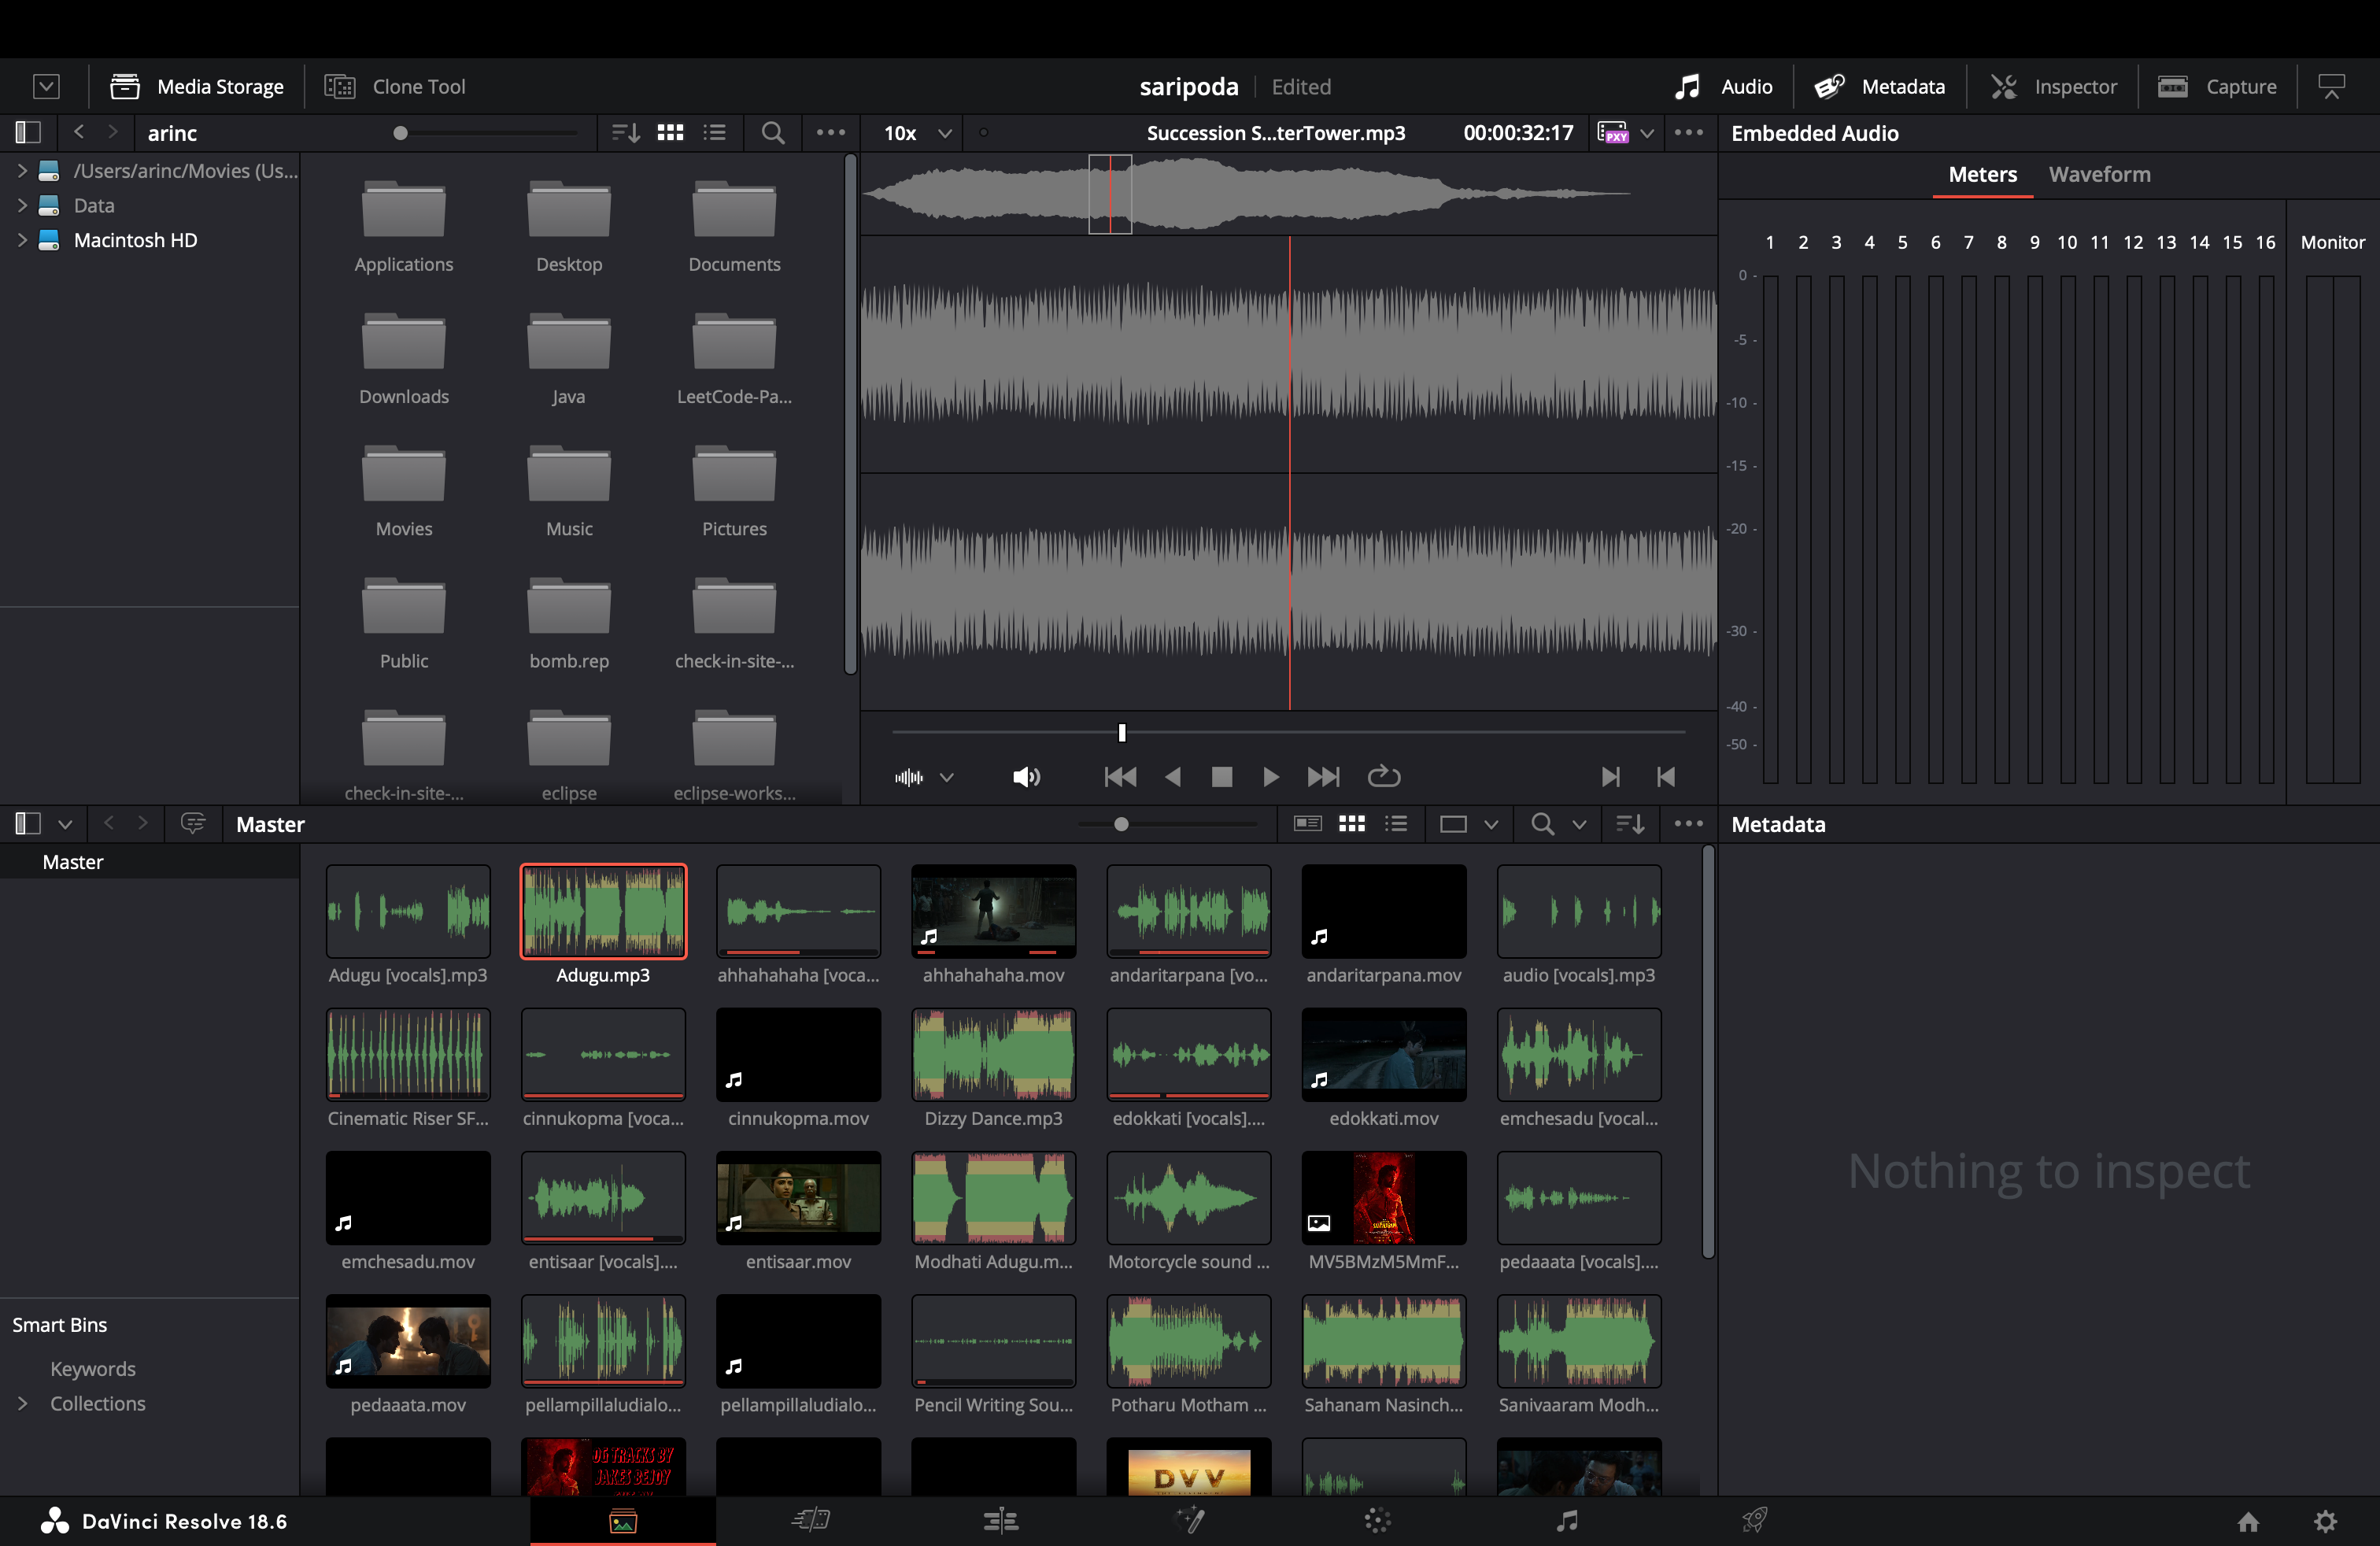
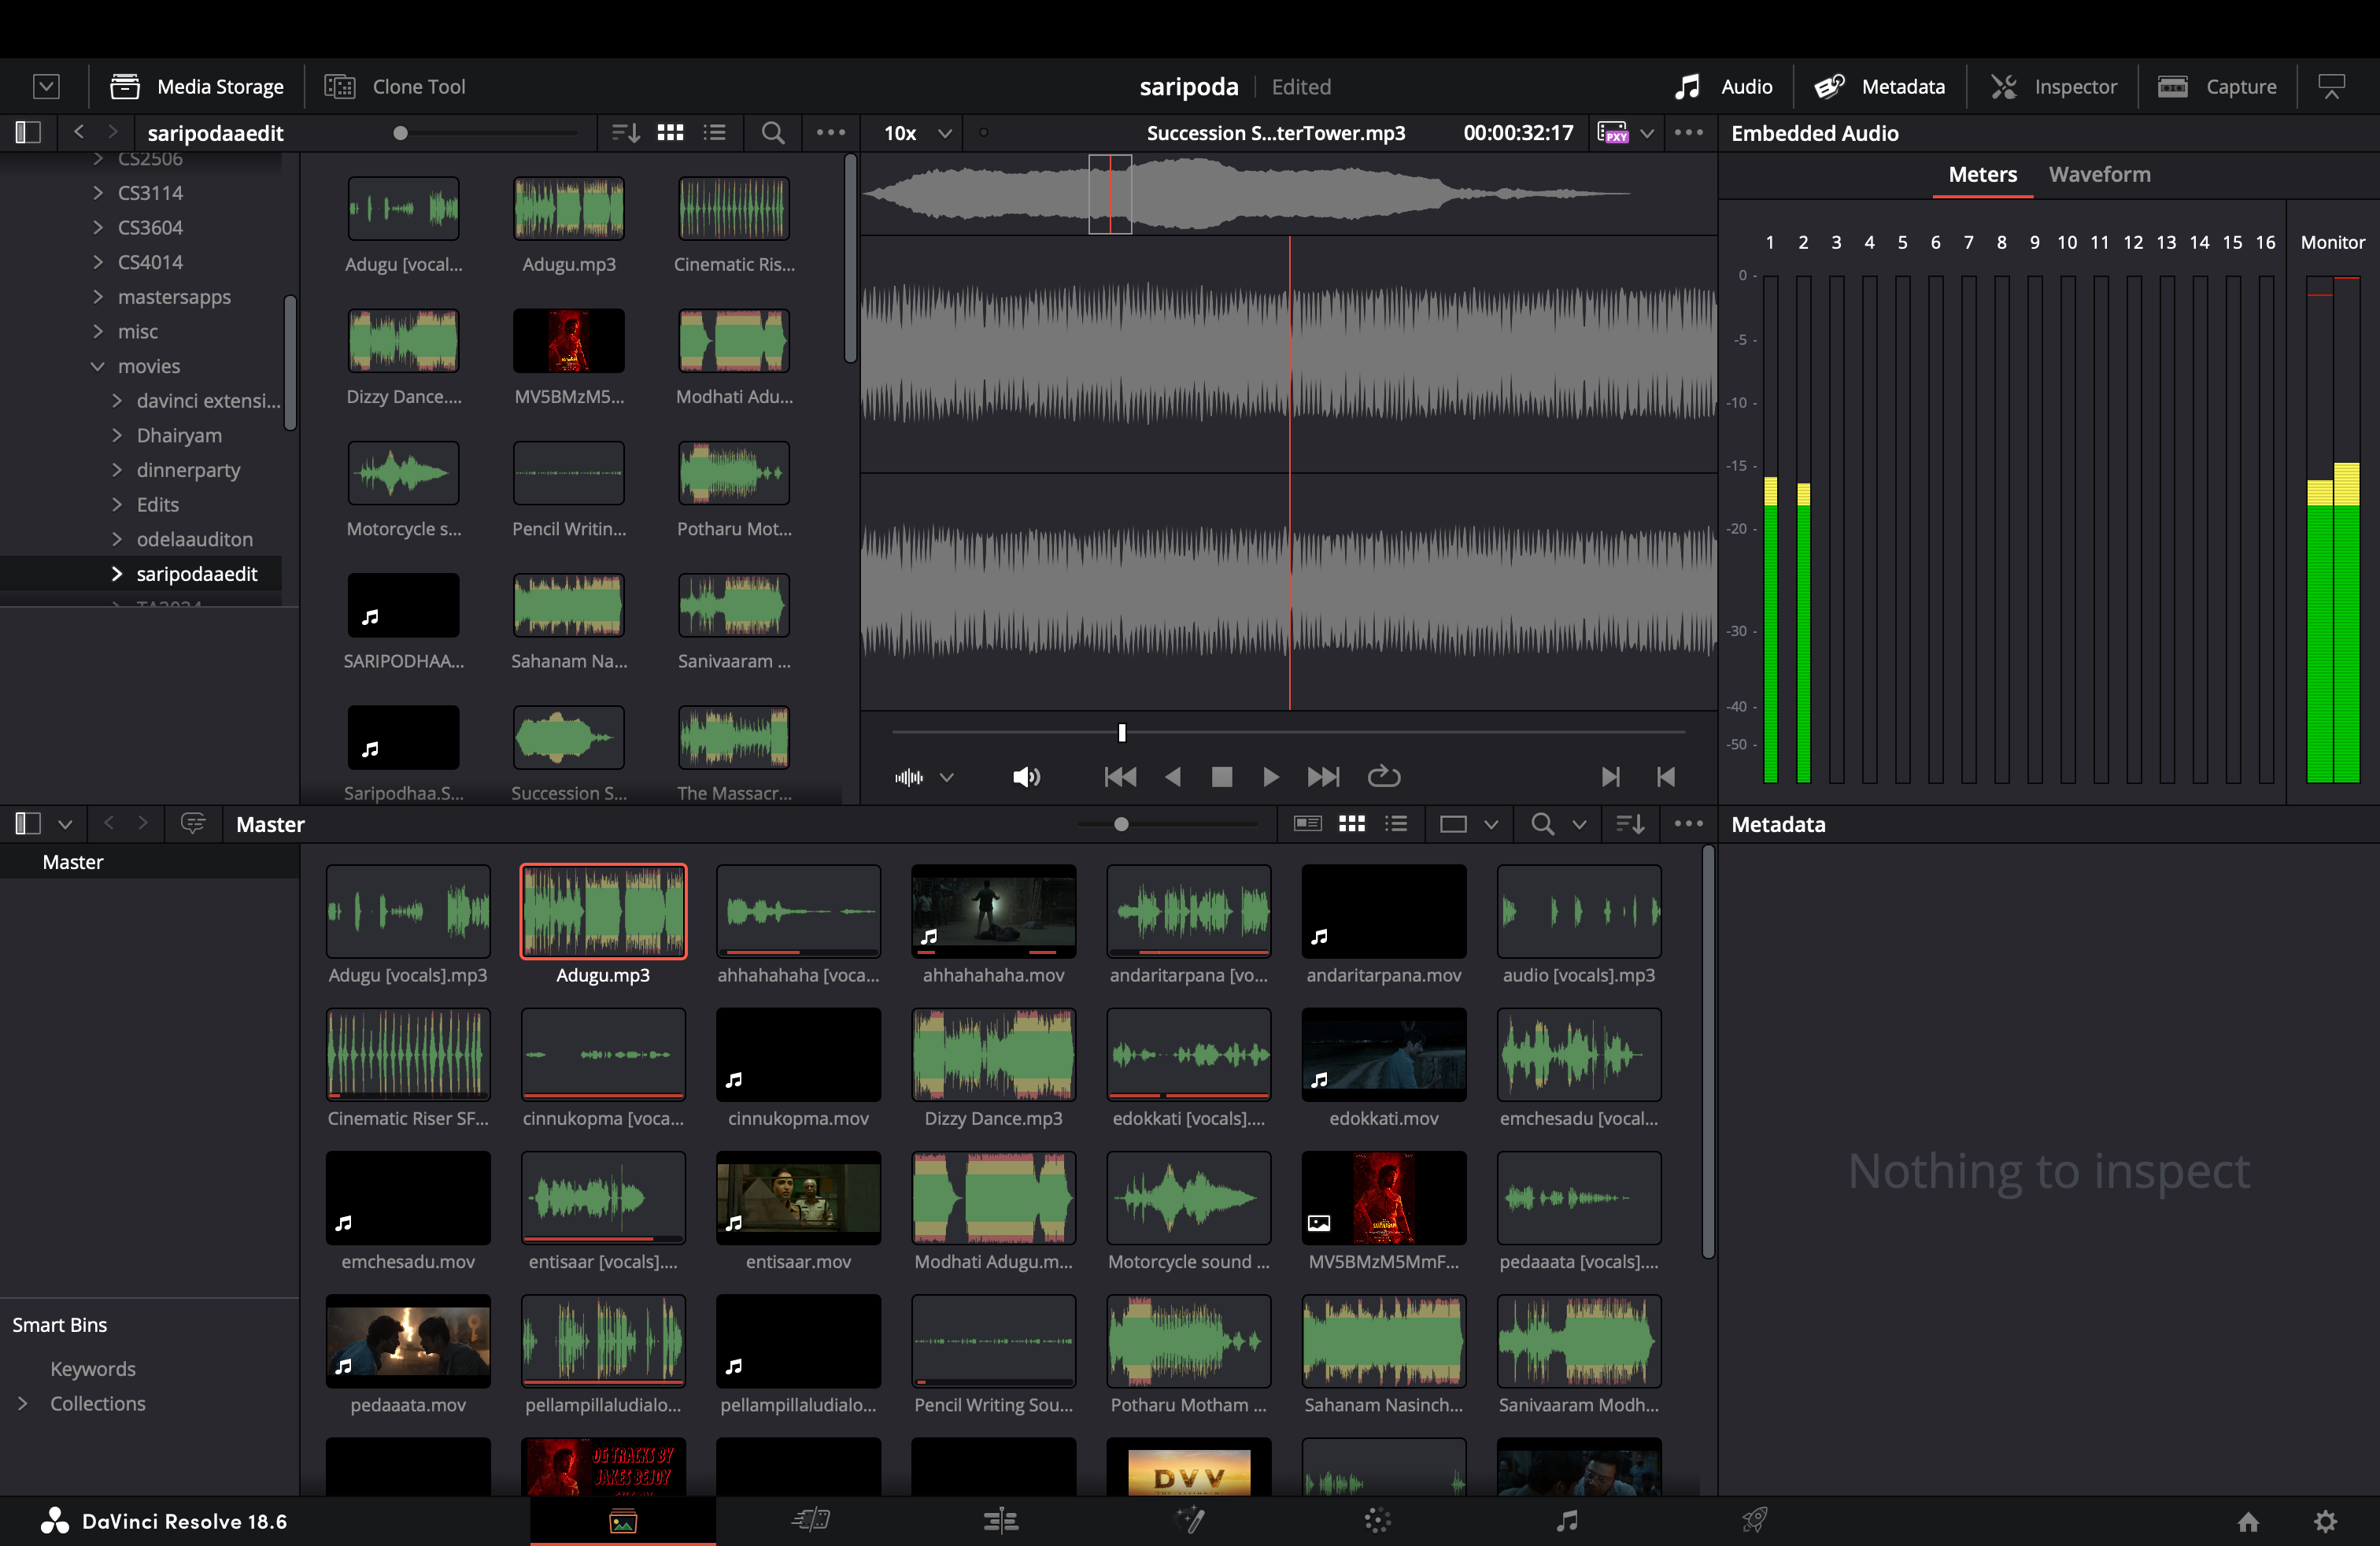
Configure the path of the media pool to the folder holding the clip(s) you want to edit together. I have attatched a few pictures to show how to get to the folder with the media files you want to access. If you look at the pictures, notice that all the files and folders that are in my local computer show up in the top left. I simply click on the file I want to access and that is seen in the second picture with all the audio and video clips.
Audio Cues
For trailer cuts especially, you need an audio cue to help you control the flow of your edit. Drag the audio file you have chosen (song, instrumental, etc.) into the edit window to use for your edit.
Downloads
Start Sequencing!
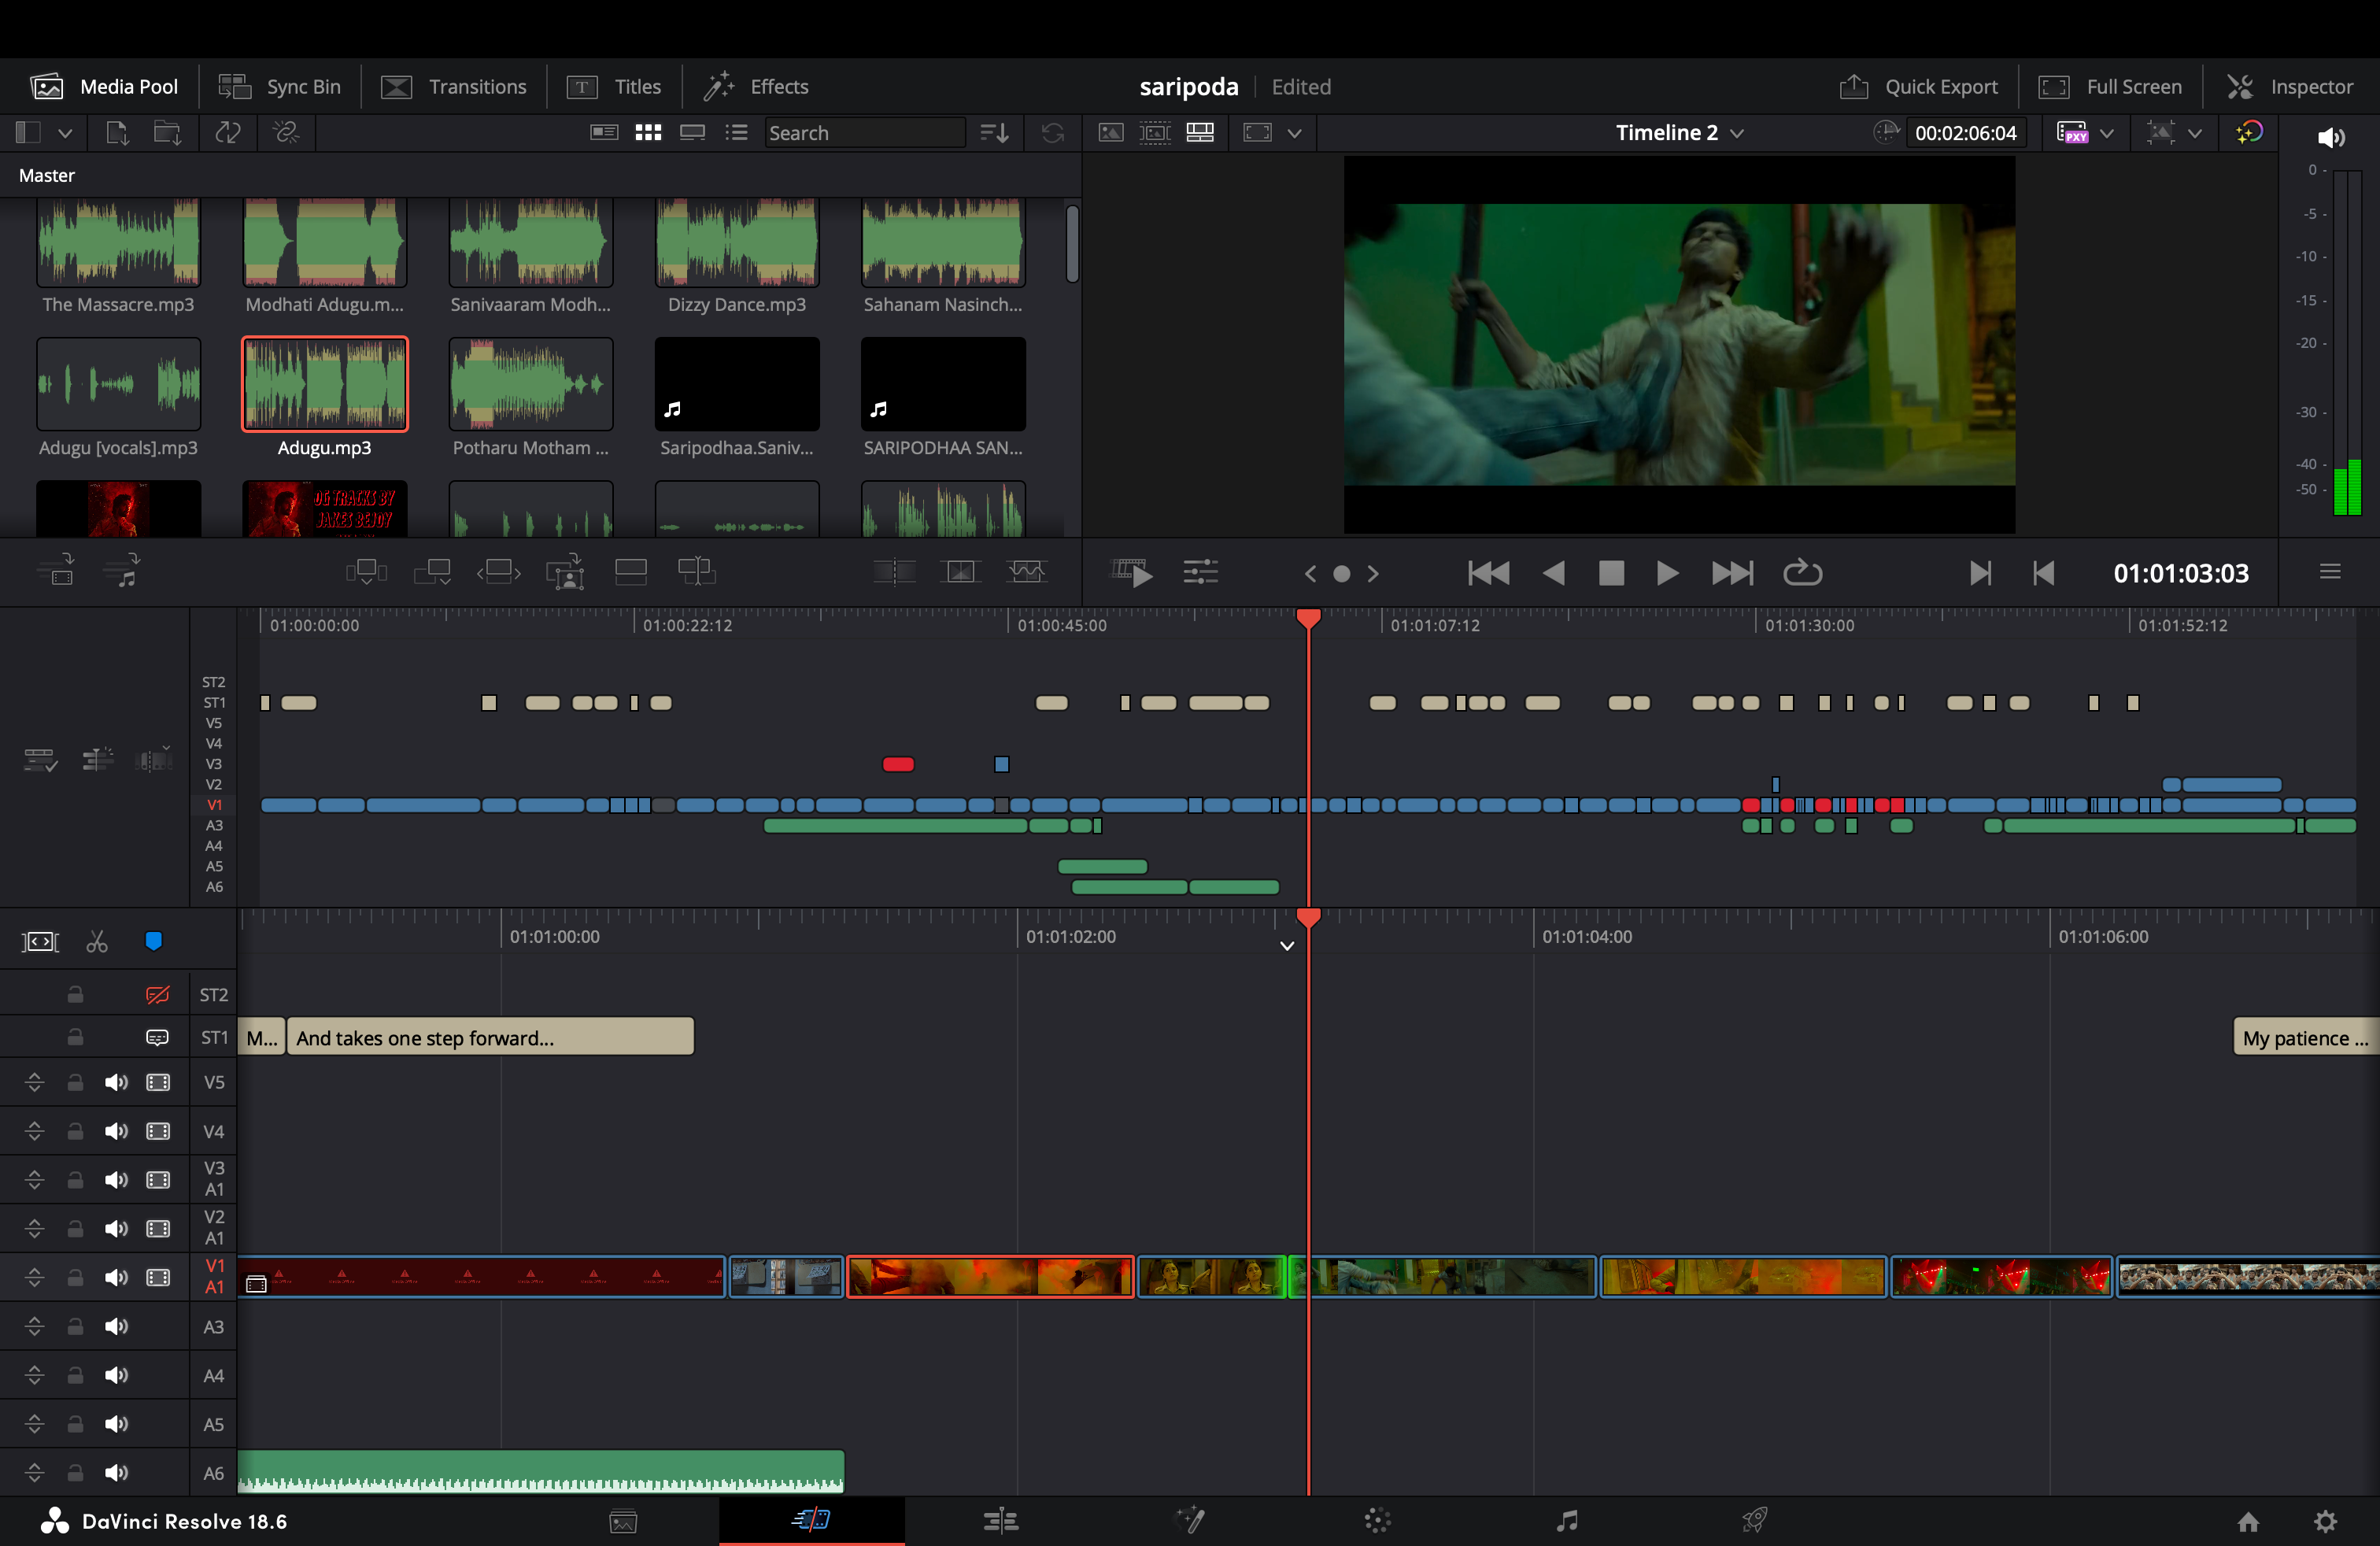
Now that you have access to all the clips you want, you can start placing the clips in sequential order based on your vision! One tip I would give is to follow the flow of the music. By that, I mean that sometimes transitioning from clip to clip can come out jarring and awkward, one possible remedy is to change clips based on the song beat. That is one suggestion! But there are also other methods, like treating a clip duration akin to a blink, changing per eye blink.
Double Check


You should always double check how the final product is turning out by clicking the "cut" tab on the bottom then "full screen" button on the top right. Look at your work so far from the POV of a viewer, find any jarring audio or visual cuts and fix accordingly.
Render It!
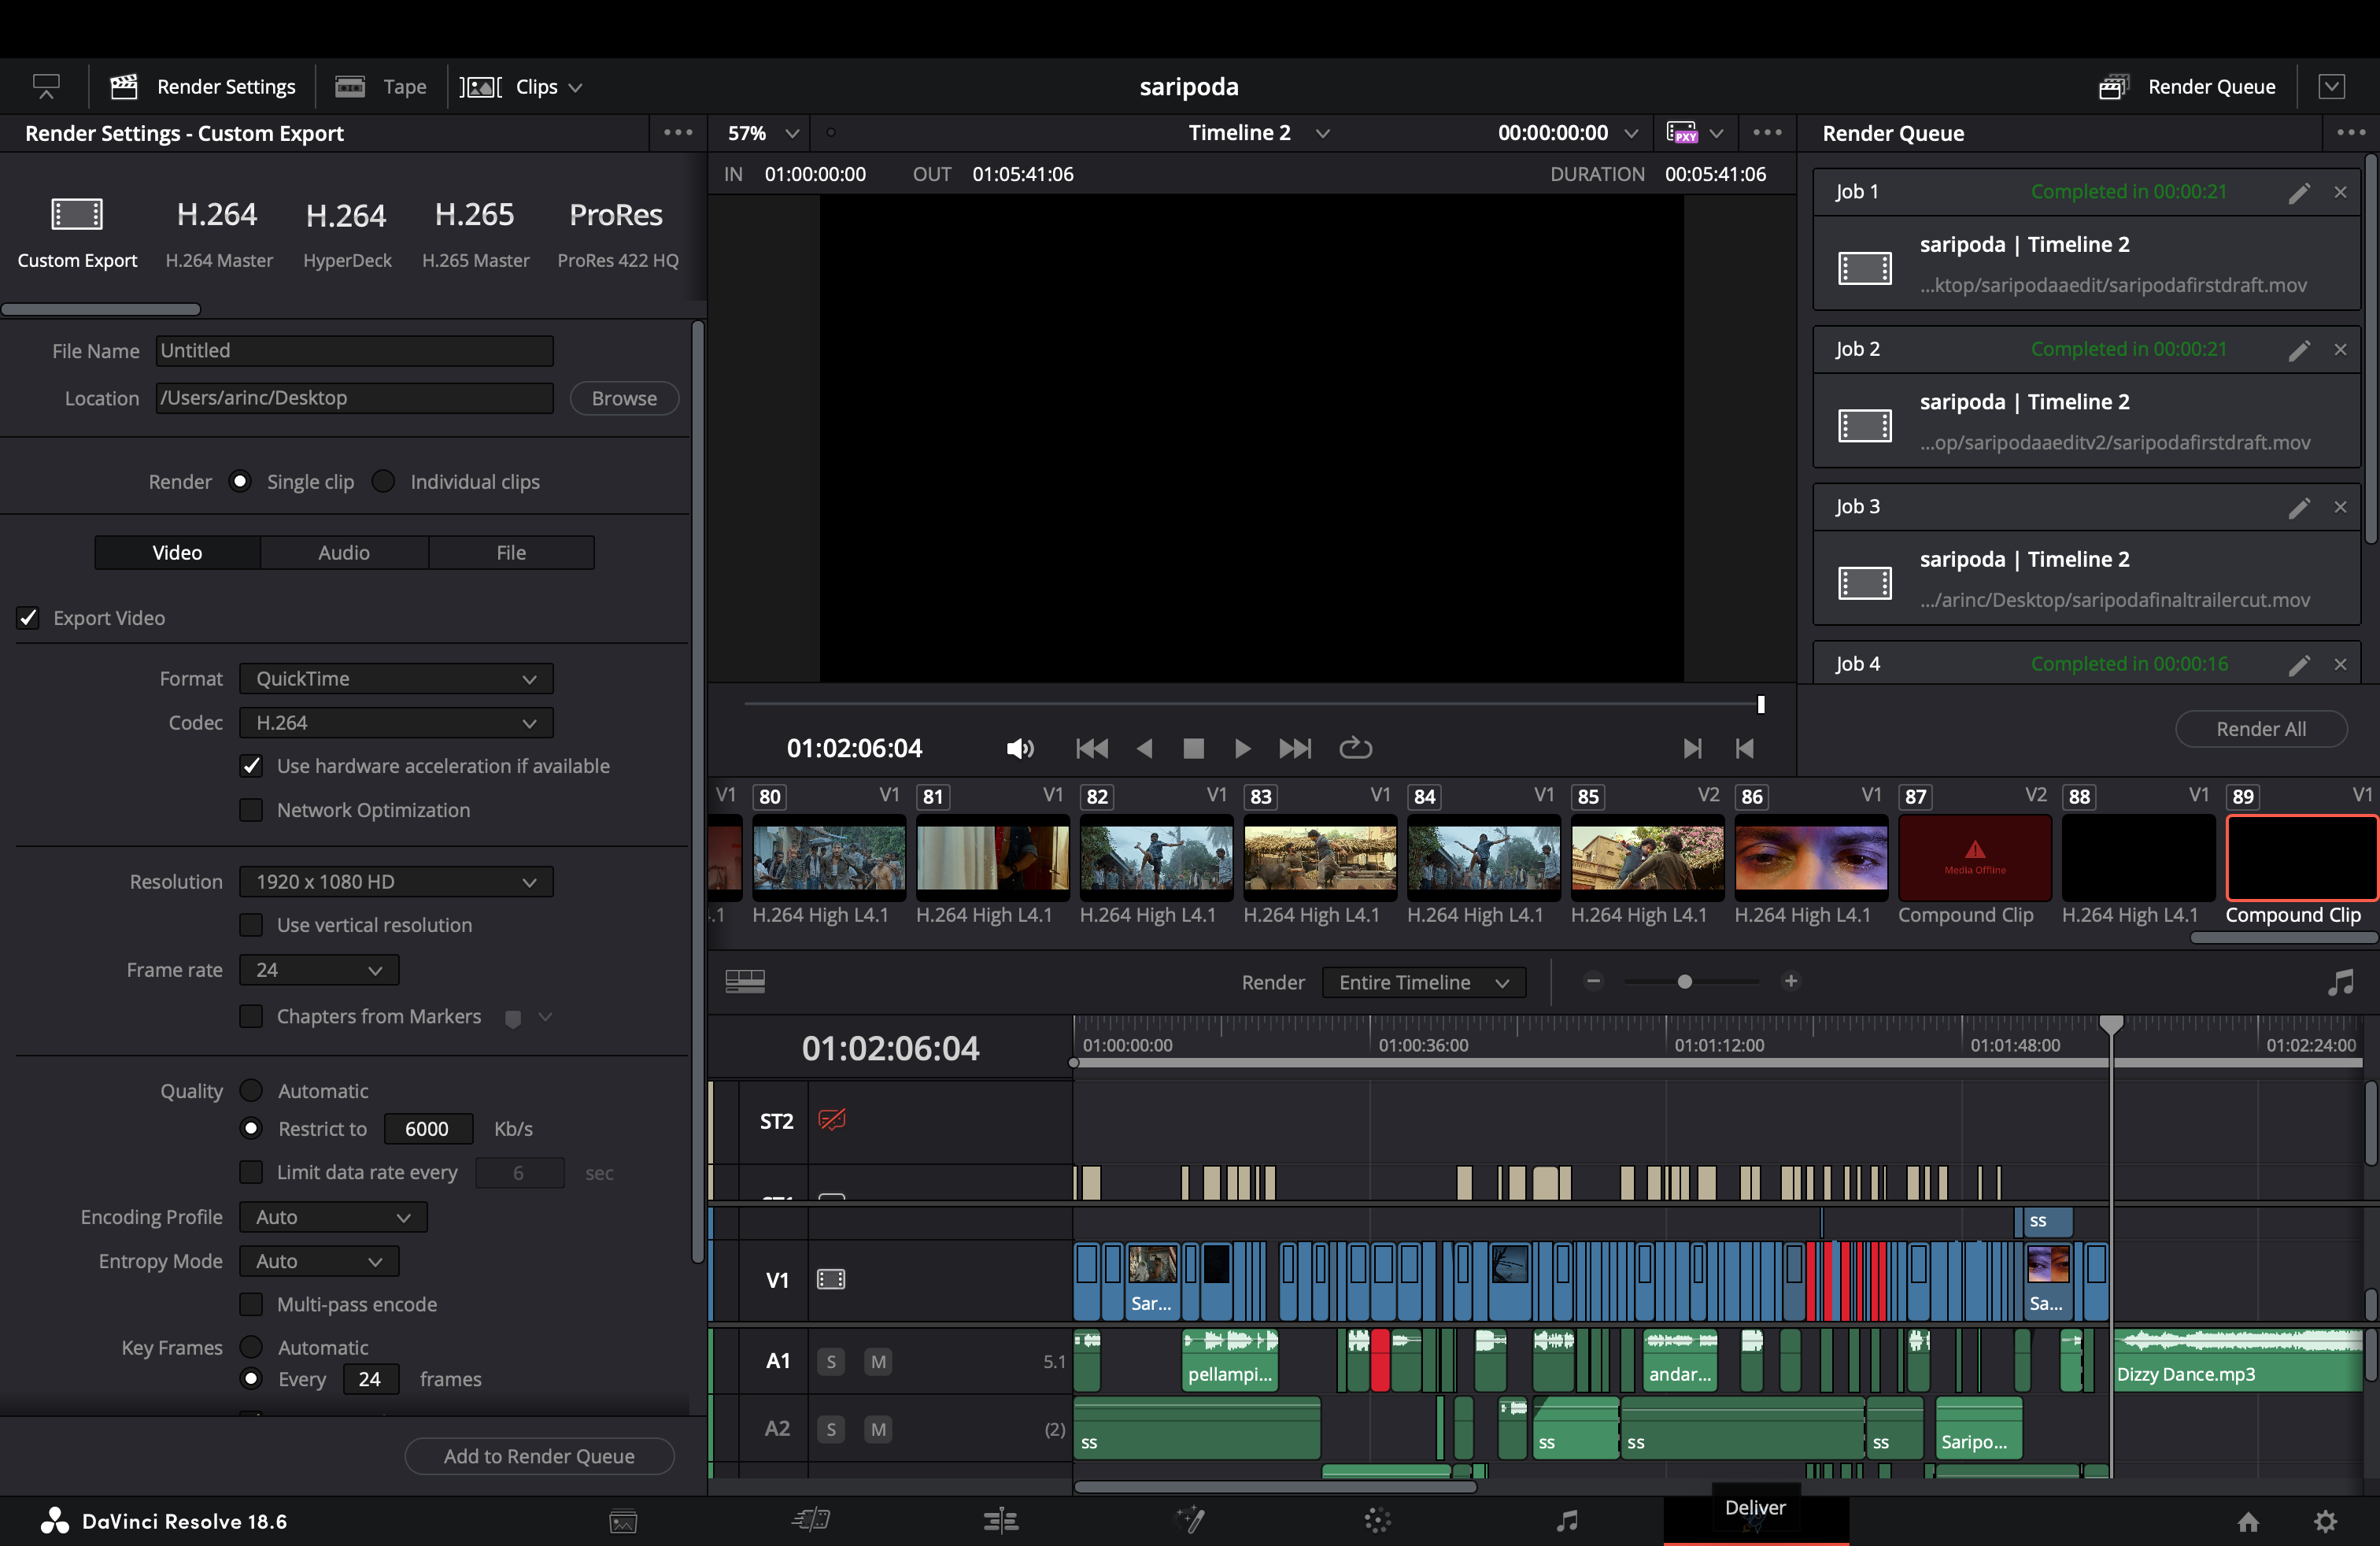
Now that you have done troubleshooting, implementation, and revision, your project should be done! Now you can finally render a HD version of it in the "render" tab and save it to your local machine and show your friends, family, and anyone else! Enjoy