Trackmate :: How to Make Simple Tagged Objects
by adamkumpf in Workshop > Science
6445 Views, 16 Favorites, 0 Comments
Trackmate :: How to Make Simple Tagged Objects

Making tagged objects for a Trackmate system is easy. This instructable shows a quick example of just how simple adding new tangible objects to your interface can be!
Trackmate is an open source initiative to create an inexpensive, do-it-yourself tangible tracking system. Using the project's Tracker software, any computer can recognize tagged objects and their corresponding position, rotation, and color information when placed on the imaging surface.
Trackmate is an open source initiative to create an inexpensive, do-it-yourself tangible tracking system. Using the project's Tracker software, any computer can recognize tagged objects and their corresponding position, rotation, and color information when placed on the imaging surface.
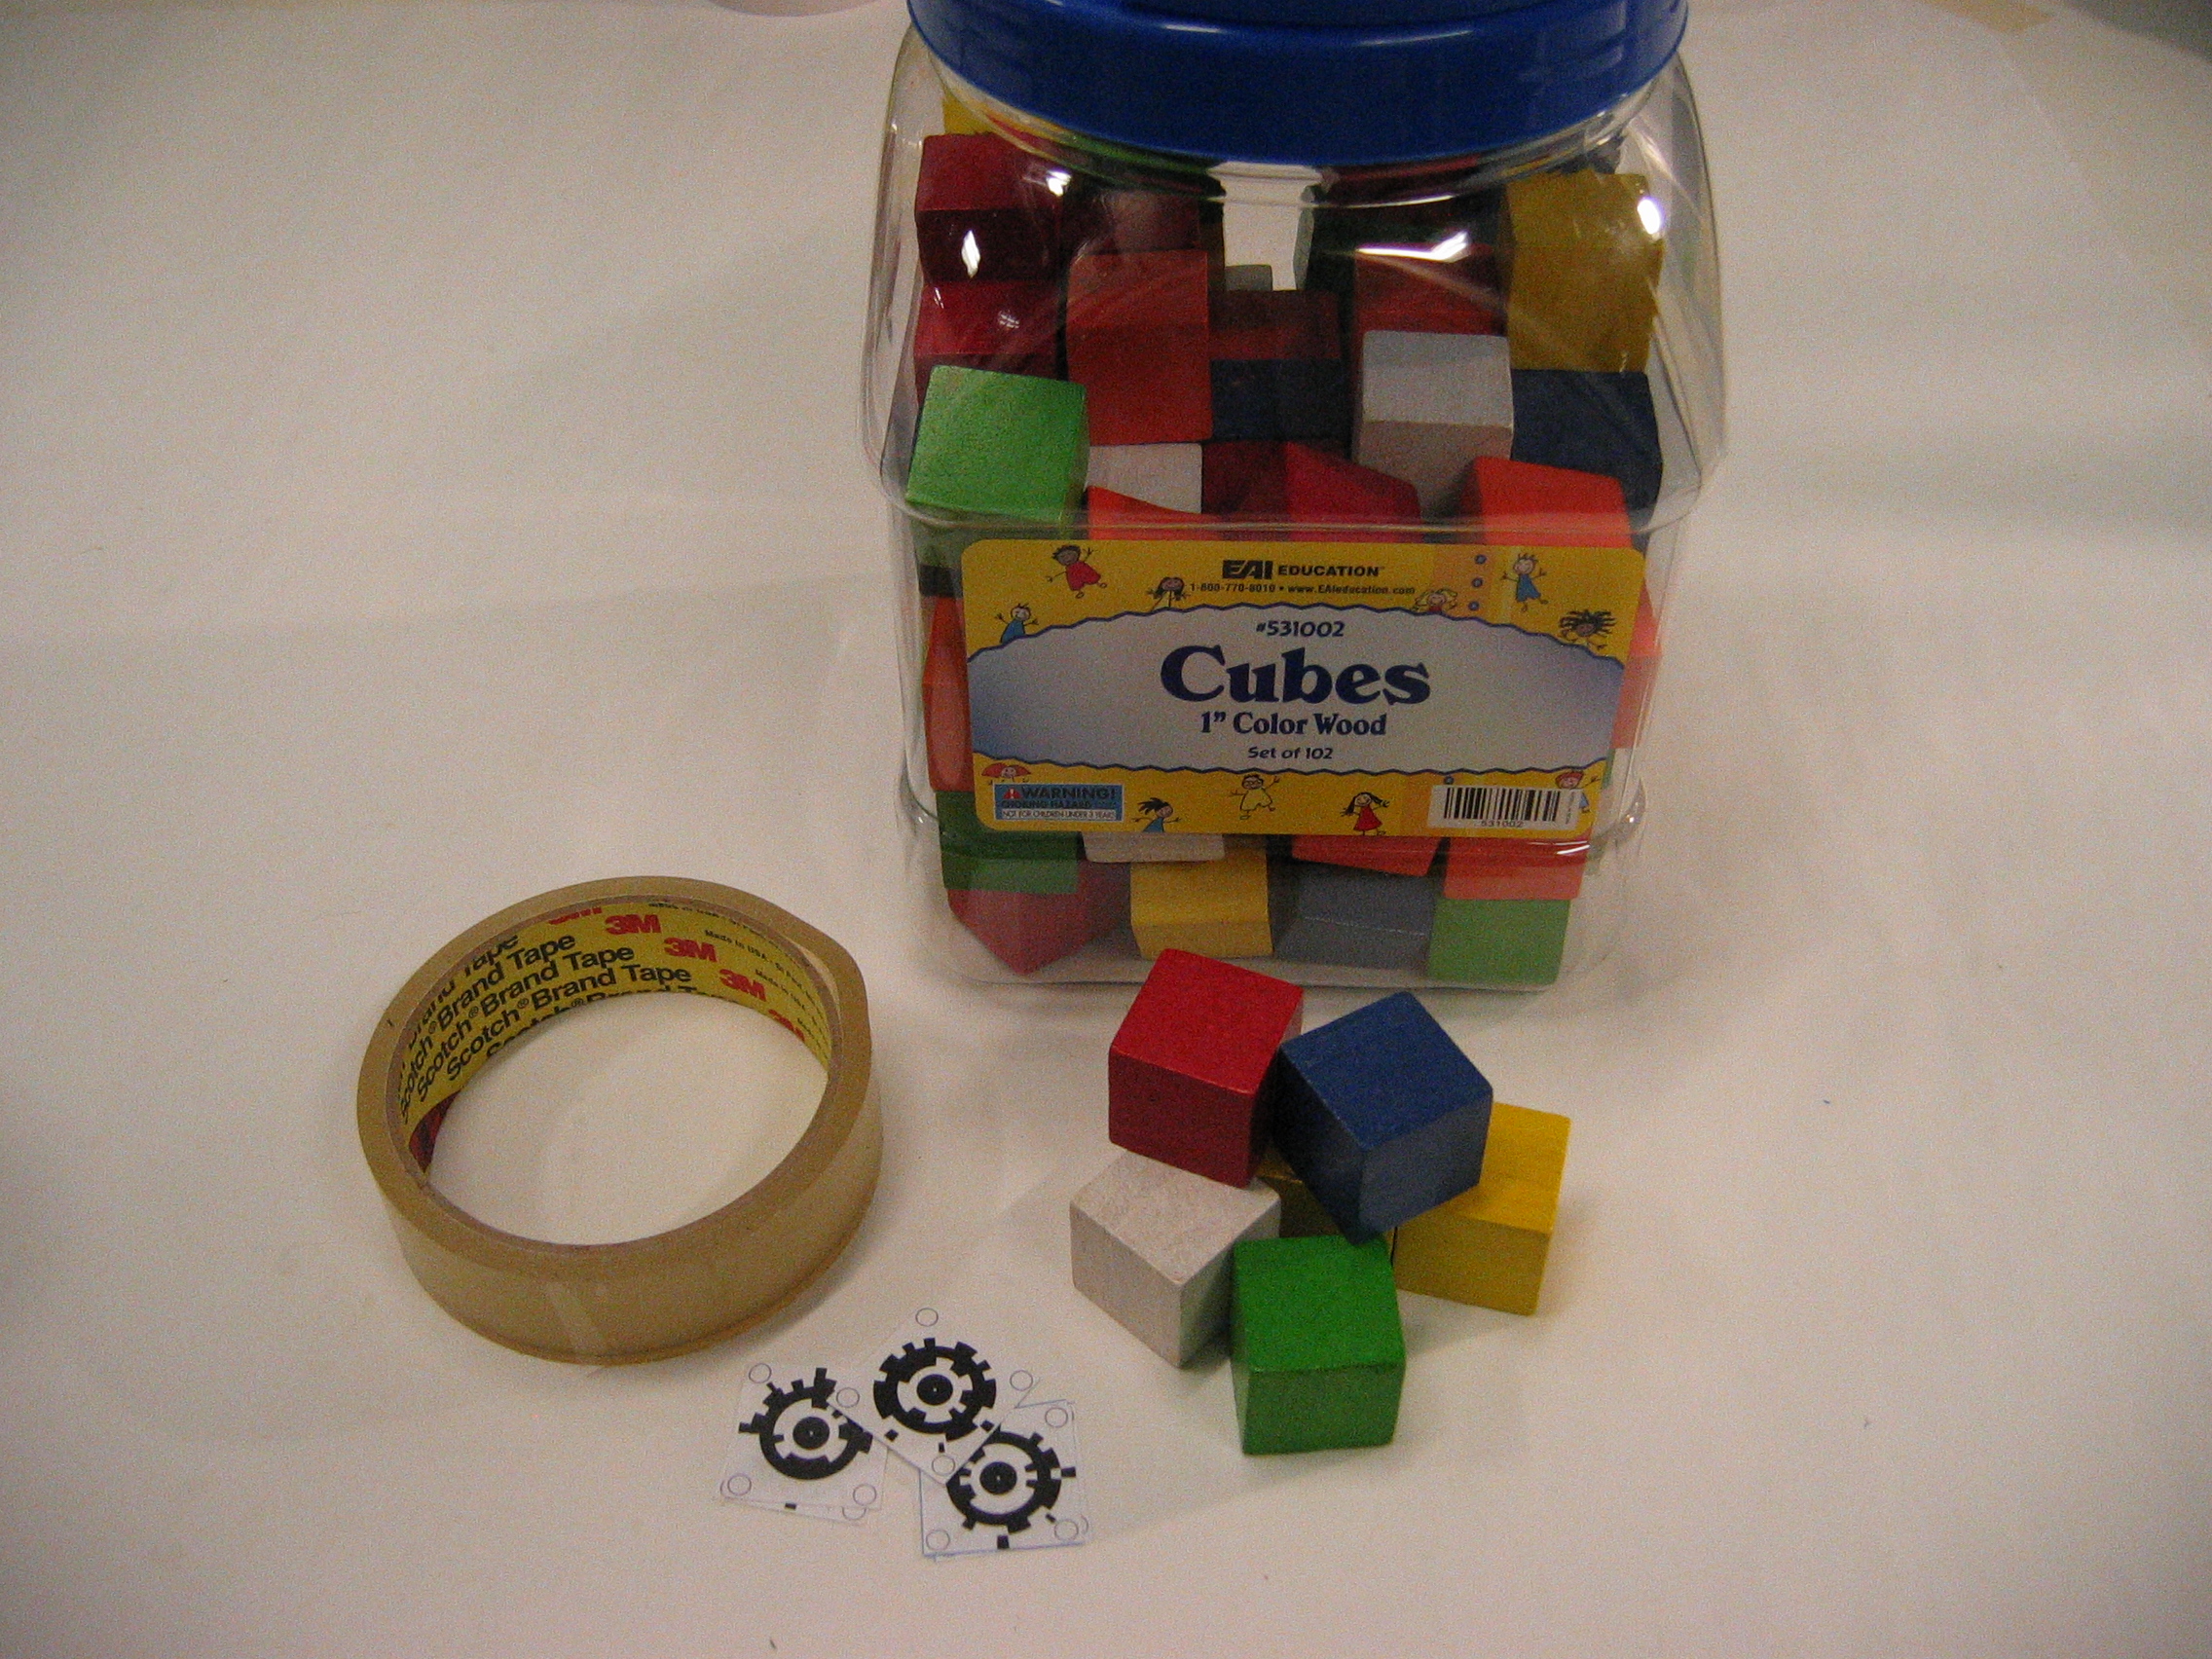
Gather the Materials

Mount the Tags

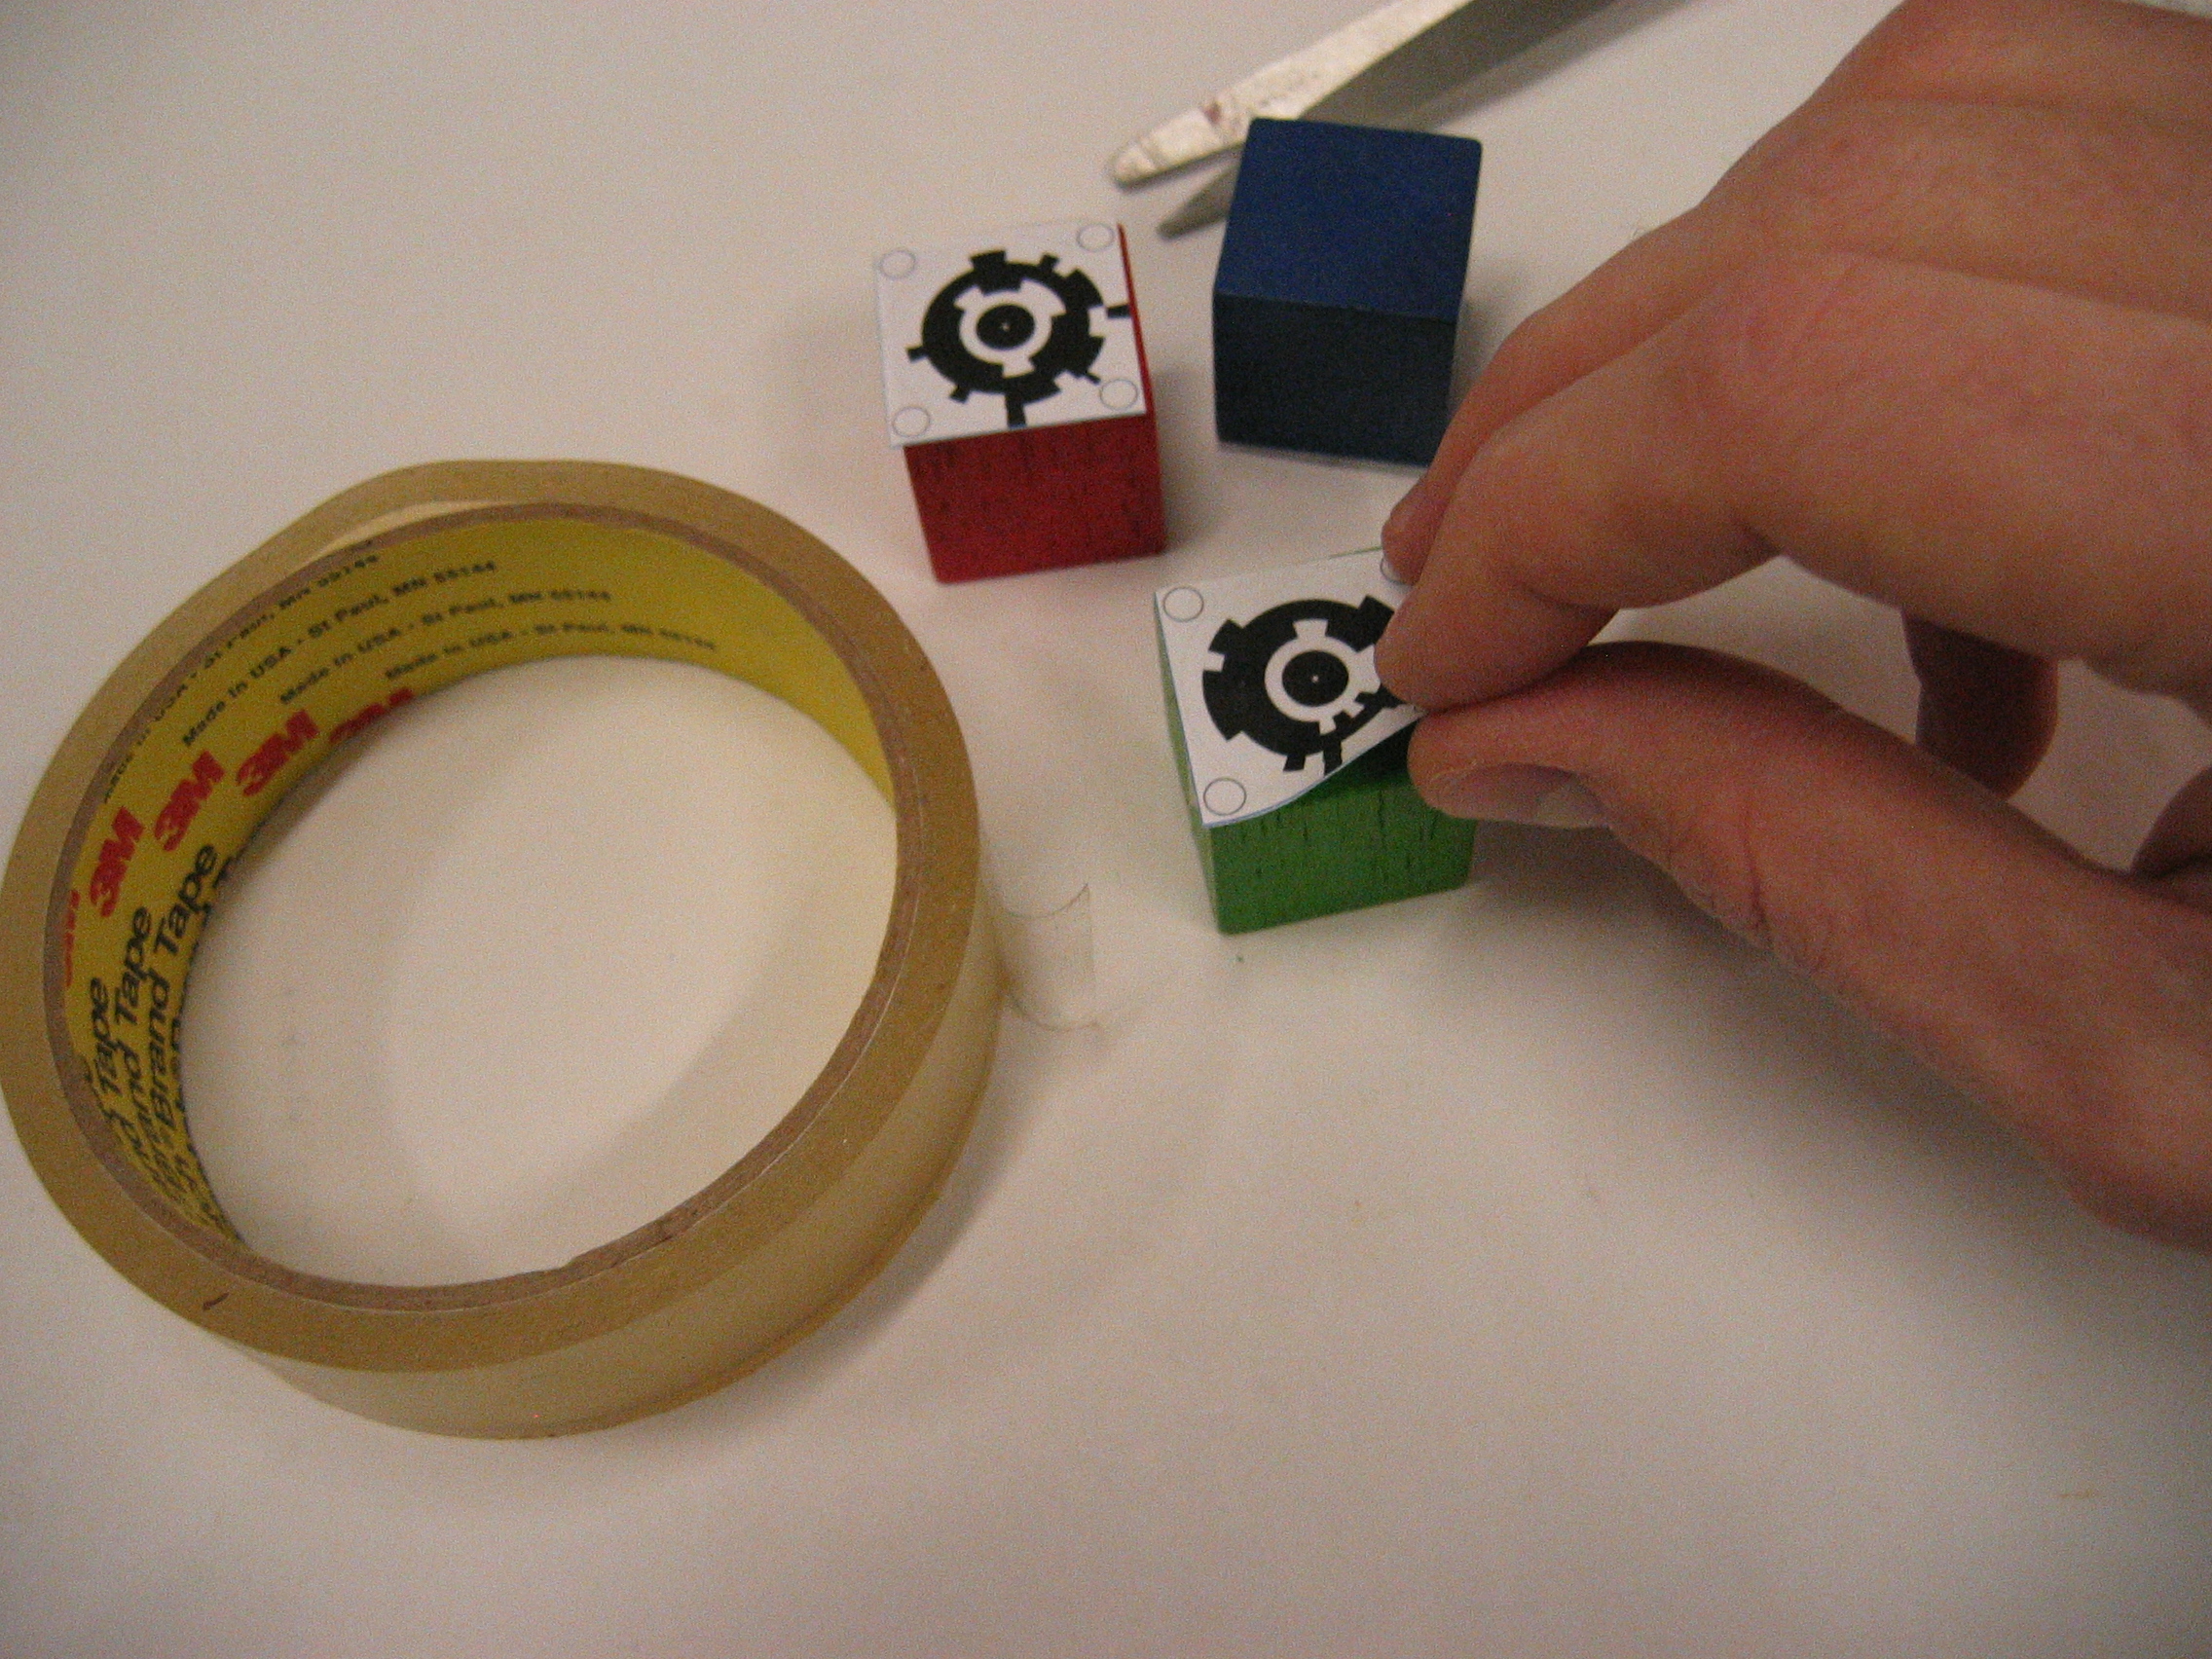
1. Place a piece of double-stick tape on each object.
2. Mount a unique tag by aligning it to the center and pressing it to the object.
2. Mount a unique tag by aligning it to the center and pressing it to the object.
Use Your Objects With Trackmate

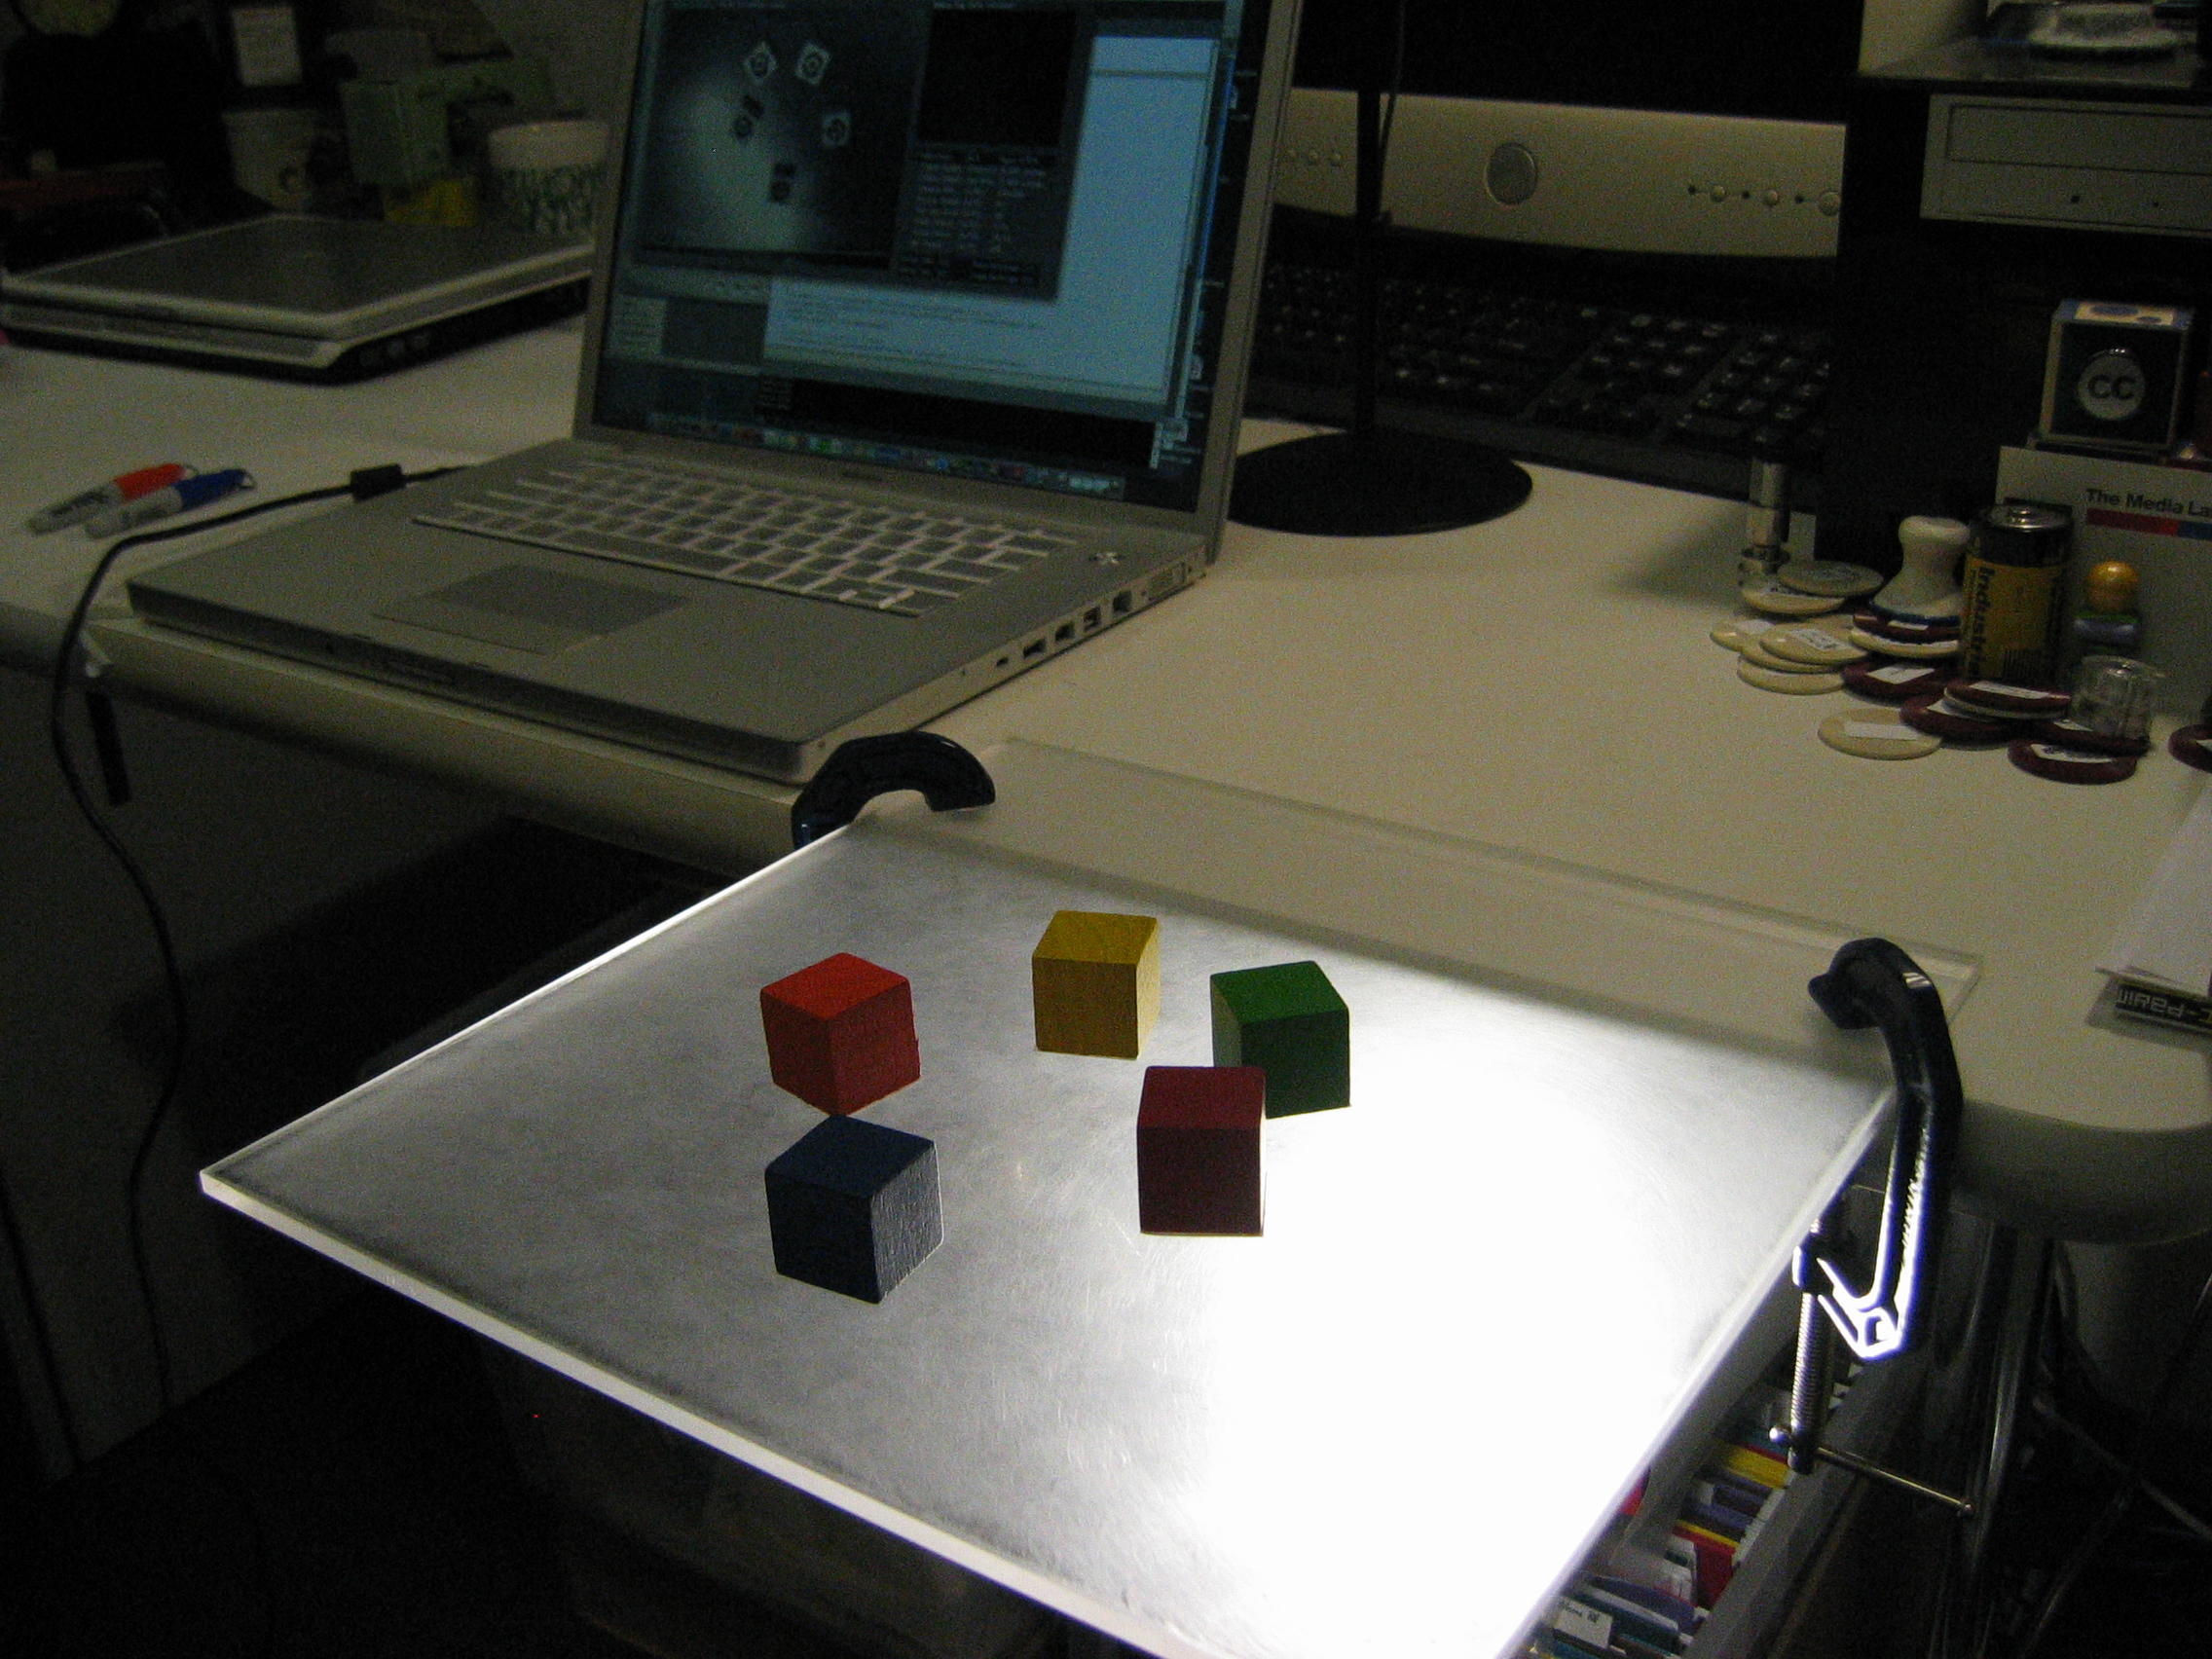
Verify that everything is working properly by trying out the new tagged objects.
The image below shows the Portable Plexi Cliffhanger tracking the cubes on its surface.
The image below shows the Portable Plexi Cliffhanger tracking the cubes on its surface.