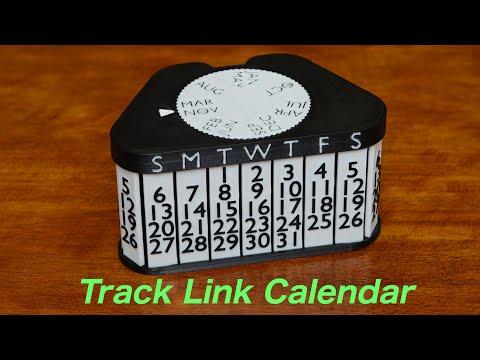
Track Link Calendar

A mechanical perpetual calendar with several advantages.
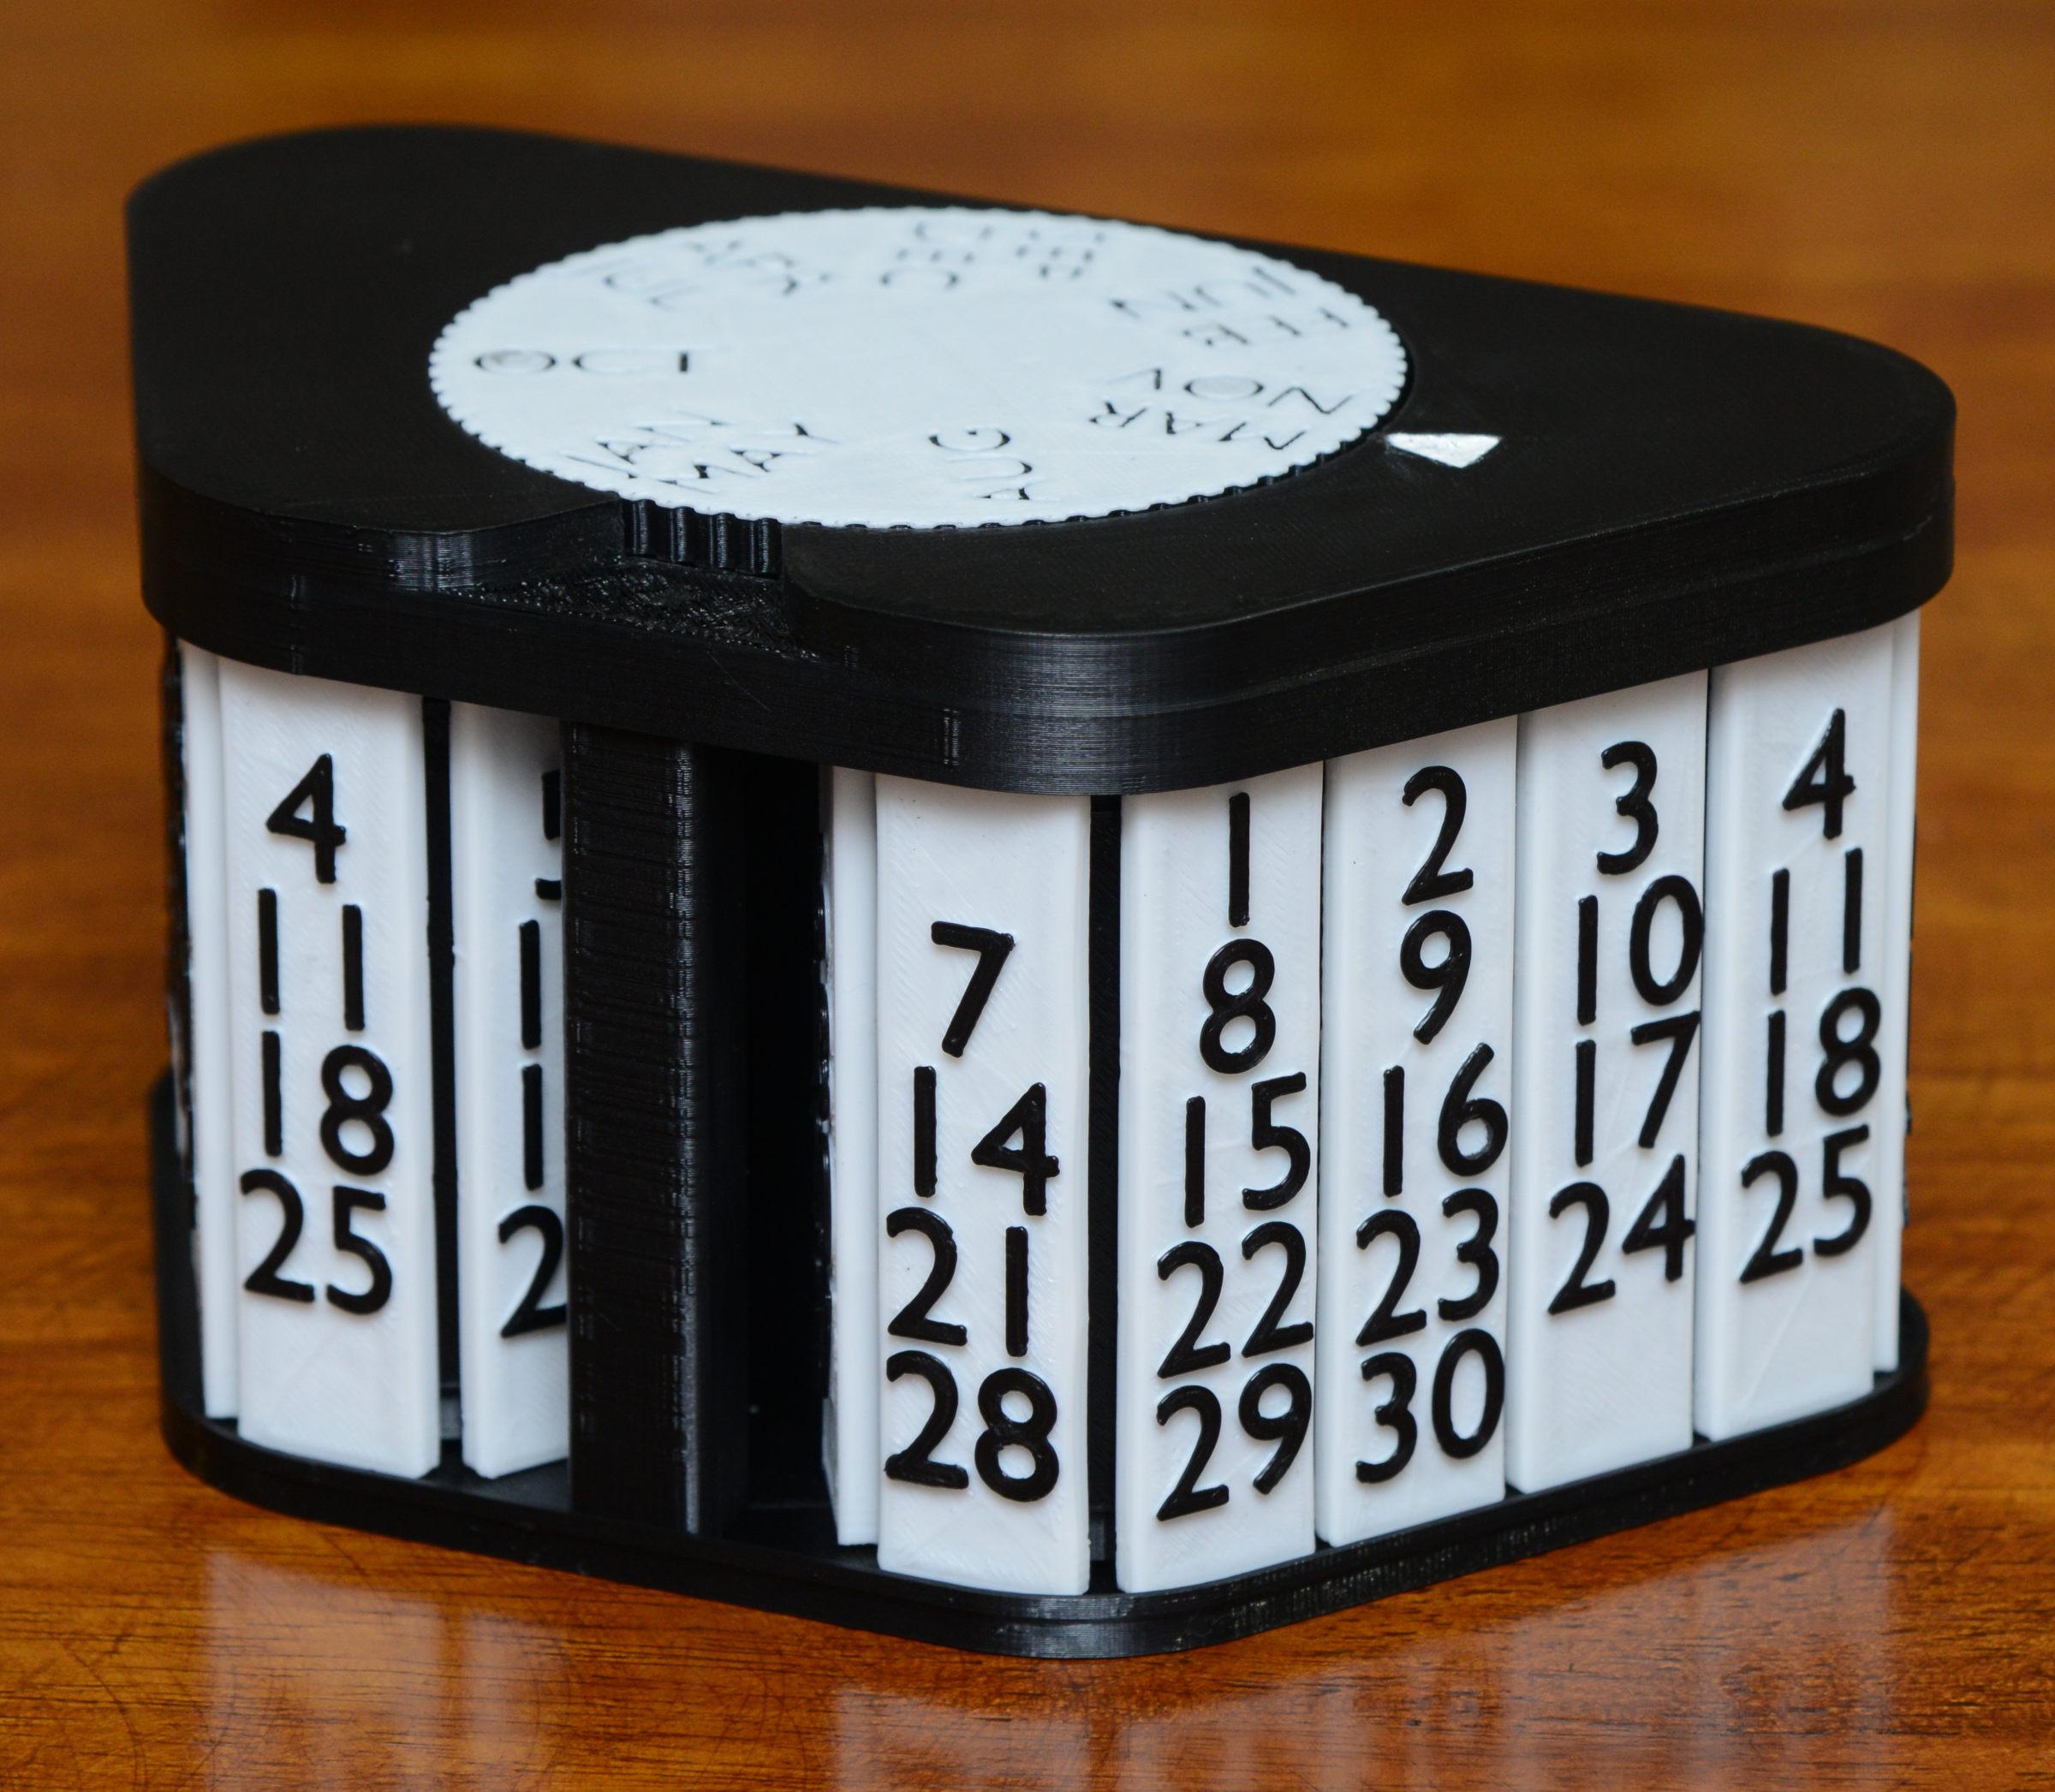
- It can display all four types of months from 28 to 31 days.
- When current month is selected by the top wheel, the day of the week is automatically adjusted.
- Setting is necessary once a year, on March 1st. Setting is valid from March to February in the next year.
- Width of the calendar is not too wide.
- Fully 3D printable, easy snap-fit chain assembly
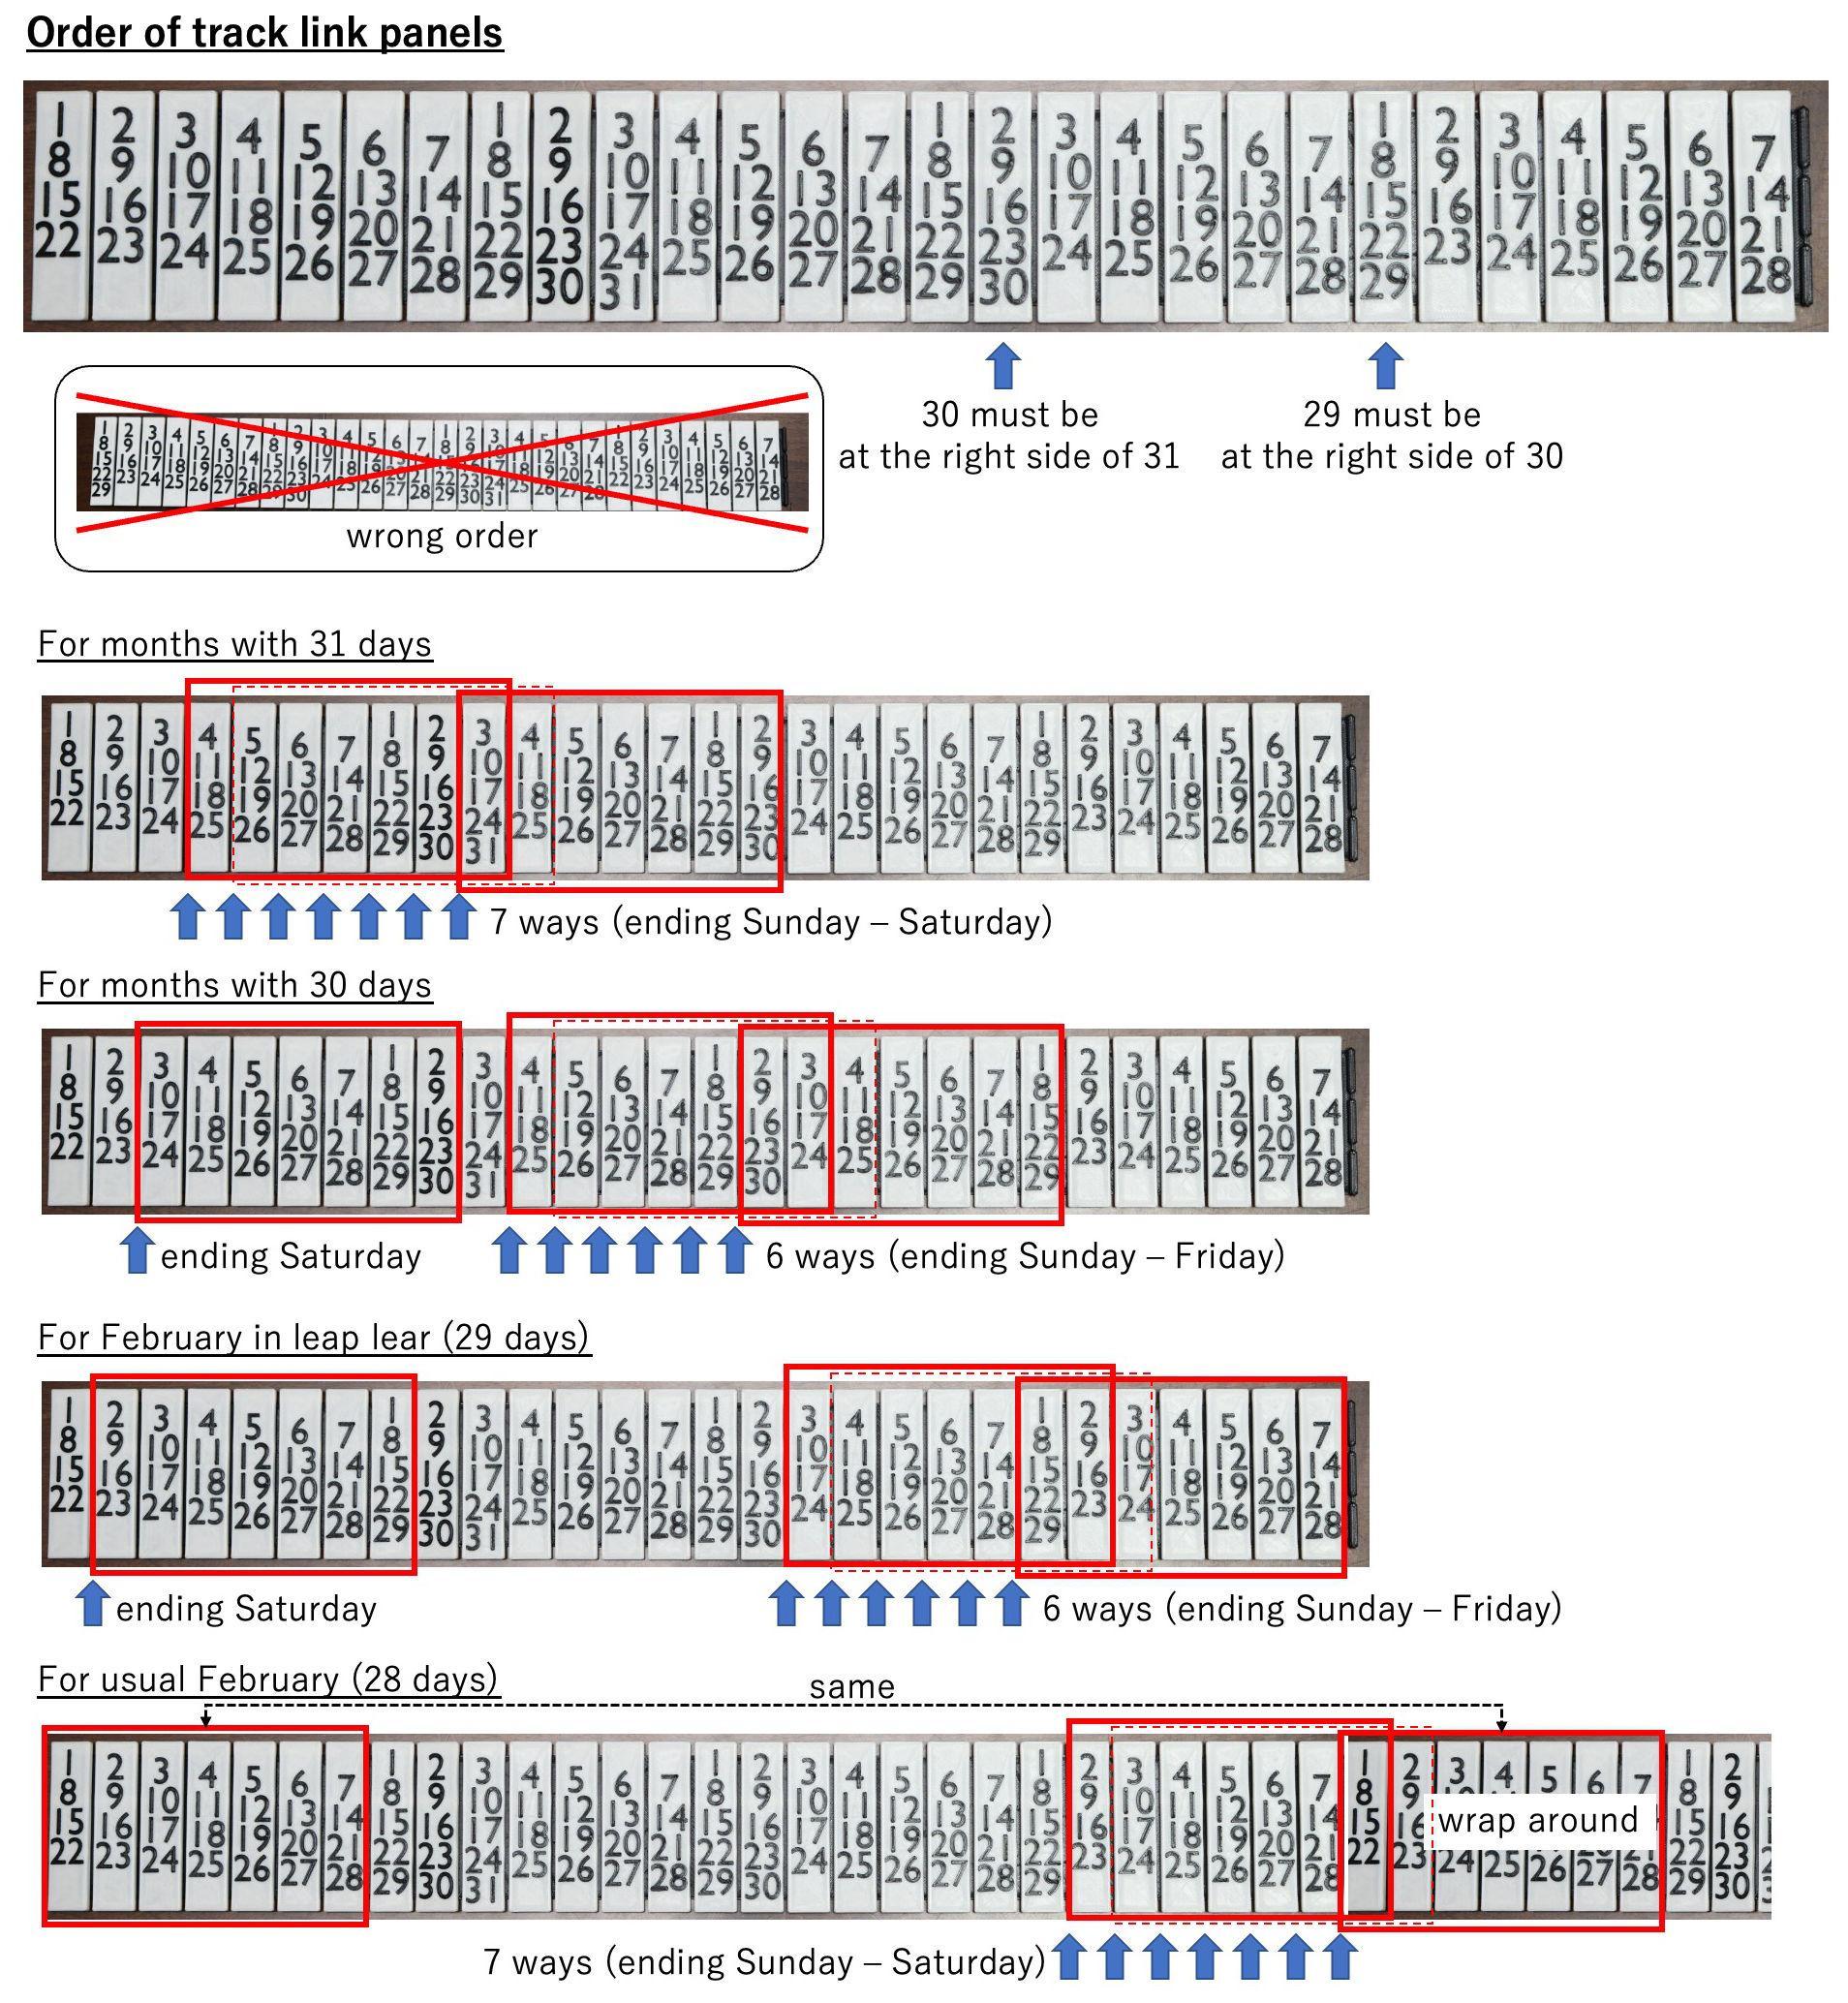
note : Correct order of 28 panels is shown in the picture in the following step. The order shown in the video is incorrect (that can not show some months properly).
Supplies

Necessary parts (other than 3D printed things)
- Five M2 * 6mm tapping screws
- Paint
- Lubricant
3D Print


Printing Tips
- Print all parts with supplied posture.
- The number of copies of parts are indicated by the filename. For example, print 28 instances of link-28copies.stl.
- Only one parts, top-case.stl, should be printed out with support. The other parts can be printed out without support structure. Most of the supported surface is hidden by the other part.
- To give different color to the texts, use "Pause at height" function of your slicer and change the filament color during print. For the dates (1 - 31), change the material at around height = 4.5mm (texts are at the top side). For the texts of months on the month-dial.stl, change the material at around height = 0.5mm (texts are at the bottom side).
- Please use "single-panel-for-test-print.stl" for the test print with "Pause at height".
- It is recommended to check and tune your 3D printer parameters with a "single-panel-for-test-print.stl" and a link so that the snap-fit of the hinge can be nicely assembled.
Assemble the Track Links


Assembly tips
- Assemble the chain (track link) by the snap-fit manner. Just push in.
- After the assembly, please make sure that the hinges are smooth. Frequent motion of the hinges with some side force might make the hinge smooth.
- Light silicone oil is helpful to make it smooth.
- Make four types of months (28, 29, 30 and 31 days) then connect them each other to make a loop.
Correct order of 28 panels is shown in the picture above. The order shown in the video is wrong (that can not show some months properly).
Assemble the Chain Guides


Assembly tips
- Phase of the all columns (chain guides) are very important. When you set the idler gear, please make sure that both columns are at same posture (rotation angle).
- Do not use too long tapping screws, or the screw might protrude from the top side of the case.
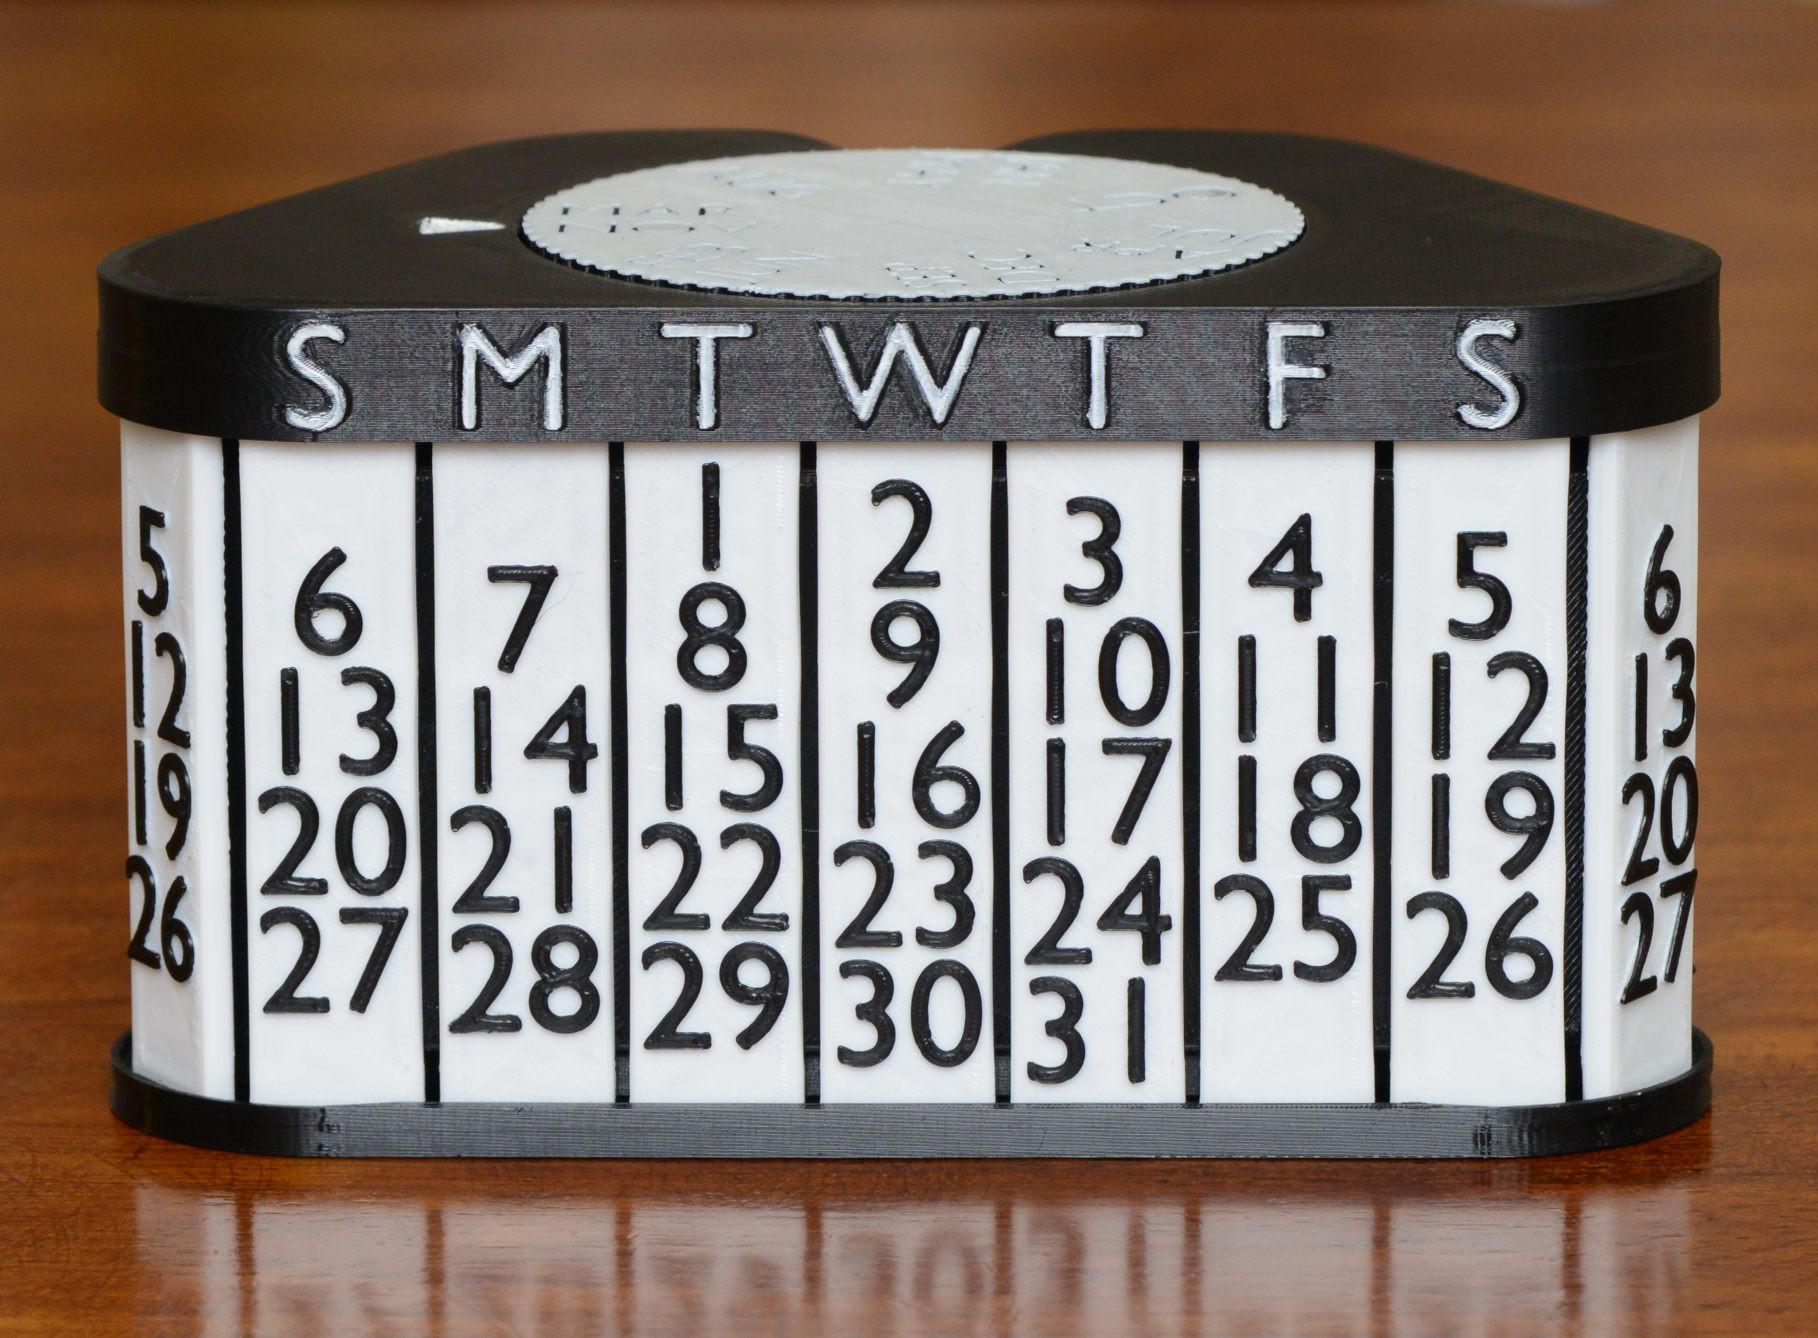
- The texts of the day of the week (S M T W T F S) should be painted manually.
Install the Track Link


Assembly tips
- Before installing the track link, align the posture (rotation angles) of all columns as figure shown above.
- Install the track link from the bottom side. Therefore, in this step, the date digits are upside down.
- Make sure that it rotates smoothly.
Attach the Bottom Case


Assembly tips
- Insert the all axes to the columns.
- Fix the bottom case using three M2 tapping screws.
How to Use

Setting (once a year)
- Show the proper calendar of current month by rotating the top wheel.
- Remove the top wheel, then re-insert so that the current month is at the index.
Next month
- Rotate the top wheel so that the current month is at the index.
- If the length of month is not correct, rotate the top wheel a full turn. It switches the calendar among 28, 29, 30 and 31 days. Repeat this step until correct calendar shows up.
On March 1st
- Reset the calendar by setting procedure above. (it depends on the leap year)
(optional) Data for Variants
This is a placeholder to add optional files for making variants.
- A STL file of top case that starts with Monday