TraceQuation - How to Create a Stencil for Writing Math Symbols
218 Views, 1 Favorites, 0 Comments
TraceQuation - How to Create a Stencil for Writing Math Symbols
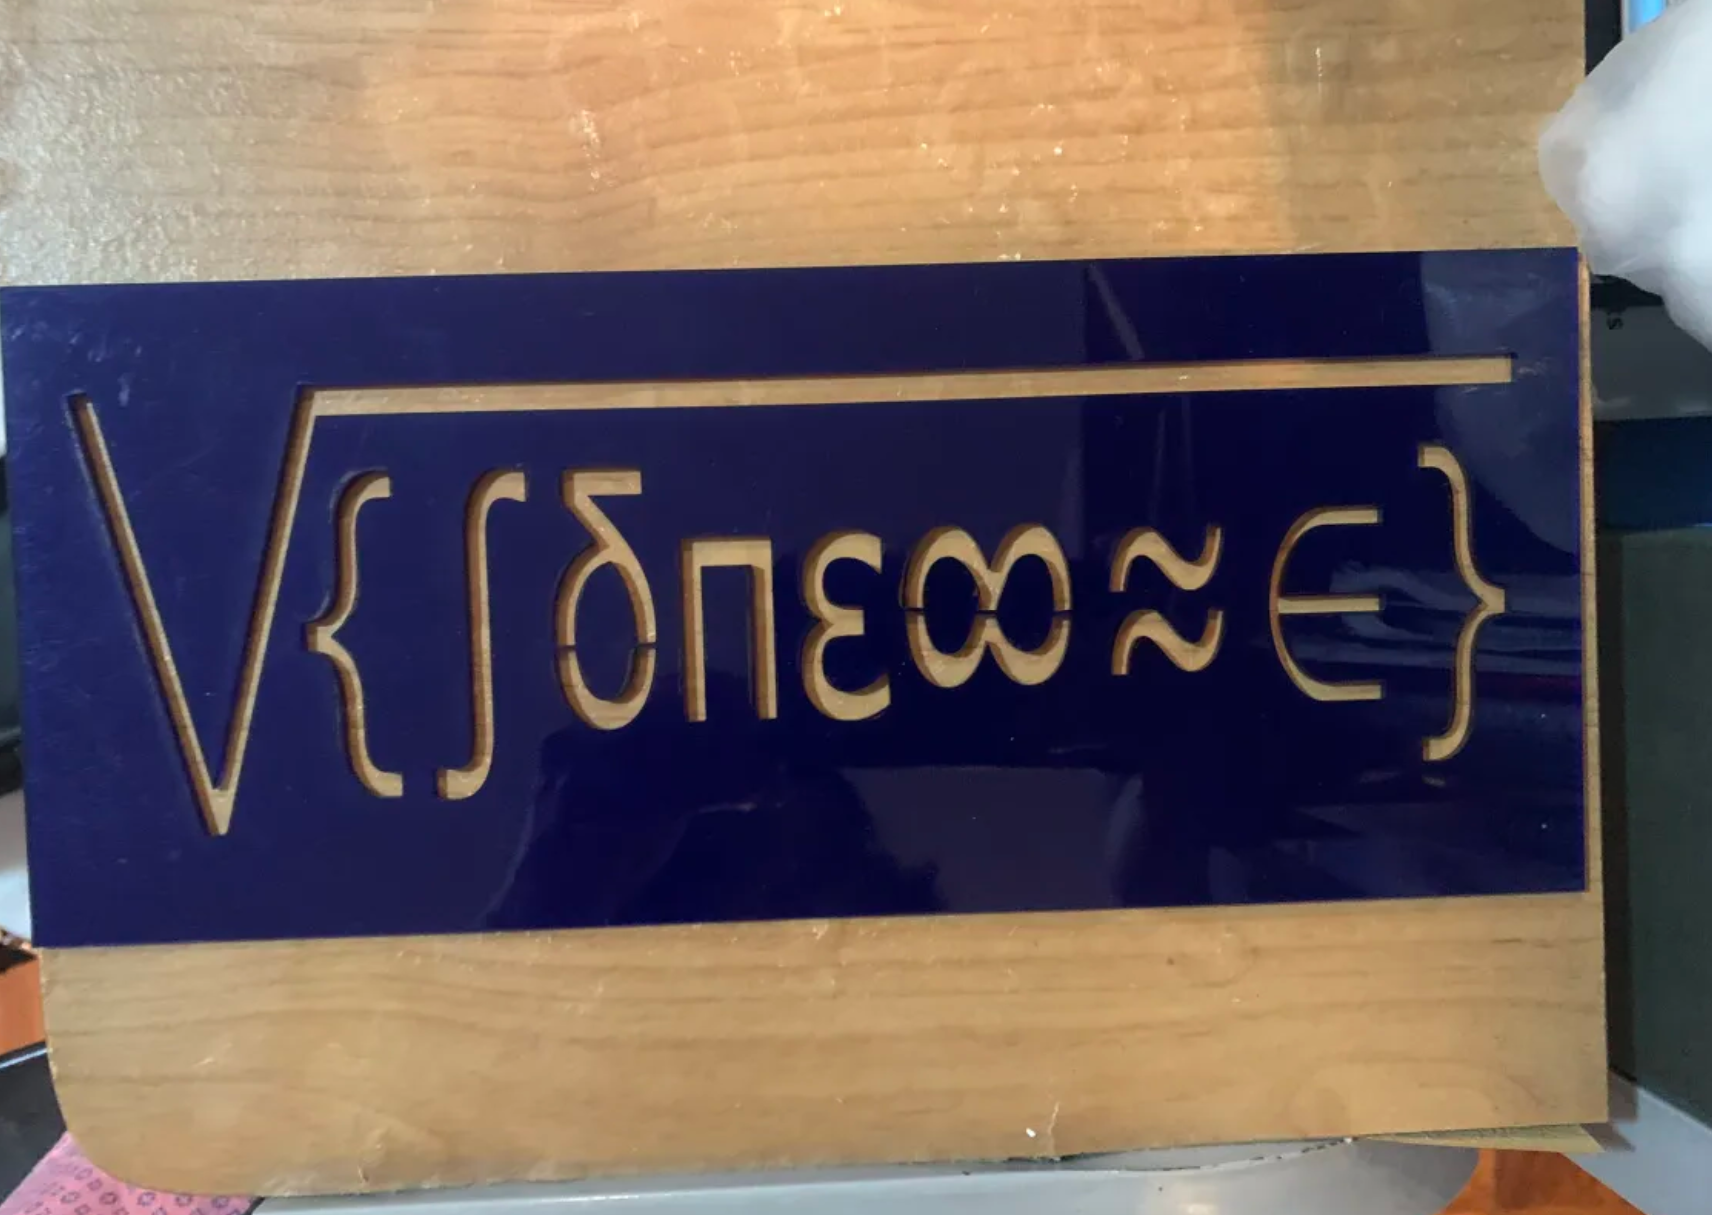
Ever have difficulty writing certain symbols for math? Ever spent time erasing and erasing equations for math because it didn't look neat? Ever want to write neater and faster for math?
Well, this is what this stencil was made for! I have pretty bad handwriting, especially for math. Which is why I decided to make this stencil to make writing math easier on a whiteboard.
I got this idea from a previous Tech student who made a stencil for easier writing of chemical equations, symbols, & formulas and wanted to do a similar project with Math.
Supplies
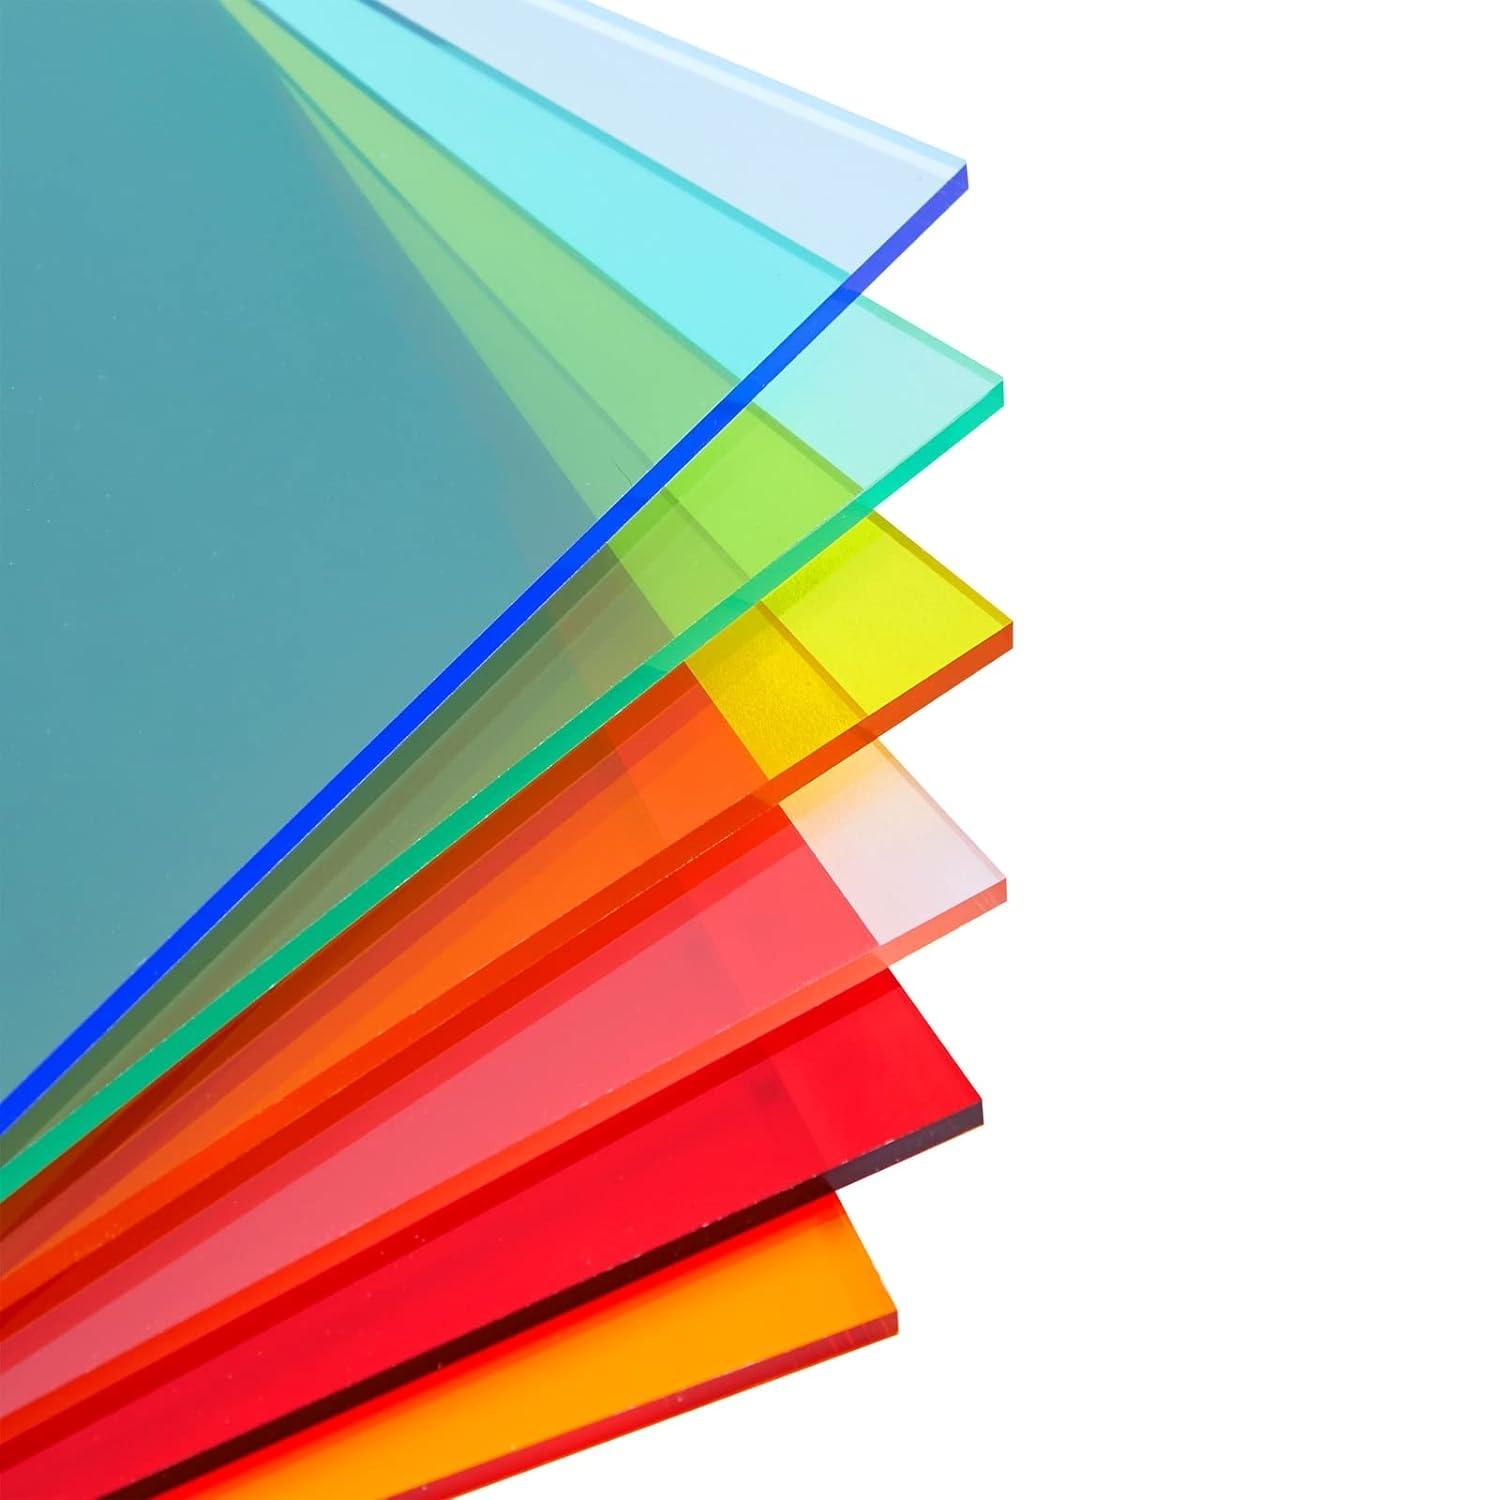
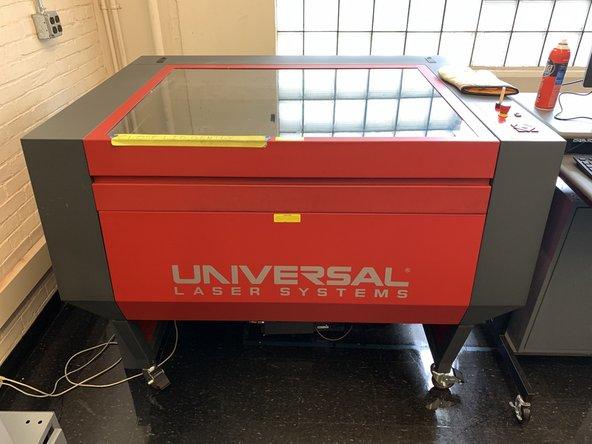

- Acrylic board
- Any vector graphics app (ex.: Inkscape or Krita)
- Laser-cutting machine
Creating the Design

Using a vector graphics app such as Inkscape, create the design for the stencil.
Create a rectangle first to put your needed symbols inside for the design. I used a 12 cm by 29 cm rectangle design, but I recommend adjusting the sizing if it needs to be bigger to especially accommodate thicker marker tips.
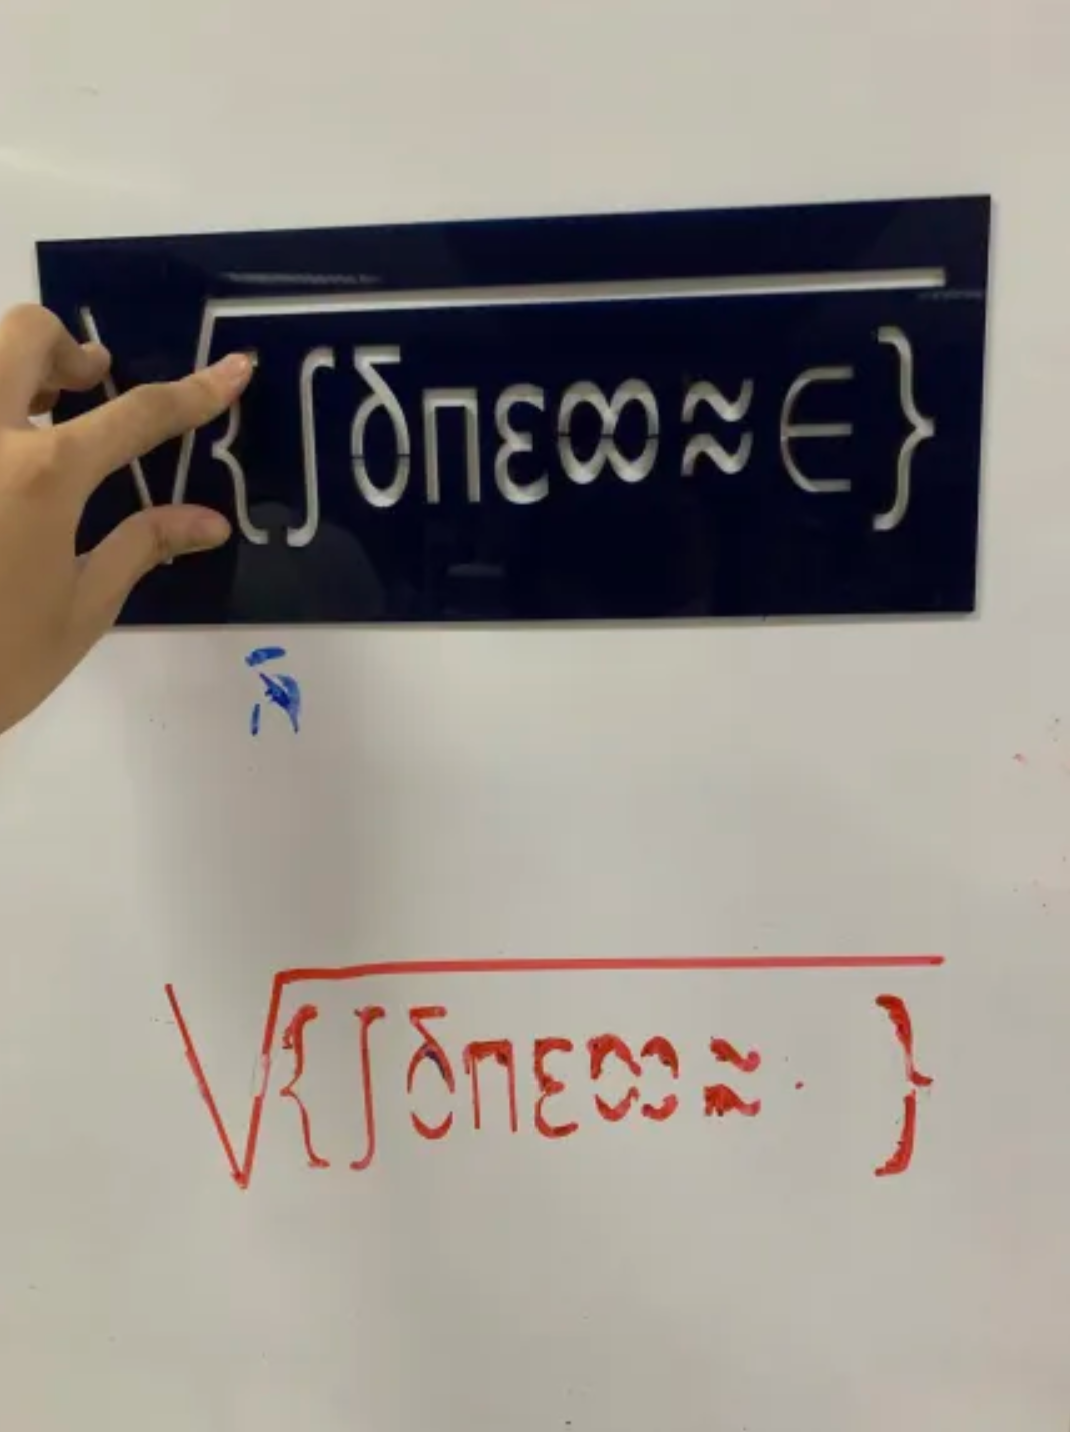
Type the symbols you would need using your app's text tool, use your app's "group" tool on all of them, then resize them to fit the rectangle. In this stencil, the math symbols I used are as follows:
- Radical (√)
- Theta (θ)
- Curly brackets ({})
- Integration symbol (∫)
- Delta (δ)
- Pi (π)
- Epsilon (ε)
- Infinity (∞)
- Estimation equal sign (≈)
- Element of (∈)
My graphics app was not able to support a long radical symbol, so I had to make it on my own. What I did was create several lines using the straight line tool and merge them together to create it. Just Like the other math symbols, I resized it to fit the rectangle & resized the other math symbols to fit inside the radical.
When putting the symbols in the rectangle, center them and make sure to add some margins between them for space. I put a 2 cm margin on the top & bottom of the rectangle, while the left & right have a 1 cm margin.
Also keep in mind if your laser cutter machine has specifications for the design to be able to print. For the laser-cutting machine I used, my border color must be set to red while my border thickness must be set to 0.025 mm.
Once you are done with your design, export it as a PDF and save the design in a USB.
Setting Up the Laser-cutting Machine
.png)
Make sure to flip on the power button of the laser-cutting machine, as well as put in the plug for the exhaust. Get an acrylic board that can fit your design and put it inside the machine by carefully opening the lid.
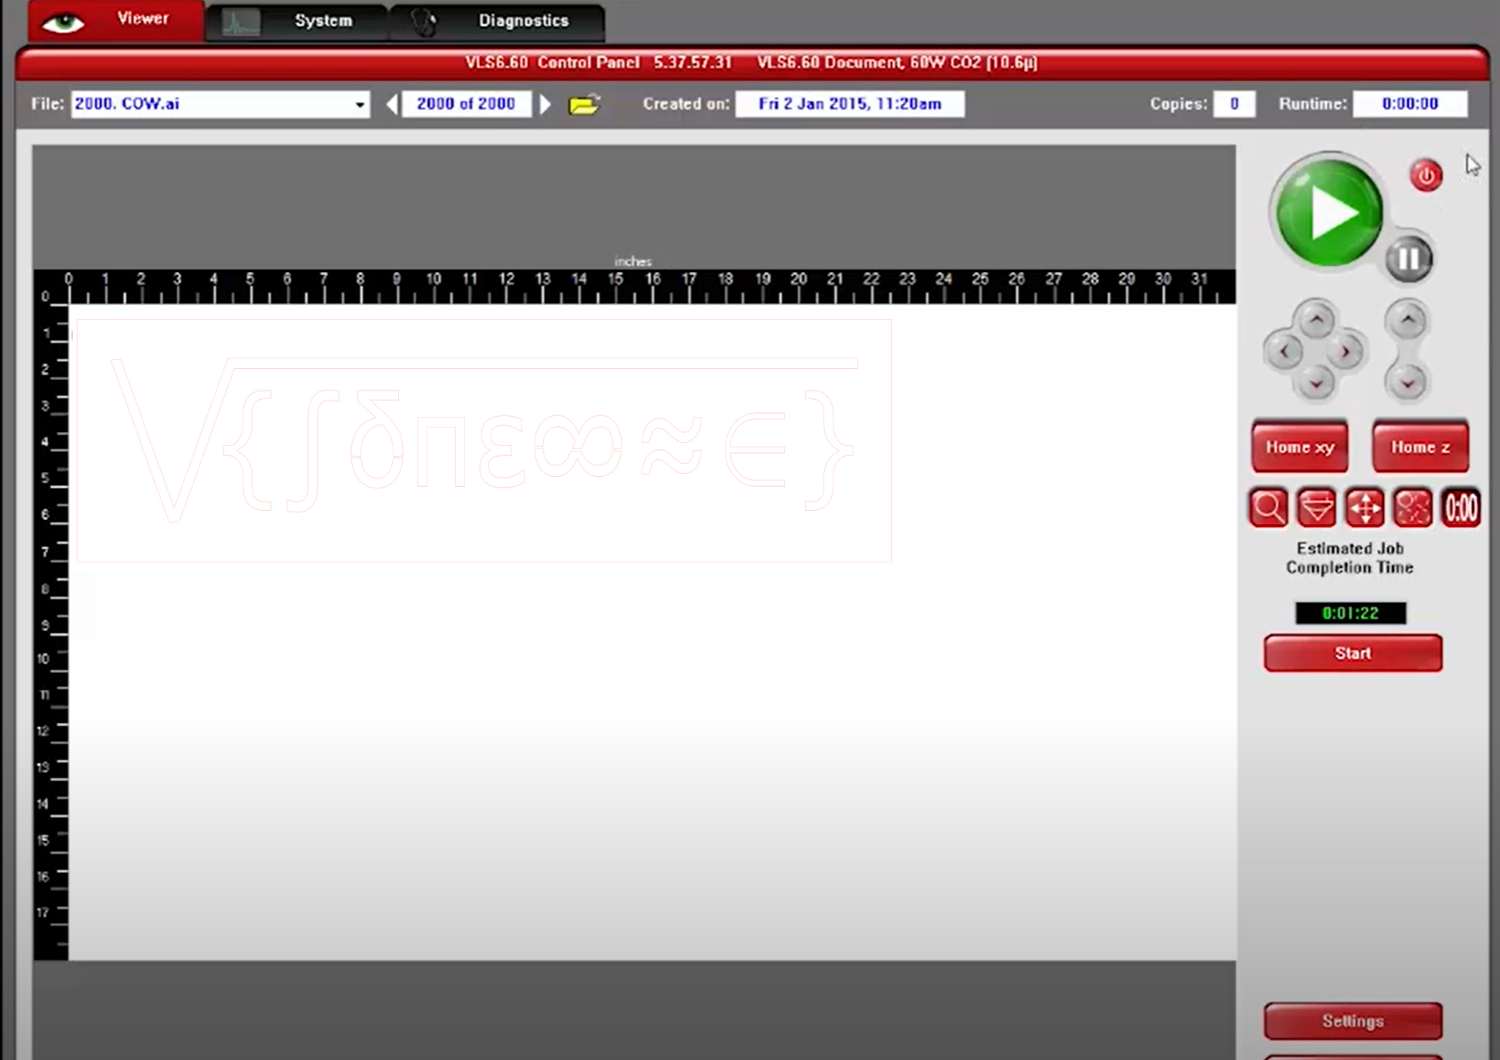
There should be a computer plugged to the laser-cutting machine. Insert your USB in that computer and select your USB file. Click on "Print" in Adobe Acrobat, then open the app with the control panel for the laser-cutting machine in the computer. Here, I used the control panel of the Universal Laser Systems machine.
Make sure that the laser would be able to cut on the acrylic board itself. To do so, move the laser around the corners of your design using the Focus View and arrow buttons in the control panel to make sure the laser will not go out of bounds. If it will, move where your design will be positioned by using the Relocate view button.
You may check how long it will take to cut your design using the "Estimate View" button. Once you have fully calibrated the machine, close the lid of the machine & click on the Print button to begin the cutting.
Waiting & Finishing Up
While the machine is cutting, look inside the window lid to see if it is doing the job. If an emergency or malfunction occurs in the machine while cutting, press the emergency stop button to immediately halt cutting & ask for help from a lab supervisor.
When the machine stops cutting, open the lid & get your finished piece. Turn off the machine & unplug the exhaust.
Some holes may have popped off already while being lifted out of the machine, but make sure to pop off all remaining holes in the stencil as well.
Test your finished stencil to see if it works, especially if it can fit a marker pen. Then you're done!