Tox & Toxygen for the Raspberry Pi 3
by Tsartsanis in Circuits > Raspberry Pi
2900 Views, 7 Favorites, 0 Comments
Tox & Toxygen for the Raspberry Pi 3


In this instructable you will learn how to install and use Toxygen on Raspberry pi 3. But first lets talk about Tox.
Tox is an encrypted way to talk and according to its website "A New Kind of Instant Messaging. Whether it's corporations or governments, digital surveillance today is widespread. Tox is easy-to-use software that connects you with friends and family without anyone else listening in. While other big-name services require you to pay for features, Tox is completely free and comes without advertising — forever."
In order to use Tox you need a client and for that purpose we will install and use Toxygen : Toxygen is cross-platform Tox client written in pure Python3 with a lot of unique features such as plugins and faux offline file transfers.
https://github.com/toxygen-project/toxygen
the problem is that there is no wiki for the installation on the raspberry pi thats why i made this instructable.
Most of this instructable is based in terminal commands so lets continue and start typing some commands.
Hardware We Need.
Before the terminal we have to set up the hardware. We will need:
1. A Raspberry pi 3
2. An sd card. It is strongly recommended to use a 16gb card. If you complete successfully the installation the used space will be about 6 gb and i noticed that in a 16gb card the installation went faster than a 8gb card.
3.A fresh image of the Raspbian Stretch with desktop from https://www.raspberrypi.org/downloads/raspbian/
Just put the image in the sd card power on your Raspberry pi and proceed to an update and upgrade with the commands:
sudo apt-get update and then sudo apt-get upgrade. When the upgrade is finished sudo reboot and go to the next step.
Installation Steps
The basic steps are:
1. Install PortAudio with the command: sudo apt-get install portaudio19-dev
2. Install PyQt5 with the command: sudo apt-get install python3-pyqt5
3. Install OpenCV step 3
4. Install toxcore with toxav support in your system step 4
5. Install toxygen: sudo pip3 install toxygen
6. Run toxygen in a terminal
Install OpenCV
Open a terminal and start typing:
1. sudo apt-get install build-essential cmake pkg-config
2. sudo apt-get install libjpeg-dev libtiff5-dev libjasper-dev libpng12-dev
3. sudo apt-get install libgtk2.0-dev libgstreamer0.10-0-dbg libgstreamer0.10-0 libgstreamer0.10-dev libv4l-0 libv4l-dev
4. sudo apt-get install libavcodec-dev libavformat-dev libswscale-dev libv4l-dev libxvidcore-dev libx264-dev
5. sudo apt-get install libatlas-base-dev gfortran python-numpy python-scipy python-matplotlib default-jdk ant libgtkglext1-dev v4l-utils
6. sudo apt-get install python3-dev
7. sudo pip3 install numpy
Now we will download OpenCV 3.3.0 and unpack it:
1. wget -O opencv.zip https://github.com/Itseez/opencv/archive/3.3.0.zi...
2. unzip opencv.zip
Also we need the Contrib Libraries:
1. wget -O opencv_contrib.zip https://github.com/Itseez/opencv_contrib/archive/...
2. unzip opencv_contrib.zip
Let's start building:
1. cd opencv-3.3.0
2. mkdir build
3. cd build
4. cmake -D CMAKE_BUILD_TYPE=RELEASE \
-D CMAKE_INSTALL_PREFIX=/usr/local \
-D INSTALL_C_EXAMPLES=OFF \
-D INSTALL_PYTHON_EXAMPLES=ON \
-D OPENCV_EXTRA_MODULES_PATH=~/opencv_contrib-3.3.0/modules \
-D BUILD_EXAMPLES=ON \
-D ENABLE_NEON=ON ..
one command at a time
Lets continue with the following:
1. sudo make -j4
2. sudo make install
3. sudo ldconfig
4. sudo nano /etc/ld.so.conf.d/opencv.conf - the txt file will be blank so lets add the following line, /usr/local/lib save and exit.
5. sudo ldconfig
6. sudo nano /etc/bash.bashrc . This text file will be full of code so go down with pagedown button and add the following lines at the end of the file :
PKG_CONFIG_PATH=$PKG_CONFIG_PATH:/usr/local/lib/pkgconfig
export PKG_CONFIG_PATH
save and exit
Reboot your Raspberry pi with the command sudo reboot
Install Toxcore
Before install toxcore we need 2 things: a. libtoxav and b. libsodium. But first lets install some libraries.
1. sudo apt-get install build-essential libtool autotools-dev automake checkinstall check git yasm
- For A/V support, also install the dependences listed in the libtoxav section. Note that you have to install those dependencies before compiling toxcore.
1. sudo apt-get install libopus-dev libvpx-dev pkg-config
- Lets continue with the installation of libsodium:
1. git clone https://github.com/jedisct1/libsodium.git
2. cd libsodium
3. git checkout tags/1.0.3
4. ./autogen.sh
5. ./configure && make check
6. sudo checkinstall --install --pkgname libsodium --pkgversion 1.0.0 --nodoc
7. sudo ldconfig
8. cd ..
- Ok we are almost done. We will now compile toxcore system-wide:
1. git clone https://github.com/irungentoo/toxcore.git
2. cd toxcore
3. autoreconf -i
4. ./configure && make
5. sudo make install
Start Toxygen - Setup
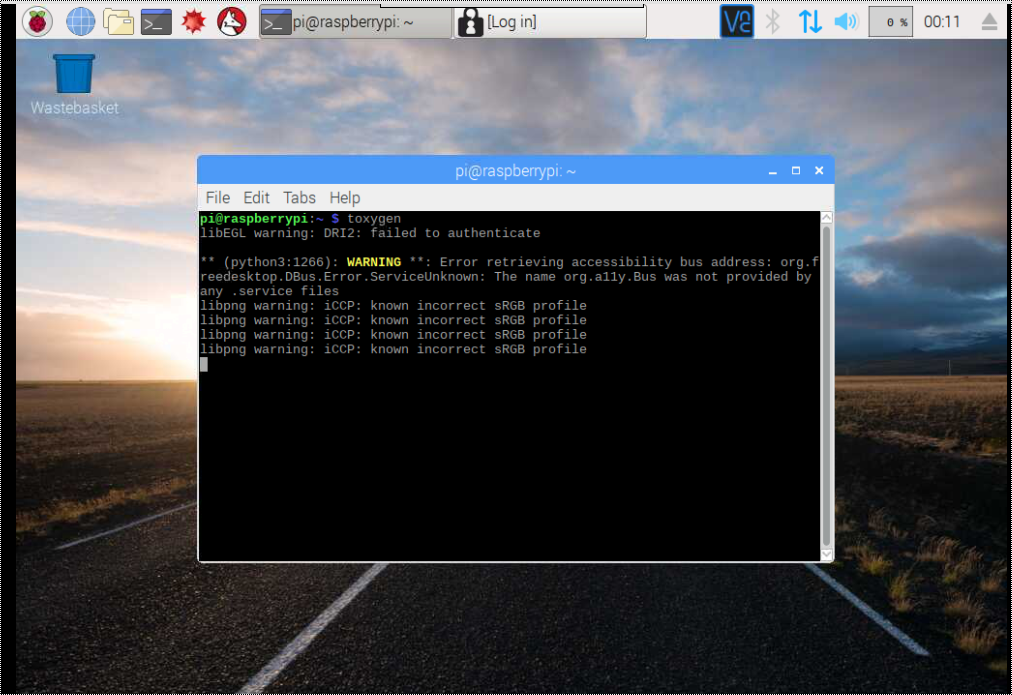
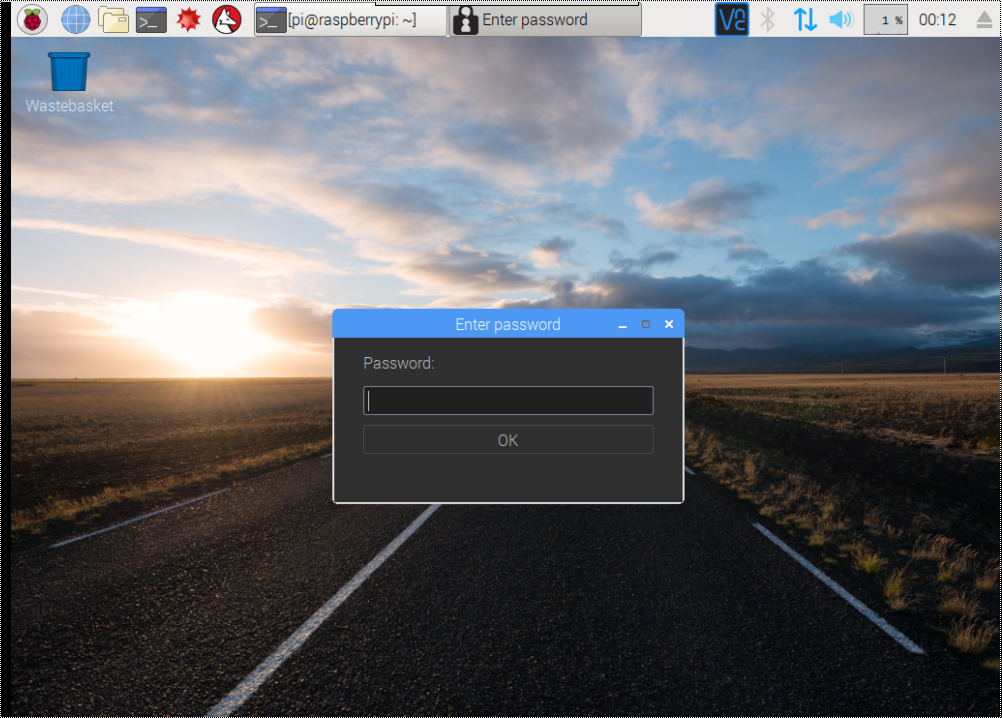
In order to start toxygen we need to open a terminal and type: toxygen
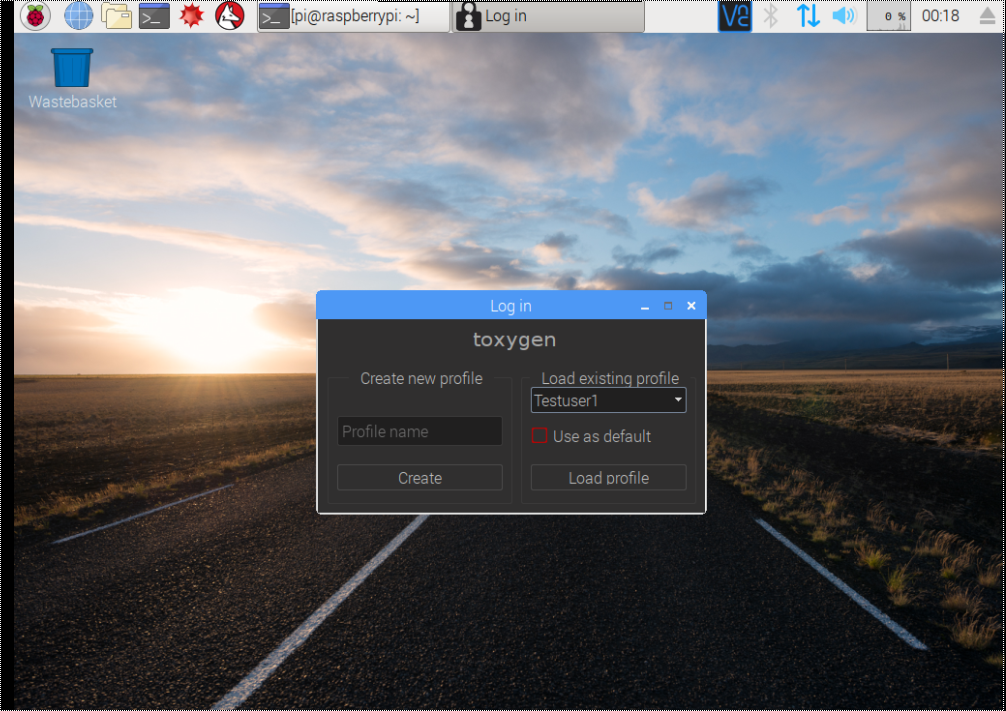
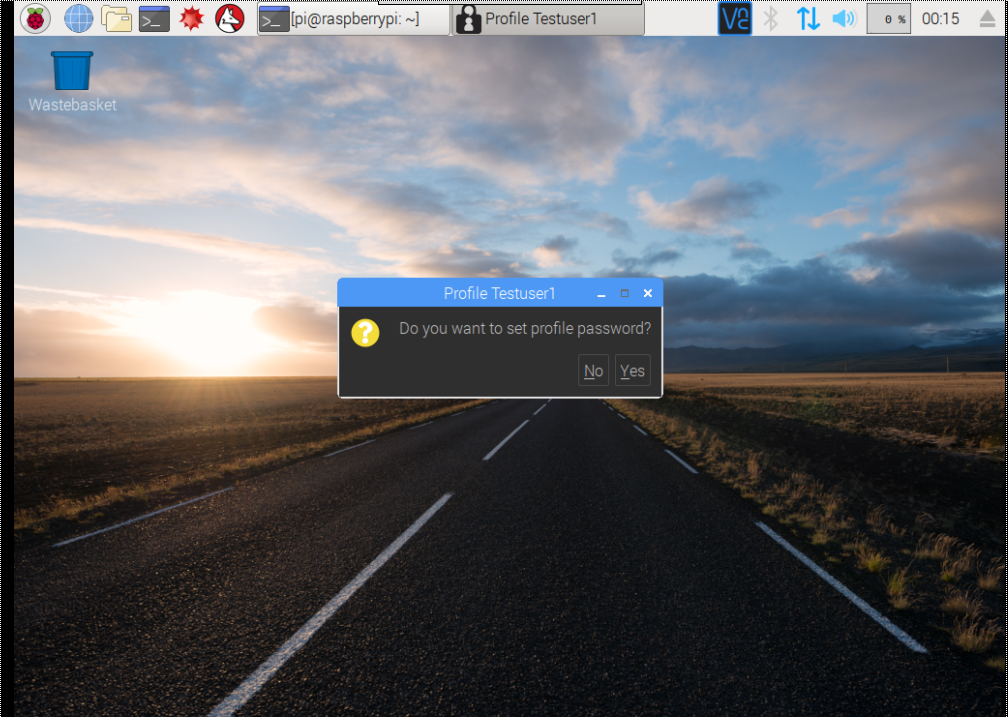
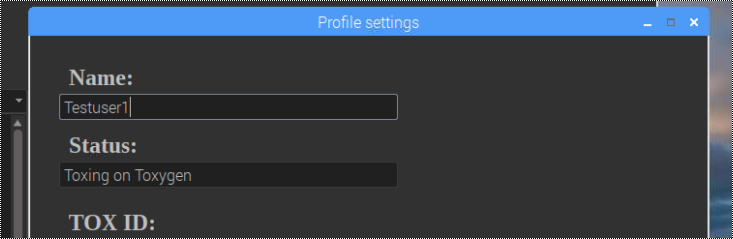
- For the first time we have to create a new profile. So click at Profile name and enter the name that you want to appear at the chat, click Create and continue with the password.
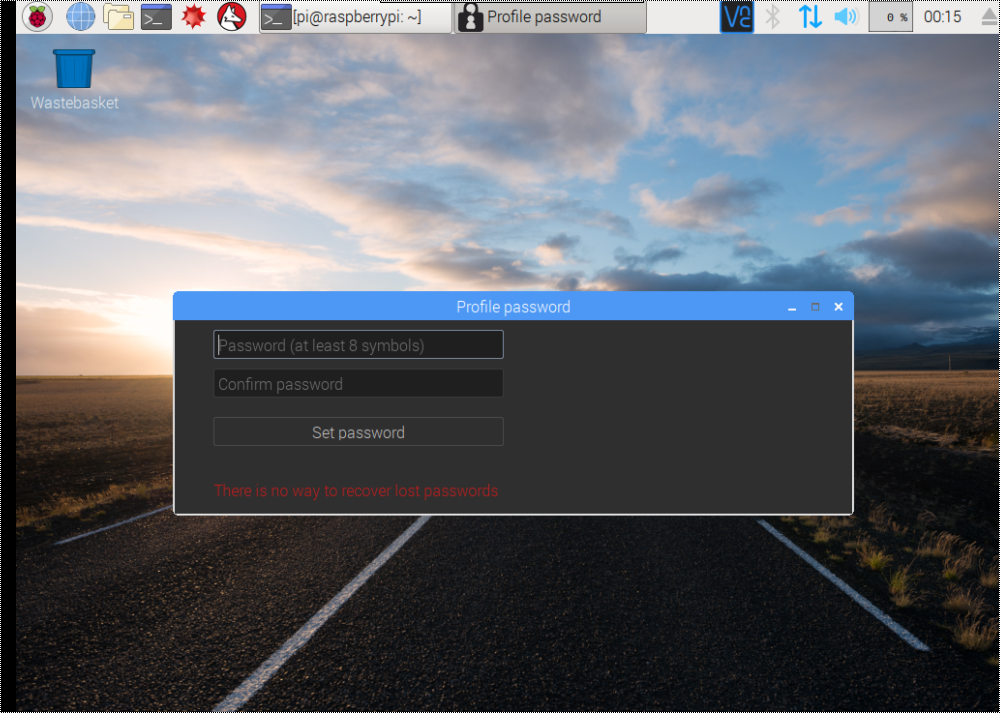
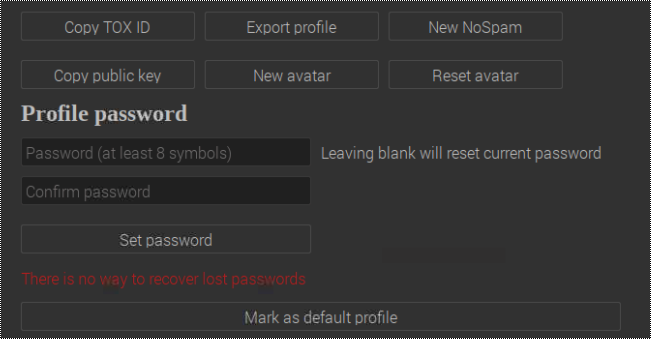
- Create a strong password for your profile and remember that there is no way to recover it. If you forgot your password you have to create a new profile.
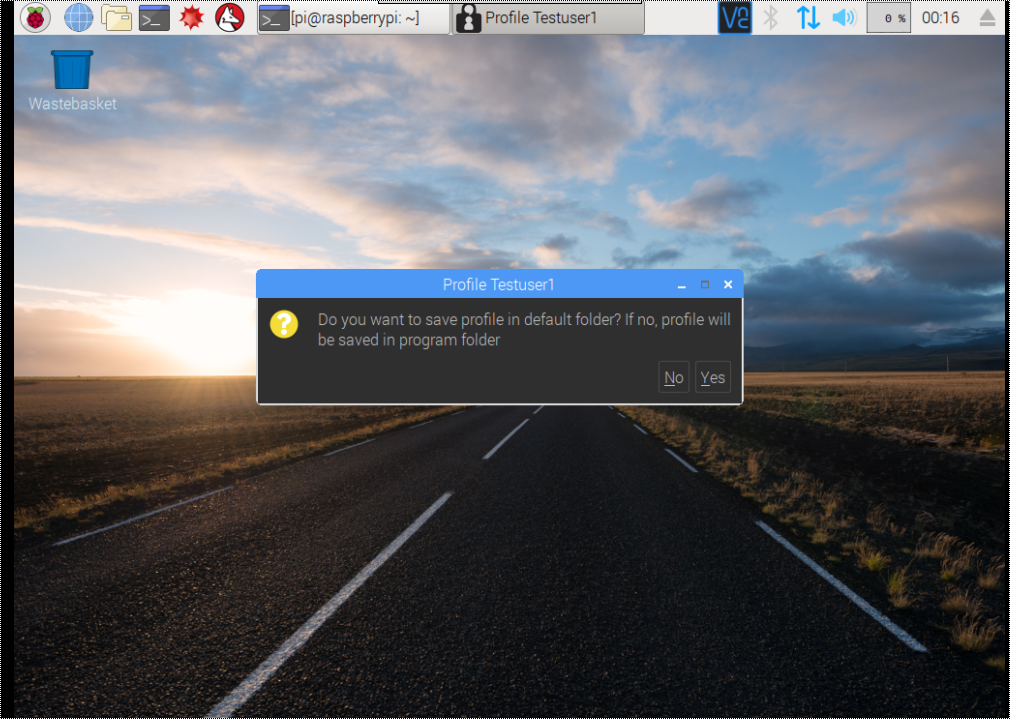
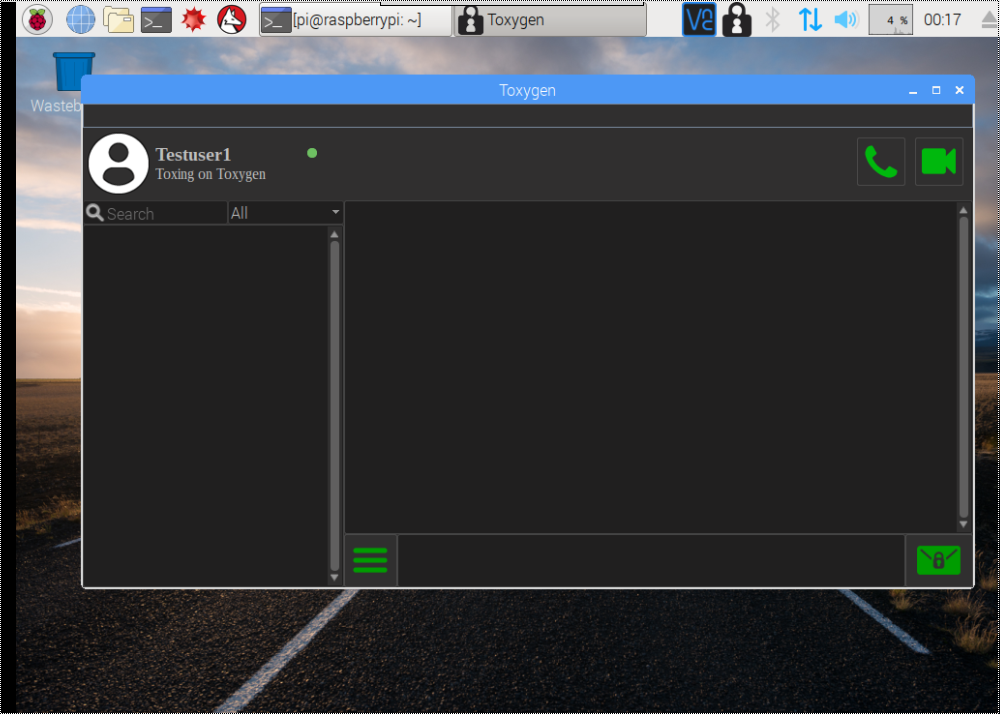
- Next you will be asked if you want to save the profile you just created in the default folder. Click whatever you like and by the next click the main screen will appear.
- By clicking at the profile name you just set it will appear the profile settings screen where you can set various things like the avatar, copy you tox id or export the id etc.
You can also use Tox on Android by installing the Antox app from the app store.
And that is all now you can talk safely with all your friends.