Touchless Doorbell
.jpeg)

Hello! I am a student from Singapore who enjoys being creative. During my recent exploration of sensors, I discovered this contest. So, I thought I could put my knowledge to good use.
I have friends around me who are very particular about cleanliness and would often mention to me that they have to clean their doorbells after a while as they can't stand the fingerprints on them. I thought why not create a touchless doorbell using an ultrasonic sensor since we can easily adjust the distance between the visitor’s finger and the doorbell?
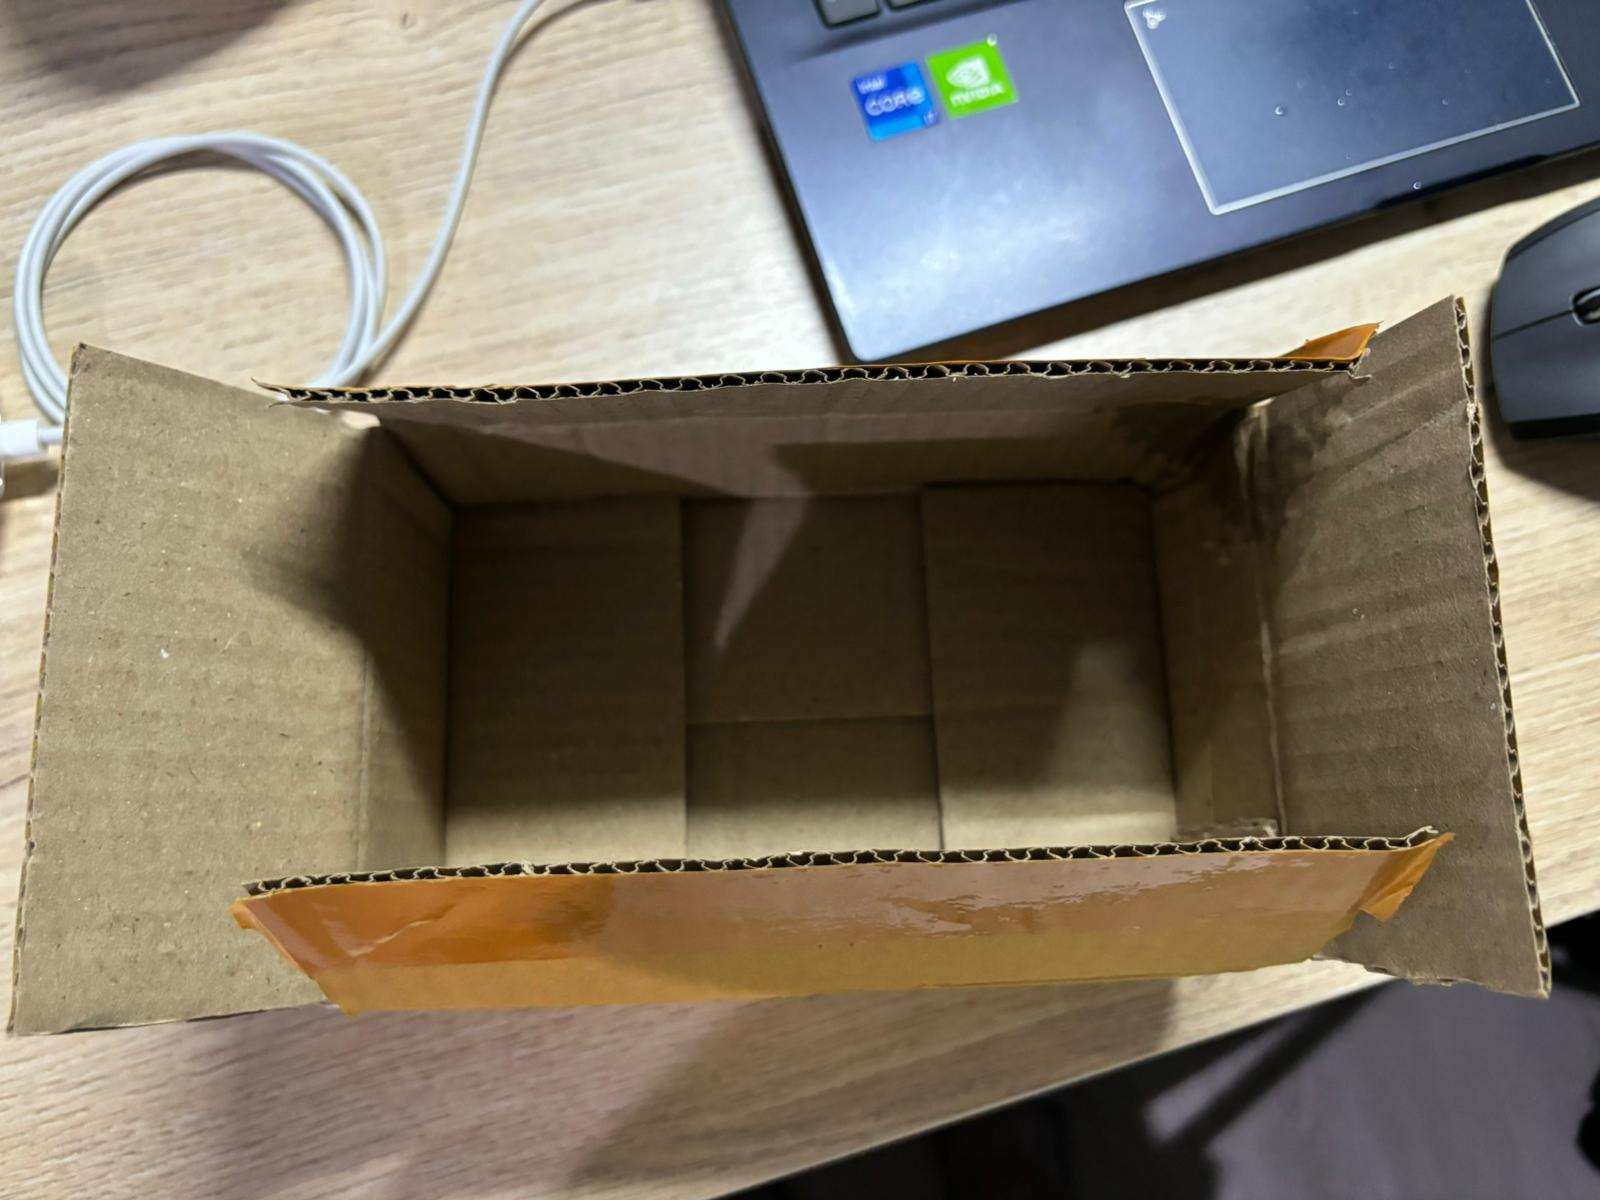
Thus, I grabbed a parcel box and a few components and got started!
Supplies
Materials
- Paper Bag
- Leftover Delivery Box
- Permanent Marker
- Glue/Masking Tape
- Scissors/Pen Knife
Hardware
- 1 Blue LED
- 1 Buzzer
- 1 Arduino Board (I am using Mega)
- 1 Breadboard
- Jumper Wires
- Ultrasonic
- Resistor (100 ohms and 1k ohms)
- 1 USB 2.0 Cable Type A/B
Software:
- Fusion360
- Arduino IDE
Breadboard Connection & Coding on Arduino IDE


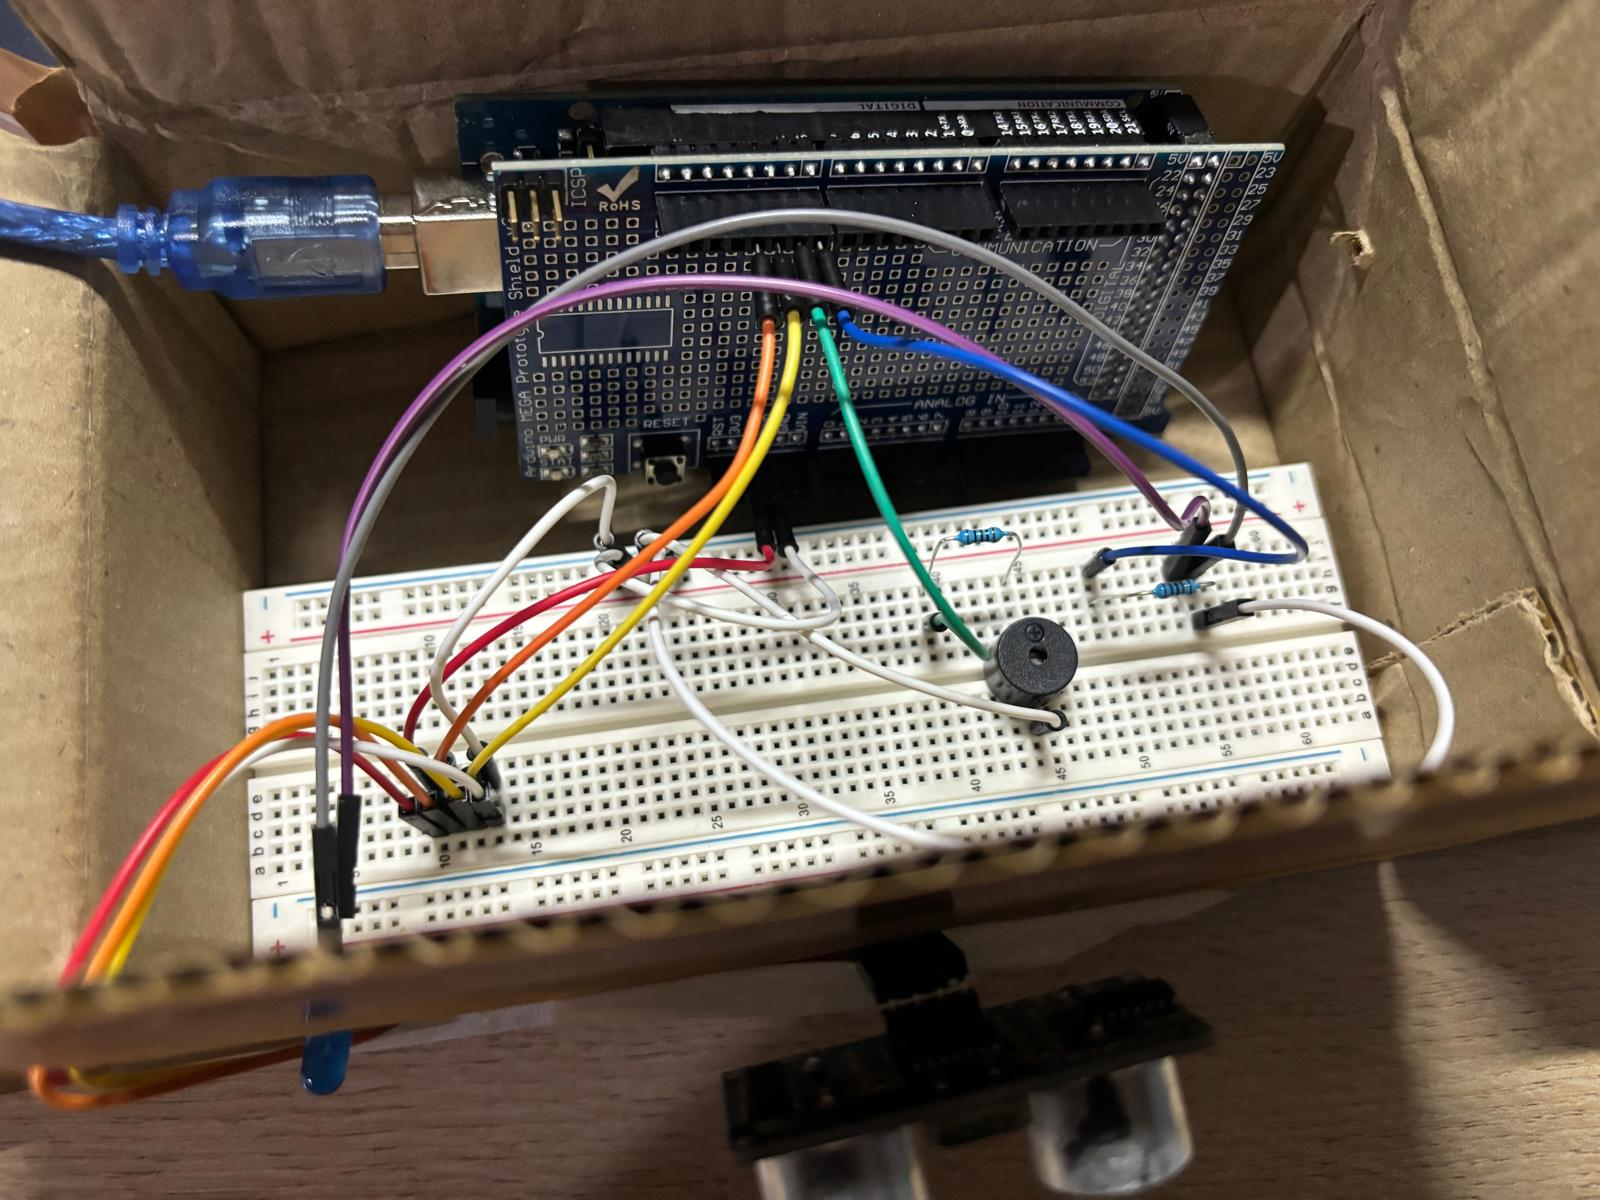
To start of, I did the following connection. I connected all the GND to the GND terminal of the breadboard and used a single jumper wire to connect to the GND on the board
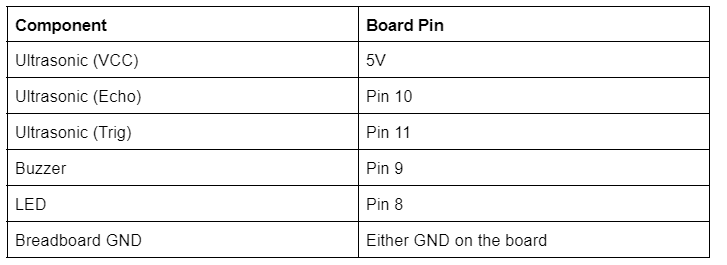
Before connecting the buzzer and the LED to the board, I added resistors of 100 ohms and 1k ohms respectively. For easier visualization, I have attached the schematic diagram and the board diagram below.
I started writing the code by determining the condition I wanted to set, which is if the distance between the ultrasonic sensor and the human finger is less than 5cm, it implies that the human is “pressing” the doorbell. Hence, the buzzer will beep and the LED will light up to indicate that the doorbell has been pressed and is ringing. Once the human removes his/her finger, the distance is more than zero, the buzzer will stop beeping and the LED will turn off.
Following are the steps to writing the code:
- Initiate pins used on the board
- Set the components to either input/output (input sends data to the microcontroller and vice versa)
- Set the condition and the steps if the condition is met
Attached is my coding for this Instructables.
Once the coding is complete, you may test it to ensure that it works properly, so that the assembly will not require you to remove everything afterwards.
Designing on Fusion 360
I started off with designing a box to fit all my hardware (breadboard and Arduino Board) on Fusion360 to get a preview of my end product and have an idea of where I should do up a hole for to fit the LED and placement of the Ultrsounic.
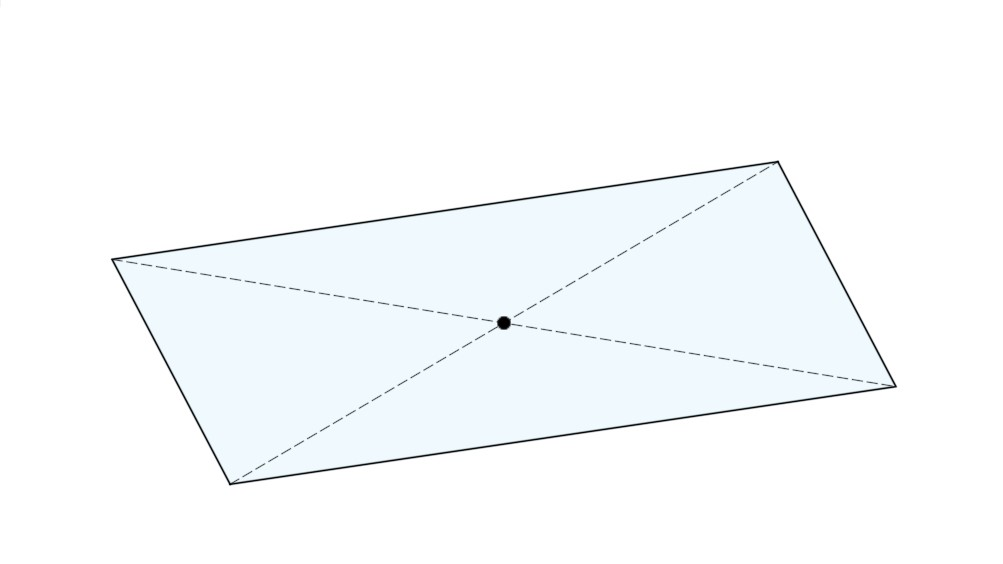
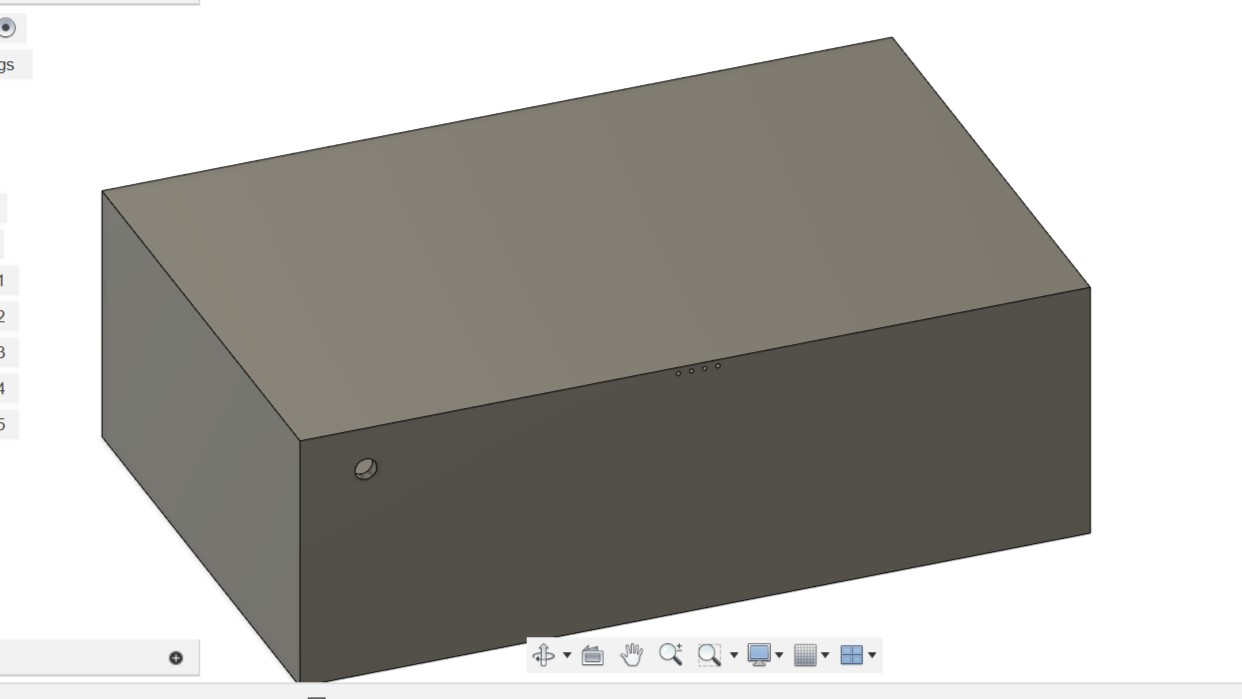
I do so by sketching a rectangle with the length of my breadboard and the breadth sufficient for my breadboard and Arduino board (115mm (B) x 180mm (L)). Then I extruded the rectangle upwards by 60 mm which is the height of my box.
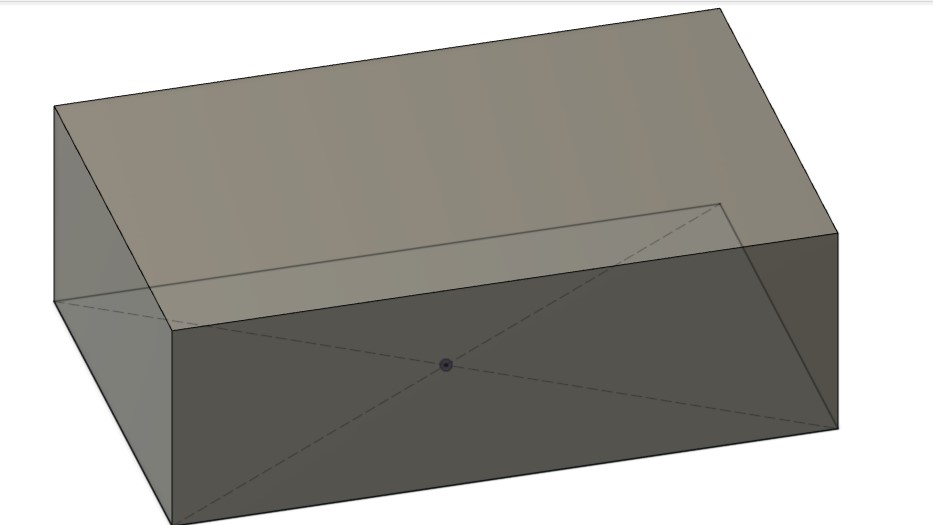
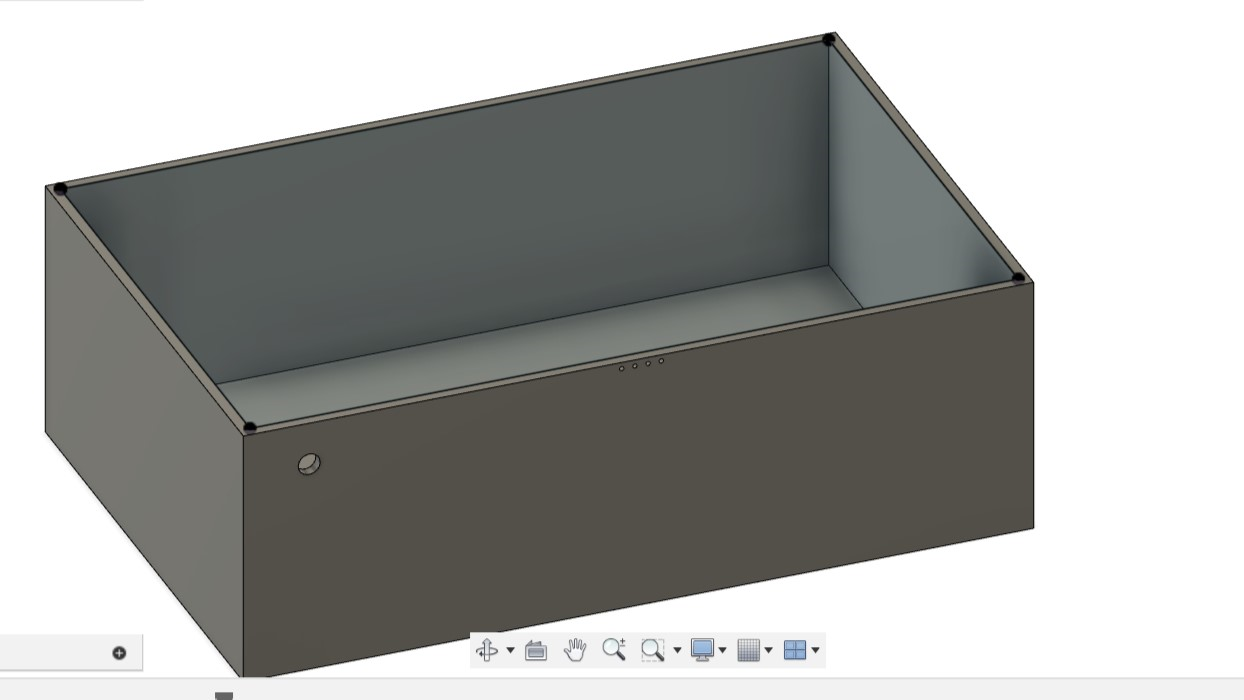
After setting the thickness of the box to 5mm, I sketched another rectangle with 5mm less width and length, and extruded it downwards by 55mm. By doing this, I would be able to get a box area for fitting my hardware.
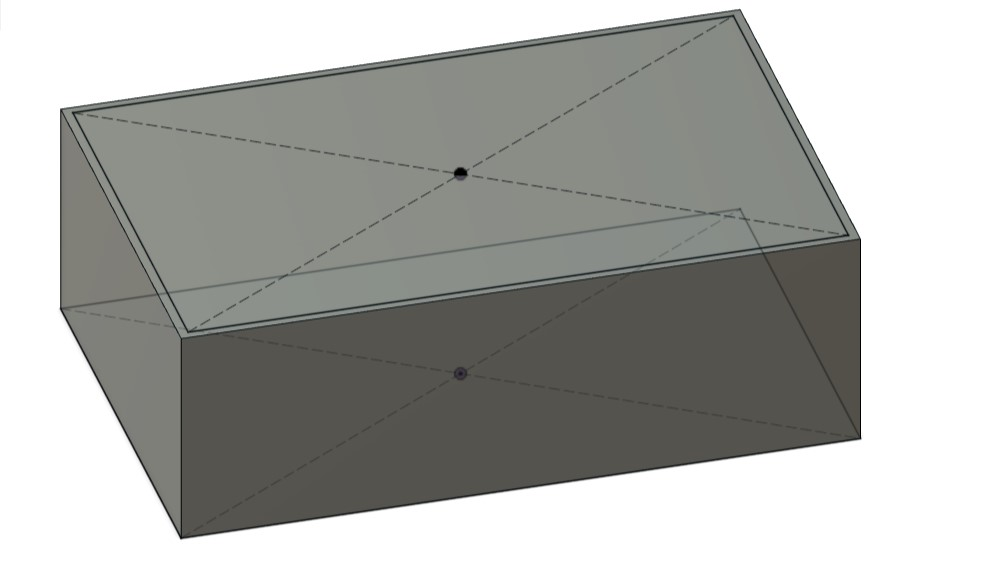

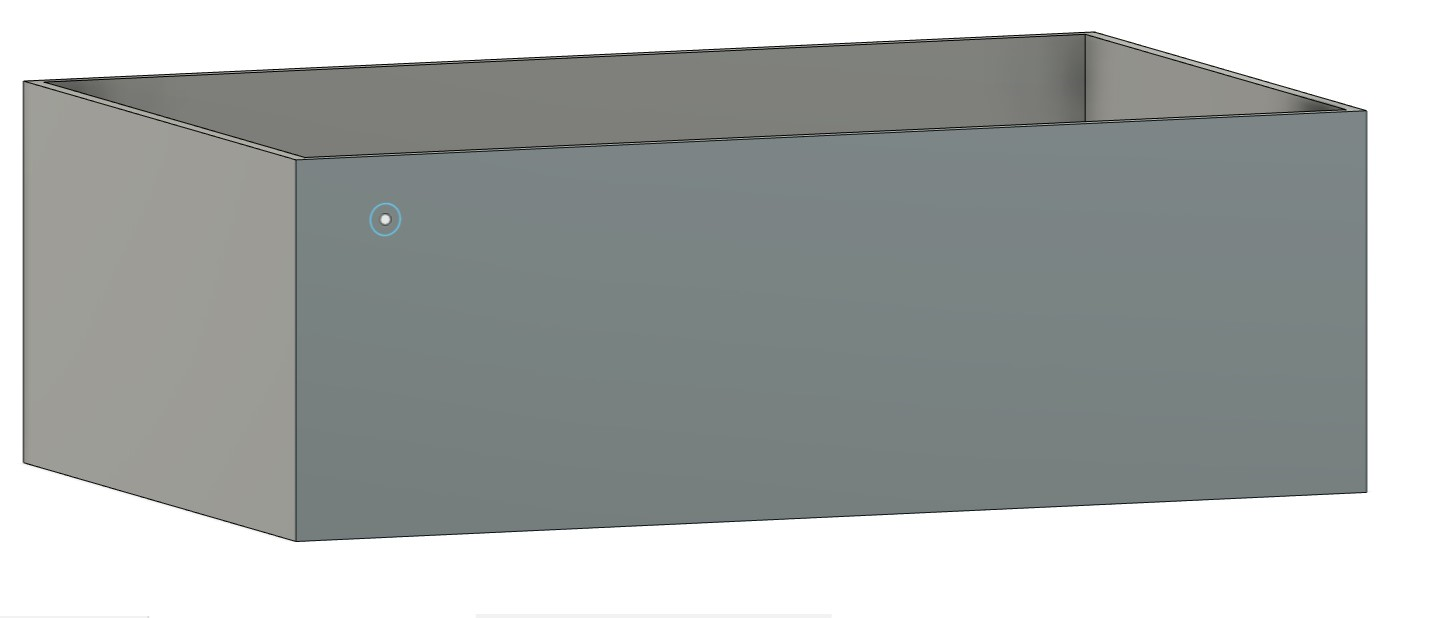
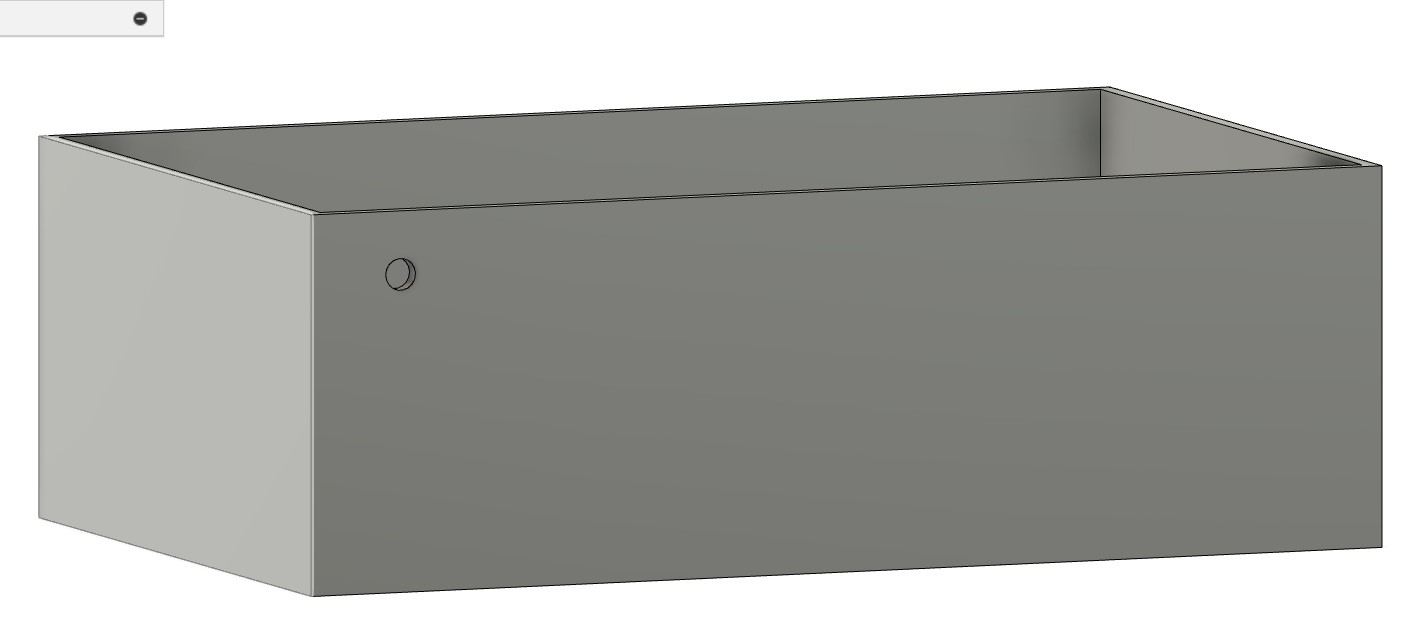
After, building the fundamentals, I extruded a circle with a diameter of 5mm on the top left of the box to fit the LED through.
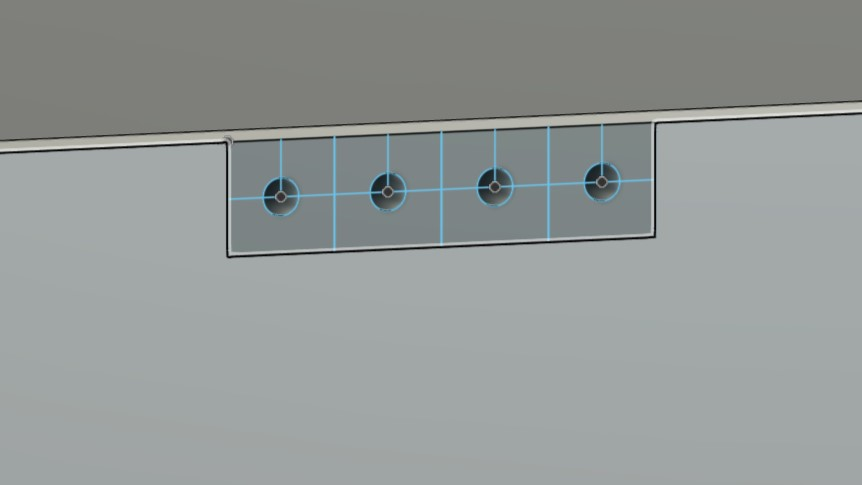
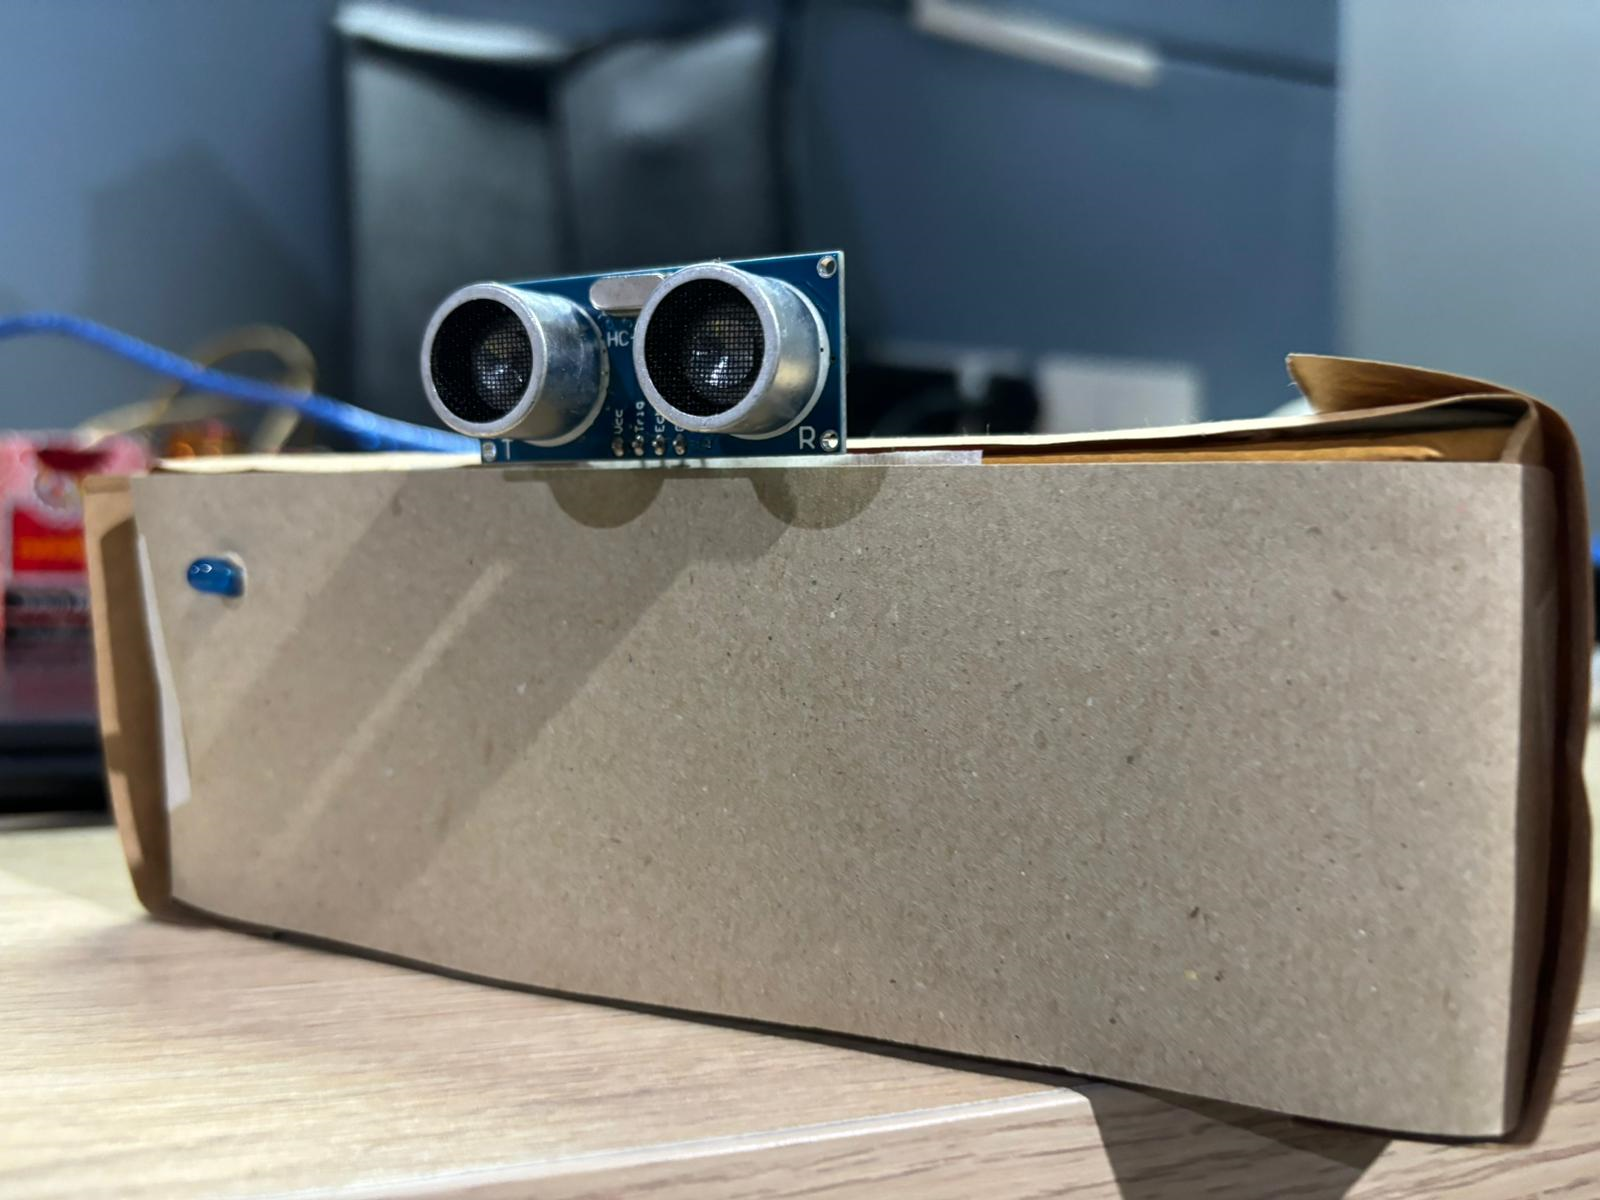
To prevent having to tape the ultrasonic component to the surface of the box, I want the jumper wires that connect it to the breadboard to go through a series of holes. I sketched four squares (3mm x 3mm) side by side to accurately sketch a circle with a diameter of 1mm from the middle of the square, which is where the jumper wires will fit.
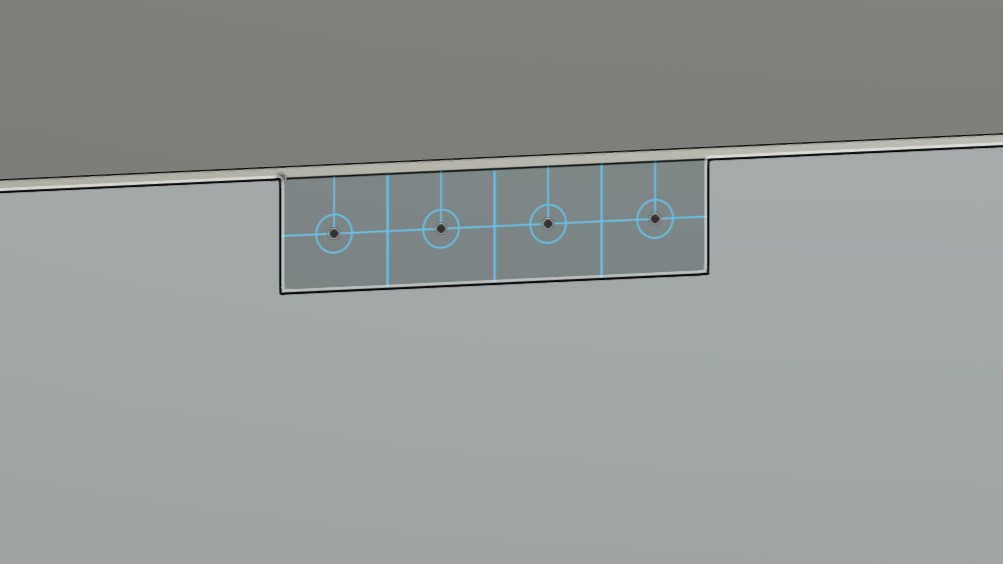
I then extruded the circles.
Having completed this step, the box is complete. I realized, however, that there is no cover. To “build” the box cover, I traced the edges of the internal rectangle and extruded downwards by 5mm.
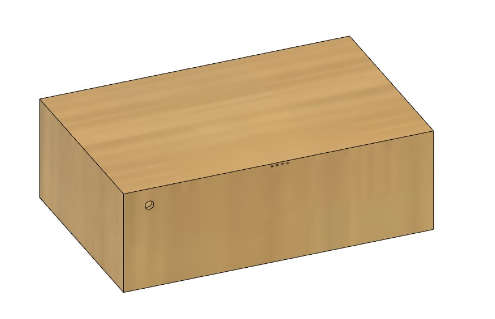
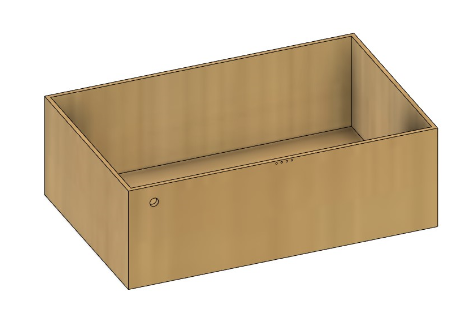
For a more pleasing look, I added a colour that matches the colour of the material I will be using to the 3D design.
Hands On!
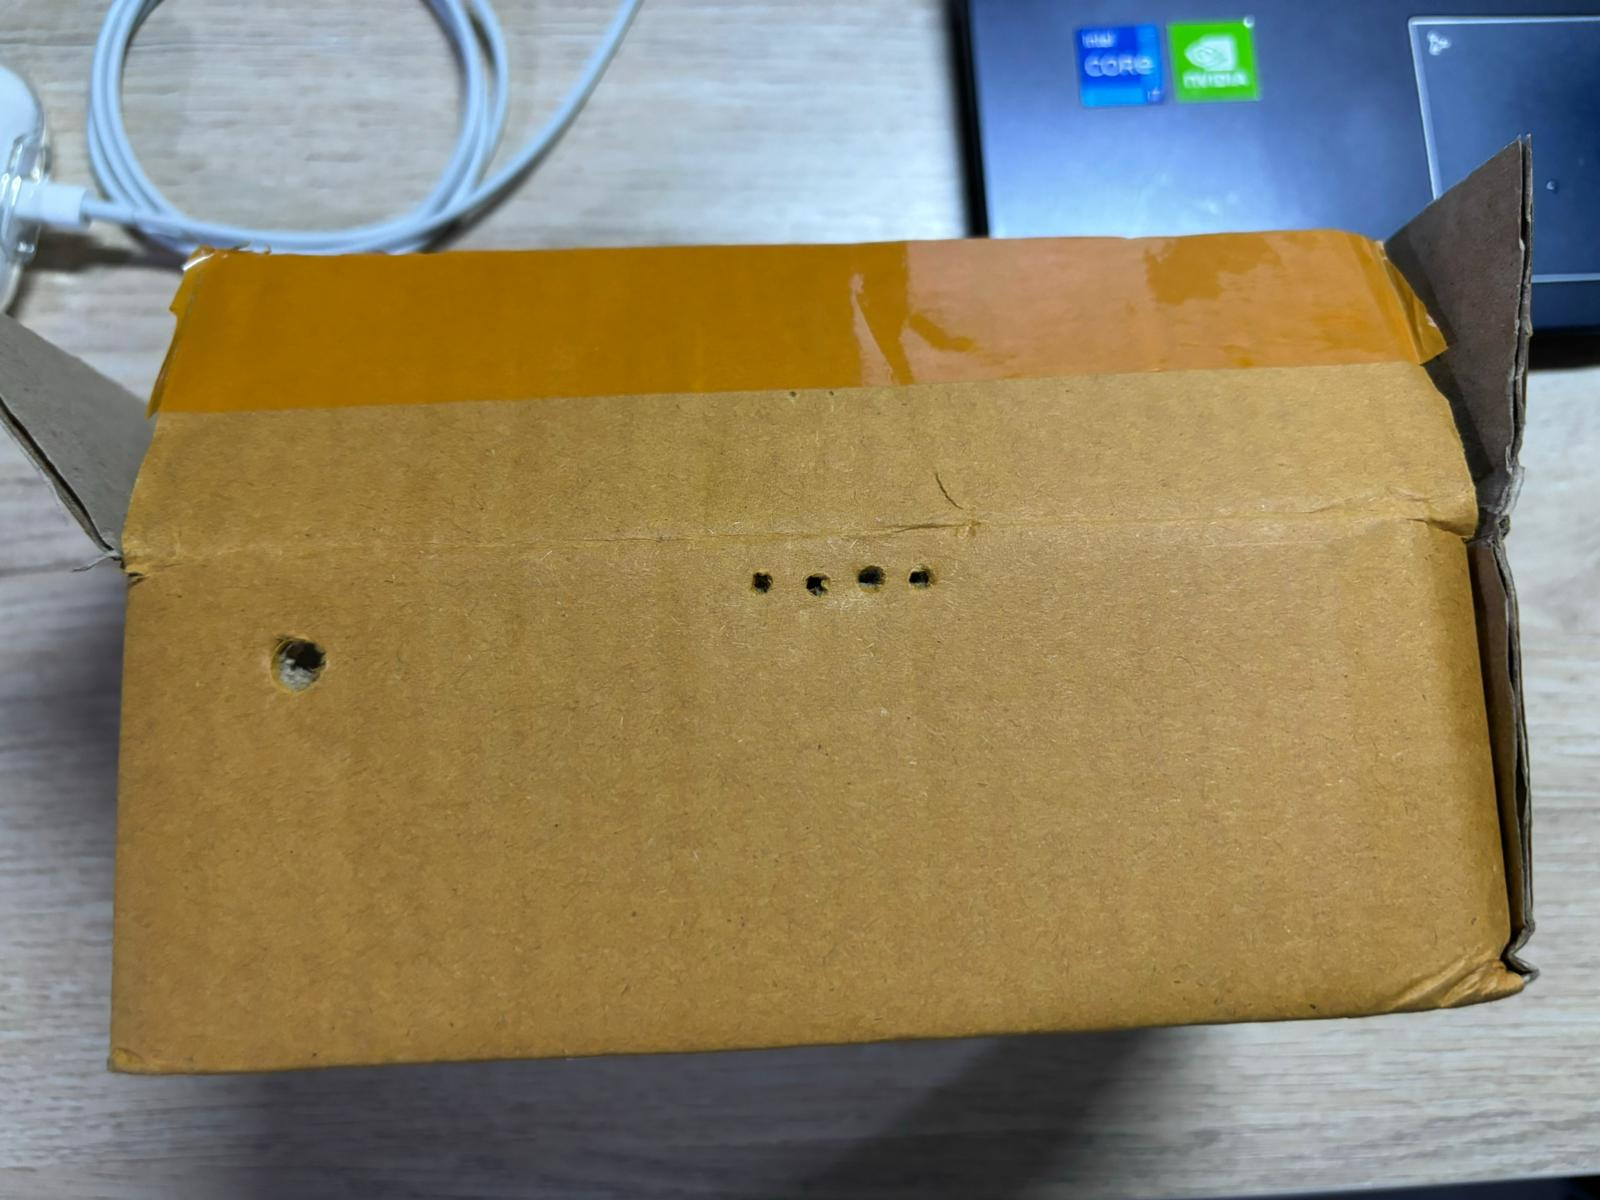
I took a delivery parcel box that had the same dimensions as my design and used it as the fundamental box for my hardware. I then use a scissors to “drill” holes to fit my LED and jumper wires
After, I placed all my hardware components into the box
Last my not least, I sealed it up and used the paper bag to wrap the outside of the box and we are done!
Test It Out!
There you have it! A homemade doorbell! Making items with products we already own can be so much fun. Just creating it is all there is to do :)